Need a bit more support? Want to get more comfort? It is easy to adjust a bra pattern to provide a bit more lift or comfort, and that’s what we’re showing you in this blog post.
Jump to another post in this series:
- Bra fitting guide overview
- How to choose your bra size
- How to make a test bra
- How to adjust the back band
- How to adjust the gore/bridge (Willowdale only)
- How to adjust the cups
- How to adjust the center insert (Loftus only)
- How to adjust the side seam angle
- How to adjust the straps
- How to adjust the underwires (Willowdale only)
- Adjusting the level of support and comfort
- How to make an asymmetrical bra
- Additional bra making resources
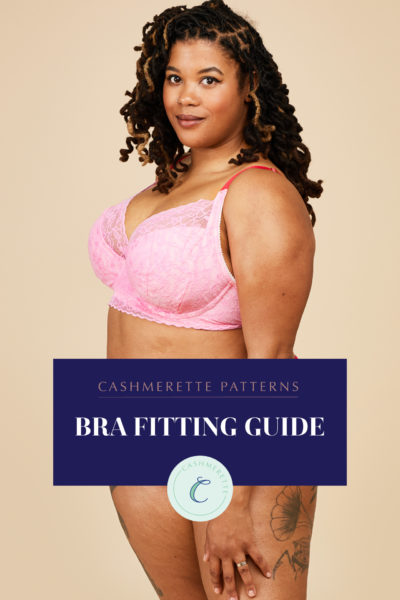
Cashmerette has two bra patterns designed to support and lift big boobs in band sizes 28-54 and cups C-J, all while looking absolutely fabulous (It’s a lot to ask of a bra, but they are up to the task!)
The Willowdale is a full frame, underwire bra sewing pattern while the Loftus is a non-underwire bralette sewing pattern.
The Willowdale Bra and Loftus Bralette have been designed to provide the maximum amount of support whilst maintaining comfort. If you wish to increase the amount of support provided or increase the comfort of the bra, you can do so in the following ways.
Increase the support provided by the back band
The back band plays a large role in providing the support required for both the Willowdale Bra and the Loftus Bralette. For maximum support use a heavy weight powermesh fabric (250gsm), or add a second layer of power mesh to the back band. To add a second layer, simply cut 4 back band pieces and baste two of them together and treat as one for the remainder of the instructions.
Increase the support provided by the elastics
Different elastics may provide different amounts of support, some elastics have better recovery and stretch than others and you may find that the elastics you use, while technically the right length are not providing the support required. In this case, you can increase the support provided by shortening the band, neckline and underarm elastics and stretching them to fit. Just be aware that if you shorten the elastics too much this may result in excess pressure on your ribcage and/or shoulders.
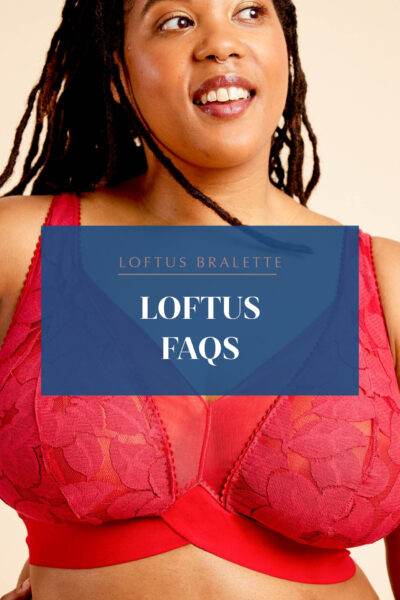
Increase the support/shaping of the powerbar (Loftus Bralette only)
The Loftus pattern comes with an internal powerbar. This powerbar provides additional support and shaping, but is not required. If you wish you can simply leave out the powerbar for a simpler construction. If you do want to use the powerbar, but feel like it is not providing the correct shape and support you can modify the powerbar by shortening the inner edge.
The best way to test the powerbar is to insert it as the outer layer in your muslin (not sandwiched between the inner and outer cups as described by the instructions). You can then pinch out the excess fabric on the inner edge of the powerbar as required.
There are a number of places where you can make the modification to the powerbar, depending on the boob shape that you want, some of which are shown here.

The following illustration shows the modification starting at the lower outside edge of the cup. Mark your cup pieces as shown below using the locations and measurements taken from your muslin. Overlap the pattern pieces by the required amount and true all seams.
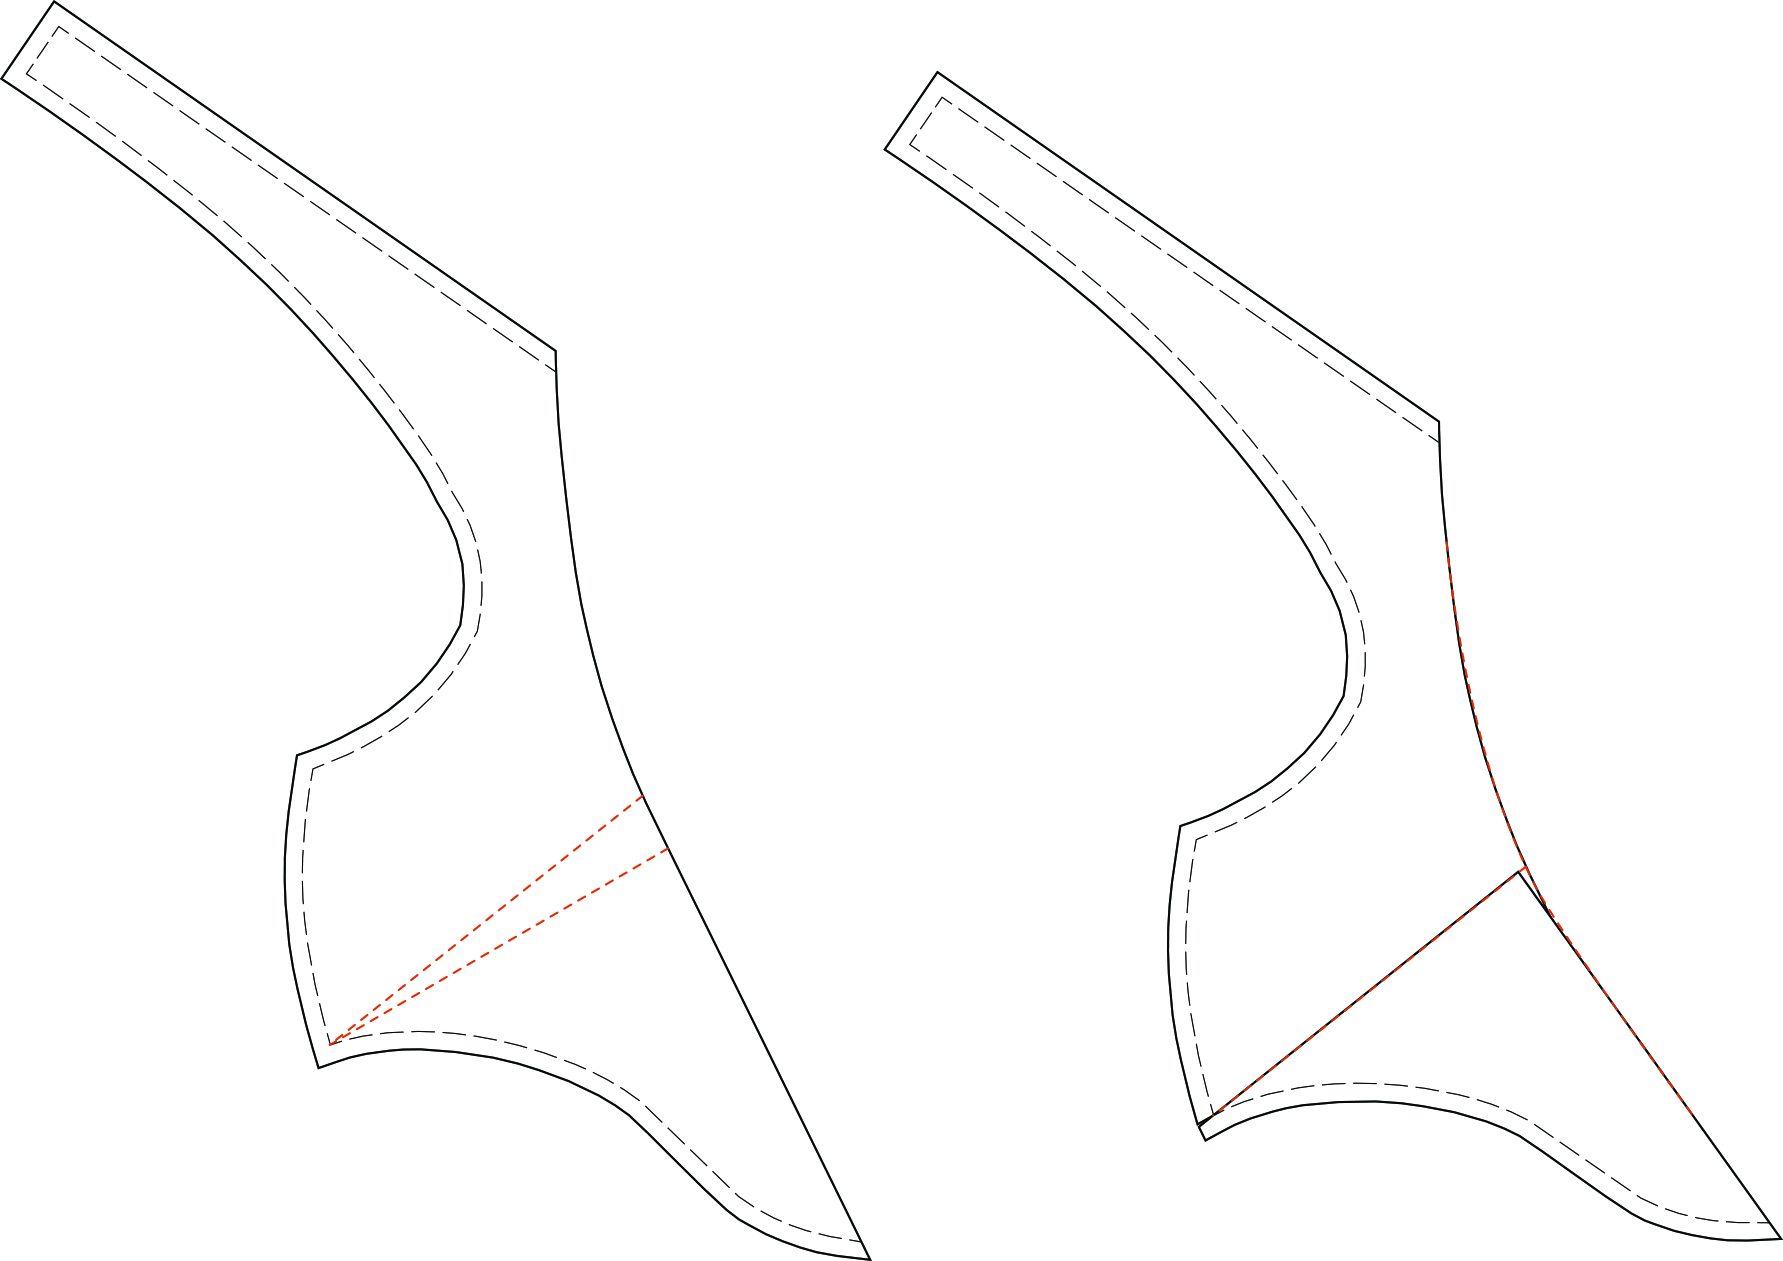
You can make this modification in one or more places, just be aware that if you take too much length out of this inner edge, you may end up with more of a cone shape than desired.
Increasing comfort by using stretch fabric cups (Loftus Bralette only)
The Loftus Bralette pattern is designed to be made from non-stretch or low-stretch fabrics for maximum support. If you prefer to use fabrics with more stretch for comfort you can do so, but you may wish to go down a cup size.
If you want the support of the non-stretch inner cup but would prefer to use a stretch fabric for the outer cup you can fuse a non-stretch fusible interfacing to the back of the stretch fabric and treat it as a non-stretch, just be aware that if the fabric does stretch out over time you may end up with the outer cup pouching over the inner cup.
Jump to another post in this series:
- Bra fitting guide overview
- How to choose your bra size
- How to make a test bra
- How to adjust the back band
- How to adjust the gore/bridge (Willowdale only)
- How to adjust the cups
- How to adjust the center insert (Loftus only)
- How to adjust the side seam angle
- How to adjust the straps
- How to adjust the underwires (Willowdale only)
- Adjusting the level of support and comfort
- How to make an asymmetrical bra
- Additional bra making resources