How do you lengthen or shorten the back band of a bra to achieve a better fit? Today, we’re showing you how to adjust the back band of a bra.
Jump to another post in this series:
- Bra fitting guide overview
- How to choose your bra size
- How to make a test bra
- How to adjust the back band
- How to adjust the gore/bridge (Willowdale only)
- How to adjust the cups
- How to adjust the center insert (Loftus only)
- How to adjust the side seam angle
- How to adjust the straps
- How to adjust the underwires (Willowdale only)
- Adjusting the level of support and comfort
- How to make an asymmetrical bra
- Additional bra making resources
Cashmerette has two bra patterns designed to support and lift big boobs in band sizes 28-54 and cups C-J, all while looking absolutely fabulous (It’s a lot to ask of a bra, but they are up to the task!)
The Willowdale is a full frame, underwire bra sewing pattern while the Loftus is a non-underwire bralette sewing pattern.
If you have big boobs and you want to start with a bra sewing pattern that’s most likely to fit you right out of the gate, the Cashmerette bras are for you.
Start your bra fitting journey with the Cashmerette Bra Fitting Guide
To help you sew and fit your dream bra, we’ve put together the Cashmerette Bra Fitting Guide! This post is one of the many tutorials you’ll find there, and if you haven’t yet checked out the main guide page, we recommend starting there. So much of bra fitting is interconnected, and the guide provides a checklist and order to work through the adjustments.
In this post, we’re covering how to adjust the back band of a bra to achieve a better fit. Let’s get started!
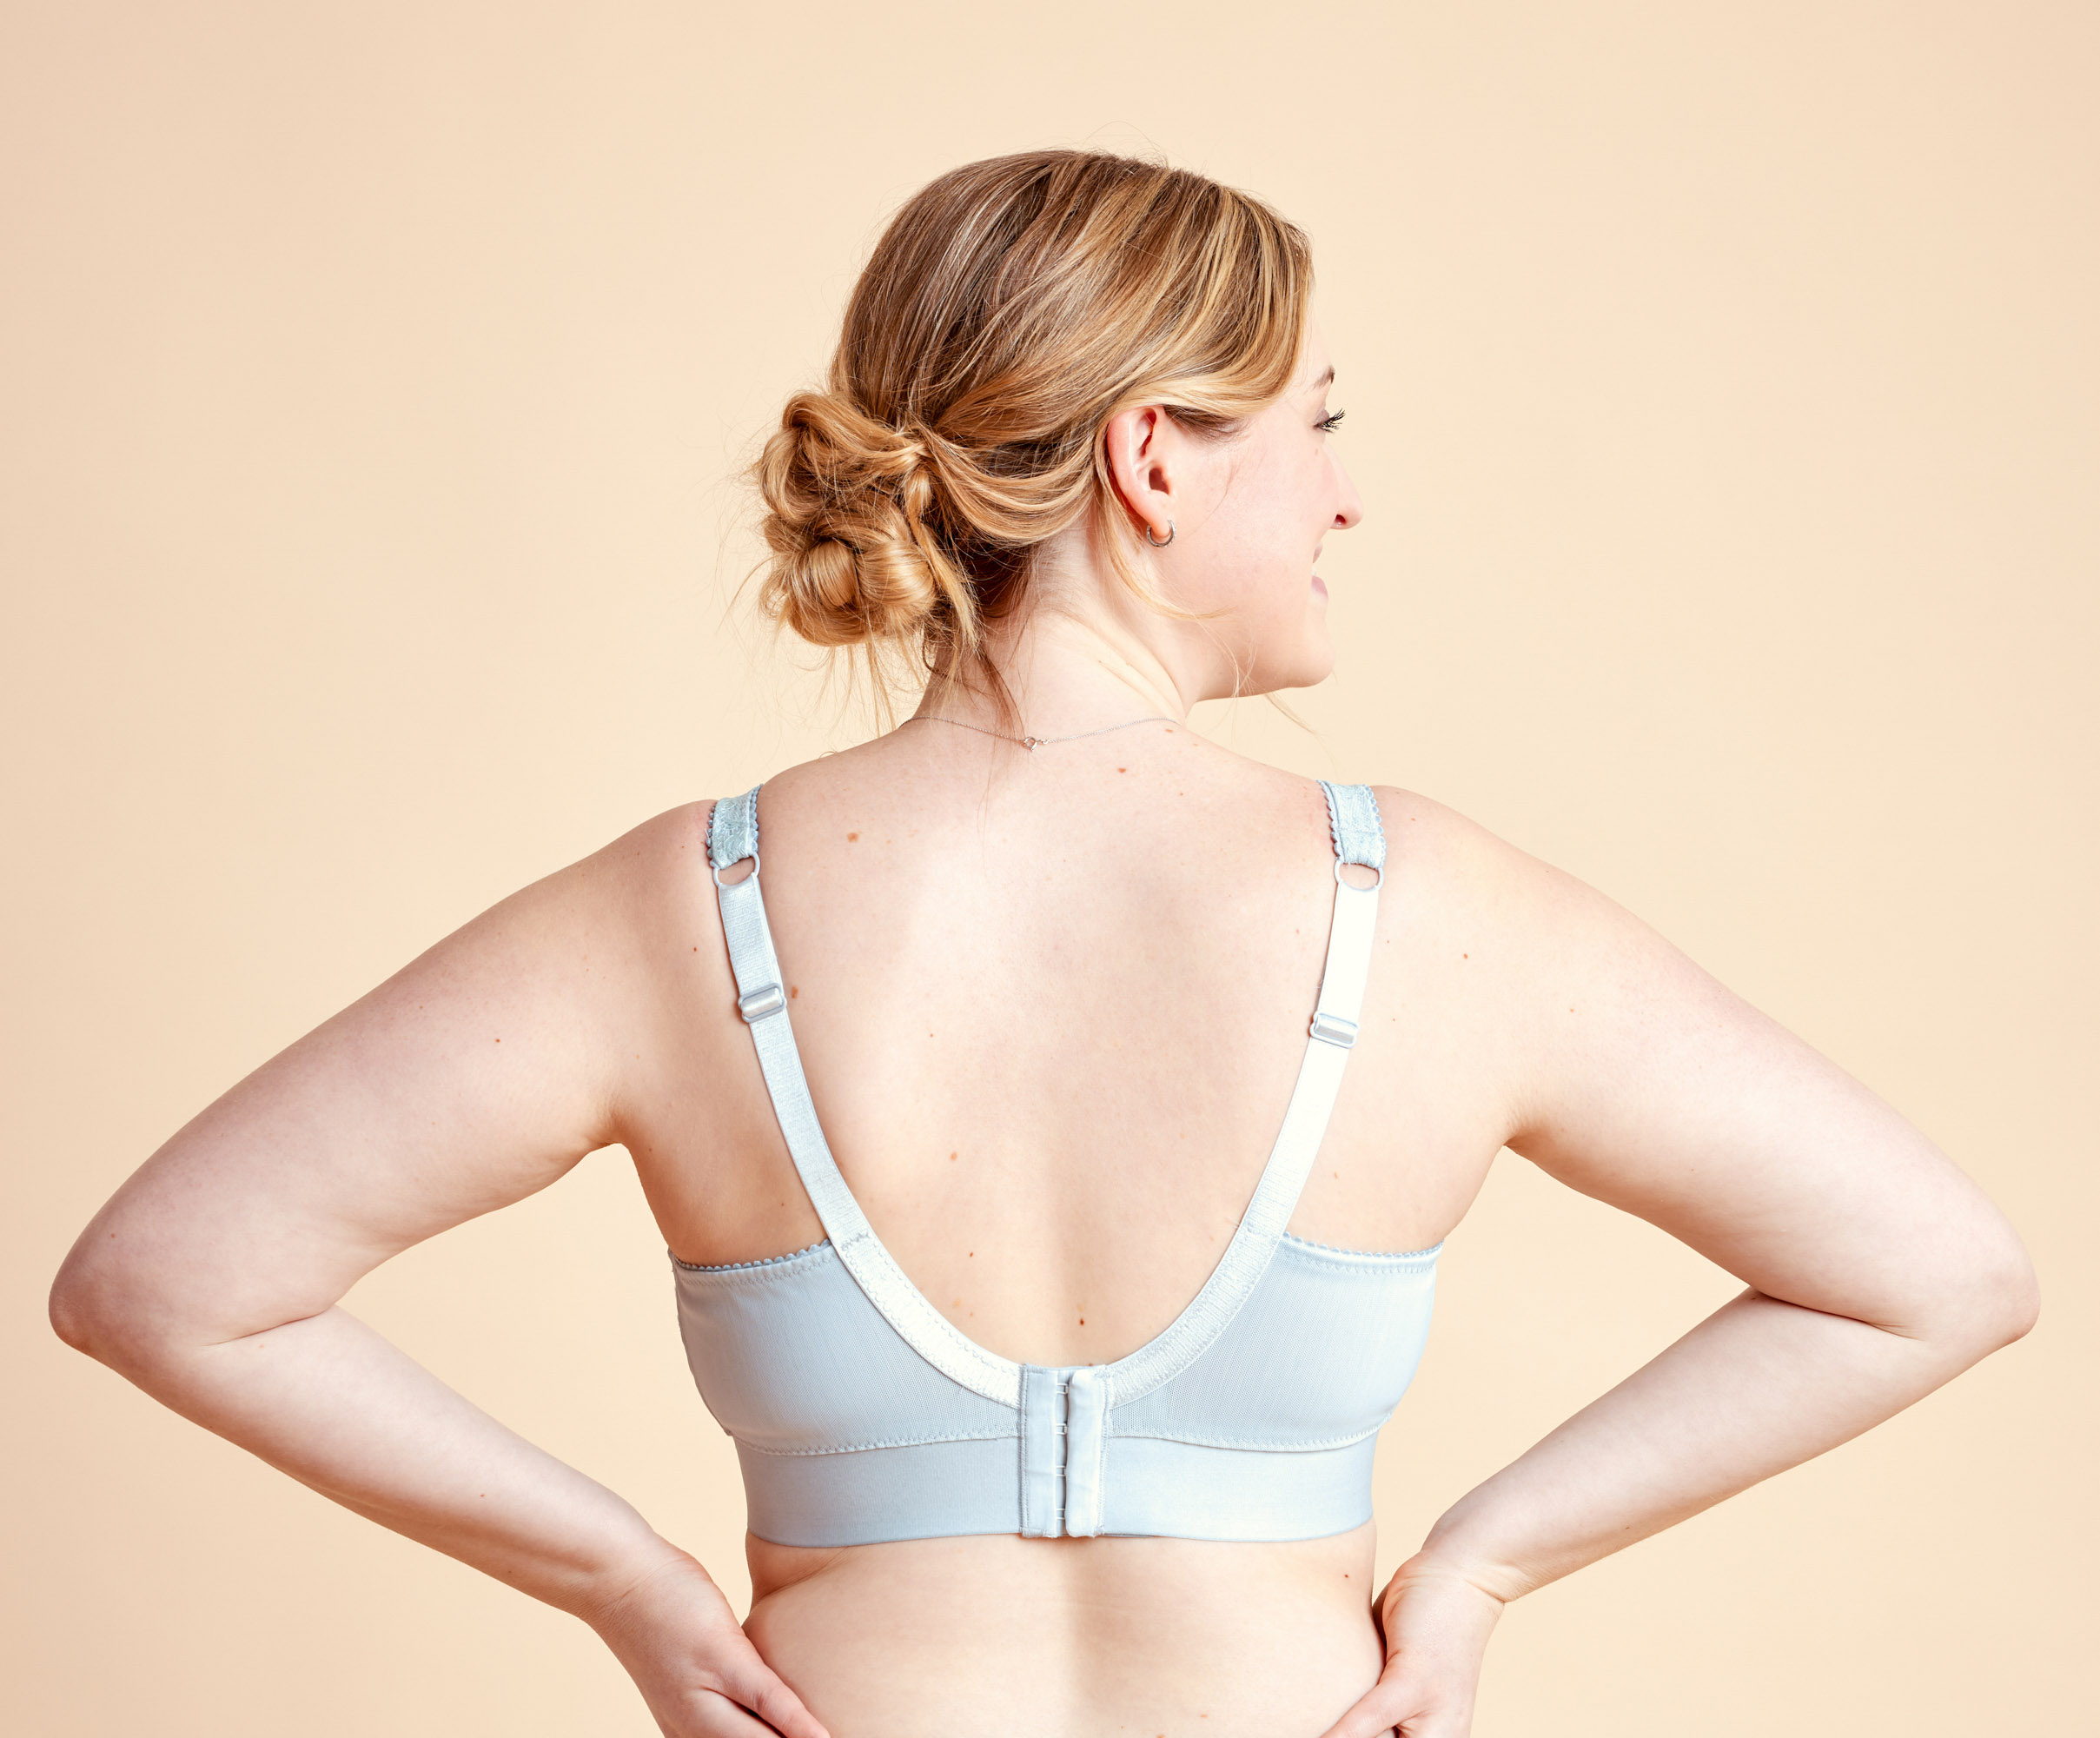
How to tell if you need to adjust the back band
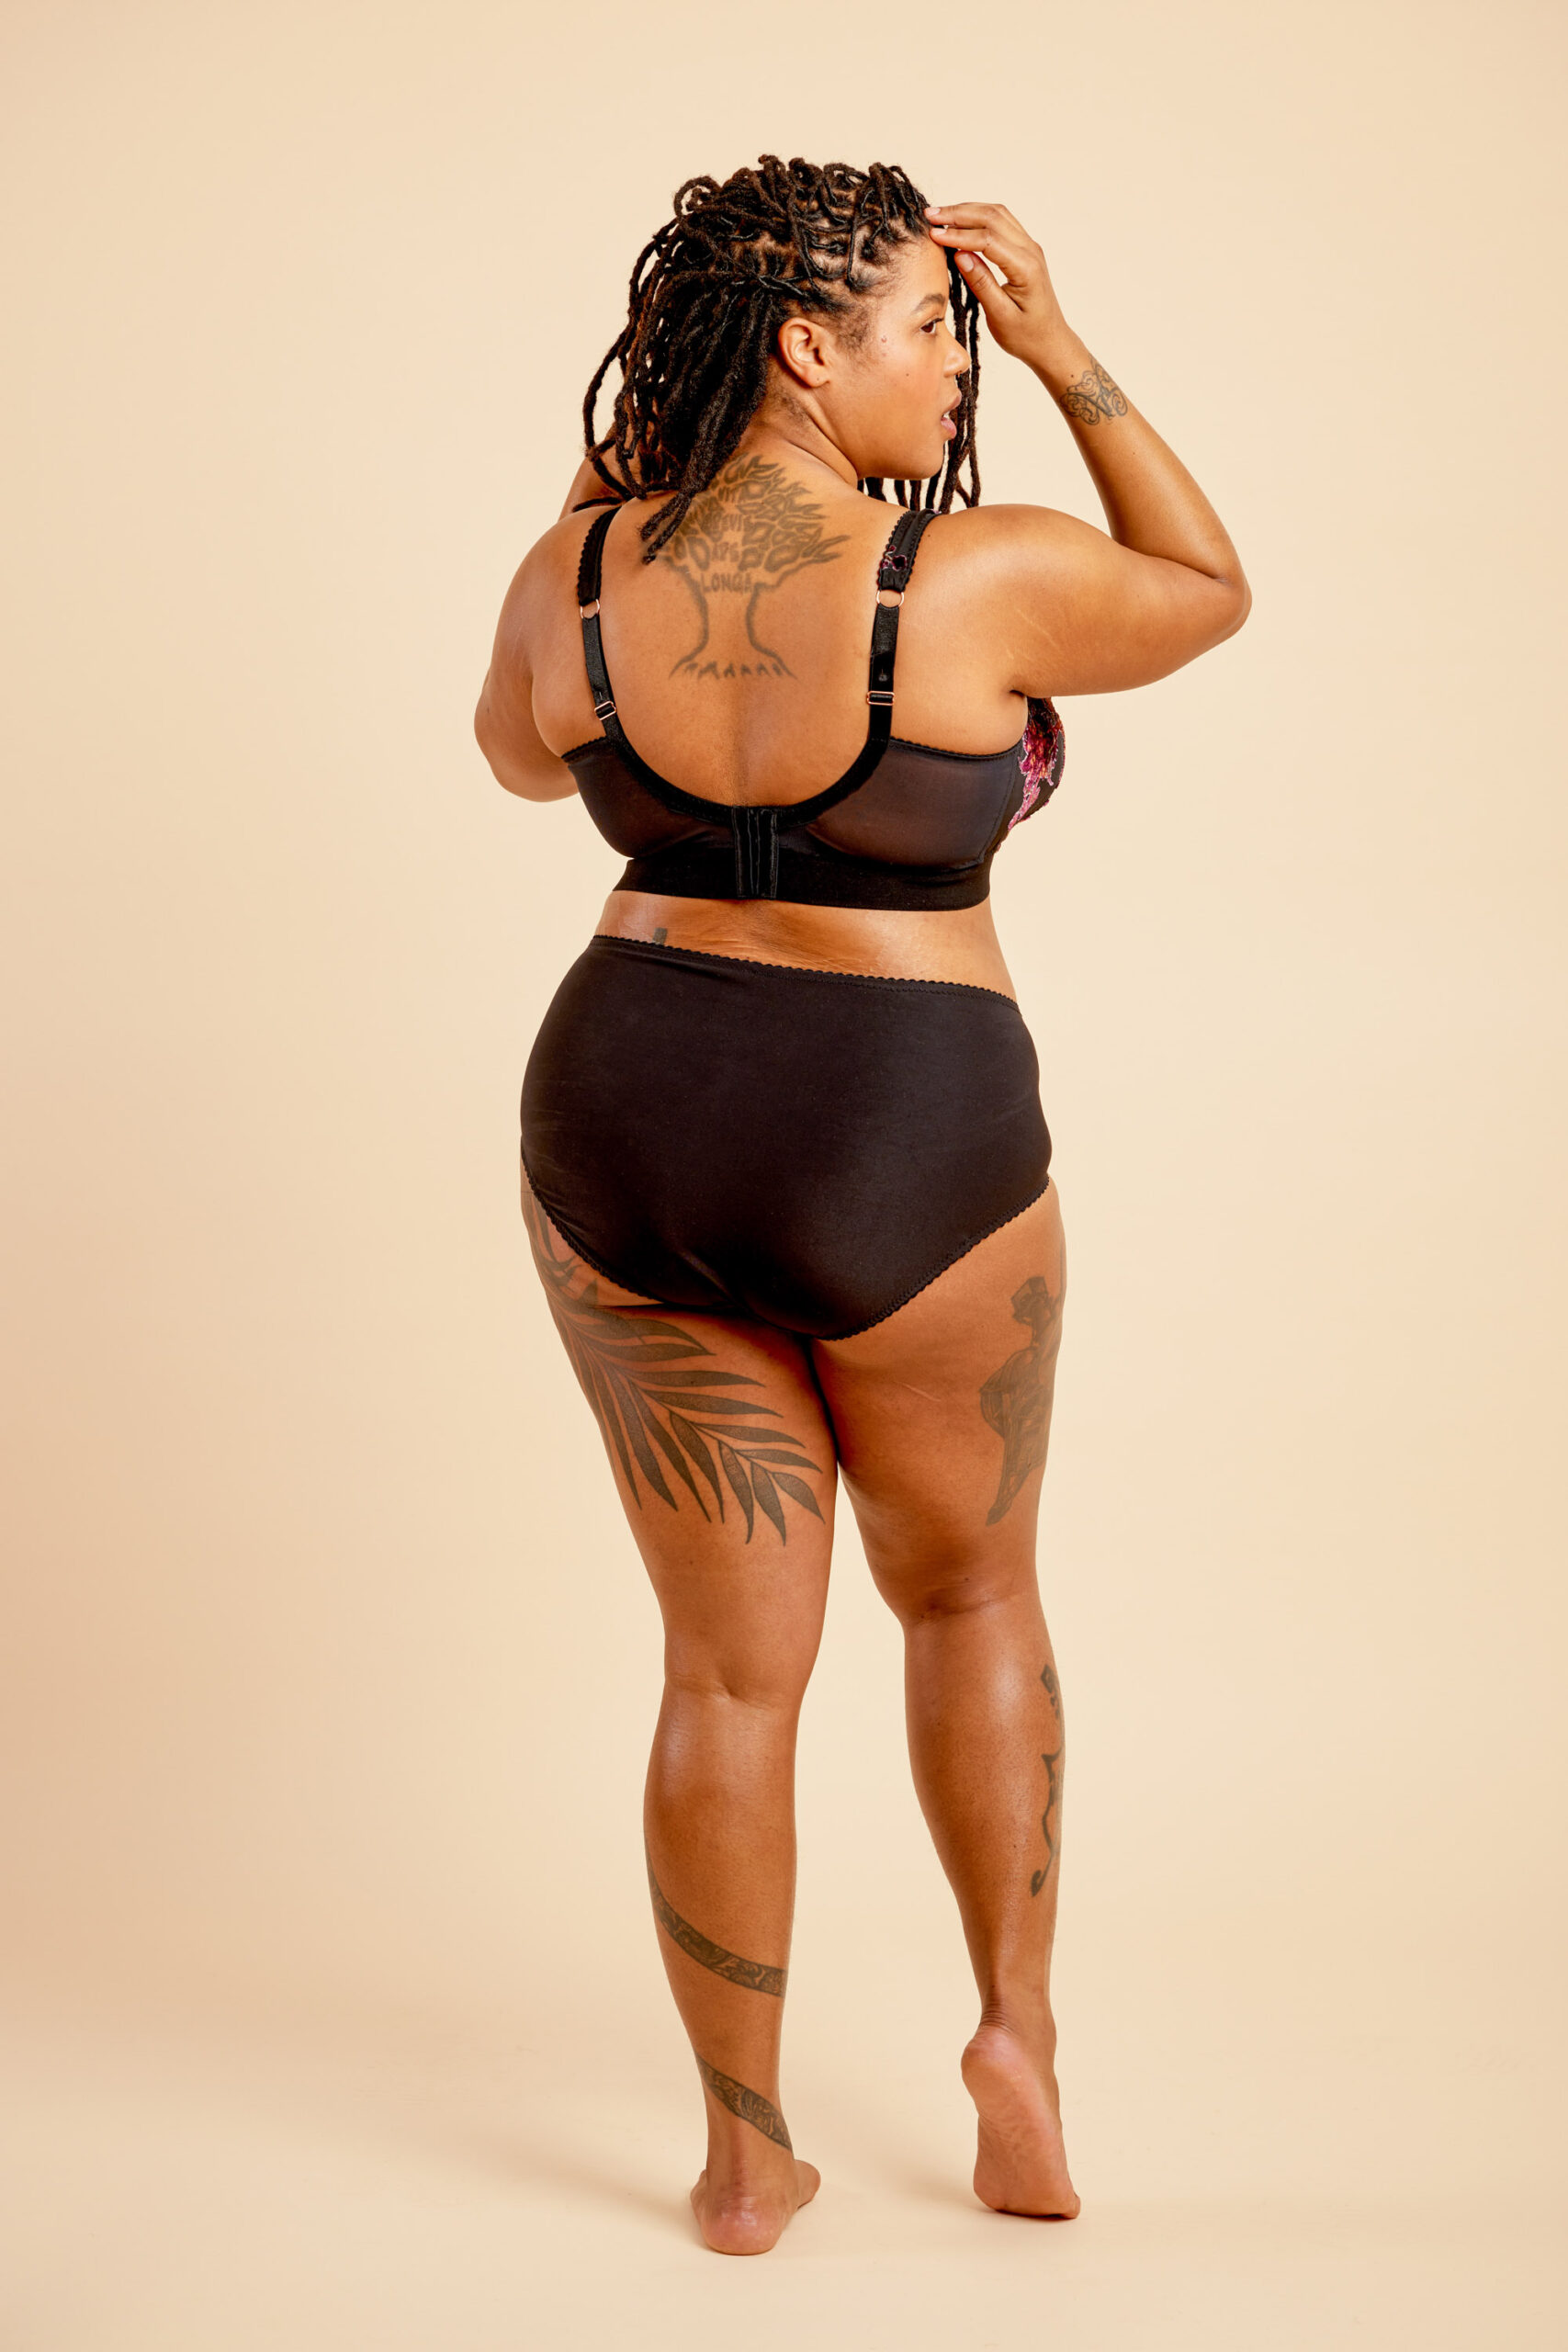
Put on your bra muslin (test version) and check the following:
- Does the band fit snugly around your torso, without being too loose or digging in?
- Can you comfortably hook your bra on the middle row of the hook and eye?
- Is the band level around your body, without curving up in the back?
If you answered no to any of these questions (but the front and cups are otherwise fitting well), you may need to adjust the back band. If the overall bra is not fitting properly, you may need a different size. (Head to the Bra Fitting Guide for a fitting checklist.)
Important note: how the band fits depends greatly on the fabrics you are using, so make sure you test using the fabric and elastic you want on your final bra or make sure that the amount of stretch in the fabrics/elastic is exactly the same.
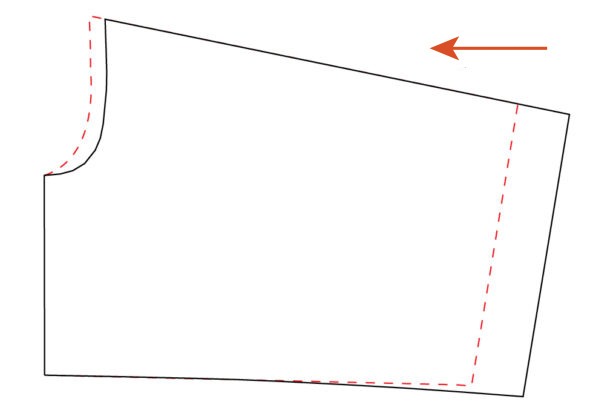
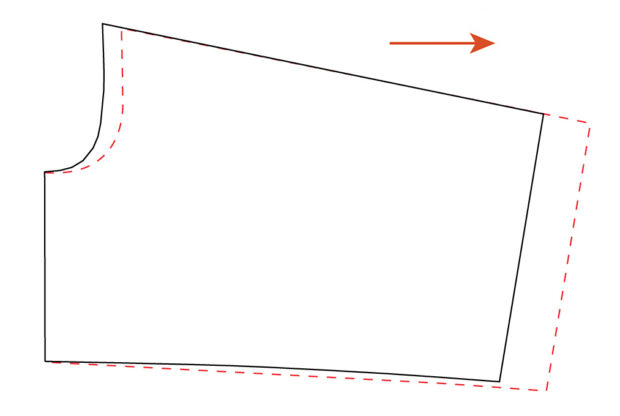
How to make a bra back band smaller
If the band feels too loose on the first row of the hook and eye, or the back band is curving up at the back, the band is too big and may need to be made smaller.
To tighten the band, pin or sew a pinch in the back band to determine just how much extra length you need to remove. Measure that amount, then reduce the width of the pattern piece at the side seam of the back band pattern piece by that amount.
You’ll also need to adjust the strap position. To do this, divide the amount that you removed from the side seam by three and move the back curve in by that amount. For example, if you removed 1/2” from the side seam, move the back curve position in by about 1/8”.
Willowdale adjustment |
Loftus adjustment |
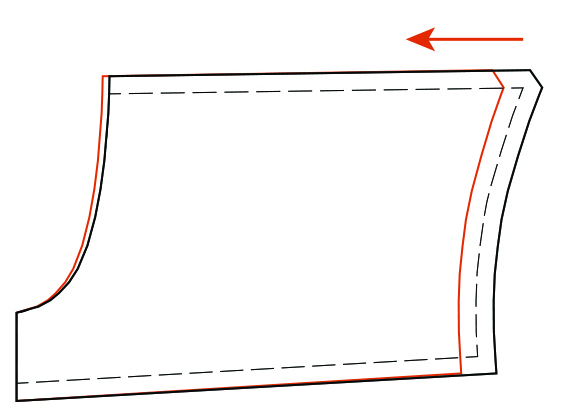
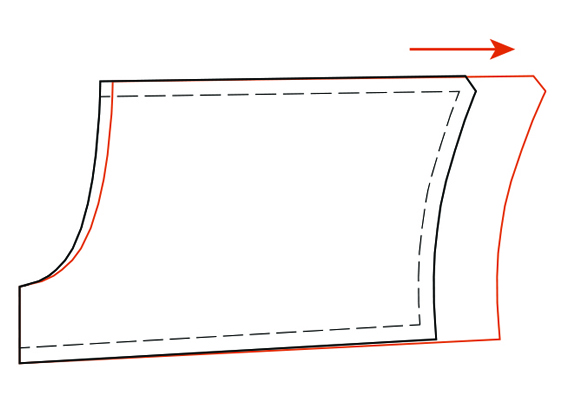
How to make a bra back band bigger
If the band feels too tight or is cutting in around your rib cage, you may need to make the band bigger.
Start by removing either the hook or eye and baste an extra piece of underarm elastic and a piece of back band elastic band to extend both elastics and determine how much extra to add. At this stage, you can add all the extra length to one side to determine the amount required.
Once you’ve figured out how much additional width you need, divide it in half and add that at the side seam of the back band pattern piece. To adjust the strap position, divide the amount that you added to the side seam by three and move the back curve out by that amount. For example, if you added 1” to the side seam (for a total of 2” added to the back band), move the back curve position out by 1/3”.
Willowdale adjustment |
Loftus adjustment |
Once you’ve adjusted your back band piece, you’ll want to make another muslin (or unpick and replace the back band on your existing muslin, along with the attached elastic and hook and eye) and try it on to see if further adjustments are needed before you start your final bra.
We hope this tutorial was helpful! Check out the full Cashmerette Bra Fitting Guide for more on sewing and fitting your dream bra with the Willowdale Bra or the Loftus Bralette.
Jump to another post in this series:
- Bra fitting guide overview
- How to choose your bra size
- How to make a test bra
- How to adjust the back band
- How to adjust the gore/bridge (Willowdale only)
- How to adjust the cups
- How to adjust the center insert (Loftus only)
- How to adjust the side seam angle
- How to adjust the straps
- How to adjust the underwires (Willowdale only)
- Adjusting the level of support and comfort
- How to make an asymmetrical bra
- Additional bra making resource
where on earth can I get the bones for my daughter’s 20H cups? I live in New Zealand.
We have a guide for sourcing bra supplies here: https://blog.cashmerette.com/2022/06/where-to-get-bra-making-supplies.html
-Ayelet at Cashmerette