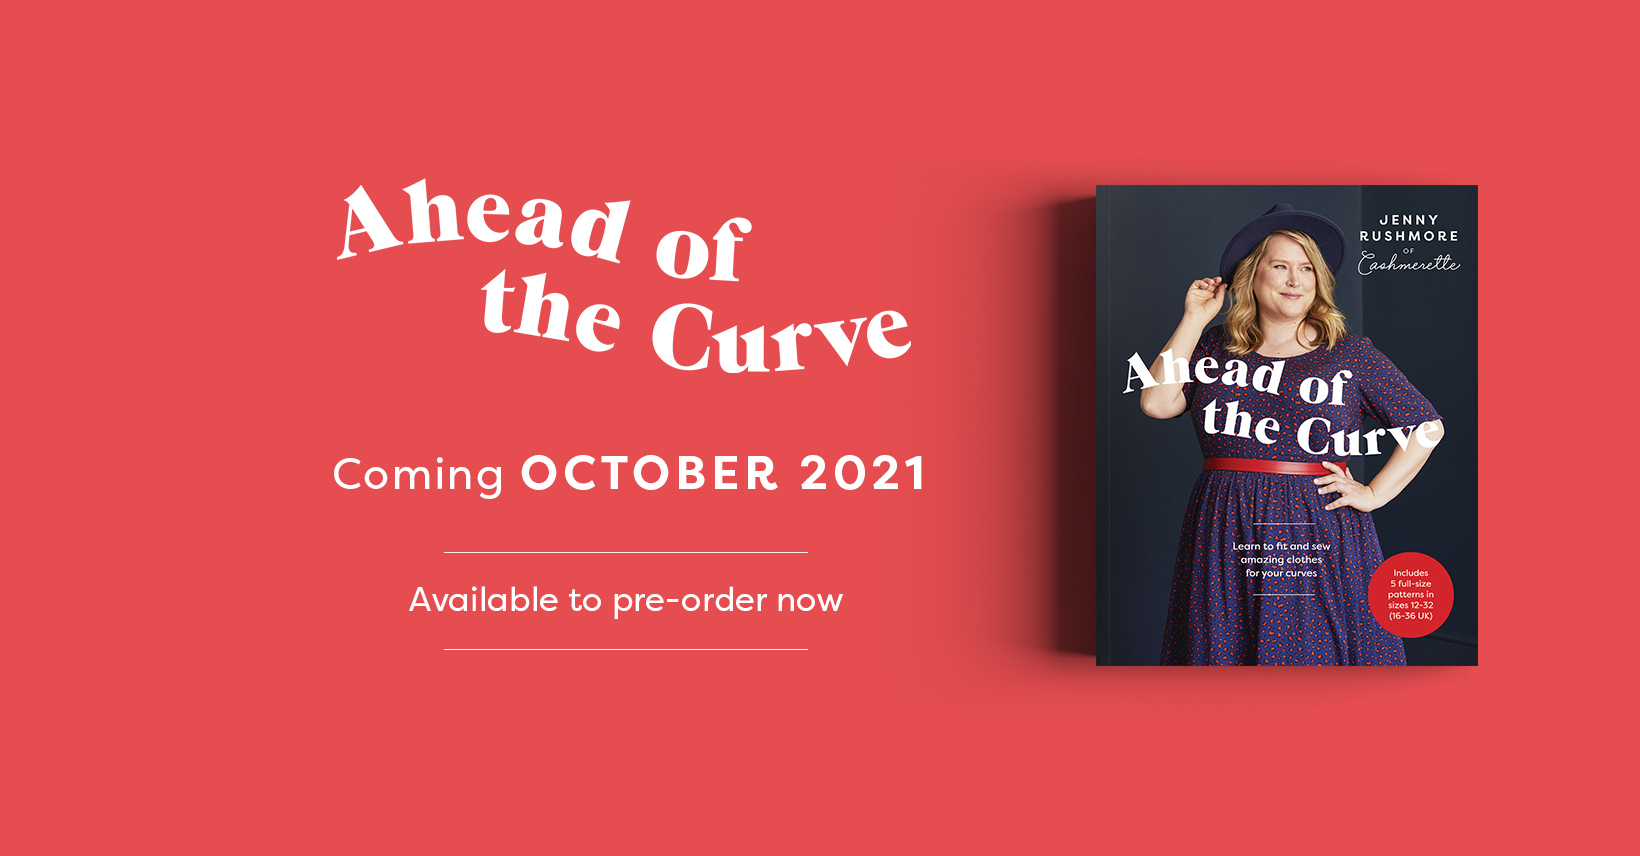
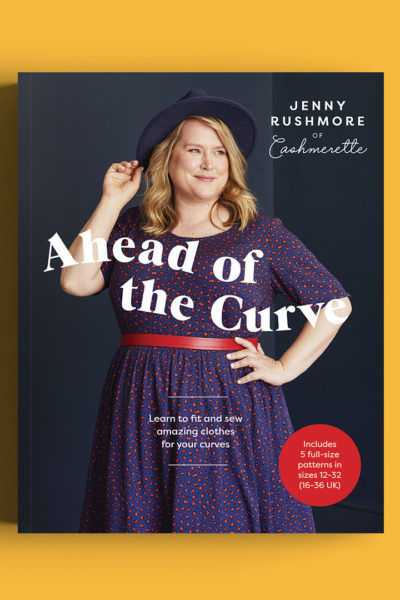
The summer is starting to whizz by here, and I can’t believe it’ll be October and book launch time before long! Writing a book is definitely a long process, but it’ll be amazing (and maybe a bit surreal?!) to finally see it in stores. Did you already pre-order? It’s a really big deal for authors to get pre-orders, so if you’re interested, please do place your pre-order from us or at your local independent retailer.
Jump to other posts in this series:
- Introducing my new book, “Ahead of the Curve”
- How I wrote “Ahead of the Curve” (a behind-the-scenes peek!)
- Get to know the Stanway T-Shirt
- Get to know the Magna Pants
- Get to know the Kersoe Top
- Get to know the Honeybourne Dress
- Get to know the Foxhill Dress
- Fabric requirements for patterns from “Ahead of the Curve”
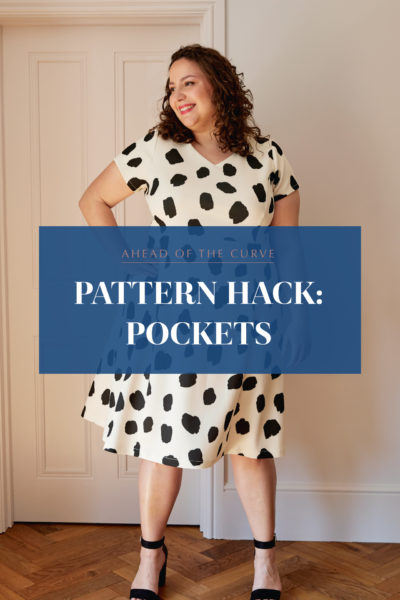
But let’s get on to why you’re actually here… it’s another pattern reveal! And this time it’s….. the Magna Pants.
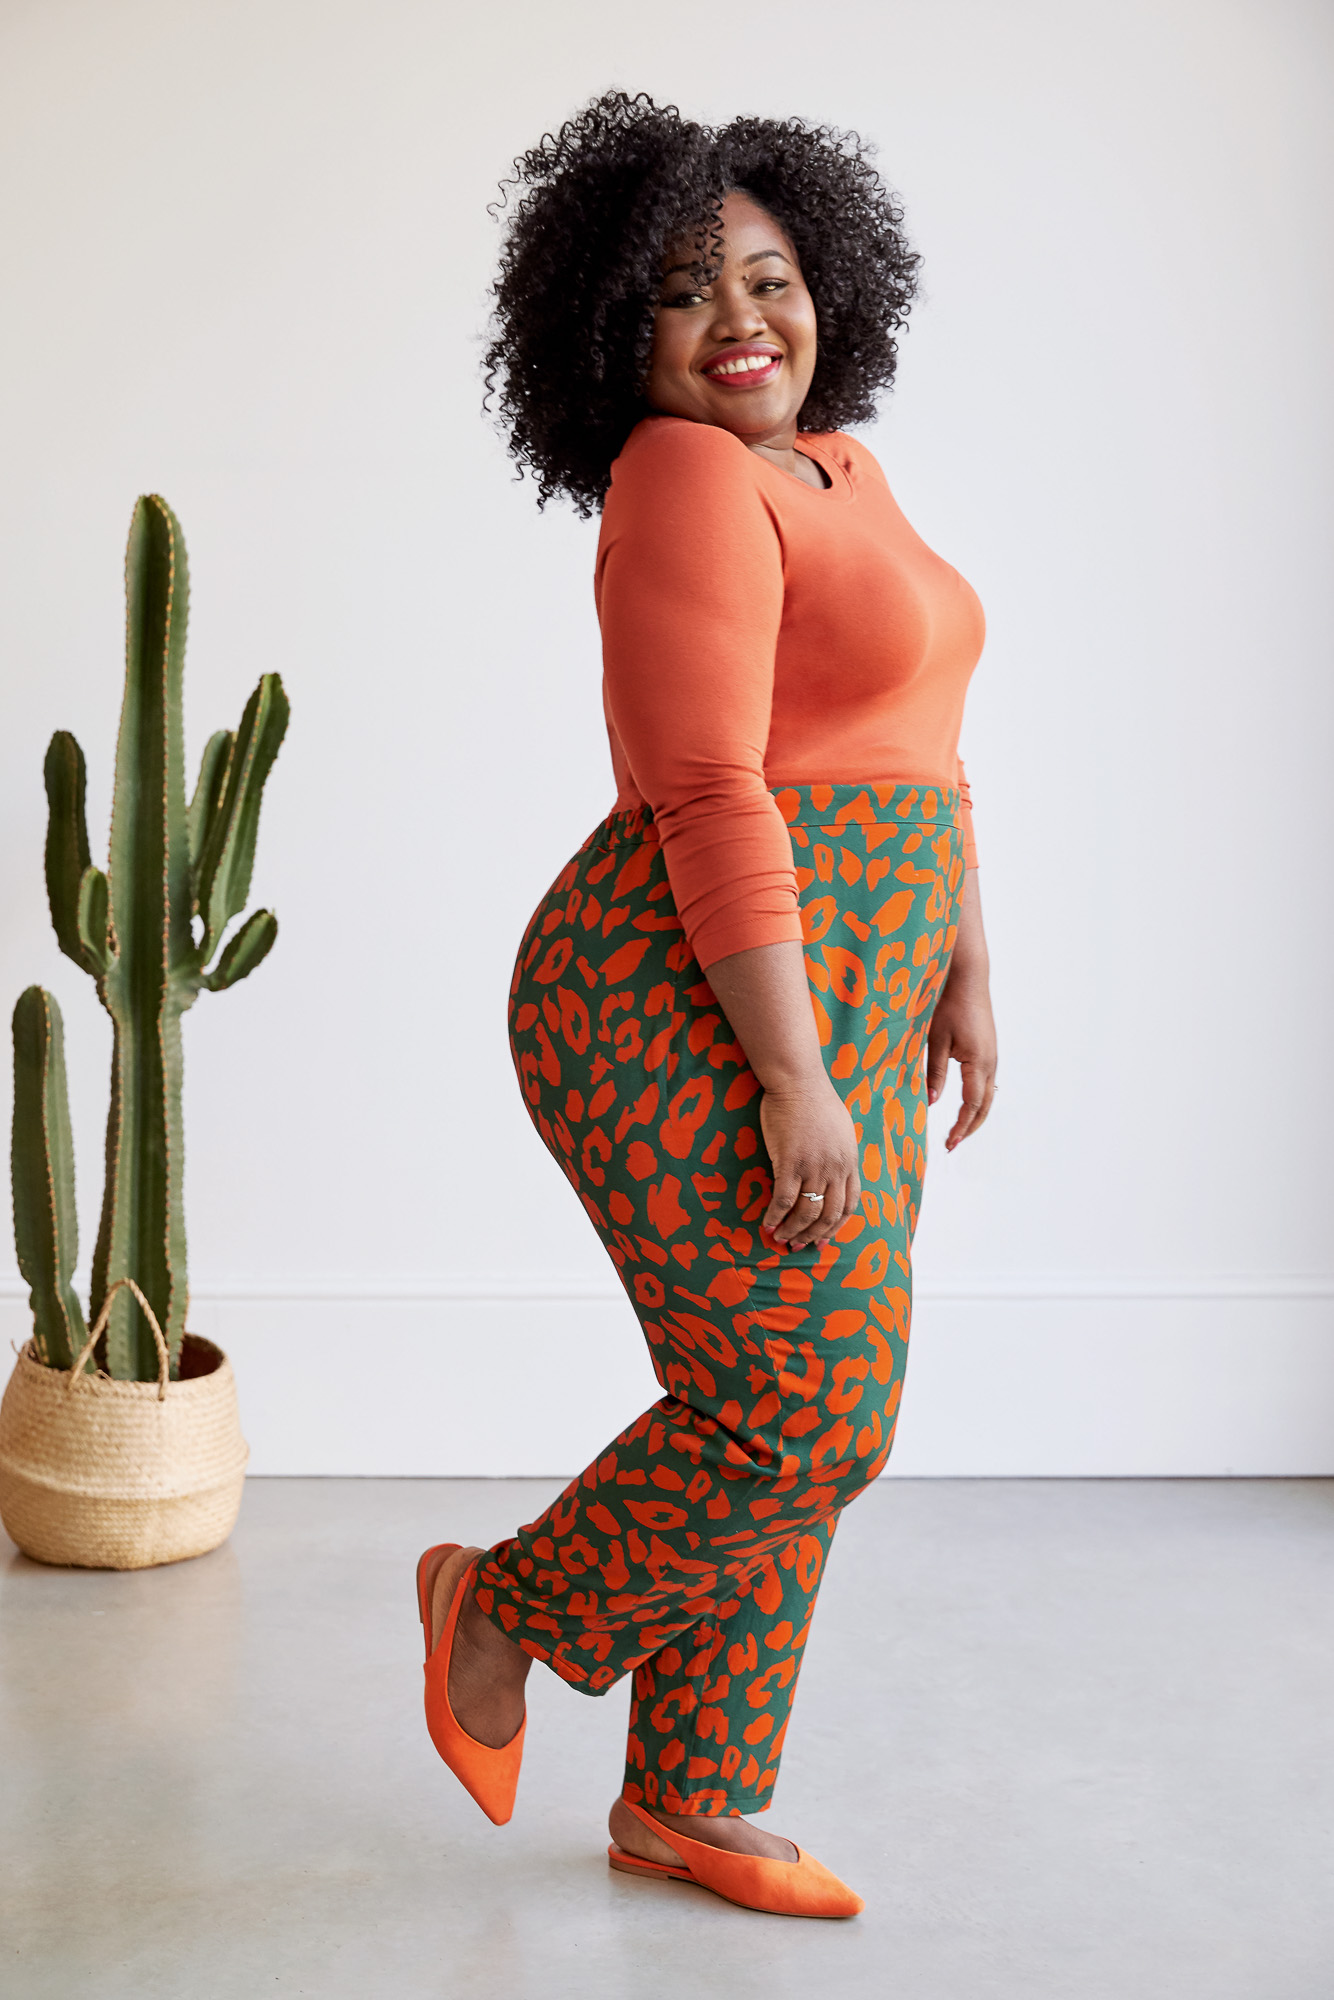
The Magna Pants are high waisted, woven, slim leg pants, with a side invisible zip (optional, depending on your waist/hip ratio) and a narrow elasticated back waistband. They’re easy and breezy to sew and wear and are sure to be a wardrobe staple.
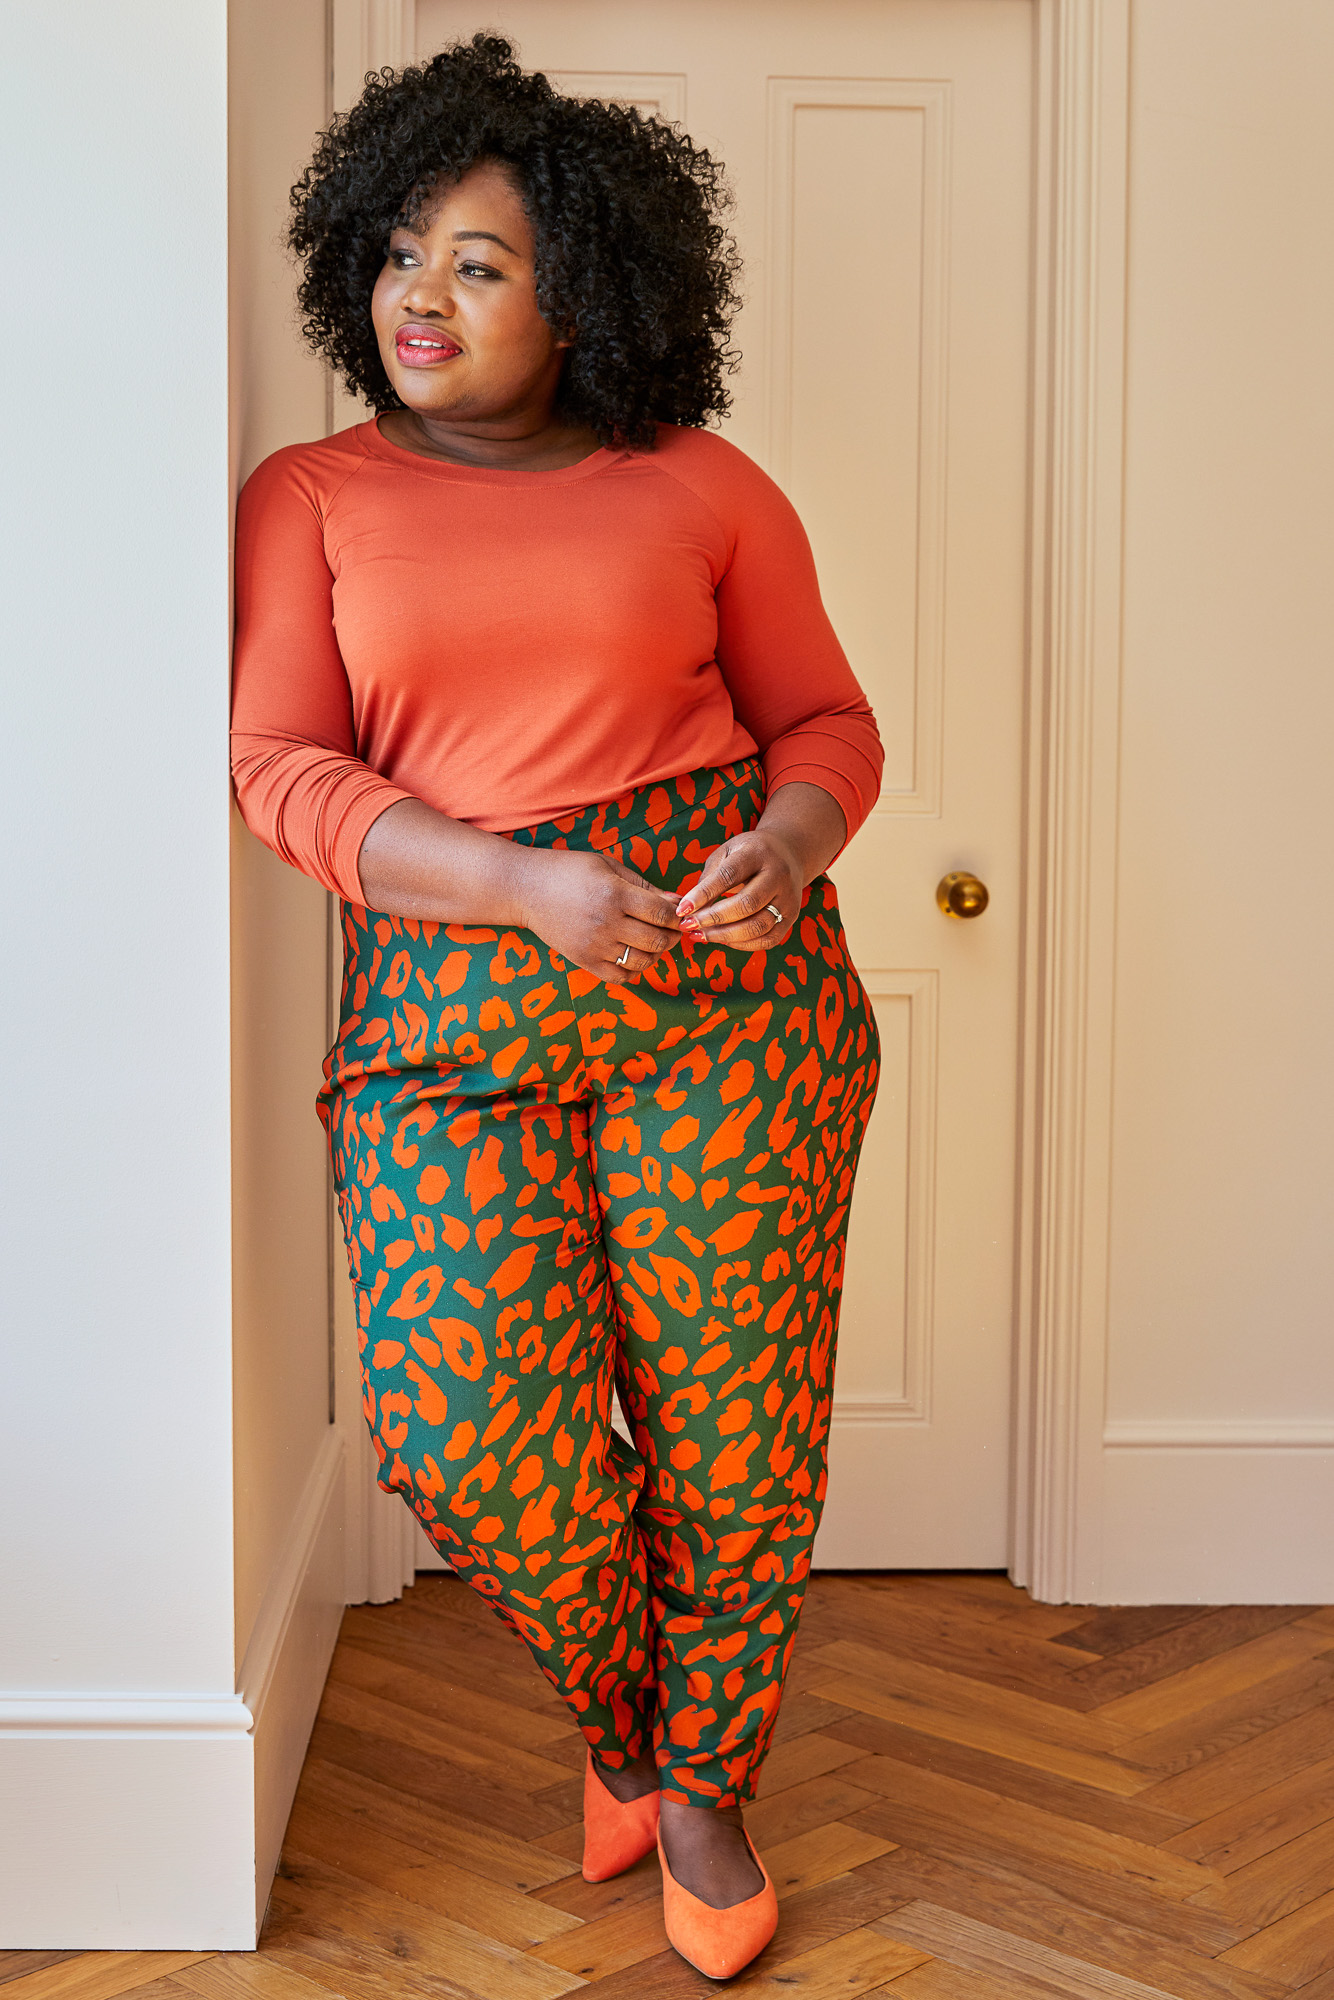
The Magna Pants do some heavy lifting when it comes to fit tutorials in the book! We’ll be using the pattern pieces to learn about full tummy adjustments, full bum adjustments, flat bum adjustments, thin or full thighs adjustments, crotch adjustments…. and more!
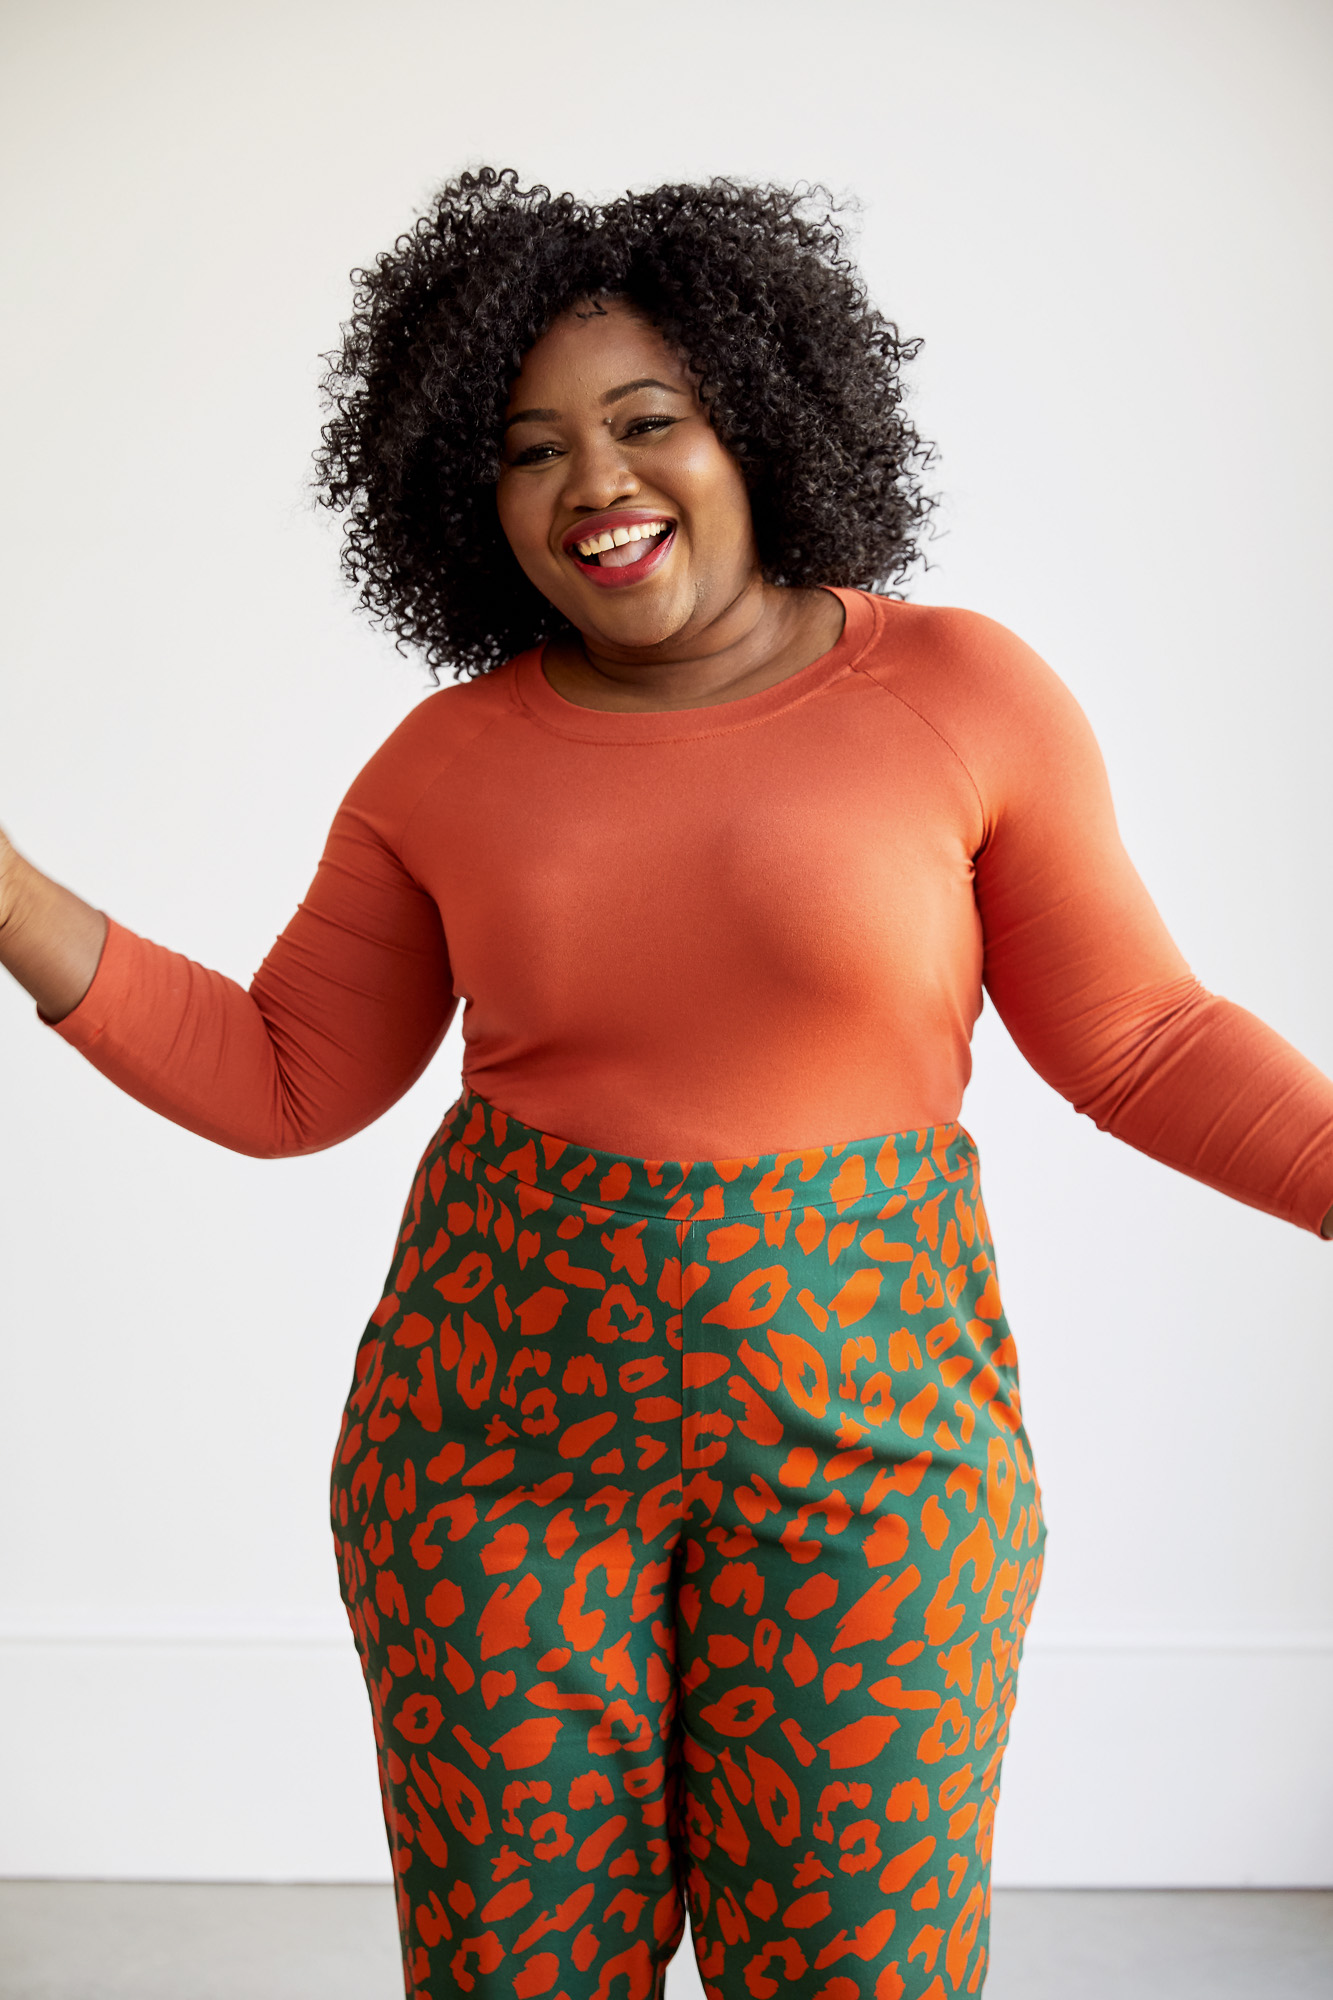
This pair is made from amazing viscose called “Urban Leo” from the brand Mind the Maker which you can find at local fabric stores! On top, Dibs has a Stanway T-shirt from a simple bamboo jersey.
More pattern reveals are still to come in the meantime, so keep your eyes peeled!

Squeeeee!!!!!
I am so excited
I have wanted a pair of Laura Petrie Pants for so long!
(Laura Petrie played by Mary Tyler Moore on the Dick van Dyke Show 1961-1966. Laura wore these great capri pants during the first season. However, the network found that most women wore dresses at home and we saw a whole lot less of her in pants)
I love this pant! I prefer a slim leg and can’t wait to have a great fit!
Just ordered the book on pre order so I hopefully can get it quickly in Australia. Love love the pant and hope the other designs are as amazing as the pants and tee.
I have preordered the book can’t wait for the new book and patterns and instructions for them.😃
It’s as though you read my mind! Just today I finished my first pair of Calder pants and completely delighted. My thought was now that I have the perfect pattern for woven palazzos, I need the ultimate slim leg woven pattern from Cashmerette. And here it is!
Roll on October!
Just ordered your book! Can’t wait to dive in and get sewing!!
I hope the book covers the order in which to make the adjustments when we require numerous adjustments since I need them all!! Hopefully I will be less overwhelmed making so many adjustments. These pants look amazing — I want to look as fabulous as your model!
Side zip? That’s kind of disappointing – means you can’t have a pocket on each side. EVERY pair of pants needs a pair of side pockets! Is there at least one pocket on the non-zip side? If not, I think you’ve got time before October to make an alteration and make the “errata” version of the digital pattern available for download from the website…….
I love pockets but I love trousers I can get on more and if you have a large hip to waist ratio like me that means a zip! If you don’t need the zip then pockets are an easy enough hack even a novice like me can add
Couple of different options
Zip on side behind pocket opening
Move Zip to center back
Move zip to center front
Place zip (or other fasteners) in pocket
Add type of pocket Not inseam-such as patch (with or without shaping); single welt; double welt (more difficult), zipper in double welt (easier than Dwelt), placing all those in the exterior of a patch pocket that is then surface attached…
I’ve been wanting to make a knit pant with this exact silhouette. How do you think it would work to leave off the zip in a firm ponte? Can’t wait for my copy to arrive.
Also a hack for fly zipper would allow for pockets.
Is there any chance these book-exclusive patterns will be offered in smaller sizes eventually?
Hi Angela, the “Ahead of the Curve” patterns will not be available in our 0-16 size range. Sorry about that!
-Ayelet at Cashmerette
I see some comments about pockets but I’m a newbie. I want to make these pants but I need pockets! How do I add pockets to these trousers?
The easiest type of pocket to add is patch pockets (like the back pockets of jeans). You could add slash pockets to the front but you’d need to draft the pocket back and facing, so it may help to use another pattern that has these pockets as reference.
-Ayelet at Cashmerette
Patch pockets: Back: Draw a squarish rectangle around your phone; round off the bottom corners (I use my phone for the curve). add 1/4-3/8 inch seam allowance all the way around. Cut 4-Either 4 pants fabric or two pants fabric and 2 lighter weight fabric lining. Yes, these are lined pockets because it is easier to sew and turn to make a pocket than burn your fingers trying to press a curve. (plus makes pocket a little stronger and you don’t have loose edges inside your pockets) Leaving a gap on either a side or bottom-right sides together, sew around the pocket, turn, press-position pocket on your backside (honestly, here I take the couple of minutes to hand baste on-it gets it on there securely without shifting-you can try it on to double check-I find it worth the teensy bit of effort). Slowly, top stitch it on and take an extra stitch or two at each top corner for strength.
Front: Measure from the side seam 2/5th-ish of the way to your center front. figure out if your phone fits that measurement upright or sideways. Trace your phone. Figure out how far down on your hip you want that pocket. On the center side (toward center) extend the line up to the waist-(the pocket will be anchored and supported by the waistband-both for style line and so you can put heavy stuff in your pocket if need be) at waist, measure back toward the side 1-1.5 inches. Draw a line from the waist point to the top side corner of your phone tracing. you can curve the line a little or a lot or draw it straight. do the same cut 4 lined pocket sew, press, topstitch. On me it would just miss the zipper. Tip here is to sew across that little 1-1.5 inch top of pocket because even though it will be anchored and hidden when you put on the waistband, it wont shift as you do so.