Today seems like a great day to finish the Roseclair, no? Get ready to bind and hem and then find somewhere to stroll in your finished dress!
Assemble the Neckline Binding
First, assemble the neckline binding by overlapping the two binding pieces at a 90 degree angle at their short ends, right sides together. Place the two long ends to your left and the two short end to your right, and sew along the diagonal of the “square” you created when overlapping the pieces.
Trim seam allowances and press them open.
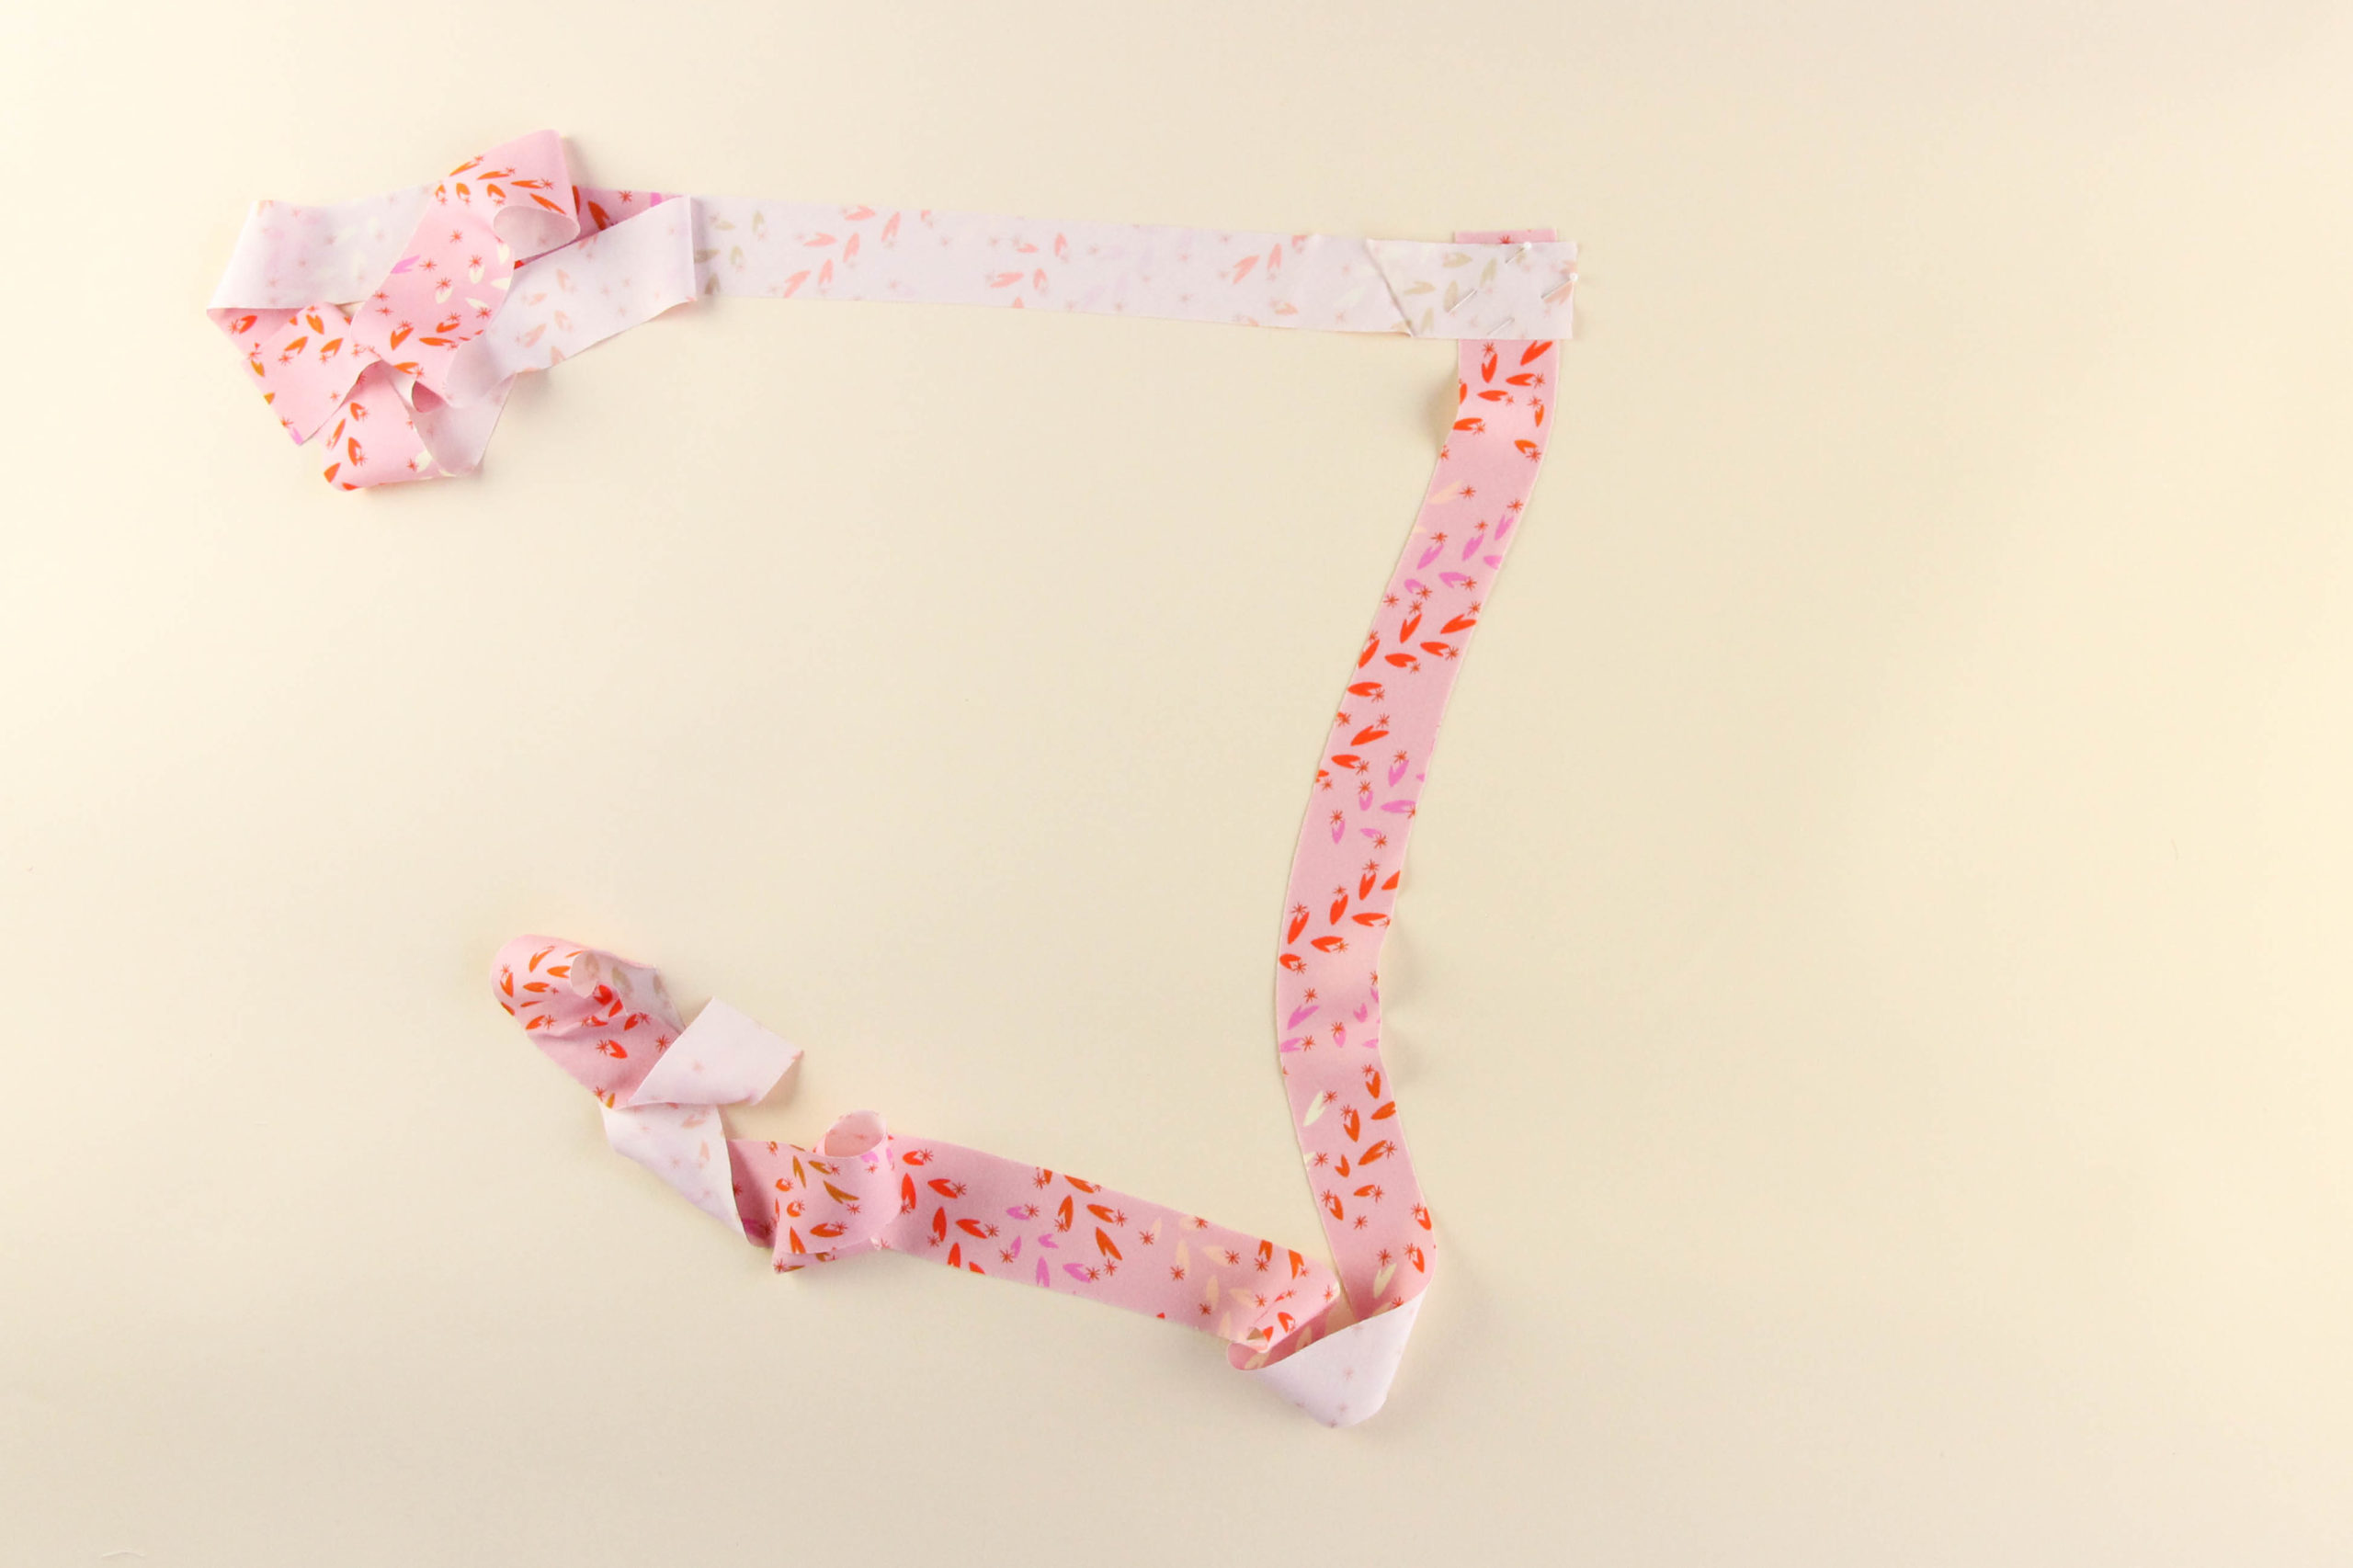
Fold your neckline binding in half, aligning the long raw edges and press (you’ll need to do this in sections).
Unfold the binding and press the long raw edges toward the center crease you create. Sound familiar? It’s similar to how we created our waist ties! Once again, you’ll need to do this in sections.
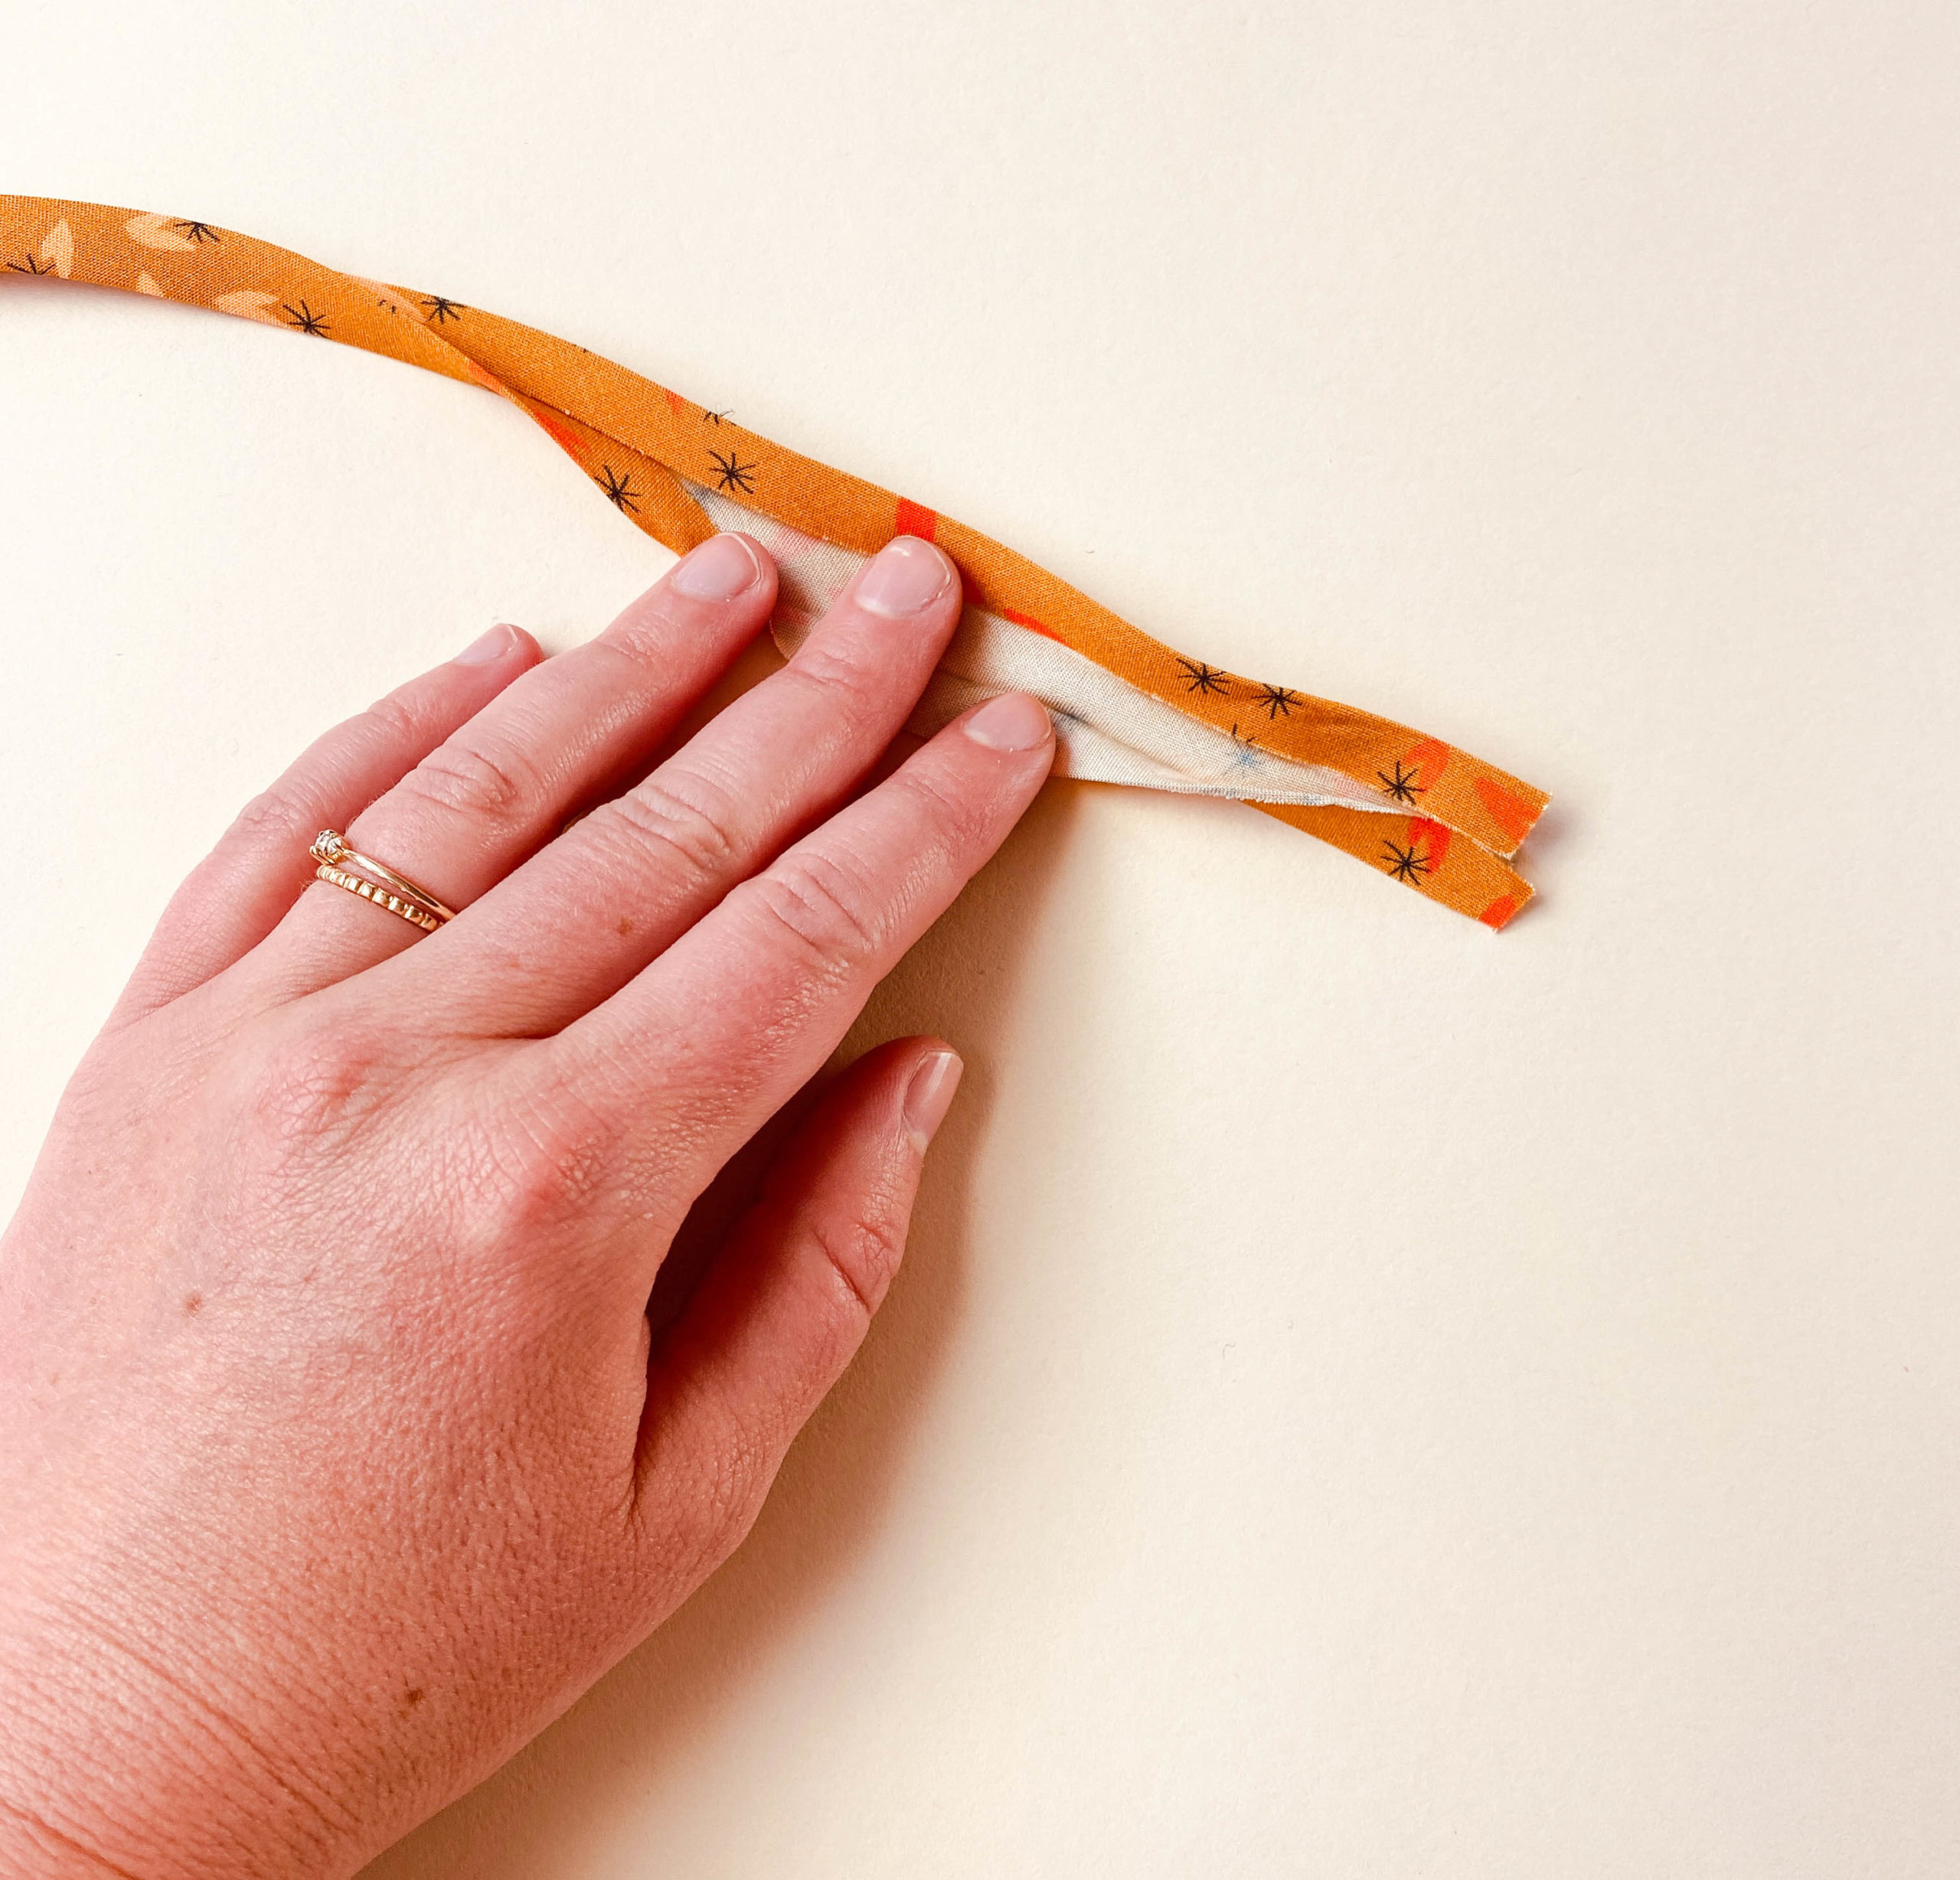
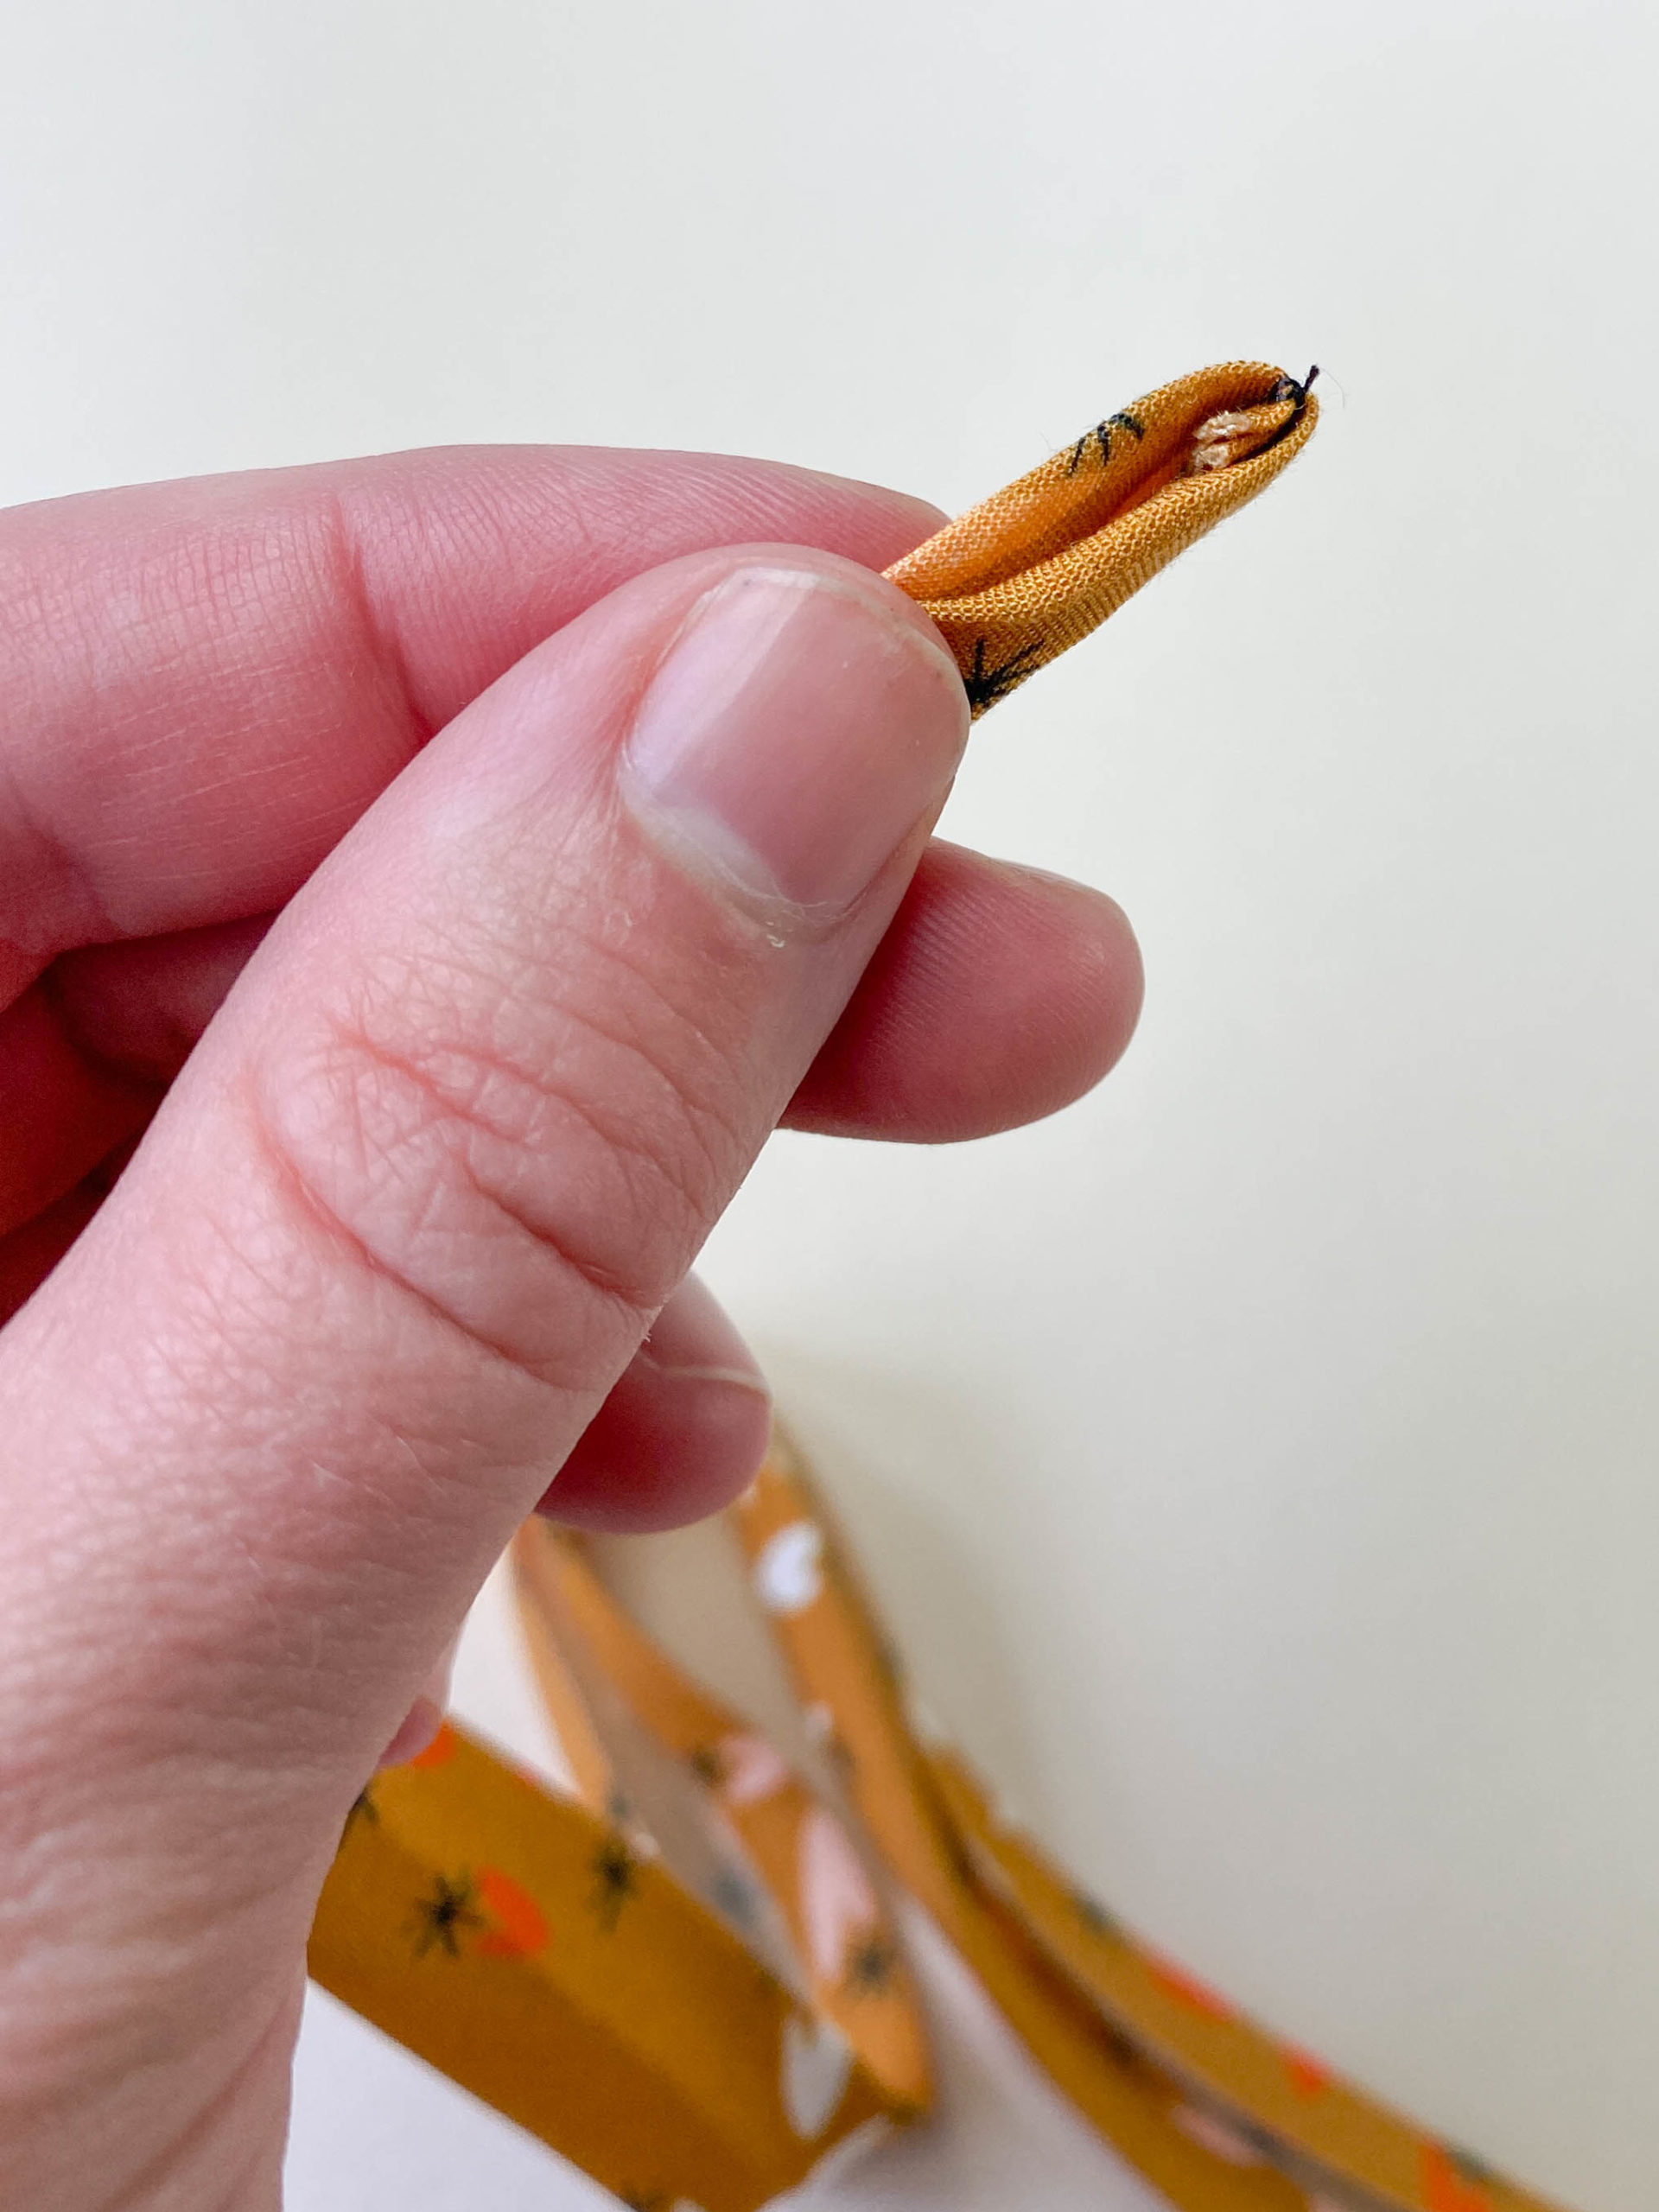
To finish the ends of the neck binding (which also acts as a waist tie), you’ll need to undo a bit of your pressing and fold the short edges in a special way.
Near the short ends only, match up the long raw edges right sides together. Then, leaving the first fold, match the long raw edges to the center fold you created bringing the wrong sides together.
When you look at the end of the tie straight on, it should remind you of the letter “W” with the right side of the tie fabric on the outside.
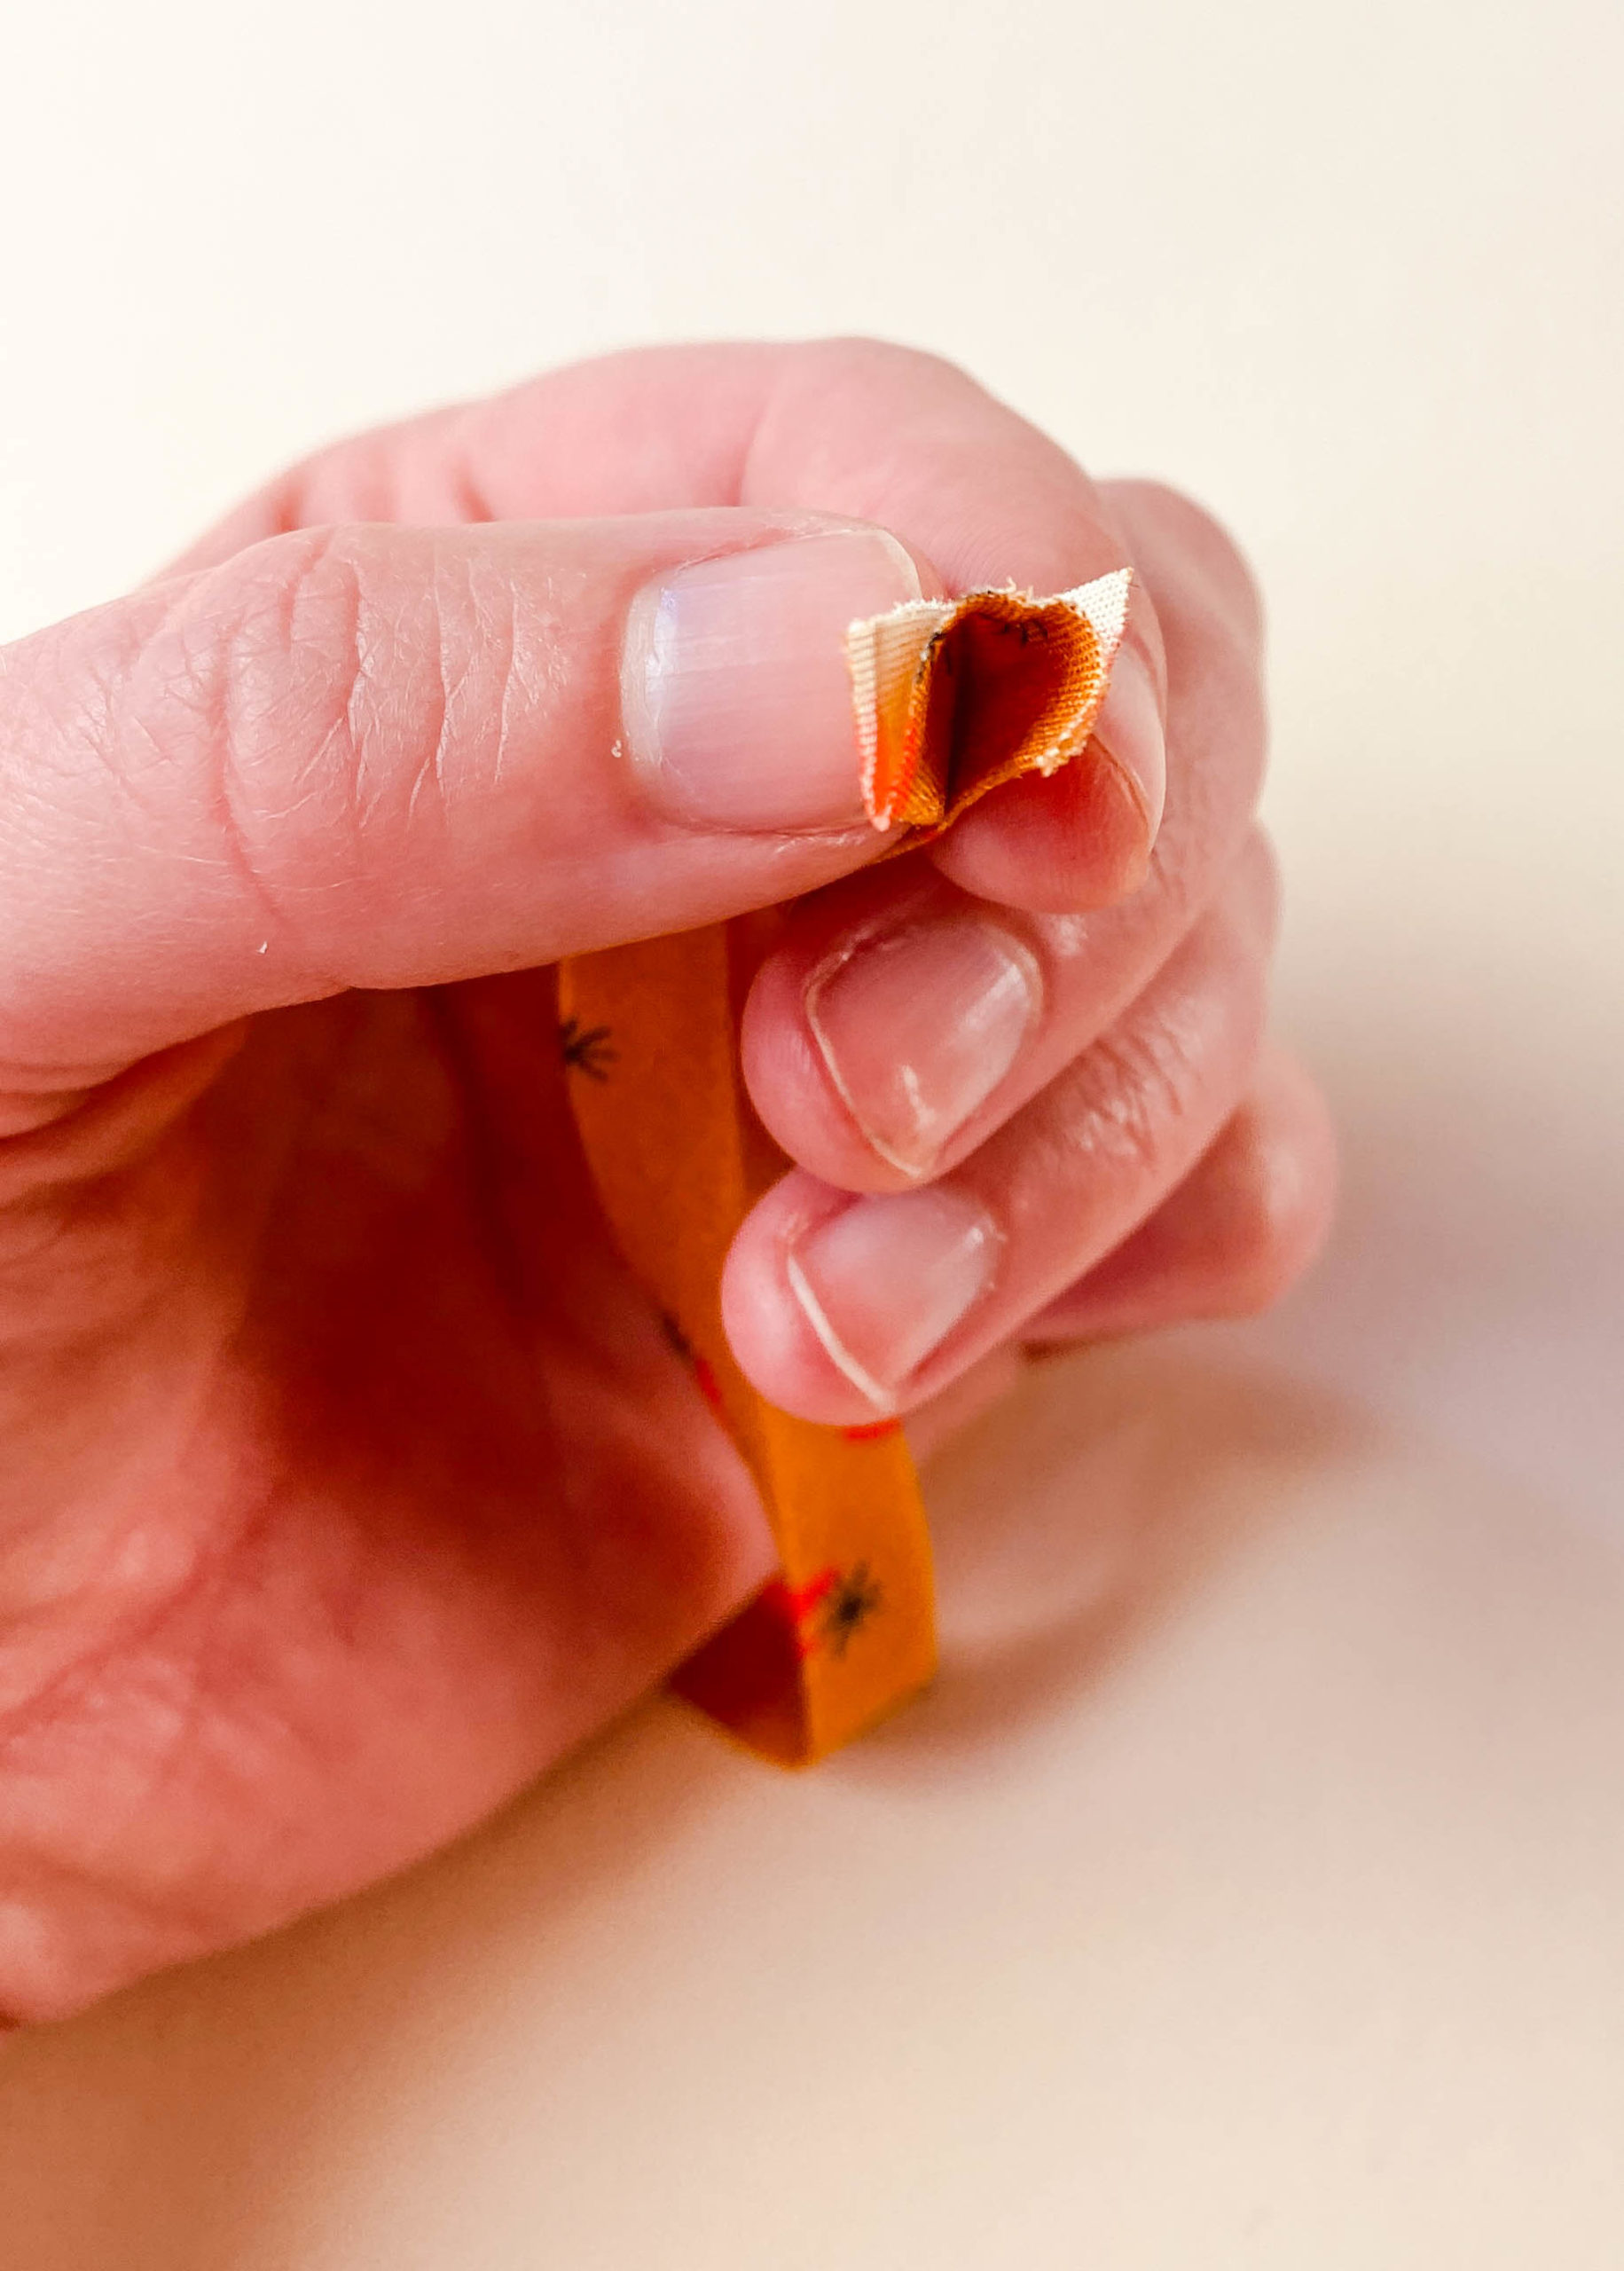
Sew through the tie as it’s folded, trim the corner and the turn it right side out.
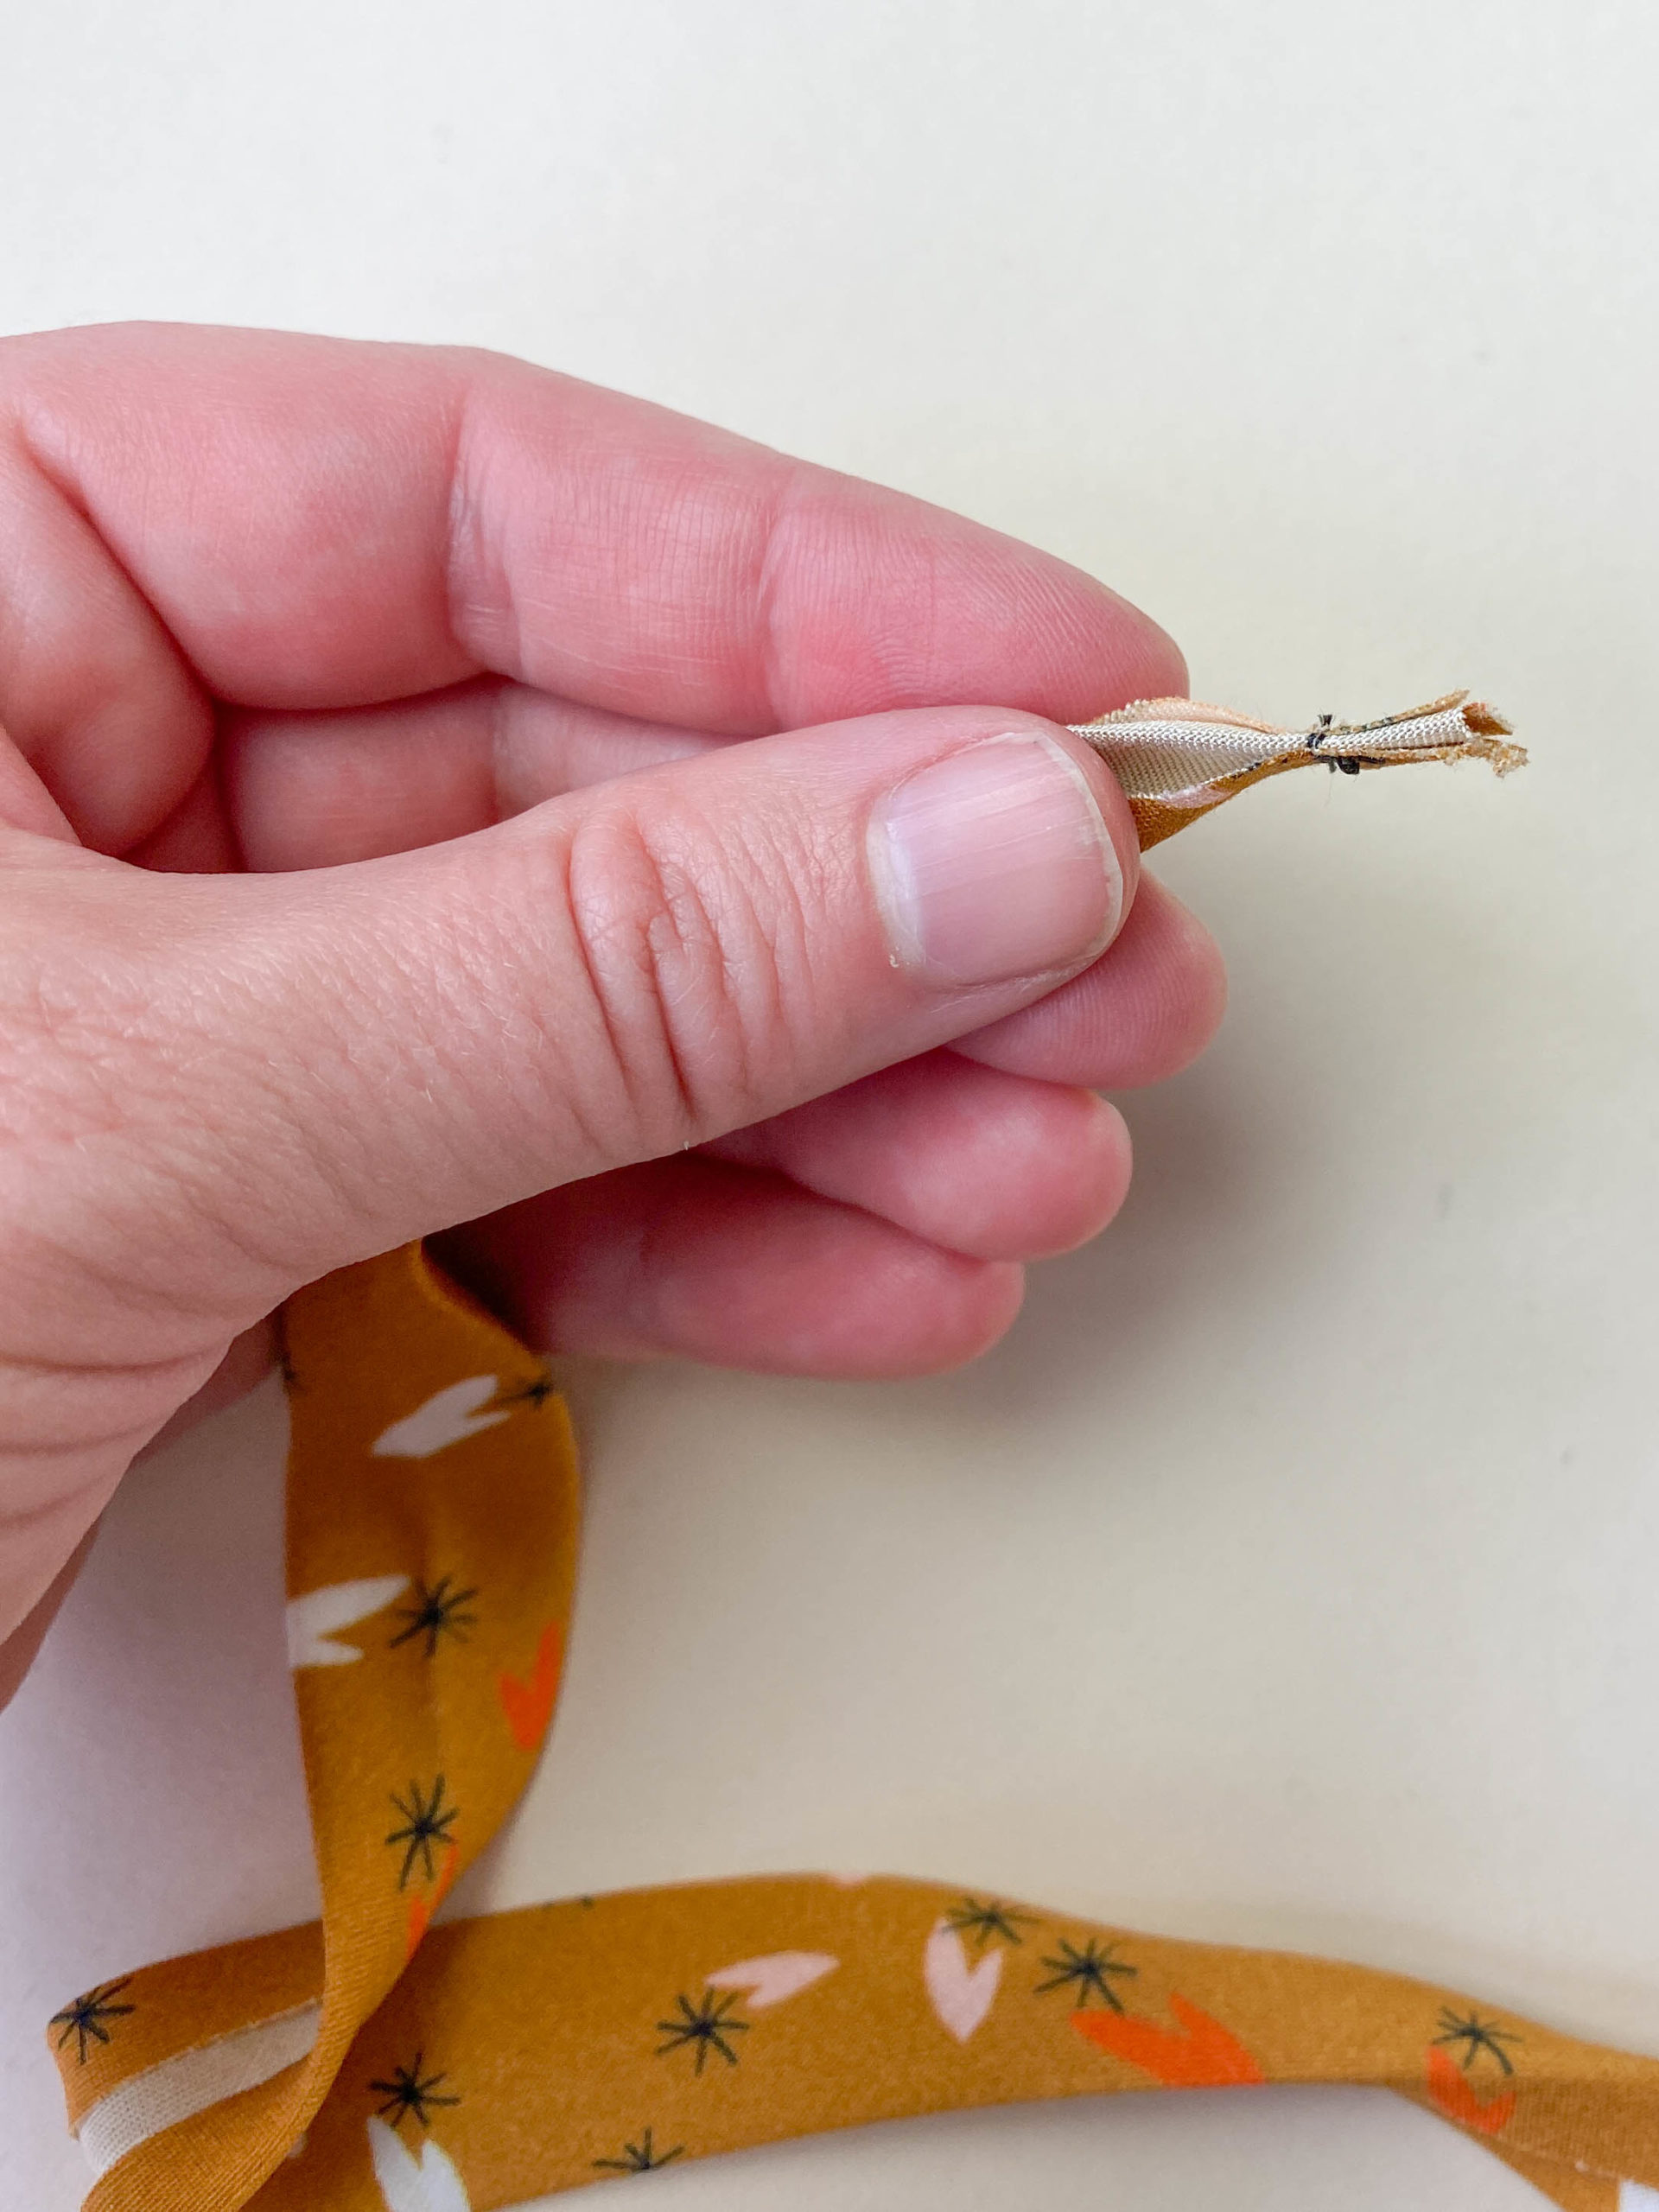
The raw edge is now enclosed at the short edge, but the binding can be opened along its length in order to finish the neckline- our next step!
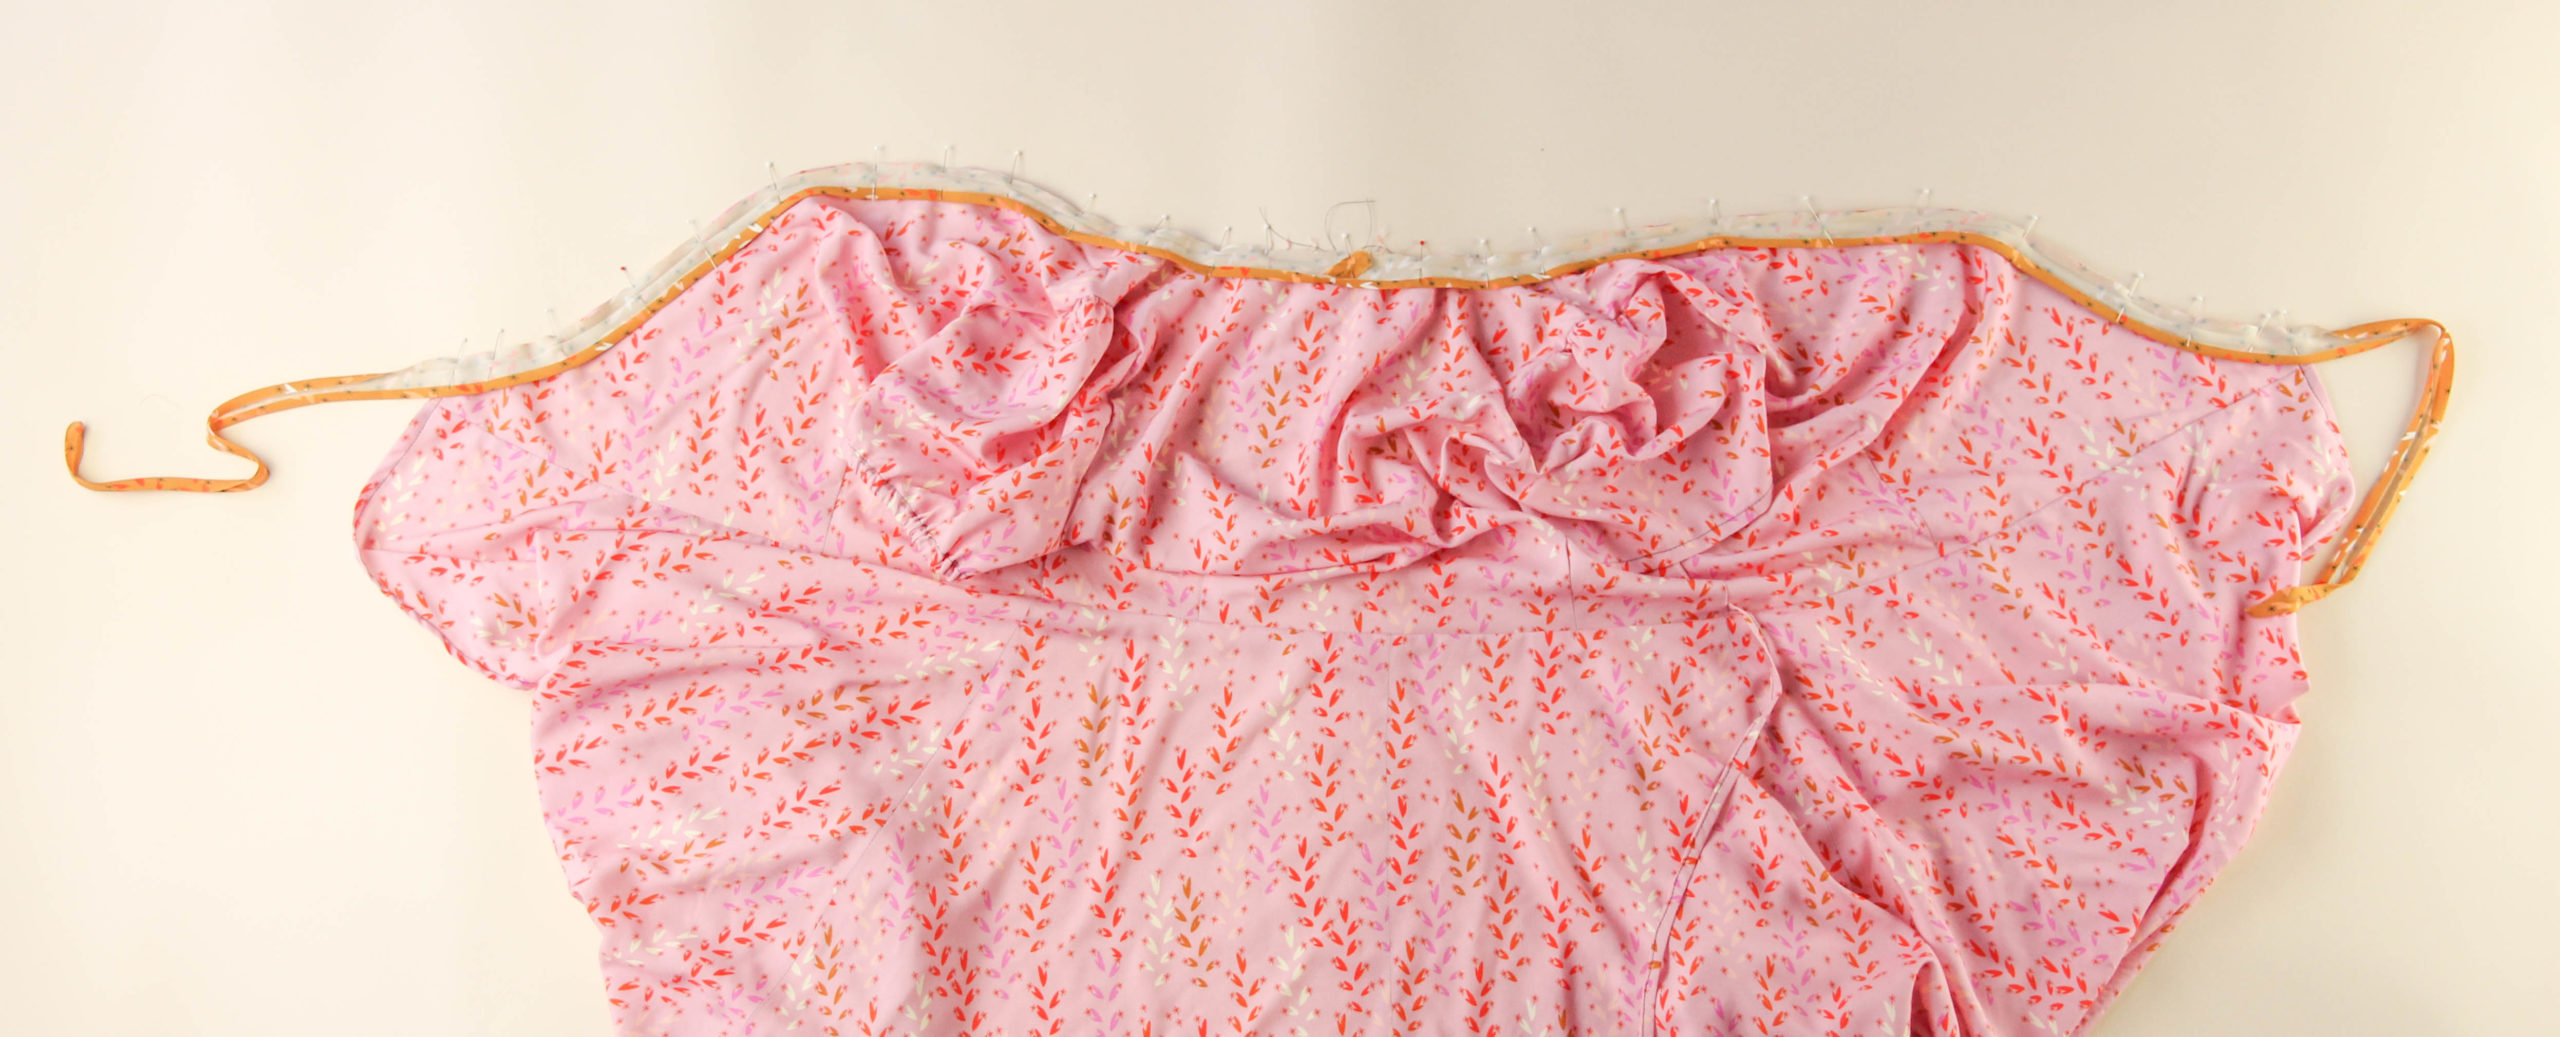
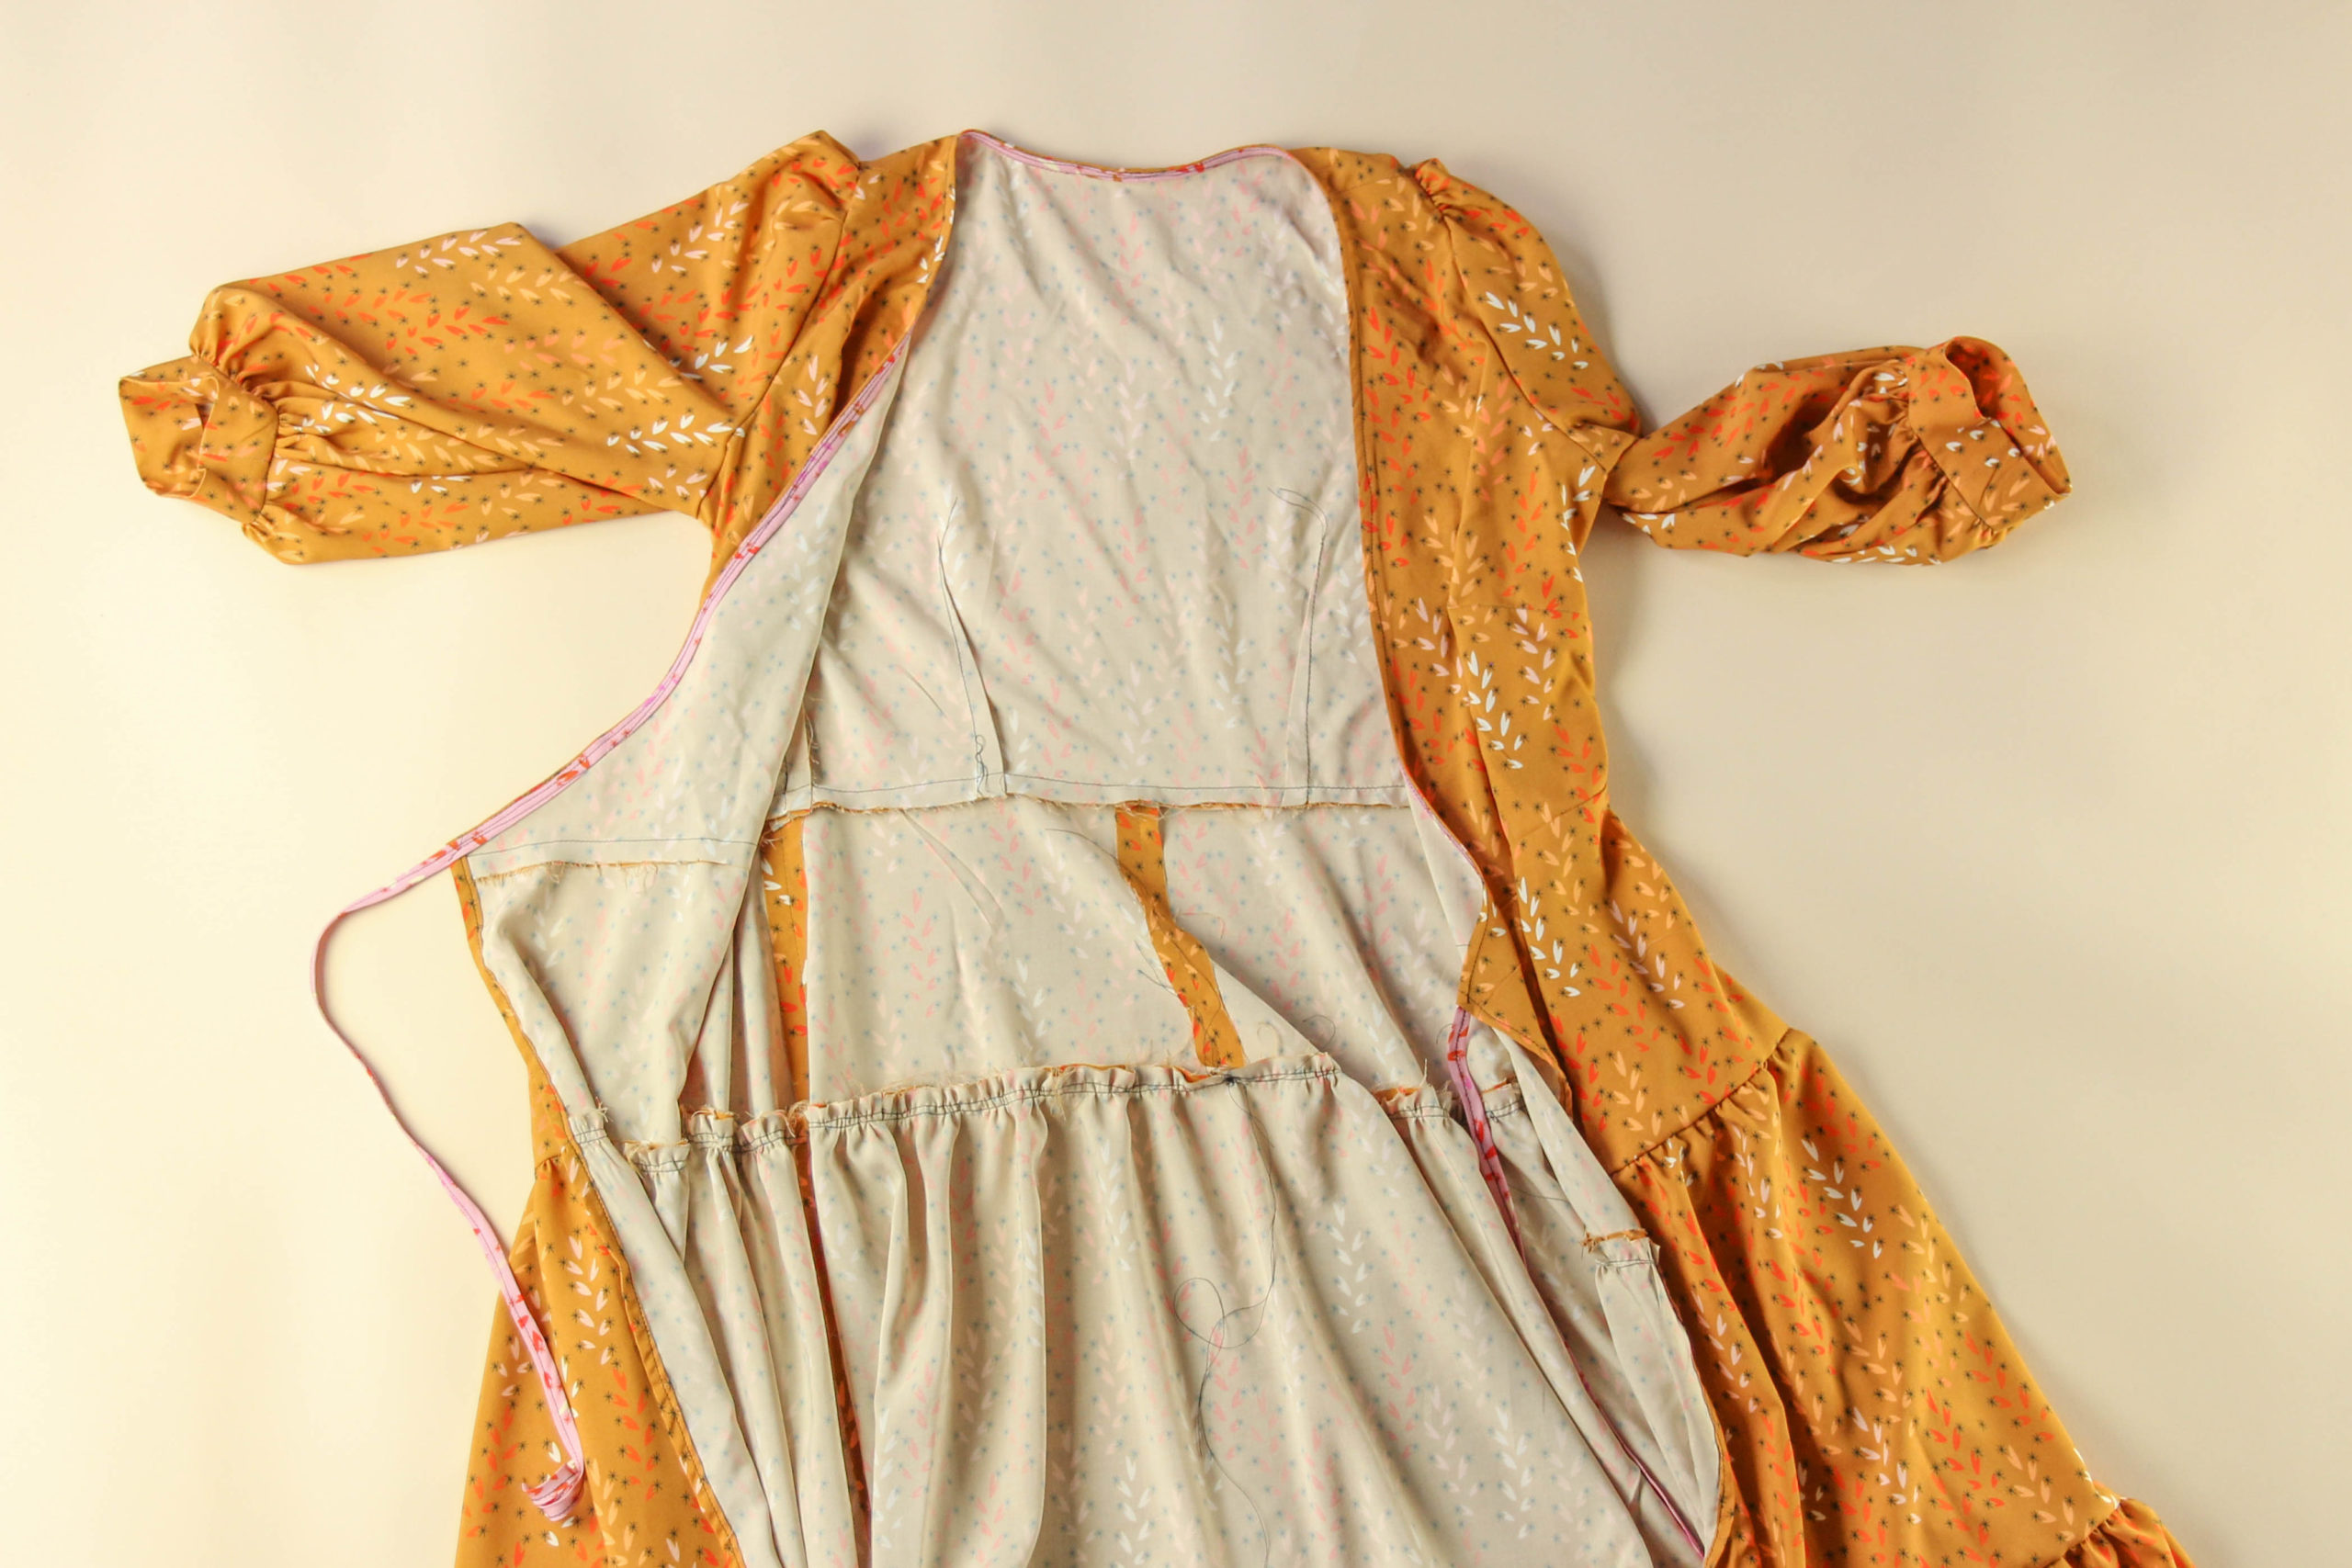
Attach Binding to Neckline
If your binding is folded, gently open it and pin it right sides together to the bodice neckline, matching the seam of the binding to the center back notch of the bodice. The binding will extend beyond the bodice into the tie extensions.
Pin and sew along the bodice neckline at 1/4″ seam allowance, attaching the binding.
Finish the Neckline Binding
From the right side, press the binding up to cover the seam allowance. From the wrong side, turn over the raw edge at the outer fold, and then turn over the binding edge one more time so that the raw edge of the neckline is now fully enclosed.

Press the binding in place and pin the full length of the neck binding and tie extensions into their folded position.
Edgestitch the neckline binding from end to end at 1/8″ from folded edge of the binding/the seam where the binding is attached to the neckline.
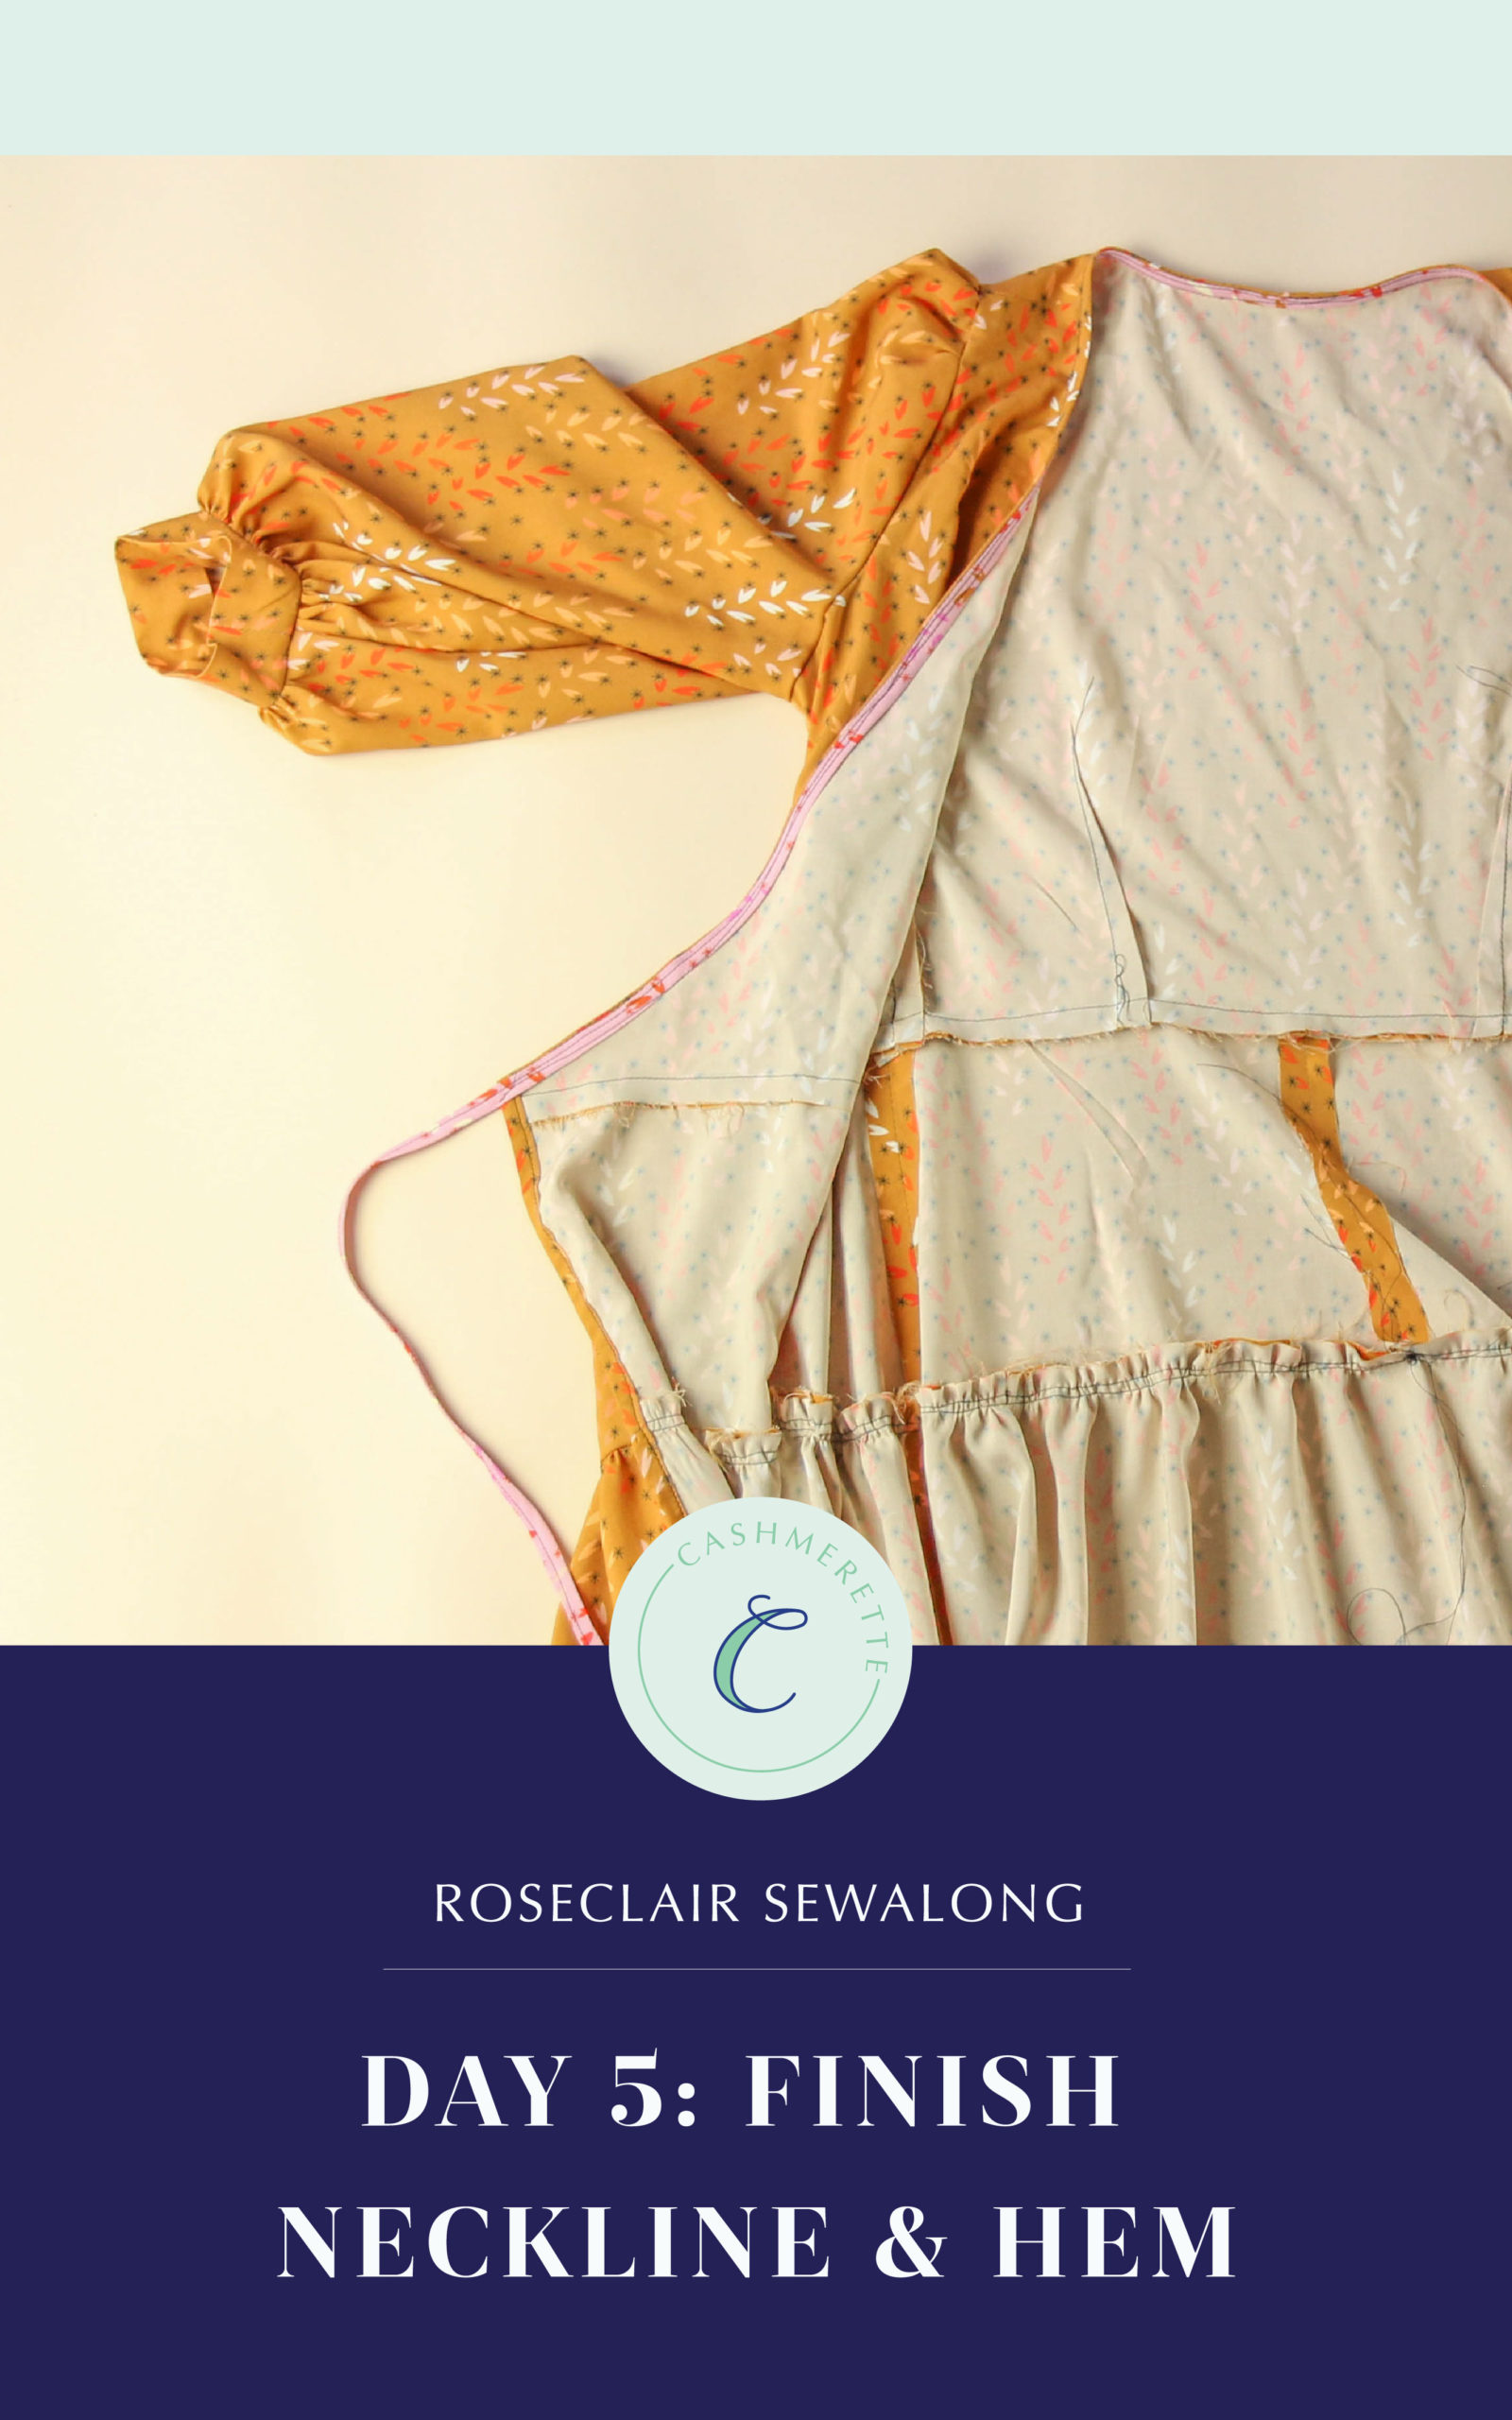
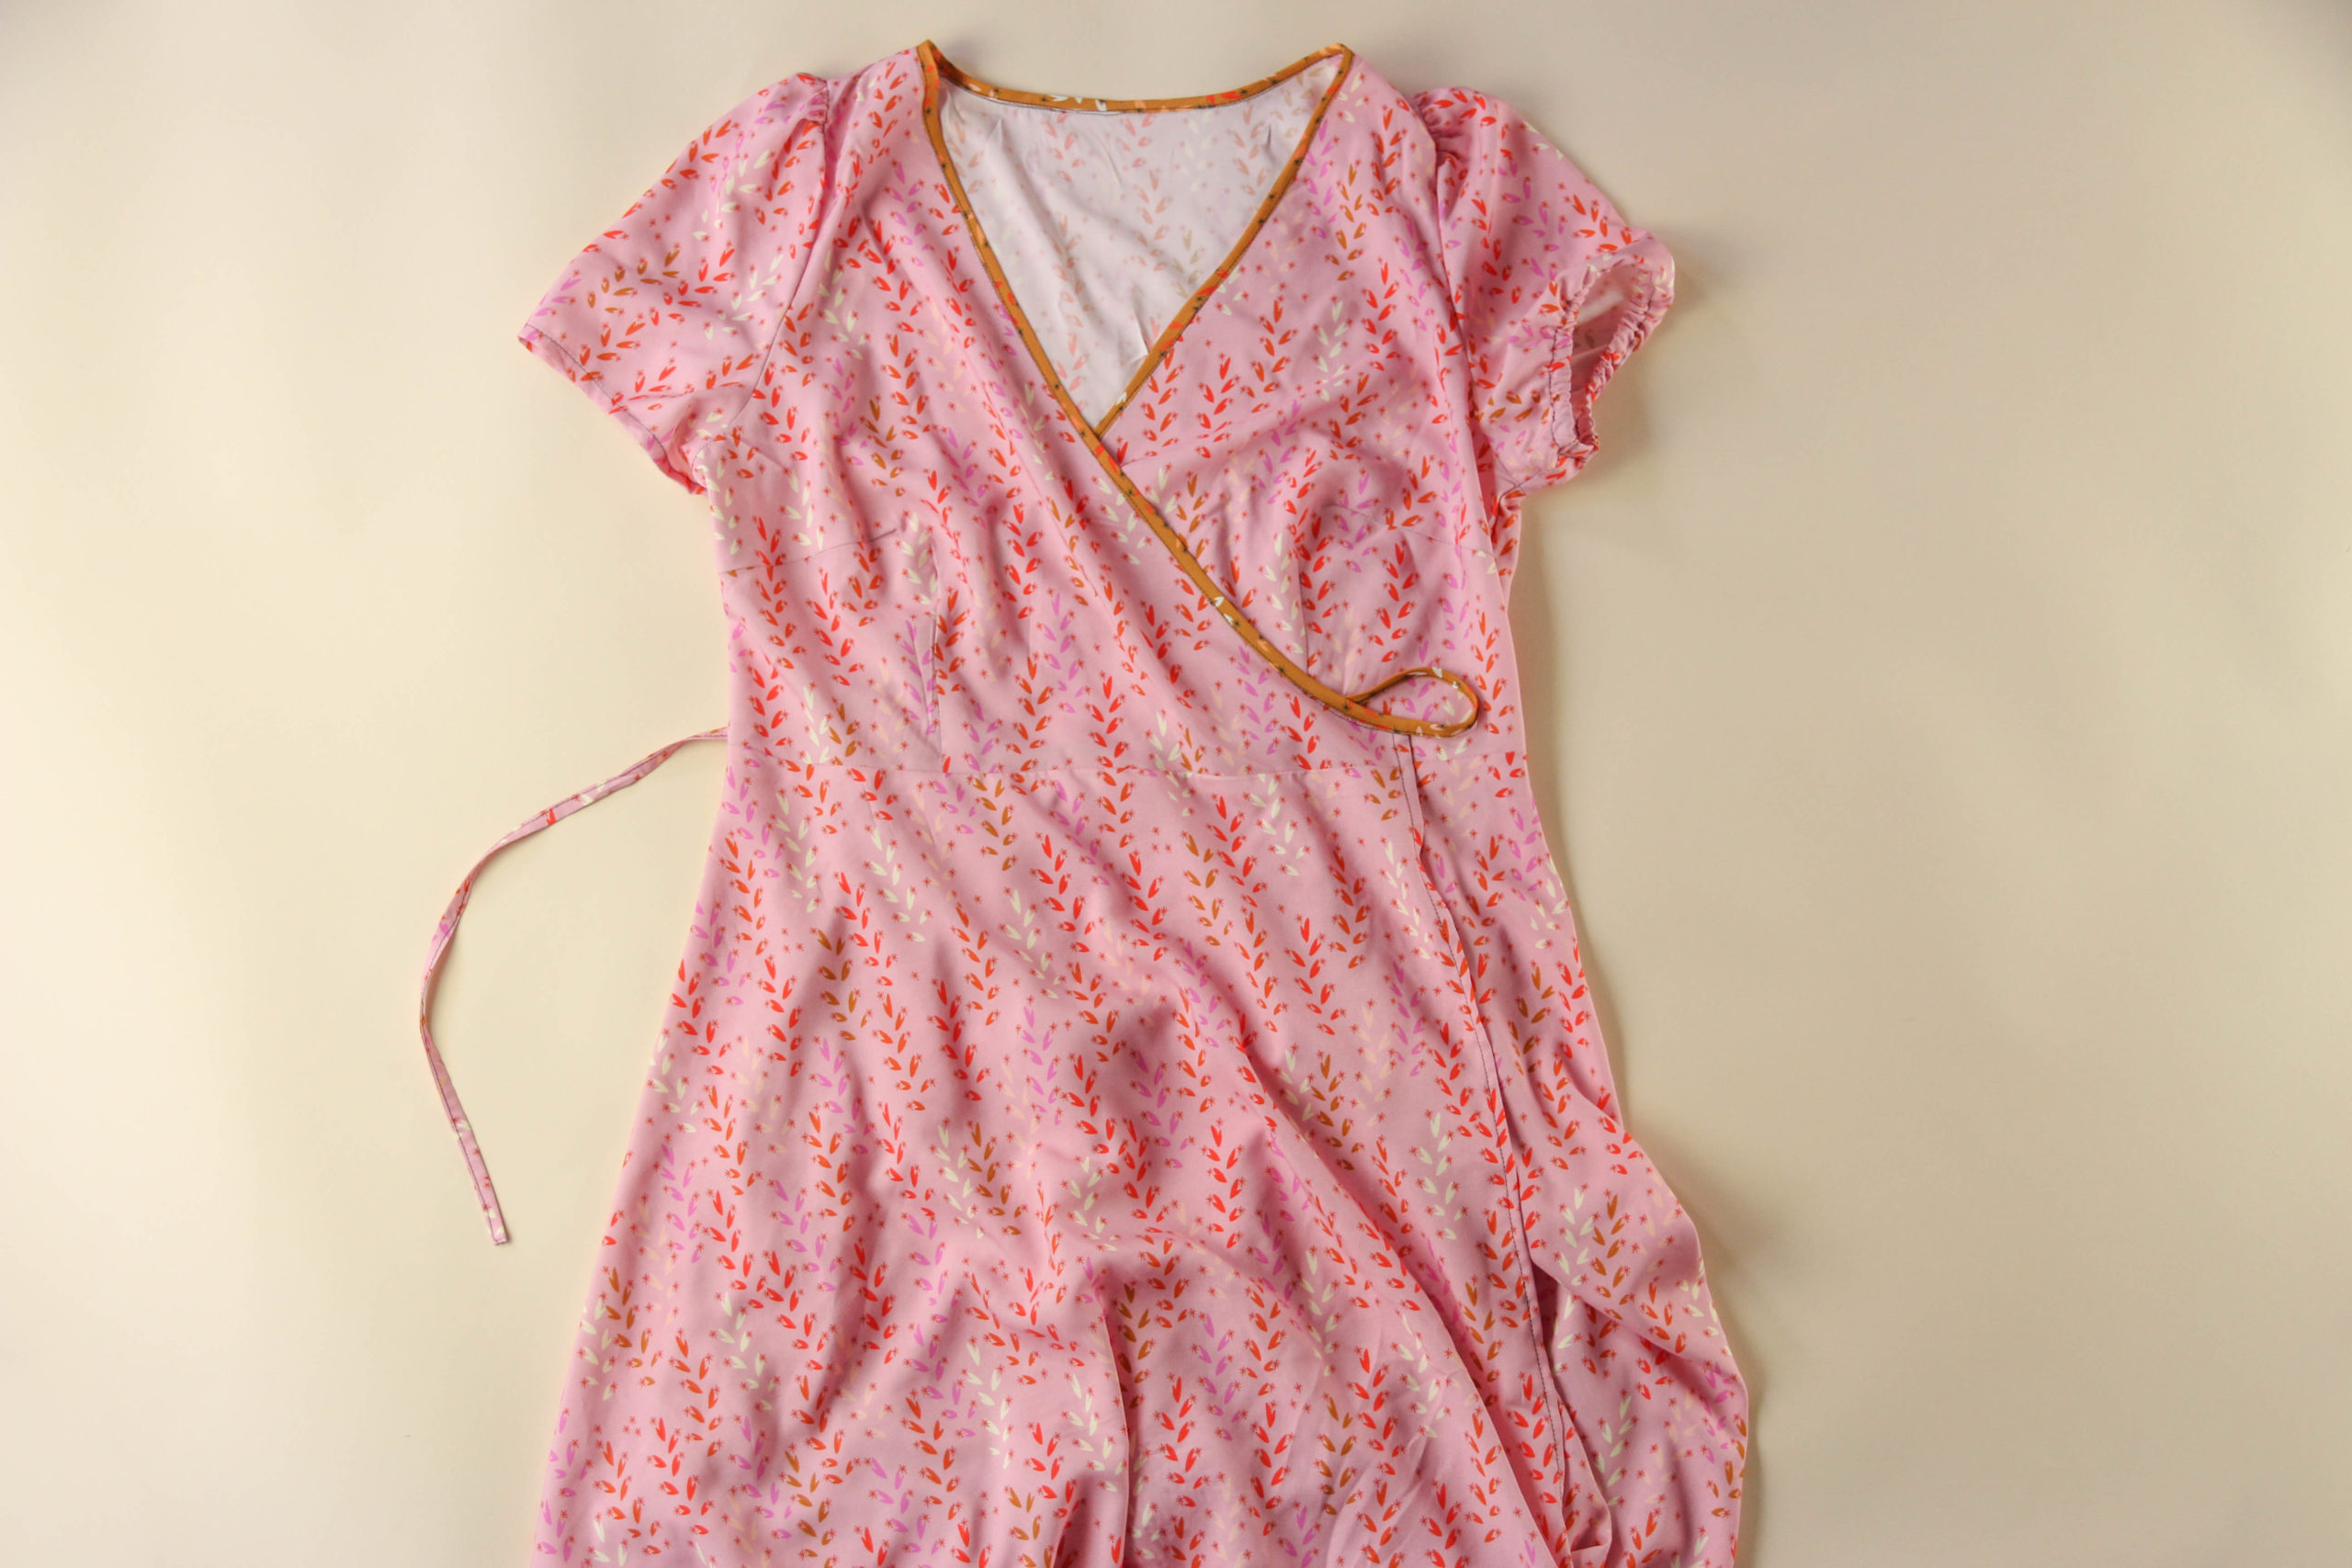
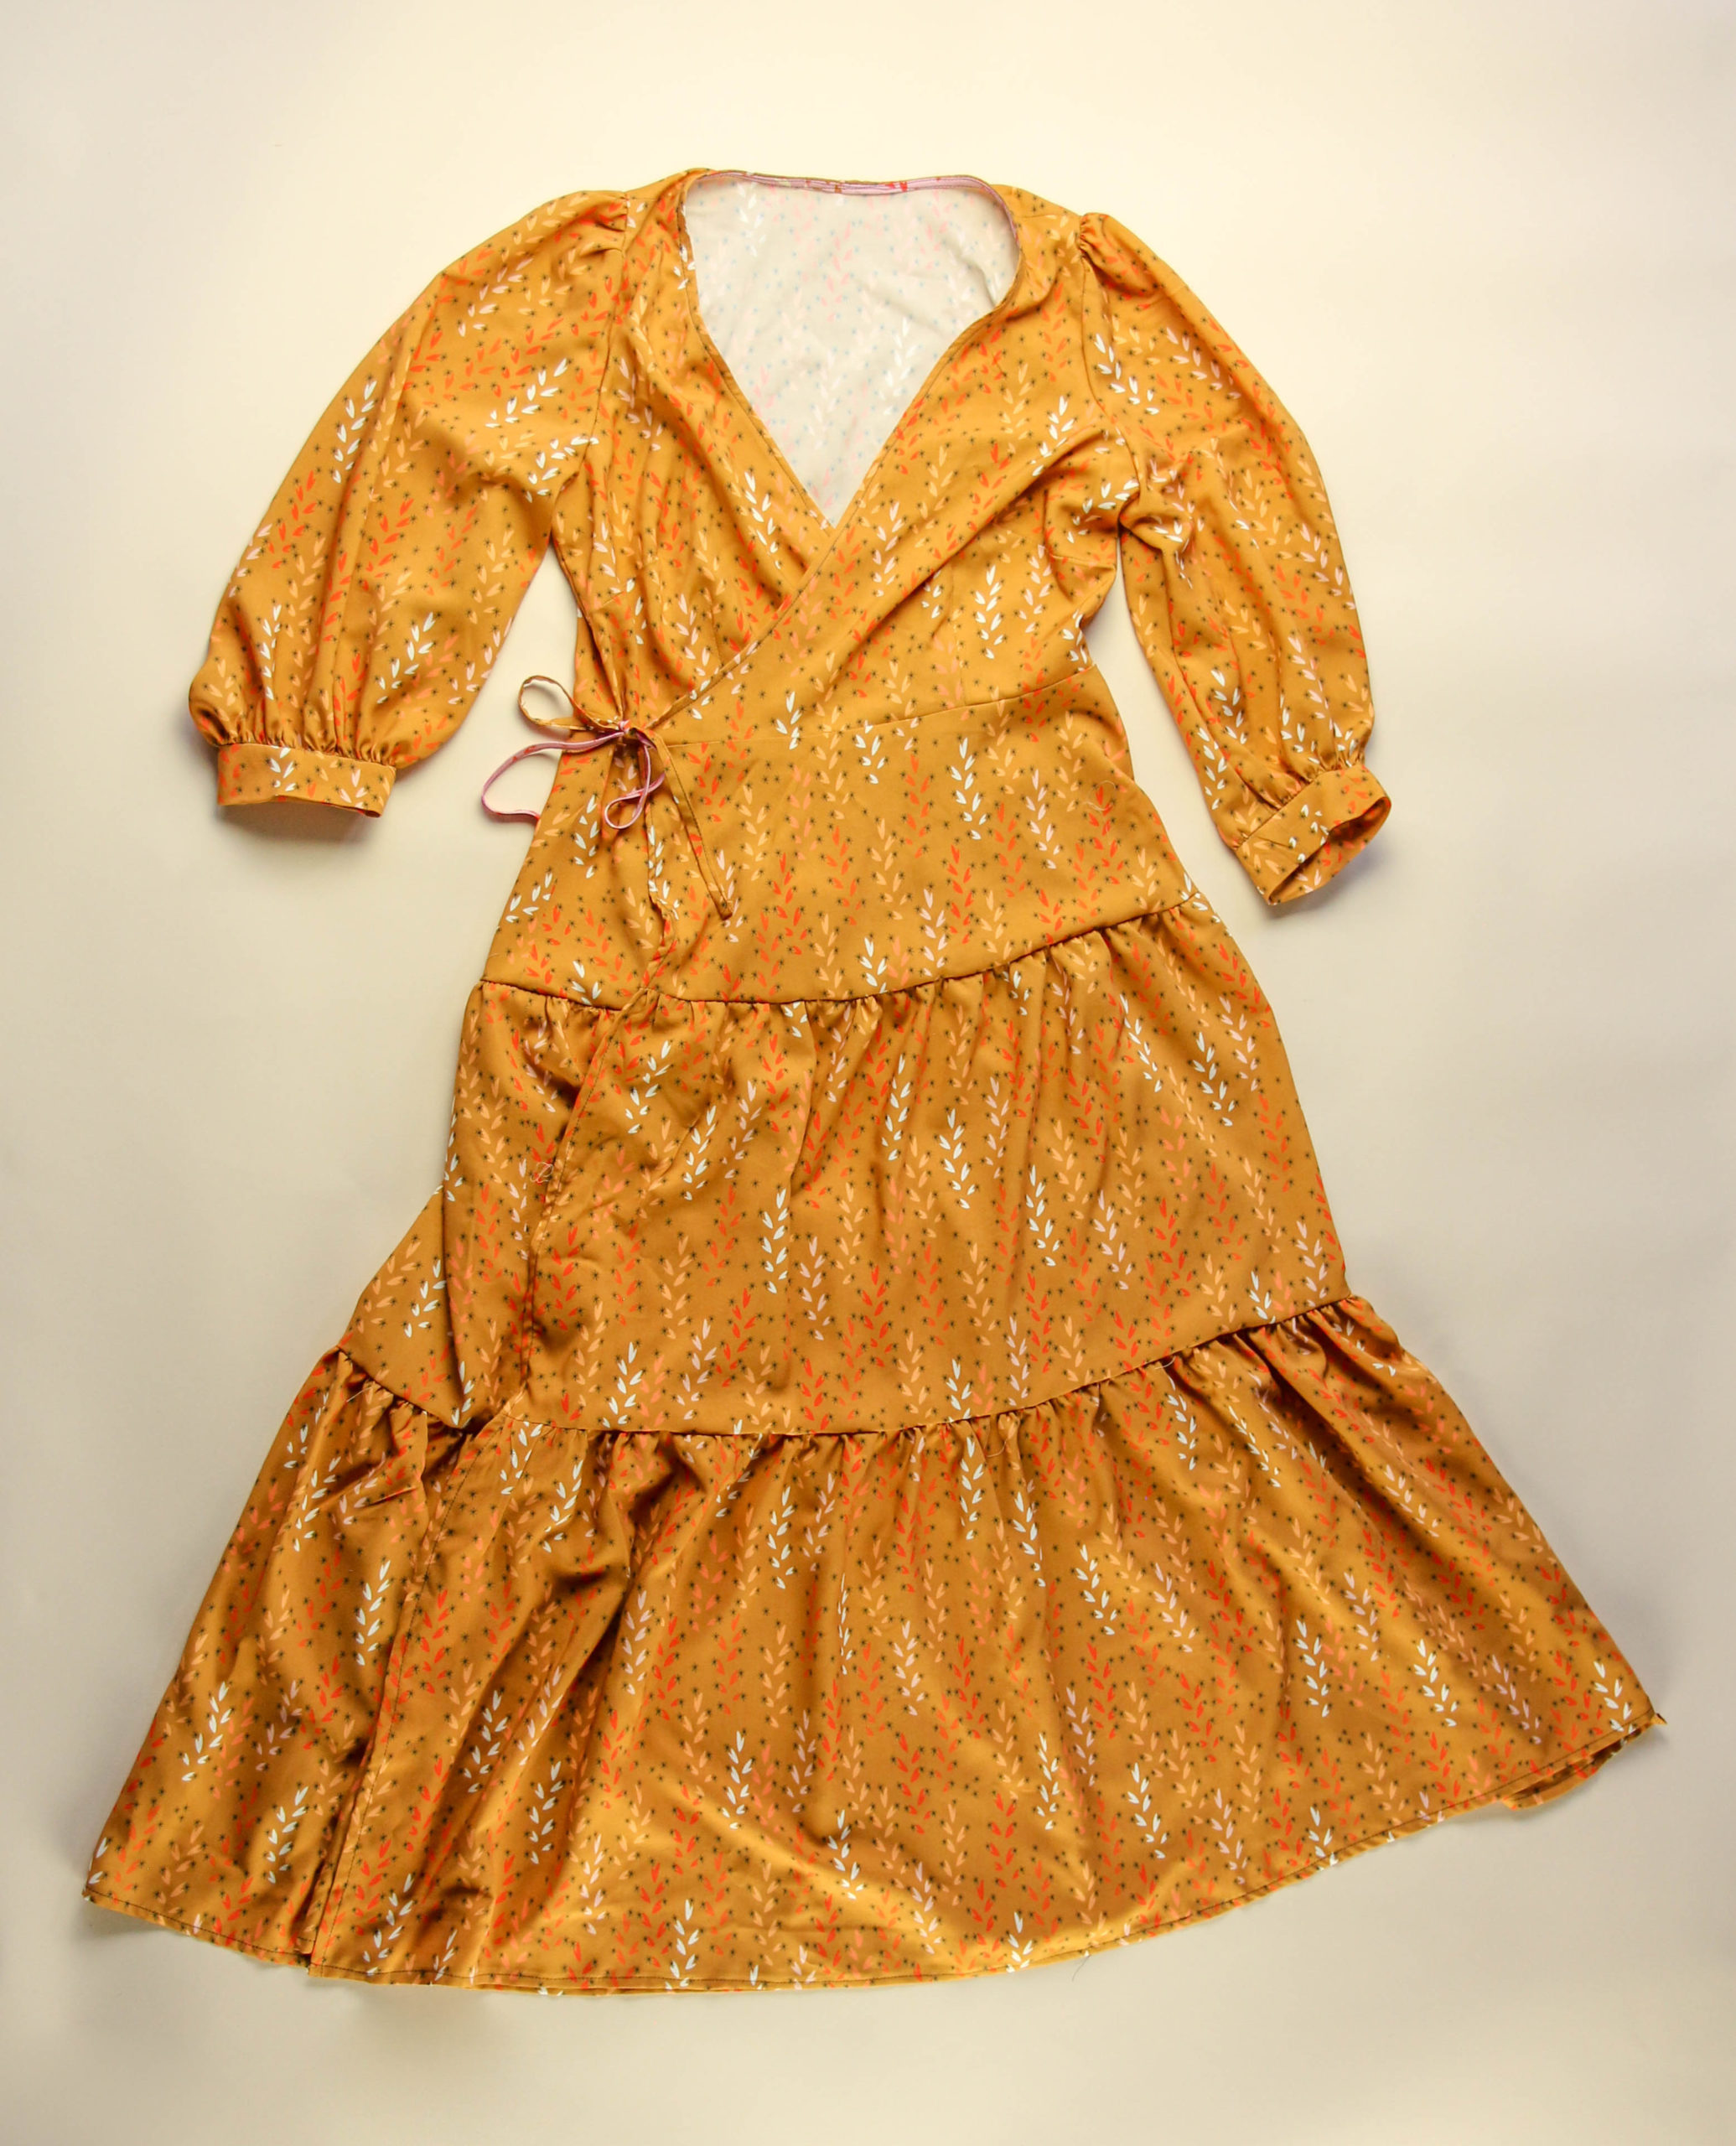
Here is the View B/C Roseclair with a visible neckline binding.
Optional: If you want to hide the binding along the neckline, follow the next few steps.
After attaching the binding like we showed on the pink dress, press the binding to the wrong side of the neckline, like in this picture.
Then topstitch one more time along the bodice neckline.
This View A Roseclair has a hidden neckline binding. You will see the tie extension on the right hand side, but the binding along the neck has been turned toward the inside of the garment.
Hem the Skirt
For Views B & C: allow the dress to hang overnight before hemming since the hem is on the bias and it may settle unevenly. Trim the hem to be level and then continue on to hem the dress.
For All Views: Turn the hem to the wrong side o the dress by 1/4″ and press. Turn again by 1/4″, press, and topstitch the hem in place from the right side.
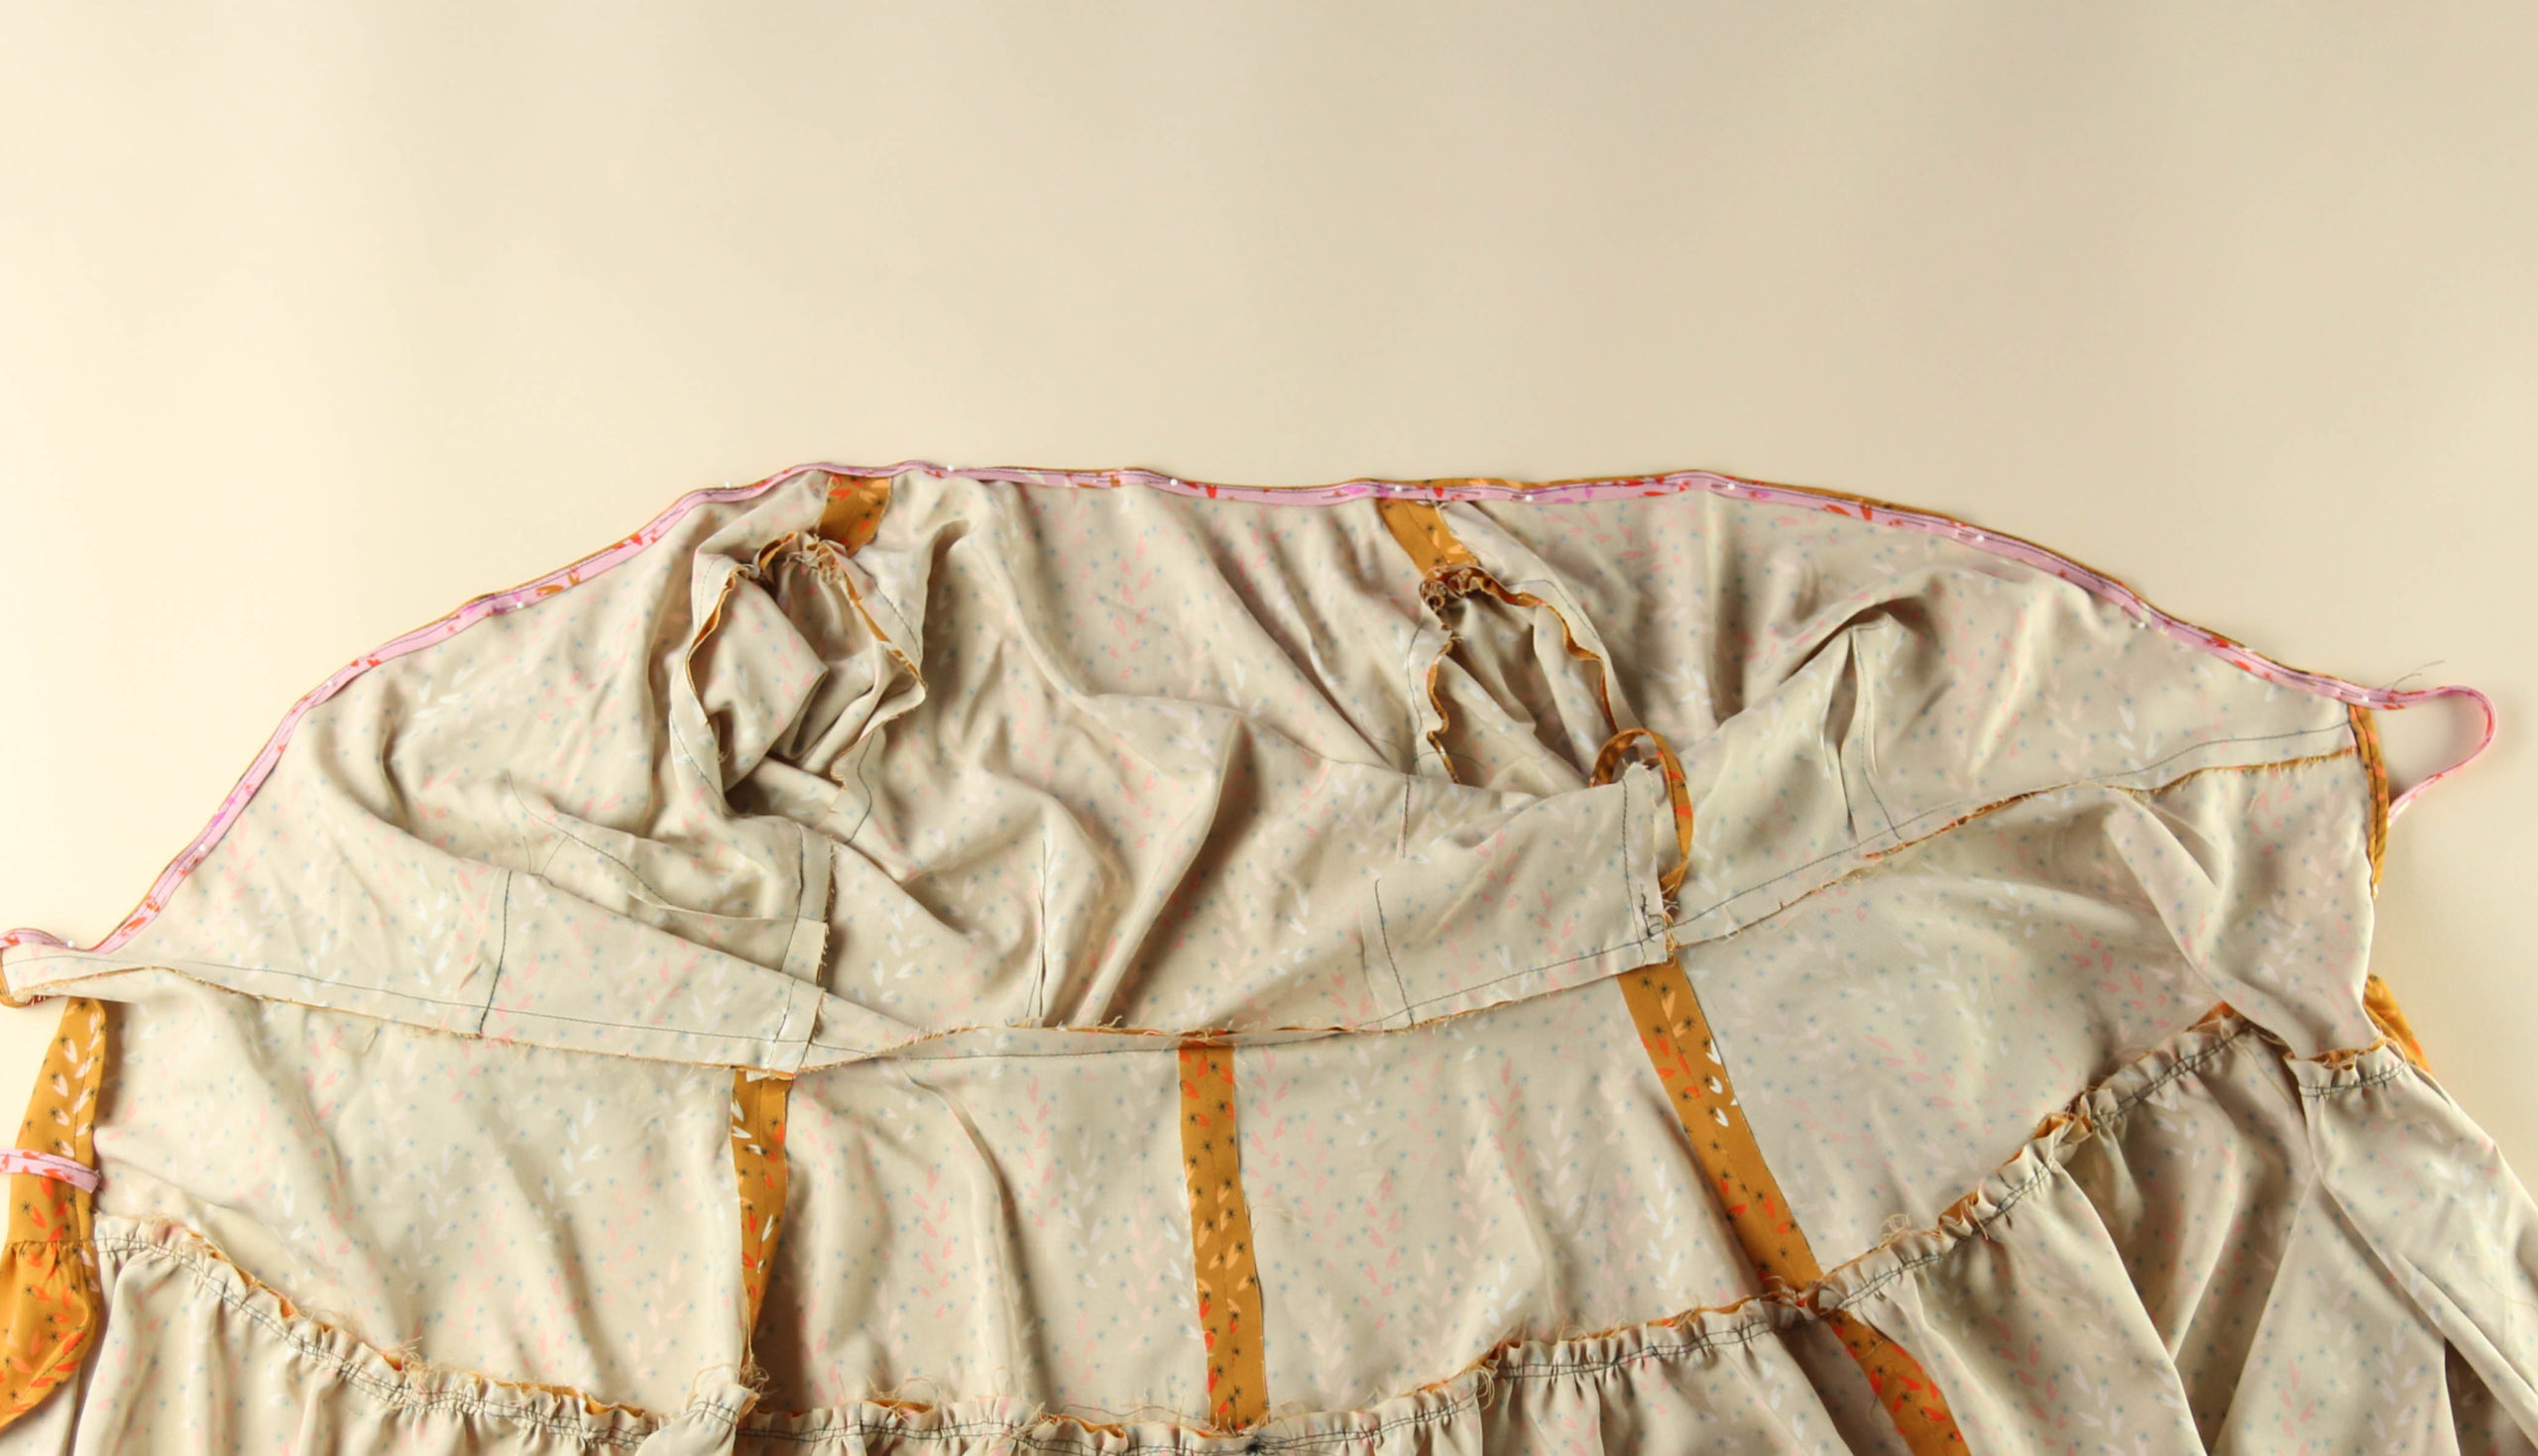
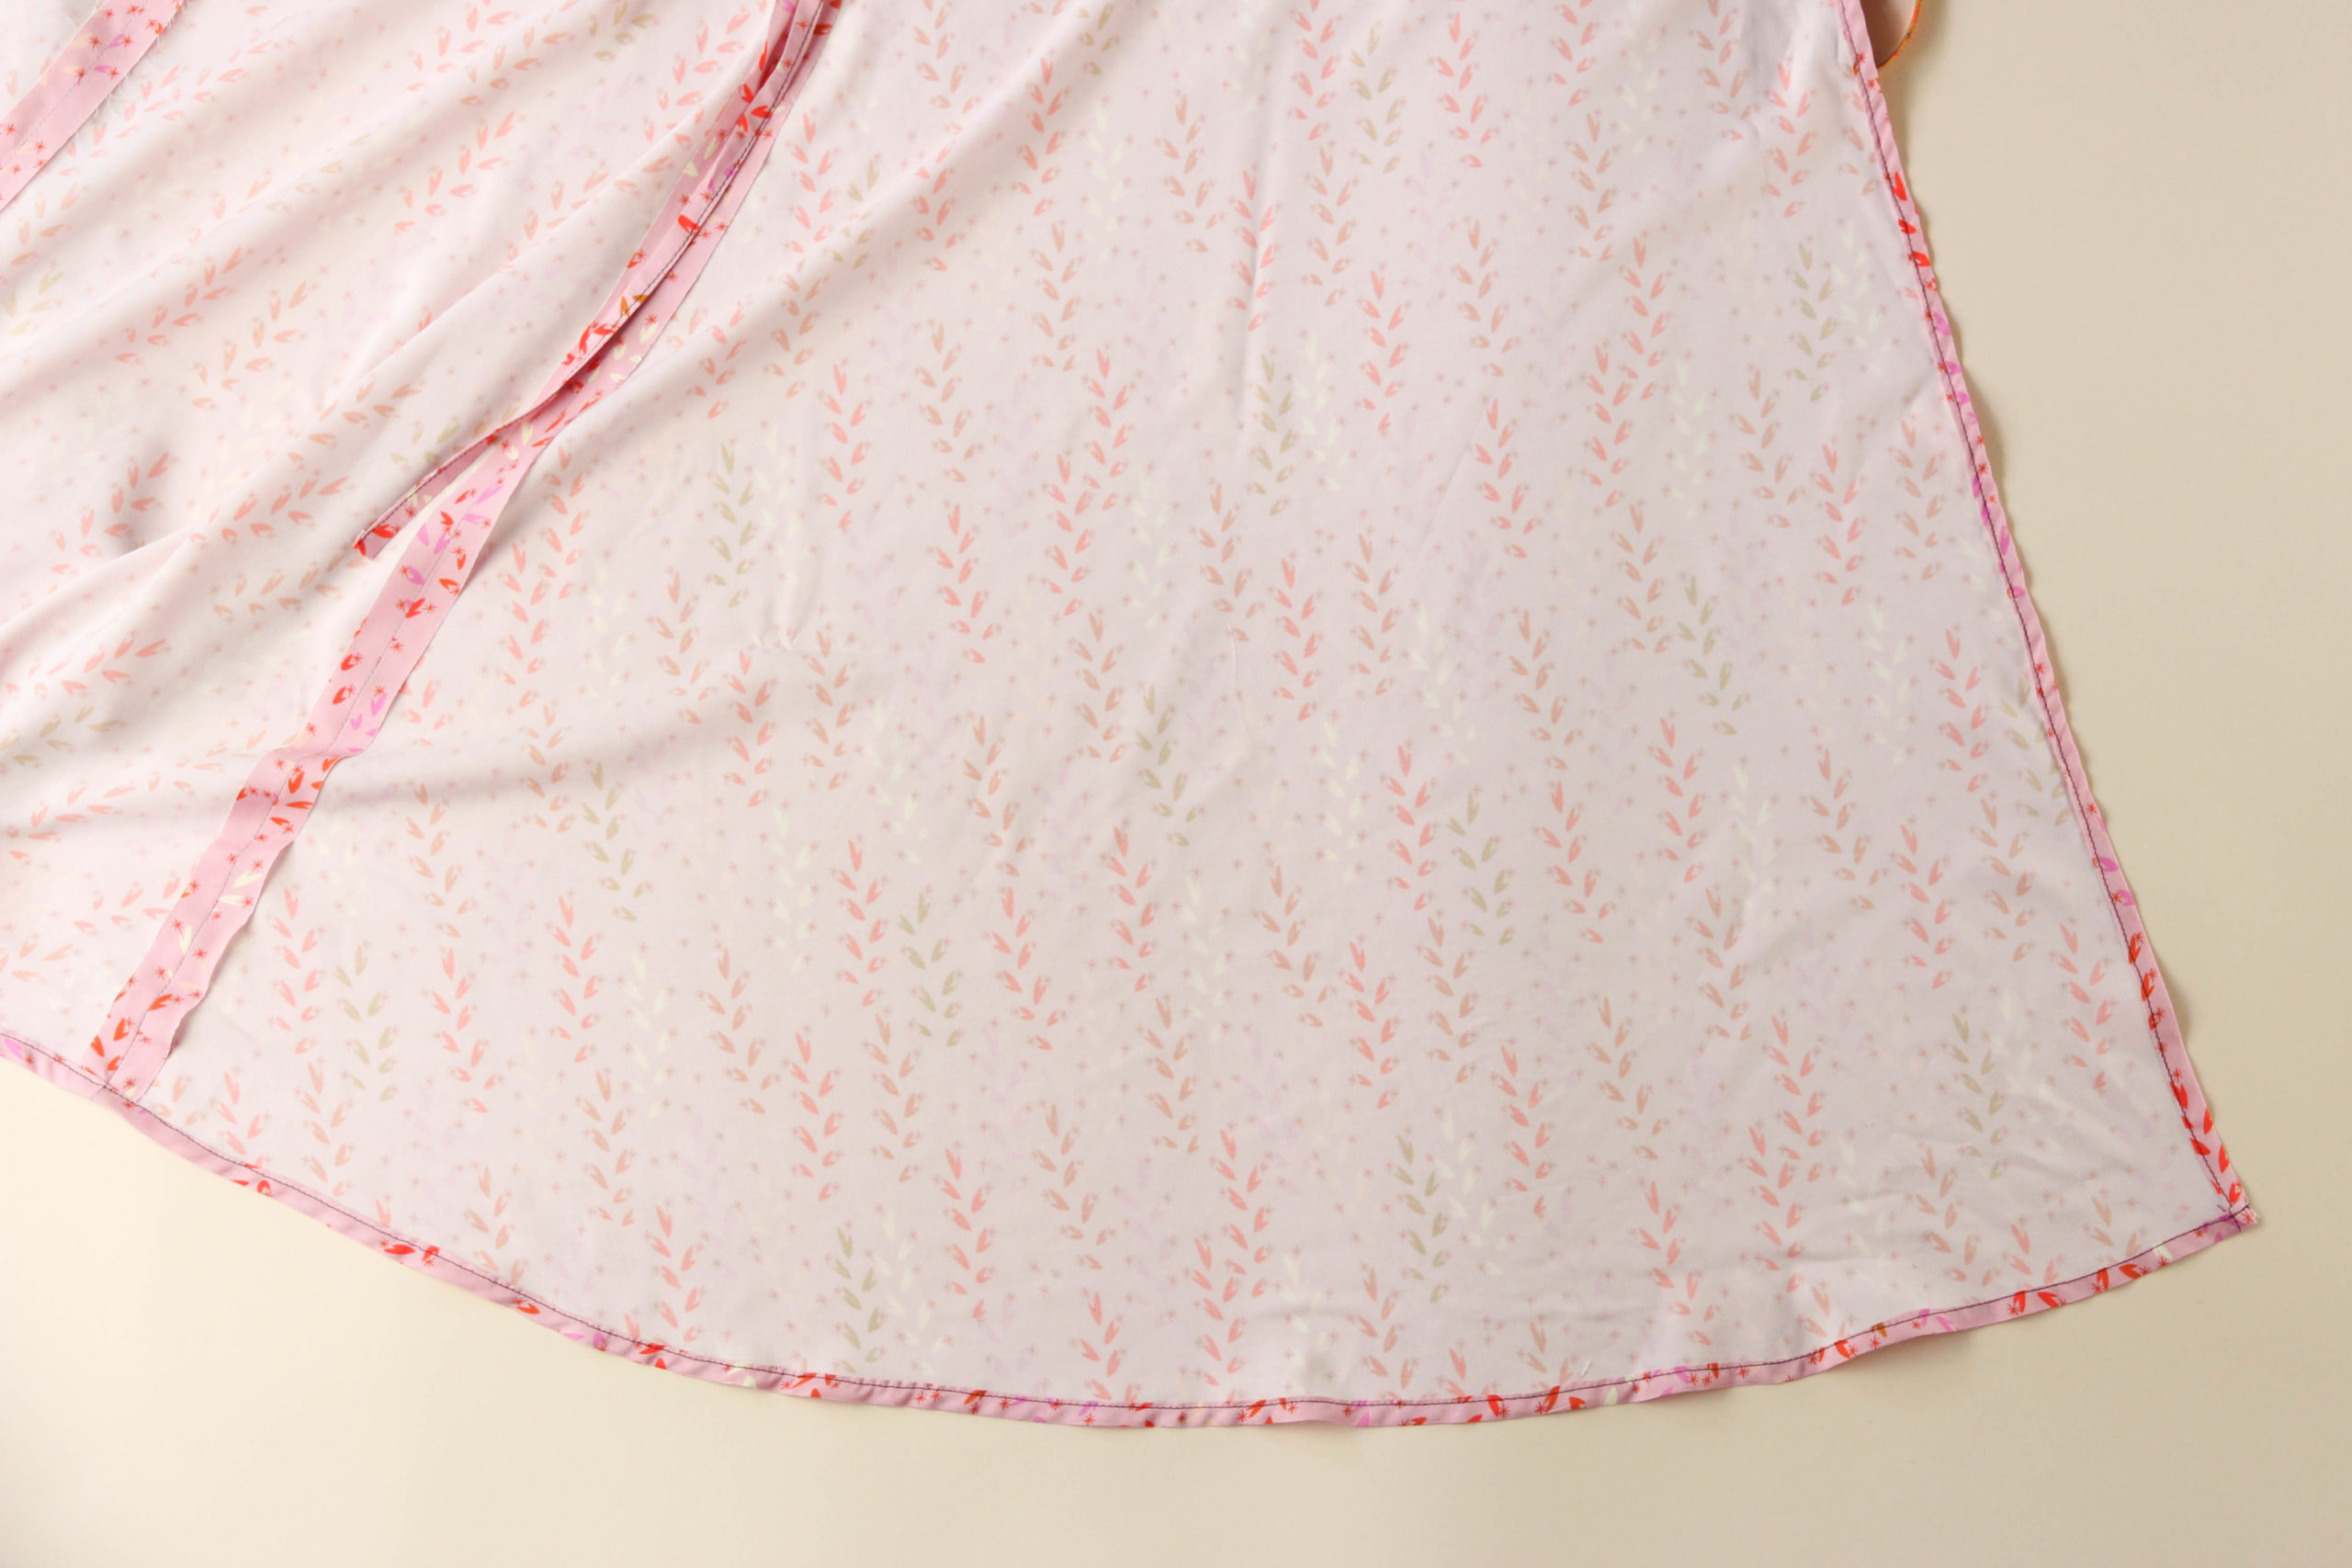
This is an inside look at the View B/C hem.
Here’s a look at the View A Hem.

That is it! You have finished sewing your Roseclair, and we couldn’t be more proud!
Make sure to post pictures of your finished Roseclair on Instagram with the #RoseclairDress so that we can see how fabulous you look!