Bodies (and boobs!) come in all shapes and sizes, and you may find that you need to adjust the side seam angle of a bra to achieve a better fit. Today, we’re showing you how to do just that!
Jump to another post in this series:
- Bra fitting guide overview
- How to choose your bra size
- How to make a test bra
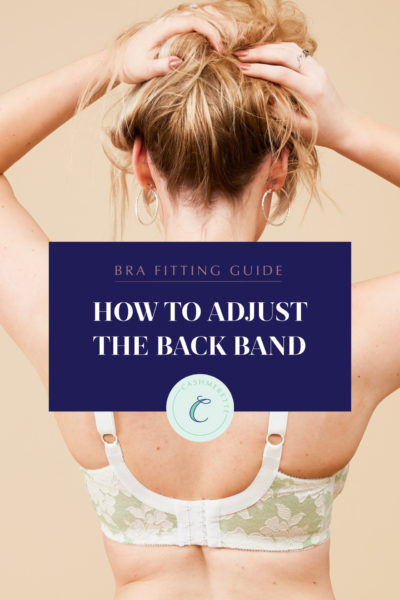
- How to adjust the back band
- How to adjust the gore/bridge (Willowdale only)
- How to adjust the cups
- How to adjust the center insert (Loftus only)
- How to adjust the side seam angle
- How to adjust the straps
- How to adjust the underwires (Willowdale only)
- Adjusting the level of support and comfort
- How to make an asymmetrical bra
- Additional bra making resources
Cashmerette has two bra patterns designed to support and lift big boobs in band sizes 28-54 and cups C-J, all while looking absolutely fabulous (It’s a lot to ask of a bra, but they are up to the task!)
The Willowdale is a full frame, underwire bra sewing pattern while the Loftus is a non-underwire bralette sewing pattern.
Start your bra fitting journey with the Cashmerette Bra Fitting Guide
To help you sew and fit your dream Willowdale or Loftus, we’ve put together the Cashmerette Bra Fitting Guide! This post is one of the many tutorials you’ll find there, and if you haven’t yet checked out the main guide page, we recommend starting there. So much of bra fitting is interconnected, and the guide provides a checklist and order to work through the adjustments.
In this post, we’re covering how to adjust the side seam of a bra to achieve a better fit. Let’s get started!
How to tell if you need to adjust the side seam
Our bodies come in many different shapes, and the angles of our side bodies vary significantly.
Put on your muslin (test version) and take a look at how the underarm elastic sits on your body. Is it gaping? Is it cutting in? Are there wrinkles in the bra band at the side seam? These may mean that you need to adjust the side seam angle.
How to adjust the angle of the side seam
For the Willowdale Bra:
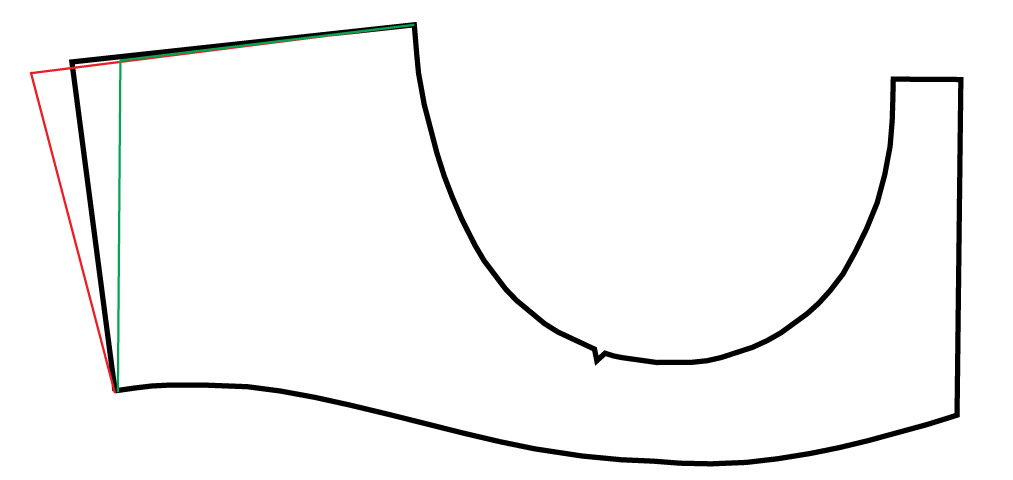
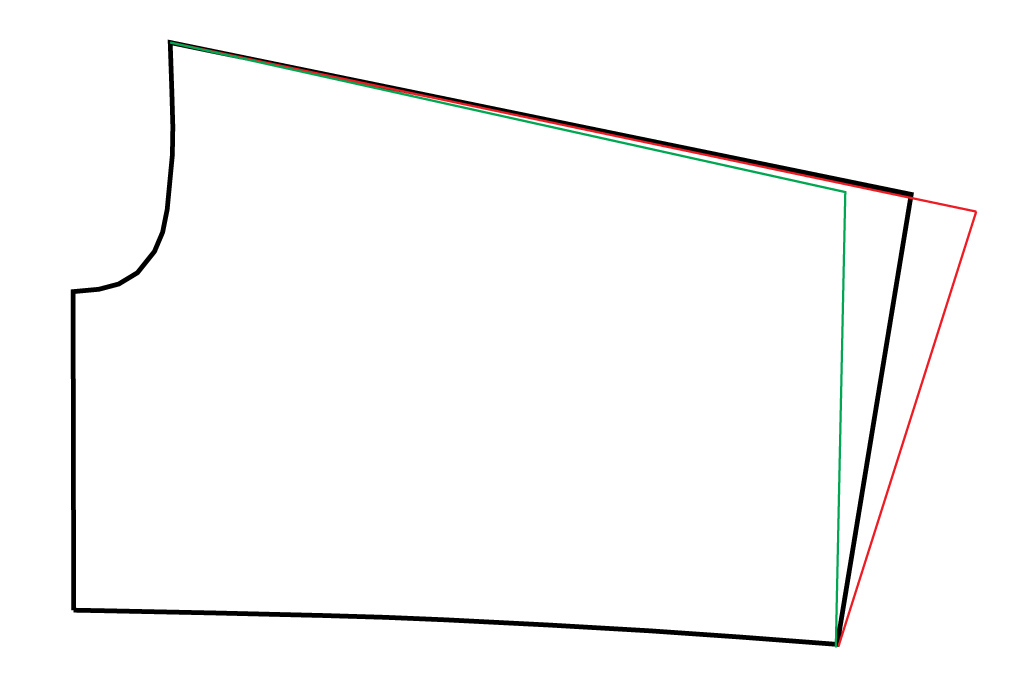
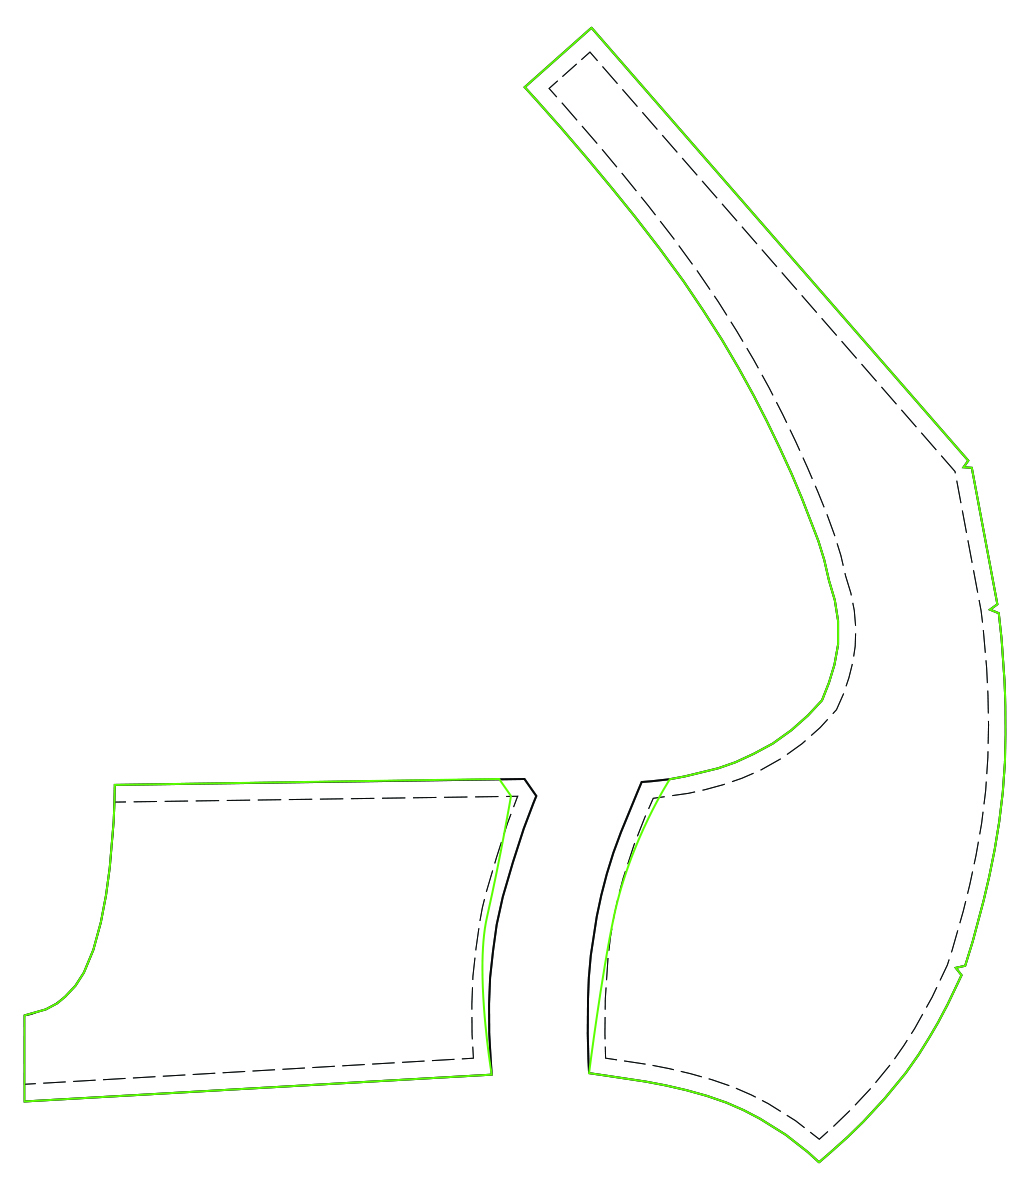
If your bra feels too tight under the arms, you can extend the length of the side seam by adjusting the angle of the seam between the front band and back band as shown by the red line below. Add half of the additional width you need to the front band and the other half to the back band, taper to nothing at the lower and inner edges of the pattern pieces.
Alternately, if the bra is too loose under the arms you can adjust the side seams inwards as shown in green.
Note: the length of the side seam should stay the same with either adjustment.
Once you’ve adjusted your pattern pieces, you’ll want to make another muslin and try it on to see if further adjustments are needed before you start your final bra.
For the Loftus Bralette:
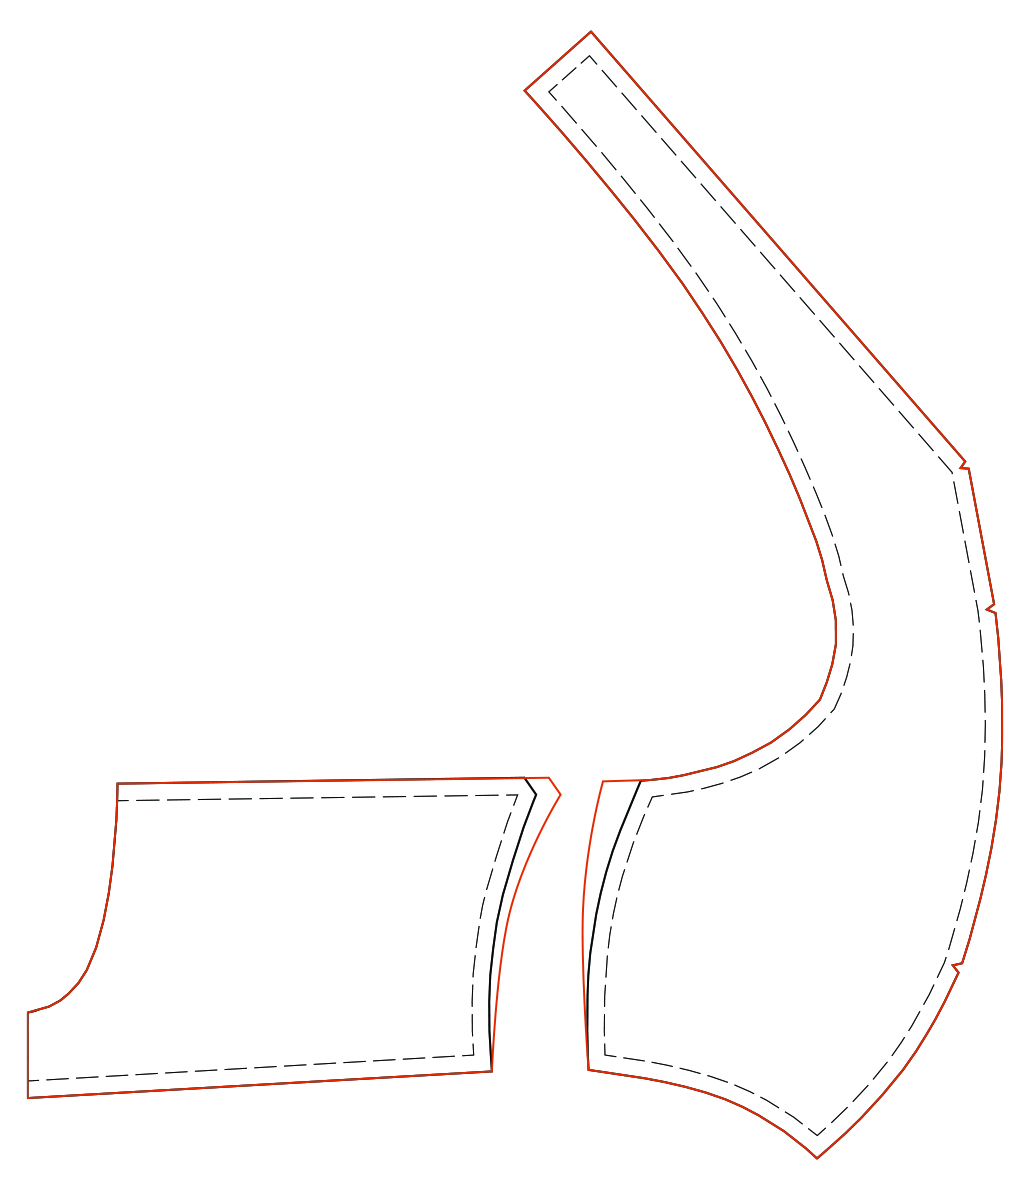
If your bra feels too tight under the arms, you can extend the length of the side seam by adjusting the angle of the seam between the front band and back band as shown by the red line below. Add half of the additional width you need to the side cup piece and the other half to the back band, taper to nothing at the lower edges of the pattern pieces.
Alternately, if the bra is too loose under the arms you can adjust the side seams inwards as shown in green.
Note: the length of the side seam should stay the same with either adjustment.
Once you’ve adjusted your pattern pieces, you’ll want to make another muslin and try it on to see if further adjustments are needed before you start your final bra.
If you adjust the underarm seam, you will also need to take the same amount out of the length of underarm elastic that you use.
We hope this tutorial was helpful! Check out the full Cashmerette Bra Fitting Guide for more on sewing and fitting your dream bra with the Willowdale Bra or your Loftus Bralette.