Are you ready to sew your Roseclair Dress? Today, we’re kicking off our sewalong by going through our prep checklist to make sure our pattern and fabric are ready for us to start. Thanks for joining us!
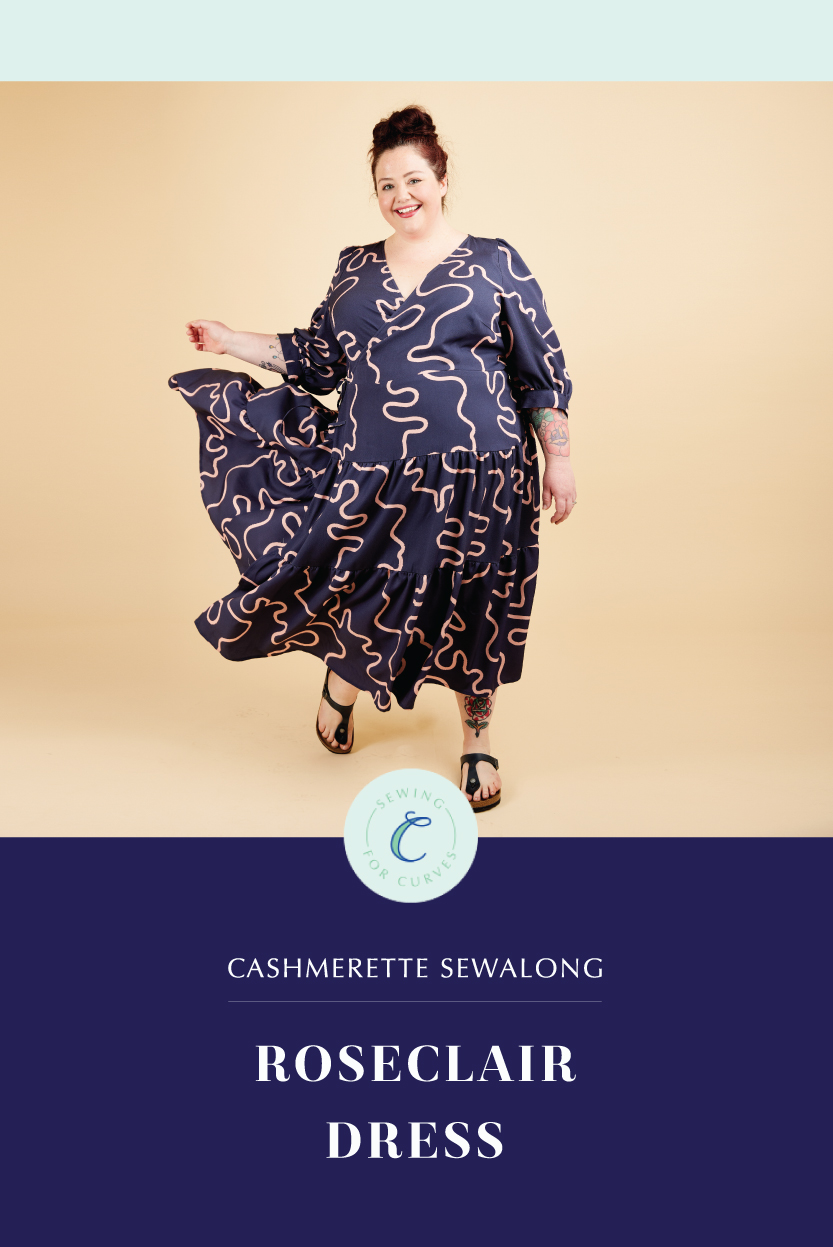
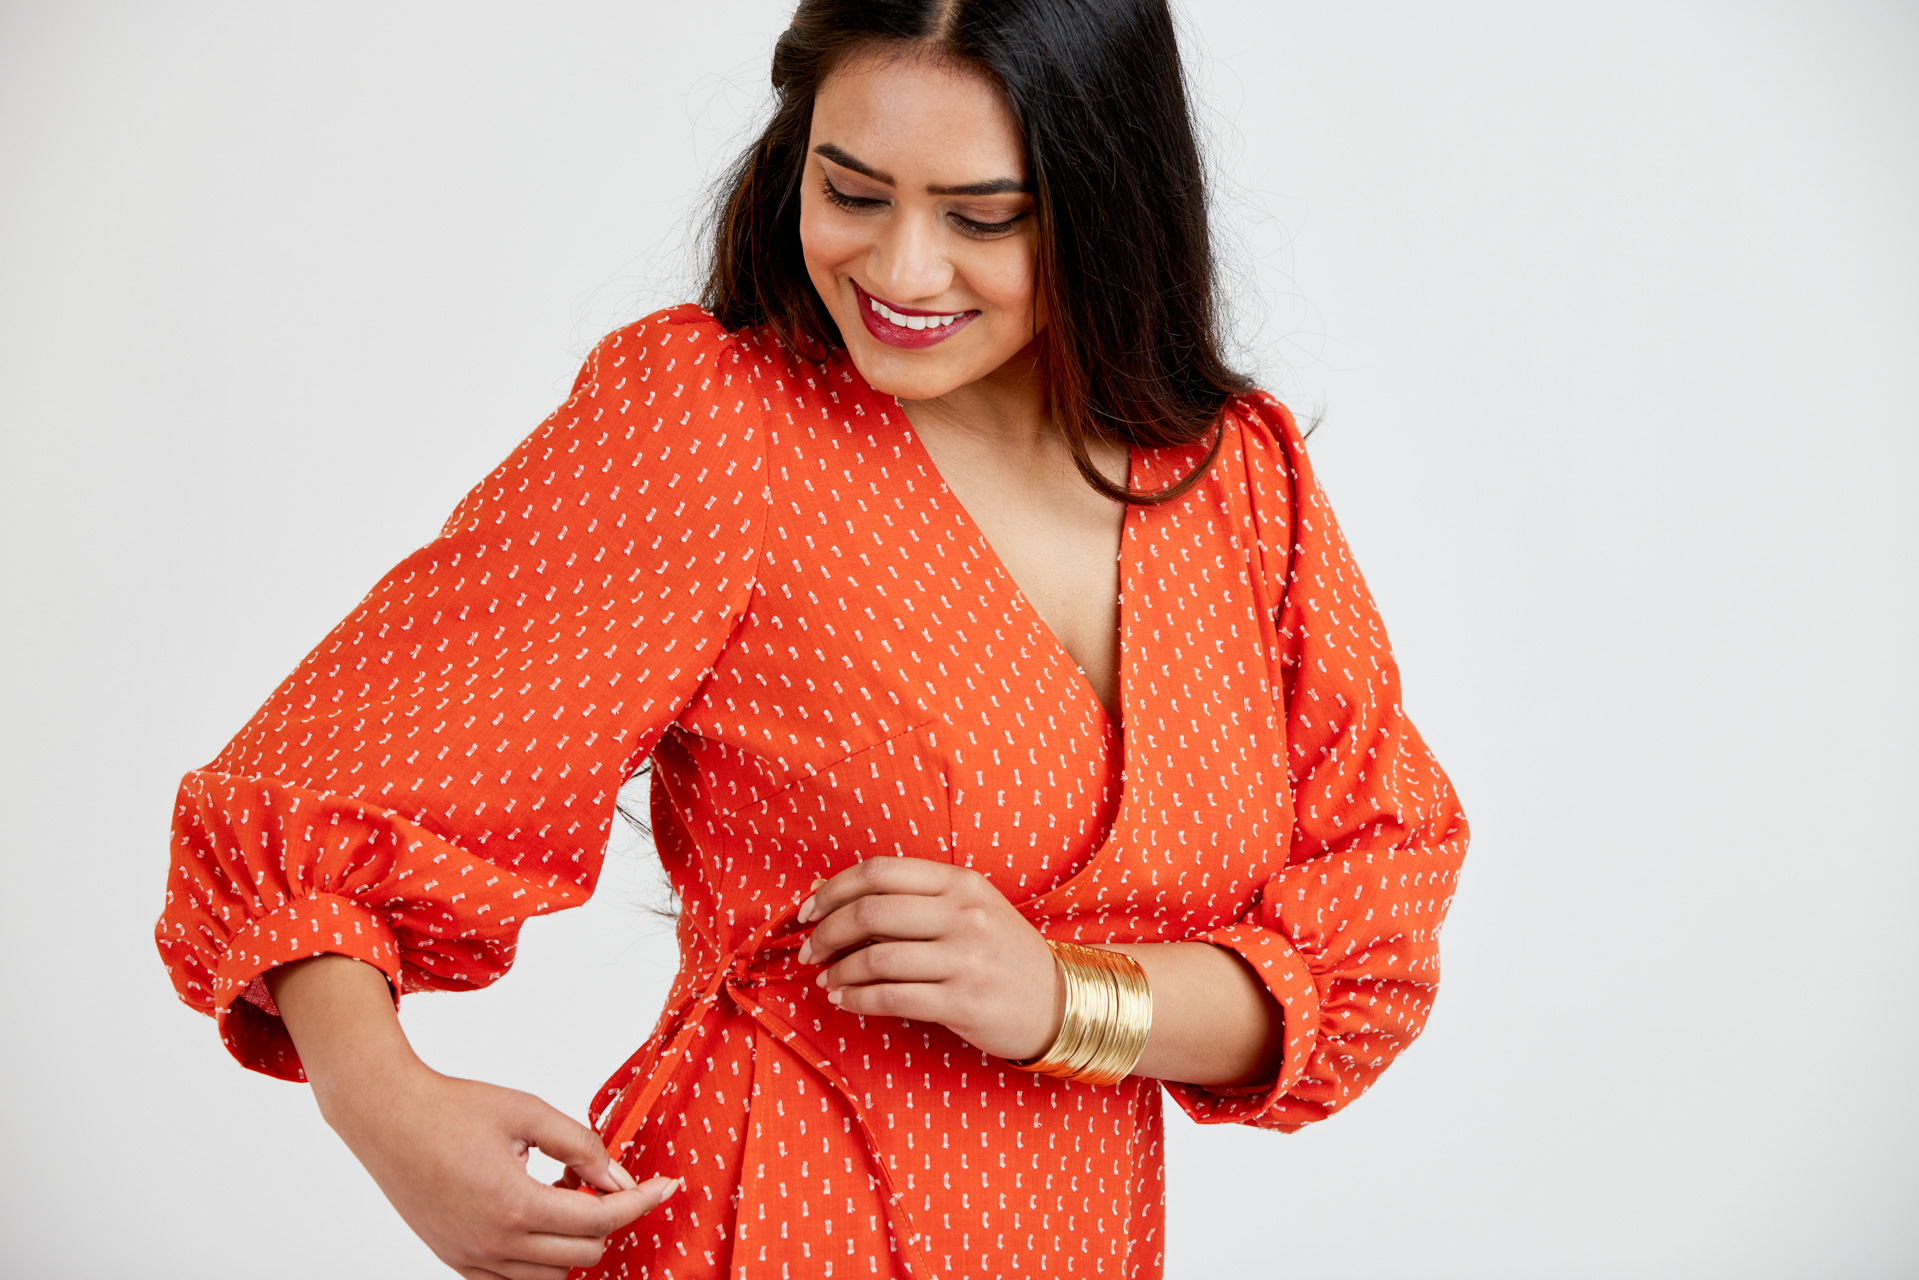
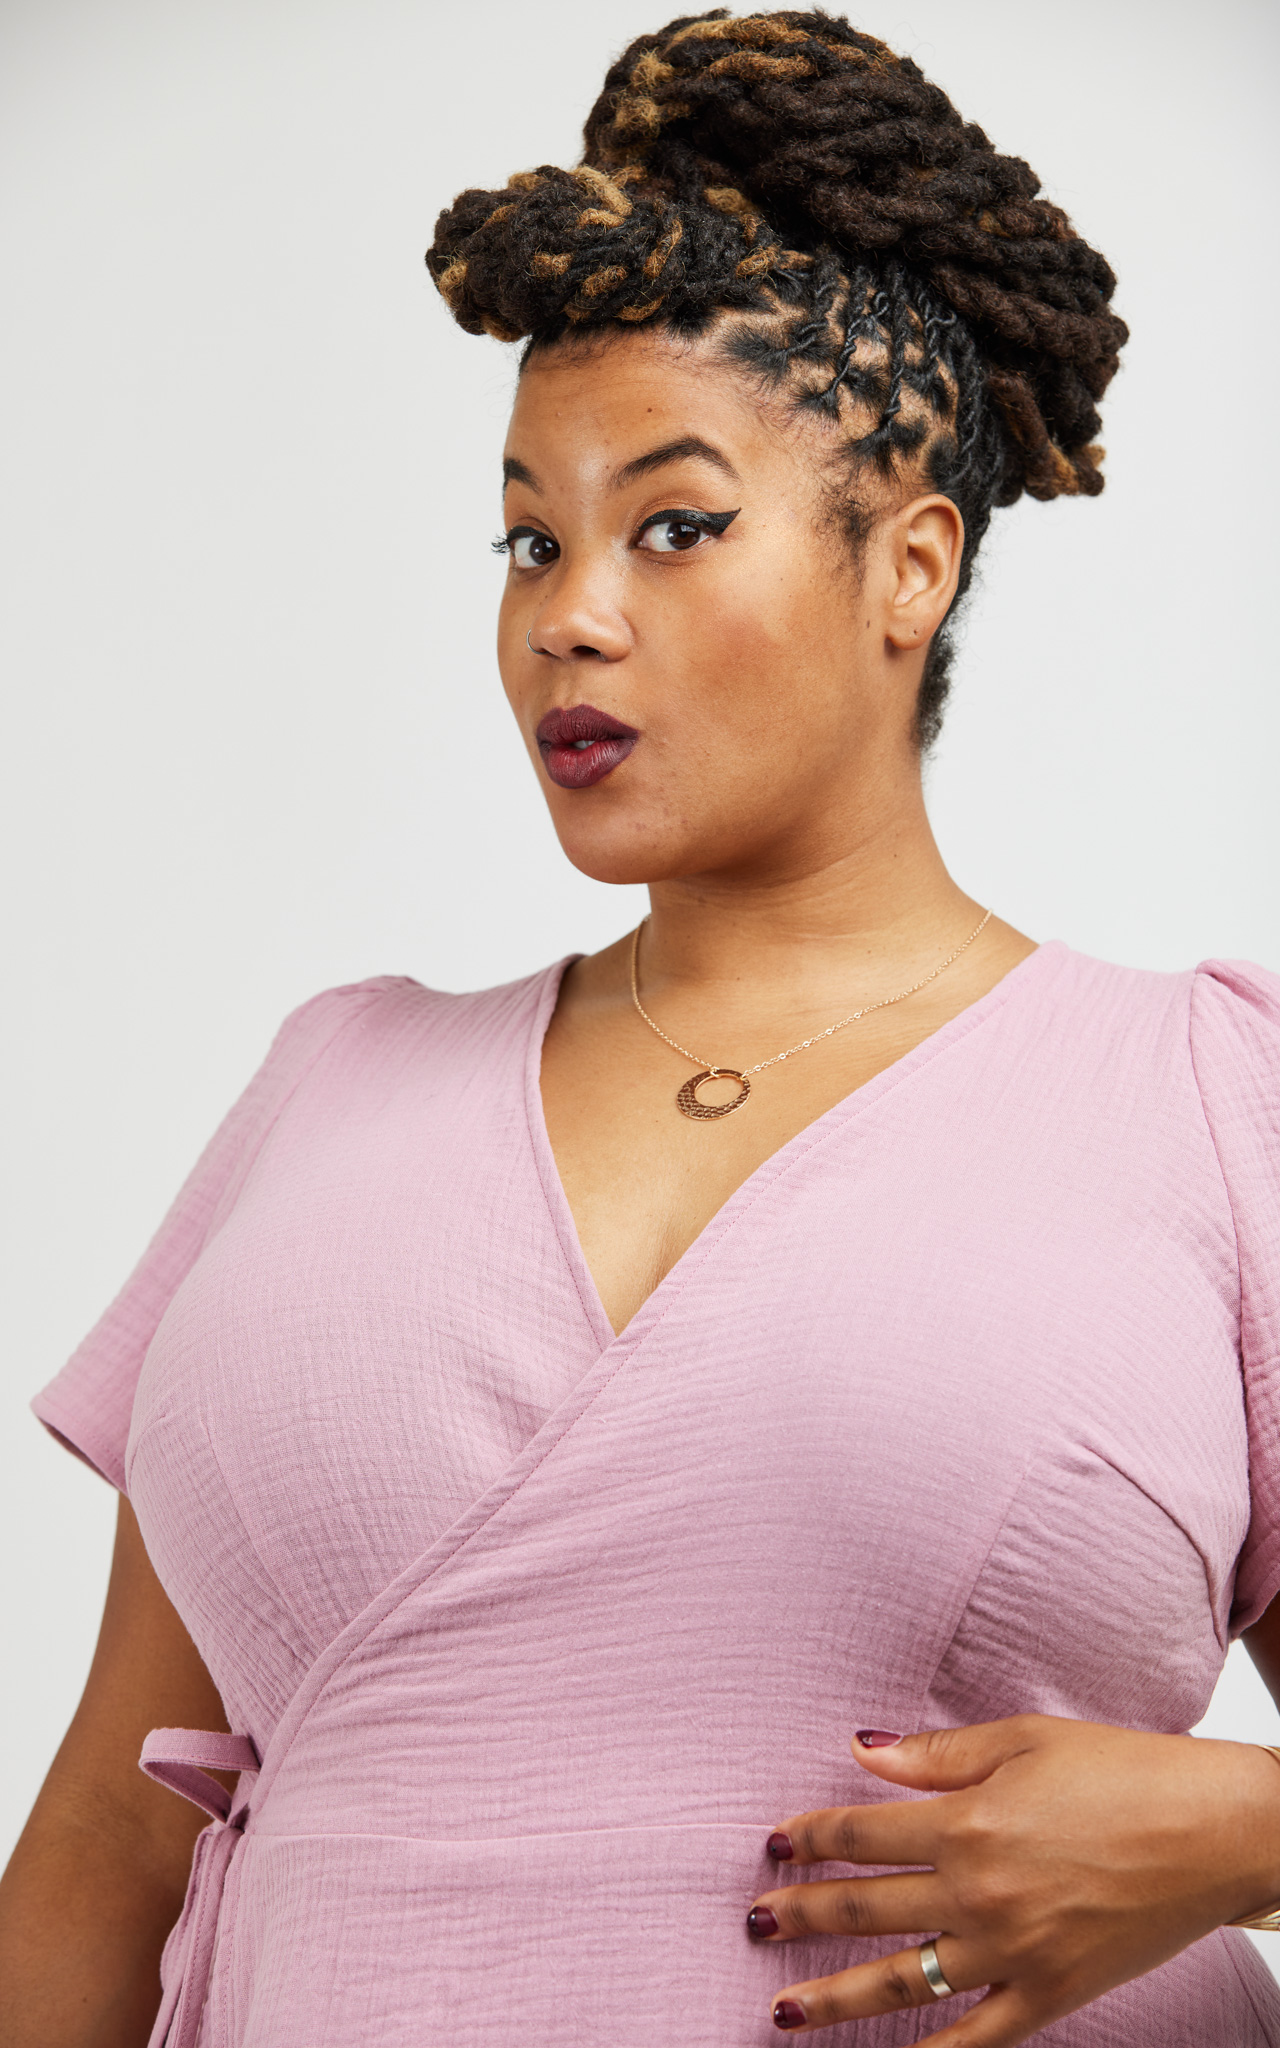
The Roseclair Dress is THE woven wrap dress for curves, with sizes 0-32 and cup sizes C-H. If you’ve been frustrated in the past by wrap dresses that gape at the neckline, the Roseclair is the dress for you!
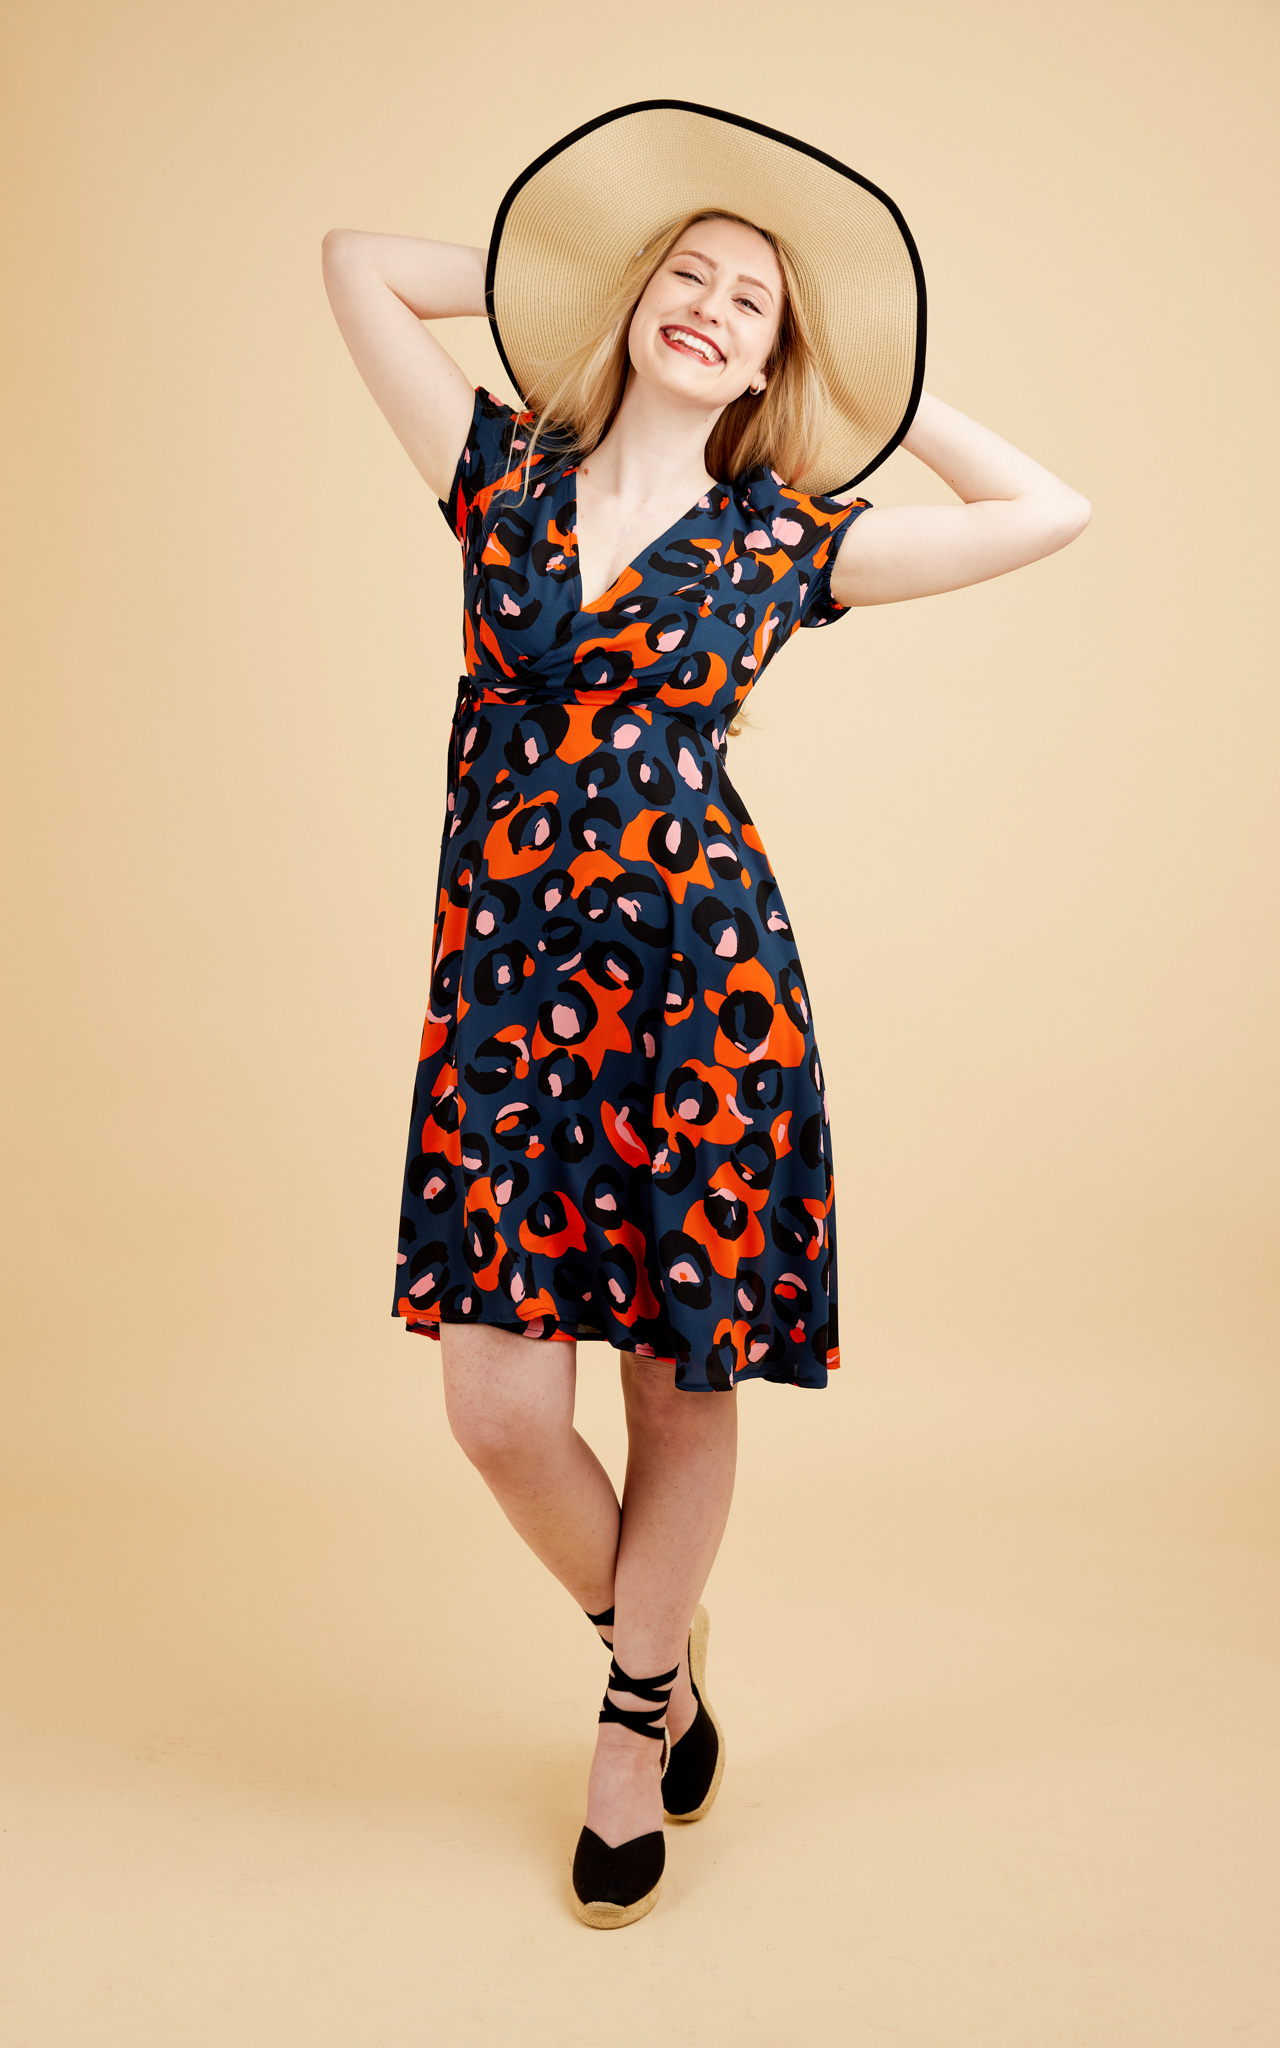
Once you’ve checked out our ready-to-wear inspiration roundup, as well as these great makes from the community and these ones from our team, it’s time to start sewing!
First up, we need to pick our size. Thanks to the three cup sizes it’s more likely that you’ll fit in a “straight” Cashmerette Pattern than many other companies, but of course we all vary and chances are you may not be perfectly in one size. The good news is that sewing gives you tons of flexibility, and it’s easy to grade between sizes.
How to Choose Your Size
The fastest way to find your ideal starting size is by using our Size Calculator! Try it here.
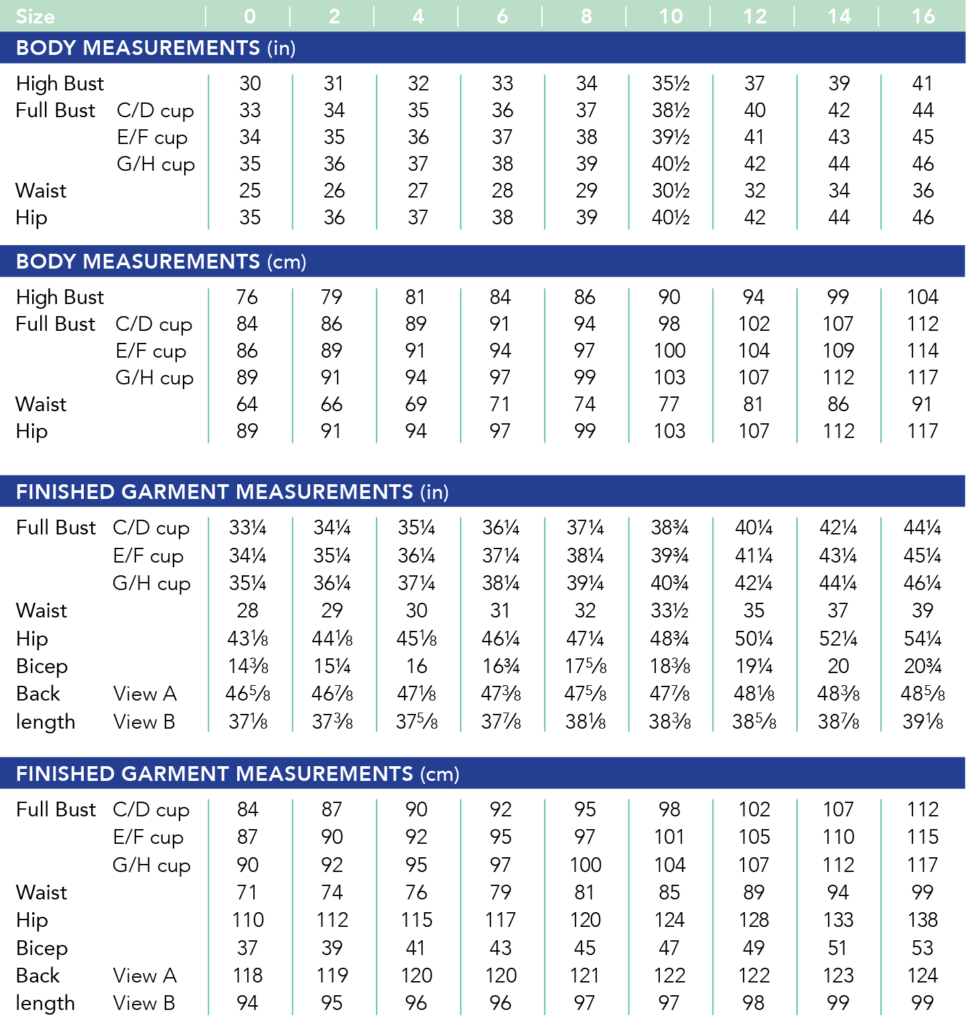
There are two measurement charts: one is the Body Measurement chart, and the other is the Finished Garment Measurements chart. The Body Measurement chart helps you choose your size based on what numbers you get when you measure your body with a tape measure—it has numbers for your high bust, full bust, waist and hip.
(Not sure how to measure yourself? Check out our guide here.)
The Finished Garment Measurements chart shows you the size of the actual sewn garment. The difference between that and the Body Measurement chart is called “ease”, and it’s the amount of extra room or stretch in the garment that the designer recommends for the clothes to fit well and allow movement.
Generally, you want to start by comparing your measurement with the body measurement chart. However, if your measurements are between sizes you can take a look at the Finished Garment Measurements chart to see if you can fit in just one.
Sizes 0-16
Size 12-32
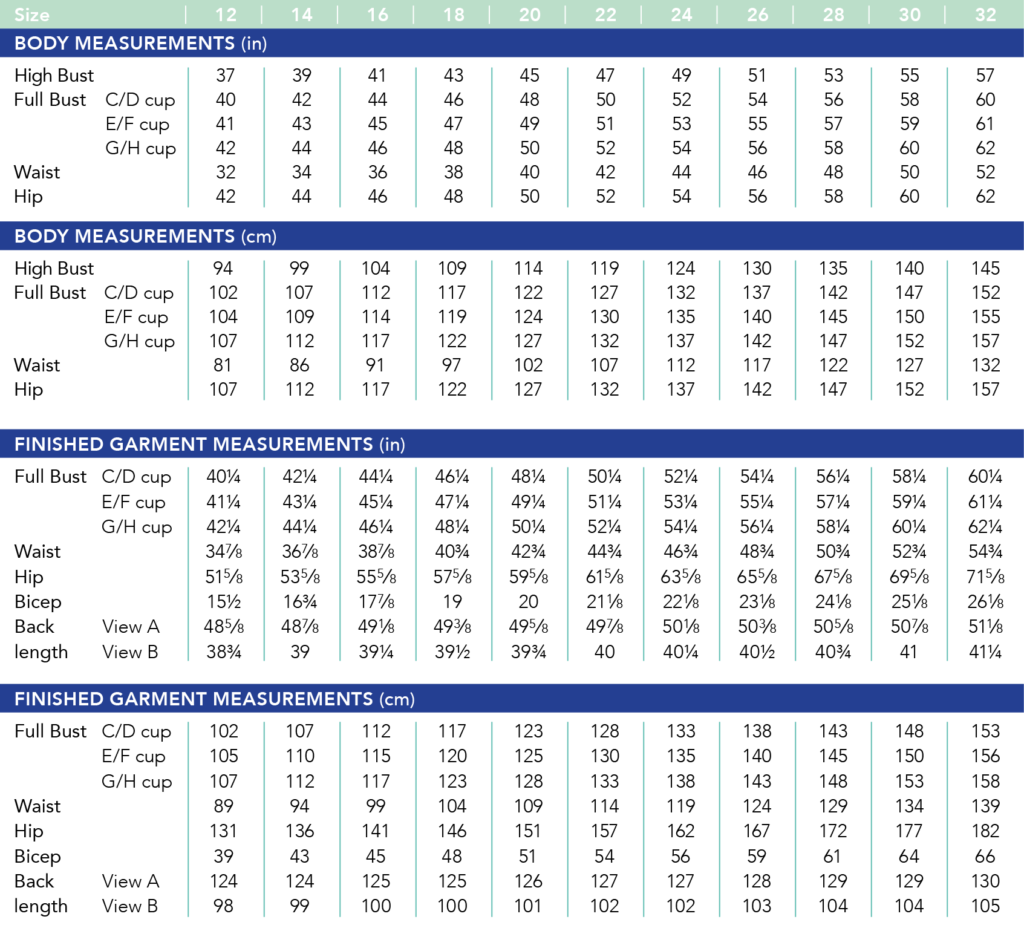
For the Roseclair Dress—as with all Cashmerette patterns—the best bet is to start with your high bust and full bust measurements. You may find that your full bust can fit into multiple size—for example, if your full bust is 48″, you may be an 18 G/H or a 20 C/D—so your high bust will clue you in as to which size and cup size you should use. In this case, if your high bust is 43″, you’d go with the 18 G/H, while if your high bust is 45″, you’d go with the 20 C/D.
Don’t fret if the cup size doesn’t match up with your bra size–there is so much variation in bra sizing that it’s not possible to perfectly line them up. Use your actual full bust measurement and you’ll be fine.
Grading Between Sizes
If your bust, waist, and hip measurements end up in different sizes, you may want to grade between sizes. Here’s a tutorial on how to grade between sizes on a dress like the Roseclair—remember to grade on both sides of the bodice, since the Roseclair is a full wrap.
Still not sure what size to use? You can write to us here for additional fitting advice.
Preparing Your Pattern
Now that we’ve chosen our size and graded if necessary, it’s time to prepare our pattern.
Here’s what you need to do:
- If you’re using the PDF pattern and are printing your PDF pattern at home, you’ll need to print and assemble it. Here are some pointers to help you. If you want to get it printed, here are some suggestions.
- Either cut or trace off your pattern pieces. If you’re using a paper pattern, making adjustments, or are going to make any other sizes in the future, we definitely recommend tracing.
Making a Muslin
If this is your first time making a Roseclair, we recommend making a muslin first using an inexpensive fabric that has similar weigh and drape to your final fabric. We’ve found that the Roseclair’s bodice can fit very differently between very drapey and less drapey fabrics (for instance, you could have gaping in one fabric and not in another, using exactly the same size pattern pieces!), so for your muslin, do your best to match the drape of the fabric you’ve chosen for your final garment.
If you’d like to use less fabric, you can use just the top tier of View A to make a peplum top as your muslin—you’ll get a great sense of the bodice fit that way without using up a lot of fabric or spending a ton of time on the ruffles or hems. (You can see two examples of Roseclair Tops in this blog post.)
Important note: make sure you don’t skip the neckline staystitching step! Staystitching the neckline before constructing your Roseclair will keep the neckline from stretching out while you’re sewing up your Roseclair. If you don’t do this, it may be gaping because the fabric stretched out on the bias, not because it doesn’t fit.
You can also use a trick Jenny recently shared on Instagram: first, trace your pattern piece onto your fabric using chalk or a marker. Staystitch just inside the neckline, and only then cut the piece out. That way the neckline never has the opportunity to stretch out!
Adjusting the Fit
Once you’ve made your muslin, put it on and take a look in the mirror. Does it fit as intended? We have a full fit guide for the Roseclair Dress here to help you answer any fit questions you might have, as well as a tutorial specifically for fitting the bodice of the Roseclair.
If you find that you want to make fit adjustments, make those changes to your pattern pieces before cutting into your final fabric.
Preparing Your Fabric
Here’s your fabric prep checklist:
- Pre-wash your fabric to make sure it’s pre-shrunk and you’re not going to get any nasty surprises later! Be sure to follow manufacturer instructions for how to do this.
- Press your fabric so it’s nice and flat. Check to see if you get any iron shine when you press the right side. If so, you’ll want to use a press cloth when pressing between steps.
Finally, it’s time to cut into our fabric!
- Cut all pieces, following the layout diagrams in the pattern.
- Transfer all the markings to the fabric. For the notches, make a little snip into the fabric within the seam allowance (so no more than 1/4″ / 6mm).
Applying Interfacing
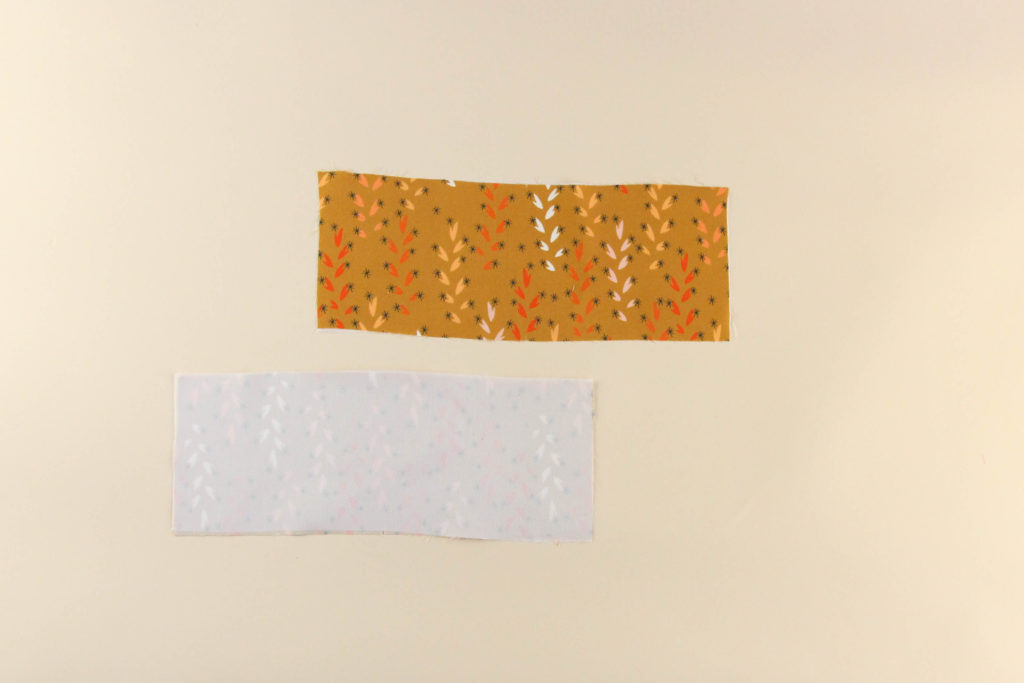
If you’re making View A with the bishop sleeves, apply interfacing to the wrong side of the two cuffs (piece #5). Be sure to follow manufacturer’s instructions for how to apply the particular type of interfacing you’re using.
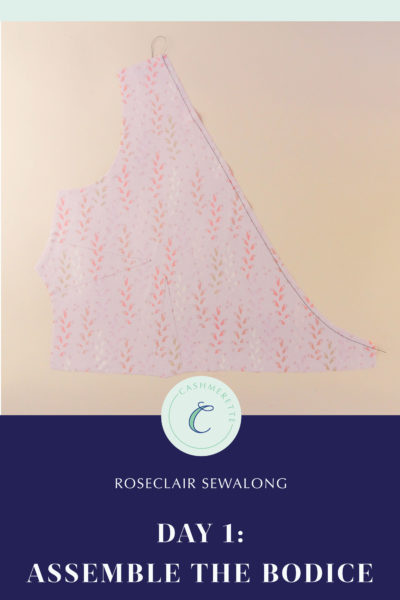
Made it this far? Give yourself a pat on the back and get ready for the fun part—the sewing!
We want to see your creations, whatever stage of the process you’re at! Tag your makes with #RoseclairDress on social media so we (and the whole sewing community) can cheer you on to the finish line!