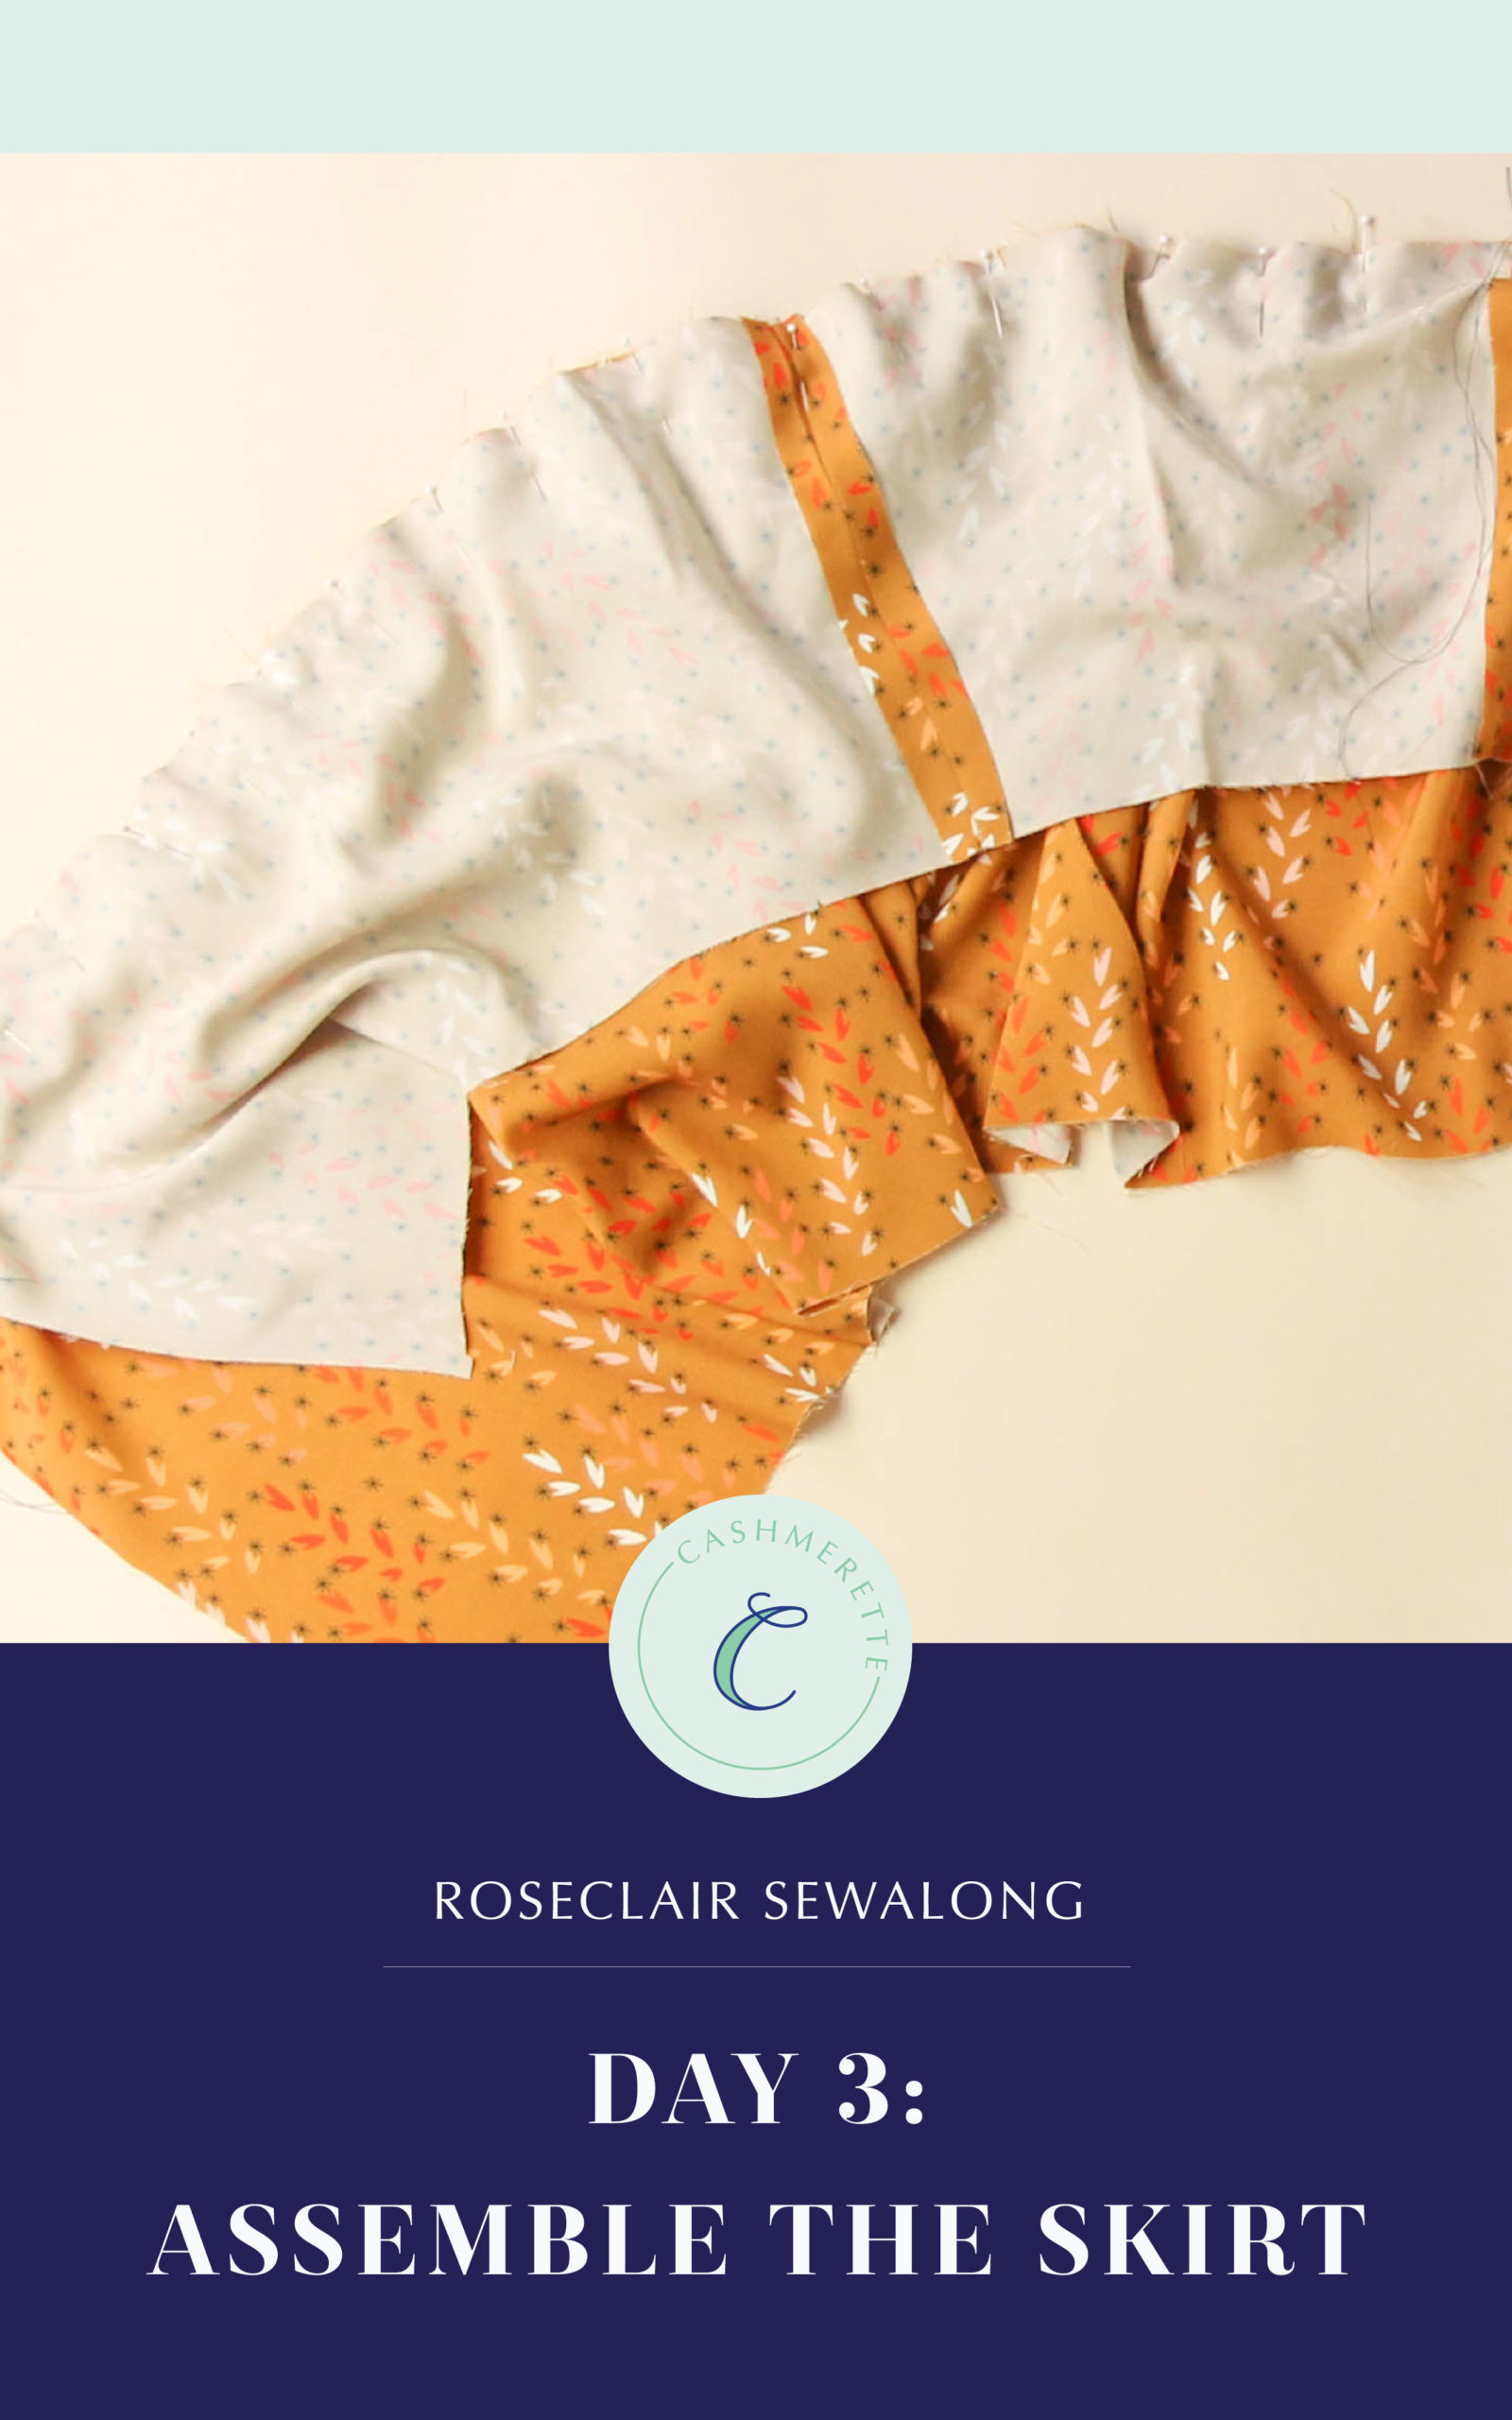
Now that our bodice is made, it’s time to move on to the skirt on our Roseclair Wrap Dress. If you’ve chosen View B or C, you’ll only need to complete the first section in this post.
If you’re making View A, give yourself some time to complete your skirt! You may need a session or two in your sewing room to get this step finished.
Skip to View A Skirt Construction
Assemble the Skirt (View B & C)
Pin your back skirt pieces (6) at the center back seam.
Next, attach the front skirt (7) to either side of your back skirt. Finish your seam allowances and press to one side.
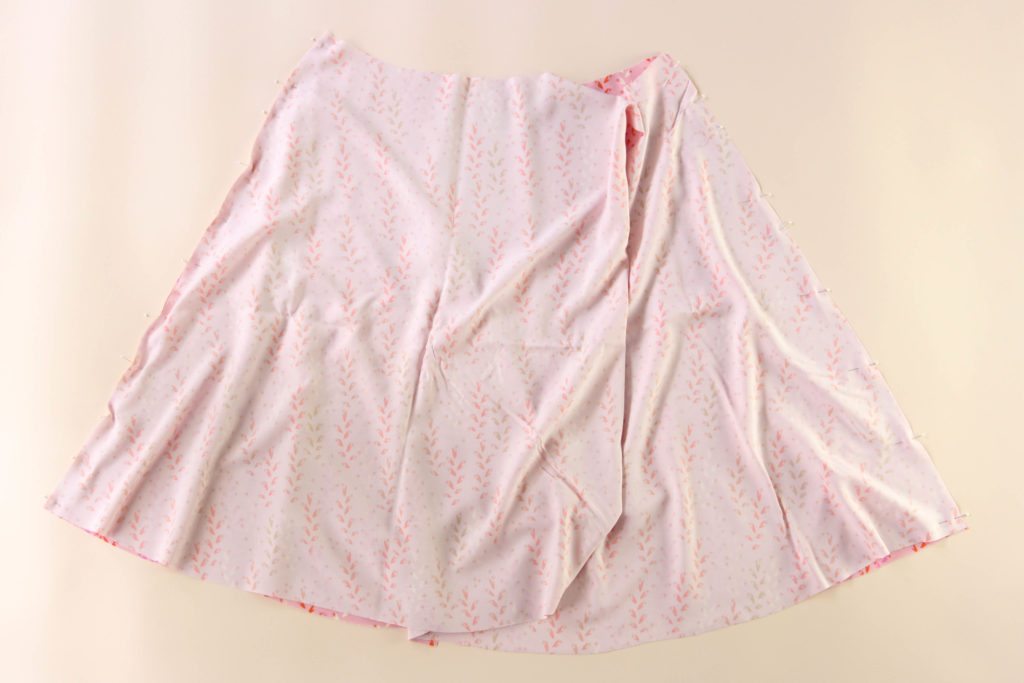
View B & C people, you’re finished constructing your skirt! Next up, you’ll be attaching your bodice to the skirt- that’s in tomorrow’s post!
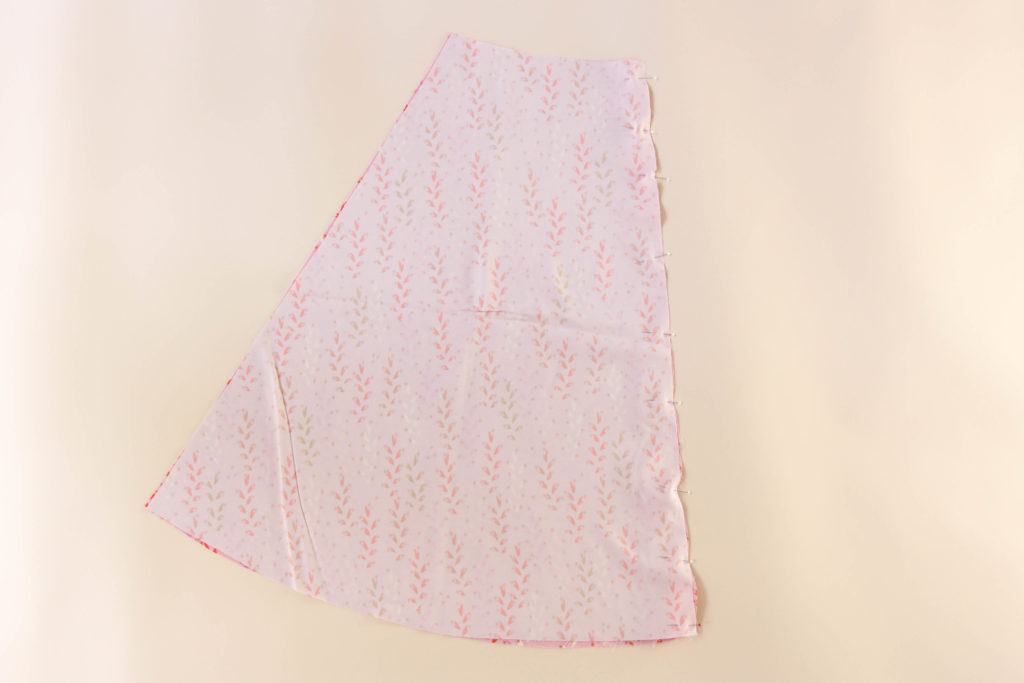
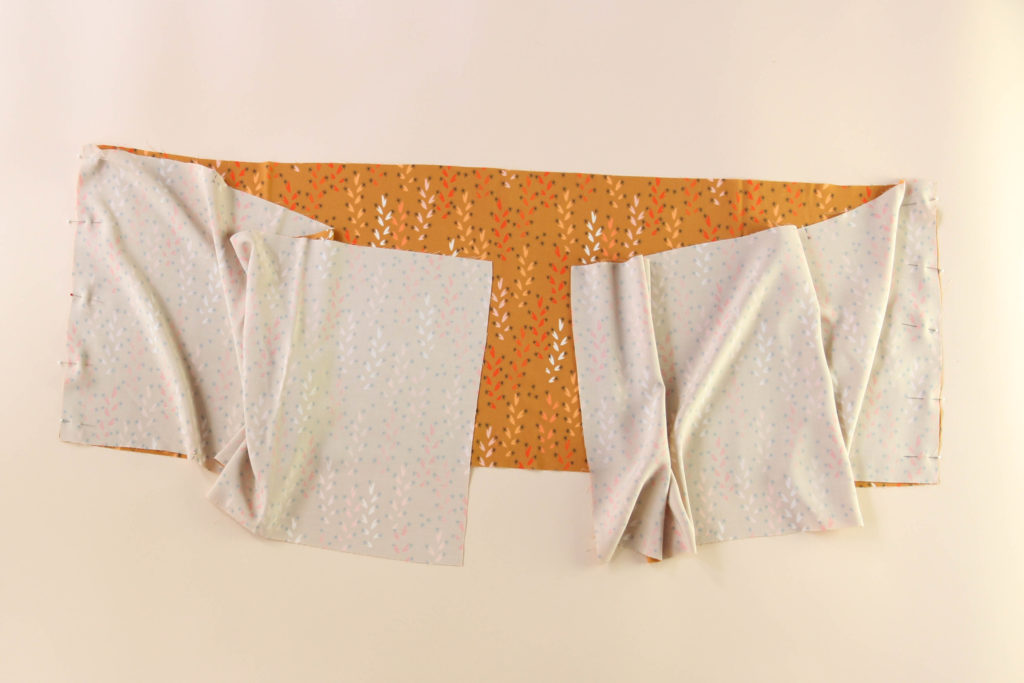
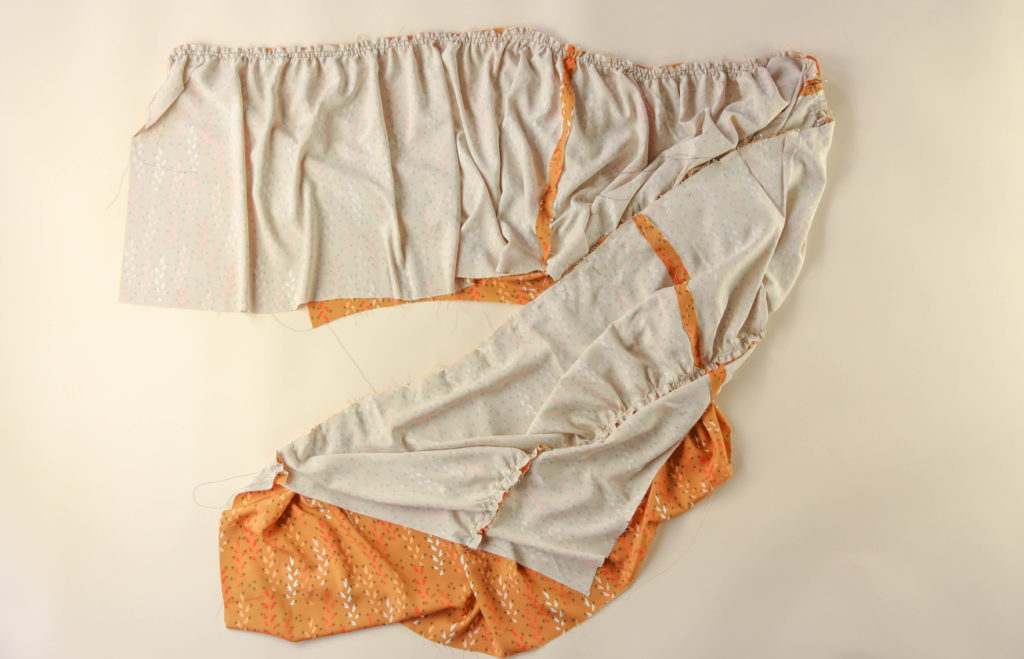
Assemble the Top Tier (View A)
Pin your back skirt pieces (6) at the center back seam.
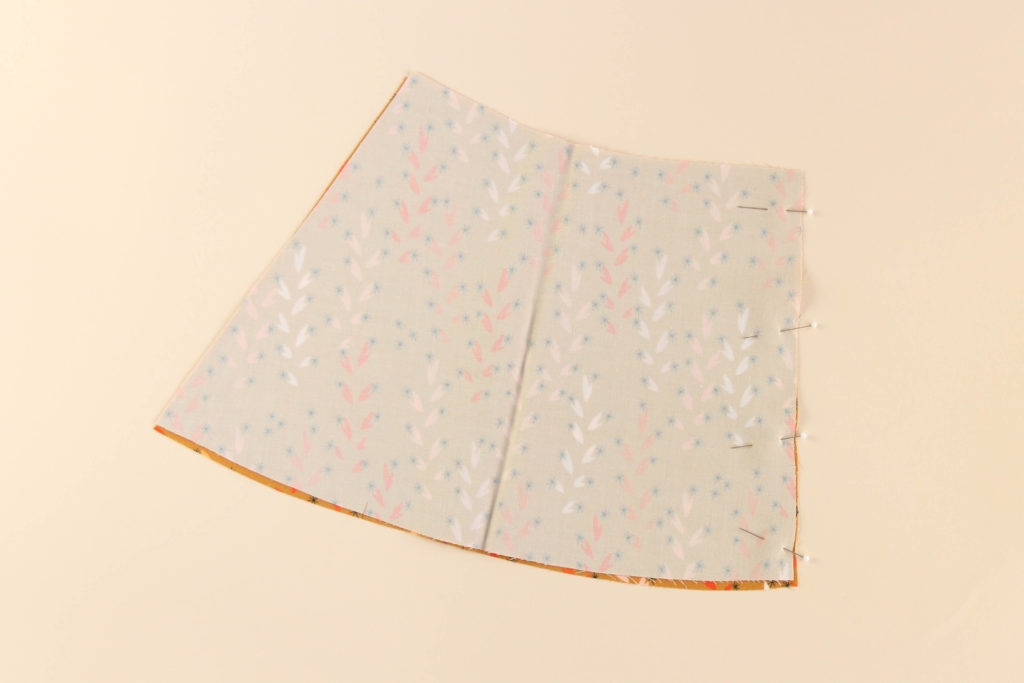
Sew, finish your seam allowances and press the seam.
Next, attach the front skirt (7) to either side of your back skirt. Finish your seam allowances and press to one side.
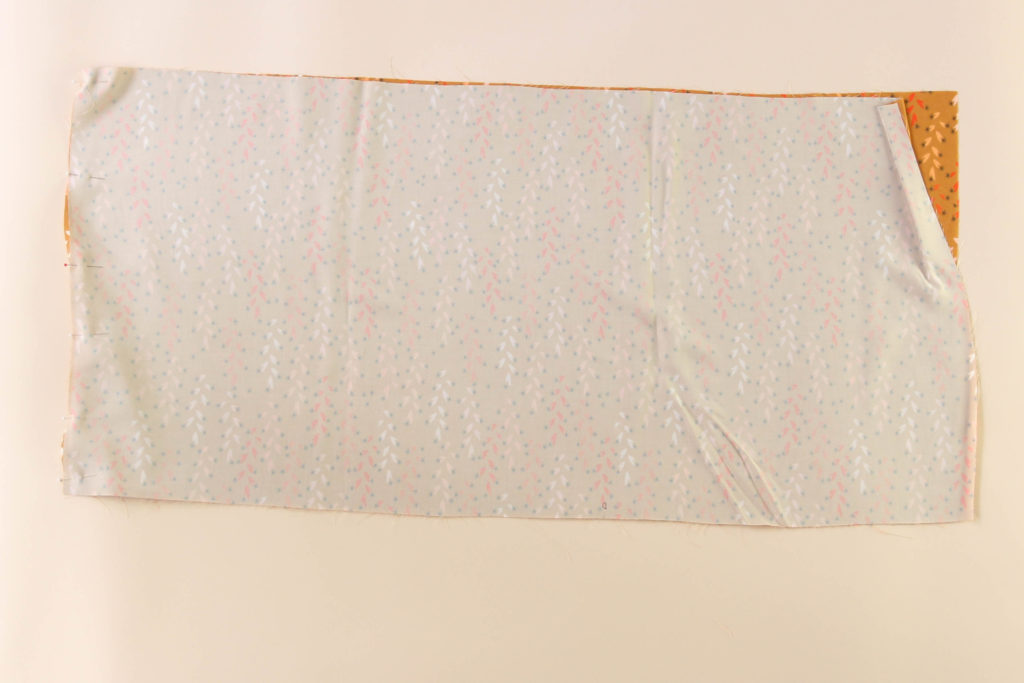
This is what your top tier will look like from the wrong side.

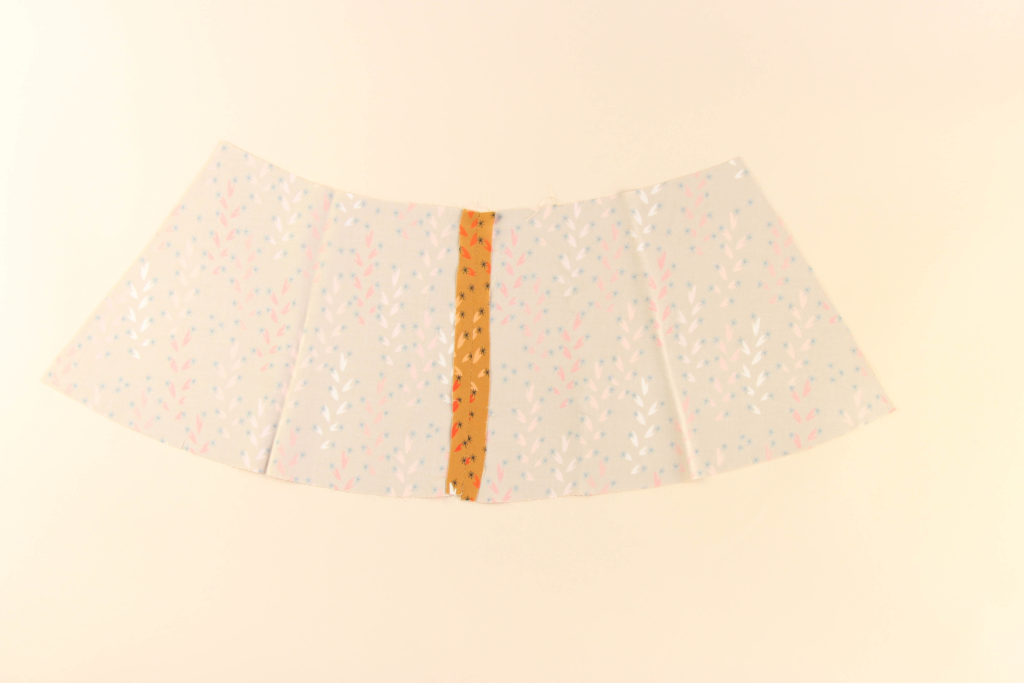
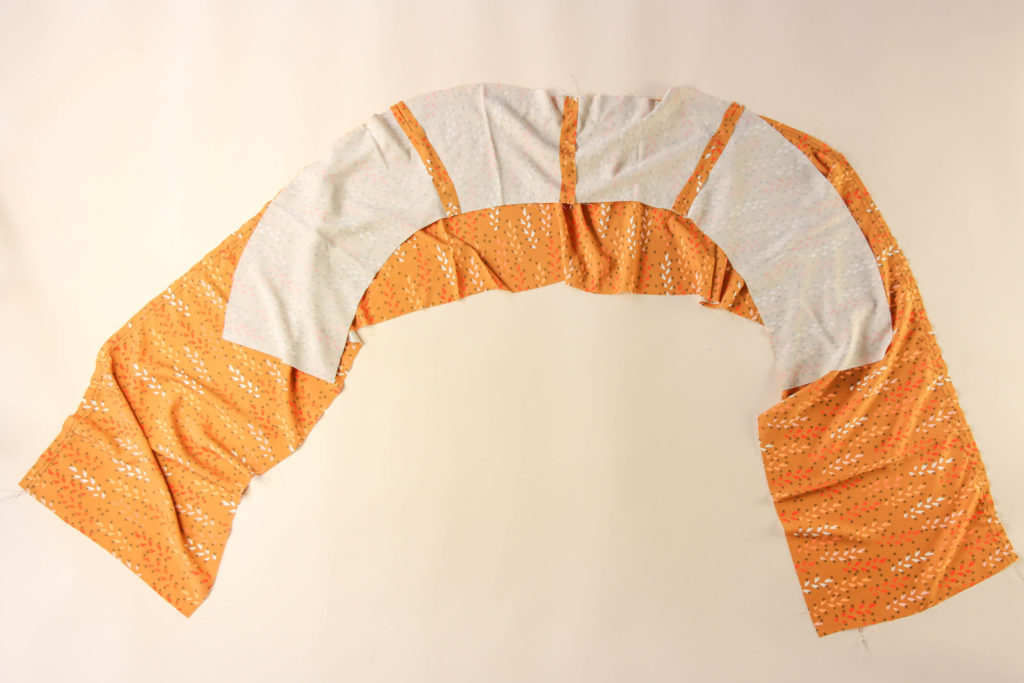
Assemble and Attach the Middle Tier (View A)
For the 12-32 Roseclair: Pin the side panel (9) to center back panel (8) right sides together. Sew, finish seam allowance and press.
Then, pin panel (10) to panel (9), right sides together. Sew, finish seam allowances and press.
For the 0-16 Roseclair: Pin the side panel (9) to center back panel (8) right sides together, sew, finish seam allowance and press.
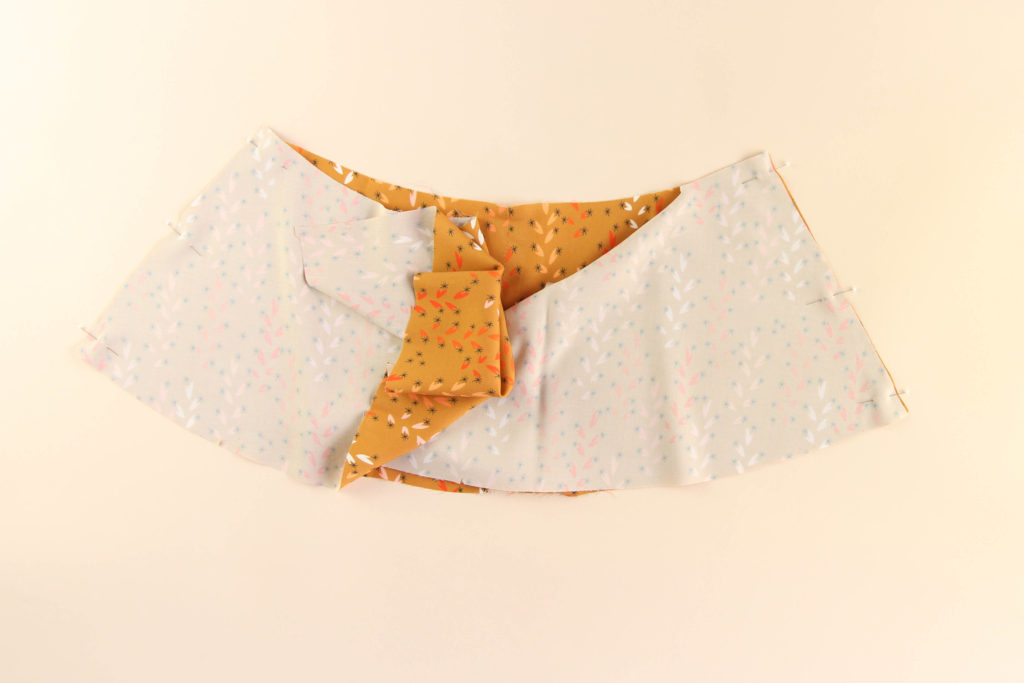
For all sizes: Sew two lines of basting stitches within the seam allowance from the ends of the rectangle, ending in the center. Alternatively, you could sew over a thick thread like #8 perle cotton or dental floss with a narrow, long zig zag stitch— sewing over the thread, but not through it.
Align the middle tier to the top tier, right sides together.
Gather in your preferred method aligning this tier to the top tier (right sides together) at the center back, sides and the notches, distributing your gathers evenly and pinning often.
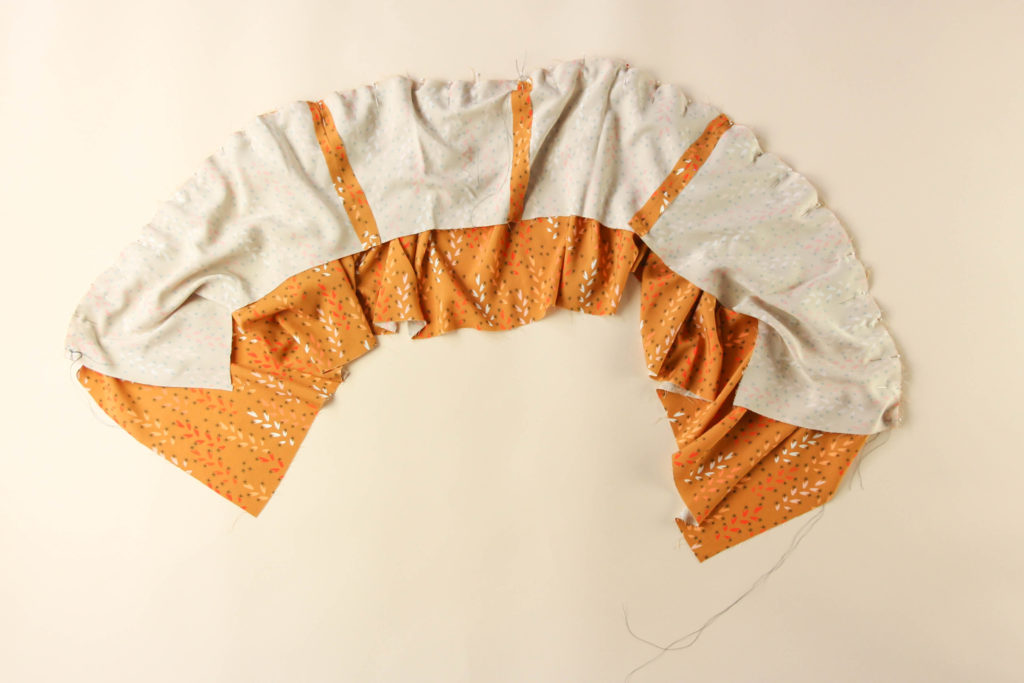
Sew the middle tier to the top tier, right sides together, finish your seam allowances and press them down.
The next step is pretty similar!
Assemble and Attach the Bottom Tier (View A)
For the 12-32 Roseclair: Pin center back panels (11) right sides together. Sew, finish seam allowance and press.
Then pin side panels (12) to each end of assembled back panel, right sides together. Sew, finish seam allowances, and press.
Finally, pin front panels (13) to each end of side panels (12) right sides together. Sew, finish seam allowances, and press to back.
For the 0-16 Roseclair: Pin the back panels (10) right sides together, at center back seam. Sew, finish seam allowances, and press to one side.
Pin the front panels (11) to each end of assembled back panel, right sides together. Sew, finish seam allowances, and press to back
For all sizes: Attach the bottom tier to the middle tier right sides together, using your preferred gathering method and aligning the pieces right sides together using the notches. Gather by pulling your threads and distribute the gathers evenly between the marking
Sew the bottom tier to the middle tier, right sides together, finish your seam allowances and press them down.
That’s the skirt constructed! In our next post, we’ll attach the skirt to the bodice and finish our long vertical edges. See you tomorrow!