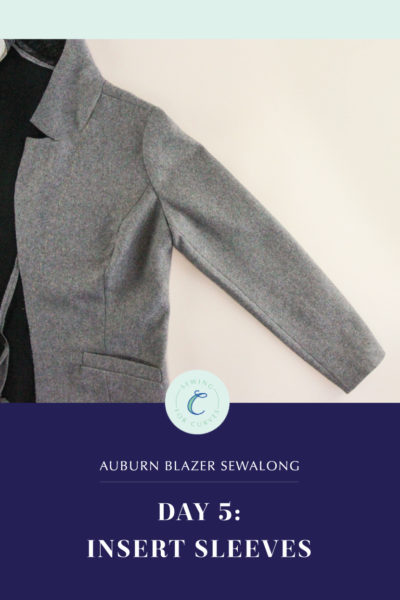
Welcome to the Auburn Blazer sewalong! If you’re ready to sew a blazer that’s designed specifically for your curves, you’ve come to the right place. Let’s get started!
Today we’re starting to sew our Auburn Blazers. If you’re just joining us, be sure to check out the main Auburn sewalong page to get all the deets on how to choose your size, prep your pattern and your fabric, and more.
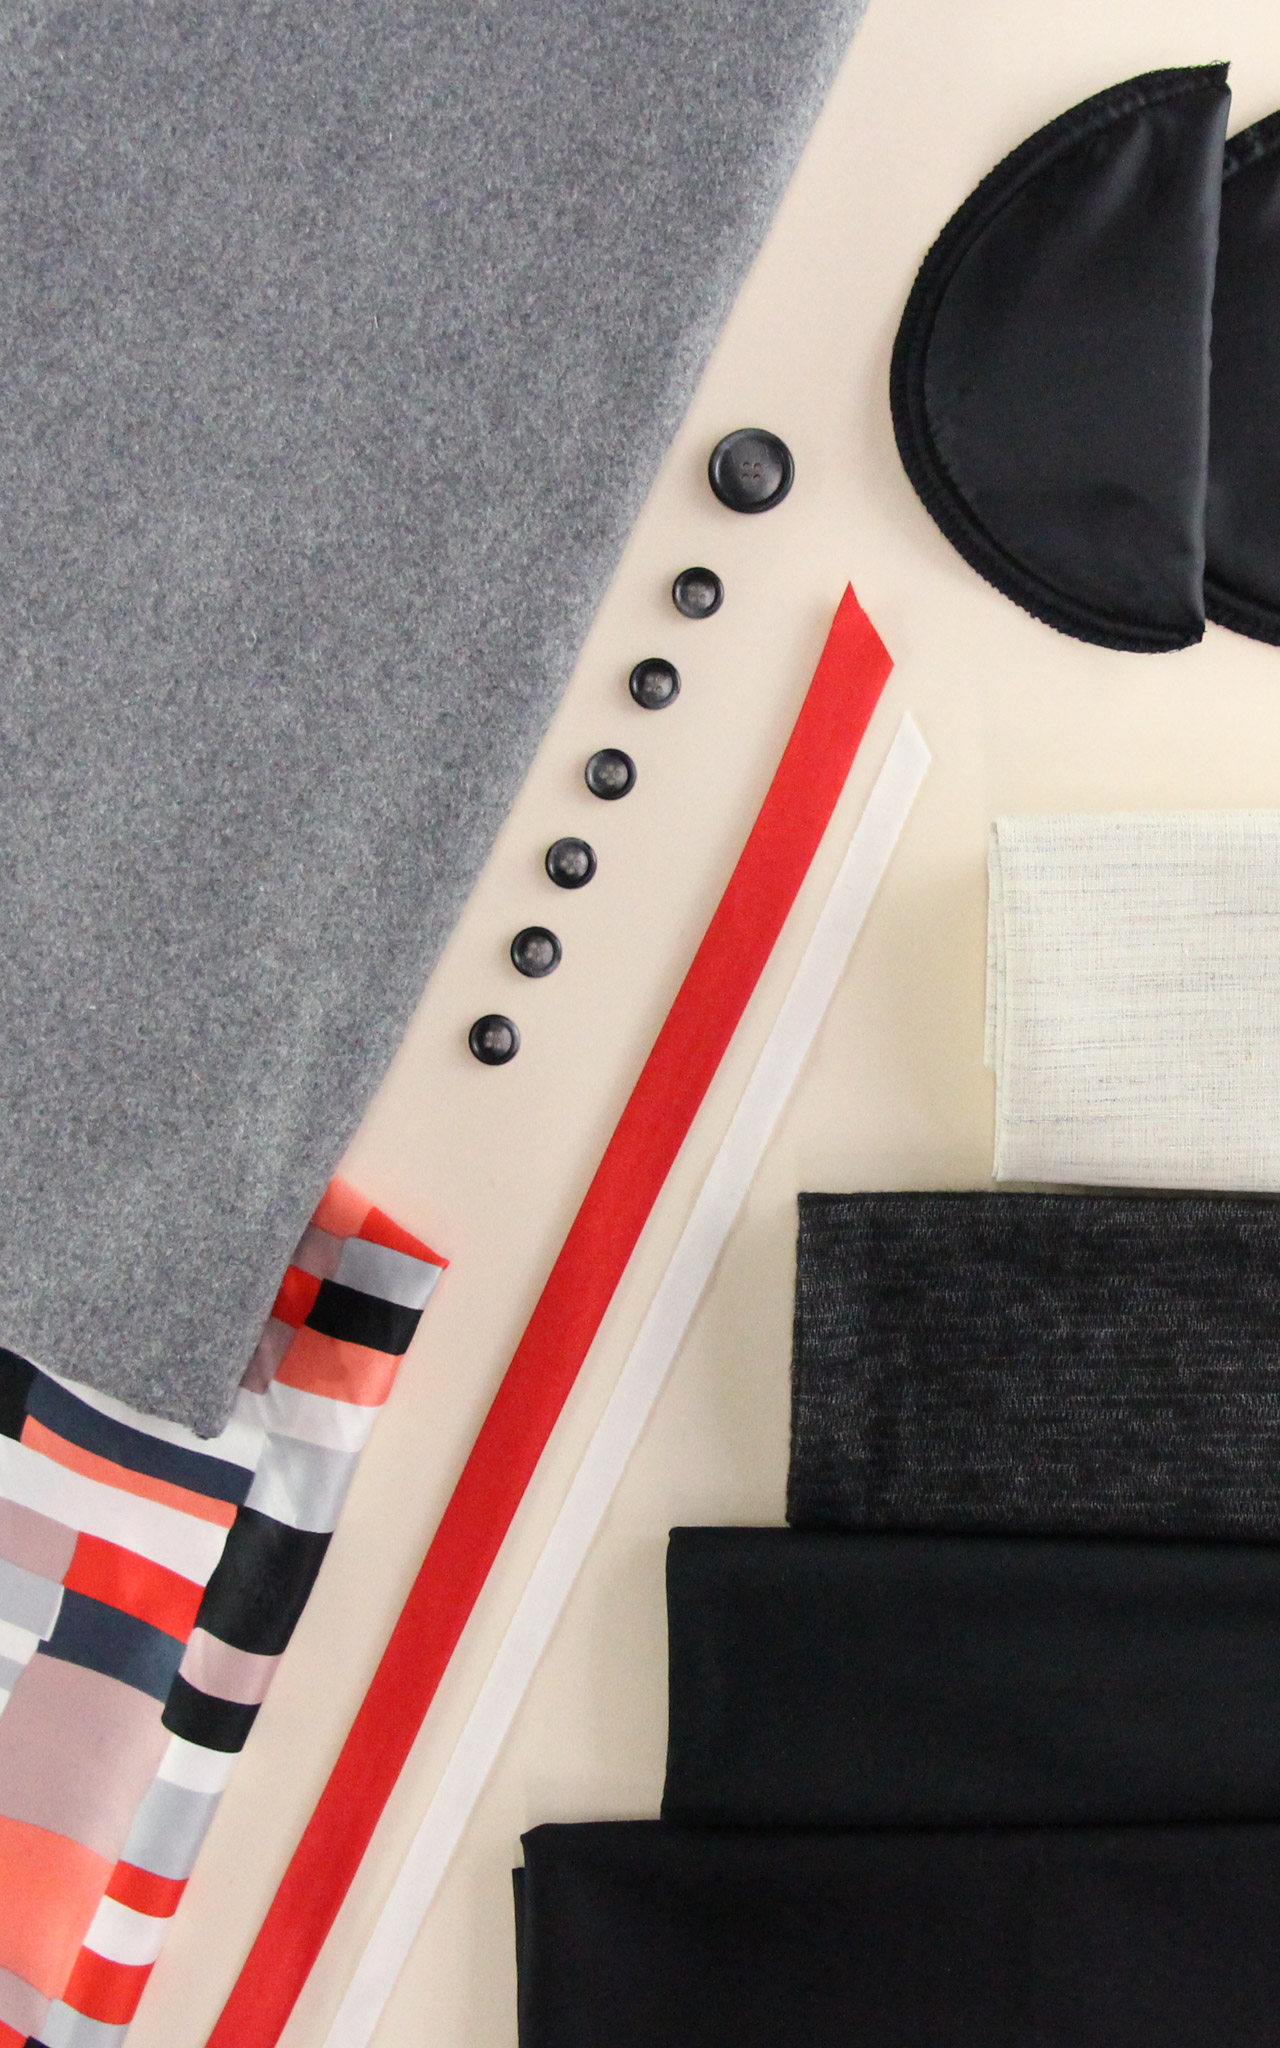
For this Auburn Blazer, I’m using one of our Melton wool kits in a light heathered gray. The wool looks the same from both sides, so I’ve applied interfacing to the back of all of my pieces so that it’s easier for you to tell the right side from the wrong side. (Many of the pieces need to be interfaced anyway, and we’ll be going through all that today!) I’m also using a contrast thread so that you can more easily see what I’m doing, but you should use a coordinating thread.
(Loving this kit I’m using? We still have a handful of Auburn kits available here!)
I’ll be demonstrating the blazer construction process using View A, but the process is very similar for View B, minus a few bits. I’ll make a note anytime the View B steps are slightly different.
When working on a blazer, it can feel like you’re spending hours and hours just cutting your pieces out, applying interfacing, and prepping all of the pieces—that’s totally expected given the complexity of this pattern. But don’t get disheartened! If you treat those steps as part of the sewing process rather than something you have to get through to get to the sewing, you may find that you enjoy it more. And once you do get through that bit, the rest is a delight!
Okay, enough chitchat—let’s get started.
Apply Interfacing and Markings
Okay, so we’re not quite ready to sit at our machines just yet. We first need to apply interfacing to the back sides of a number of our pieces. When applying your interfacing, be sure to follow manufacturer instructions.
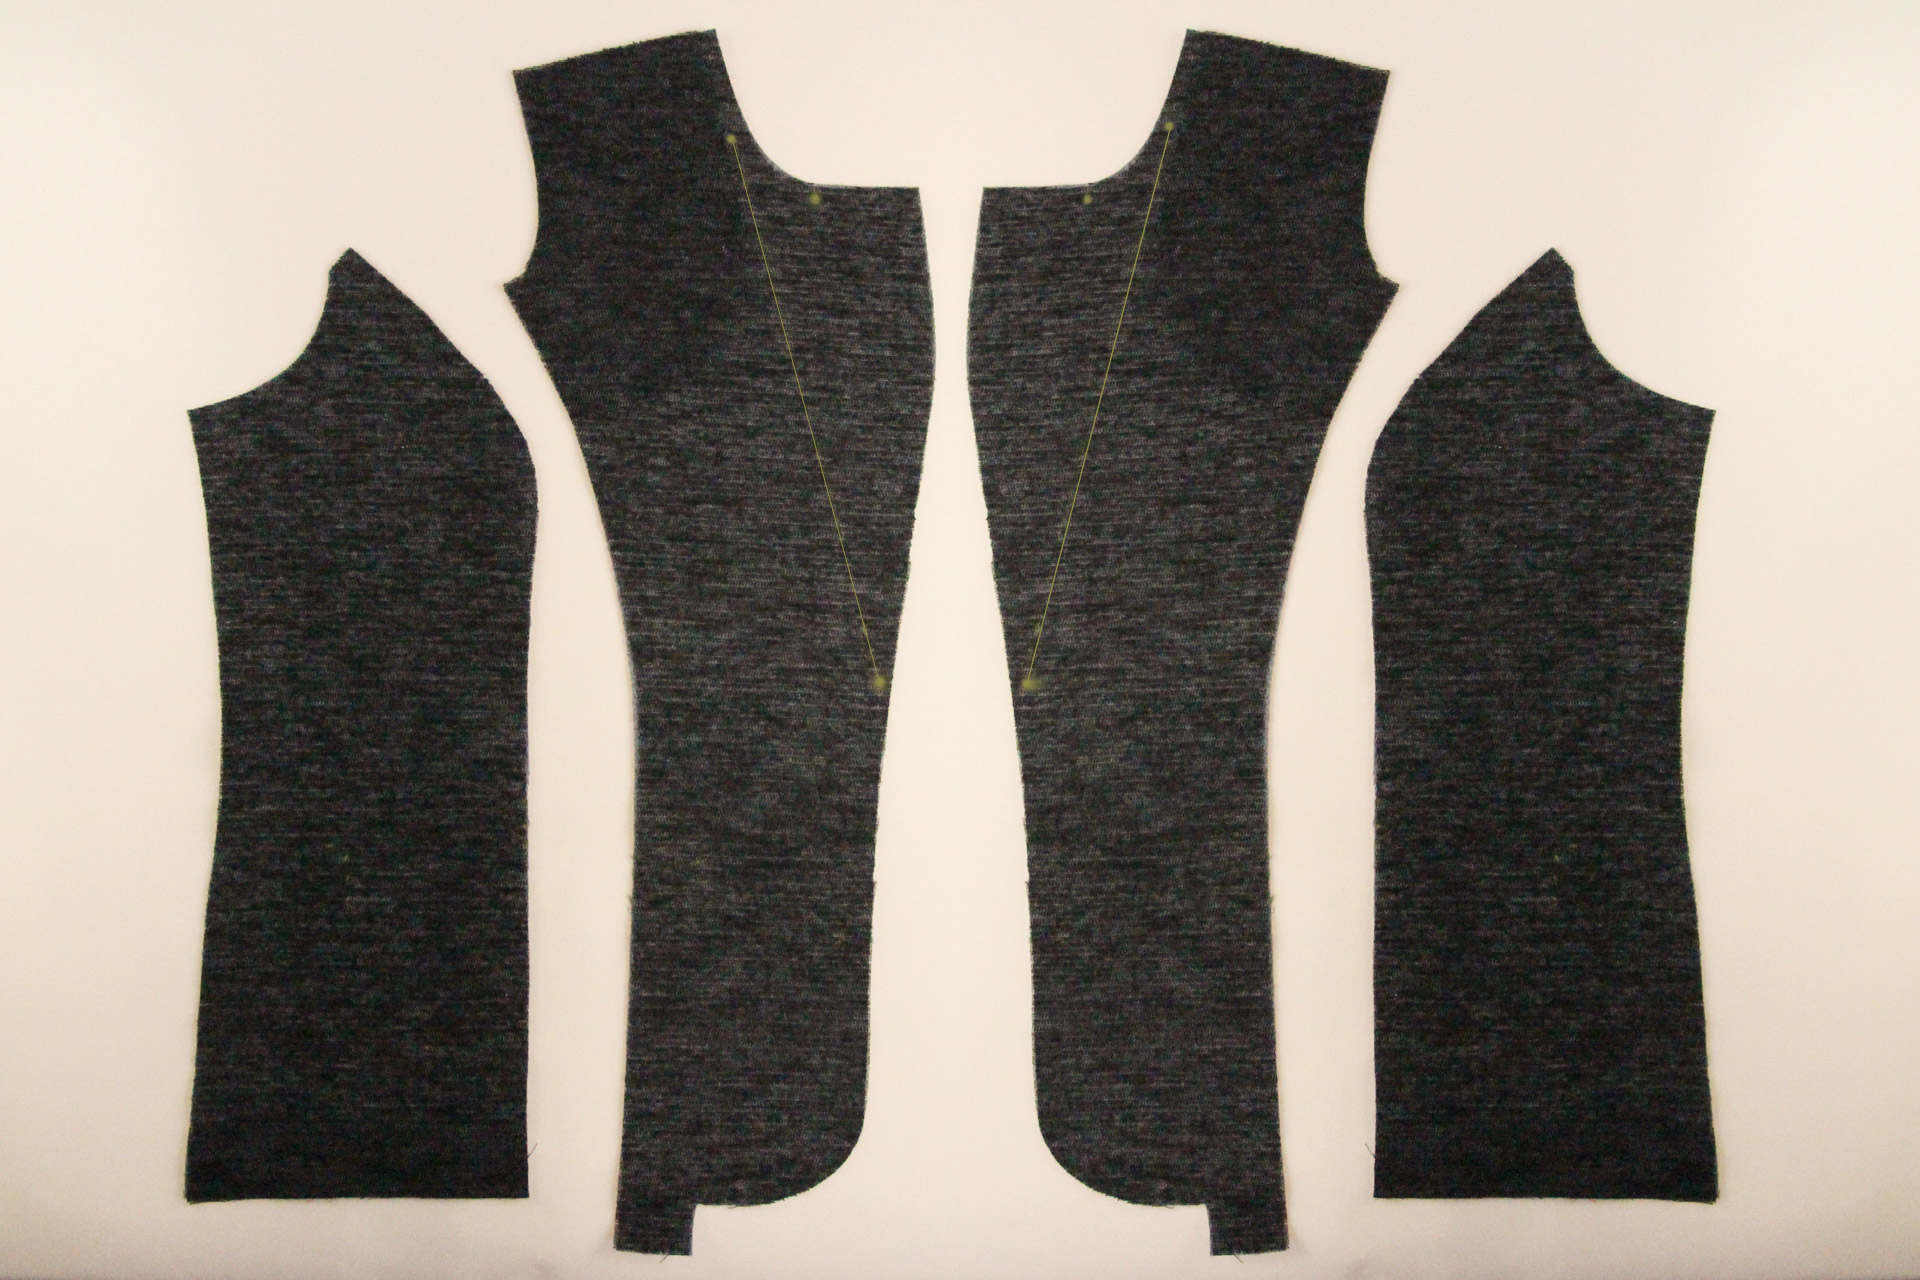
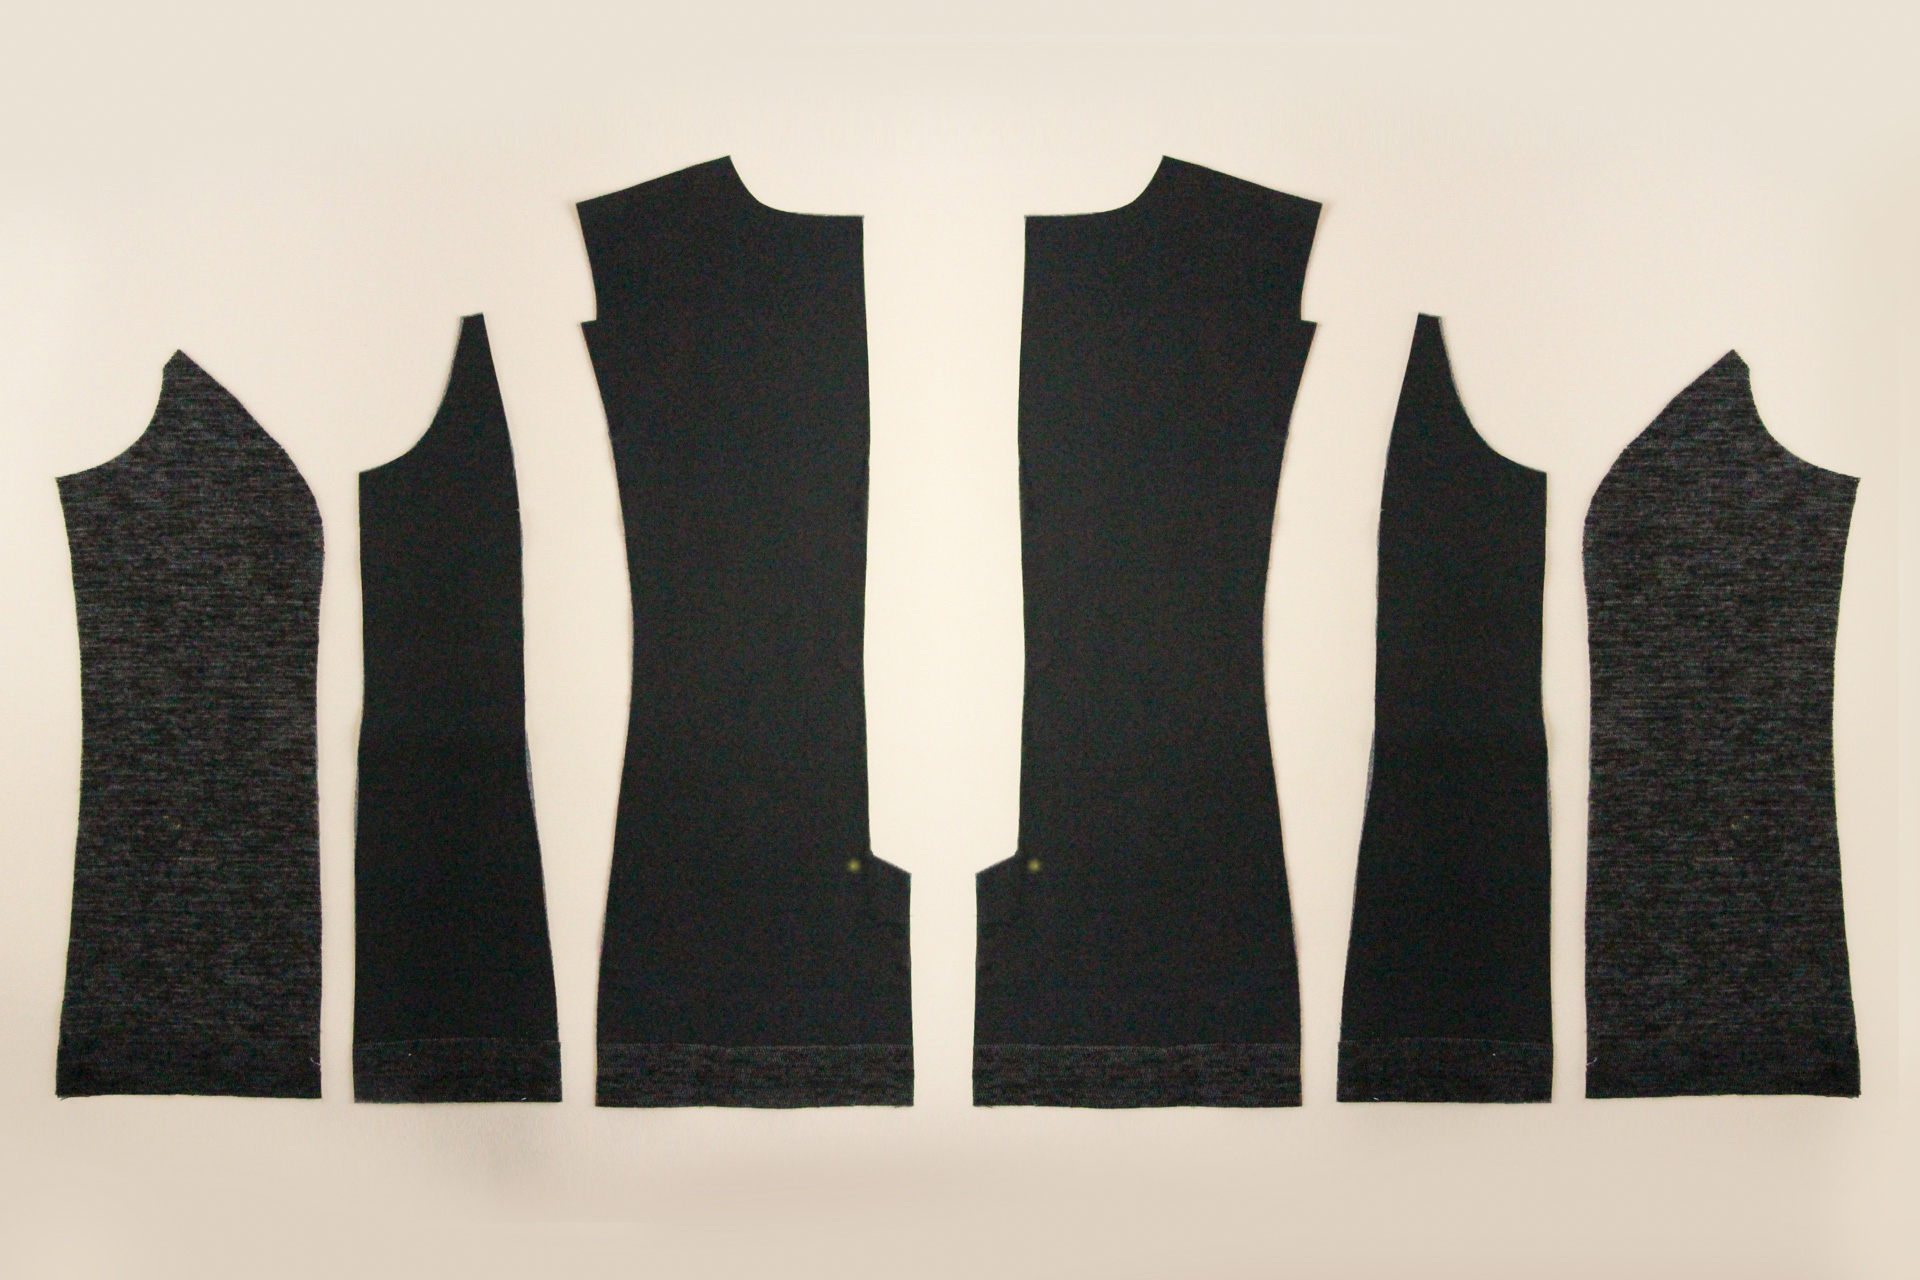
Start by applying weft interfacing to the wrong sides of your center front and side front pieces. Also transfer the markings from the pattern pieces—you can use tailor’s chalk for this.
If you’re making View A, you can transfer your welt pocket markings as well, but we’ll also re-mark those in a later step.
Apply weft interfacing to the wrong sides of your back facing, under collars, and welts as well, and transfer the markings.
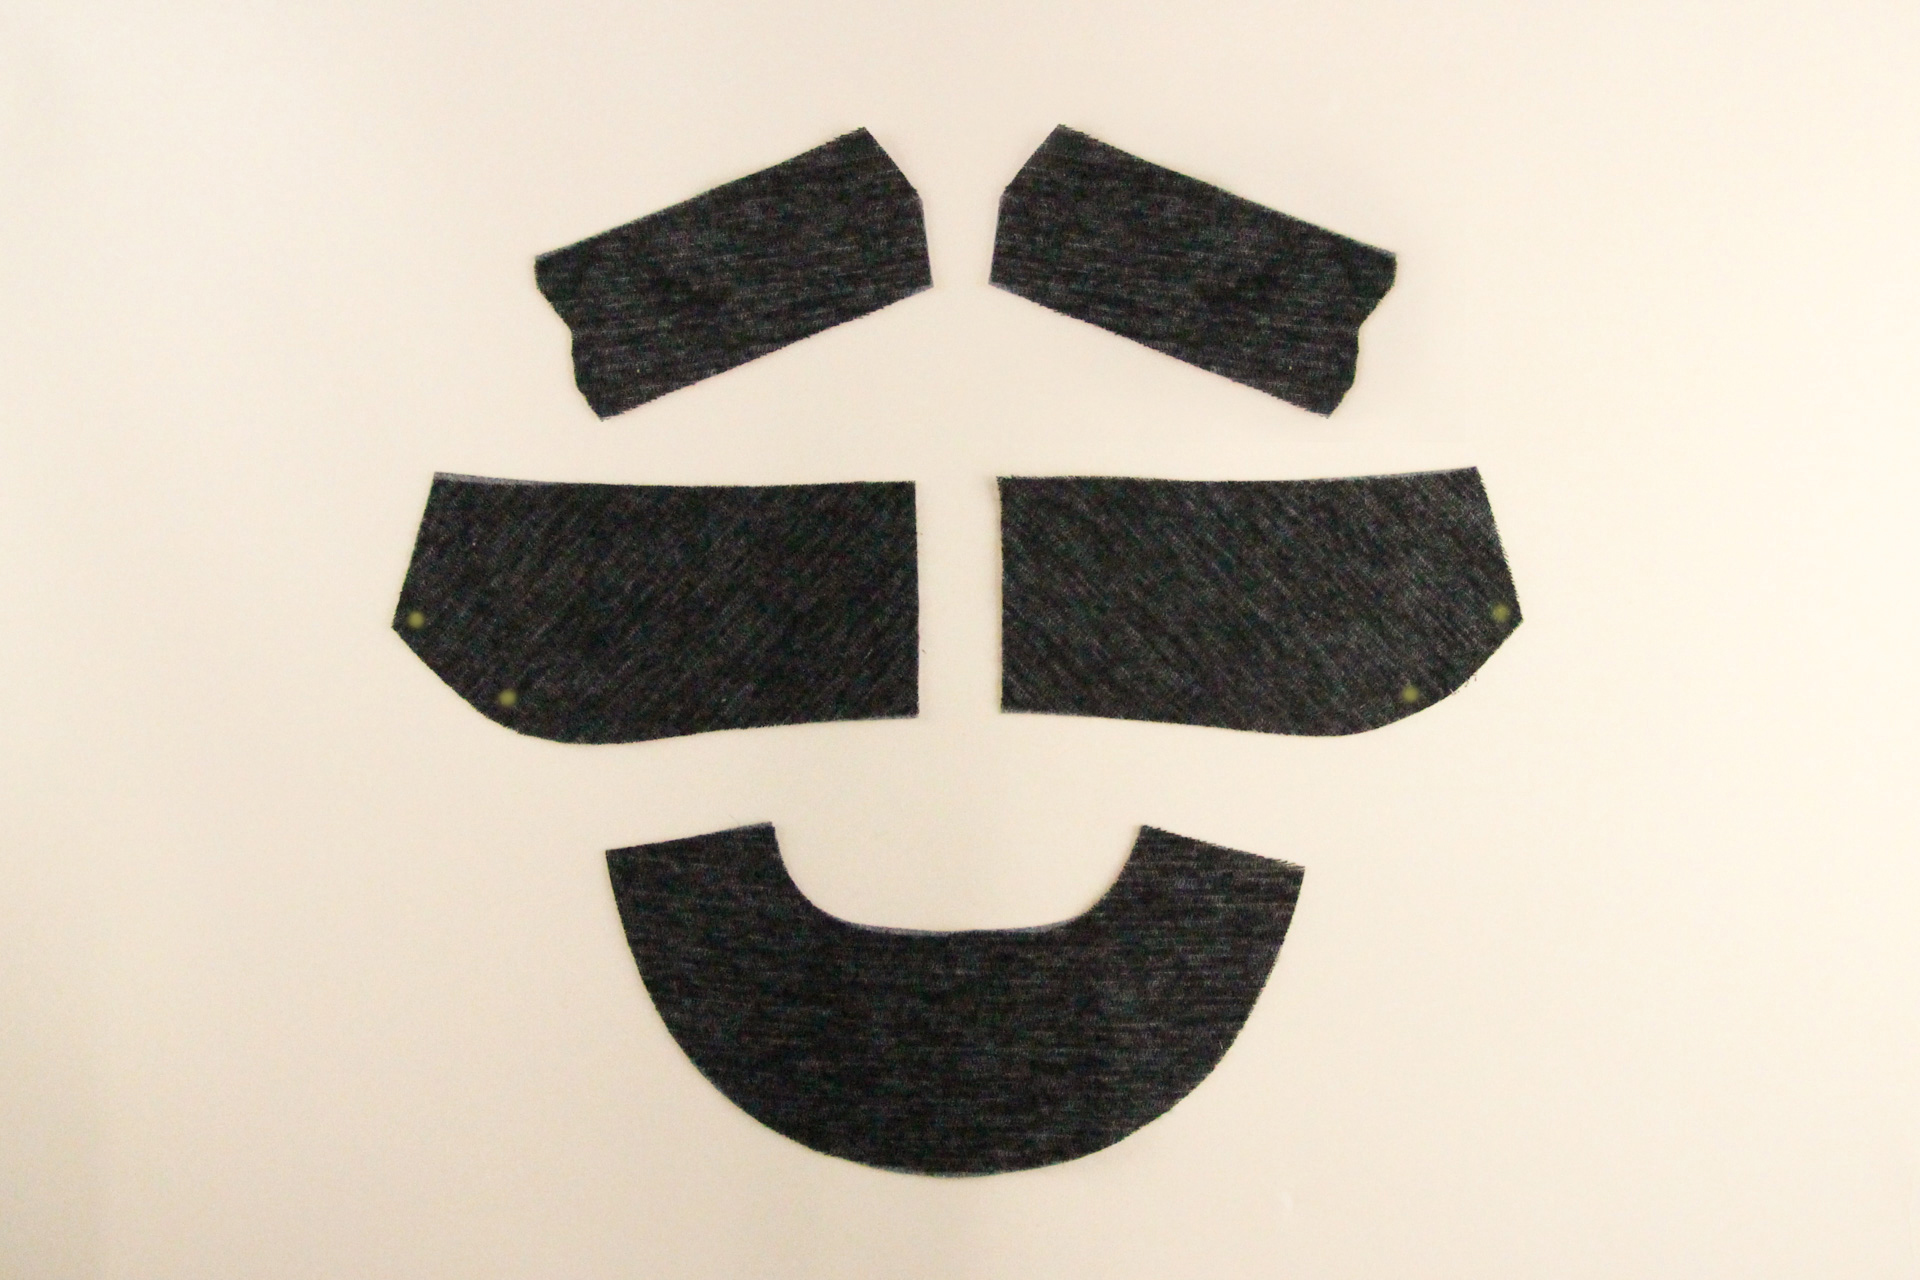
Next, we’re going to apply knit interfacing to the wrong side of our upper collar and front facing pieces, as well as transfer the markings.
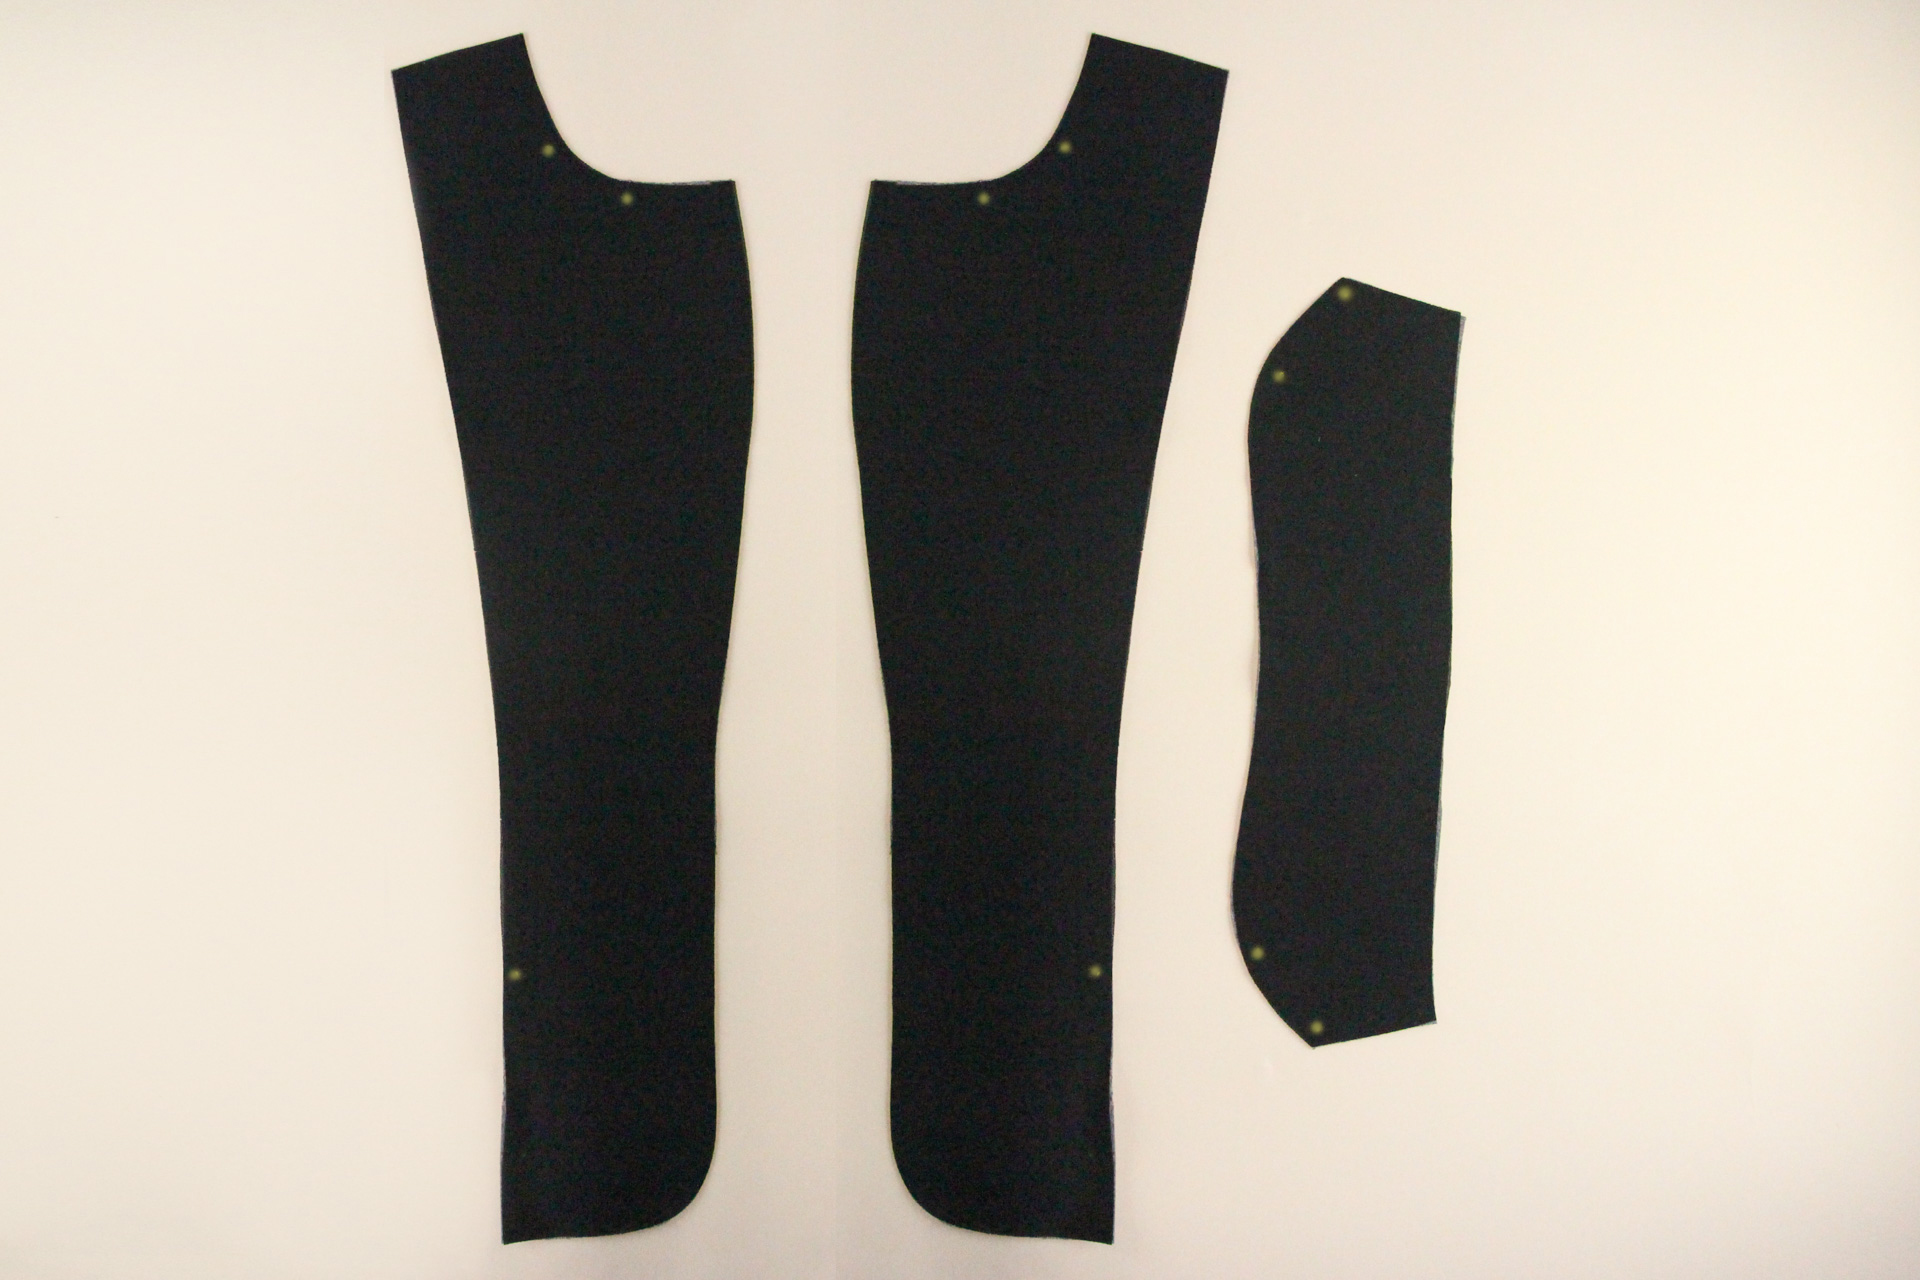
Almost done with interfacing! The last bit is applying hem interfacing pieces to the wrong side of the hem on the following pieces:
- Side fronts
- Center backs
- Side backs
- Outer sleeves
- Inner sleeves
In the case of the side fronts, this interfacing goes on top of the interfacing you previously applied. Again, note here that for the purposes of this sewalong I have fully interfaced ALL the pattern pieces, but you should only interface those mentioned.

Apply Horsehair Canvas (Optional)
If you’d like to add extra structure in the upper body, you can choose to use fusible horsehair canvas for the chest shield piece. This helps give your blazer an extra bit of polish, and we’ve included it in our Auburn kits. If you don’t want to use horsehair canvas, complete this step with another layer of weft interfacing instead.
First, use pinking shears along the bottom edge of the chest shield piece (this helps prevent a hard line that shows on the right side), then place the piece glue side down onto your center front. If you’re not sure which side is the glue side, do a small test piece first, and use a press cloth to keep it from sticking to your iron.
Repeat with the other side.
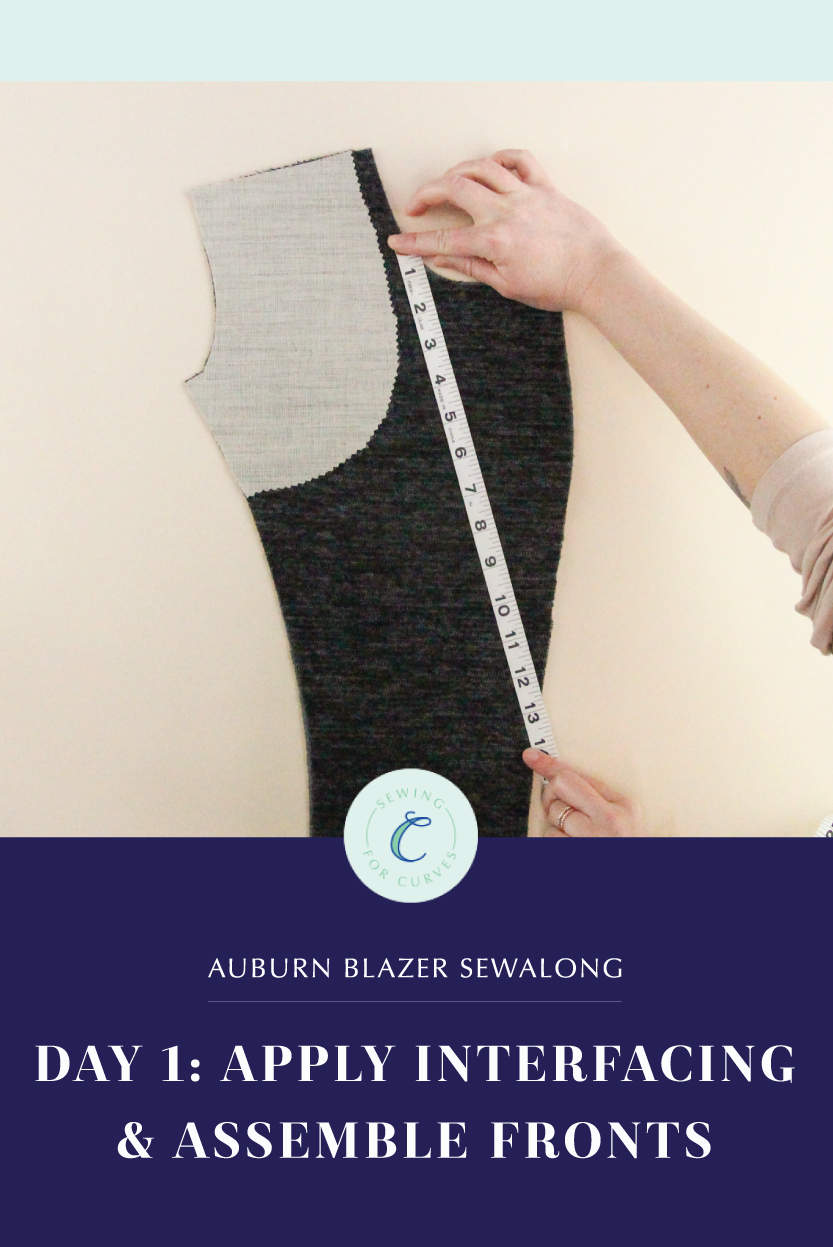
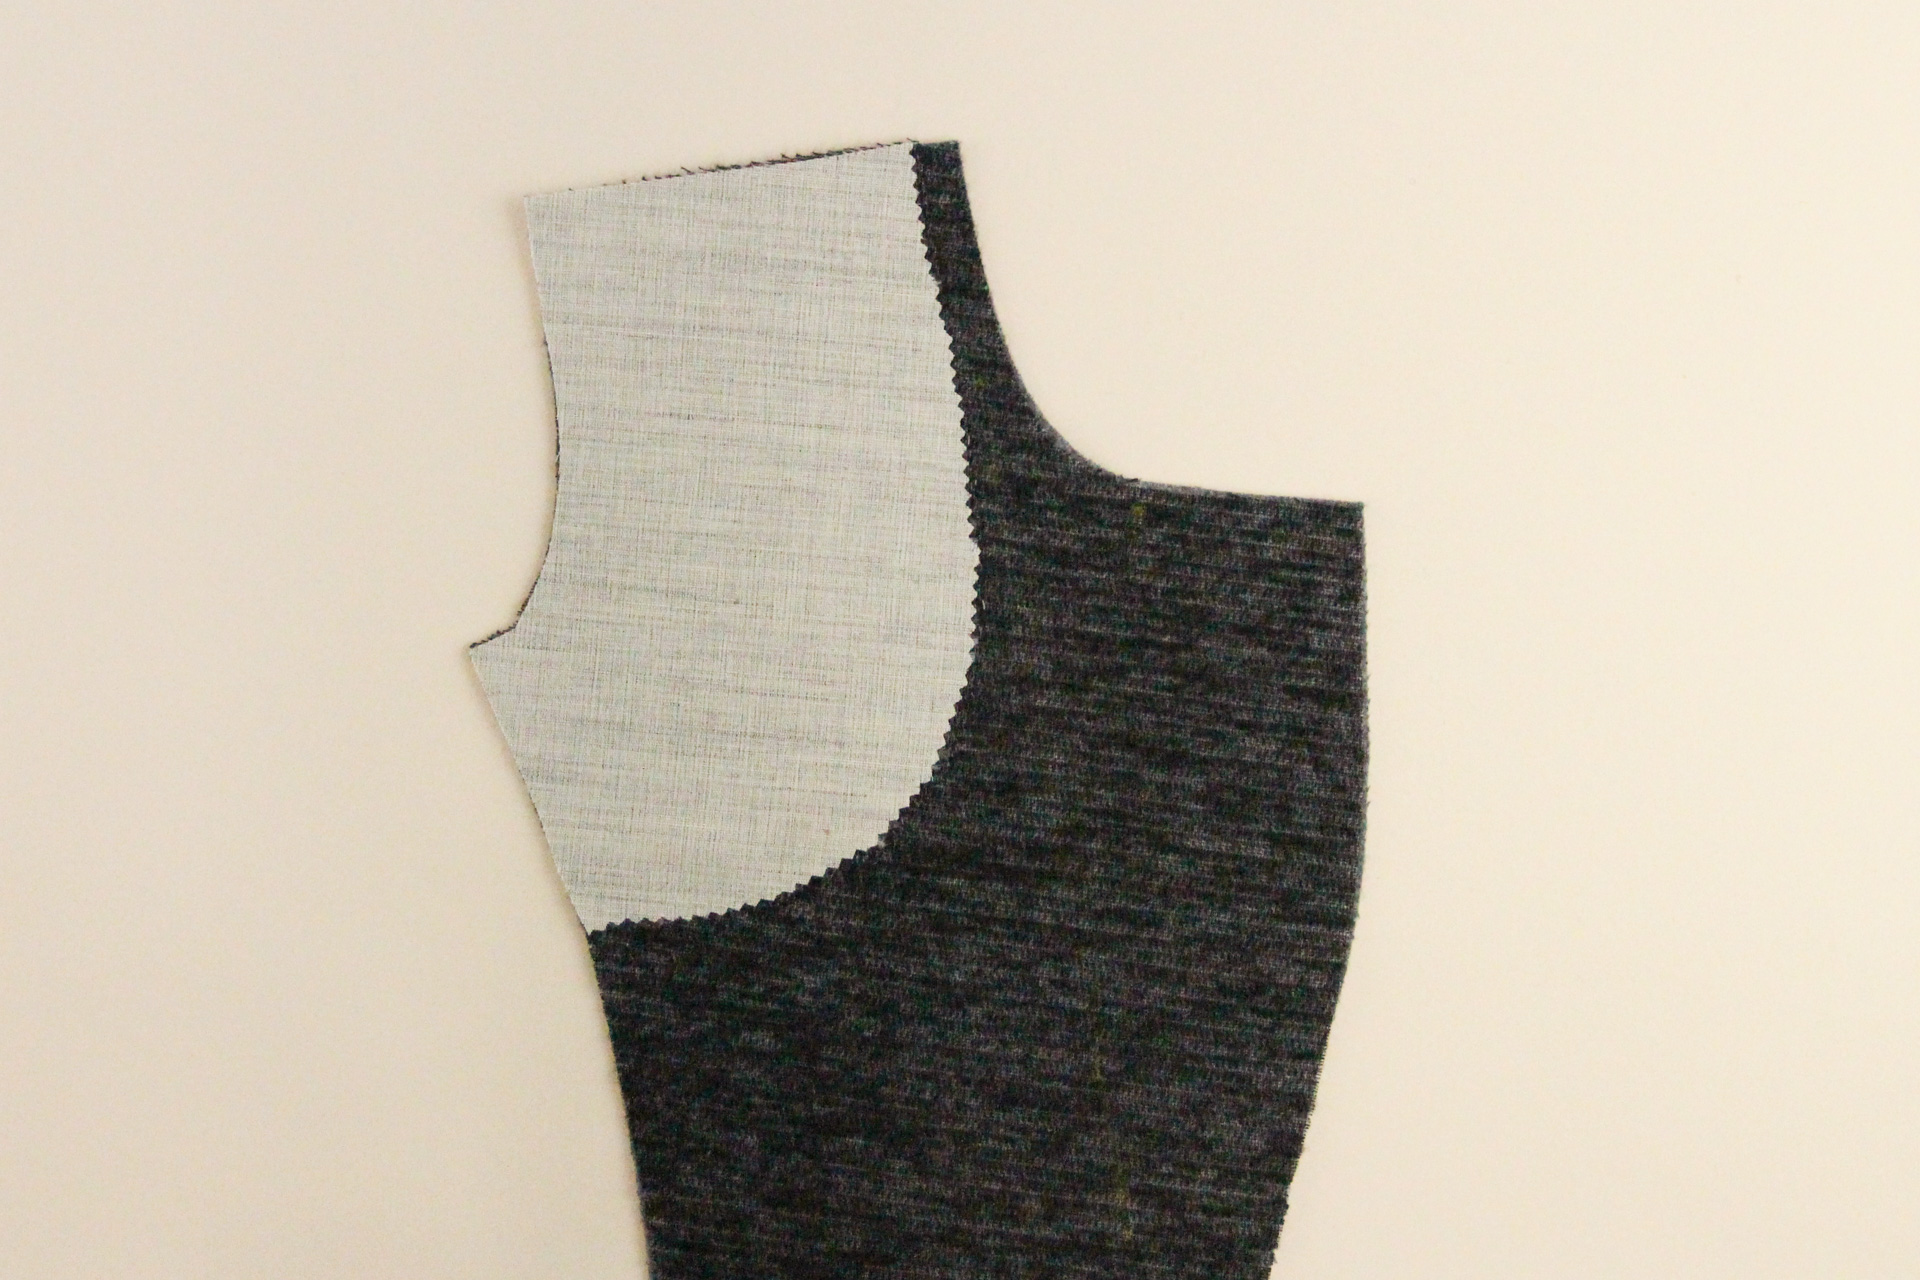
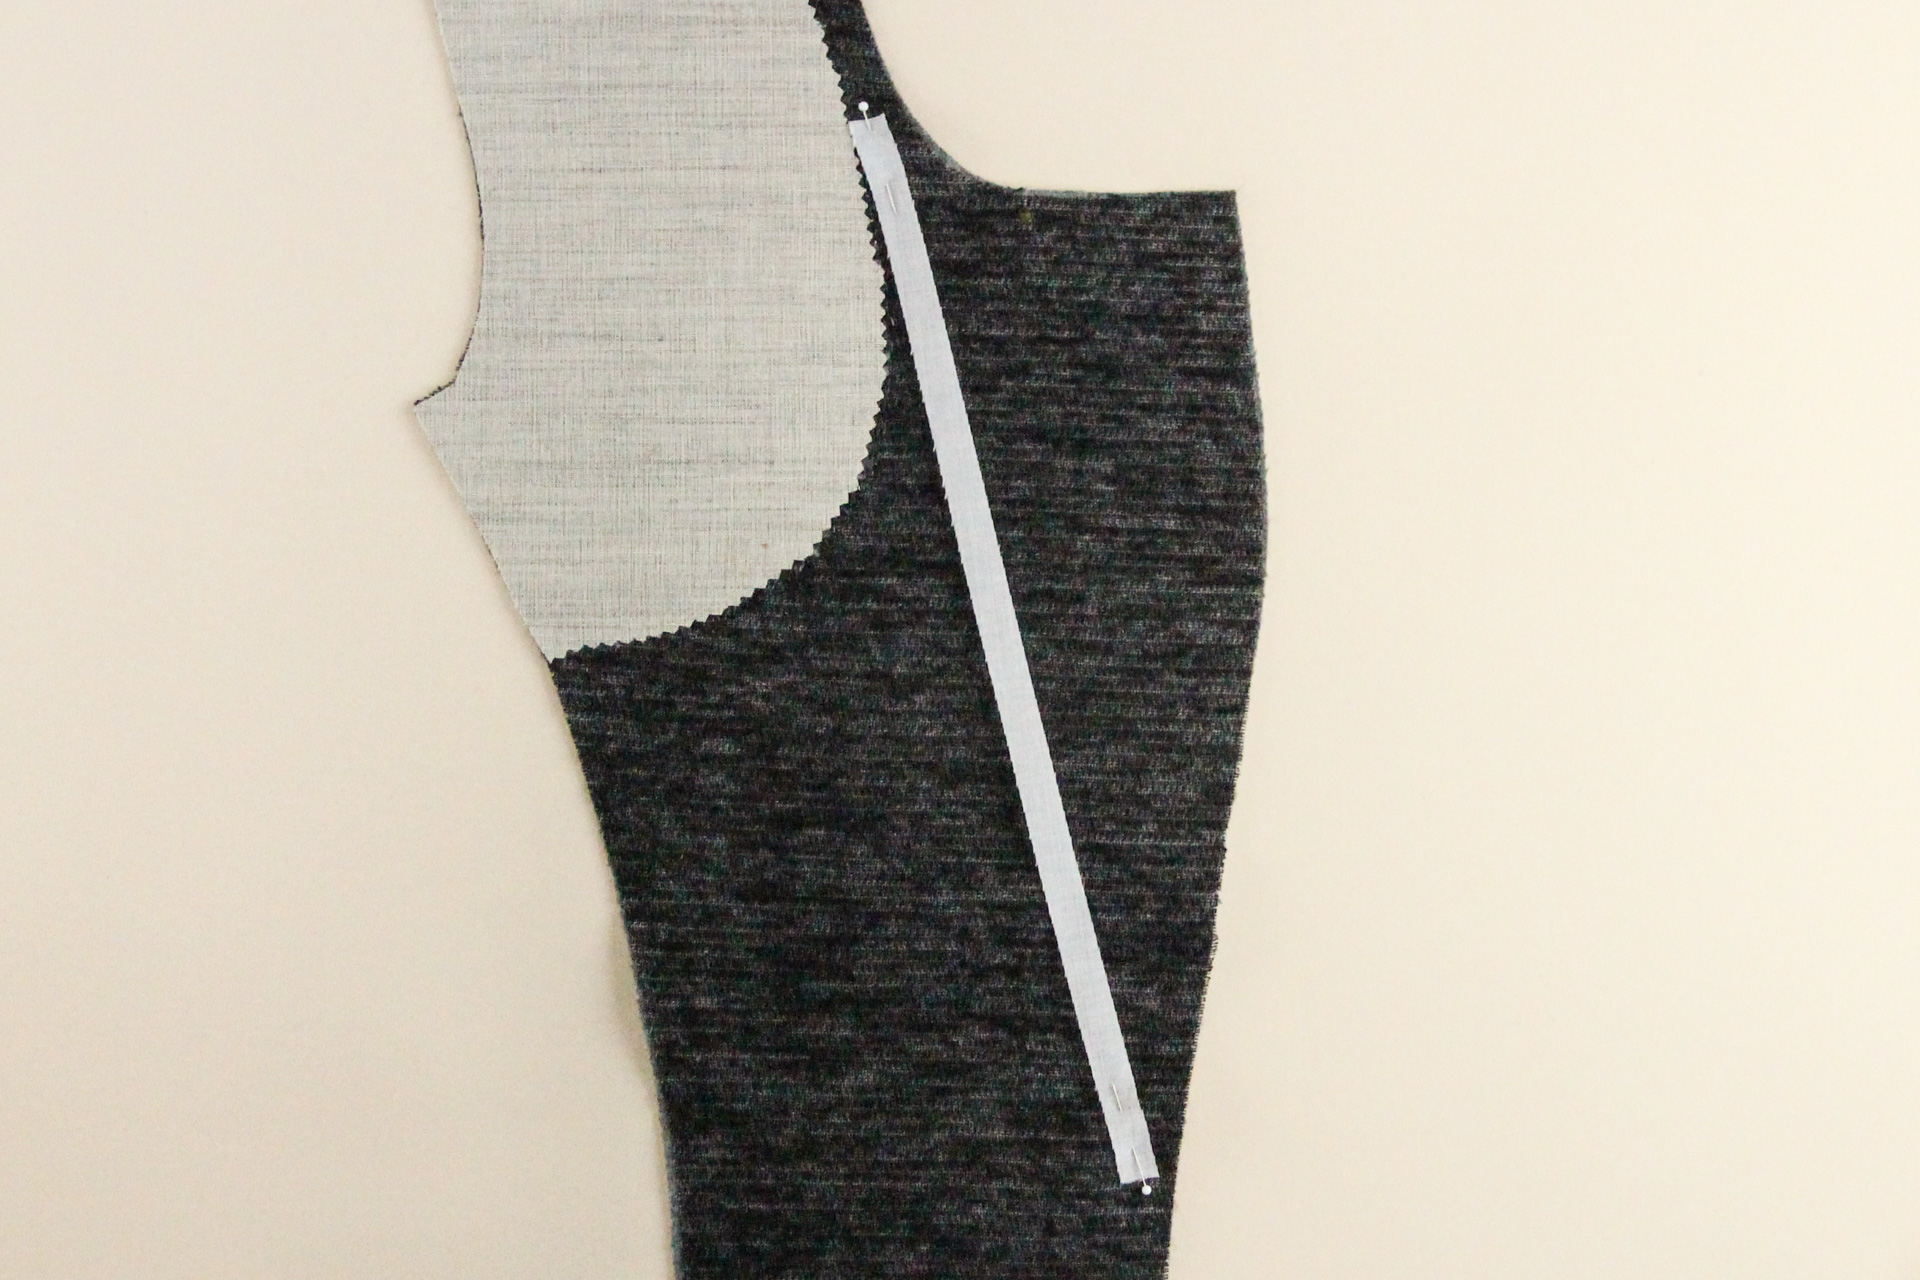
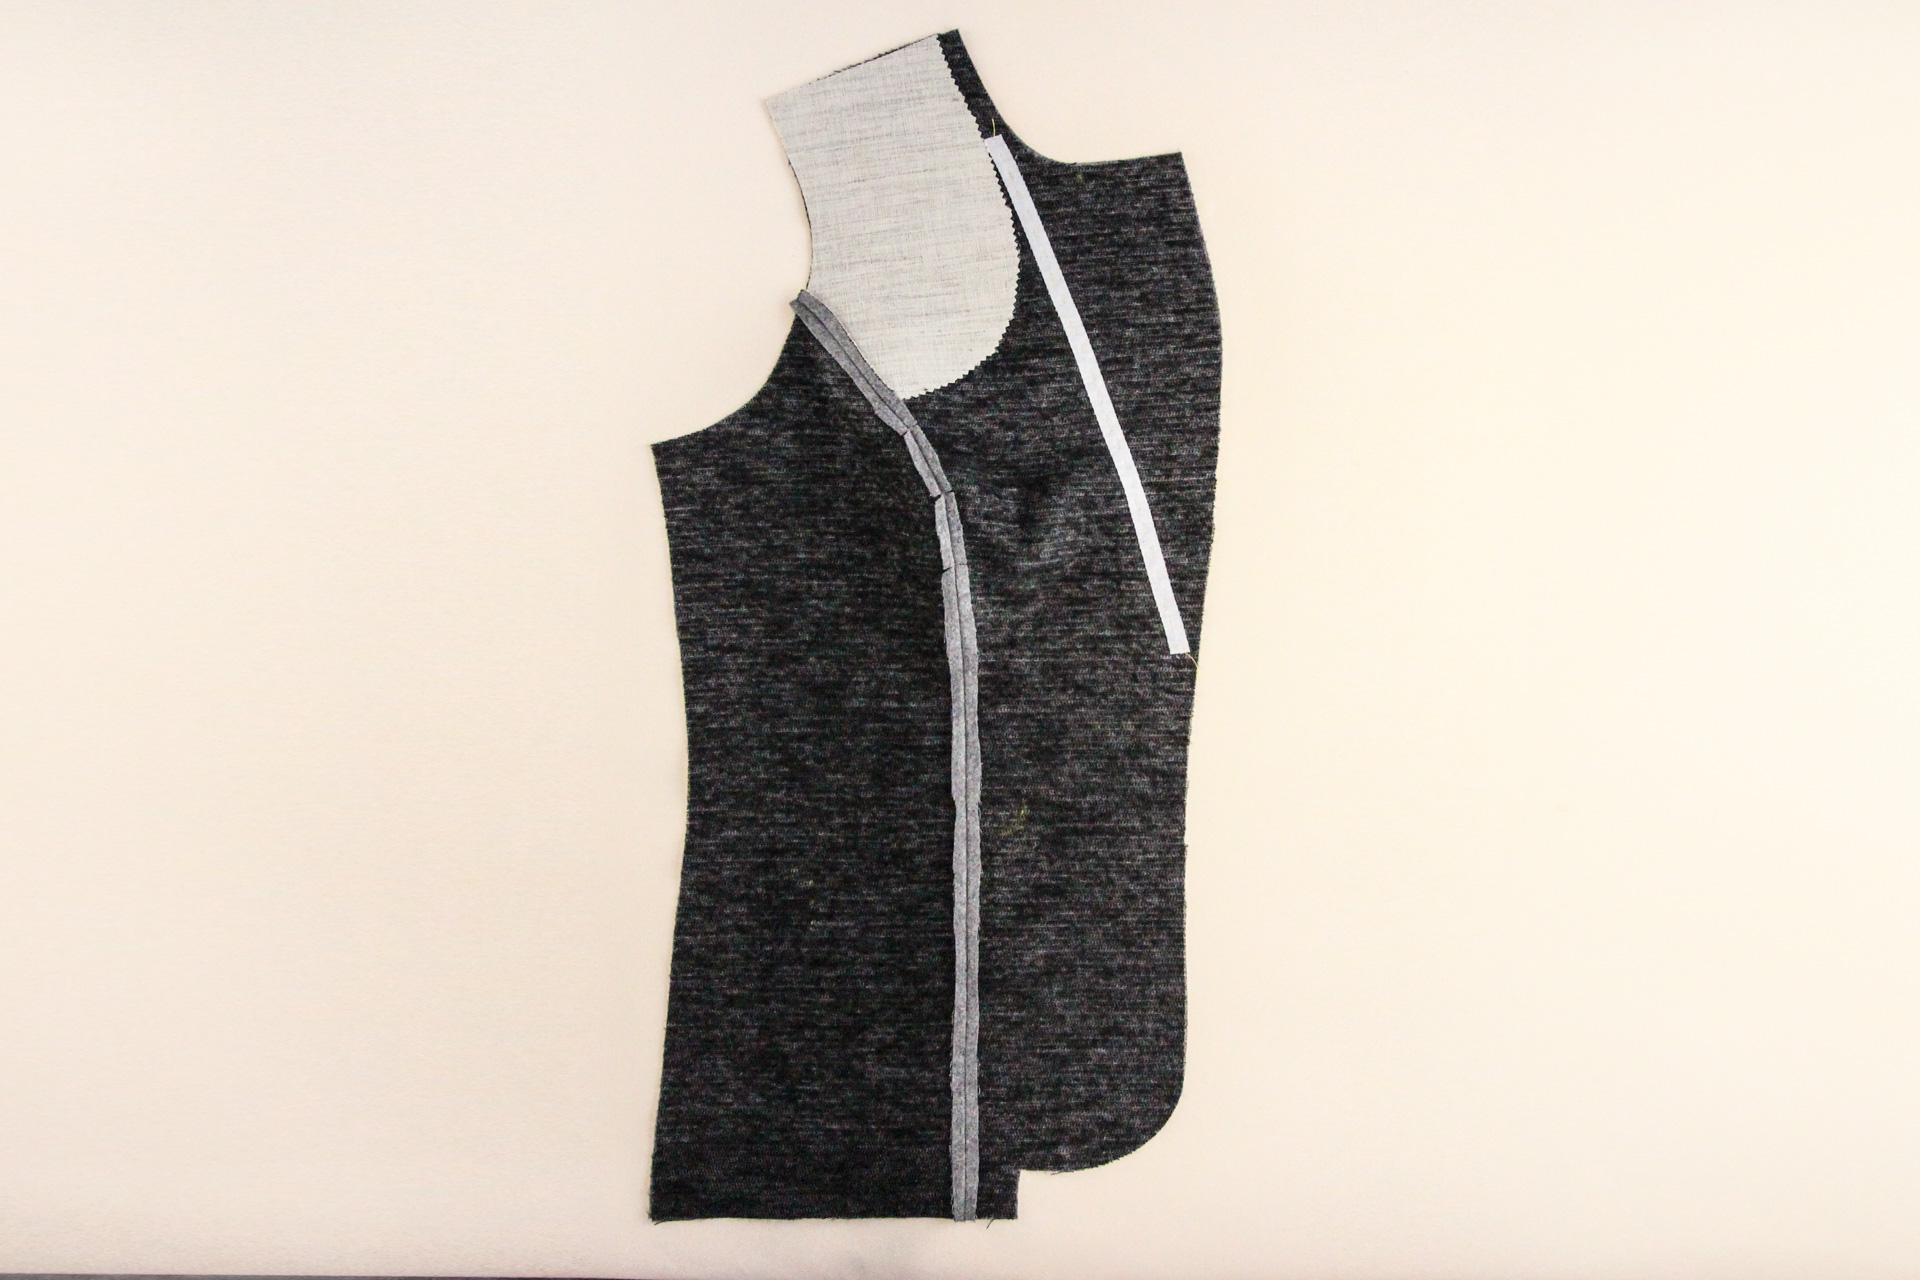
Stabilize Roll Line
Next, we’re going to stabilize the roll line. This is another small detail that gives your blazer just a bit more of a professional look. The roll line is where the lapel folds out, and adding a line of fusible stabilizing tape creates a neater roll.
Start by measuring the roll line on your pattern piece—measure from one circle marking to the other.
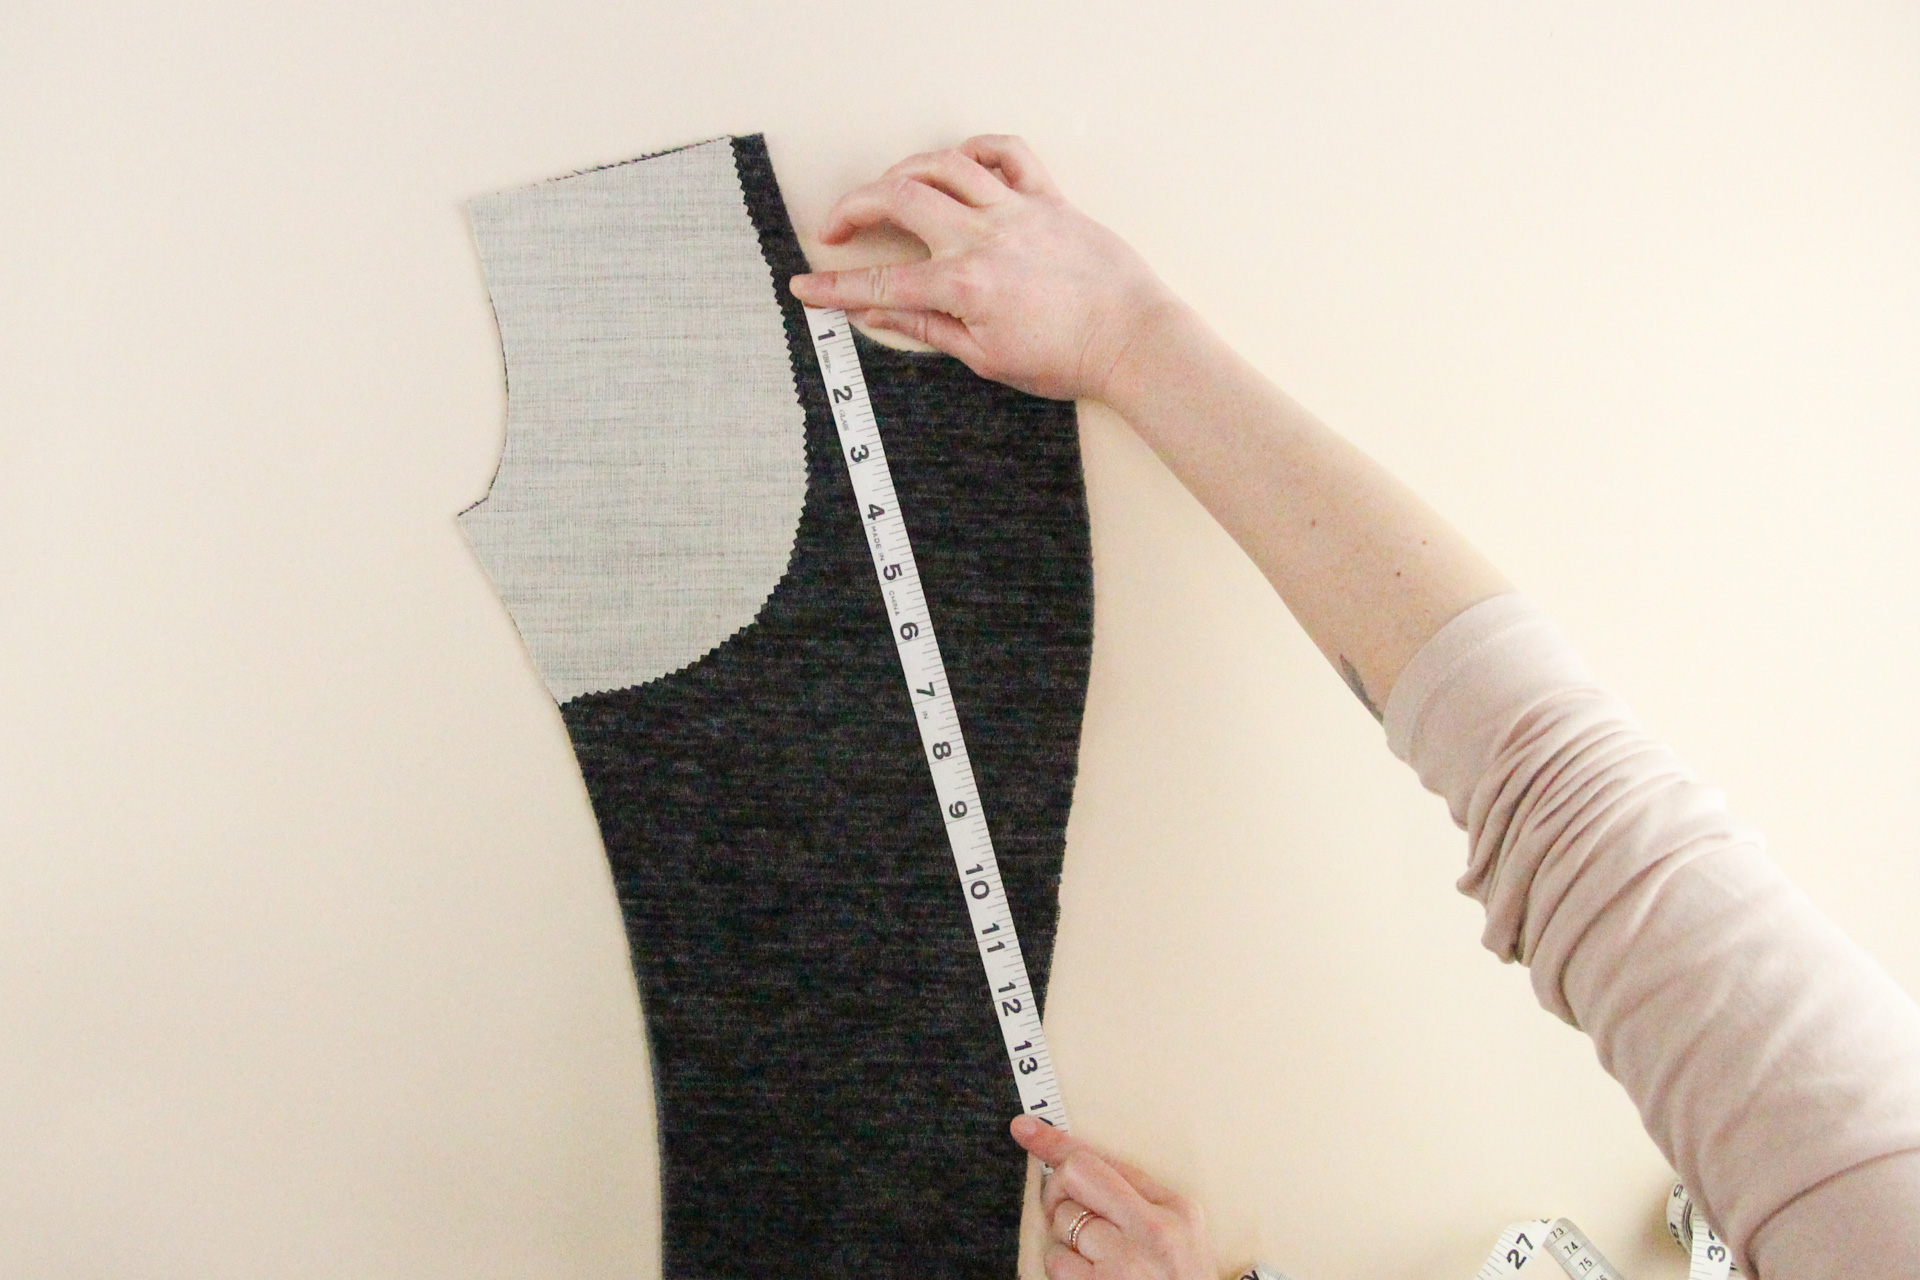
Subtract 1/2″ (12 mm) from the length you just measured and cut a piece of straight grain fusible tape to that length.
Note that this is not bias tape! You want a straight grain tape so that it doesn’t stretch over time.
Pin the tape at the top and the bottom at the two circle markings. Your fabric won’t lay perfectly flat because the tape is slightly shorter.
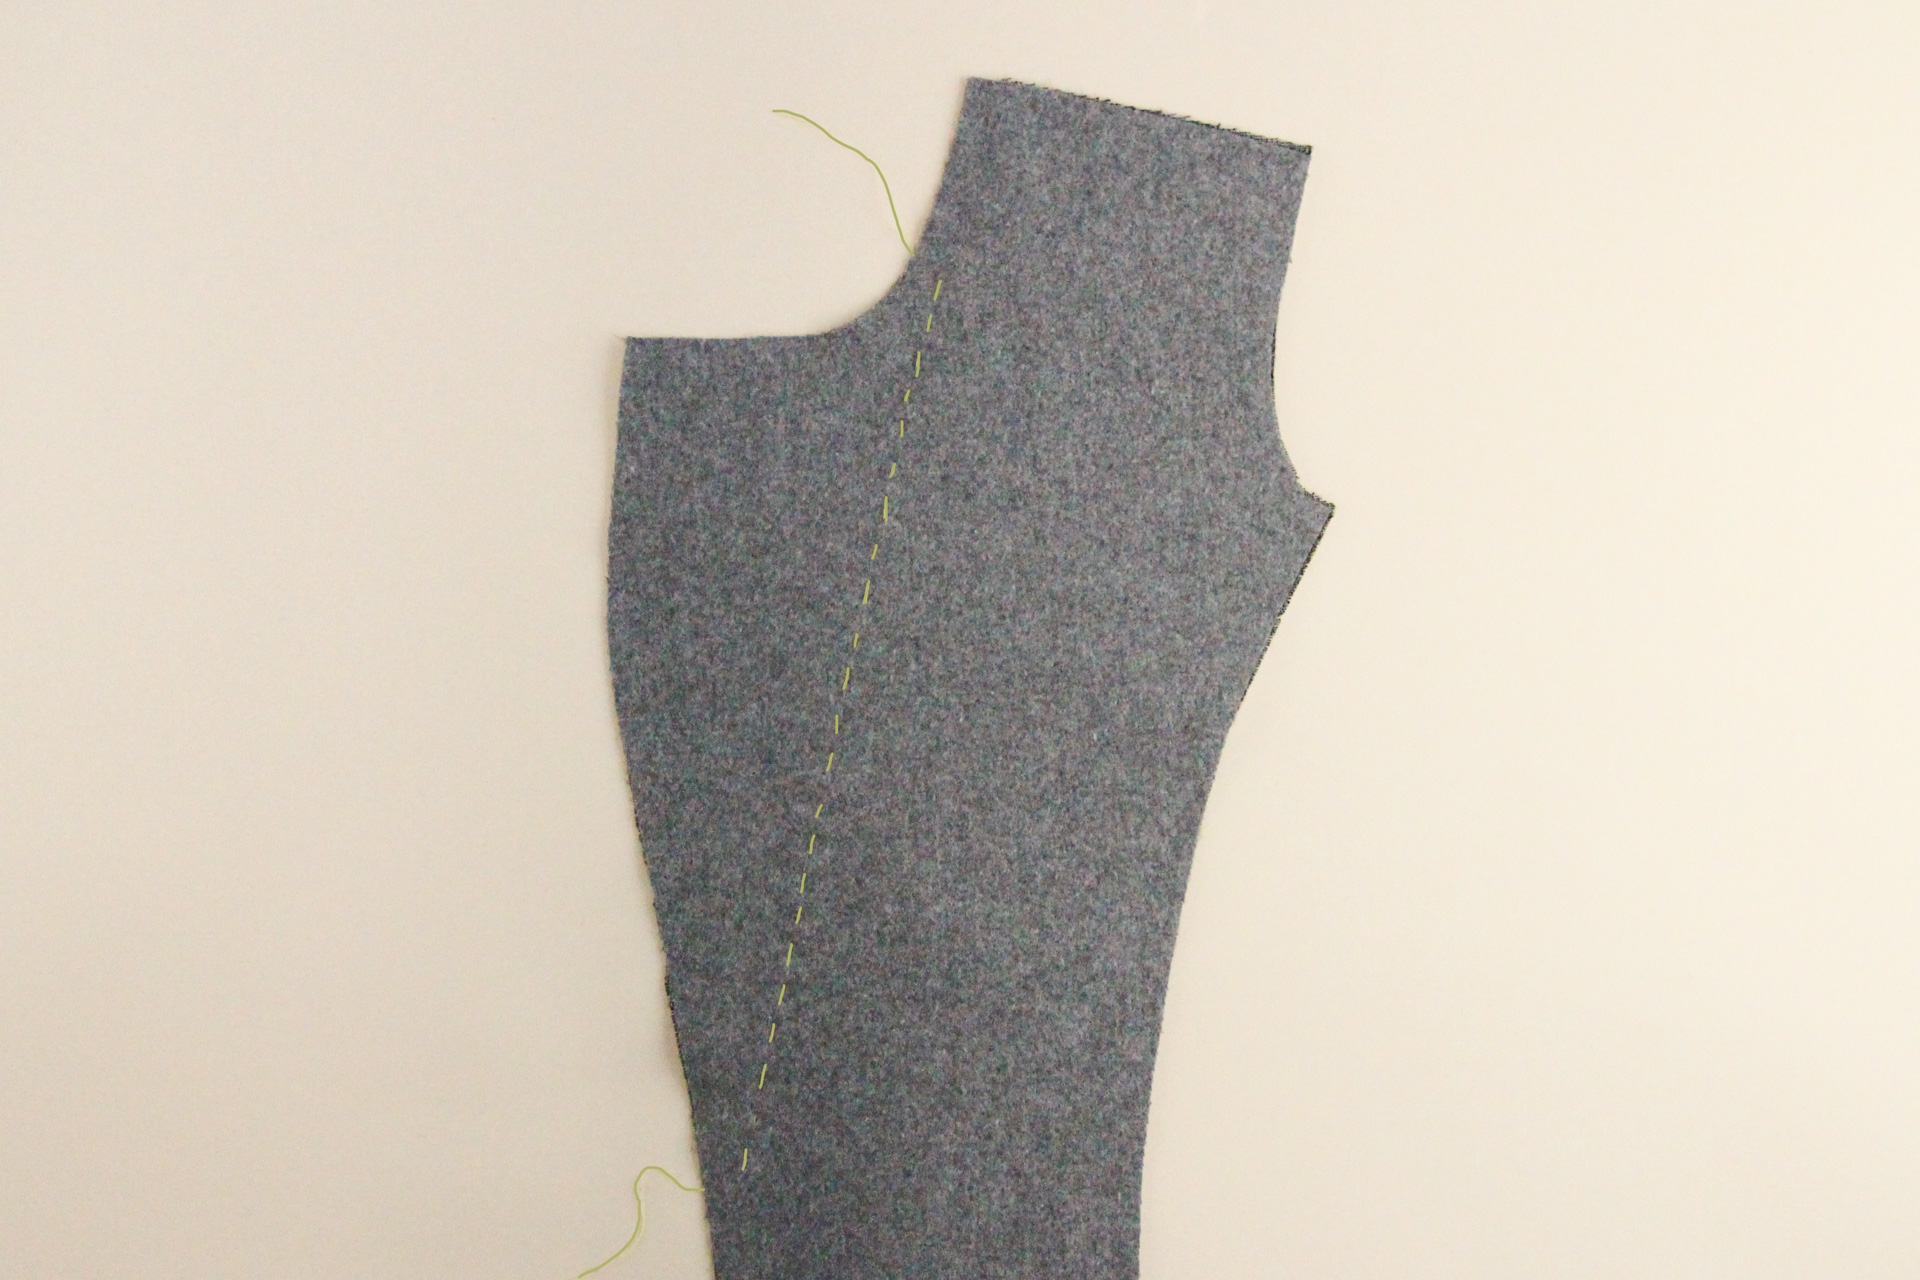
Take your piece to the ironing board and iron the stabilizing tape down. Start with the two ends, then press the full length of the tape.
One optional step here: once your stabilizing tape has been ironed in place, you can run a line of hand-basted stitches along the length of the tape. This helps you see the roll line from the right side, which will be very helpful when you’re doing your final press at the end. (At which point, you can remove the basting stitches.)
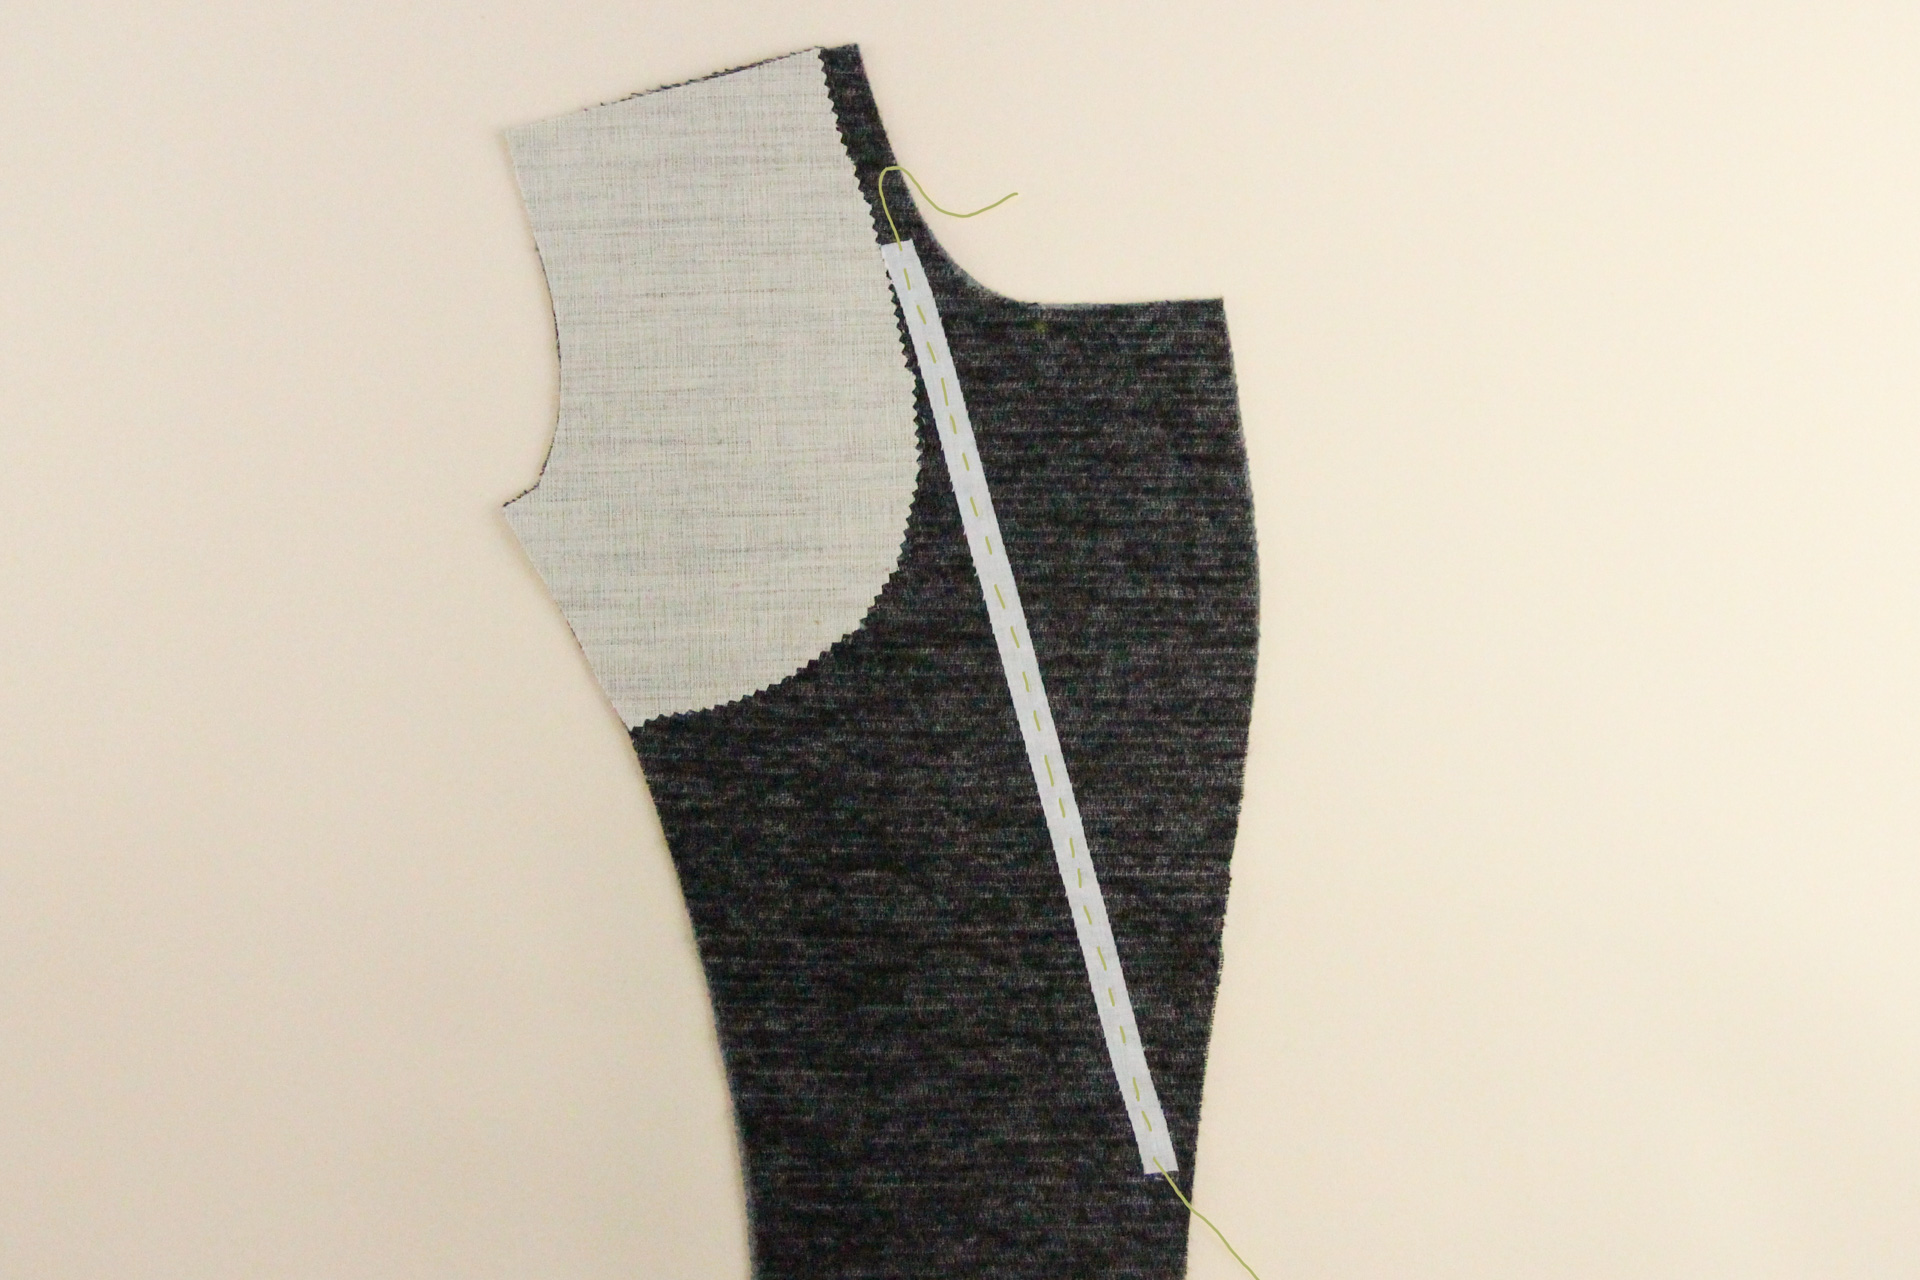
If you choose to do this step, here’s how it will look on the right side.
Okay, done with all the interfacing bits! Now it’s finally time to sew.
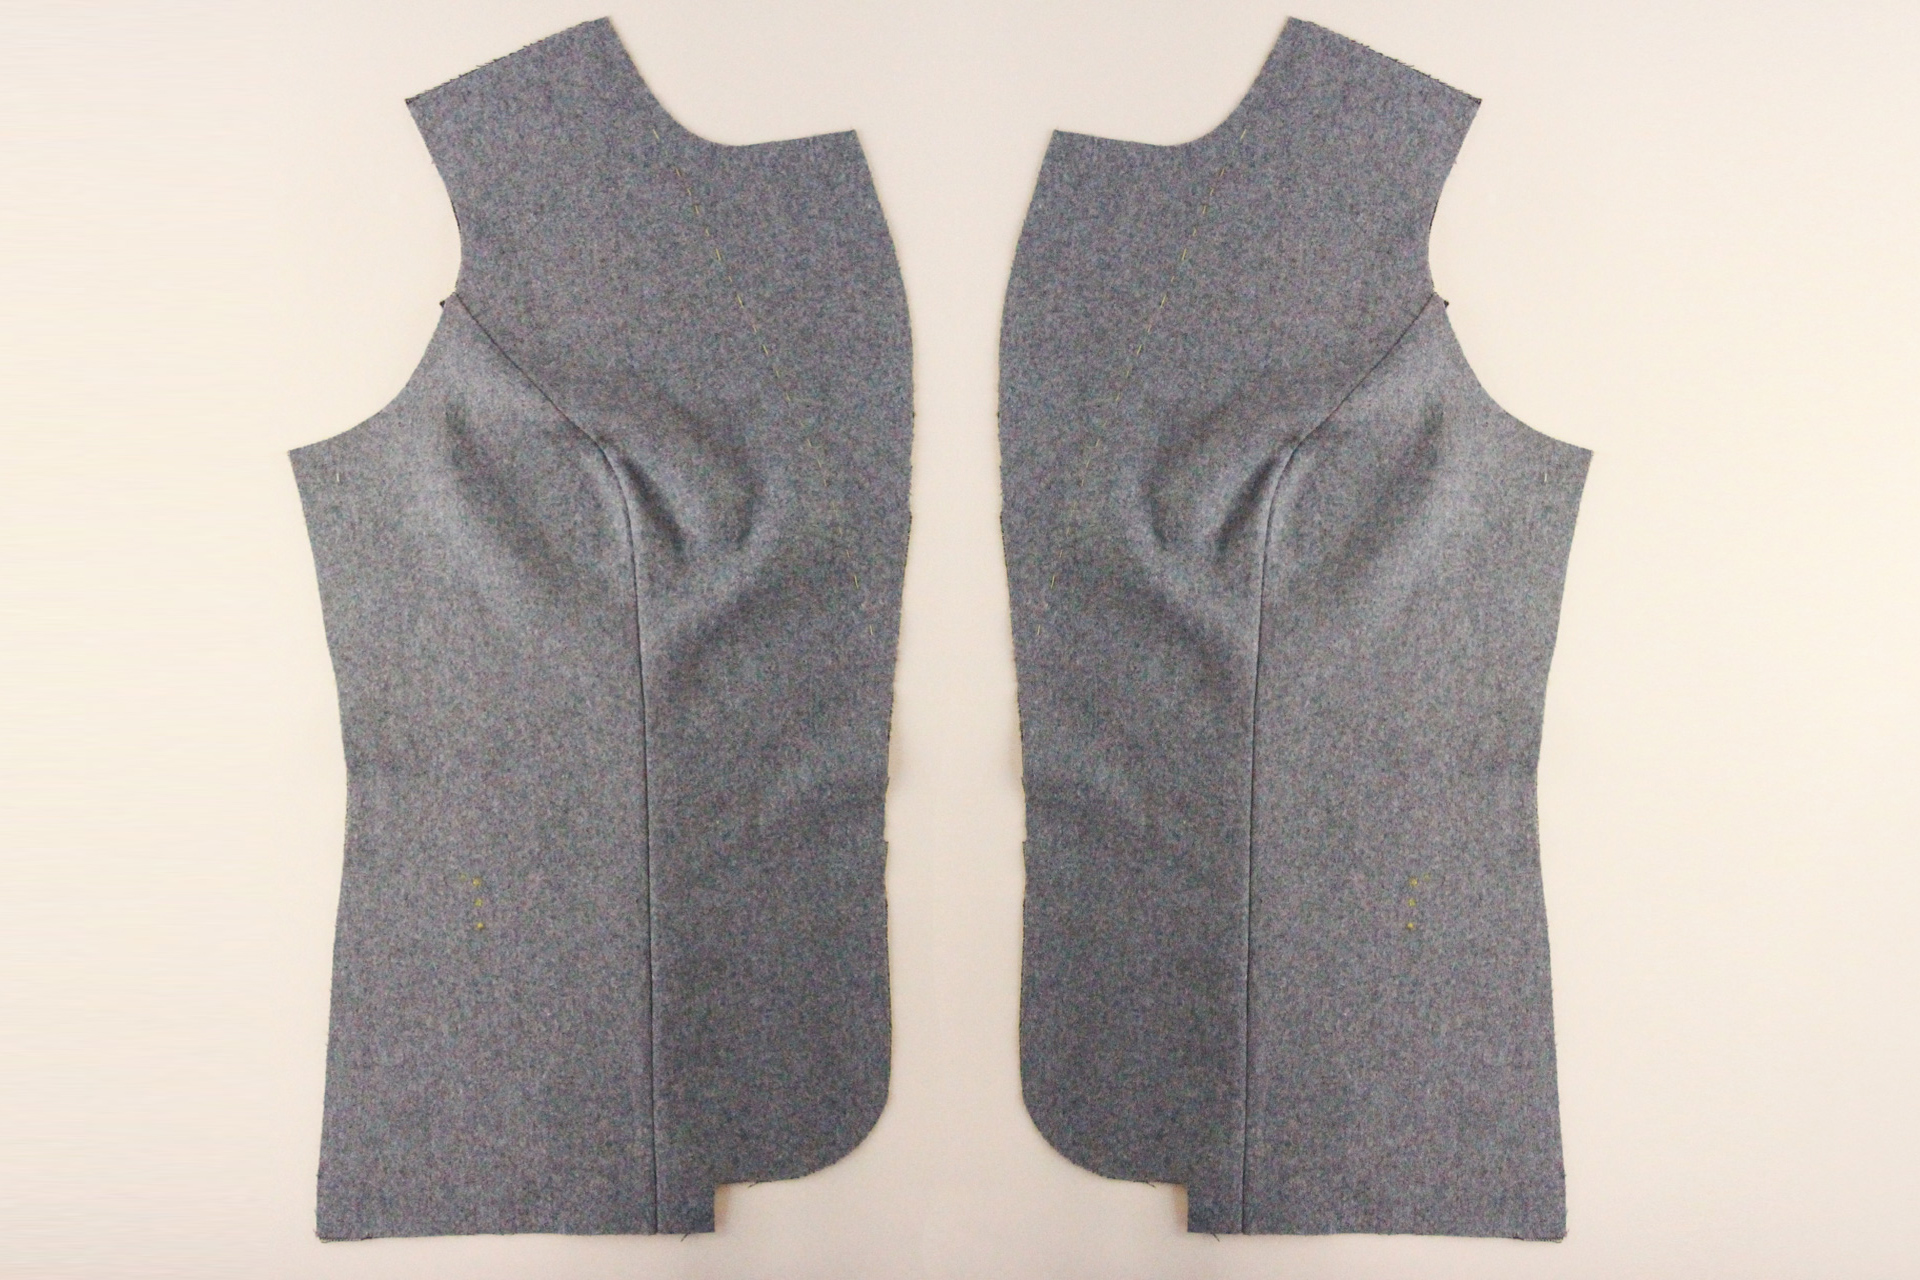
Sew Fronts
Start by pinning the side front to the center front at the princess seam. Be sure to match notches along the curve.
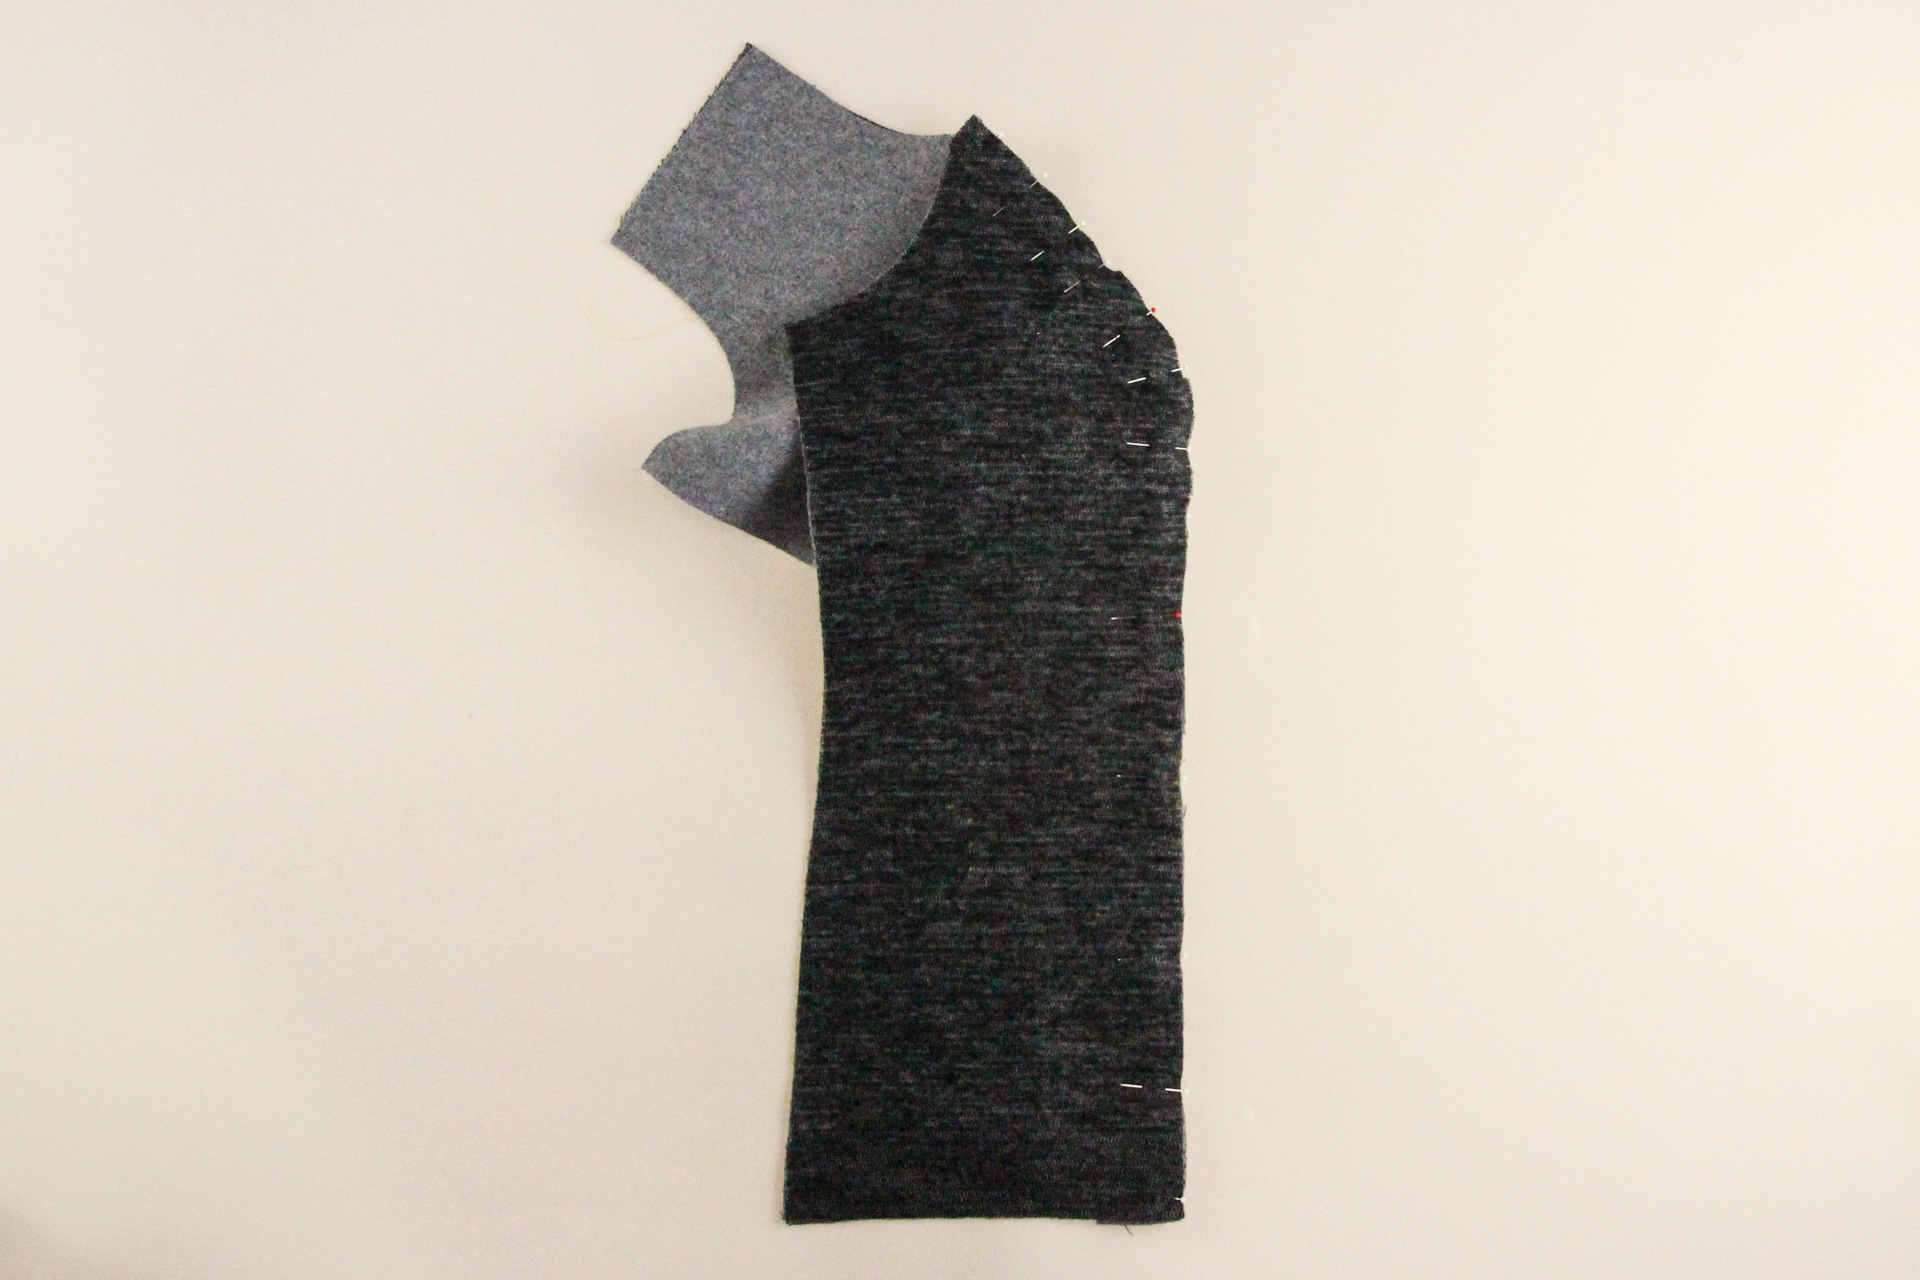
Sew that seam using our 1/2″ (12 mm) sesam allowance and check that you don’t have any puckers. You can then trim the seam allowance in half, clip into the curve, and press the seam open over a tailor’s ham.
Repeat with the other side and center front pieces.
Mark Welt Pocket Placement
Almost done for the day! (If you’re making View B, you are done for the day!) The last thing we’re going to do is to transfer our welt pocket markings to our assembled fronts. You may have done this in an earlier step, but now that the pieces are sewn together, you’ll want to double check that the markings are aligned.
Use tailor’s chalk (test that it comes out of your fabric first) and mark the pocket lines as well as the square markings on the right side of your fabric.
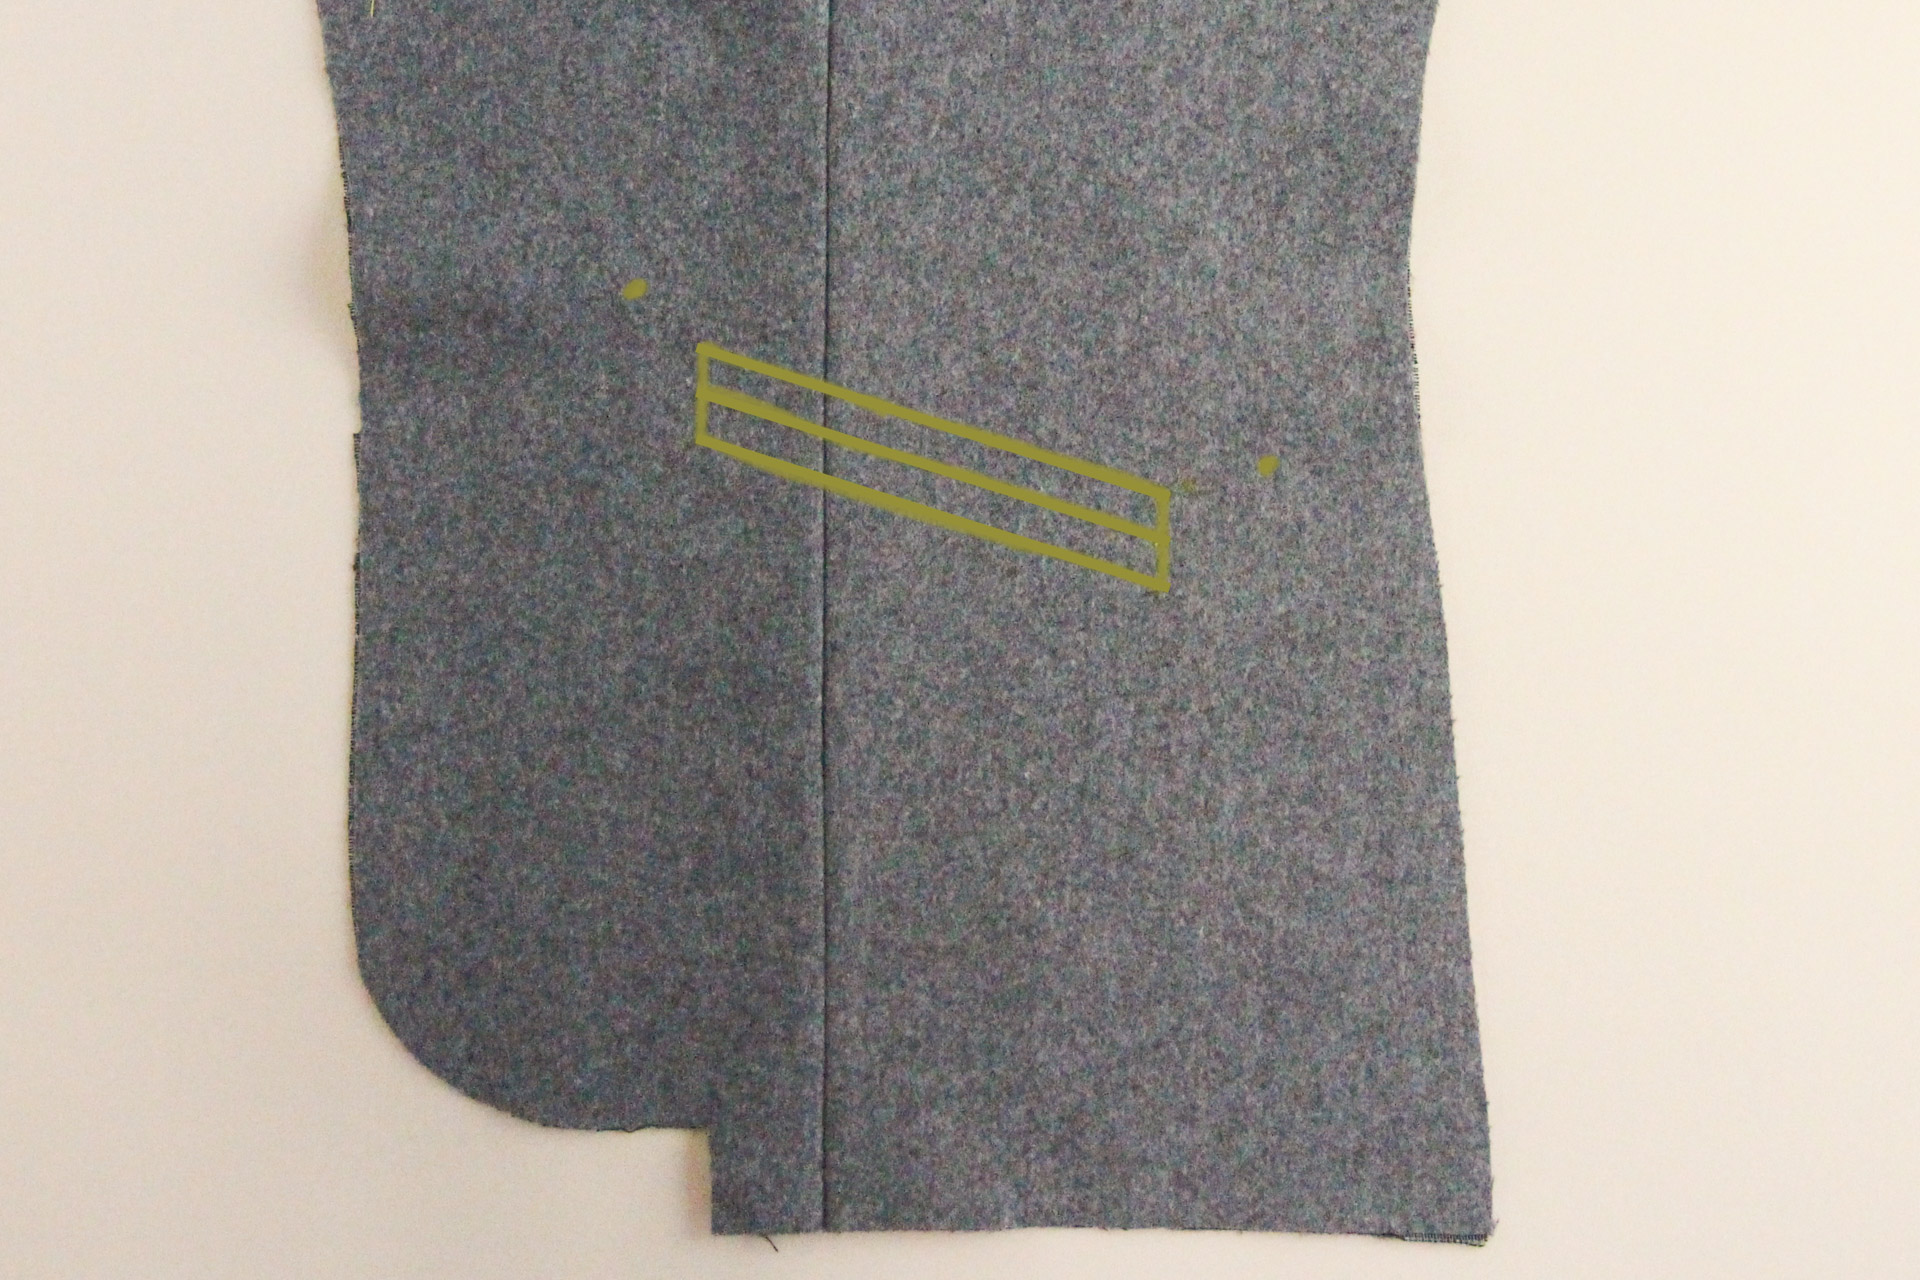
To make sure the markings on the back are aligned with those on the front, you can push pins from the right side to the wrong side in the corners to check.
Mark the welt pocket lines on the wrong side of your fabric as well. (You don’t need to mark the square markings.)
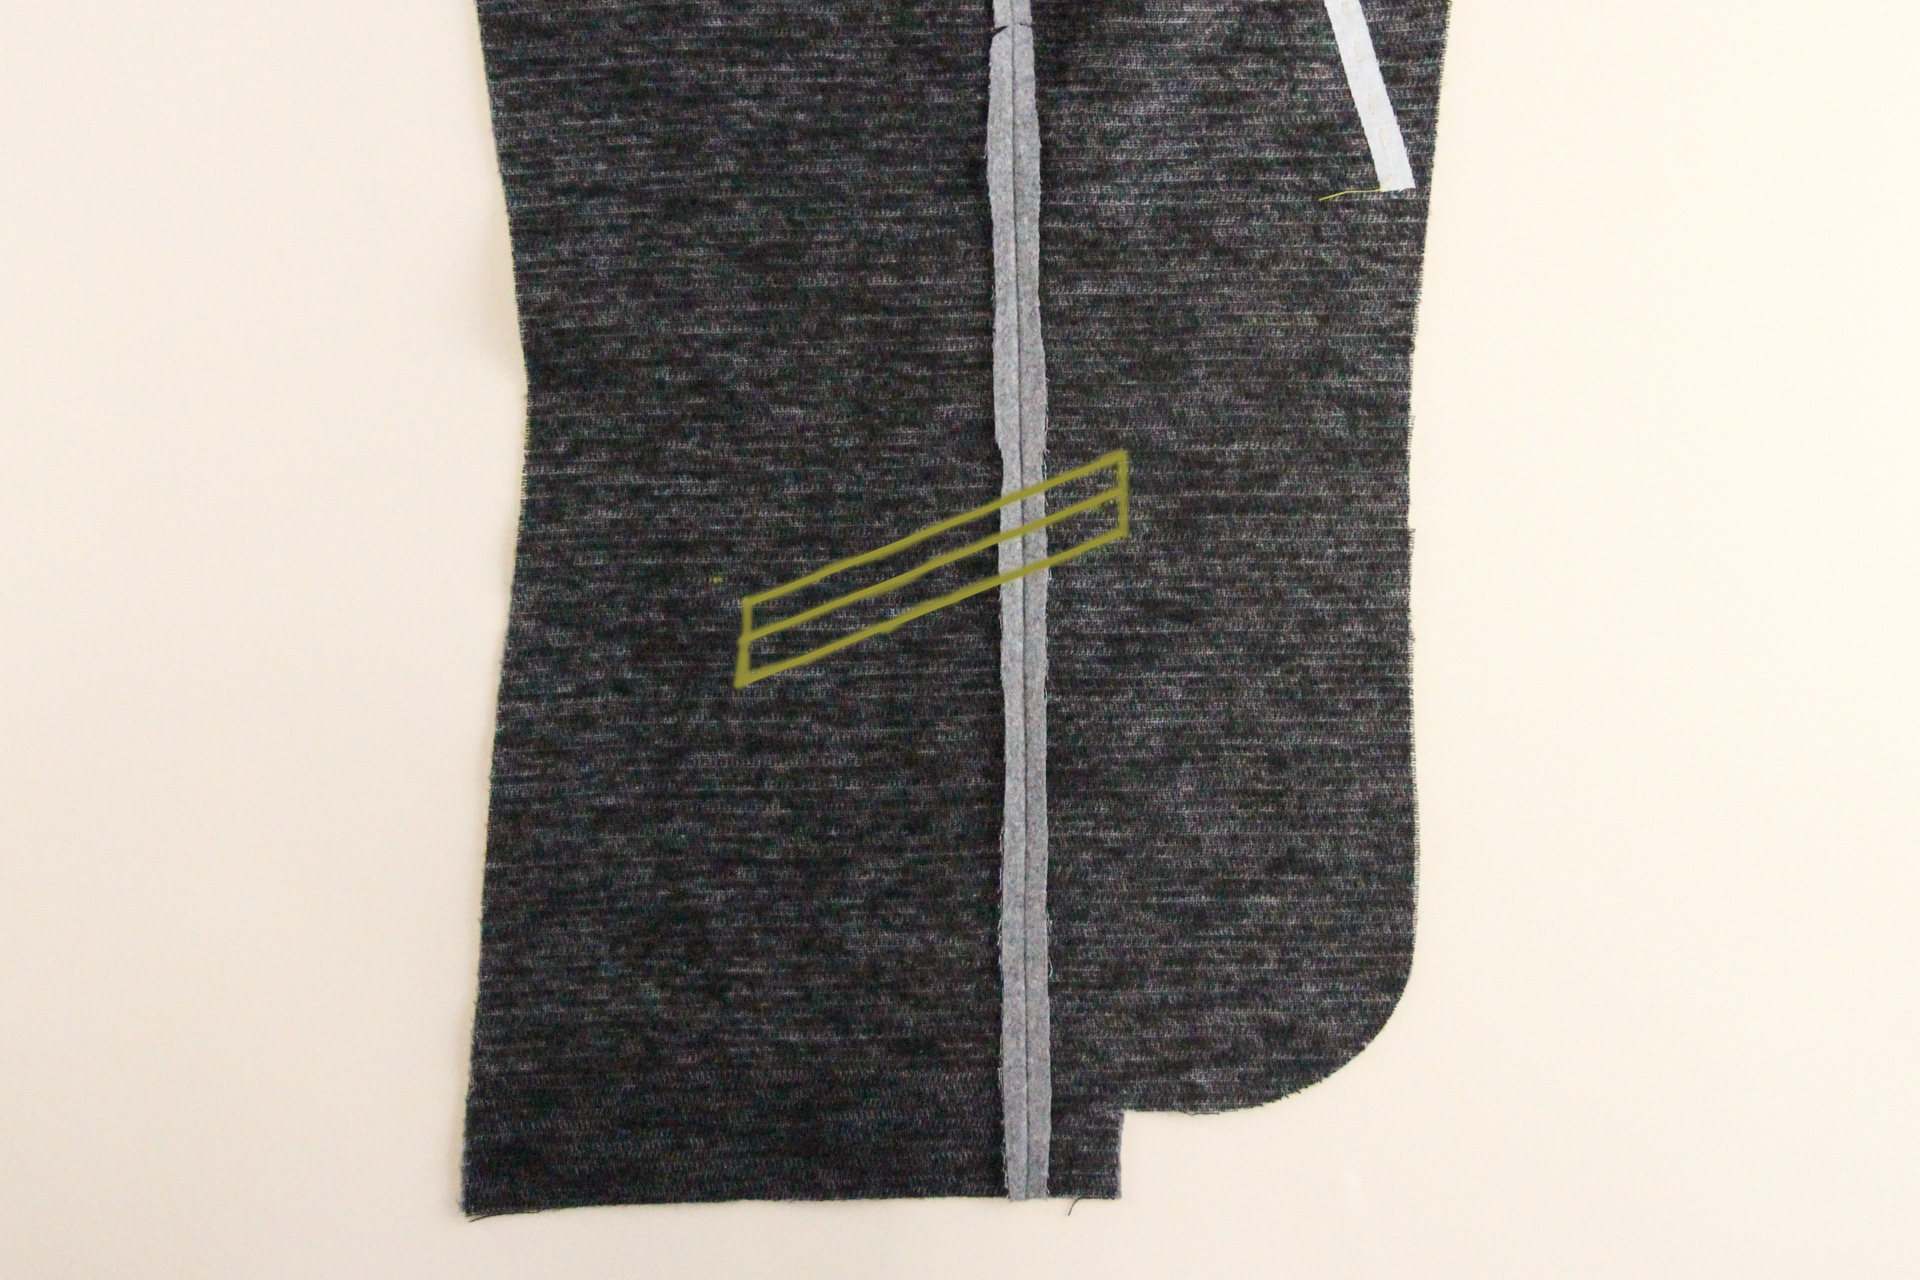
Repeat with the second assembled front.
Okay, we’re now ready to start our welt pockets. If you haven’t sewn a welt pocket before, it’s a bit of an undertaking, but you can do it! We’ll go through it step by step in the next post, so no need to fret.
We’d love to see your Auburn Blazer, whatever stage of the process you’re at! Tag your makes with #AuburnBlazer on social media so that we can cheer you to the finish line.
I have a question?…of course, I do. Why don’t we interface the back, side back and sleeves as well?
You can, if you want, but typically you want to retain a bit more drape in those areas.