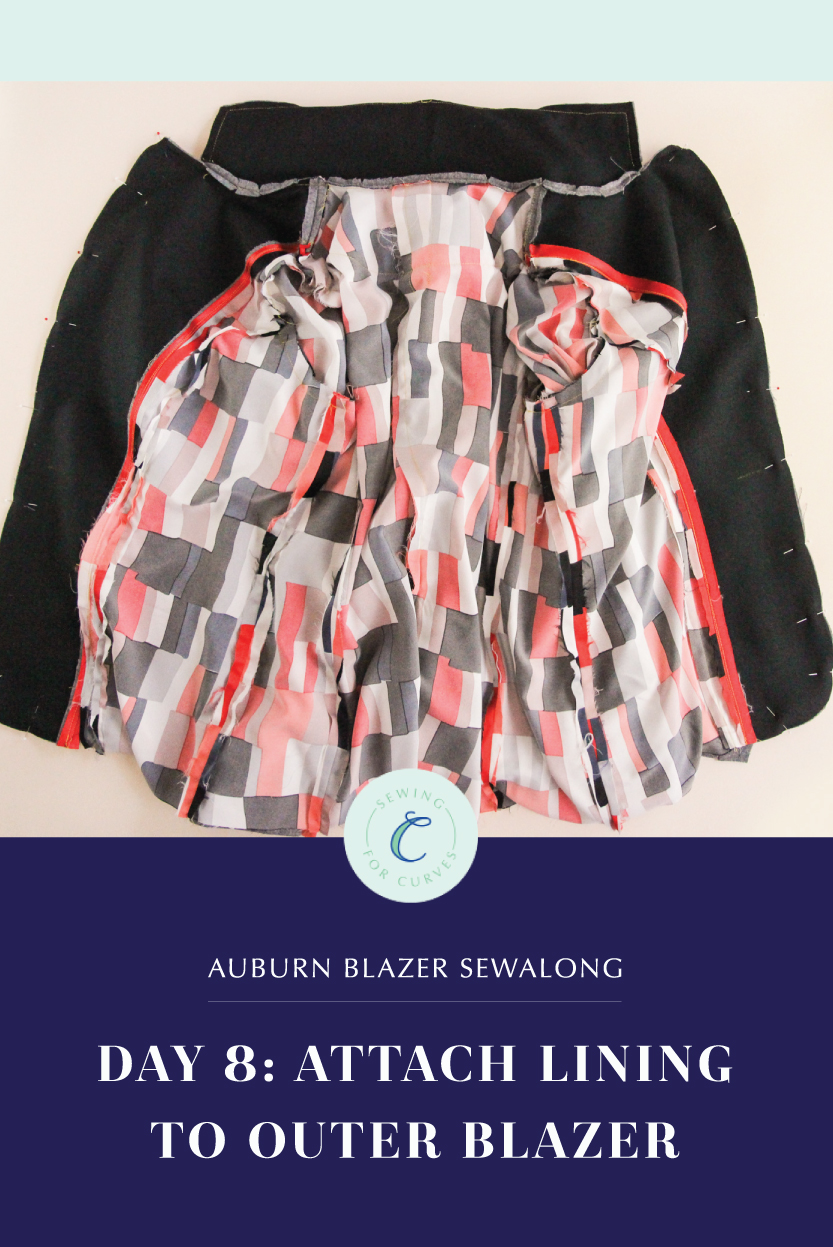
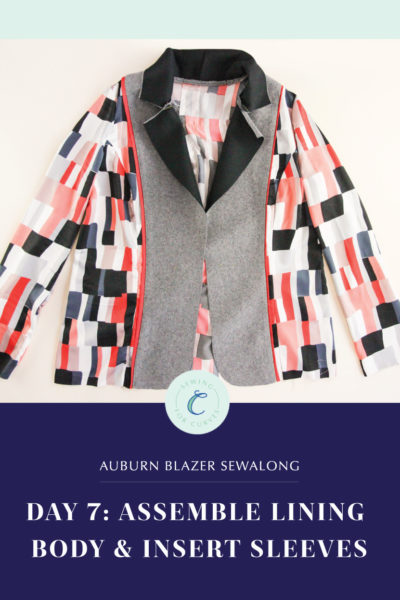
Welcome back to the Auburn Blazer sewalong! Today, we’ll be attaching our constructed lining to the outer blazer, and then we’ll be almost done. Woo hoo!
(Just joining us? Be sure to check out the main Auburn sewalong page to catch up on everything you may have missed.)
Last time, we finished assembling our blazer’s lining, and today we’ll be attaching it to the outer blazer. It’s so satisfying to see the blazer come together this way, so let’s get started!
Attach Lining to Outer Blazer
Start by folding the hem of the outer blazer to the wrong side by 1.5″ (3.8 cm), pressing, and unfolding. If you’re using the E/F or G/H cup sizes, there’s a slight slope down to the center front, so the folded hem will be at a bit of an angle.
Next, flip the main body to the right side and lay the lining on top of it, right sides together. Pin the upper and under collars together, matching edges and circle markings.
We’re going to sew around the edge of the collar at 3/8″ (1 cm) seam allowance, starting at one circle marking and ending at the back center seam, then repeating the same thing on the other side and meeting in the middle.
When you get to a corner, reduce your stitch length to 1 mm and sew across the corner at a 45 degree angle—this helps you get a sharp corner when you turn the collar out.

Open up the collar and understitch the seam allowance to the under collar from the right side, starting and ending 4″ (10 cm) from either end of the collar. (The under collar is the one attached to the main body of the blazer, not the lining.)
Now we’re going to put the main blazer and lining together again, right sides together, and pin around the center front openings.
Clip into the lapel up to the circle markings, and fold back the collar seam allowance out of the way of the circle marking.
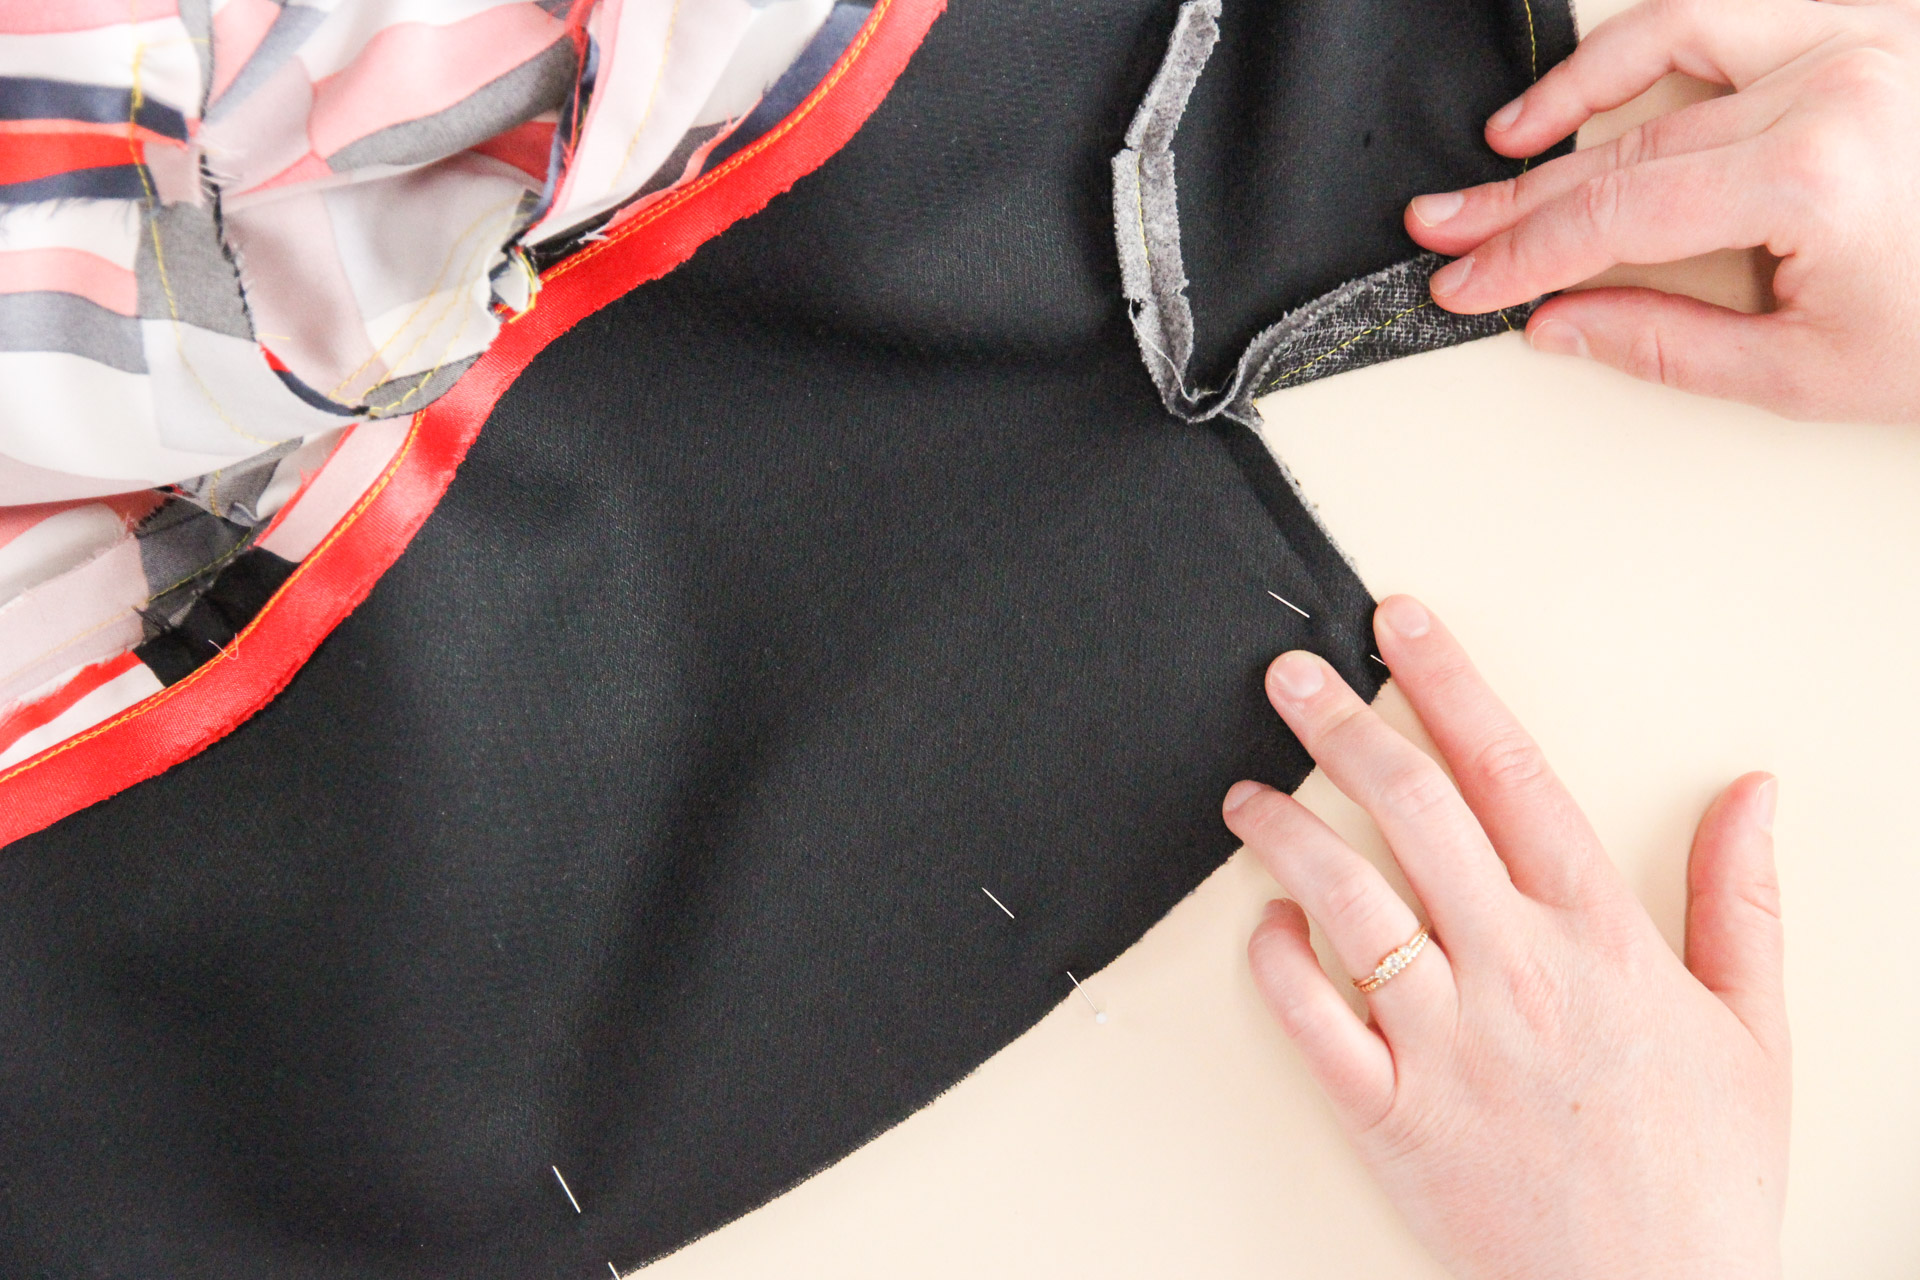
Sew the two center front opening seams at 3/8″ (1 cm) seam allowance, starting at the circle markings and ending overlapping the seam allowance of the inner edge of the facing.
Between the circle marking and the corner of the lapel, you’ll want to curve your stitch line, sewing at a 45 degree angle at the corner. This will help to create a straight, sharp lapel corner when turned.


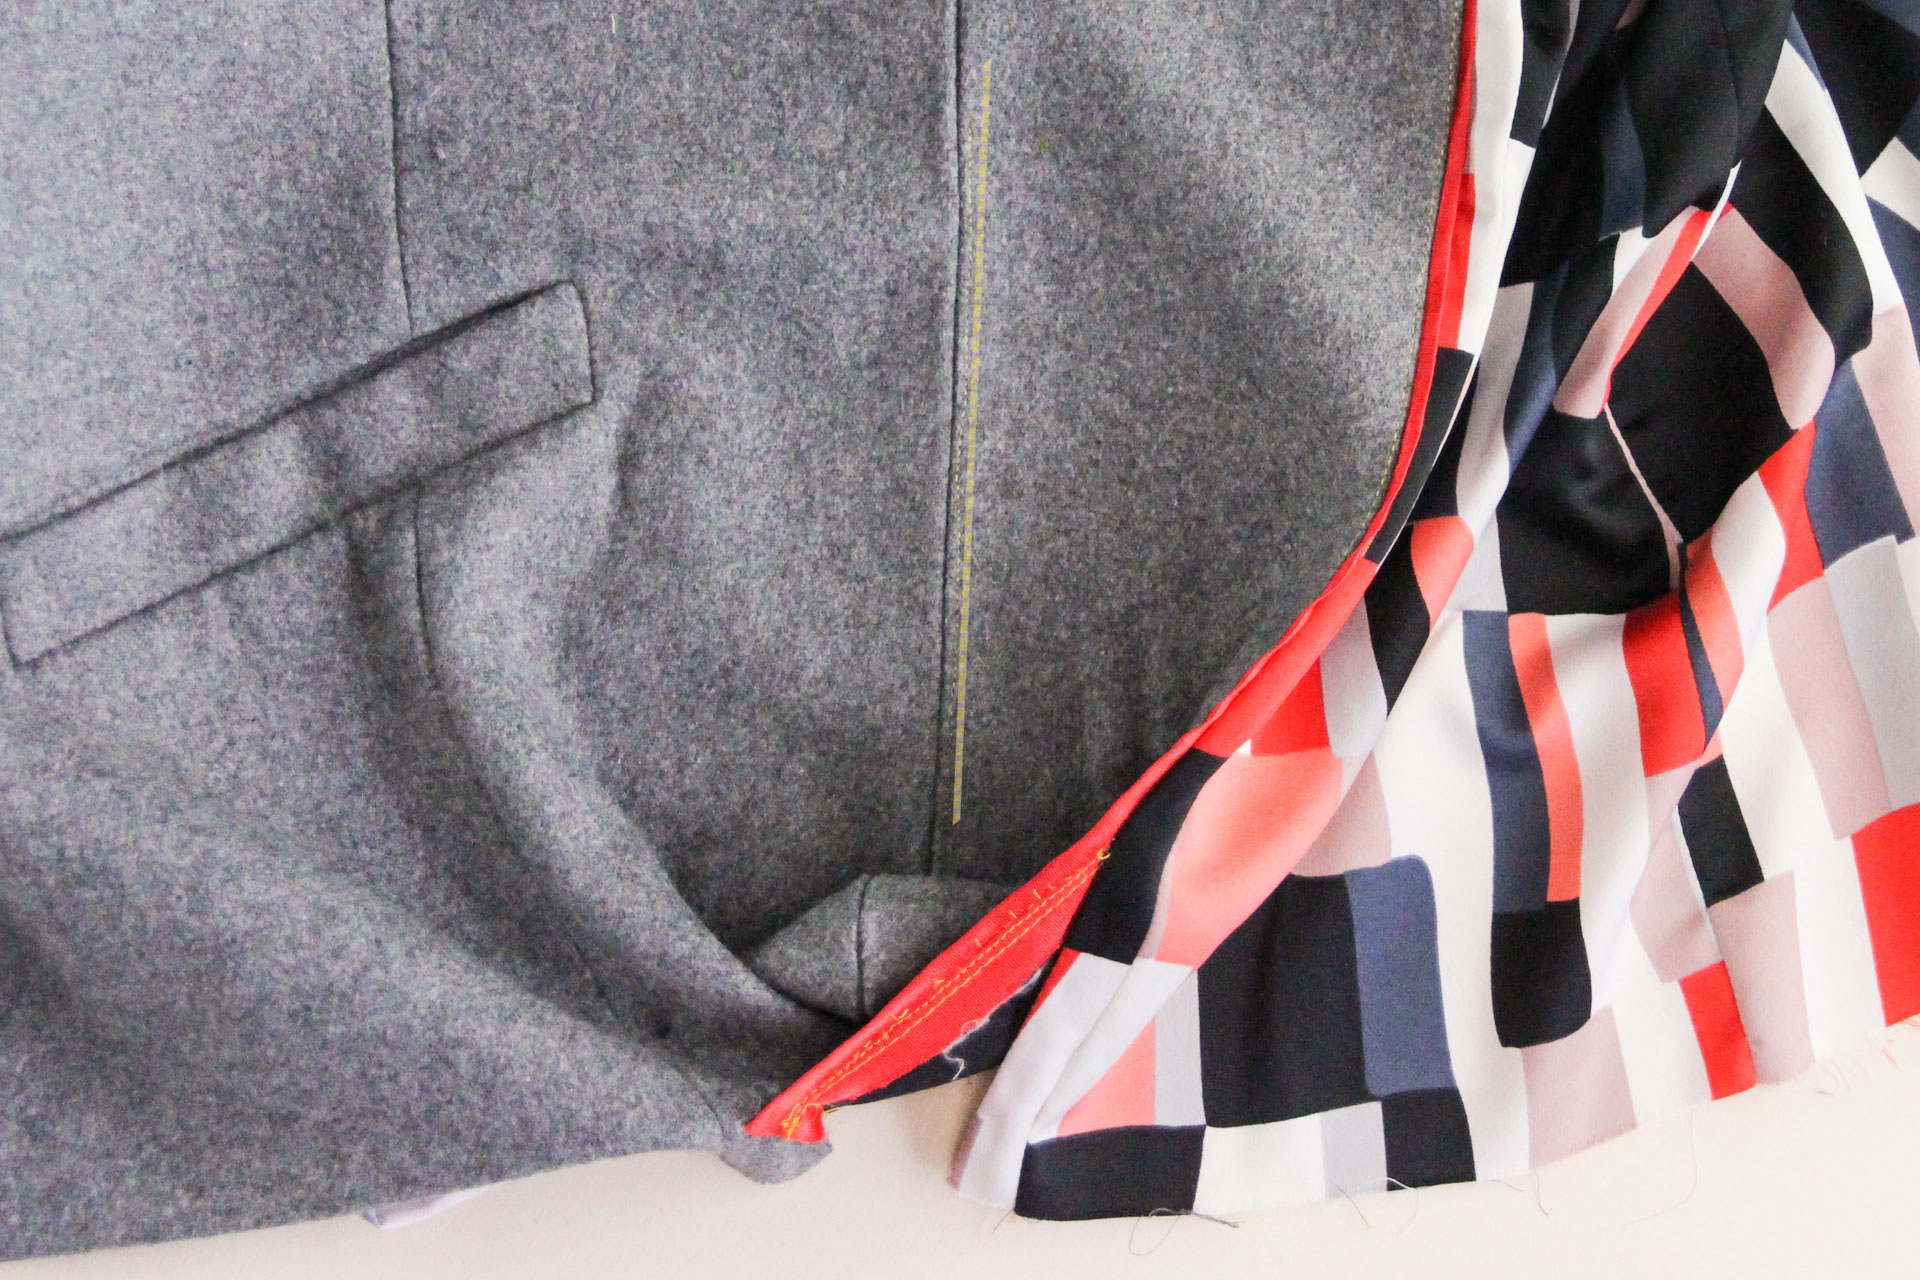
Turn the collar and lapel corners out to make sure that they match and are nice and sharp.
Turn them back inside, then trim the corners and grade the seam allowance. Because of the way the lapel folds out when worn, you’ll want to grade the so that the lapel seam allowance is slightly wider than the blazer side from the neck down to the break point (this is the lower end of the roll line), then switching so that the lapel seam allowance is slightly narrower than the blazer side from that point down to the hem.
Clip the curve of the at the bottom of the facing, as shown in the photo above.
Now we’re going to understitch the seam allowance to the front facing, 1/8″ (3 mm) from the edge. Start just below the roll line and go down towards the hem as far as you can go—you won’t be able to get all the way there, so just get as close as you can.
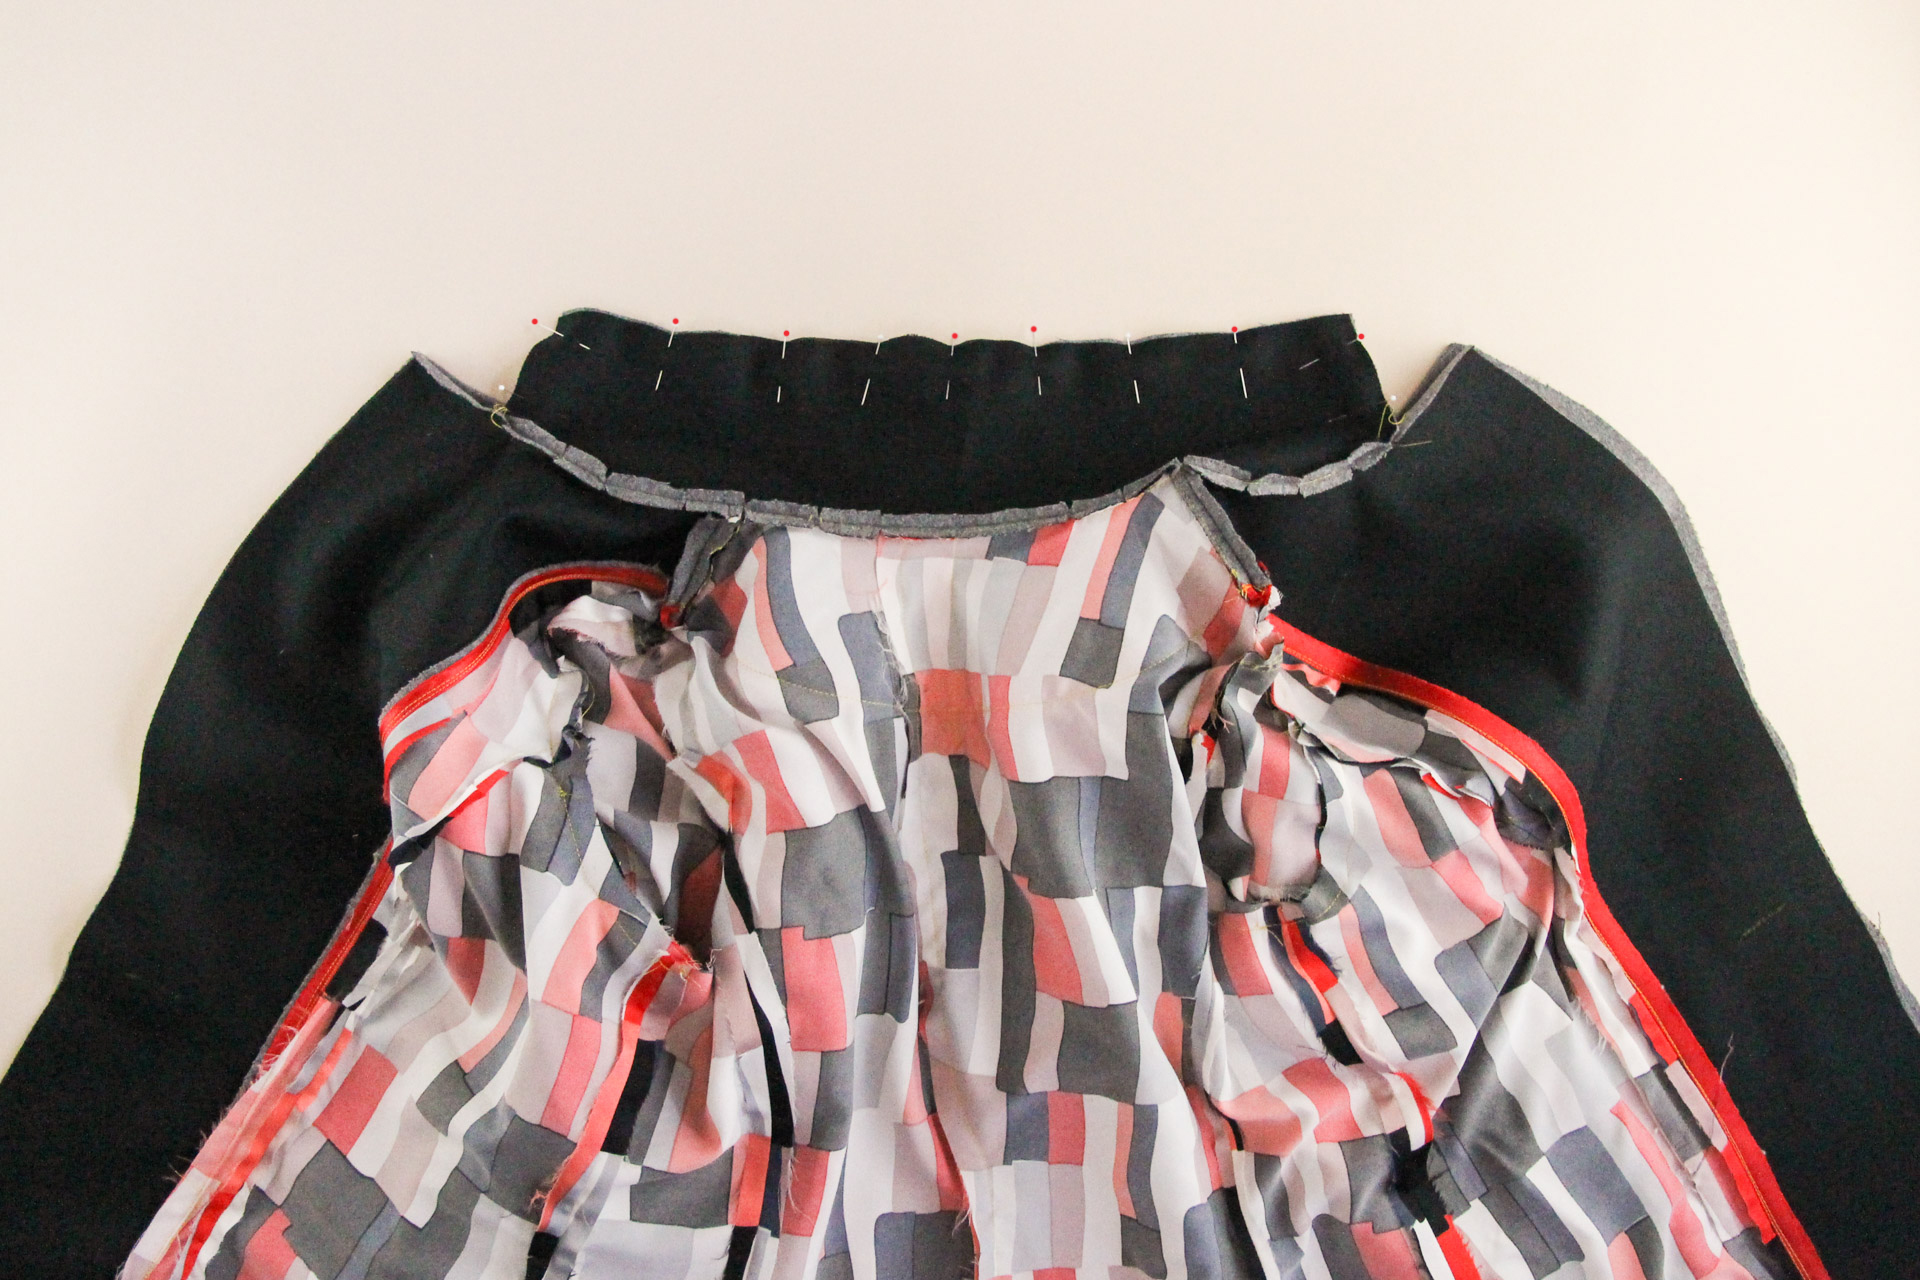
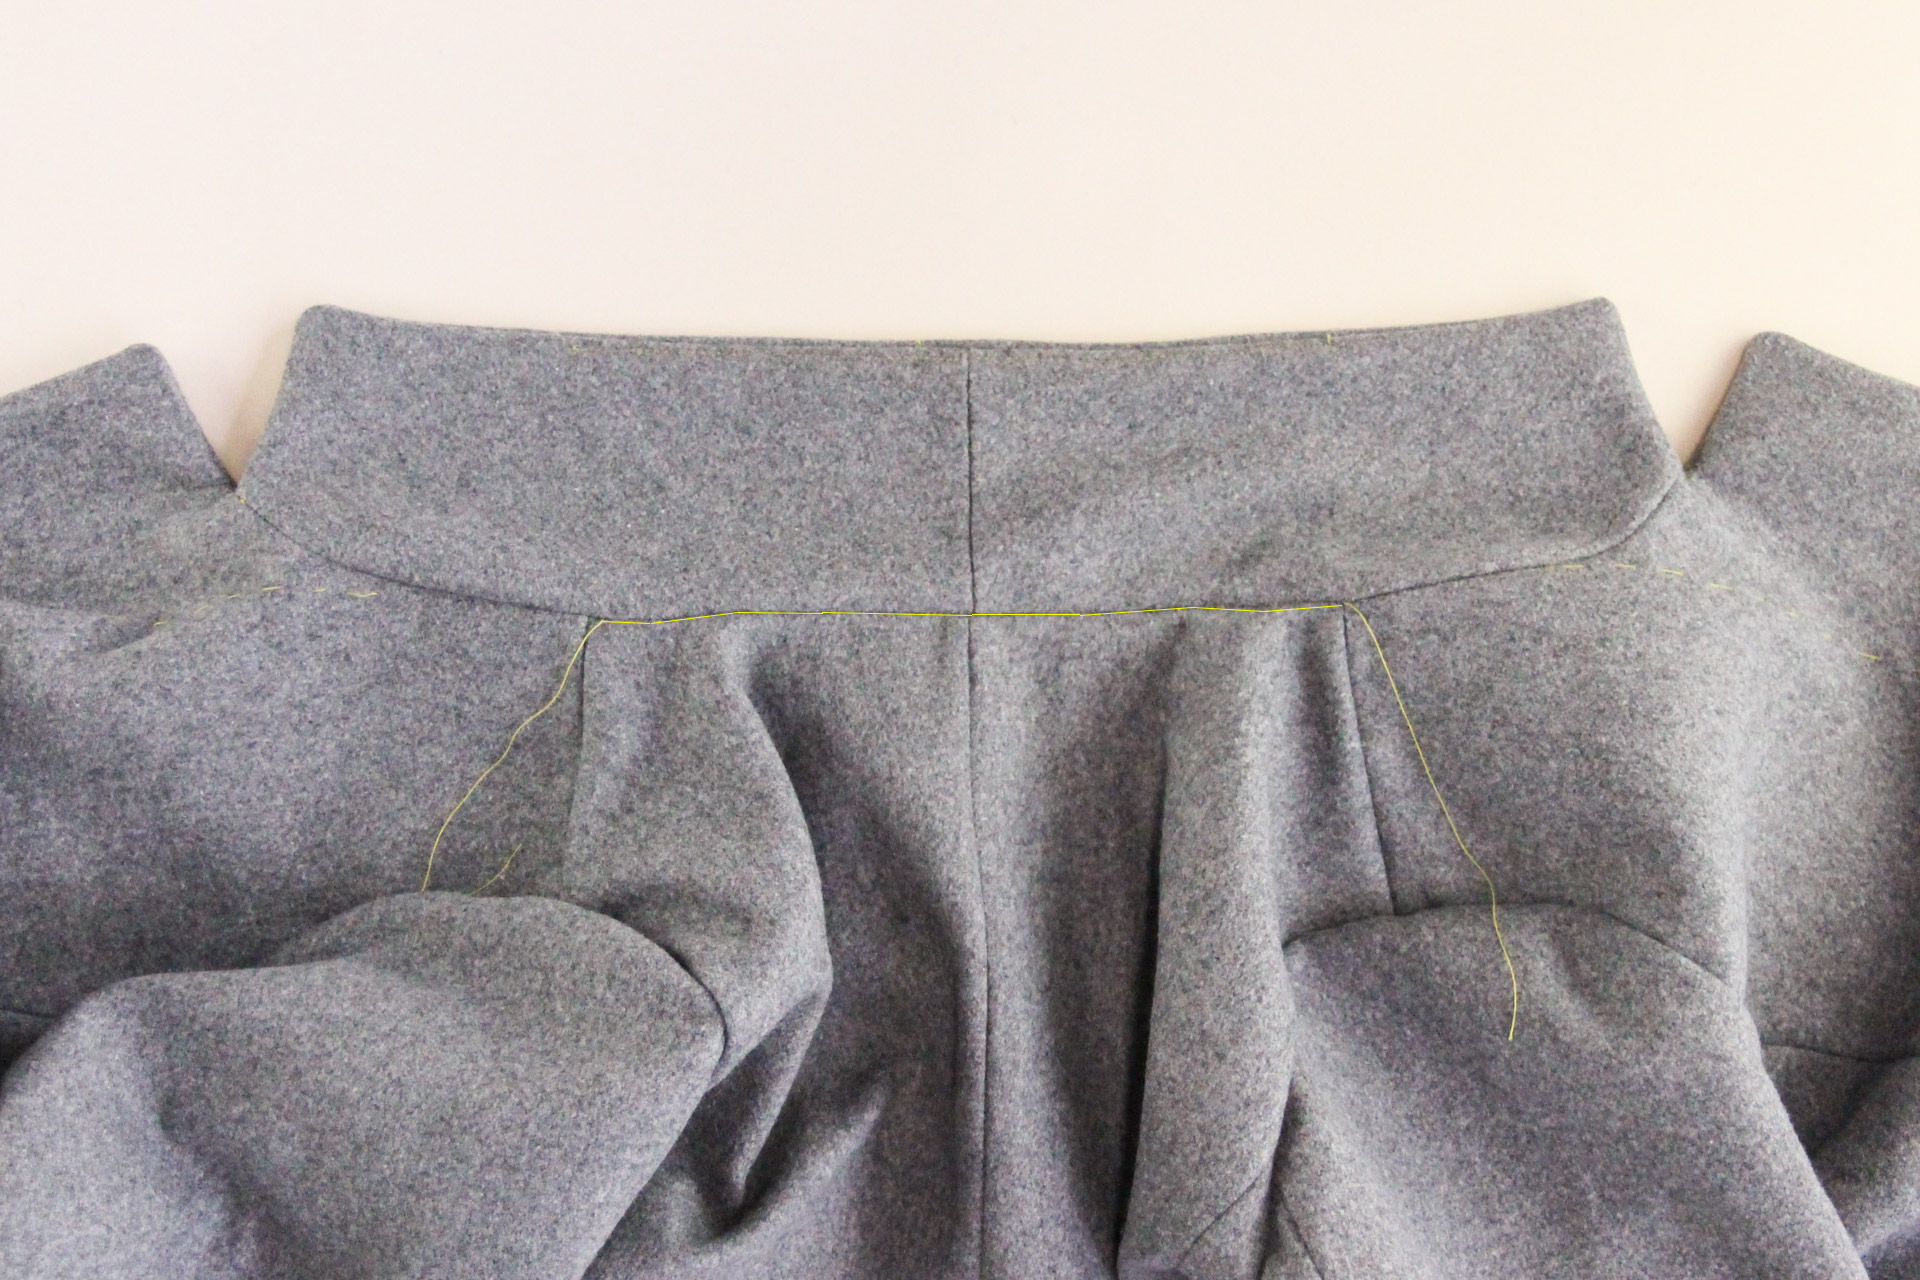
With the outer blazer and lining turned out (wrong sides together), match the neckline seams of the upper and under collar and pin.

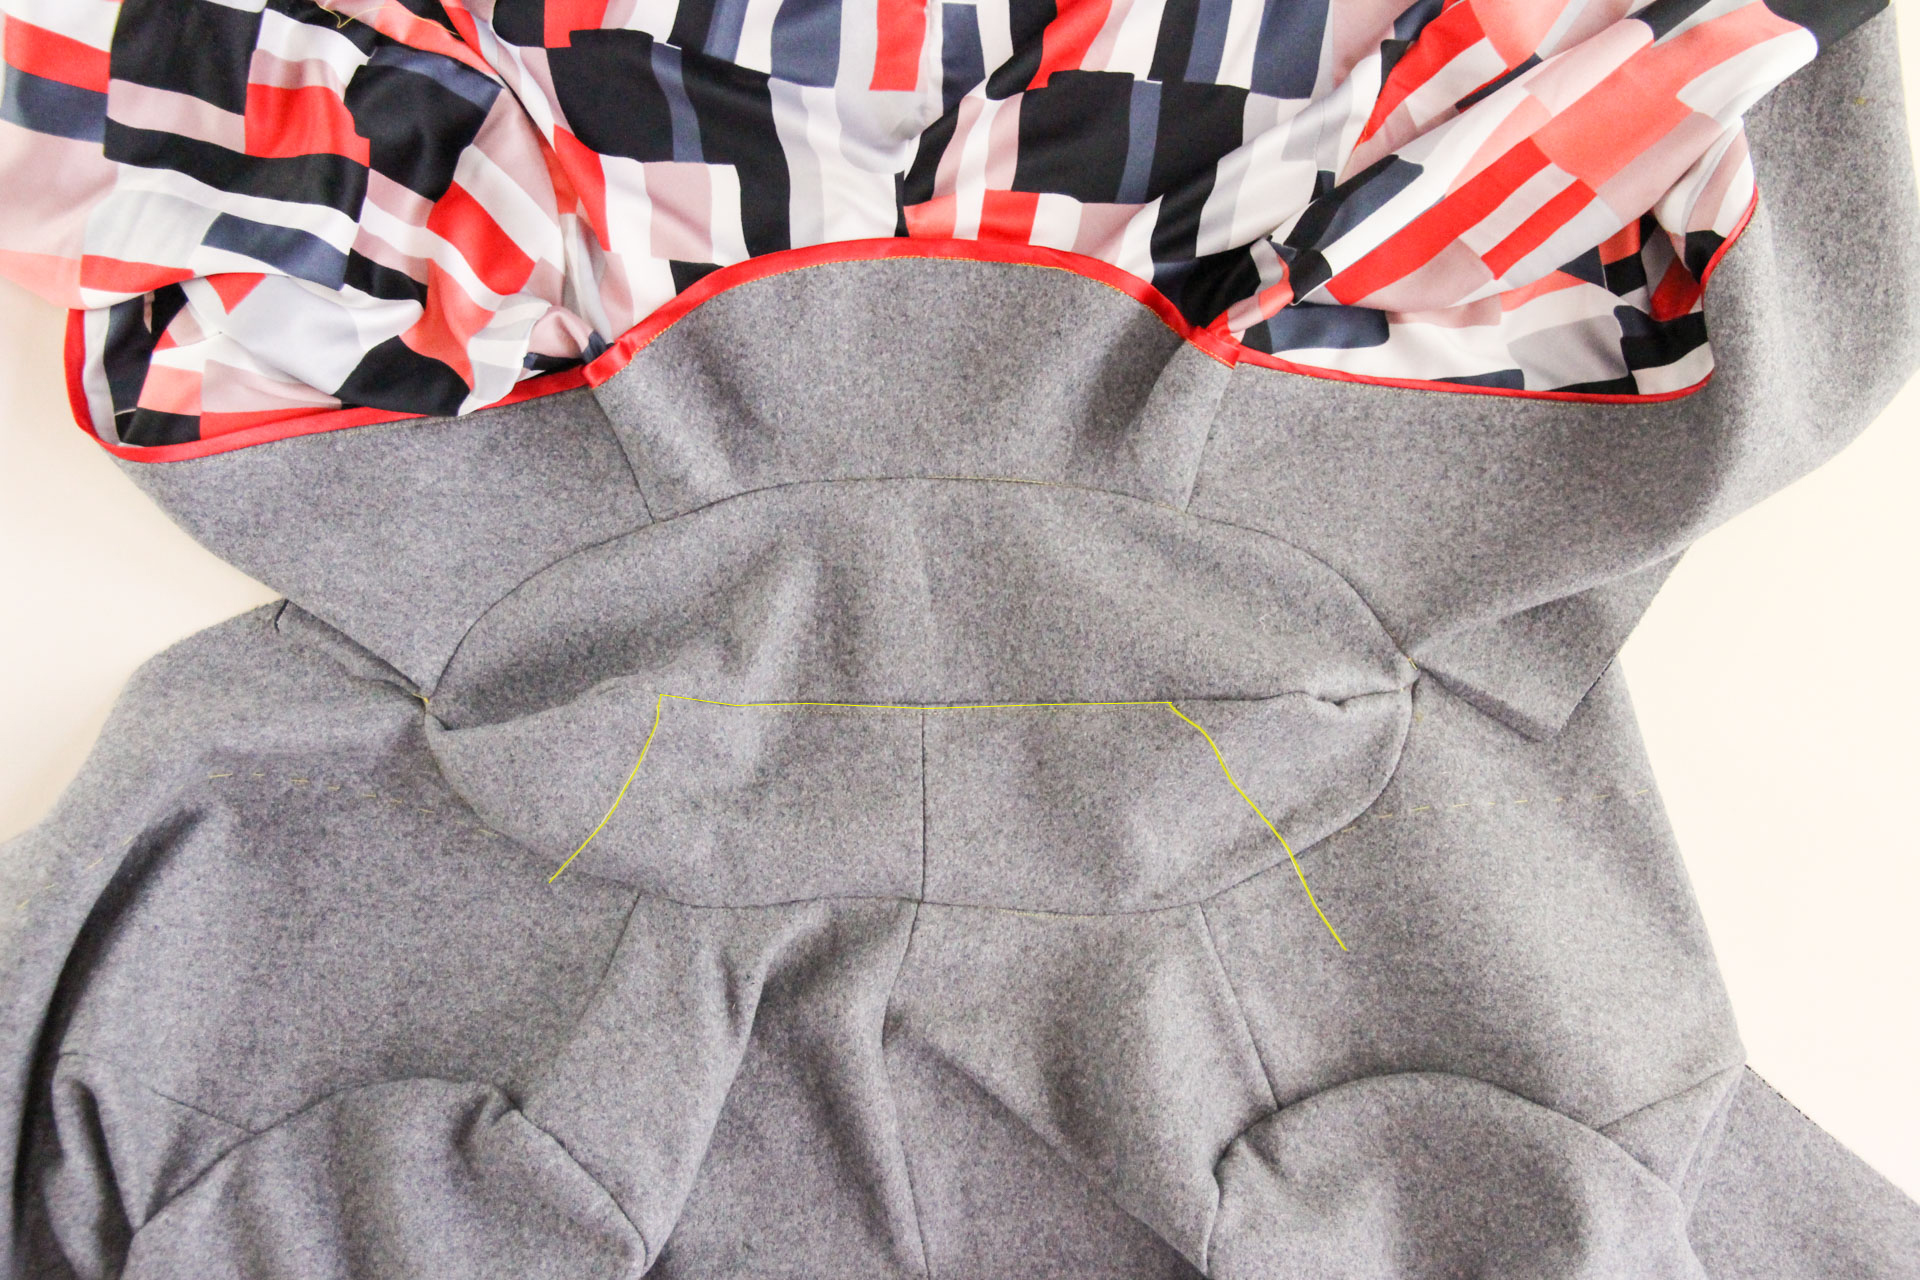
Stitch in the ditch between the two shoulder seams. Your stitching line should be hidden in the “ditch” of the seam on both sides, but it can be hard to do this perfectly because the seam is a bit bulky. Do your best, and check from the other side to see if you stitching is visible. If so, you can unpick that section and try again.
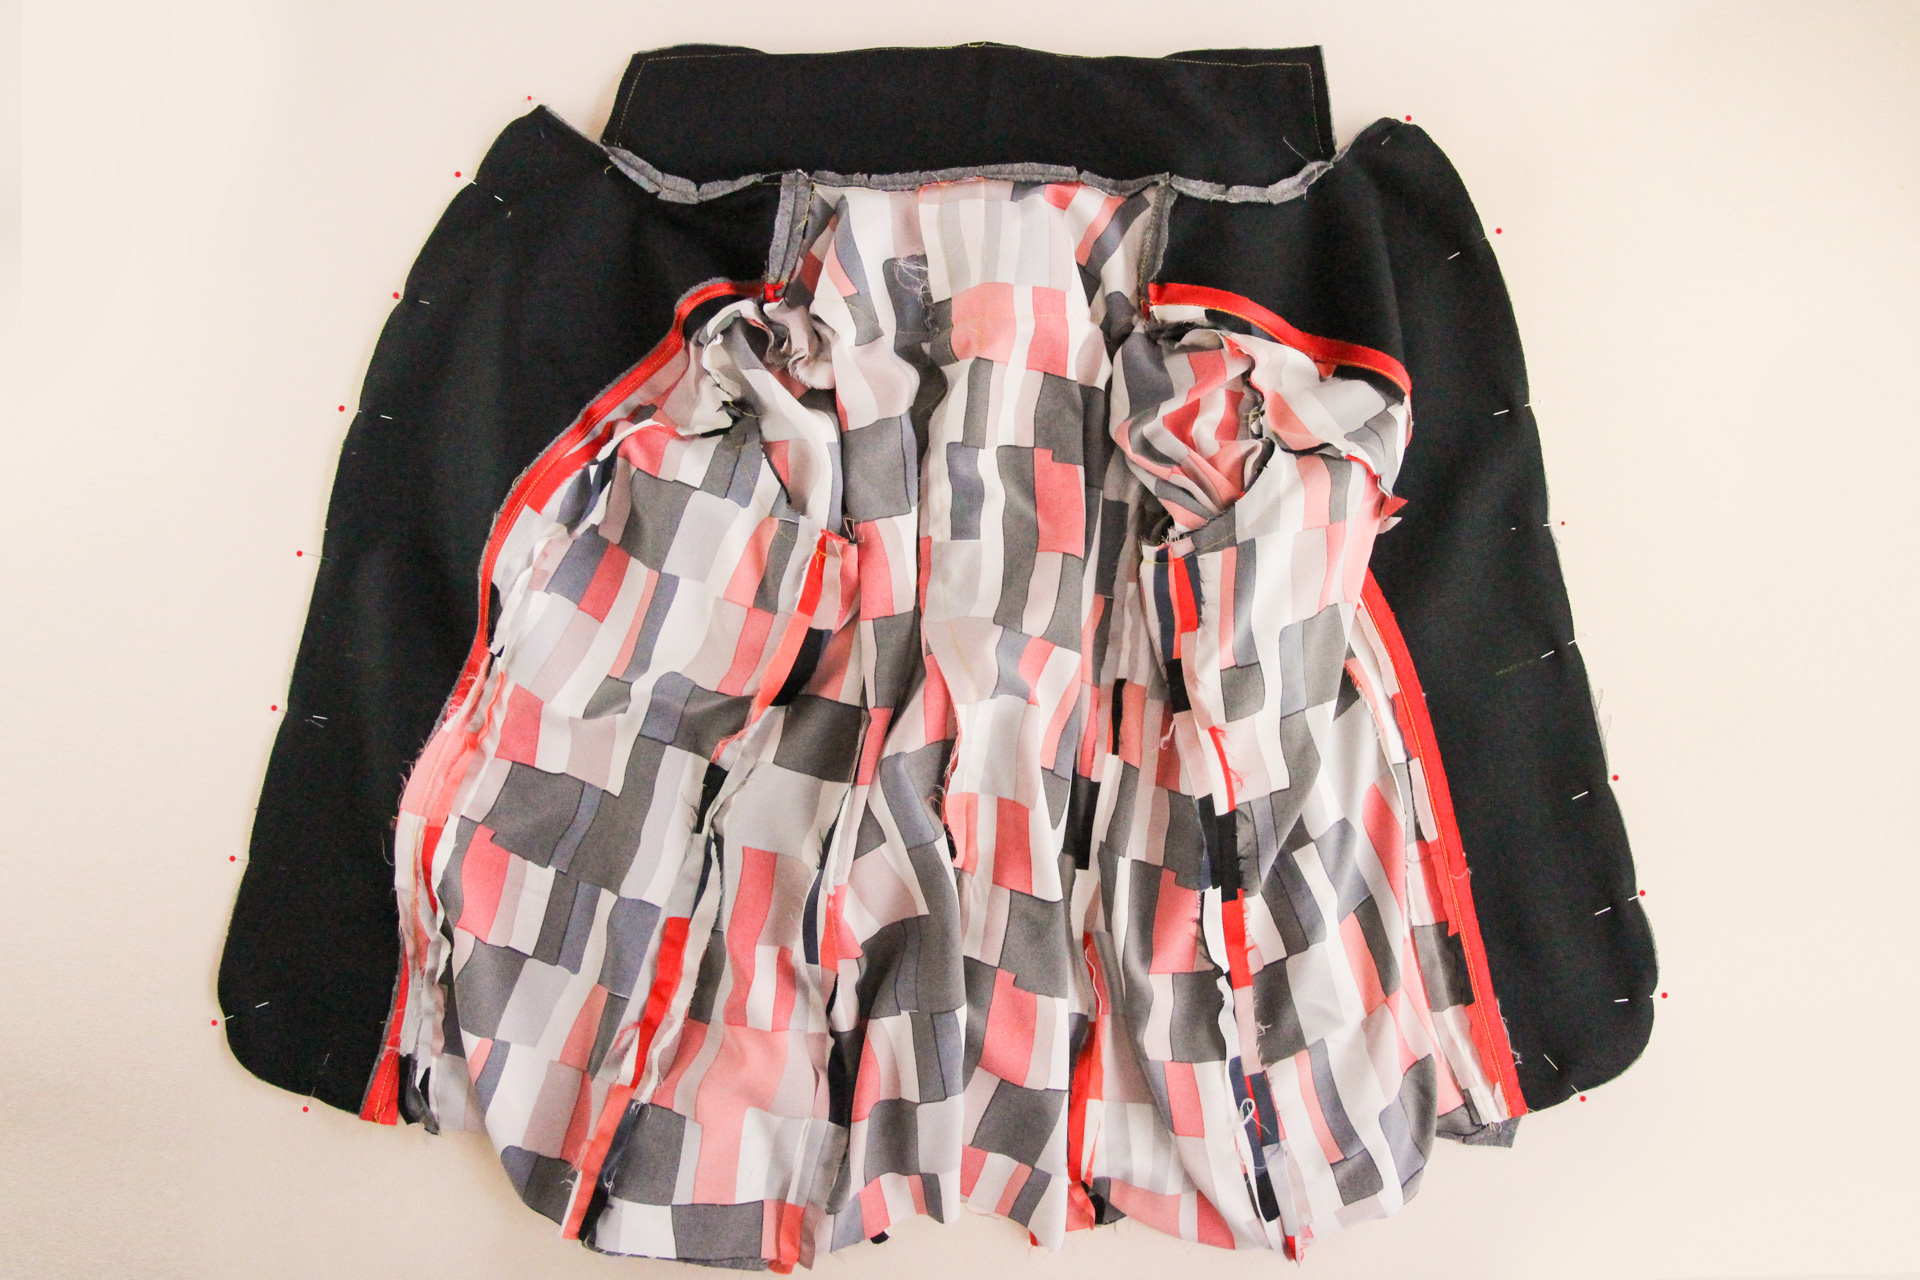
Flip the blazer inside out again (with right sides together) and pin the lining to the main blazer at the hem.
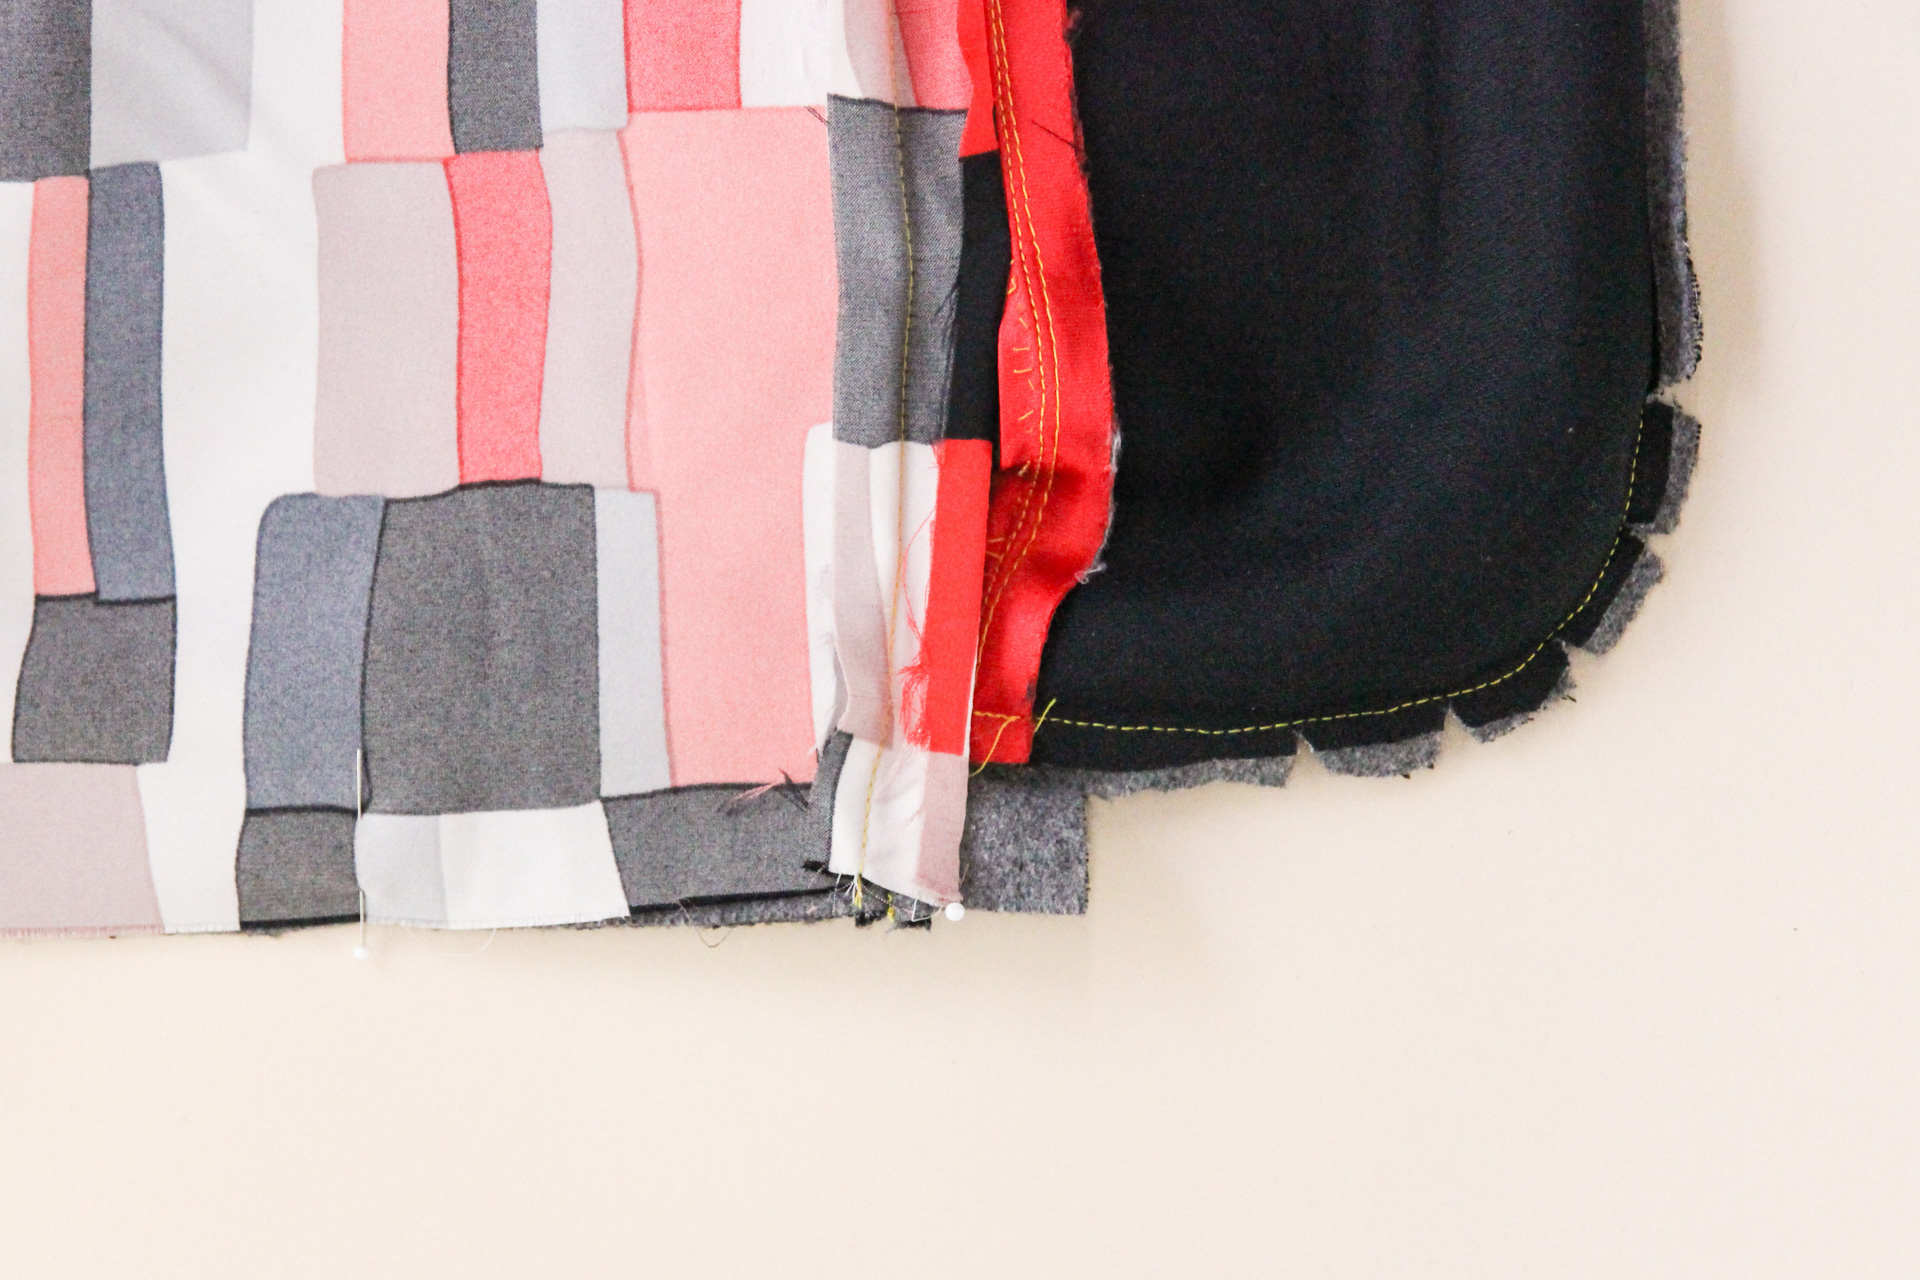
Sew the lining to the main blazer at a 1/2″ (12 mm) seam allowance, starting at the front edge and going towards the center back, stopping at the circle marking of the center back lining. Repeat from the second side.
Flip your blazer back the right way through the gap in the center back hem. Turn out the corners and press. Looking good!

Attach Sleeves at Hem
Our last step for today is to attach the outer and lining sleeves at the sleeve hem. Start by pulling one set of outer and lining sleeves through the opening in the hem, checking that the seams of the sleeves are symmetrical.
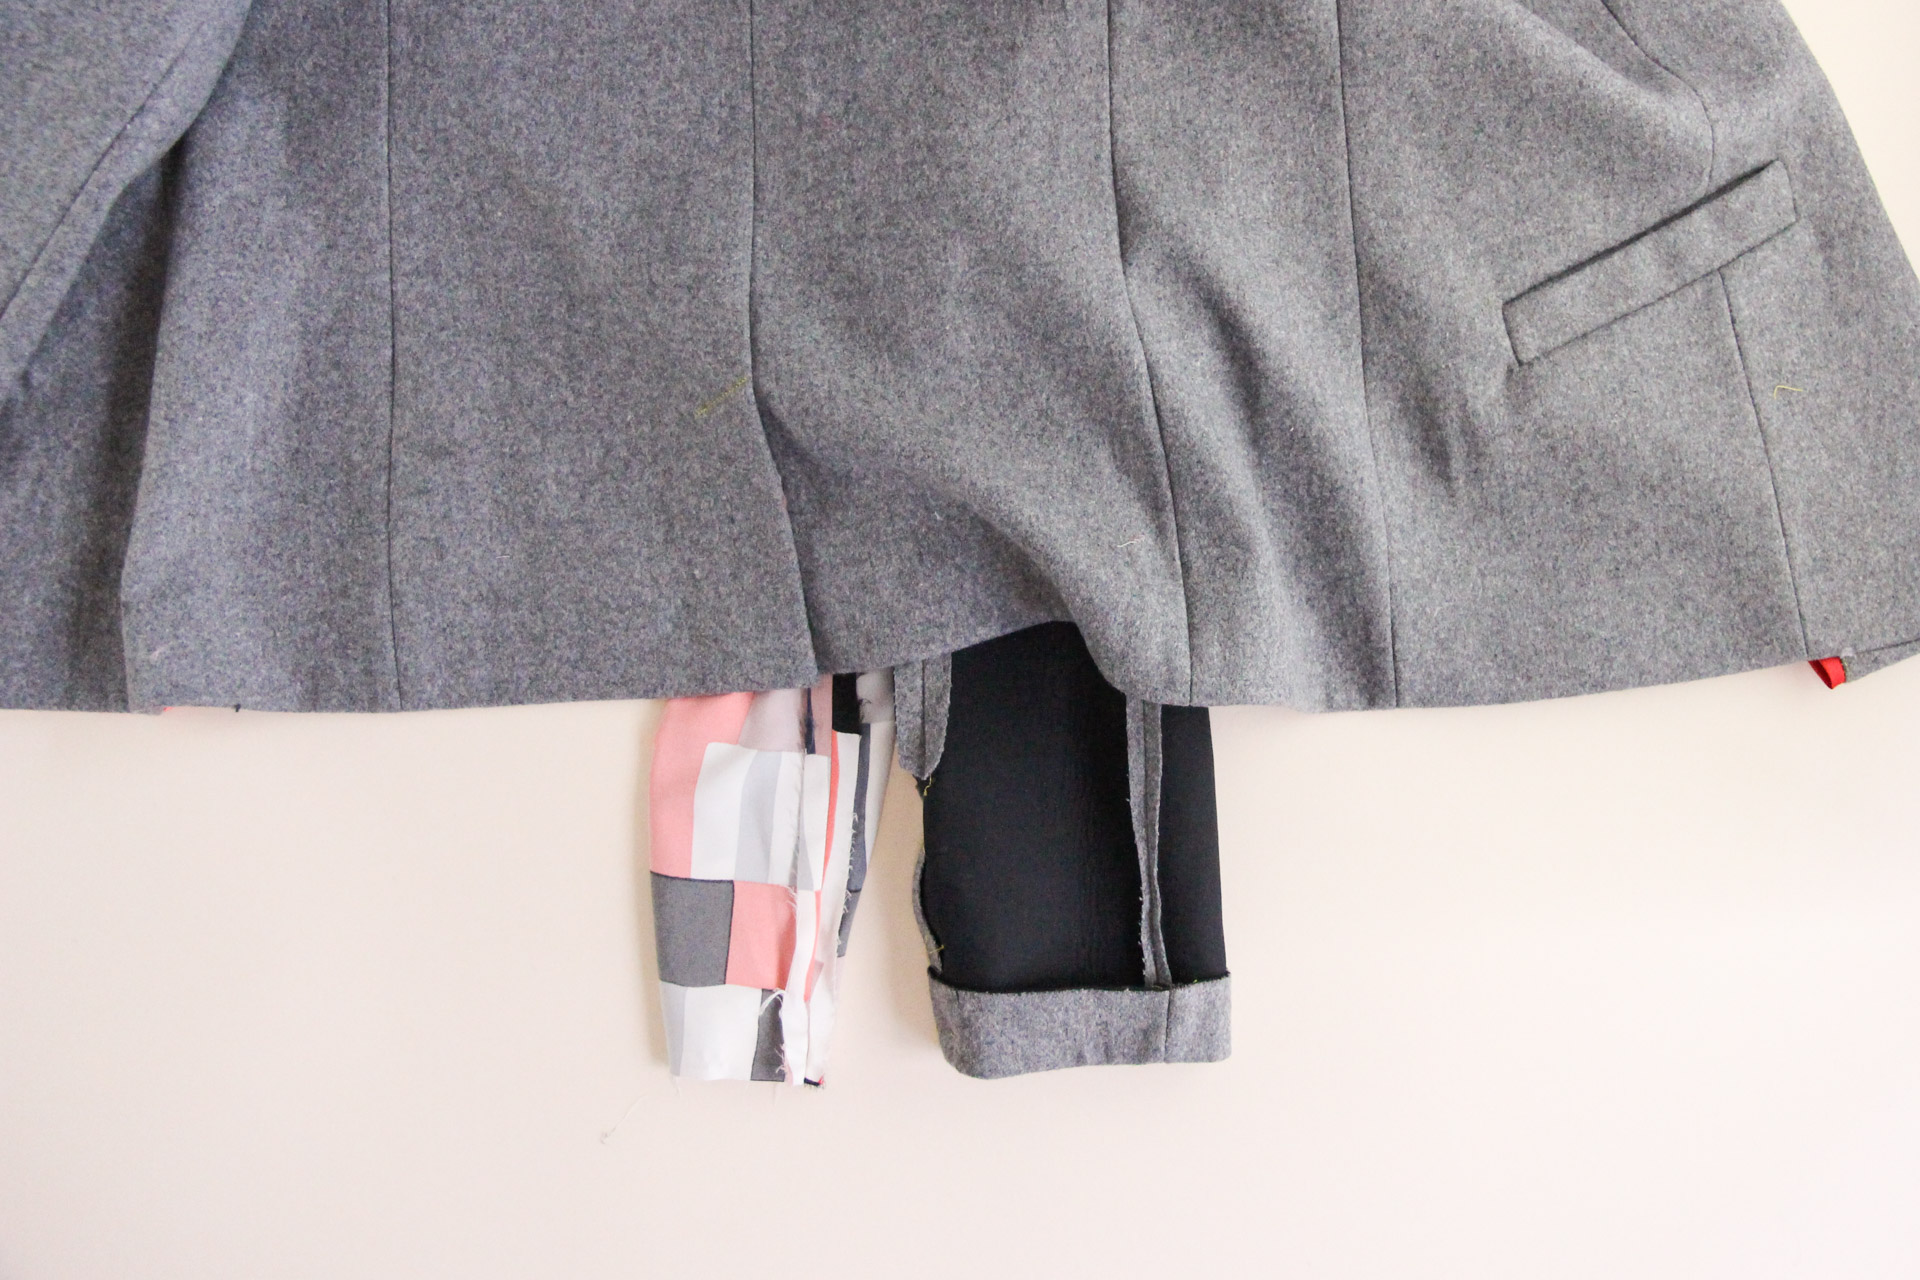
With the hem of the main sleeve folded back, insert the main sleeve into the lining sleeve, aligning the seams of the lining sleeve with the main sleeve. Pin around the raw edge. (The main sleeve’s hem should still be folded back.)
It’s super easy to get your sleeves twisted in this whole process, which makes it impossible to put your hand through once sewn. If this happens to you—you’re not alone! In fact, we made this mistake while photographing the sewalong (and many times before, too). The best way to avoid this is to first safety pin the hems together, pull the sleeve back through and check that you can put your hand through it as you would when wearing the blazer. If you can, you’ve done it right! If you can’t, undo and try again.
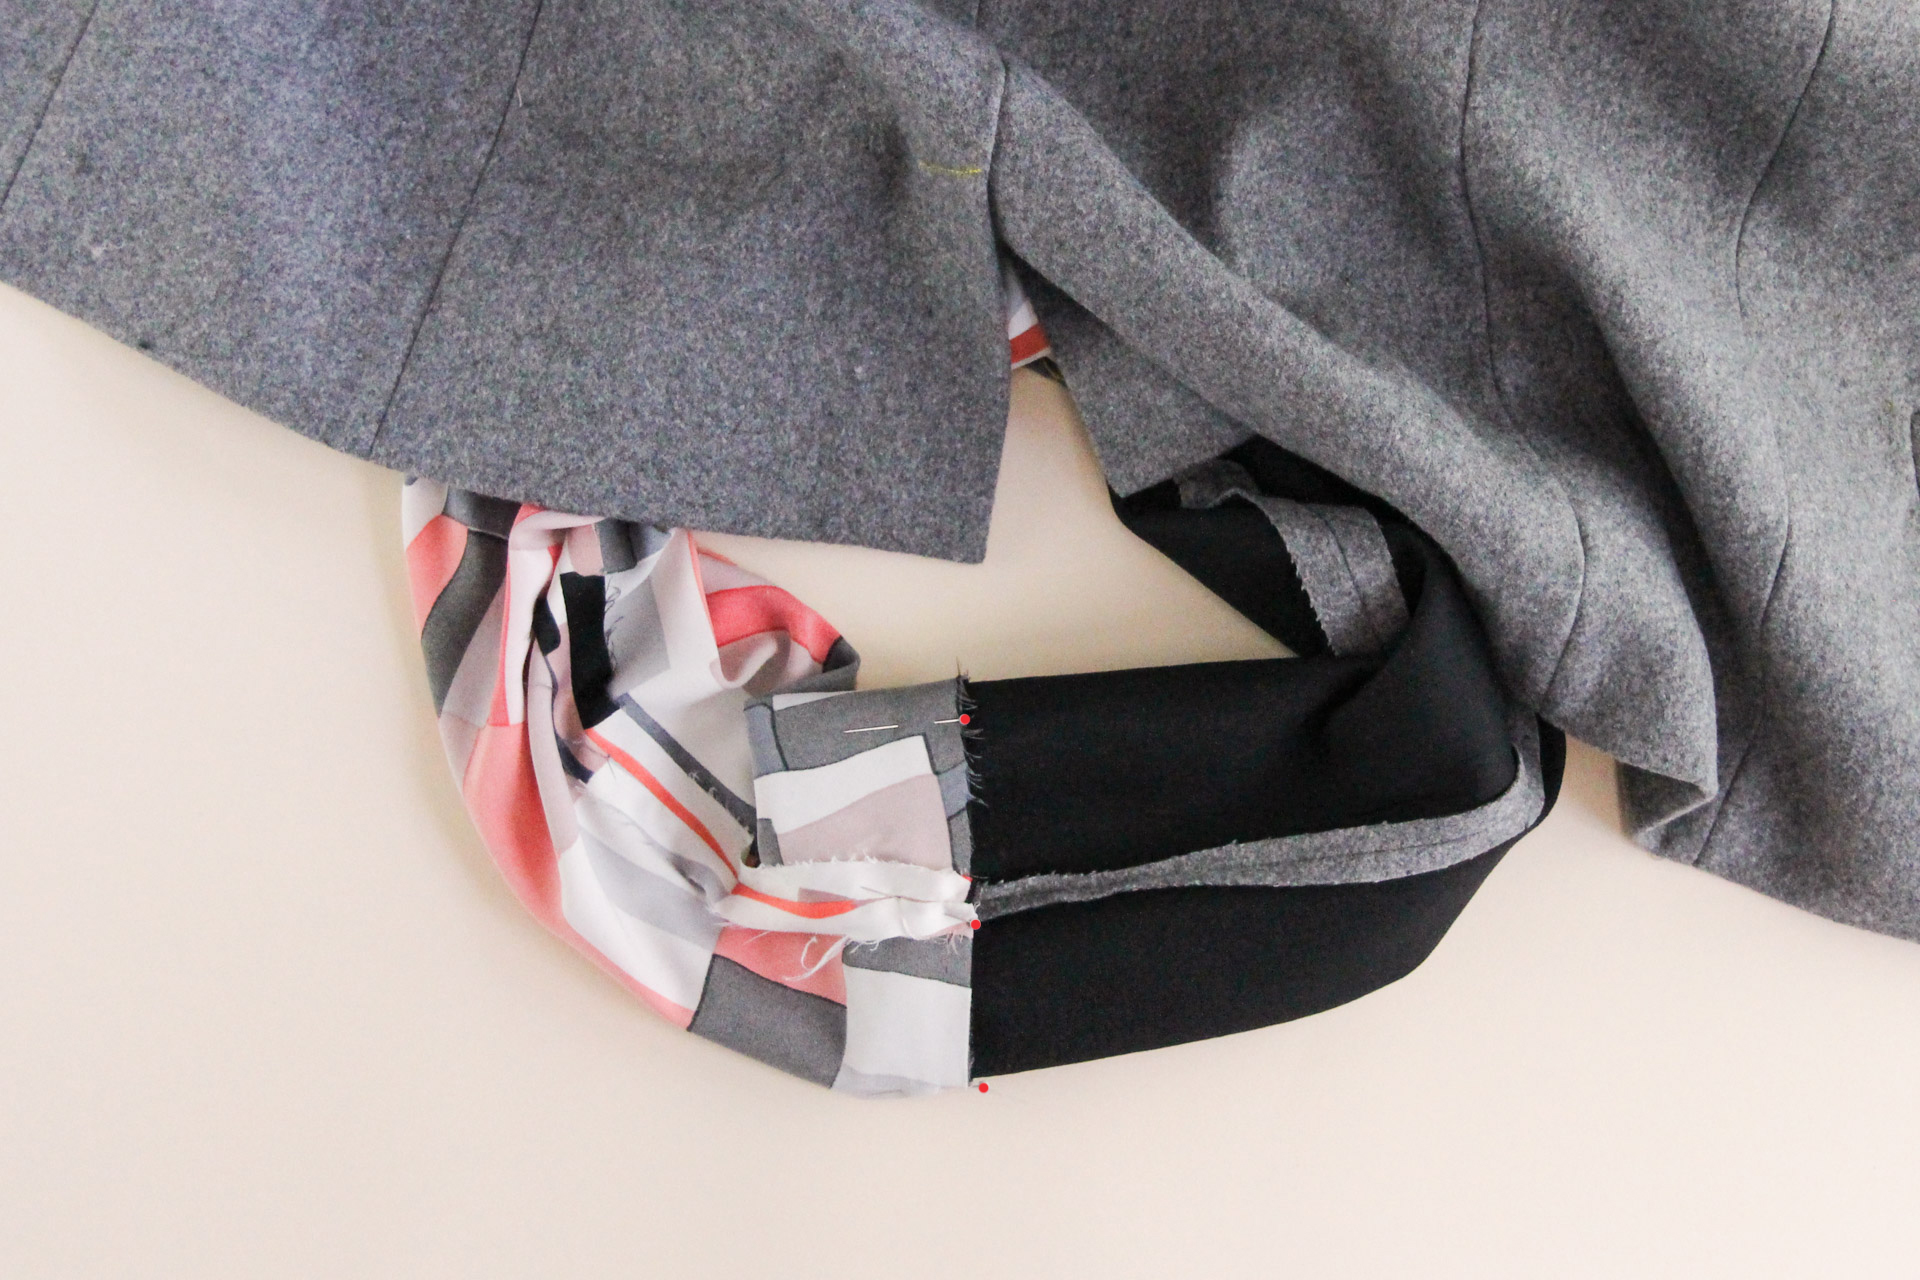
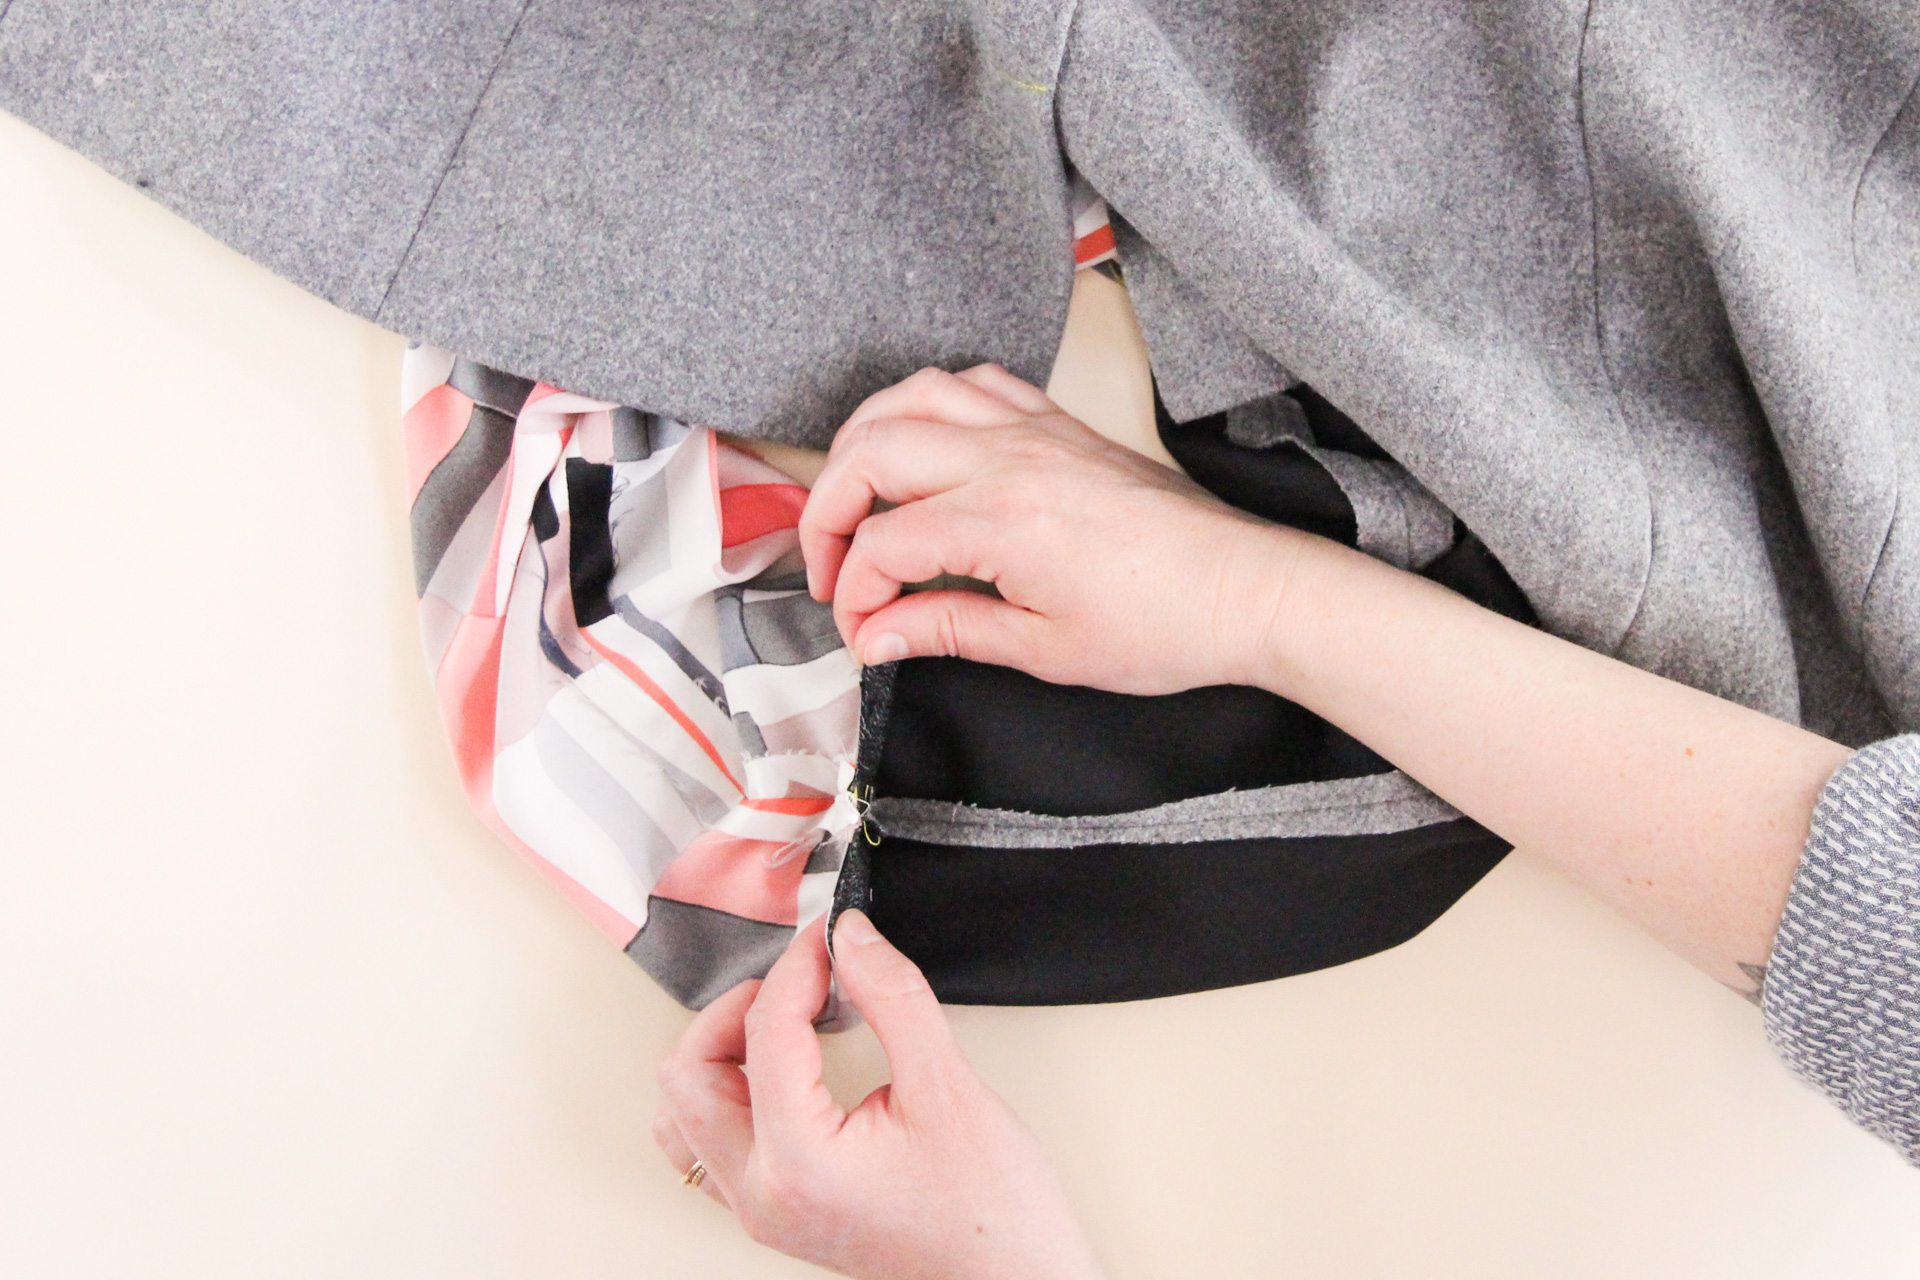
Once you’ve confirmed that you don’t have a twist in the sleeve, sew around the raw edge at 1/2″ (12 mm) seam allowance. Make sure you’re only sewing through the two hems, not through the sleeve itself.
If you’re making View A, start at one edge of the vent and sew as far as you can towards the other edge of the vent, leaving the rest open. (We’ll finish it by hand in a later step.)
If you’re making View B, you can sew all the way around.
Hand tack the sleeve hem to the sleeve seam allowance with a few stitches. This helps keep the hem from falling down.
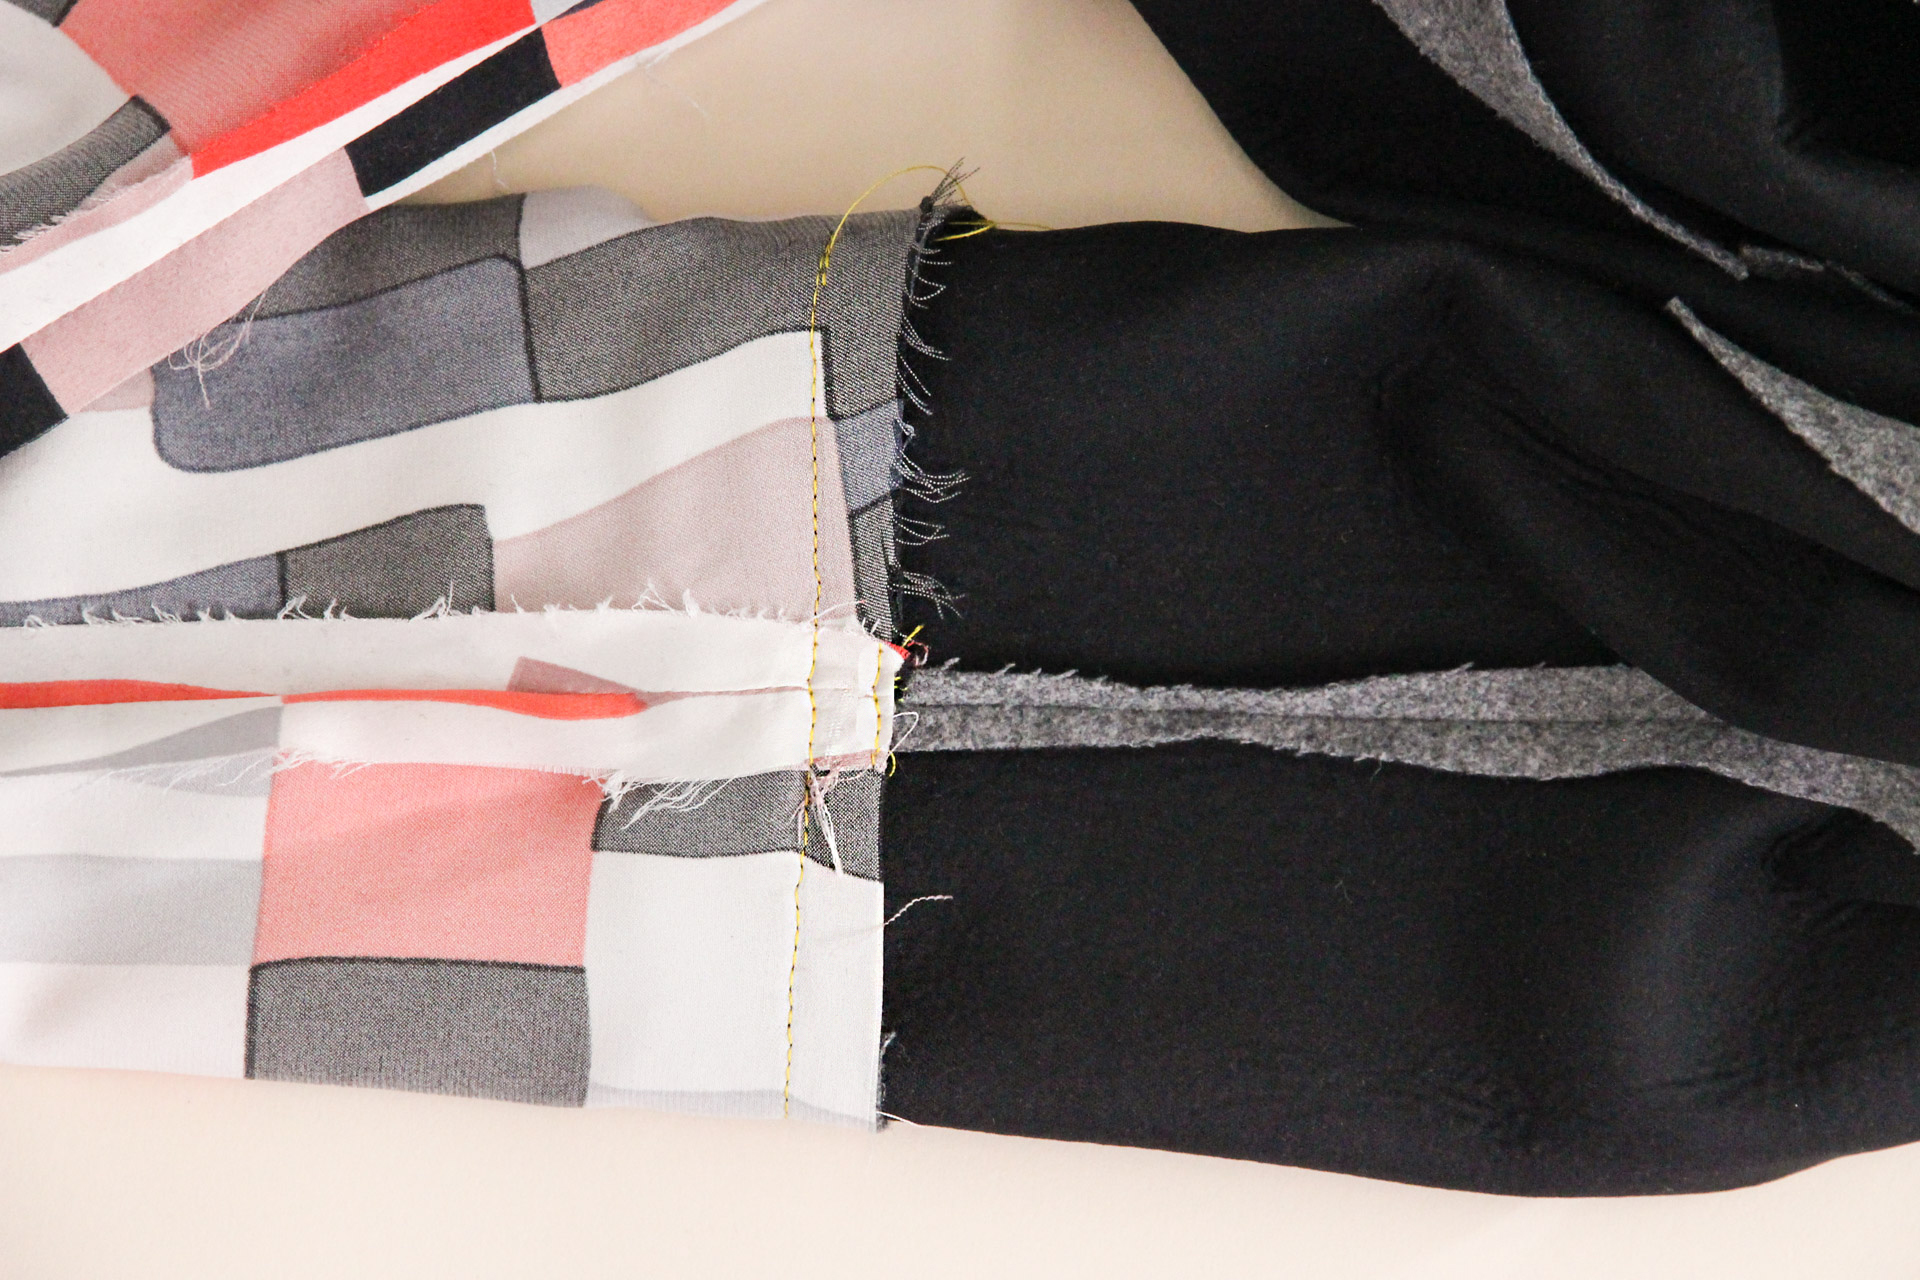
Repeat with the second sleeve.
Finally, we’re going to join the lining and outer blazer at the underarms. This helps keep the lining in position while you’re wearing your blazer, while still allowing for a bit of movement between the lining and the blazer.
Start by cutting two 3″ by 1/2″ (7.6 cm x 12 mm) pieces out of your lining fabric. Alternatively, you can create two 2″ (5 cm) thread chains.
Reaching through the blazer in the gap at the bottom hem, join the outer blazer armscye seam allowance with the lining armscye seam allowance by pinning the piece of fabric (or thread chain) at ends. Stitch the two ends down (making sure you’re only sewing through the fabric piece and the armscye seam allowance, not the actual blazer or lining) on your machine or by hand.
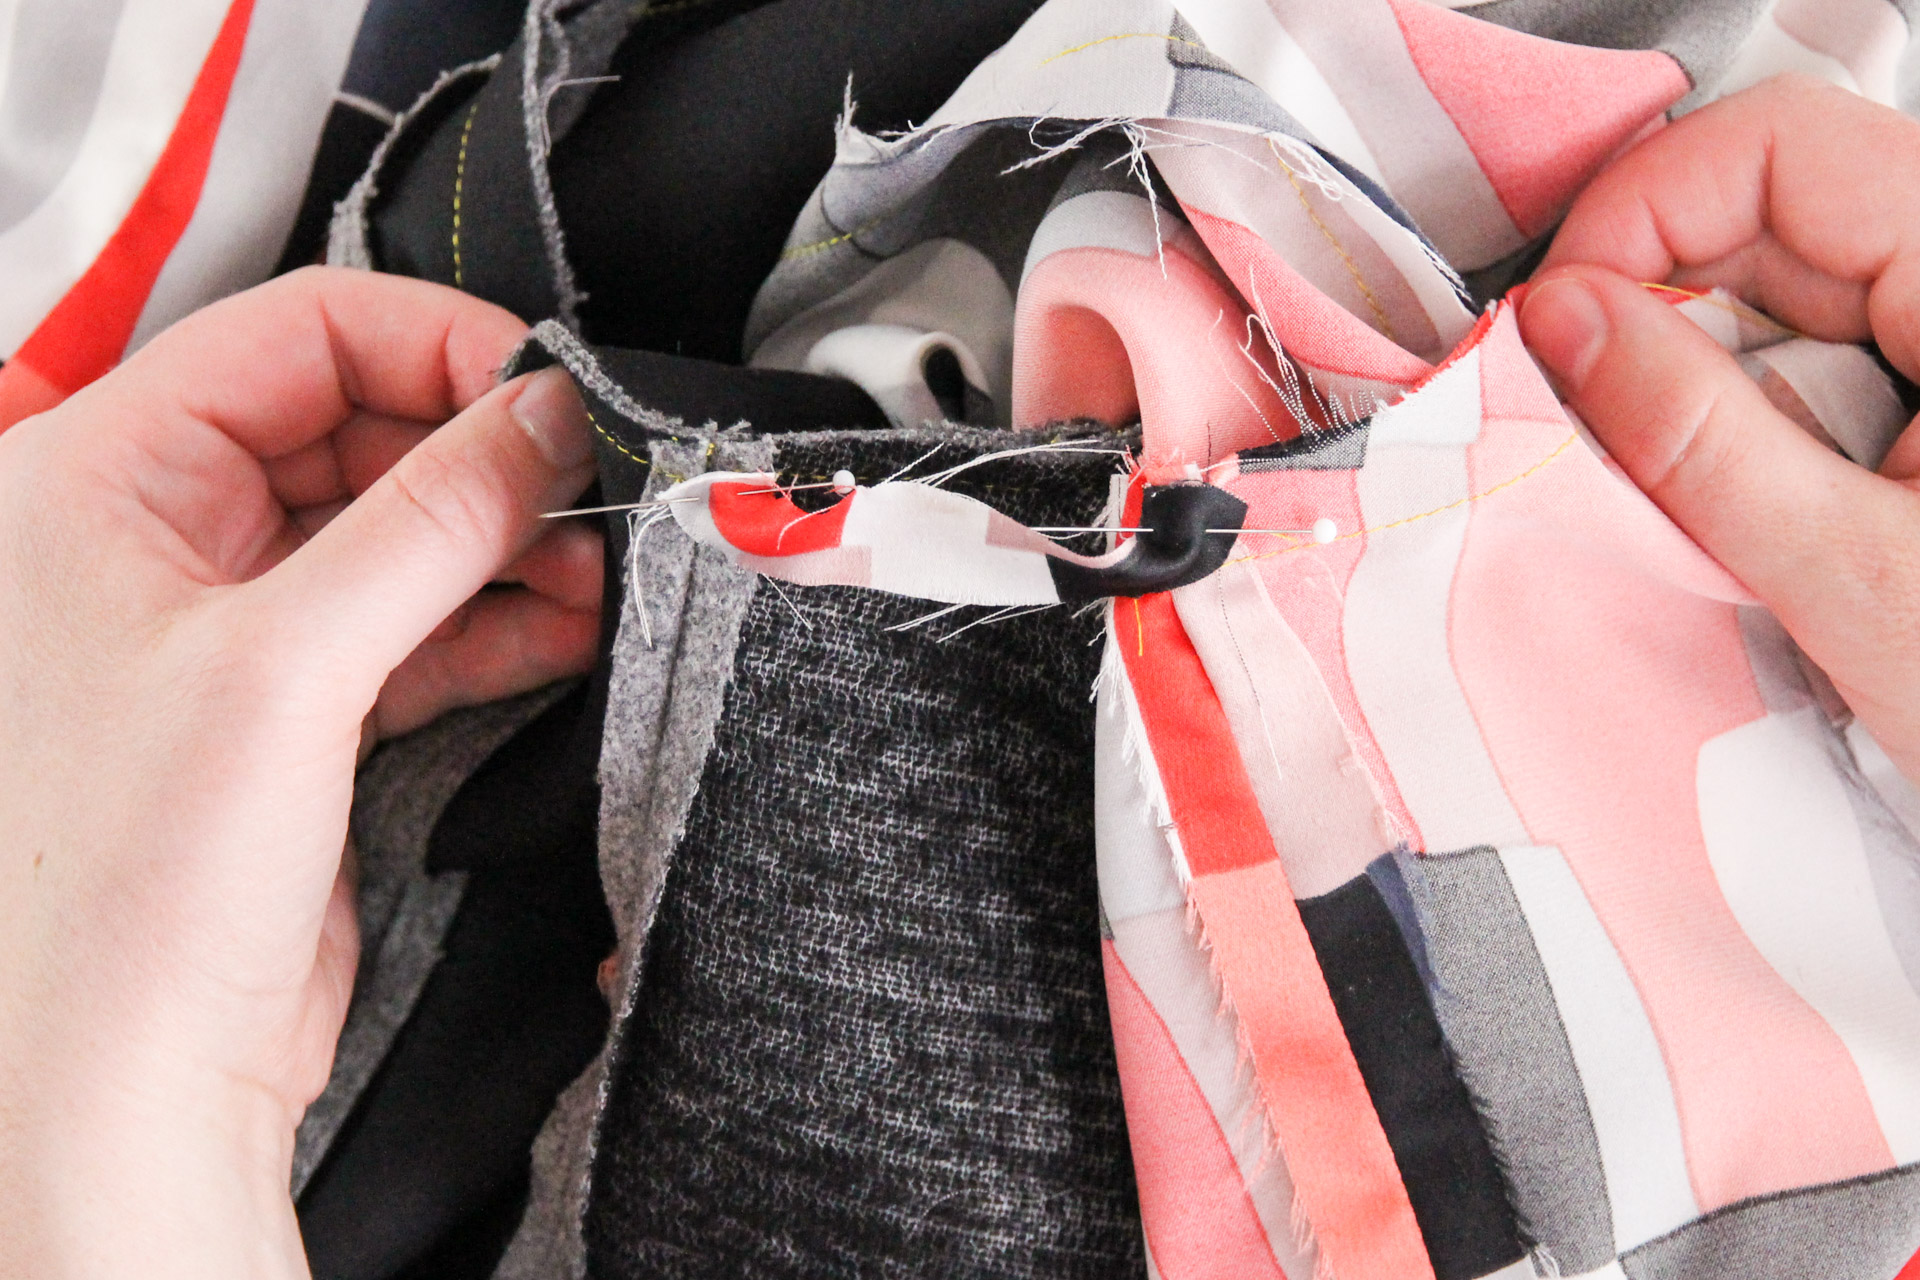
Repeat with the other side, and then push it all back through the blazer so that you’re looking at an almost finished blazer. Nice work!
That’s it for today—next time, we’ll be putting on the finishing touches and then it will be time to parade around the house in your beautiful new Auburn.
We’d love to see your Auburn Blazer, whatever stage of the process you’re at! Tag your makes with #AuburnBlazer on social media so that we can cheer you to the finish line.
Wow!!! you just sewed the lining and blazer together all by machine… Is this the same as bagging the lining?
There will be some hand sewing to be done in the next step when we finish the hemline. And, yes, the technique we use to line the blazer is the “bagged lining” technique.
I love how my Auburn blazer is coming together! Only…I wat to make an unlined one (with boiled wool) first! Any advice where I can get instructions? Otherwise I‘ll just keep following instructions and skiptheones about the lining. Thanks for helping make my dream come true!