Welcome back to the Auburn Blazer sewalong! Today, we’ll be sewing our outer sleeves and inserting them into the body of the blazer. Let’s get going!
(Just joining us? Be sure to check out the main Auburn sewalong page to catch up on everything you may have missed.)
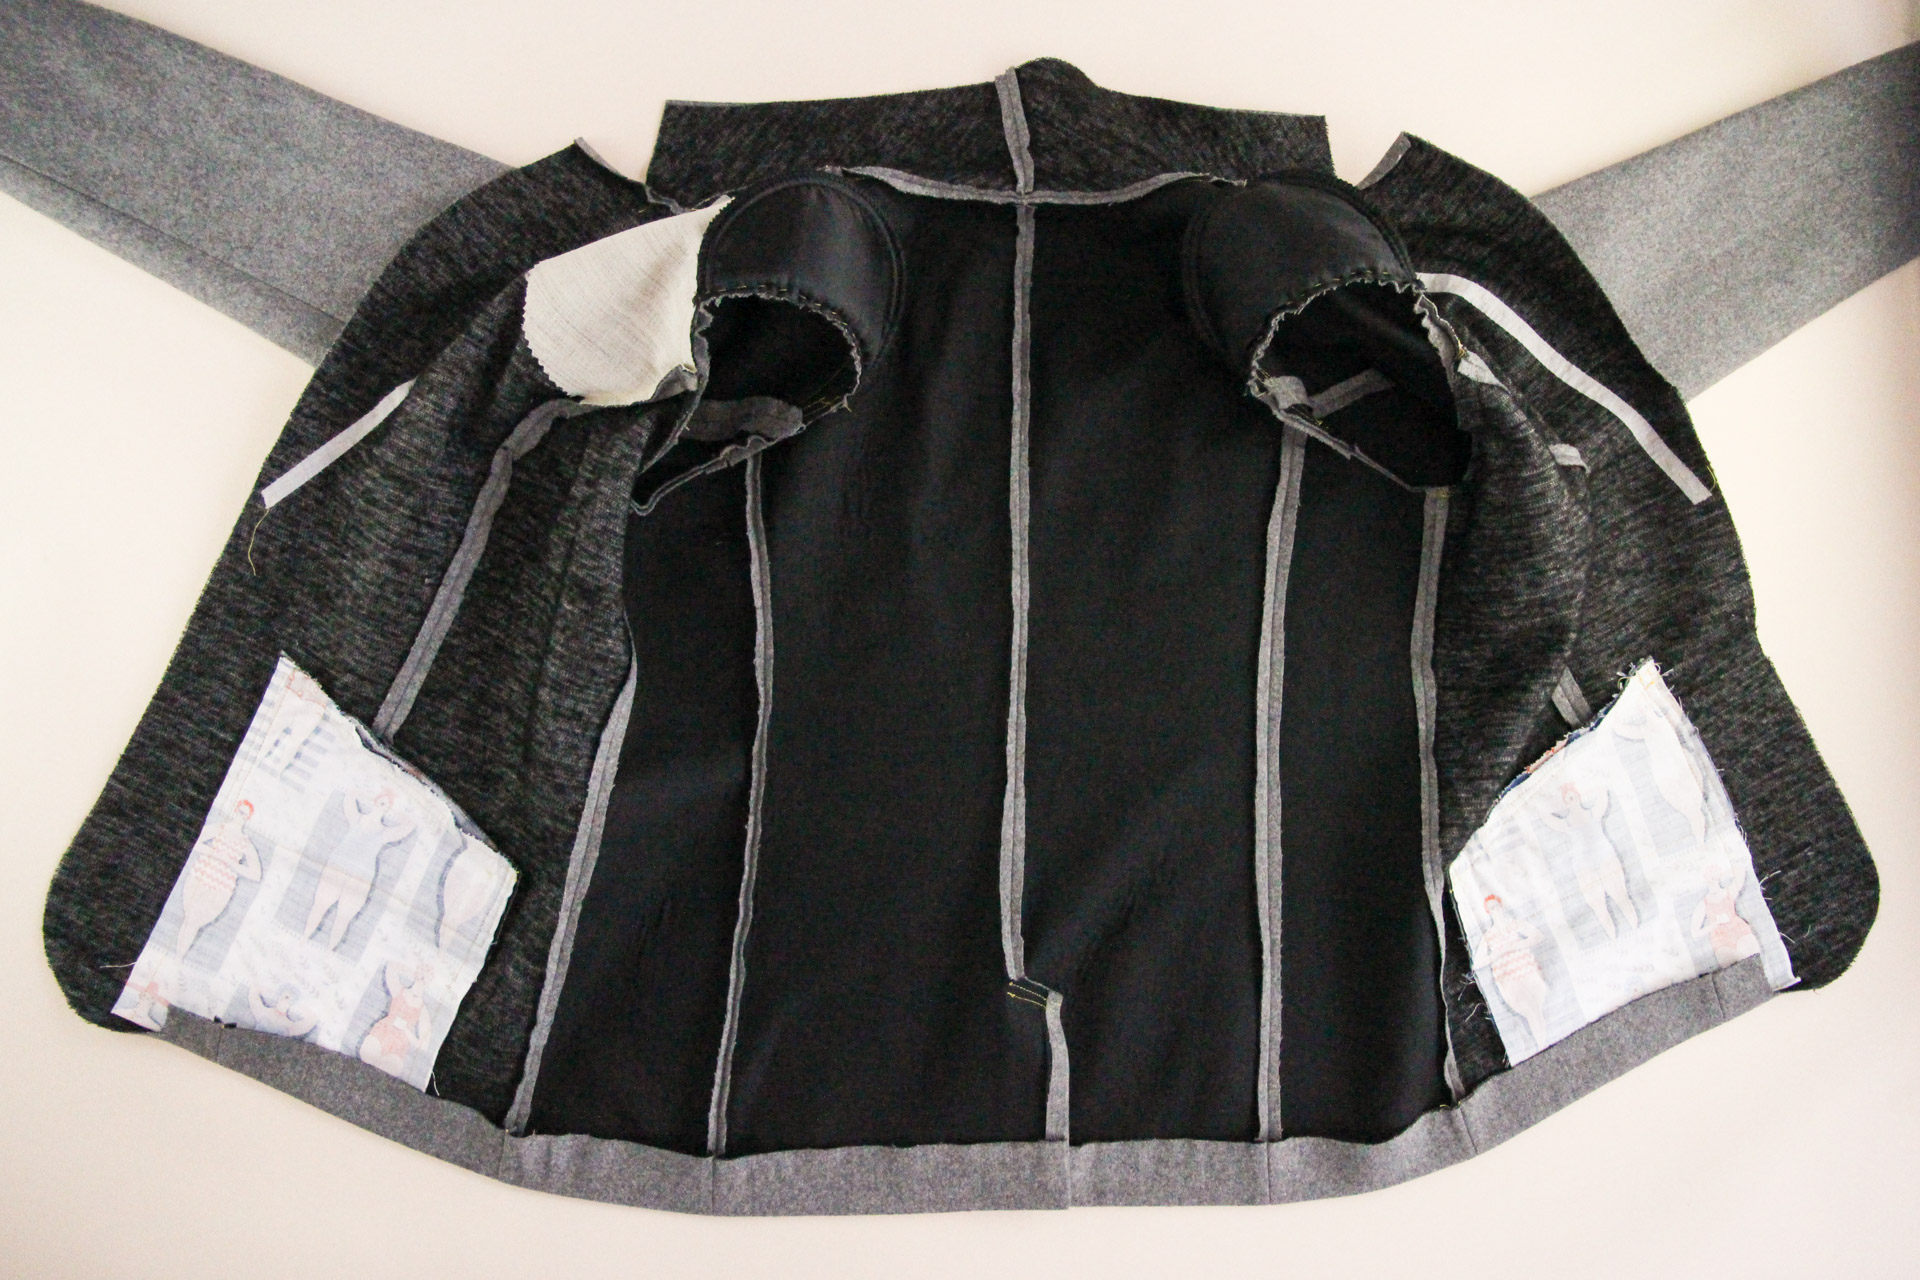
So far, we’ve assembled the body of our blazer—now it’s time to add the sleeves.
Sew Sleeve Vents (View A)
View A’s sleeves have a faux vent at the hem, and we’ll be preparing that first. If you’re making View B, you can skip on past this section.
Start with the inner sleeve piece. Fold the hem allowance of the vent extension up to the right side by 1.5″ (3.8 cm) and pin.
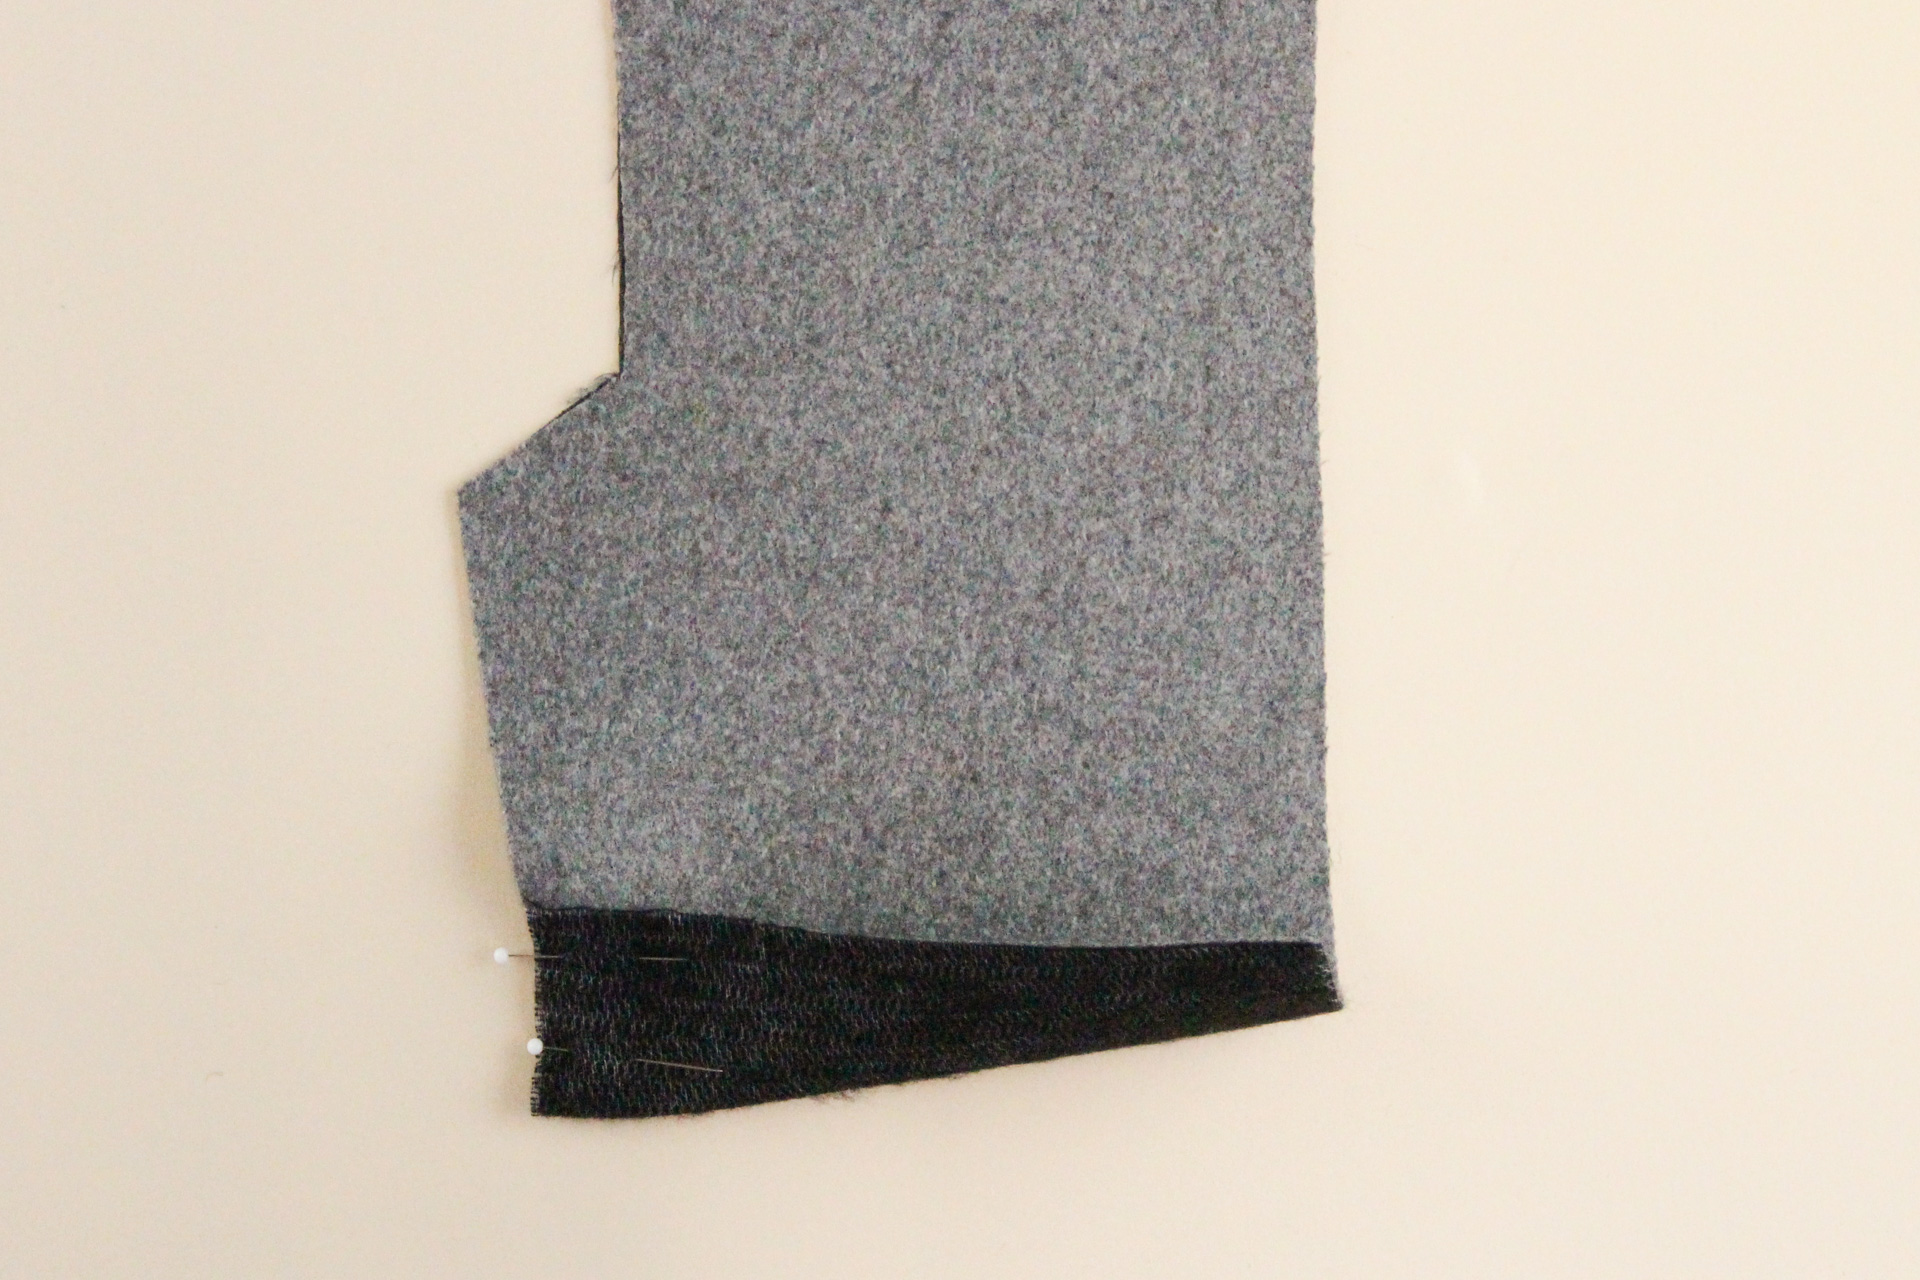
Now let’s sew vertically up the vent, 1/2″ (12 mm) from the vent edge.
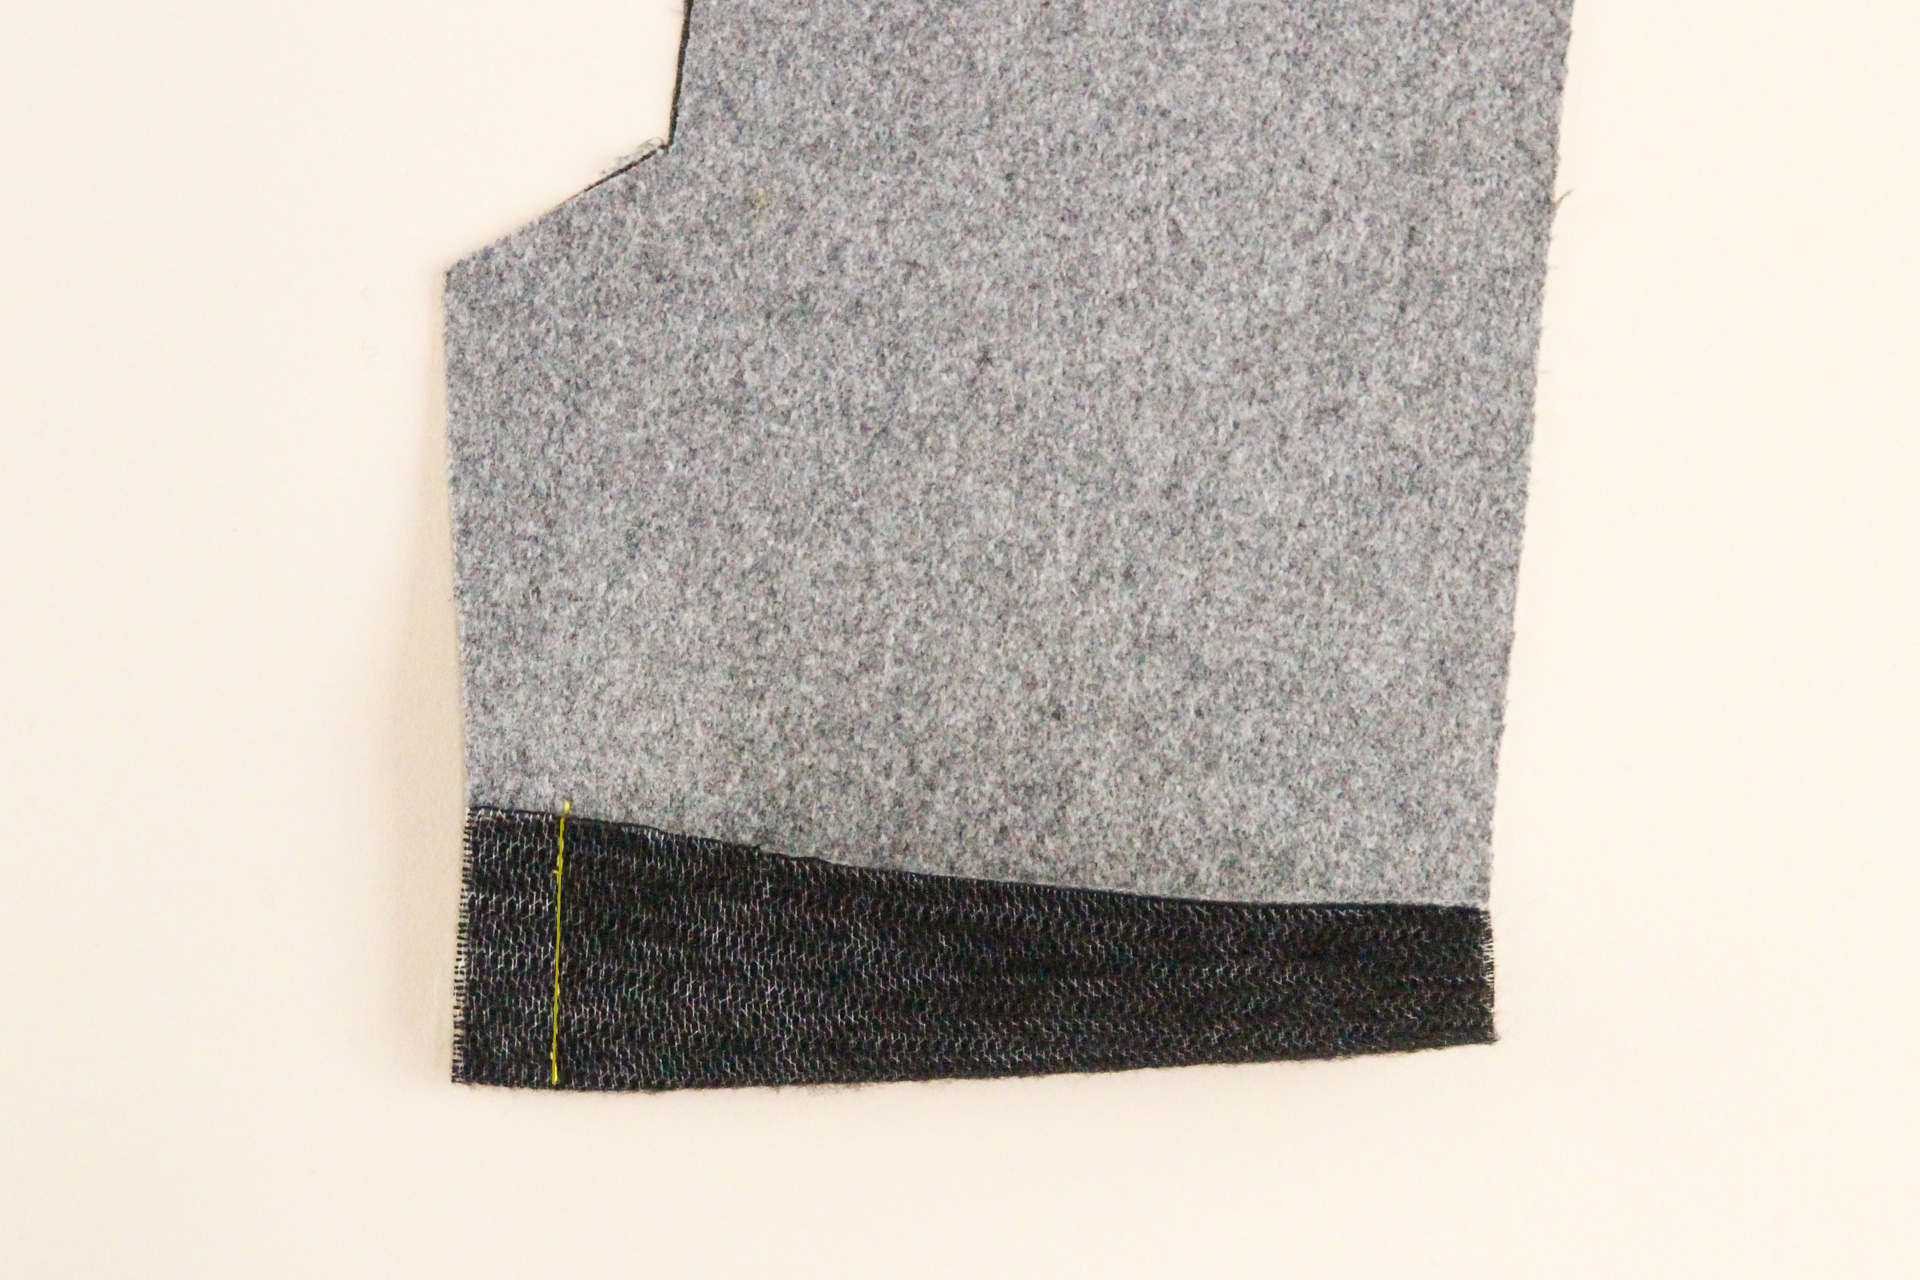
Trim the corner.
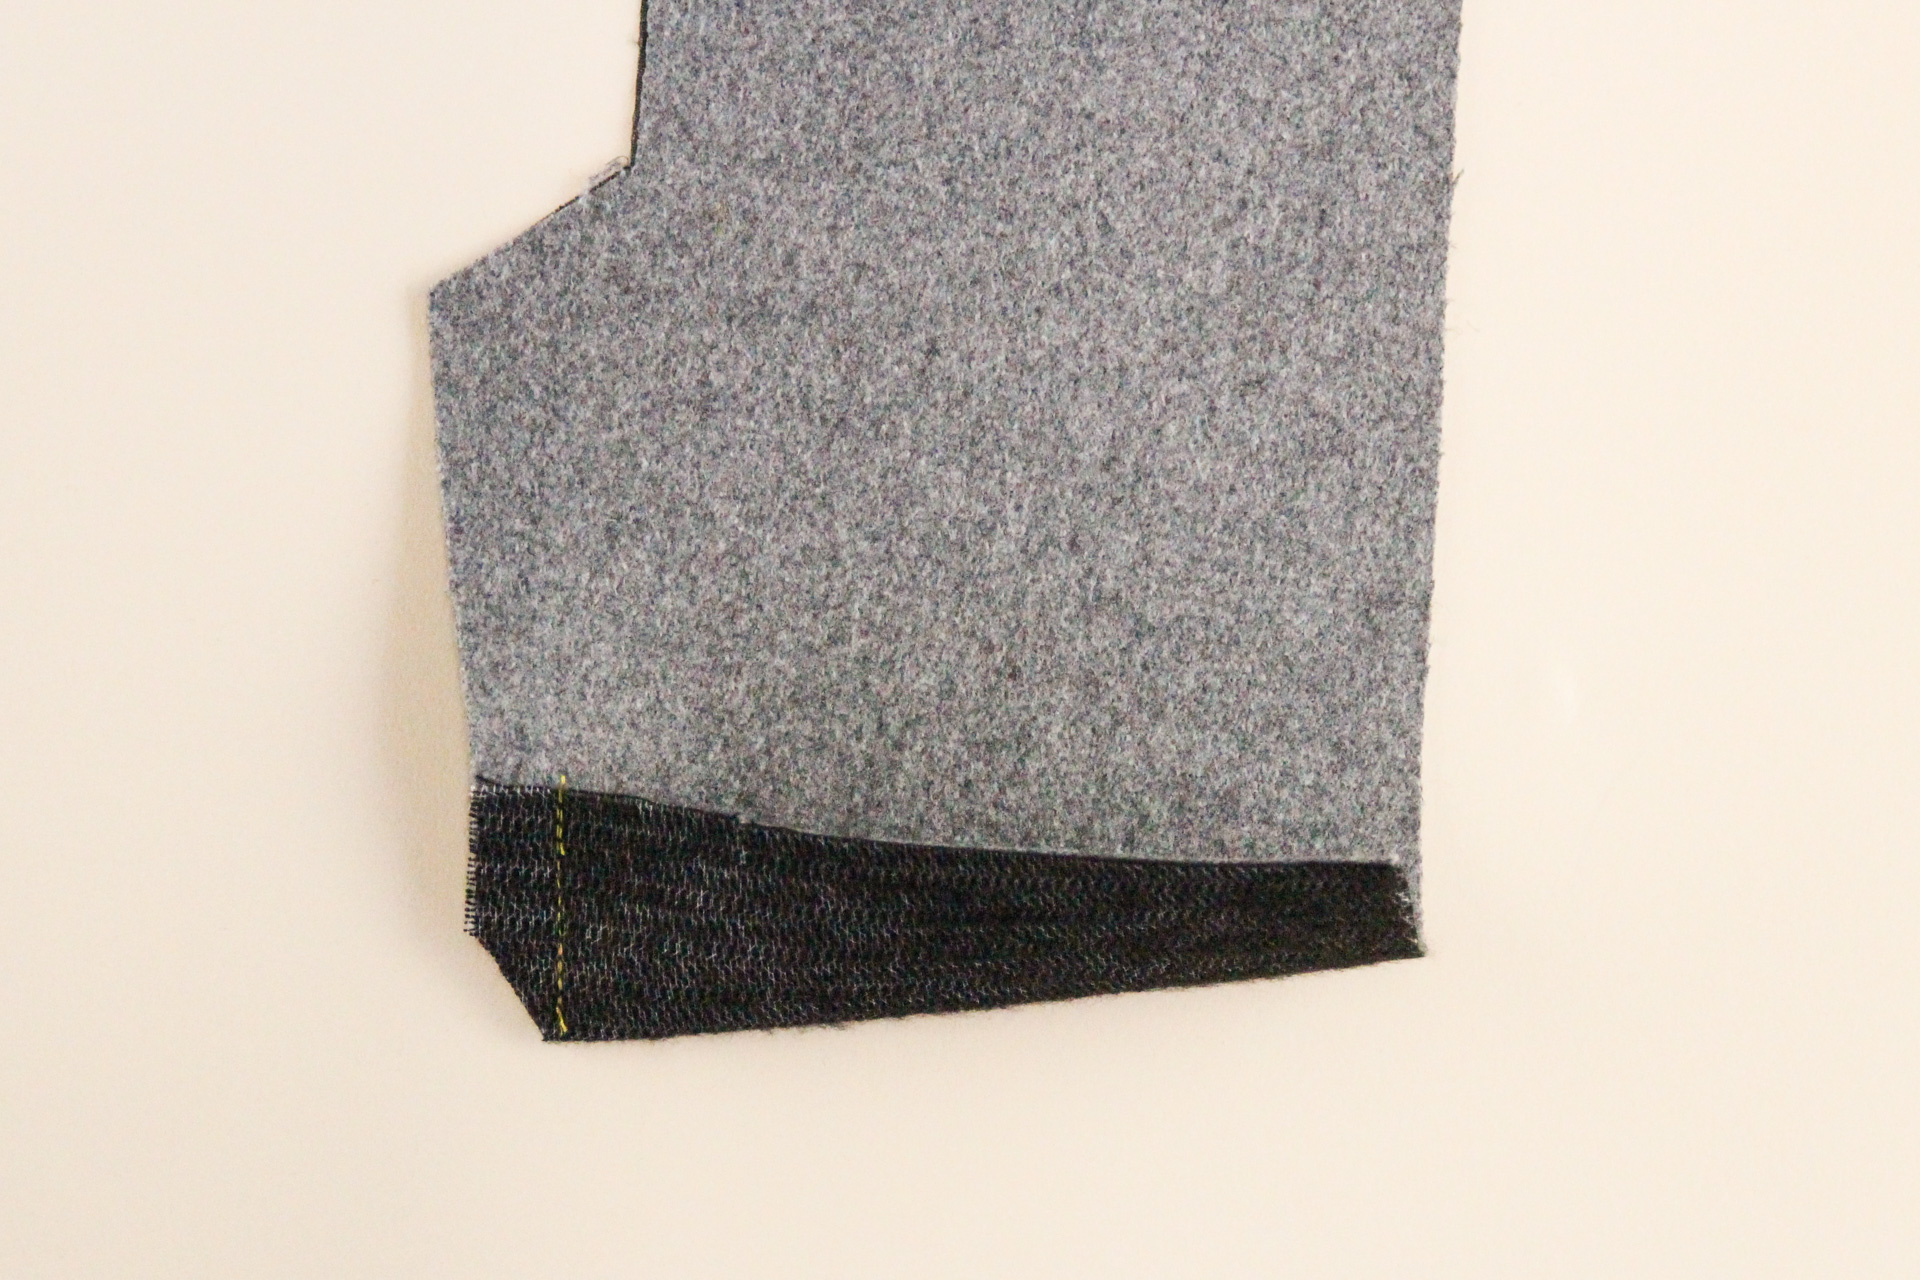
Now we can flip the hem back to the wrong side. The vertical edge of the vent will also flip to the back, and we want to press it by 1/2″ (12 mm) all the way up.
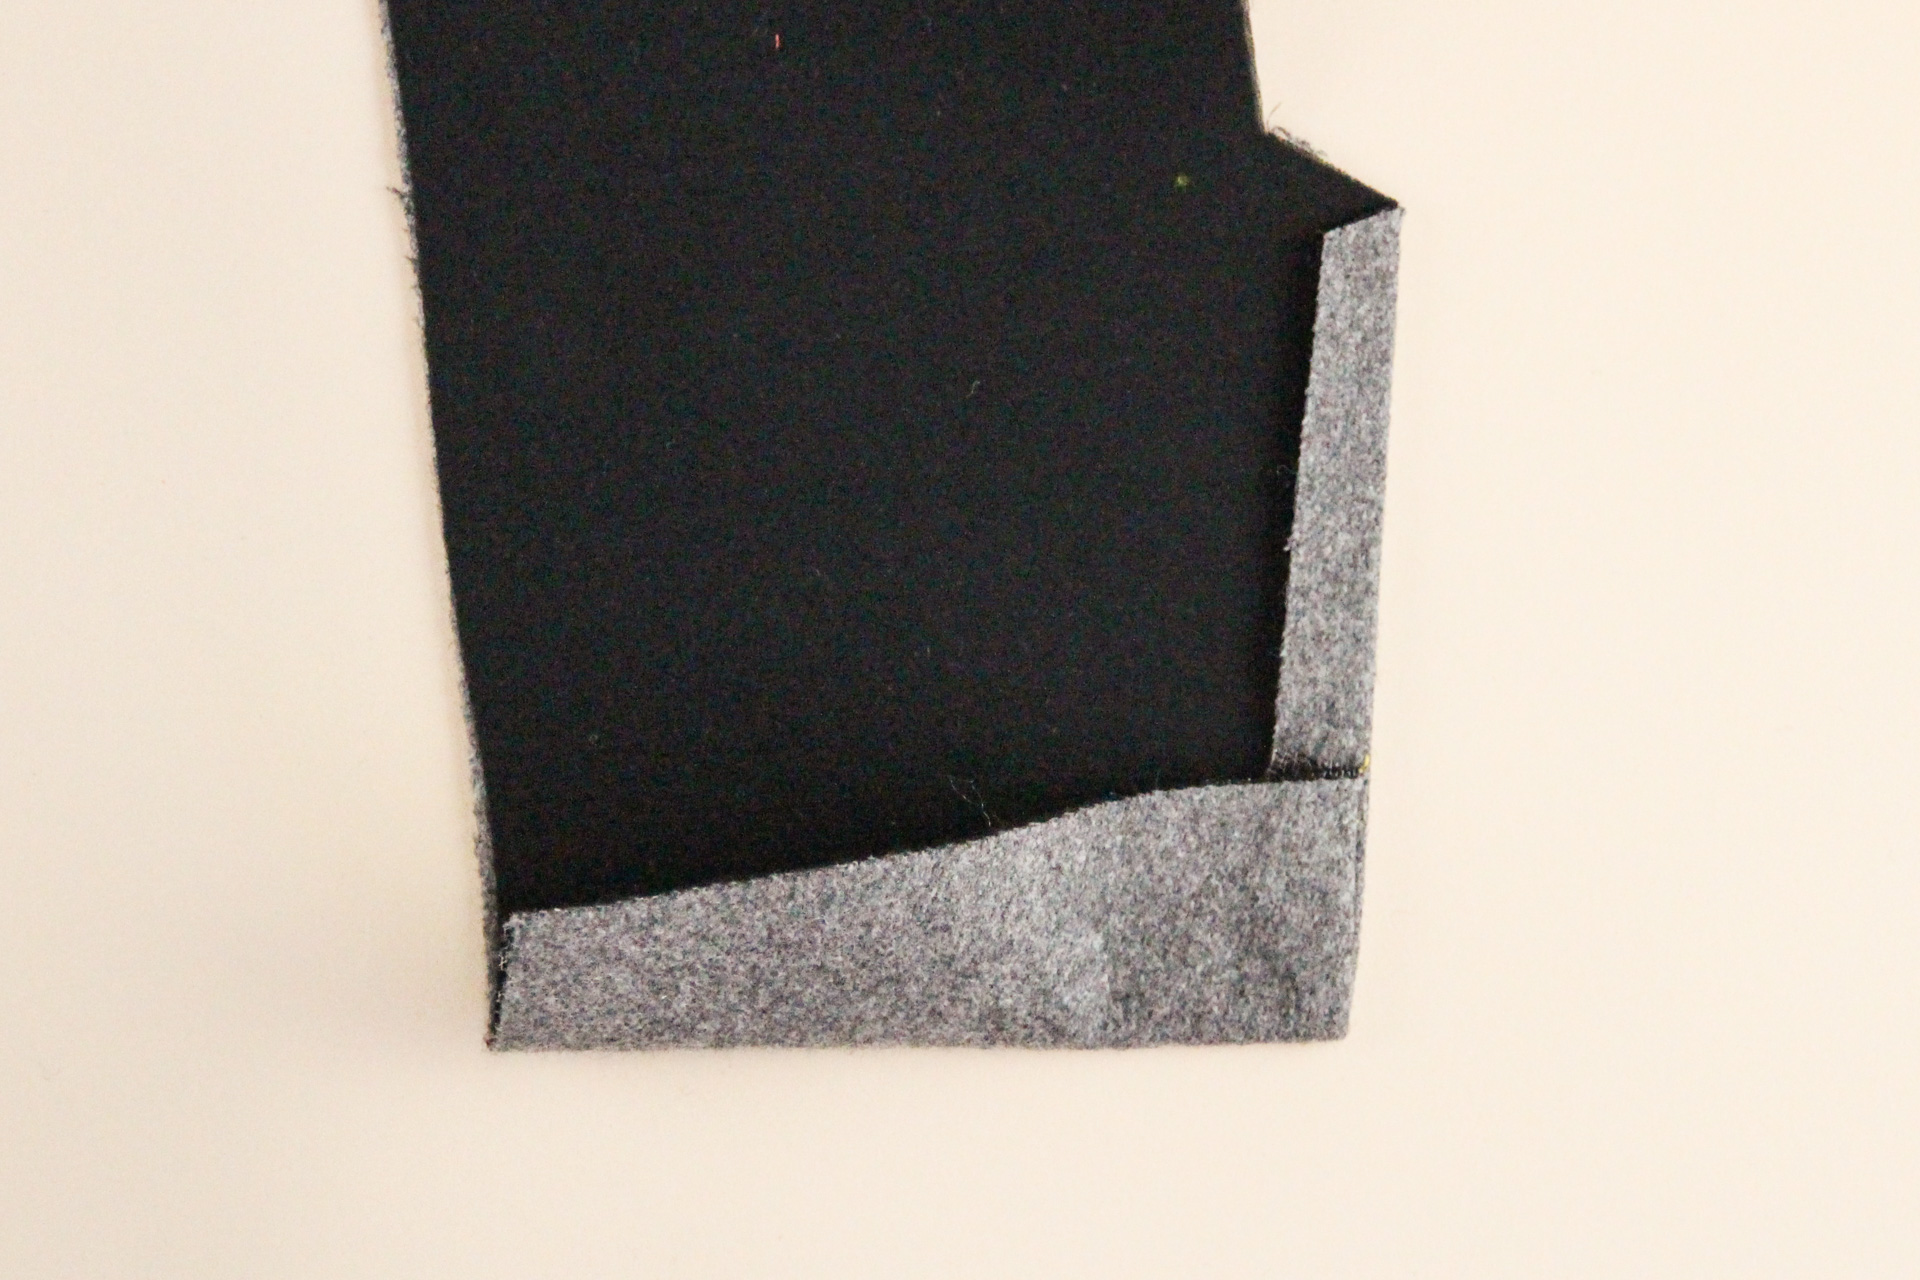
Now let’s grab our outer sleeve piece. Start by folding and pressing the vent extension to the wrong side by 1/2″ (12 mm).

Flip the outer sleeve piece over so that you’re looking at the right side. Now we’re going to fold the entire vent extension over to the right side at the fold line. Pin in place.

Let’s stitch horizontally across the vent extension, 1.5″ (3.8 cm) from the hem edge.
Trim the corner.

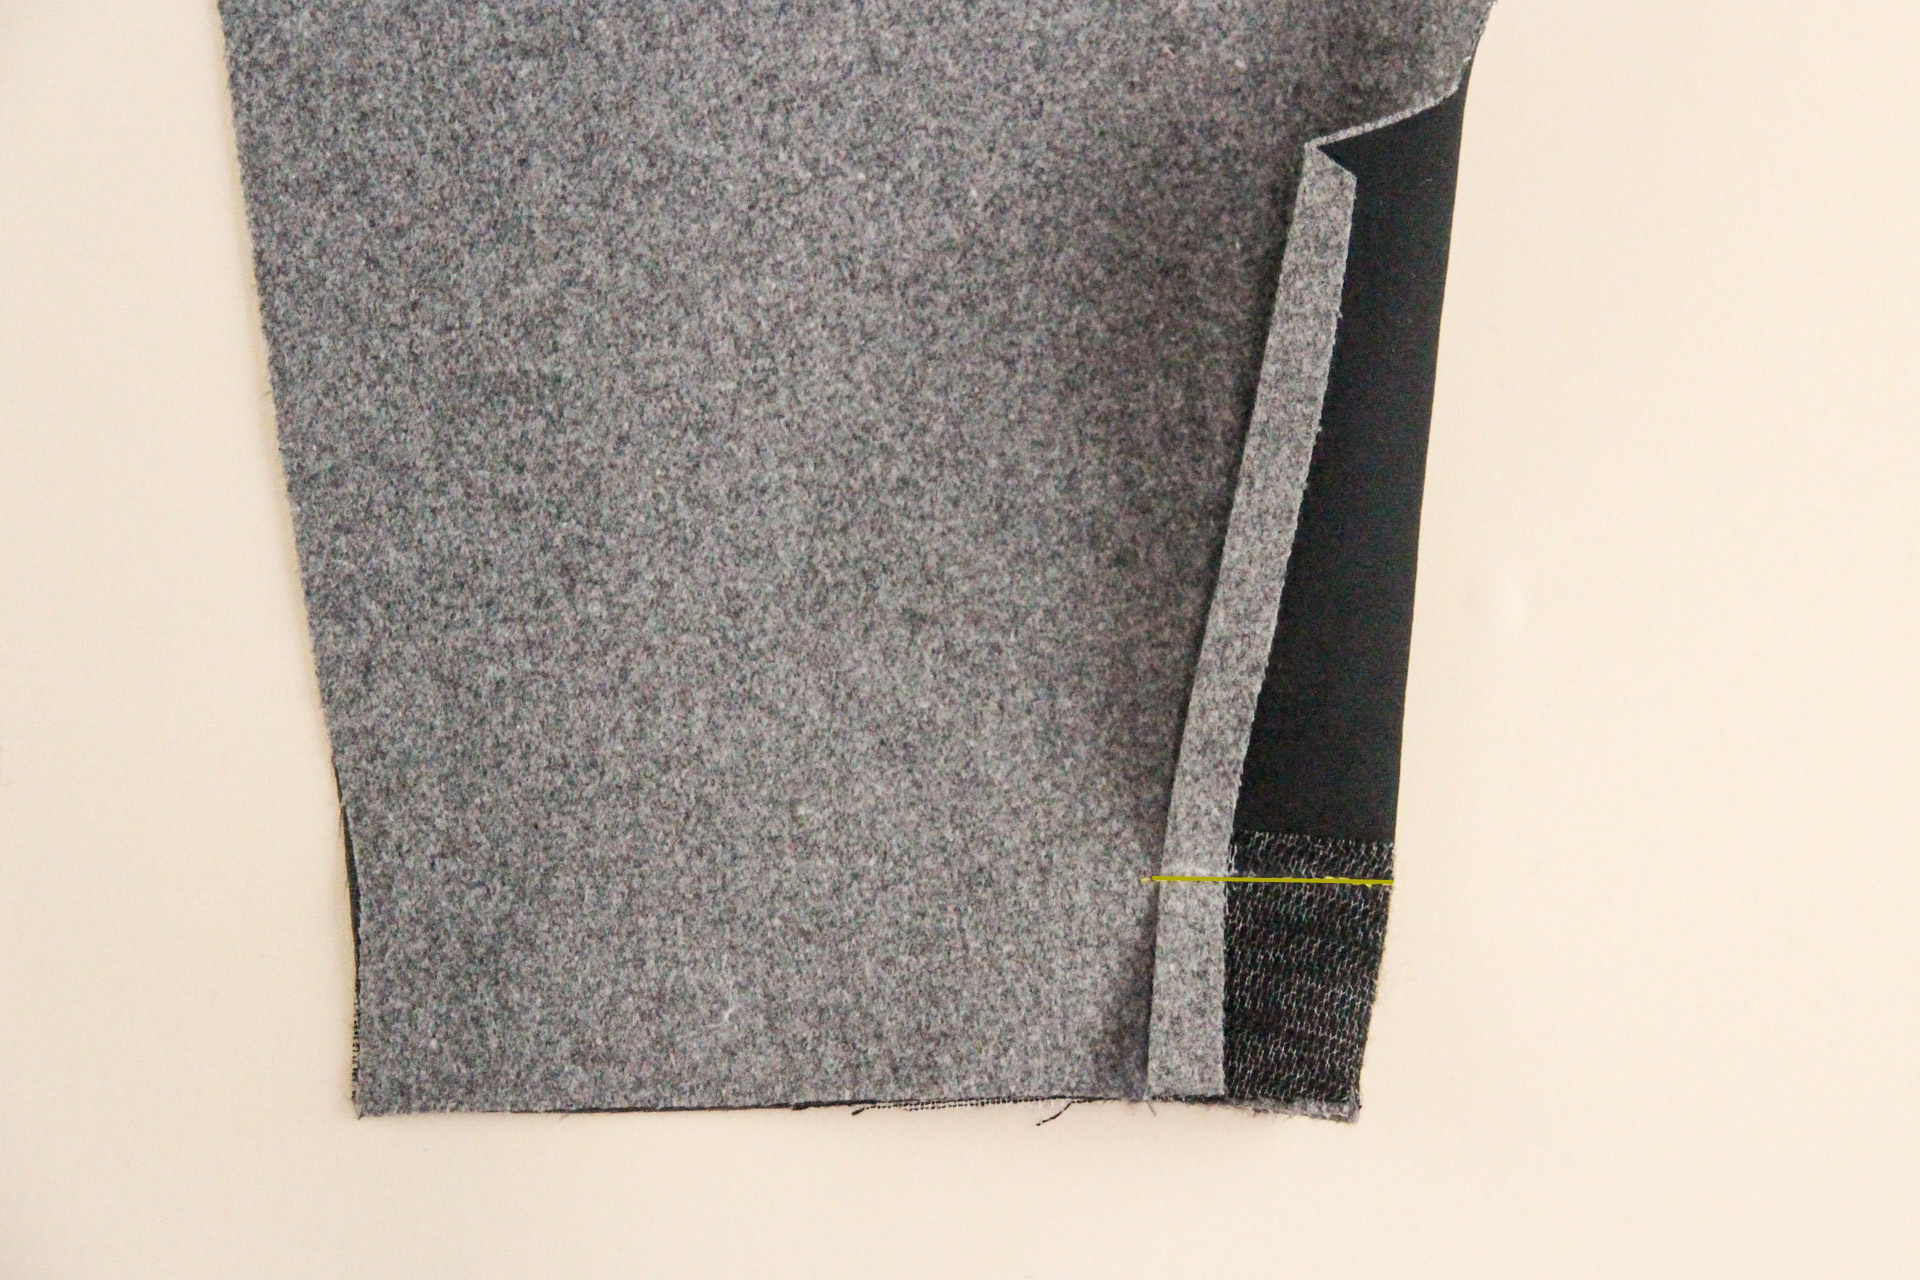
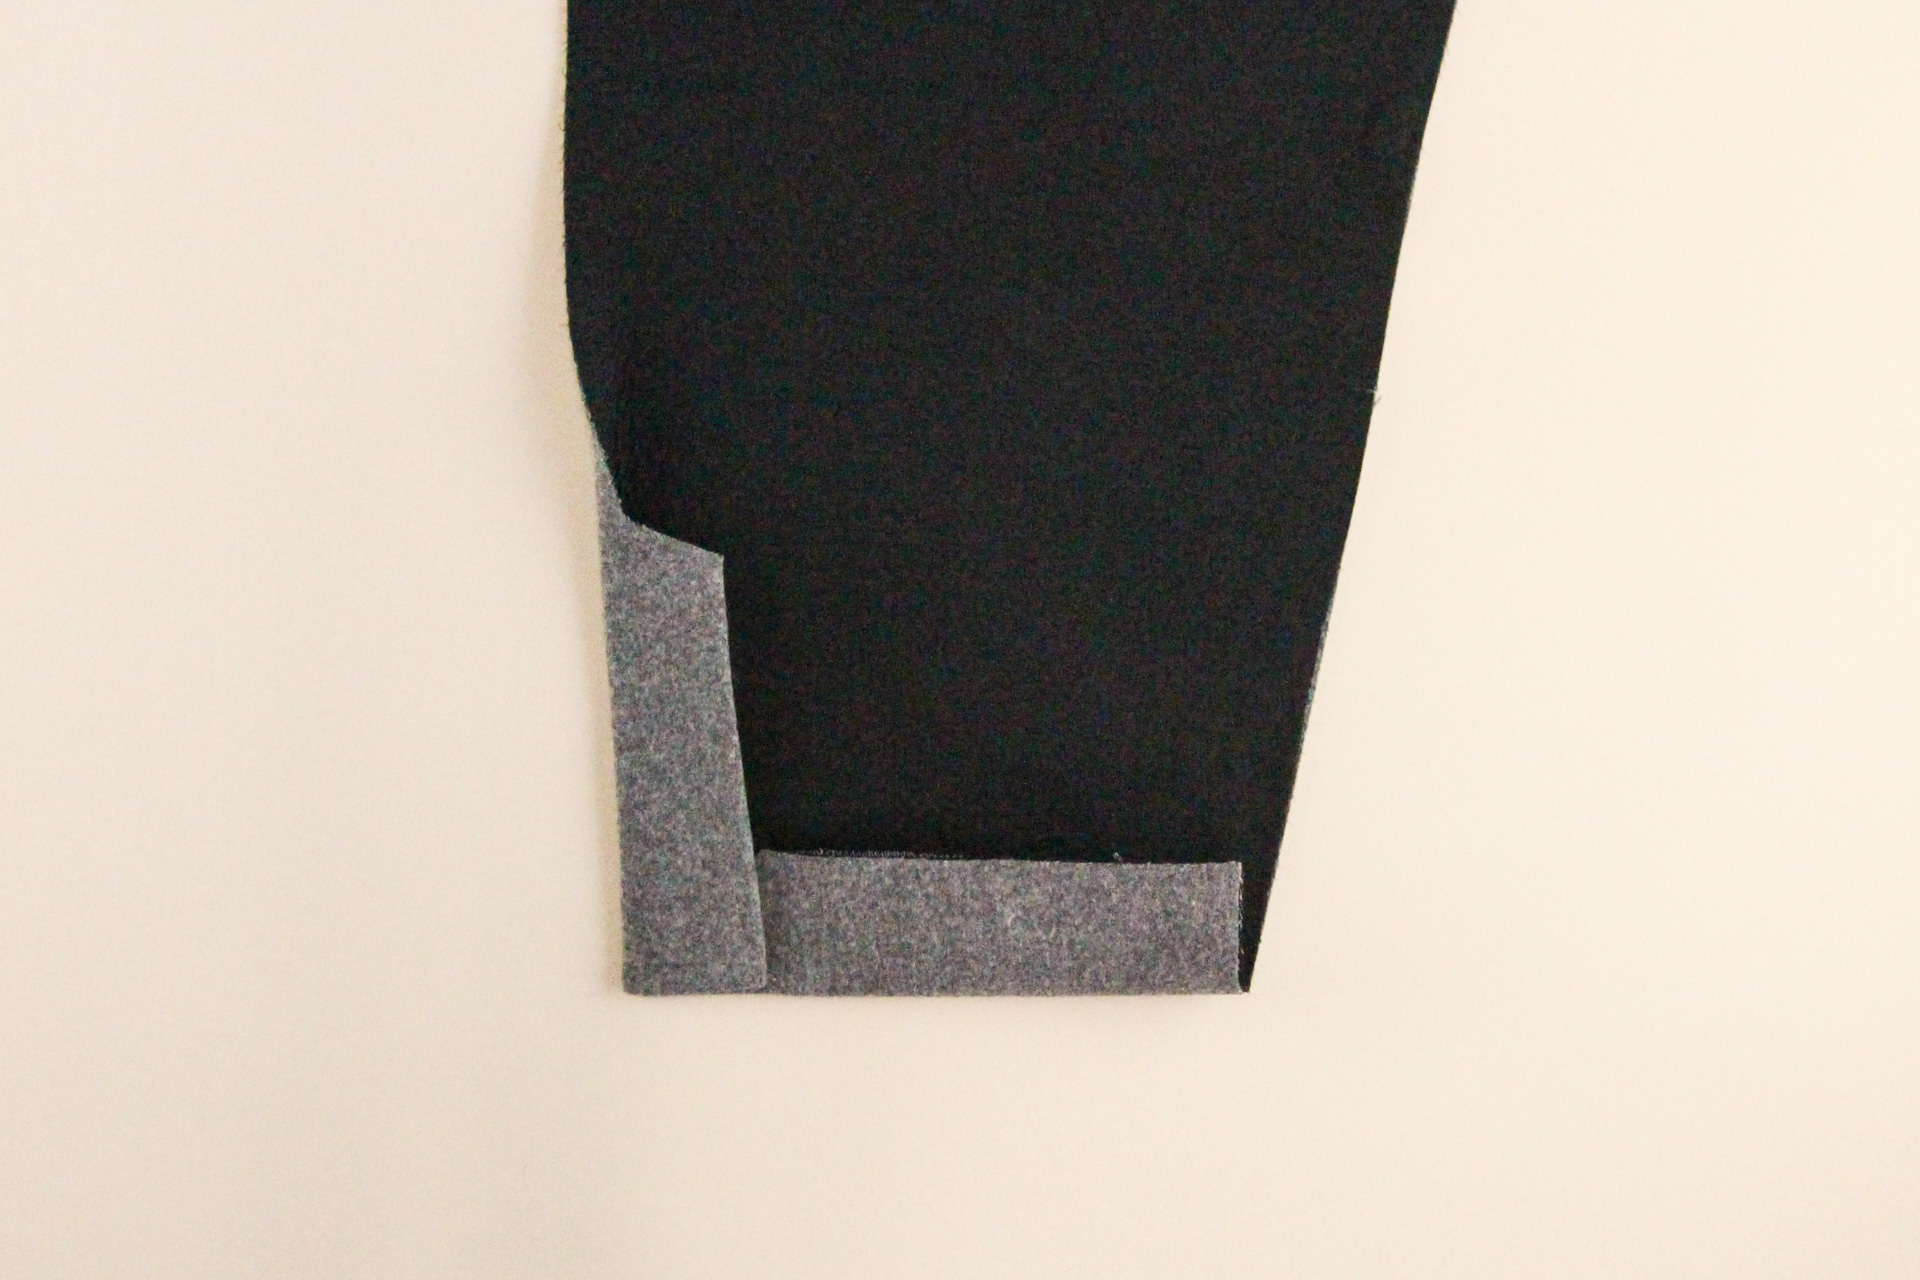
Flip the vent extension back over to the wrong side, and press. The hem will also flip up into the vent extension.
Repeat these steps with the other set of inner and outer sleeves.
Attach Outer and Inner Sleeves
Now that our sleeve pieces are ready, we can start to assemble them.
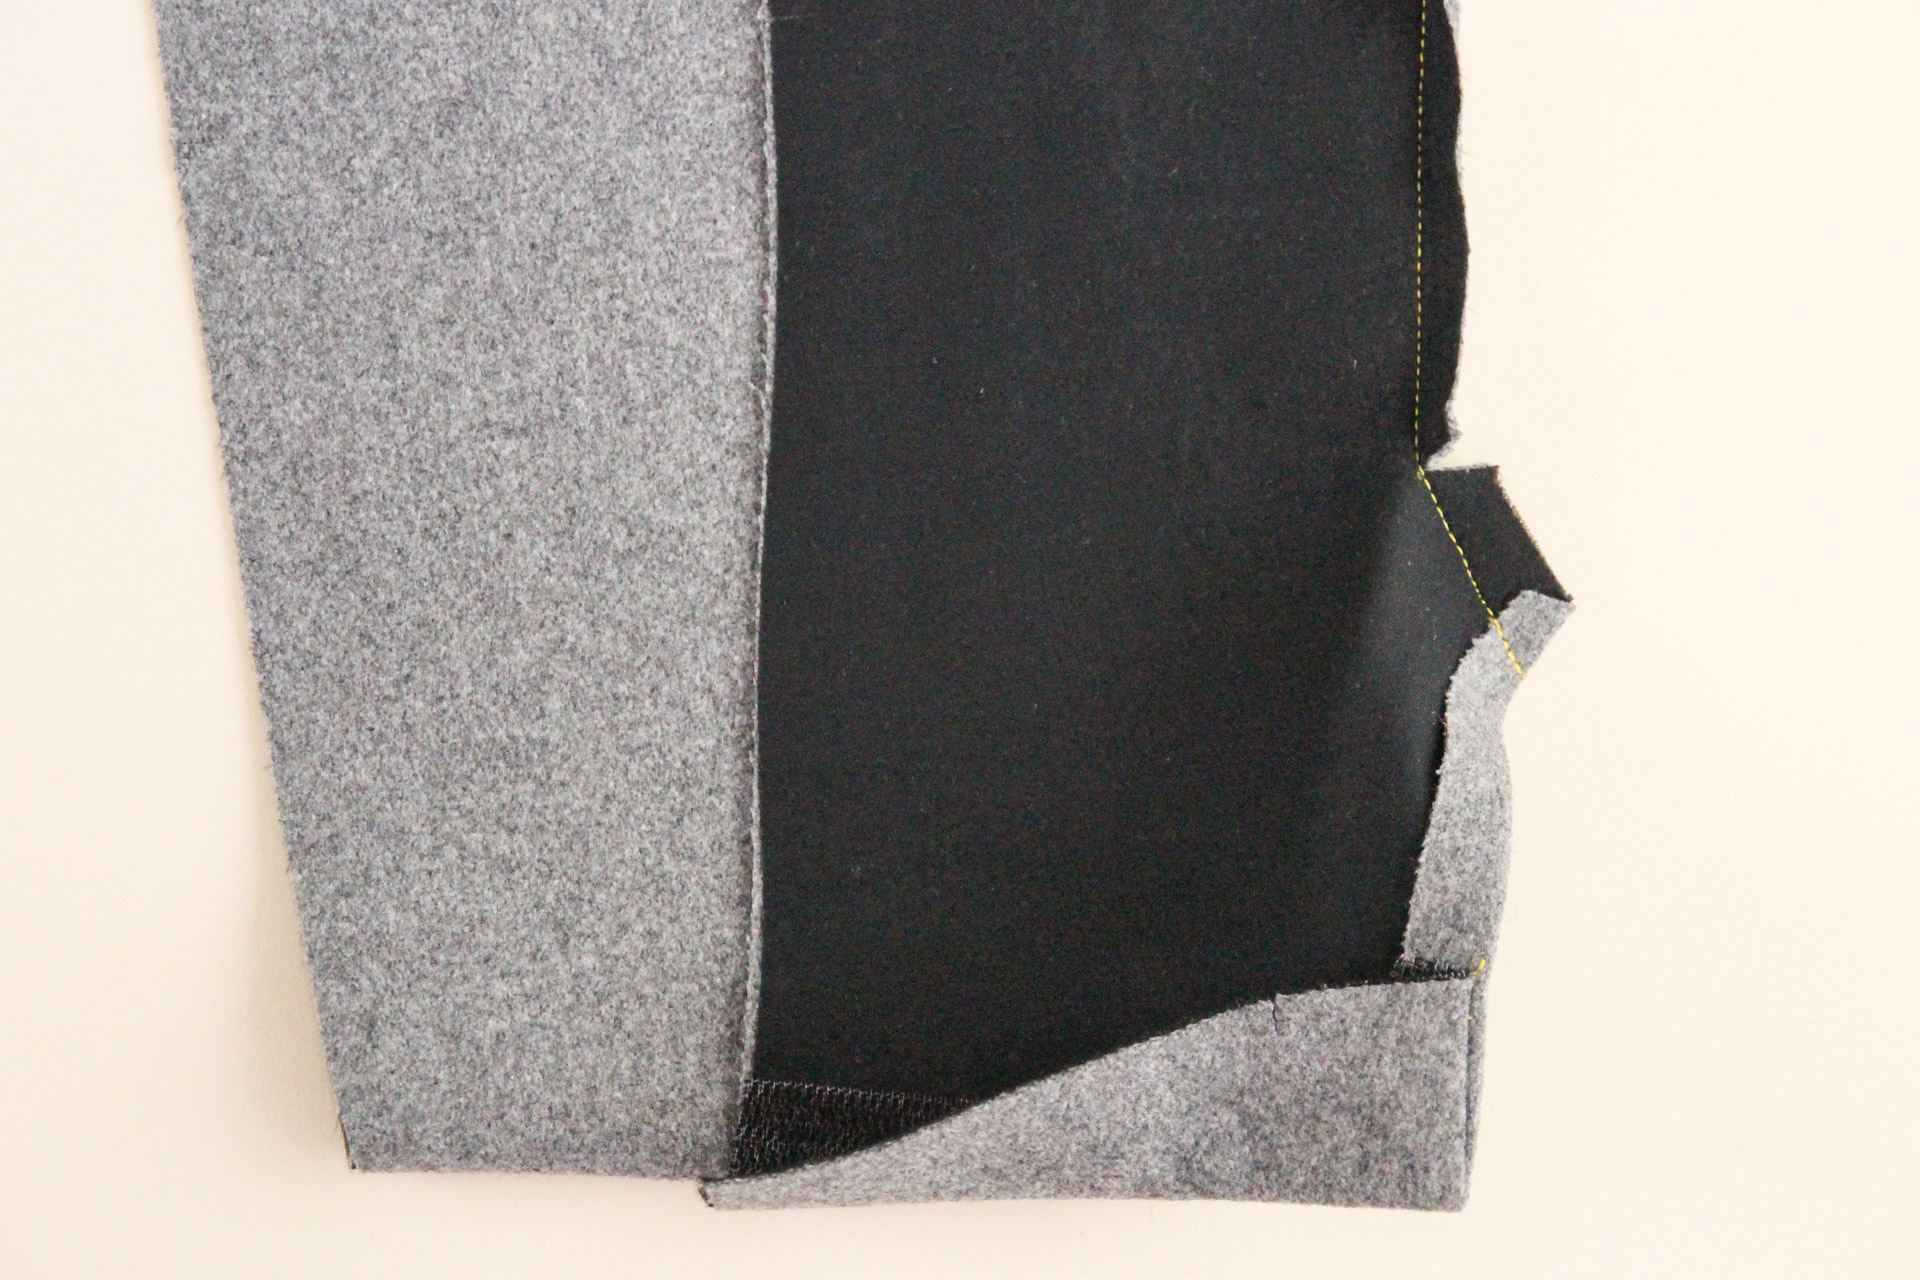
Pin the inner sleeve to the outer sleeve at the side seam as shown. If you’re making View A, be sure to unfold the vent extension that you pressed and pin along the top of it.
Sew that seam using our 1/2″ (12 mm) seam allowance. If you’re making View A, when you get to the top of the vent extension, pivot and sew along the top of it.
If you’re making View B, sew all the way down to the hem edge.
Clip into the seam allowance at the corner of the vent, going up to but not through the stitch line.
Press the seam allowance open over a sleeve board or rolled up towel. If you’re making View A, press the vent towards the outer sleeve.
Here’s how it will look from the right side.
Repeat with the second sleeve.
Finish Sleeve Vents (View A)
If you’re making View A, we now need to finish the vent. (If you’re making View B, skip on down to the next section).
Pin the vent extension to the outer sleeve piece. We’re going to topstitch across the top of the vent—it may help to mark the topstitching line with chalk first.

Topstitch the line you just marked, starting at the seam and going down to the edge of the folded back vent.
We can now add our buttons! Since this is a faux vent, we’re going to sew the buttons through all the layers.
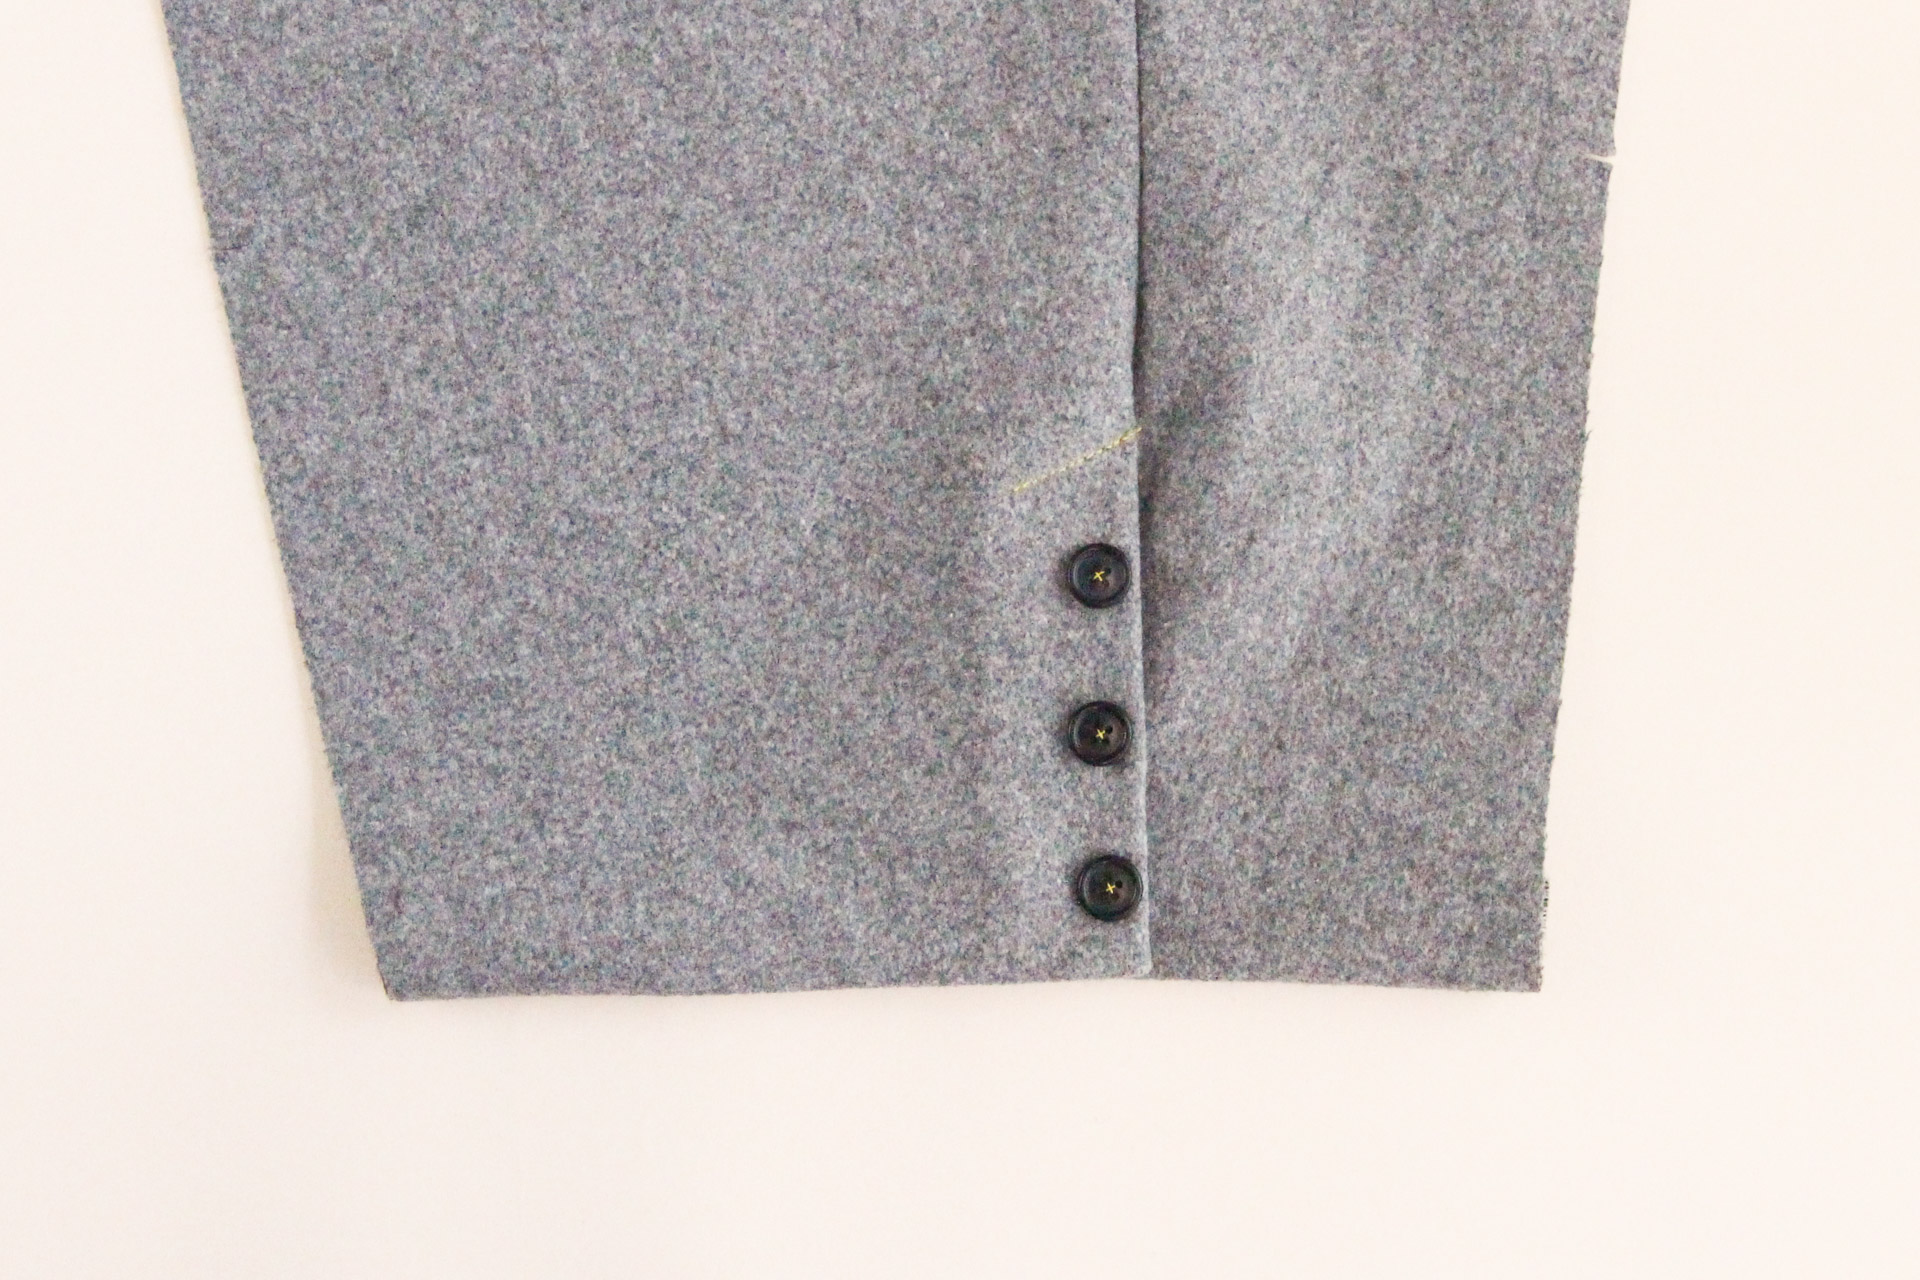
When sewing on your buttons, make sure that you’re overlapping the outer and inner sleeves by the full length of the vent as shown here. It may mean that the sleeve isn’t laying totally flat at the moment, but will ensure that the outer sleeve and sleeve lining match up at the hem in a later stage.

Repeat with the second sleeve.
Finish Constructing Sleeves
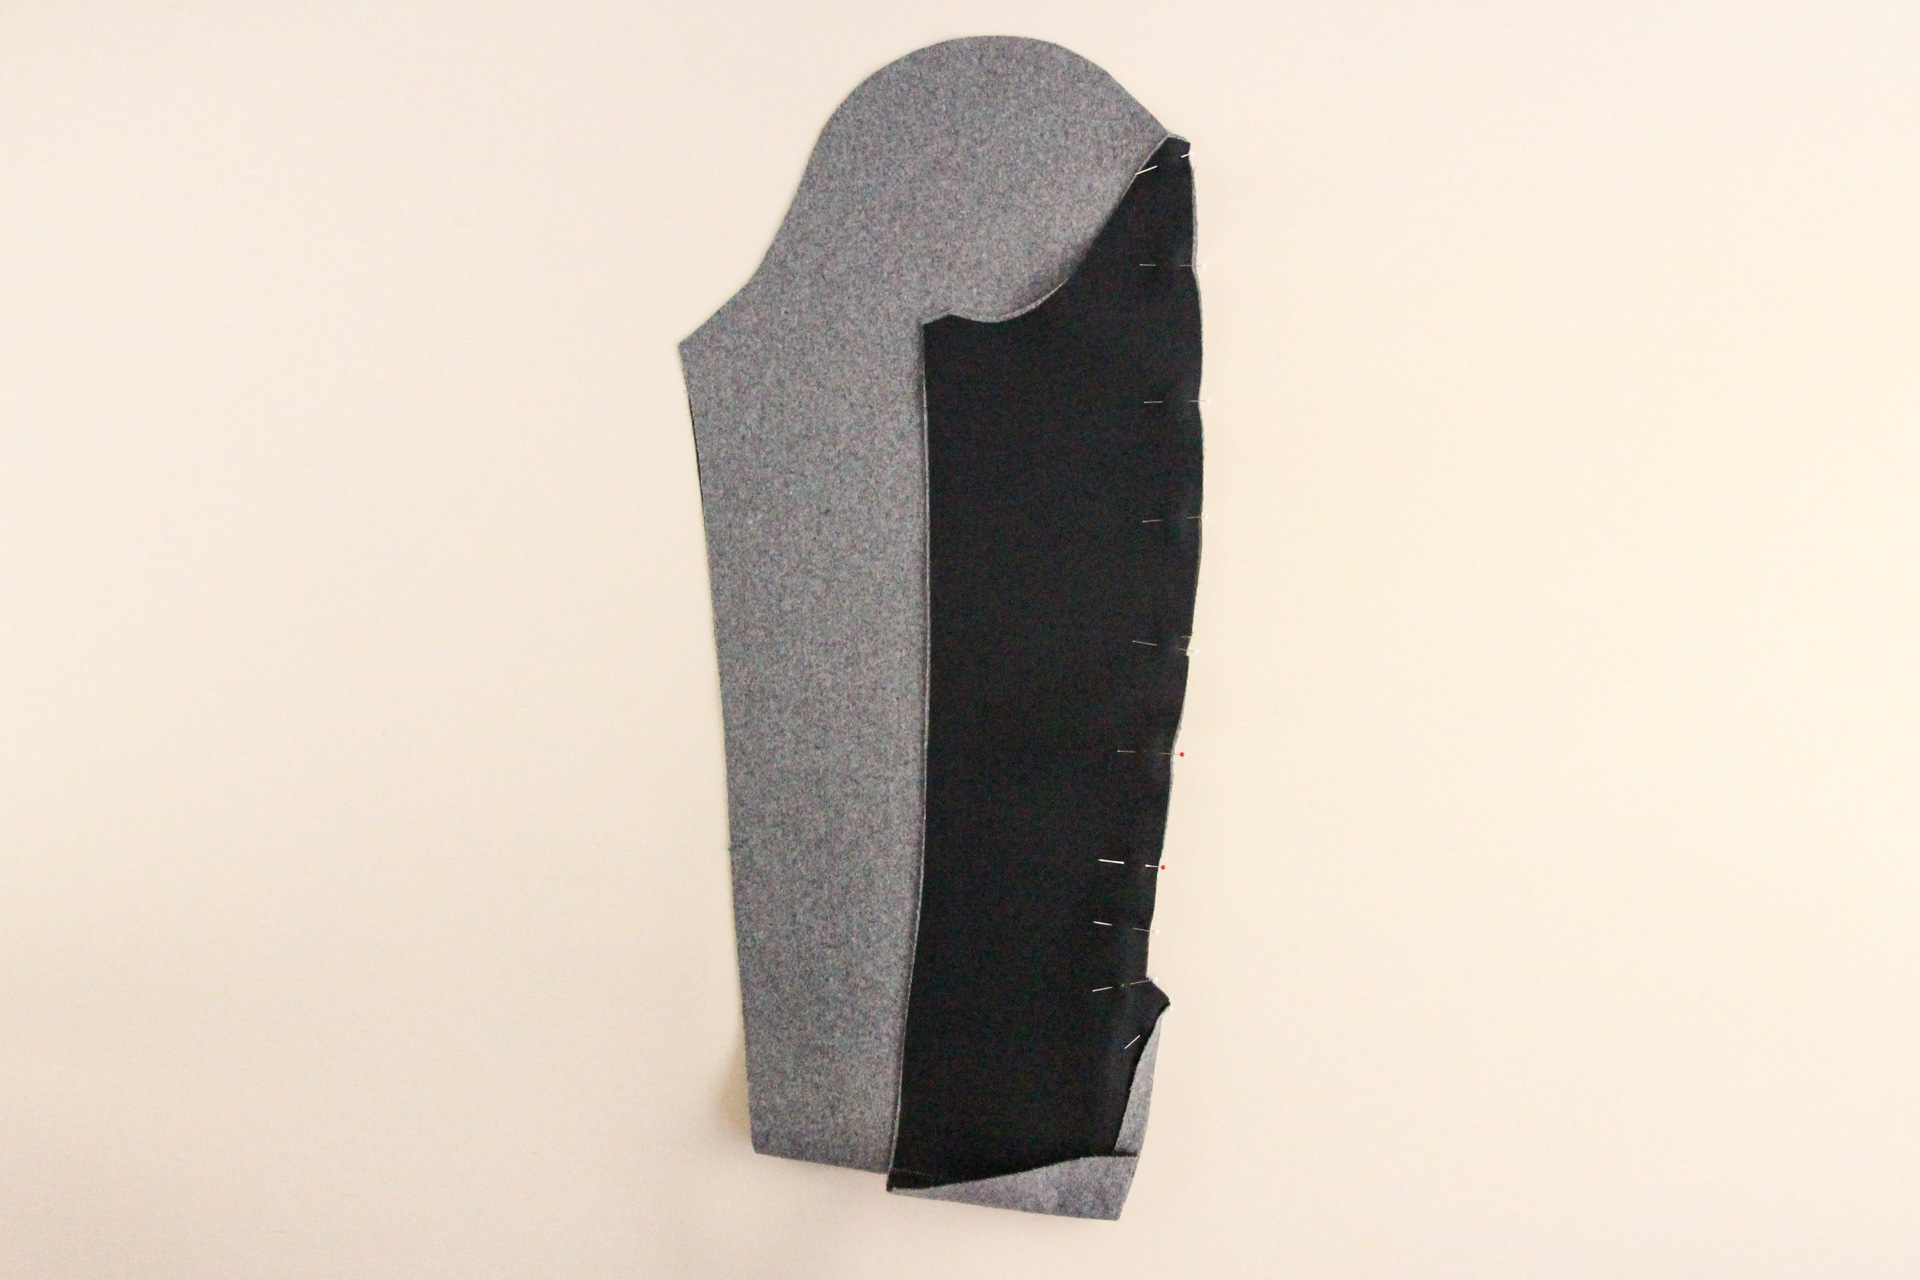
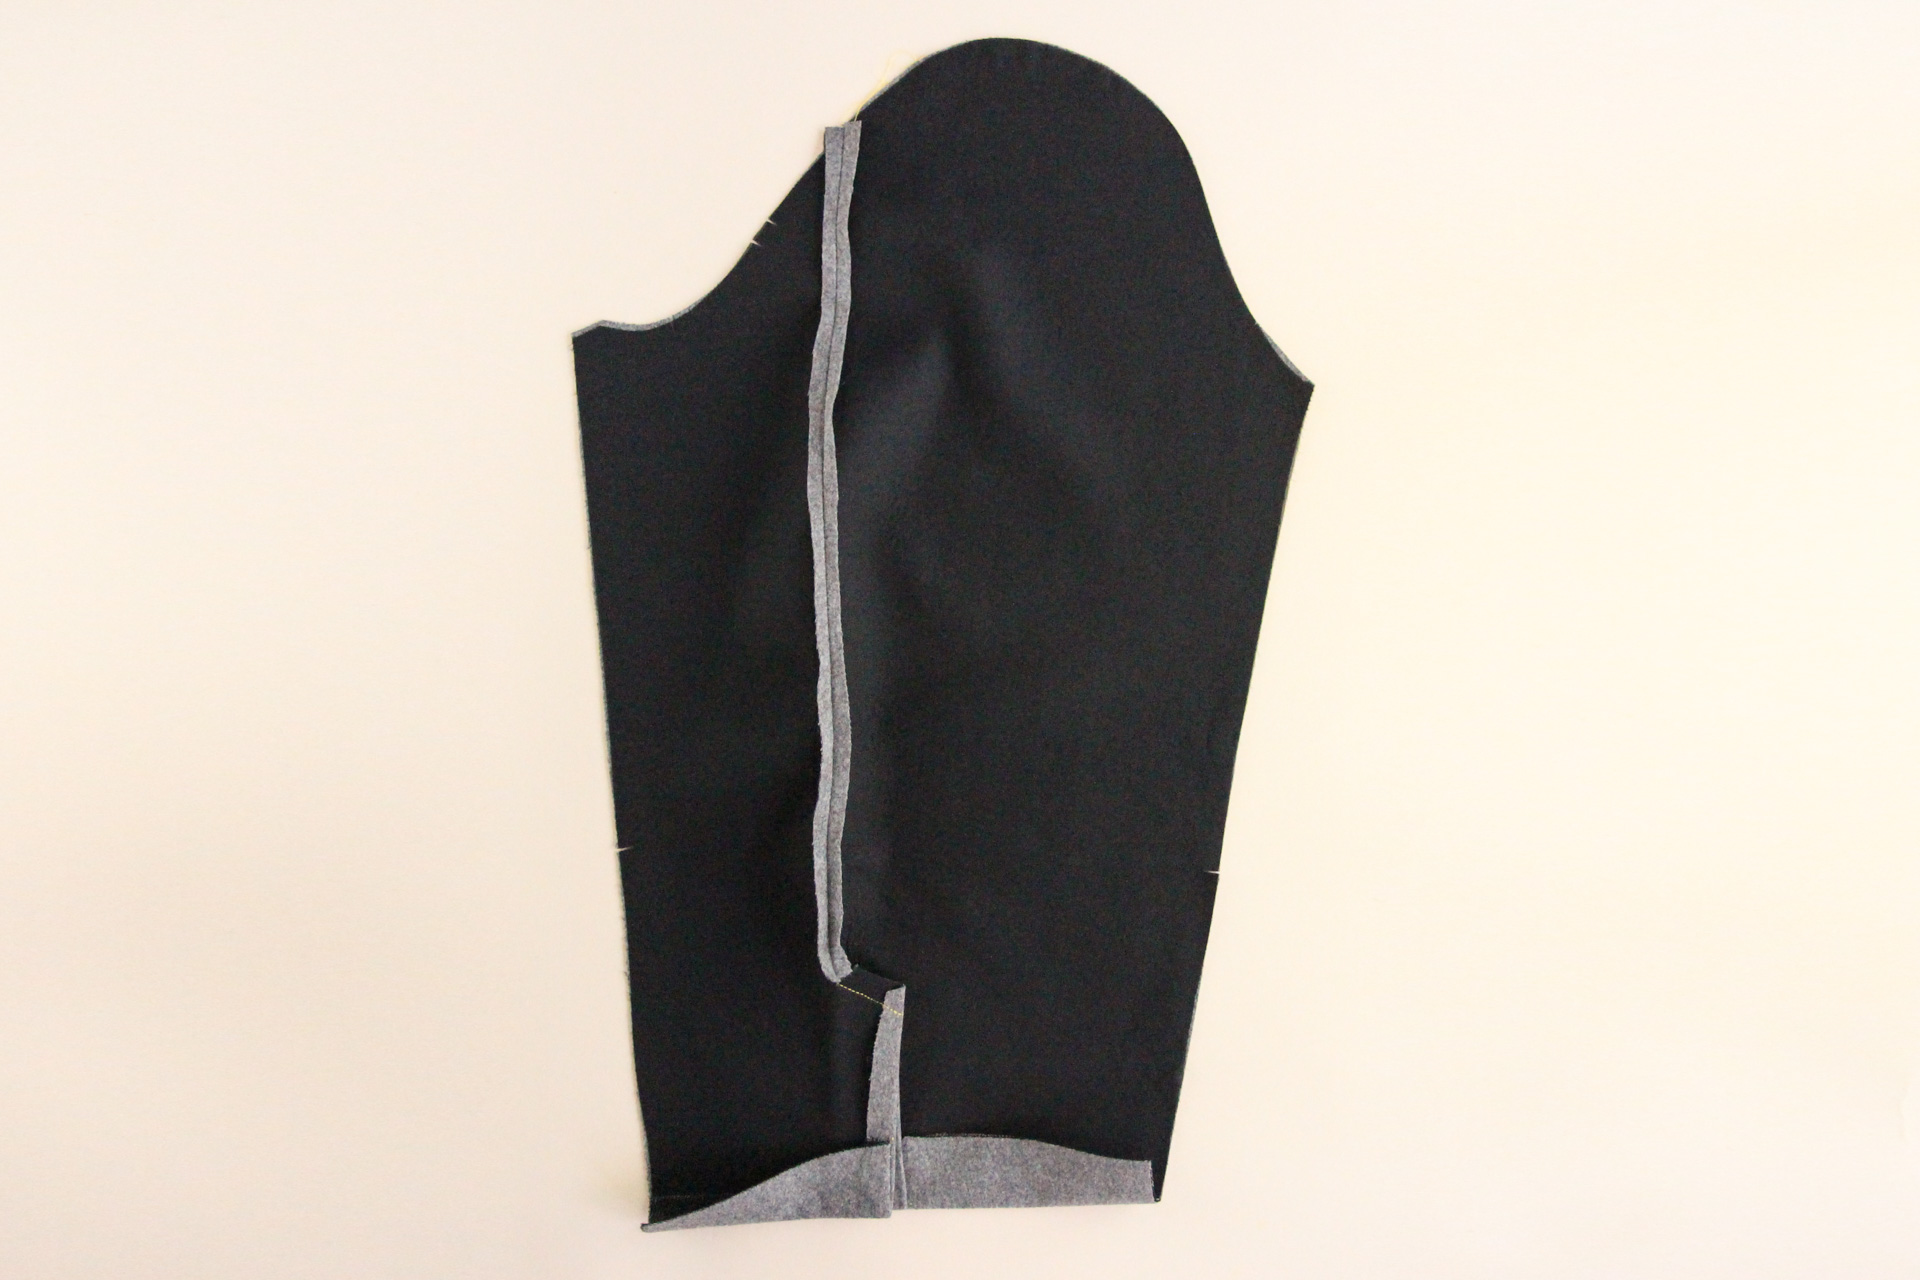
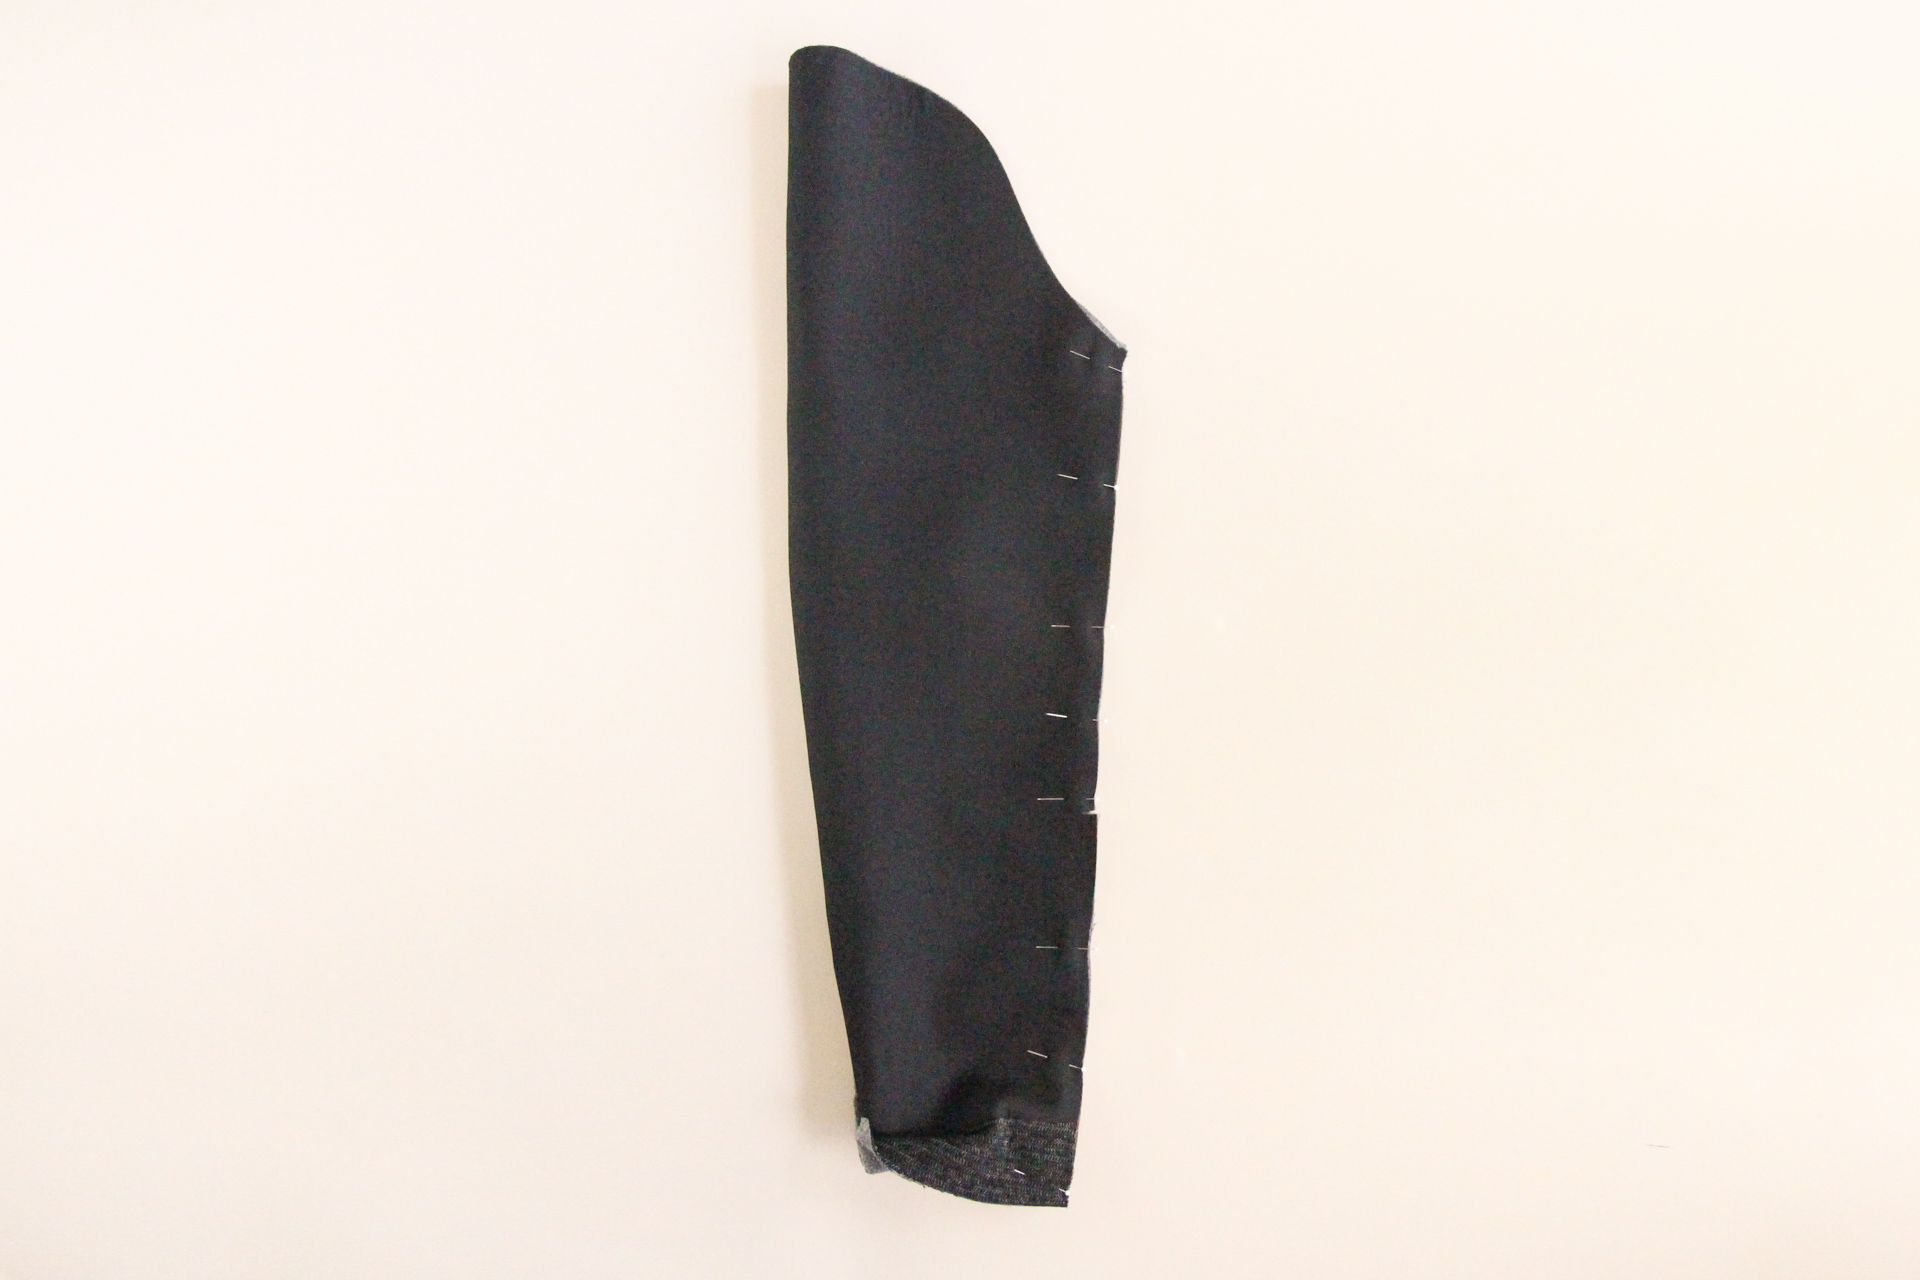
For both views, pin the outer and inner sleeve pieces at the other seam.
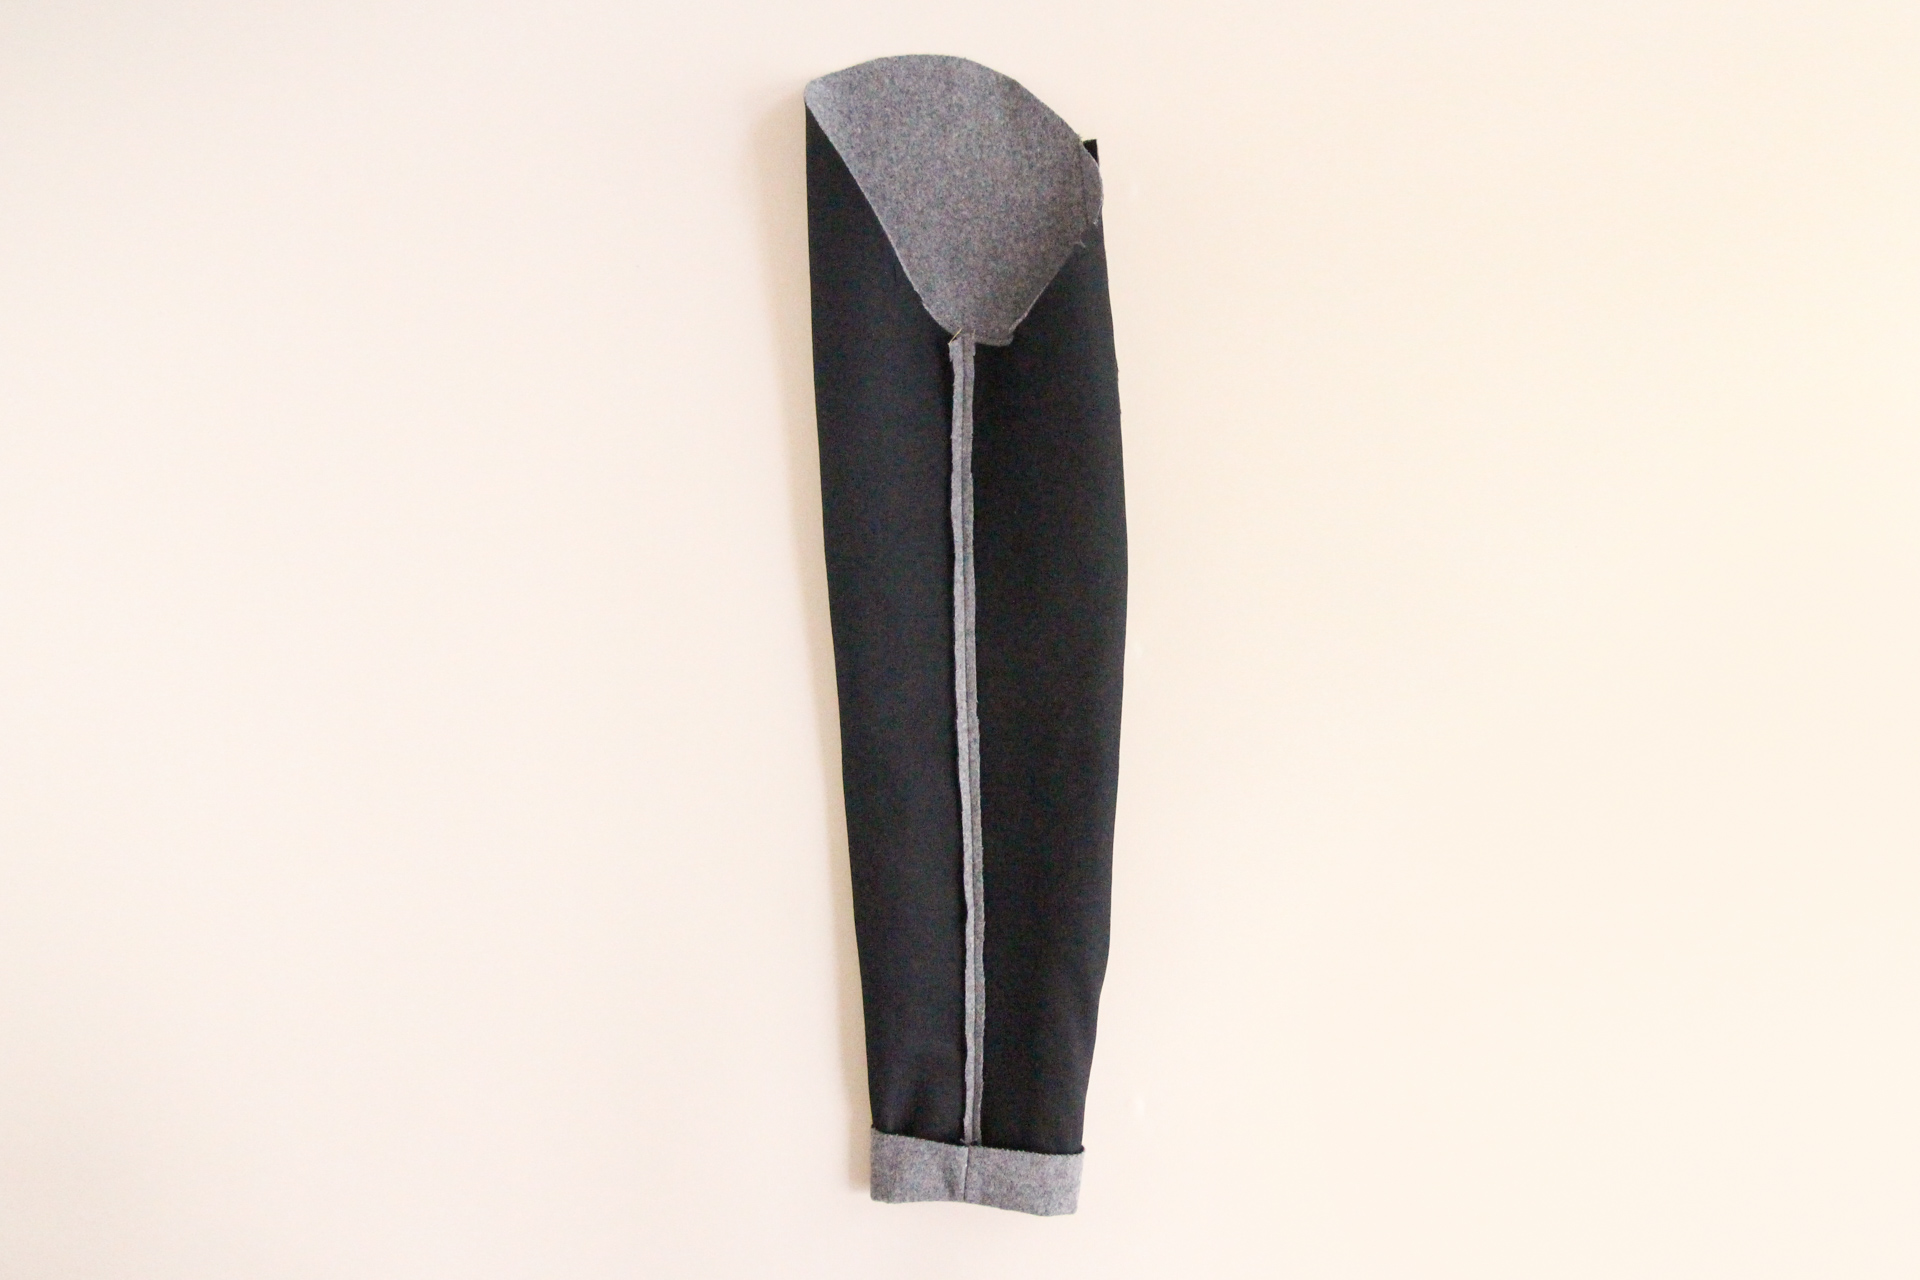
We can now sew that seam all the way down to the hem, then trim the seam allowance in half and press open.
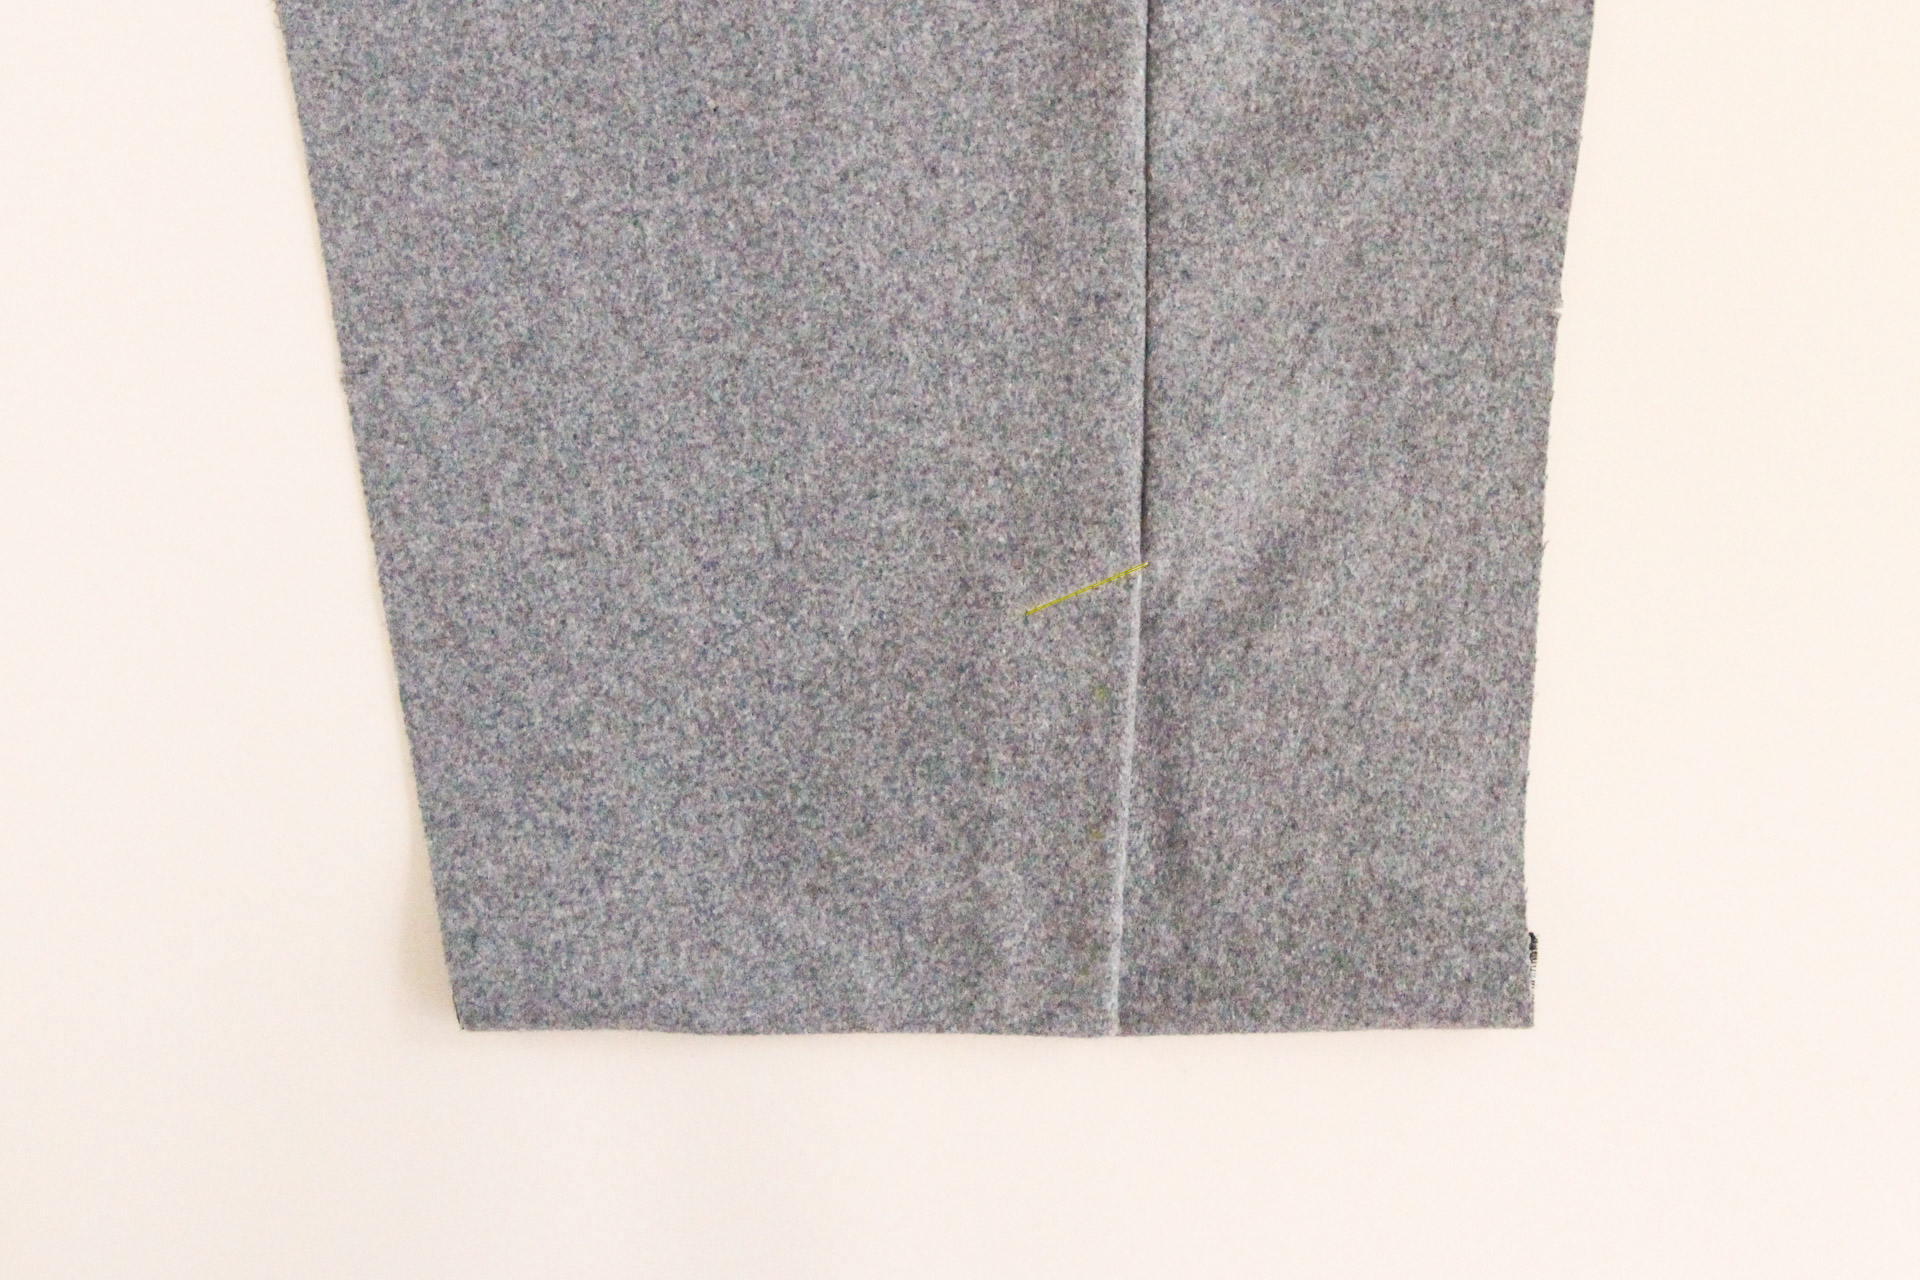
Fold the sleeve hem over to the wrong side by 1.5″ (3.8) and press. Don’t sew the hem! It will be finished neatly once we’ve added our lining.
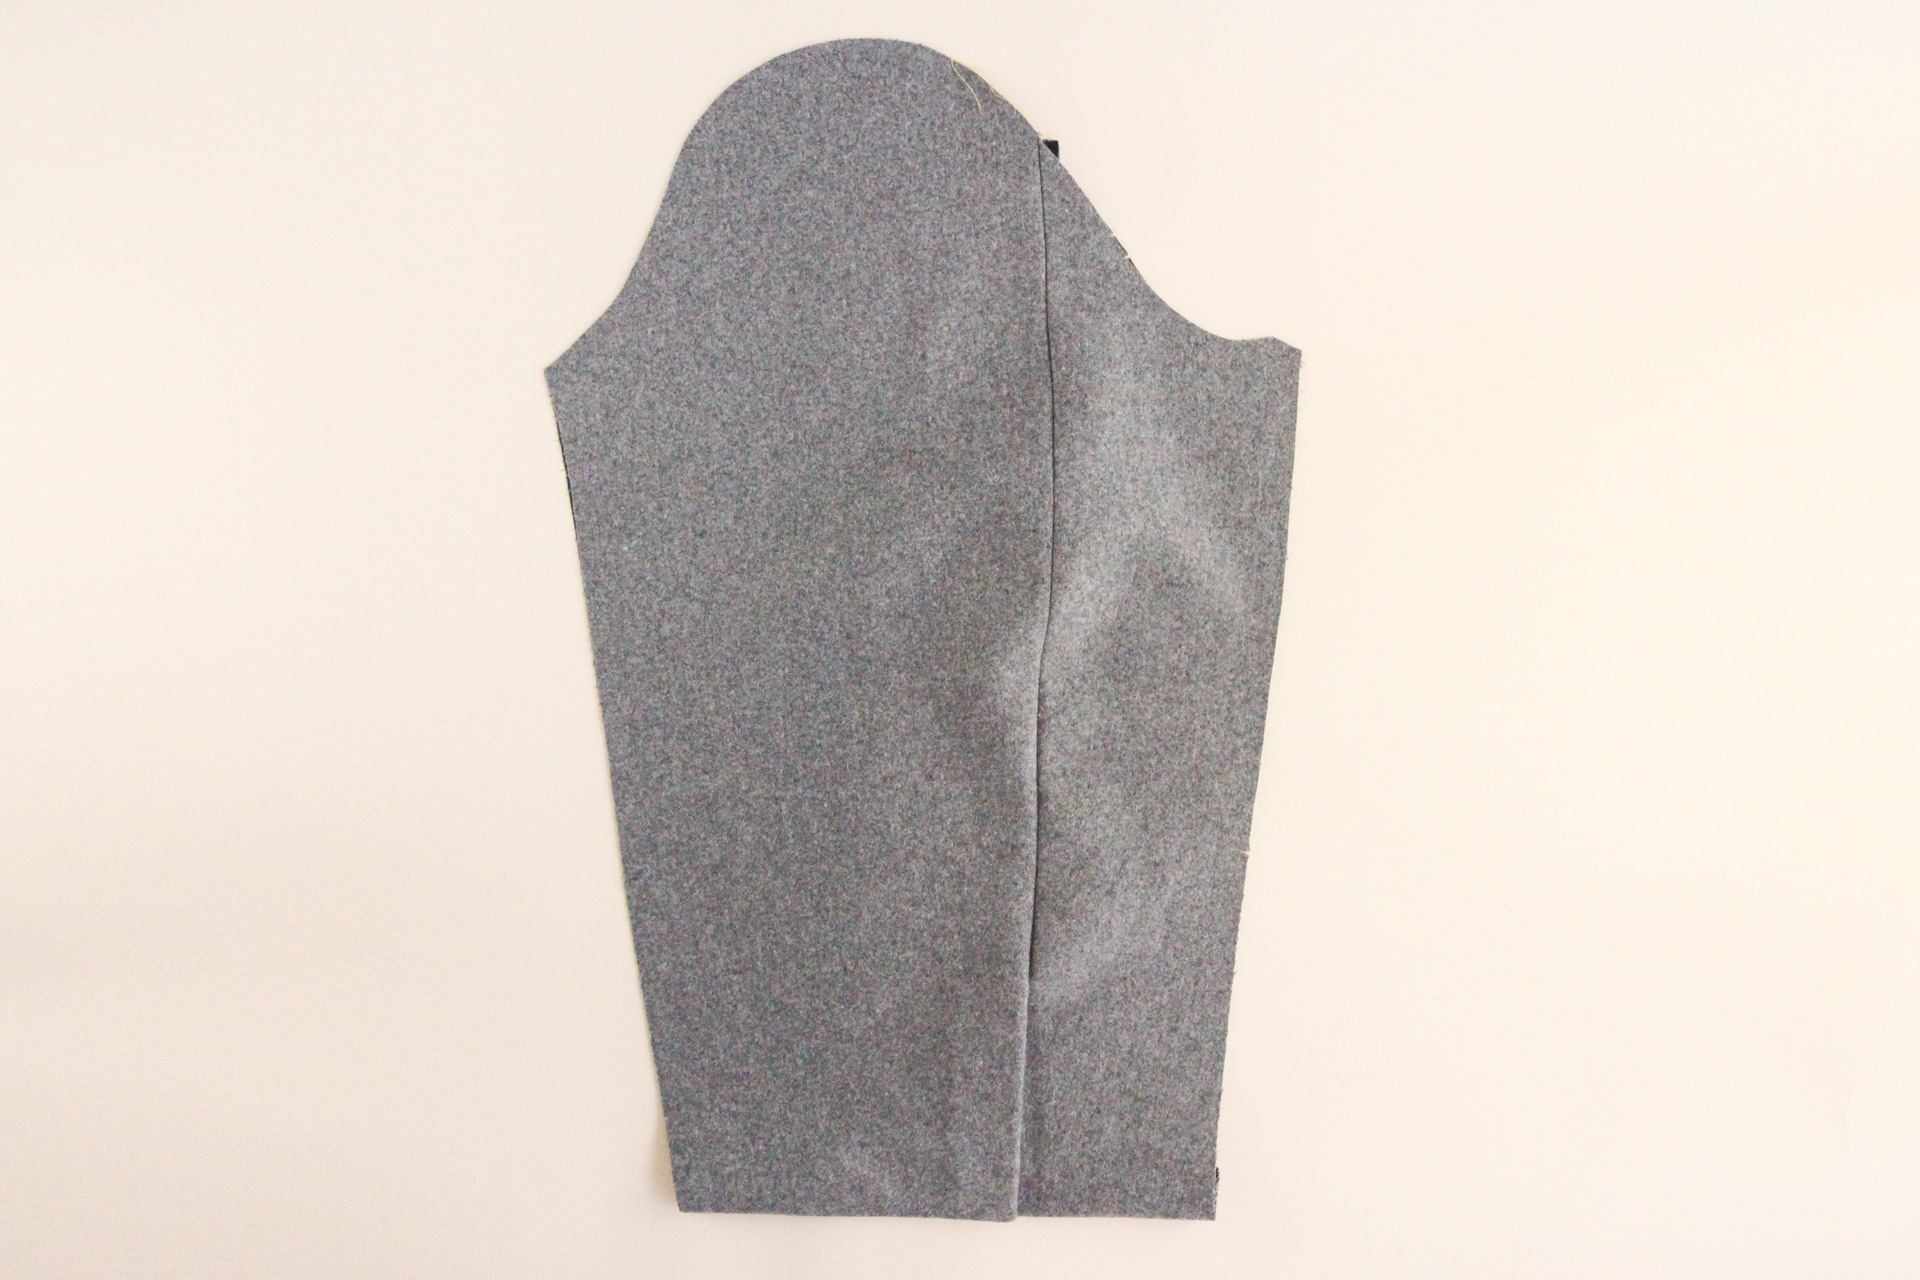
Looking good! Let’s do the same thing with our second sleeve, and we now have two completed sleeves.

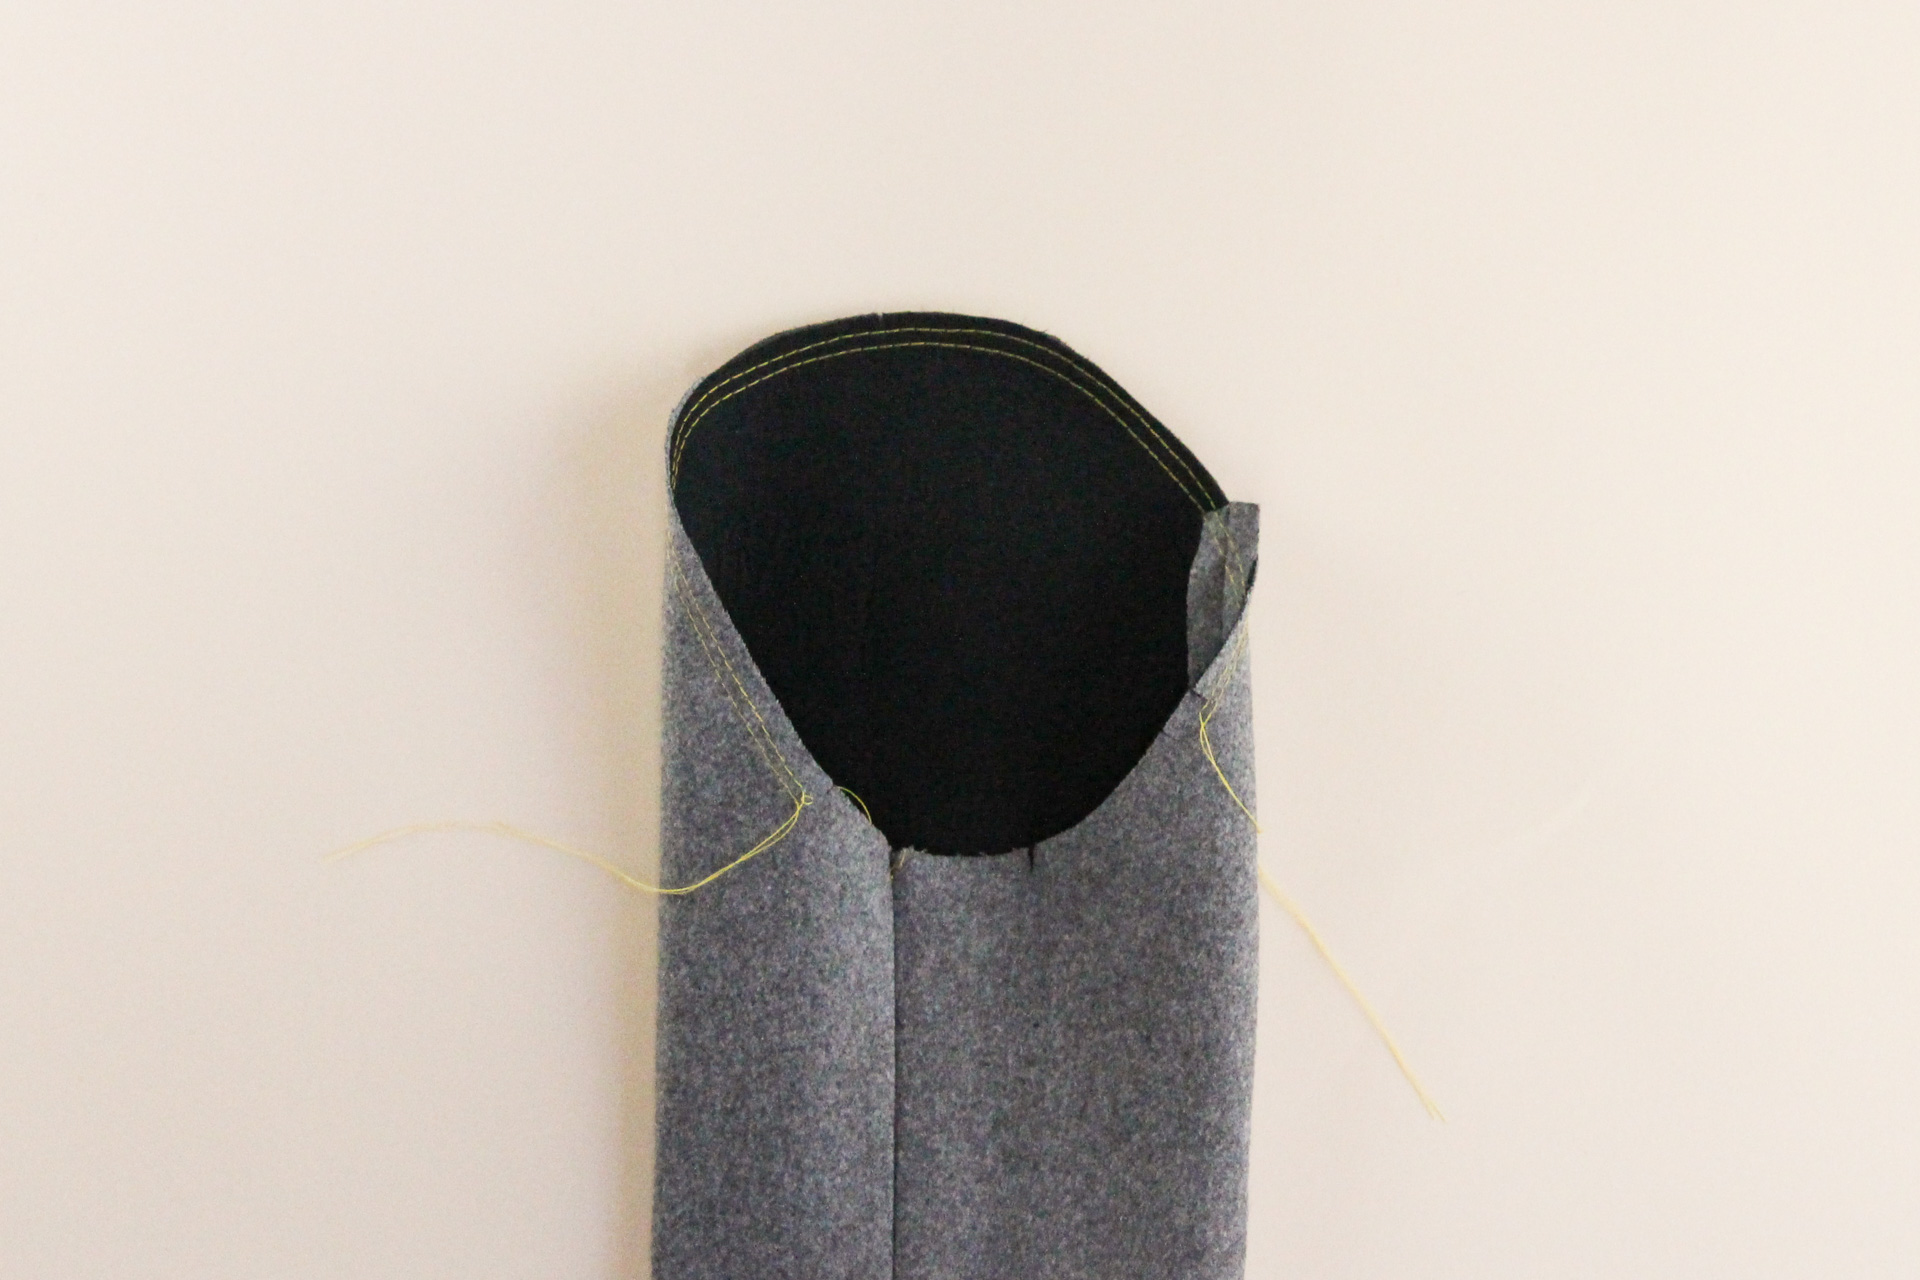
One final step before we can insert our sleeves: sew two lines of long basting stitches (4-5 mm in length) between the notches, within our 1/2″ (12 mm) seam allowance. This will help us ease the sleeve caps into the armscyes.
Gently pull on the ends to gather the sleeve cap seam allowance.
Insert Sleeves
Time to insert our sleeves into the main body of the blazer!
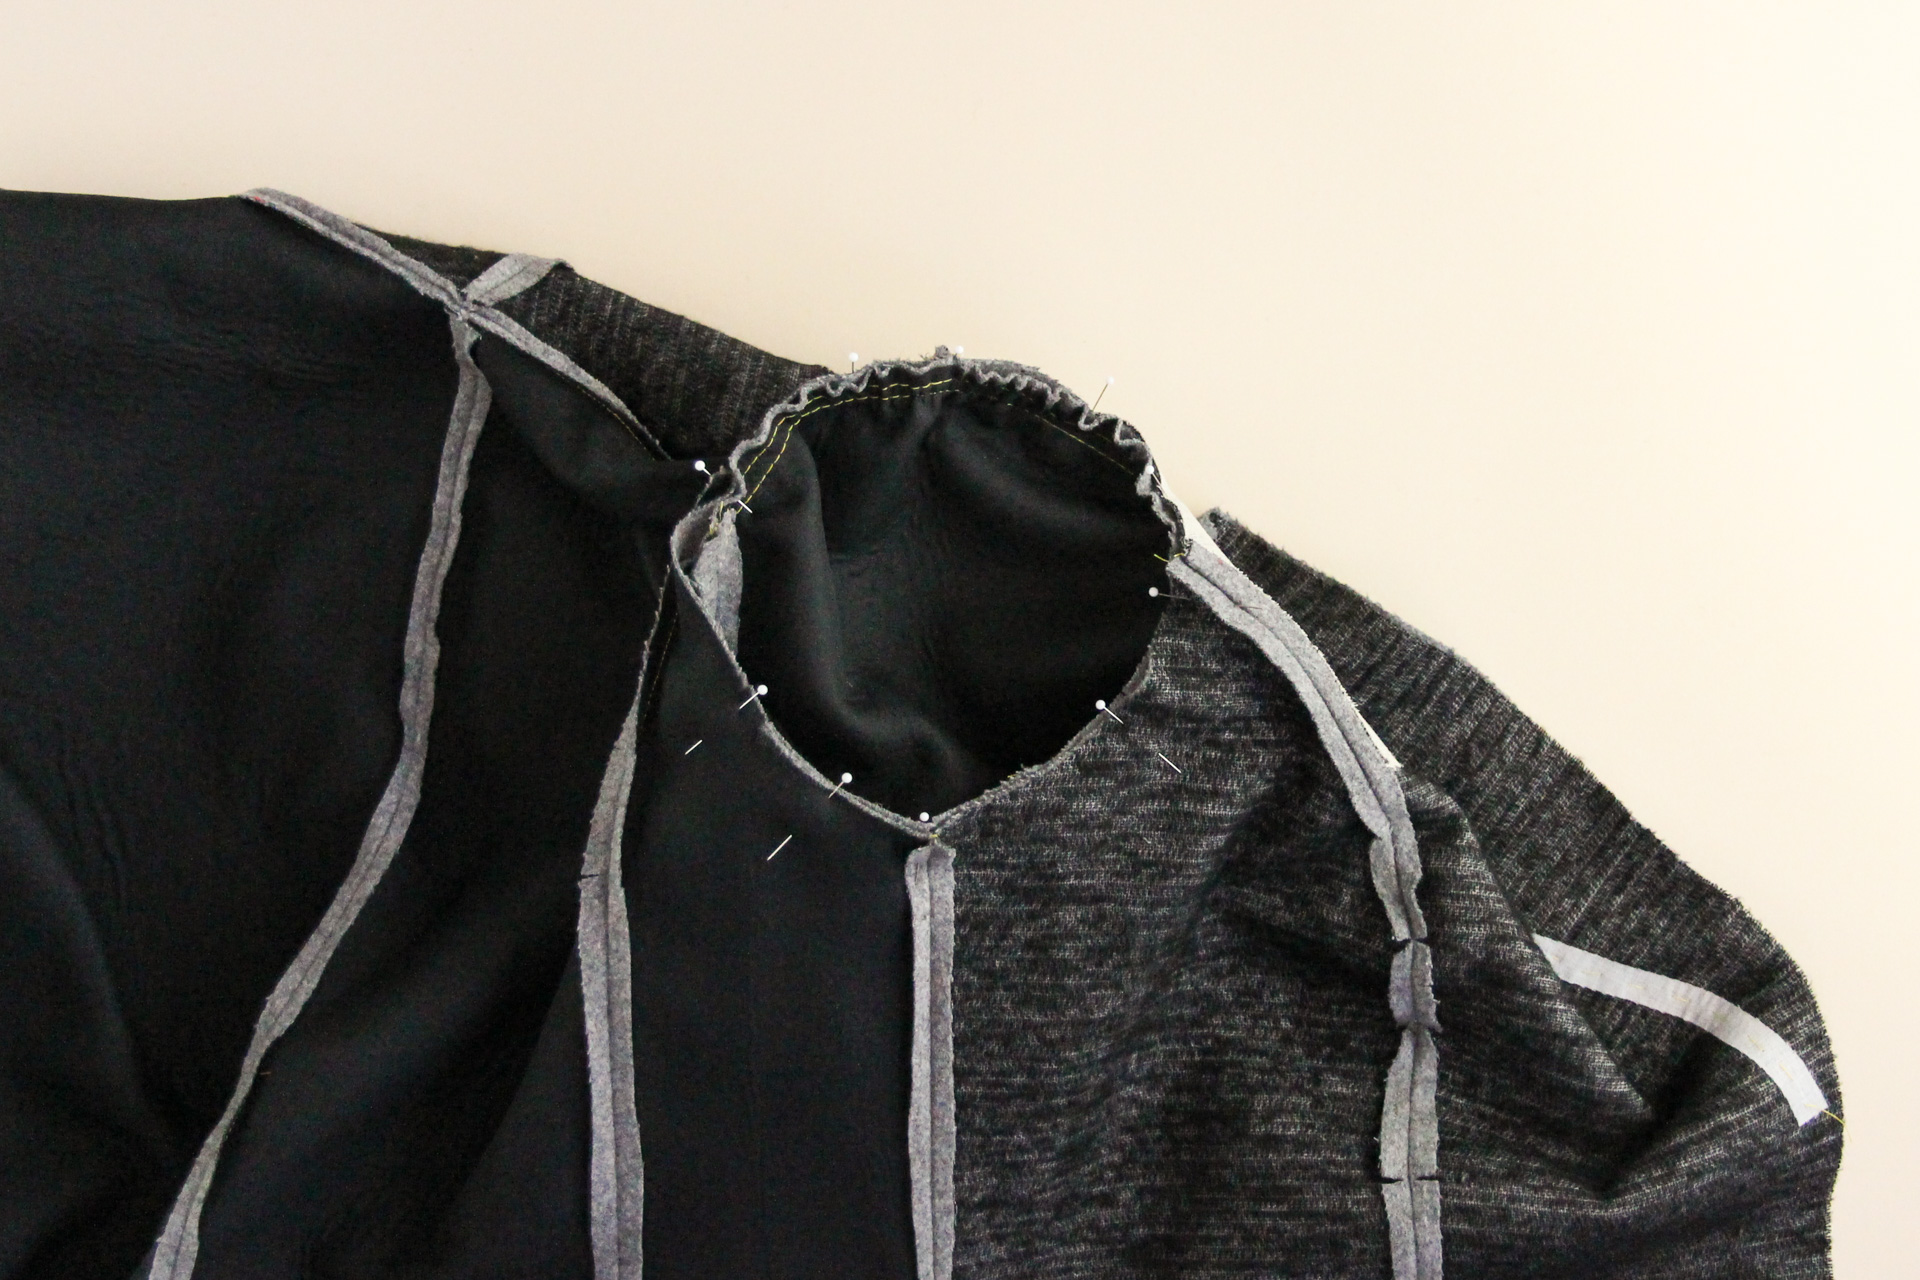
Pin sleeve into armscye, right sides together, matching notches. Note that the sleeve cap notch matches the shoulder seam, and the underarm notch matches the side seam of the blazer. You may need to adjust the easing that you did with the basting stitches to get the armscye and sleeve cap to align just right.
Let’s take it over to the machine and sew around the armscye, going slowly to make sure there aren’t any puckers. Use a 1/2″ (12 mm) seam allowance.
Once the seam is sewn, check to make sure the seam is pucker-free.
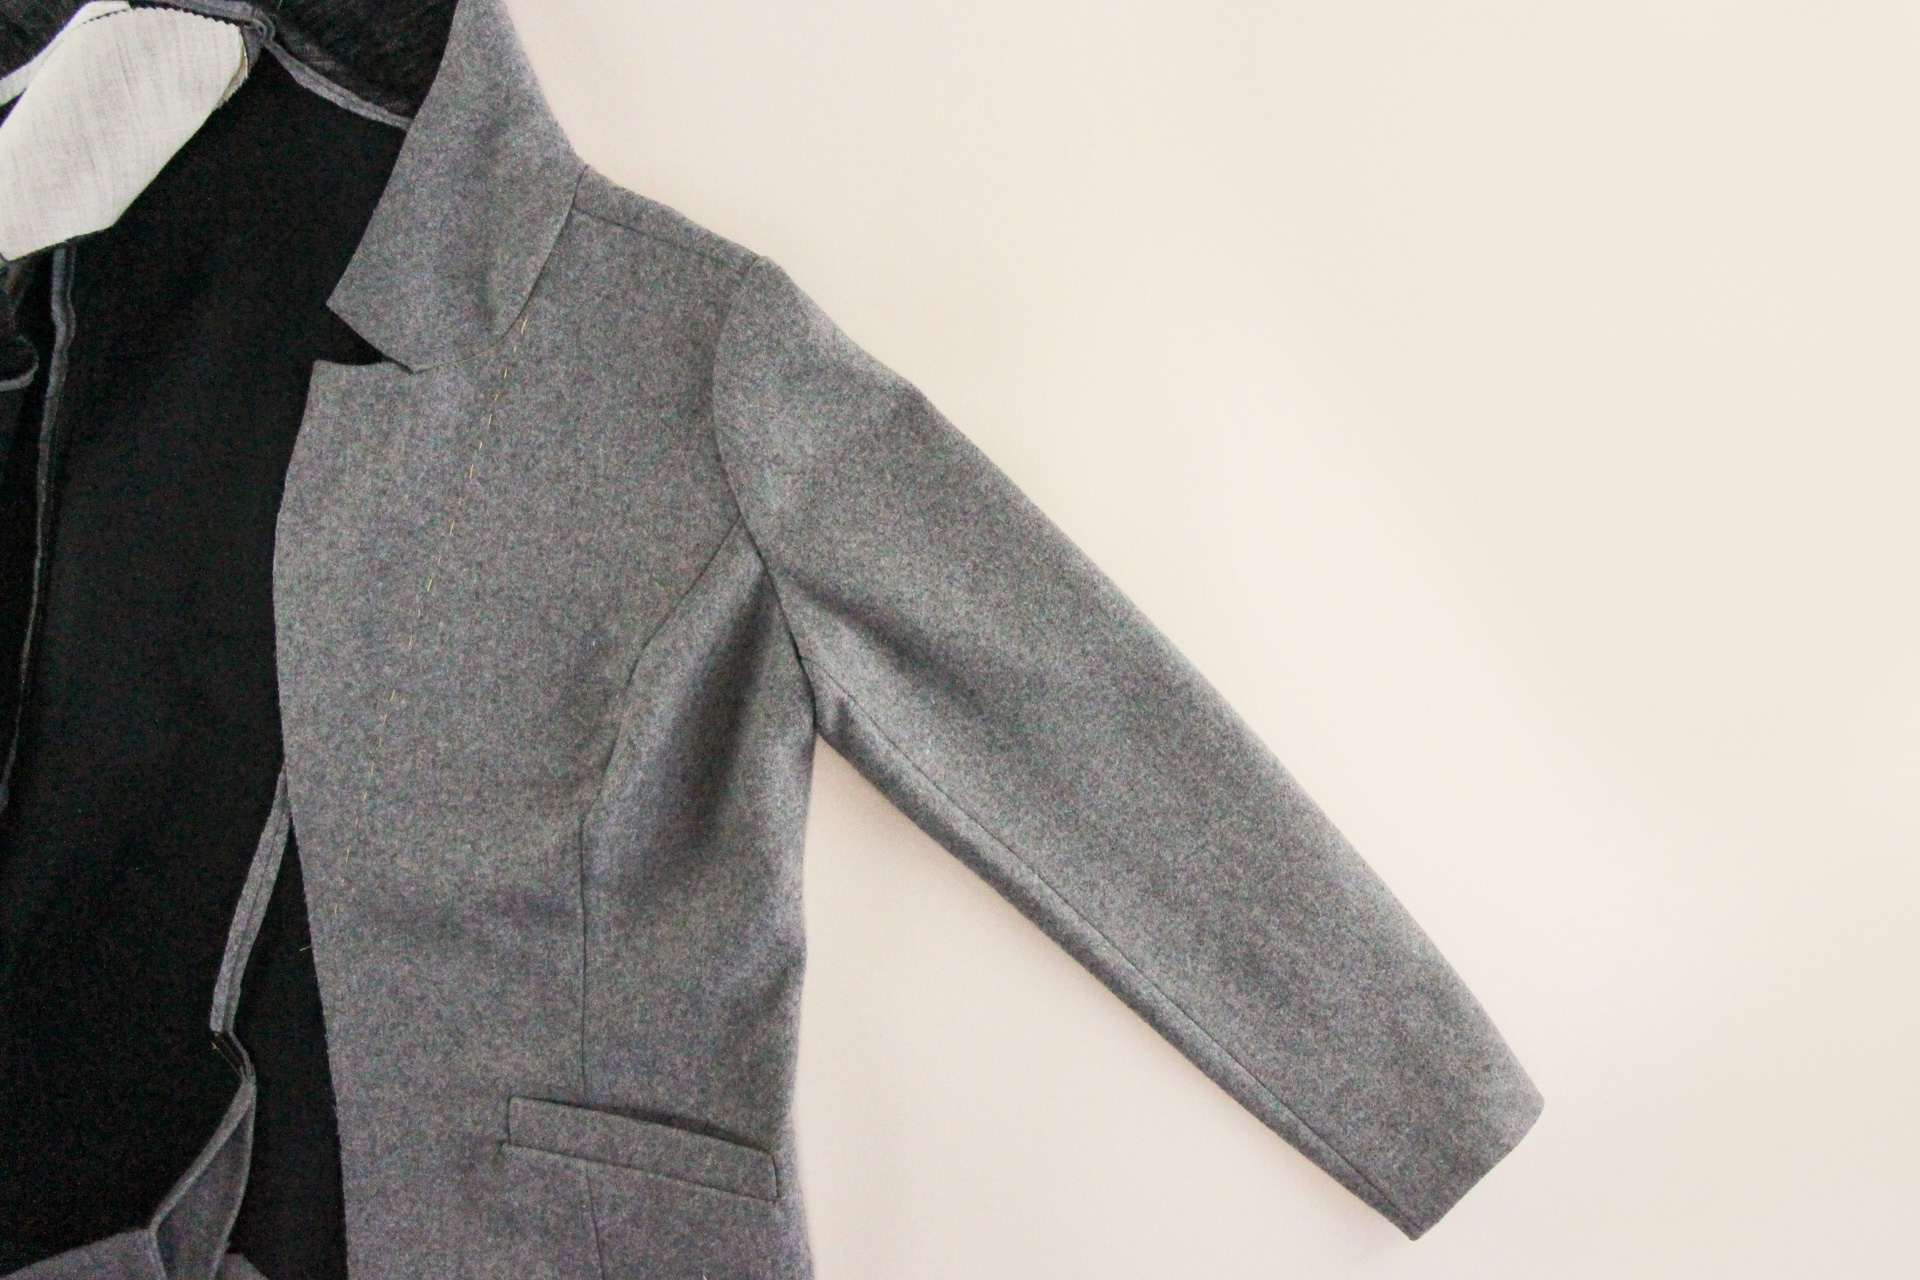
Fabulous! Let’s repeat with the other sleeve.
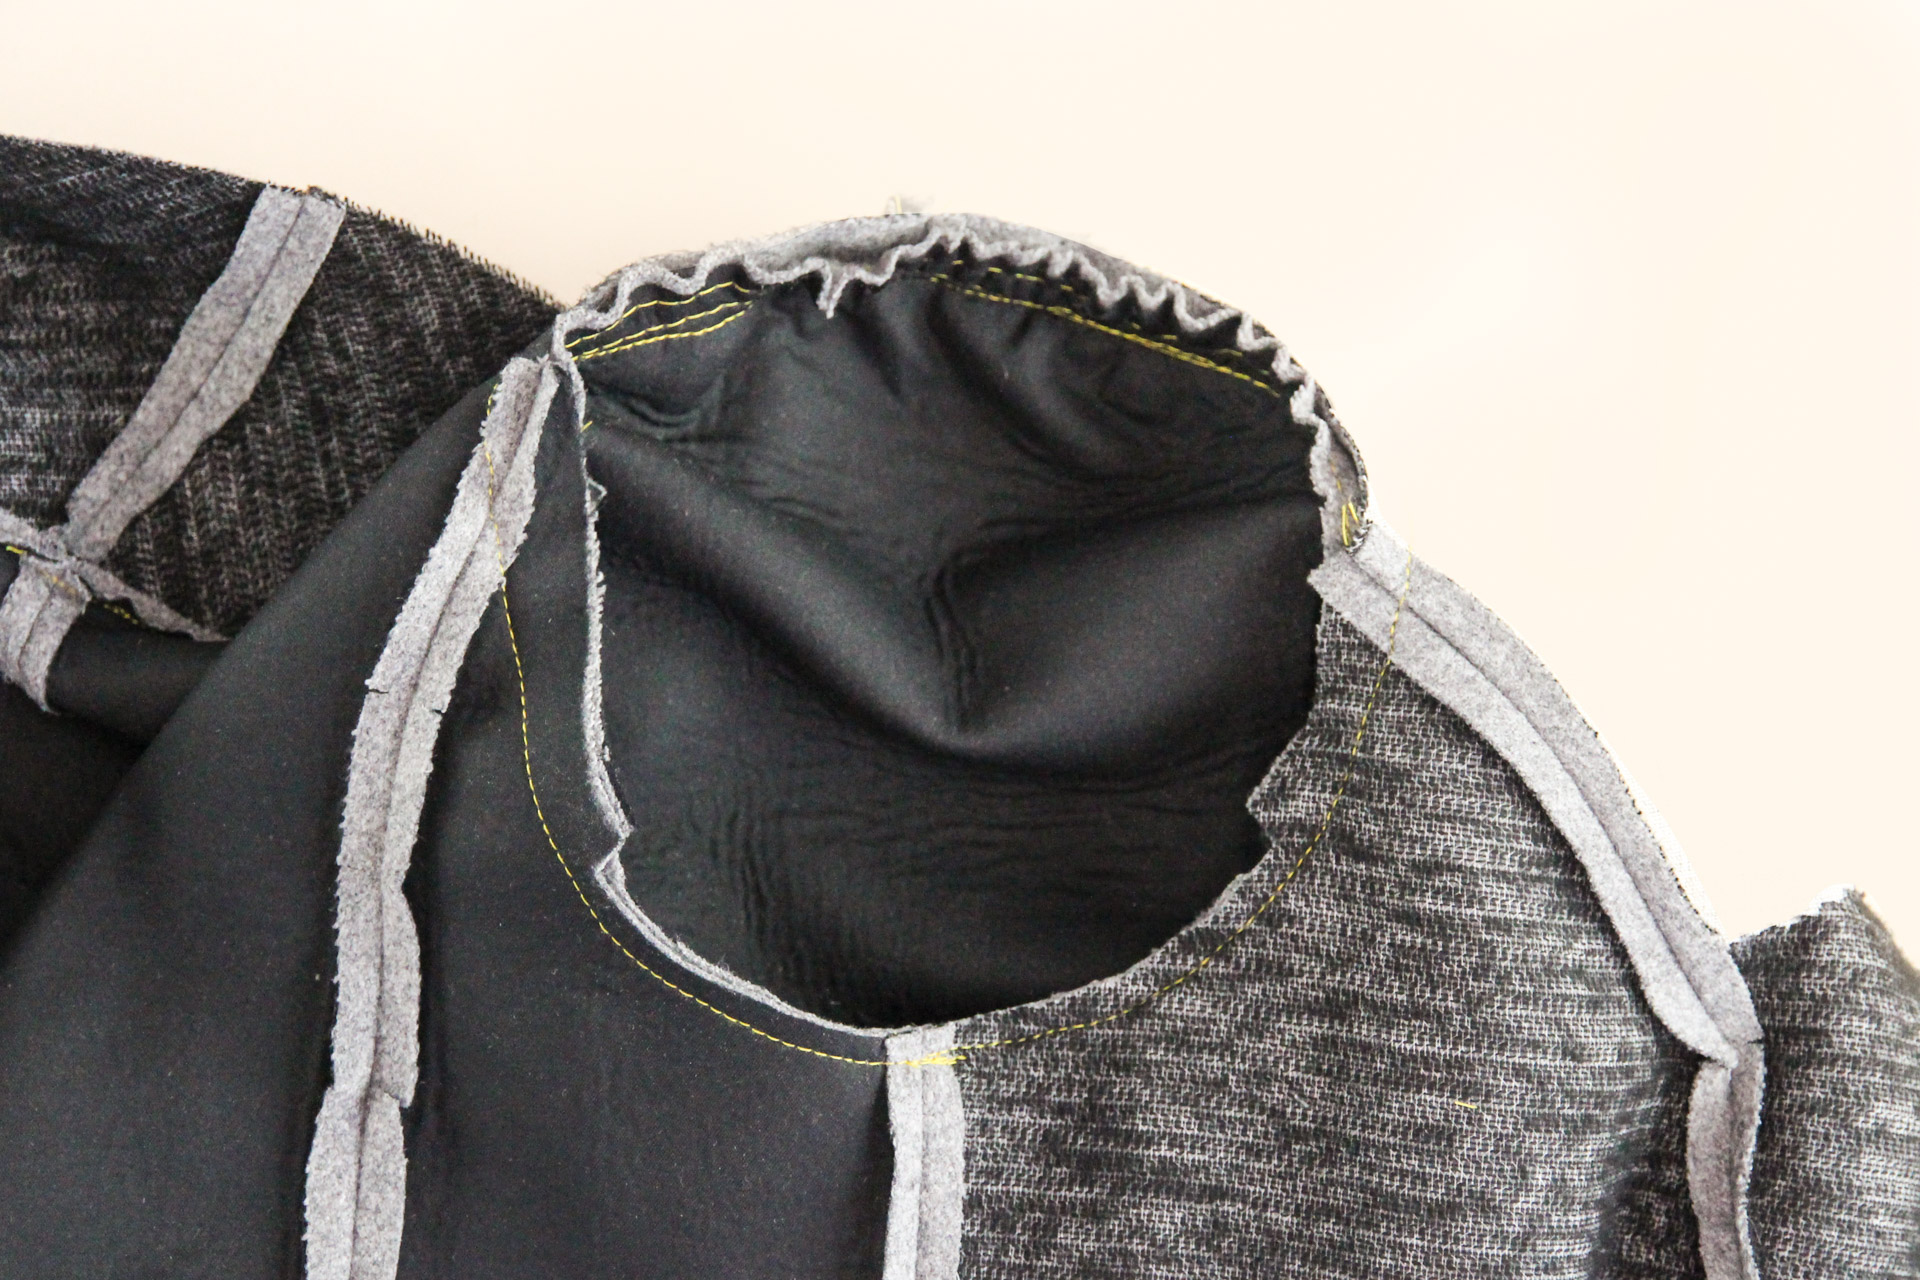
Open the blazer up again to reveal the armscye seam allowance. We’re going to trim the seam allowance in half, but just on the lower section of the armscye between the two notches.
Want even more support in the upper sleeve? You can add a sleeve head to the underside of the top of the shoulder seam allowance. Sleeve heads can be purchased pre-made or cut from a piece of fleece on the bias.
Attach Shoulder Pads
Time for shoulder pads! Even if you’re making a muslin, you should definitely put in your shoulder pads since they can have a big impact on the fit in the shoulders and sleeves.
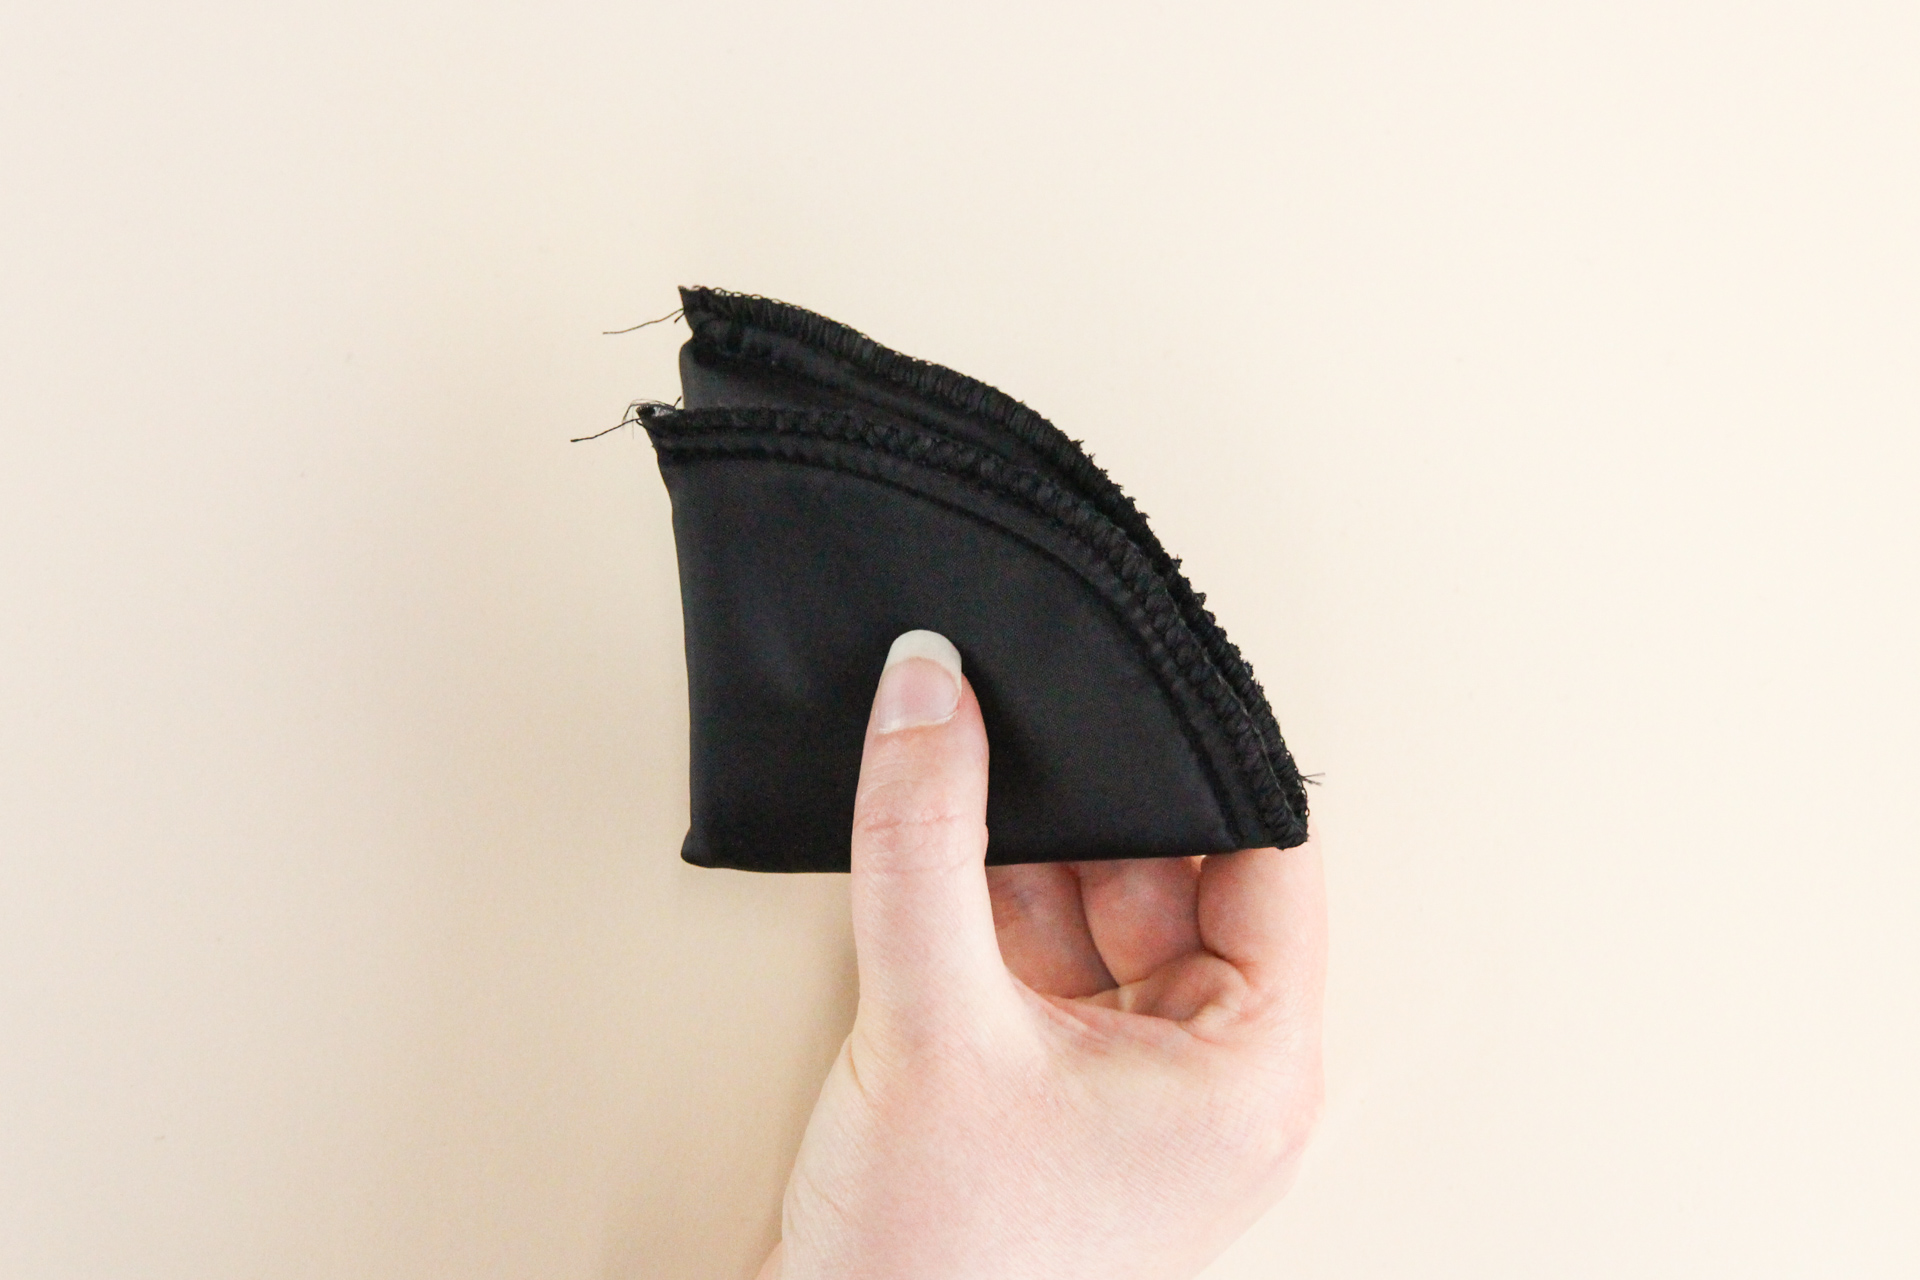
Start by folding the shoulder pad in half at the apex of the curve. You’ll notice that the two halves aren’t exactly symmetrical—this is by design. The slightly longer half is the back of the shoulder pad, while the slightly shorter half is the front. The straight edge is the one you’ll want to align with your armscye.
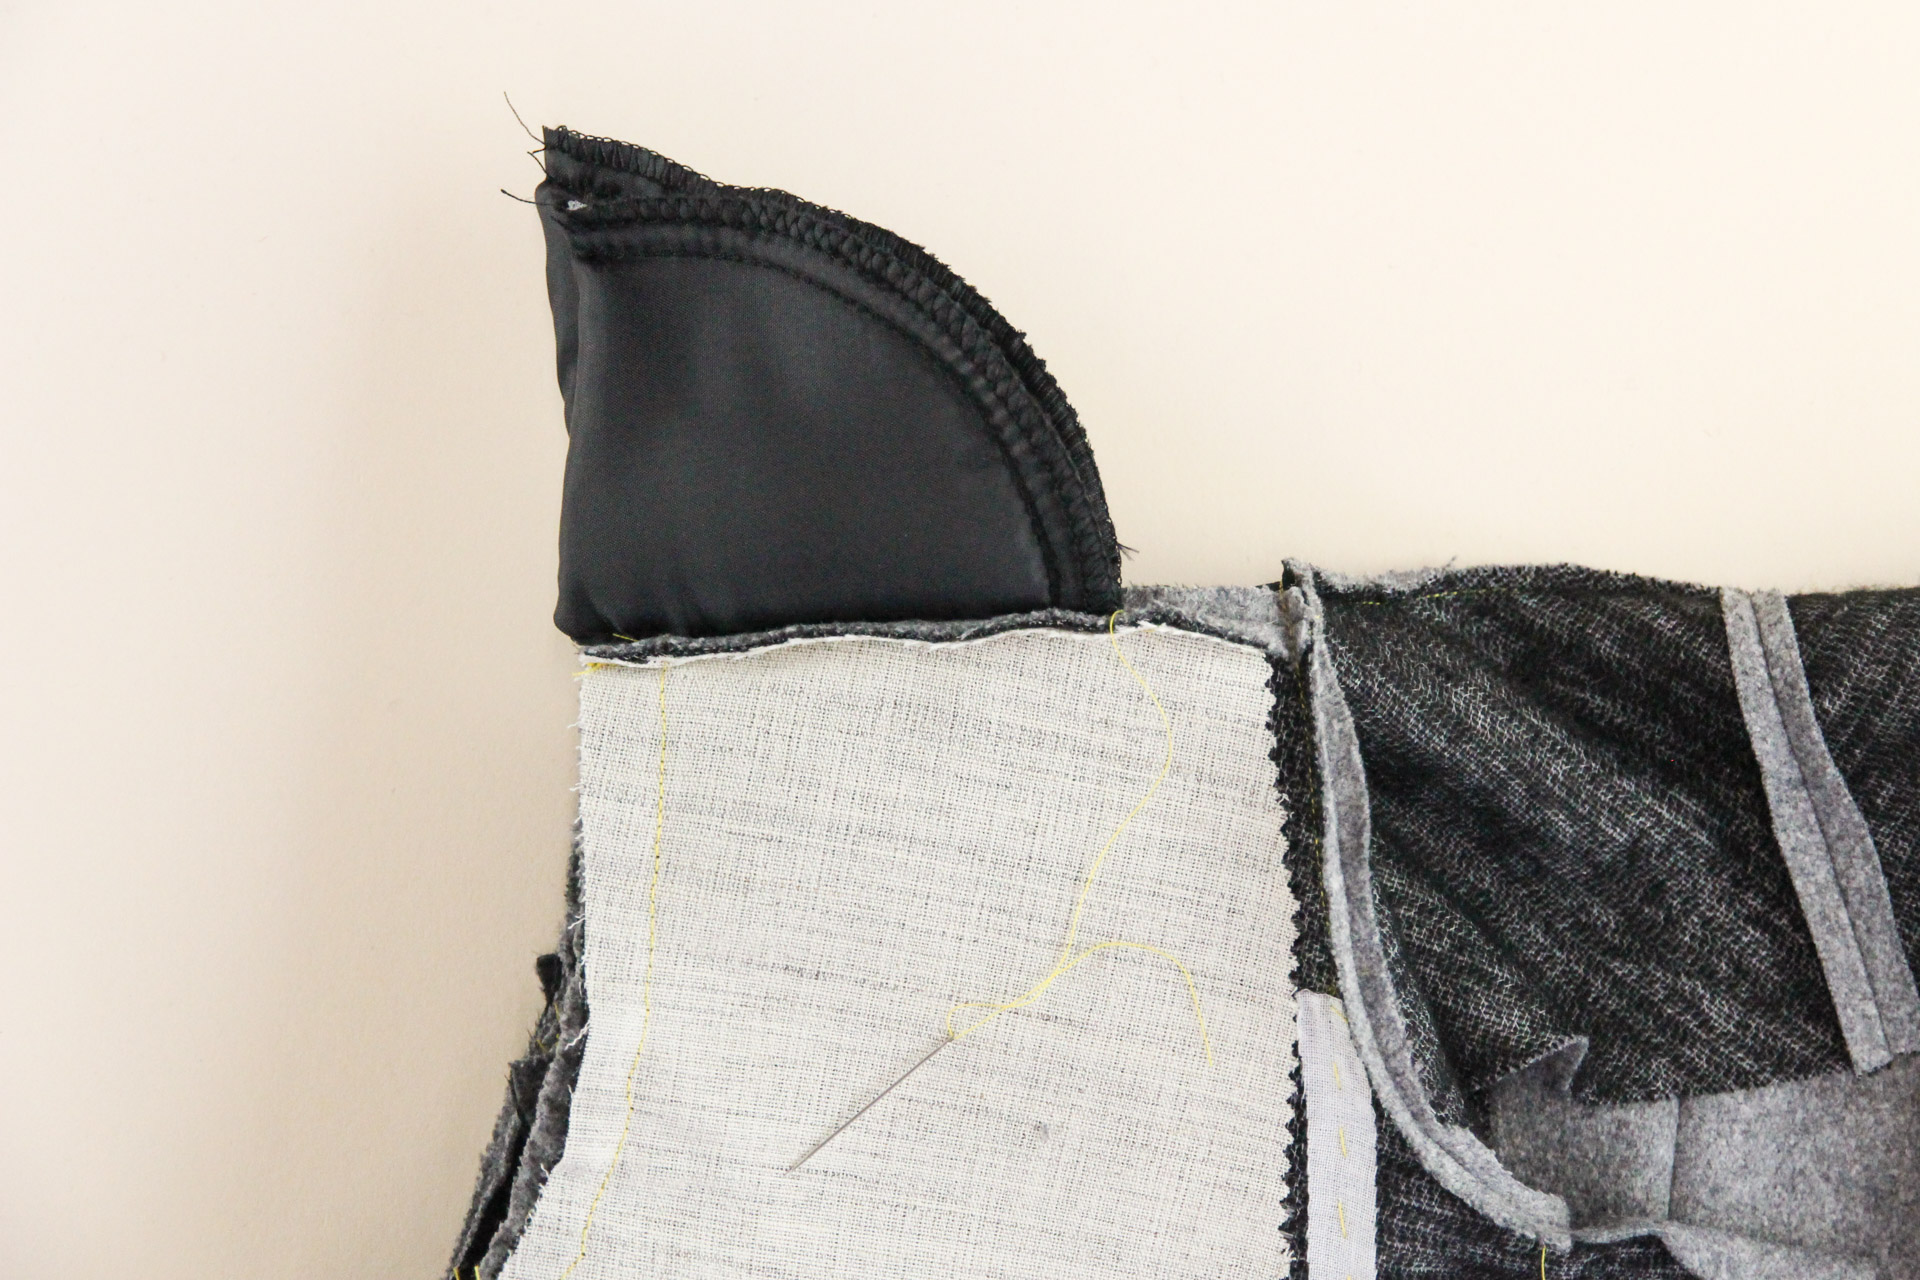
With the shoulder pad still folded, stitch the folded edge to the shoulder seam by hand. The curved edge of the shoulder pad should end around 1″ (2.5 cm) from the neck seam.
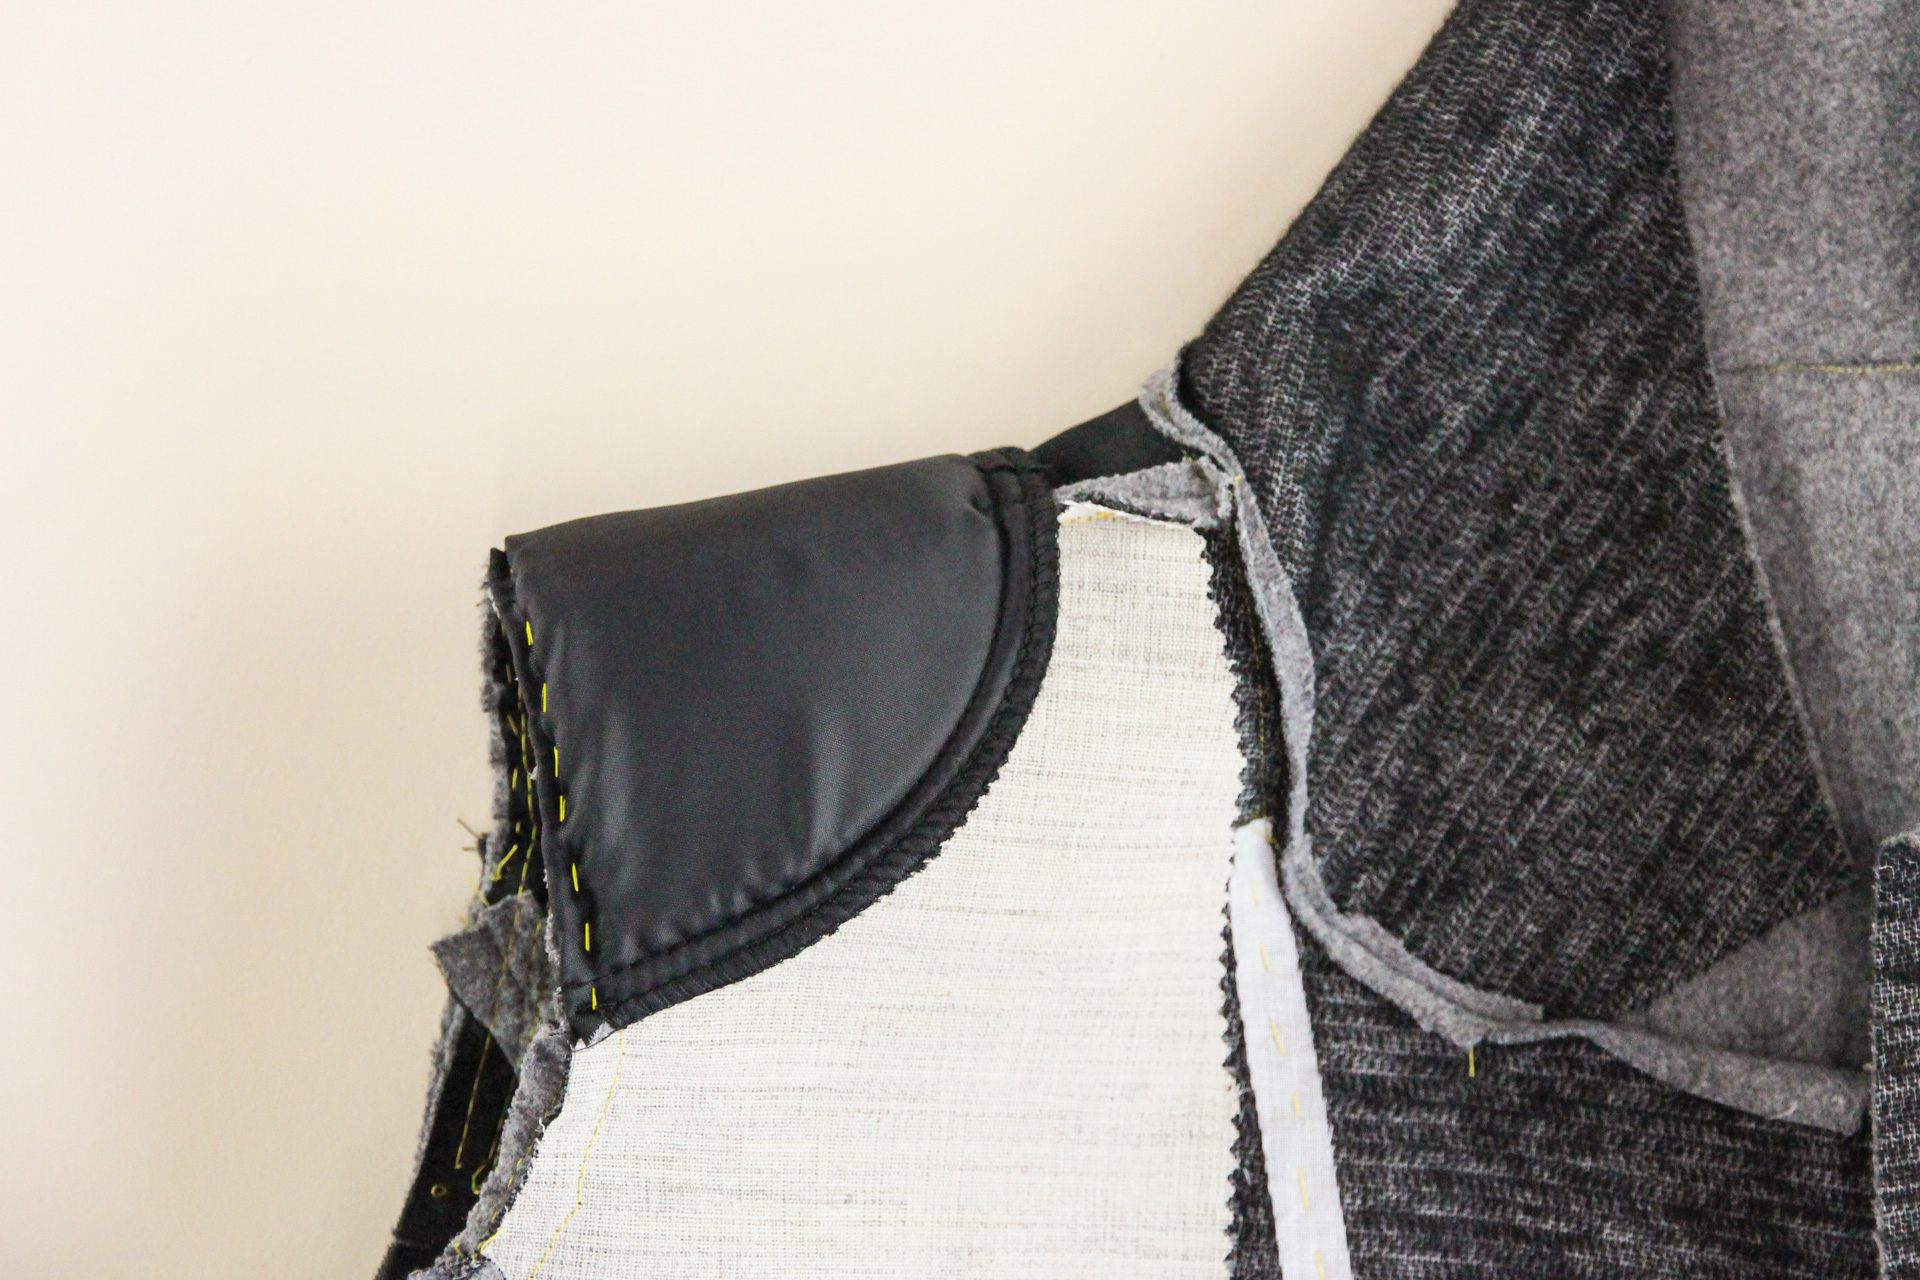
Flip the two halves of the shoulder pad down and hand sew the straight edge of the shoulder pad to the armscye seam allowance using a running stitch.
Repeat with the second shoulder pad.
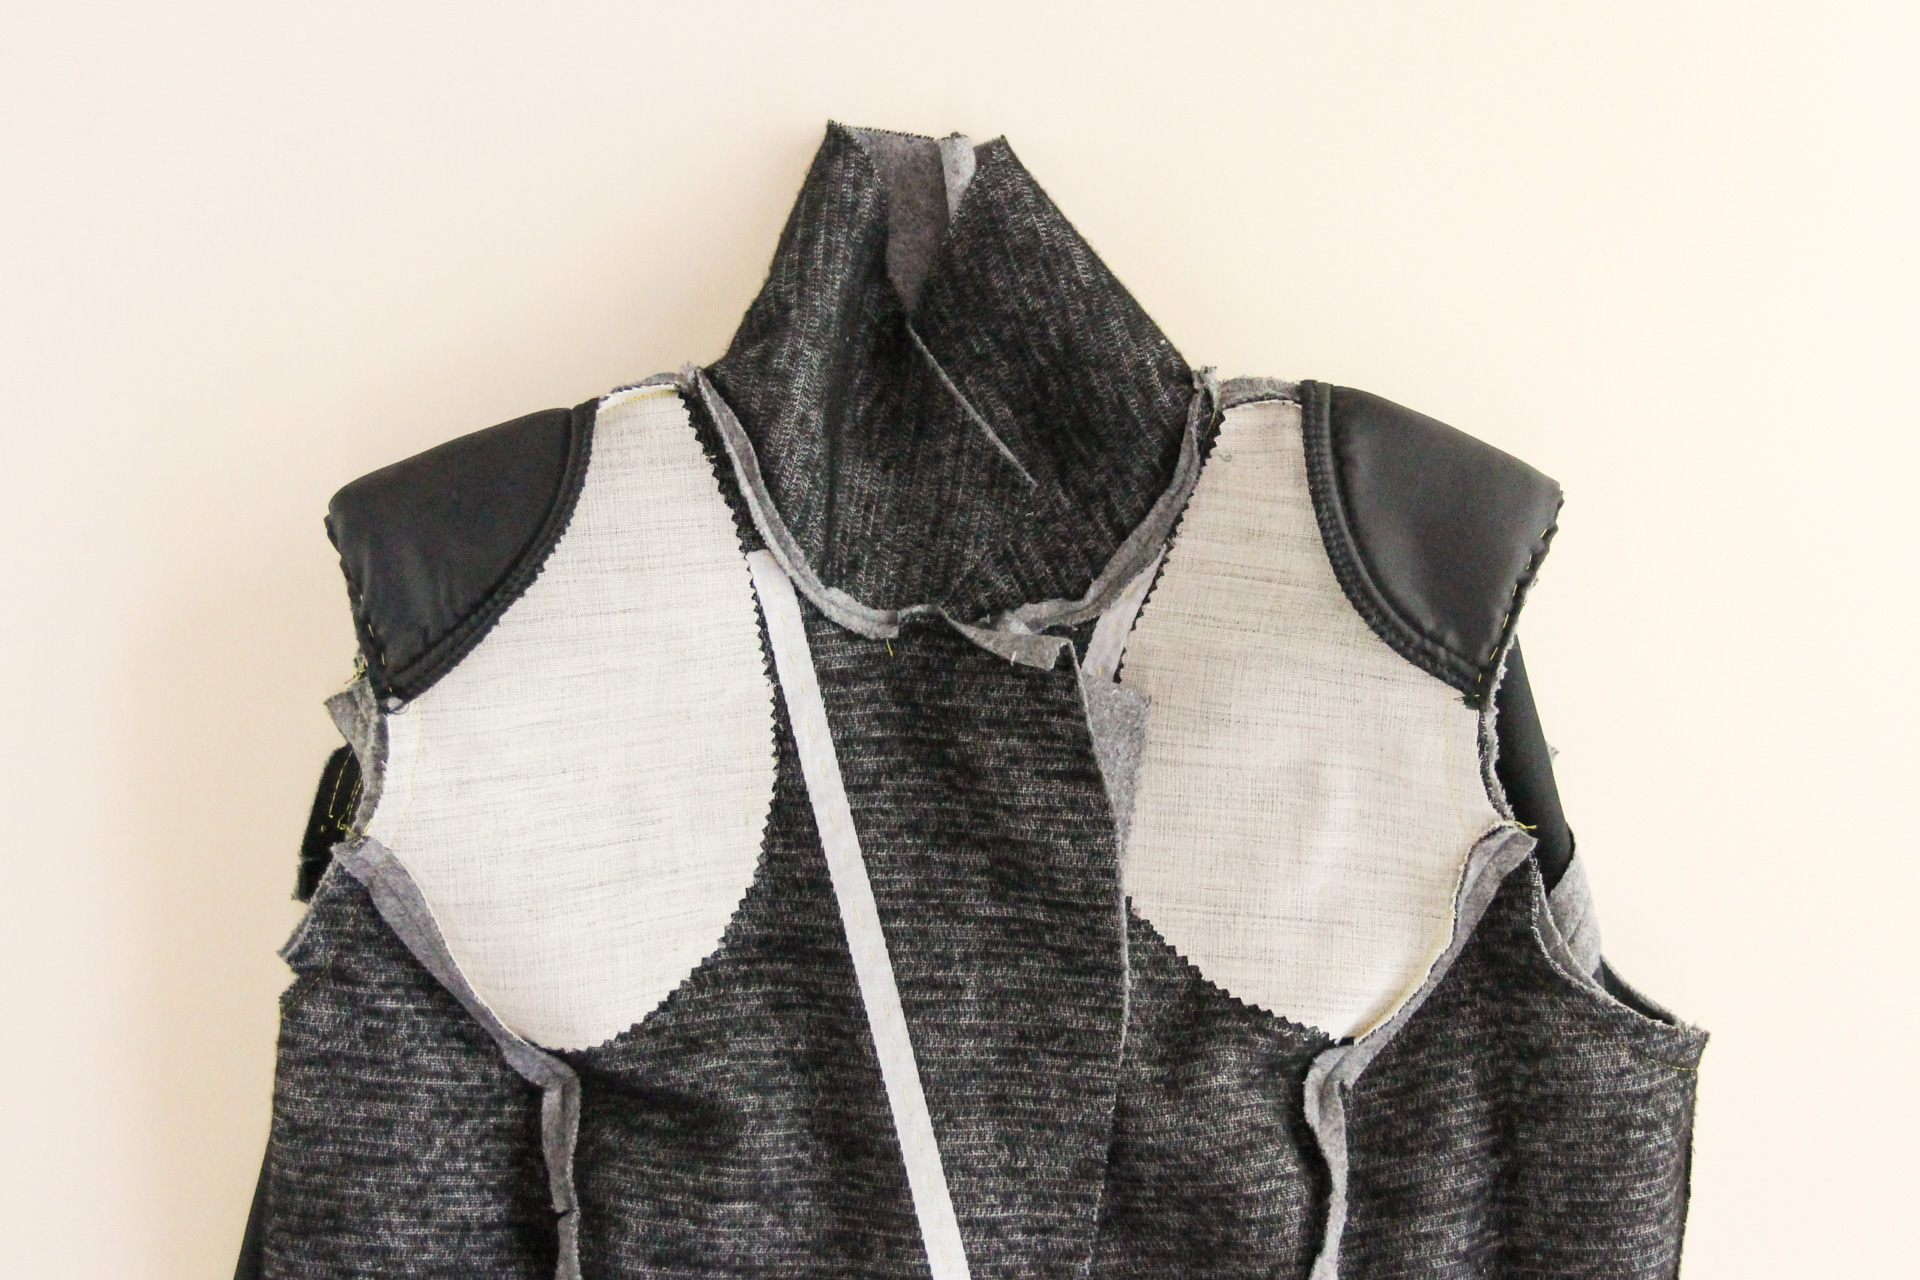
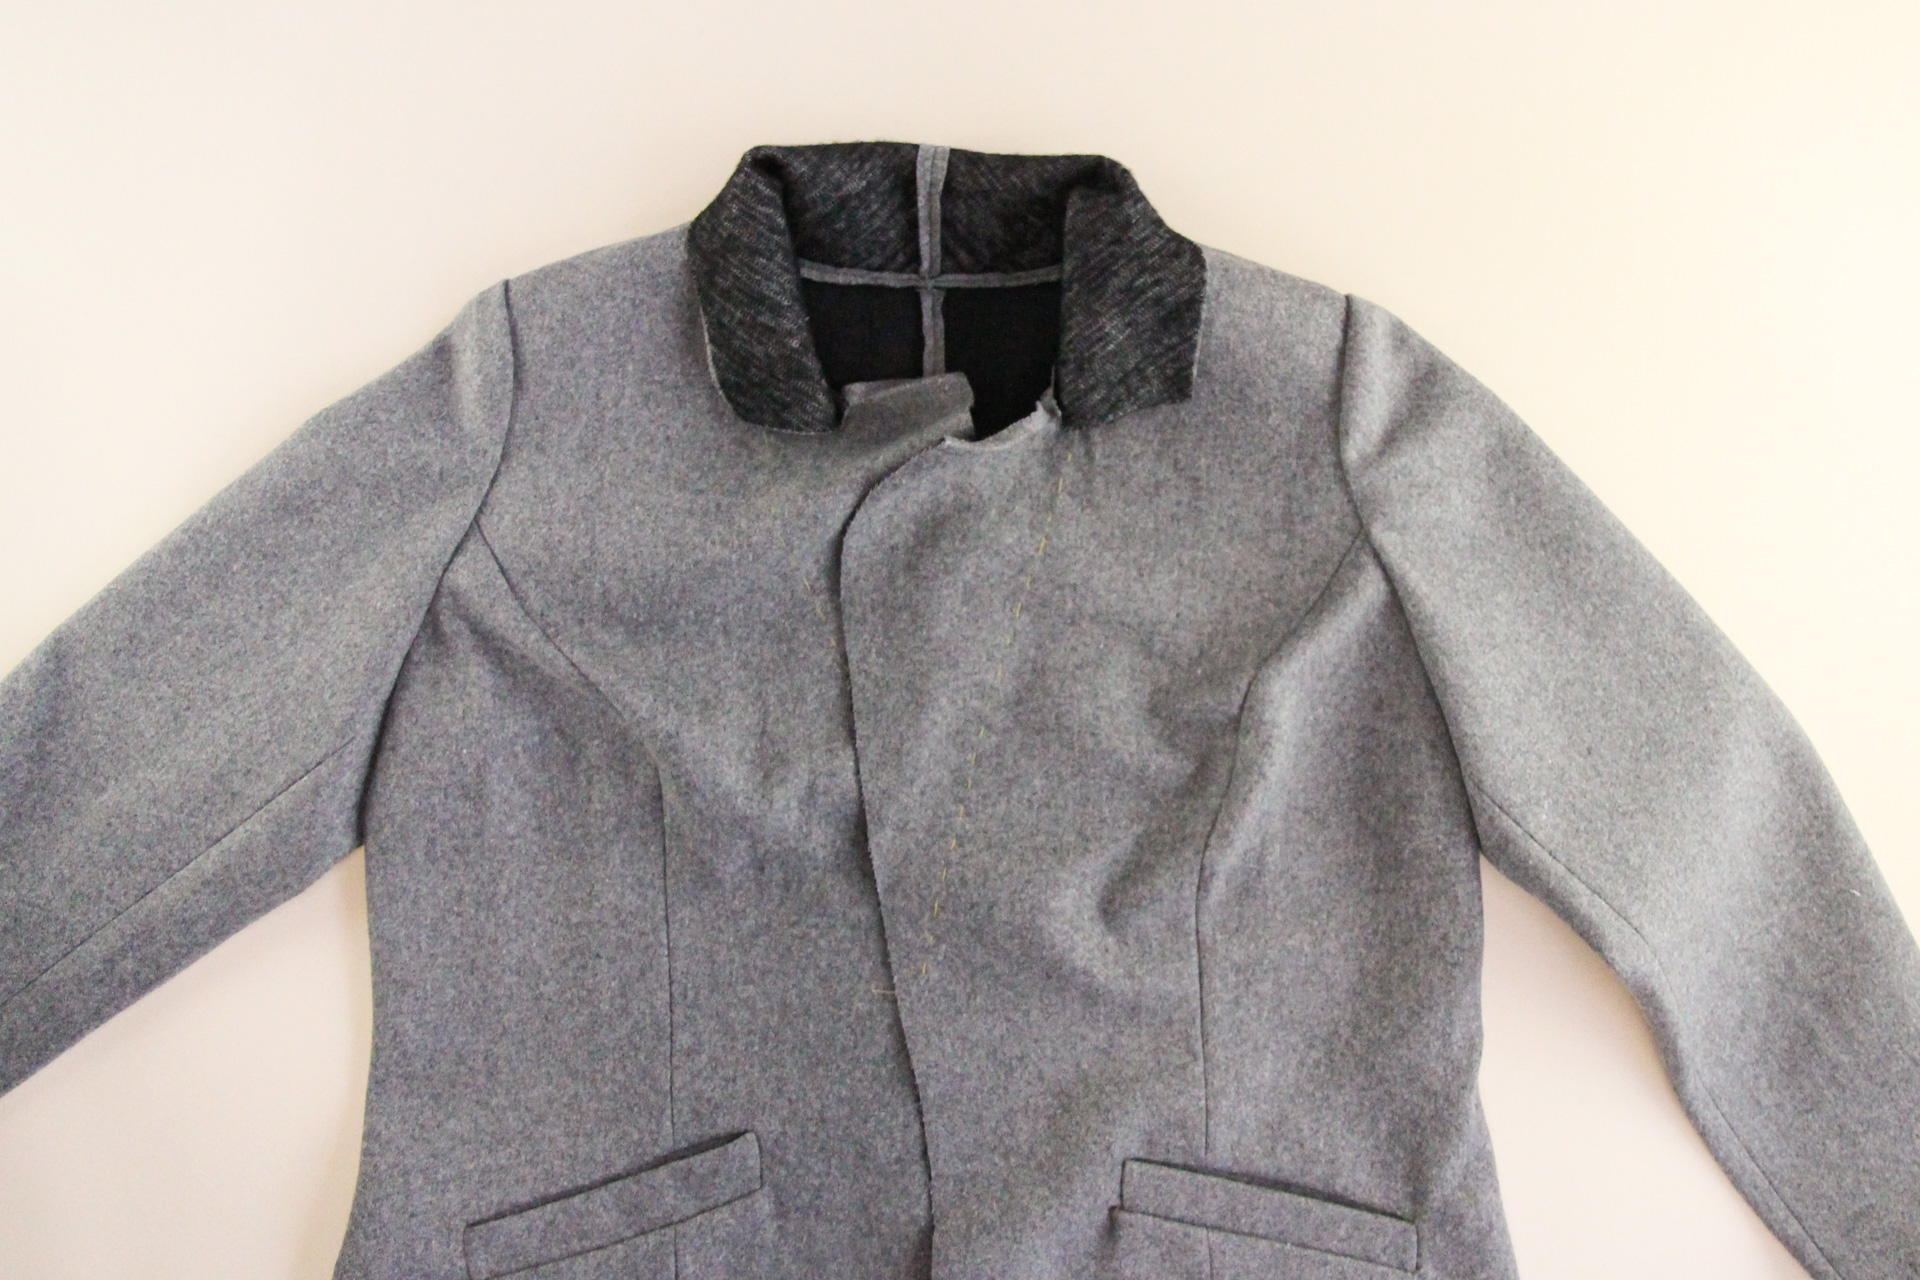
Nice work! Our outer blazer is now complete, and next time we’re start working on the lining.
This is a good time to try on your blazer and check the sleeve length. If the sleeves are too long or too short, you can adjust the hem (and adjust your lining pieces accordingly). We talk more about sleeve fitting in this blog post.
We’d love to see your Auburn Blazer, whatever stage of the process you’re at! Tag your makes with #AuburnBlazer on social media so that we can cheer you to the finish line.
Can you please do a picture (or diagram) showing exactly where the different types of sleeve head should be sown? I have seen “sleeve heads” and also “sleeve head roll” with and without canvass – I am not sure exactly where (is it from seam to seam? and which seam?) and which way around to place them (does the roll bit go into the arm or line up with the seam and does the canvass bit go up or down?) – Thanks.
Hi Nicola,
We’re working on an advanced tailoring blog post that will go up soon! It’ll point to some resources on sleeve heads. There are a ton of options- and none is particularly right or wrong!