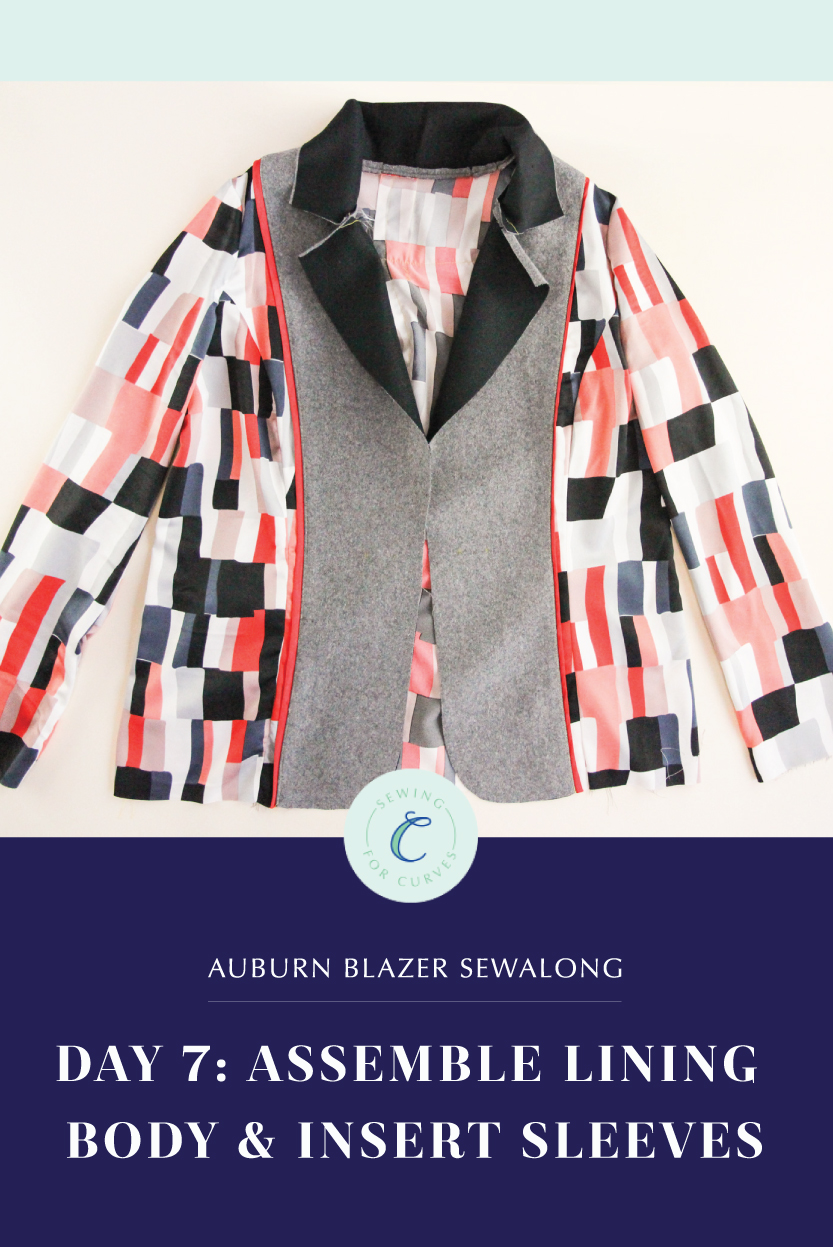
Welcome back to the Auburn Blazer sewalong! Today, we’ll be finishing constructing our lining. Thanks for joining us!
(Just joining us? Be sure to check out the main Auburn sewalong page to catch up on everything you may have missed.)
Last time we assembled the front and back sections of our lining, and today we’ll be putting the lining together and attaching the lining sleeves.
Sew Lining Shoulders & Side Seams
Start by pinning the lining fronts to the lining back at the shoulder seams and the side seams, right sides together.
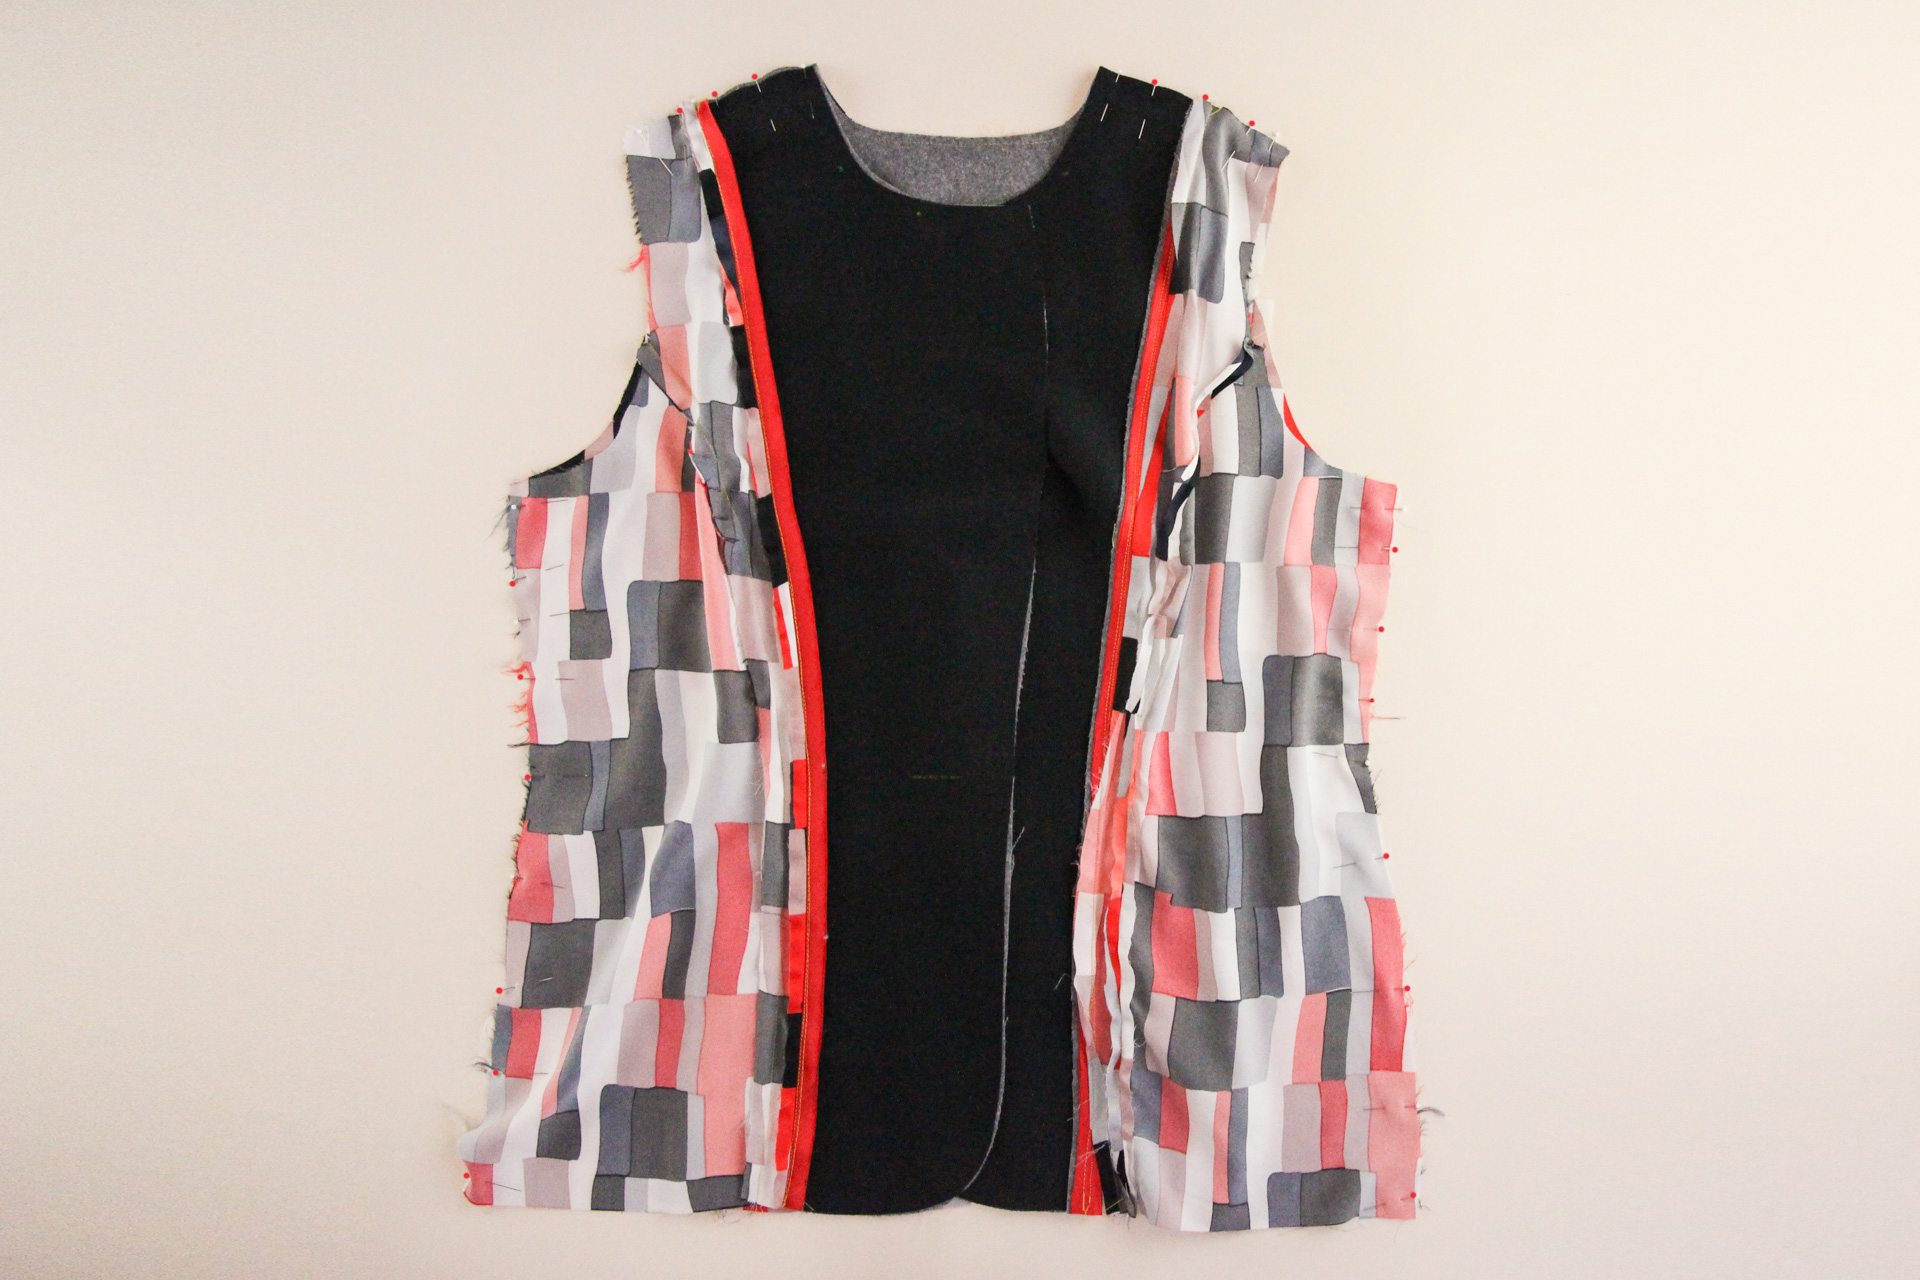
Sew those seams using our 1/2″ (12 mm) seam allowance. Trim the seam allowances in half and press them open.

Looking good! Now we’re going to staystitch around the neckline between the two circle markings at 3/8″ (1 cm) seam allowance, using a short stitch length.
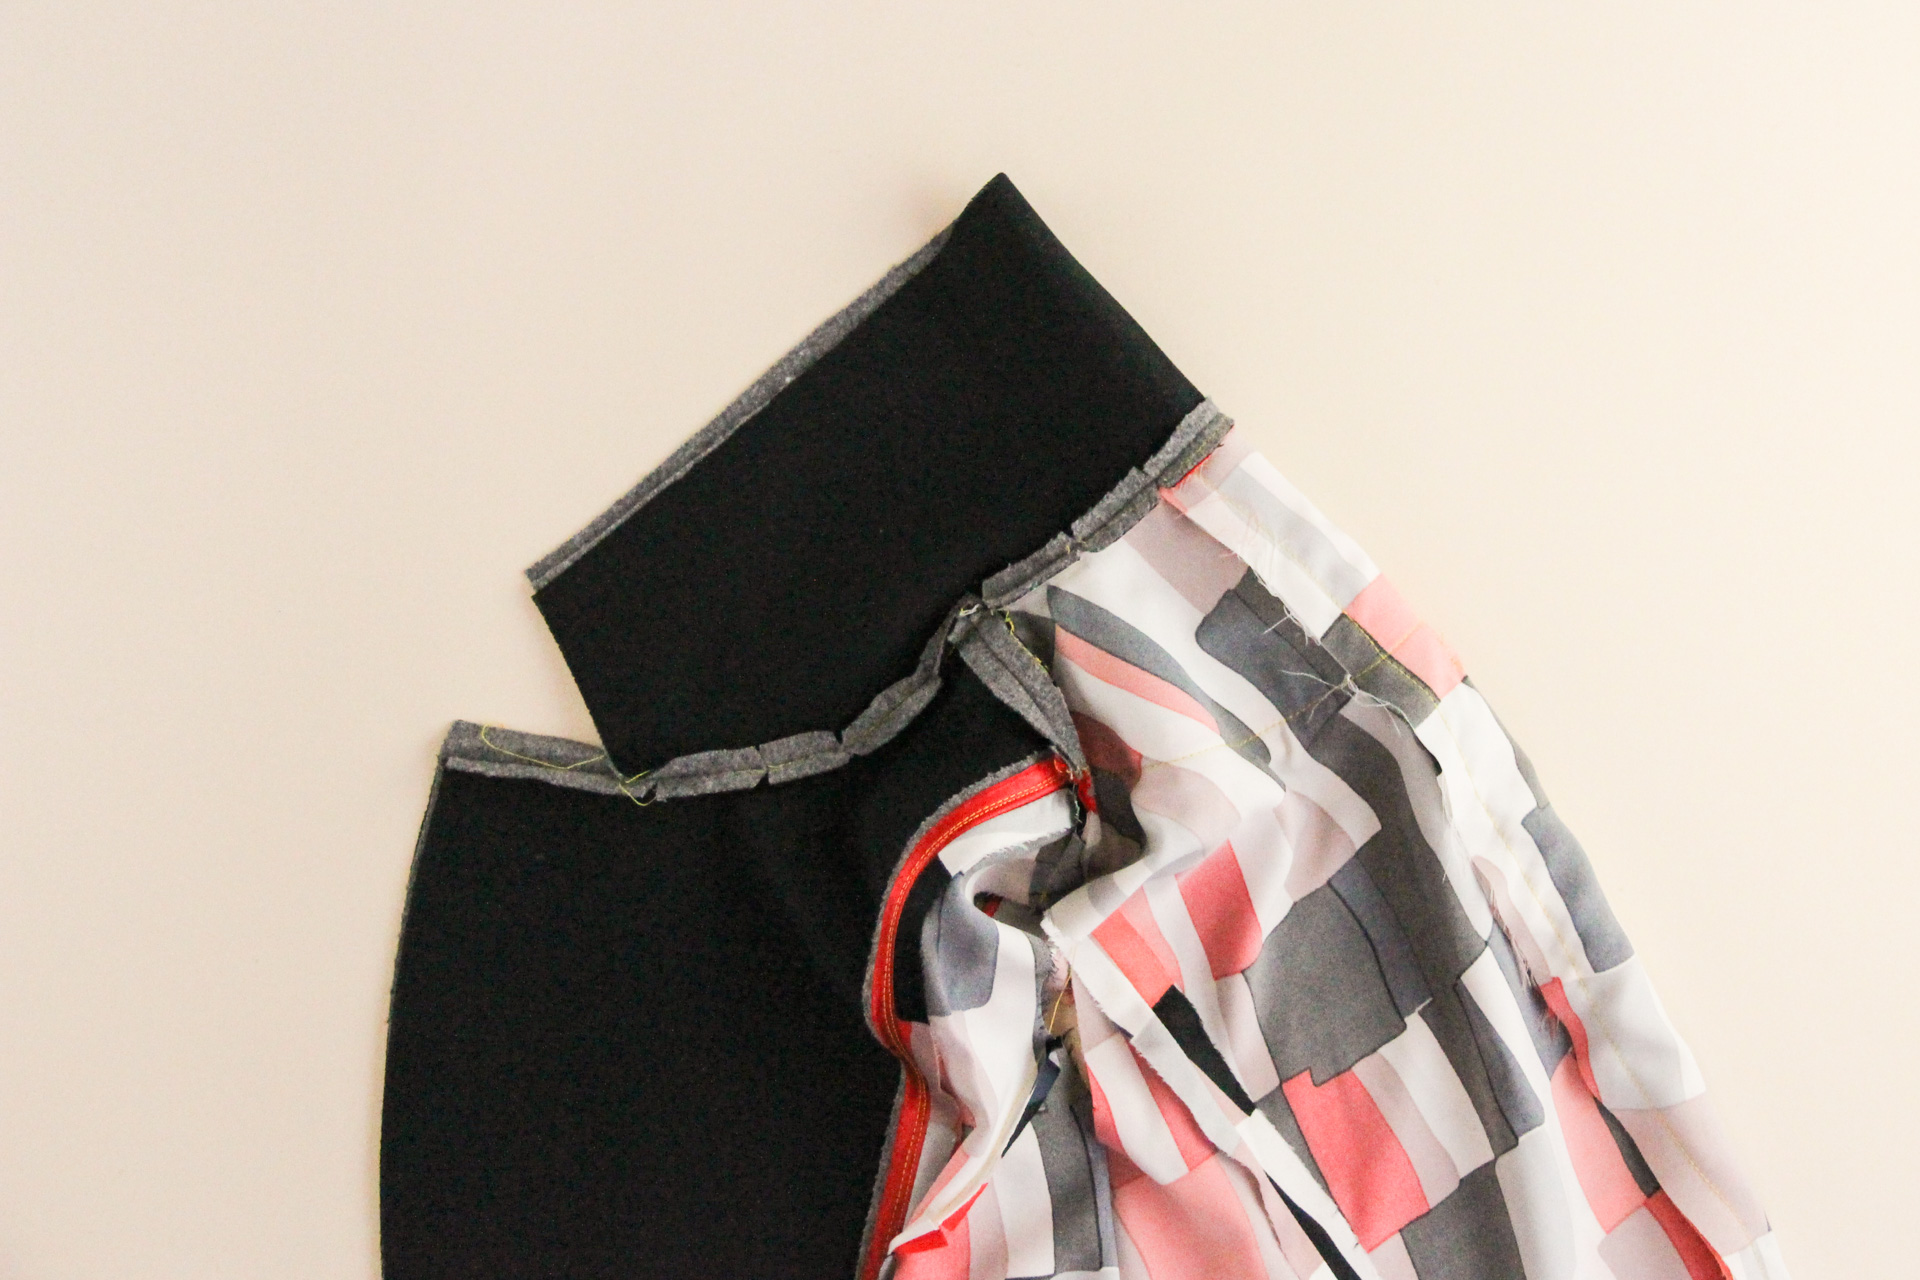
Attach Upper Collar
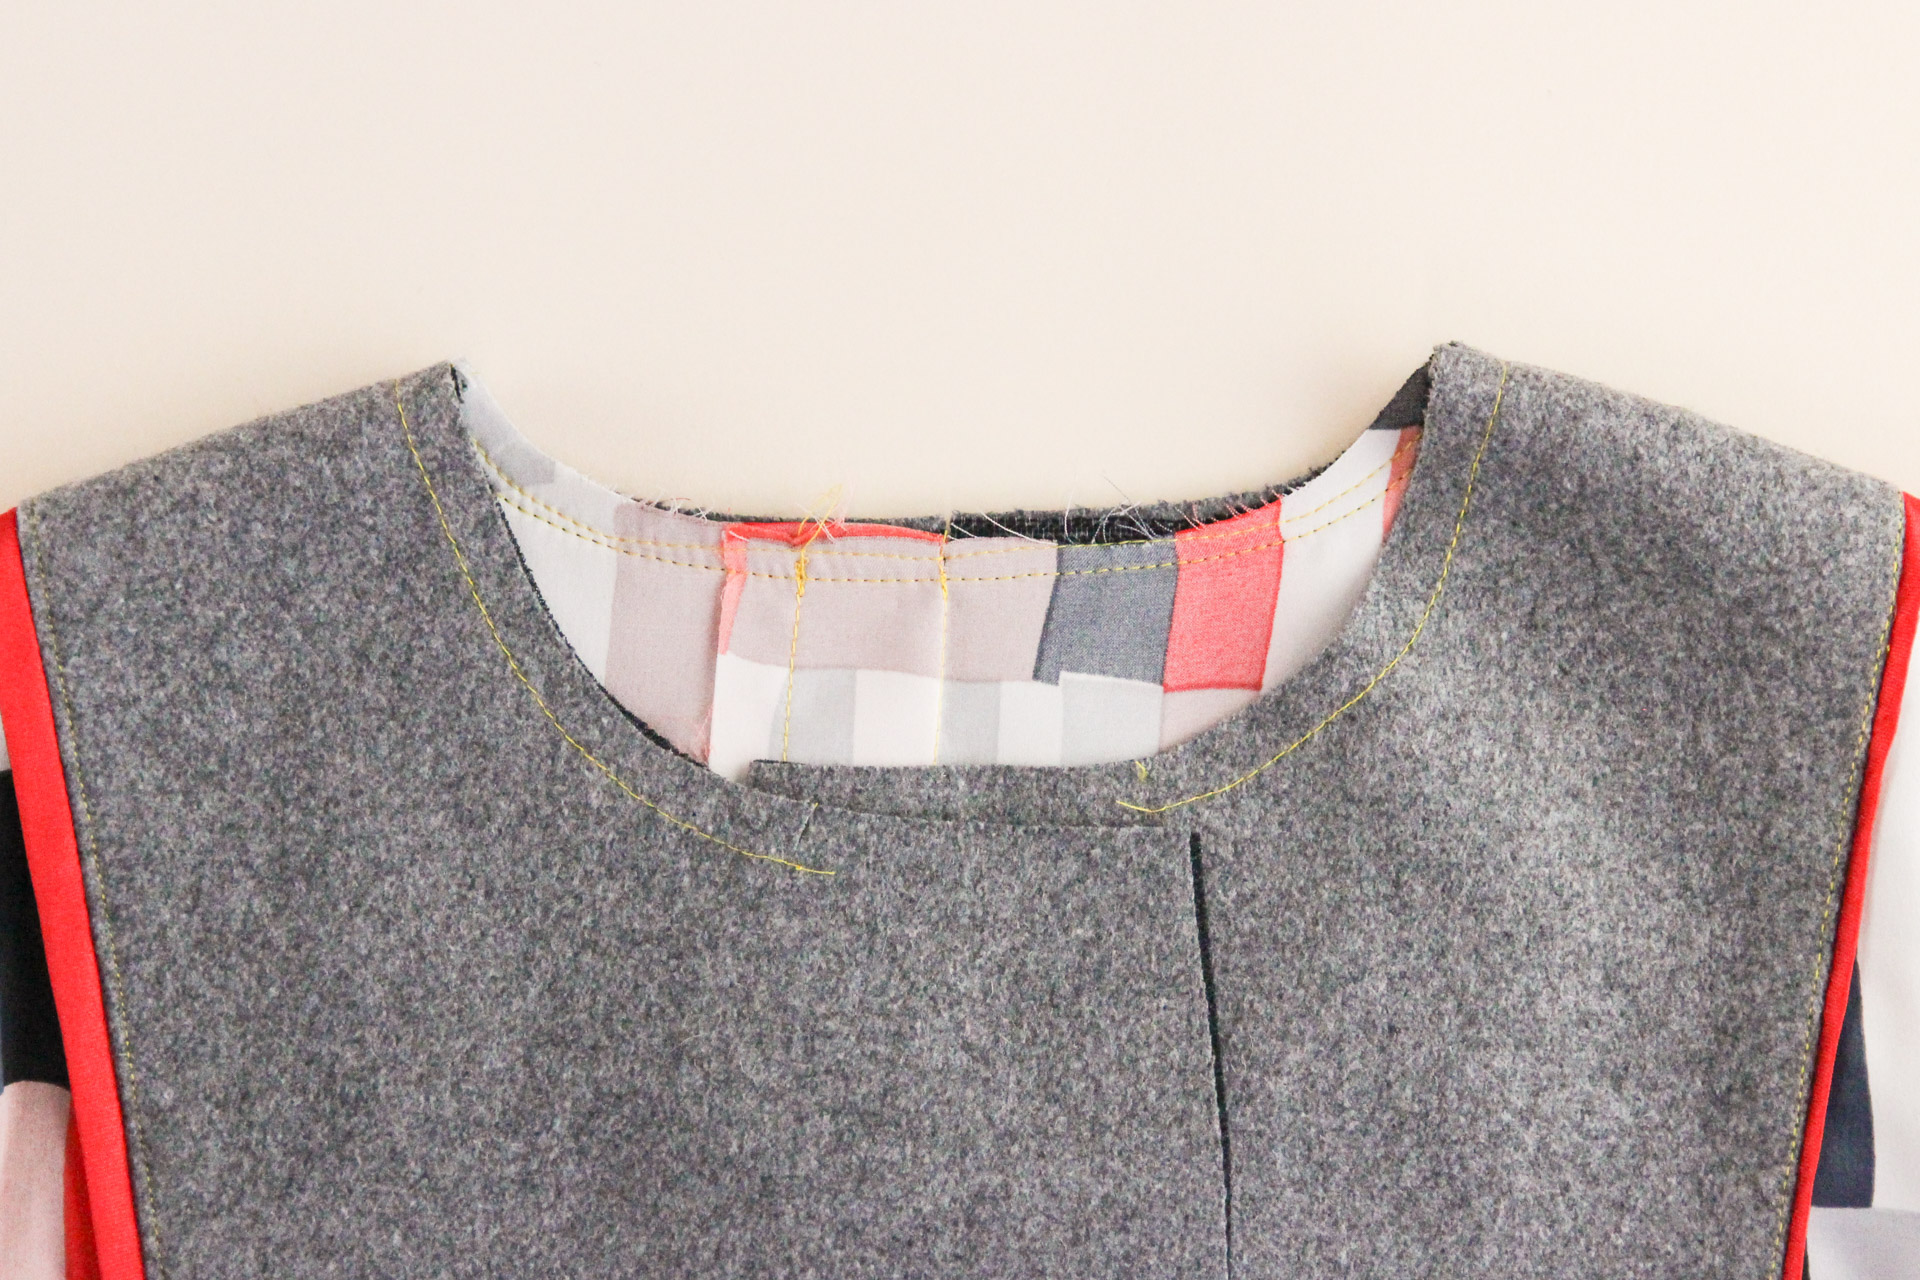
Next, take your upper collar piece and pin it to the neckline of the lining, right sides together. Make sure to match the notches with the center back seam and shoulder seams, and align circle markings.
It may help to clip into the neckline (going up to, but not through the staystitching line) as needed to match it up with the collar.
Sew that seam using a 3/8″ (1 cm) seam allowance, starting at one outer circle marking and finishing the other outer circle marking. This stitch line goes right over the staystitching line we did in the last step.
Check that the seam is pucker-free, then trim the seam allowance in half, pressing it open over a ham.
Time to add sleeves!
Assemble Sleeves
Start by pinning one inner sleeve to one outer sleeve at the two side seams.
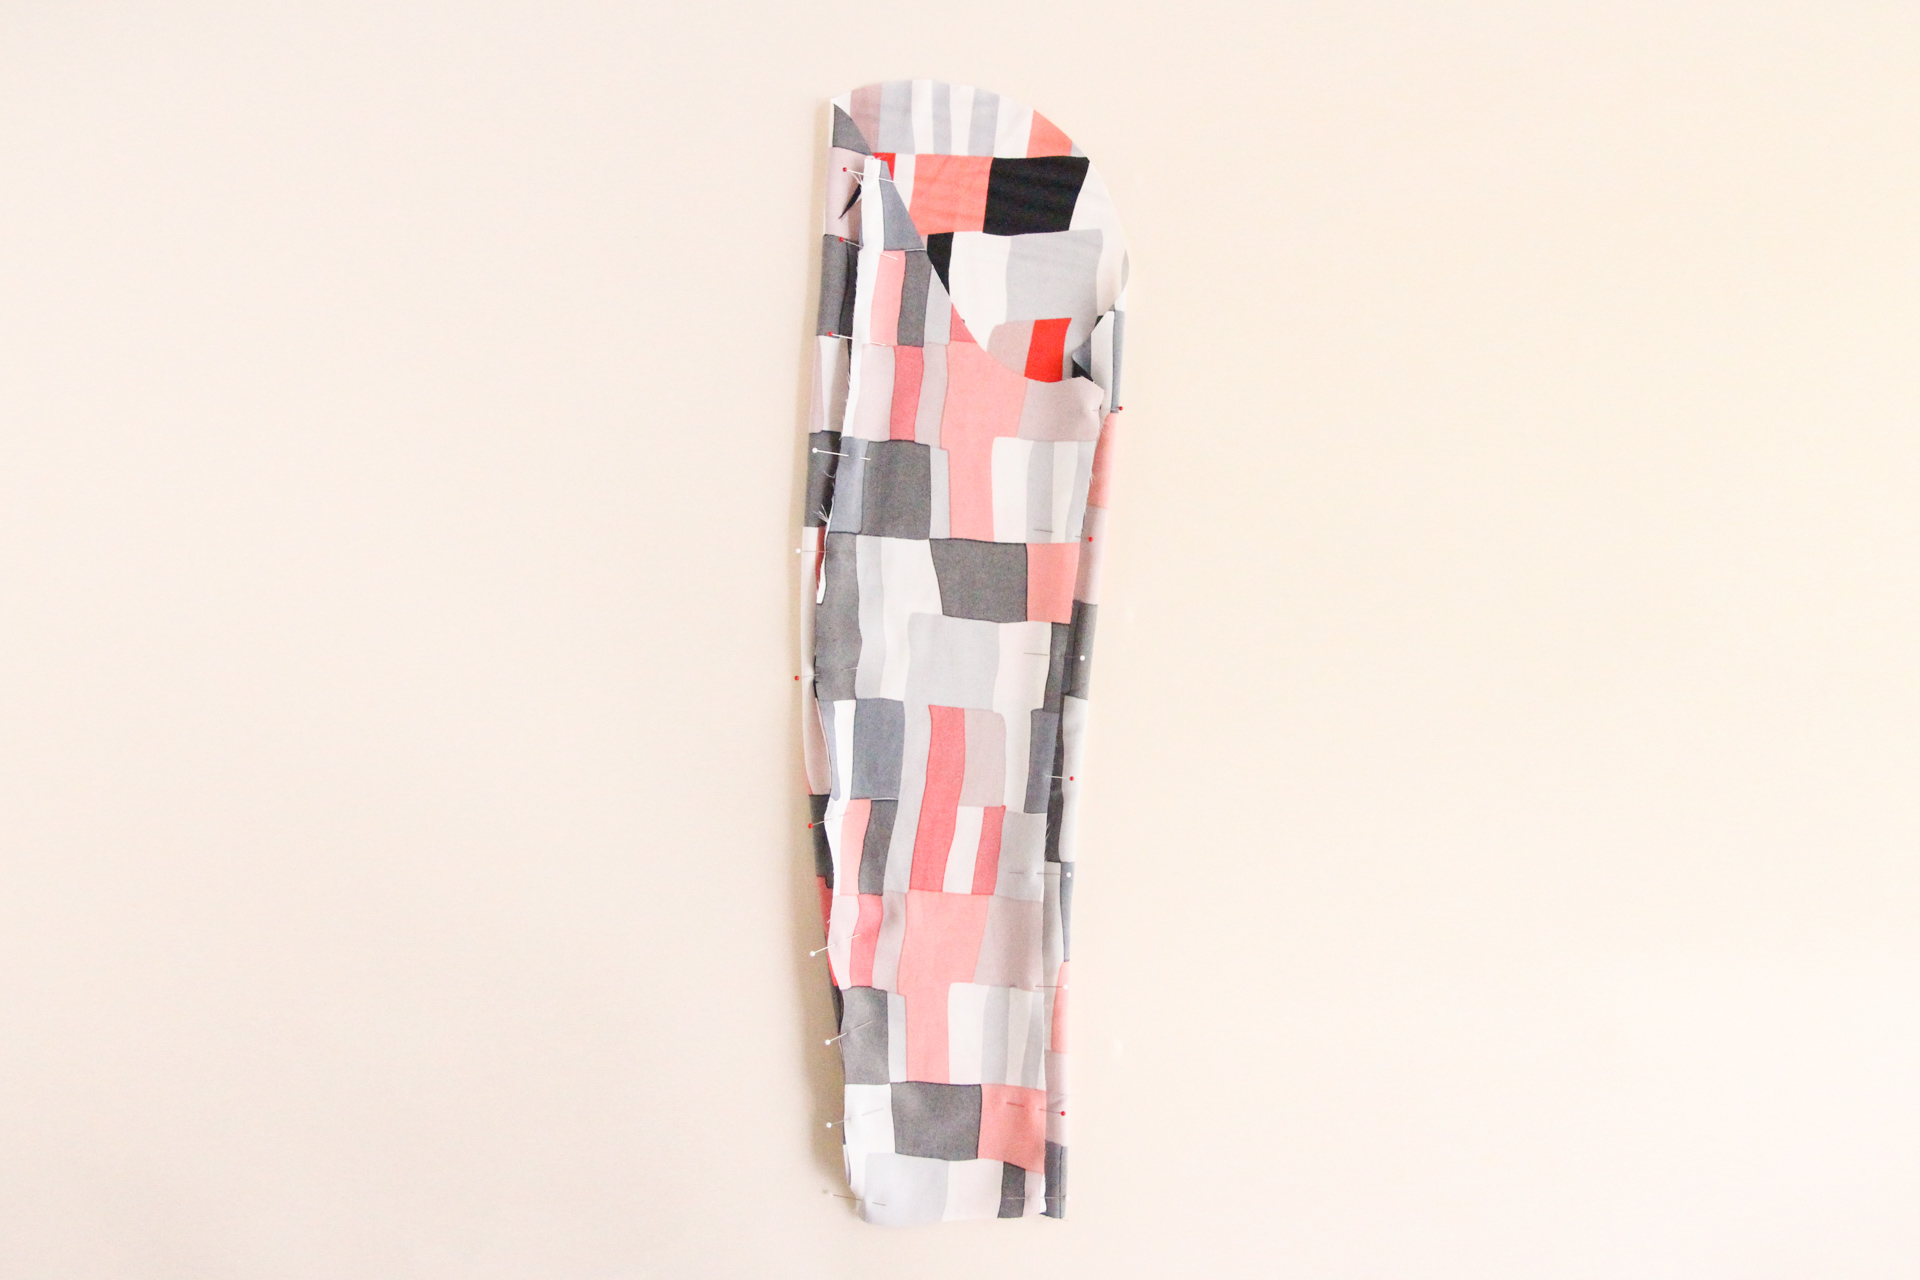
Sew both of those seams using our 1/2″ (12 mm) seam allowance.
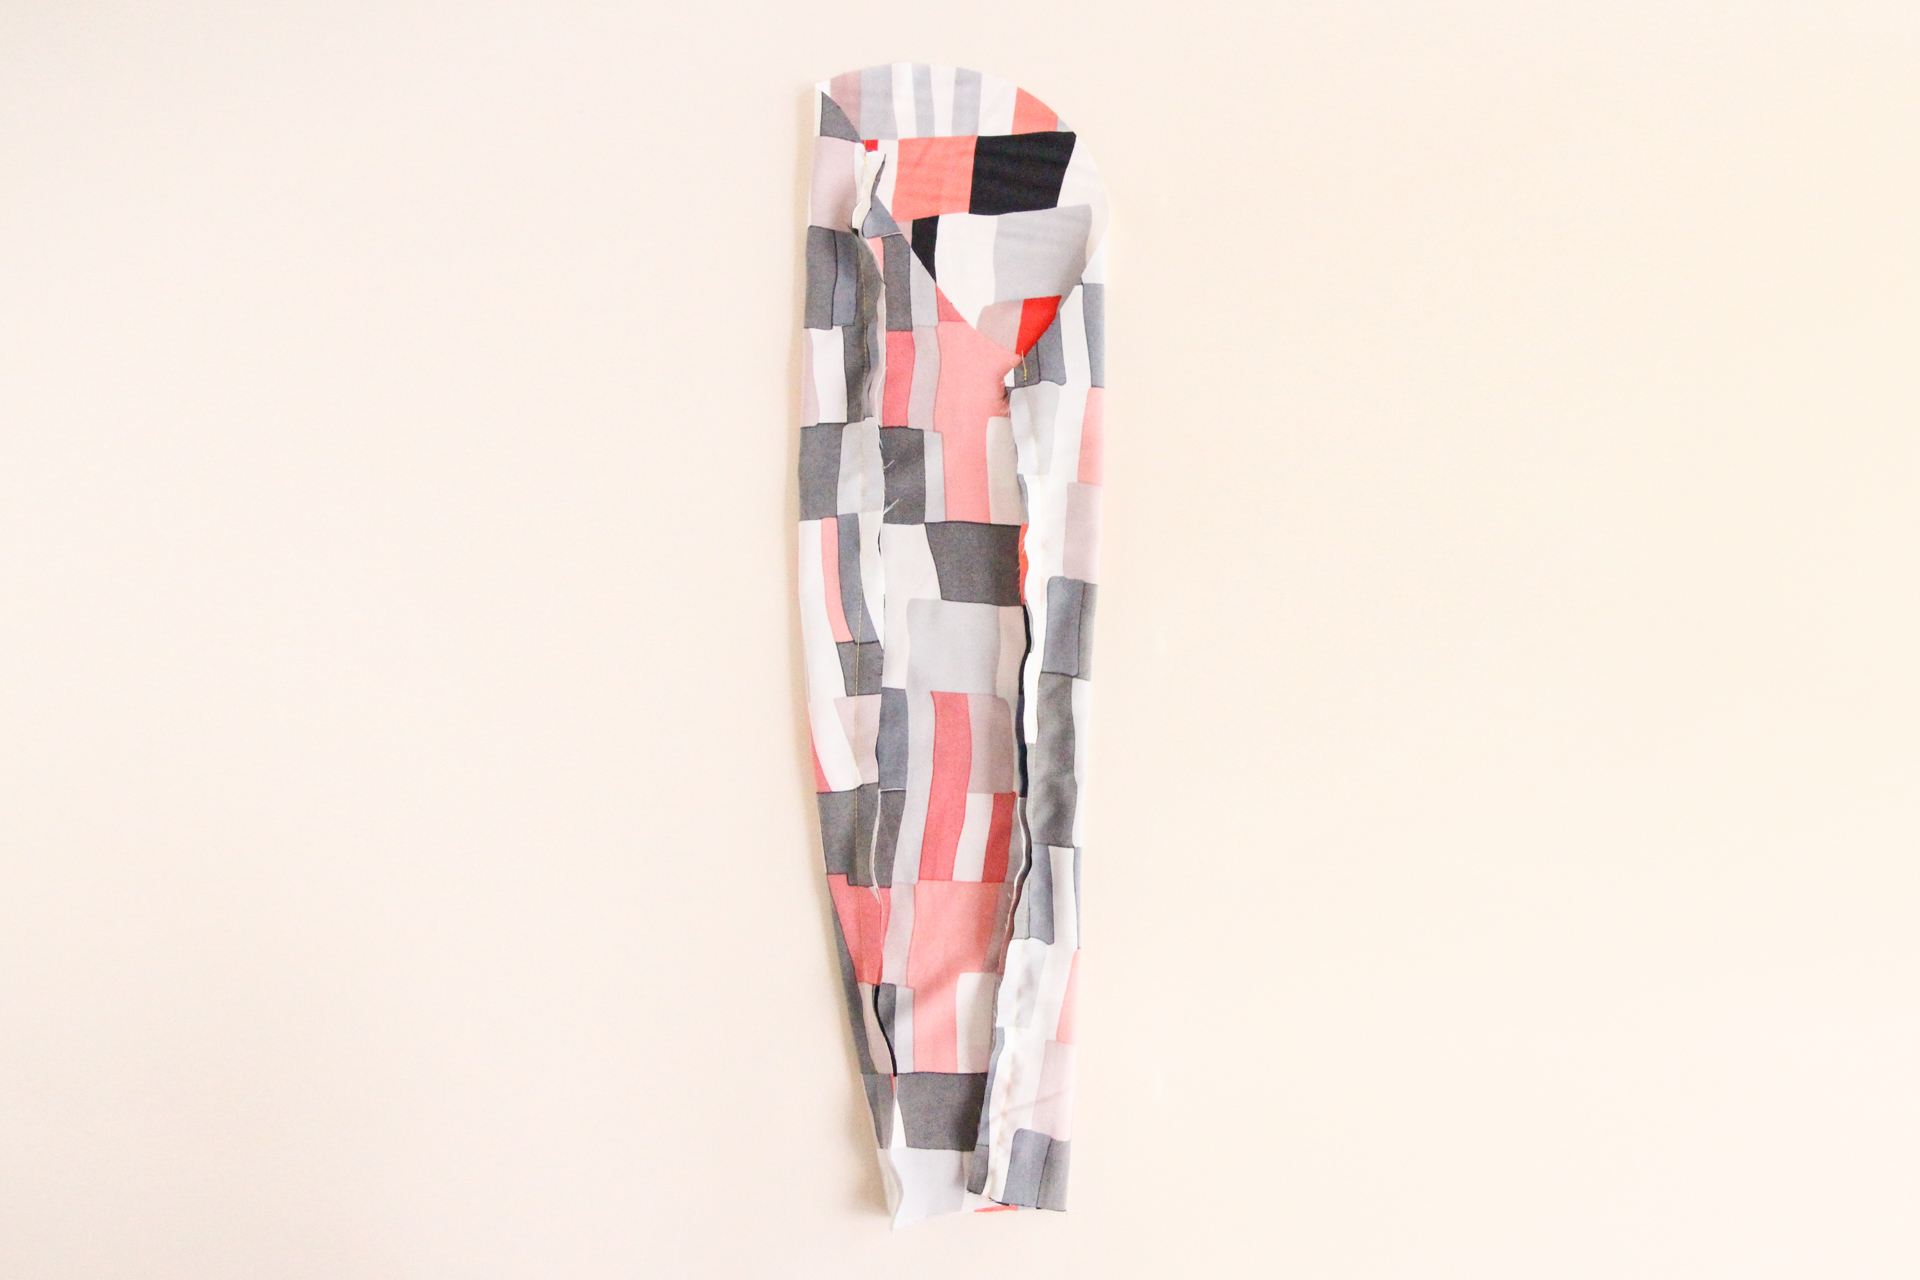
Trim the seam allowances in half, then press them both open over a sleeve board or rolled up towel. Then do the same thing with the second sleeve.
Insert Sleeves
To insert our sleeves, we’re going to follow the same steps we used to insert the sleeves in our outer blazer:
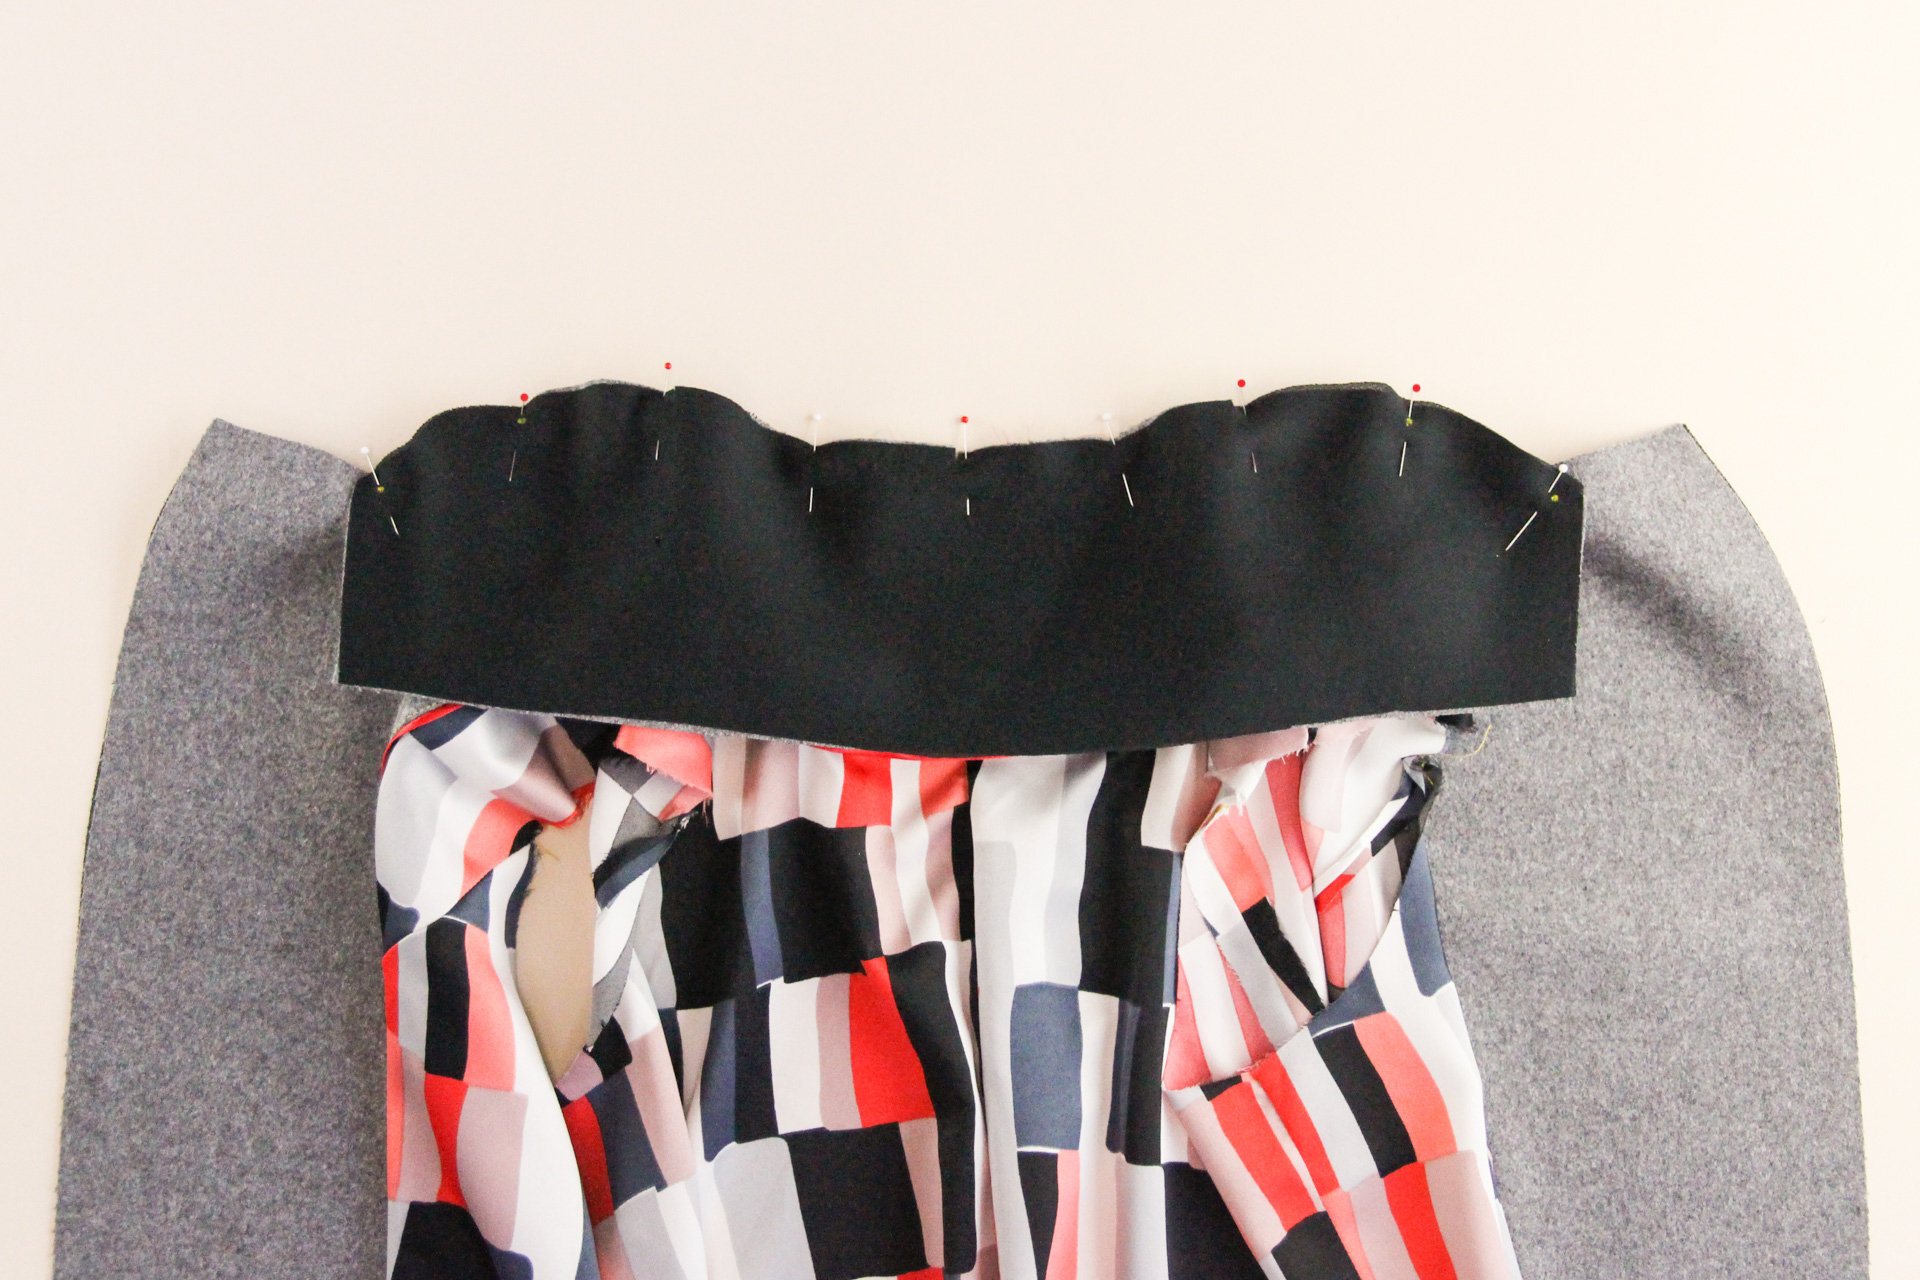
We’ll start by sewing two lines of basting stitches (4-5 mm in length) along the sleeve cap between the notches, within our 1/2″ (12 mm) seam allowance, then gently pull on the ends to gather the sleeve cap seam allowance.
Pin sleeve into armscye, right sides together, matching notches. Note that the sleeve cap notch matches the shoulder seam, and the underarm notch matches the side seam of the blazer. Sew that seam using a 1/2″ (12 mm) seam allowance, then repeat with the other sleeve.
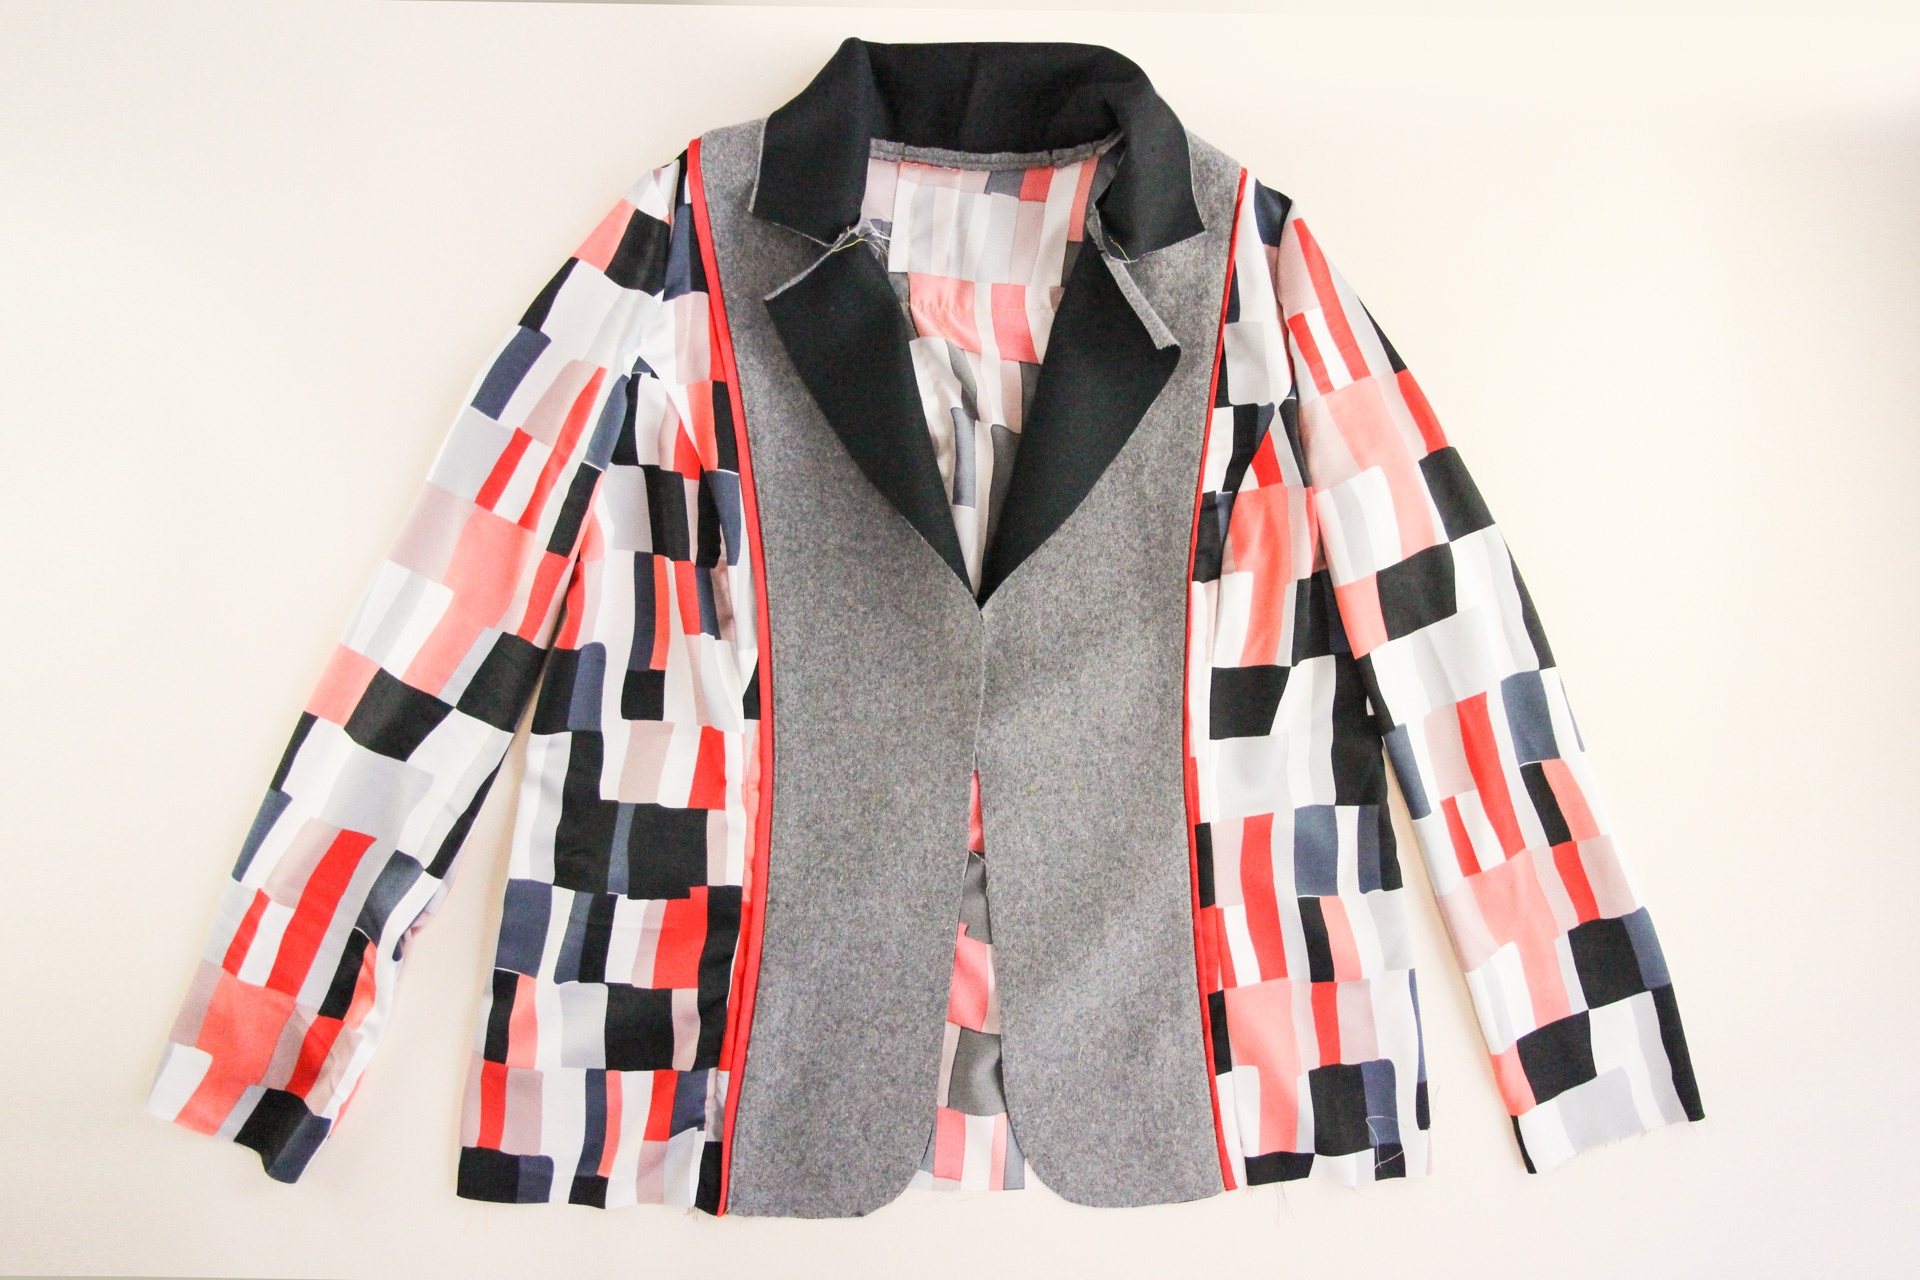
That is one fine looking blazer lining! This is where we’ll stop for today; next time, we’ll be attaching our lining to our outer blazer, and then we’re almost done!
We’d love to see your Auburn Blazer, whatever stage of the process you’re at! Tag your makes with #AuburnBlazer on social media so that we can cheer you to the finish line.