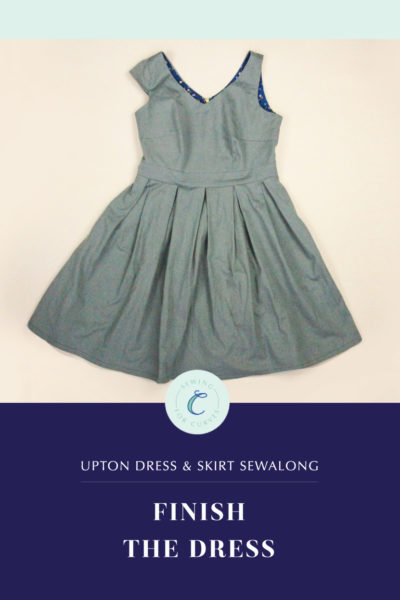
Welcome back to the Upton Dress & Skirt sewalong! Today, we’re showing you how to assemble the skirt for the Upton Dress or Upton Skirt.
(Just joining us? Make sure you head over to the main Upton sewalong page to catch up on everything you may have missed.)
Both the pleated and gored skirts that we’ll be showing today are available in the classic Upton Dress pattern as well as the Upton Mix & Match Expansion. The expansion also includes tea and maxi-length versions of both of these skirts, and the construction is the same for all lengths. Today, I’m demonstrating with the knee length option because it’s much easier to fit in the camera view.
To make it easier for you to see what I’m doing, I’m using contrast thread, but you can use coordinating thread if you would like.
Okay, let’s get going! (If you’re making the gored skirt, jump ahead to the next section.)
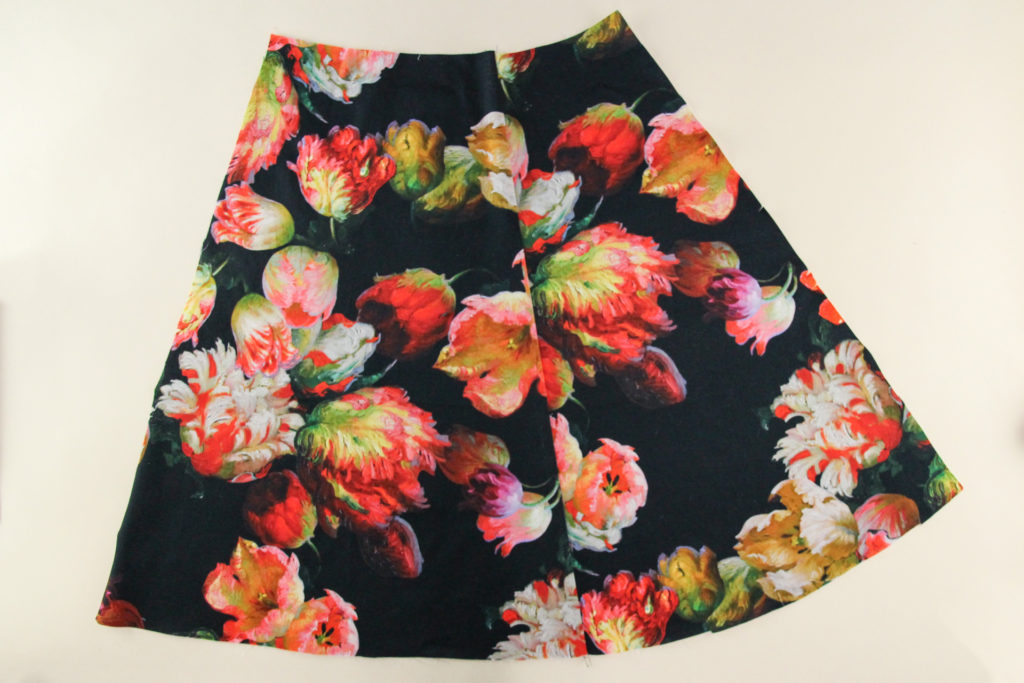
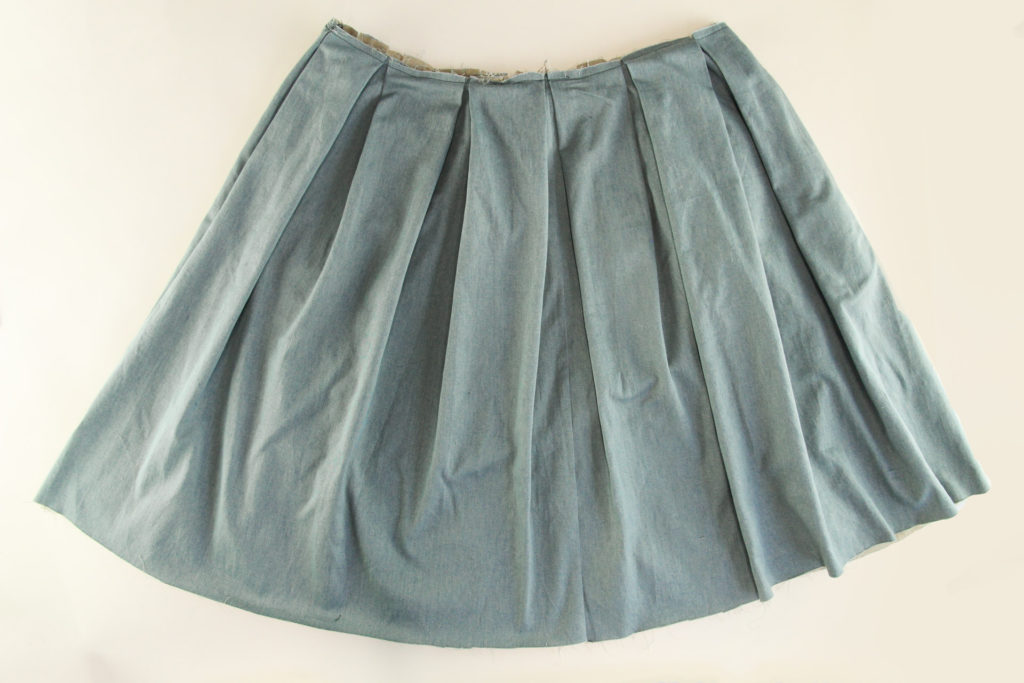
Assemble the Pleated Skirt
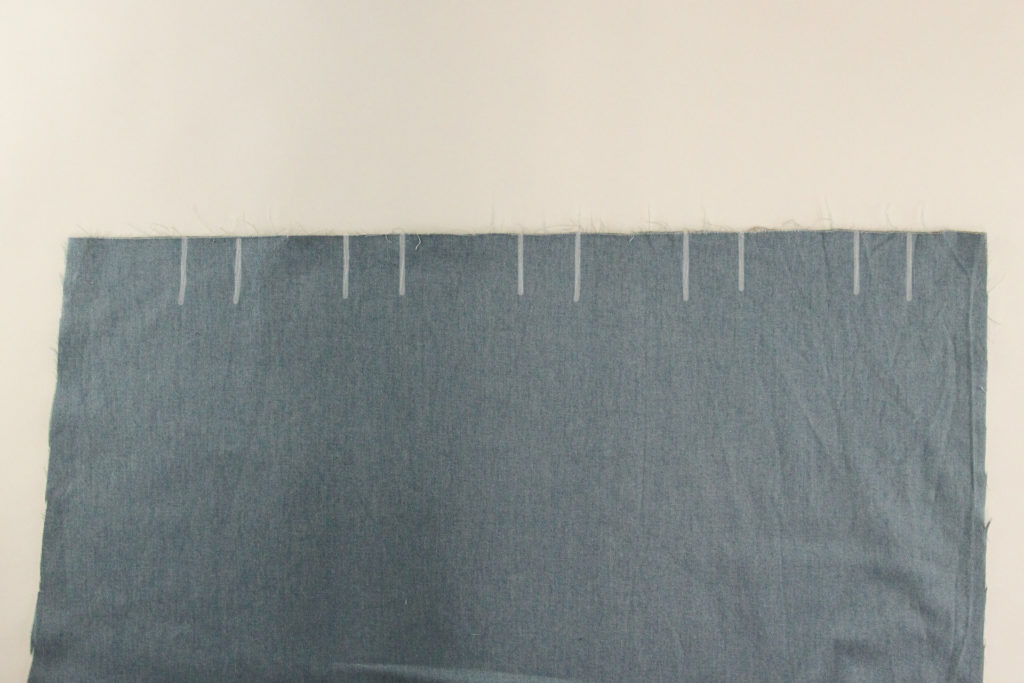
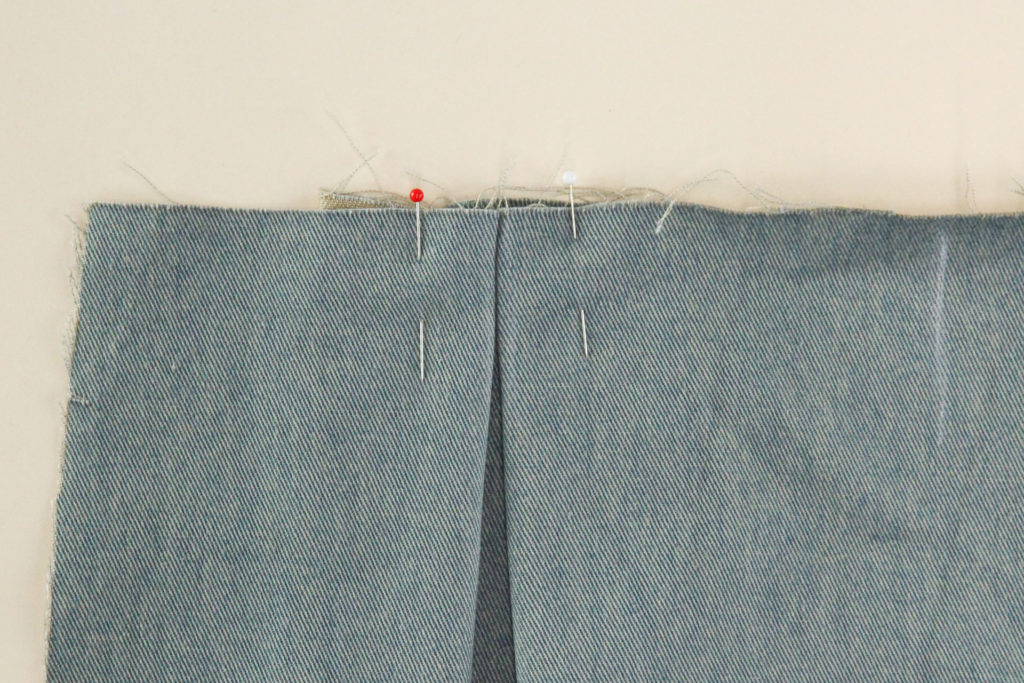
Start the pleated skirt by marking the pleats on the right side of both front and back pieces. I like to use tailor’s chalk for this so that the marks disappear once I’m done sewing.
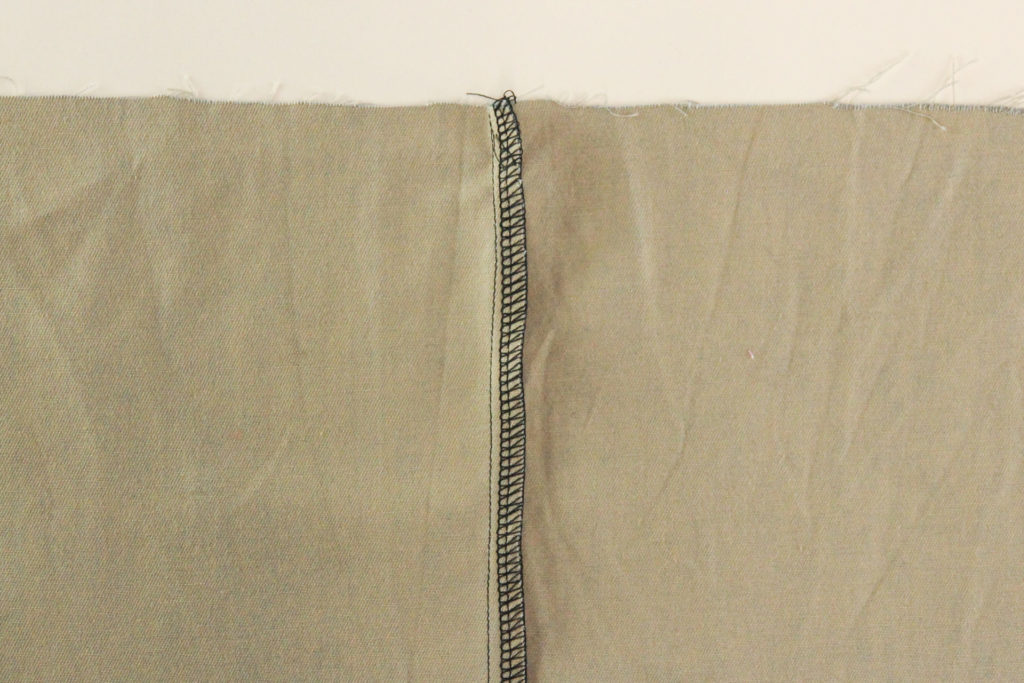
Next, place both front pieces together, right sides together, and align at the center seam. Pin that seam.
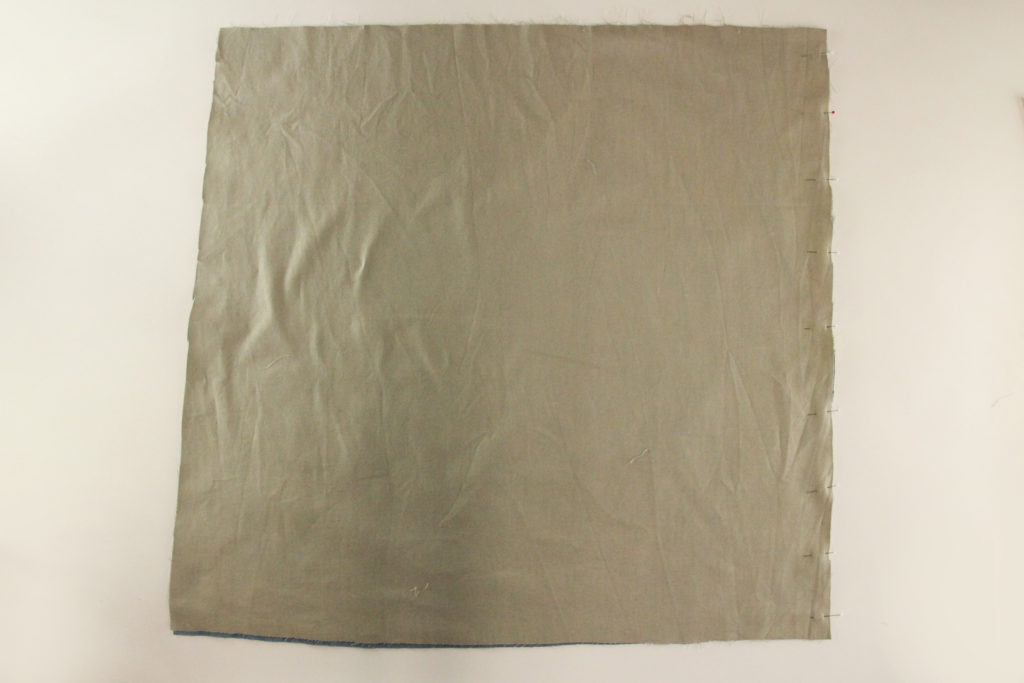
Now we’re going to sew that seam using our 1/2″ (12 mm) seam allowance.
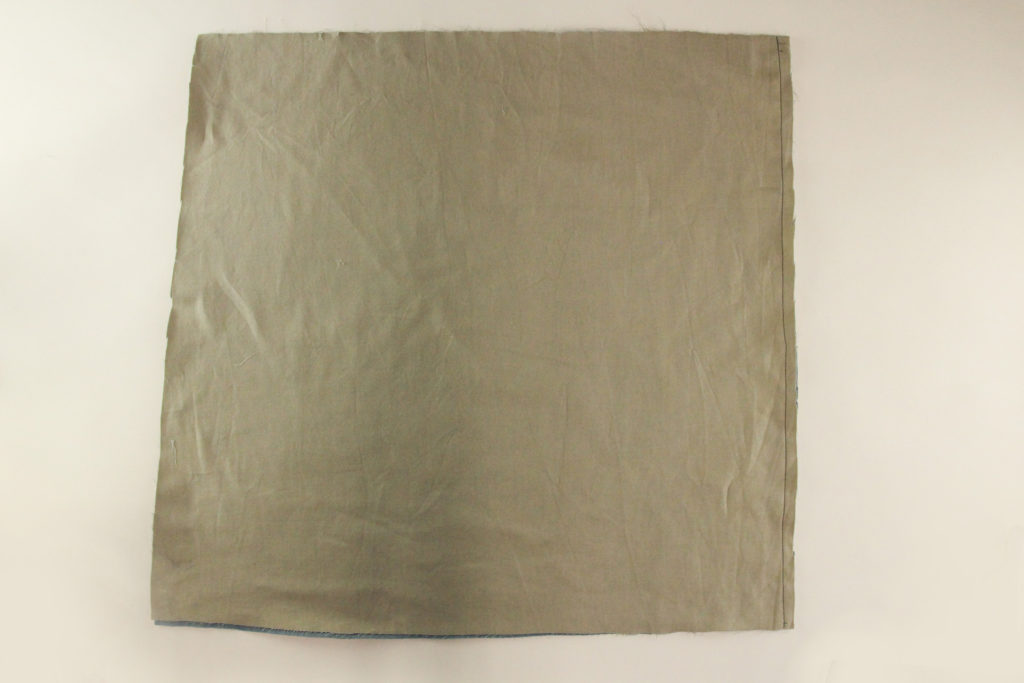
Let’s finish the seam (I’m using a serger for this, but you can use whatever finishing method you prefer) and press to one side.
Great, now let’s move on to the pleats.
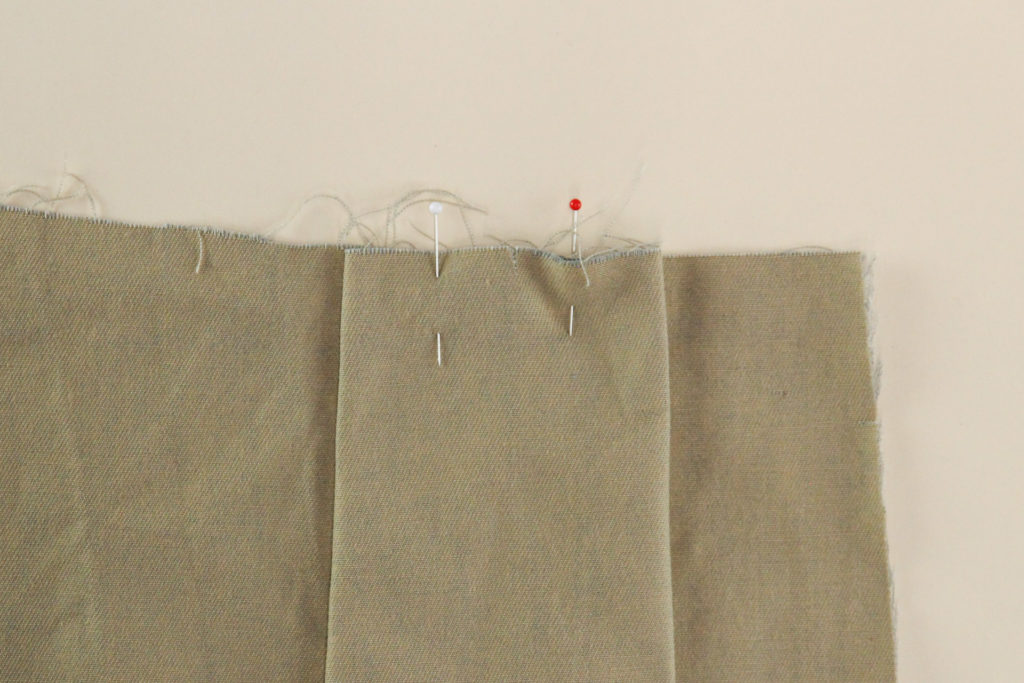
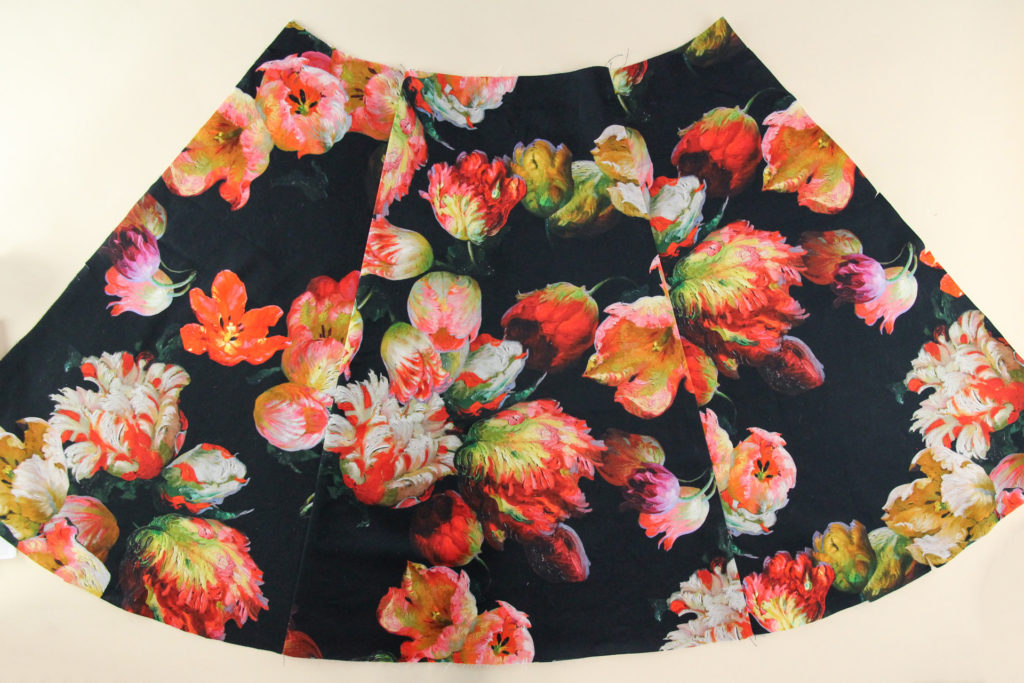
Following the directions of the arrows, fold and pin each pleat in place. Here’s how it will look from the right side.
And from the wrong side:
Here’s a view from above:
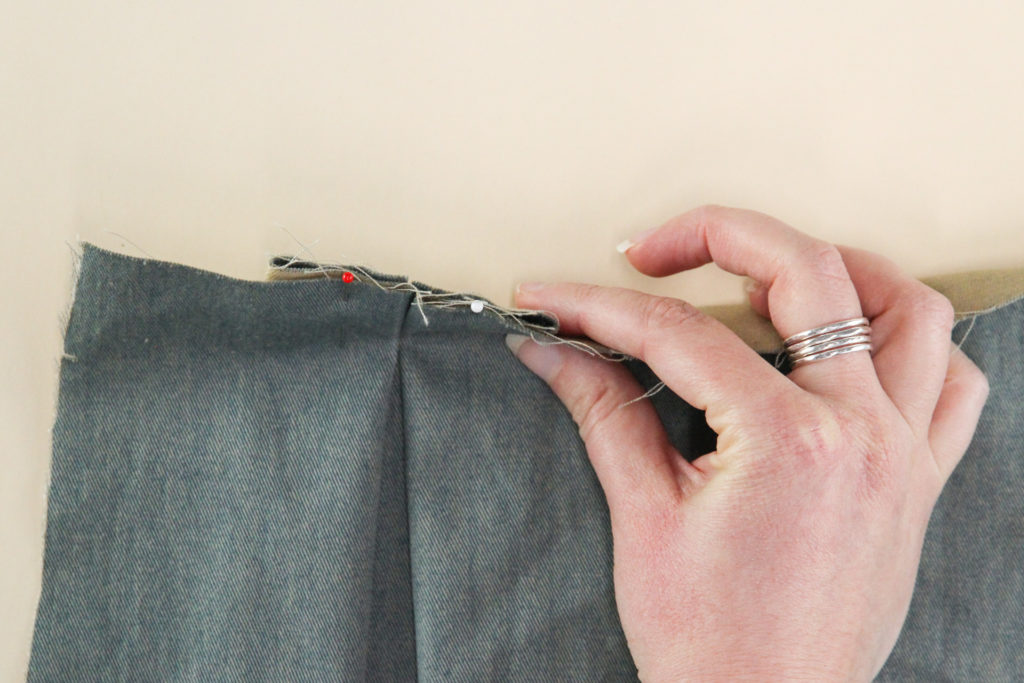
Now we can pin all of our pleats into place.
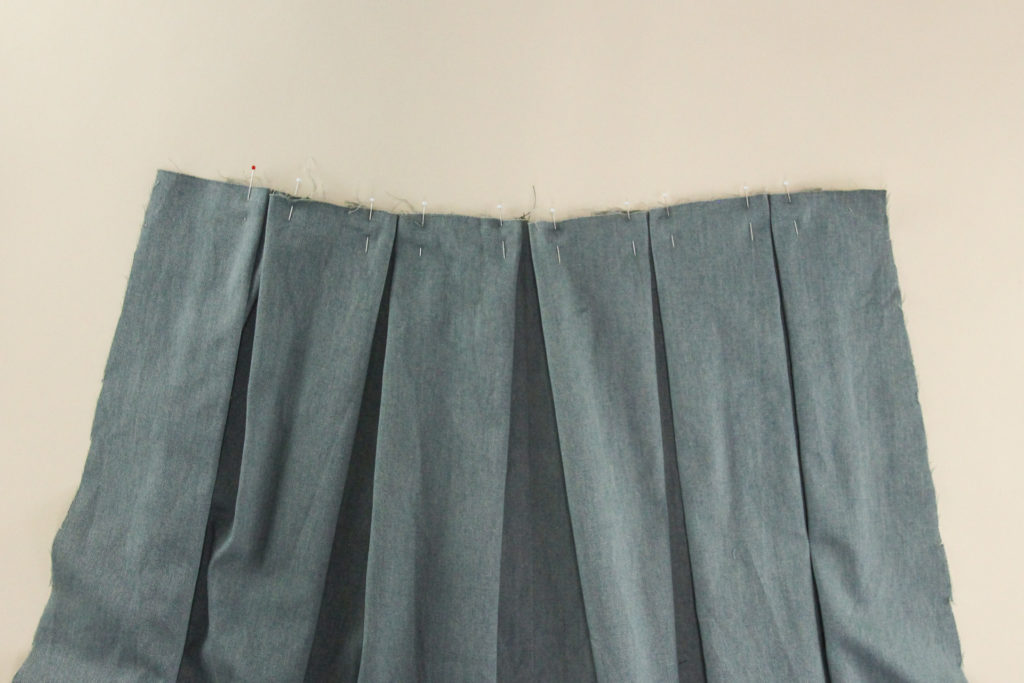
And let’s go ahead and baste across the top of the pleats to secure them down.
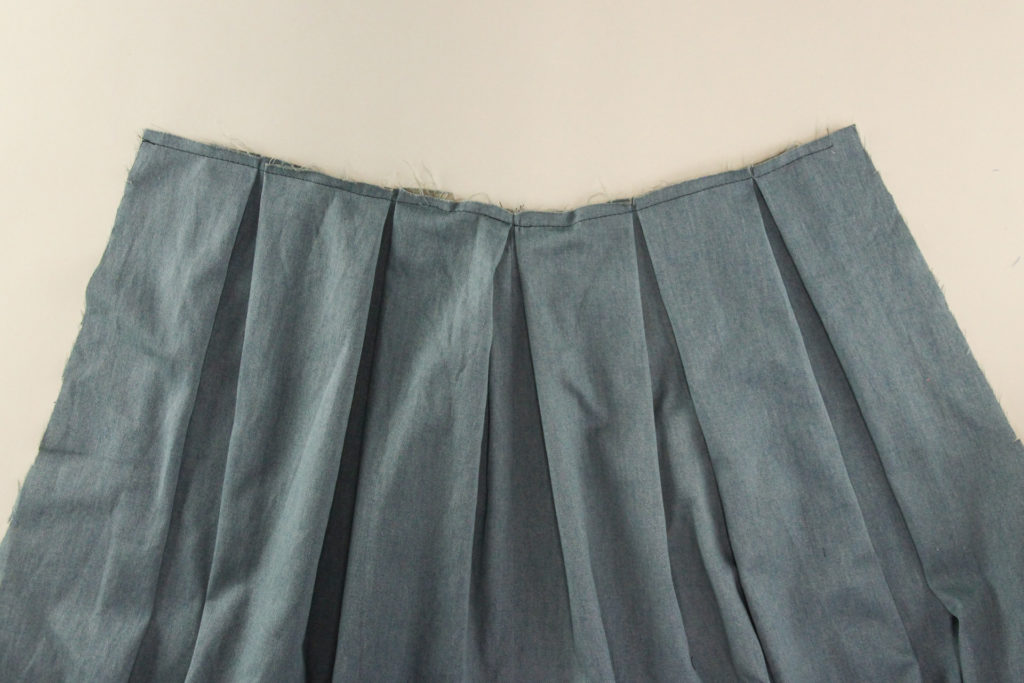
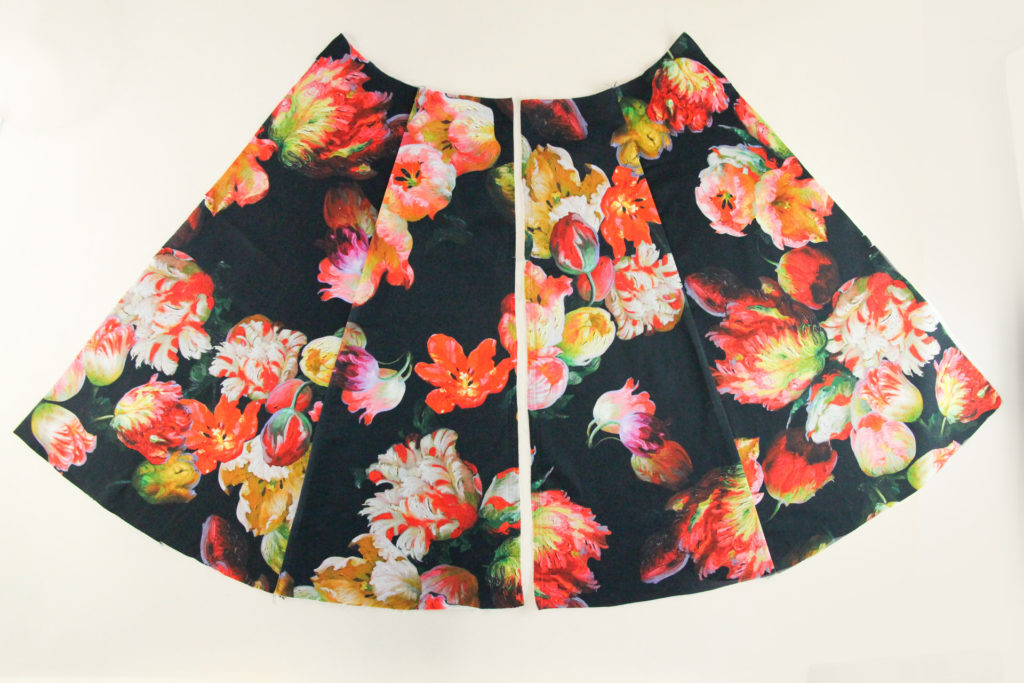
And repeat with the back skirt pieces, keeping them separate (don’t sew the center back seam just yet).
Assemble the Gored Skirt
If you’re making a gored skirt instead, here’s how to construct that:
Start by pinning one front side piece to the center front piece, aligning the proper notches.
Sew that seam using a 1/2″ (12 mm) seam allowance.
And let’s finish the seam as well.

Press the seam allowance towards the center.
And repeat with the other side.
Sweet! Now we can assemble our back pieces the same way, but leave the center back seam unsewn for now.
Finally, we’re going to staystitch across the top of the skirt pieces. This stitch is a very short stitch that keeps this area from stretching out as we handle it. Since it’s a curved edge, it’s very likely to get stretched out if we don’t staystitch, so don’t skip this step!

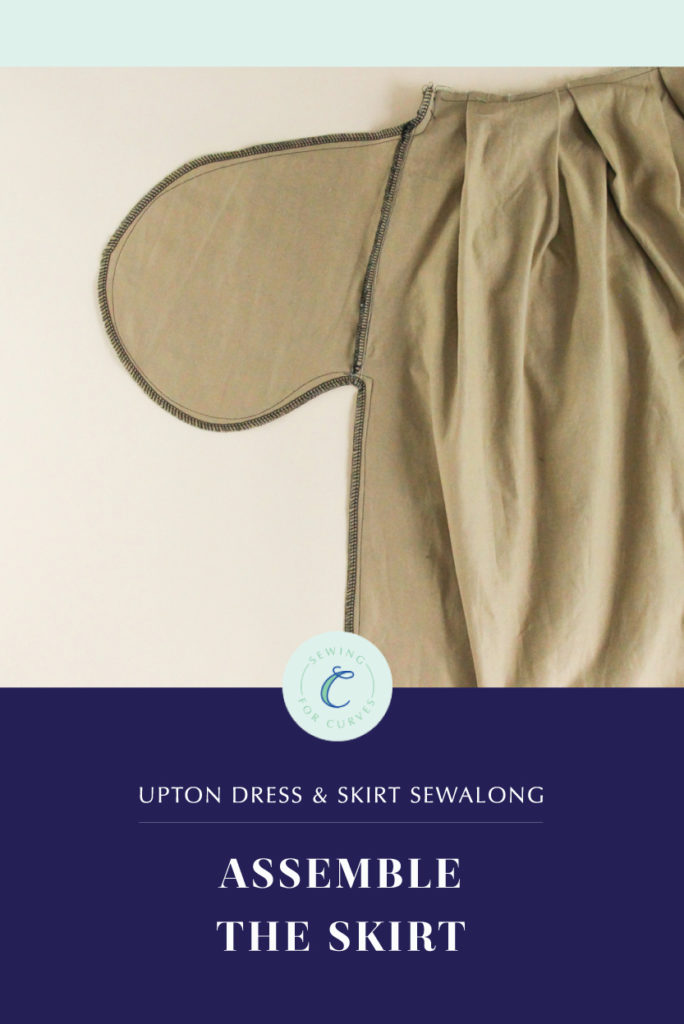
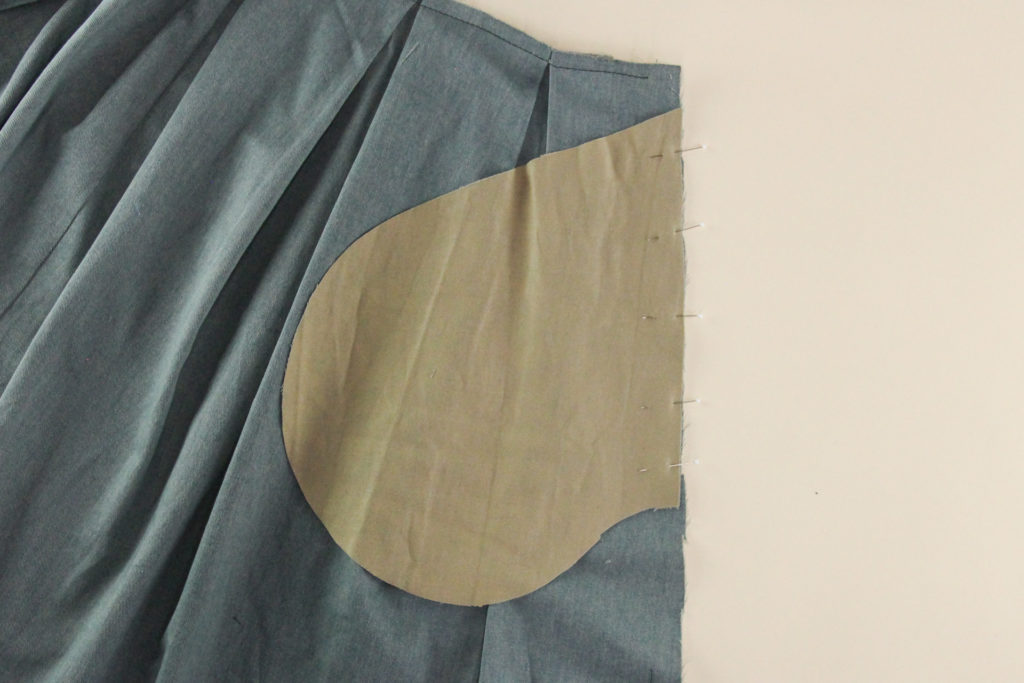
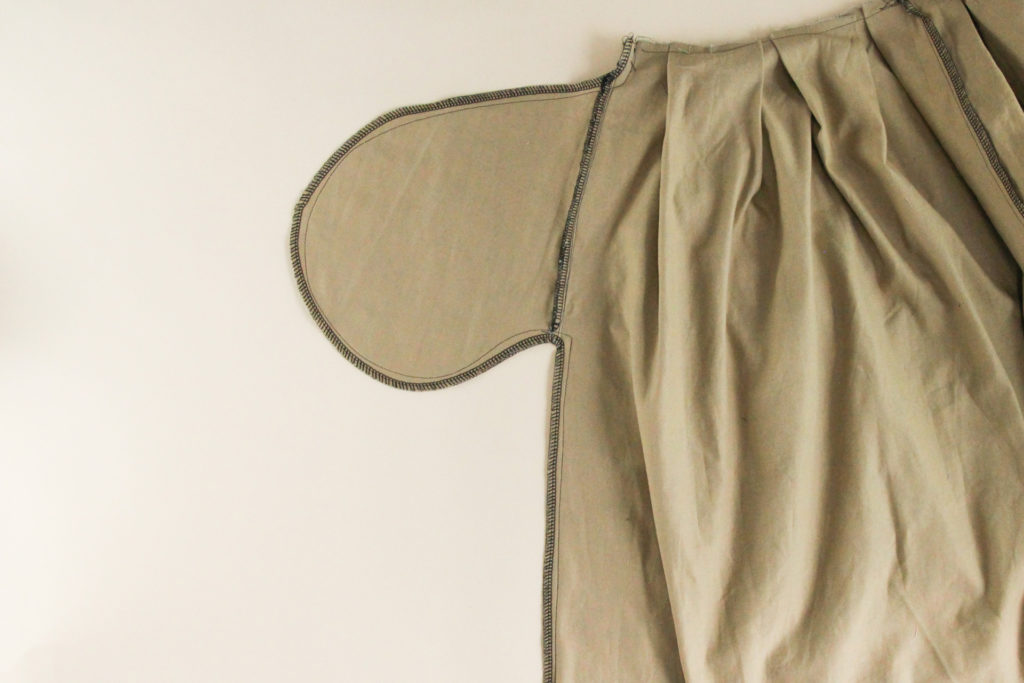
Attach the Pockets
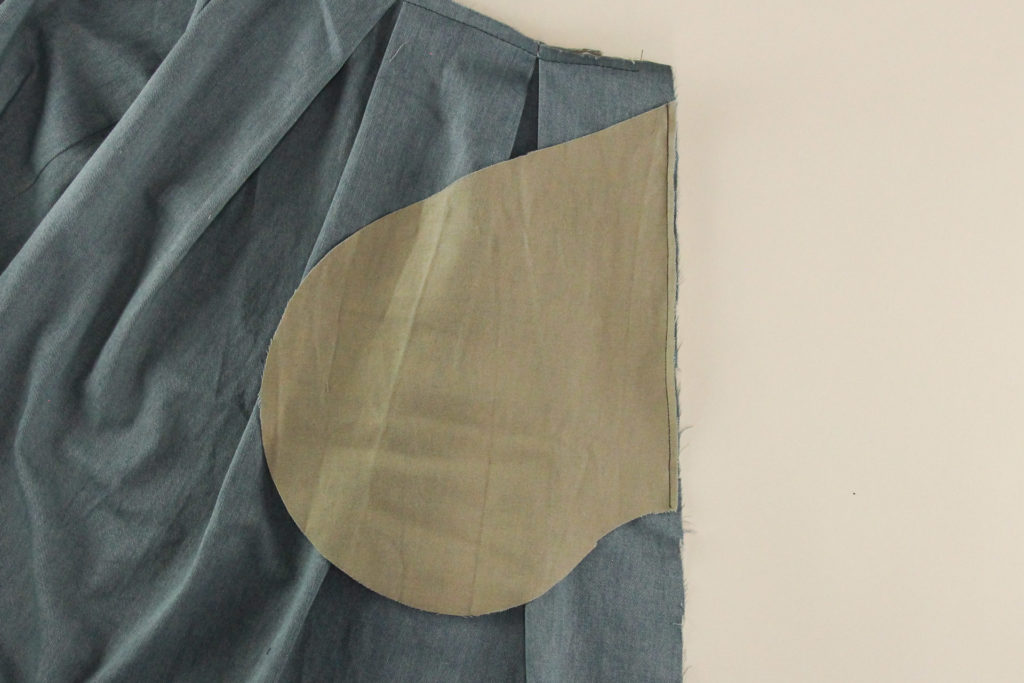
Time for pockets! I’ll be showing this bit on the pleated skirt, but the construction is the same for the gored skirt as well.
Start by pinning the pocket to side seam, right sides together and notches aligned.
Sew the seam using a 1/4″ (6 mm) seam allowance.
Now we can finish just that bit of the seam, and press it towards the pocket

Finally, we’re going to understitch the seam allowance to the pocket at 1/8″ (3 mm) from the seam, on the pocket side.
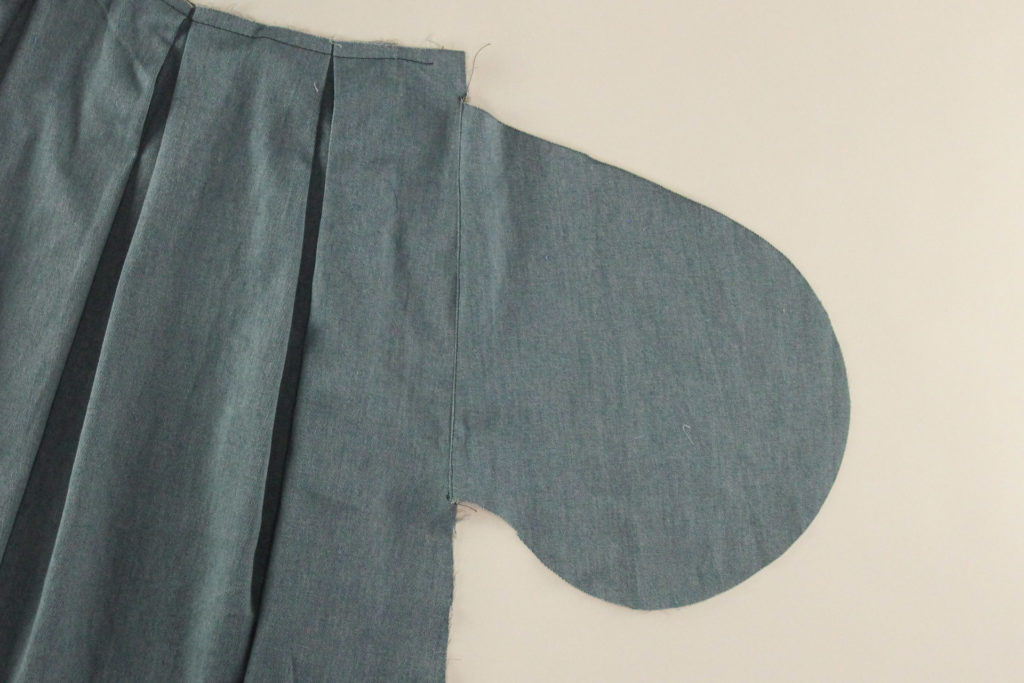
That’s one pocket piece done, and you can repeat with the three remaining pocket pieces.
Sew the Side Seams
The last step of this section is to sew the side seams. Line up one skirt back with the skirt front and pin all along the side seam and around the pocket.
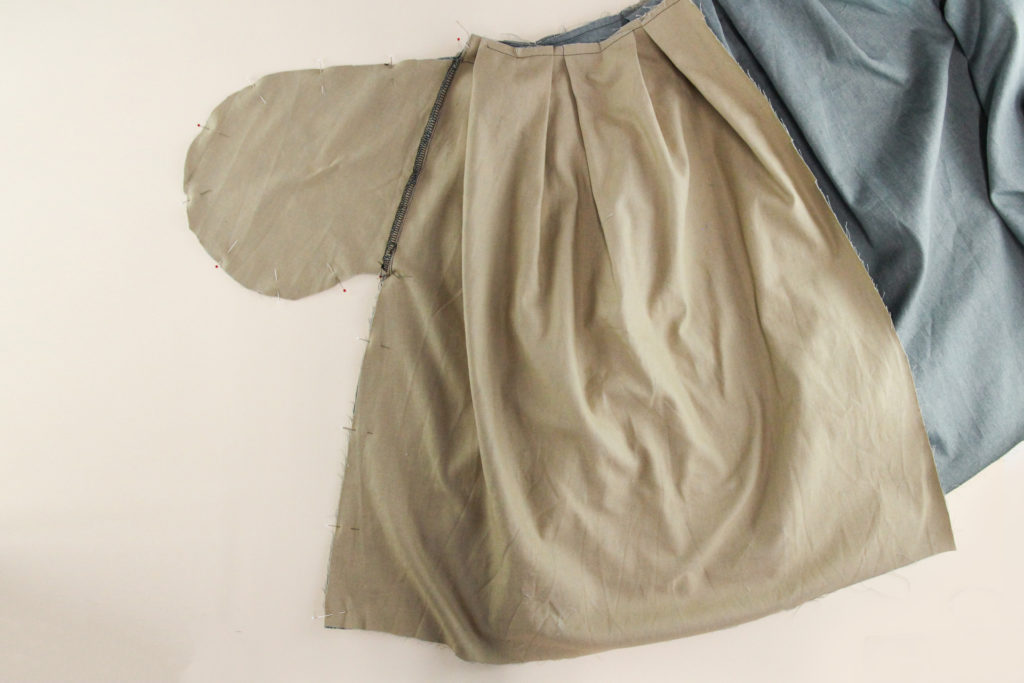
Sew that seam using our 1/2″ (12 mm) seam allowance.
And let’s finish that entire seam.
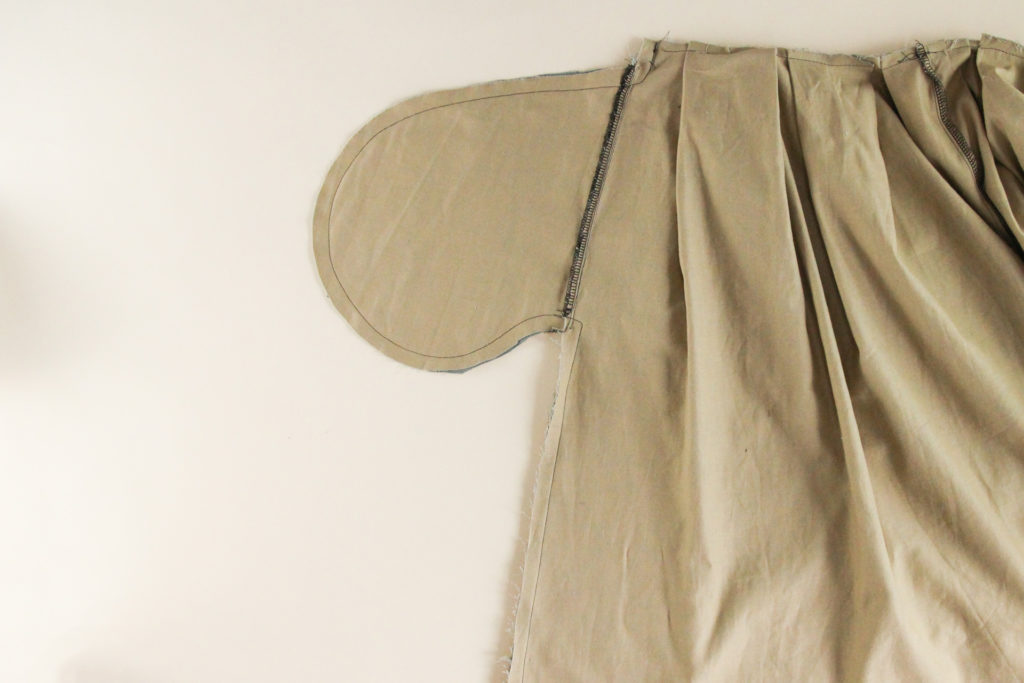
Repeat with the other side seam, and press both seam allowances towards the back of the skirt.
Hurray! We’re moving right along now that our skirts are assembled.
Jump to:
I’m in the first stages of preparing my fabric and cutting the pattern but I had bought fabric for a liner but it doesn’t look like there is one here on the skirt. I think my outer fabric will be fine without a lining but more want to be sure I’m doing it correctly. I’m only making the pleated skirt.
Thank you!!