Welcome back to the Upton Dress & Skirt sewalong! Today, we’re showing you how to finish the Upton Dress so that you can be ready to party the night away.
(Just joining us? Make sure you head over to the main Upton sewalong page to catch up on everything you may have missed.)
We’re so close to the finish line! Today, we’ll be showing you how to finish the Upton Dress. Whether you’re using the classic Upton or any of the Upton Dress combos from the Mix & Match Expansion Pack, the technique is the same. I’ll be demonstrating these steps on a darted bodice Upton with a pleated skirt.
Okay, let’s get to finishing this Upton!
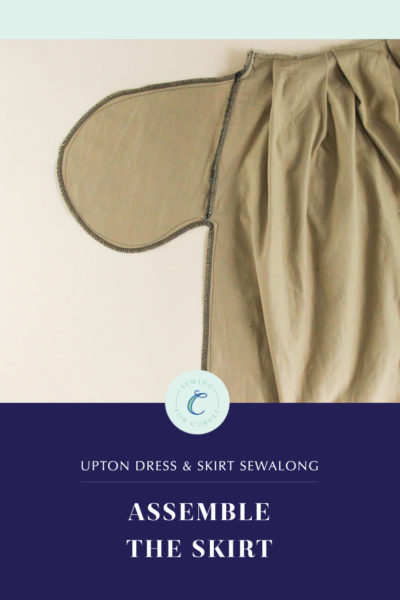
Sew Bodice to Skirt
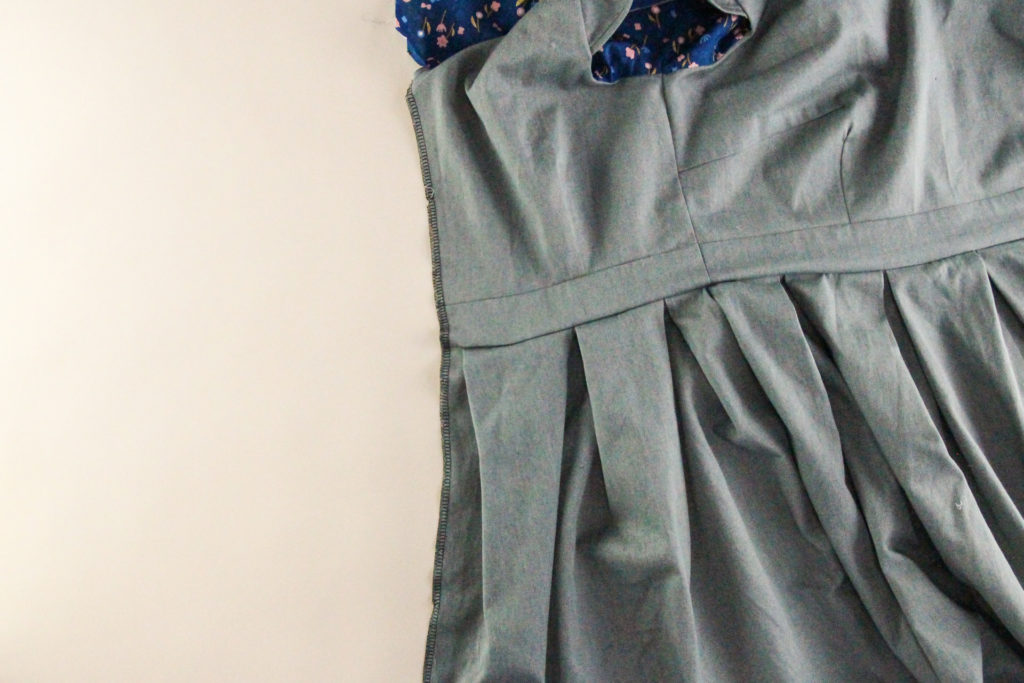
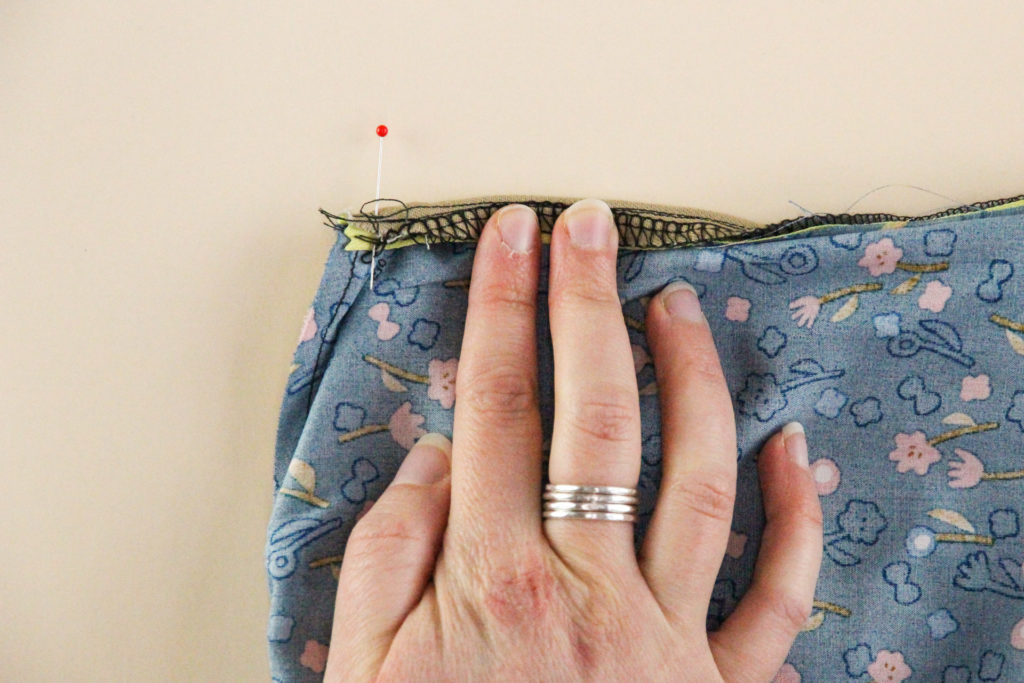
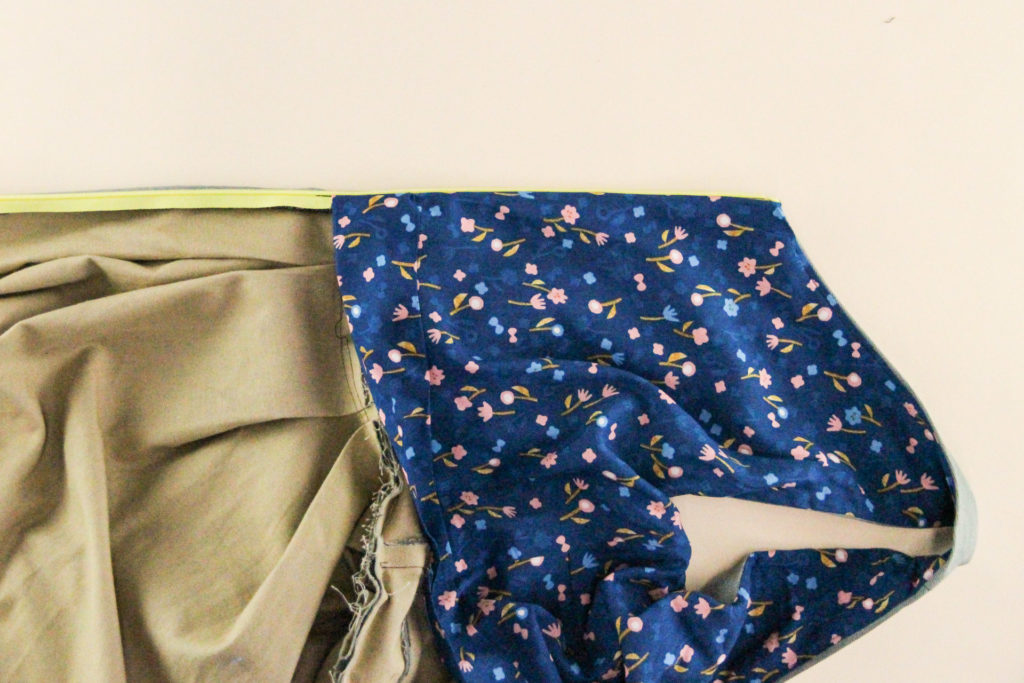
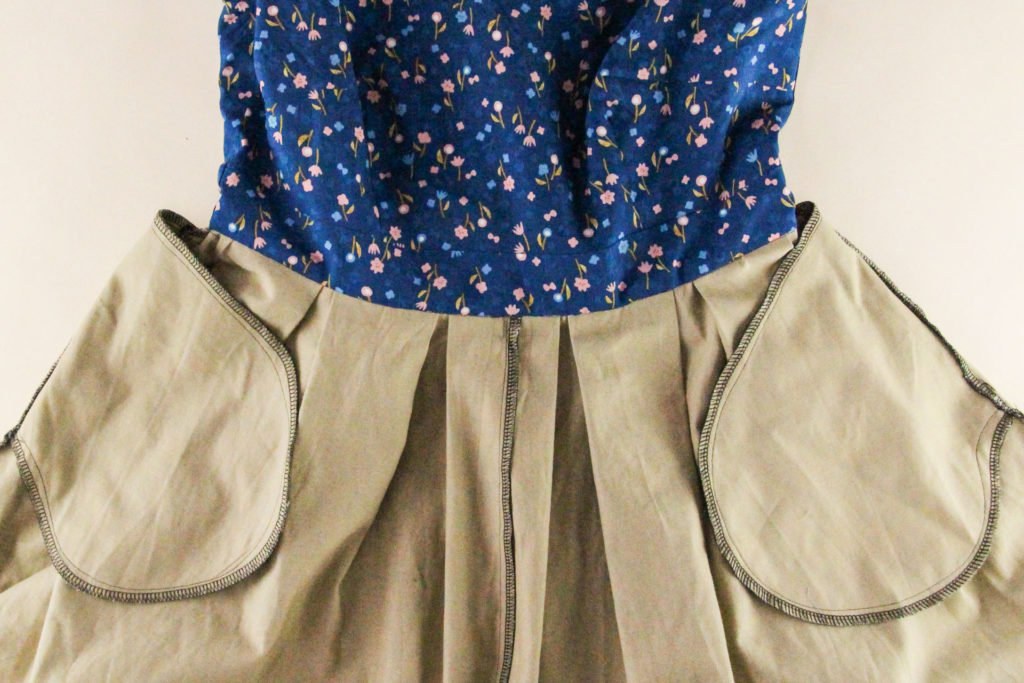
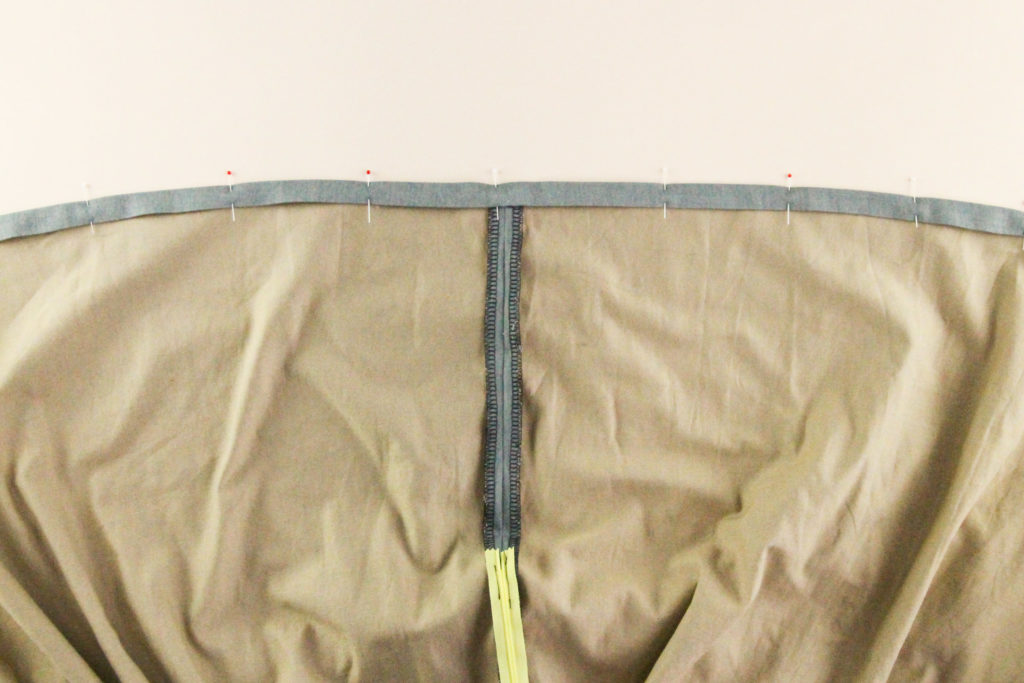
Start by lining up the bottom edge of the waistband of the outer bodice with the top edge of the skirt. Keep the lining away from the seam–it’ll be finished separately. Pin.
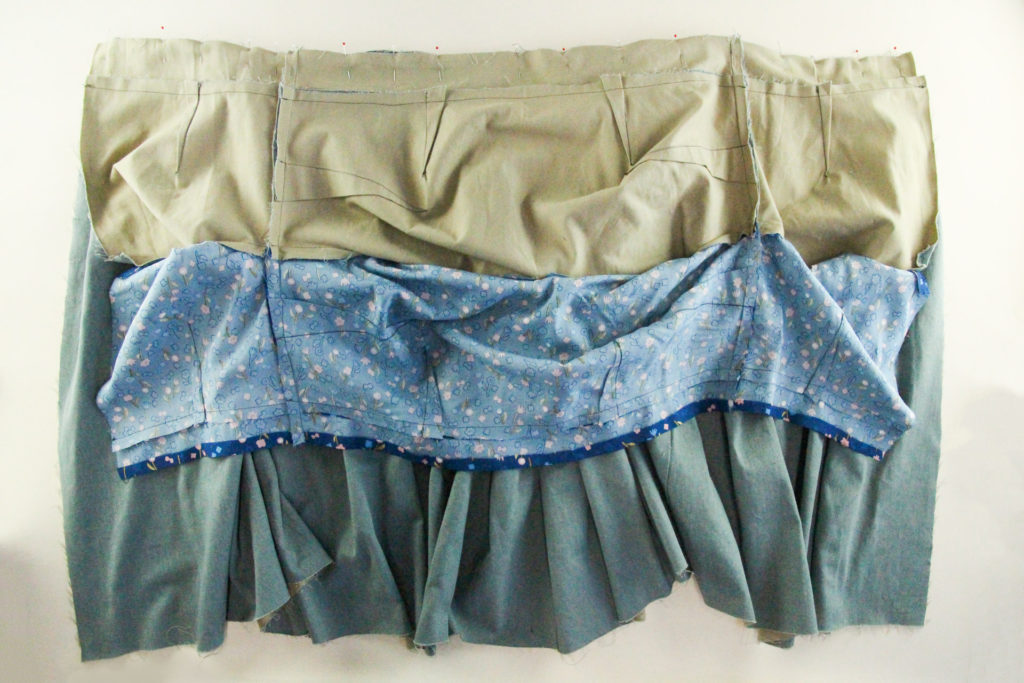
Great! Now we can sew across that entire seam at 1/2″ (12 mm) seam allowance.
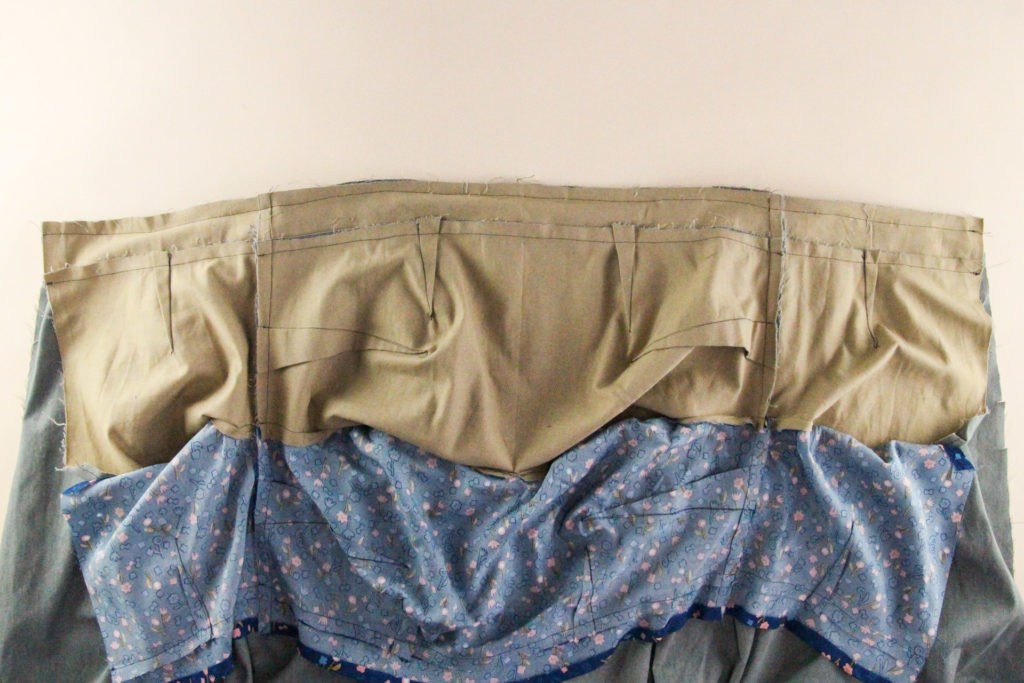
And let’s press the seam allowance up towards the waistband.
Alright! Moving on to the zipper.
Insert the Zipper
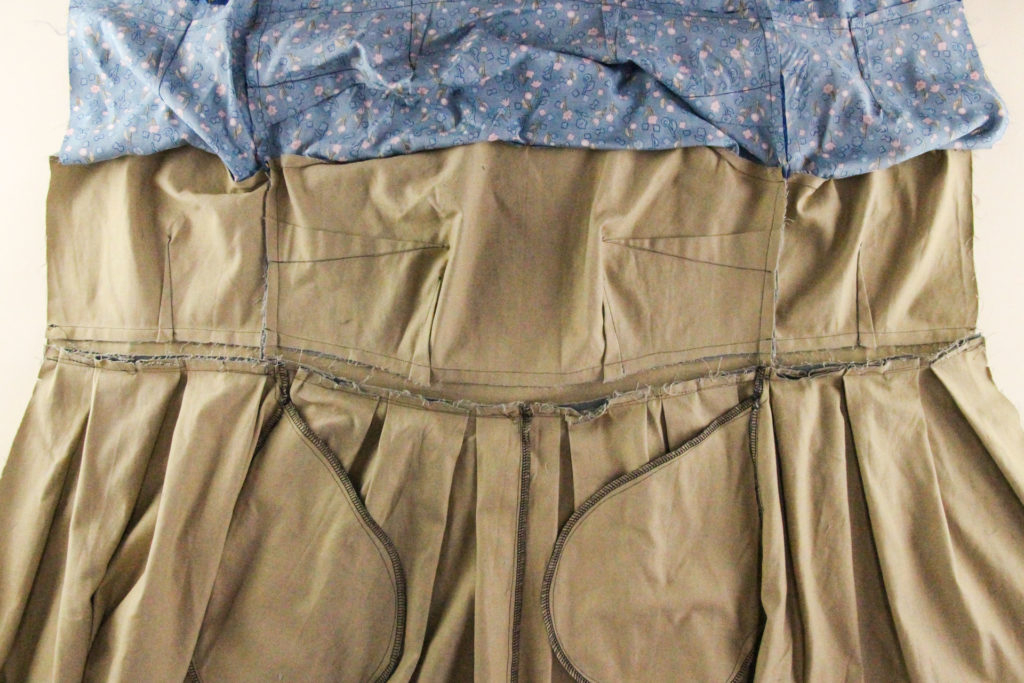
First, we need to finish the center seam allowance on both sides of our back dress opening. Finish the entire seam, from the top of the outer bodice to the bottom of the skirt, but leave the lining unfinished.
Repeat with the other side.
Okay, time to grab that invisible zipper. I don’t know about you, but no matter how long I’ve been sewing, I still get nervous when it comes time to insert an invisible zipper. Thankfully, it ALWAYS turns out to be easier than I think it will be!
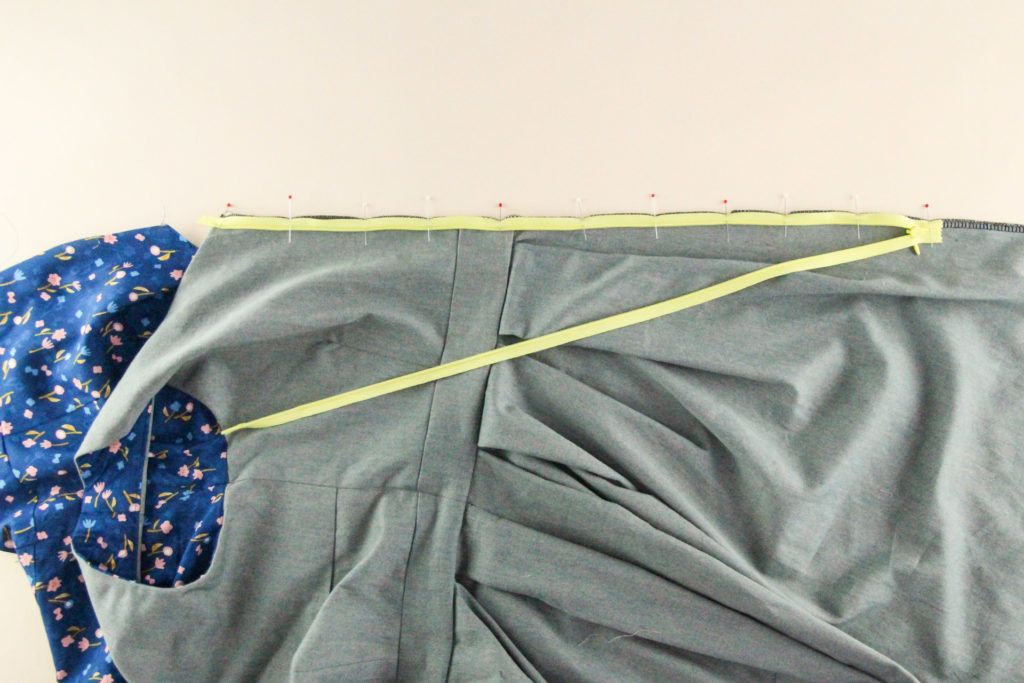
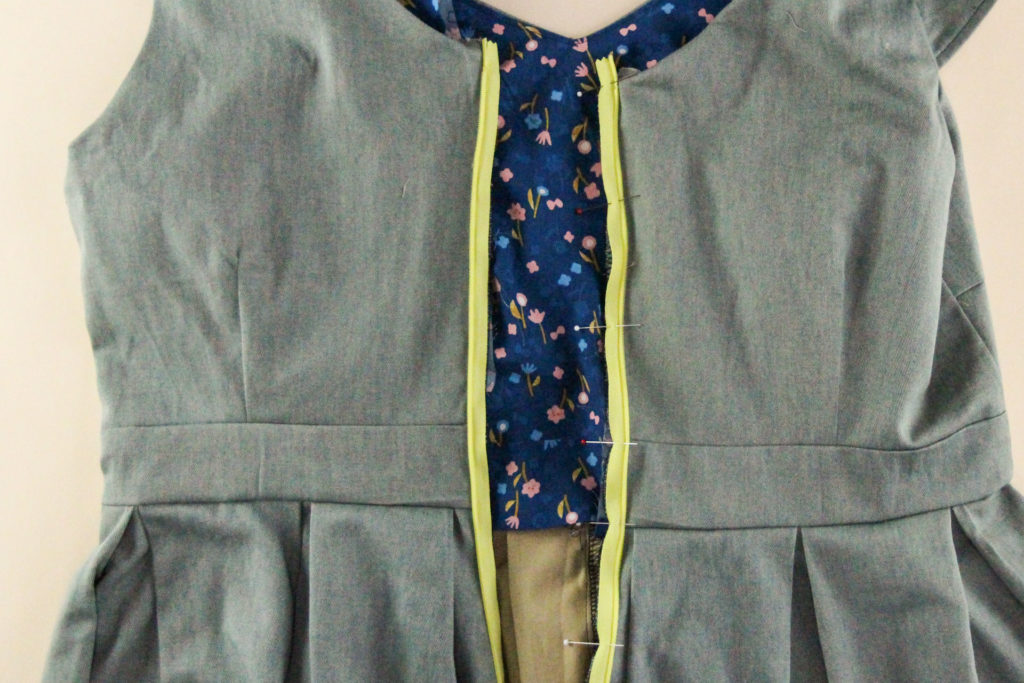
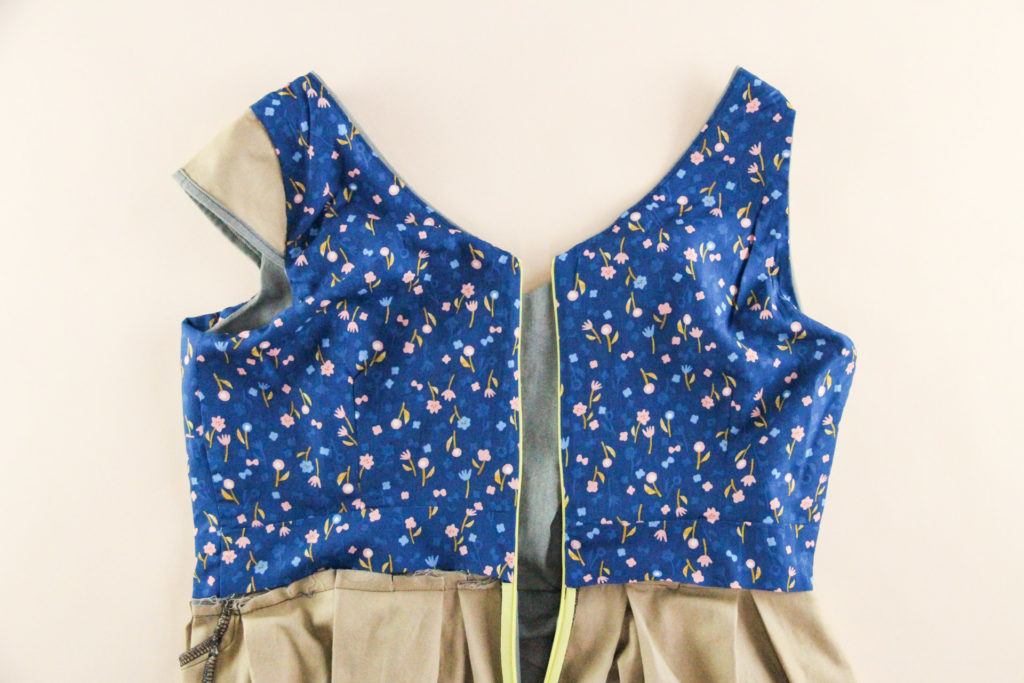
Open up your zipper, and place it face down onto the right side of the dress. Line up the outer right edge of the zipper with the right opening of the dress, and pin in place. (Again, your zipper pull is face down against the dress.)
Make sure the zipper stopper at the top of the zipper is 1/2″ (12 mm) below the top edge of the bodice.
Using an invisible zipper foot, sew the zipper to the dress, starting from the top of the bodice and going as far as you can down the zipper.
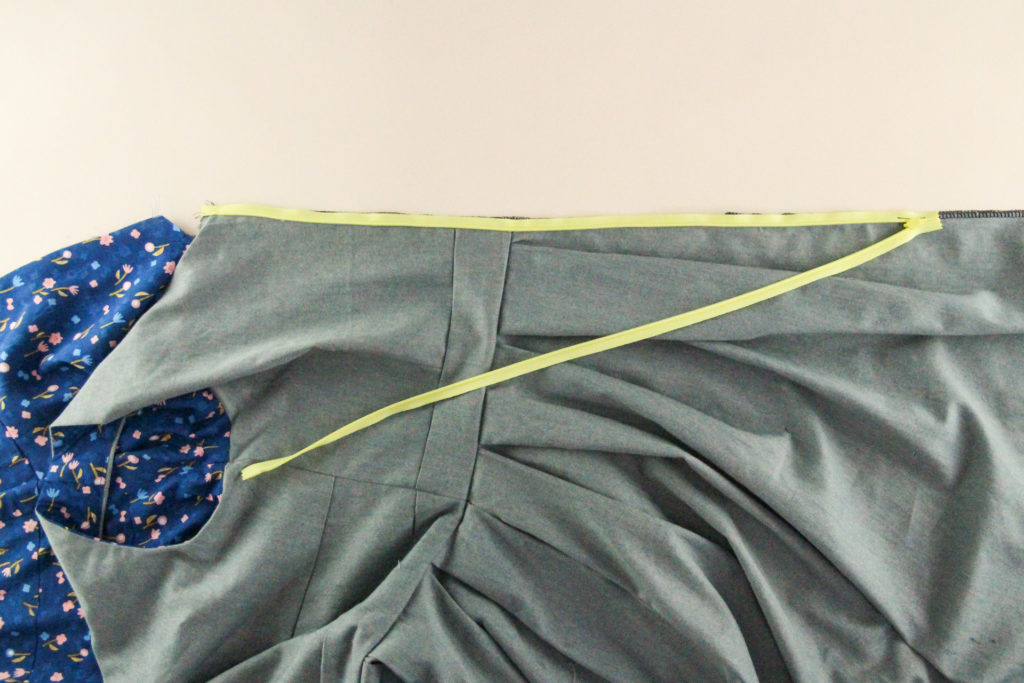
Now we’re going to flip the other side of the zipper twice and place it on the other dress back opening, so that again the front side of the zipper is facing the dress, and the teeth are pointing towards the dress rather than towards the edge. Pin in place.
Here’s a slightly closer view of this bit:
Sew that side of the zipper down, again using the invisible zipper foot on your machine. It might help to first baste it in the waistband area and try zipping it up to make sure the two waistbands line up–if not, you can unpick it and try again.

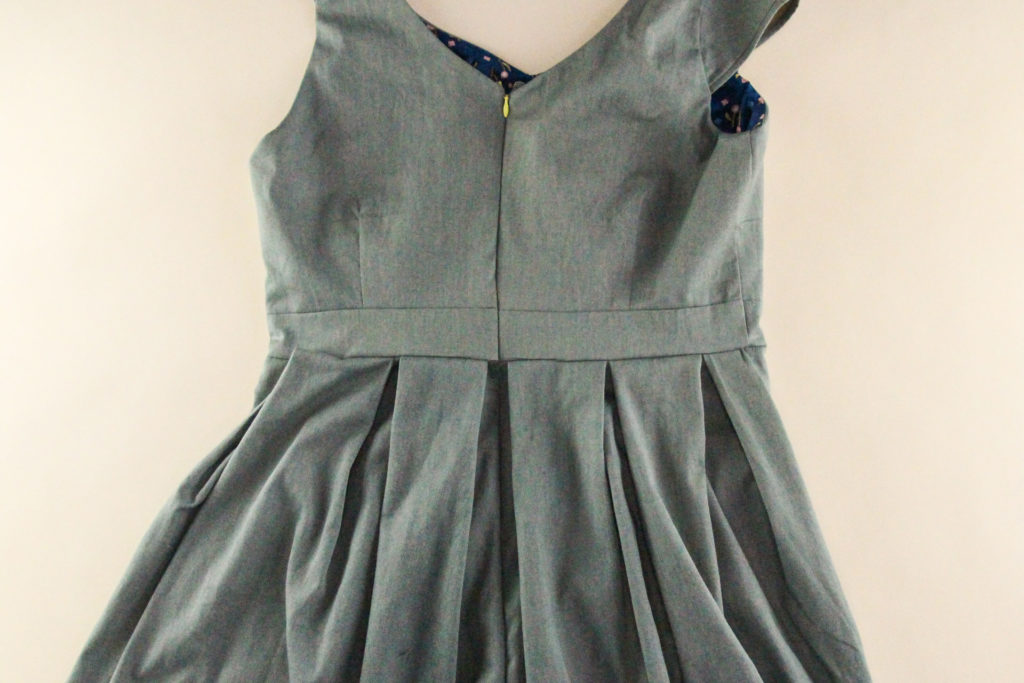
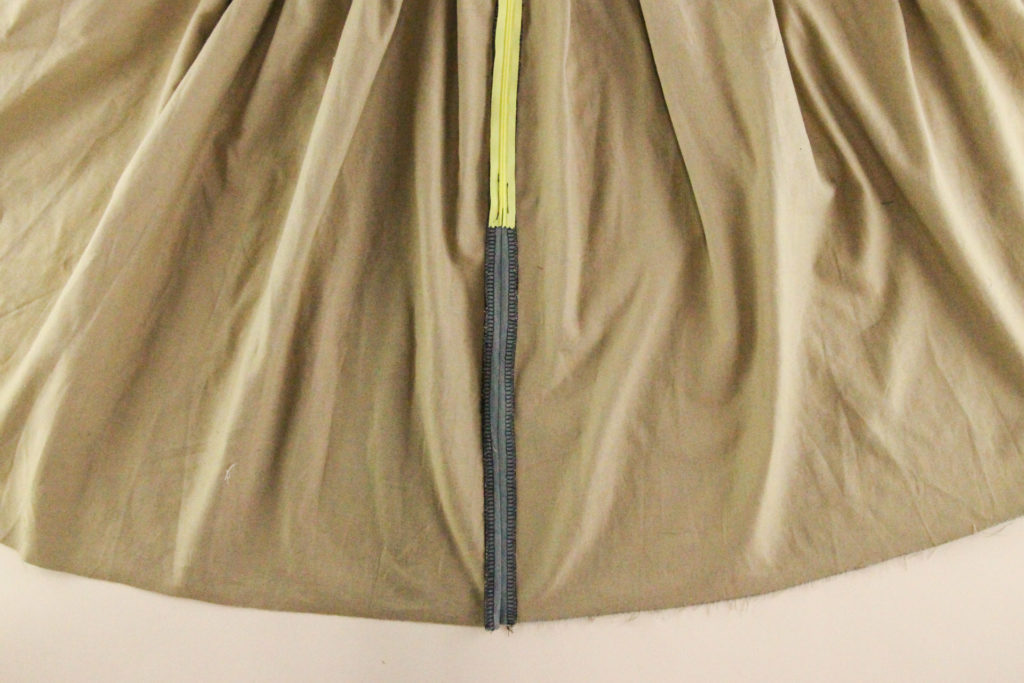
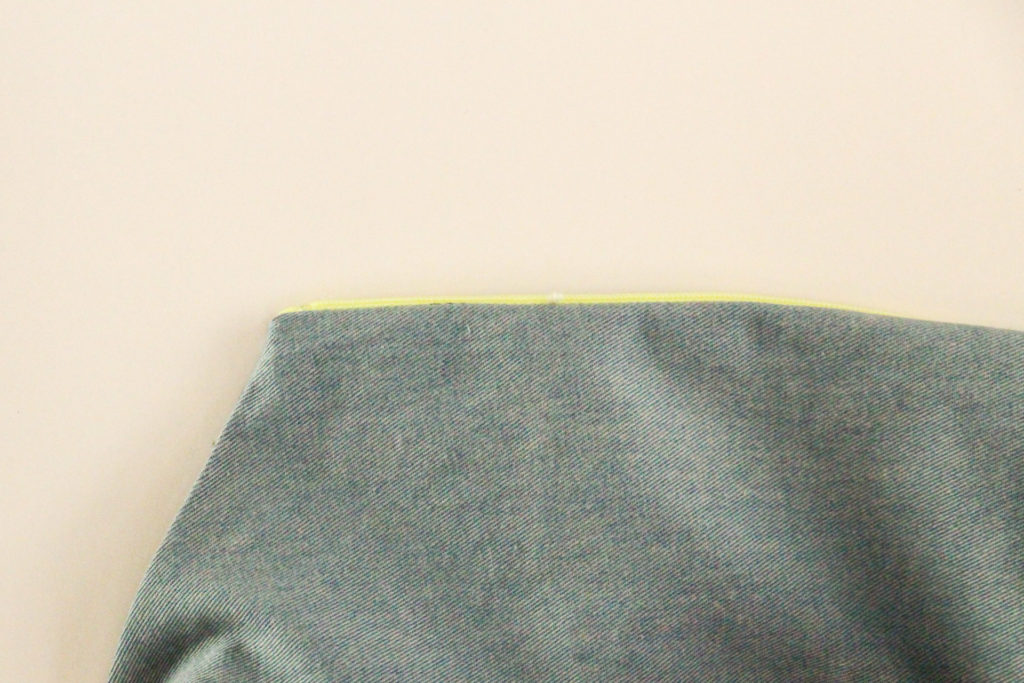
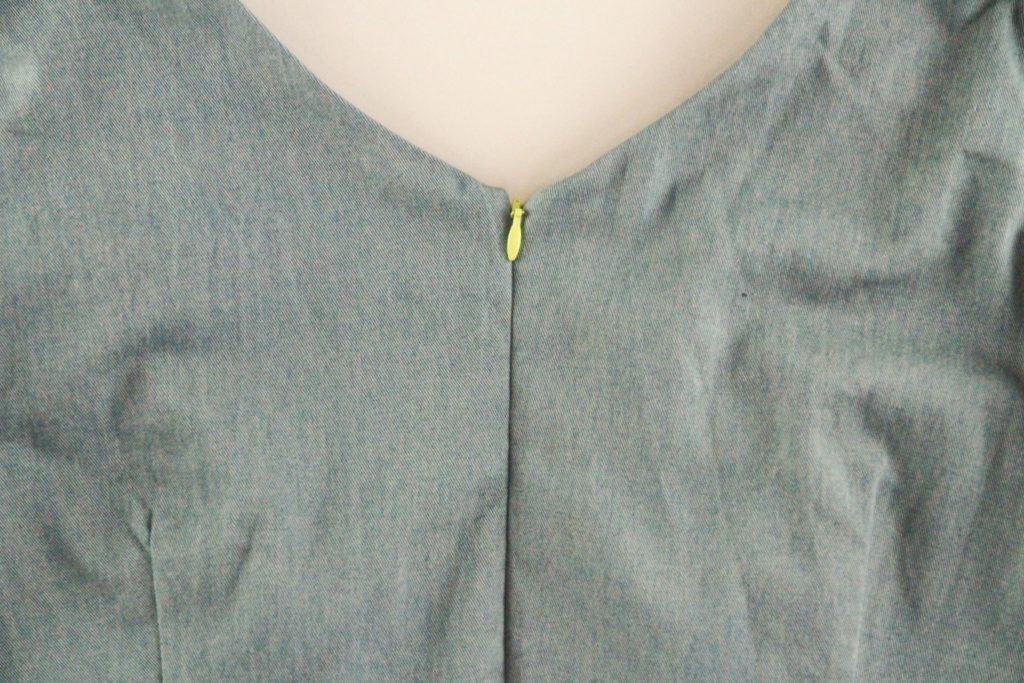
Once both sides of the zipper are sewn, zip the dress closed to make sure it looks right. Here is what it should look like (almost invisible, hence invisible zipper!):
Finish the Center Back Seam
There’s a section of the center back of the dress below the zipper that’s still unsewn, so we’re now going to sew that up now.
Start by pinning the rest of the center back seam.
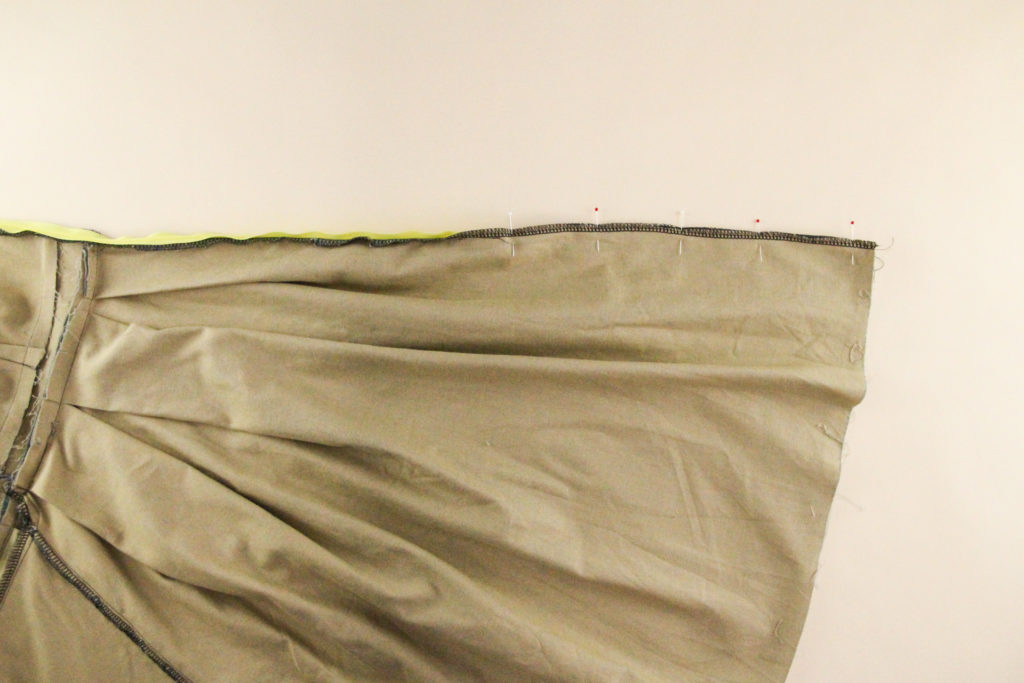
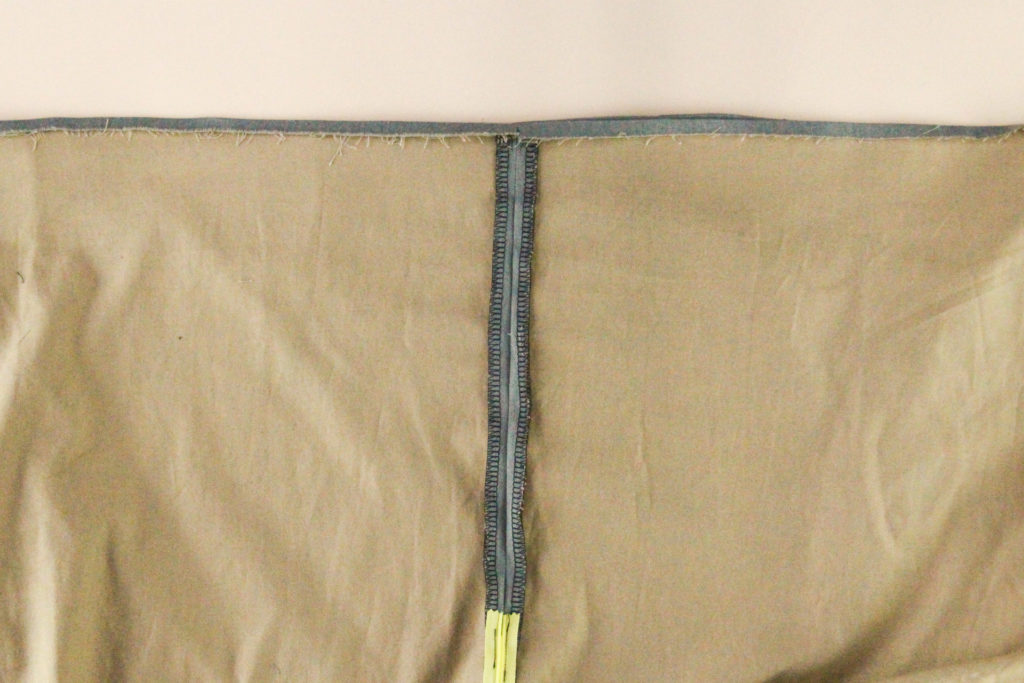
Using our 1/2″ (12 mm) seam allowance, sew that seam, starting at the hem edge and sewing up to the bottom of the zipper, where we stopped our stitching earlier.
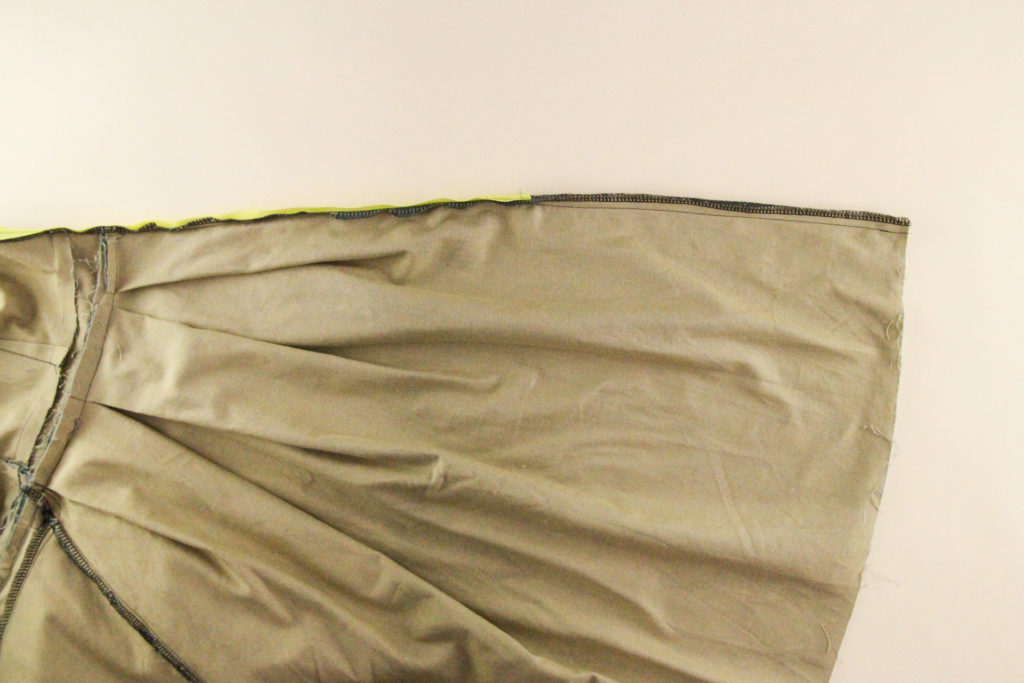
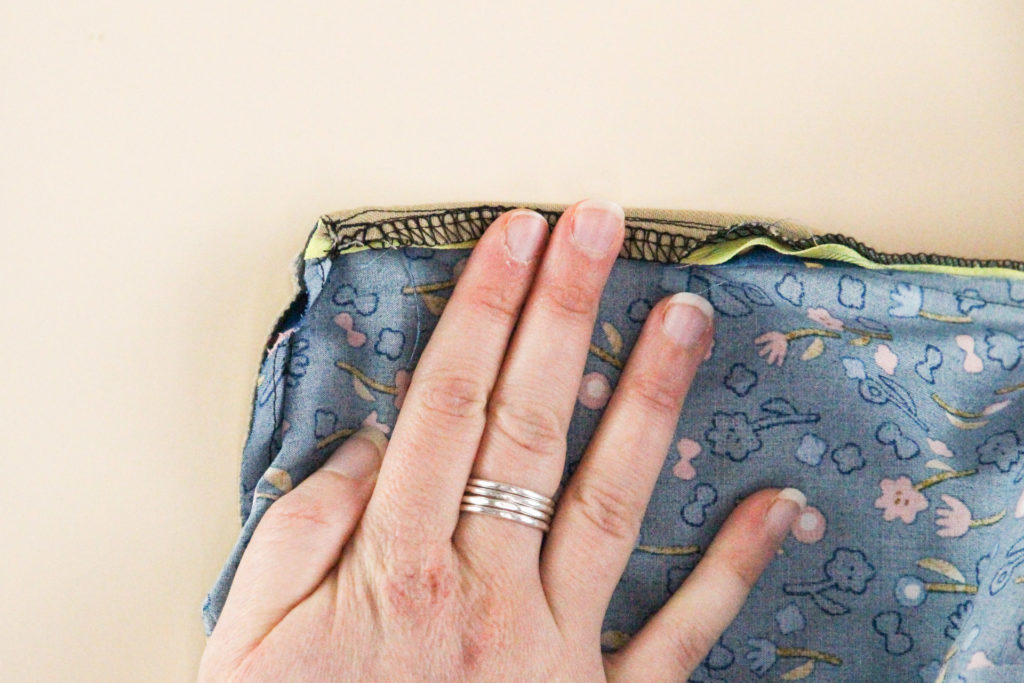
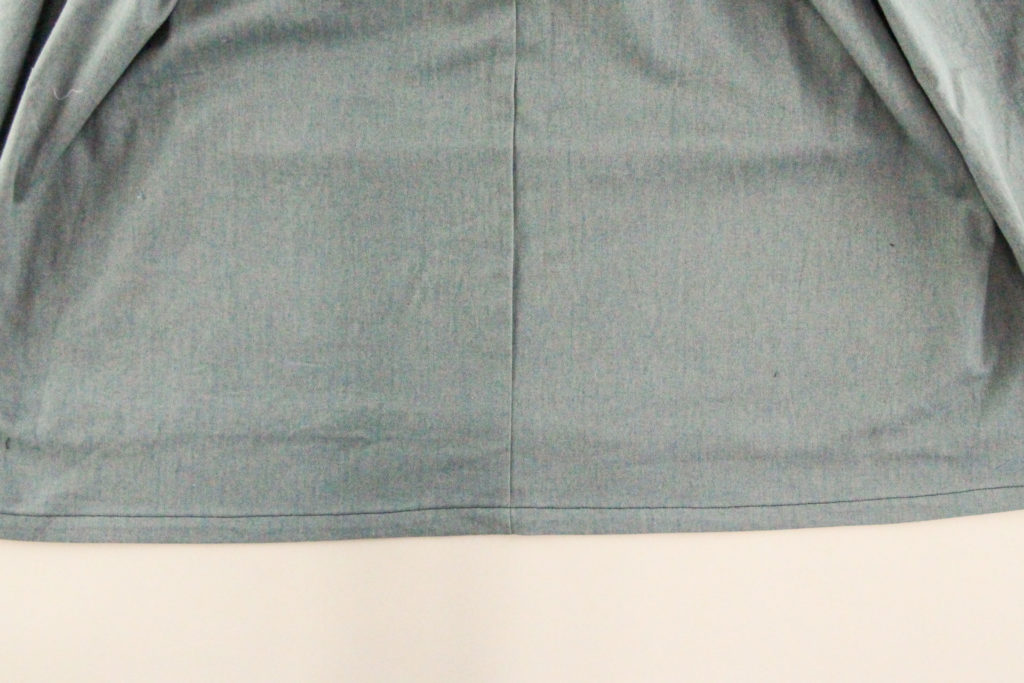
Press the seam allowance open, and now it will look like this:
And from the right side:

Beautiful! Time to finish our lining.
Sew Bodice Lining
Here’s how we’re going to finish the bodice lining so that it’s beautiful and neat inside:
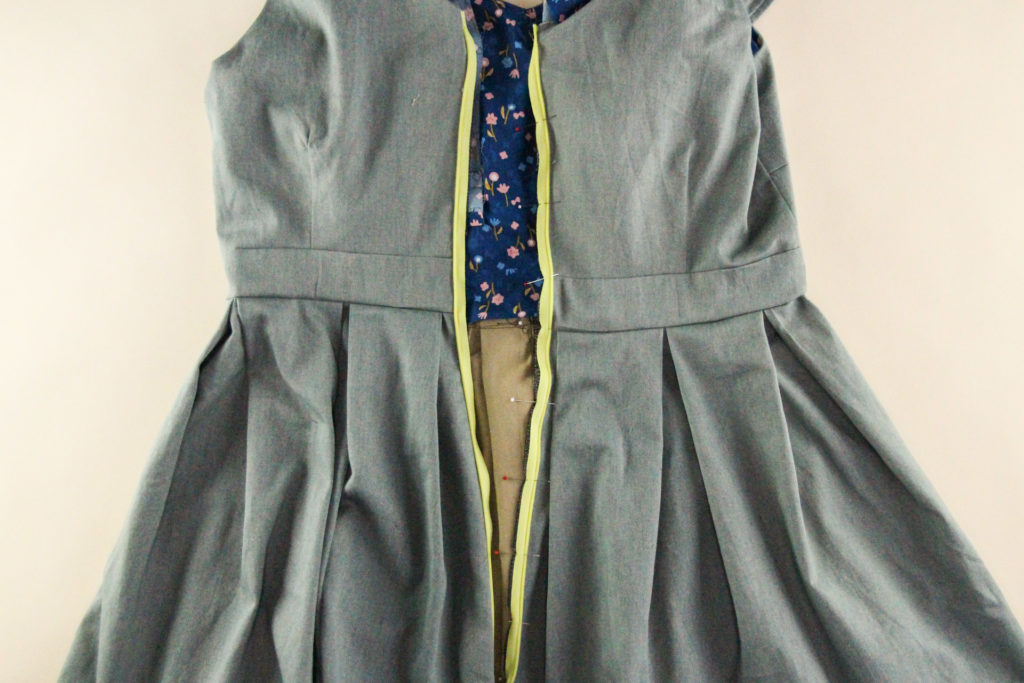
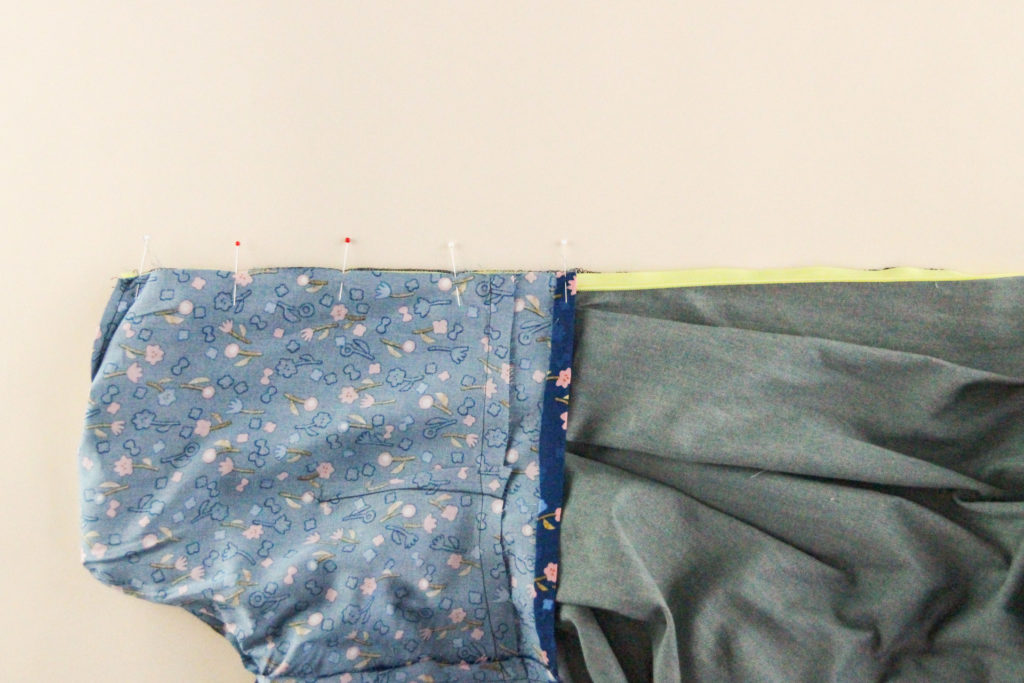
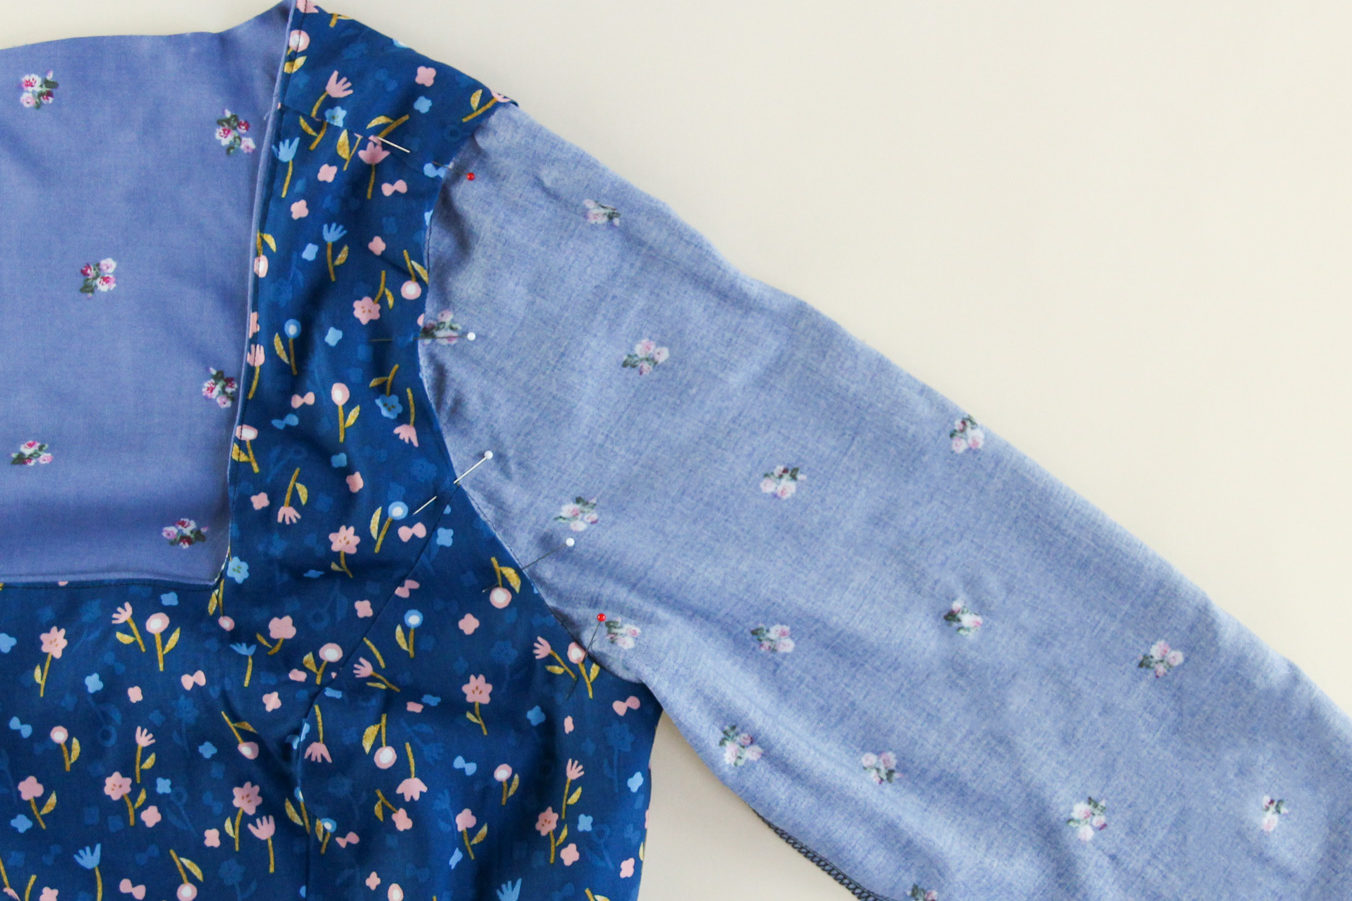
Start by flipping the lining to the outside, so that it’s right sides together with the outer bodice. Pin the lining to the bodice along the zipper, so that the zipper is sandwiched in between the two layers.
Here’s another view to help you see what I’m doing here:
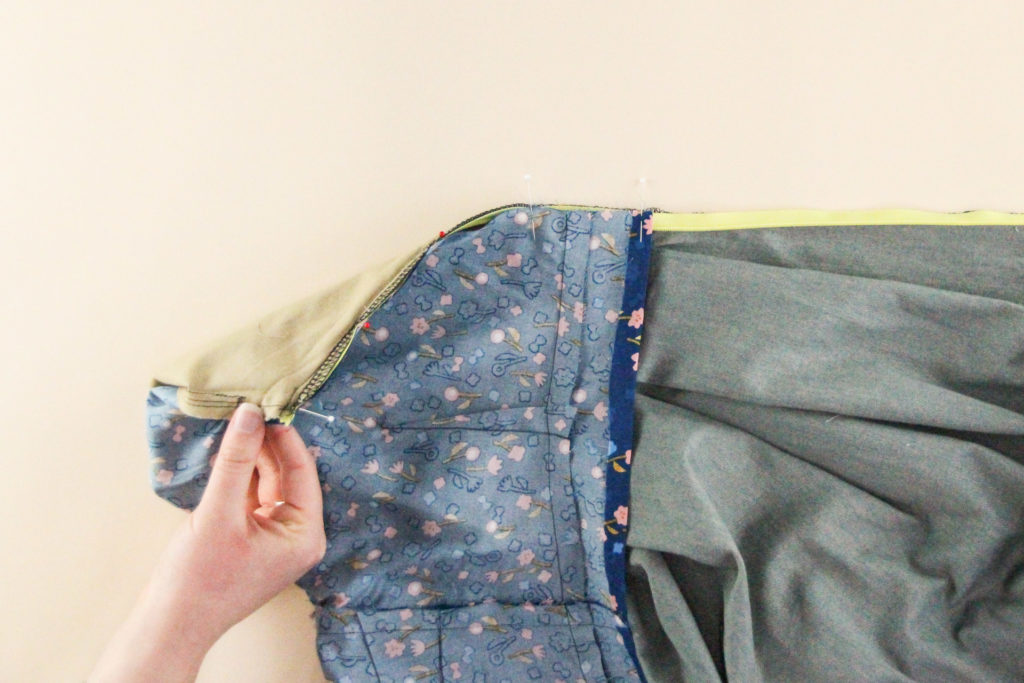
Great, now let’s sew that seam, again using our invisible zipper foot and going as close to the zipper teeth as we can.
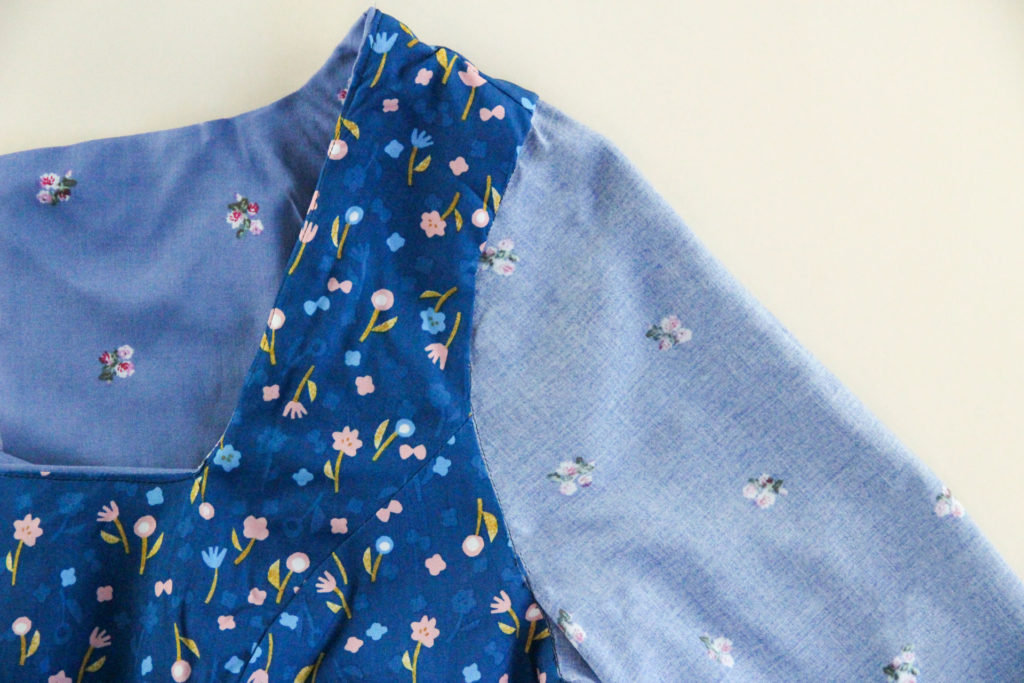
Once that’s sewn, we need to finish the top corner that we left unsewn previously. This might look a bit tricky, but it’s actually quick and easy.
Flip the seam allowance up and towards the lining, and pin in place. Ignore my hand these photos–the seam doesn’t want to stay flipped for the photos, silly thing.
Sew across the top of the zipper, from the folded edge down to meet our previous stitching.

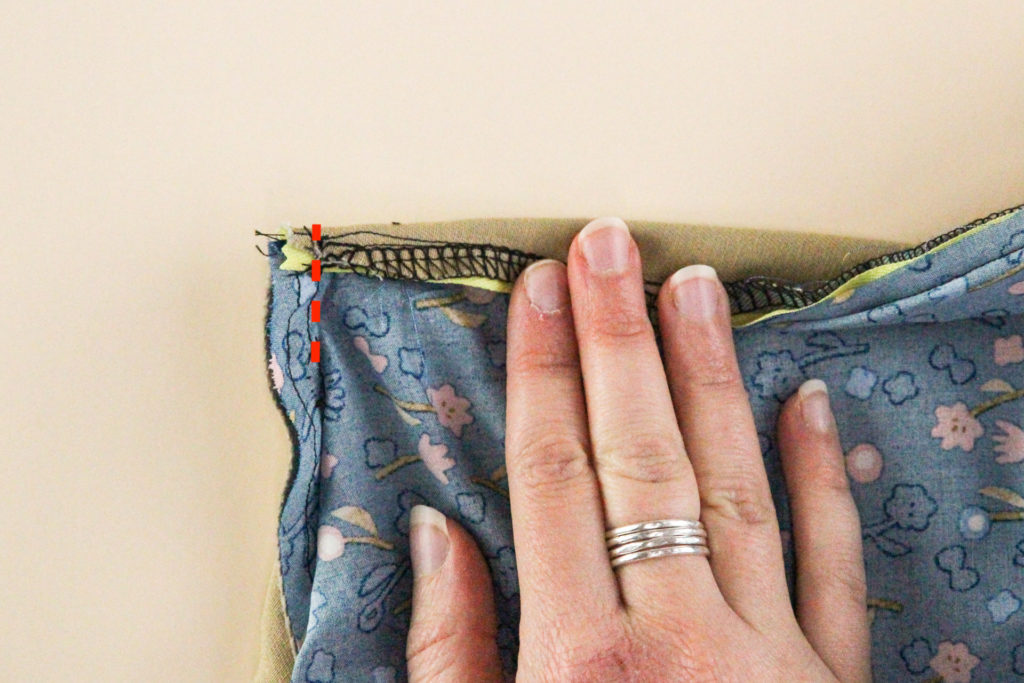
Hmm, it might not be entirely clear in that last photo where the stitching line is, so here it is again but marked in red this time:
Once that’s sewn, we can trim the corner bit, which will help the point be extra pointy once we flip it out.
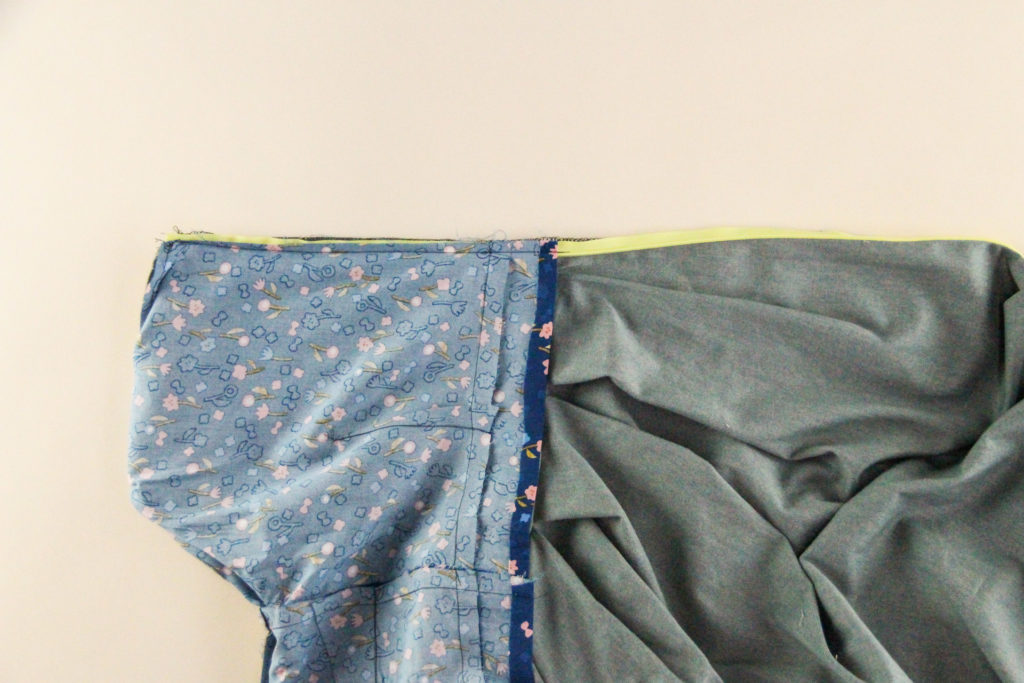
Sweet! Let’s flip the lining to the inside, and here’s what we see now:
The lining looks super clean on the inside zipper as well!
Repeat these steps with the other side. (Oh, and ignore the fact that one side of the dress has a cap sleeve, while the other is sleeveless!)
When zipped up, here’s how it will look from the right side. So puuurdy.
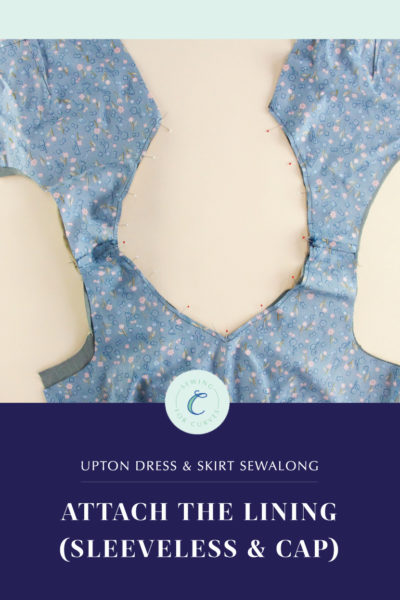
No we need to attach the lining at the waistband. Pin the lining down on the side all around the waistband, making sure the raw edges of the waistband are enclosed.
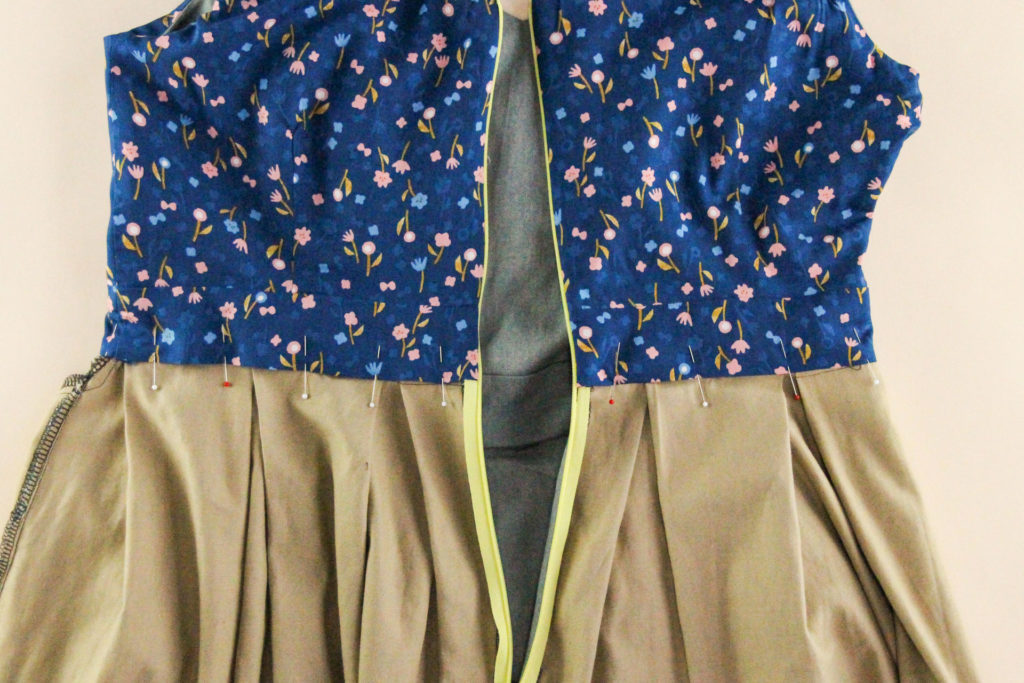
You have two options for sewing this seam. You can either slip stitch it closed using a hand sewing needle, or you can “stitch in the ditch” (i.e. the seam) from the right side, catching the bodice lining inside.
Finish the Armsyce (Sleeved Bodice)
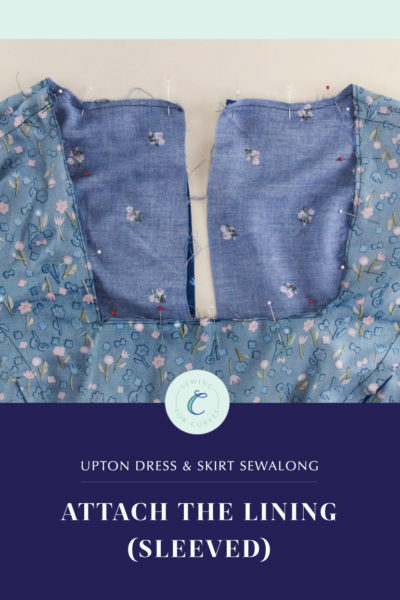
If you made a sleeved Upton, we’re going to finish the armscye so that it’s nice and clear. Pin the lining to the bodice, enclosing the raw seam.
Using a hand-sewing needle, carefully slip stitch the armscye closed.
So pretty, inside and out! (Again, ignore the sleeve situation.)
Hem Dress
One final step, and then we’re done!
Before hemming your dress, try it on to check the length. Depending on your height/shoes, you may want to use a longer or shorter hem.
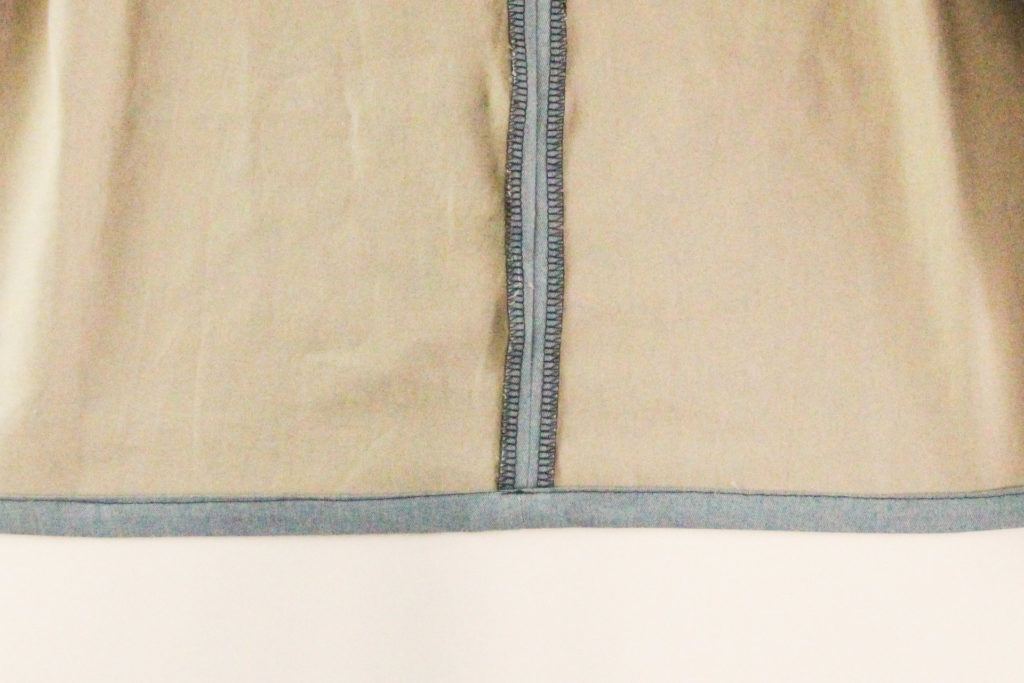
For a regular hem, start by folding the hem edge to the wrong side by 1/4″ (6 mm). Press.
Fold the edge again, this time by 3/4″ (1.9 cm) and press. Pin in place or use Wonder Tape to hold it down.
From the right side, topstitch the hem at 5/8″ (1.5 cm) allowance from the edge.
Here’s a view from the inside:
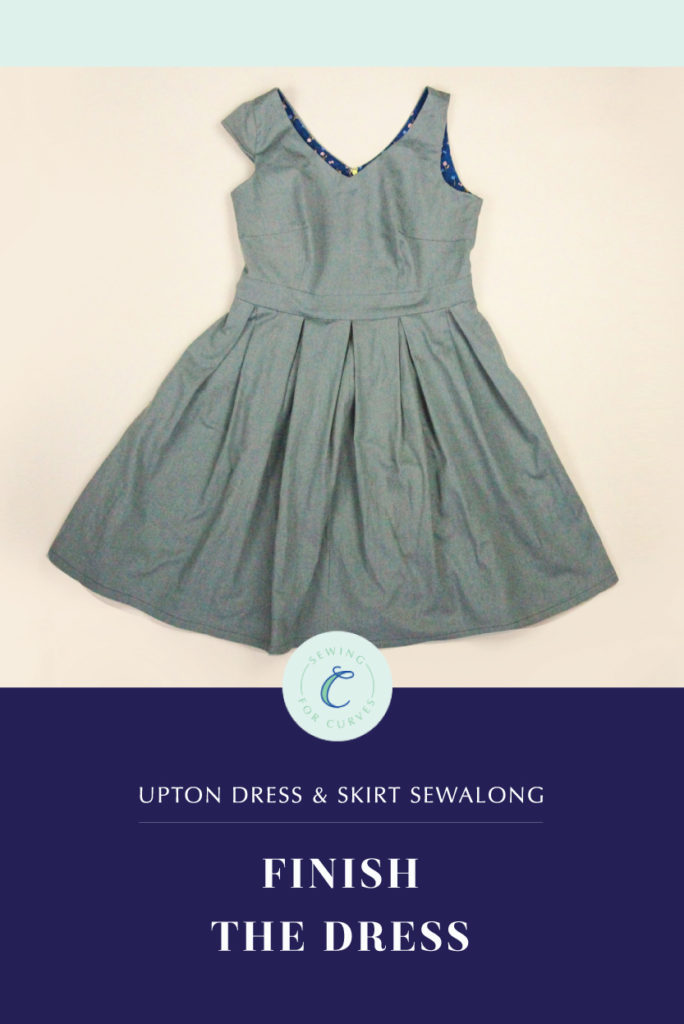
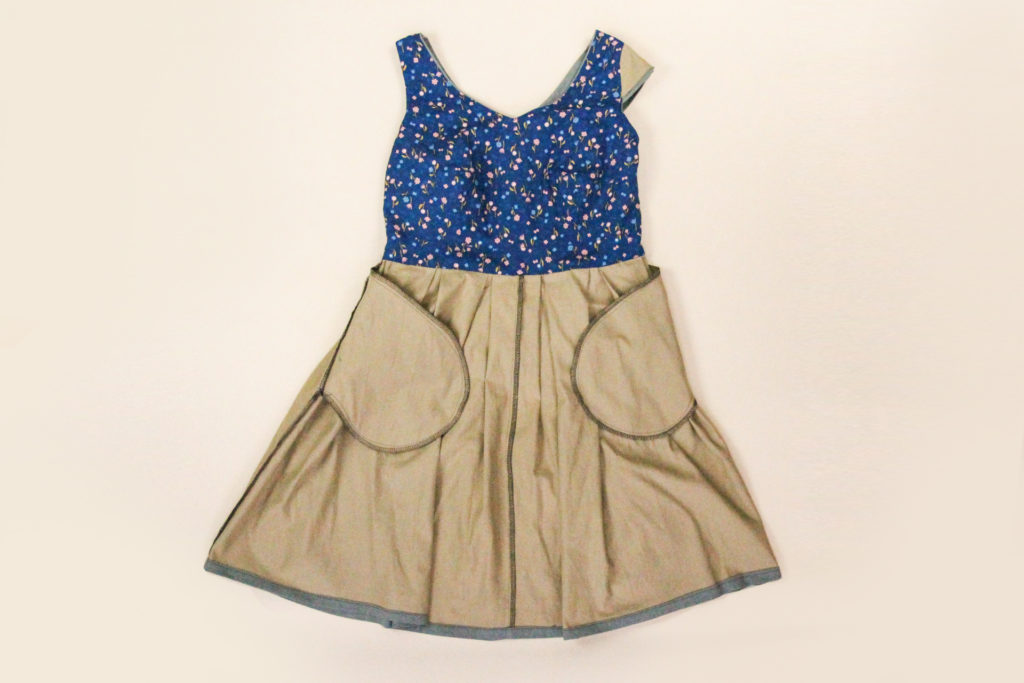
And there we go! Our Upton Dress is done! Time to throw a one-person party in the sewing room.
Here’s our completed dress–again, I’d appreciate it if you could ignore the fact that the sleeves aren’t matching 🙂
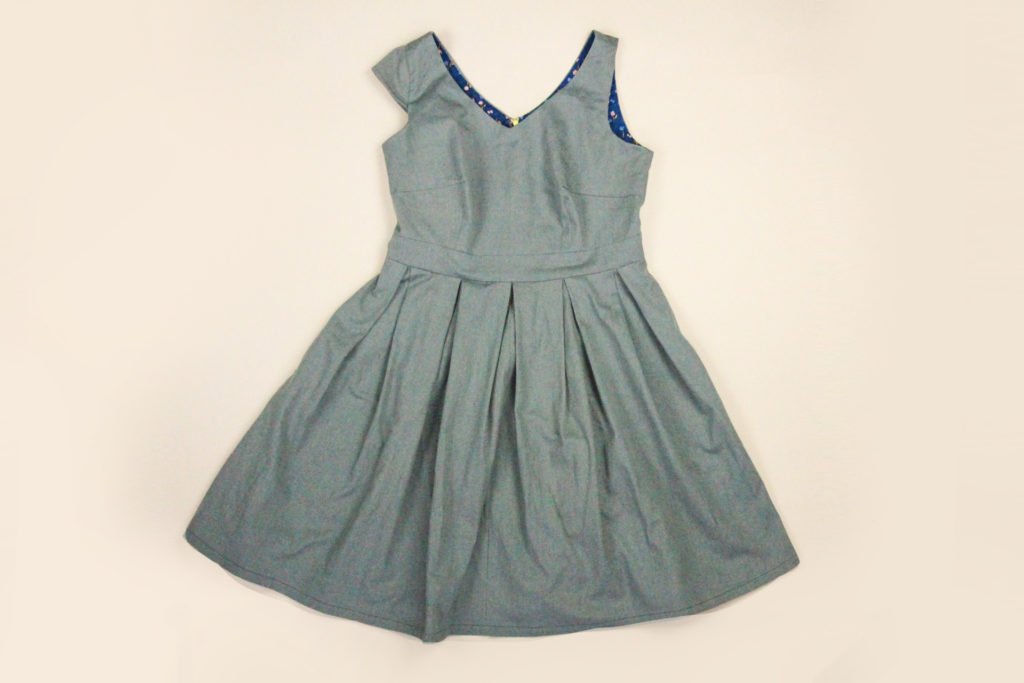
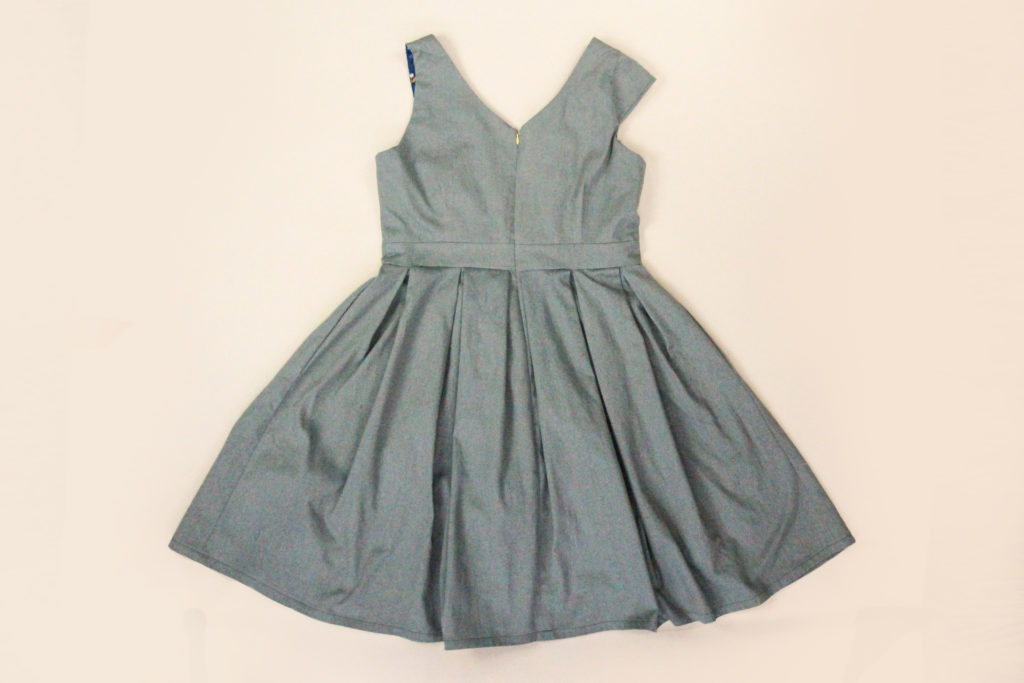
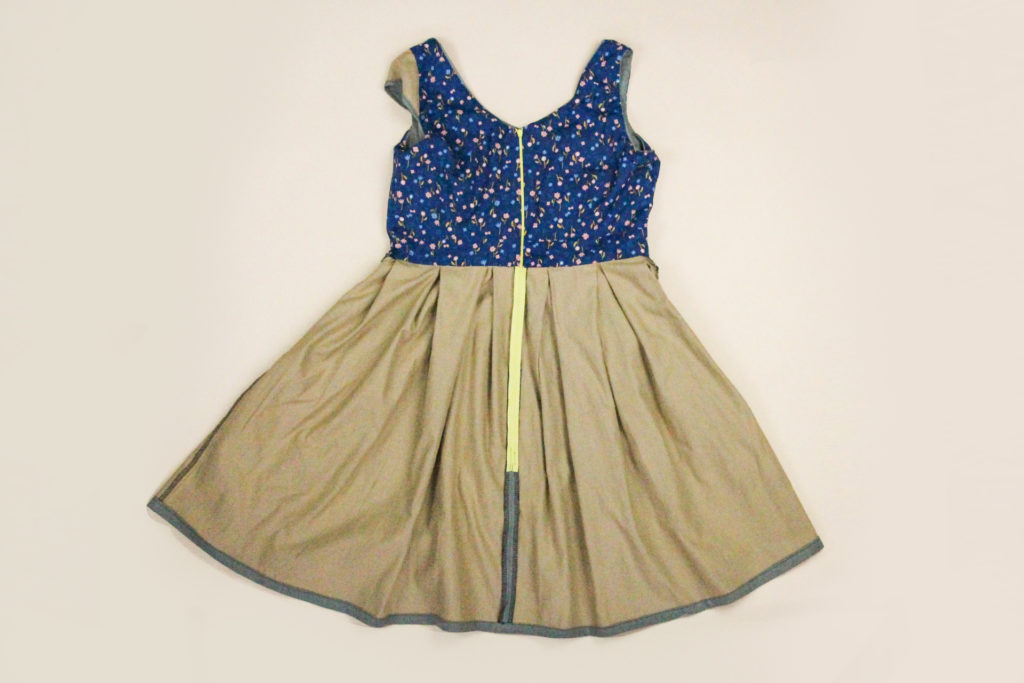
Here’s the back view:
This is what you’ll see on the inside:
How awesome is that?! You just sewed a beautiful fit-and-flare dress that is designed specifically with your curves in mind. Give yourself a pat on the back and then go show it off to the world.
We’d love to see your new dresses! Share photos of your Upton using #UptonDress on social media so that we can shower you with compliments on your fabulous new frocks.