Welcome back to the Upton Dress & Skirt sewalong! Today, we’re showing you how to attach the lining to the outer bodice of the Upton Dress for the sleeveless and cap sleeve options.

(Just joining us? Make sure you head over to the main Upton sewalong page to catch up on everything you may have missed.)
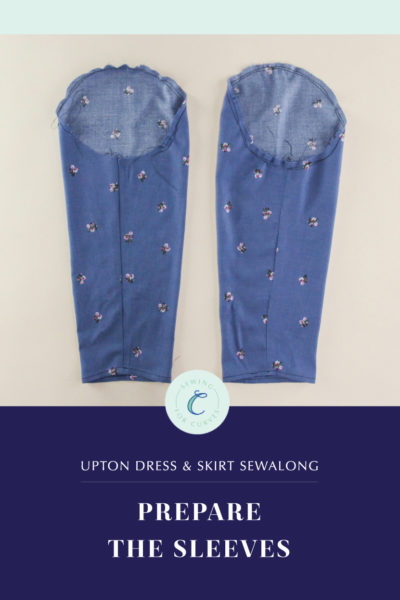
We’ll be starting off by showing you how to insert the cap sleeve, which is an optional feature if you have the Upton Mix & Match Expansion Pack. If you’re making a sleeveless Upton, feel free to skip ahead to the next step.
As a reminder, I’m using contrasting thread so that you can see what I’m doing more easily, but you should use a coordinating thread, or whatever color thread strikes your fancy!
Alright, let’s get back to sewing.
Attach the Cap Sleeves (Optional)
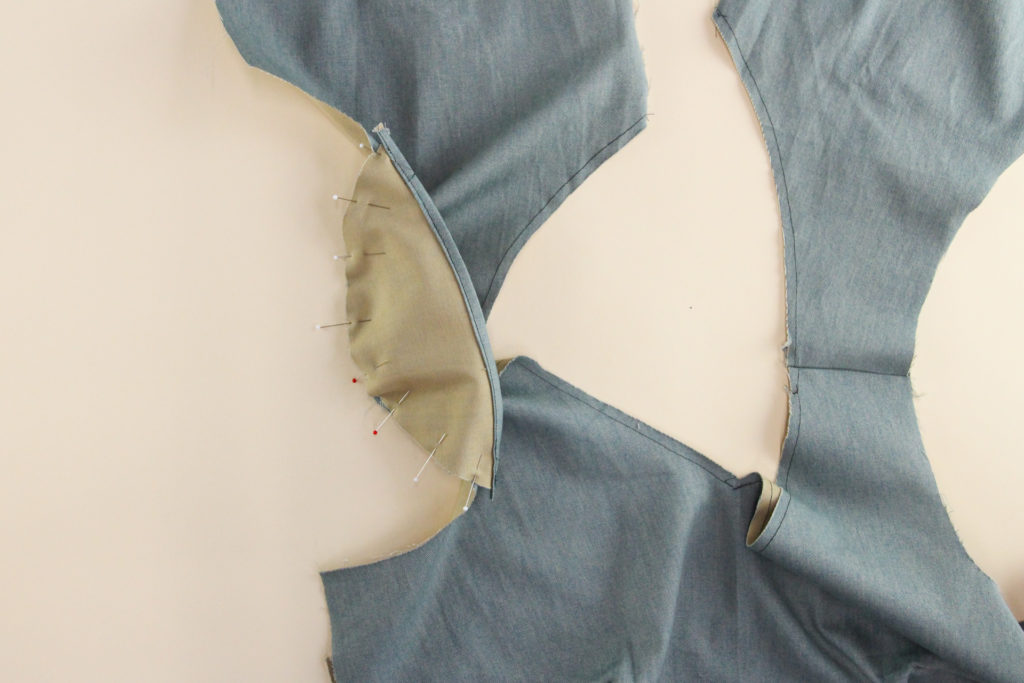
If you’re adding cap sleeves to your Upton Dress, now’s the time to insert them. We’ll start by matching the center notch of the cap sleeve to our shoulder seam, right sides together, and pinning.
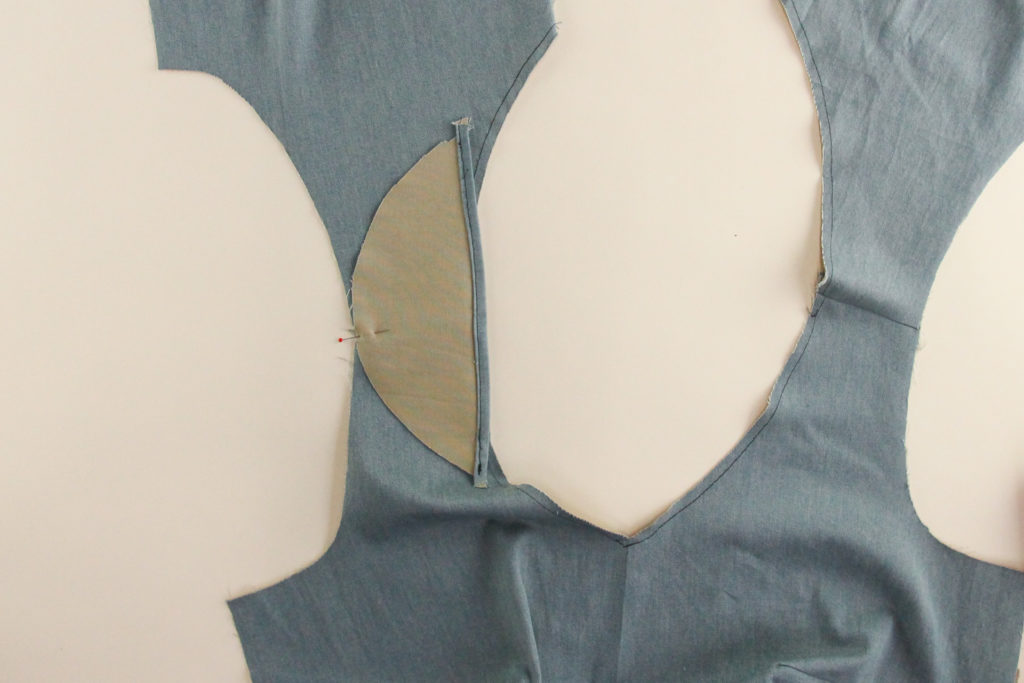
Pin the rest of the way around the cap sleeve.
Let’s sew that seam at 1/4″ (6 mm) seam allowance, but keep the sleeve back pointing towards the neckline for now.

Repeat with the other cap sleeve.
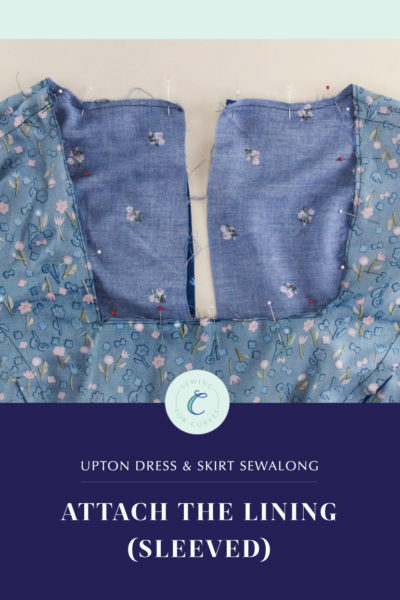
Attach Lining at the Neckline
Time to attach our lining! If you’re not using a cap sleeve, now’s the time to jump back in.
Line up the lining over the outer bodice, right sides together. Pin all along the neckline.
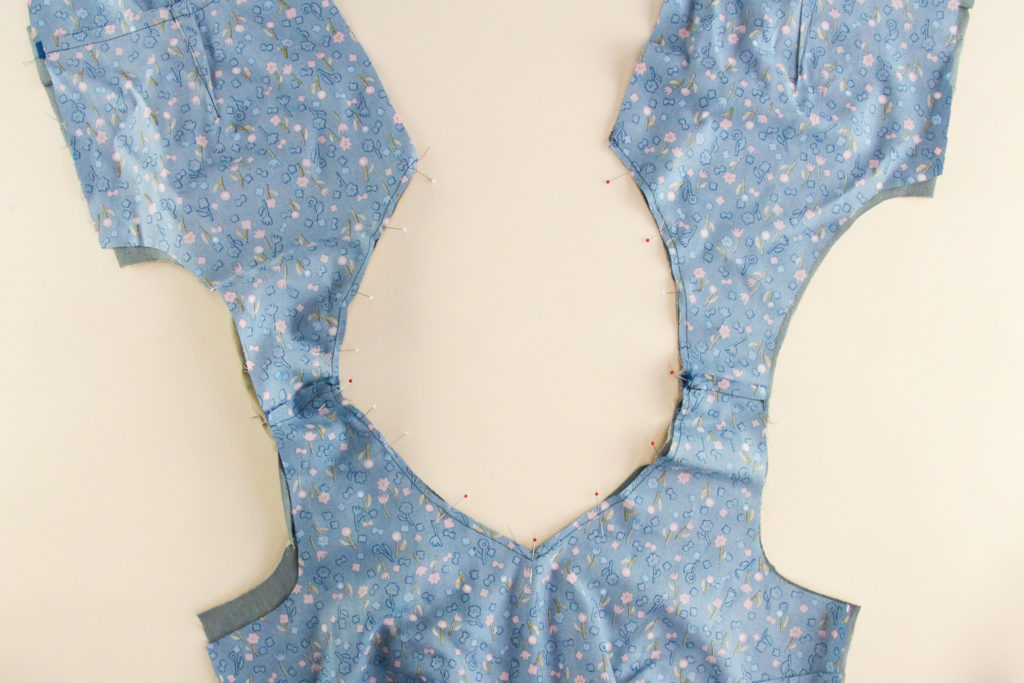
Let’s sew that seam using our 1/2″ seam allowance. If you’ve got cap sleeves sandwiched in there, make sure they don’t get caught up in this seam.
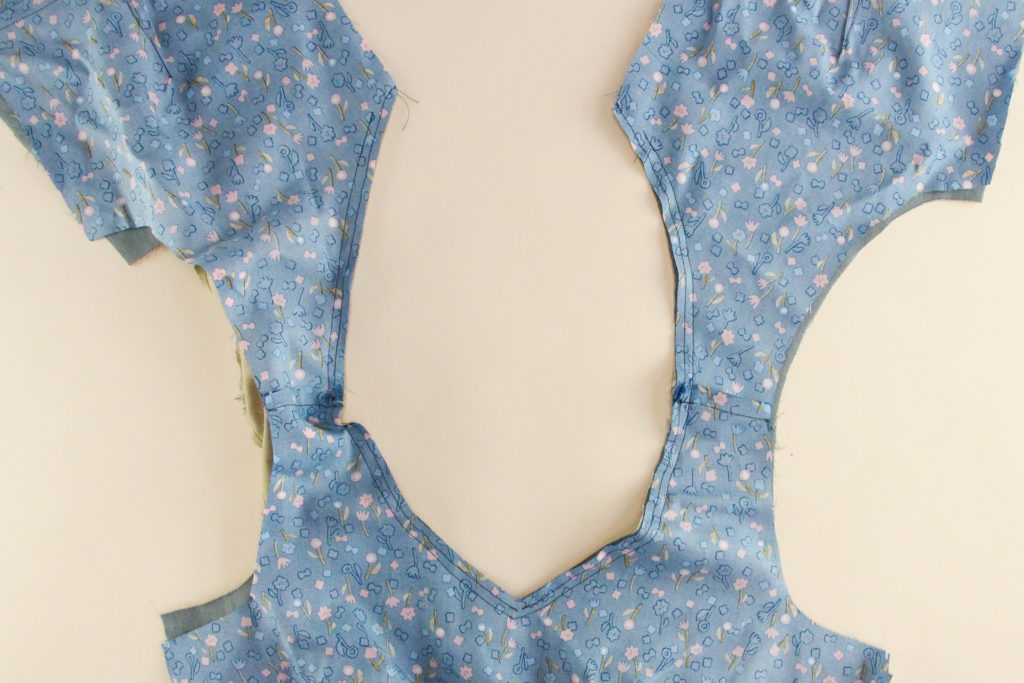
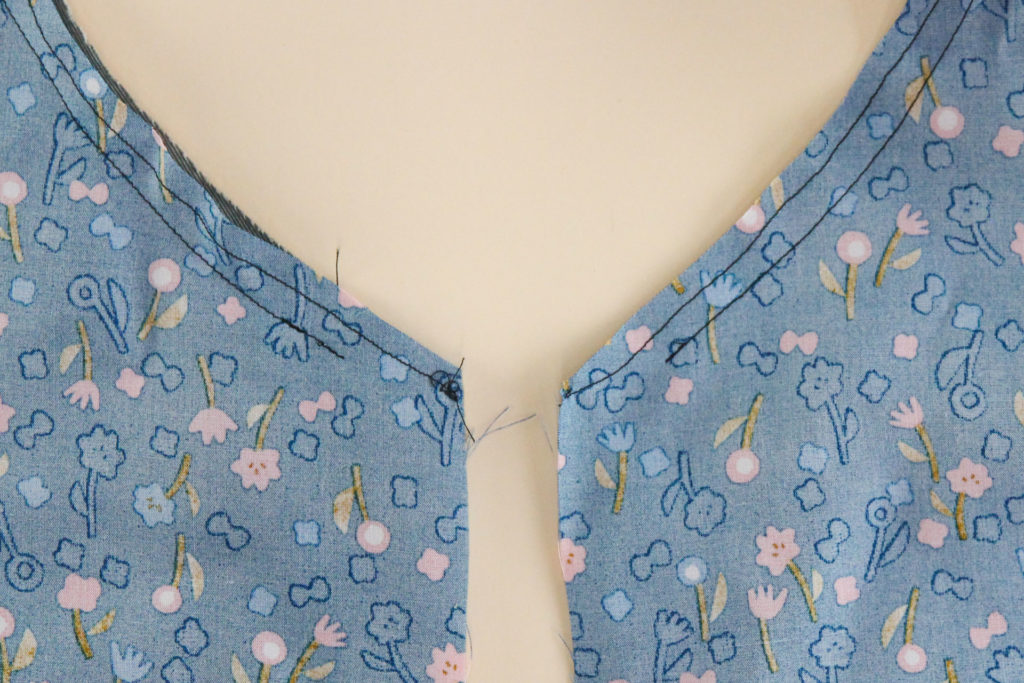
Leave 1″ (2.5 cm) unsewn at each end of the neckline.
(Quick reminder that the second line of stitching that you’re seeing in these photos is the staystitching we did when we assembled the bodice originally. The seam we just sewed is the outer one that ends before the edge.)
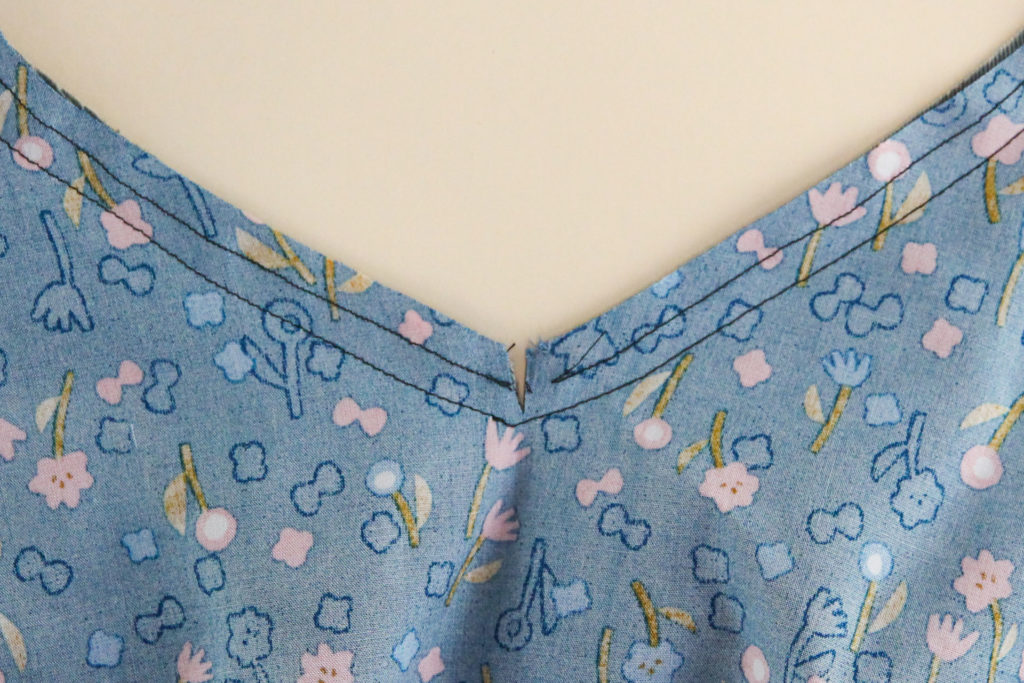
If you’re using the v-neck or square necklines, stop with the needle down and pivot to continue at the point of the V or the corners.
Clip the curves and corners up to but not through the stitching line. This will help us when we turn the lining to the inside.
Now we’re going to press the seam allowance towards the lining.
And then we can understitch the neckline by sewing a line of stitching on the lining side, 1/8″ (3 mm) from the edge of the neckline seam we just sewed. This step attaches the seam allowance to the lining, and helps keep the lining from peeking out of the front.
Okay great! Time to move on to the armscye.
Attach Lining at the Armscye
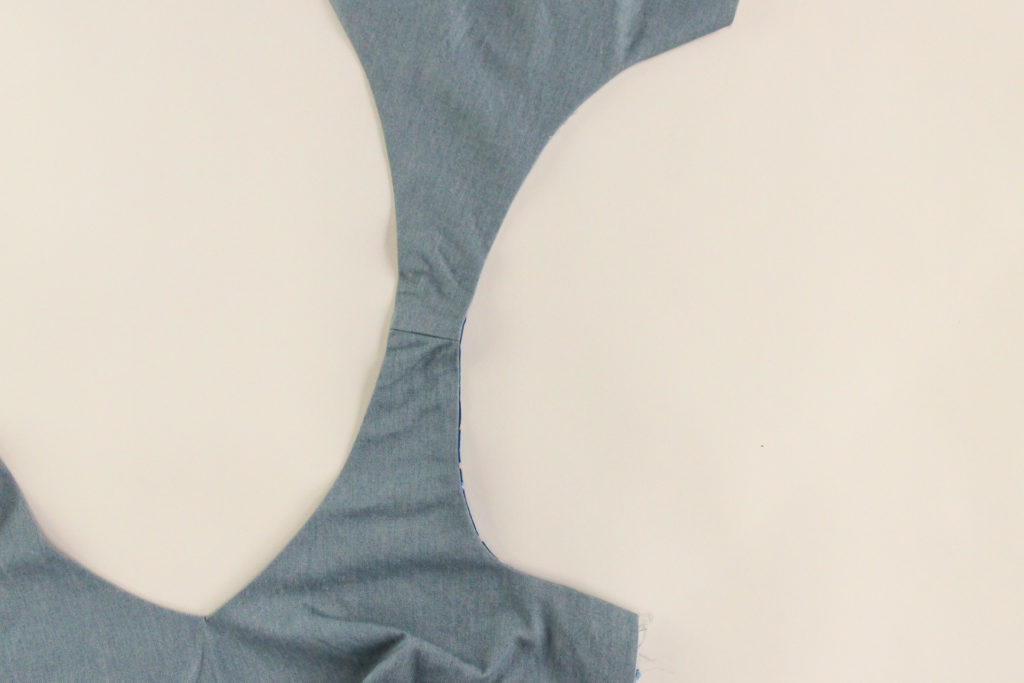
Flip the lining back so that the outer bodice and lining are once again right sides together. Line the two up at the armscye and pin.
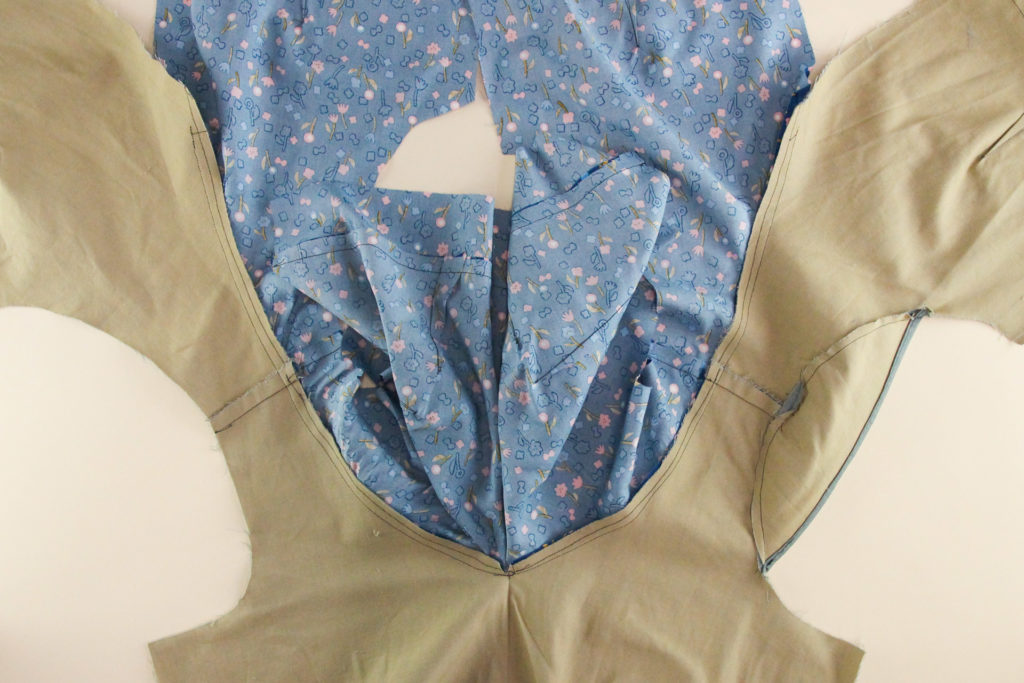
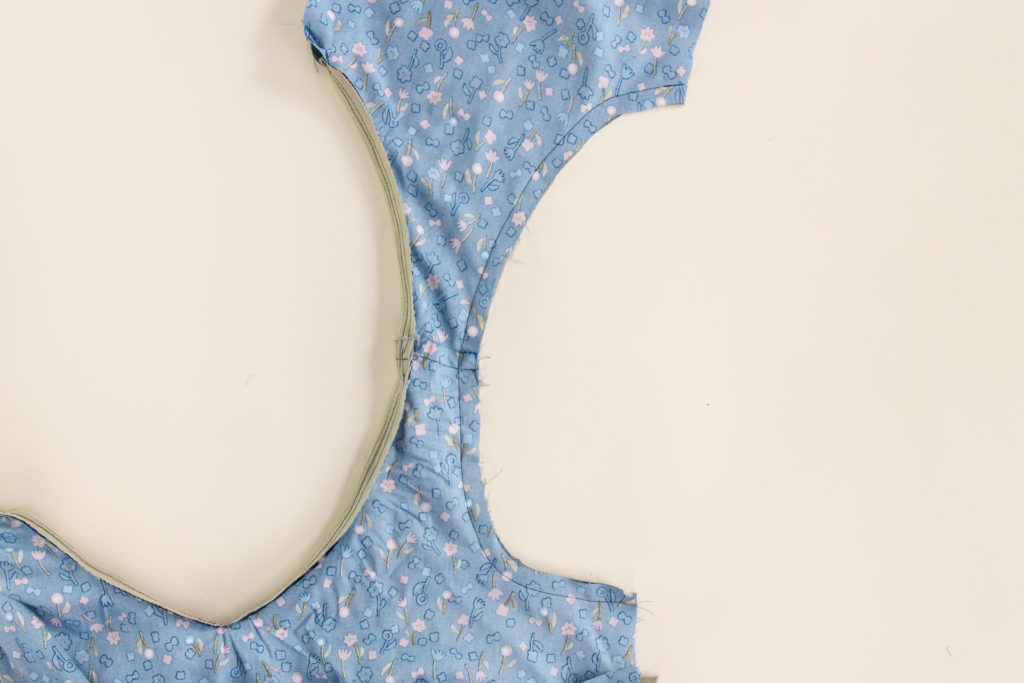
If you’re making a sleeveless Upton, it will look something like this:

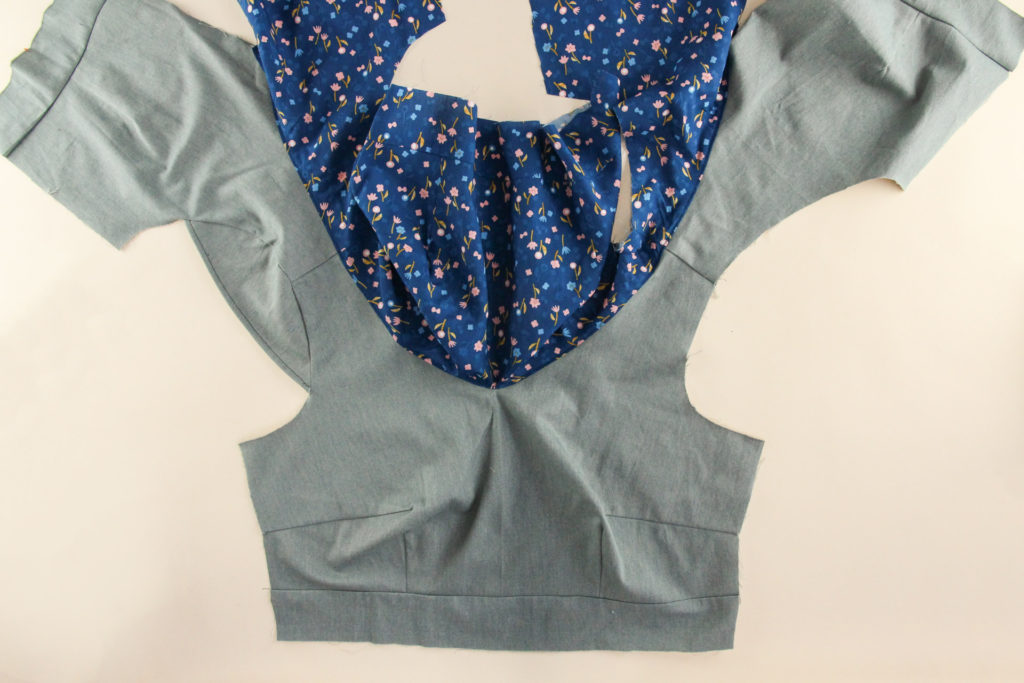
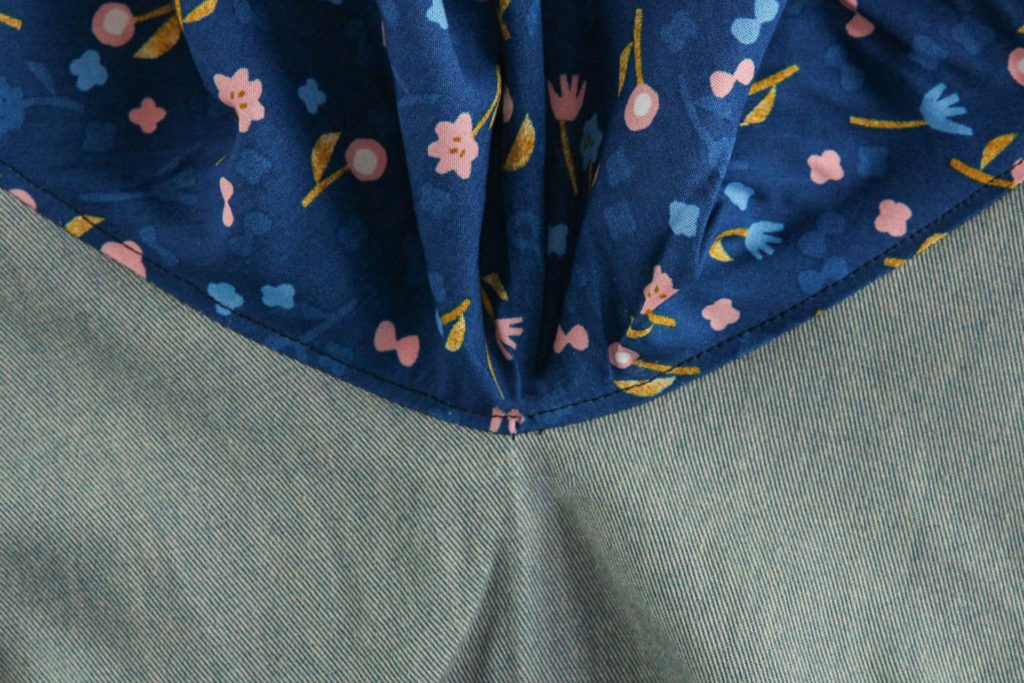
If your Upton has cap sleeves, keep them tucked in between the two layers, but make sure they don’t get caught up in the seam. Here’s how yours might look:

Let’s sew that armscye at 1/2″ (12 mm) seam allowance.
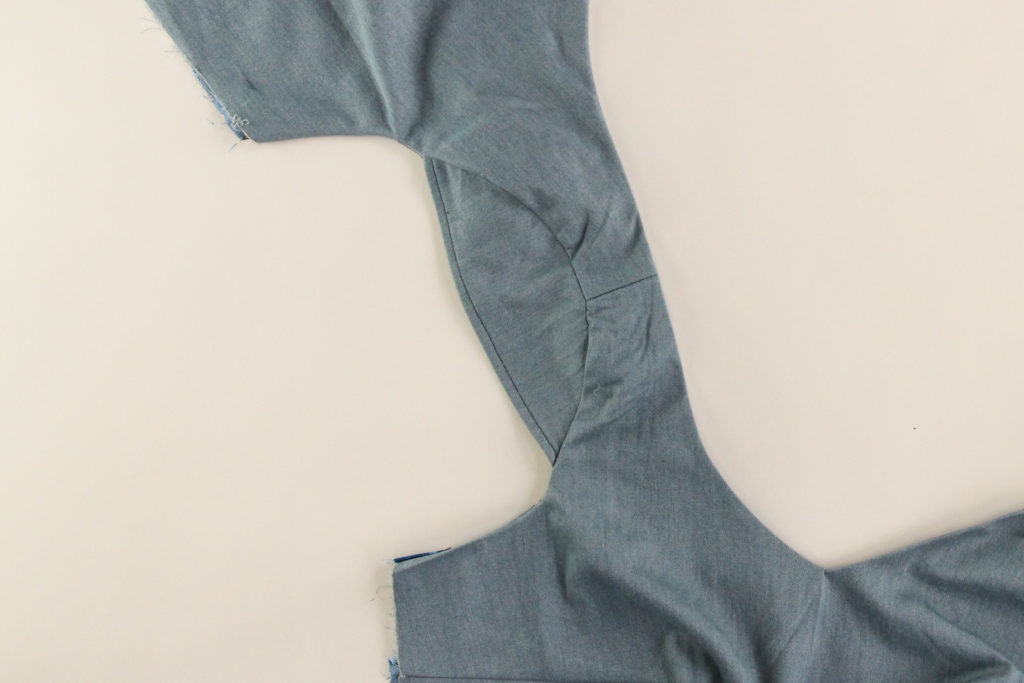
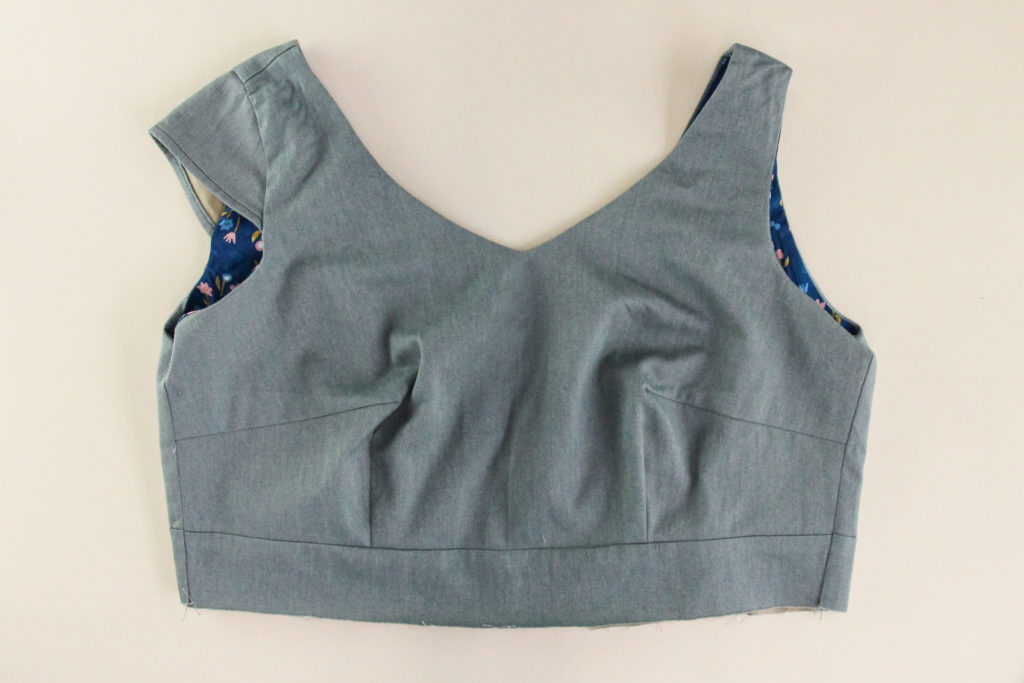
Now we can carefully turn our bodice right side out. Pull the back bodice pieces to the front through the shoulders and press, making sure the lining is rolled to the inside.
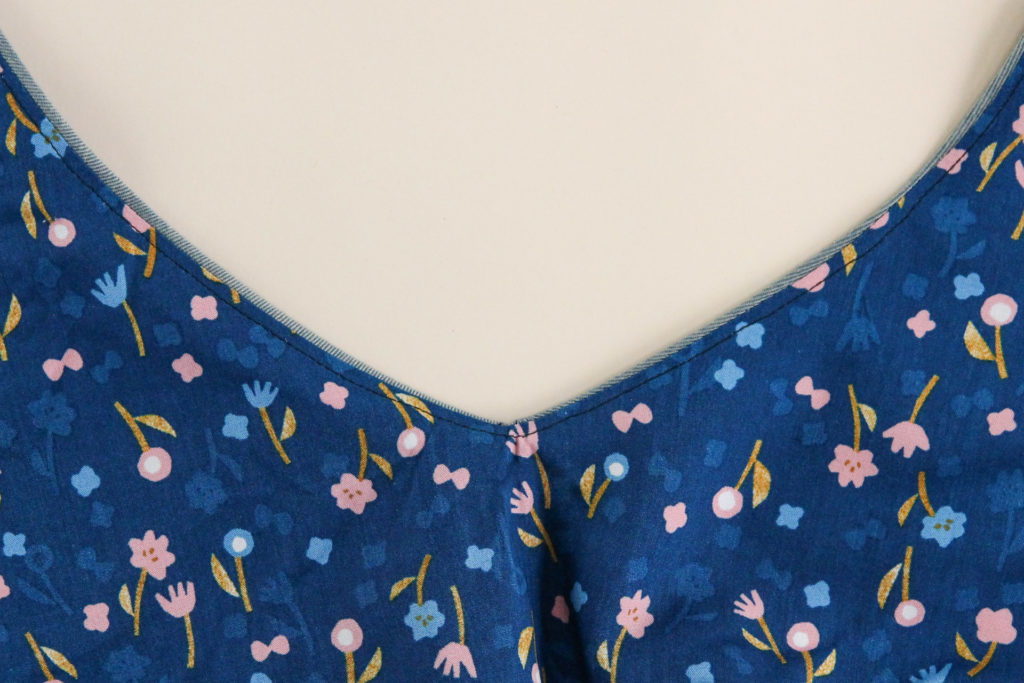
Here’s a closeup of the sleeveless armhole now:
And if your Upton has cap sleeves, here’s how it now looks:
On the inside, this is how the cap sleeve version should look:
Looking good!!
Press Lining Waistband
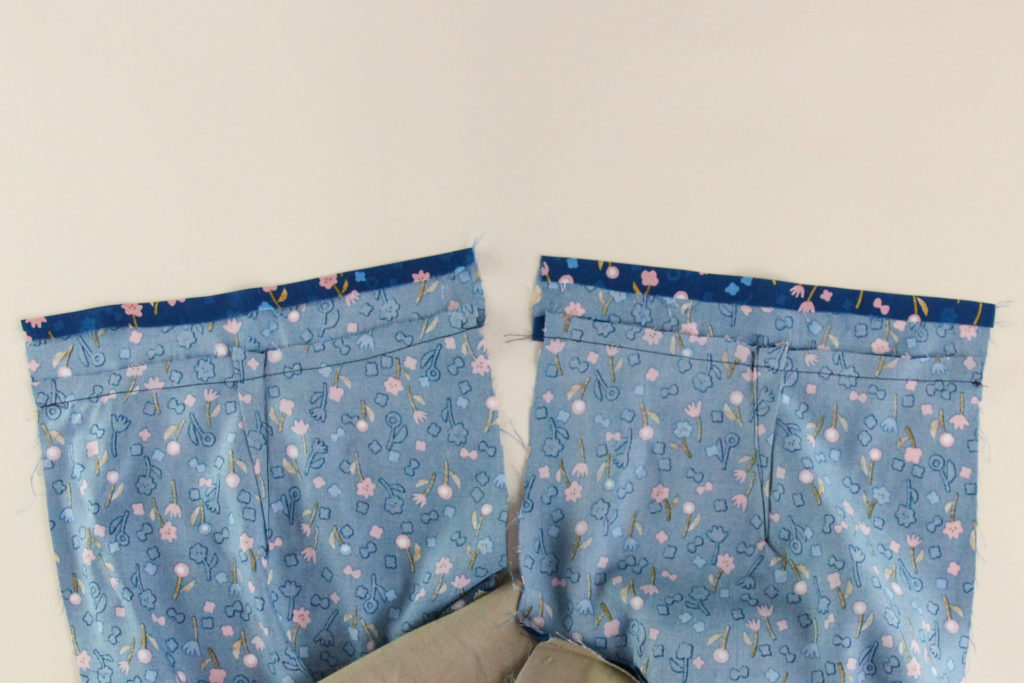
A quick step before we sew our side seams: fold the bottom edge of the lining waistband to the wrong side by 1/2″ (12 mm) and press. (Just the lining!)
Do the same thing on the two back sections:
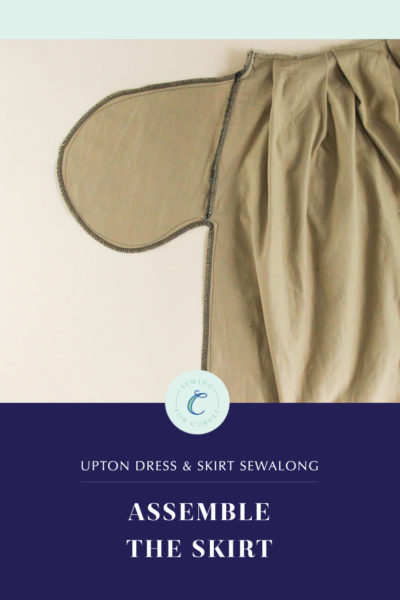
Sew Side Seams
No we can sew our side seams.
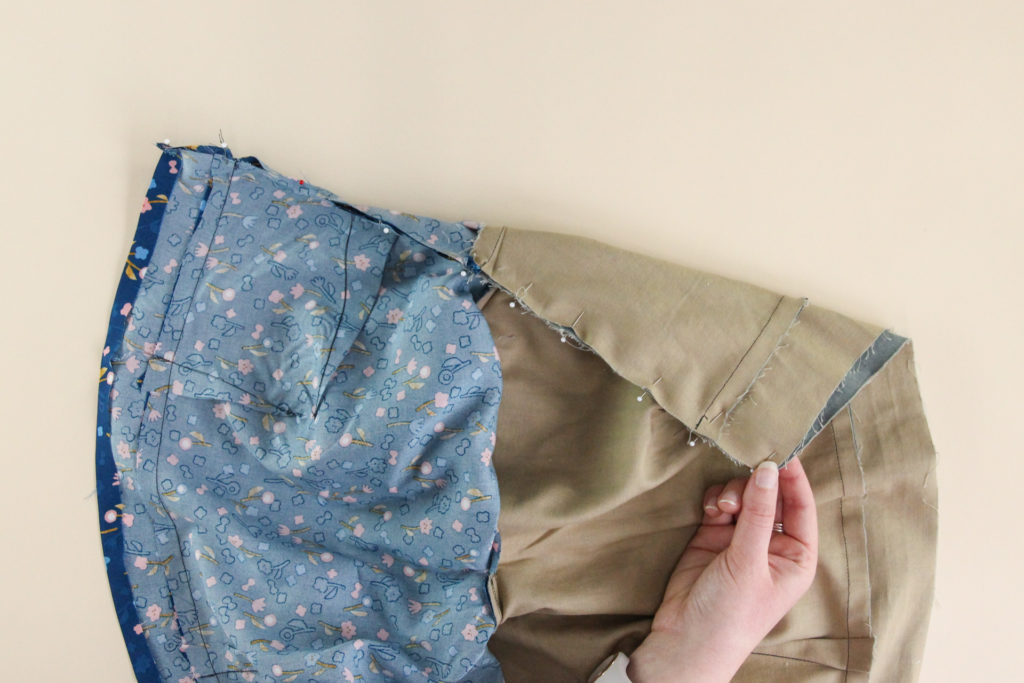
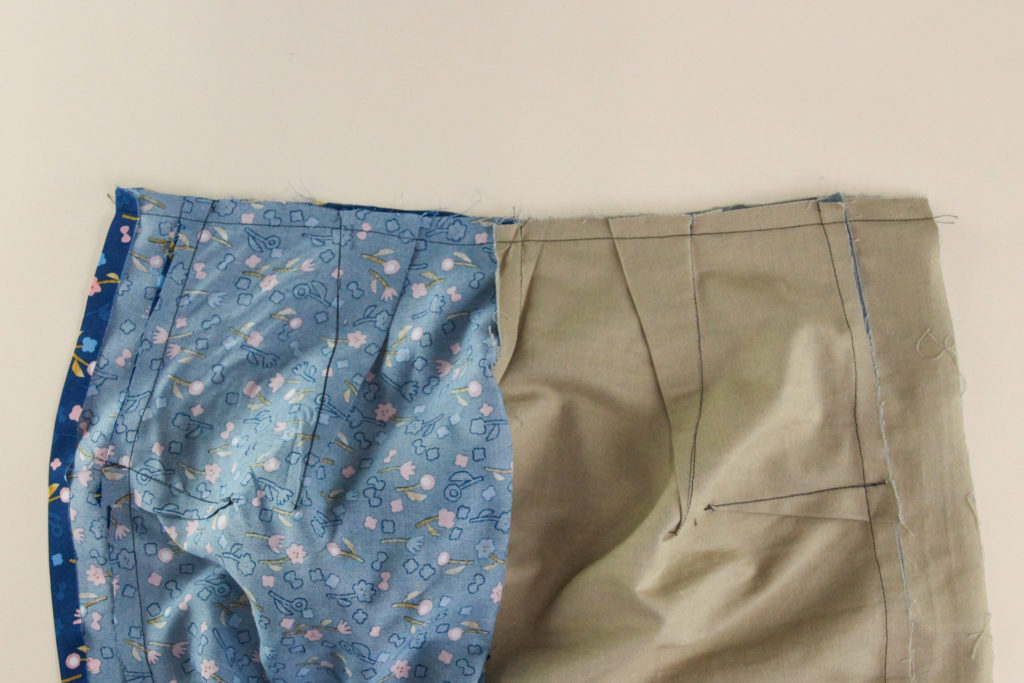
This bit seems a bit tricky at first, but once you get your bodice in position, it’s an easy seam to sew. I’m showing it here from a few different angles to help you understand this step.
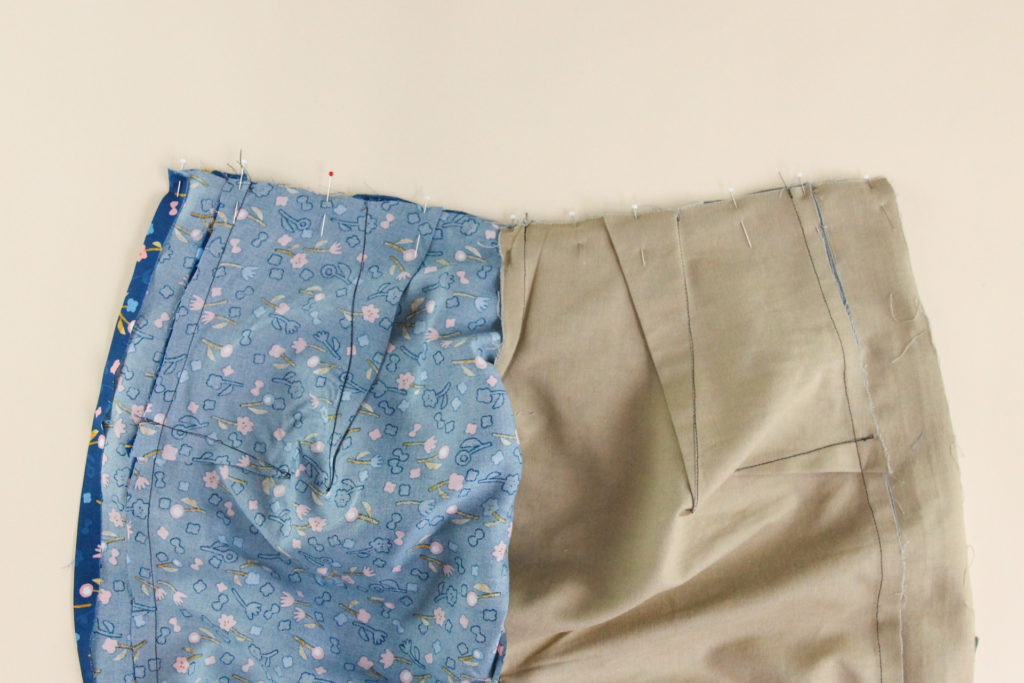
Pull the lining and outer bodice so that they’re pointing in separate directions. Line up the lining at the side seams (front and back) and pin, then line up the outer bodice at the side seams (front and back) and pin that too.
In short, lining goes with lining and outer goes with outer. Got it?


Once you’ve pinned that down, go ahead and sew both side seams using our 1/2″ (12 mm) seam allowance.
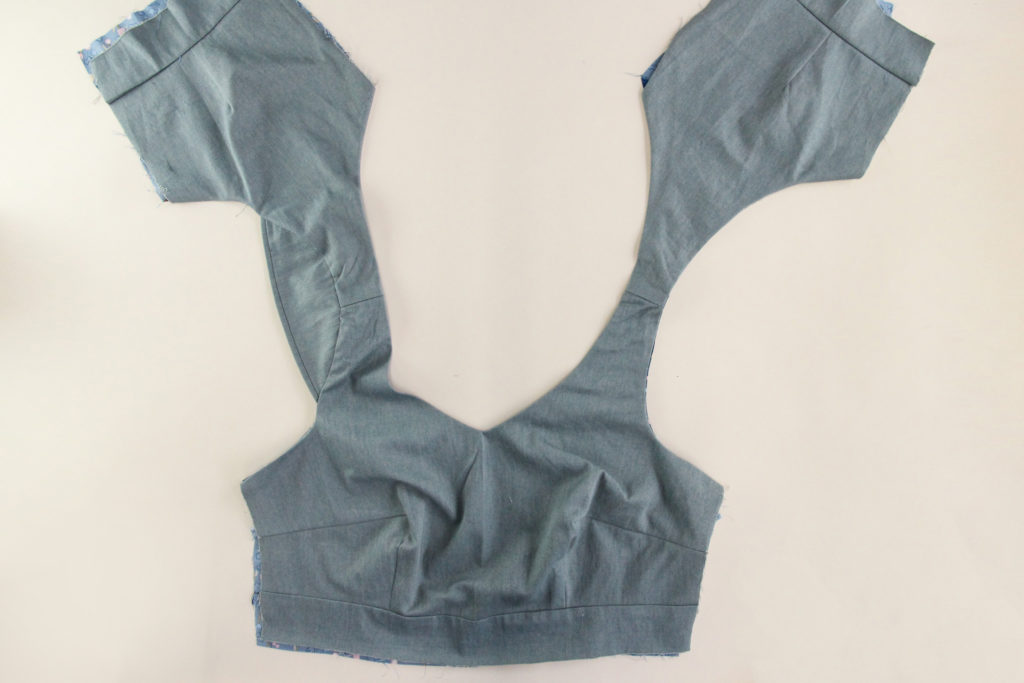
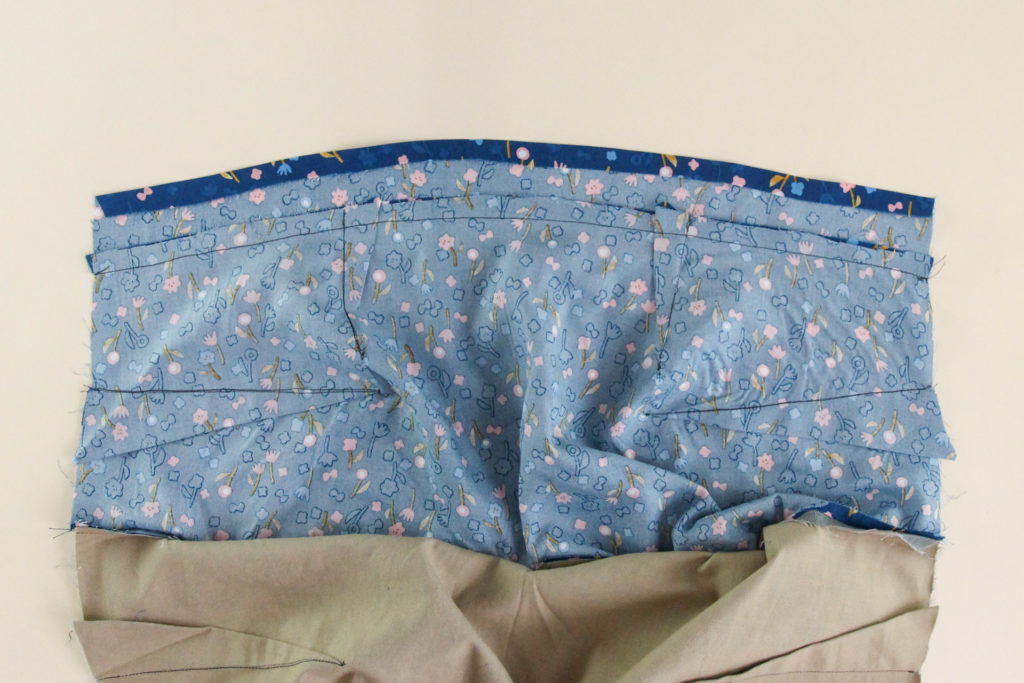
Press the seams towards the back, and then we can flip our bodice right side out again!
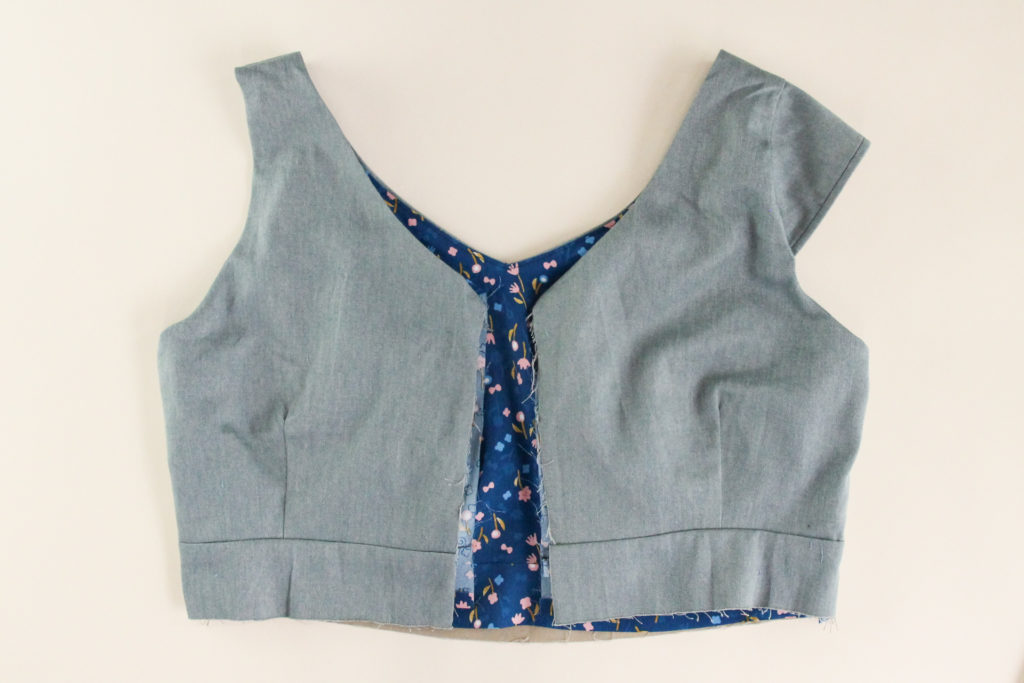
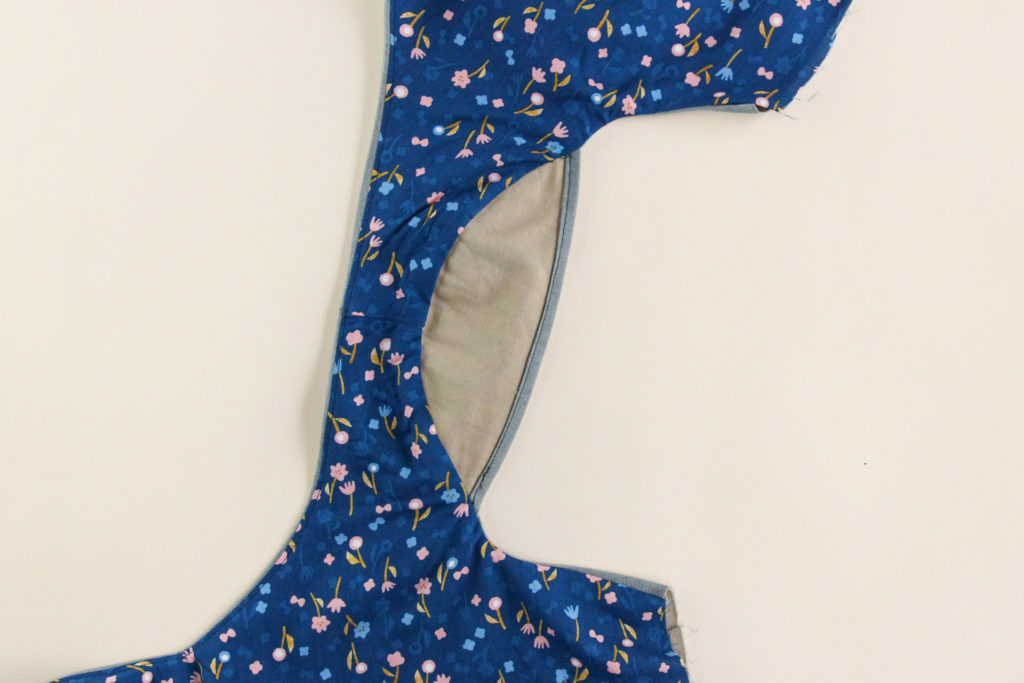
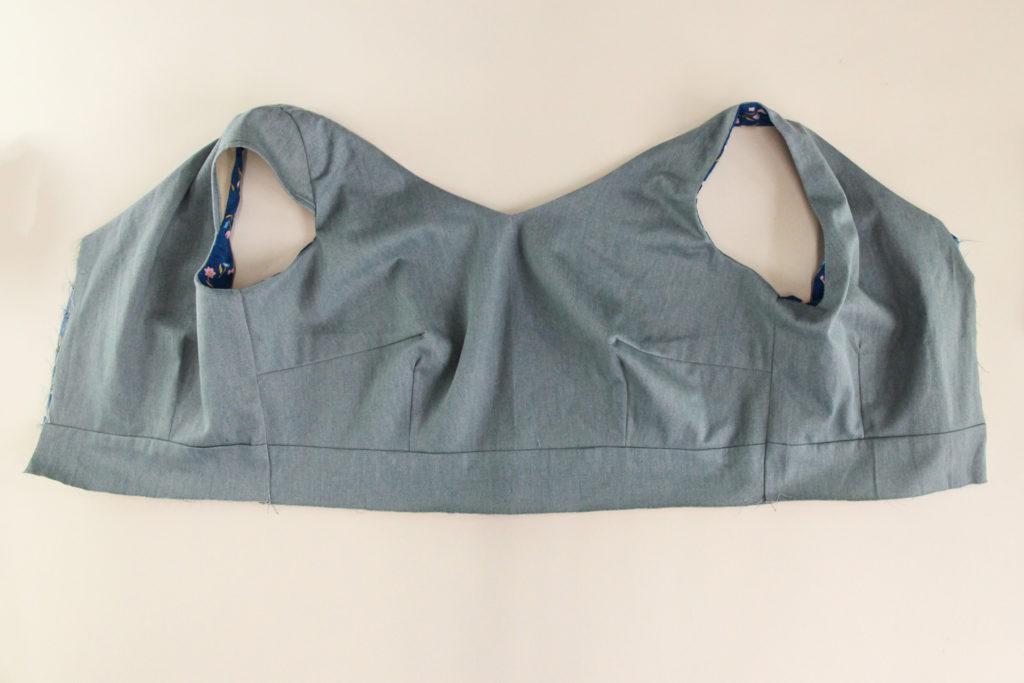
Here’s how it will look from the inside:
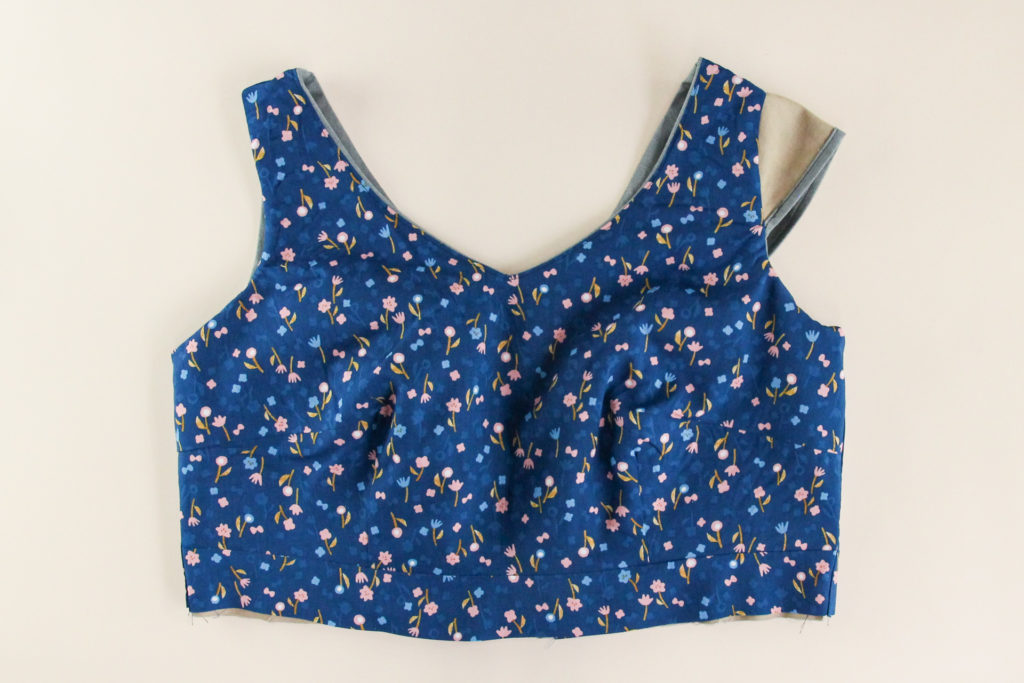
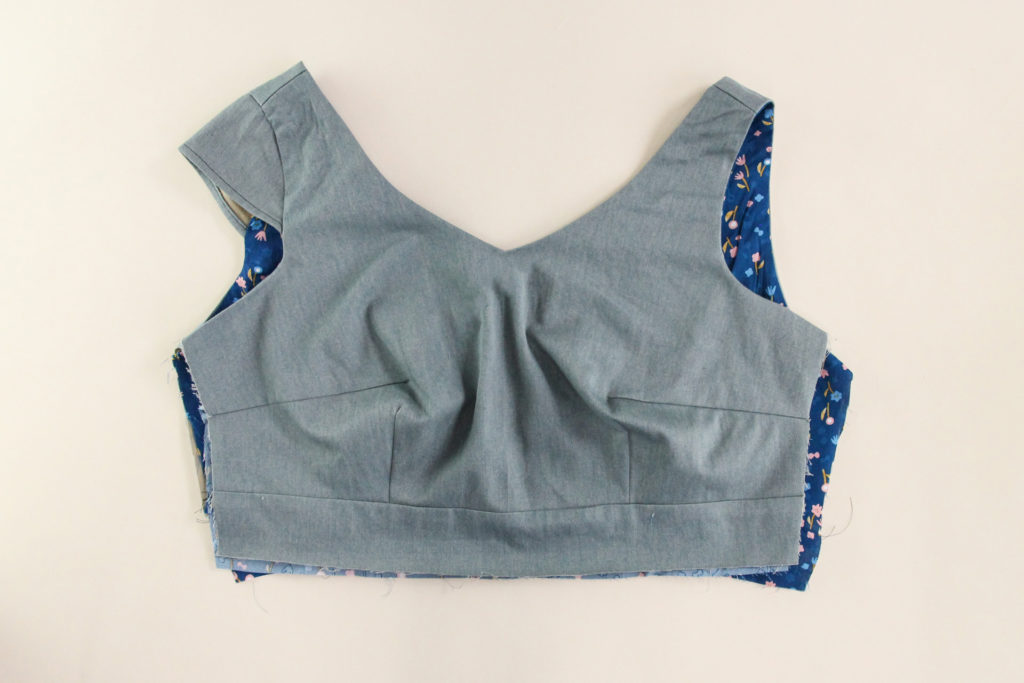
Here’s a view where it’s laying flat (sort of) so you can see that the side seams are now sewn.
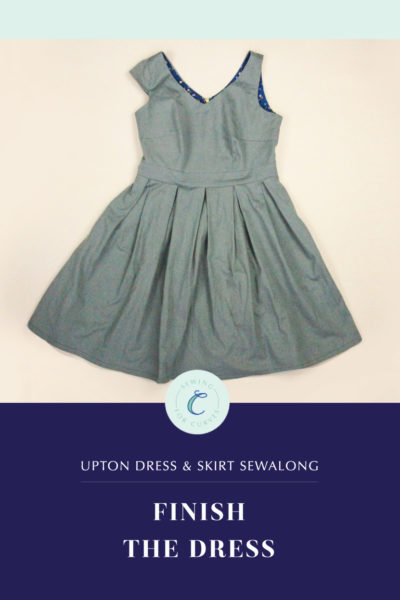
Okie dokie, that’s it for this stage of the process! Nicely done–that bodice already looks so beautiful and clean on the inside.
Jump to: