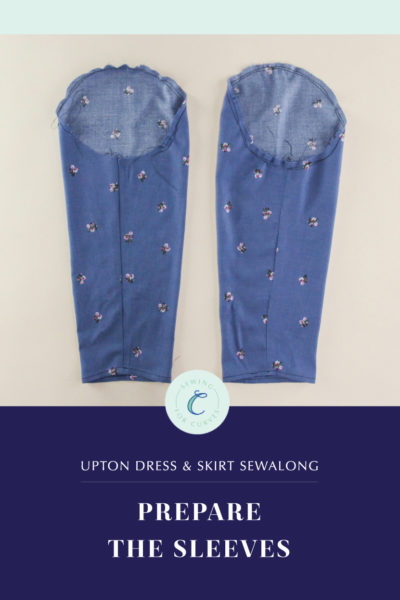
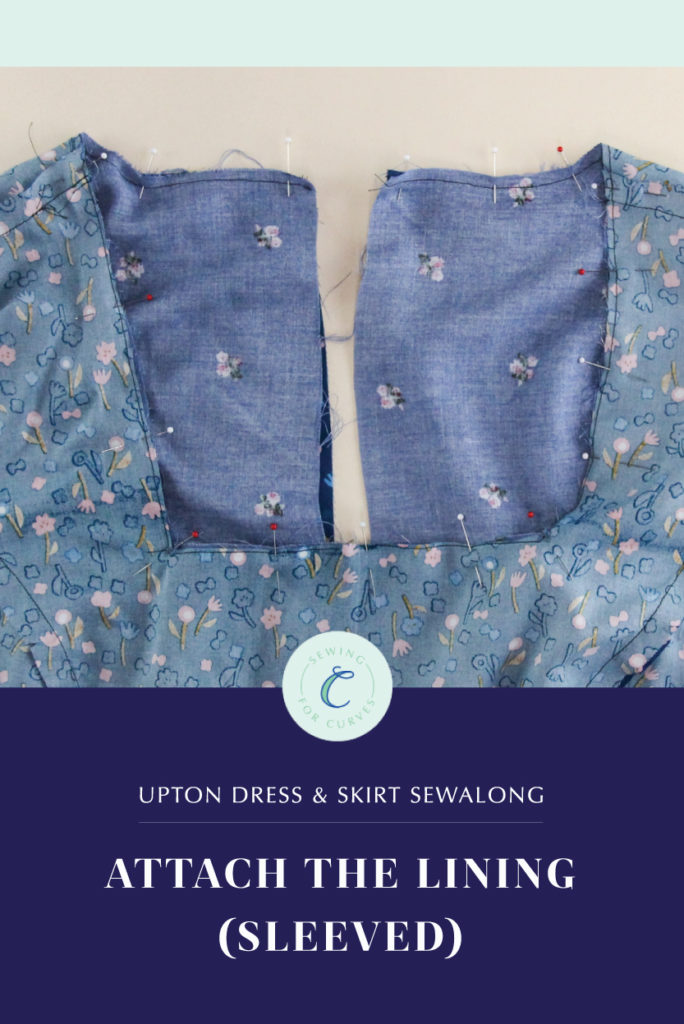
Welcome back to the Upton Dress & Skirt sewalong! Today, we’re showing you how to attach the lining to the outer bodice of the Upton Dress for the fitted sleeve, flutter sleeve, and tie sleeve options.
(Just joining us? Make sure you head over to the main Upton sewalong page to catch up on everything you may have missed.)
The fitted, flutter, and tie sleeve options are included in the new Upton Mix & Match Expansion. (If you have the classic Upton, you can get the expansion as an add-on so that you can take advantage of these new features!) Today, we’re going through how to attach the lining if you’re using any of these three sleeve types on your Upton Dress. (If you’re using cap sleeves, you should follow the steps for finishing a sleeveless bodice.)
As a reminder, I’m using a contrasting thread so that you can more easily see what I’m doing, but you can use a coordinating thread, or any thread you like.
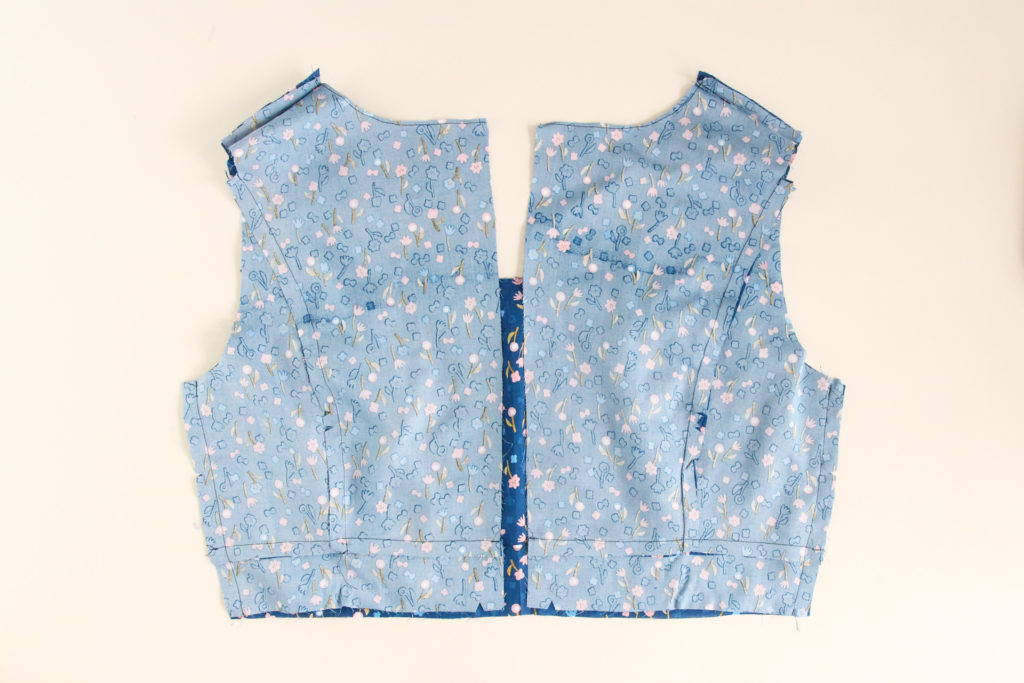
Sew Side Seams
Let’s start by sewing the side seams on our outer bodice. Pin the front to the back at the two side seams.
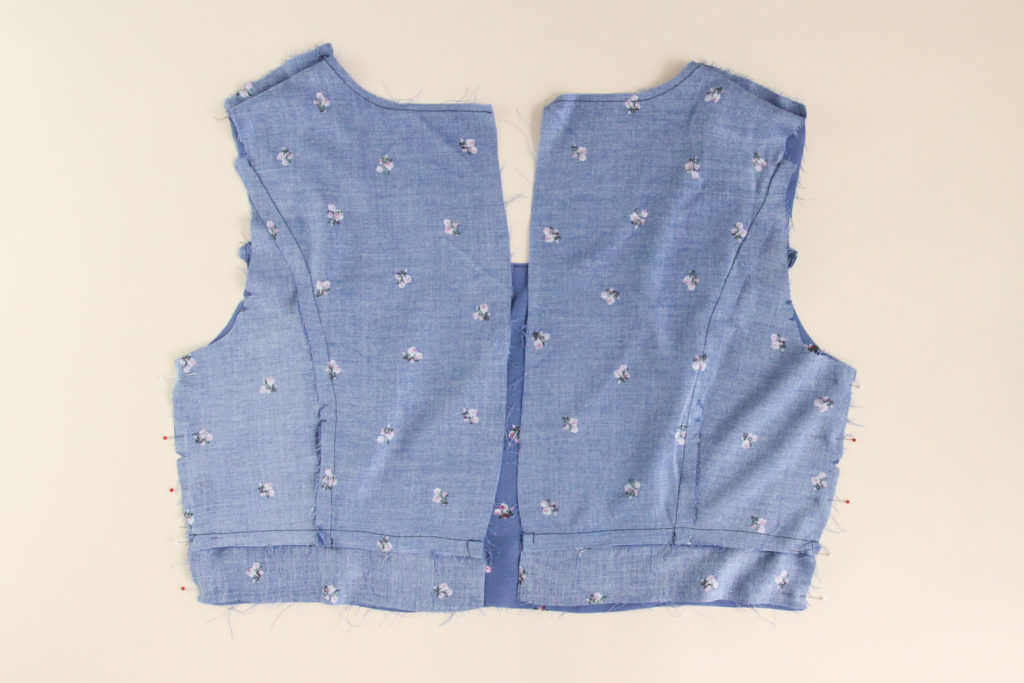
Let’s sew those seams using our 1/2″ (12 mm) seam allowance.
This seam will be fully enclosed, so there’s no need to finish it. Press the seam allowance to the back.
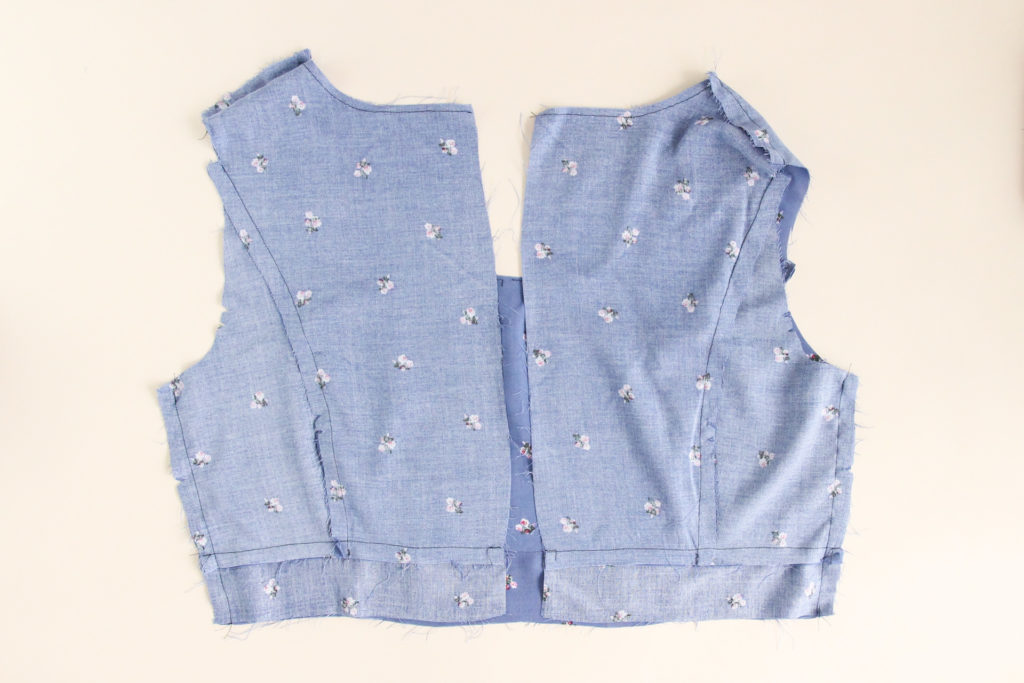
Let’s do the same thing with our bodice lining.
Press Lining Seam Allowance
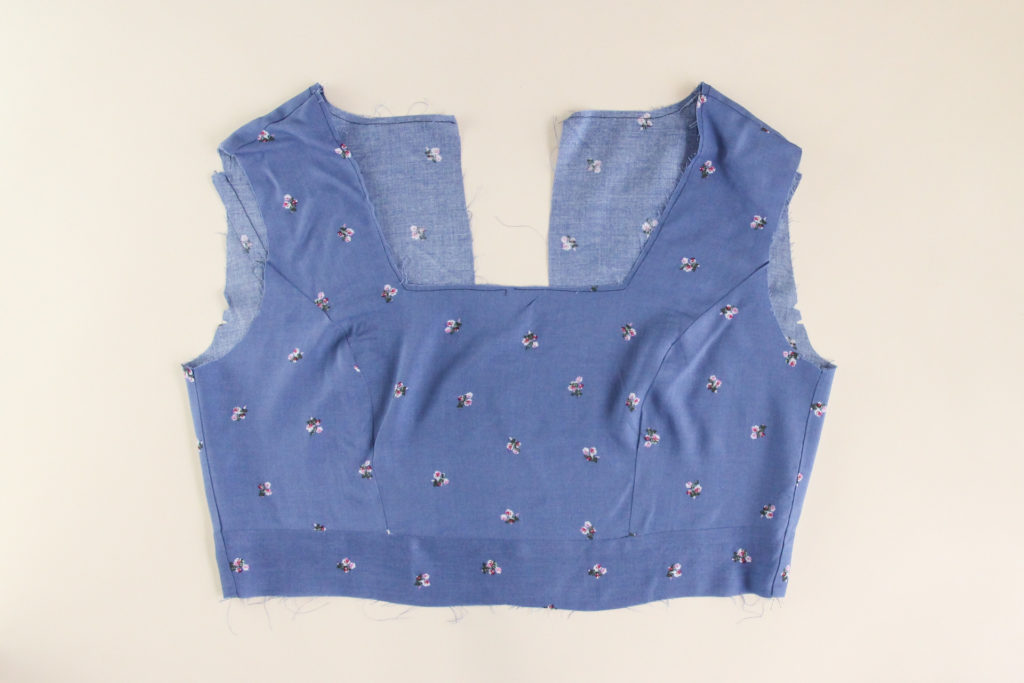
Next, fold the bottom edge of the lining waistband to the wrong side by 1/2″ (12 mm) and press, like so:
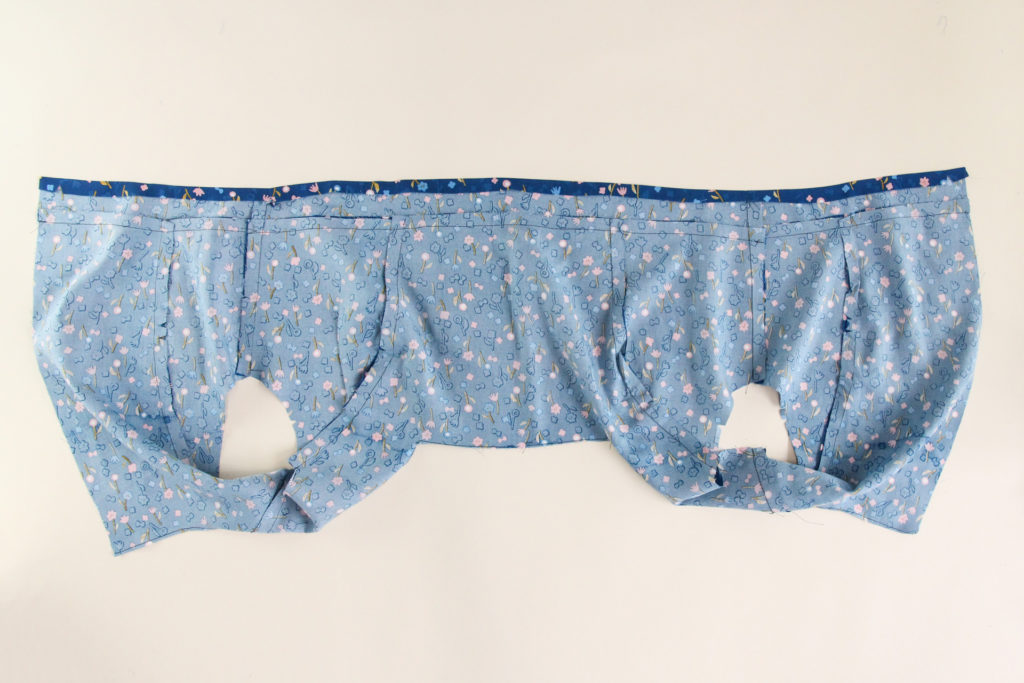
We’re going to do the same thing with the armhole opening. This is a bit tricker because it’s a curved edge, so start by clipping into the curves of the armscye to help it lie flat more easily. Clip up to but not through the 1/2″ seam allowance.
Repeat with the other armscye.
Attach the Sleeves
Time to get our sleeves on!
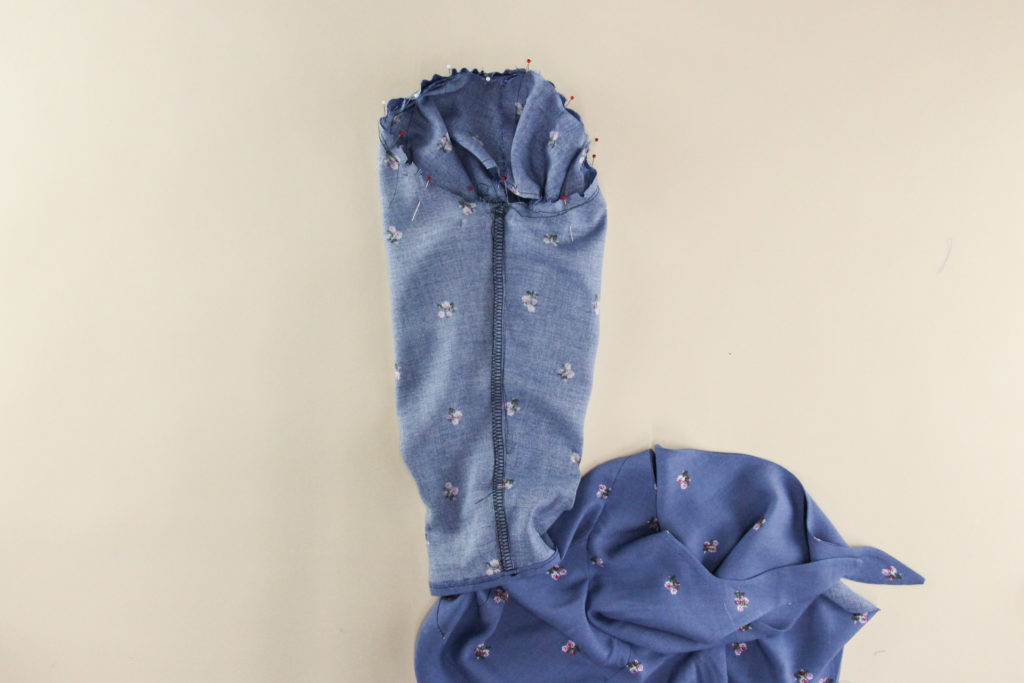
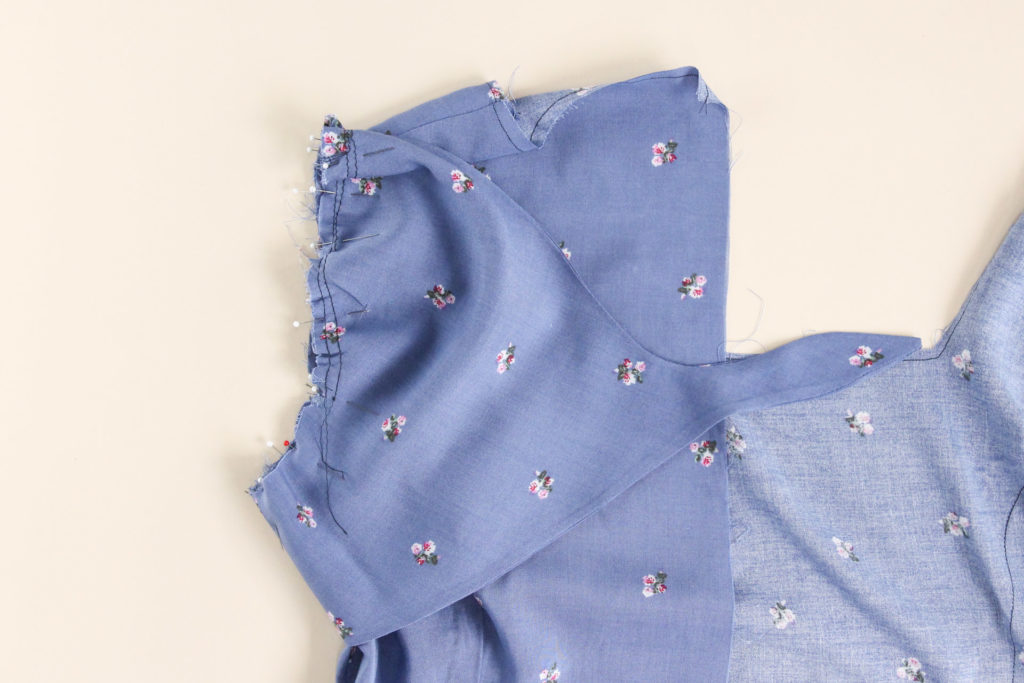
I’ll show the fitted sleeve first, and you can use the same technique for the flutter sleeve. These sleeves are inserted in the round, and for some reason I decided it would be easier to insert the bodice into the sleeve rather than the sleeve into the bodice. Apologies is this looks totally bonkers to you.
Either way you do it, make sure that the sleeve and outer bodice are right sides together and that you’ve matched up the notches. Use the basting threads to adjust the sleeve cap so that it fits the armscye properly.
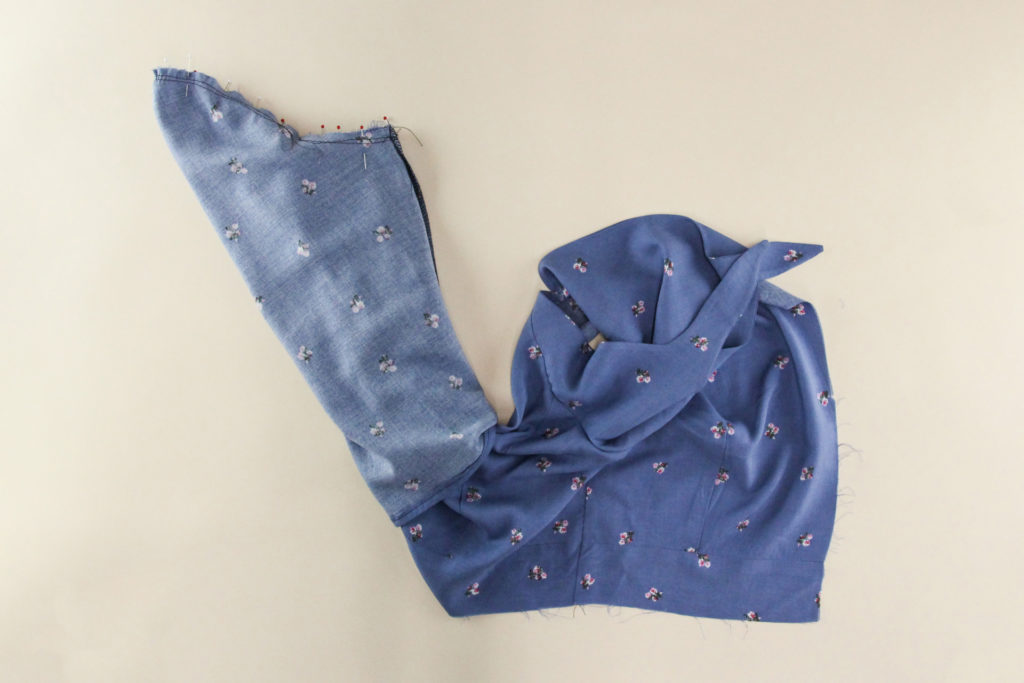
Here’s another view–again, the bodice is inside the sleeve, but you can put the sleeve inside the bodice if that makes more sense to you.
Sew that seam using our 1/2″ (12 mm) seam allowance.
Press the seam allowance towards the bodice.
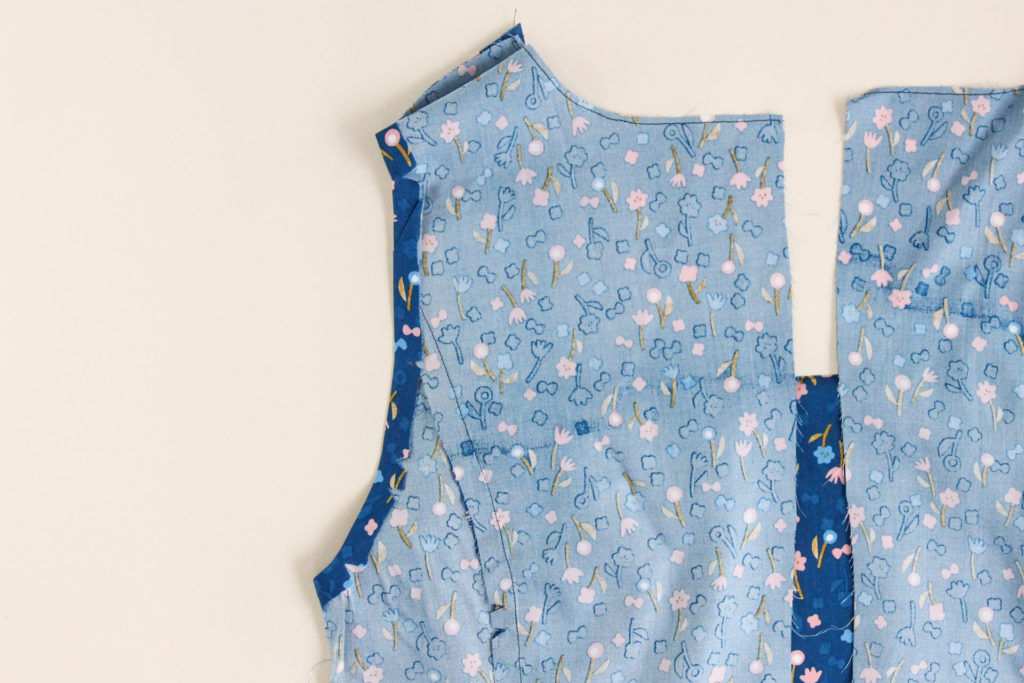
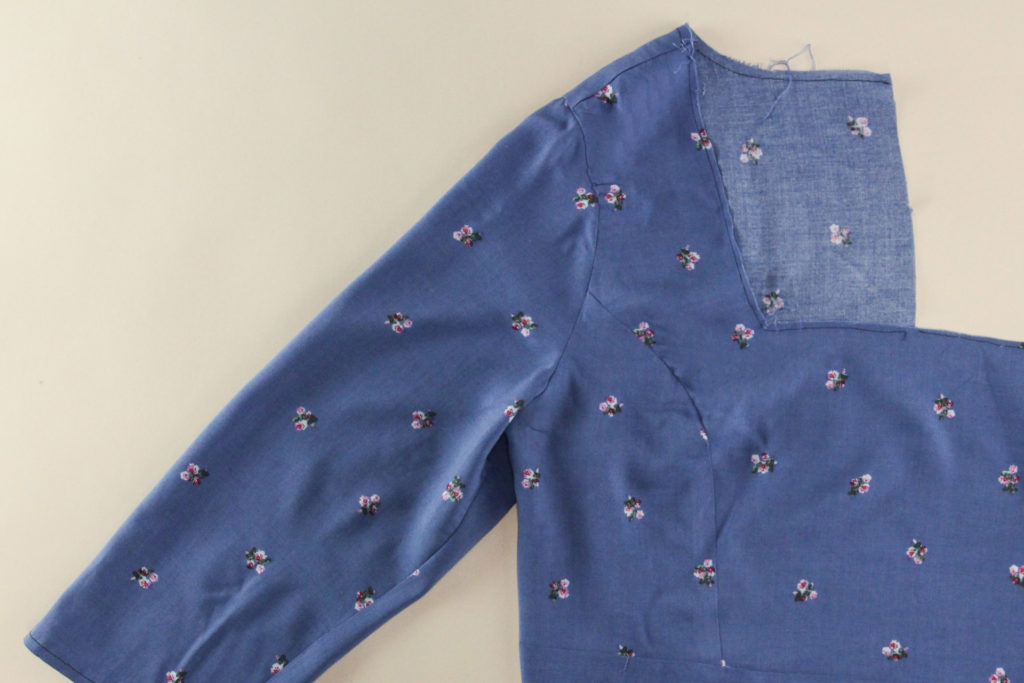
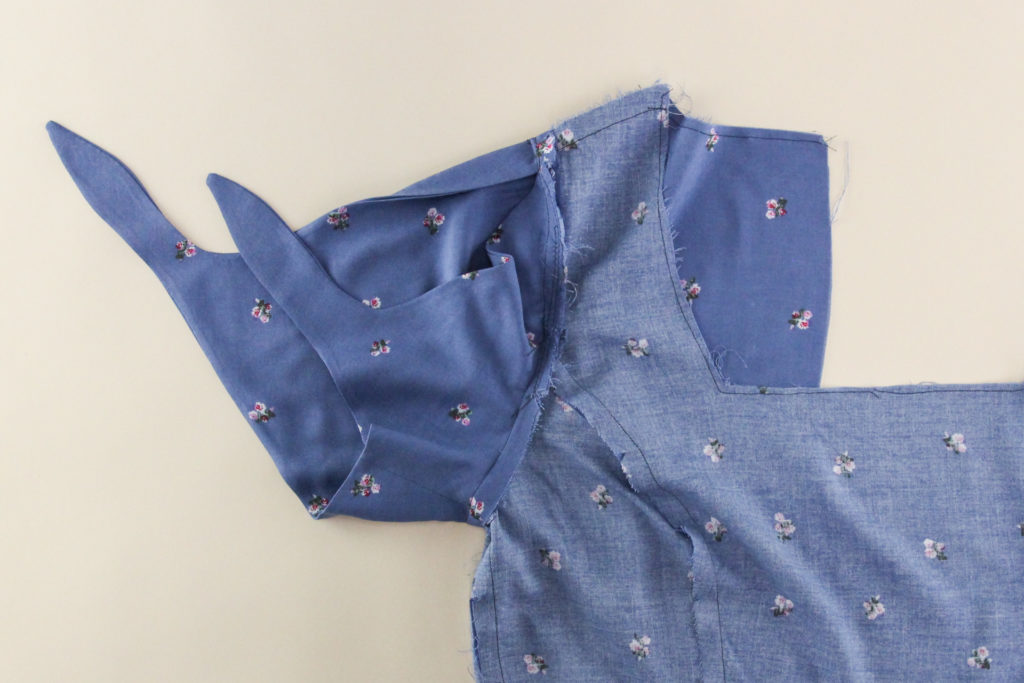
If you’ve done that all right and I haven’t thoroughly confused you, when you pull the sleeve to the wrong side, it will look like this:
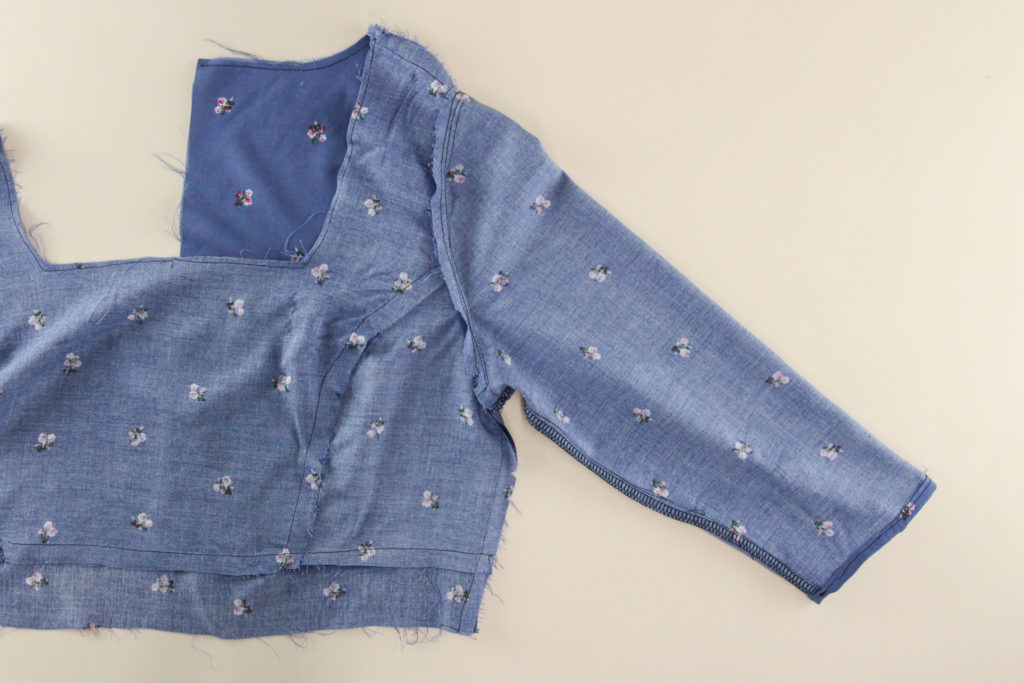
And like this from the right side:
Repeat with the other sleeve and armscye.
If you’re using tie sleeves, here’s how to insert those:
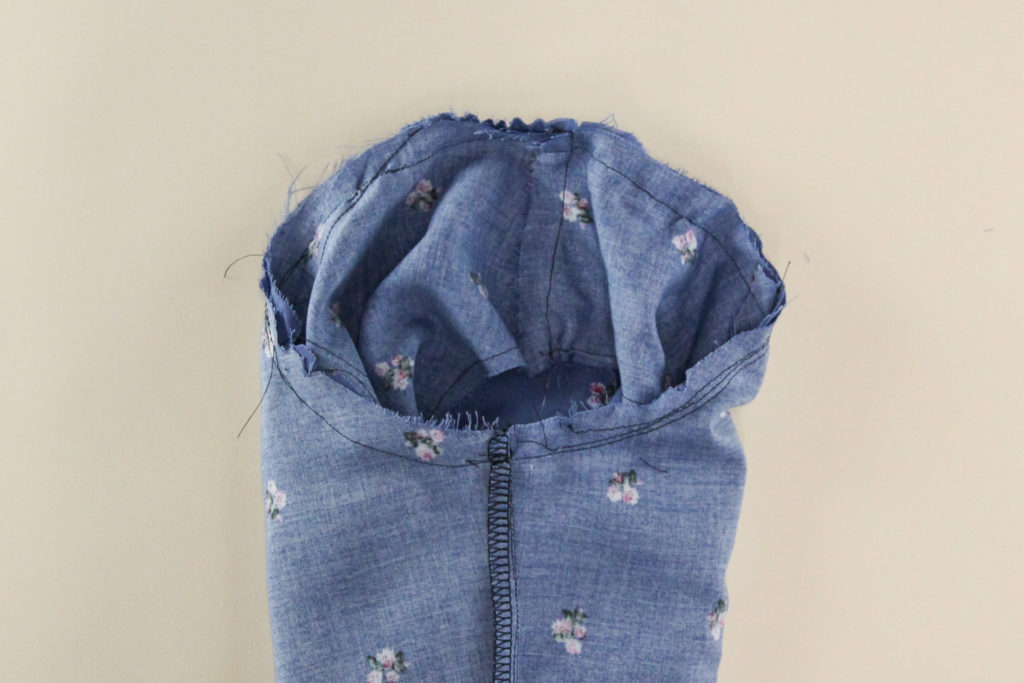
Line up the notch near the top of the sleeve cap with the shoulder, and then match the other two notches. It may look upside down to you as you’re doing it, but if you have the opening up top, you’re doing it right.
Pull the basting threads as needed to fit the sleeve cap into the armscye.
Go ahead and sew that seam at 1/2″ (12 mm) seam allowance, then press the seam allowance towards the bodice.
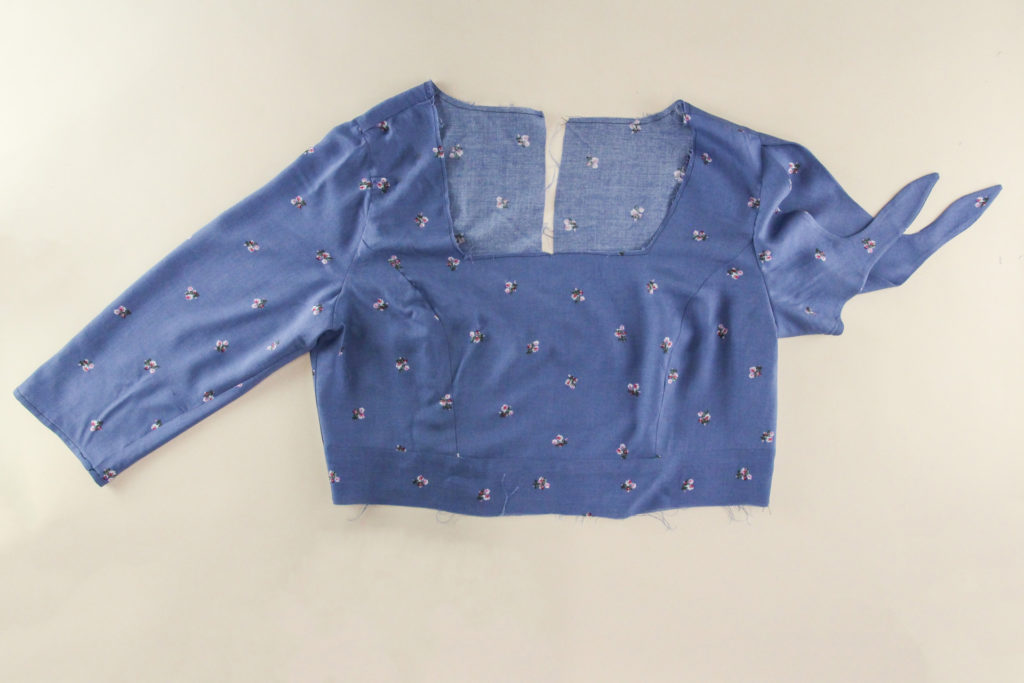
Here’s how it’ll look from the wrong side:
Repeat with the other sleeve.
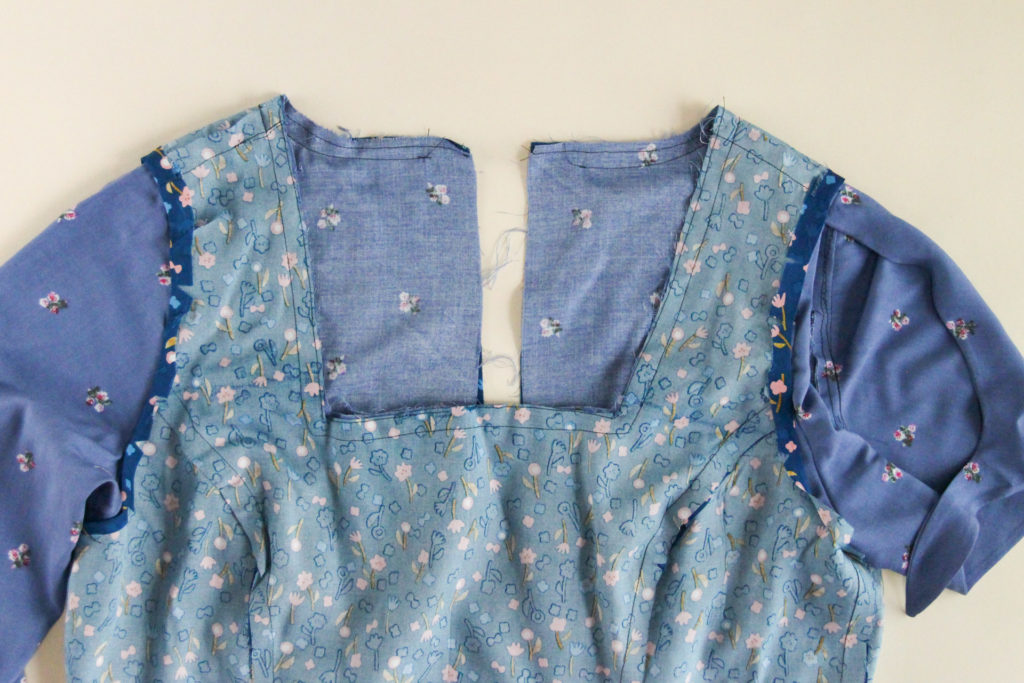
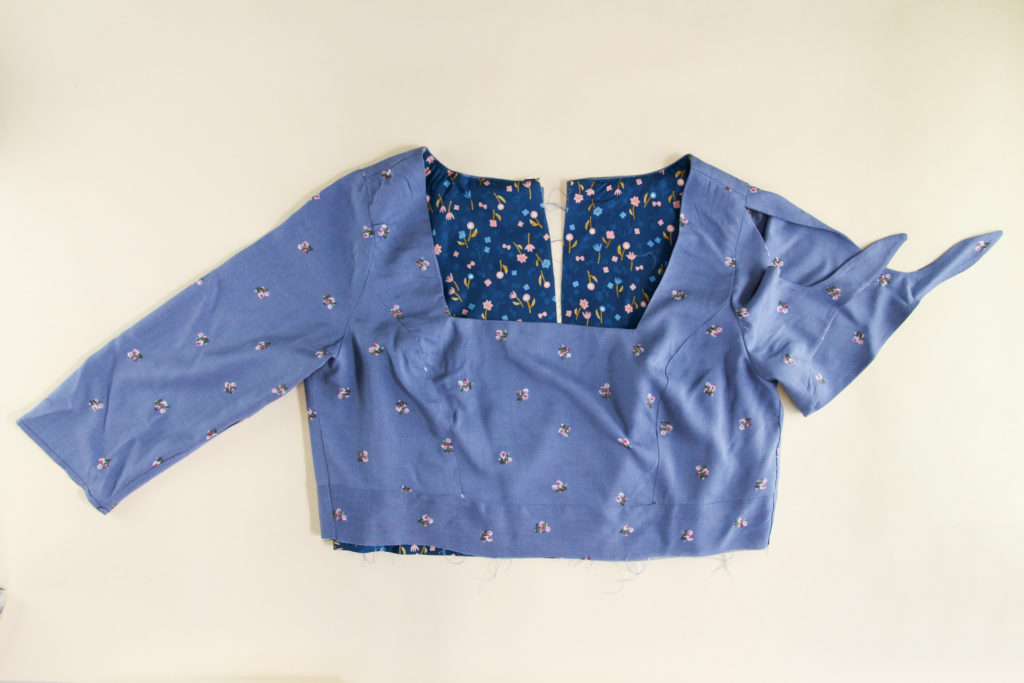
Now our outer bodice is ready, and we can go ahead and insert the lining. (Ignore the fact that I have two different sleeves on mine–I guess it could be a fashion statement?)
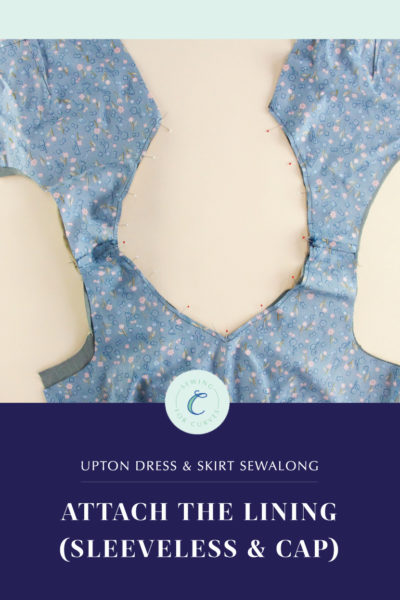
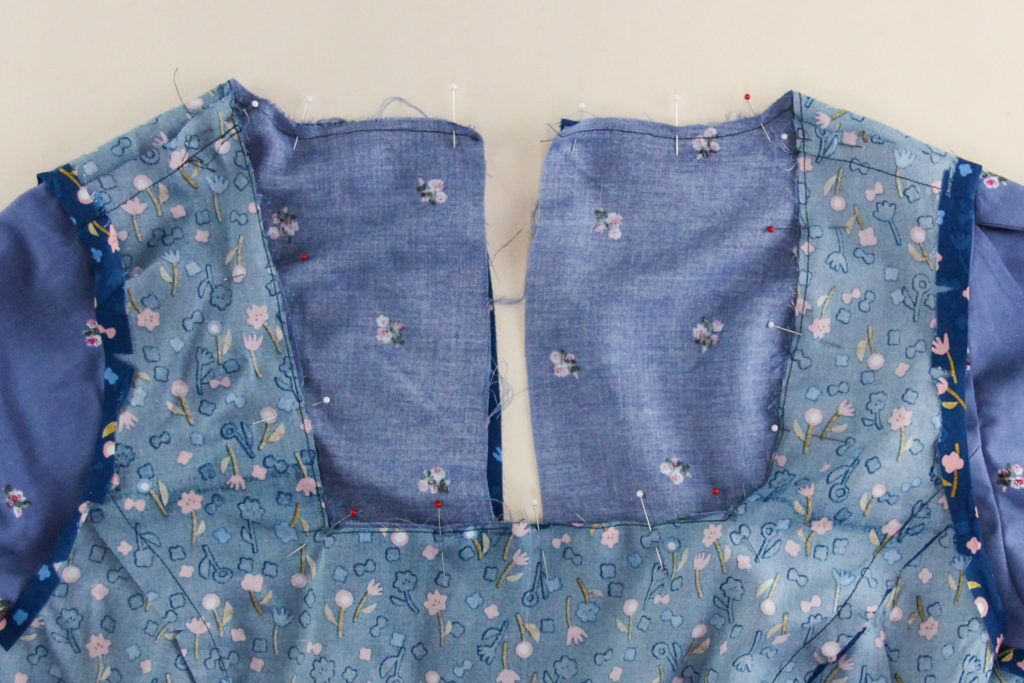
Attach Lining at Neckline
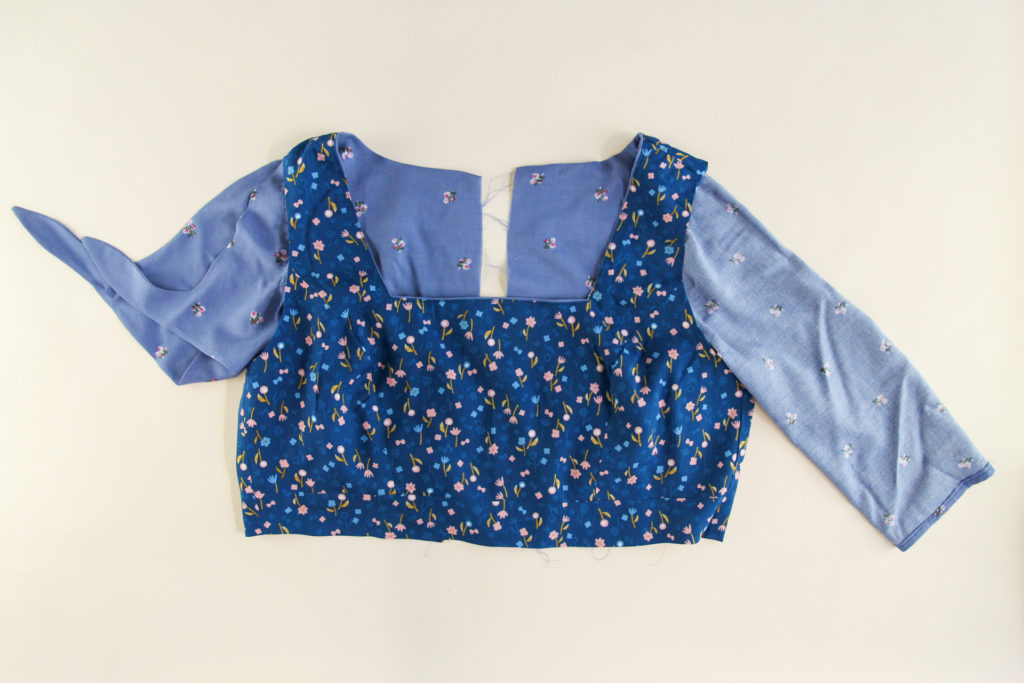
Place the outer bodice inside the lining, right sides together. Line them up at the neckline and pin.
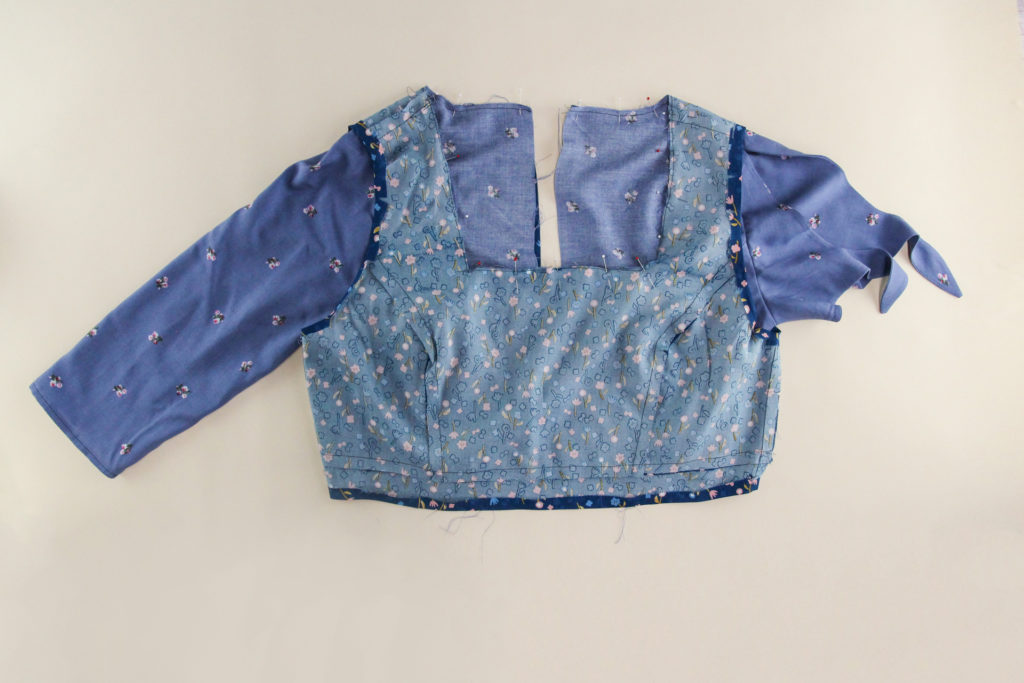
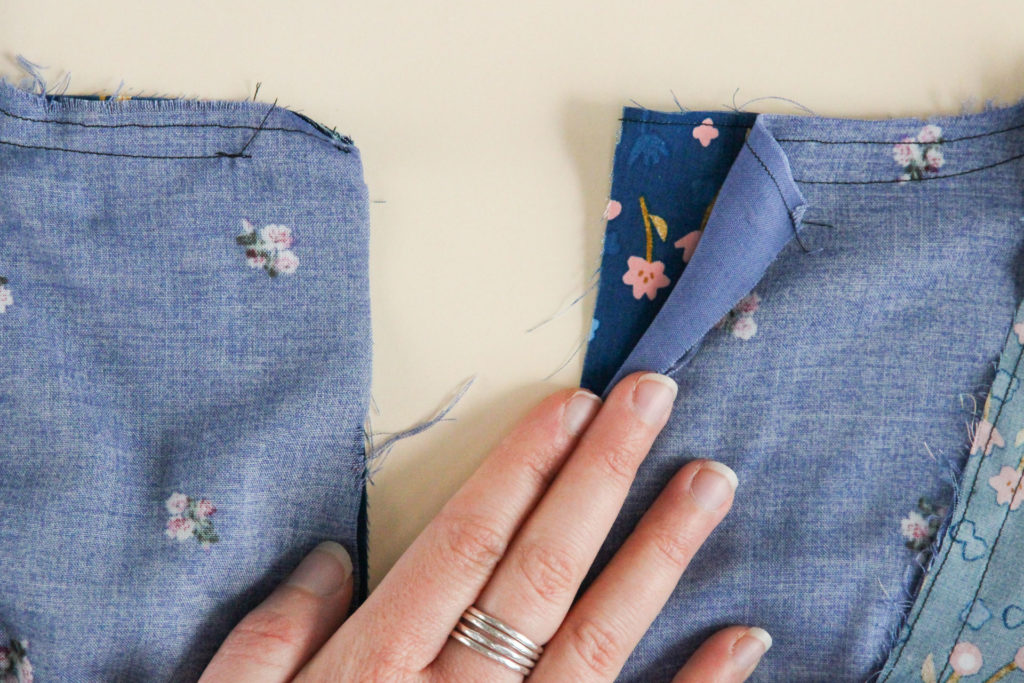
Now go ahead and sew that seam at 1/2″ (12 mm) seam allowance. If you’re using the v-neck or square neckline, keep the needle down and pivot at the point of the v or at the corners.
Leave 1″ (2.5 cm) unsewn at either end of the neckline.
Now we can press the seam allowance towards the bodice, and understitch it to the neckline at 1/8″ (3 mm) seam allowance.
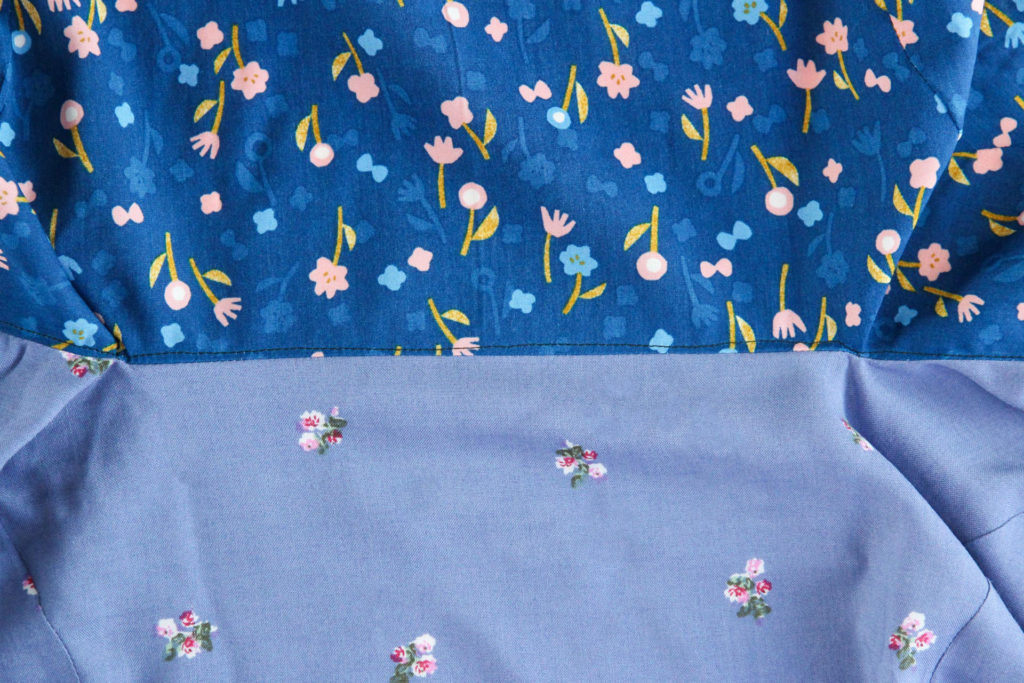
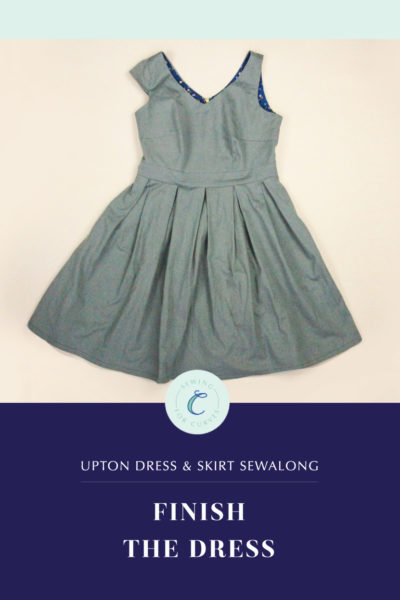
Looking good, looking good!
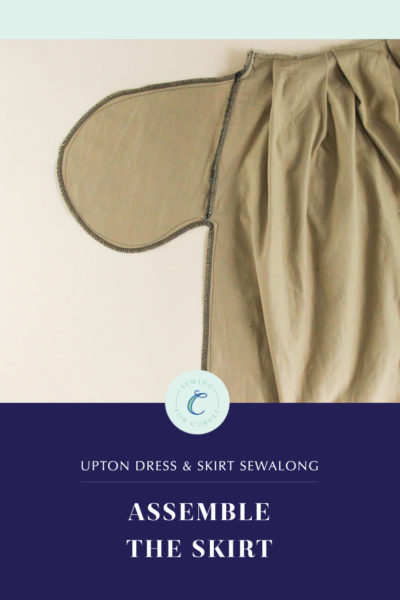
We’re now done with inserting the lining into our sleeved bodice for the moment–we’ll be finishing the armscye so that it’s nice and neat as well in a later stage. Next up, it’s time to make our skirt!
Jump to: