Welcome back to the Upton Dress & Skirt sewalong! Today, we’re showing you how to finish the Upton Skirt so you can get your twirl on.
(Just joining us? Make sure you head over to the main Upton sewalong page to catch up on everything you may have missed.)
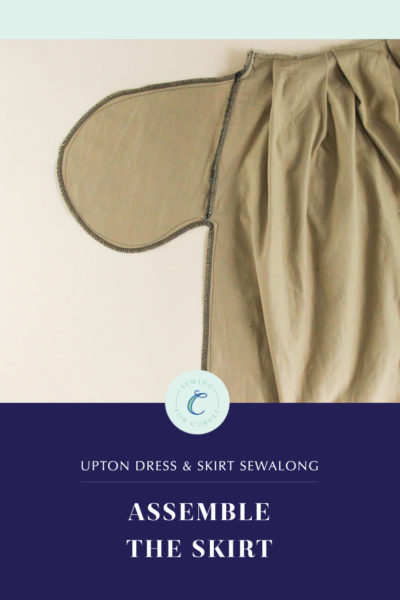
The Upton Mix & Match Expansion Pack includes a contoured waistband so that you can make a standalone Upton Skirt–no bodice needed. (If you have the classic Upton Dress pattern, you can get this expansion pack as an add-on so that you take part in the Upton Skirt fun, too!) Today, we’re showing you how to assemble this waistband and use it to complete your Upton Skirt. I’ll be demonstrating this using the gored skirt option, but if you’re making a pleated skirt, the instructions are the same.
Alright, let’s get this skirt finished!
Prepare the Waistband
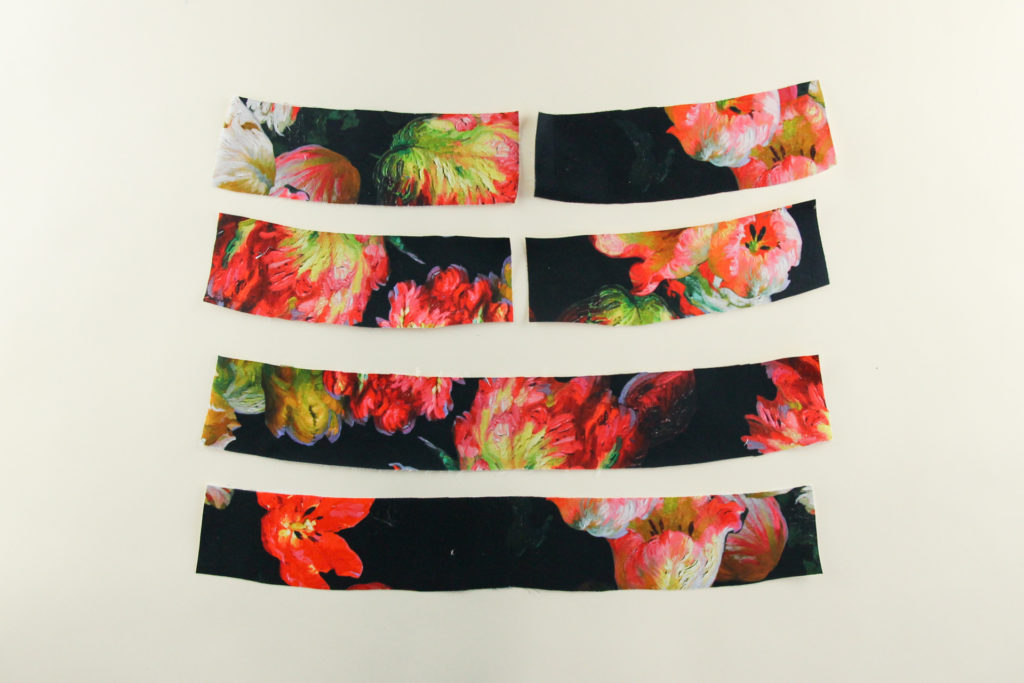
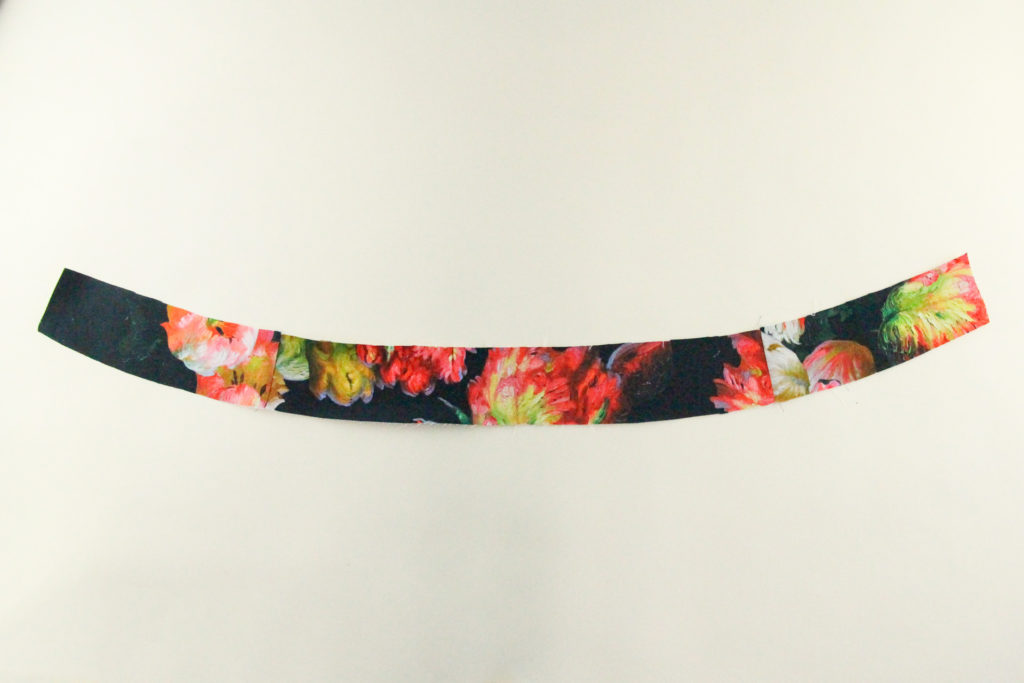
Let’s start by assembling our outer waistband and waistband facing. Here are all the waistband pieces–be sure to apply interfacing to one of the front waistbands and one of the pairs of back waistbands before going further:
Take one of the interfaced back waistbands and place it on the interfaced front waistband, right sides together, lining up the side seams. Pin in place.
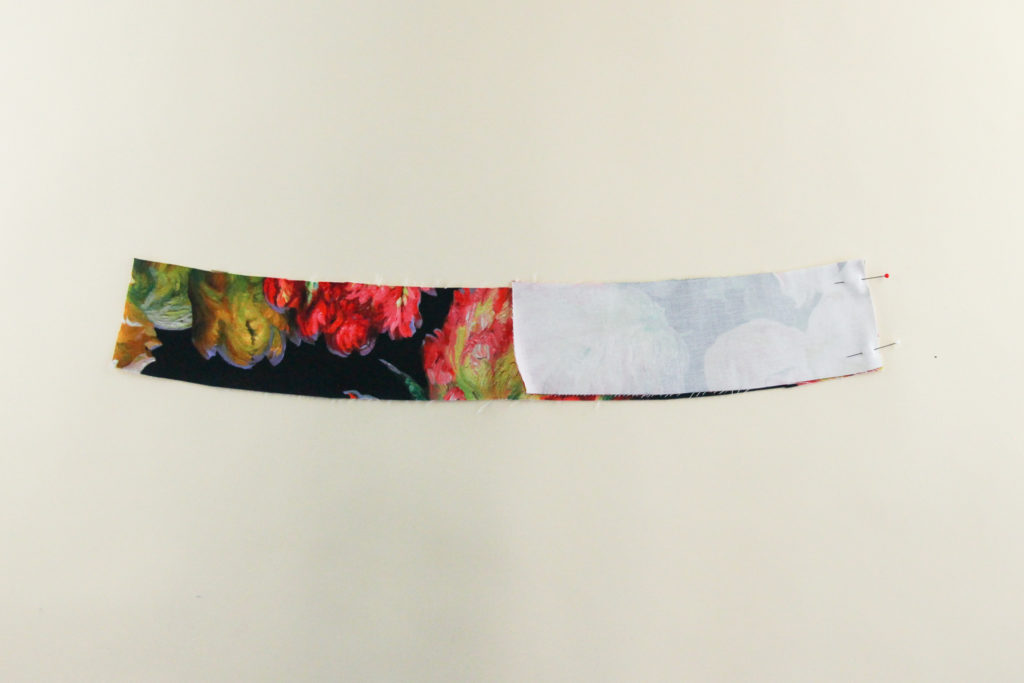
Let’s sew that seam using our 1/2″ (12 mm) seam allowance.
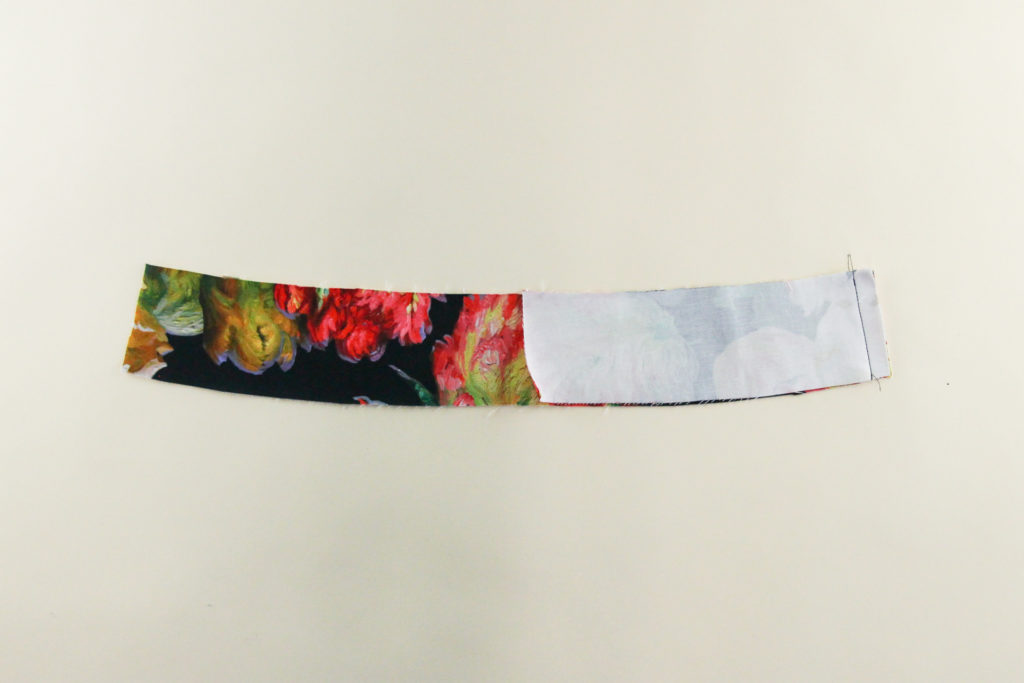
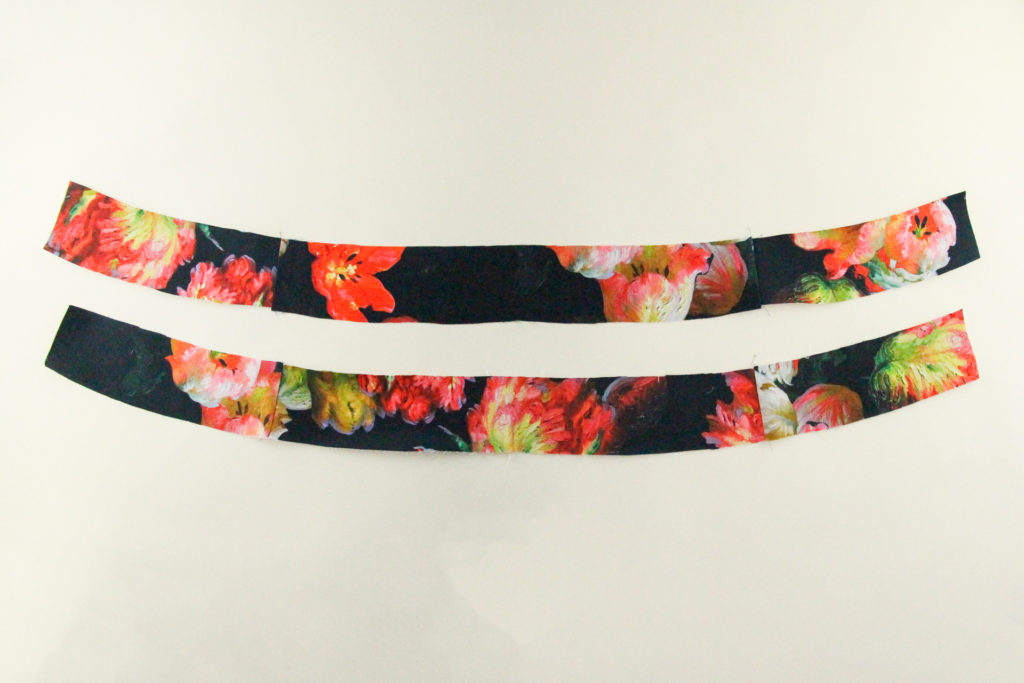
We can now press that seam allowance to one side (or open, if you prefer) and repeat with the other interfaced back waistband.
Here’s how our constructed waistband will look:
Let’s do the same with the other, uninterfaced set of waistband pieces.
From here on out, the interfaced waistband is the outer waistband, while the uninterfaced waistband is the waistband facing.
Attach the Waistband
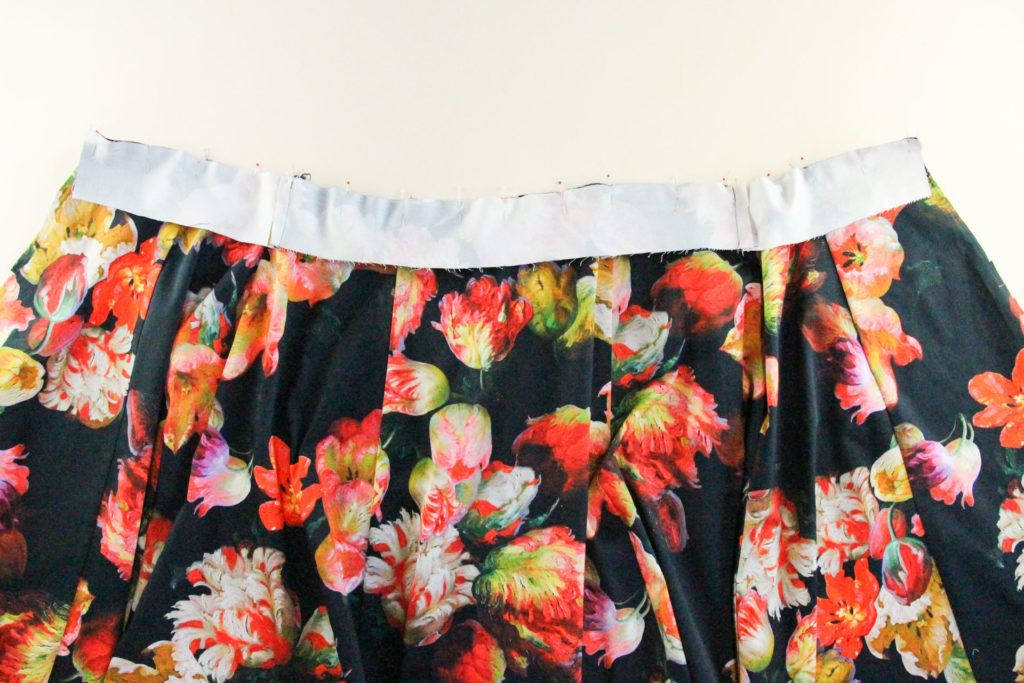
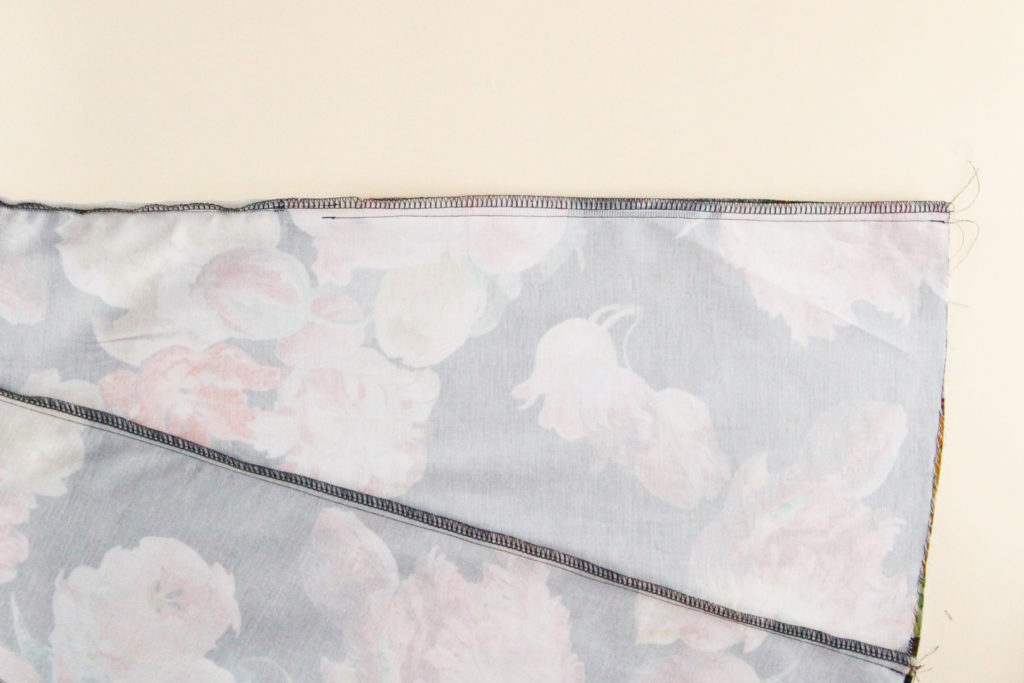
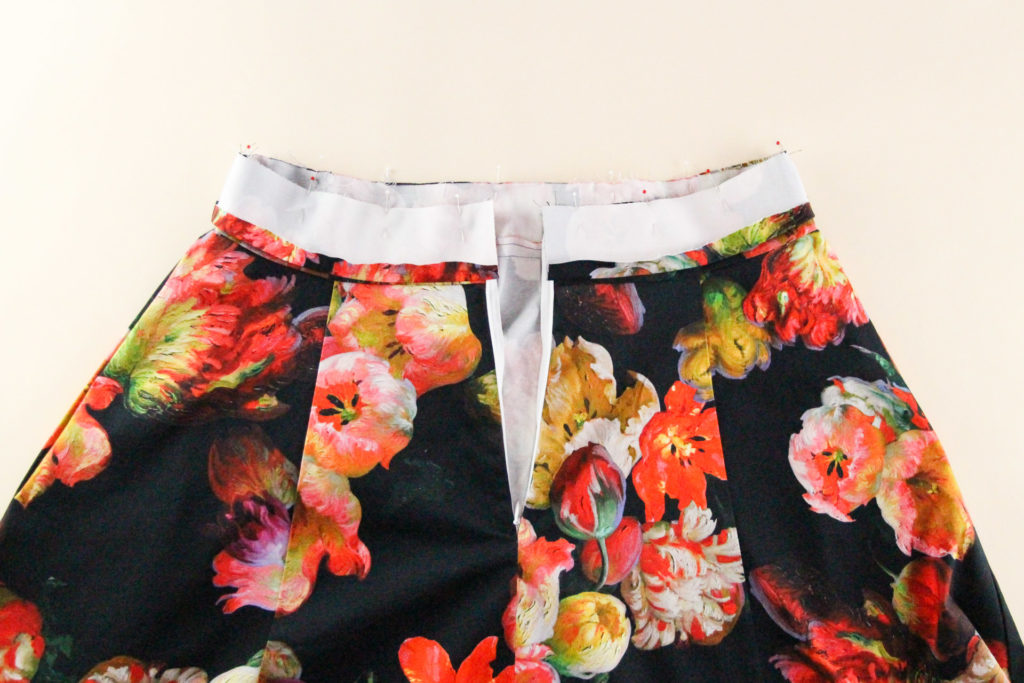
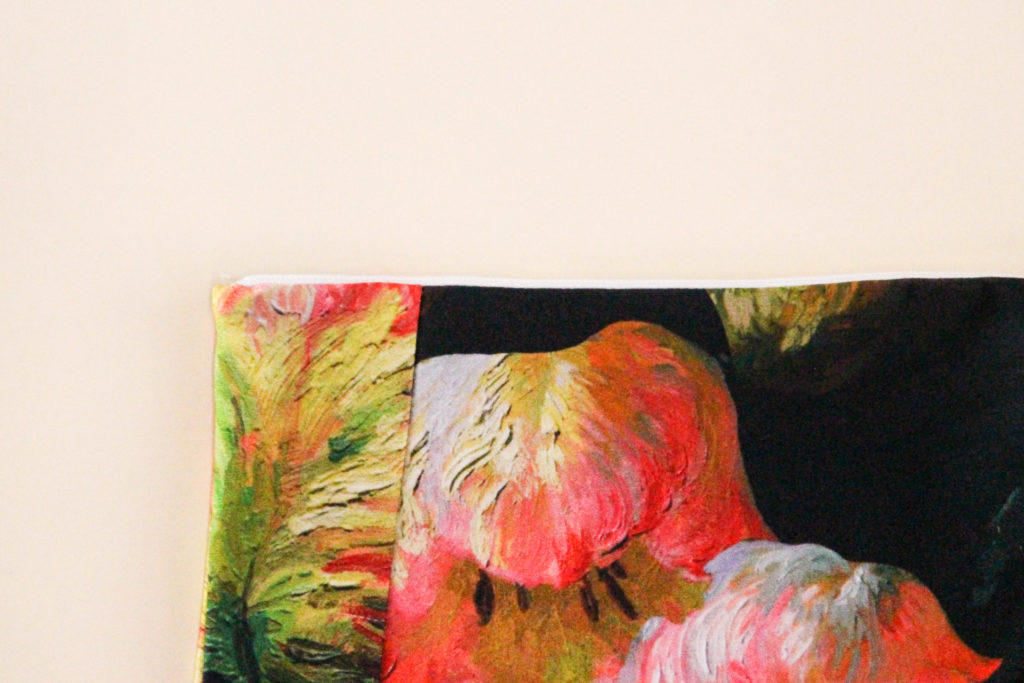
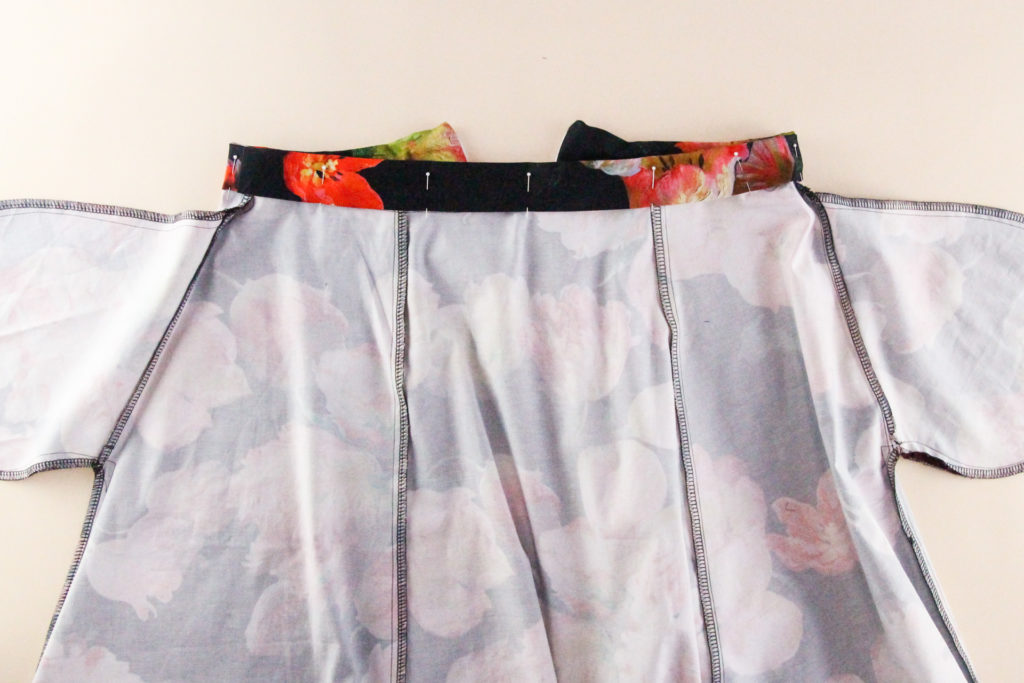
Pin the bottom edge of the outer waistband to the top edge of the skirt, matching up the side seams.
We’re going to sew across that seam at our 1/2″ (12 mm) seam allowance.
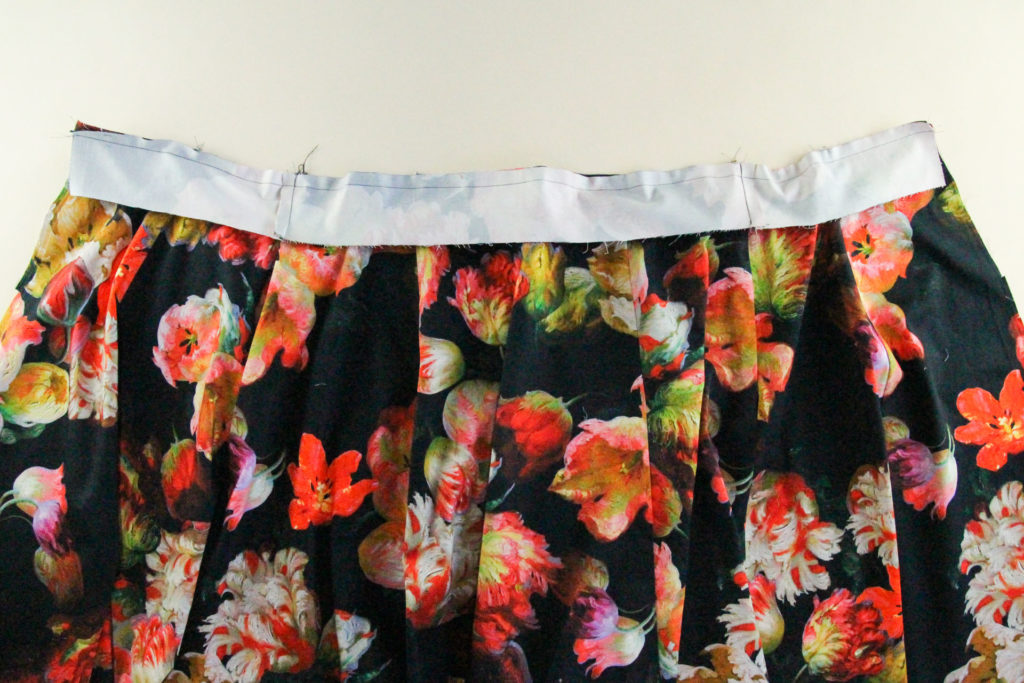
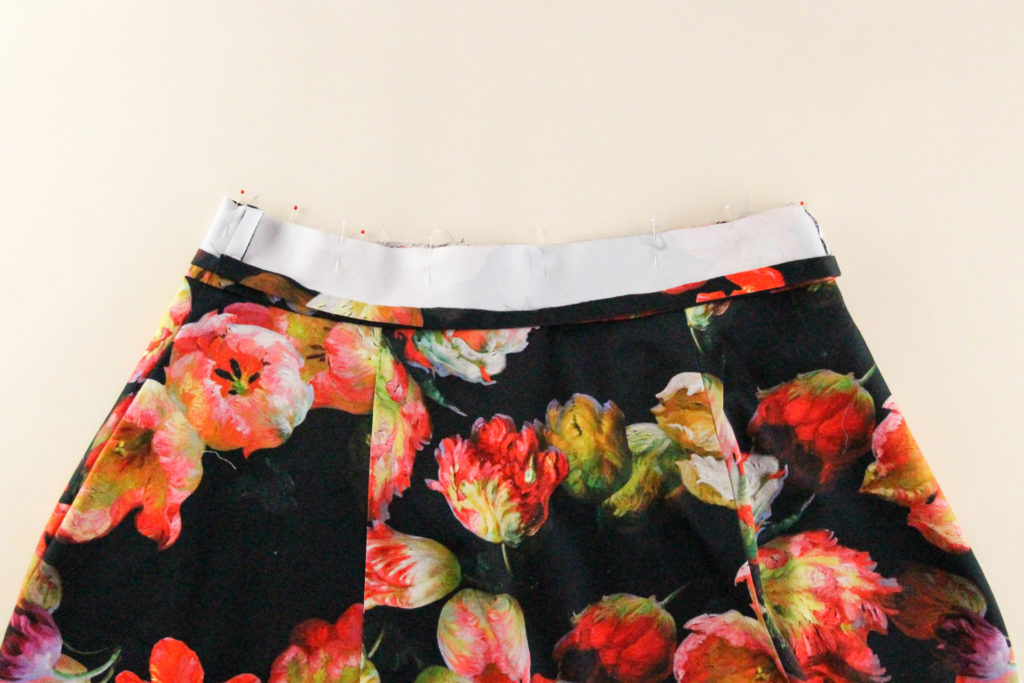
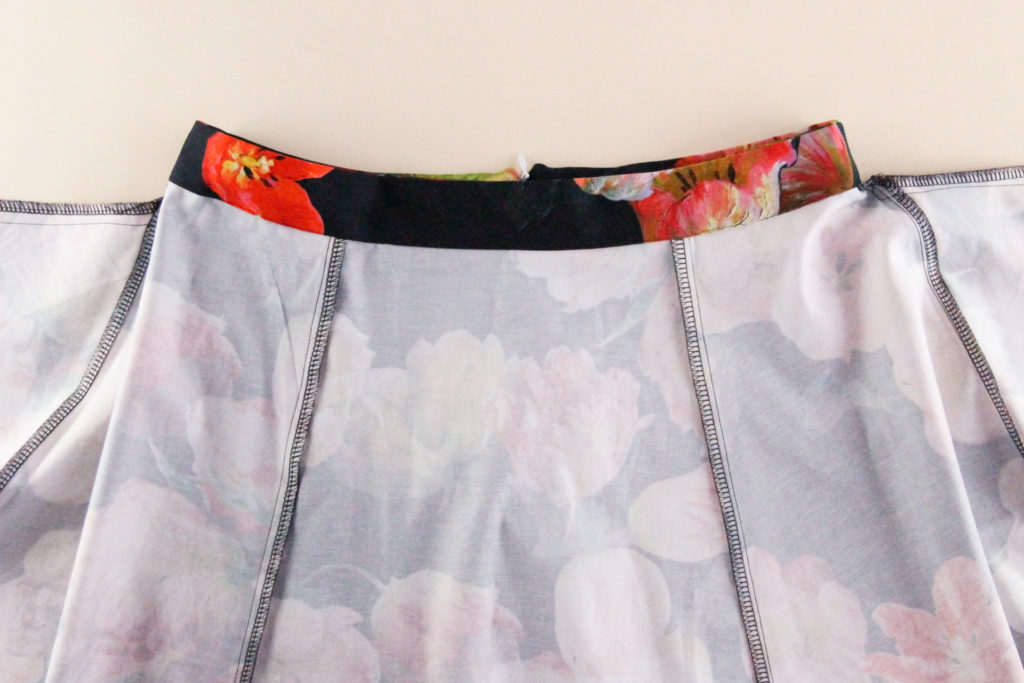
Flip the waistband up, and press the seam allowance towards the waistband.
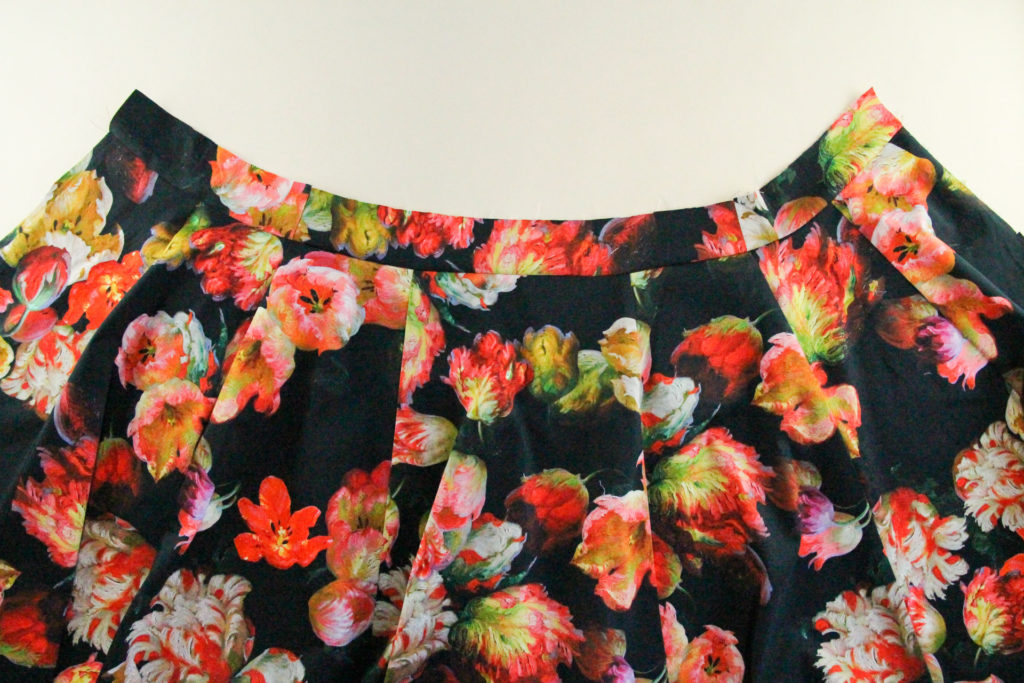
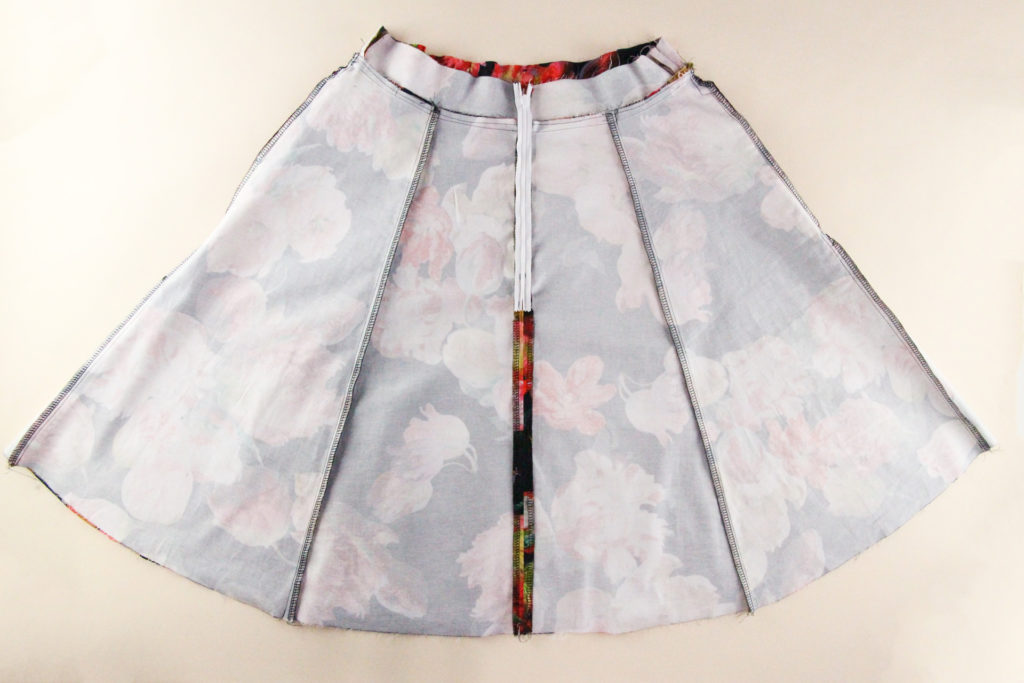
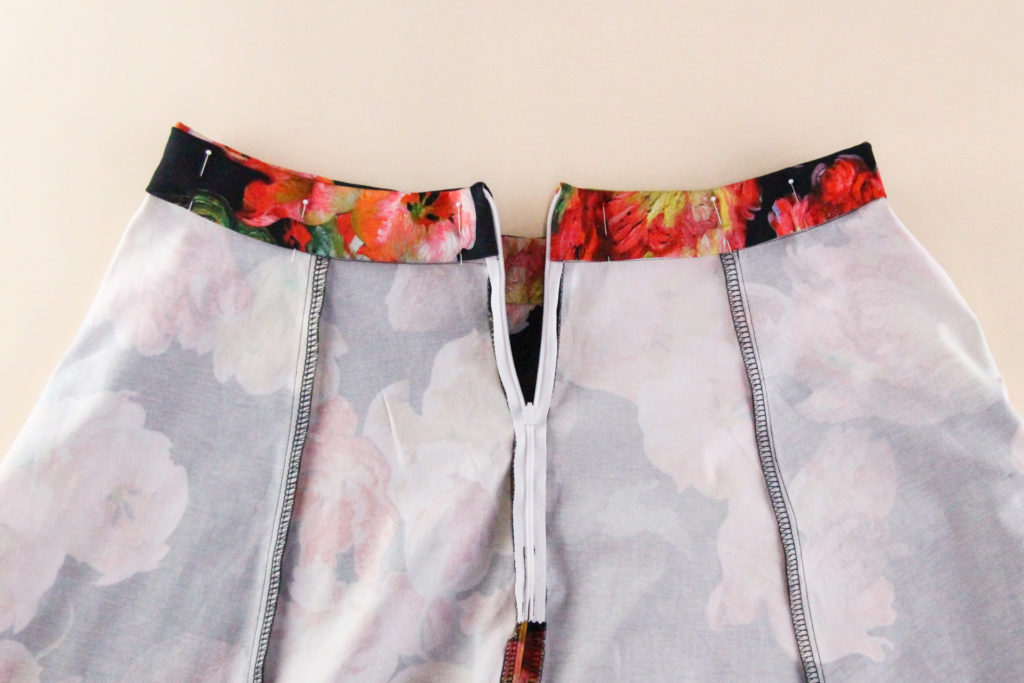
Finish the seam allowance of the center back skirt opening on both sides–I used a serger for this, but you can use your preferred finishing technique.
Install the Zipper
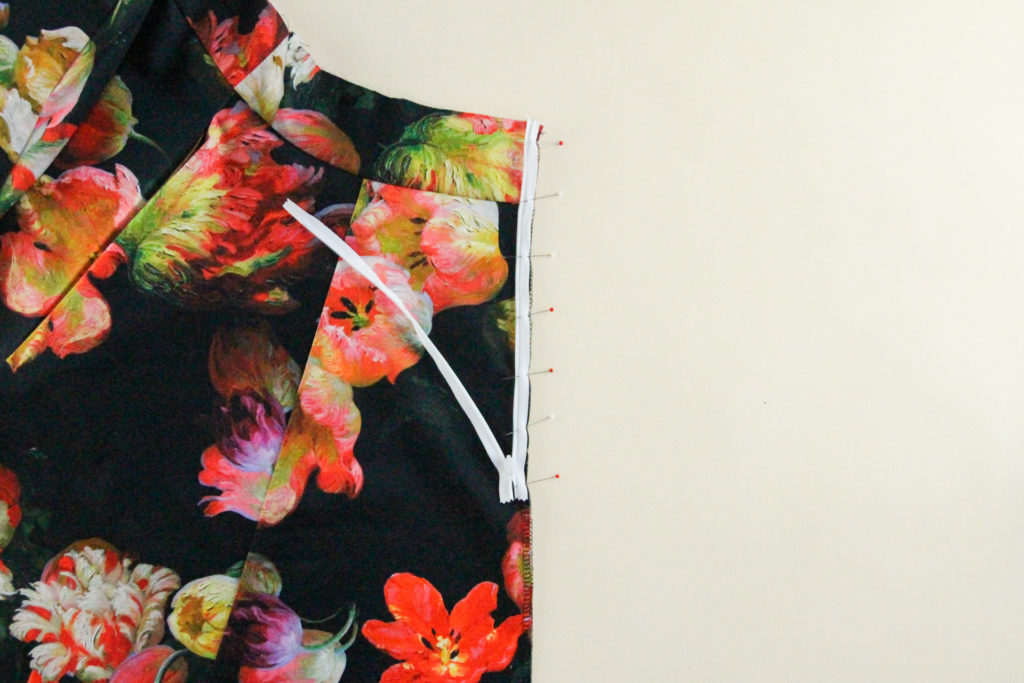
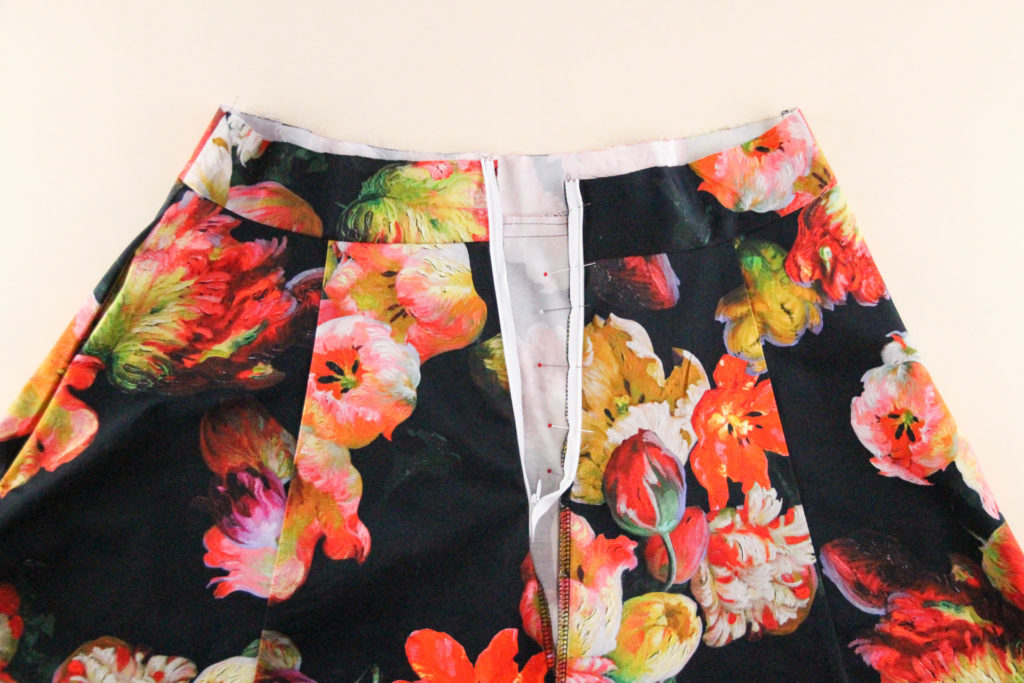
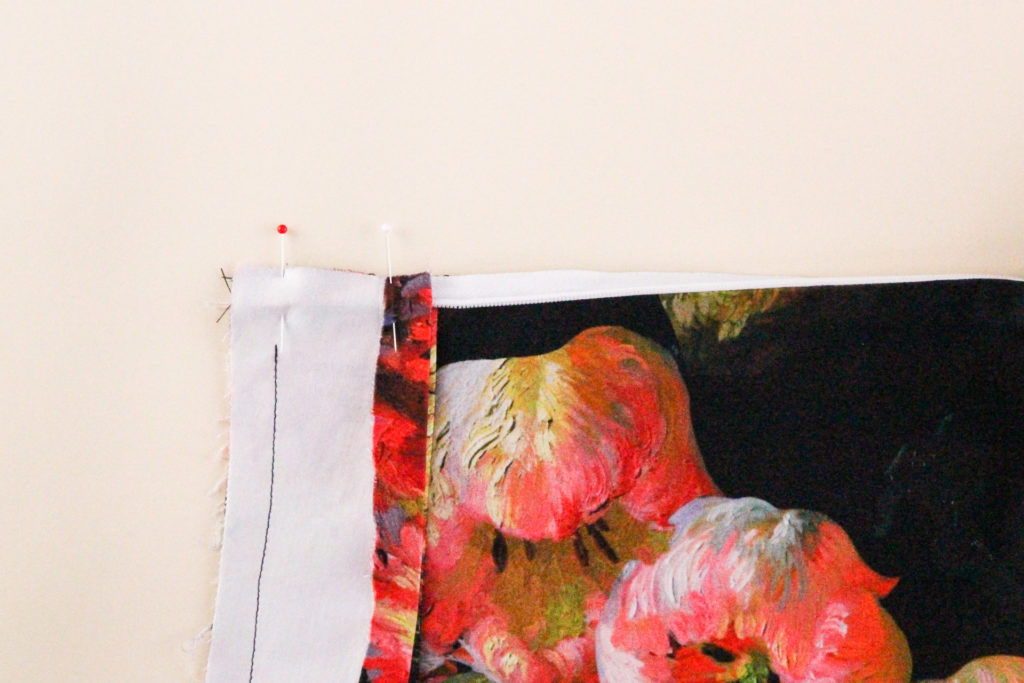
Now we’re going to grab our invisible zipper. Place the zipper face down against the right side of the skirt, lining up the edge of the zipper with the edge of the back skirt opening. Make sure the zipper stopper at the top of the zip is 1/2″ (12 mm) from the top edge of the skirt waistband.
Pin the zipper in place.
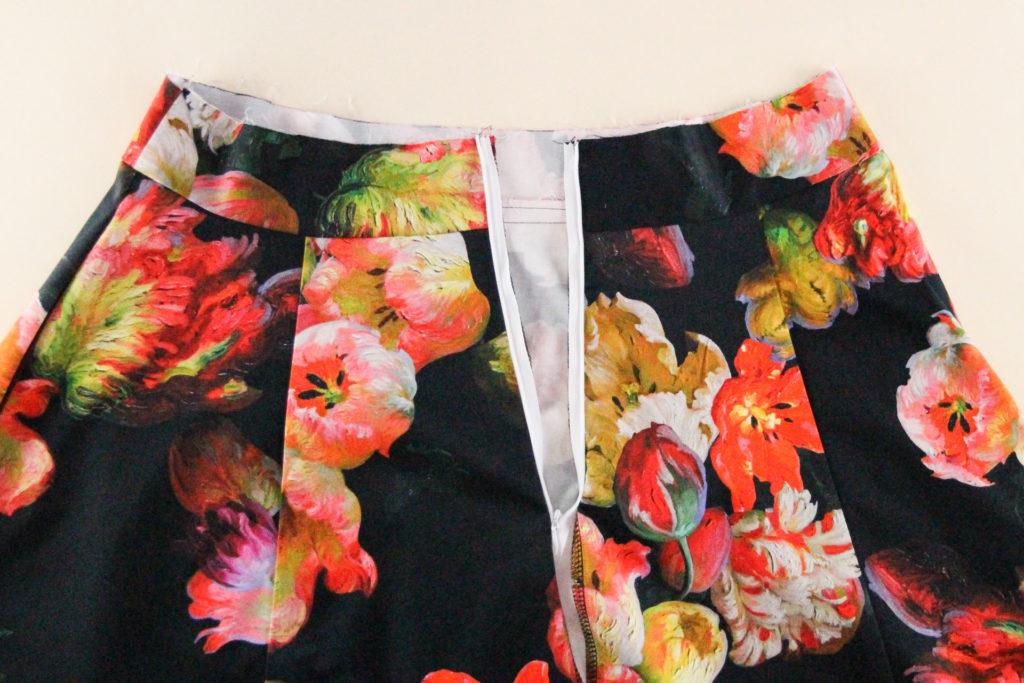
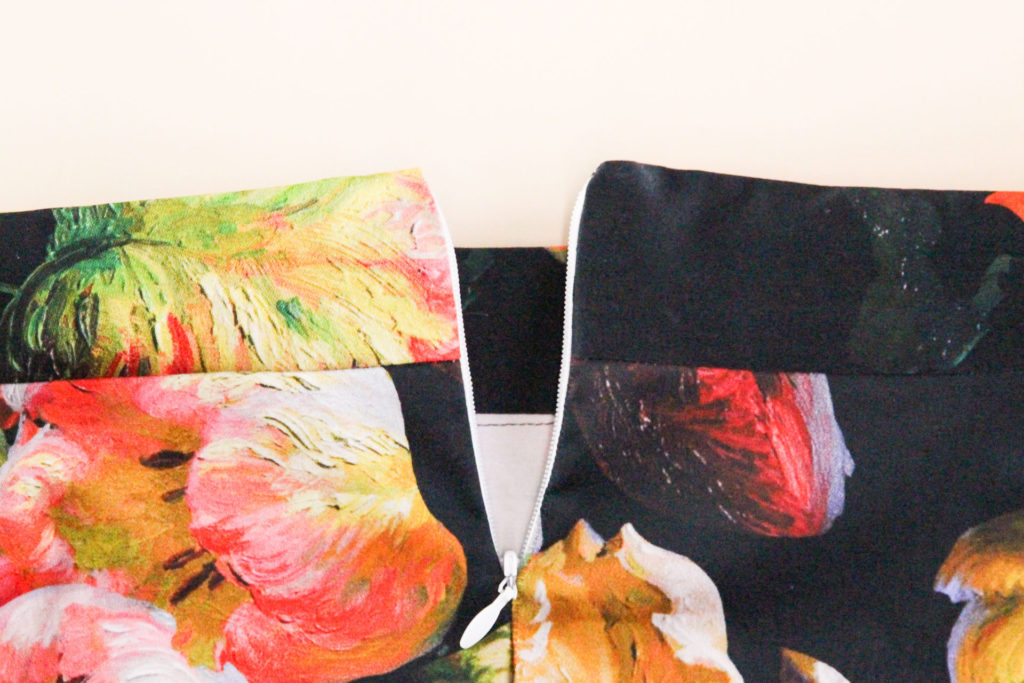
Swap in your invisible zipper foot on your machine and sew that side of the zipper, starting from the top and going down as far as you can.
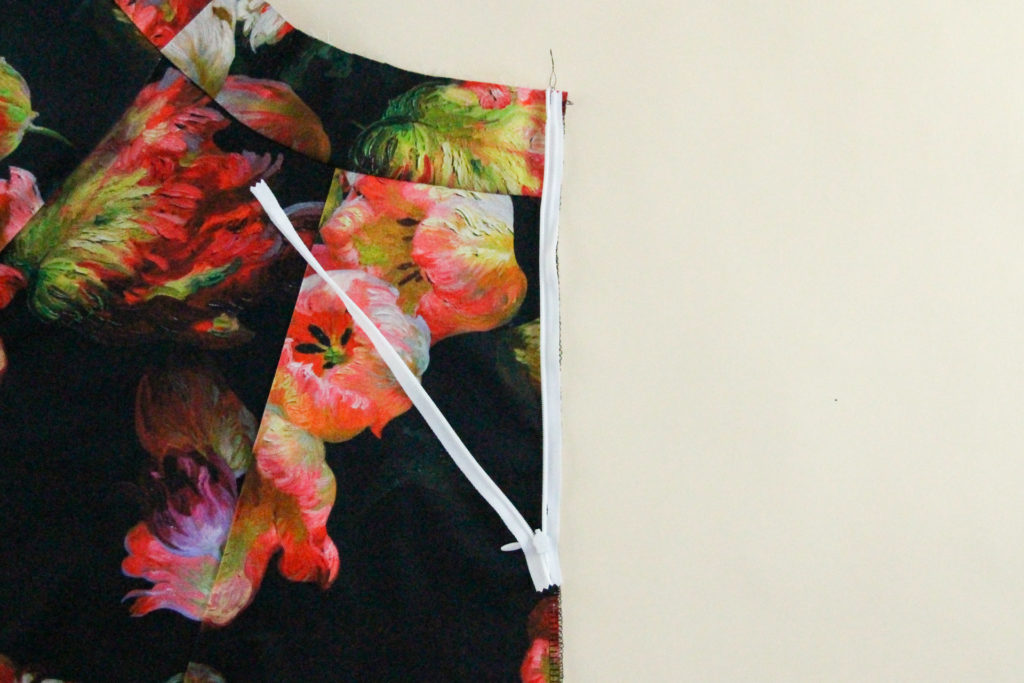
Now we’re going to flip the other side of the zipper twice, so that the front of the zipper is face down on the right side of the skirt. Line up the edge of the zipper with the skirt edge and pin in place.
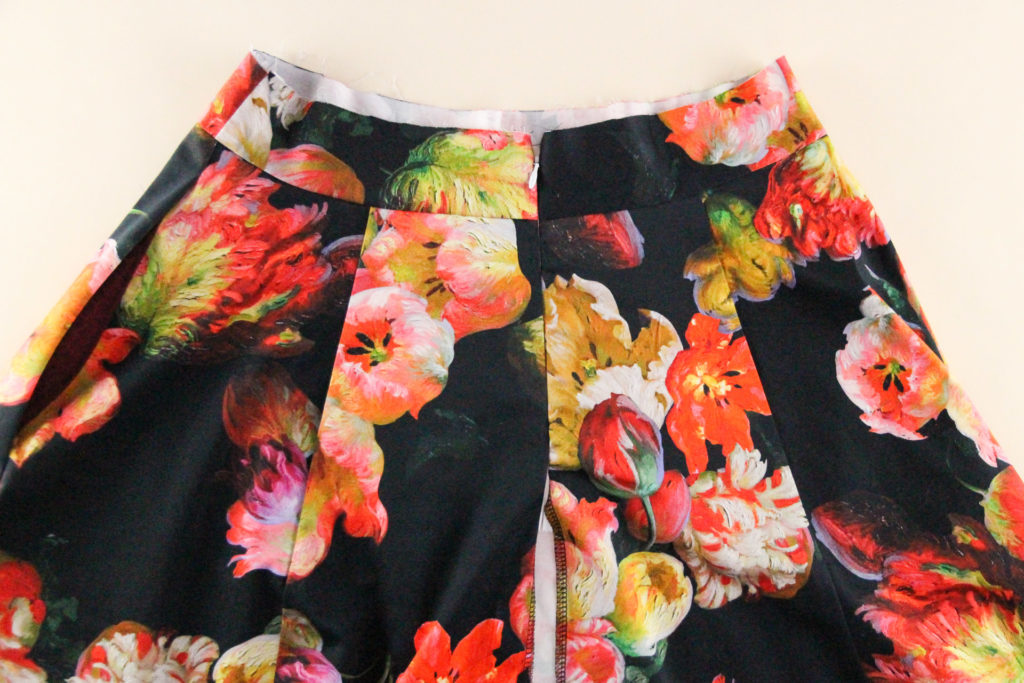
Sew that side down as well using the invisible zipper foot, starting again from the top and working your way down the length of the zipper.
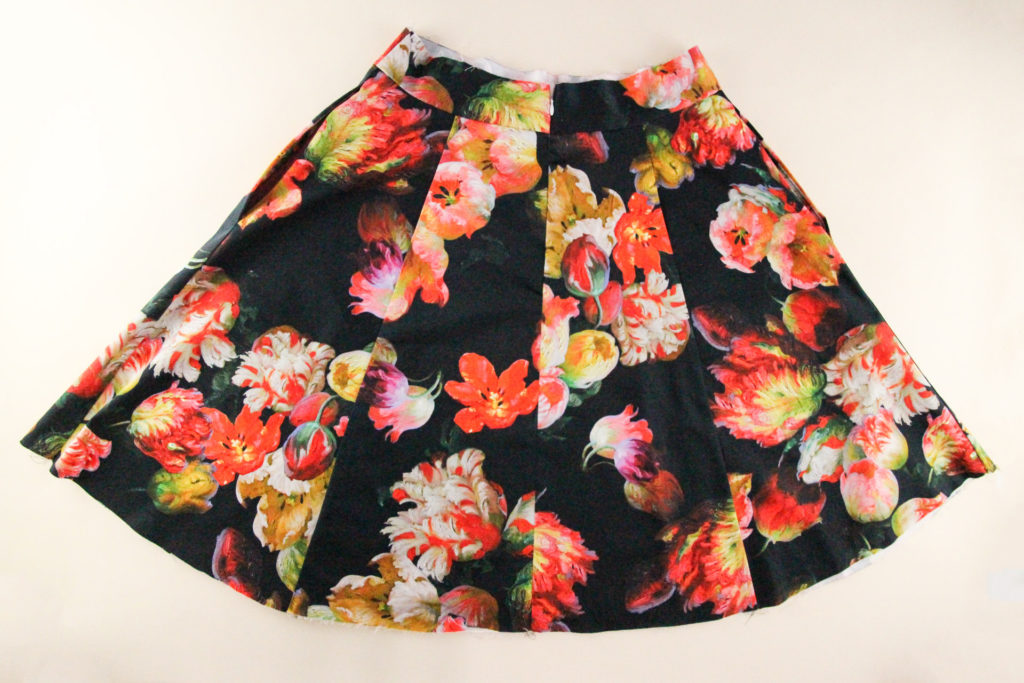
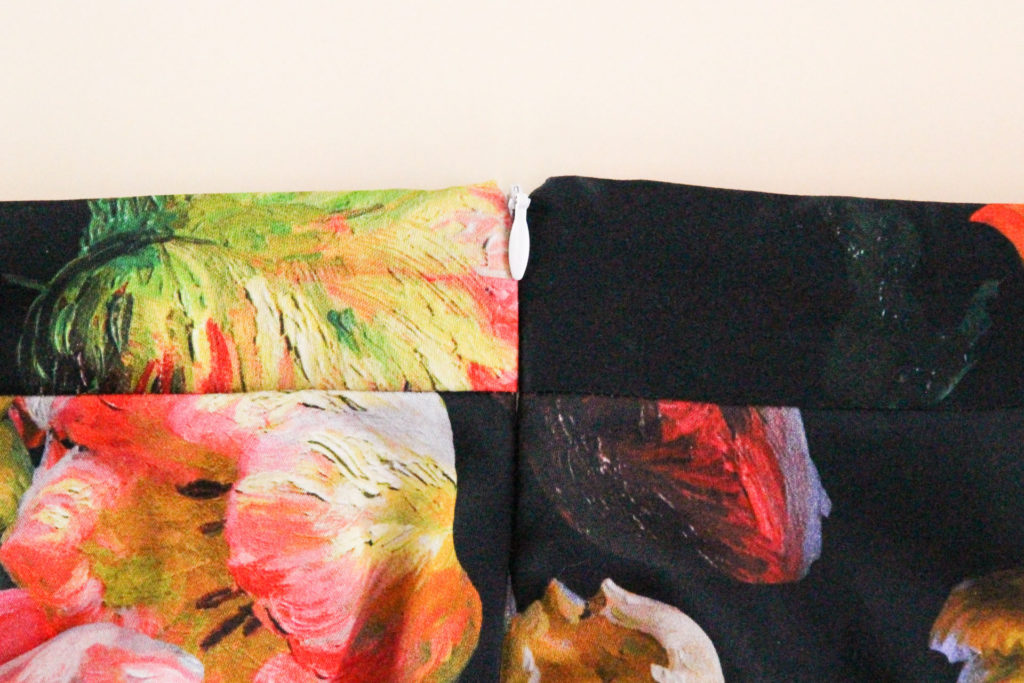
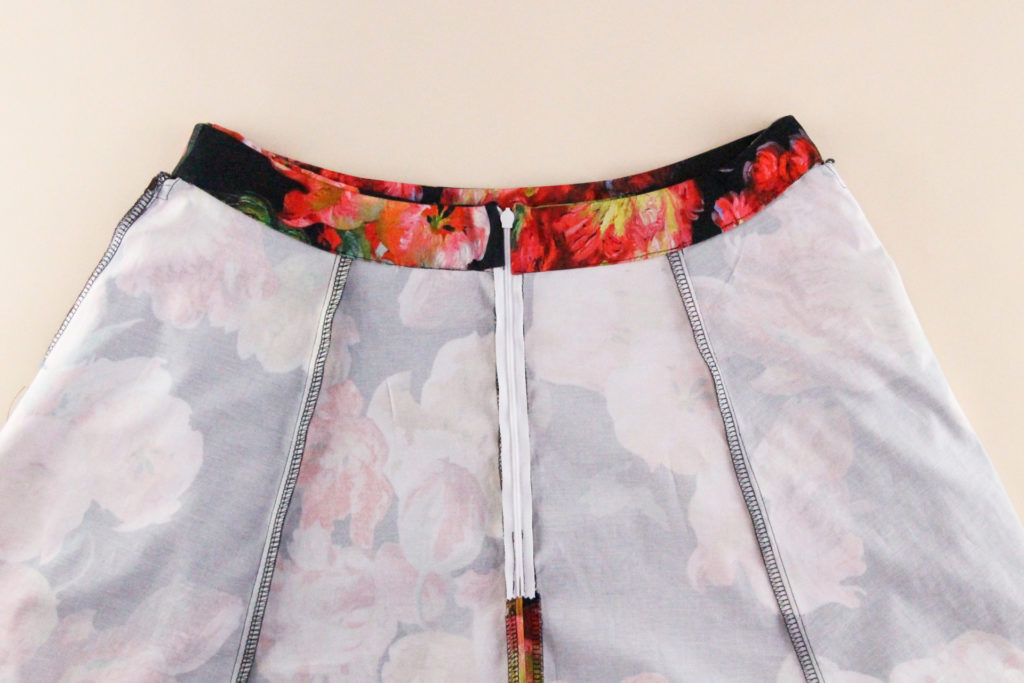
Check to make sure the zipper zips up nicely.
Below the zip, there’s unsewn section of the center back seam, and we’re going to sew that bit next.
Finish the Center Back Seam
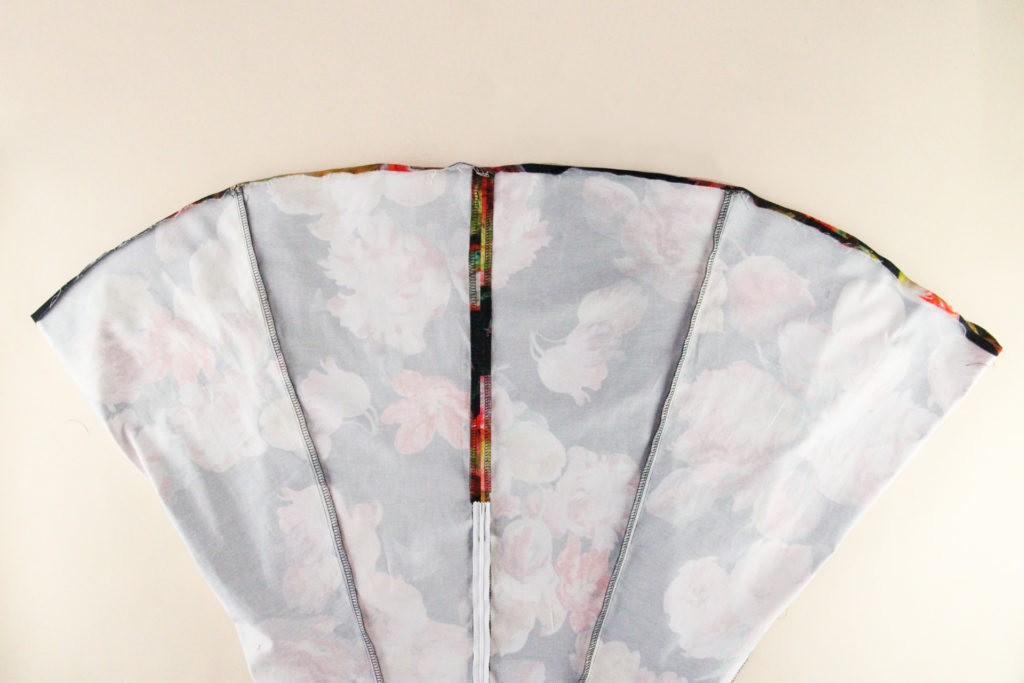
Flip the skirt to the wrong side, and line up the rest of the center back seam, right sides together. Pin.
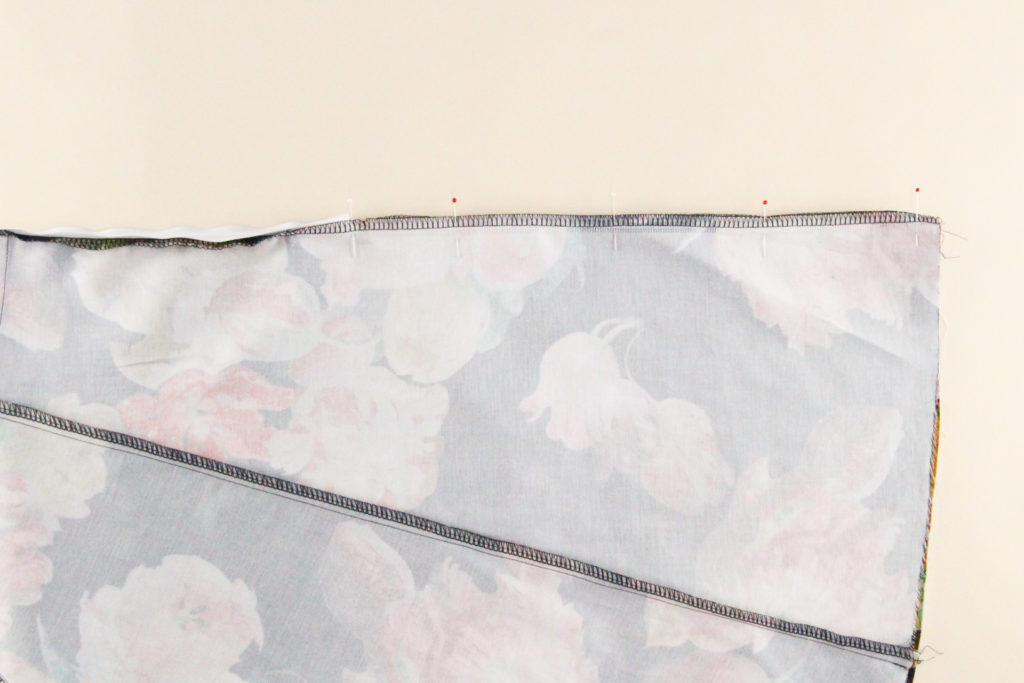
Sew that seam using our 1/2″ (12 mm) seam allowance, starting from the hem edge and going up to where our zipper stitching ends.
Press the seam open.
So good!
Finish the Waistband
Grab your waistband facing, and fold the bottom edge of the waistband to the wrong side by 1/2″ (12 mm). Press.
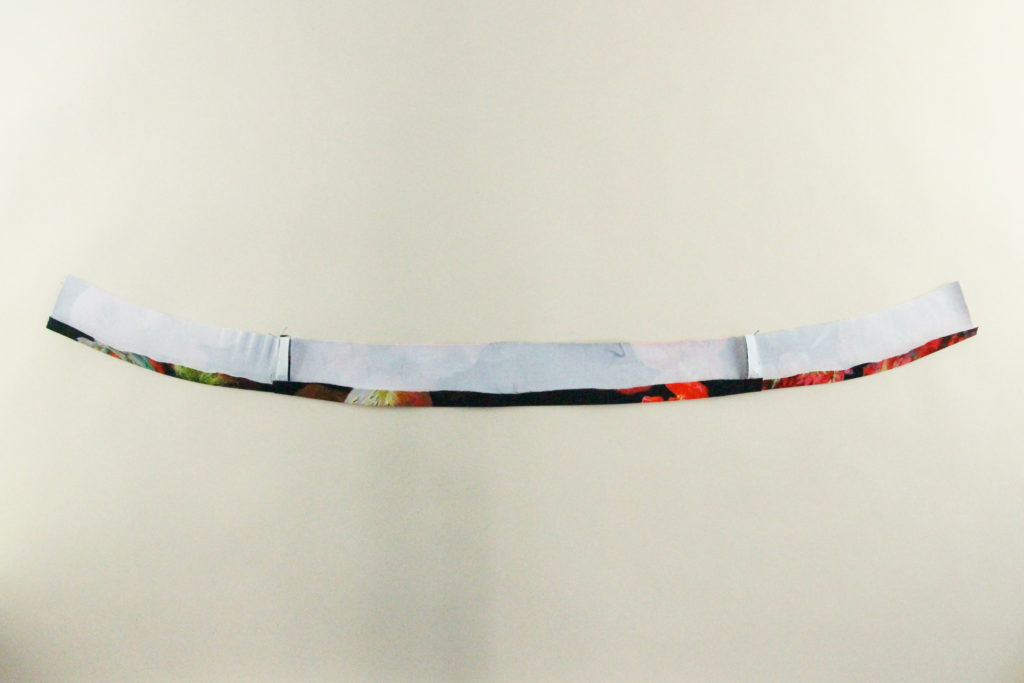
Pin the waistband facing to the outer waistband, right sides together and lining up side seams.
Sew that seam using our 1/2″ (12 mm) seam allowance, but leave 1″ (2.5 cm) of the waistband unsewn at either ends.

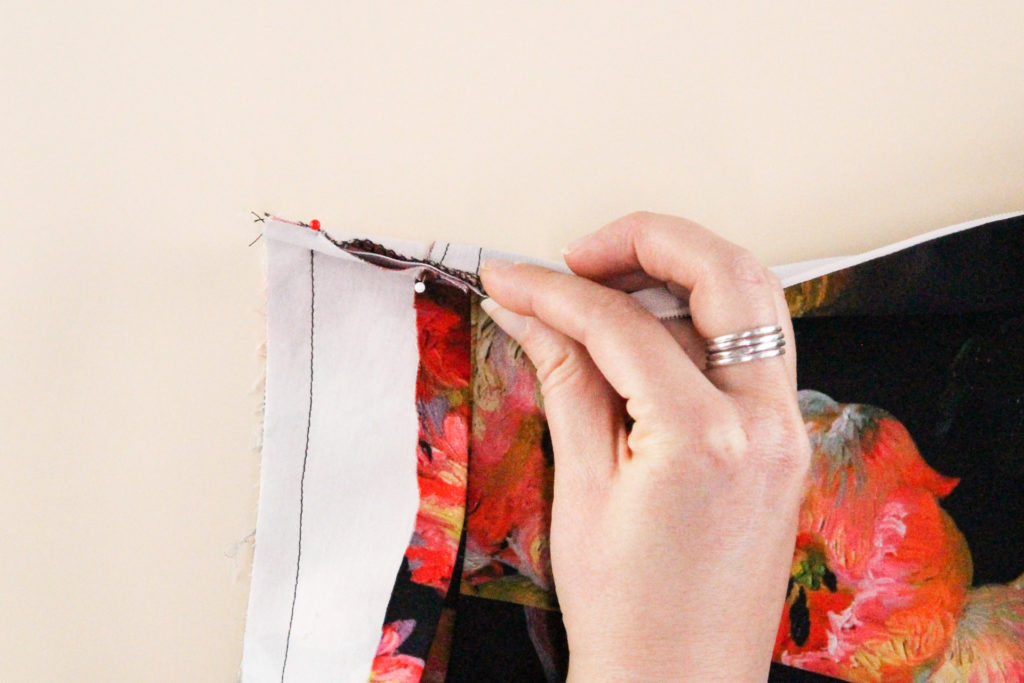
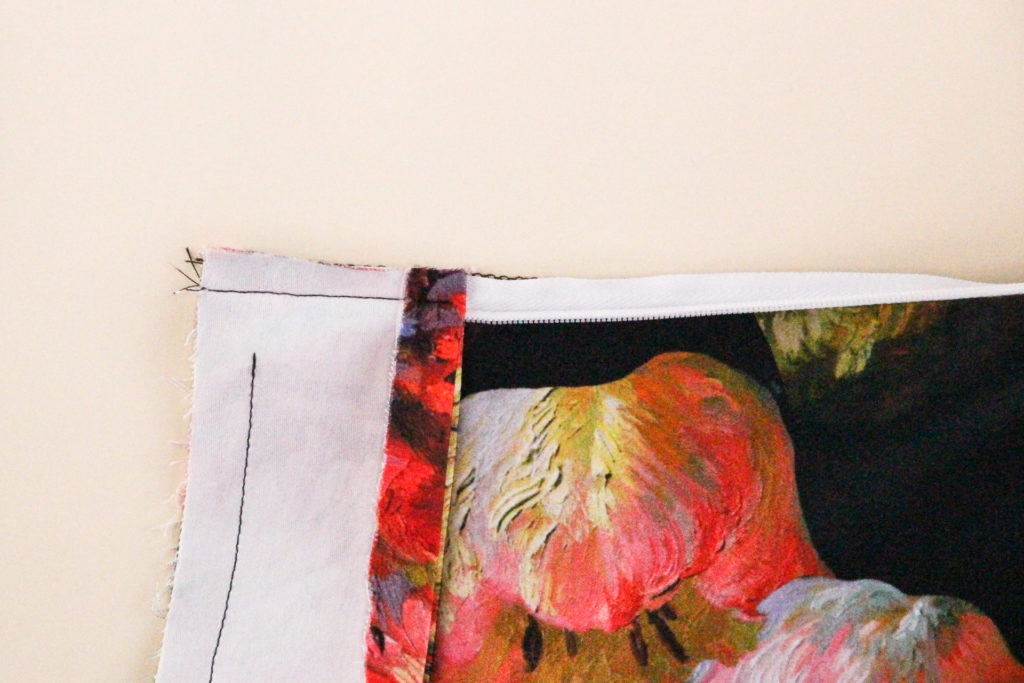
To attach the waistband facing to our zipper in a clean way, pin the waistband facing so that the zipper is sandwiched in between the waistband facing and outer waistband, like so:
Here’s a top view to help you see what I mean:
Sew down the length of the zipper until you get to the bottom of the waistband facing, again using the invisible zipper foot and going as close to the zipper teeth as you can.
Now we need to finish stitch that corner so that it’s nice and neat. To do that, flip the top of the zipper up and towards the waistband facing and pin in place.
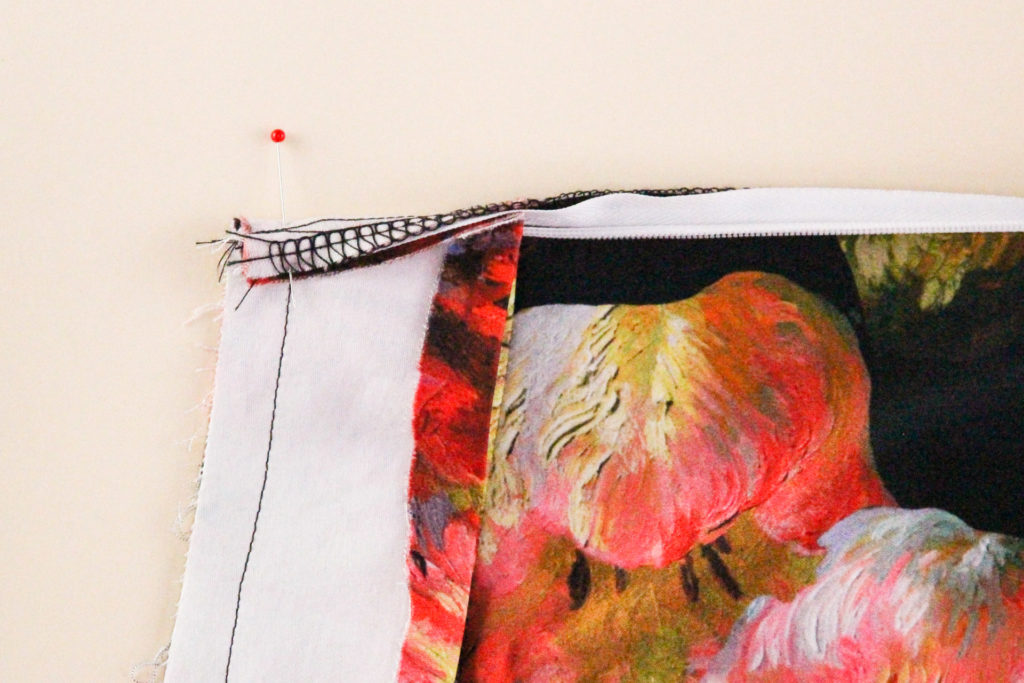
Sew across the top of the zipper at 1/2″ (12 mm) seam allowance until you meet up with the previous stitching line.
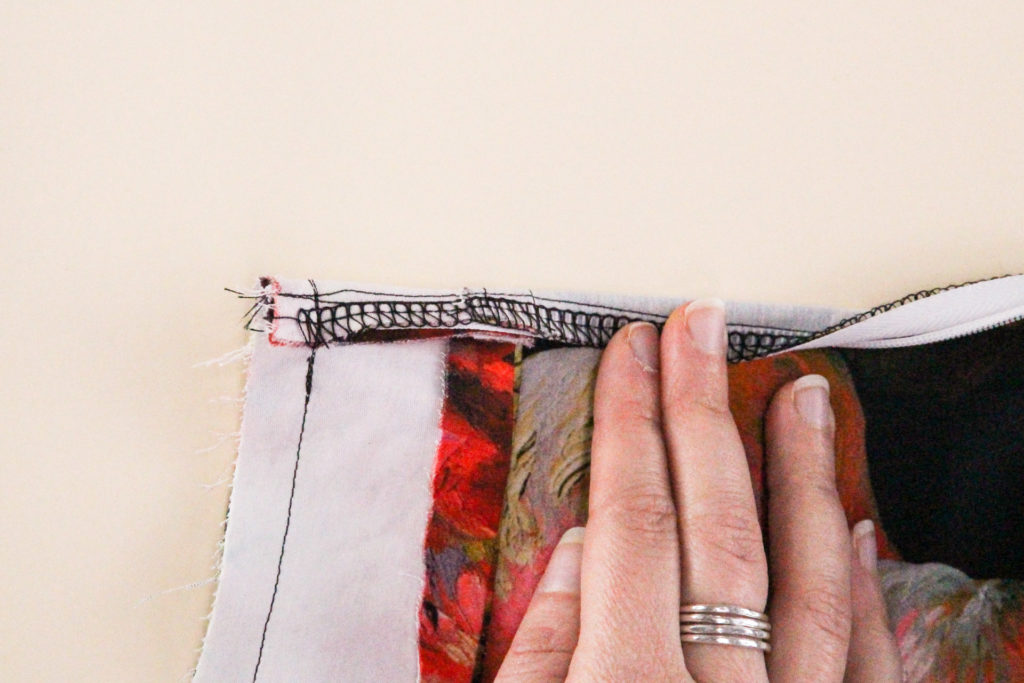
Once that’s stitched, we can trim off the corner bit to help the point turn out nice and pointy.
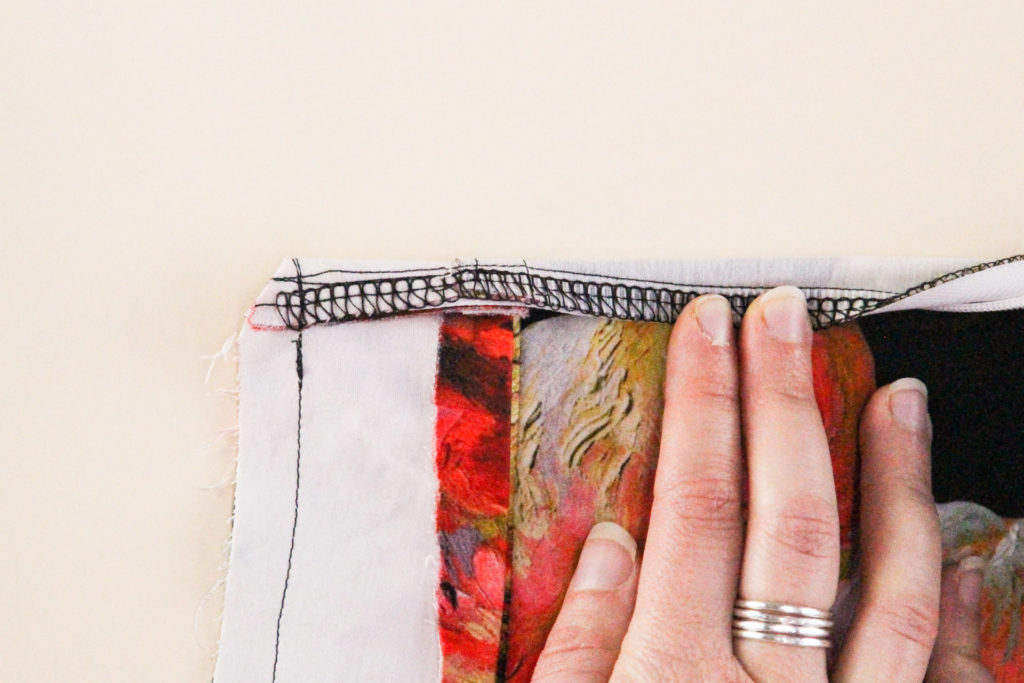
Let’s flip the waistband facing to the inside, and voila!
Repeat with the other waistband end.
Zip up the zipper again to make sure it still closes properly.
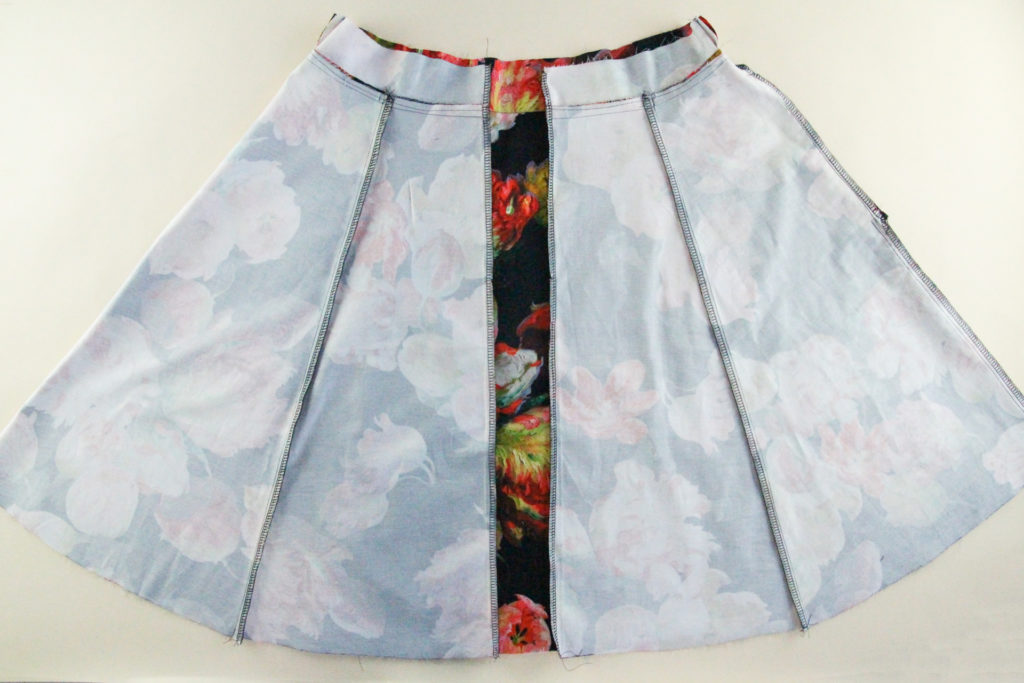
Here’s how it will look from the inside:
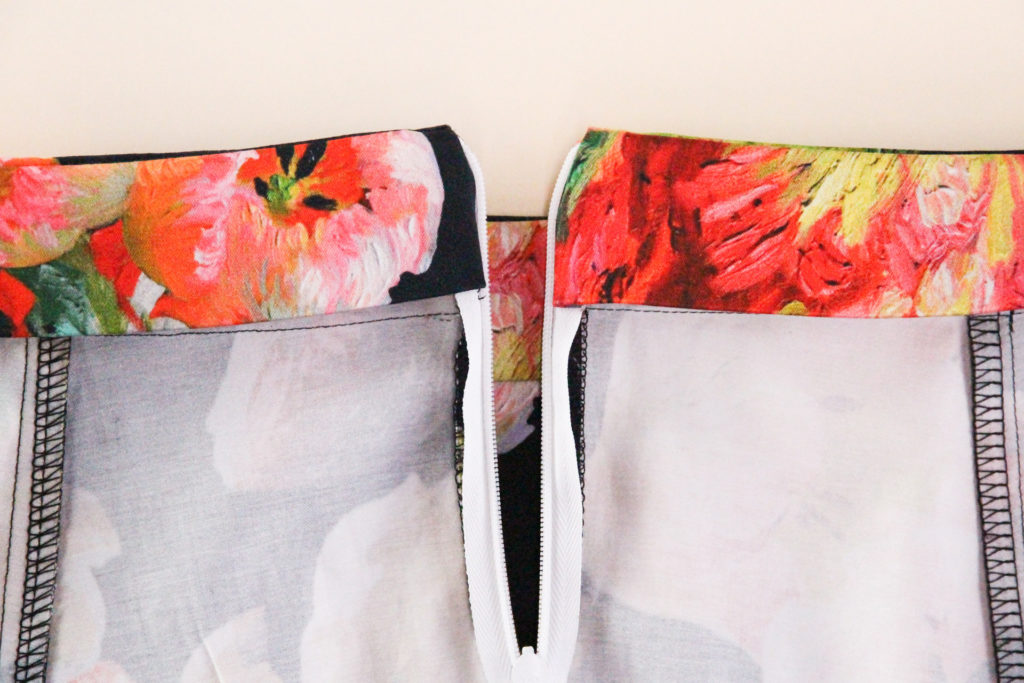
Finally, we need to finish the bottom edge of the waistband facing. Pin the waistband facing down, making sure the raw seam of the waistband is enclosed.
You have two options for sewing this seam. You can either slip stitch the waistband facing closed using a hand sewing needle, or you can “stitch in the ditch” (i.e. the seam) from the right side, catching the waistband facing on the inside.
Hem the Skirt
Woohoo, we’re at the final step! It may be tempting to immediately start hemming your skirt, but you should first try it on to make sure the length is as you like it.
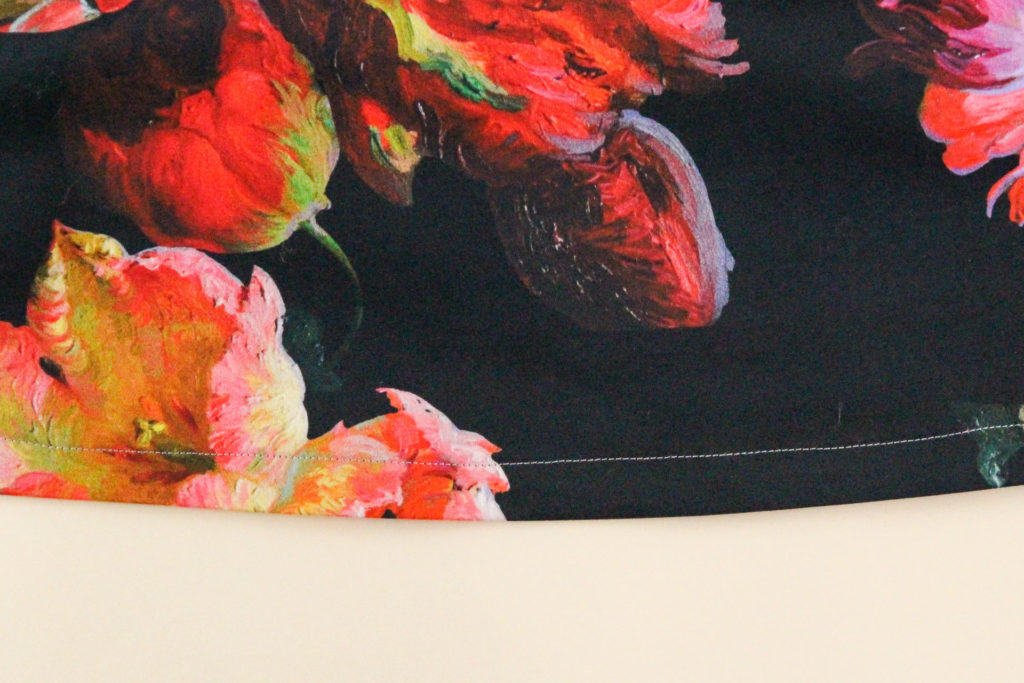
To hem your skirt, start by folding over the edge to the wrong side by 1/4″ (6 mm). Press.
Fold the hem again, this time by 3/4″ (1.9 cm) and pin in place or use Wonder Tape.

From the right side, topstitch the hem at 5/8″ (1.5 cm) allowance from the edge.
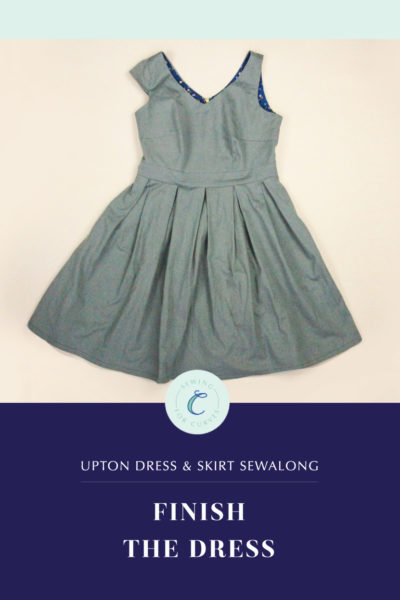
And your beautiful skirt is complete!
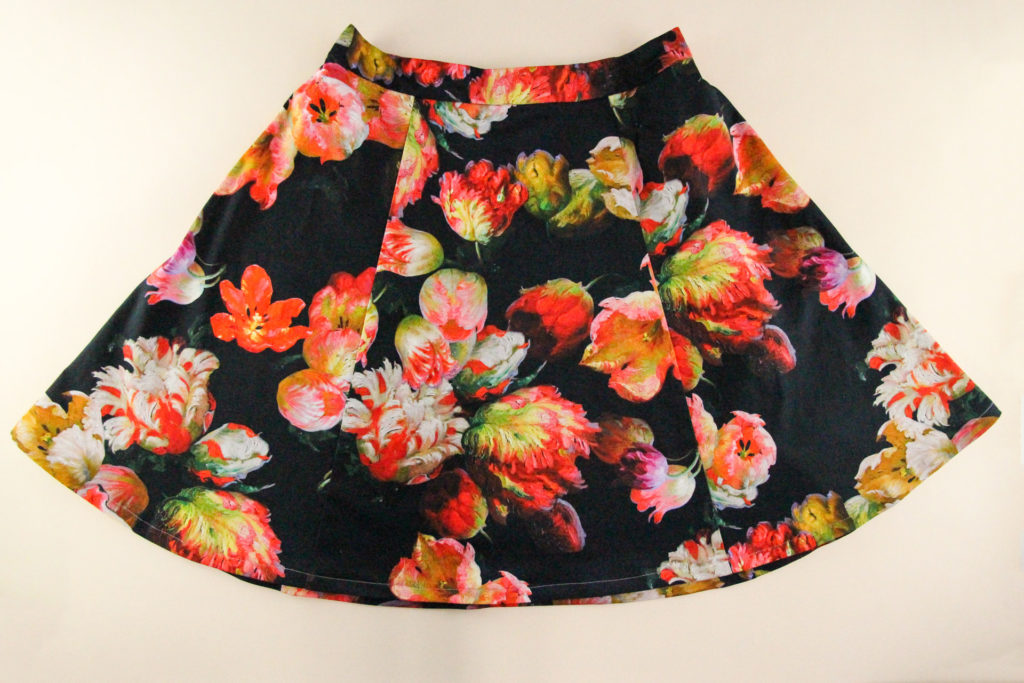
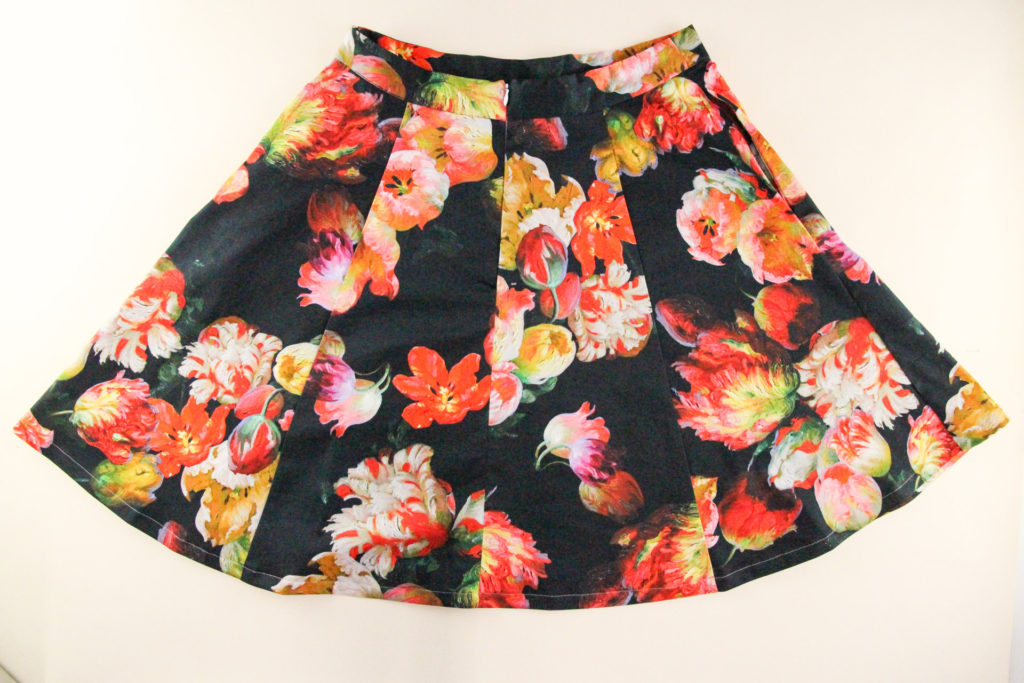
Gorgeous, darling! Congrats on completing your very own Upton Skirt.
We’d love to see your new skirts! Share photos of your Upton using #UptonSkirt on social media so that we can tell you how fabulous you look in your new twirl-tastic skirts.
I would love to see an alternative waistband that’s made with an elastic band and no zipper in the future as that’s my preferred skirt style! I love this pattern so much and am currently making a pleated skirt for myself!
Thank you for the very helpful sew-along. As with Sky, I would love to be able to sew this skirt with a full or partial elastic waist in the back and no zipper (for a rectangle but full bellied body shape.). Am I actually asking for a different kind of panel skirt, though, when I ask for these kinds of changes?