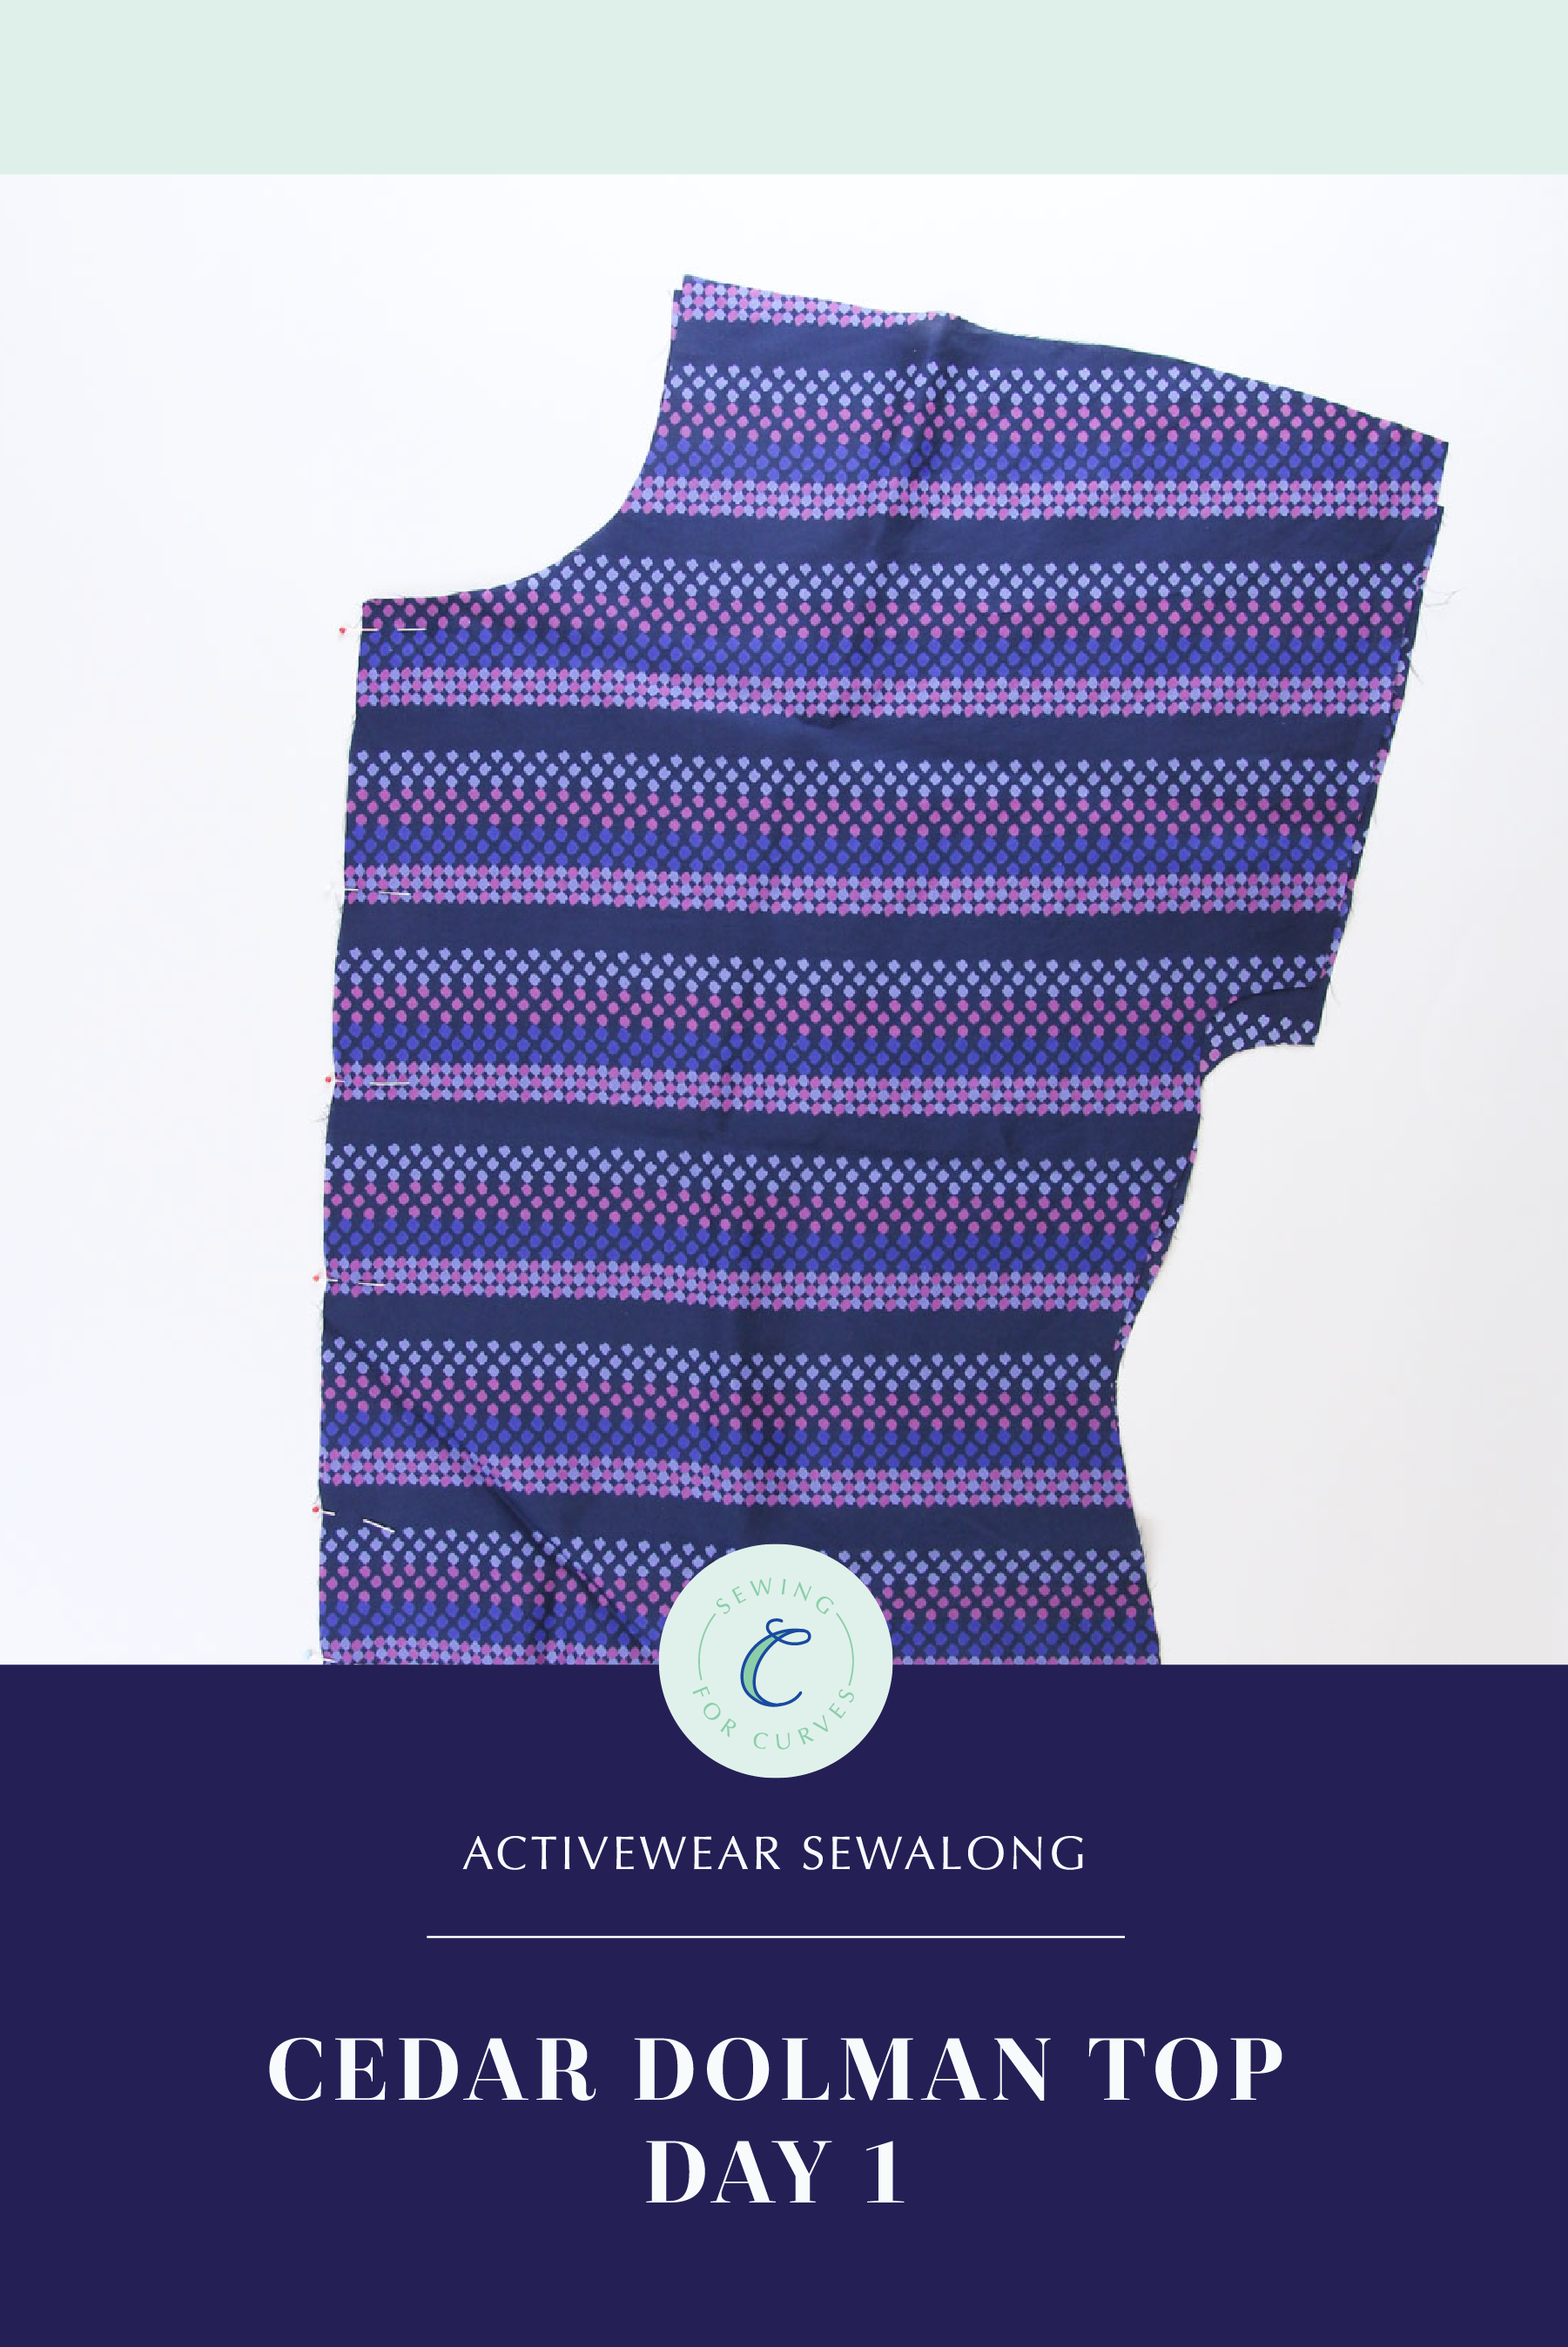
Welcome to the Cedar Dolman Top portion of the sewalong! Make sure you’ve done your preparations in this post before starting here. Today we’re going to assemble the front of your dolman top and sew the shoulder seams. I’ll be showing you two samples in this sewalong. The geometric one is a light silk woven that will be the no-tie version. The floral is a knit that will be the tie version. For steps that are the same for both views, I’ll be showing just the knit version.
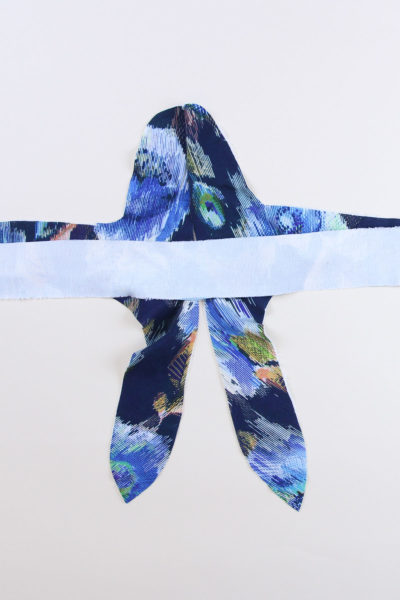
Let’s start by assembling the front of the Cedar Dolman Top. Pin the two fronts together along the center front, right sides together, matching the neckline and the notch. If you’re making the tie version, stop pinning at the notch. If you’re not using the tie, pin all the way down to the lower hem.
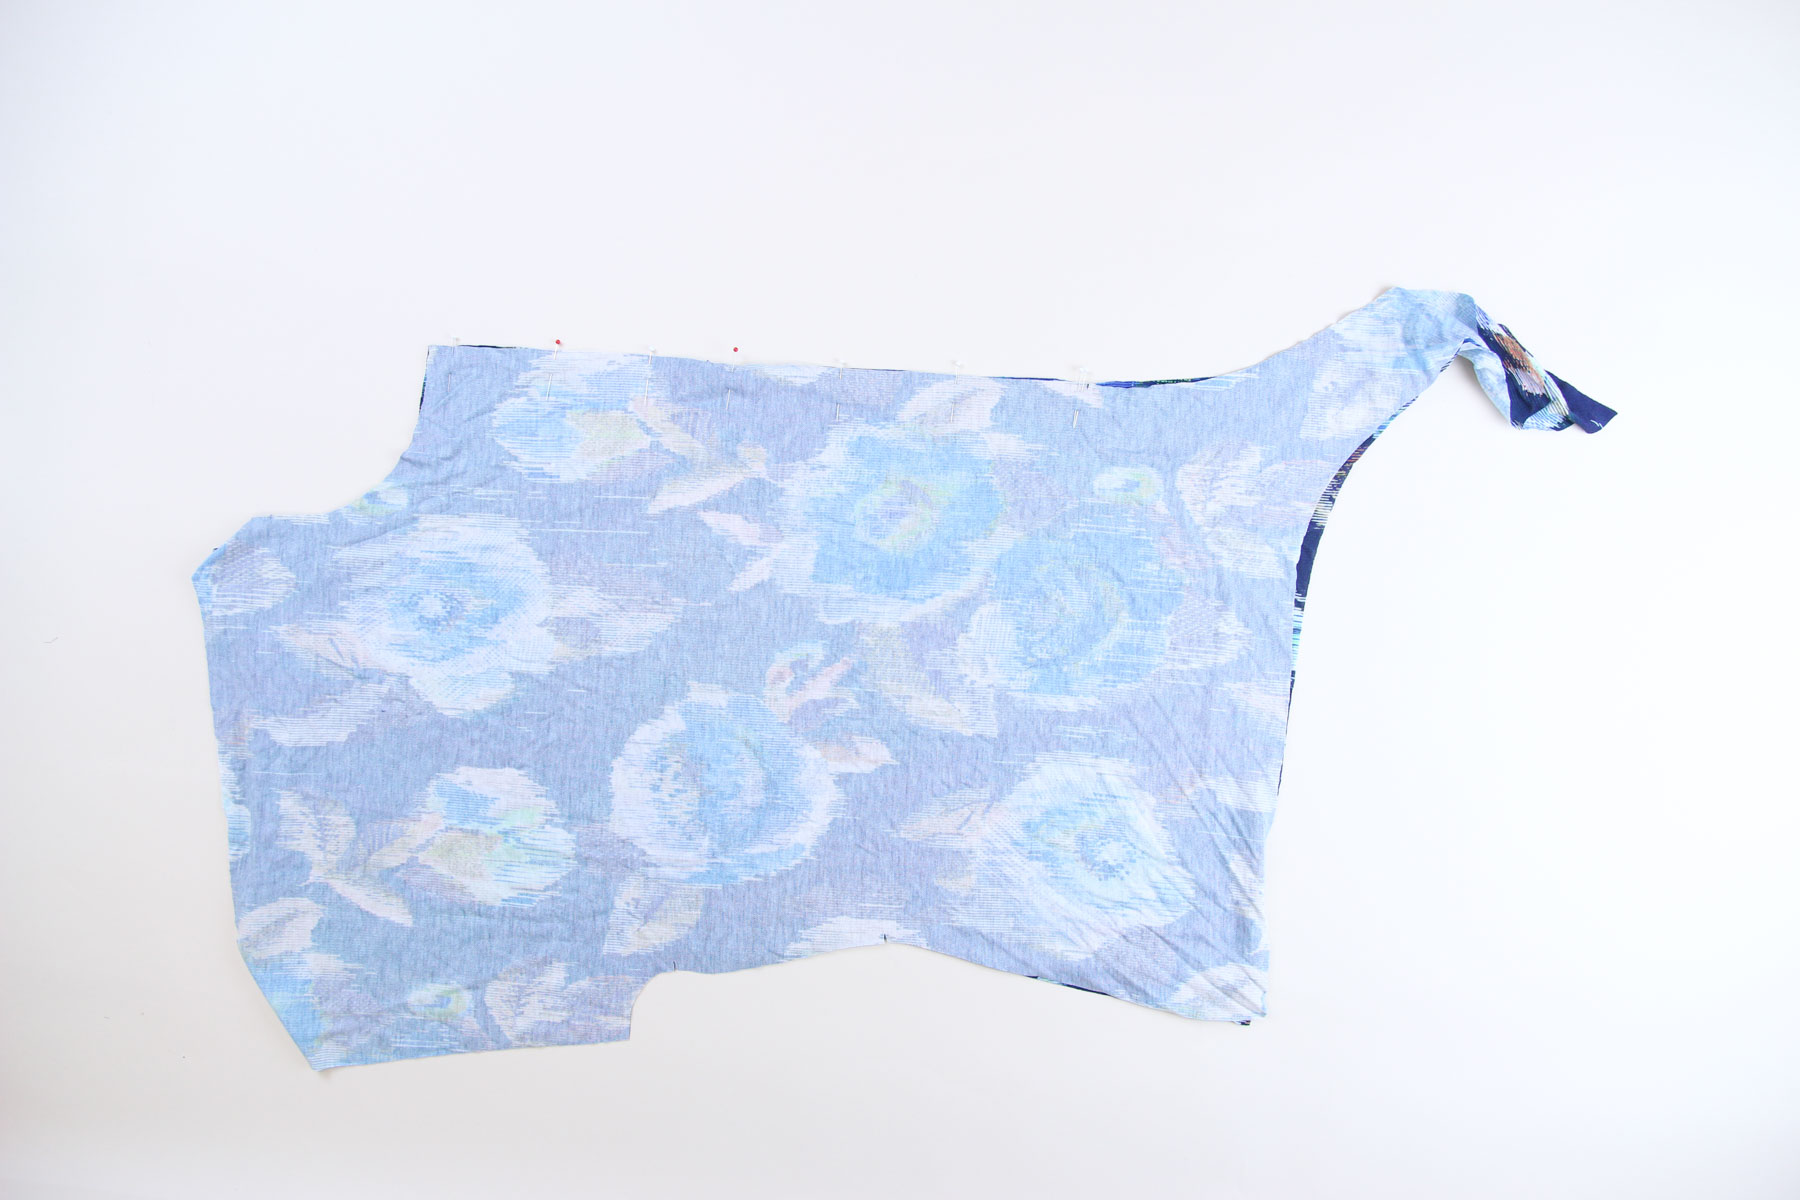
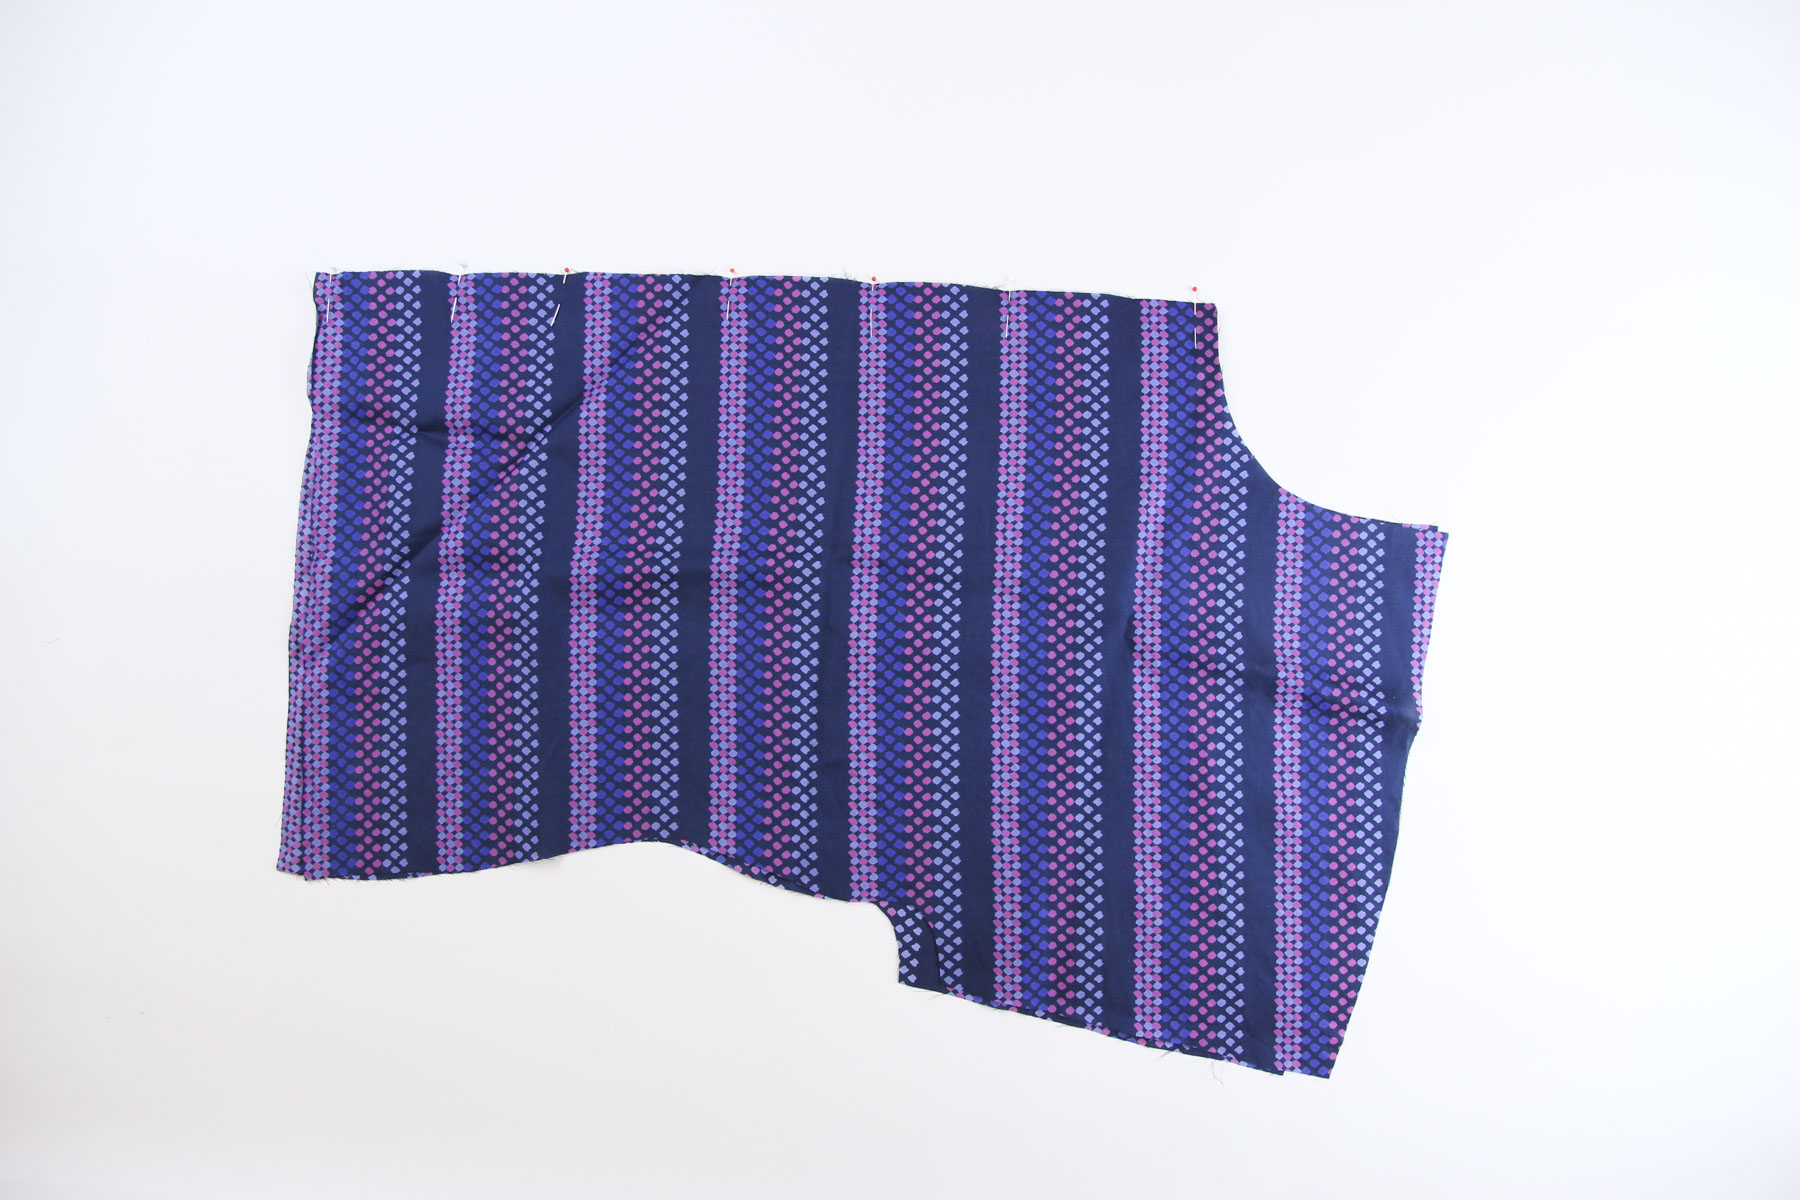
Sew this seam, starting at the neckline and ending at the notch for the tie or at the hem for no tie. Finish the seam allowance and press either open or to the left.
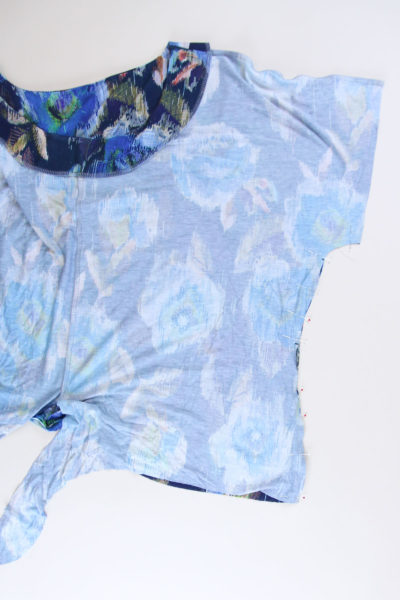
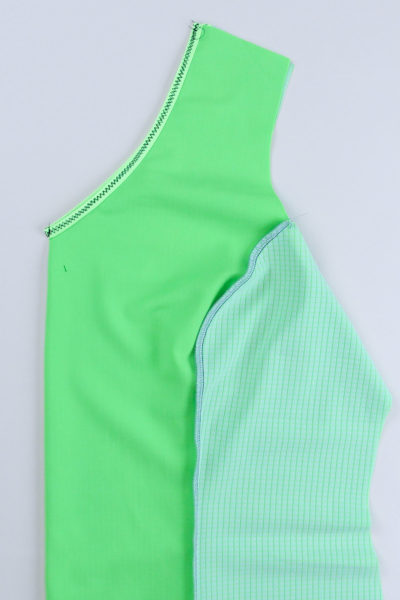
Now, let’s sew the shoulder seams. Pin the assembled front to the back at the shoulders, right sides together, matching the neckline and sleeve edge.
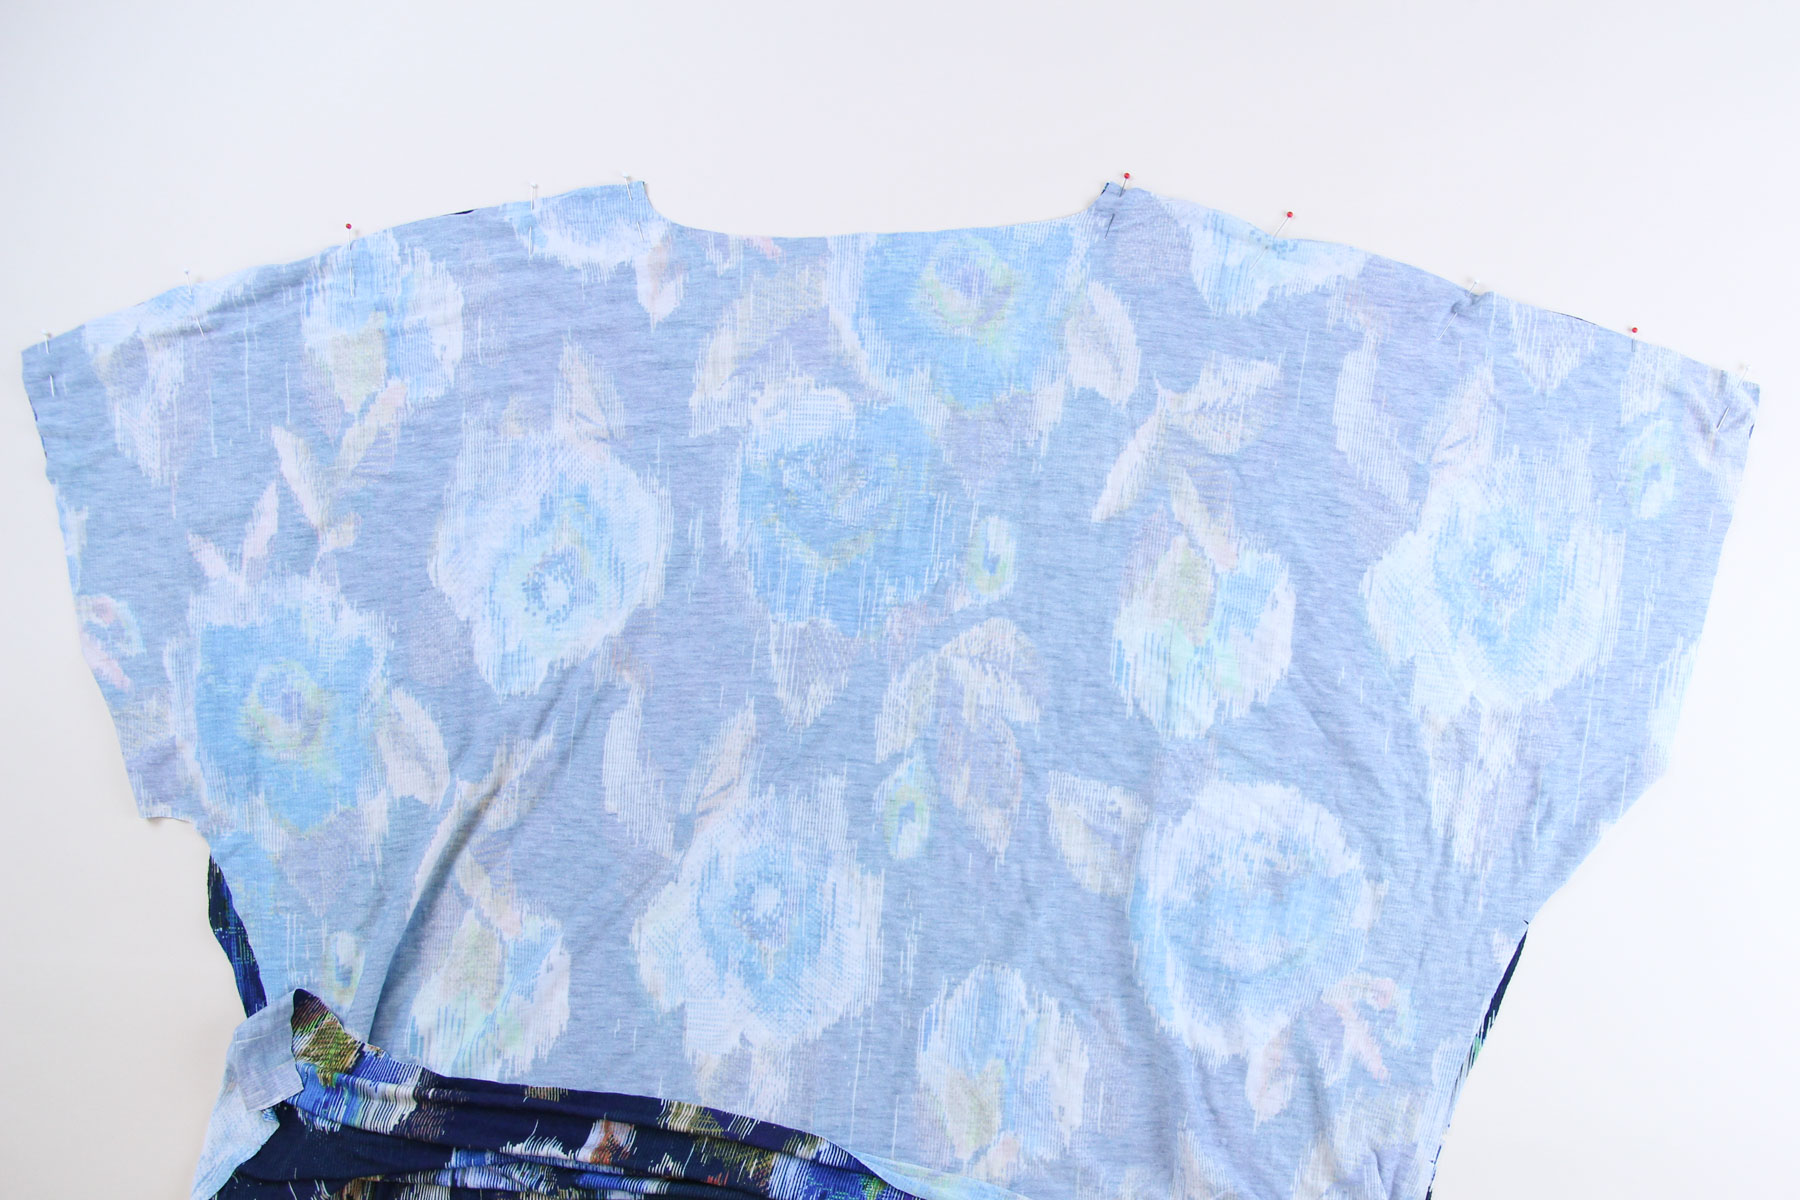
Sew the shoulder seams, finish the seam allowance, and press the seam allowance towards the back.
That’s it for today! Next time, we’ll assemble all of the facings!

Can I ask the purpose of the front being in two pieces? If I’m making the woven fabric version without a tie, why not just cut on the fold instead?
Hi Jessica, you can definitely cut the front on the fold if you’re not using the tie. Just make sure to remove the seam allowance from the center seam.
-Ayelet at Cashmerette