I love using French seams, but they present a little bit of a challenge if there’s something else on that seam like a zipper, or side seam slits, like on the Springfield Top. Here’s how I approach it – if you know any other techniques, let me know!
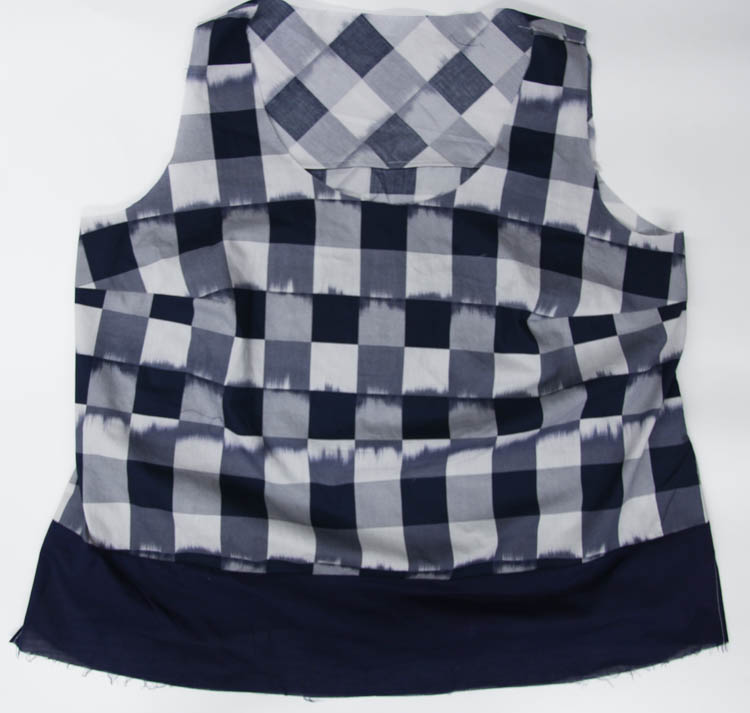
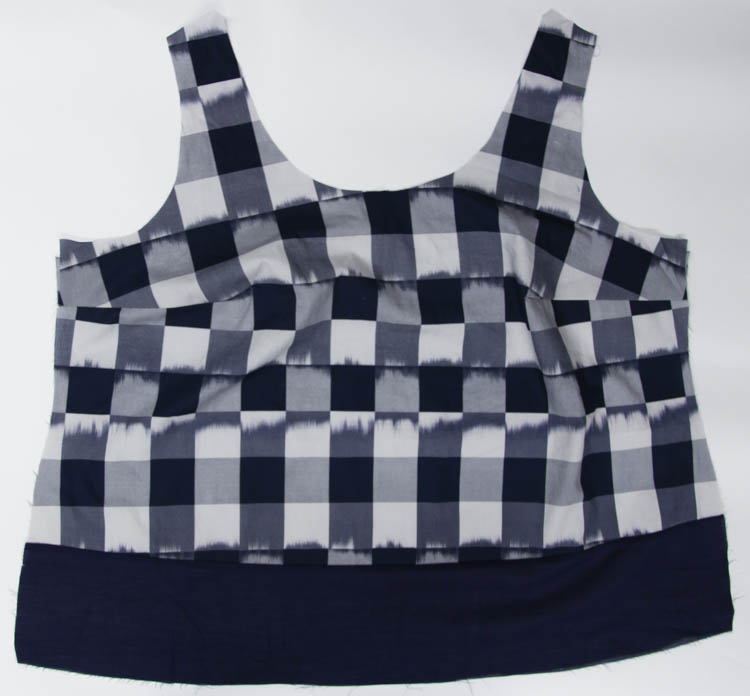
- Pin the front and back together at the side seams, WRONG SIDES together. Use chalk or a different pin colour to mark where the side slit starts.
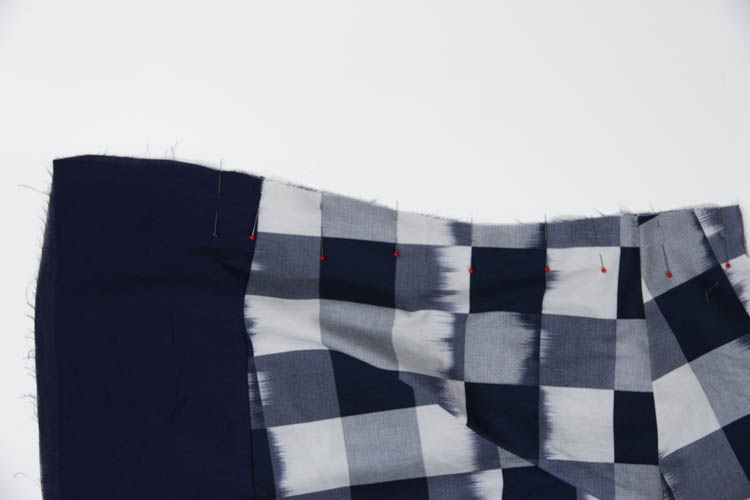
2. Sew down the side seam to the slit marking, at a 1/4″ (6mm) seam allowance. Stop and backstitch at the slit marking. Trim the seam allowance that you’ve sewn (but NOT the slit part) down to 1/8″ (3mm).
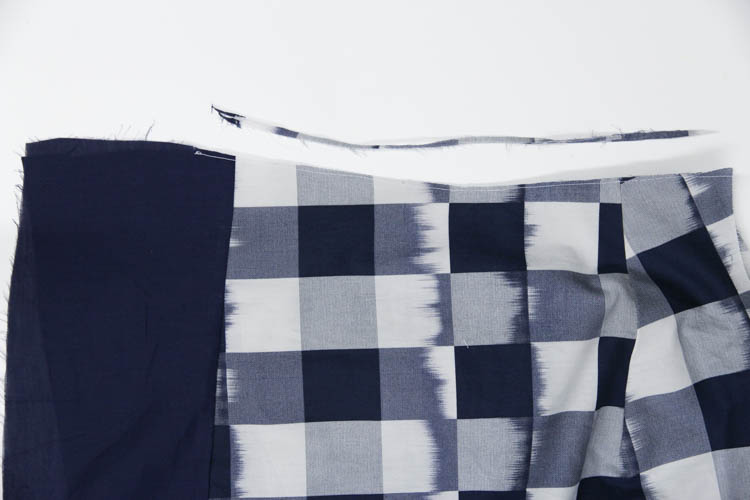
3. Press the seam, then fold the side seam RIGHT SIDES TOGETHER, sandwiching the seam allowance inside the two pieces of fabric. Pin, again marking the height of the side slit.
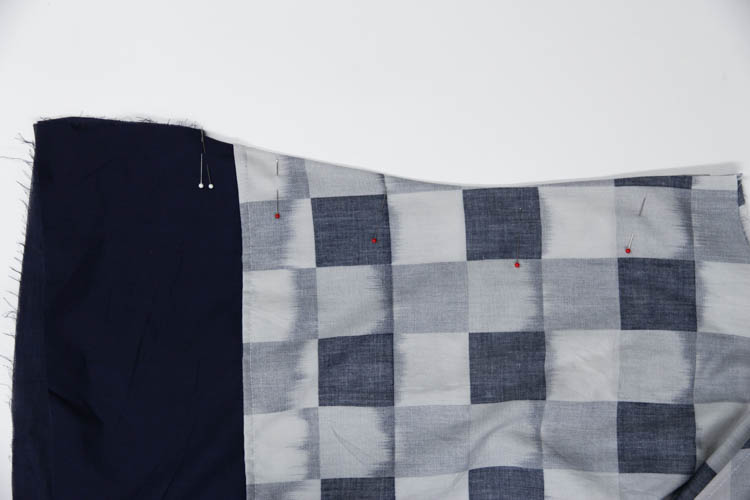
4. Sew down the side seam again, at a 1/4″ (6mm) seam allowance, stopping and back stitching again at the top of the slit.
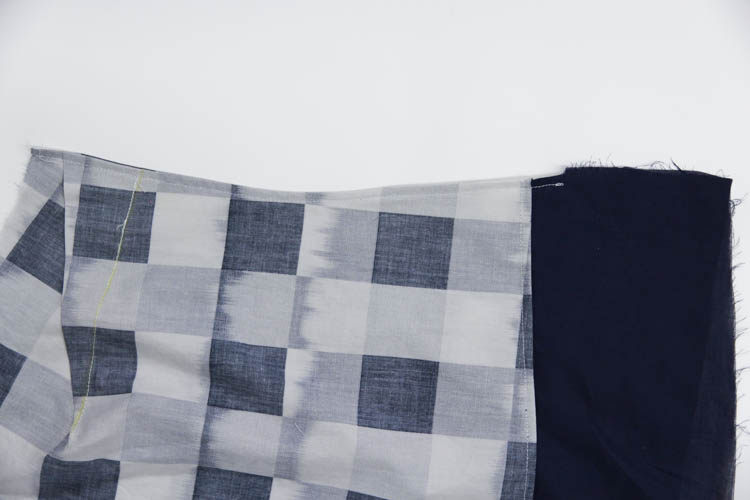
5. Very carefully, use scissors to snip into the seam allowance at the top of the side seam, right up to, but not through, the stitching. This “releases” the fabric from the French seam.
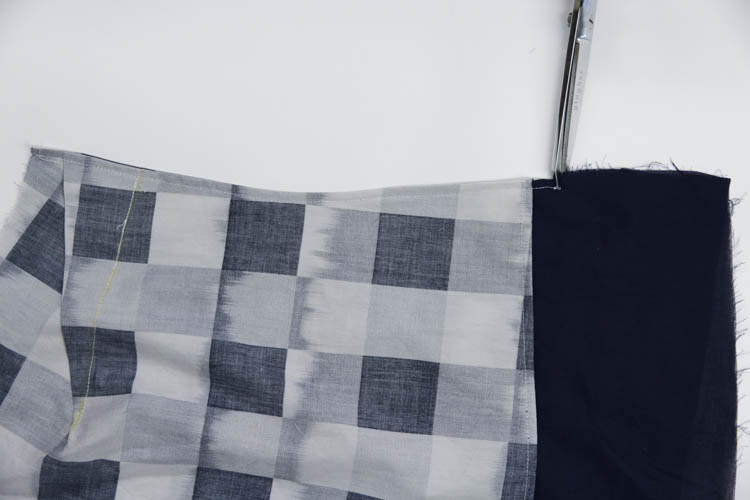
6. Press French seam to once side.
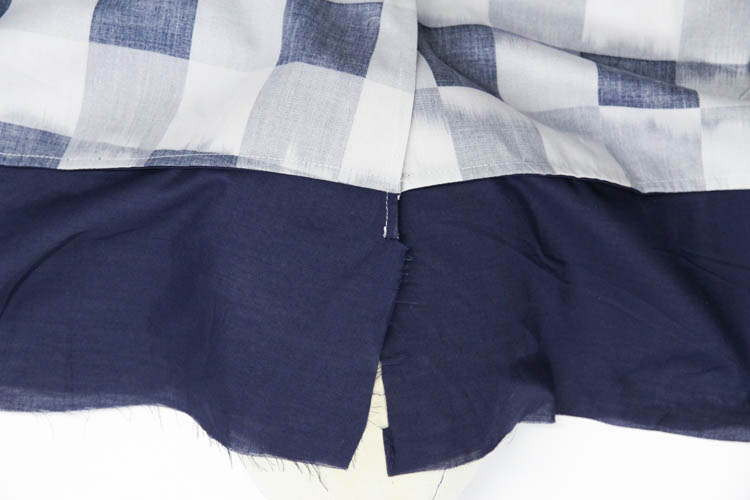
7. Finish slit by turning the raw edge to the wrong side by 1/4″ (6mm) and pressing, then repeating another 1/4″ (6mm) and pressing. Do this on both sides.
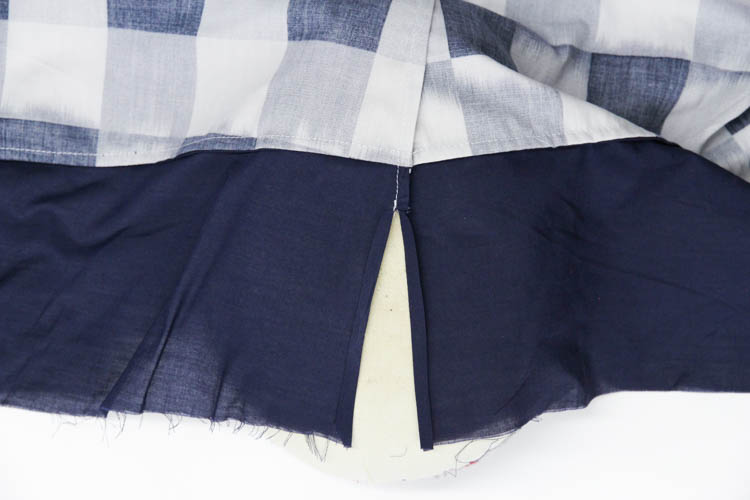
8. From the right side, sew up one side of the slit, across the top, catching the bottom of the French seam to secure it, and then down the other side. You may find using lots of pins or Wonder tape will help everything stay where it’s meant to be! You can also sew from the wrong side to make it a little easier (just make sure you have the right bobbin colour in your machine).
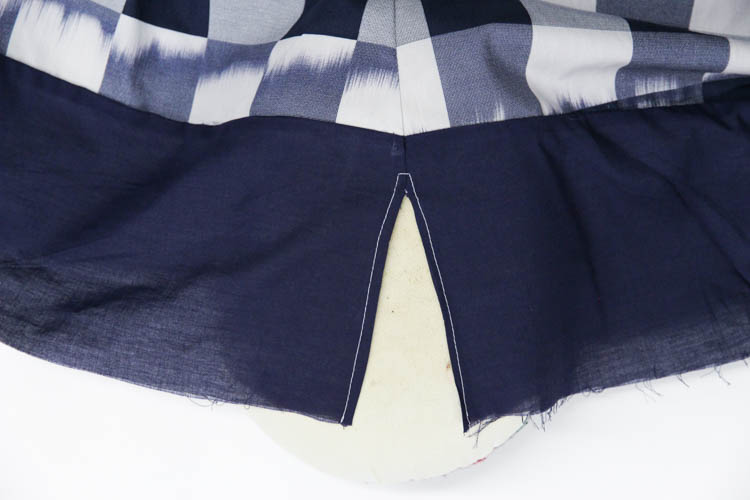
And there you have it! You’ve sewn a side seam with French seams and slits.


This was very helpful Jenny. I love french seams and use them often but there are spots when they become awkward (bulky) and I never know how to manage them. You’ve given me some ideas!
This is really useful. I recently made a top with French side seams and suits and just had to fudge it. It was good enough in the end, not as dlick as this. Thanks, Jx
This is how I do it, too. I usually put a little Fray Check at the tops of the slit turn unders where there is a raw edge. I’m hoping for another technique to try. Anyone know a good one?
I’m just trying to figure this out. To add a wider facing (because my fabric is a bit fray-y for narrow hems, I’m thinking of trying a combination of what you’ve detailed and a technique posted on Seamwork for creating a faced split hem. https://www.seamwork.com/issues/2017/07/creating-a-faced-split-hem
I did it just like that and it looks beautiful. Thanks for working out the details!