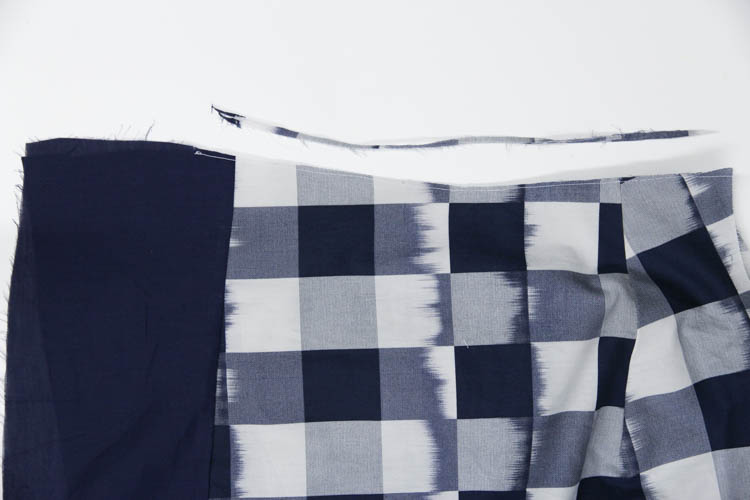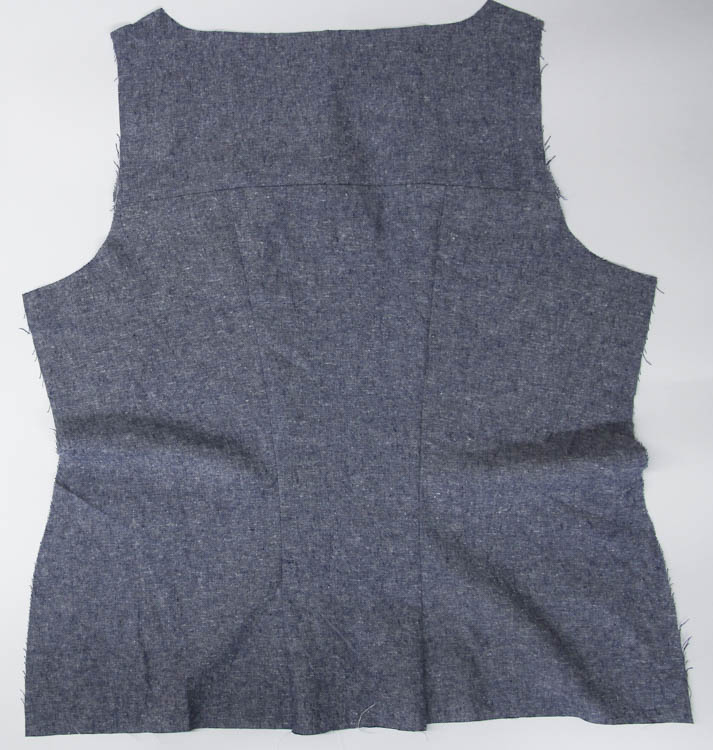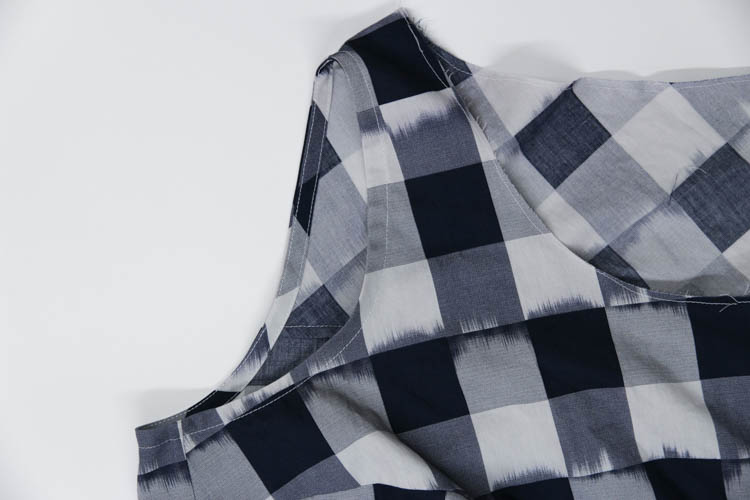
Today, our top is going to start looking like an actual top! We’ll be tackling the shoulder seams, side seams, and finishing the side seam slits. If you’re using French seams, there will be a post coming up next about how to handle the slits in that situation.
Sew shoulder seams
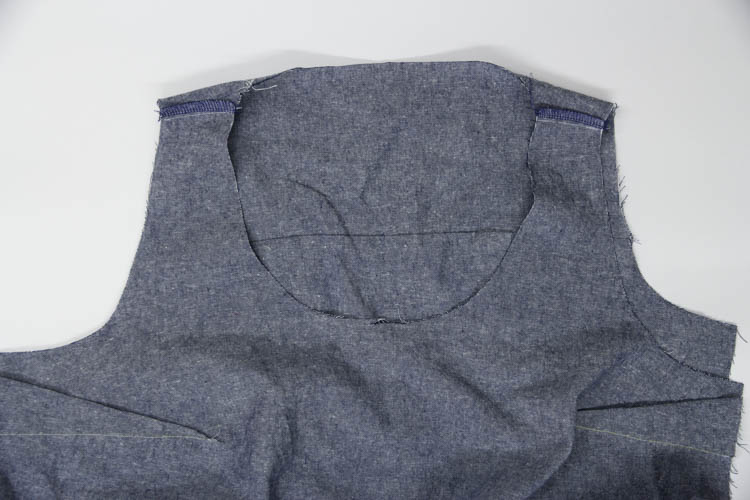
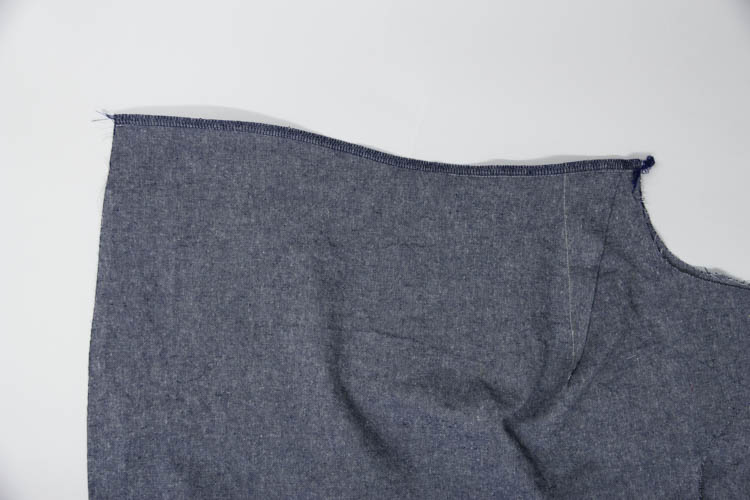
- Pin front to back at the shoulders, right sides together. Sew, finish seam, and press towards the back.
Sew side seams
- Pin side seams together, right sides together.
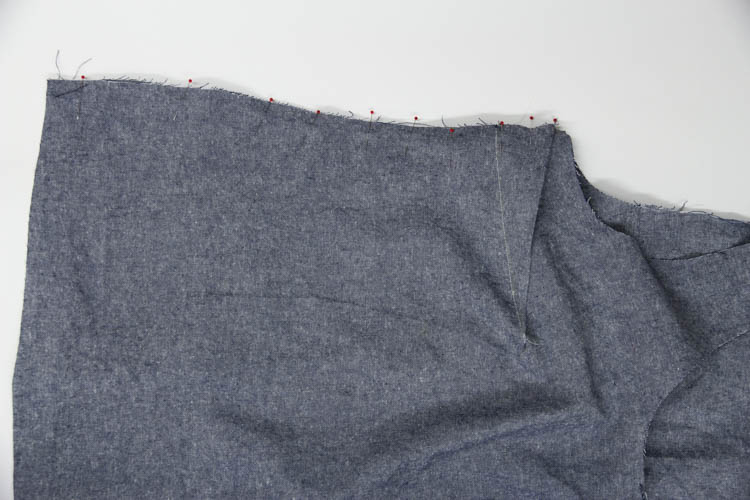
2. Sew down side seam, finish seam, and press towards back. PLEASE NOTE! In this version, I decided not to make the side seam slits (they’re optional!). If you are making the slits, finish your seam at the side seam marking for the top of the slit.
Finish side seam slits
- Press the raw edge on one side of the slit to the wrong side by 1/4″ (6mm), press. Fold over another 1/4″ (6mm), press again. Pin in place from the right side.
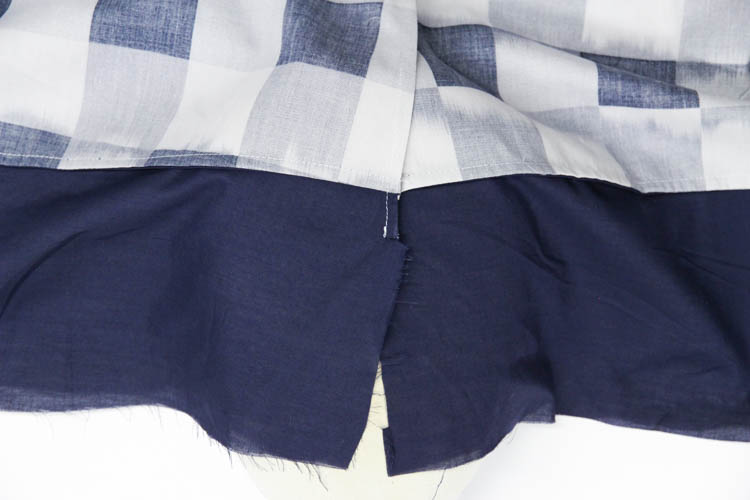
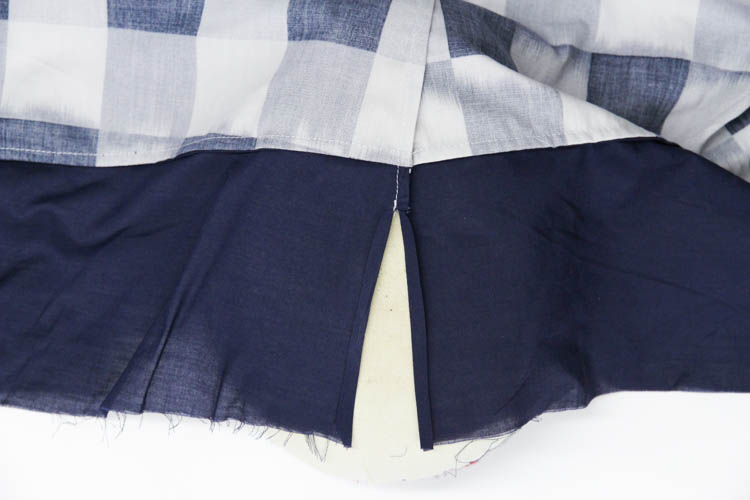
2. Sew up one side of the slit, over the top, and down the other side. You’ll get the neatest result if you sew this from the right side, but if that’s a little too fiddly don’t worry, you’ll be fine doing it from the wrong side! (just make sure you have the right thread in your bobbin).
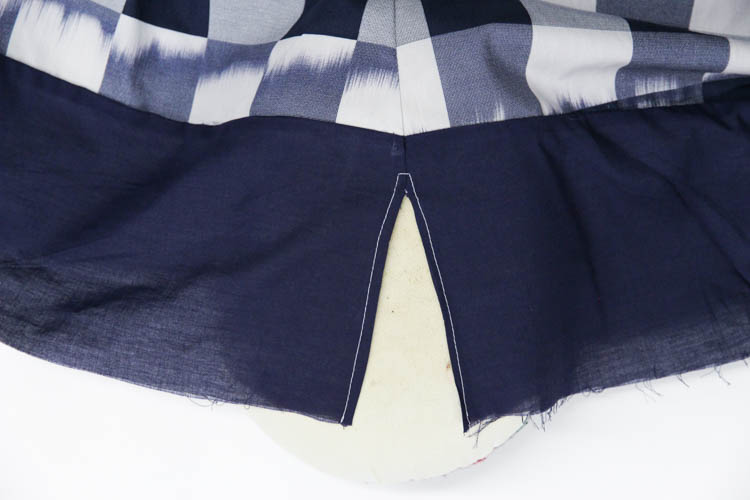
3. Press, then repeat for the second side.
That’s it! Any questions for today?

