
A great way to instantly elevate your Springfield Top is to use French seams, which are a remarkably easy, but super professional, way to finish all the inside seams of your garment so that they are fully enclosed. Even if you’re a beginner, French seams are totally do-able! And they’re a great neat finish if you don’t have a serger.
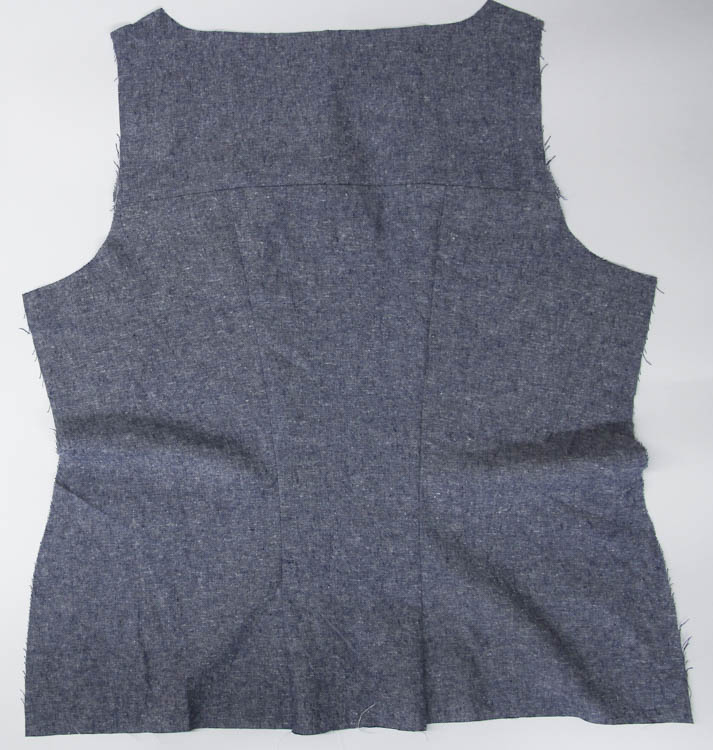
This tutorial will take you through how to do French seams to attach the hem band of View A of the Springfield Top, but the same principle applies to all the other seams (with the exception of the bust darts and hem). During the sewalong, the gingham top has been finished with French seams, and the chambray top has been finished using a serger. French seams are great for lightweight fabrics like silk, voile or lawn, but heavier fabrics are too bulky for this technique.
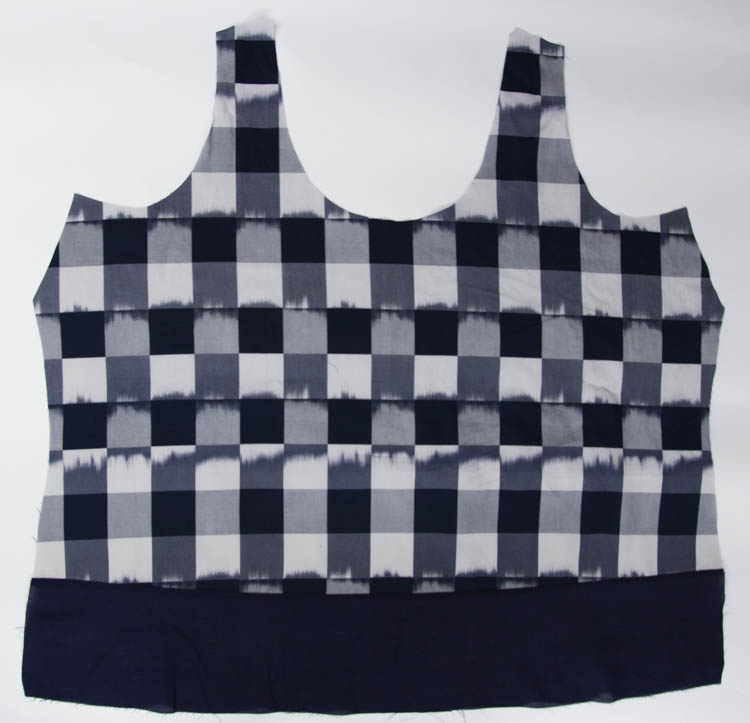
So here are the pieces we’re going to be French seaming: the Springfield Top View A front, and the View A hem band.
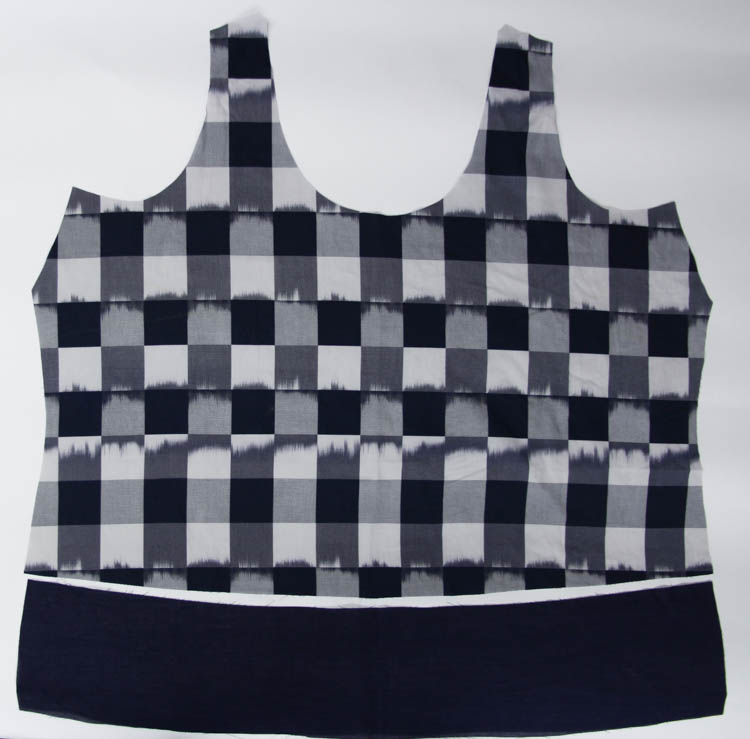
- Pin the hem band to the bottom of the front with WRONG SIDES TOGETHER. Yes, you read that right! Almost all sewing has you sewing right sides together, but for French seams, the first step is to do the opposite, and put the wrong sides (inside of the garment) together. This is the step it’s most easy to do wrong, so pay attention here.
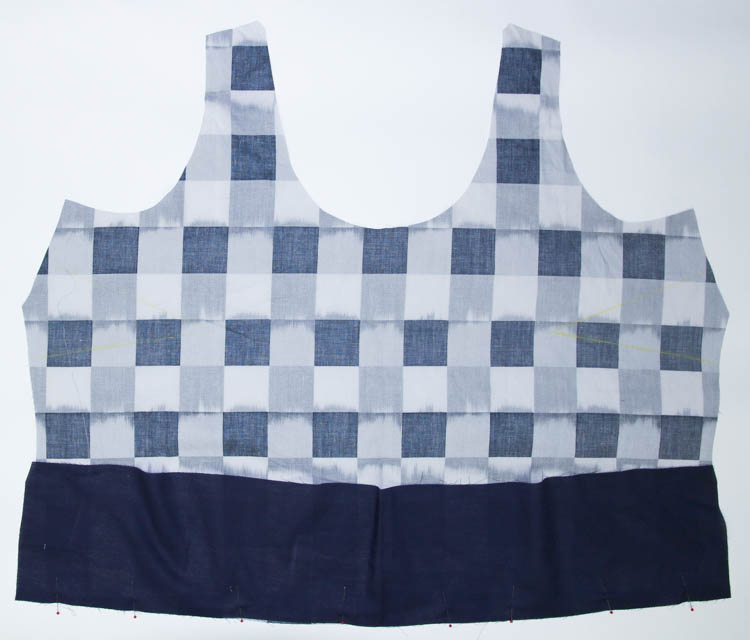
2. Sew the seam at a 1/4″ (6mm) seam allowance (which is half the pattern’s 1/2″ (12mm) seam allowance).
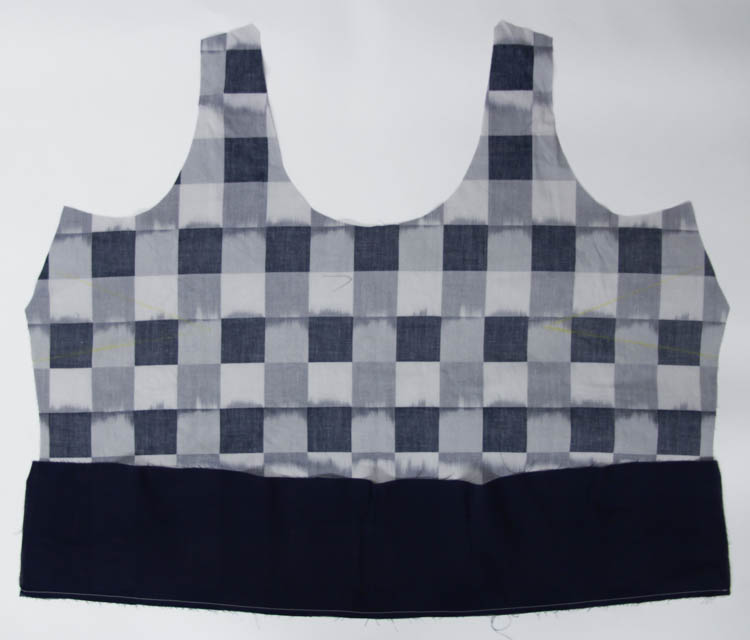
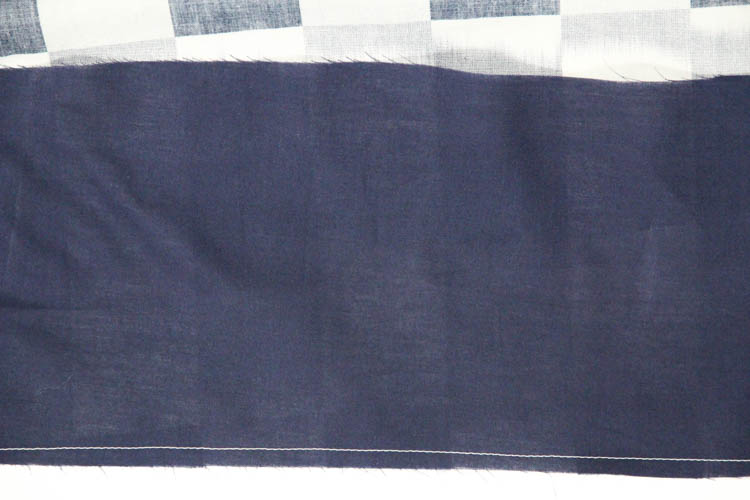
3. Now, trim the seam allowance in half, to around 1/8″ (3mm), using scissors or a rotary cutter and ruler. Make sure you don’t cut into the stitching line.
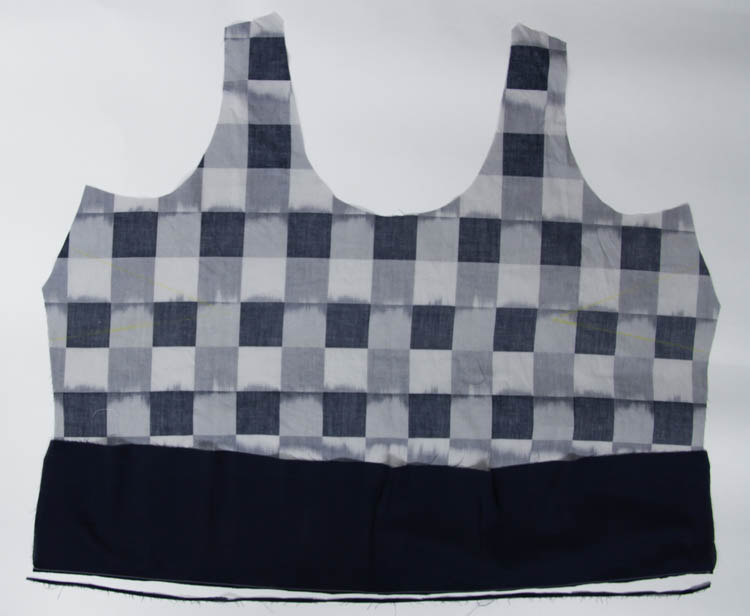
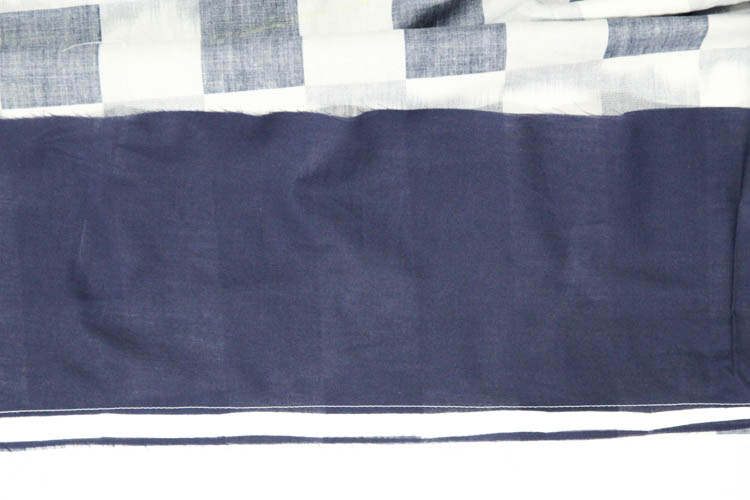
4. Now, press the seam allowance flat to one side – here I pressed it up, but the direction doesn’t matter.
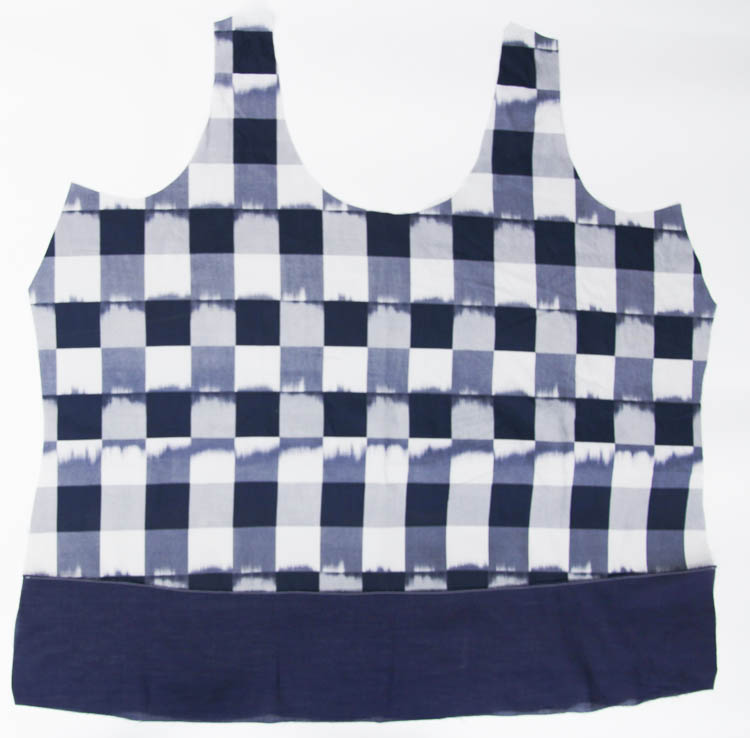
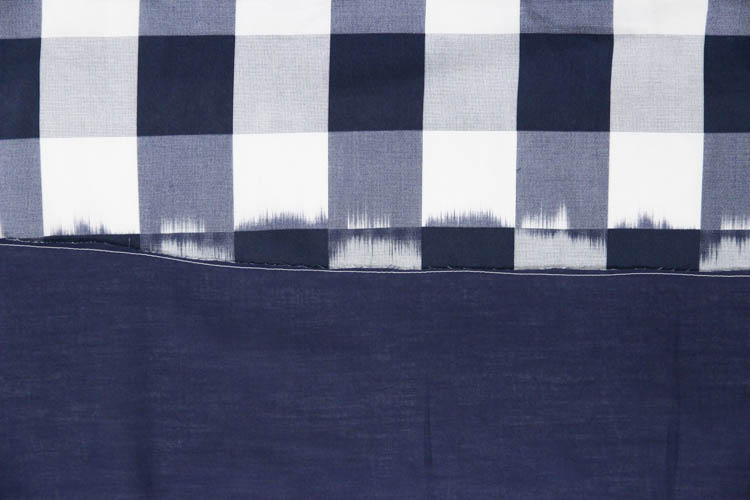
5. Flip the hem band over the seam allowance so the pieces are right sides together and the seam allowance is enclosed inside, and press again.
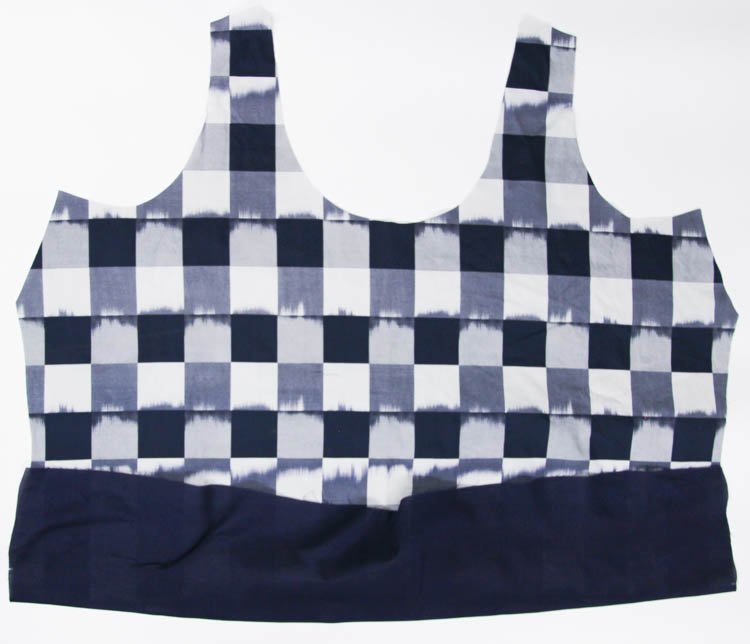
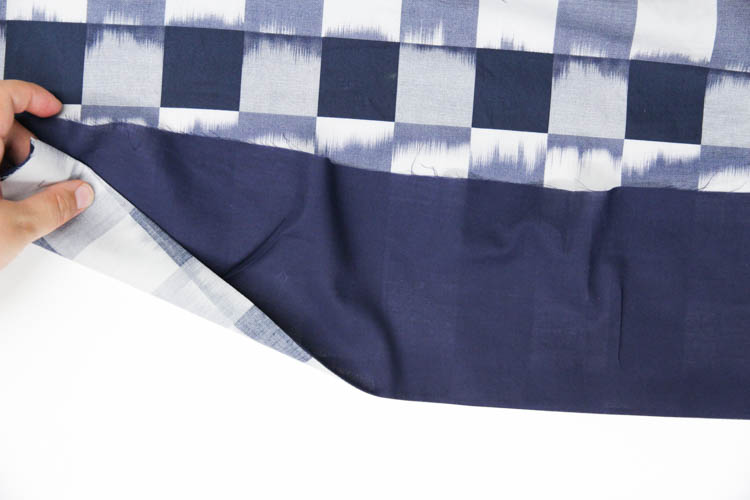
6. Sew the edge at 1/4″ (6mm) again, catching the raw seam allowance inside the seam.
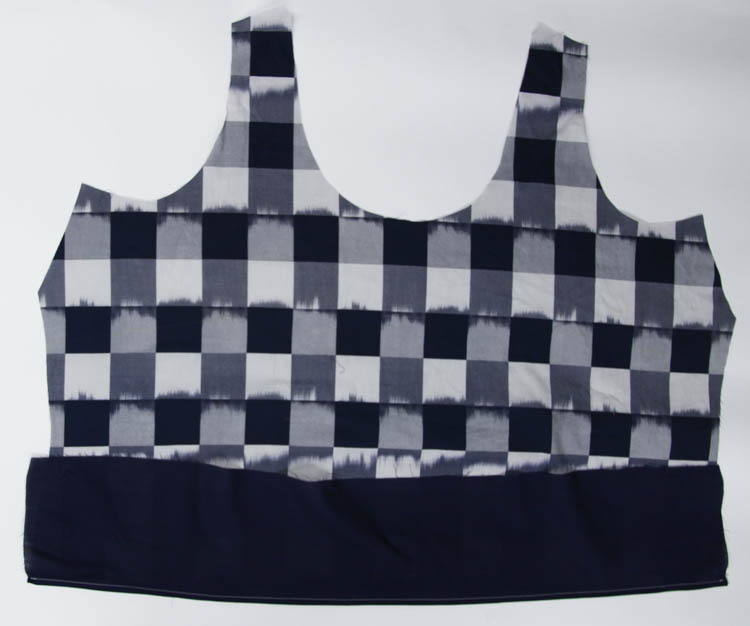
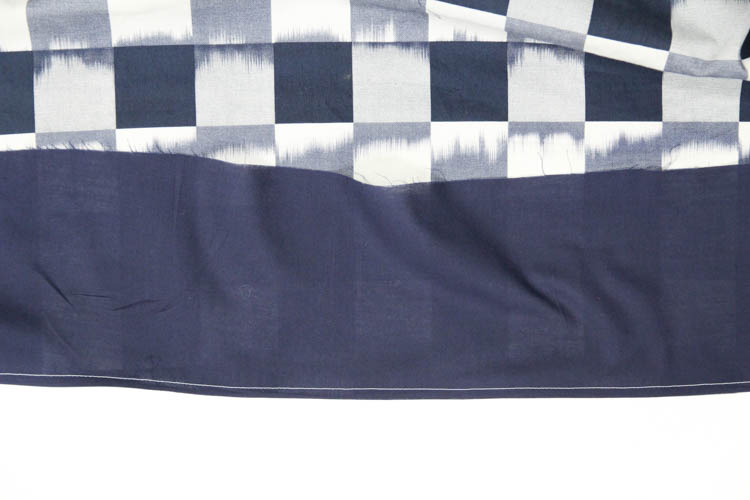
7. And you’re done! Press the seam down towards the hem.
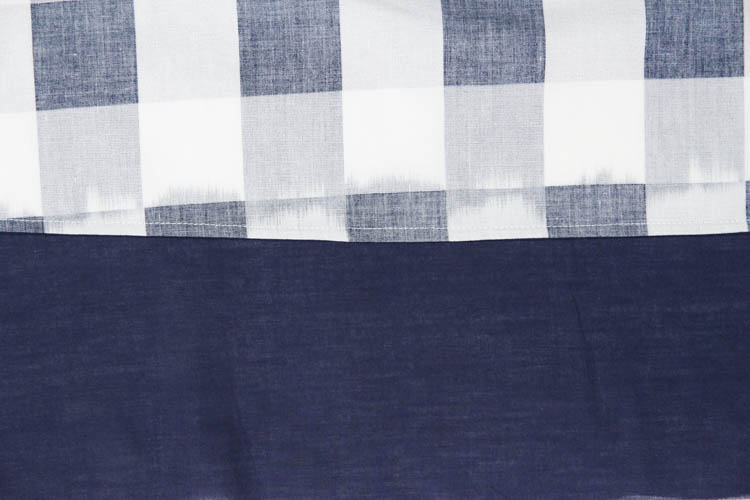
It’s a few extra steps than a regular seam, but it’s totally worth the hassle for a beautiful enclosed seam that feels great and washes beautifully.
Here’s a crib list for every French seam you do:
- Sew WRONG SIDES TOGETHER at half the pattern’s seam allowance (for Cashmerette Patterns, that’s 1/4″/6mm).
- Trim the seam allowance in half.
- Press the seam allowance to one side, then flip pattern pieces right side together, with seam allowance enclosed inside.
- Sew RIGHT SIDES TOGETHER at half the pattern’s seam allowance.
- Press.
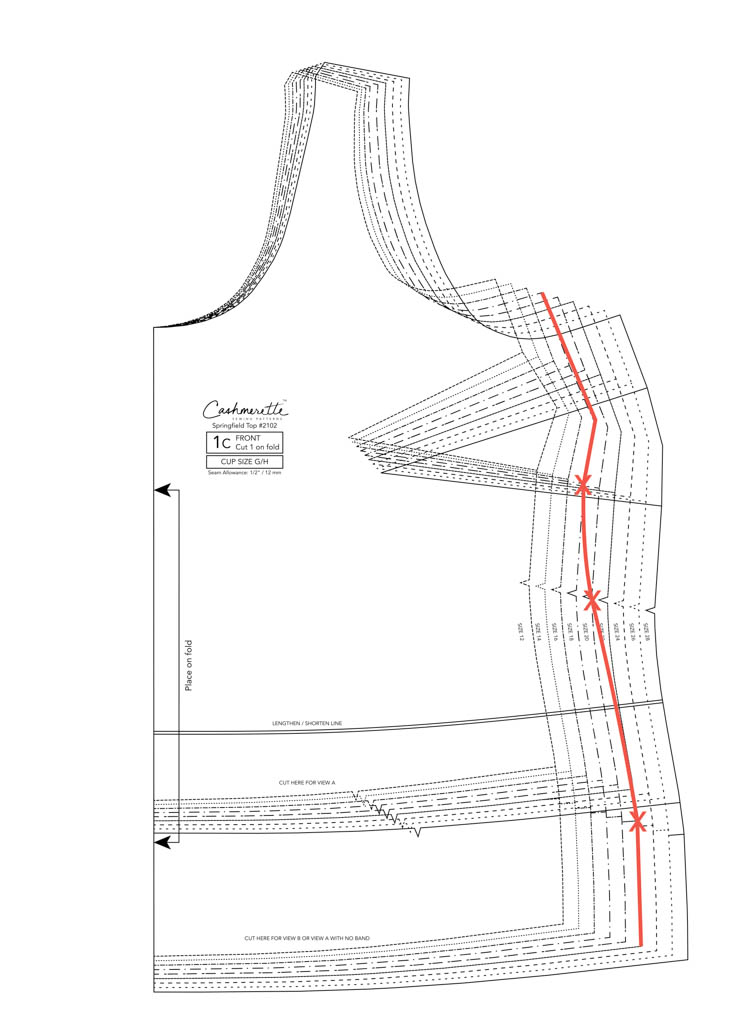
Let me know if you have any questions! For the Springfield Top, you can use French seams for the hem bands, back seams, shoulder seams and side seams.


I find the seam very difficult to see – the photos are pretty dark and the plaid is quite distracting. May you could at least add an arrow and some better close-ups?
This may be a silly question, but what do you mean when you say “press” in the instructions? I am a beginner and totally unfamiliar with sewing language.
There are no silly questions! “Press” means iron, except instead of moving backwards and forwards with the iron like when you’re ironing clothes, you just press up and down on the fabric.
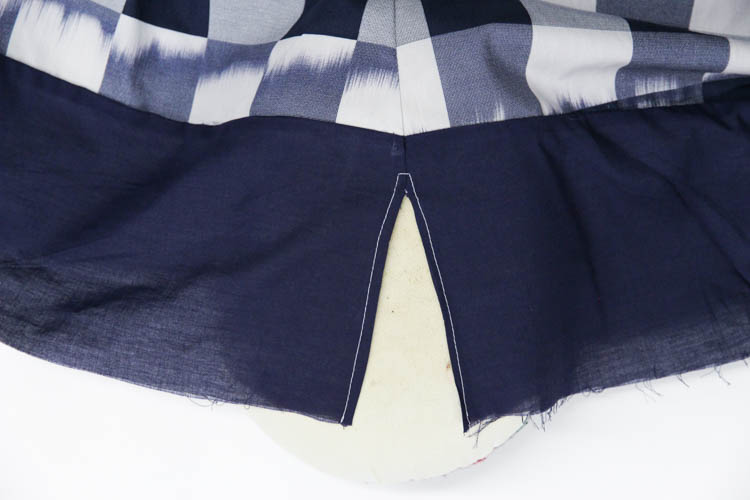
How do you manage sewing french side seams when you then have a slit at the base of the side seam? It can’t be pressed open.
Here you go: https://blog.cashmerette.com/2016/08/how-to-sew-a-side-seam-with-french-seams-and-slits.html
I never knew you could use French seams for lightly curved seams such as the side. As someone who doesn’t own a serger, this is GOLD! Thank you, Jenny!