Welcome back to the Auburn Blazer sewalong! Today, we’ll be constructing the front and black lining pieces.
(Just joining us? Be sure to check out the main Auburn sewalong page to catch up on everything you may have missed.)
Now that we’ve finished constructing the outer blazer, it’s time to get to work on the blazer lining.
(Loving the multi-color satin print we’re using? We have a few Auburn Blazer kits left with this lining here.)
Sew Front Lining
View A of the Auburn Blazer features flat piping between the front facing and lining—it’s a really easy yet sophisticated detail that you often see in tailored garments.
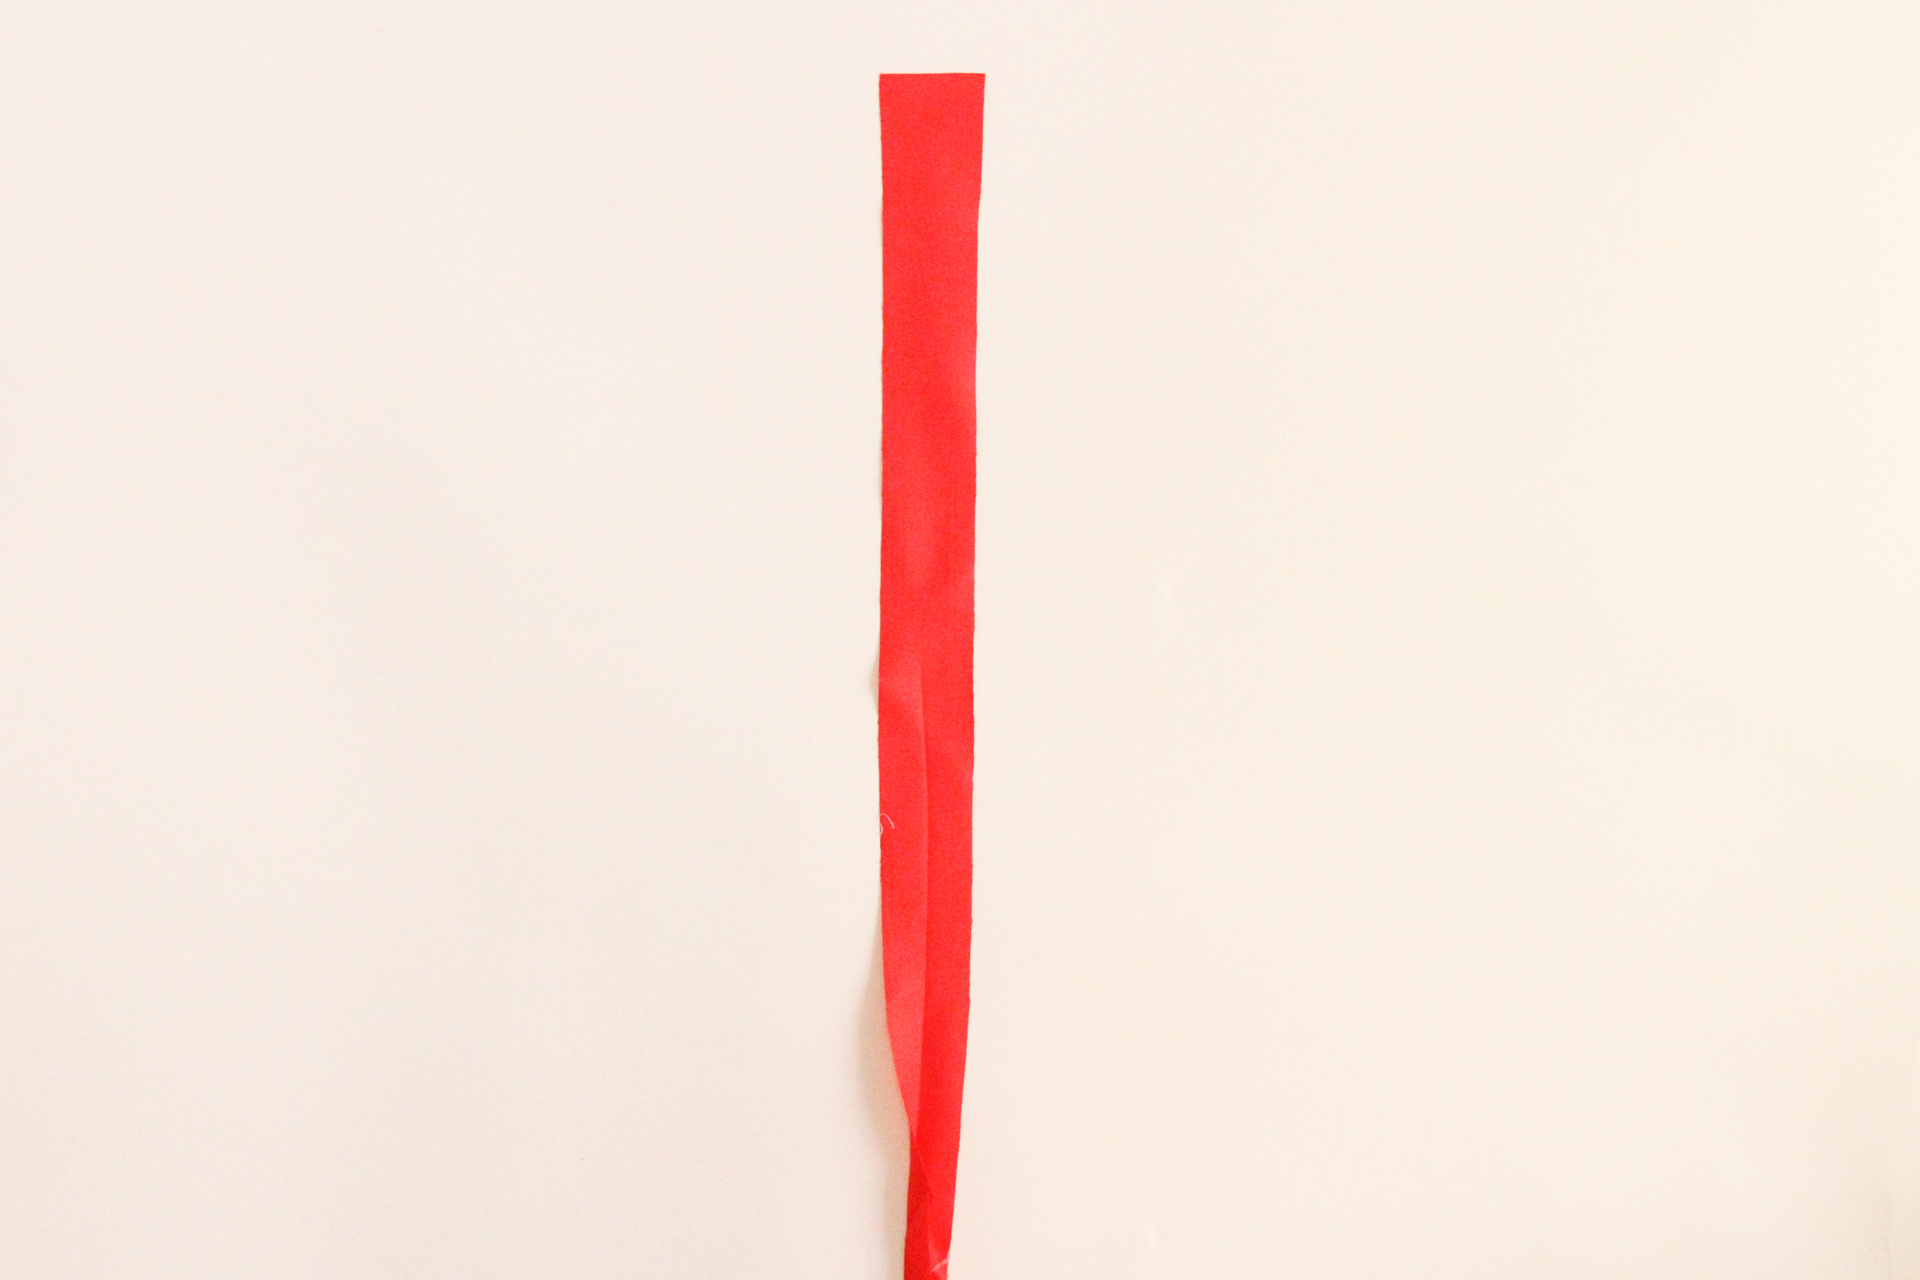
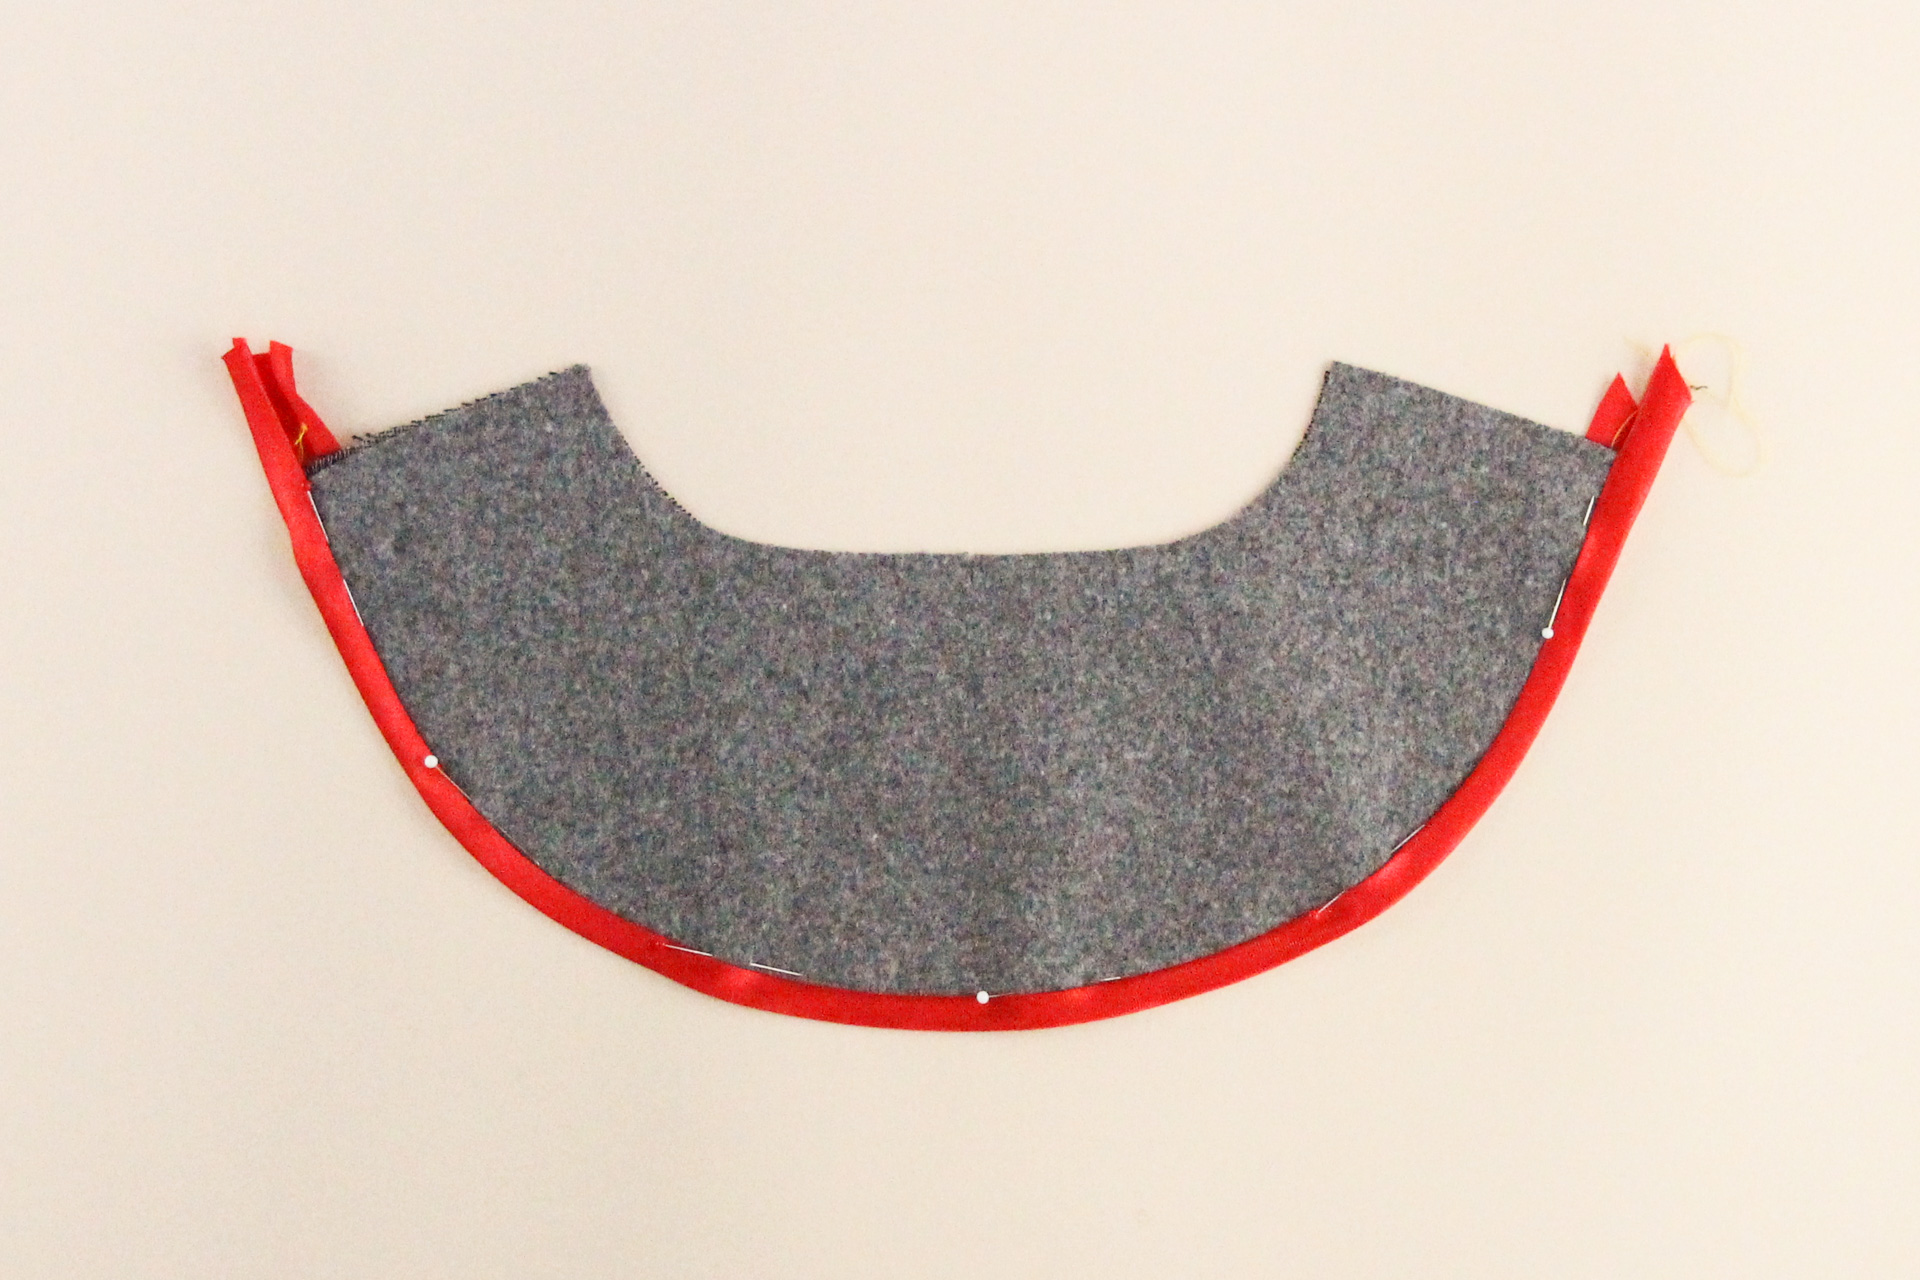
Start by cutting a strip of 1.5″ (3.8 cm) wide bias tape the length of the front facing inner seam. If you’re using pre-made bias tape like we are, you’ll want to first press it flat, like so:
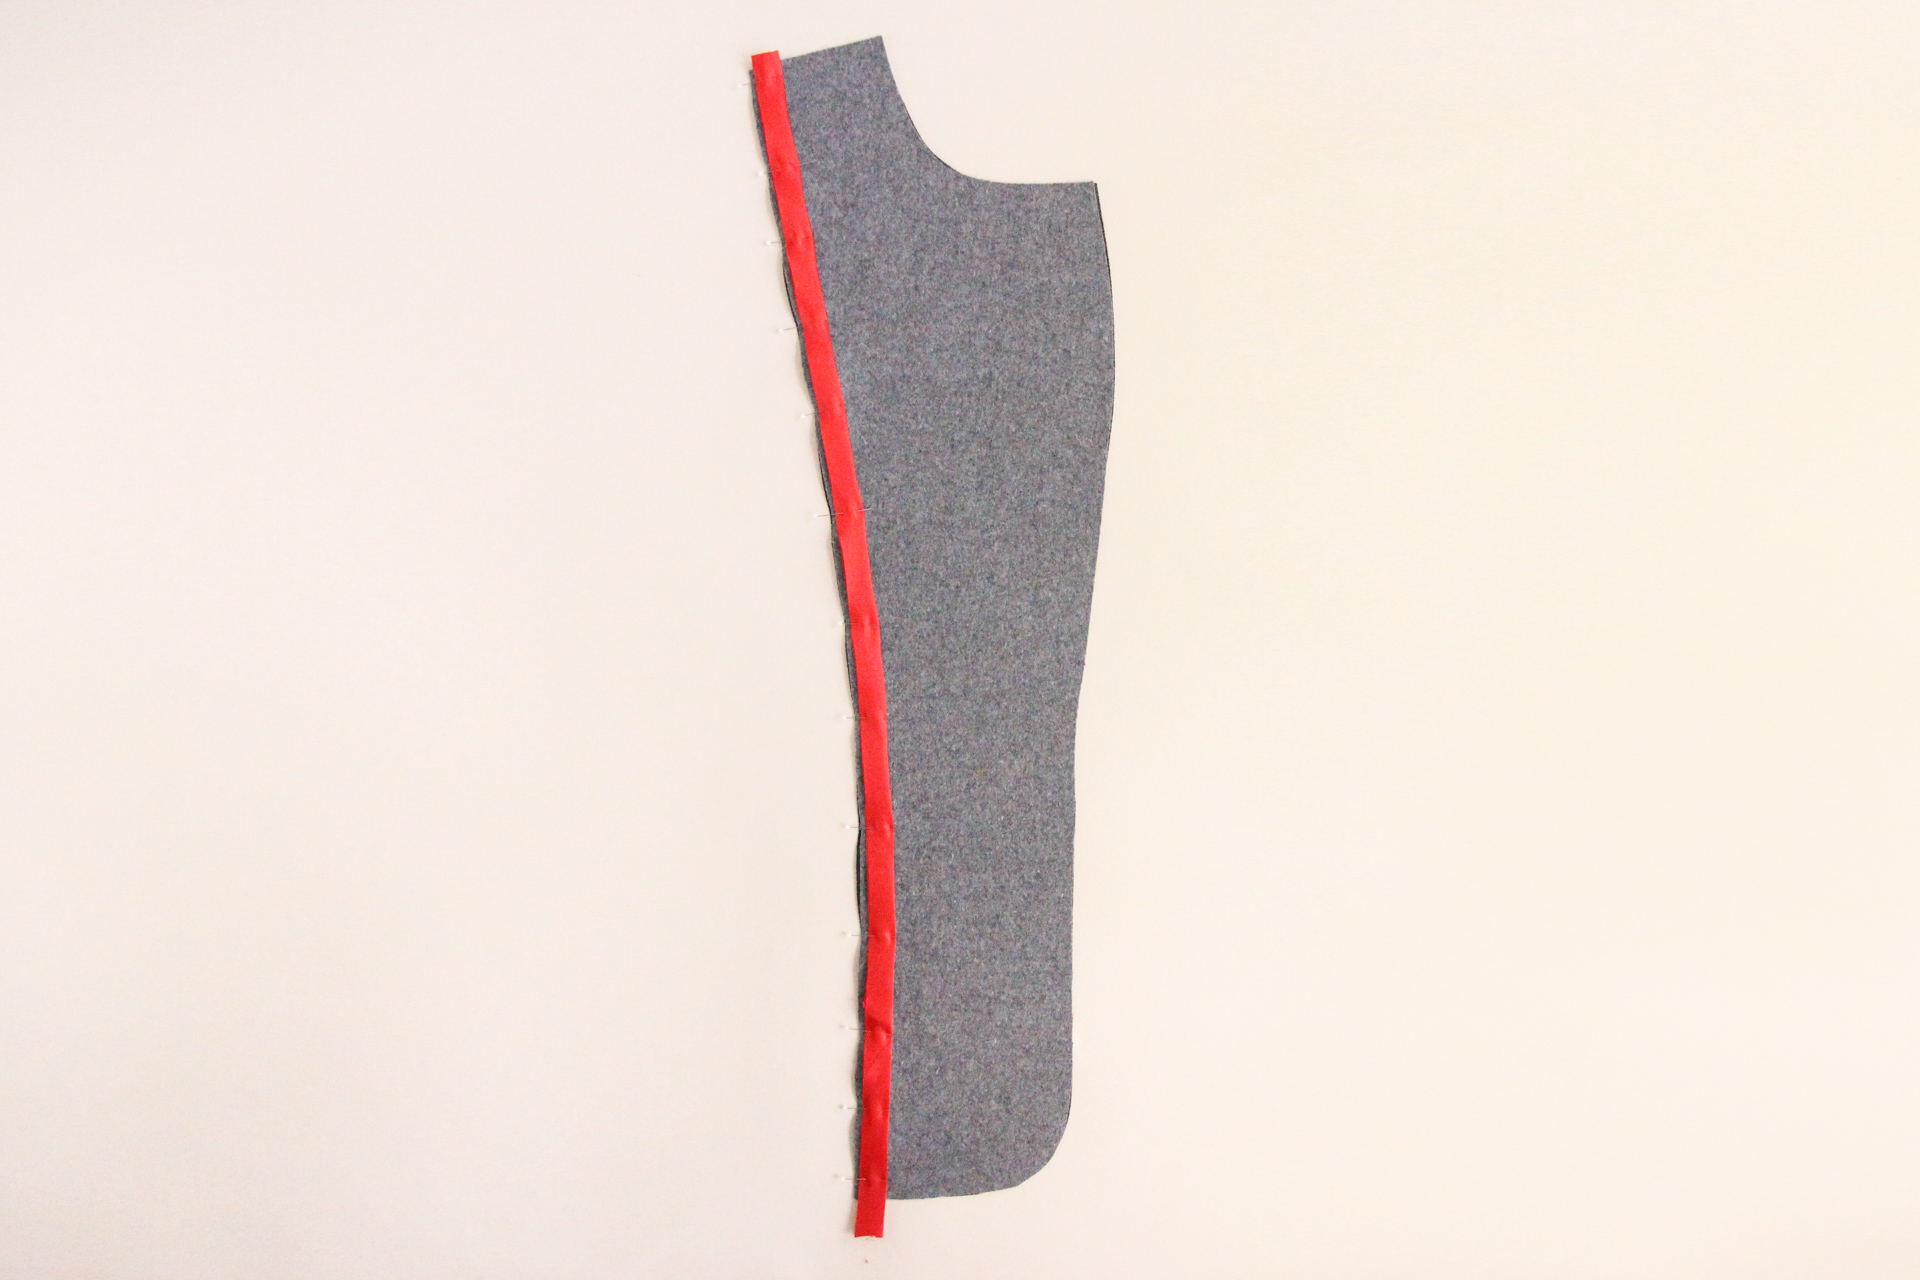
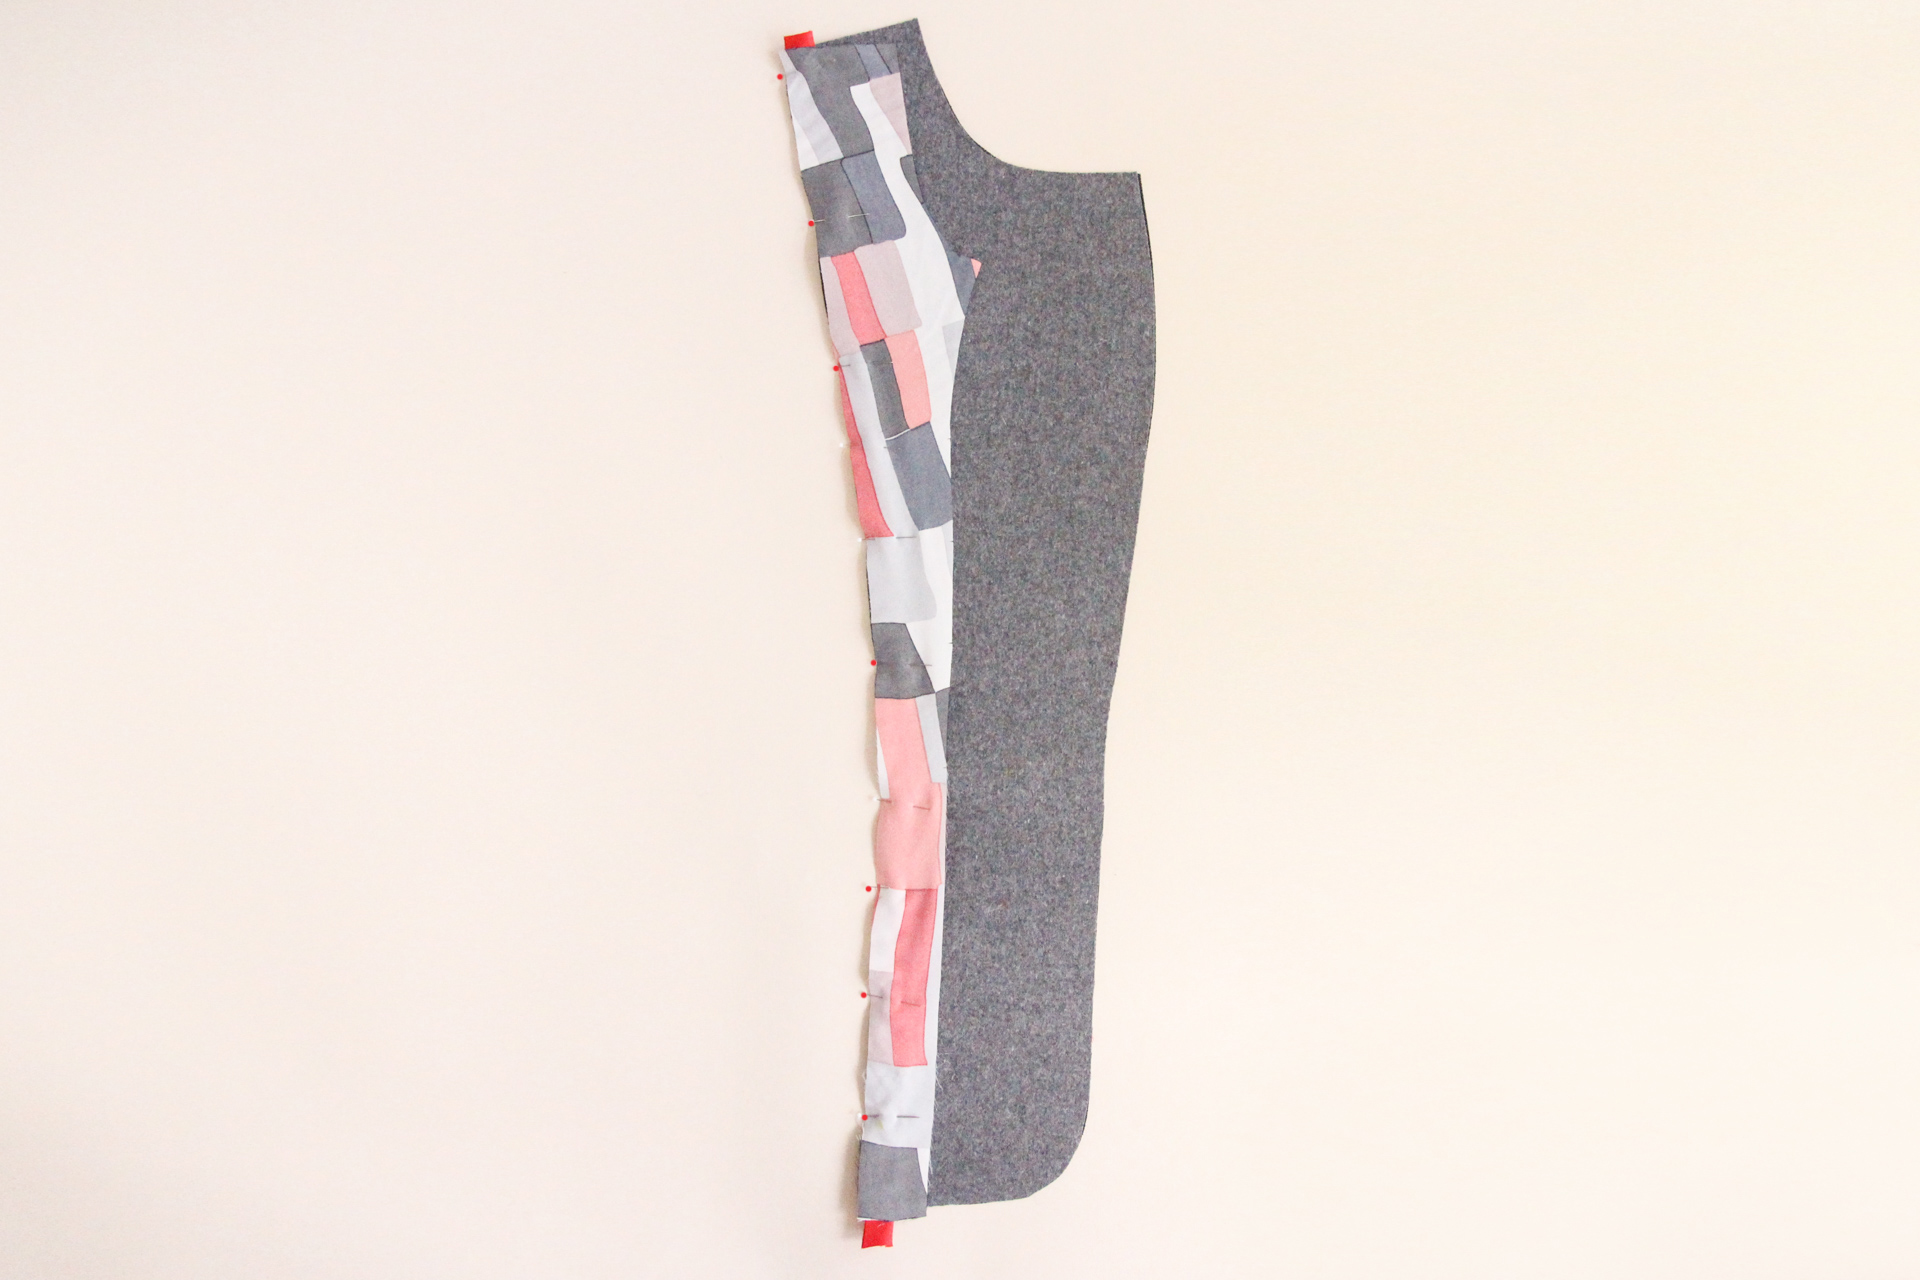
Fold the bias tape in half the long way, and then pin along the inner seam of the front facing piece.
The bias tape we’re using is actually 1″ wide when pressed flat, so we’re going to align the raw edge 1/4″ (6 mm) from the edge. This will ensure that the resulting flat piping is the right width when we’re done with the seam.
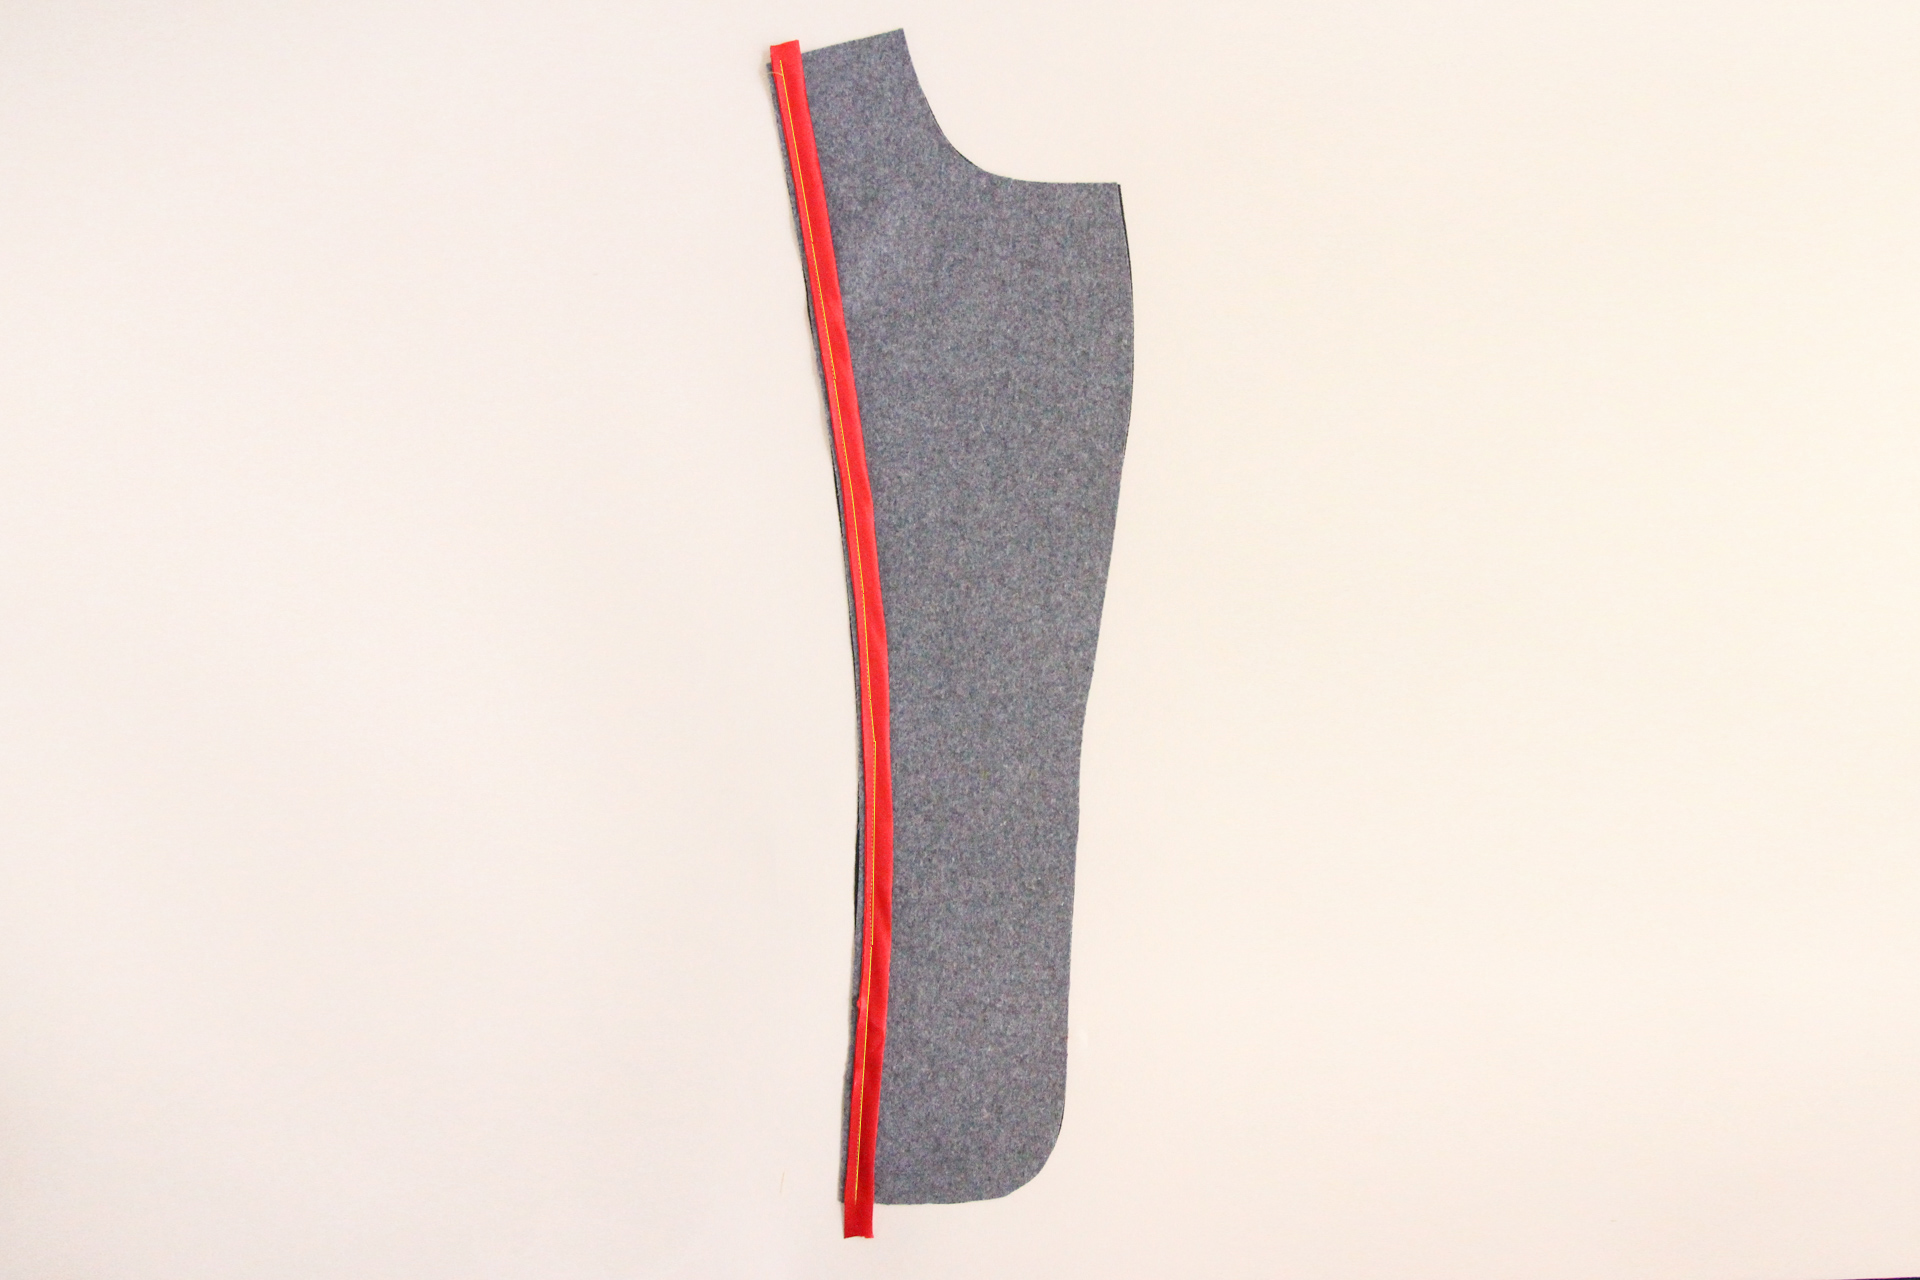
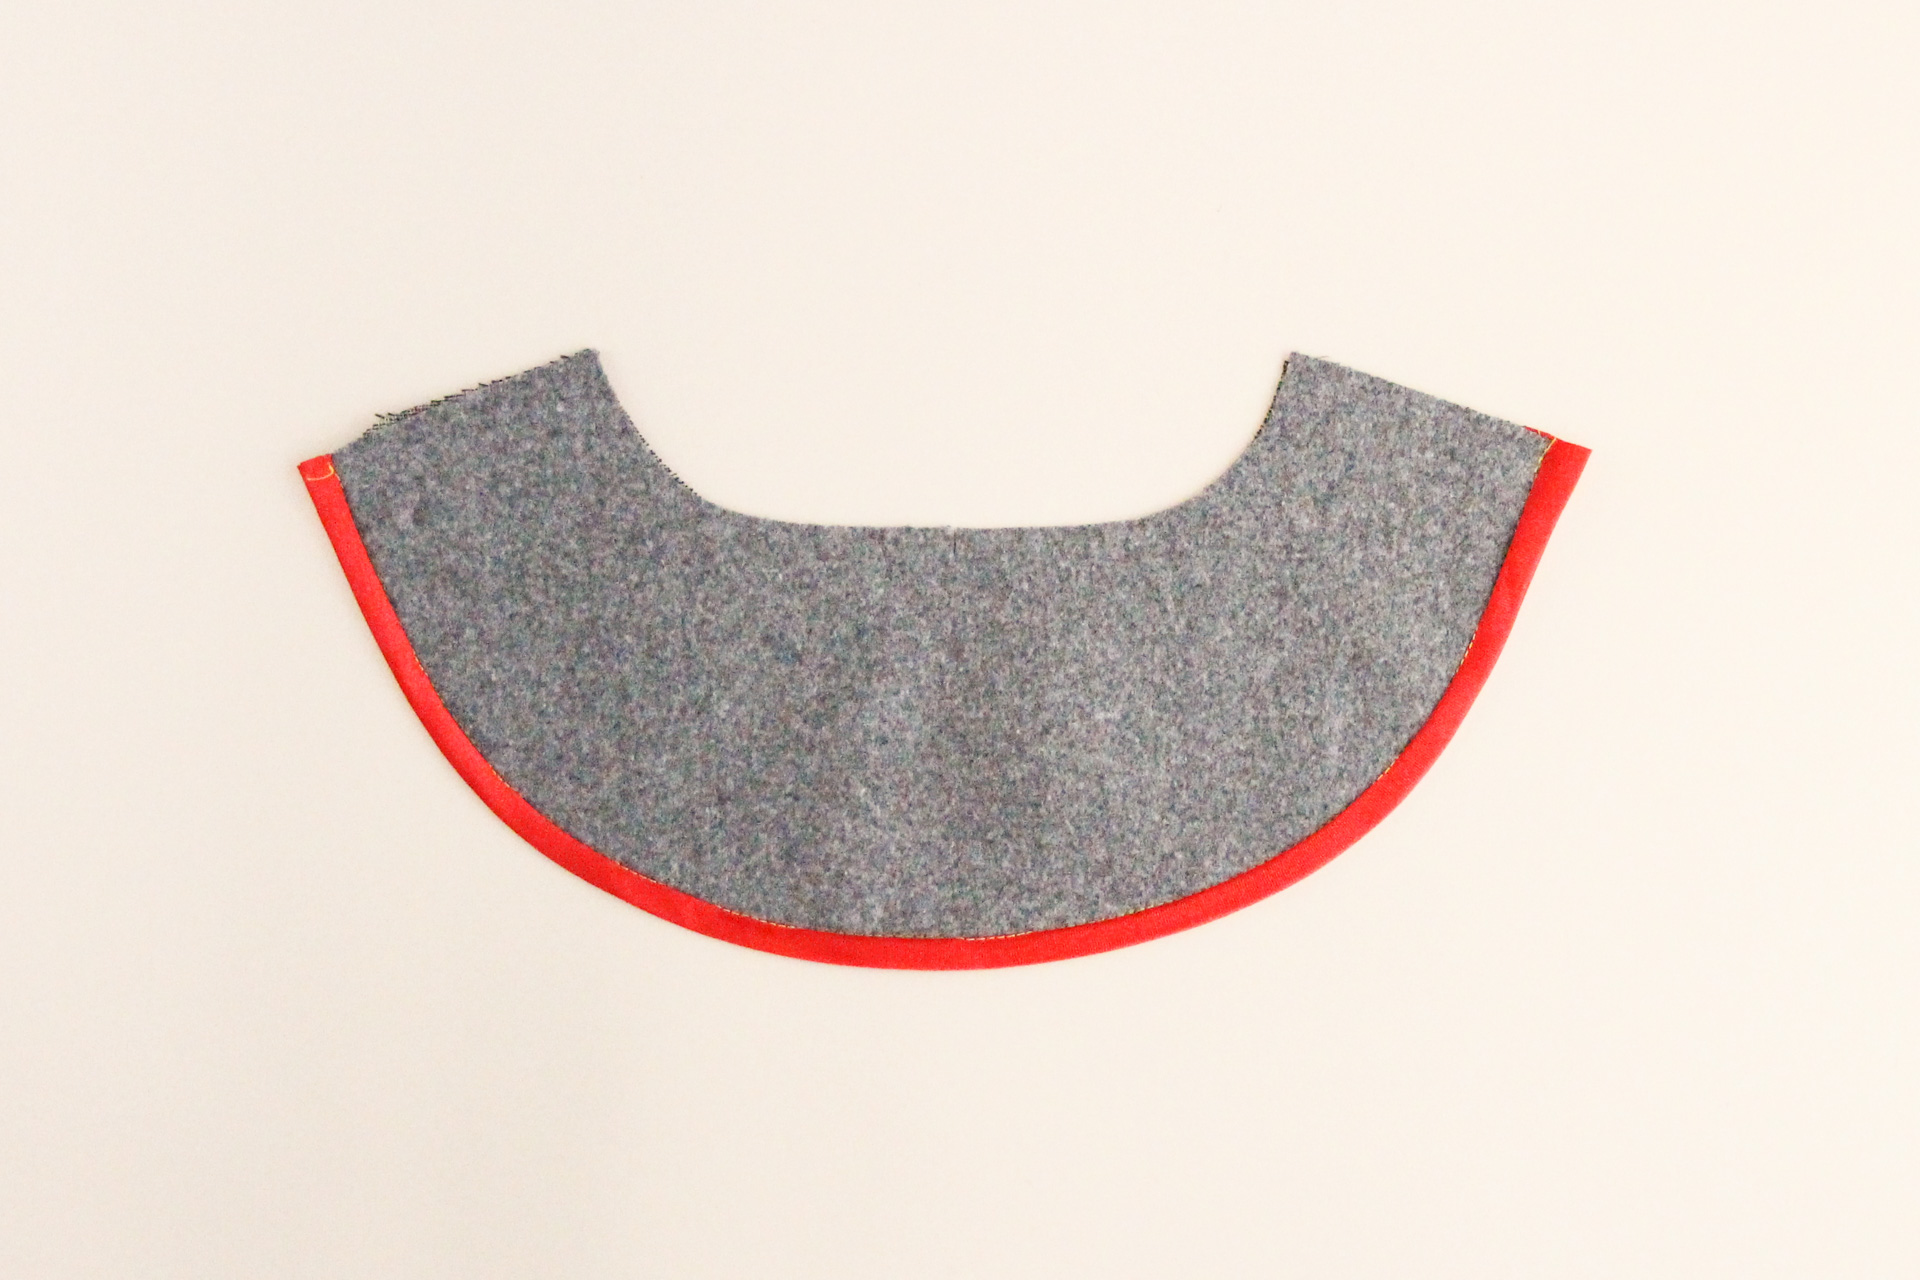
Baste the bias tape in place, 3/8″ (1 cm) from the edge of the front facing piece.
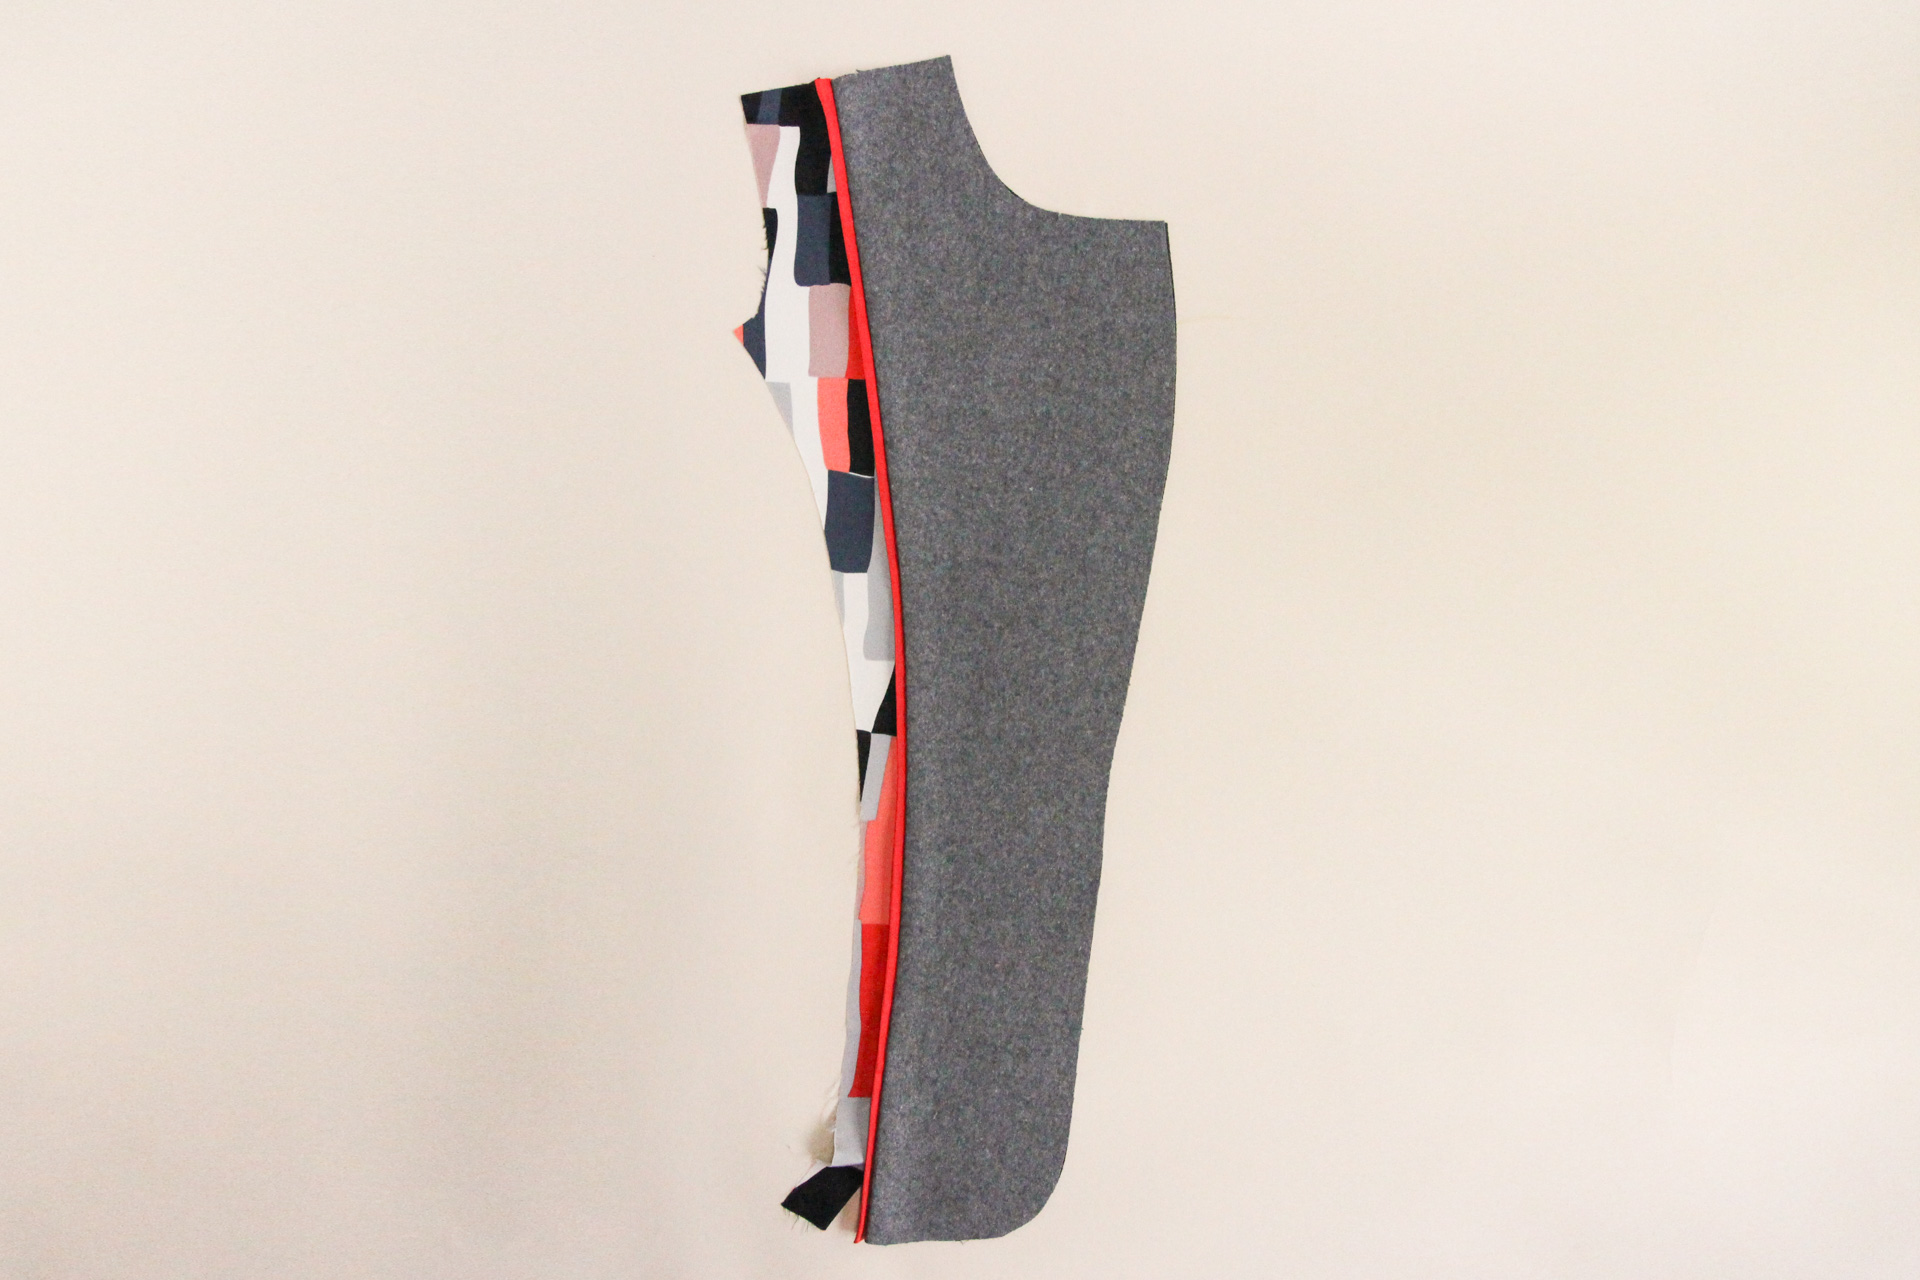
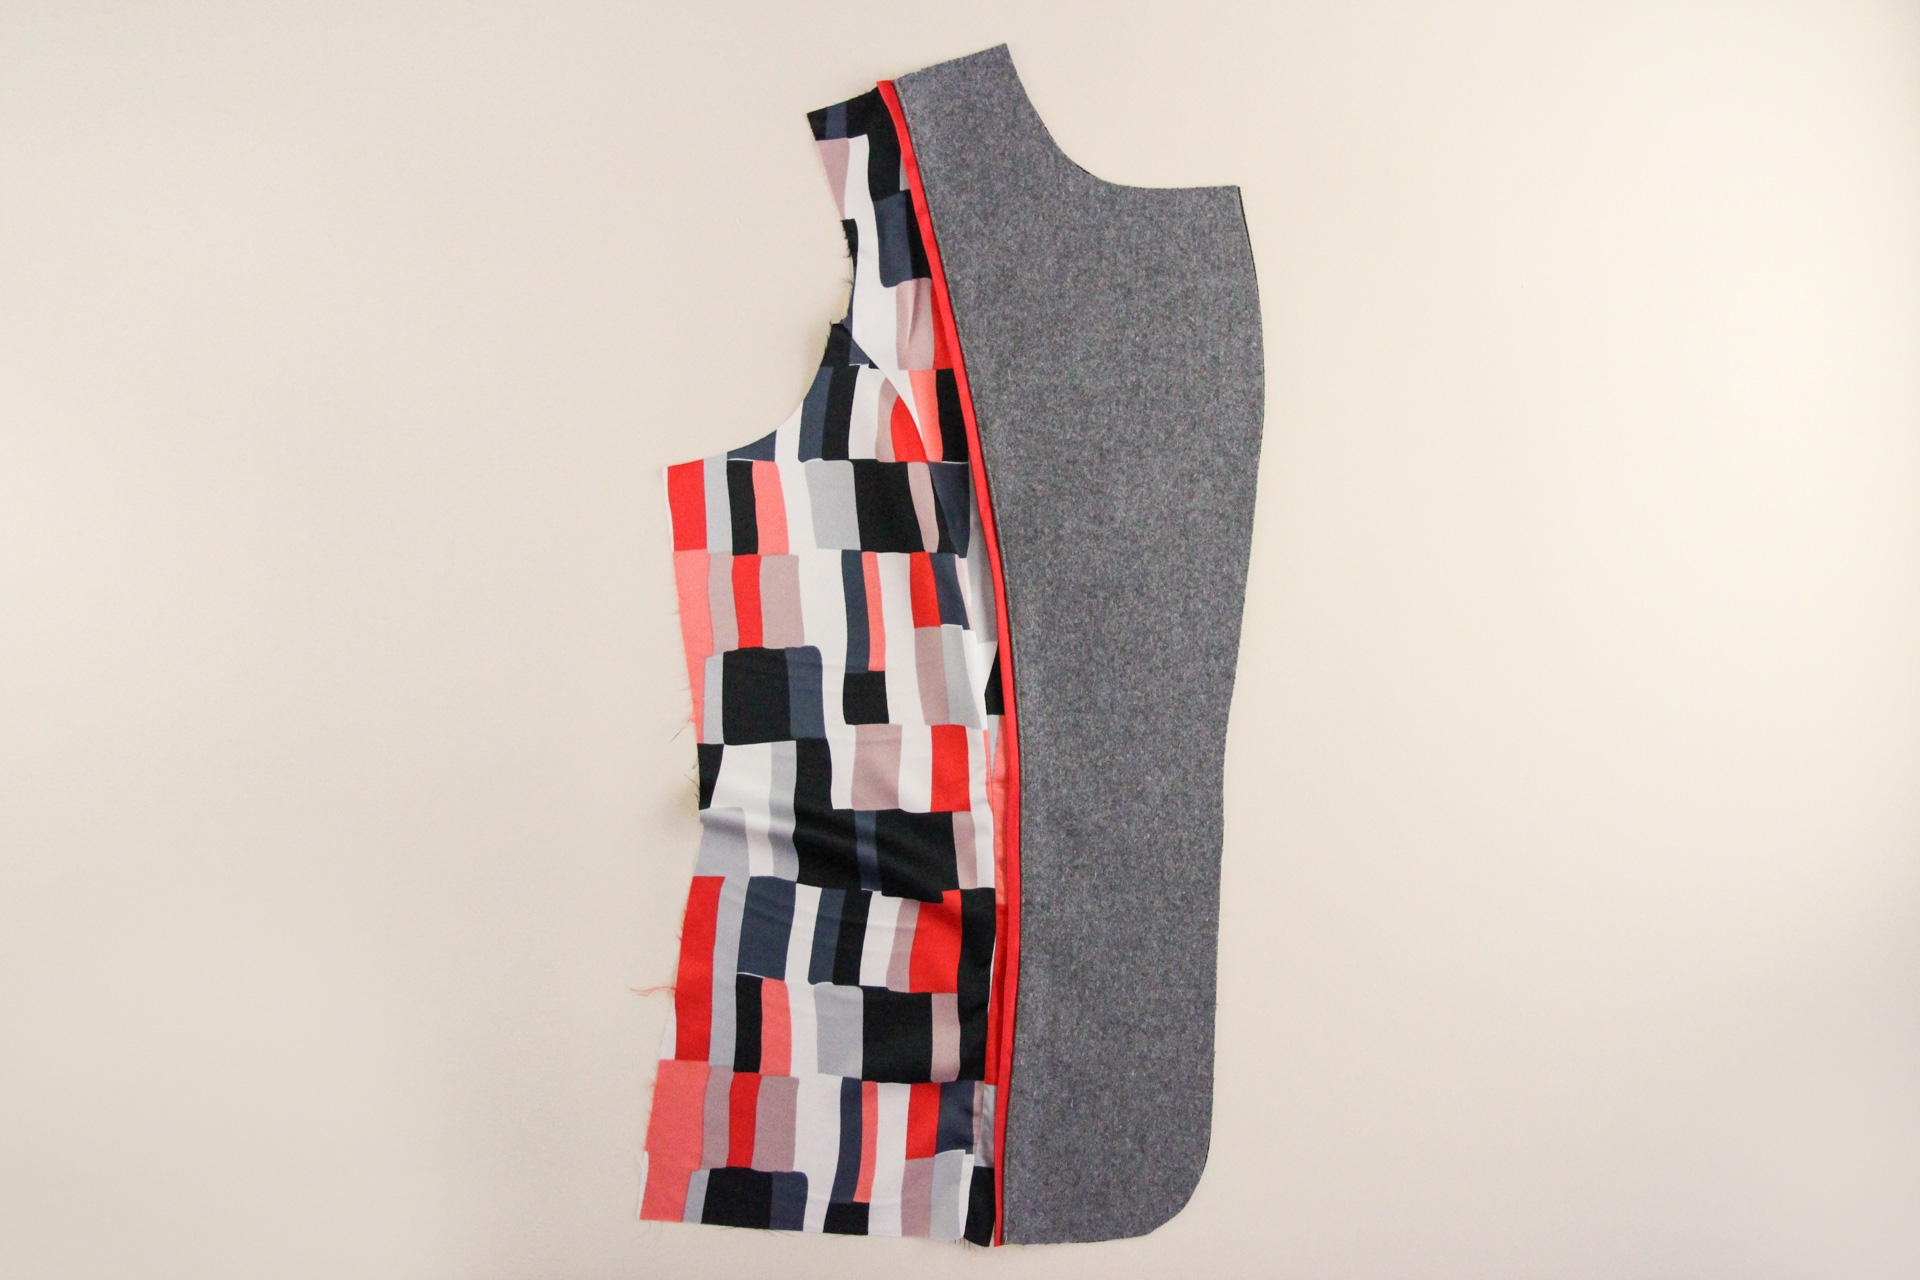
Now we can pin the center front lining piece, sandwiching our bias tape. If you’re making View B, jump on back in here!
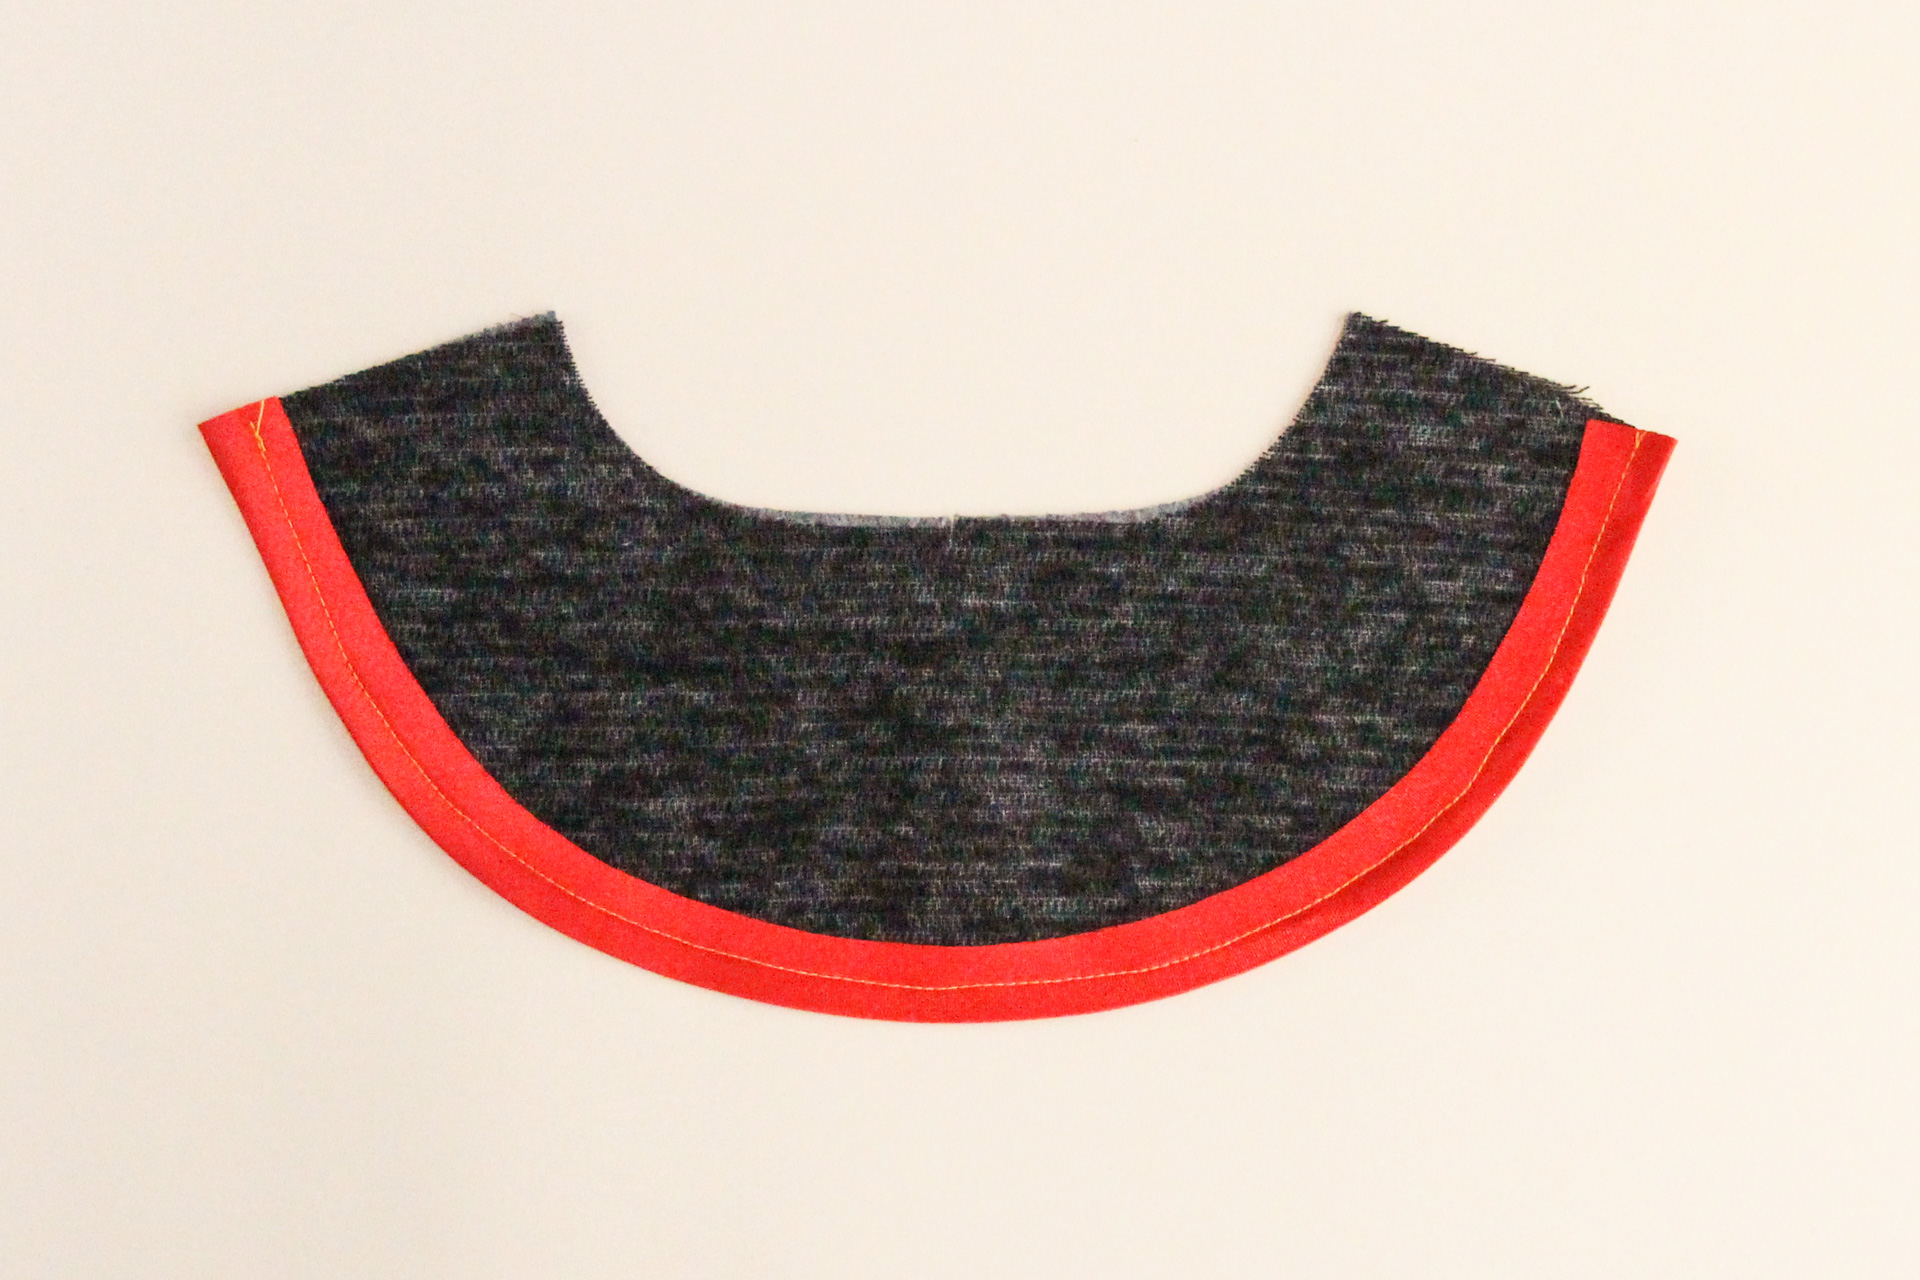
Sew that seam using our 1/2″ (12 mm) seam allowance, starting at the shoulder and stopping at the circle marking. The finished flat piping should now be 1/4″ (6 mm) in width.
Flip the constructed piece over and press the seam allowance open, with the lining allowance going towards the lining and the facing and bias tape allowance going towards the facing.
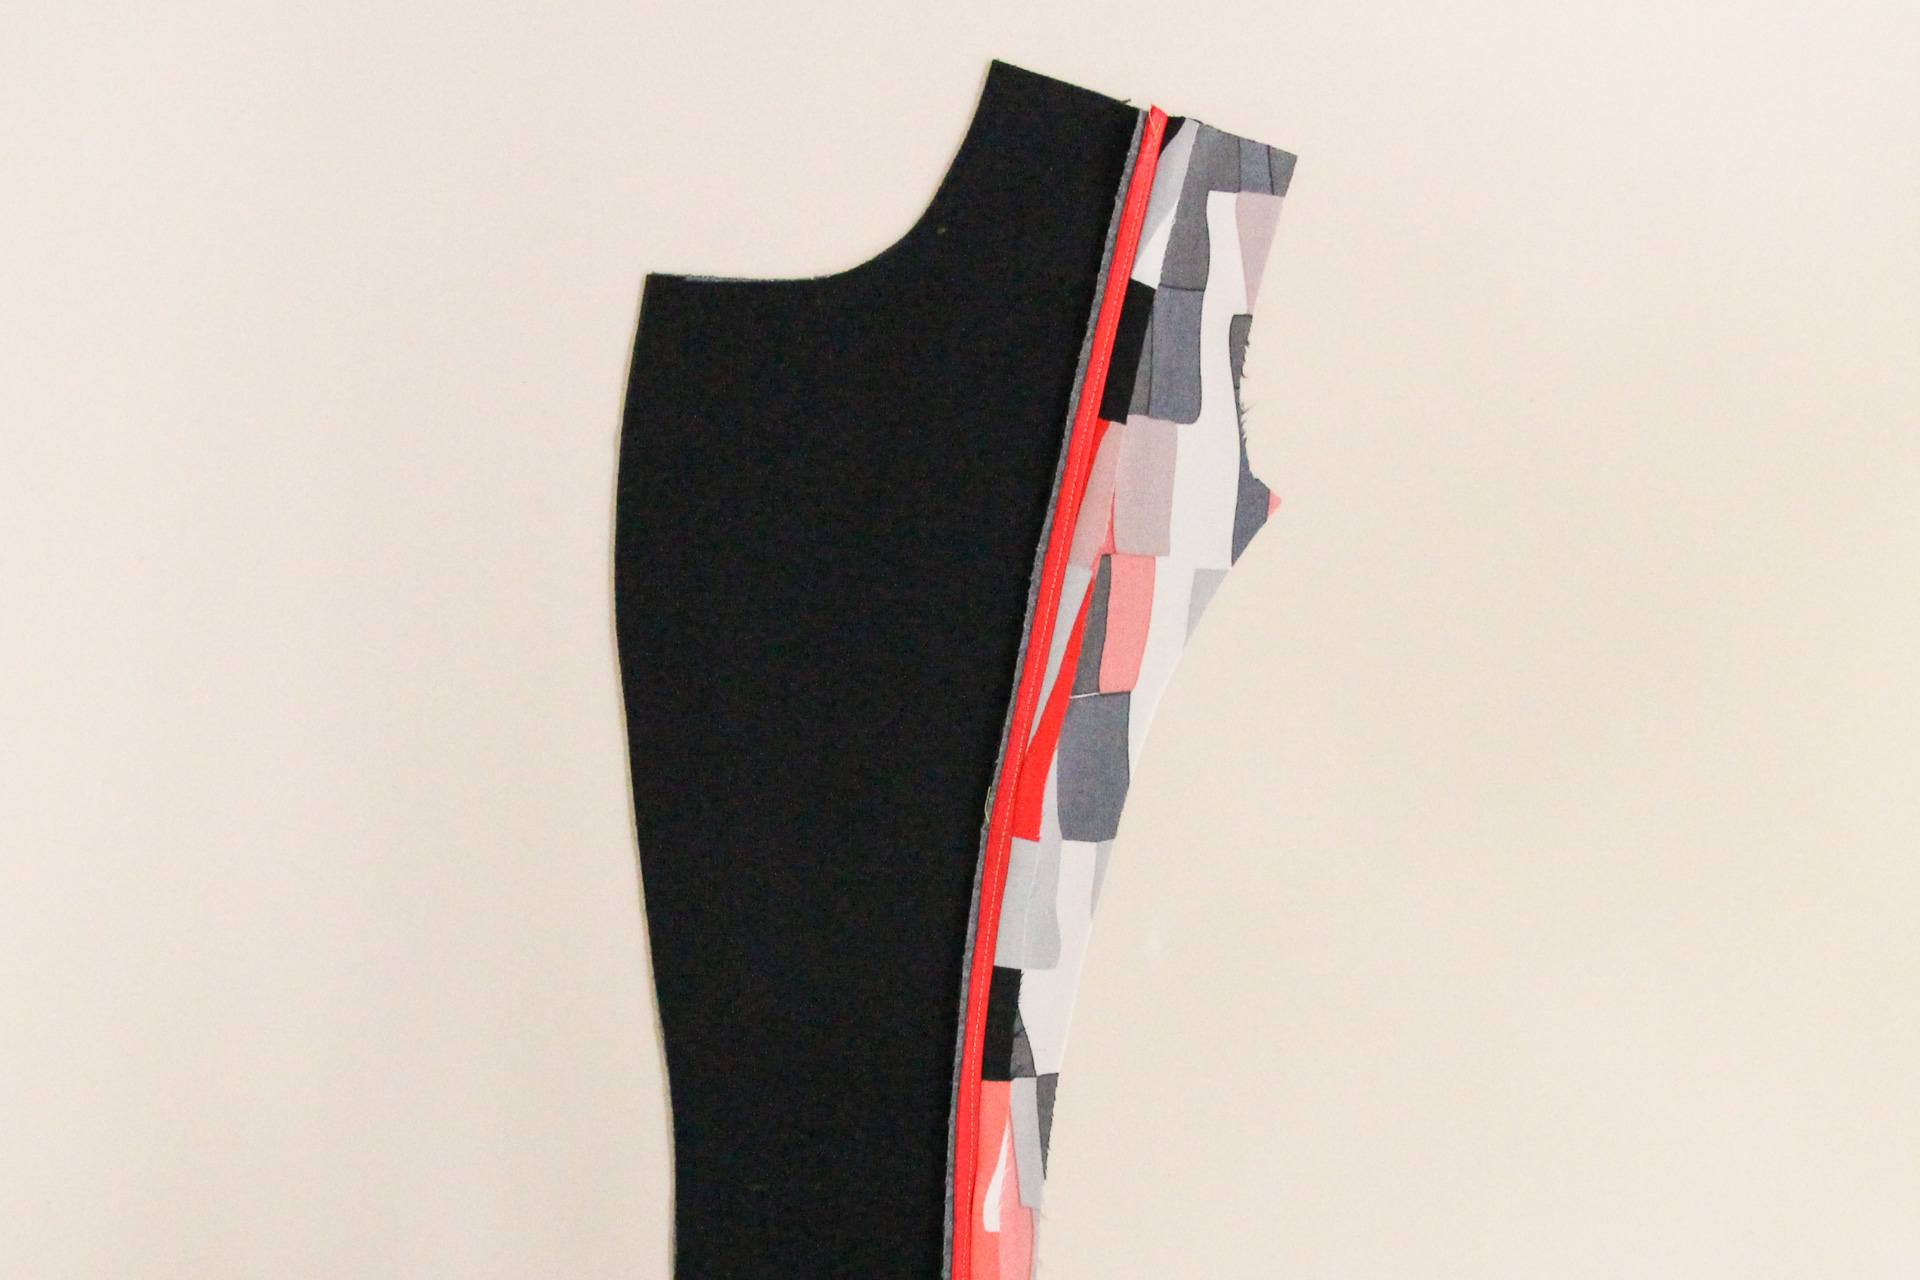
Back on the right side, we’re going to topstitch the facing allowance to the facing, 1/8″ from the edge of the facing. Your flat piping will be facing the center lining piece.

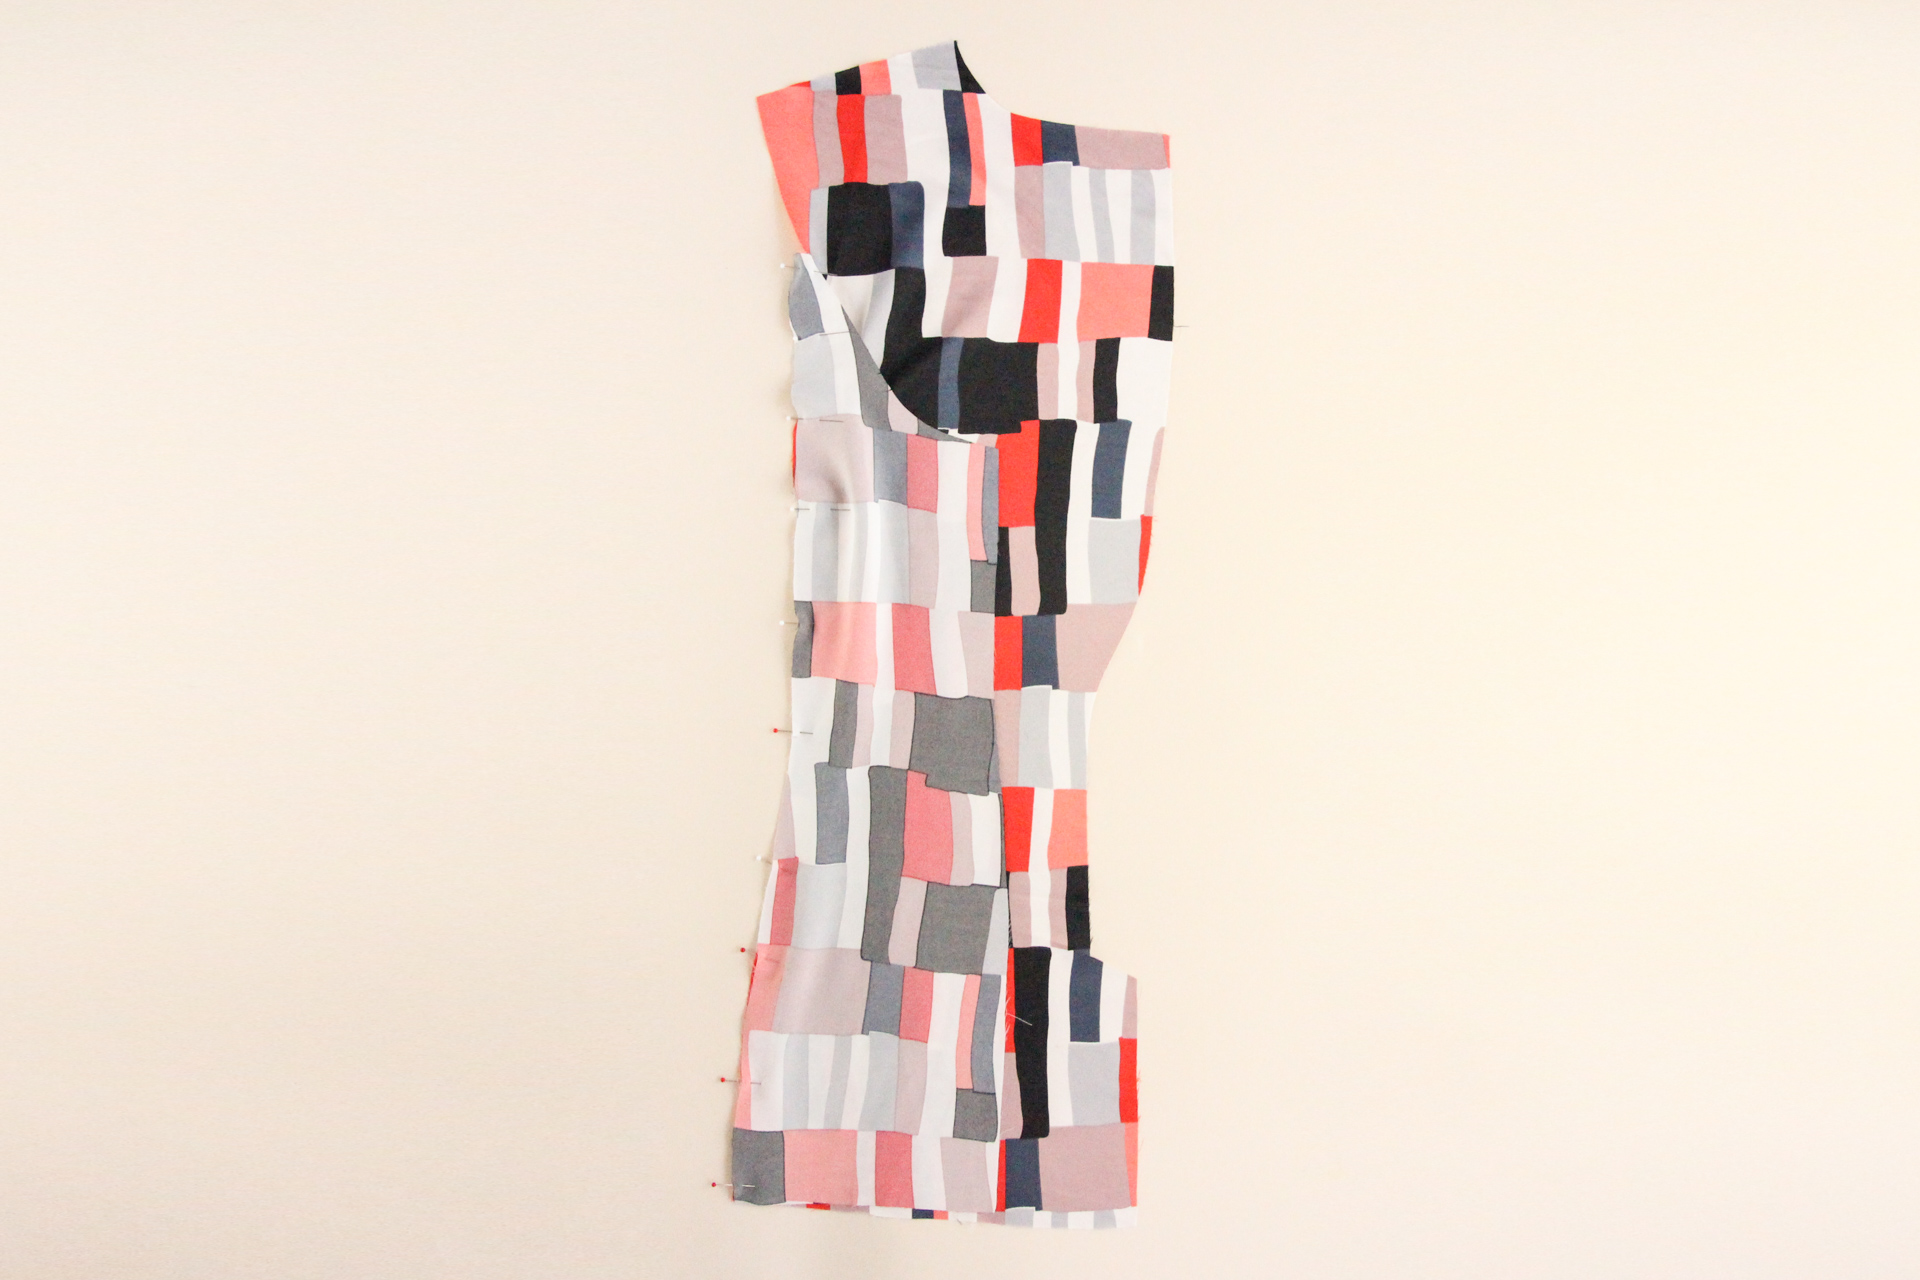
Now we can pin our side front lining piece to the center front lining, right sides together and matching notches.
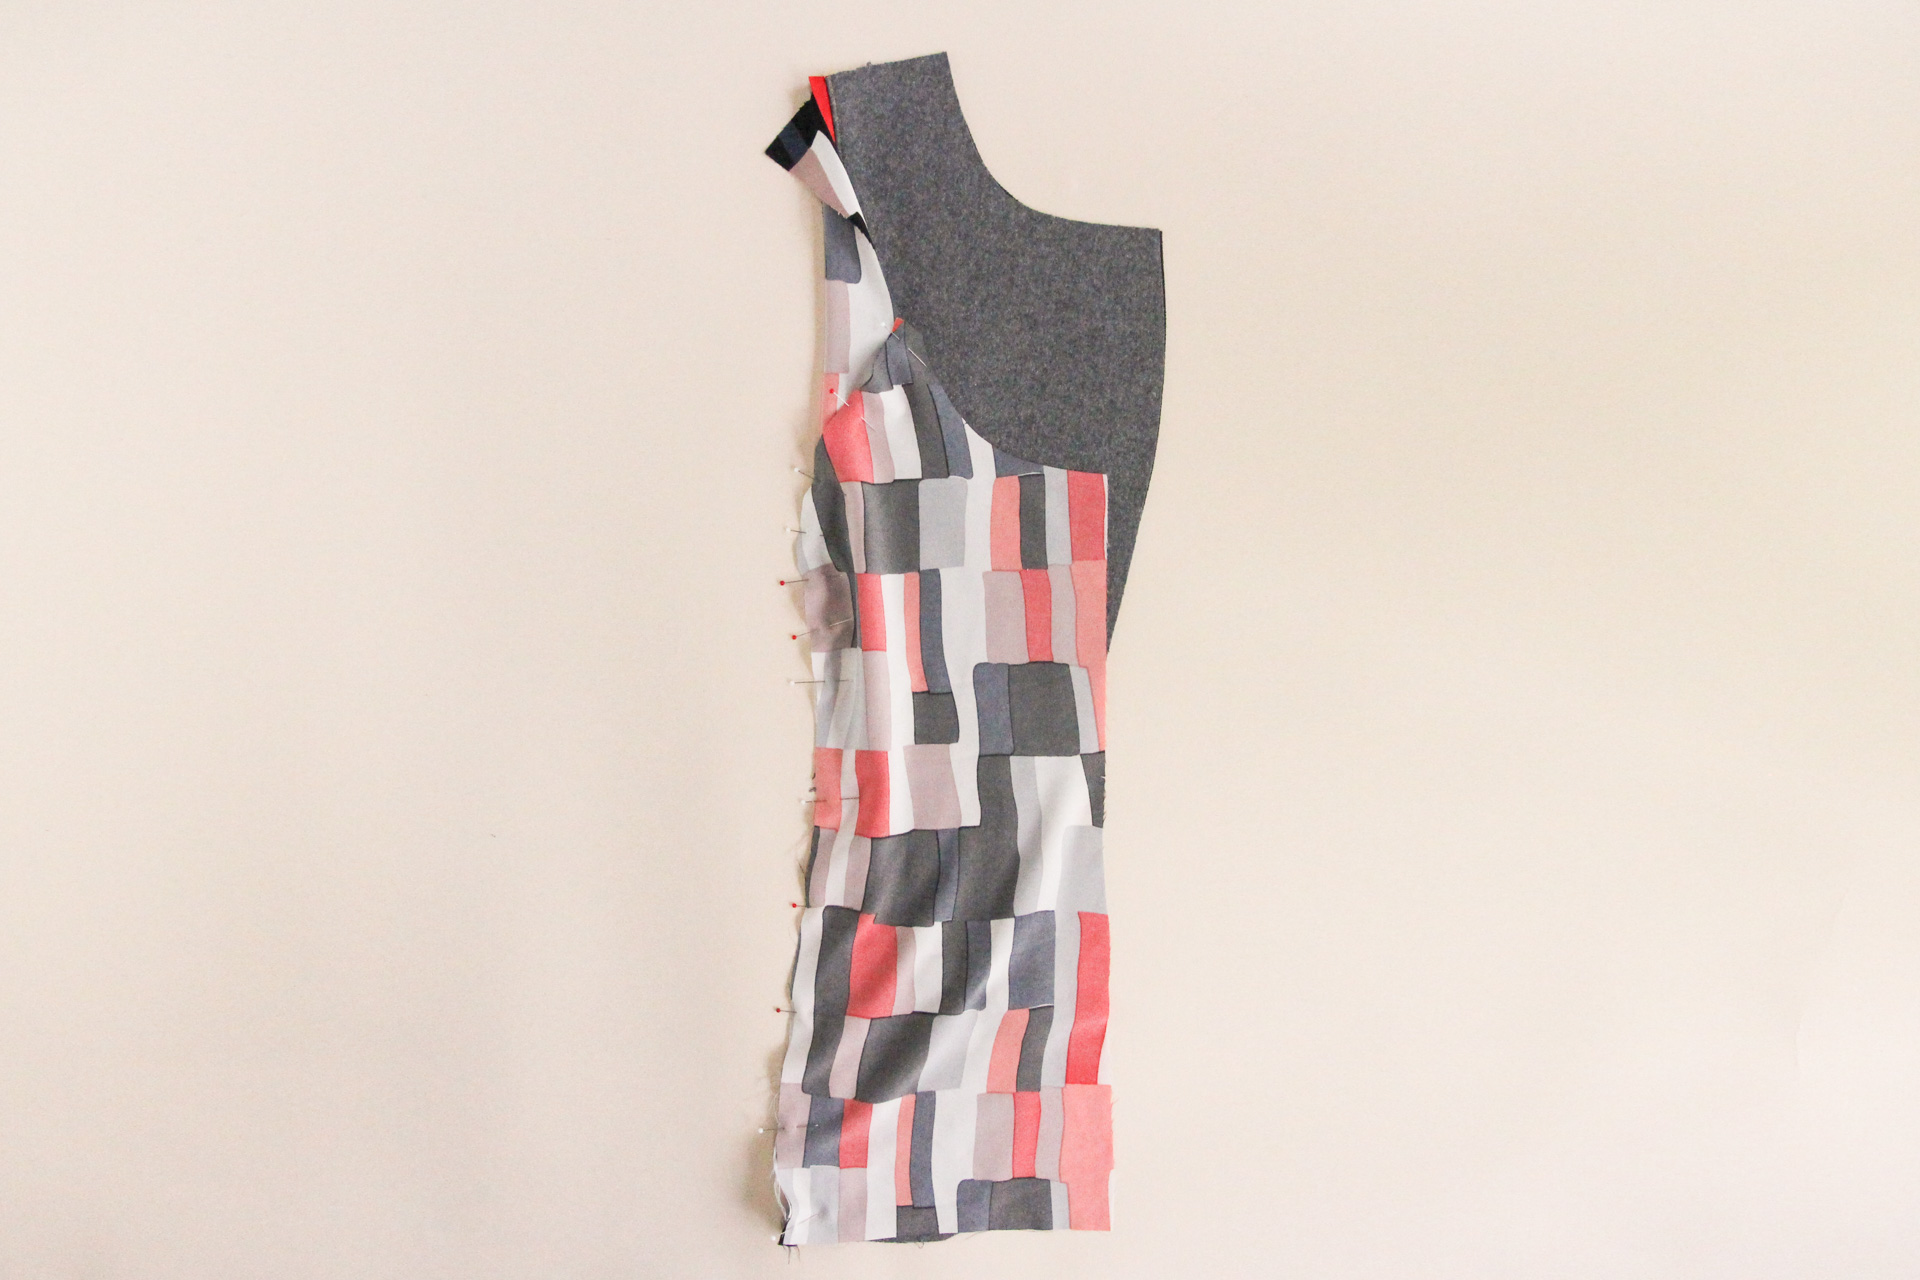
Let’s sew that seam using our 1/2″ (12 mm) seam allowance, trim it in half (clipping into the bust curve), and press open over a ham to preserve the bust curve.
Repeat with the second lining front, then we’re ready to move to the back.
Sew Back Lining
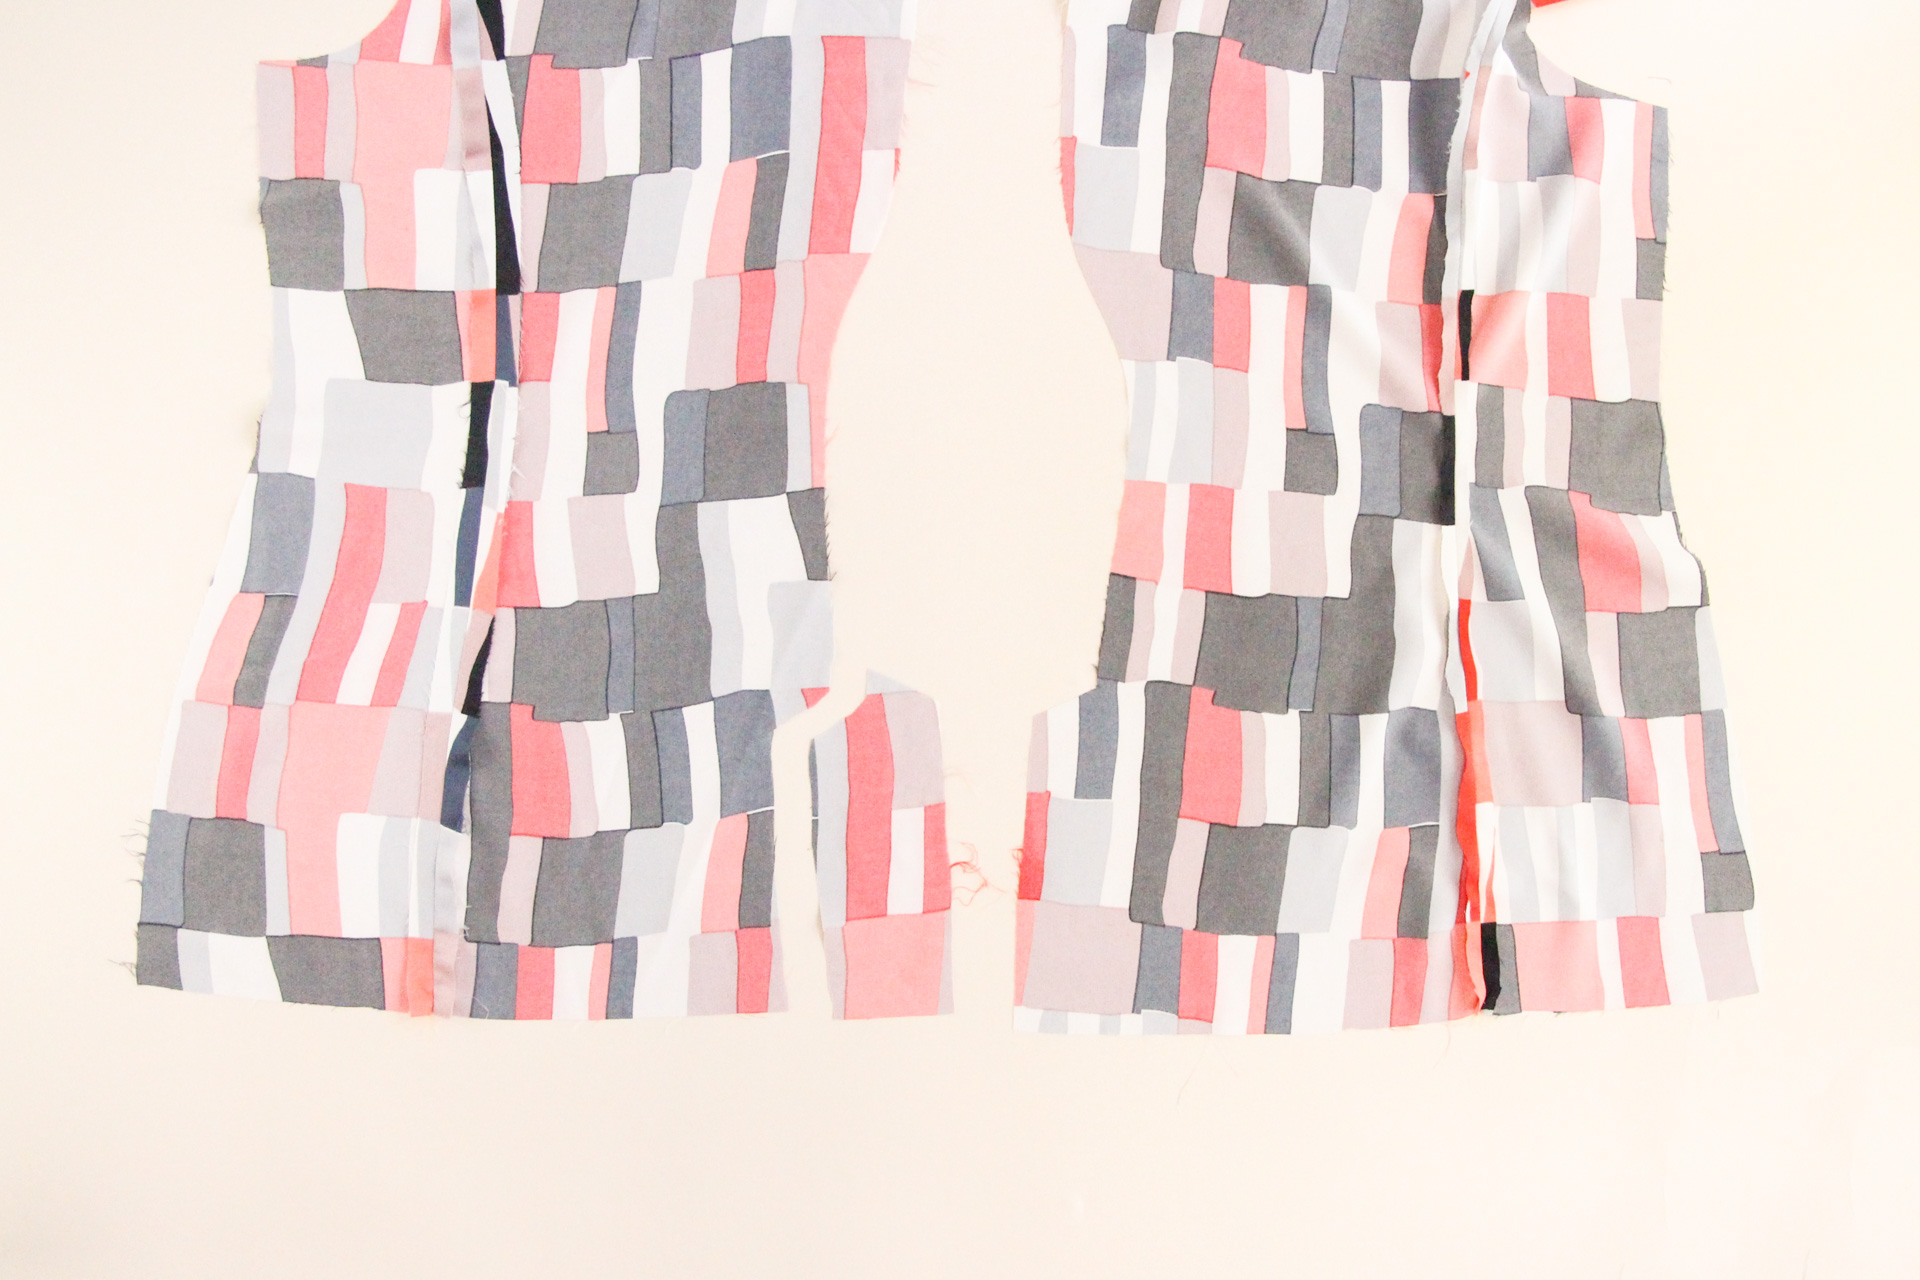
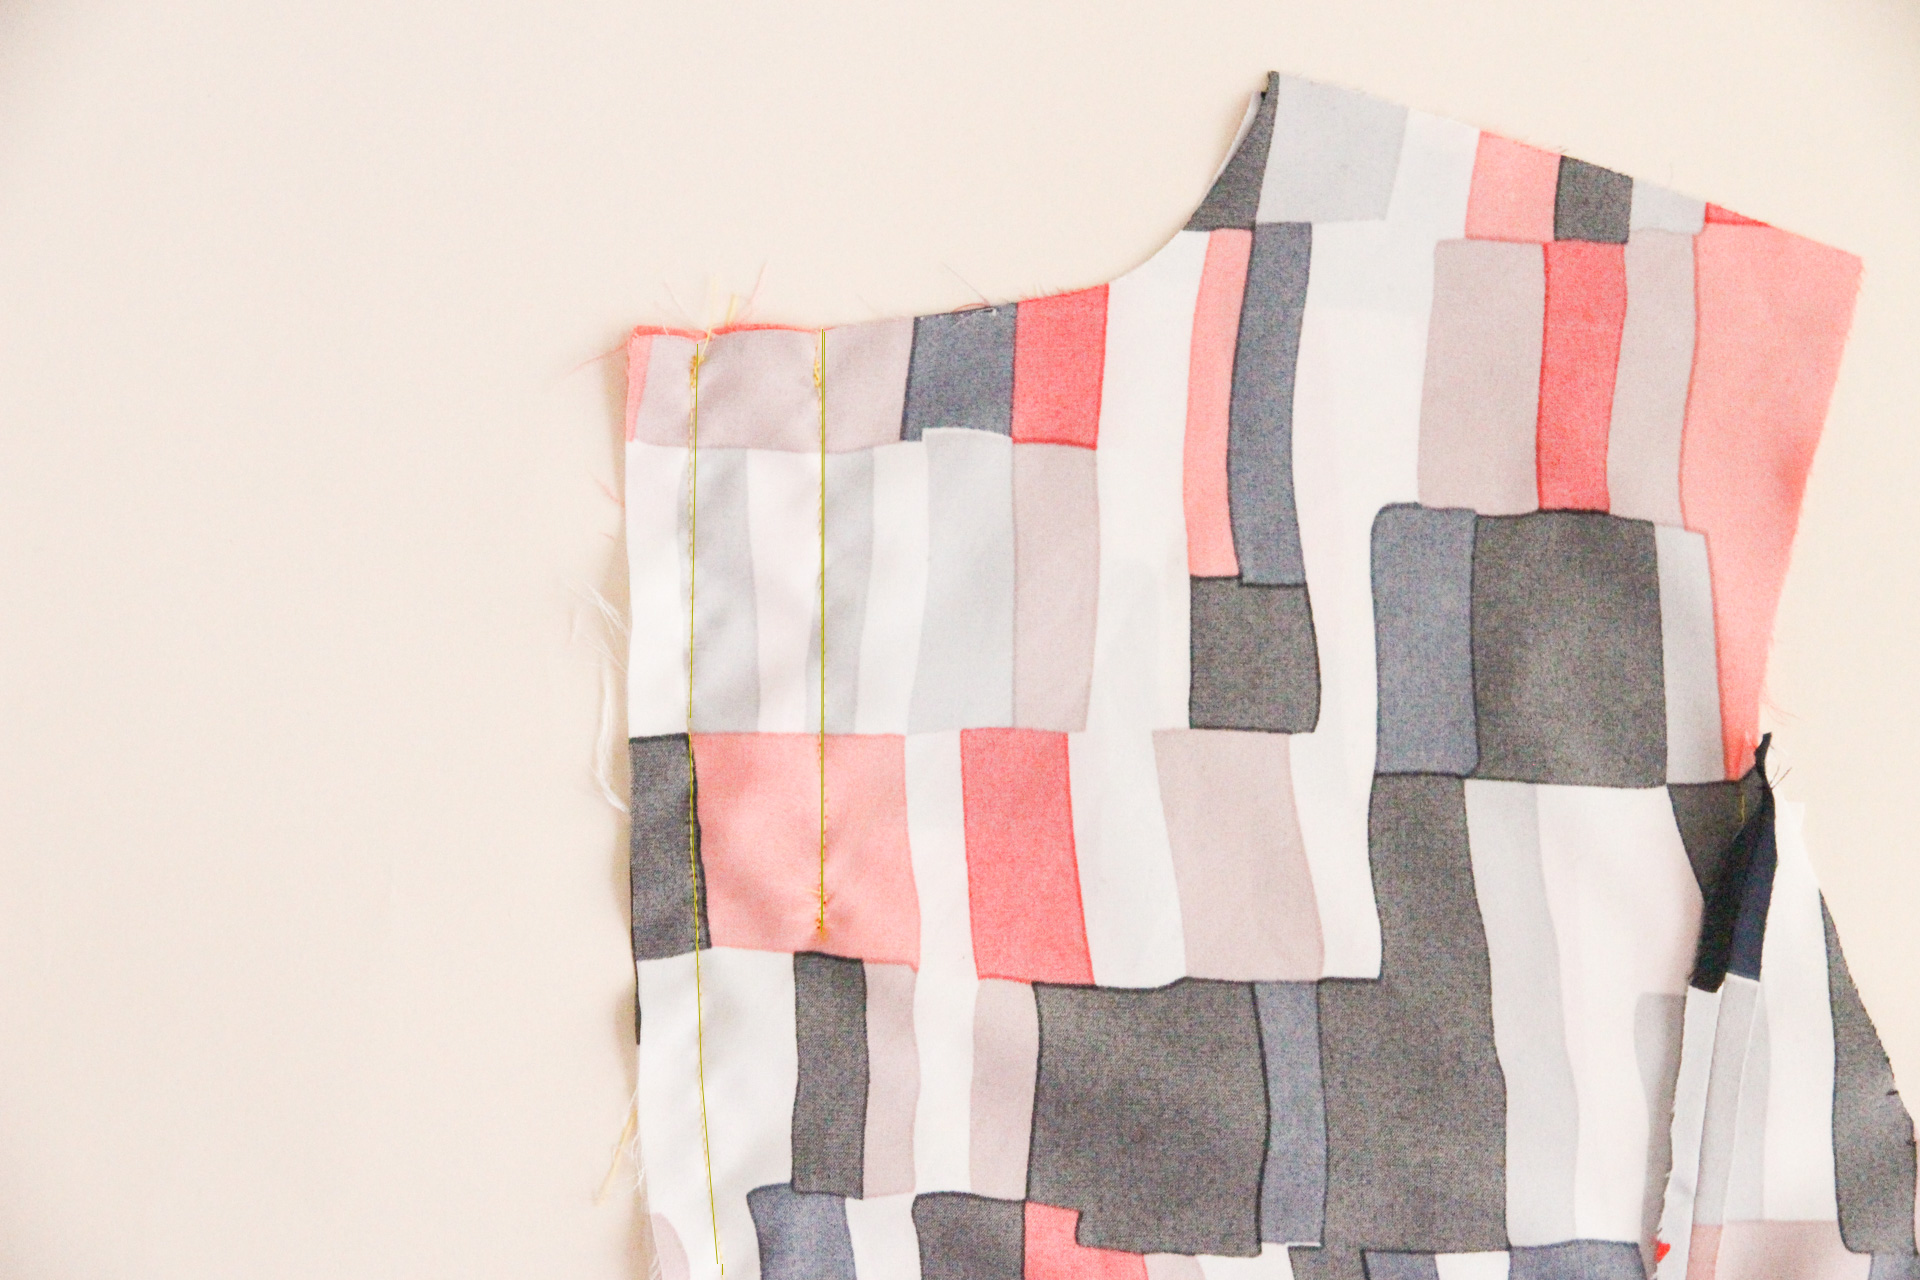
Pin one set of side back lining and center back lining together, matching notches.
Sew that seam using our 1/2″ (12 mm) seam allowance, then trim the seam in half and press open. Clip into the curve.
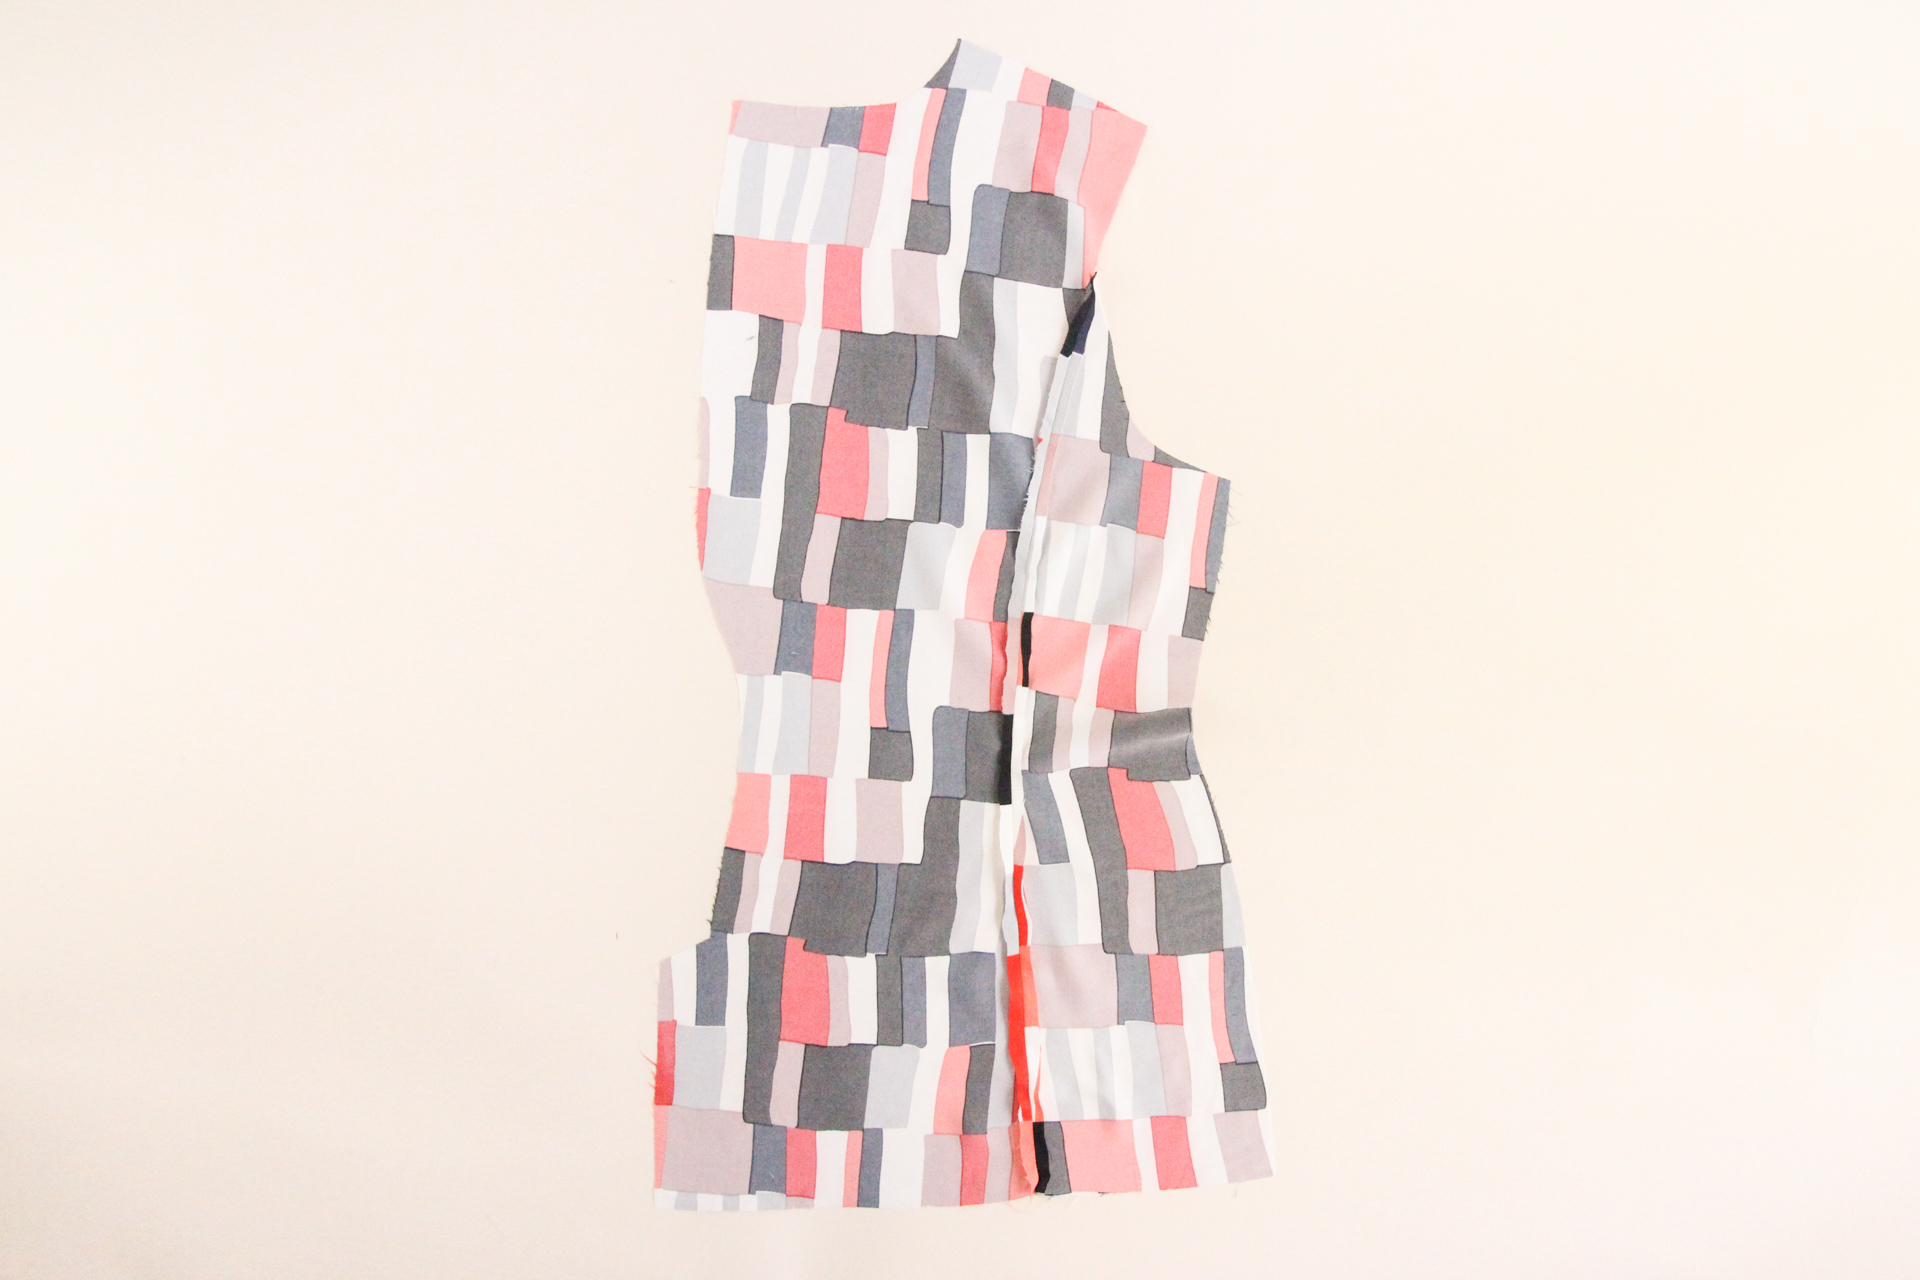
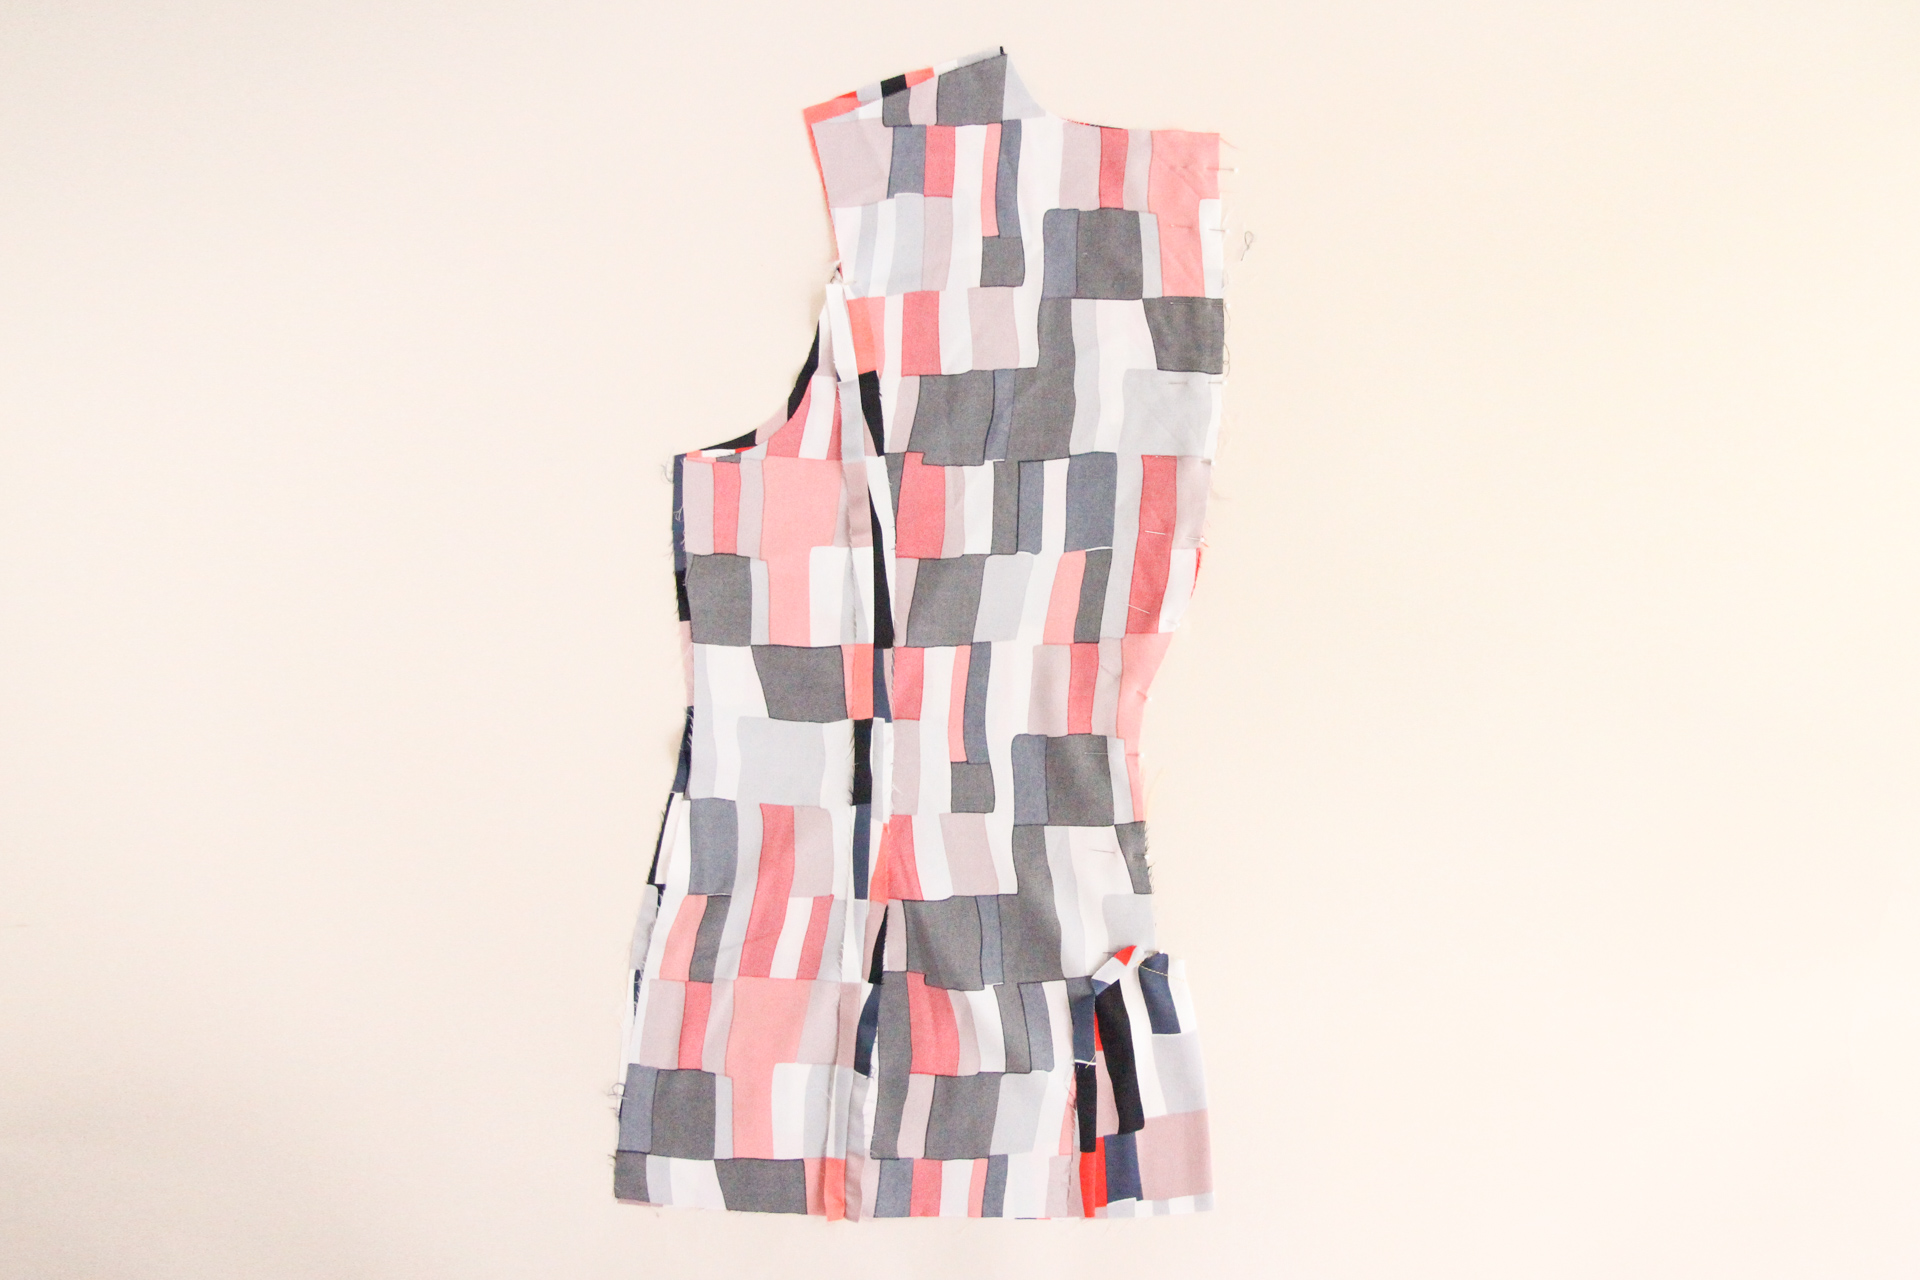
Here’s how it looks from the front. Looking good!
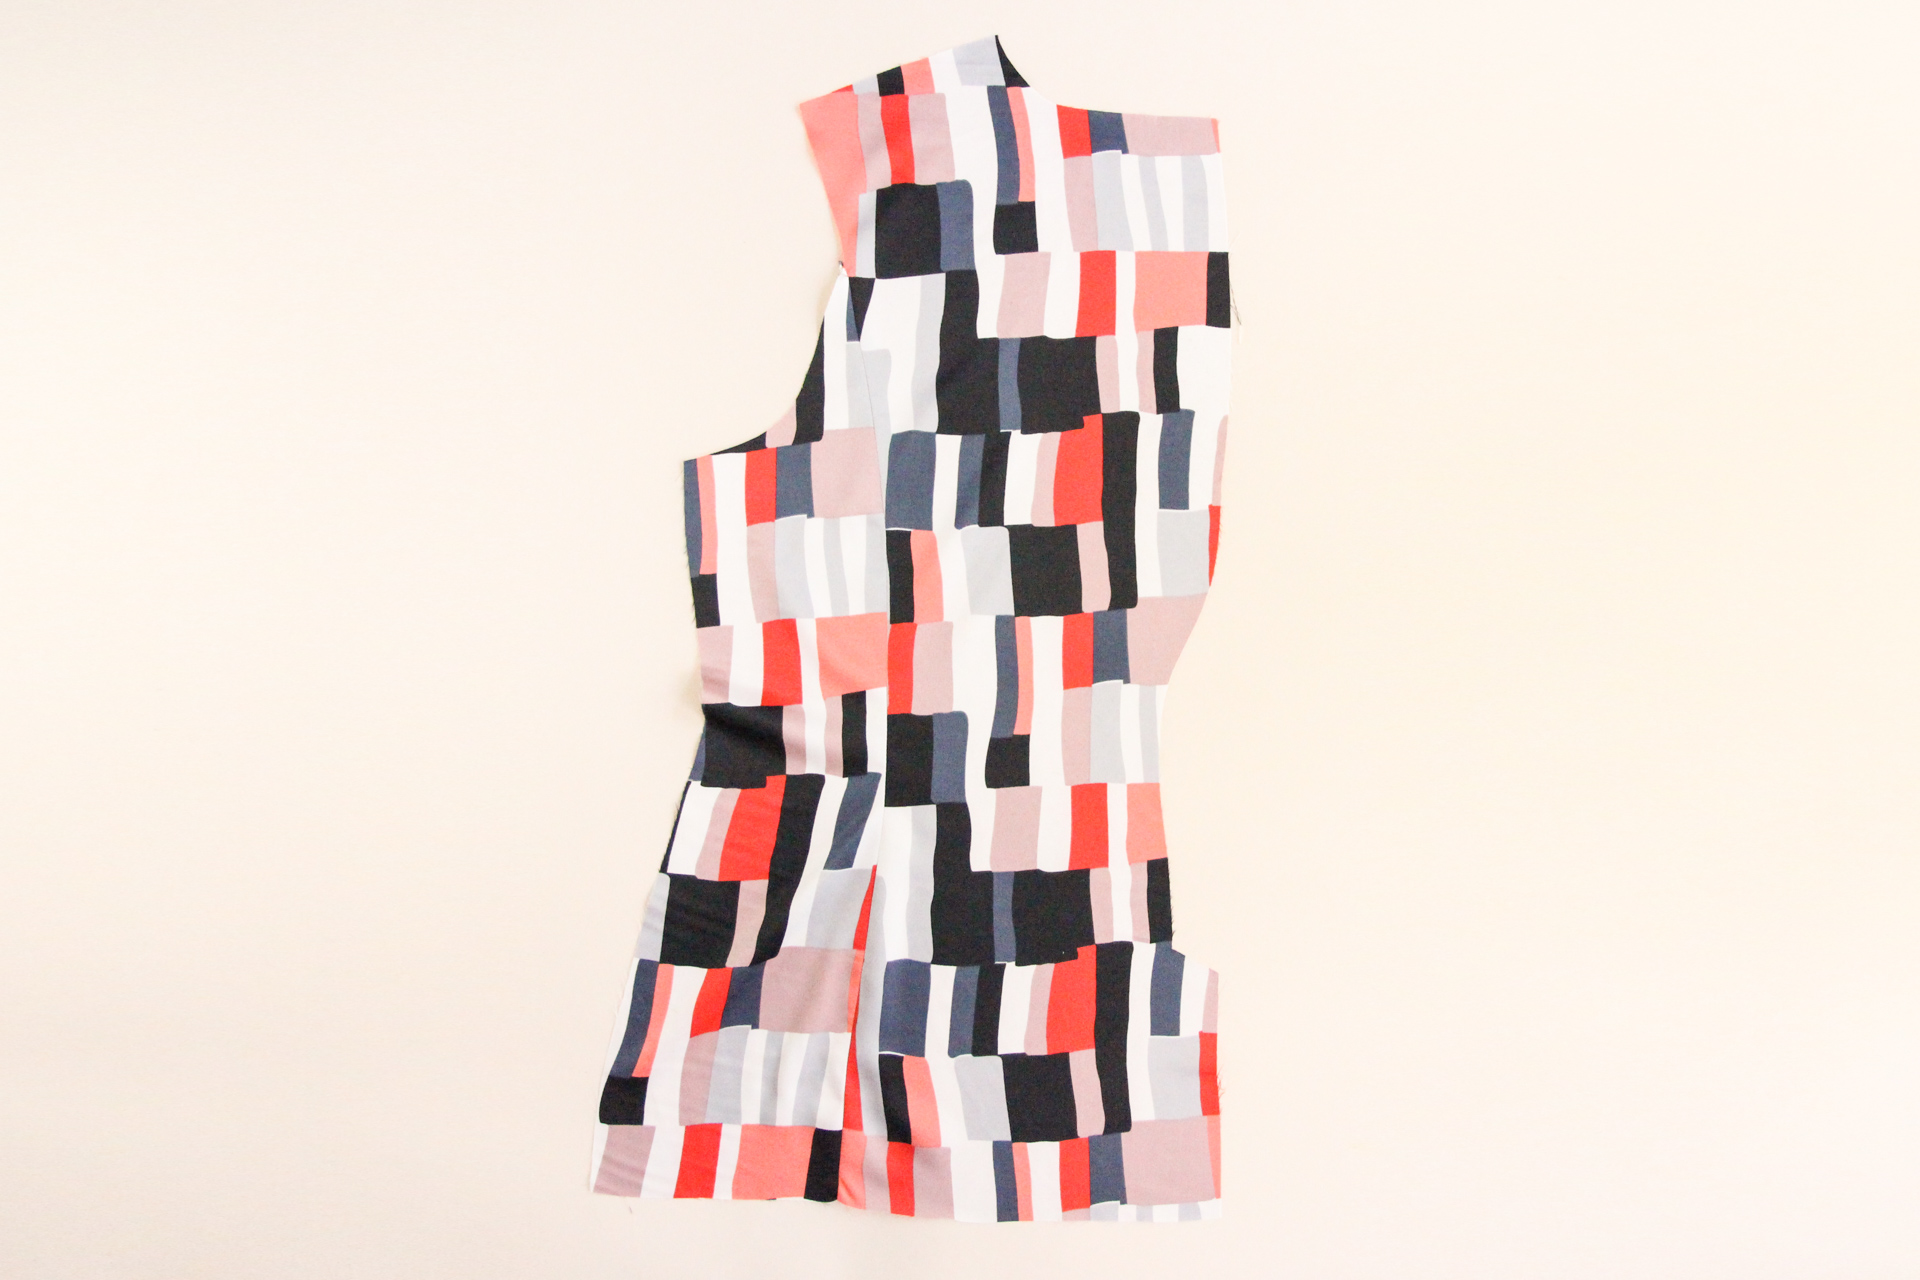
Repeat with the second pair of side back and center back pieces.
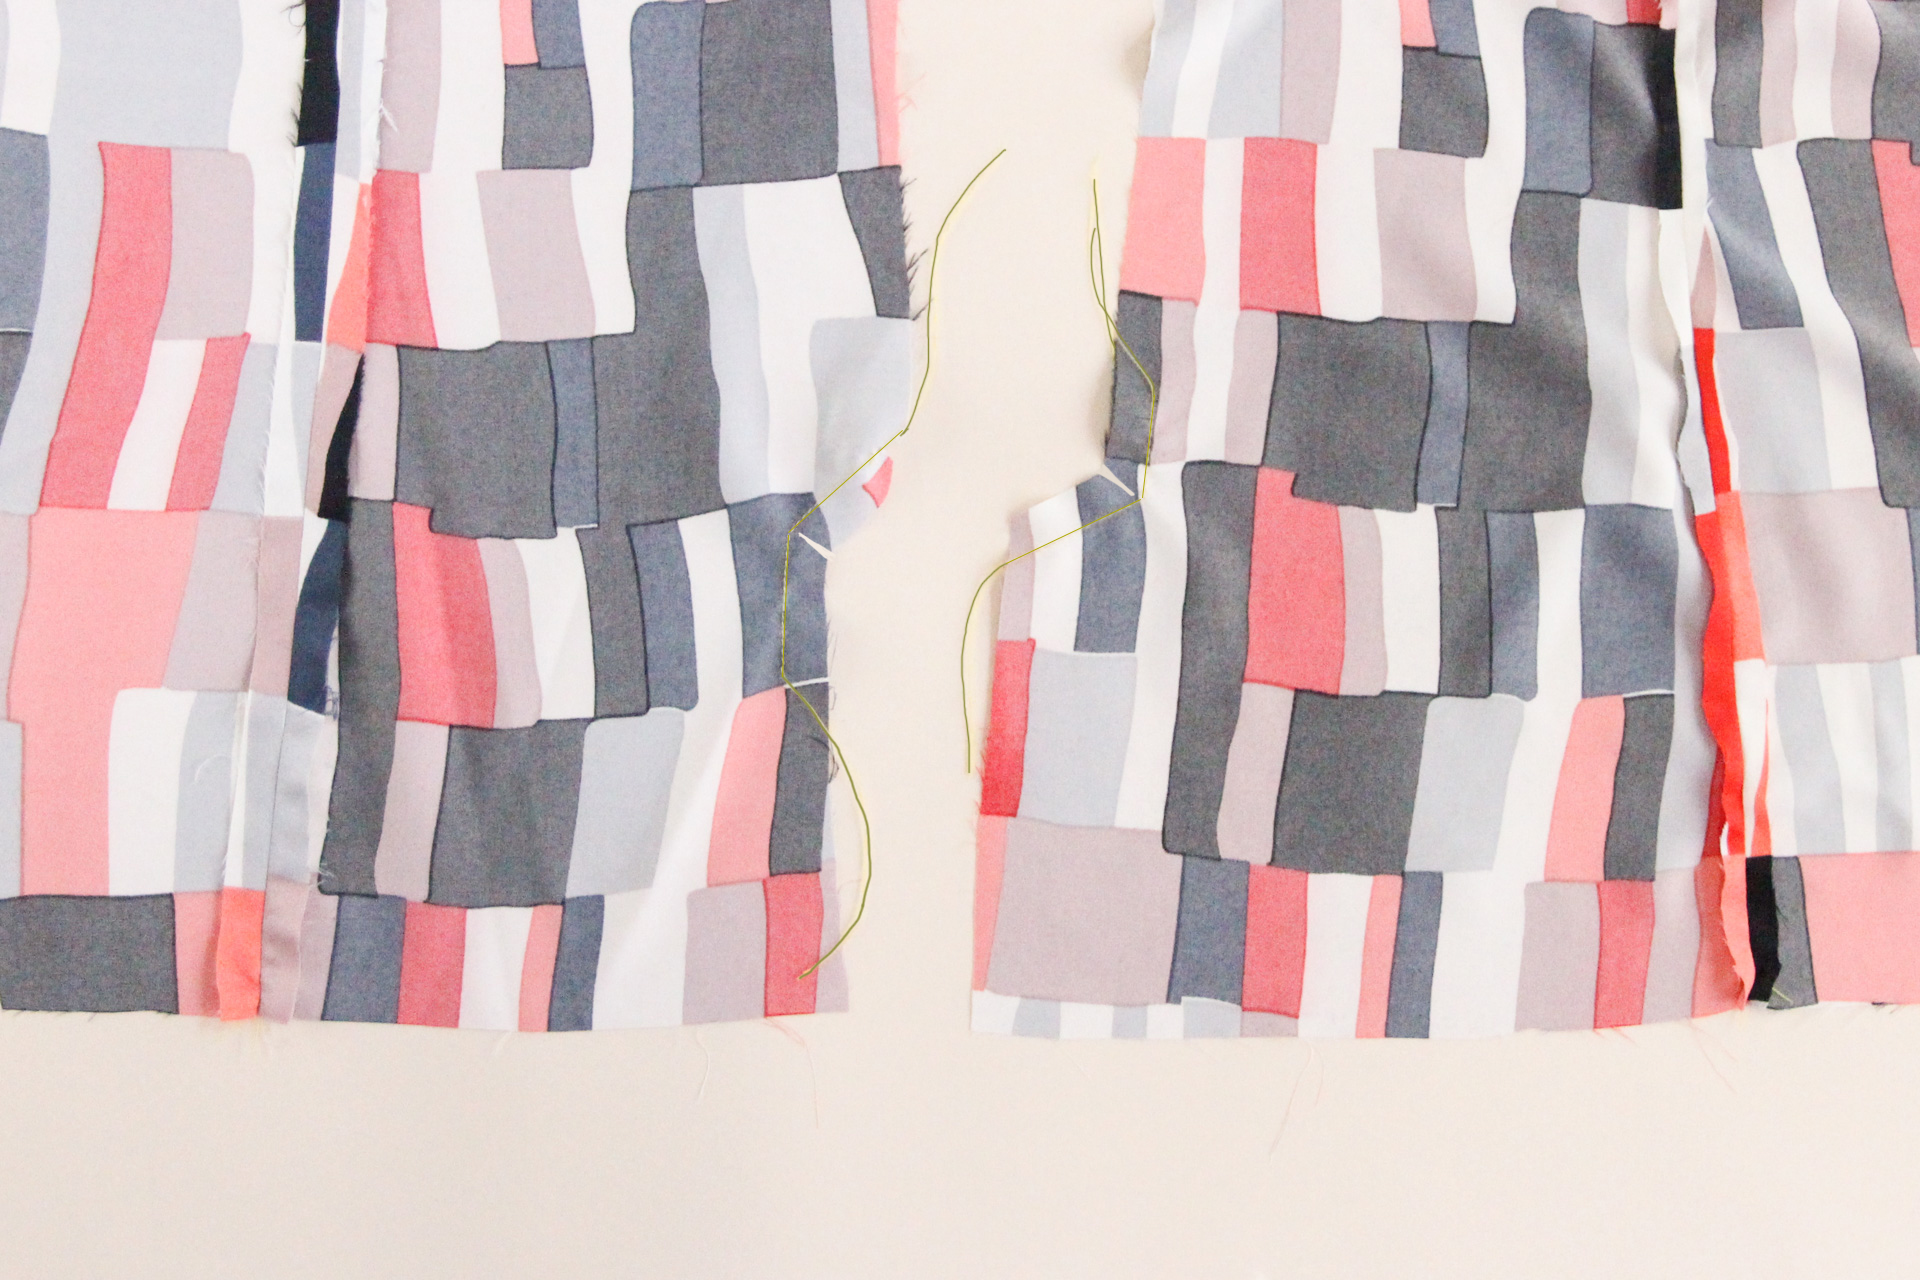
Once both backs are constructed, flip them over to the wrong side and lay them out side by side. For View A, we’re now going to trim the back vent marking on the left hand side only, like so:
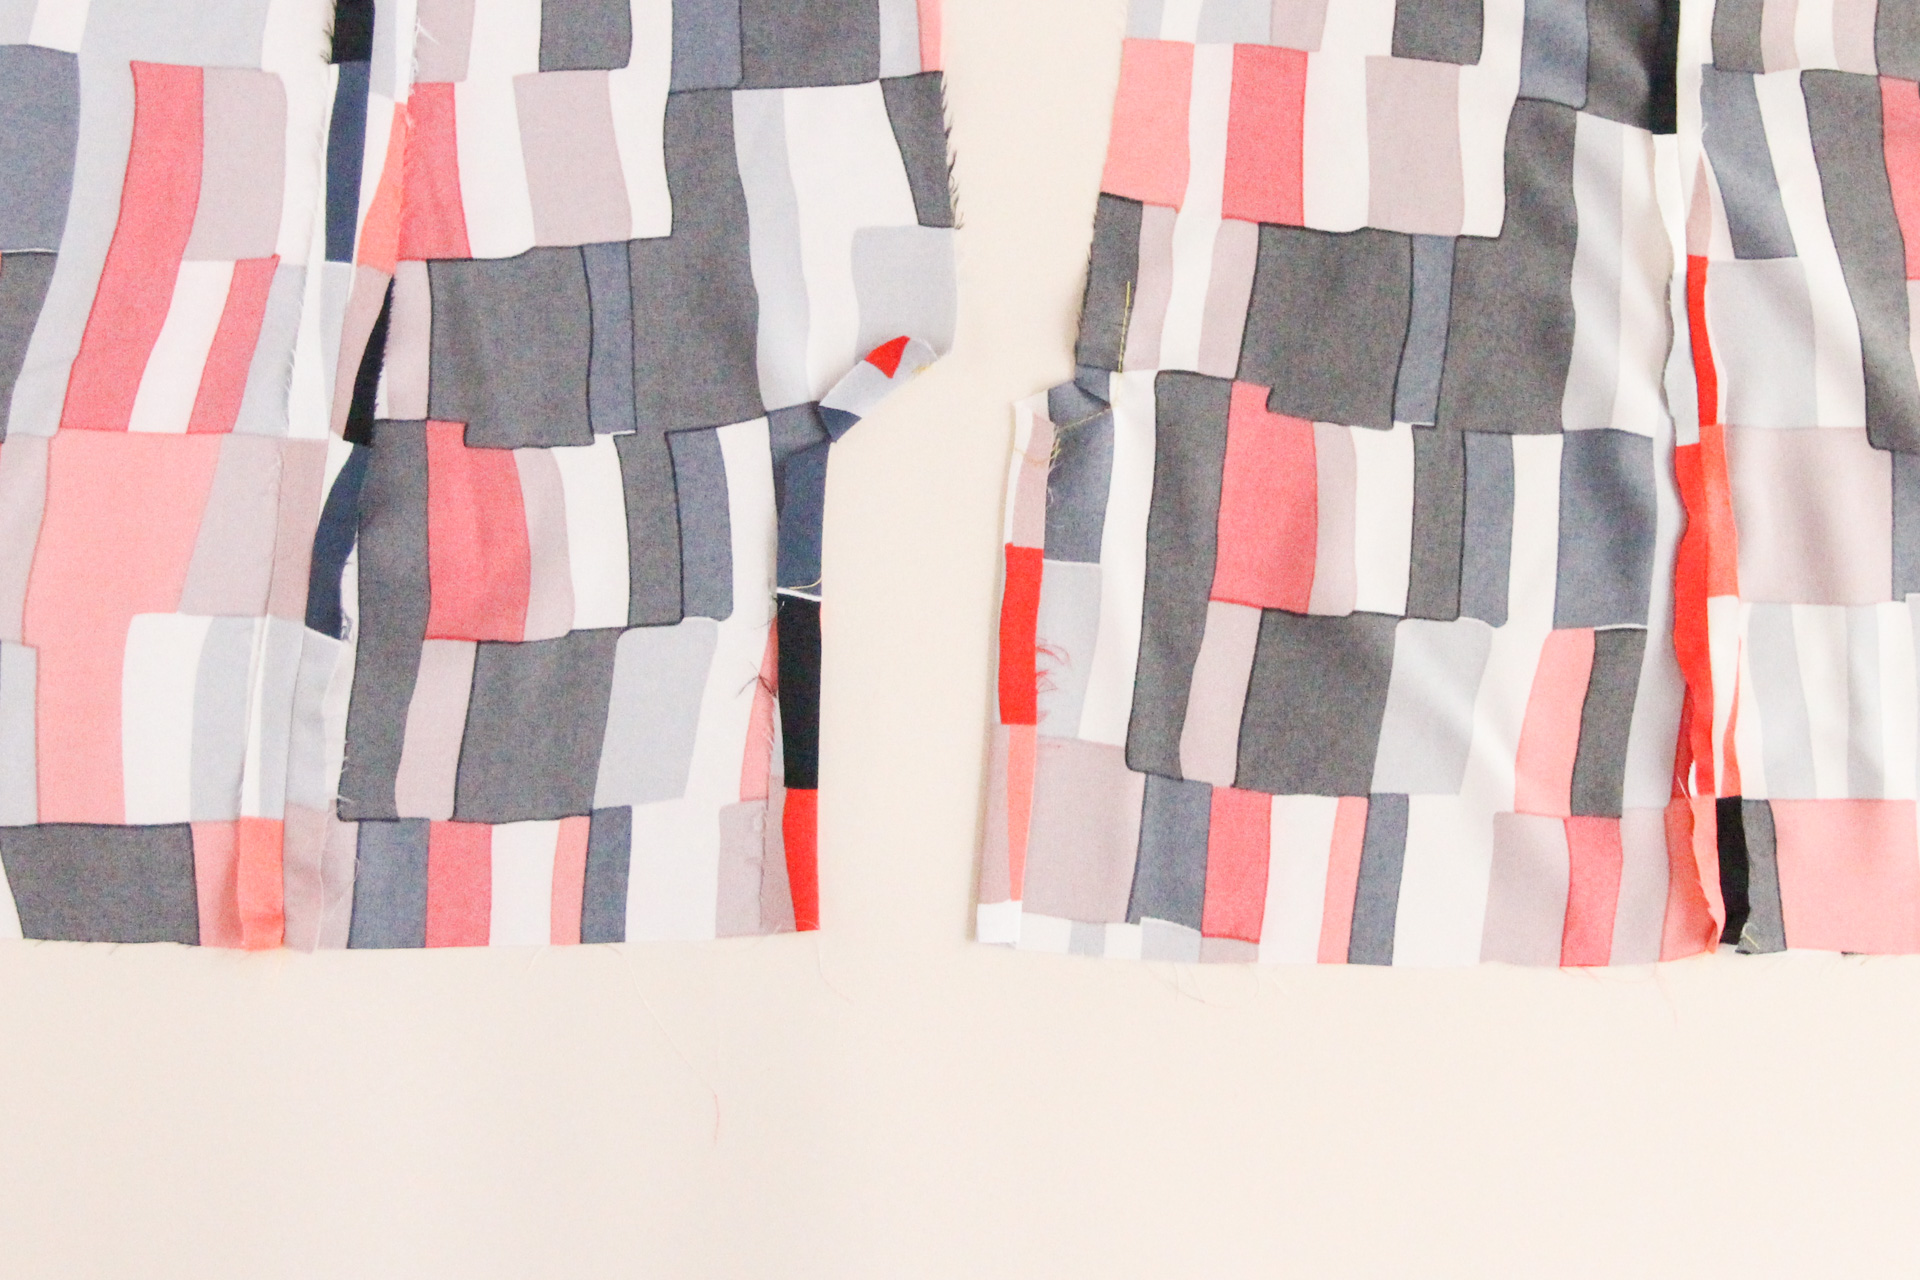
Staystitch just inside the seam allowance at the corner of the back vents to reinforce them, then clip the corners, going up to but not through the stitch line.
Finally, fold back the seam allowances (1/2″ / 12 mm) and press, like so:
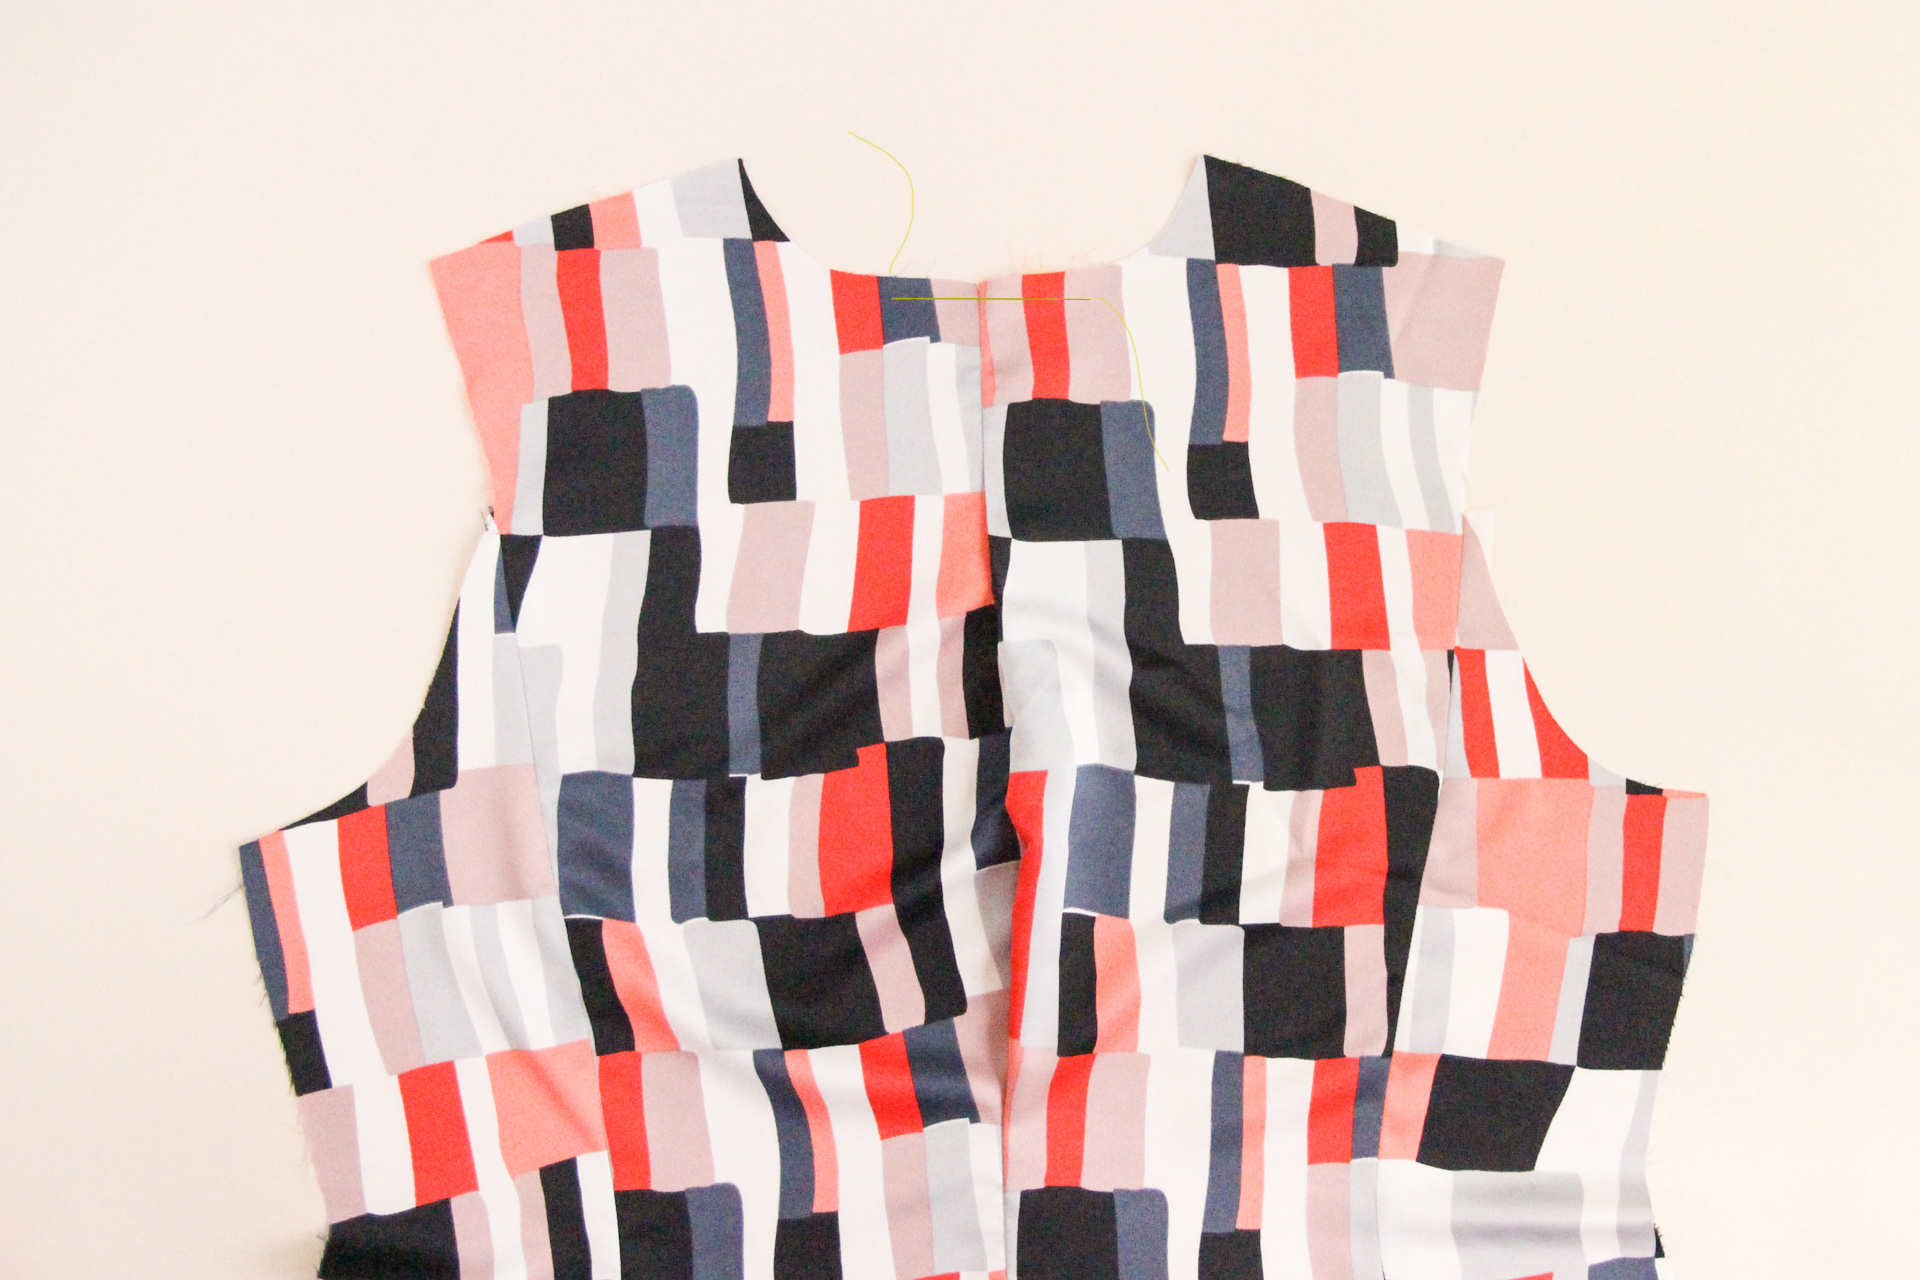
For both views, we’re now going to pin the two backs at the center back seam, right sides together, matching notches.
Sew that seam using our 1/2″ (12 mm) seam allowance. For View A, stop at the lower edge of the folded-back seam. For View B, sew all the way down to the hem. Press flat.
Now, sew a second line of stitching, connecting the neckline notch to the circle marking. This creates our back pleat.
Open the back up and lay it out flat, pushing the center back pleat to the left hand side as worn. Baste across the top of the back lining at 1/4″ (6 mm) to keep the pleat in place.
Attach Back Facing
One final bit and then we’re done for the day! We’re now going to finish and attach our back facing.
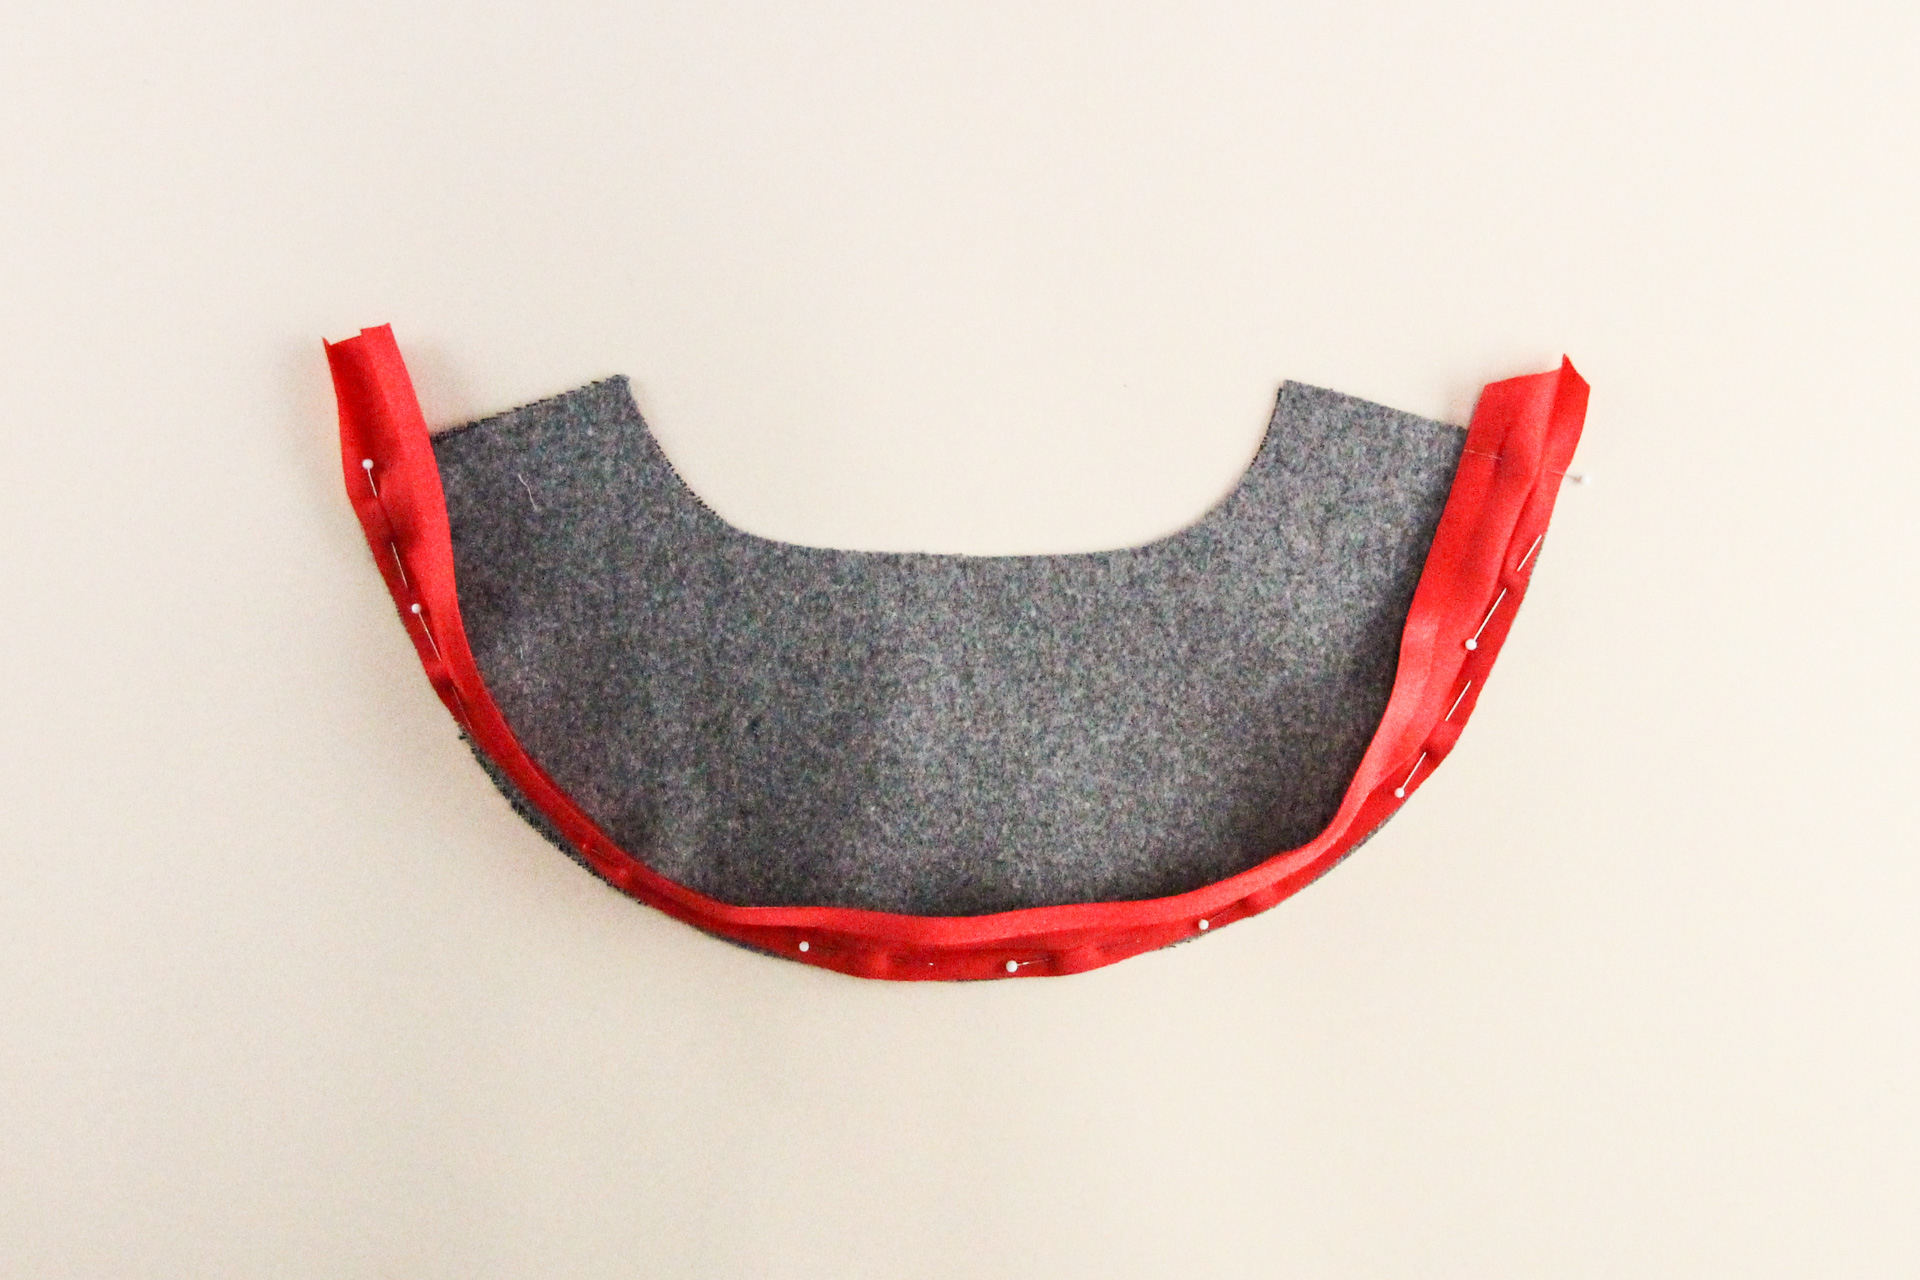
Start by cutting a 20″ (50 cm) strip of 1″ (2.5 cm) wide bias tape. If you’re using pre-made bias tape like we are, press it flat first. (If your bias tape is 1.5″/3.8 cm wide, trim it back to 1″/2.5 cm first.)
Pin the bias tape along the bottom edge of the back facing piece, then sew at 1/4″ (6 mm) seam allowance.
Once sewn, flip the bias tape to the wrong side of the back facing and press.
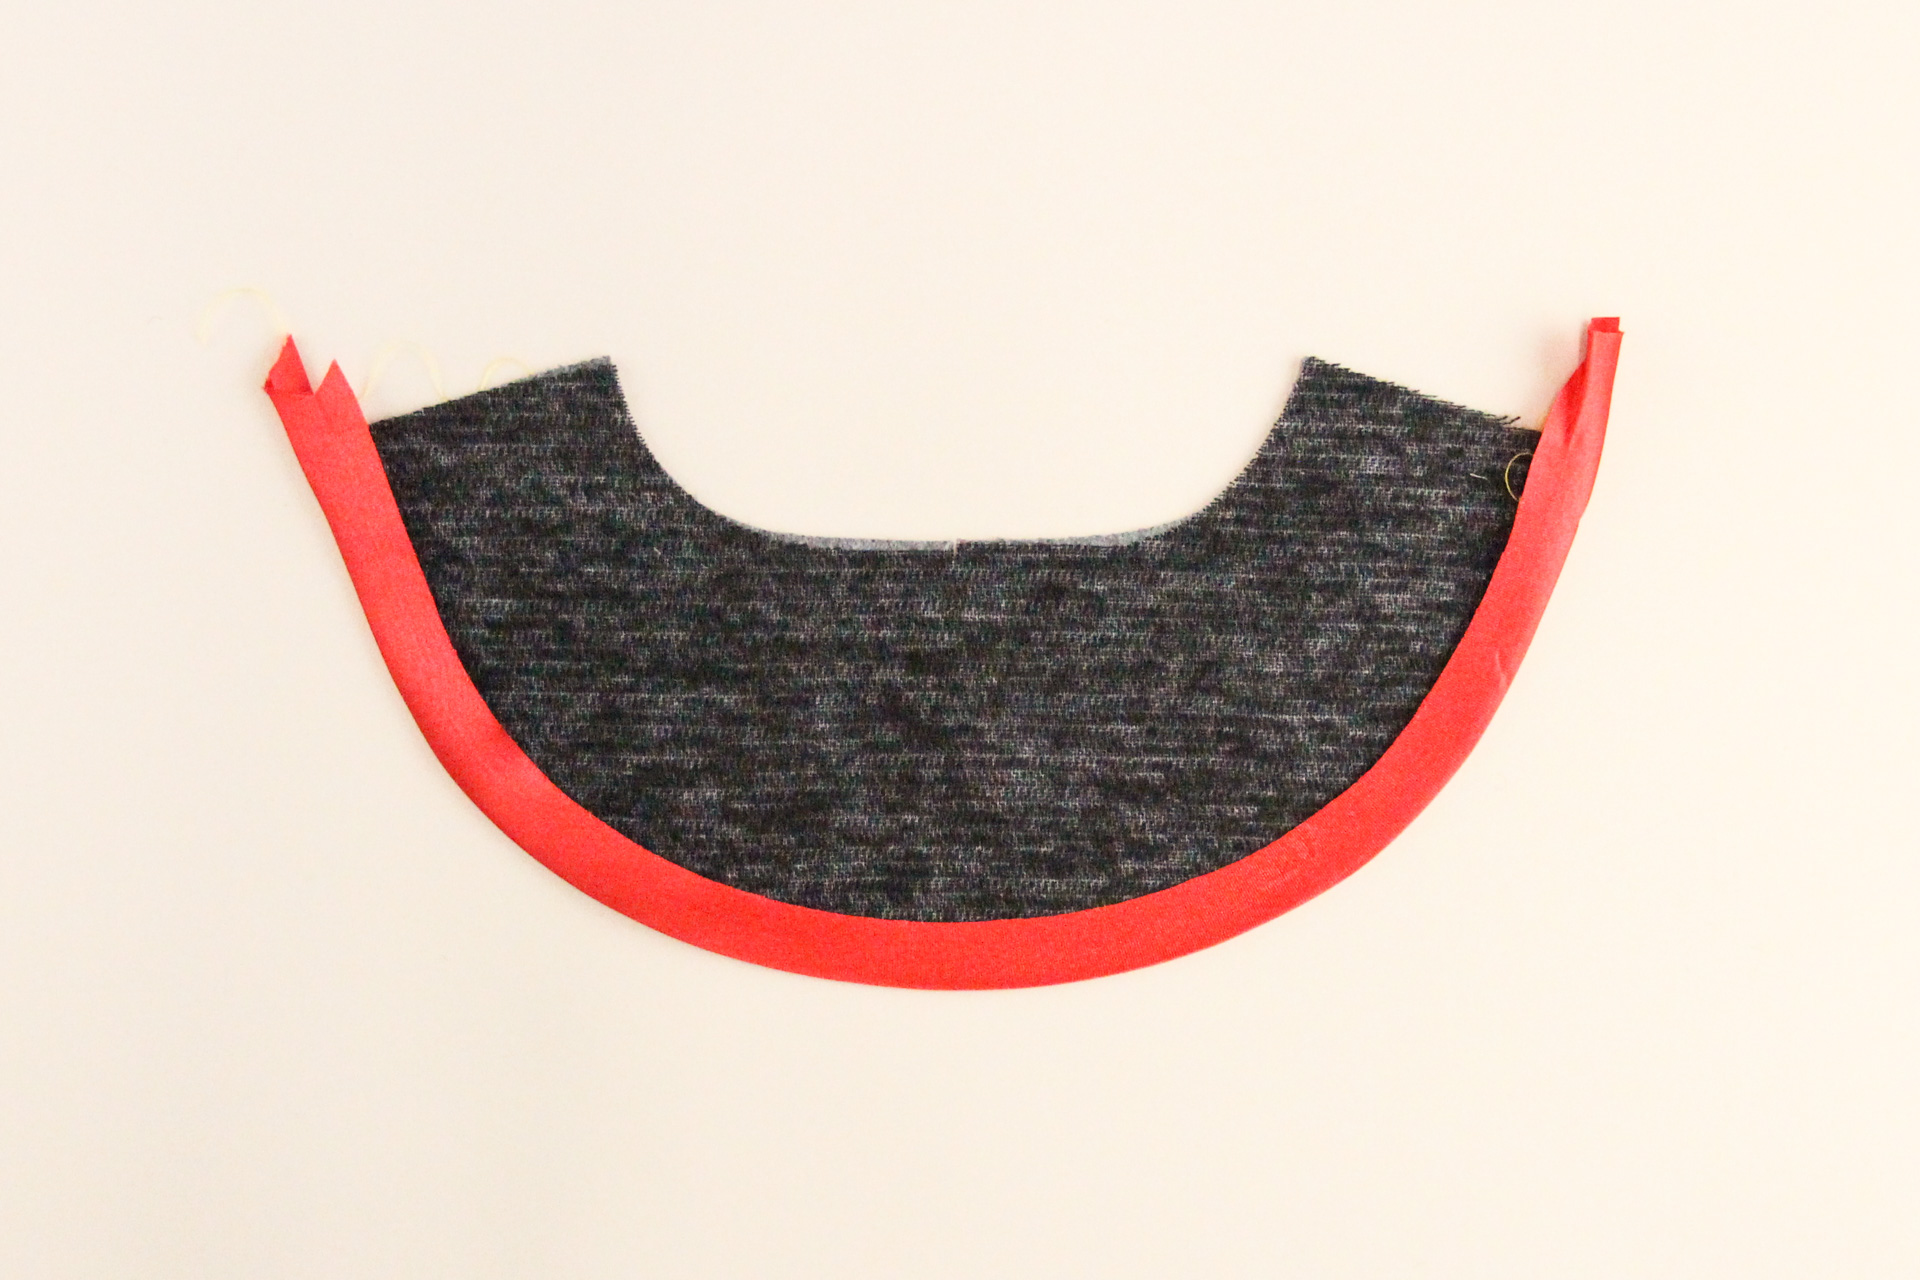
Back on the right side, we’re going to pin the bias tape in place and stitch in the ditch to sew it down.
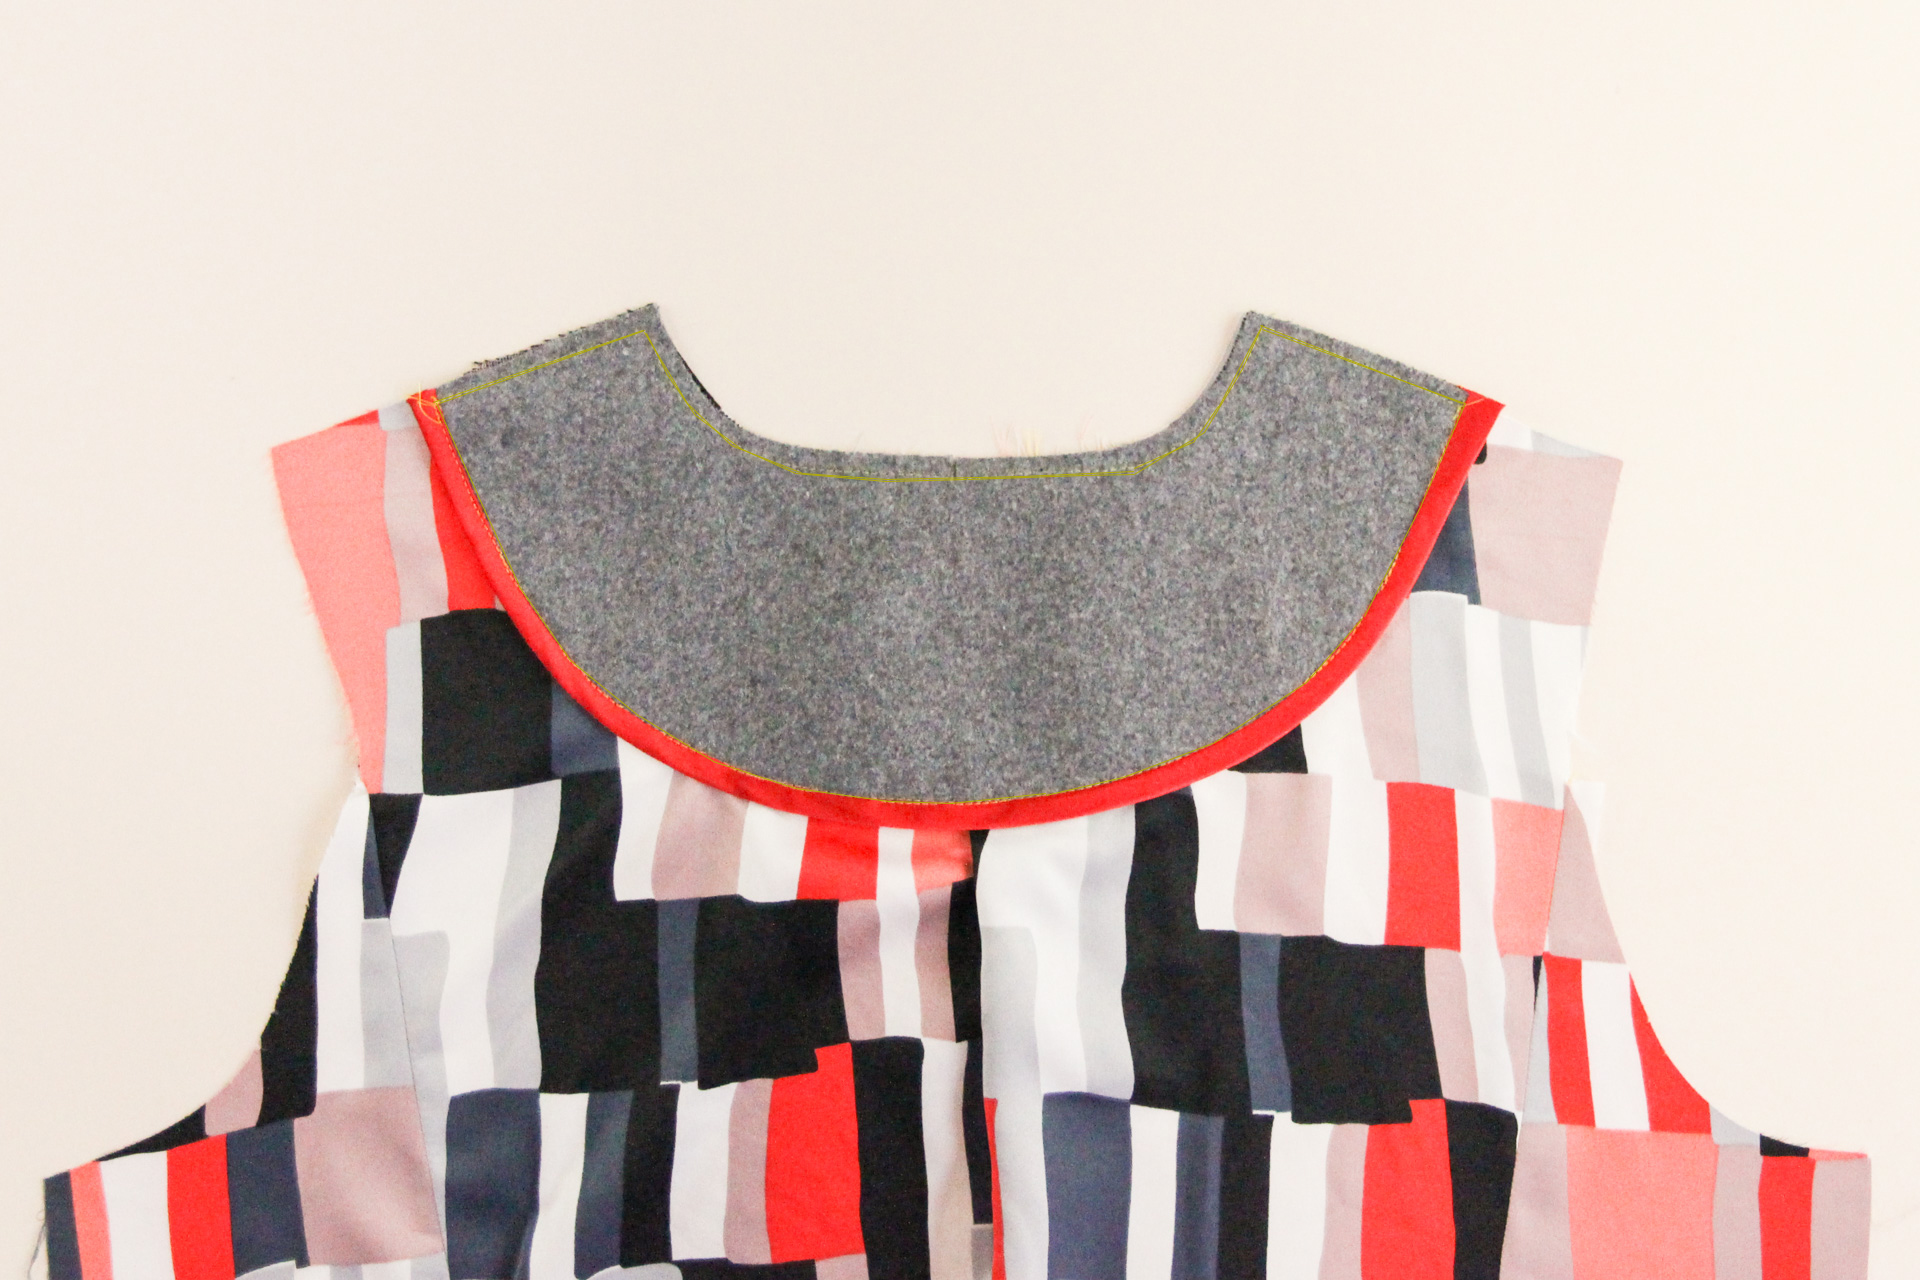
Here’s how your back facing will look when you’ve done that:
From the wrong side, this is what you’ll see:
Now, pin the back facing to the assembled back lining, wrong side of the facing to the right side of the back. (The entire wrong side of the facing will be covered by the back lining.) Pin all around the edge of the facing.
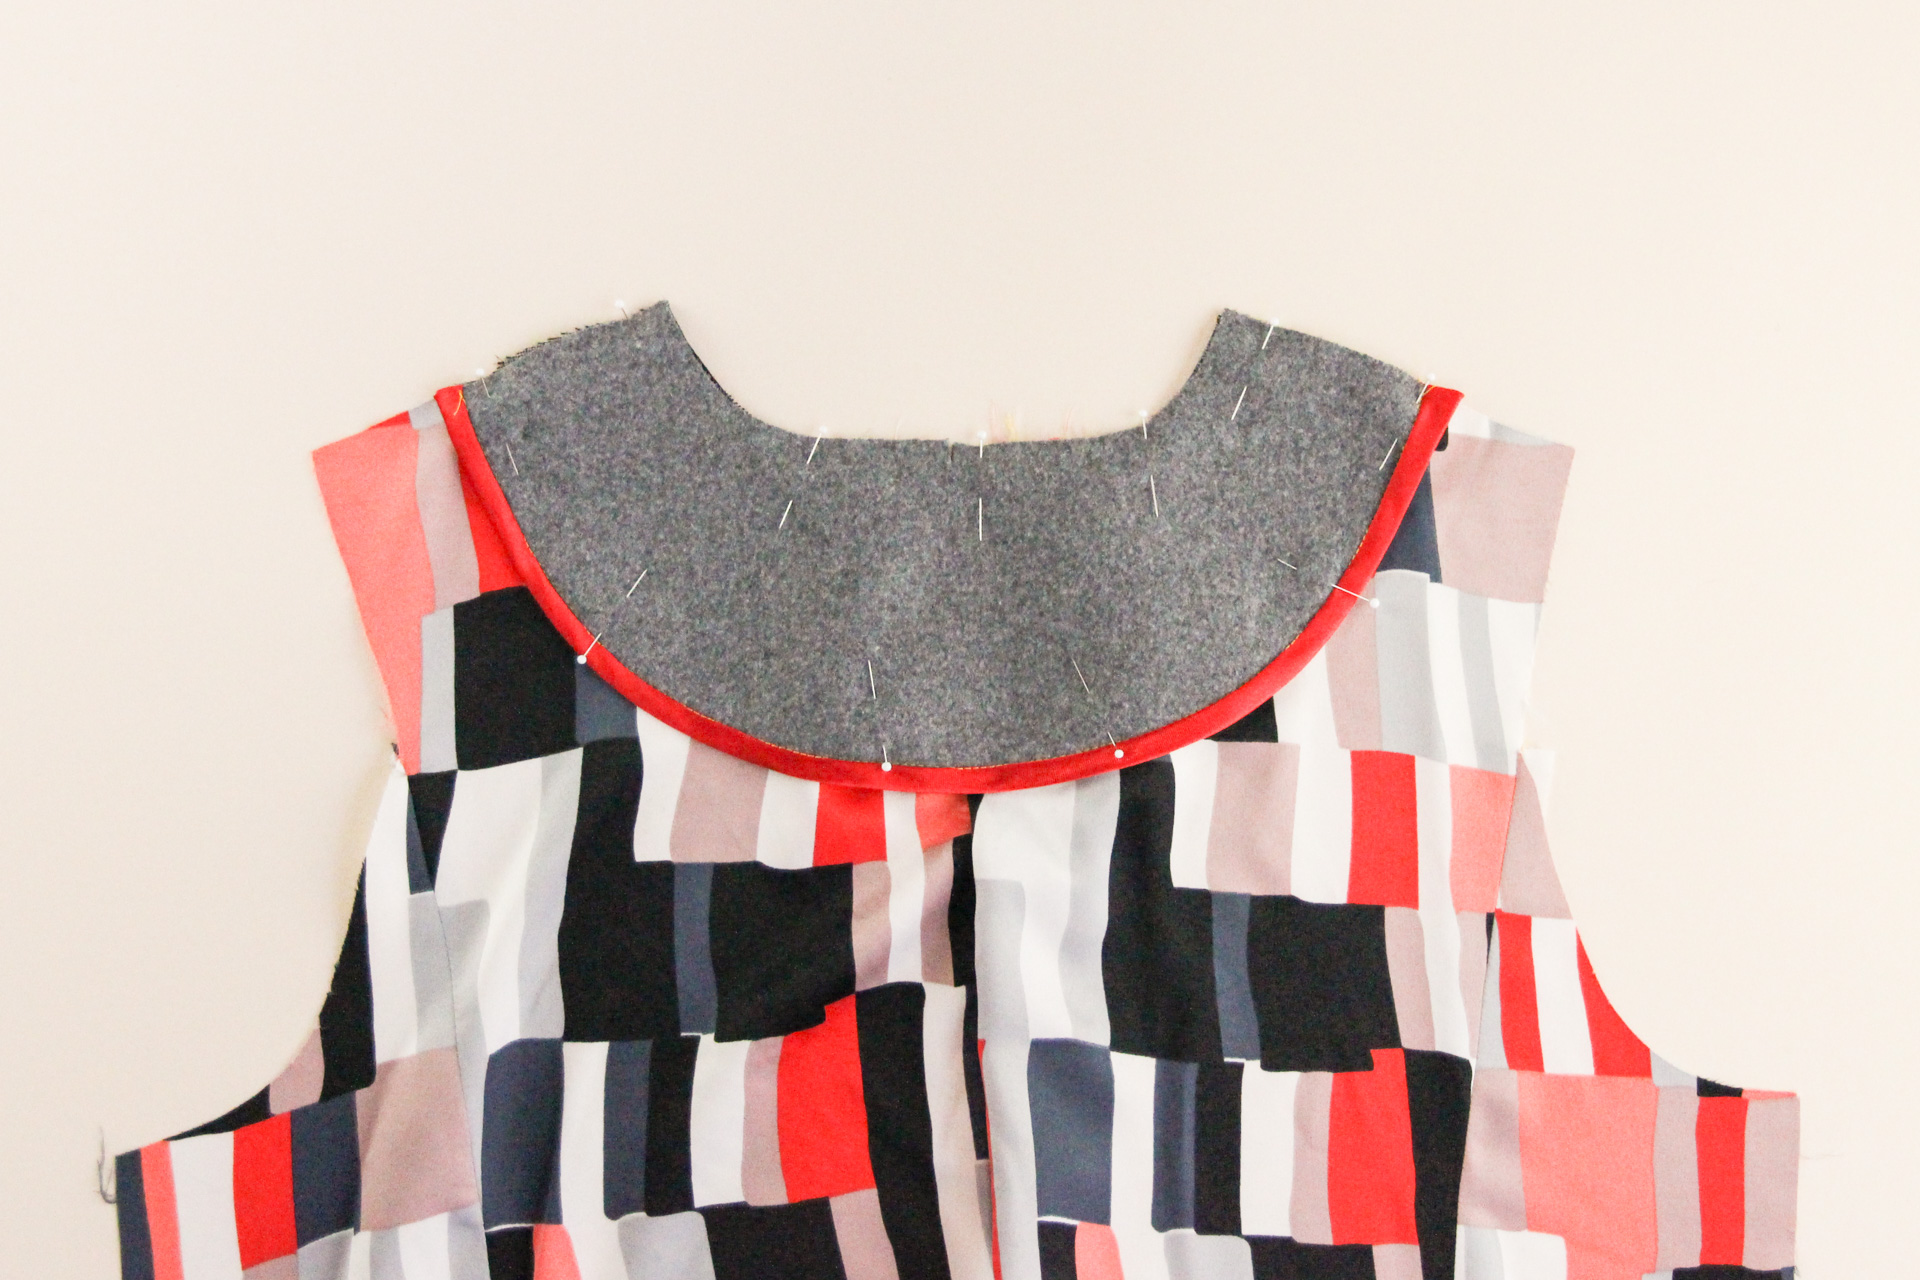
Sew around the entire edge of the facing, 1/4″ (6 mm) from the edge. For the lower edge that has the bias binding, you’ll be stitching in the ditch again.
And that’s it for today! Our front and back lining are now assembled, and next time we’ll put them together.
We’d love to see your Auburn Blazer, whatever stage of the process you’re at! Tag your makes with #AuburnBlazer on social media so that we can cheer you to the finish line.