Welcome back to the Auburn Blazer sewalong! Today, we’ll be assembling the body of our blazer.

(Just joining us? Be sure to check out the main Auburn sewalong page to catch up on everything you may have missed.)
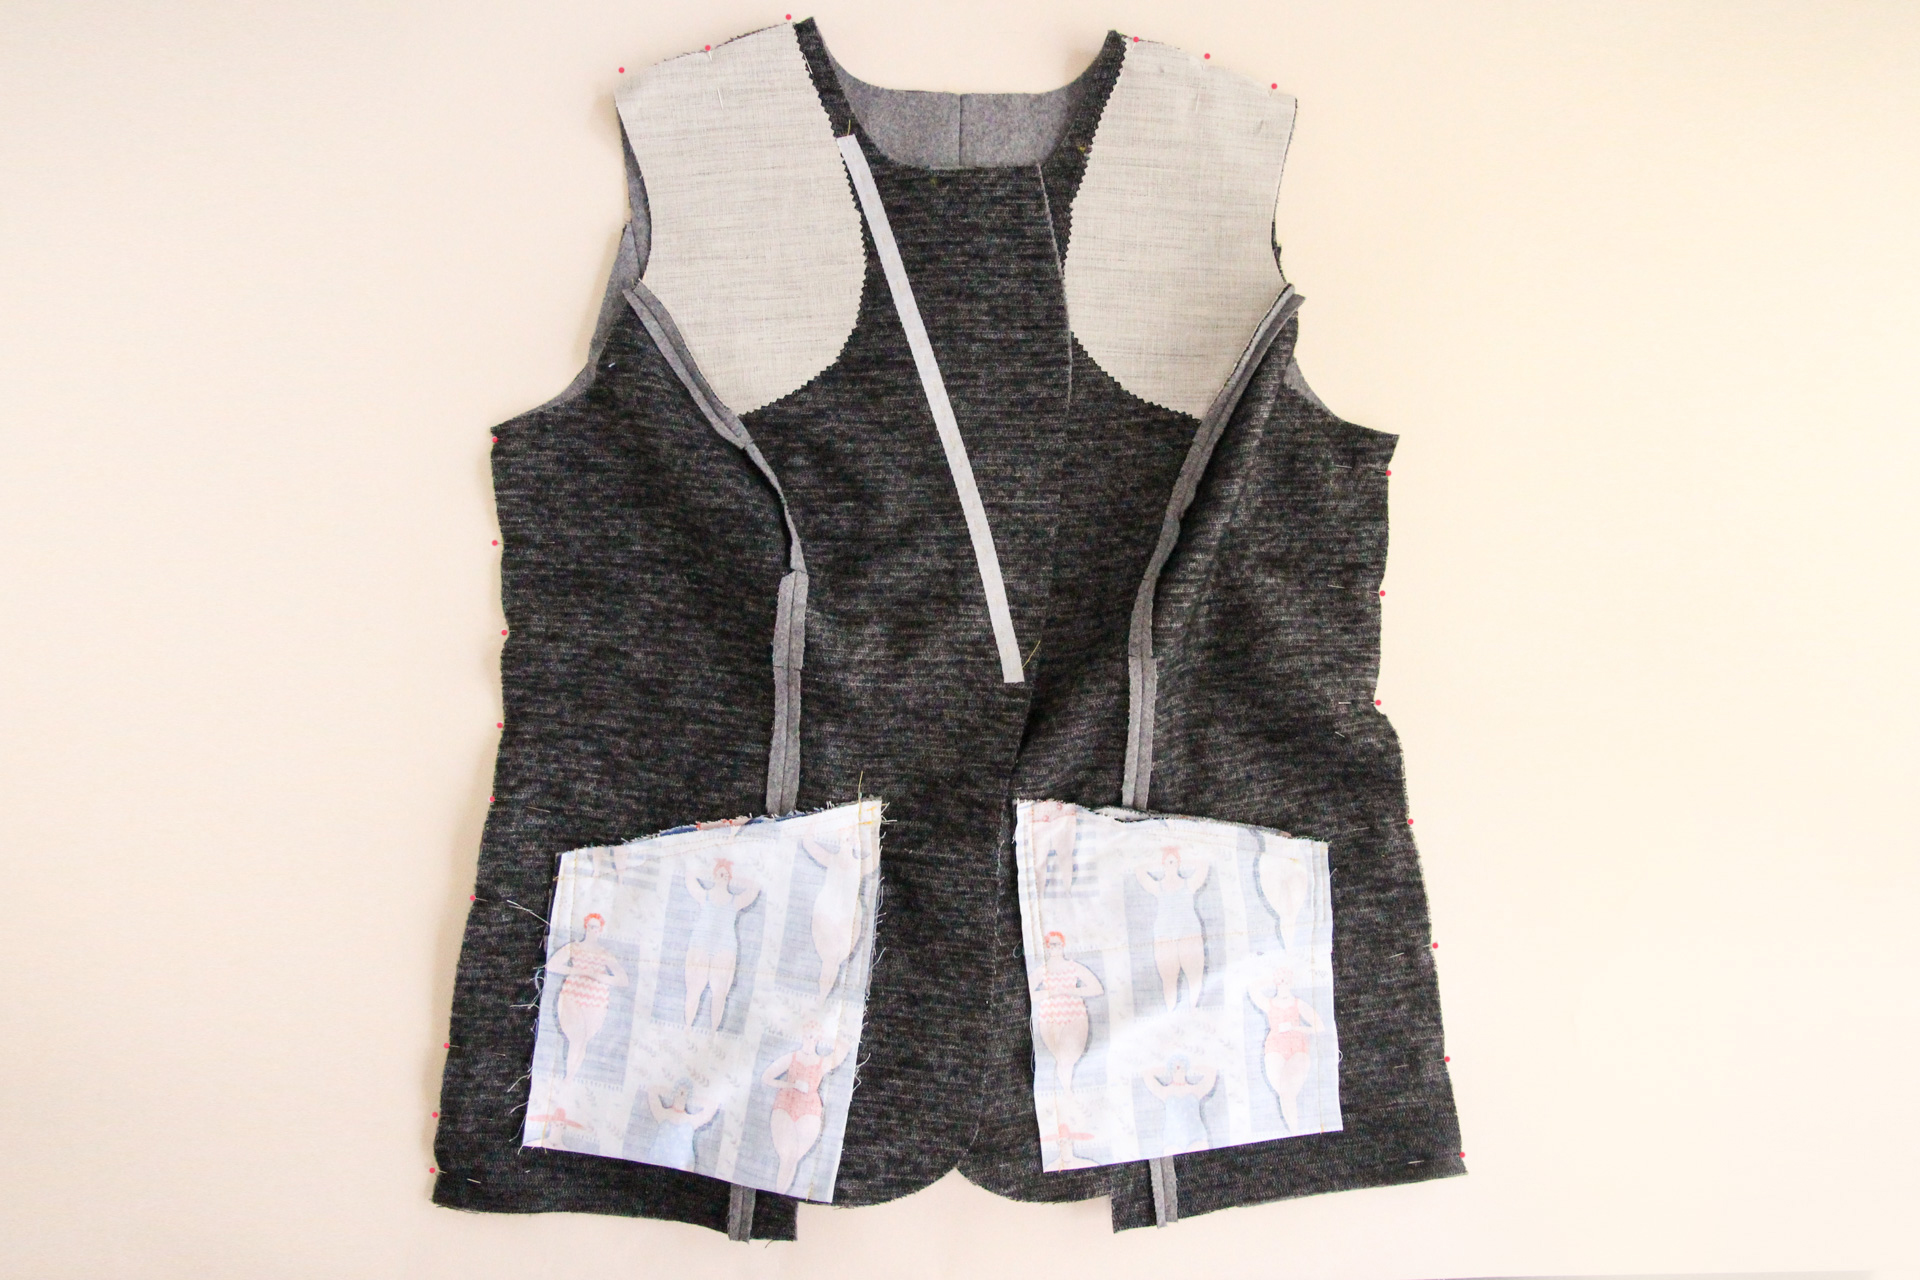
So far, we’ve constructed our two outer fronts as well as the outer back of the blazer. Today, we’re putting them all together. Let’s get started!
Sew Shoulder Seams & Side Seams
Start by pinning the blazer fronts to the back at the shoulders and the side seams.
Now we can sew the shoulder and side seams using our 1/2″ (12 mm) seam allowance.
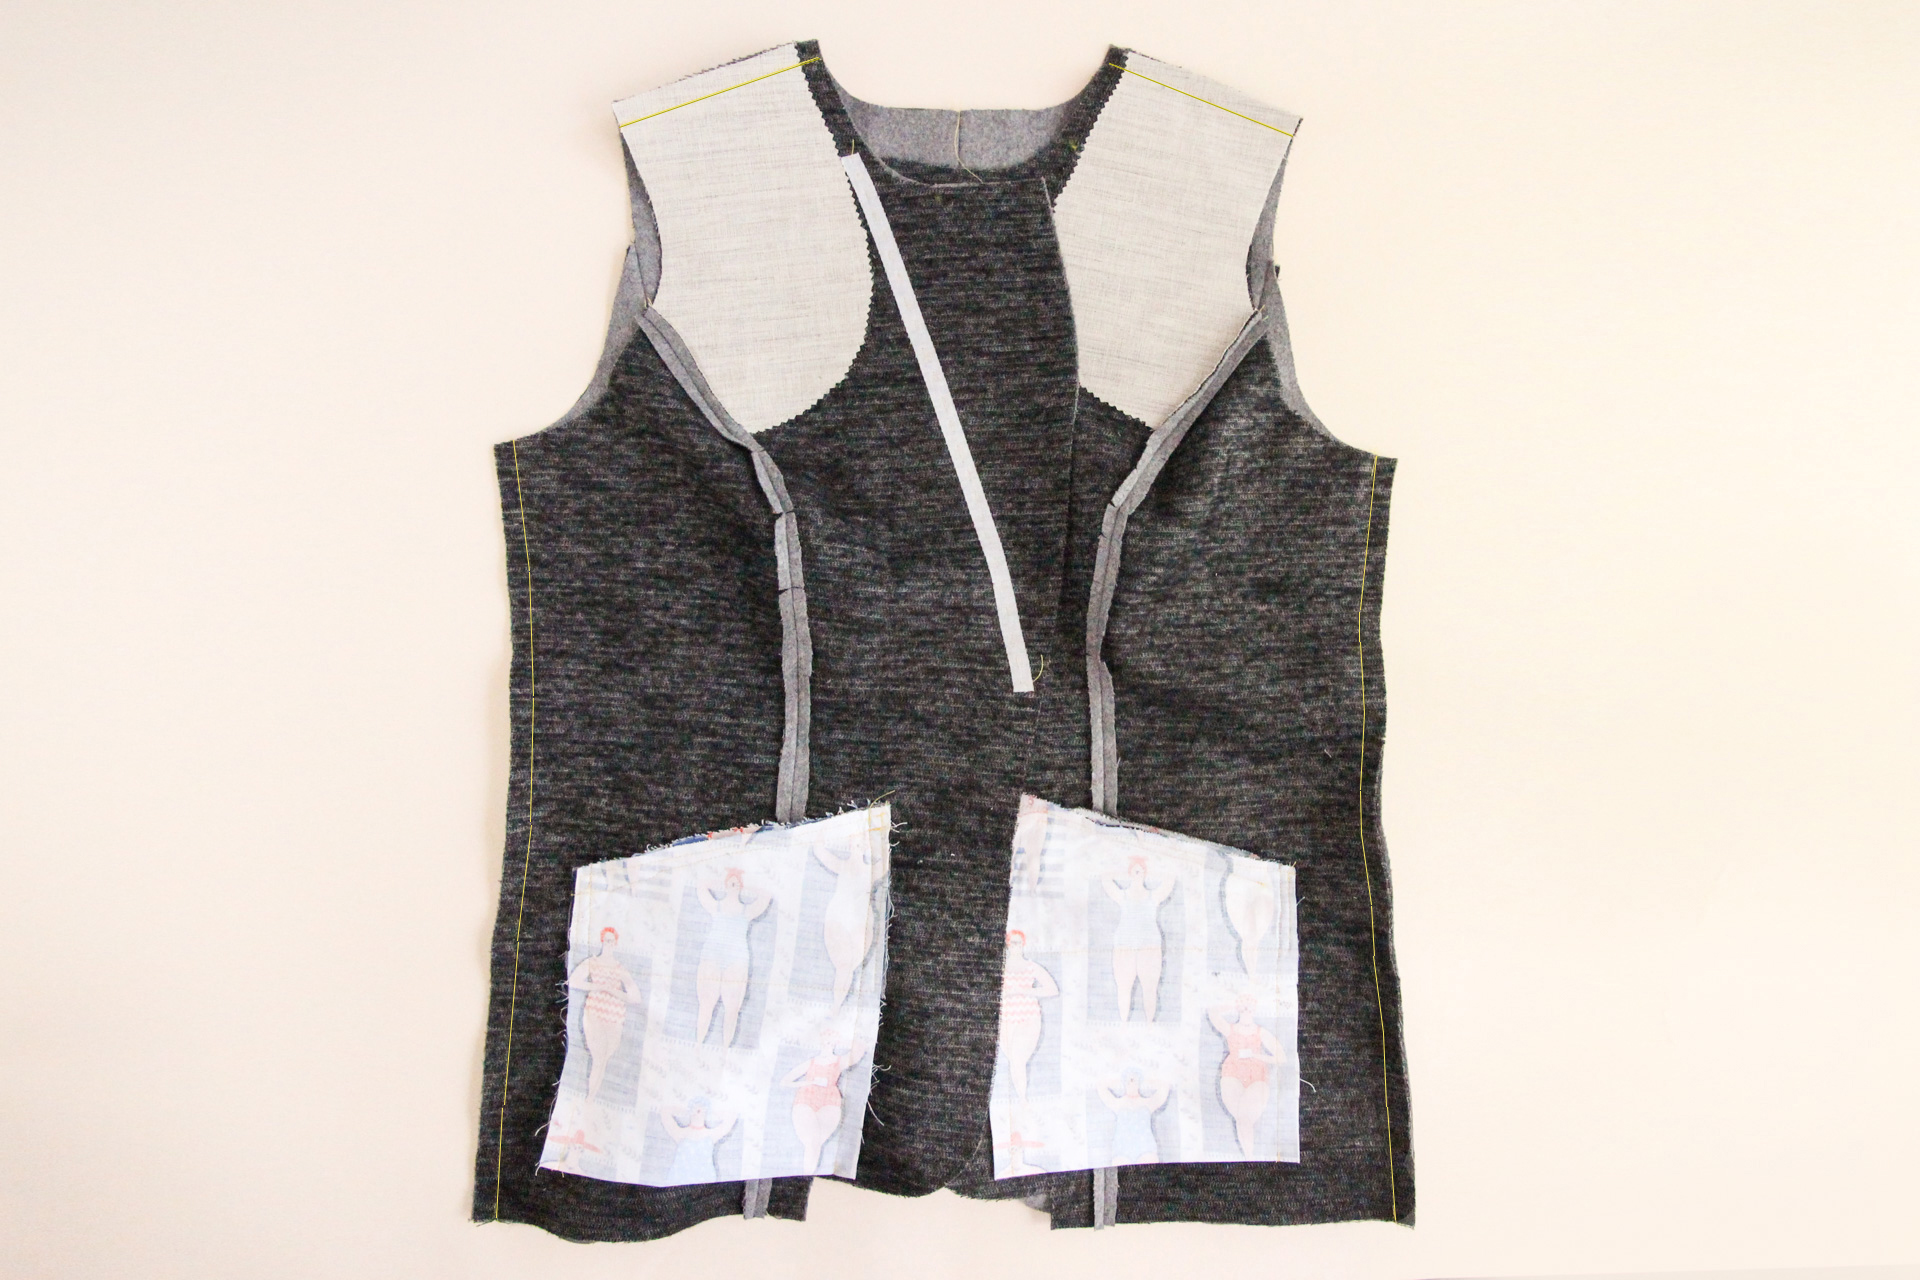
Trim the seam allowances in half for each of those seams and press them open.
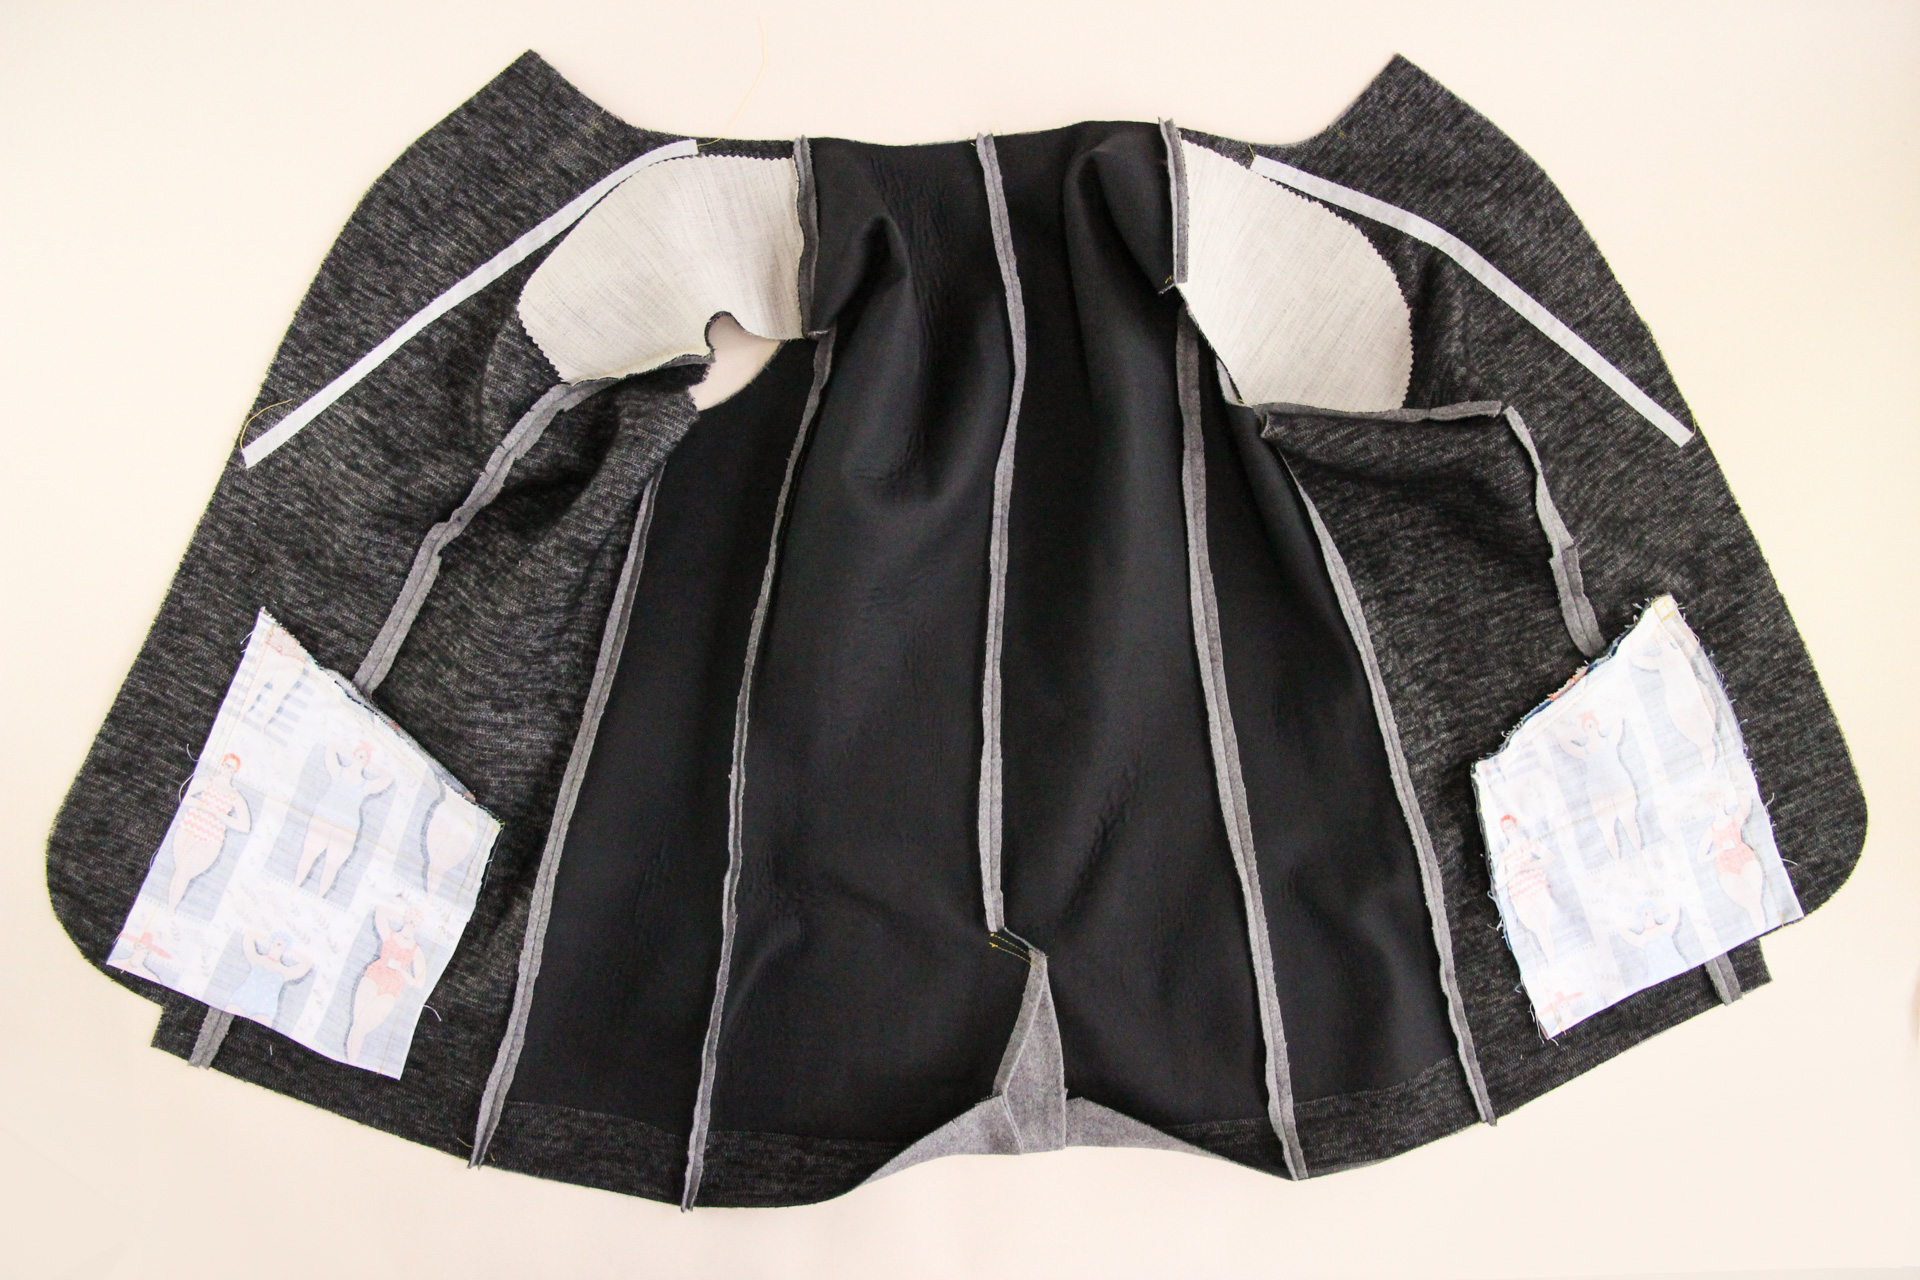
Next, we’re going to staystitch along the neckline. Staystitching uses a shorter stitch length (we’ll use a 2 mm length for this stitch) and helps keep the neckline from stretching out in the constructing process.
Staystitch around the neckline at 3/8″ (1 cm) from the edge, going from one circle marking to the other.
Assemble Undercollar
Next, let’s assemble our under collar. Put the two under collar halves right sides together, pinning along the center edge.
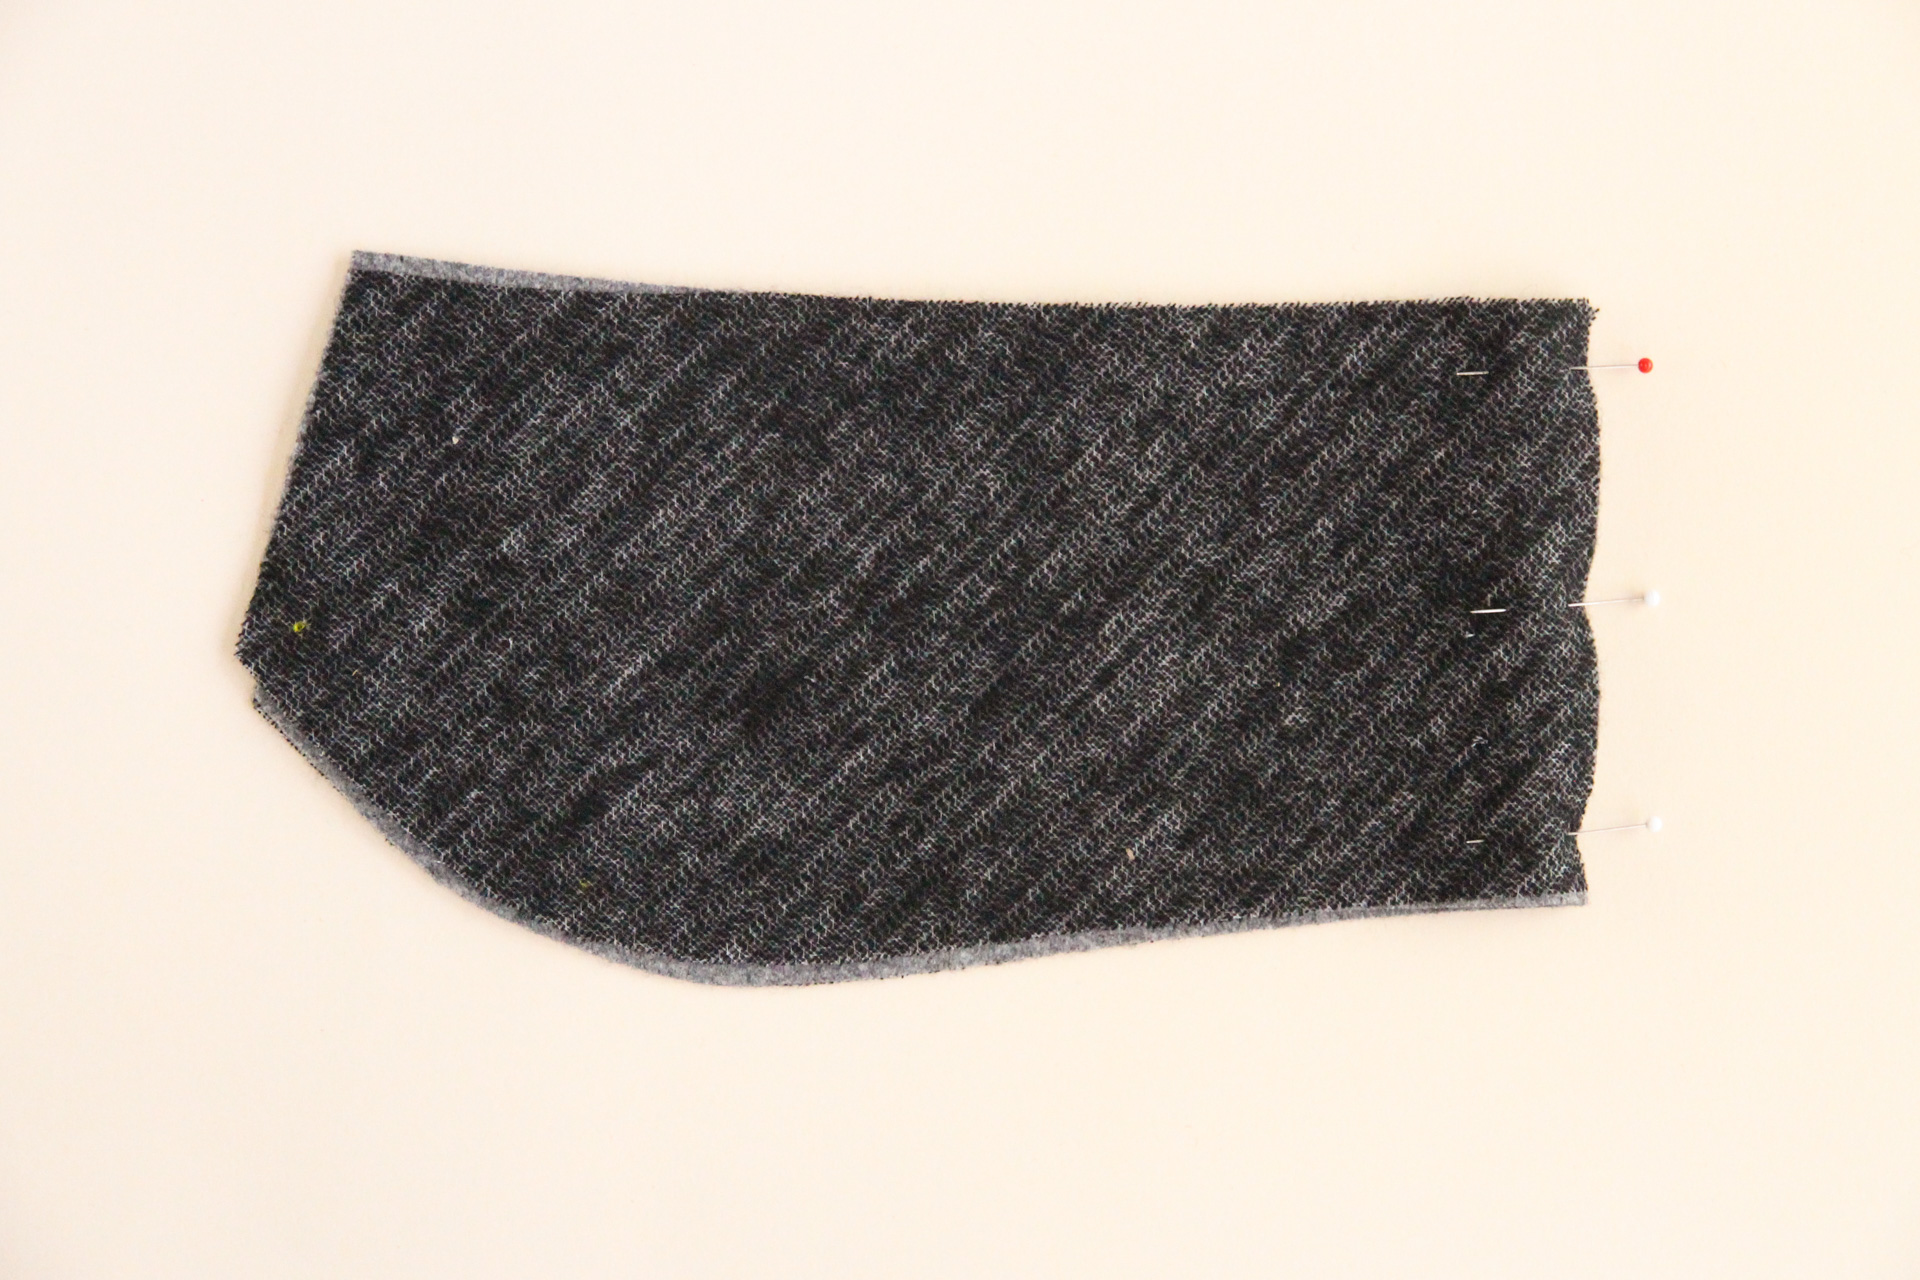
Sew that seam at 3/8″ (1 cm) seam allowance, then trim and press open.
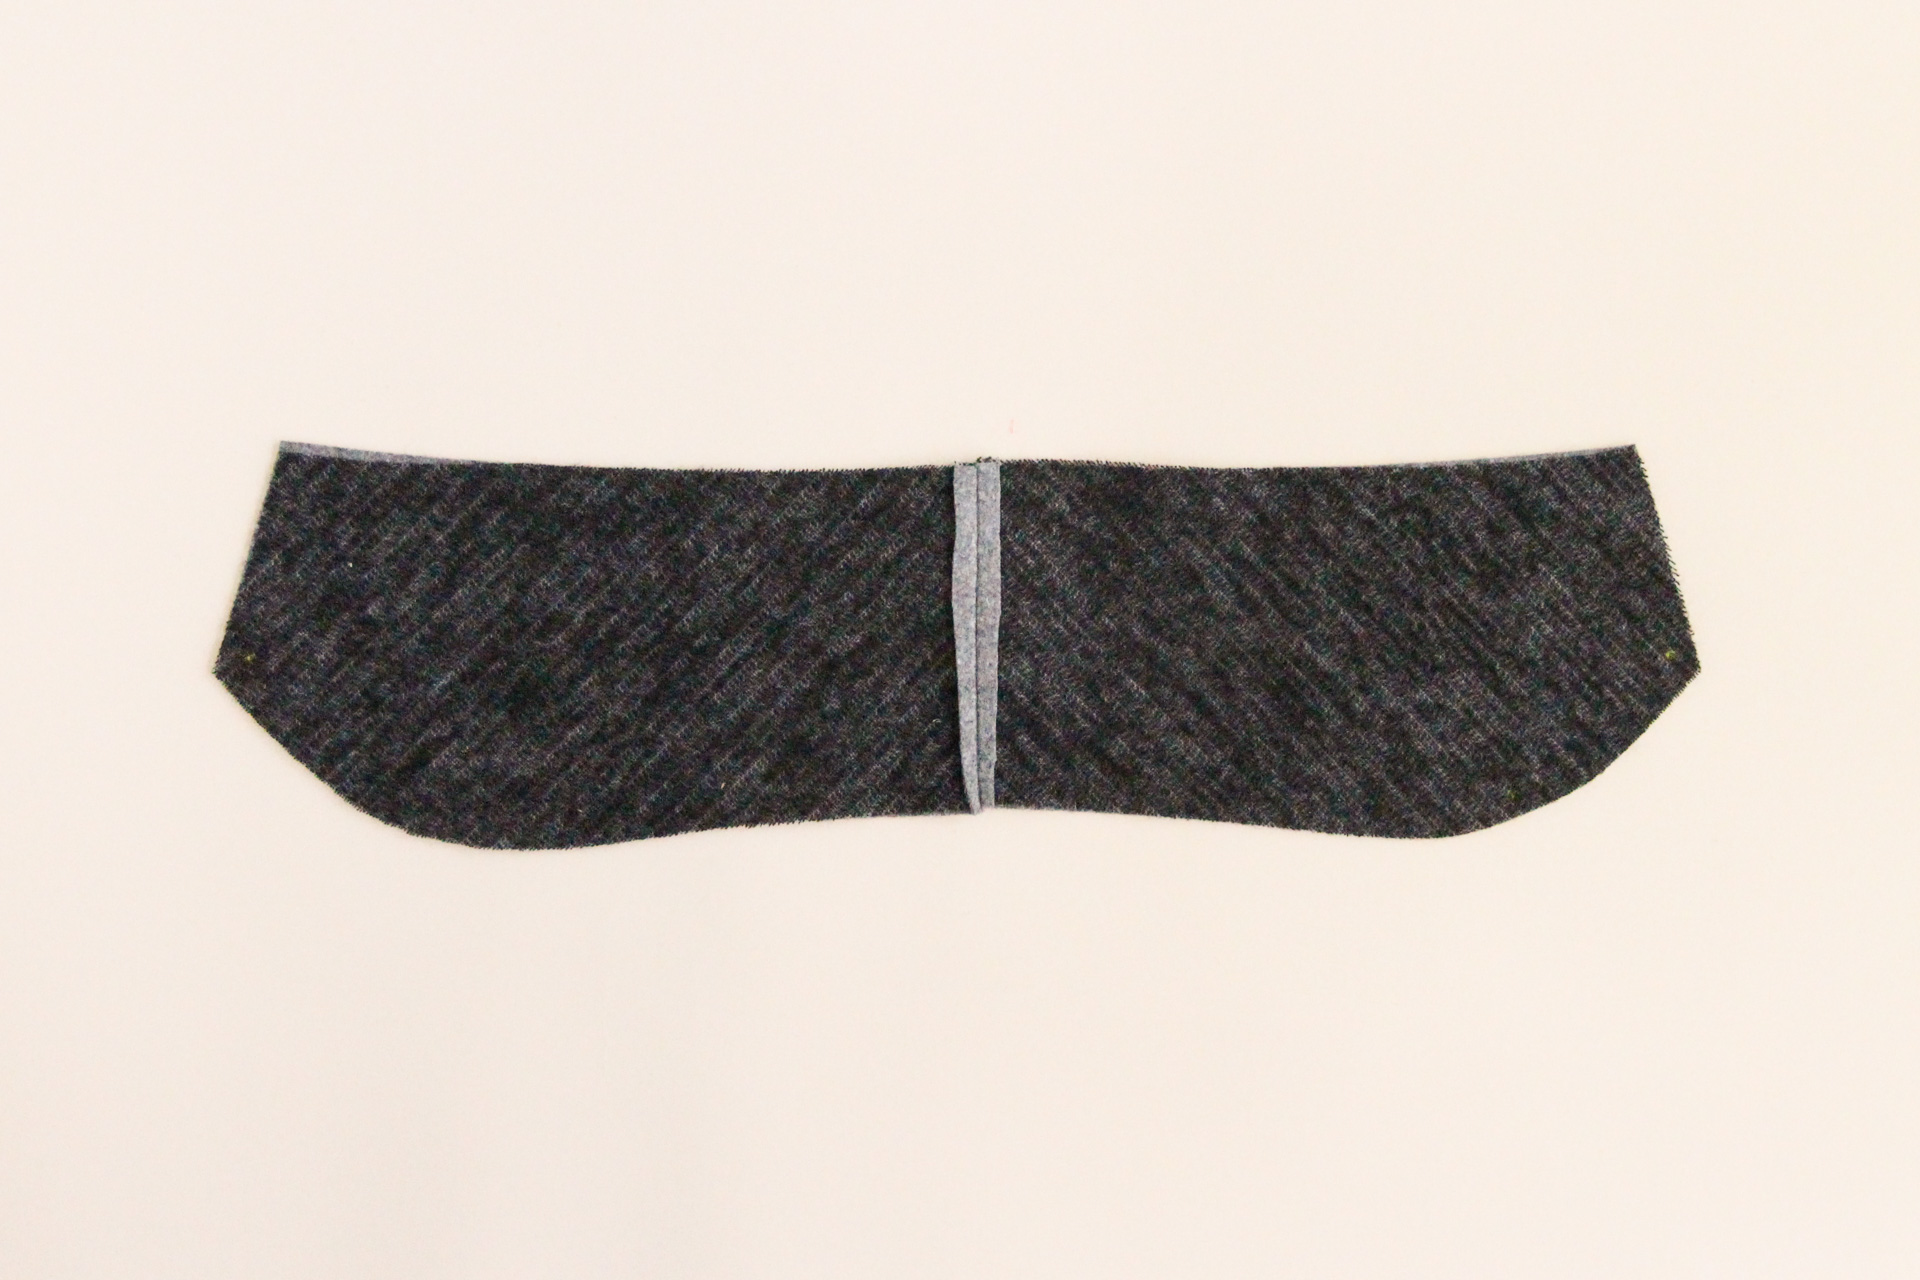
Here’s how it will look from the right side:
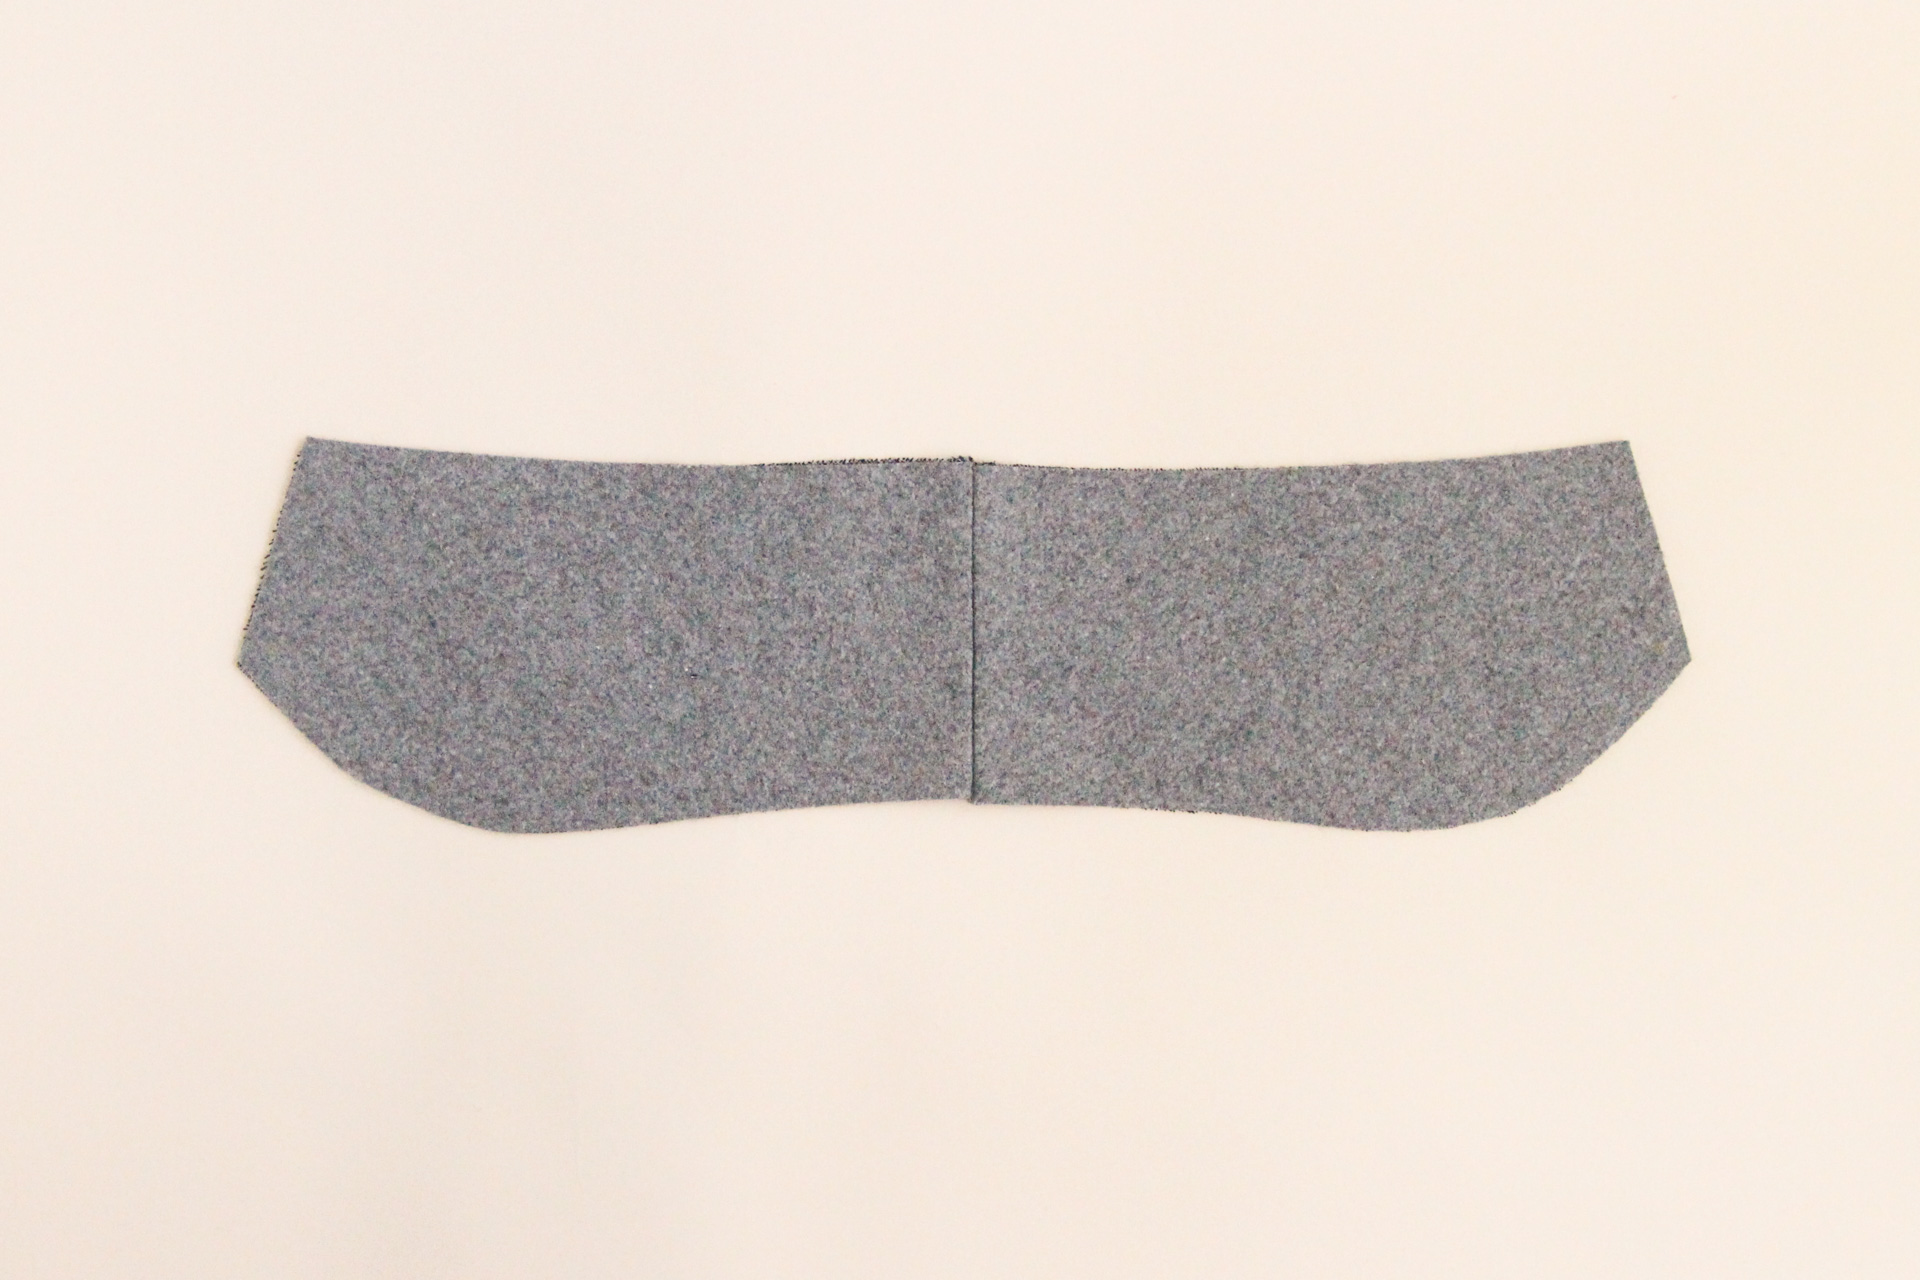
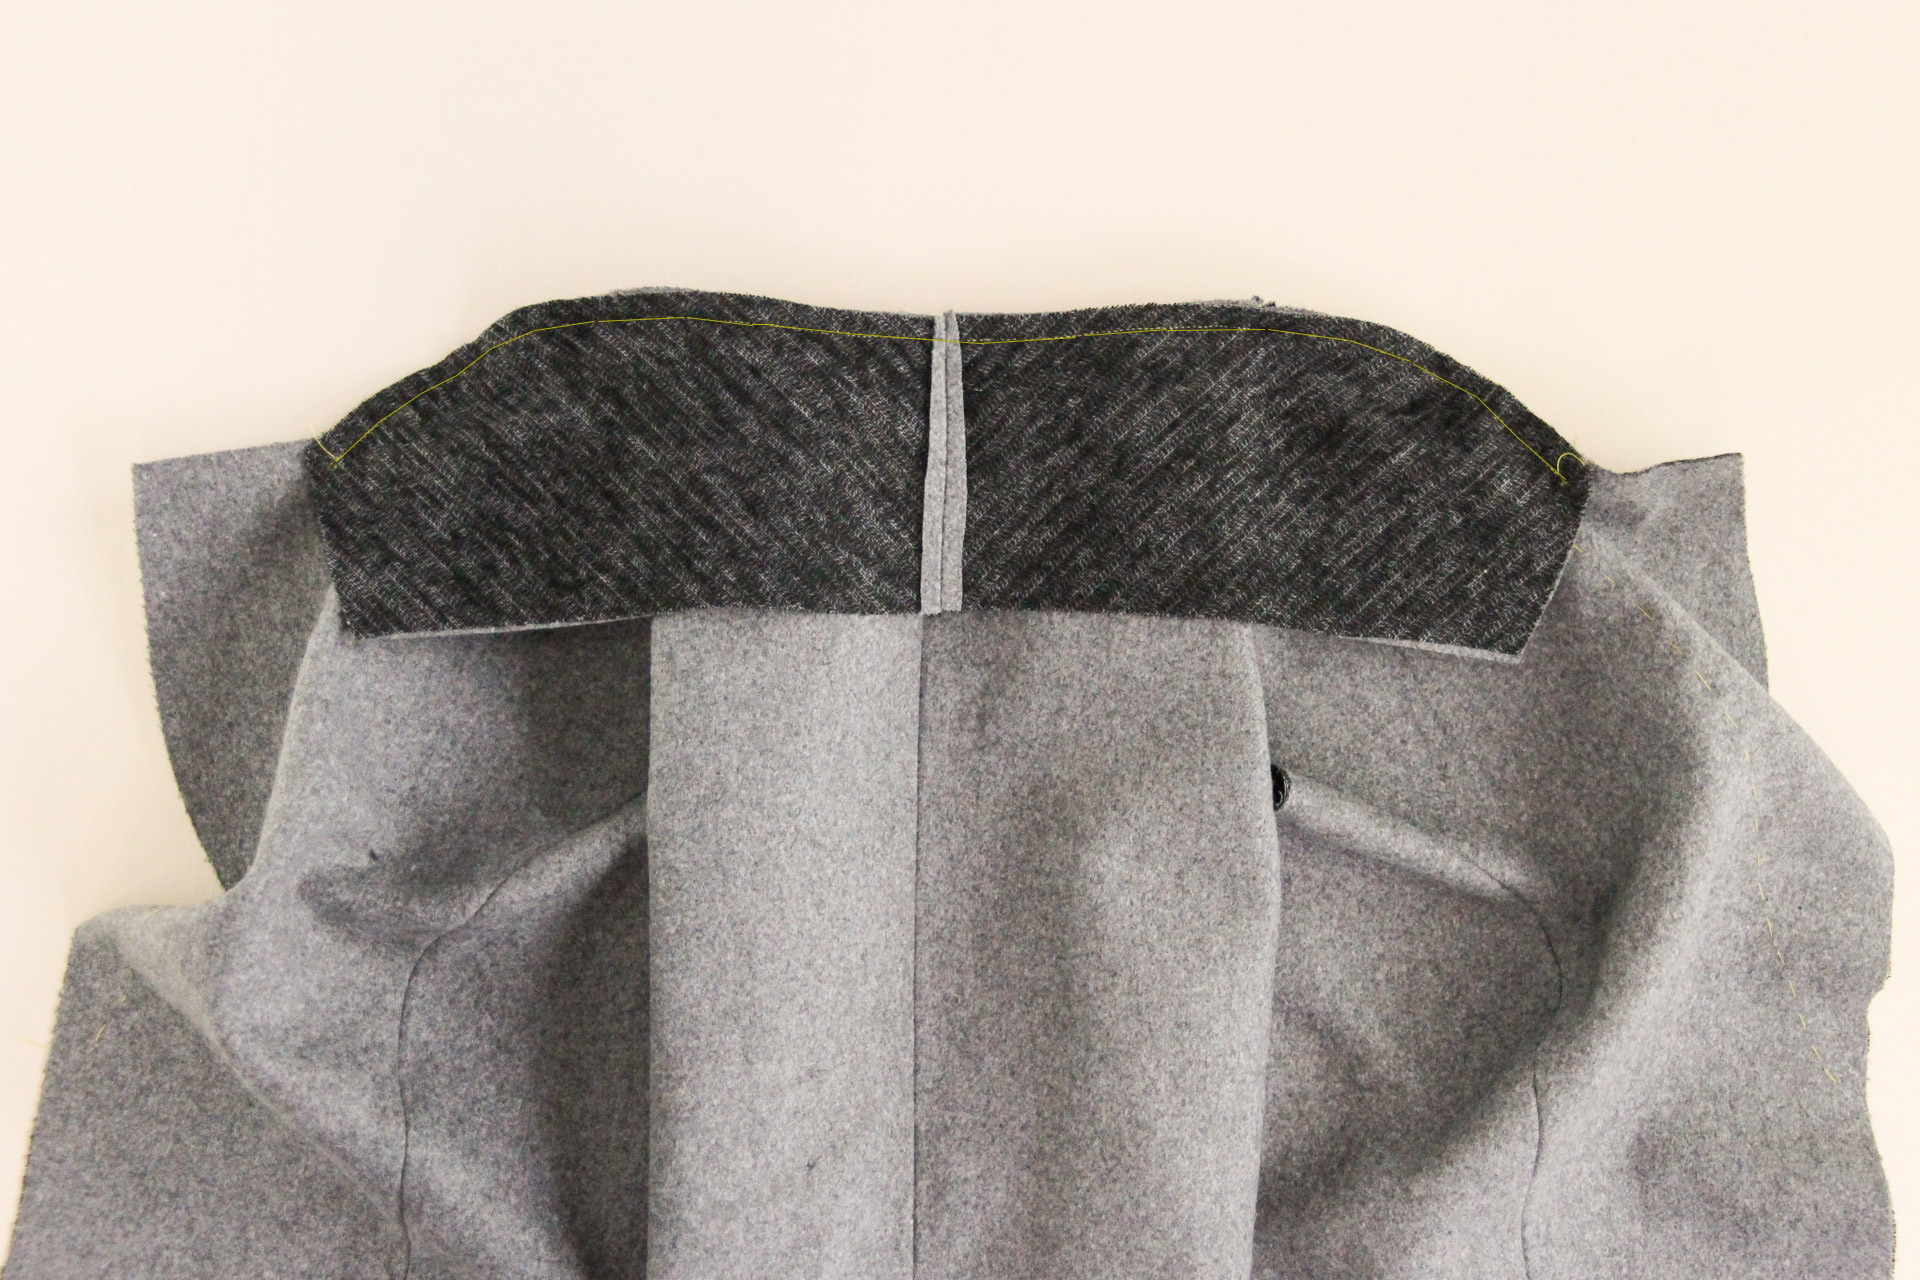
A gorgeous under collar, wouldn’t you say? We’re going to attach it to the main body next.
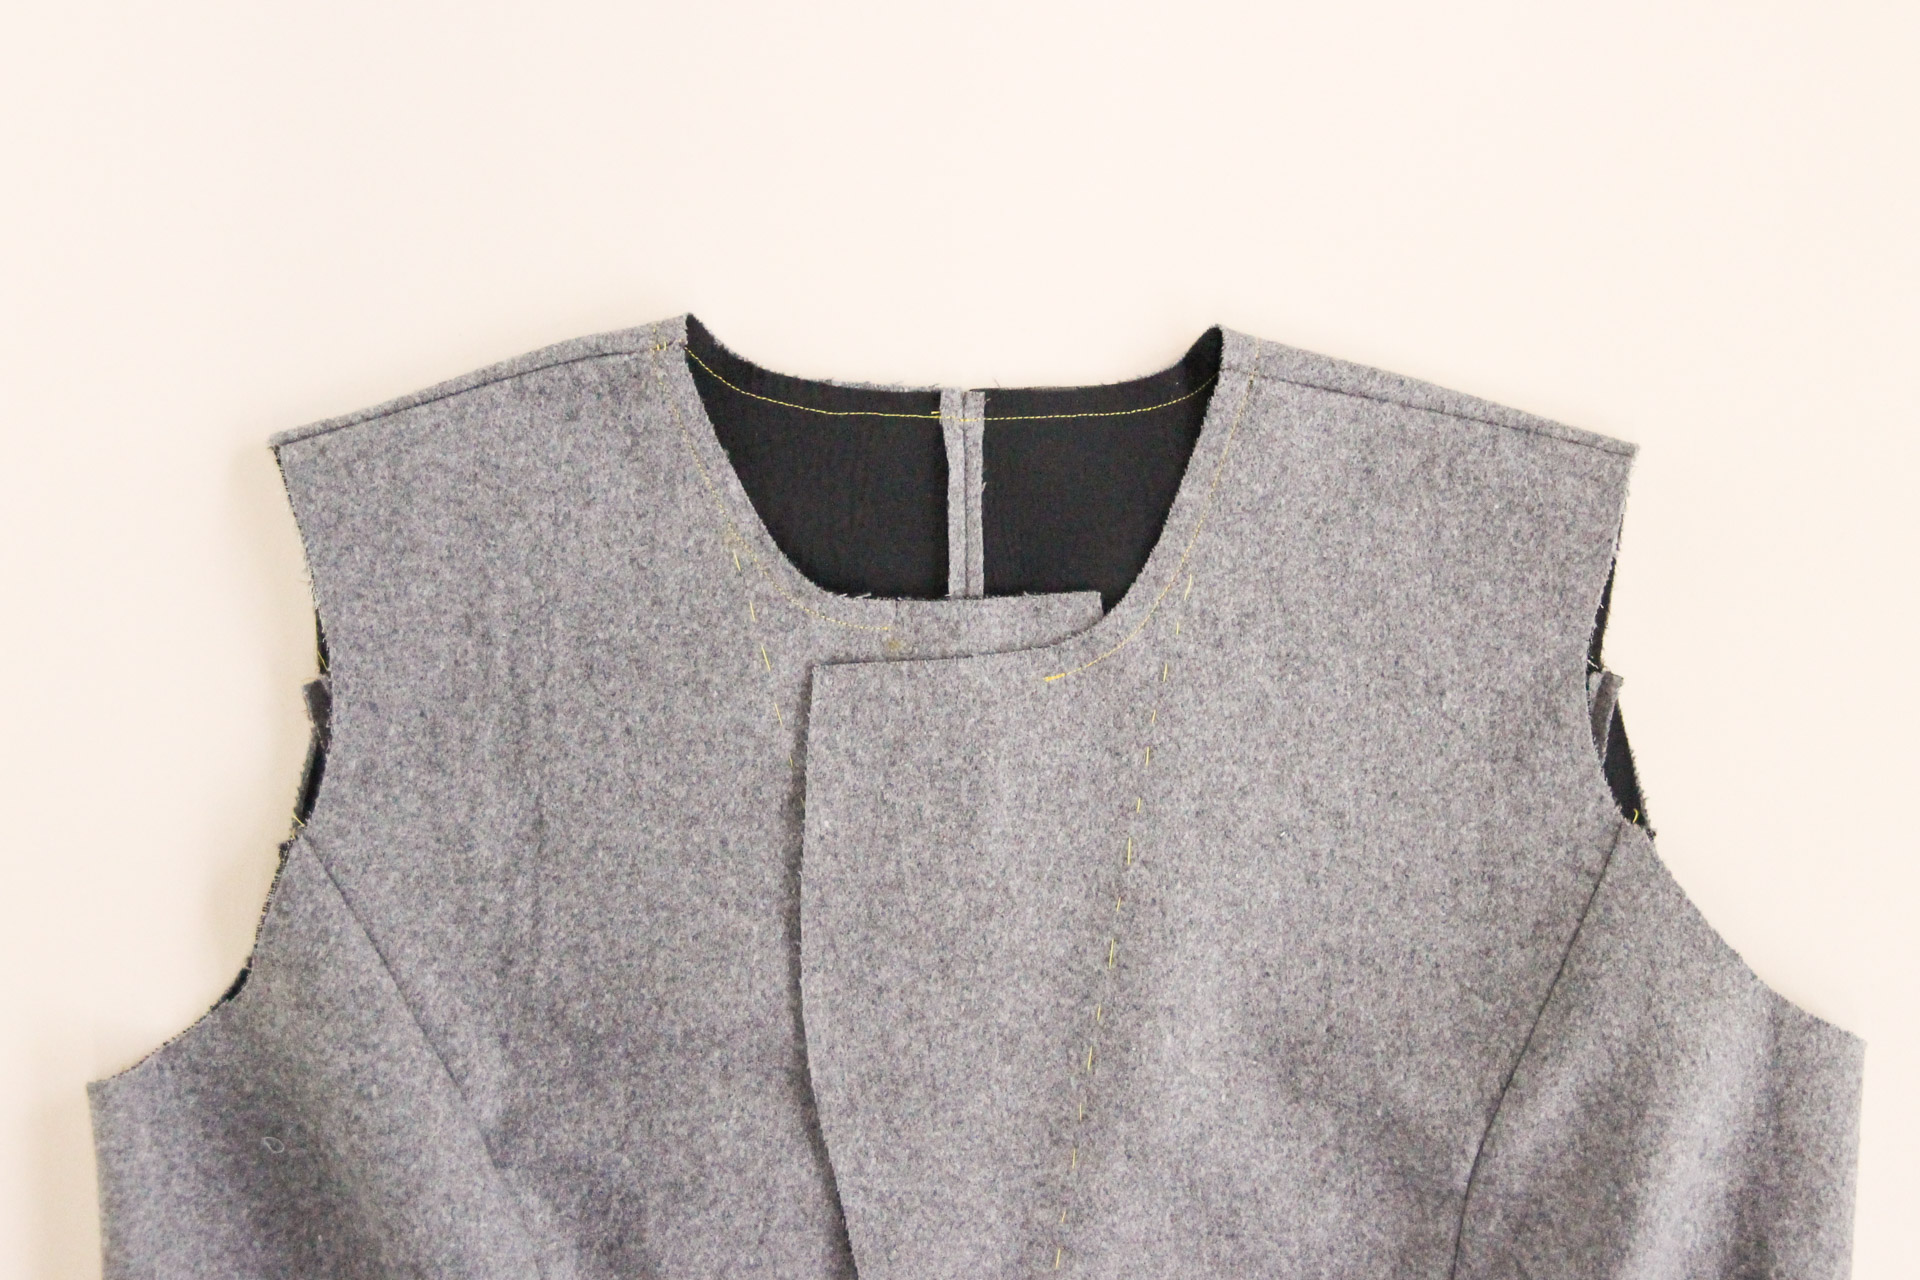
Attach Undercollar
Pin the assembled under collar to the neckline of the blazer, right sides together. Match the notches of the curved edge with the shoulder seams and center back seam. Align the circle markings on the under collar with the circle markings on the blazer.
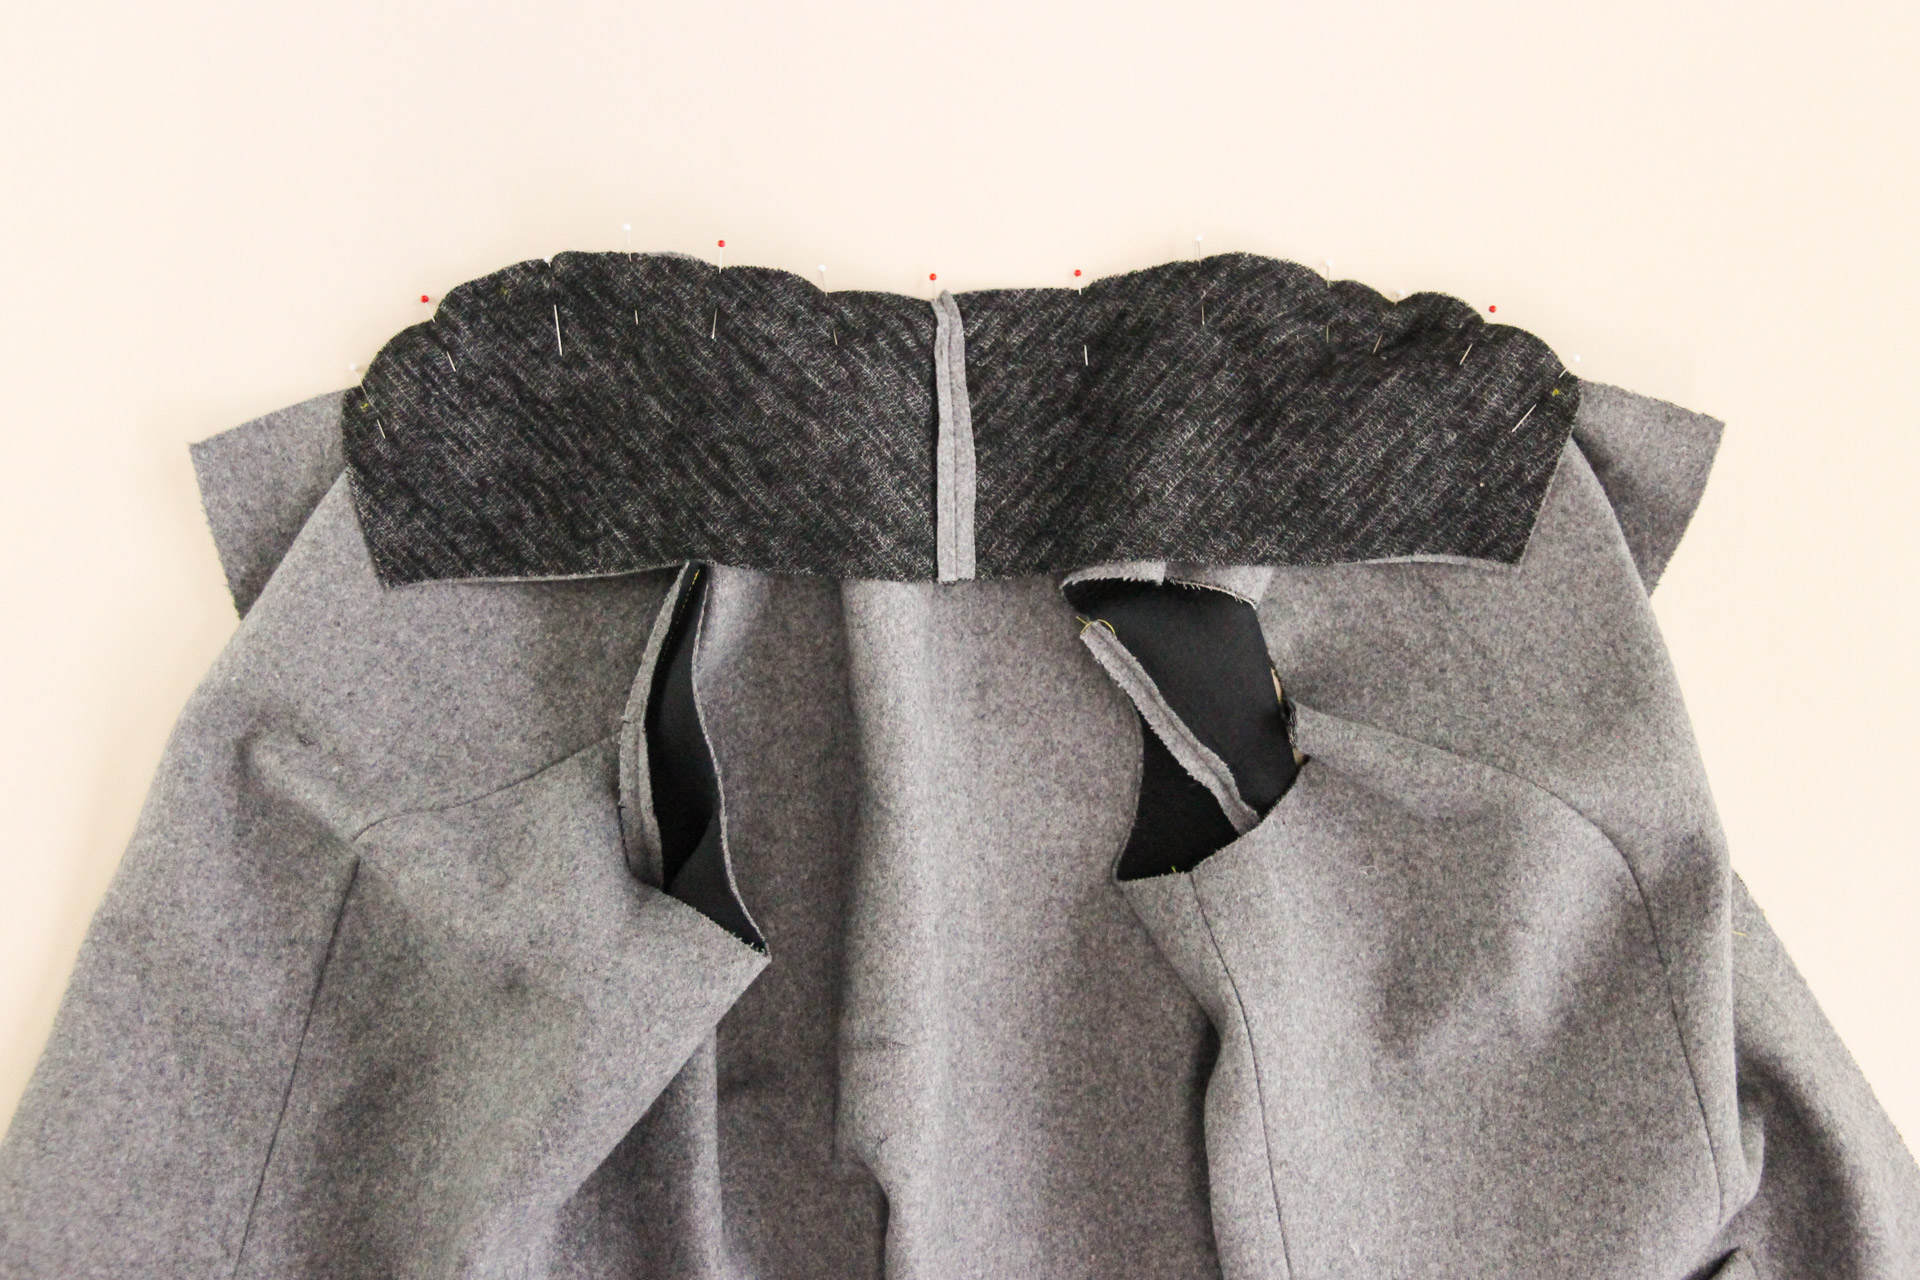
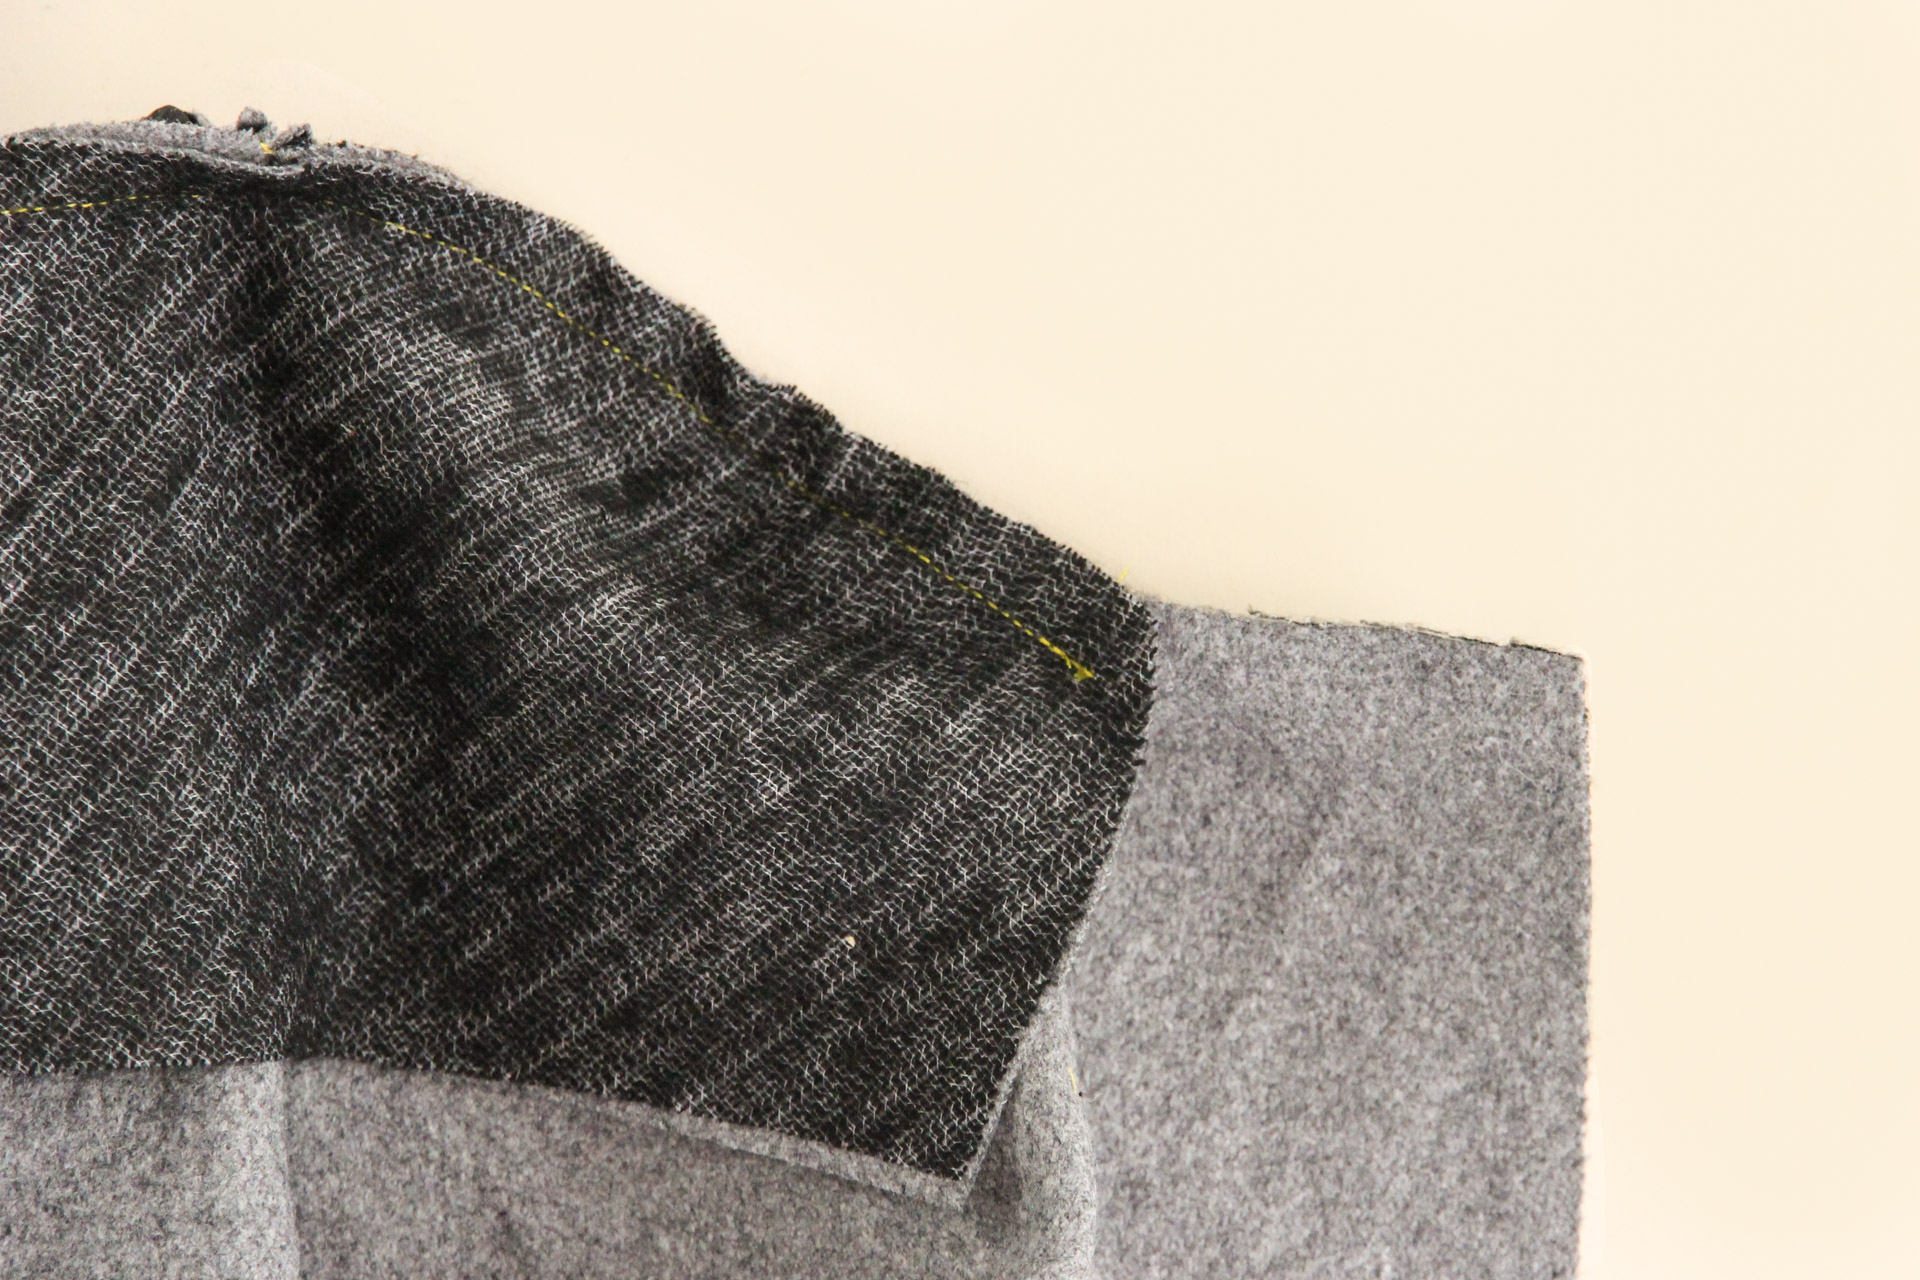
Now we can sew that seam using a 3/8″ (1 cm) seam allowance, starting at one outer circle marking and finishing at the other outer circle marking (not all the way to the edge of the under collar). This stitch line will go directly over your previous staystitching line.
This seam can be a bit fiddly, so you may want to hand-baste it first for extra control. It may also help to clip into the neckline (up to but not through the staystitching line) as needed to match it up with the undercollar.
Here’s a closeup of the end of the under collar—sew up to the outer circle marking, not all the way to the end of the under collar.
Flip your under collar up to make sure you don’t have any puckers. If you do, unpick those sections and try again.
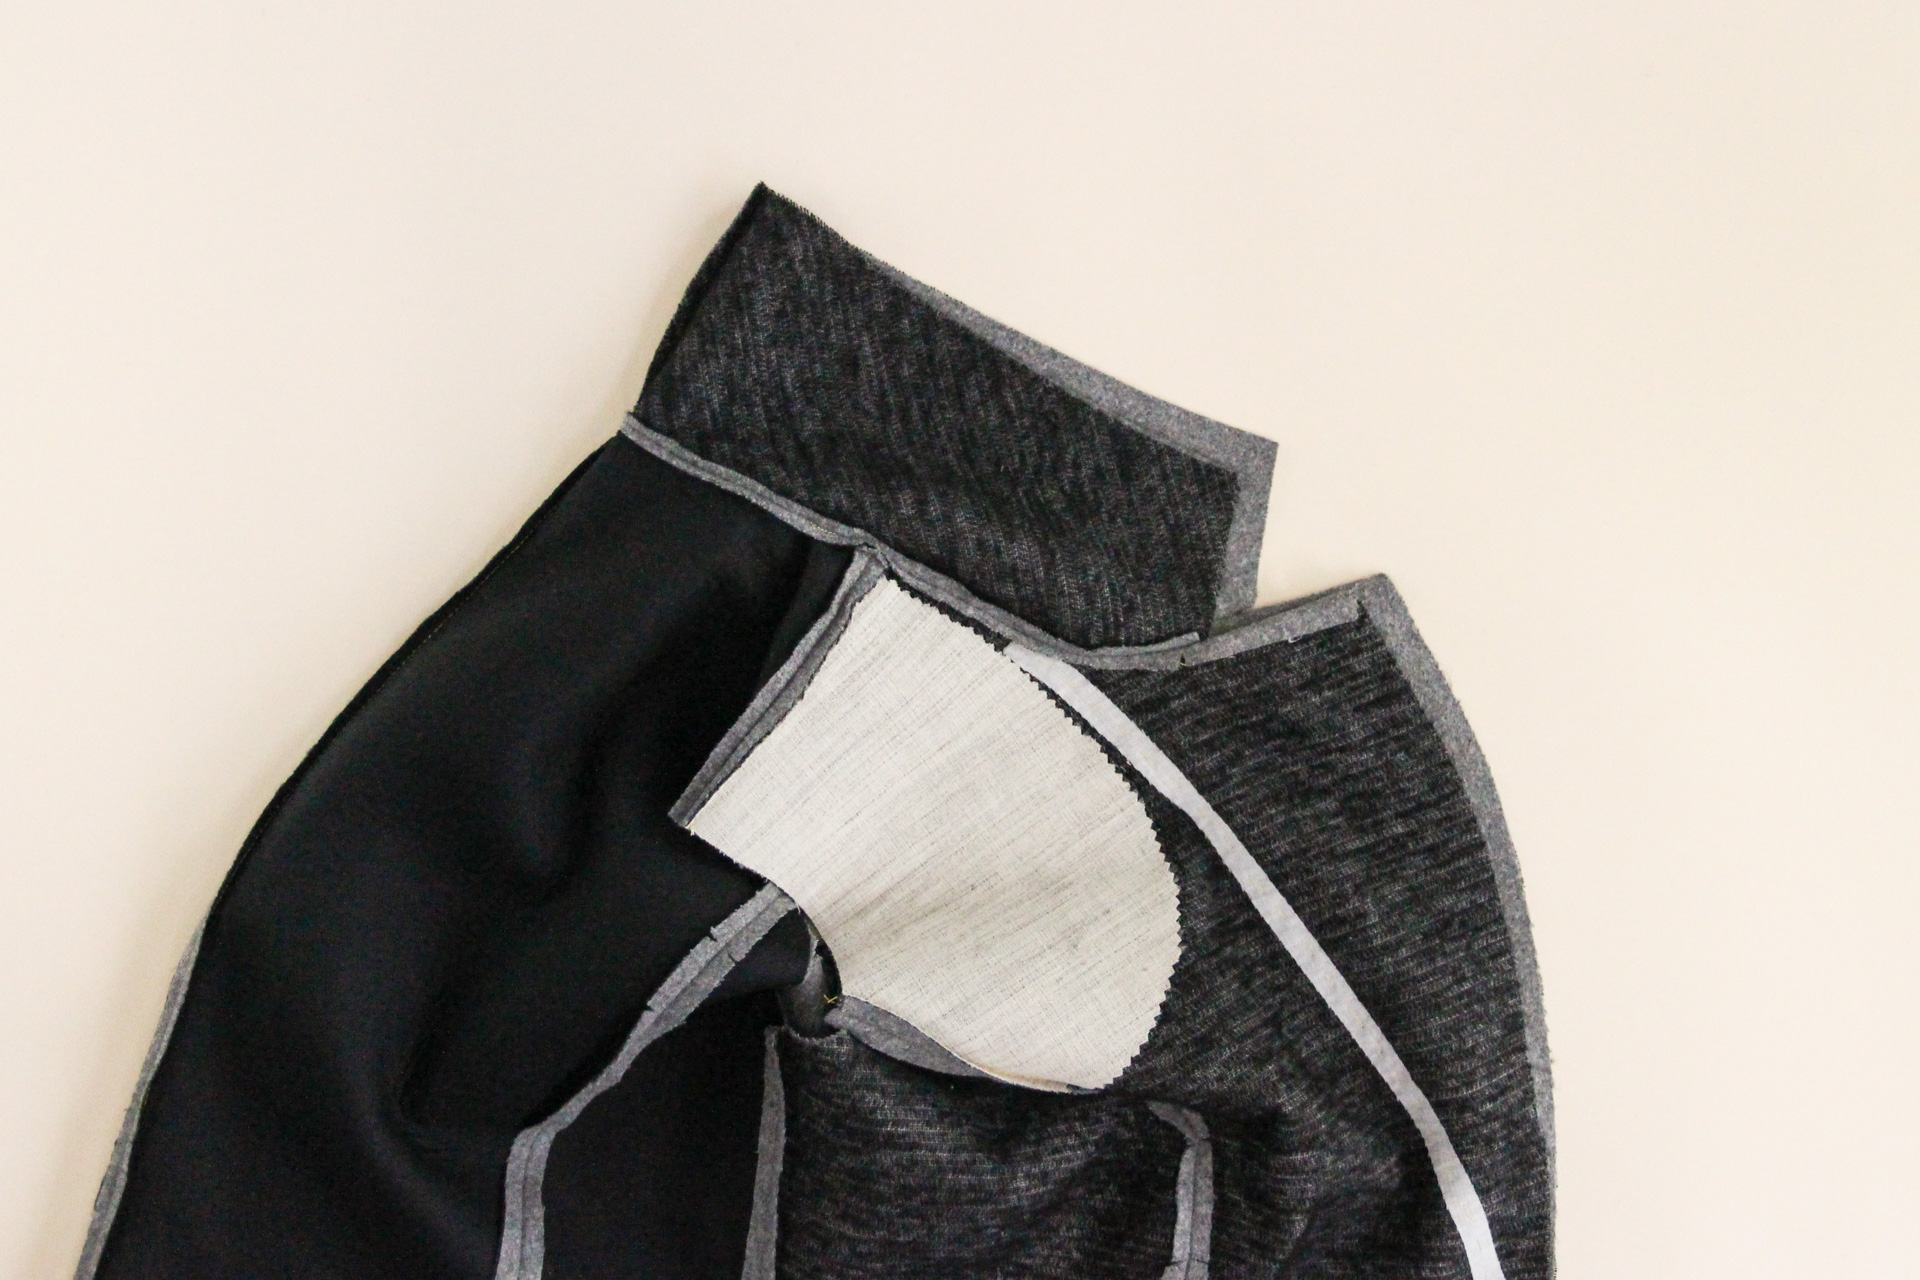
Trim the seam allowance in half and press open over a tailor’s ham.

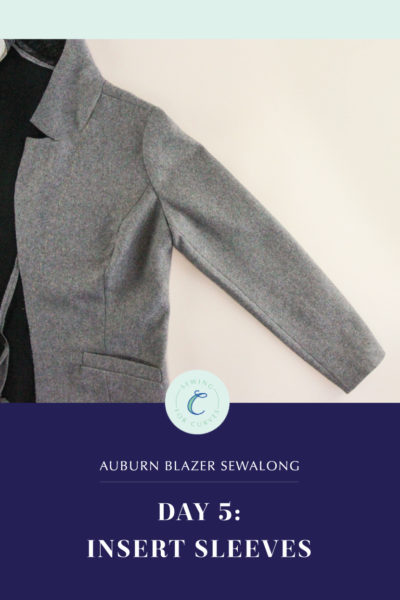
Looking fabulous! That’s all we’re going to do today—next time, it’s all about sleeves. We’ll construct our outer sleeves and insert them into the armholes, and then our Auburn will start looking more like a real blazer!
We’d love to see your Auburn Blazer, whatever stage of the process you’re at! Tag your makes with #AuburnBlazer on social media so that we can cheer you to the finish line.