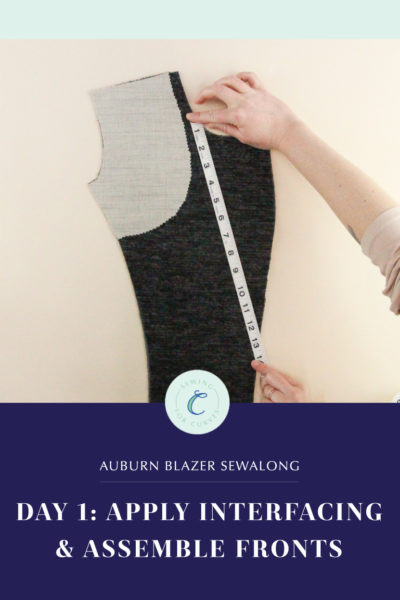
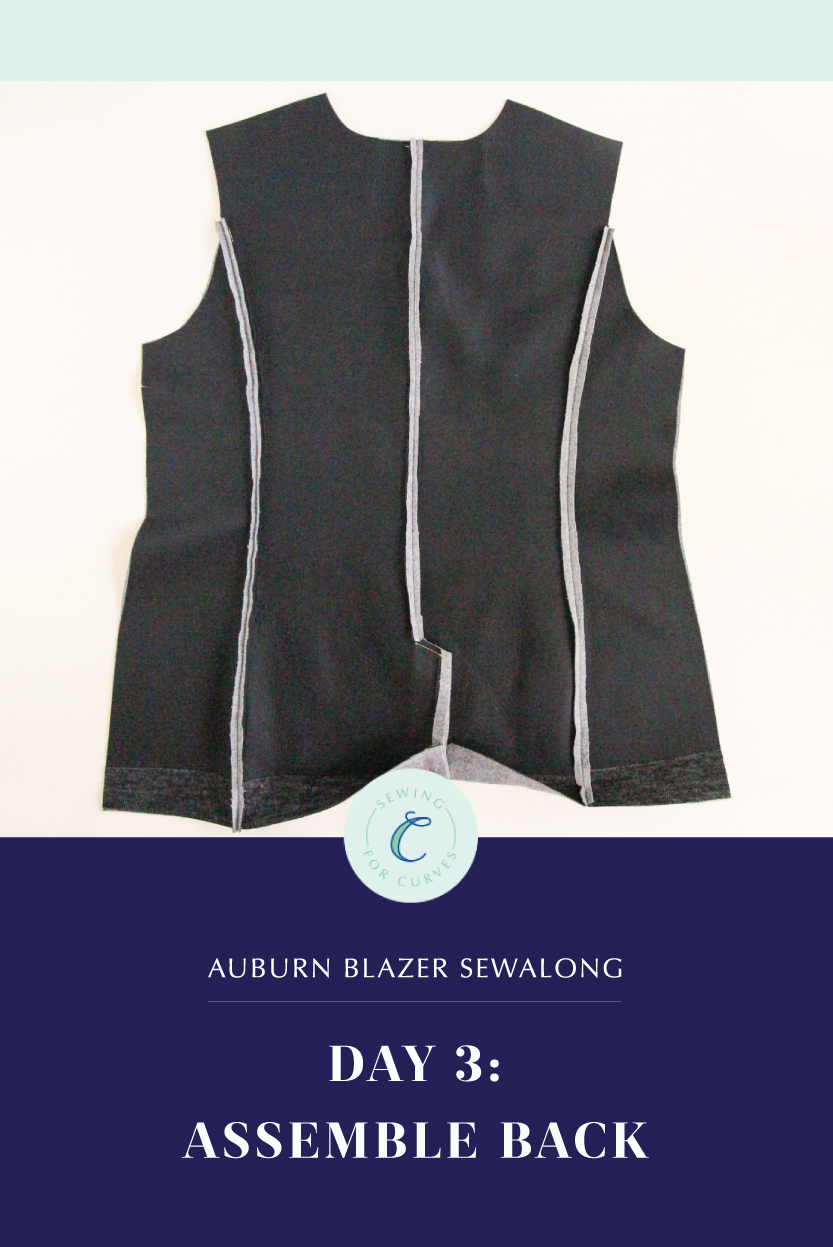
Welcome back to the Auburn Blazer sewalong! Today, we’ll be constructing the back of the blazer. Thanks for joining us!
(Just joining in? Be sure to check out the main Auburn sewalong page to catch up on everything you may have missed.)
Last time, we constructed our blazer fronts and sewed our welt pockets. Today, we’re tackling the blazer back. Let’s get started!
Sew Back Sides
Start by pinning one side back to one center back, right sides together, matching the notches.
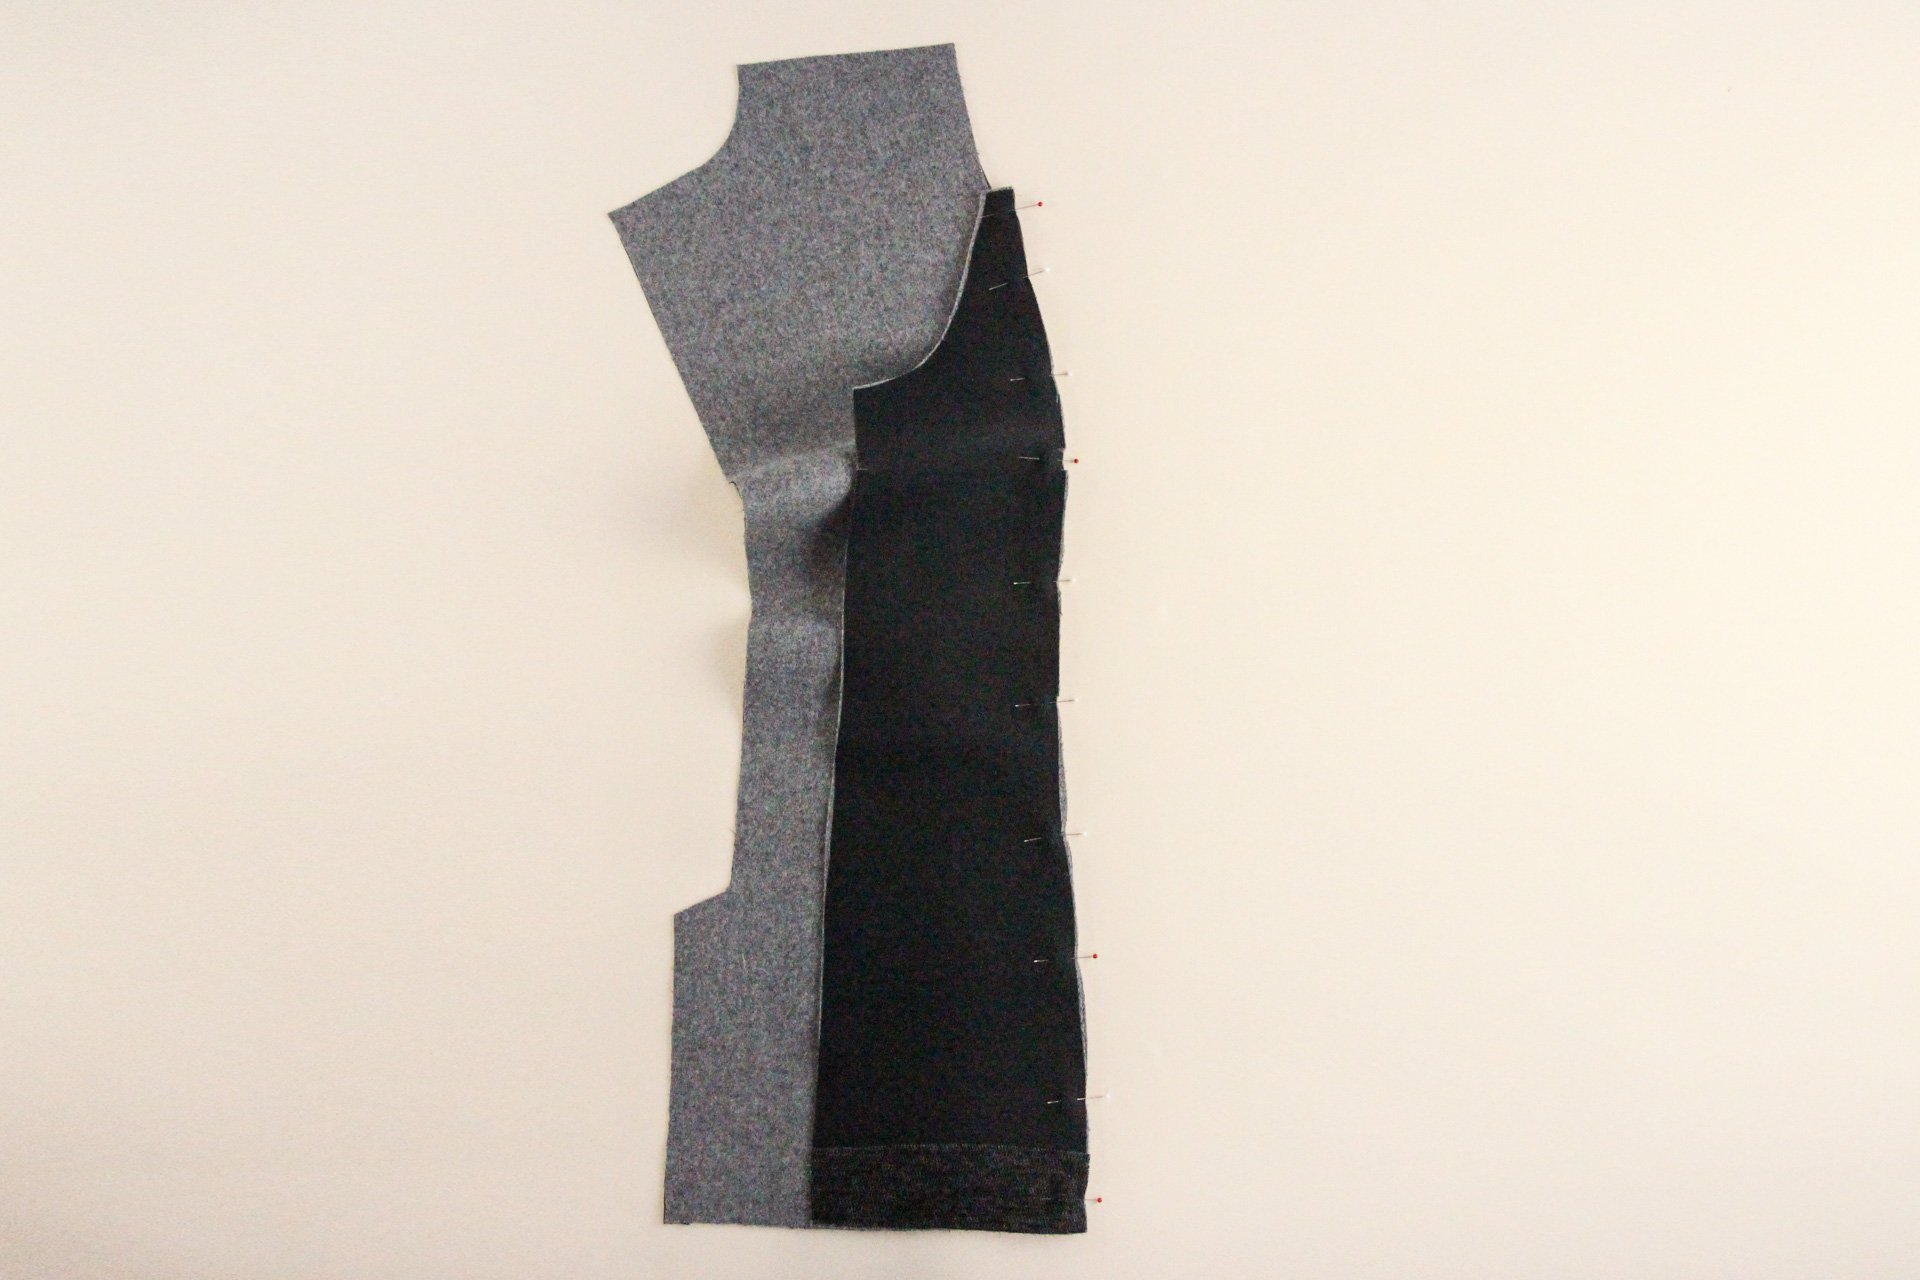
Let’s sew that seam using our 1/2″ (12 mm) seam allowance, then we can trim the seam allowance in half and press it open.
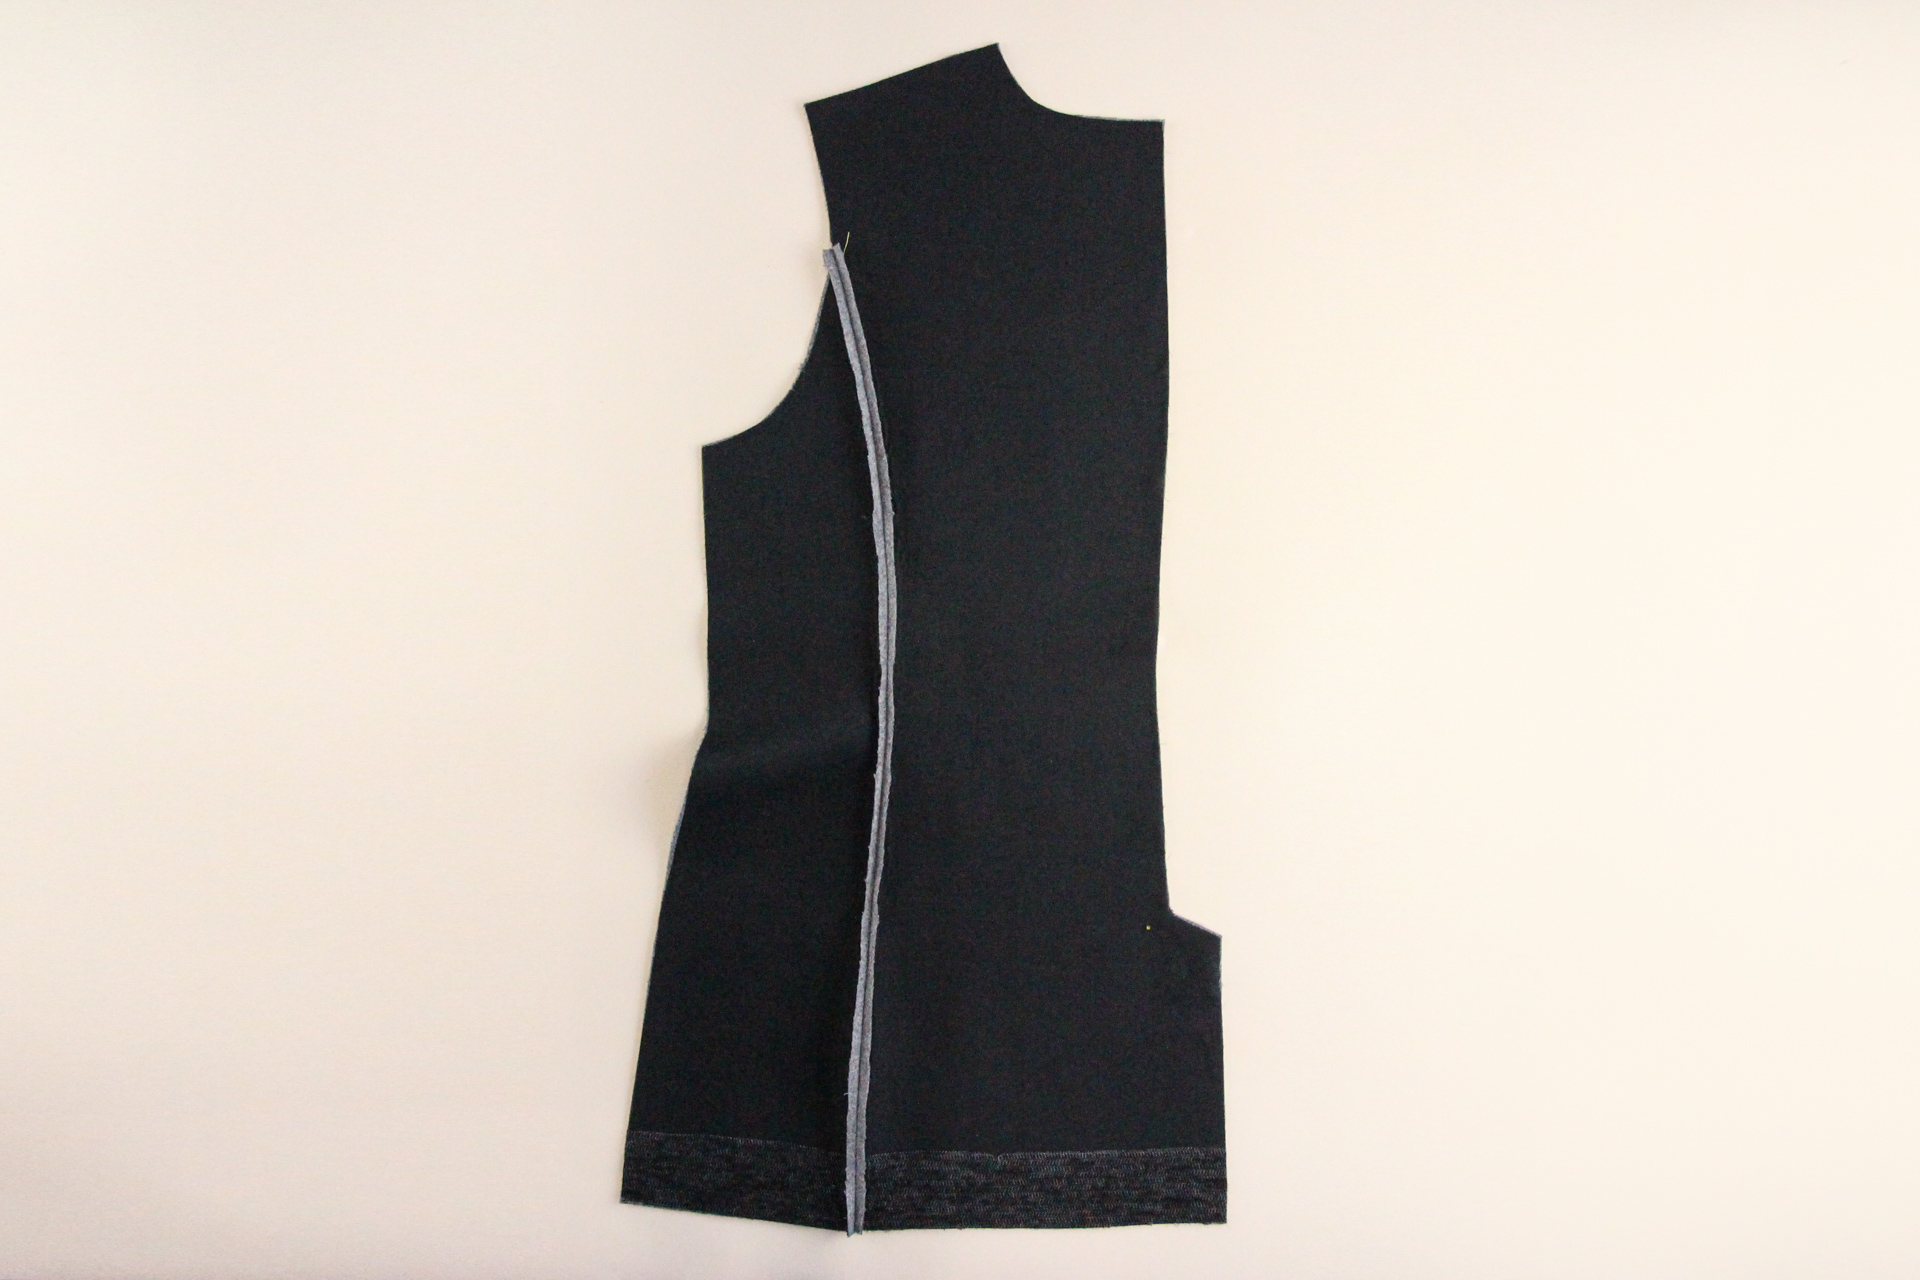
Here’s how it will look from the right side.
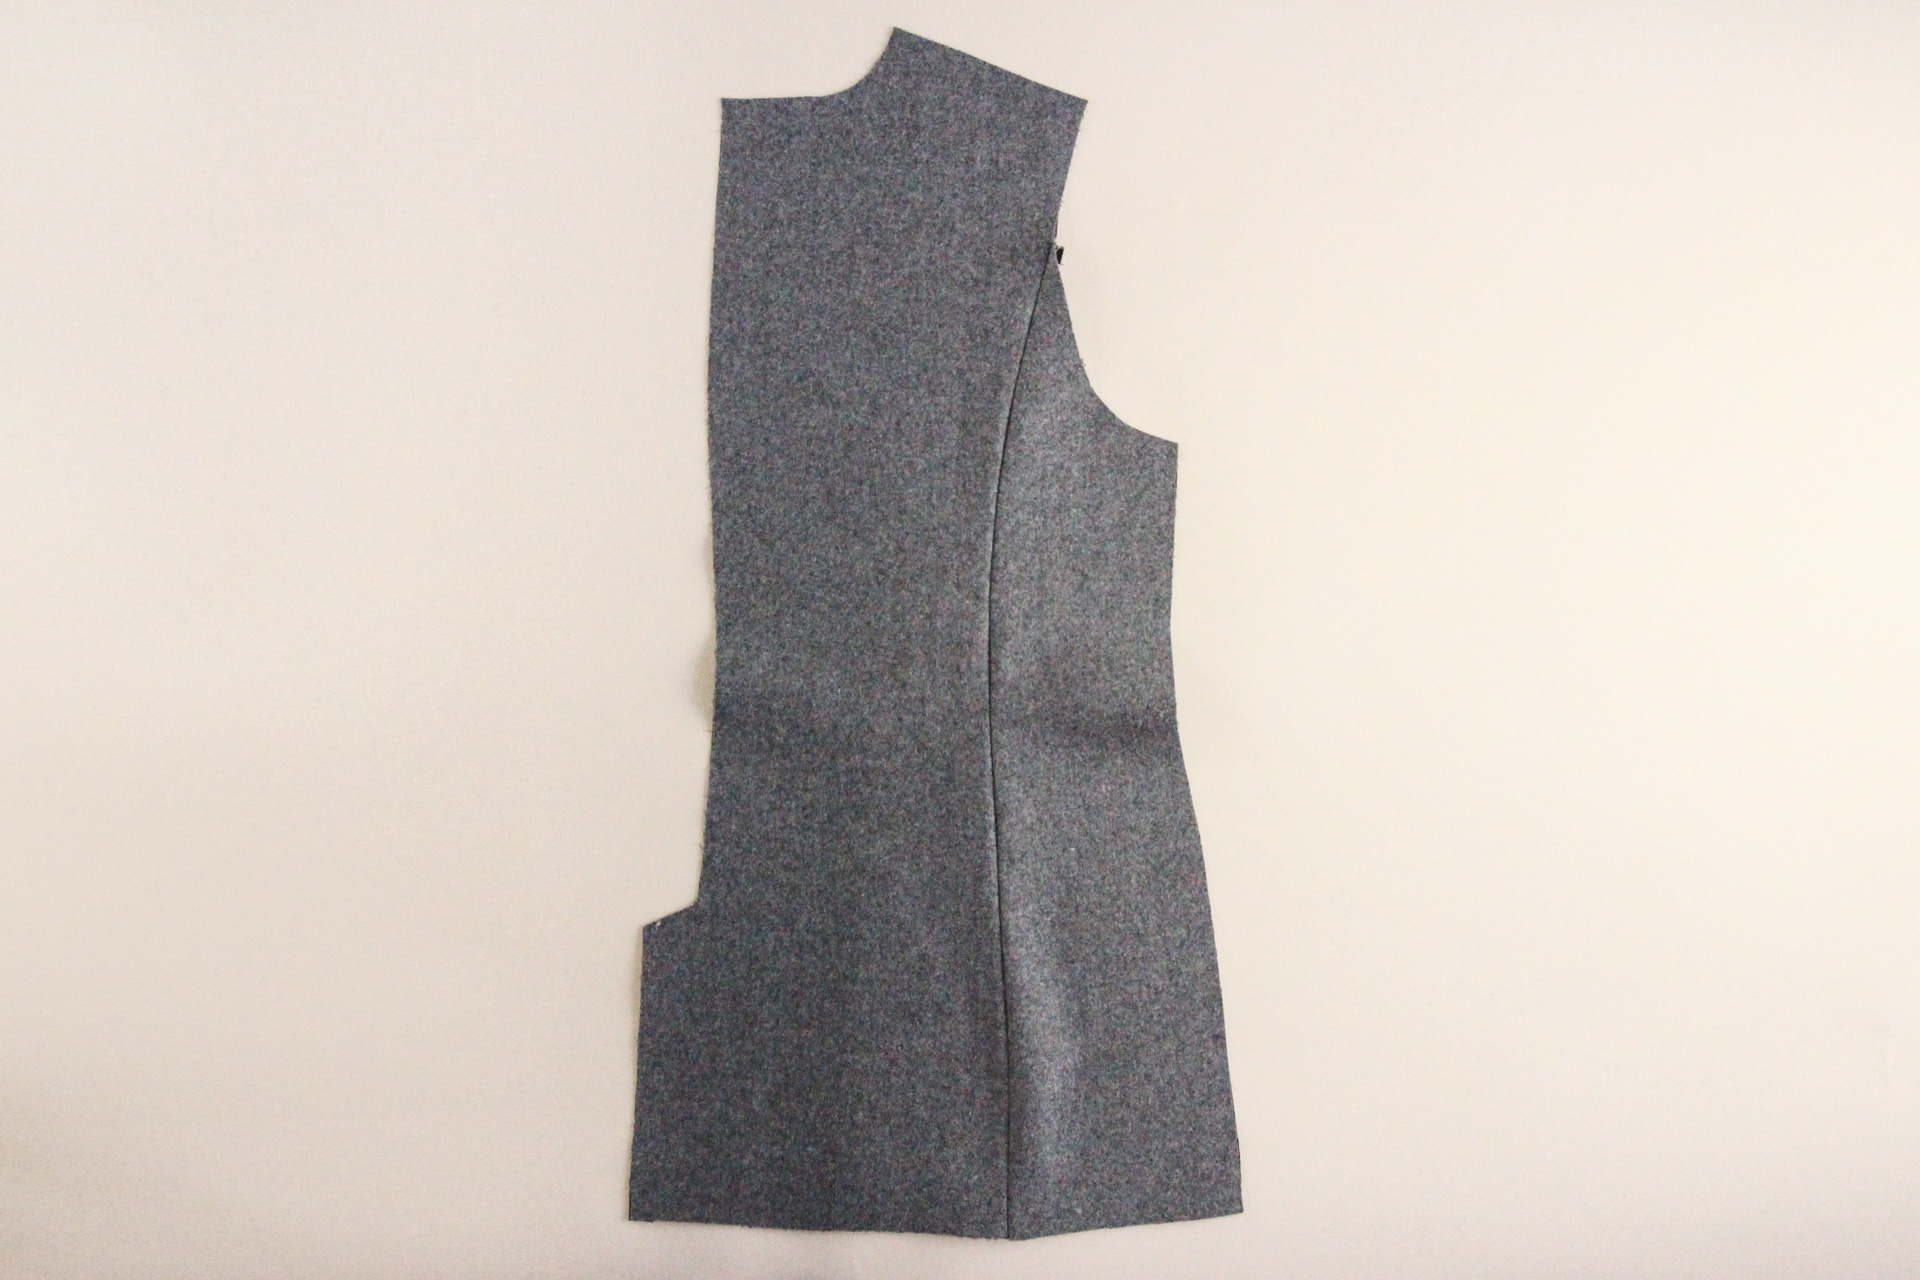
Repeat with the second set of side back and center back.
Sew Back Vent Extension: Right Side (View A)
View A features a hem vent, and that’s what we’ll be sewing next. (If you’re making View B, you can skip past the next two sections.) The two sides of the back (left and right) are handled a bit differently, so we’re going to show you each one at a time.
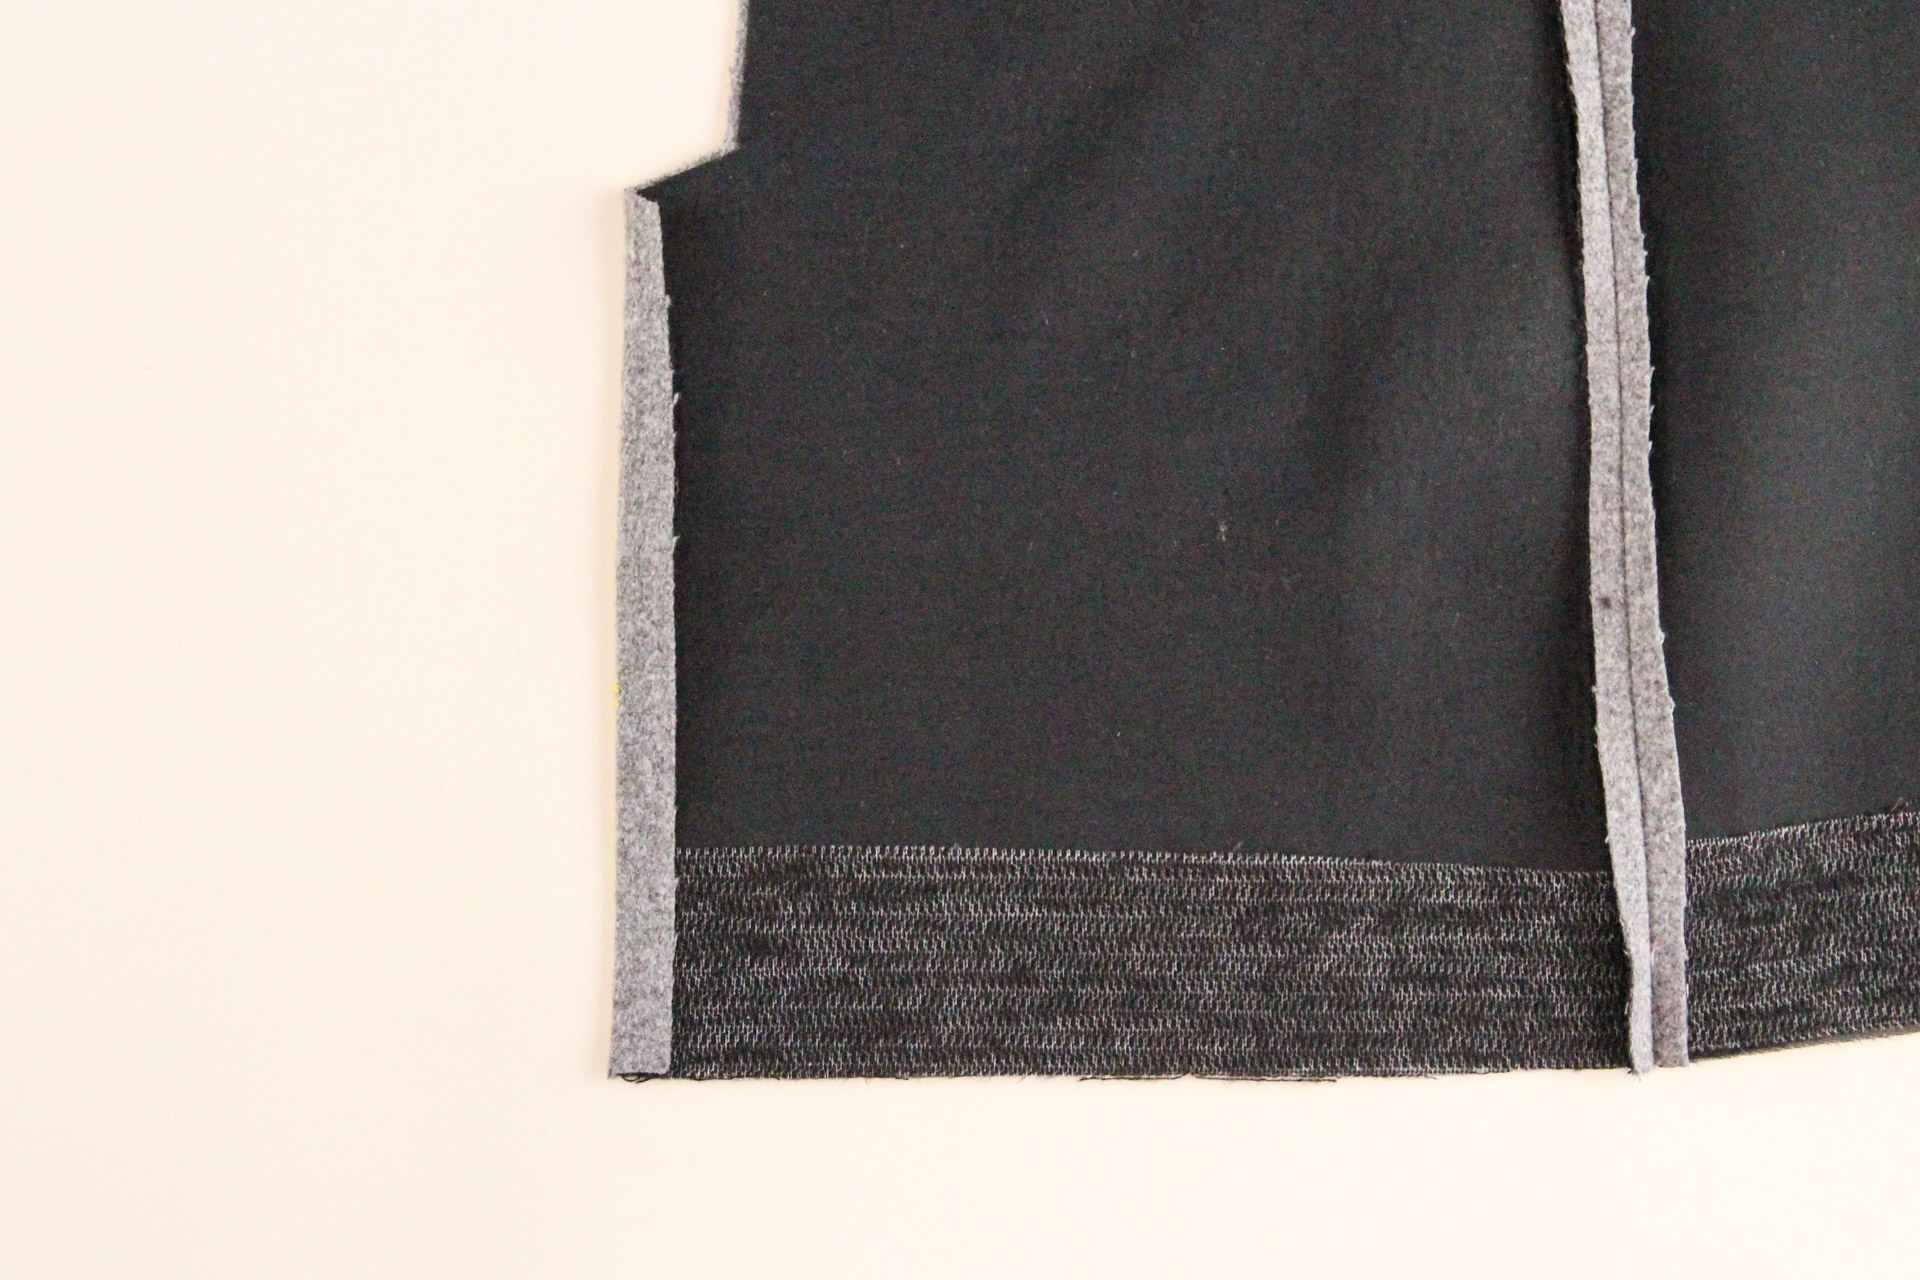
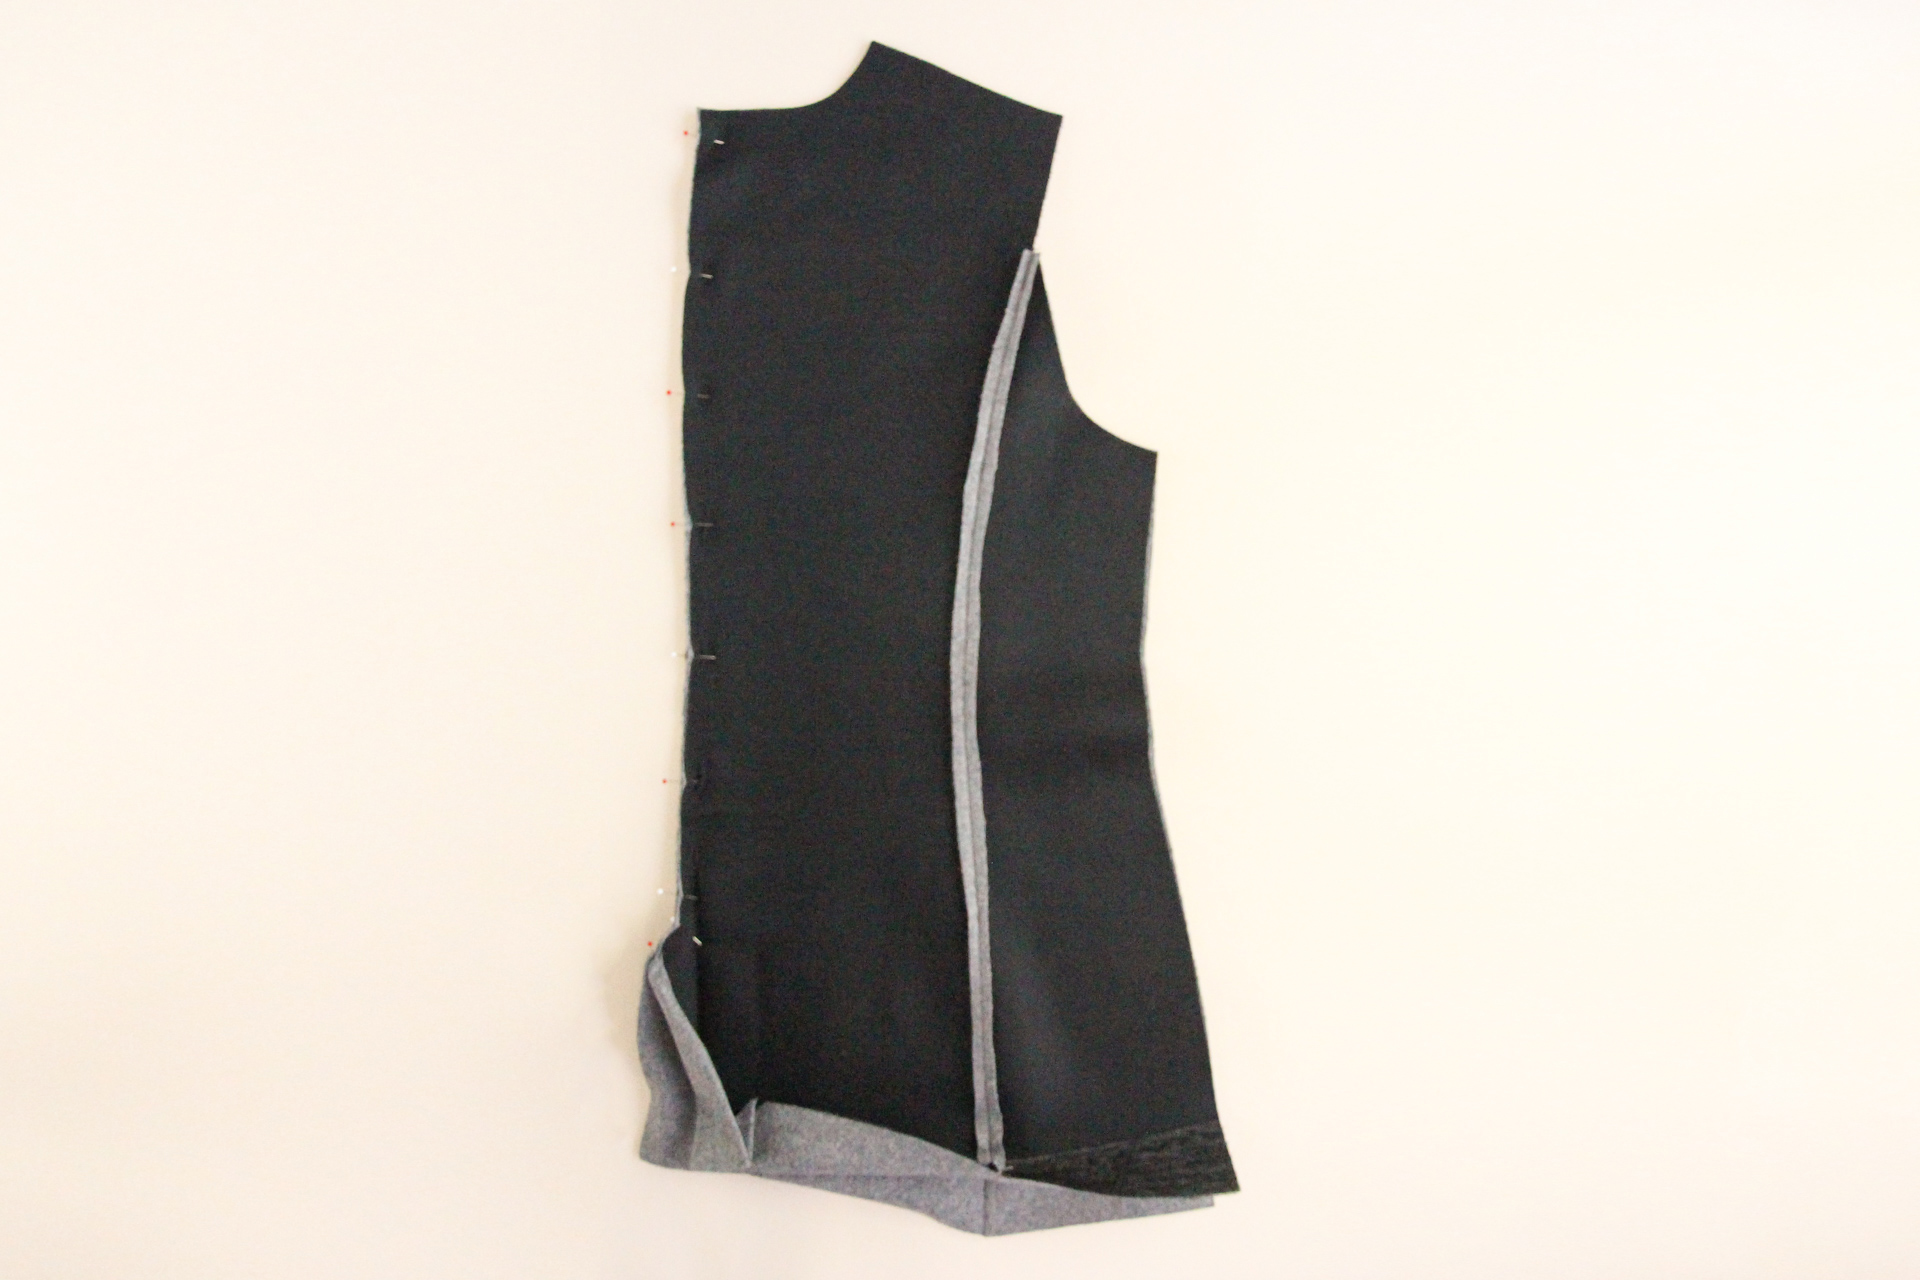
Take the right side of the blazer back—this is the right side as worn. We’re going to flip the hem up towards the right side by 1.5″ (3.8 cm). Pin that in place.
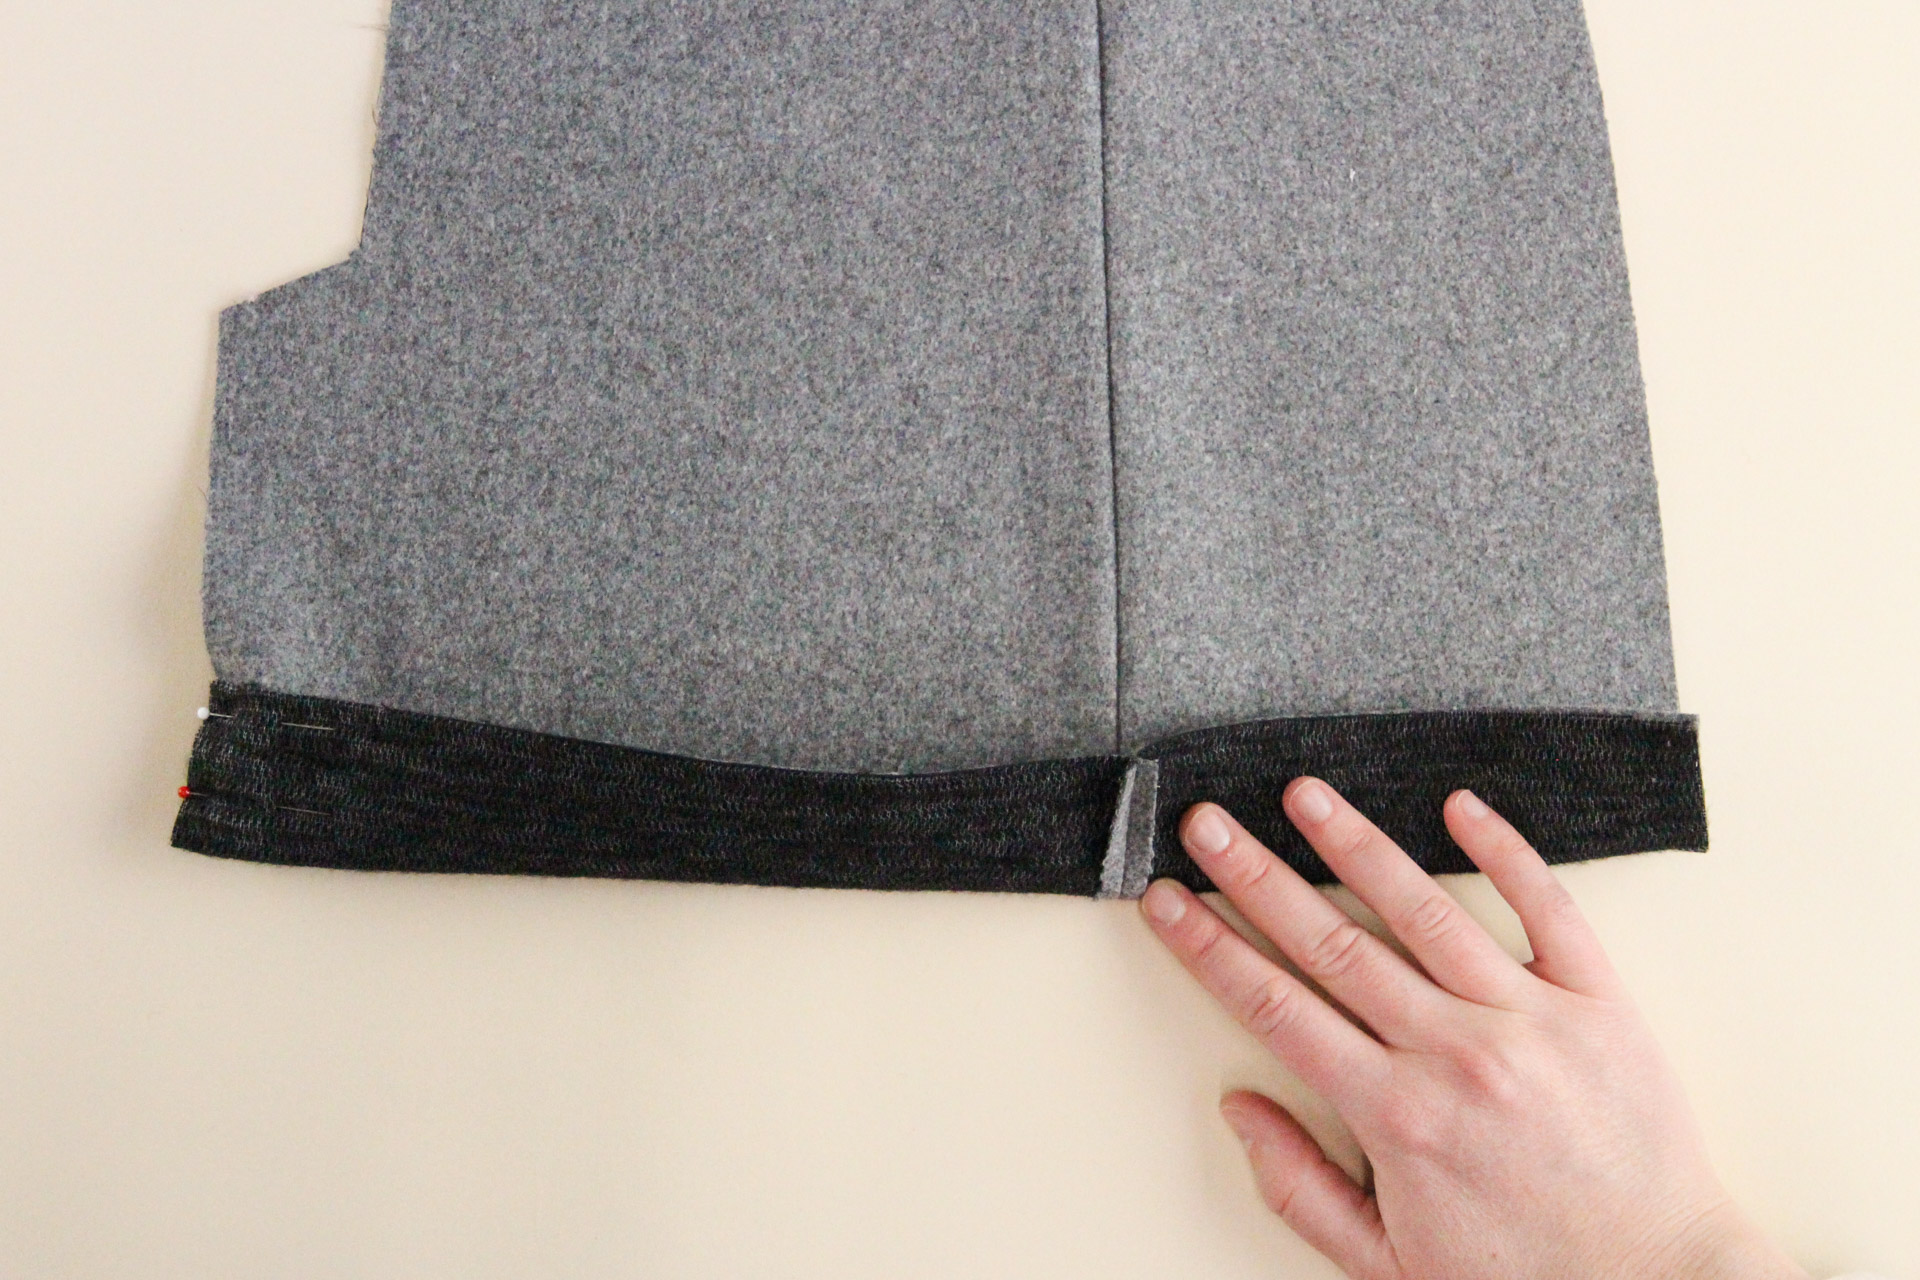
Now we’re going to sew vertically up the hem allowance, 1/2″ from the edge of the vent.
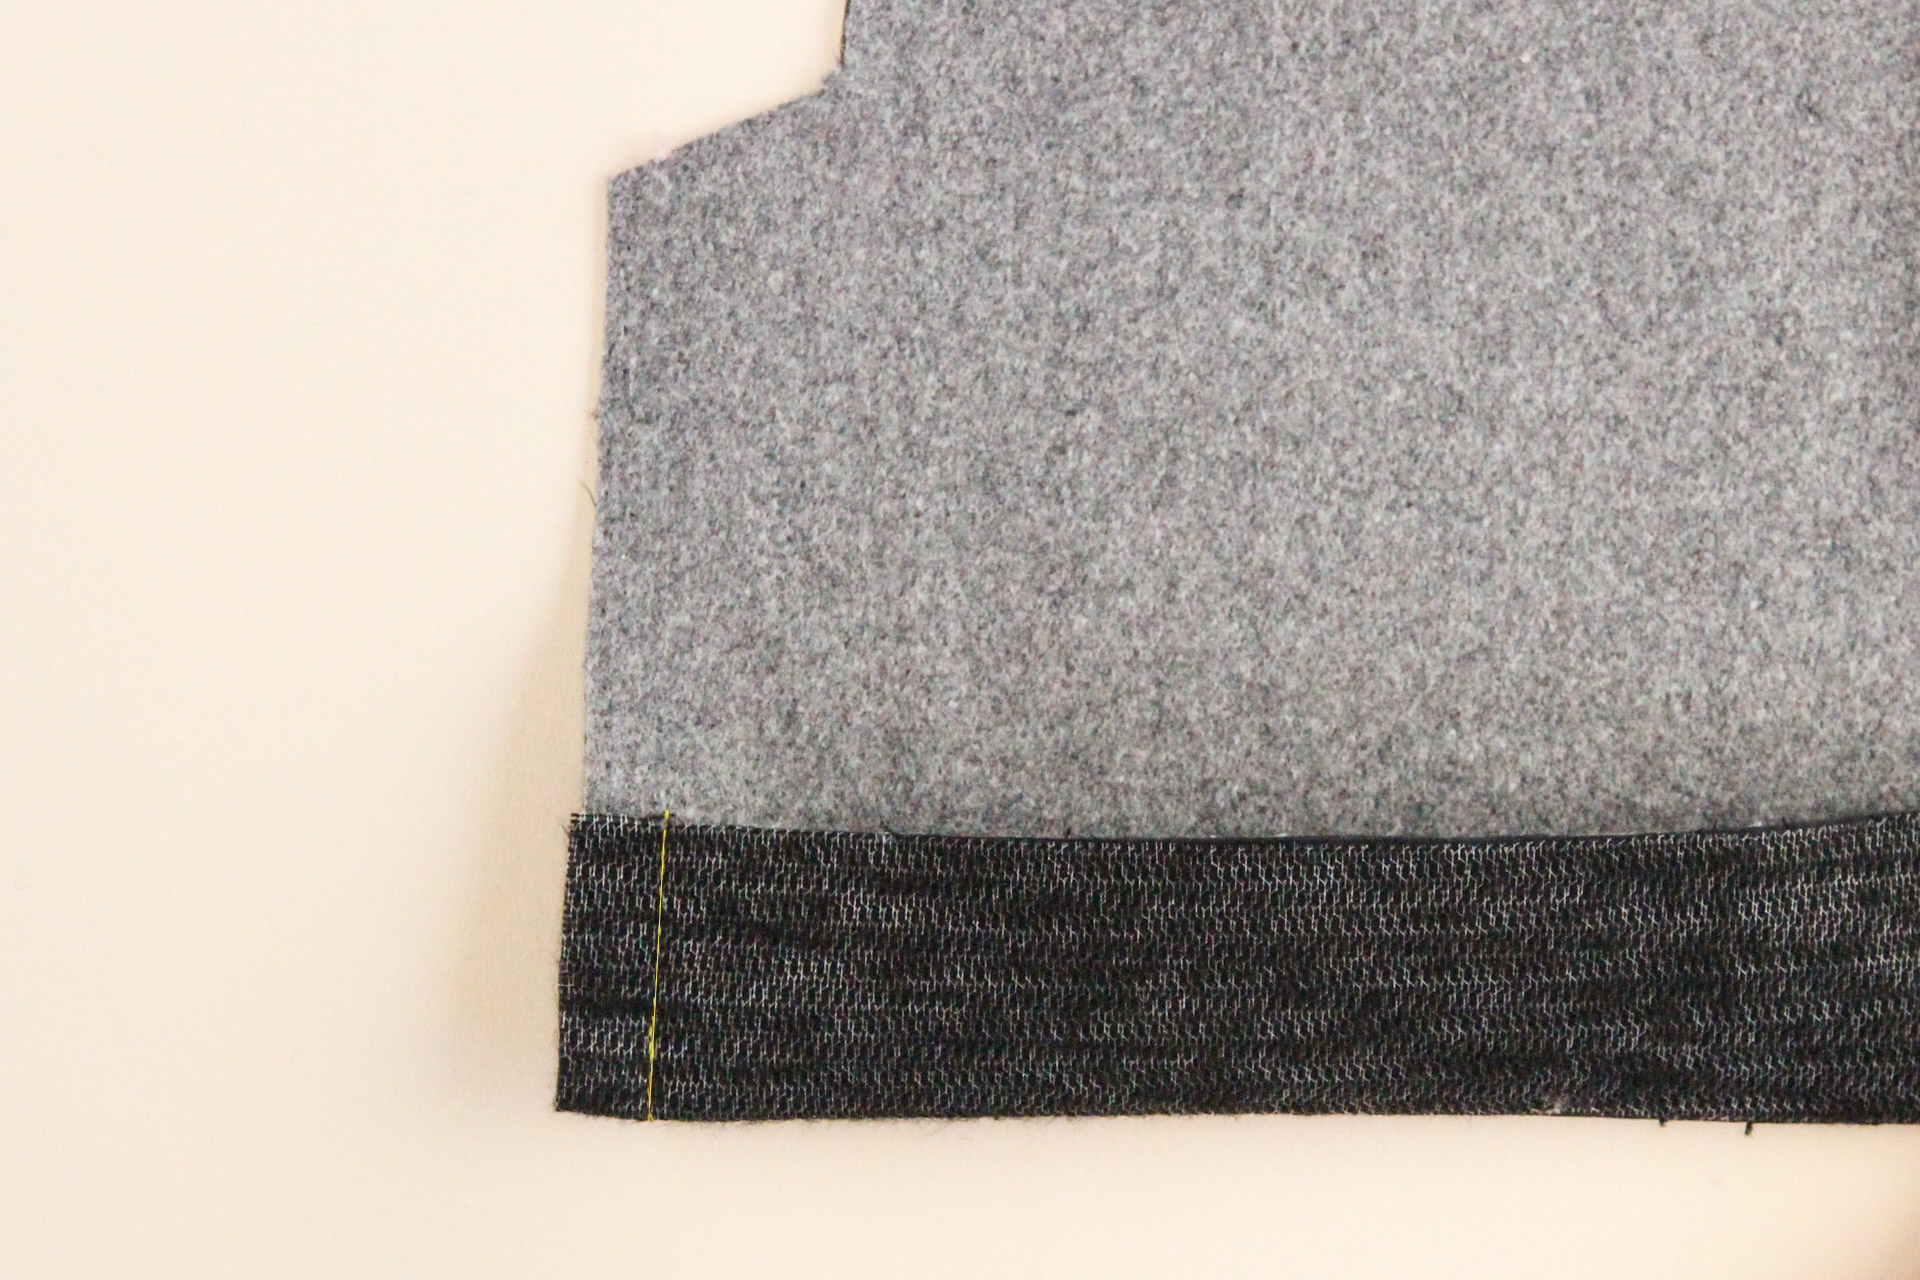
Once you have that sewn, clip the corner.
Now we can flip the hem allowance to the other side and press. We’ll also press the vertical edge of the vent to the wrong side by 1/2″ (12 mm).
The right side is now good to go, so let’s do the left side next.
Sew Back Vent Extension: Left Side (View A)
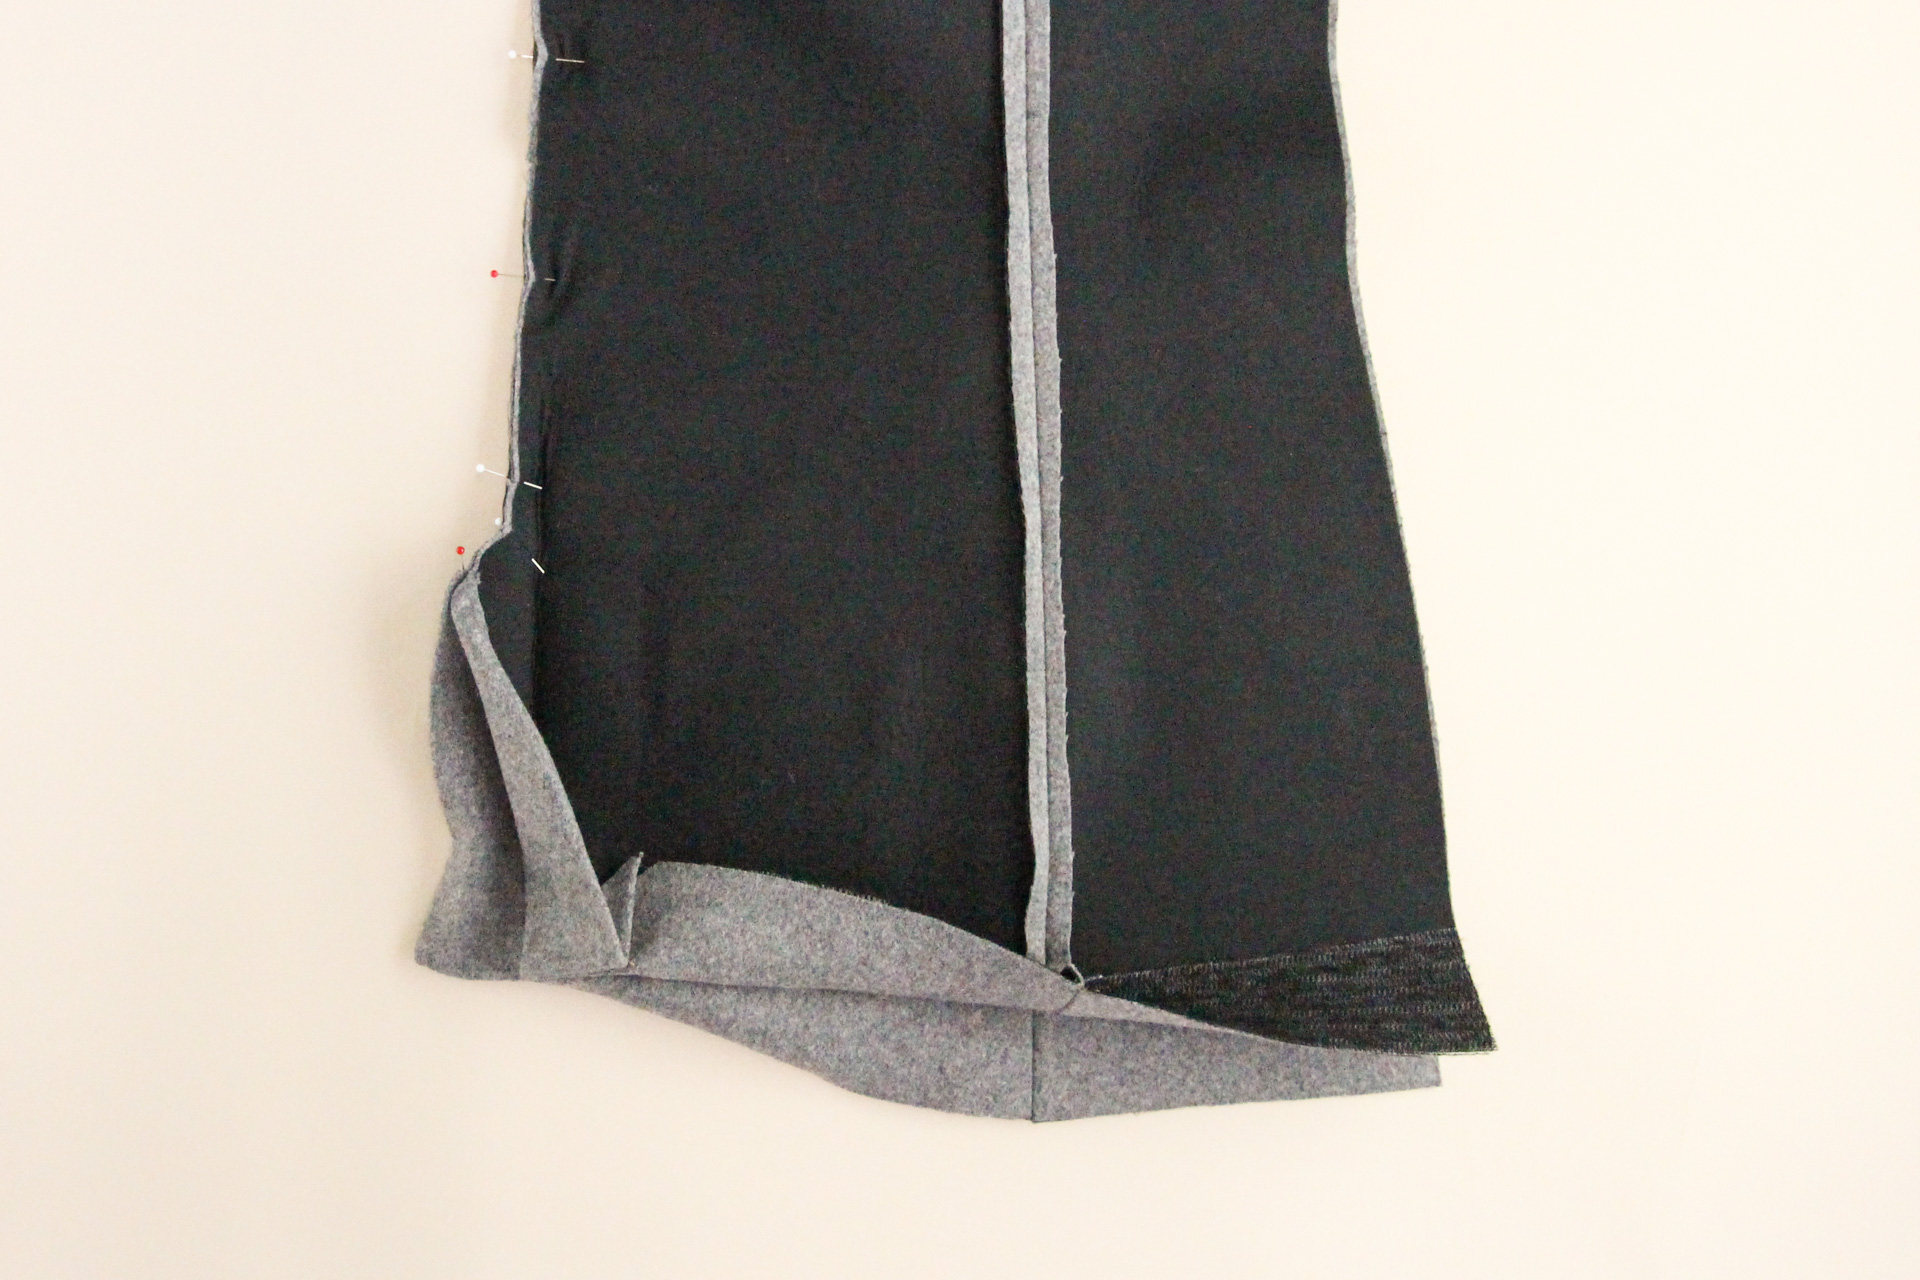
Taking the left back side (as worn), flip it over to the wrong side. Press the vertical edge of the vent to the wrong side by 1/2″
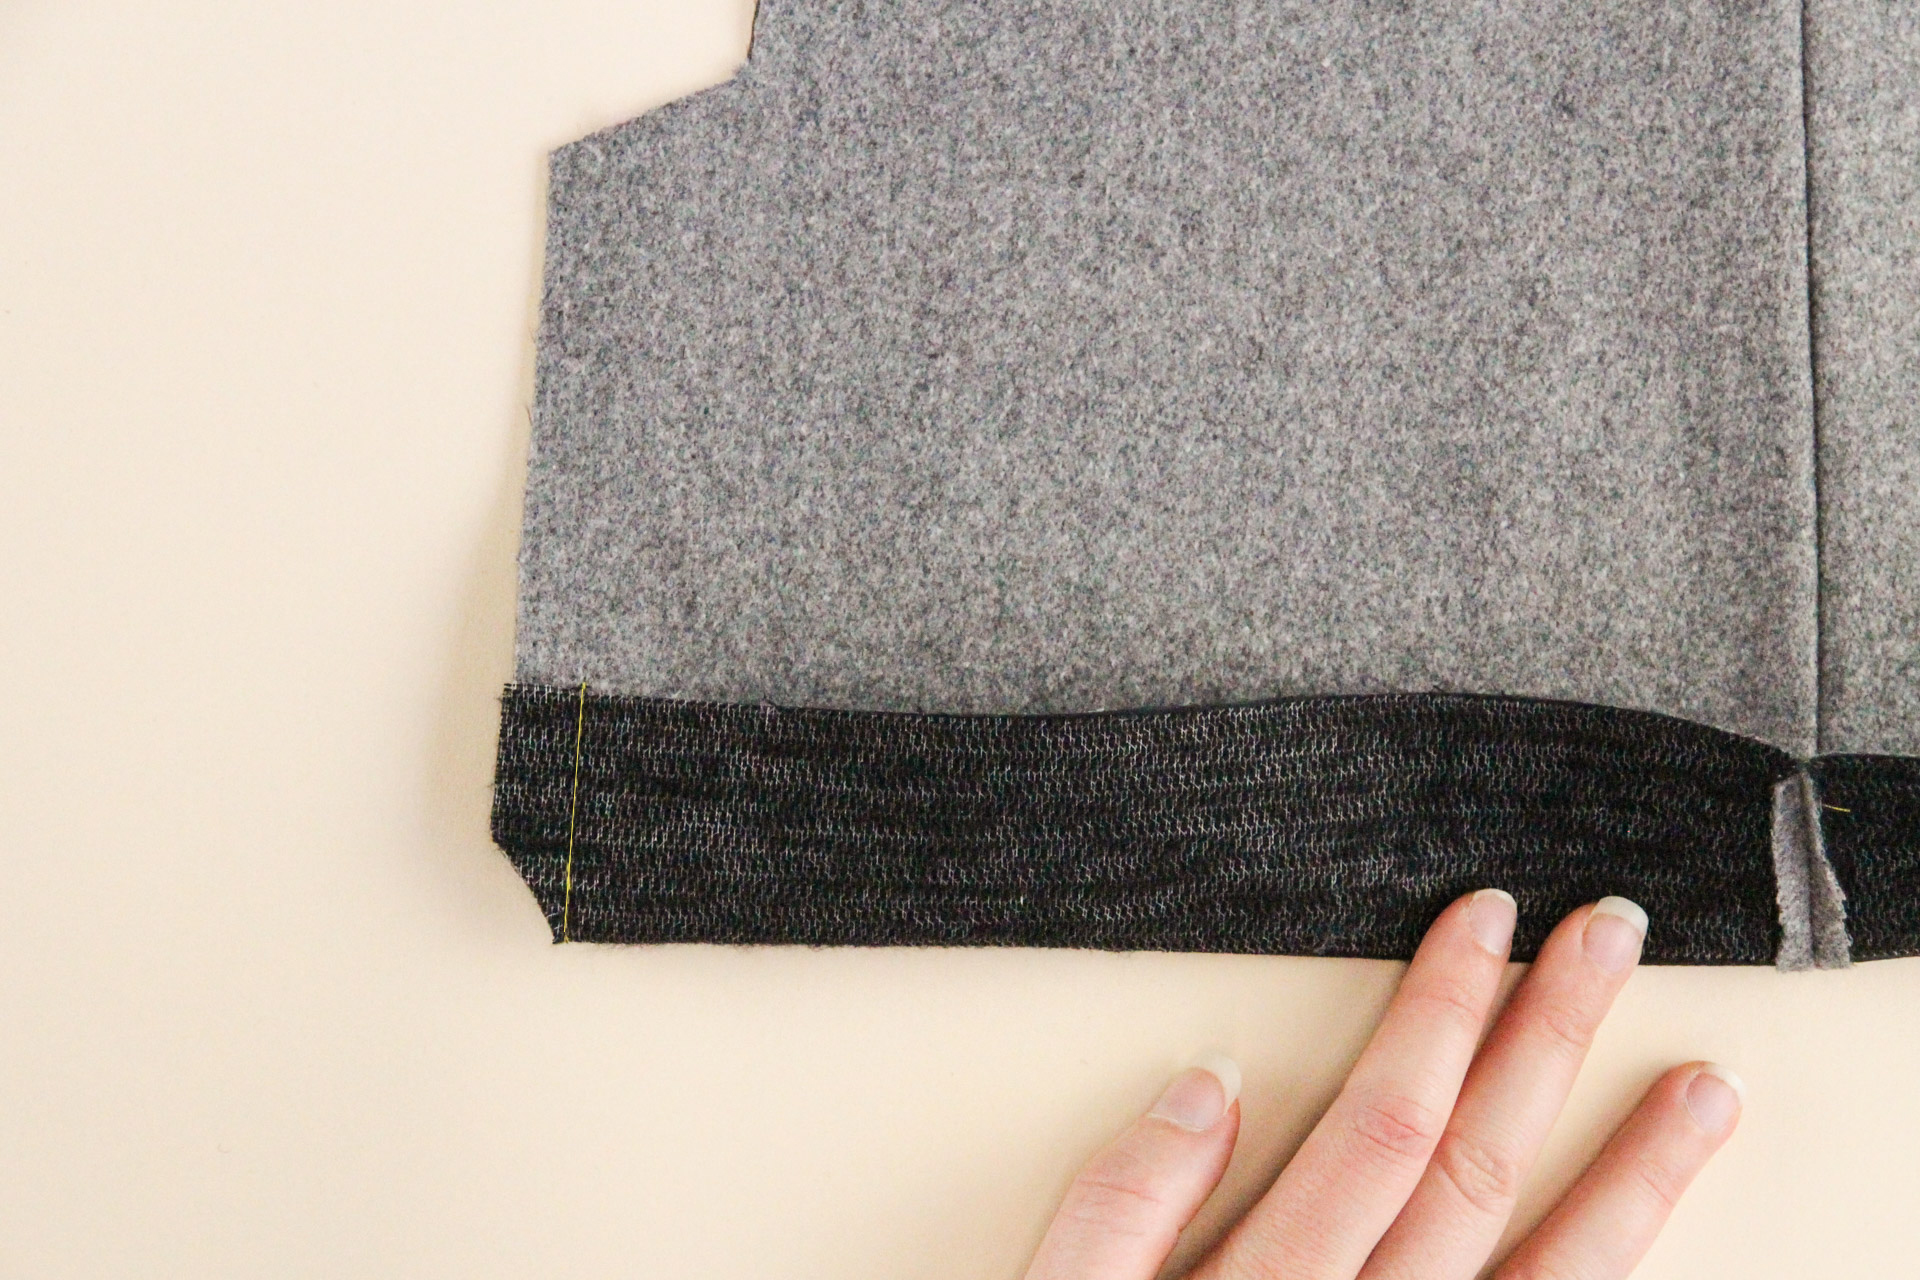
Flipping back to the right side, take the whole vent extension and fold it back, right sides together, at the marked fold line. Pin in place.
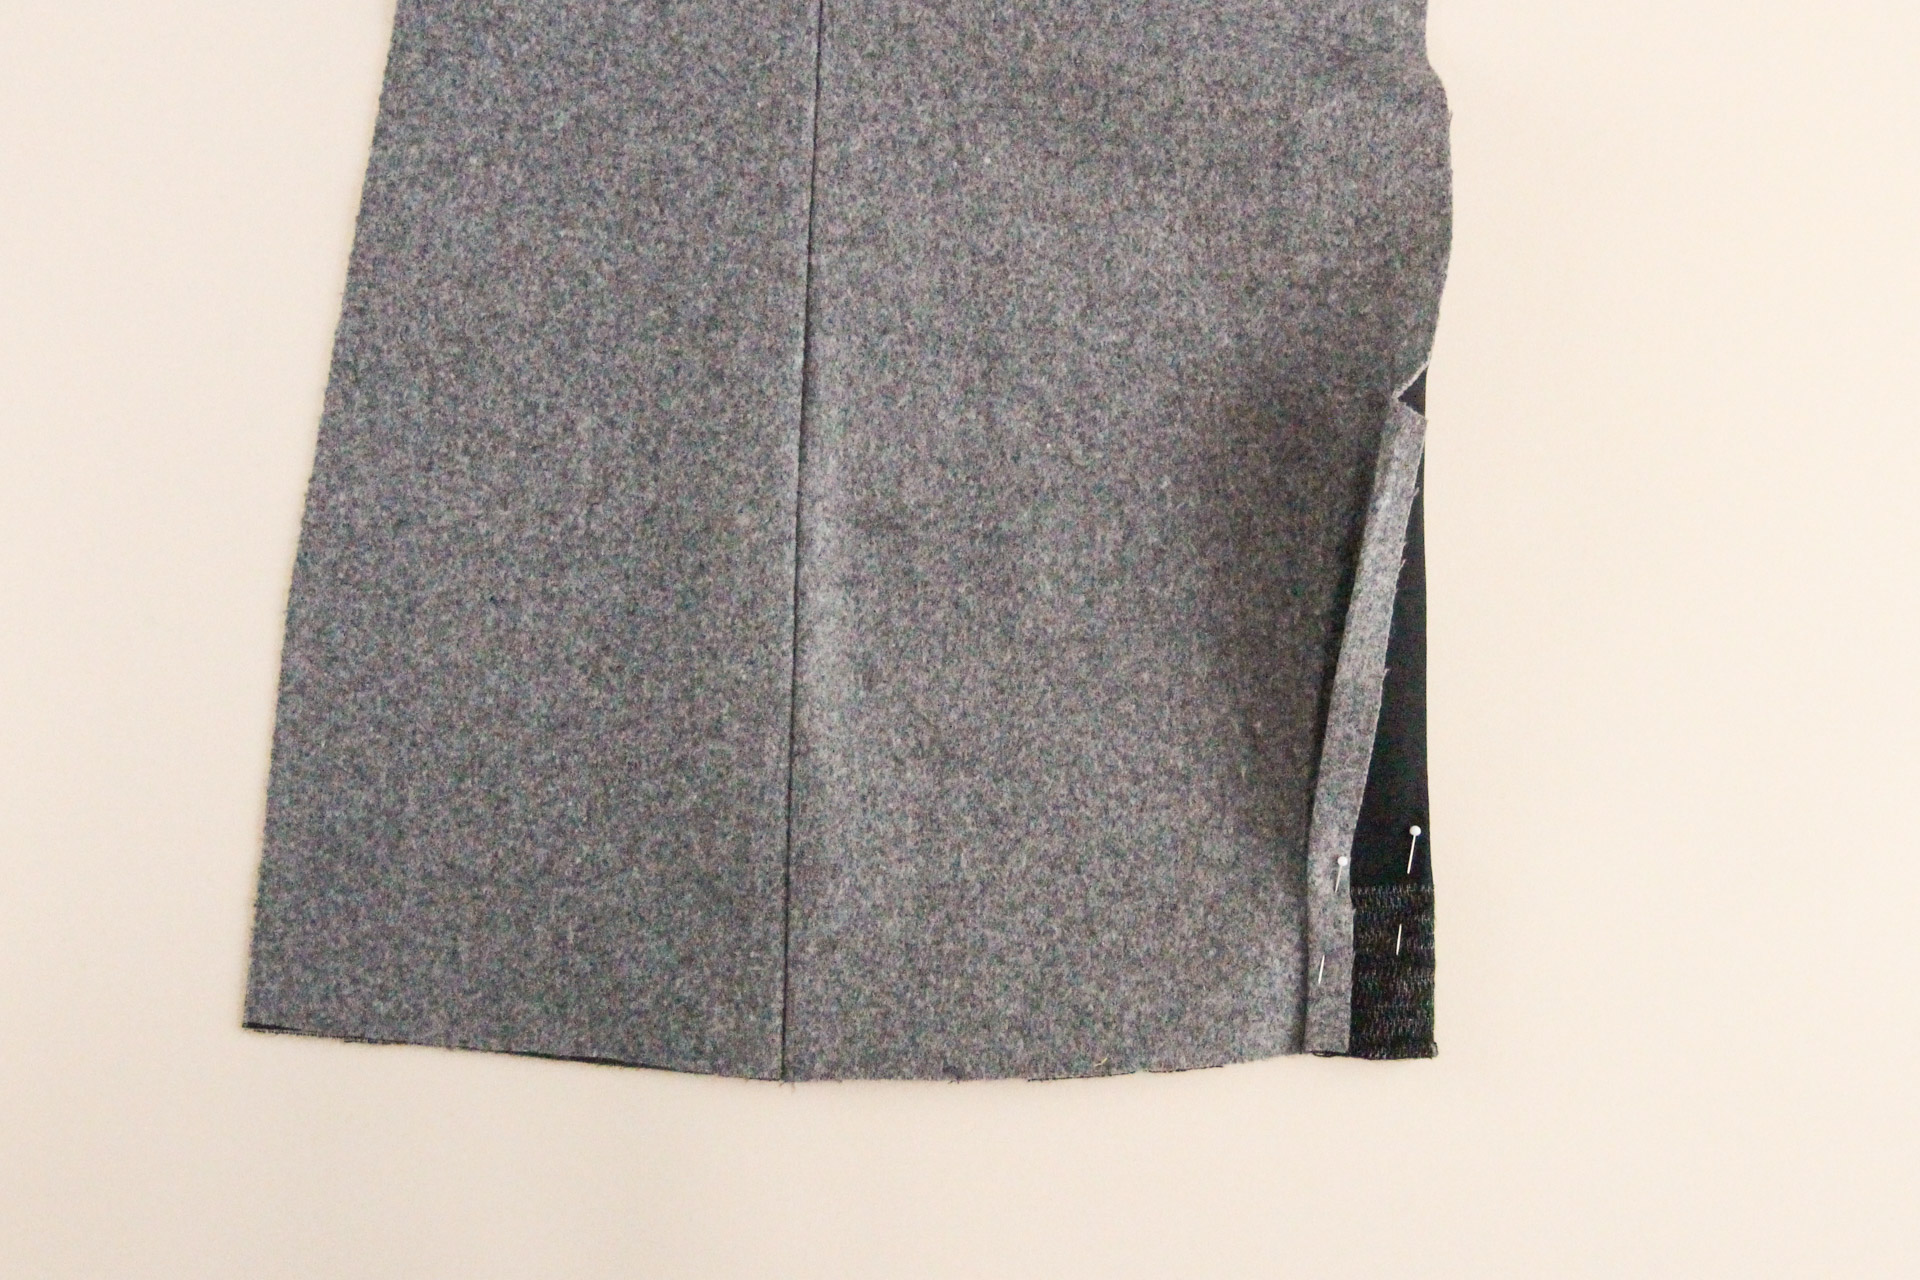
We’re going to sew a horizontal line 1.5″ (3.8 cm) from the hem edge.
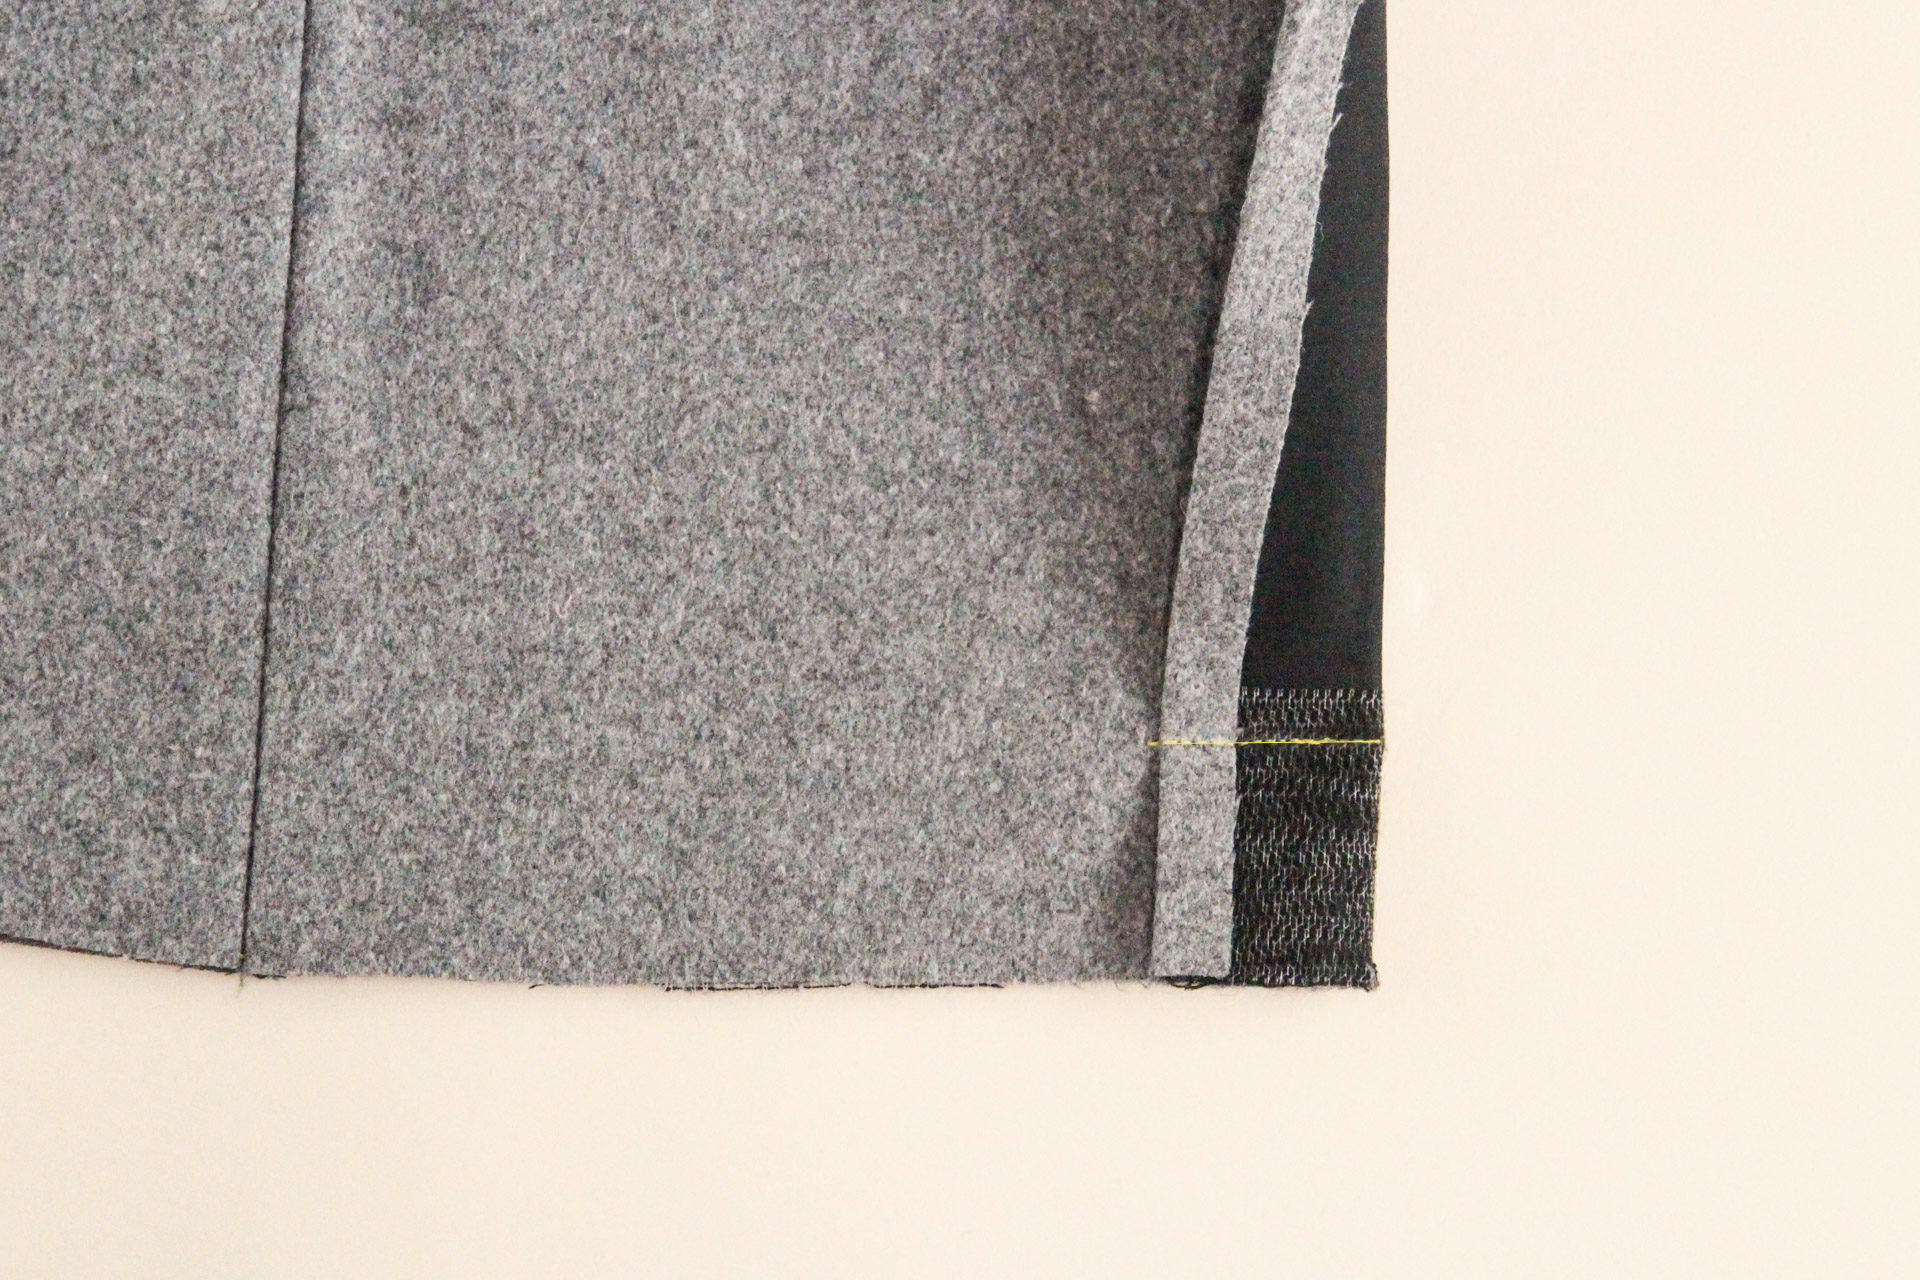
Trim the corner.
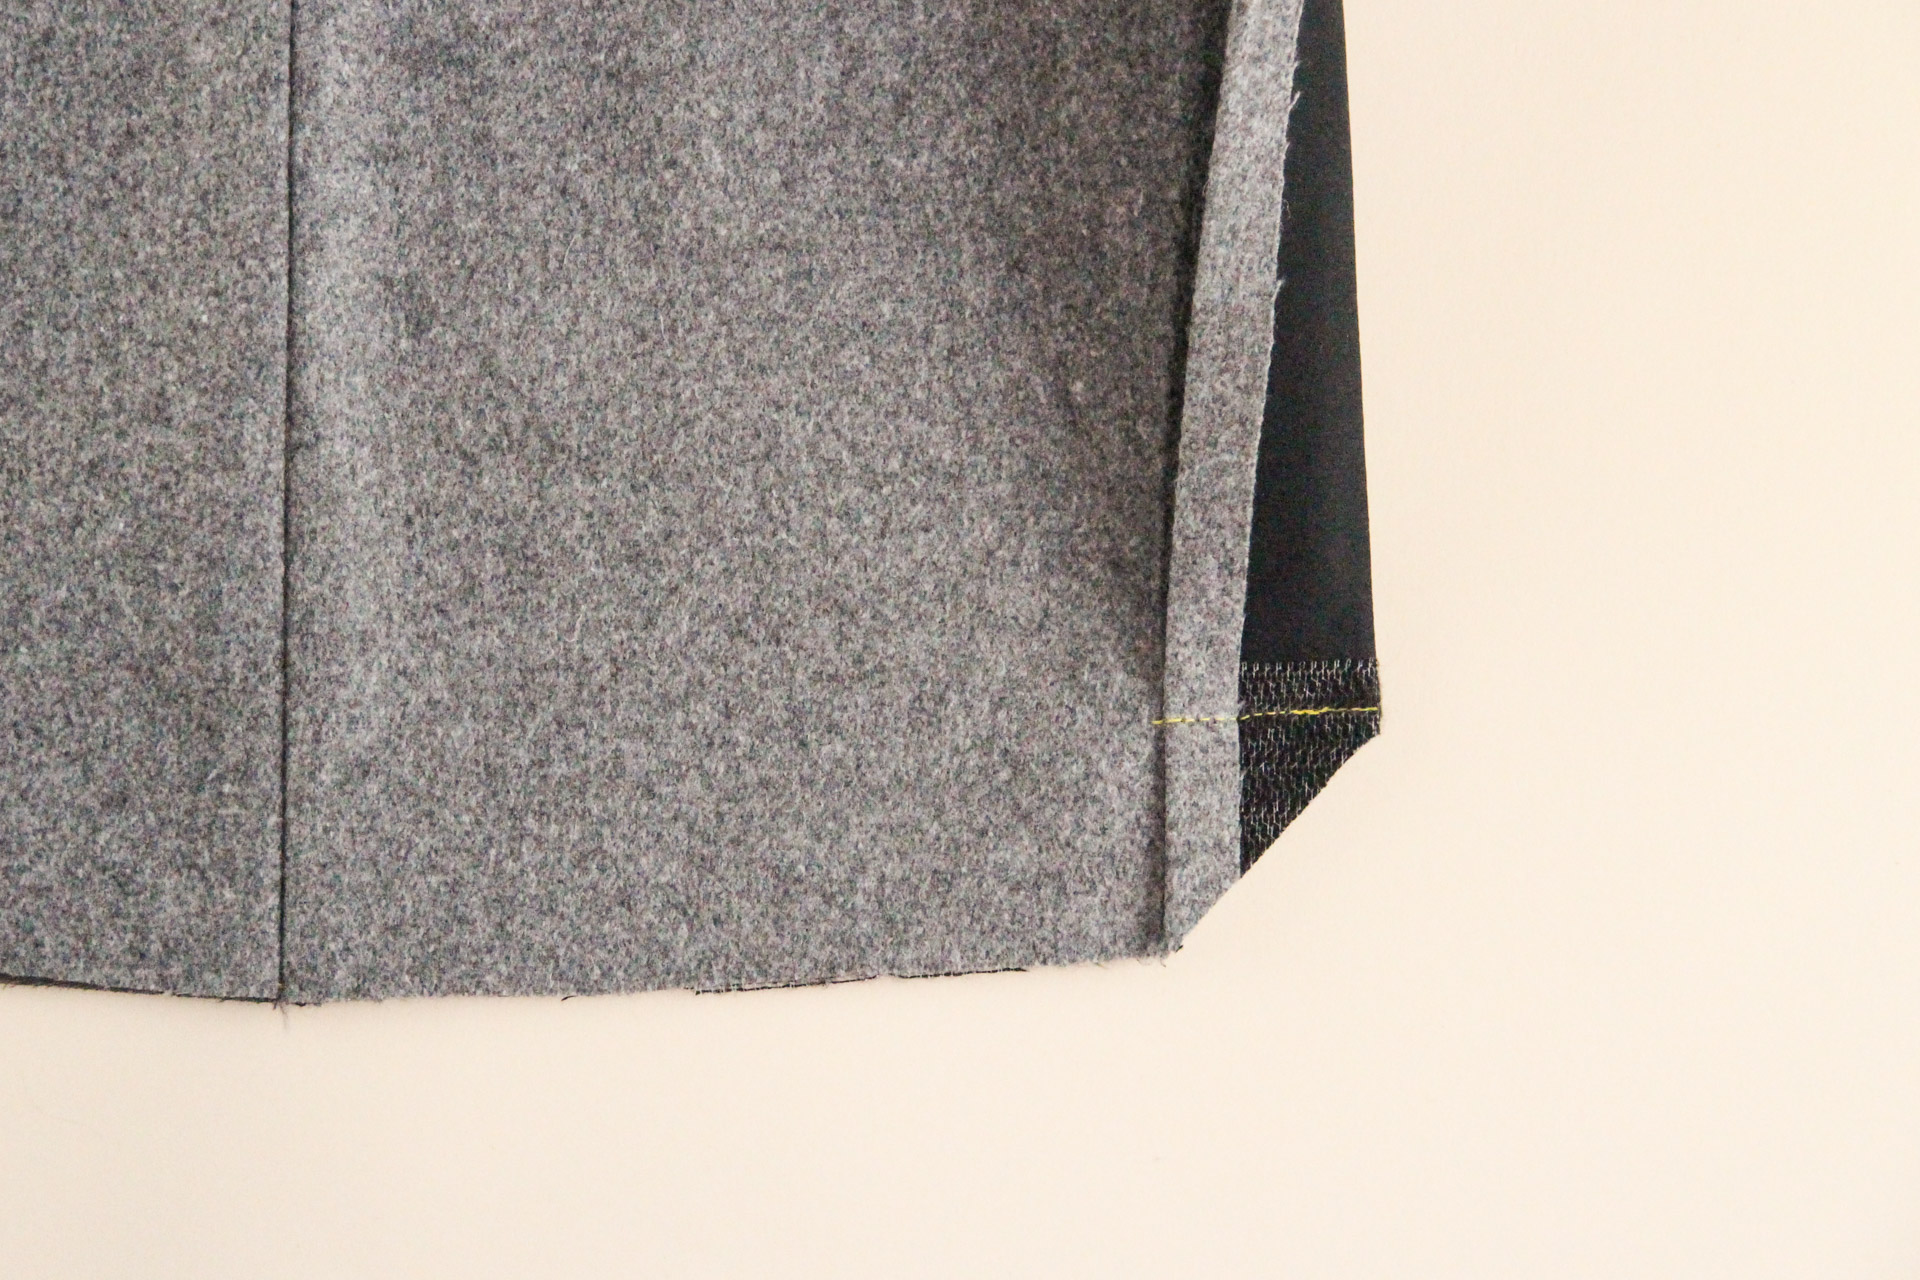
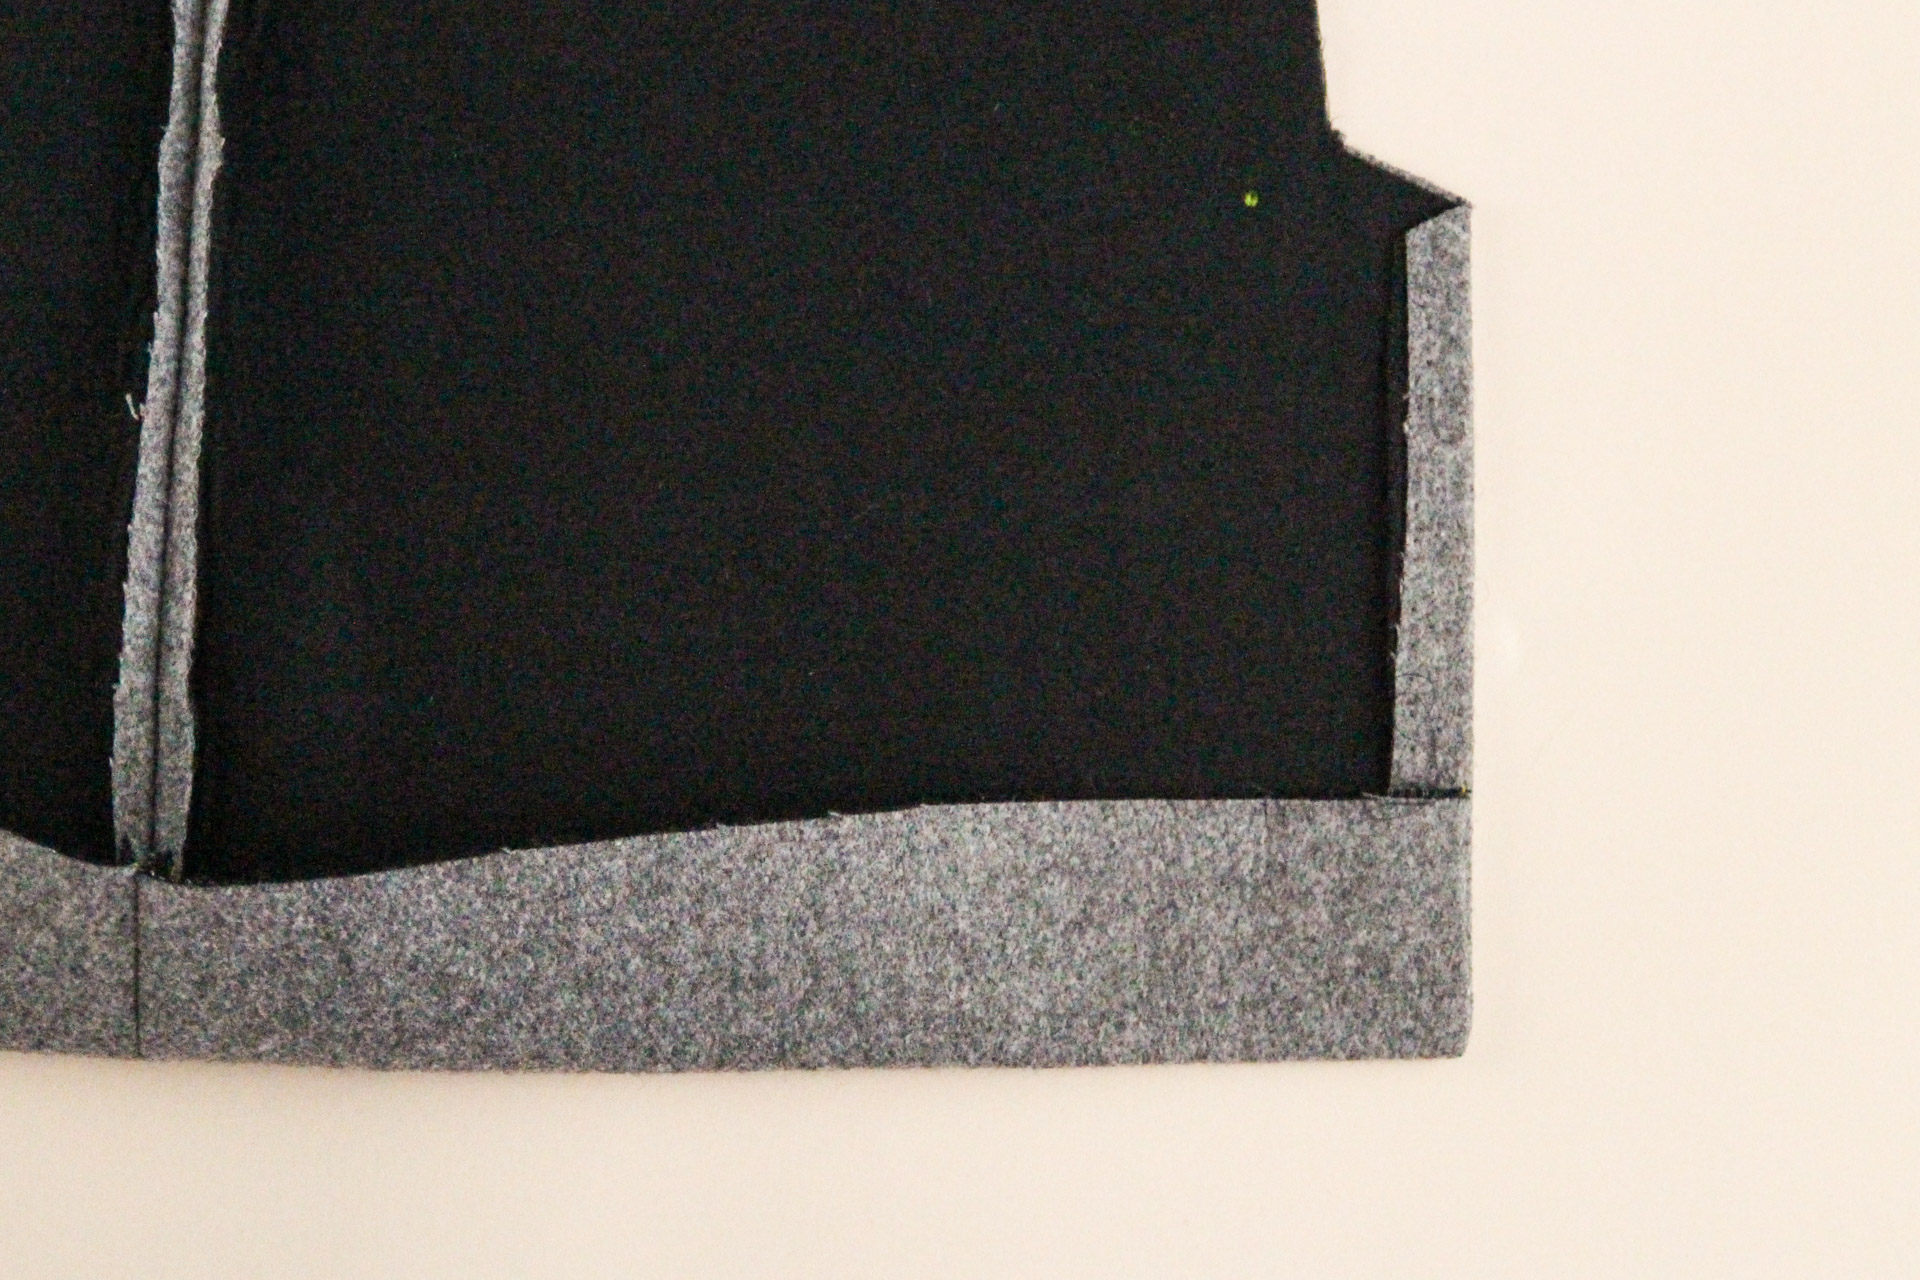
Flip the extension back to the wrong side, and press. Part of the hem will now be flipped up as well.
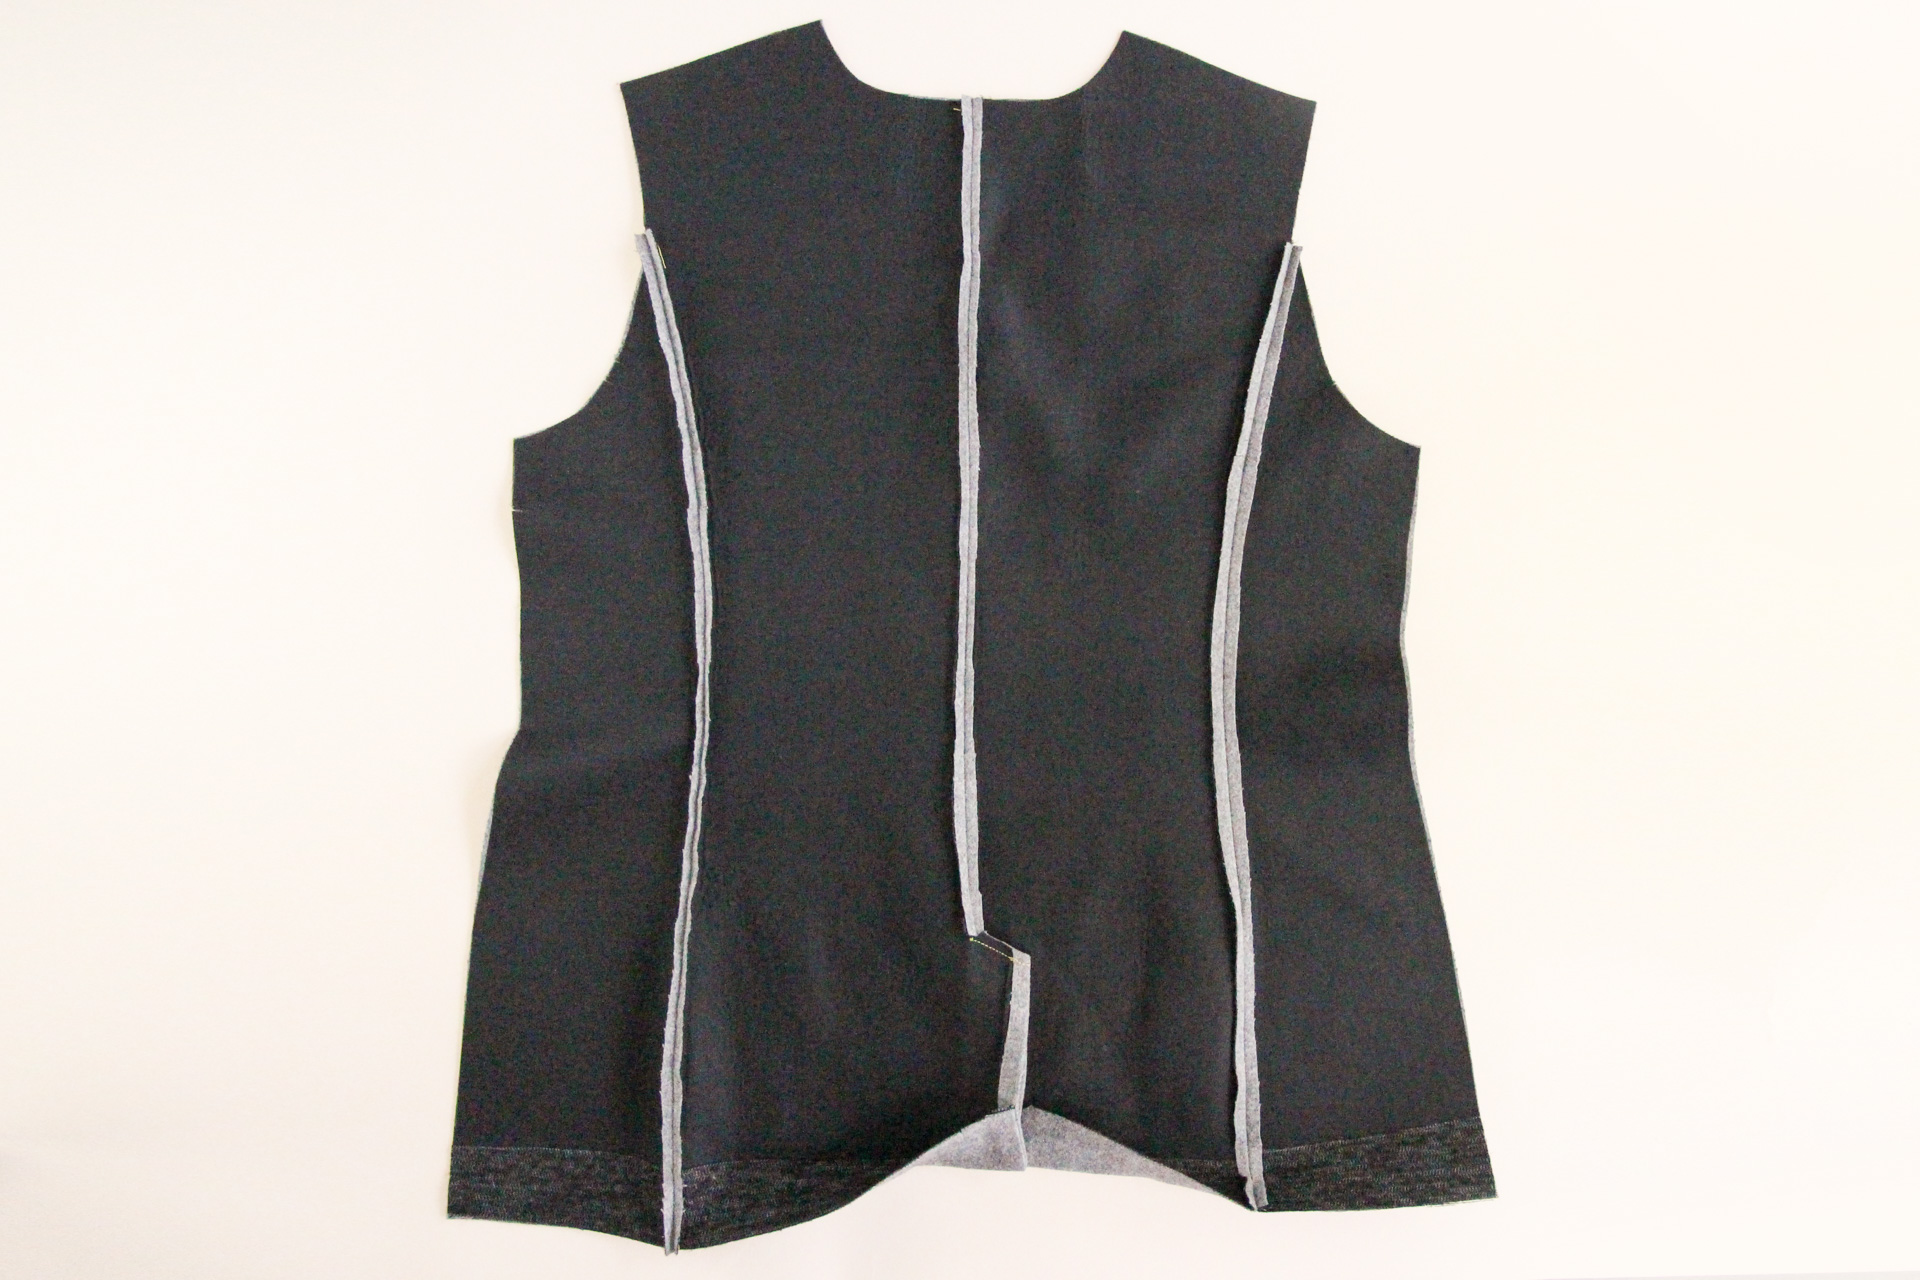
Sew Center Back Seam
On both View A and View B, we’re now going to pin our two backs together at the center seam, matching notches. If you’re making View B, pin all the way down to the hem.
If you’re making View A, you’ll need to unfold the vent back a bit to pin across the top of it.
Sew that seam using our 1/2″ (12 mm) seam allowance. If you’re making View A, pivot and sew across the top of the back vent, then clip into the seam allowance, cutting up to but not through the stitching.
For both views, trim the seam allowance in half and press open.
If you’re making View B, you’re done for the day!
If you’re making View A, we have one final step. Fold the vent extension towards the left side (as worn) and pin along the top. We’re going to topstitch across the top of the back vent, starting at the center back seam and ending at the edge of the folded back vent. It helps to first mark the line in chalk.
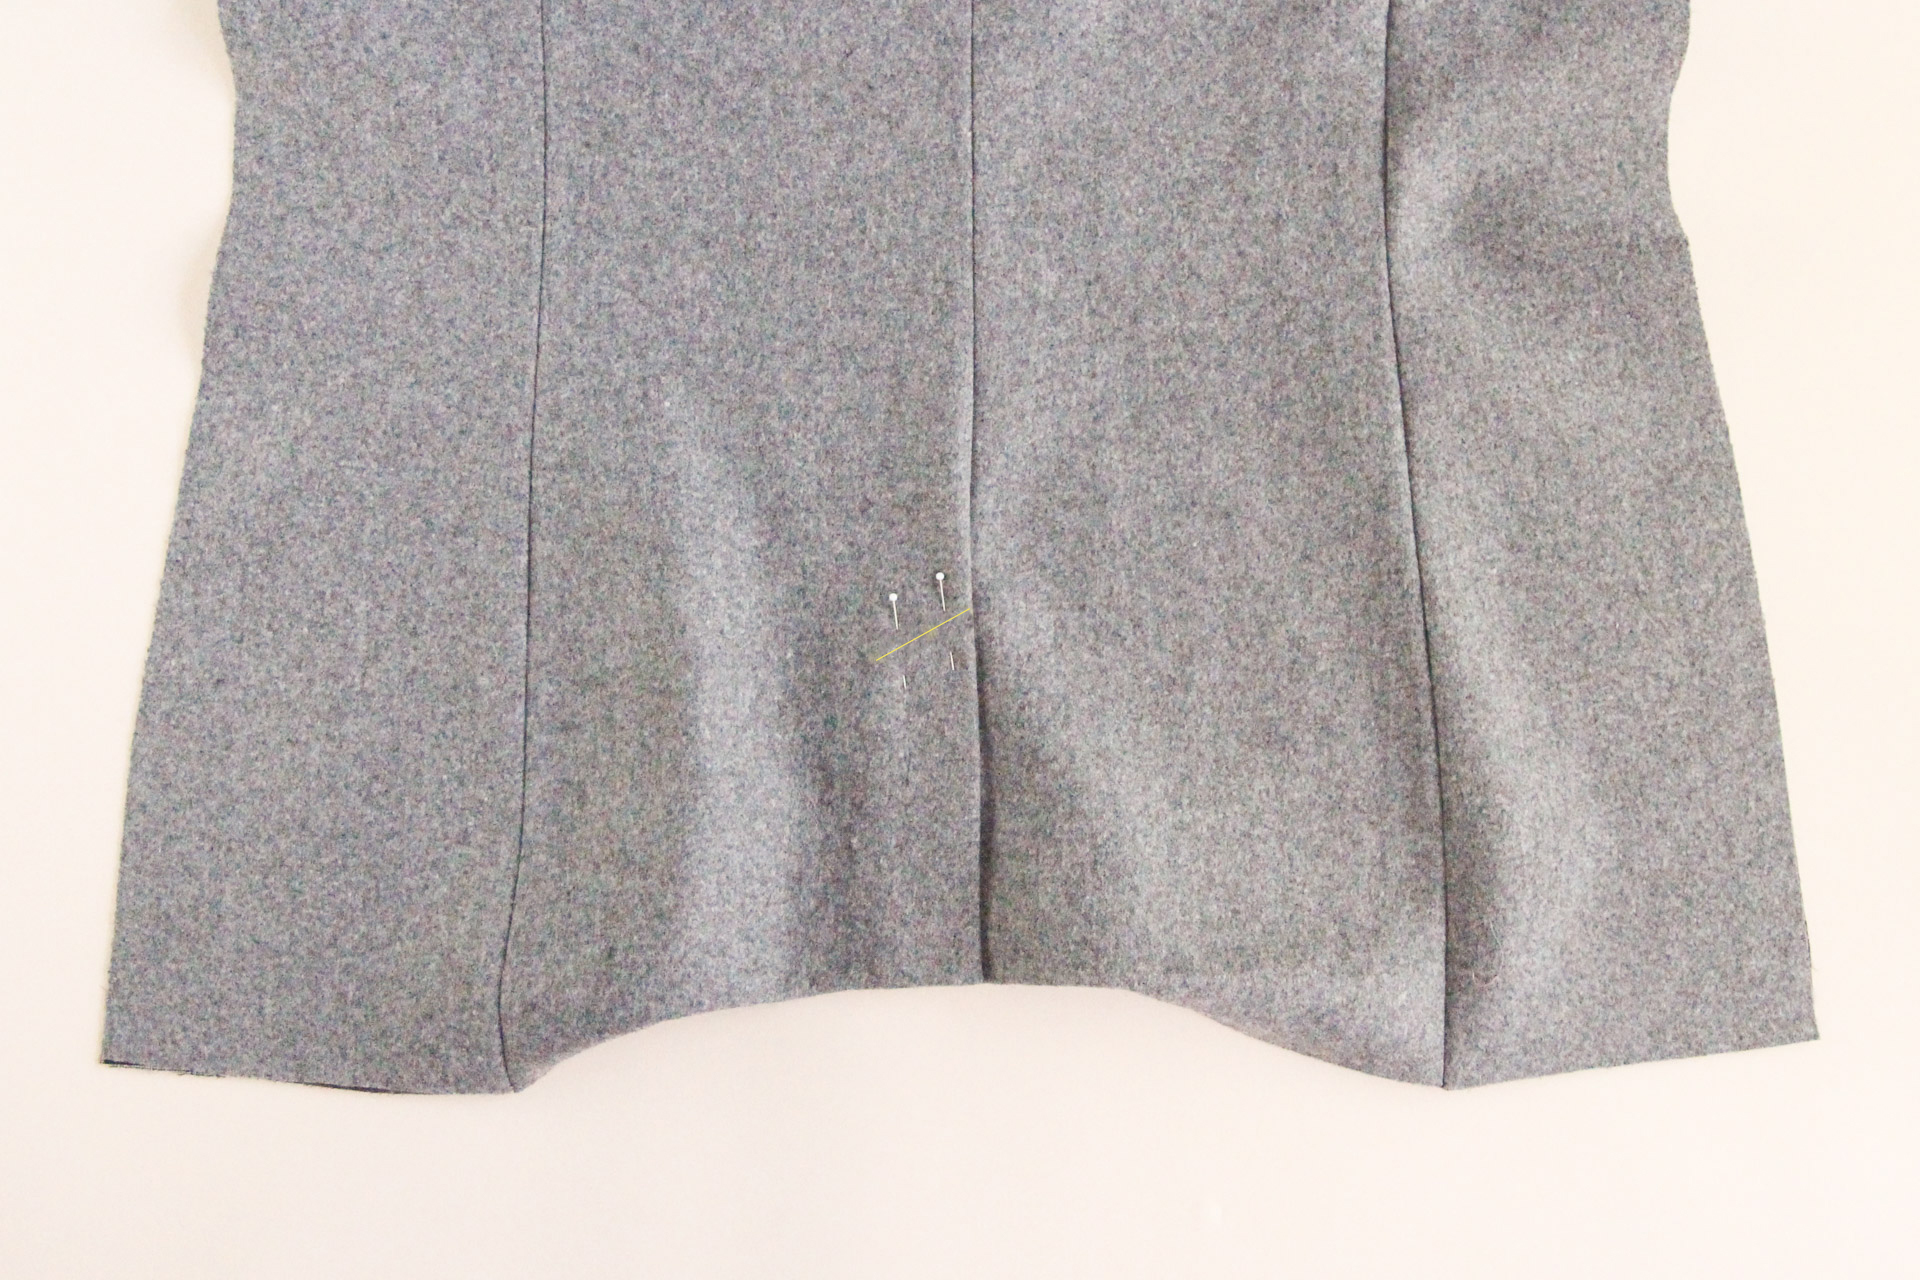
Topstitch along the line you marked.
And that’s all for today, folks! Next time, we’ll be assembling the body of the blazer and attaching our under collar. See you then!
We’d love to see your Auburn Blazer, whatever stage of the process you’re at! Tag your makes with #AuburnBlazer on social media so that we can cheer you to the finish line.