Welcome back to the Saybrook Tank sewalong! We’re found ourselves at the second and last day of the sewalong—that’s how quick and easy the Saybrook is to sew up.
If you’re just joining us, be sure to check out our tips for choosing your size and preparing your pattern and fabric. And don’t miss our favorite fabric ideas and knit tank inspiration from ready-to-wear fashion!
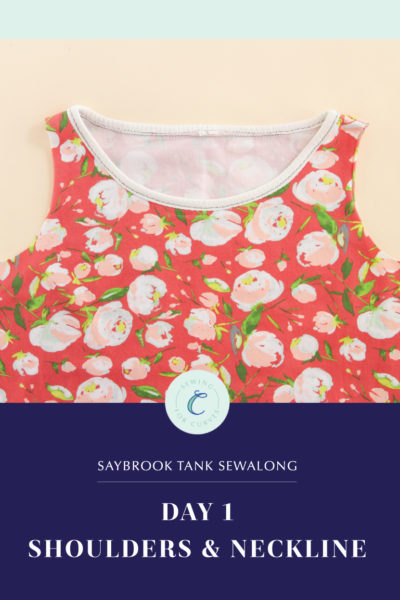
Last time, we sewed our shoulder seams and bound our neckline. Today, we’ll be sewing the side seams, binding the armholes, and hemming our tanks. And then we’re done!
As a reminder, I’m sewing View A of the Saybrook Tank, but the construction is the same for all three views. I’m using contrast thread to make it easier for you to see what I’m doing, but you should use a coordinating thread. And I’m showing you how to sew the Saybrook on a sewing machine in case you don’t have a serger, but if you want, you can sew yours directly on your serger.
Here’s where we left off last time, with the shoulders sewn and the neckline bound:
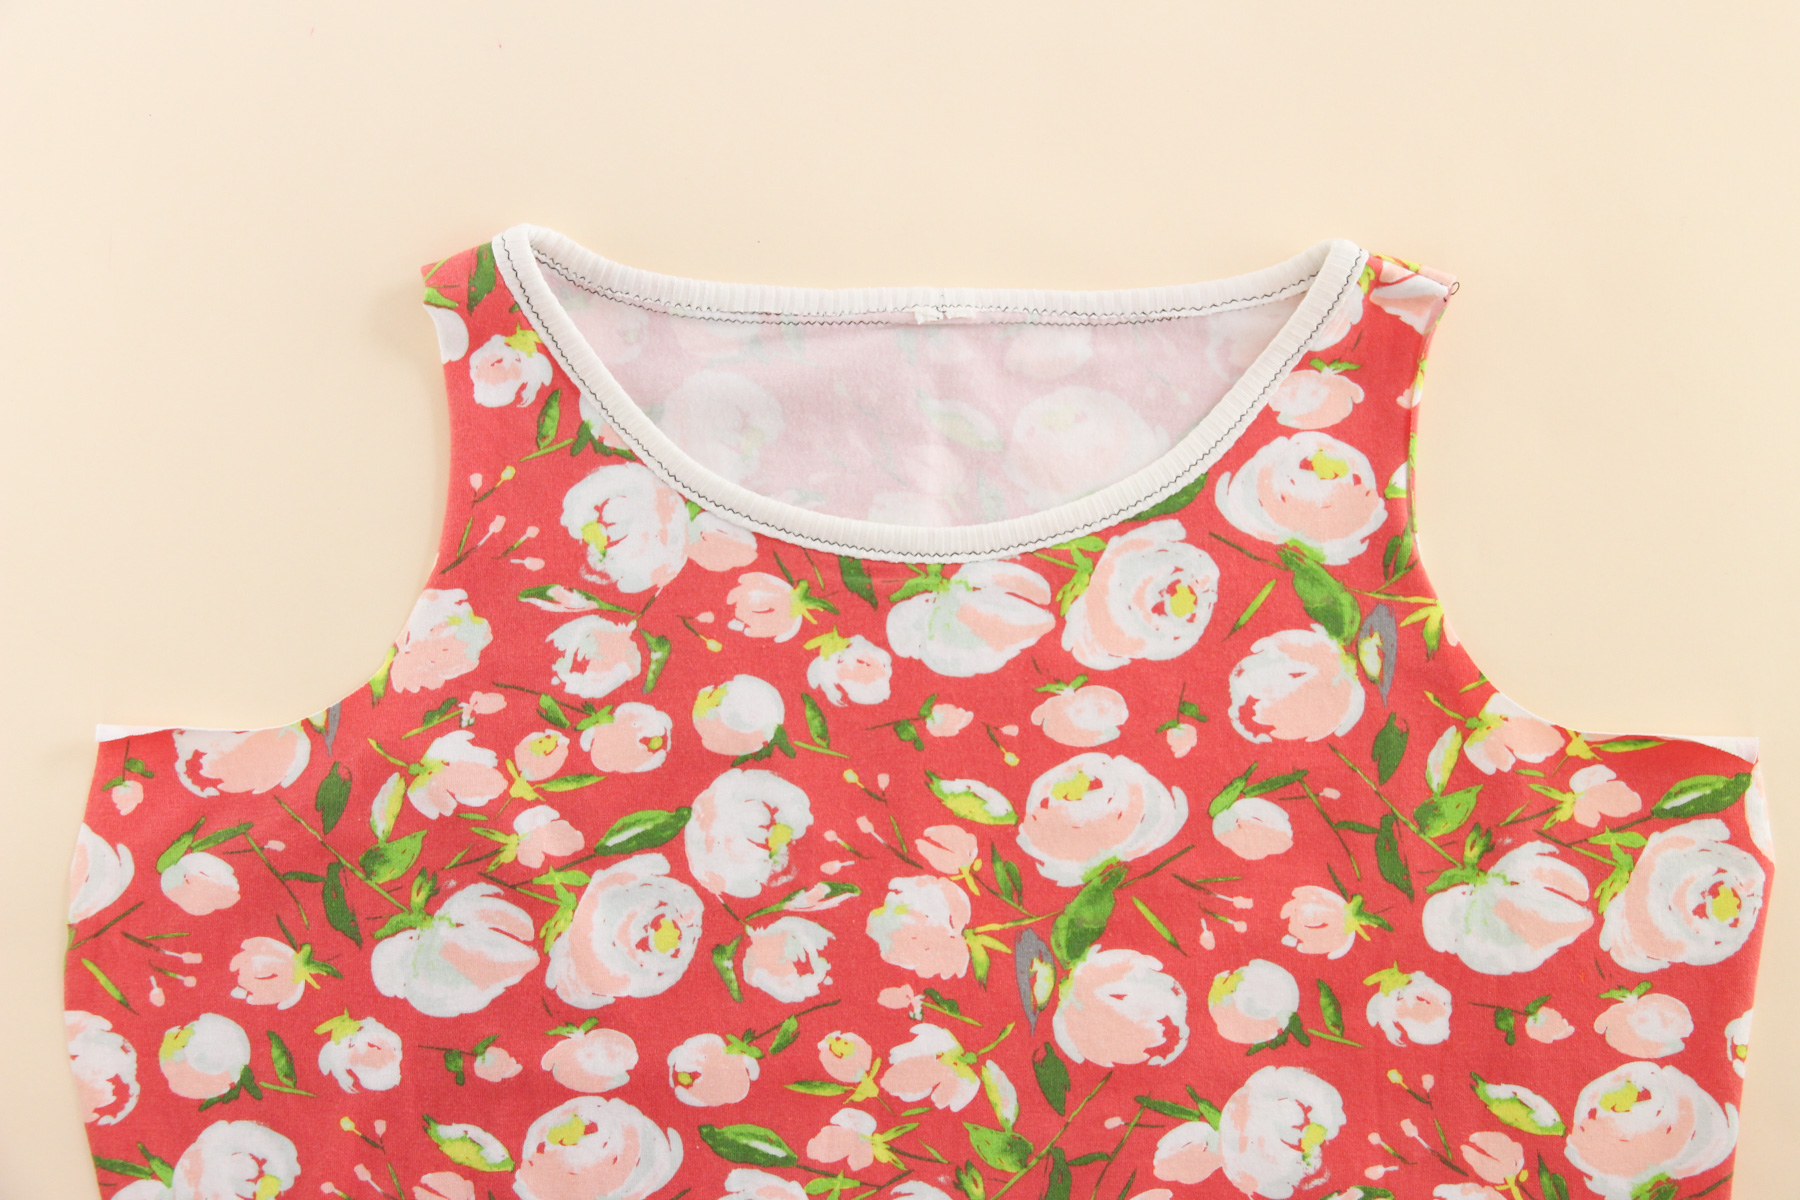
So let’s get going again!
Sewing the Side Seams
Fold your tank in half, right sides together, lining up the front and back at the side seam, then pin all along one side seam.
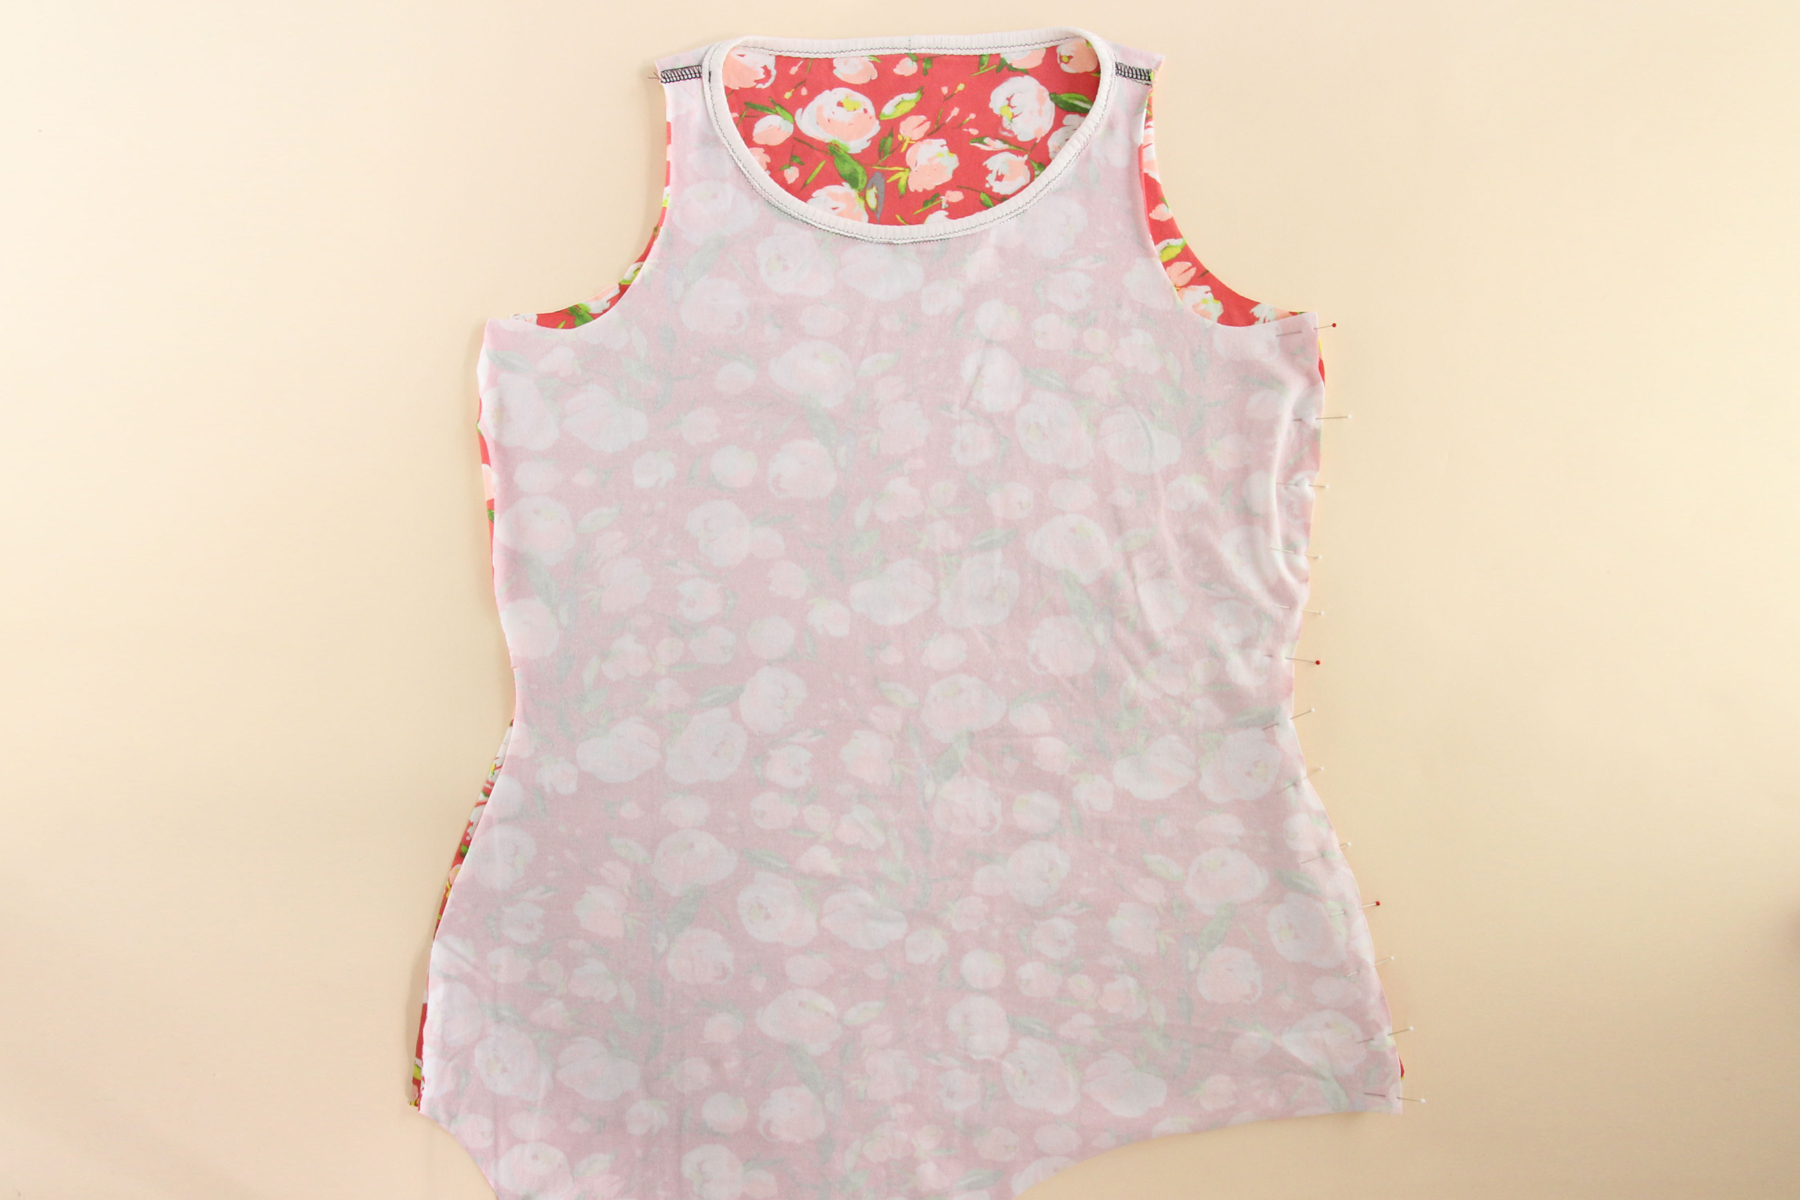
Let’s sew that seam using our 3/8″ (1 cm) seam allowance.
If you knit frays, you can finish the seam allowance by serging it or by sewing a second line of stitching 1/8″ from the first line of stitching, then trimming off the rest.
Let’s do the same with our second side seam.
Press the seam allowance towards the back.
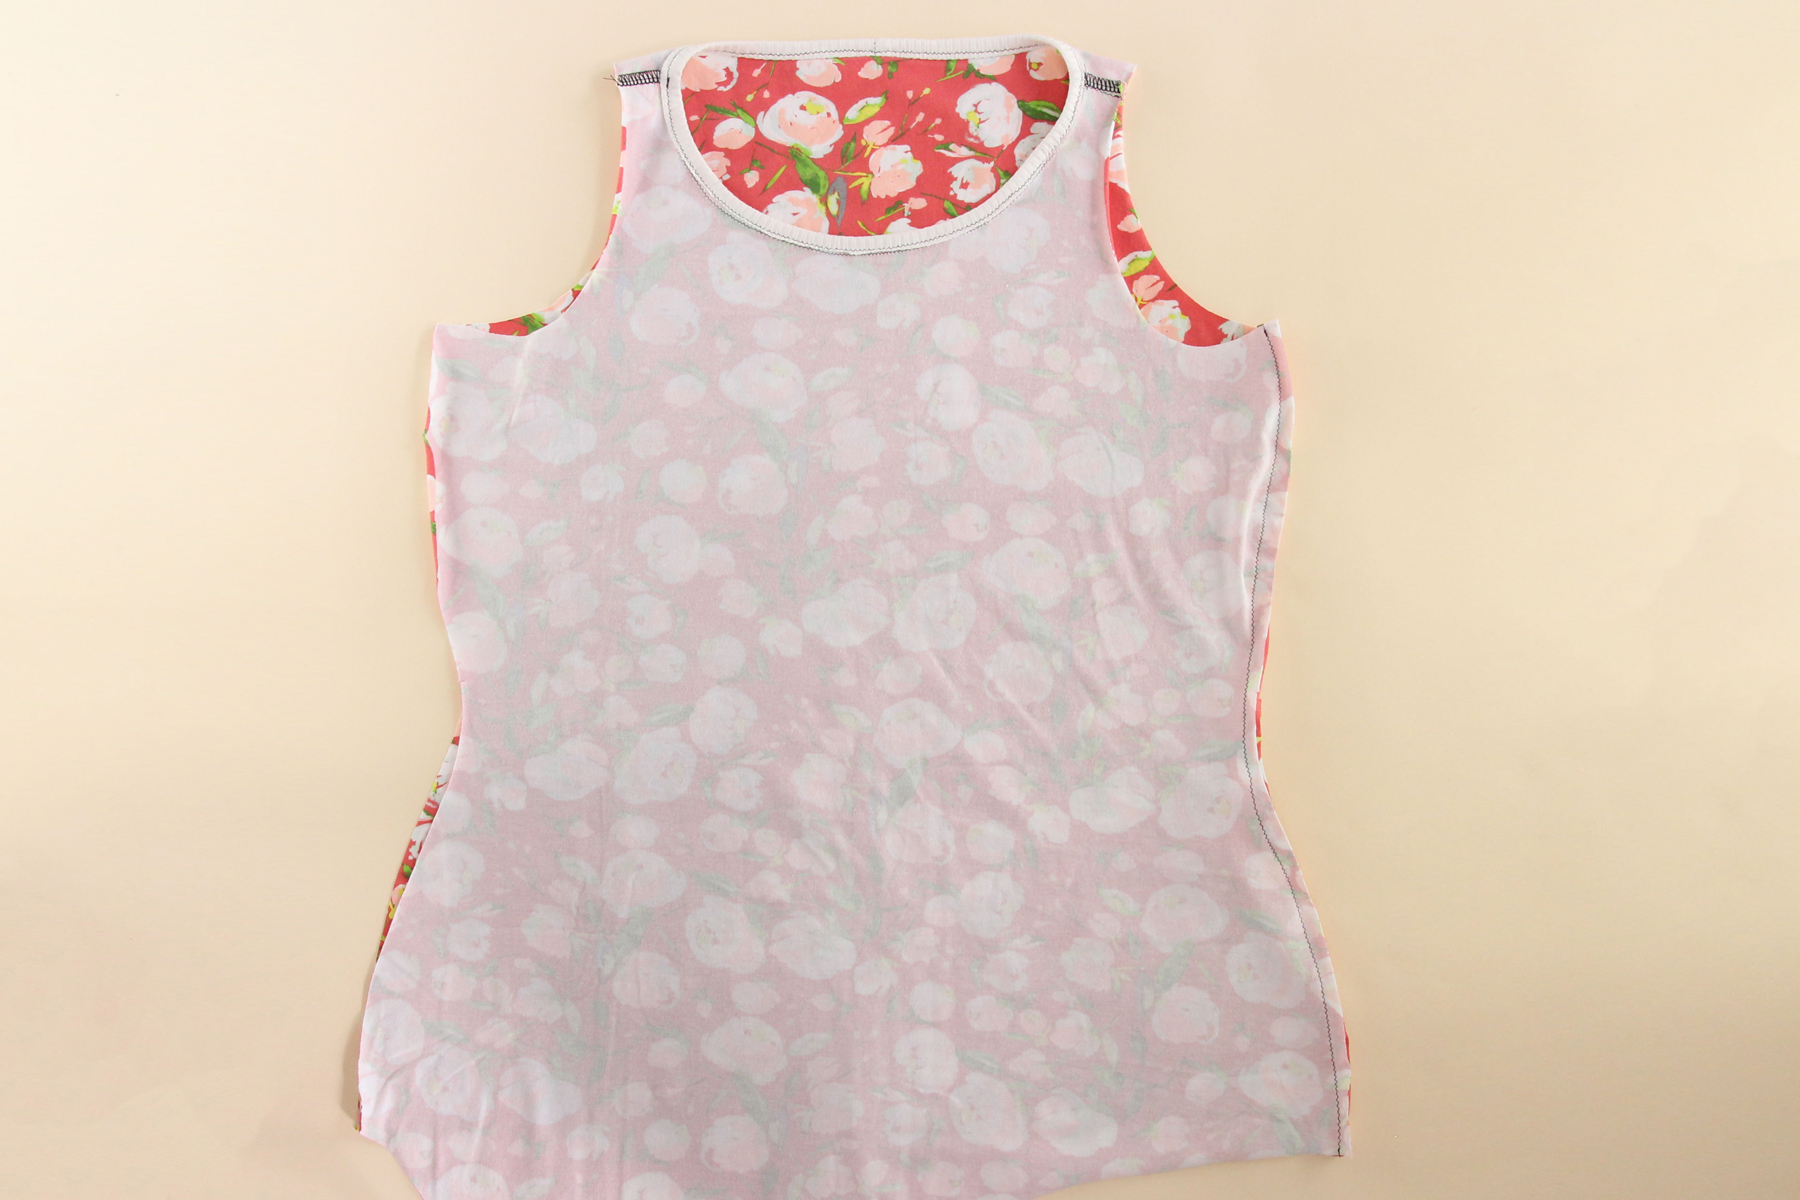
Okay, side seams are done, moving on to the armholes.
Binding the Armholes
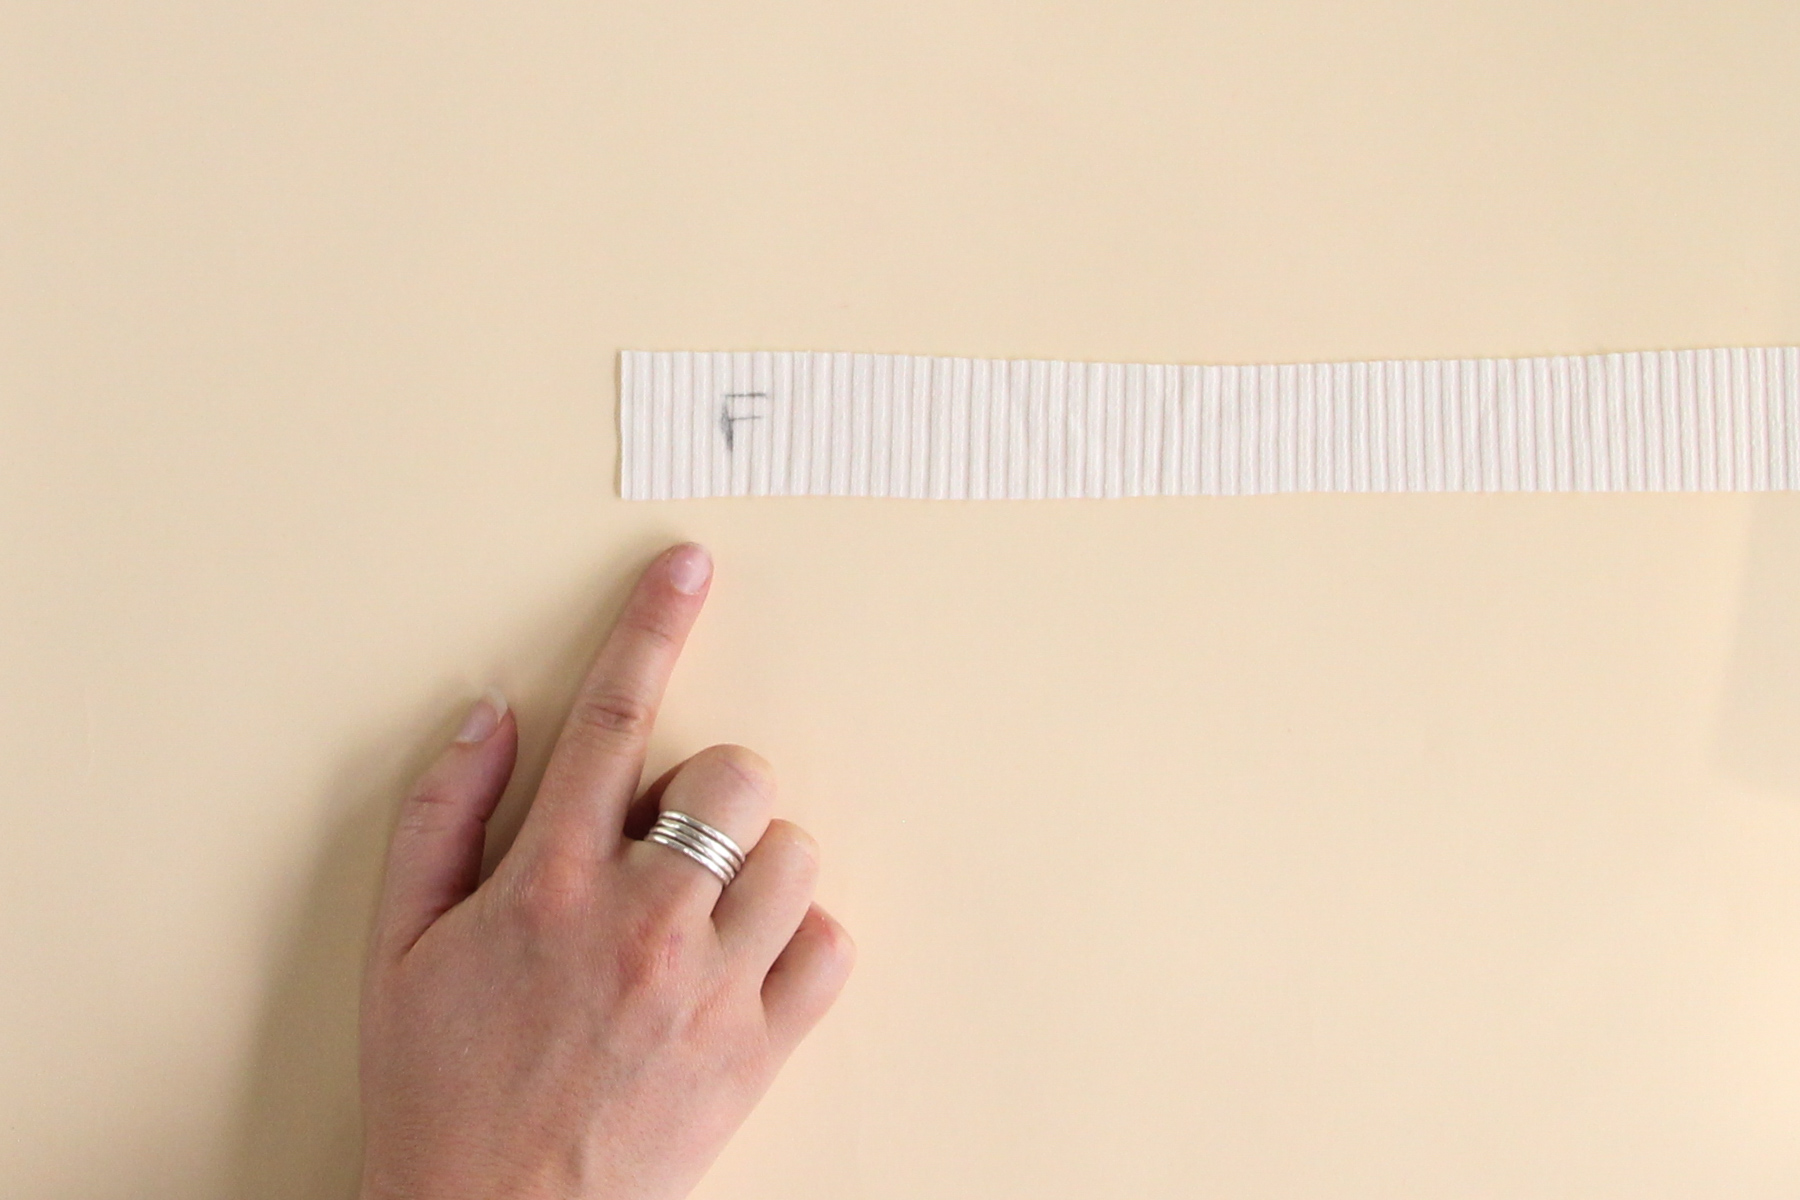
When you cut out your two armhole binding pieces, you may have noticed that one end is designated for the front and the other for the back. That’s because you need a slightly longer bit of binding for the front for the larger cup sizes than you do for the back. I like to mark the front end on the wrong side with tailor’s chalk so that I know which is which later.
The armhole binding is done in the same way that we did the neckline binding. We’ll walk through it again here so you can see, but the technique is the same.
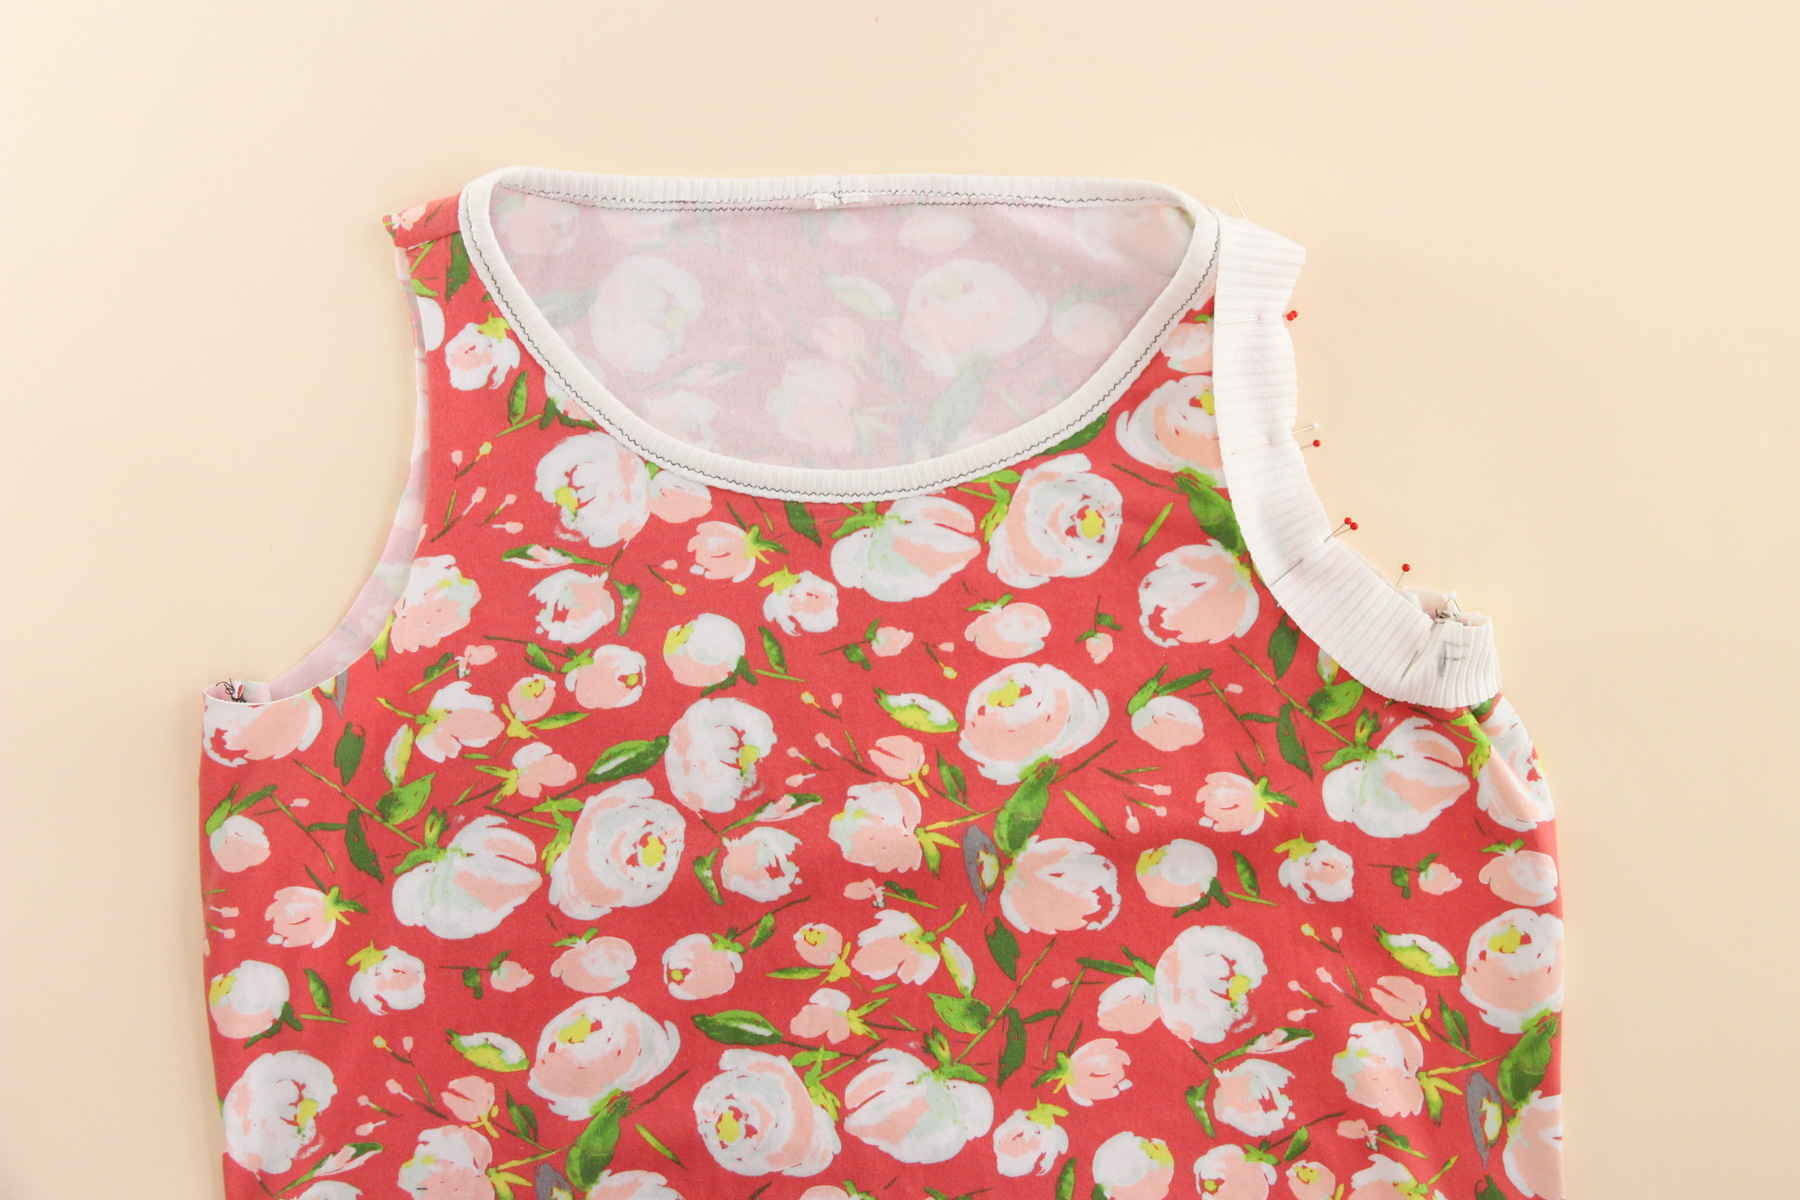
Just like how we did with the neckline binding, let’s start by folding the armhole binding in half, right sides together, and pin along the short end.
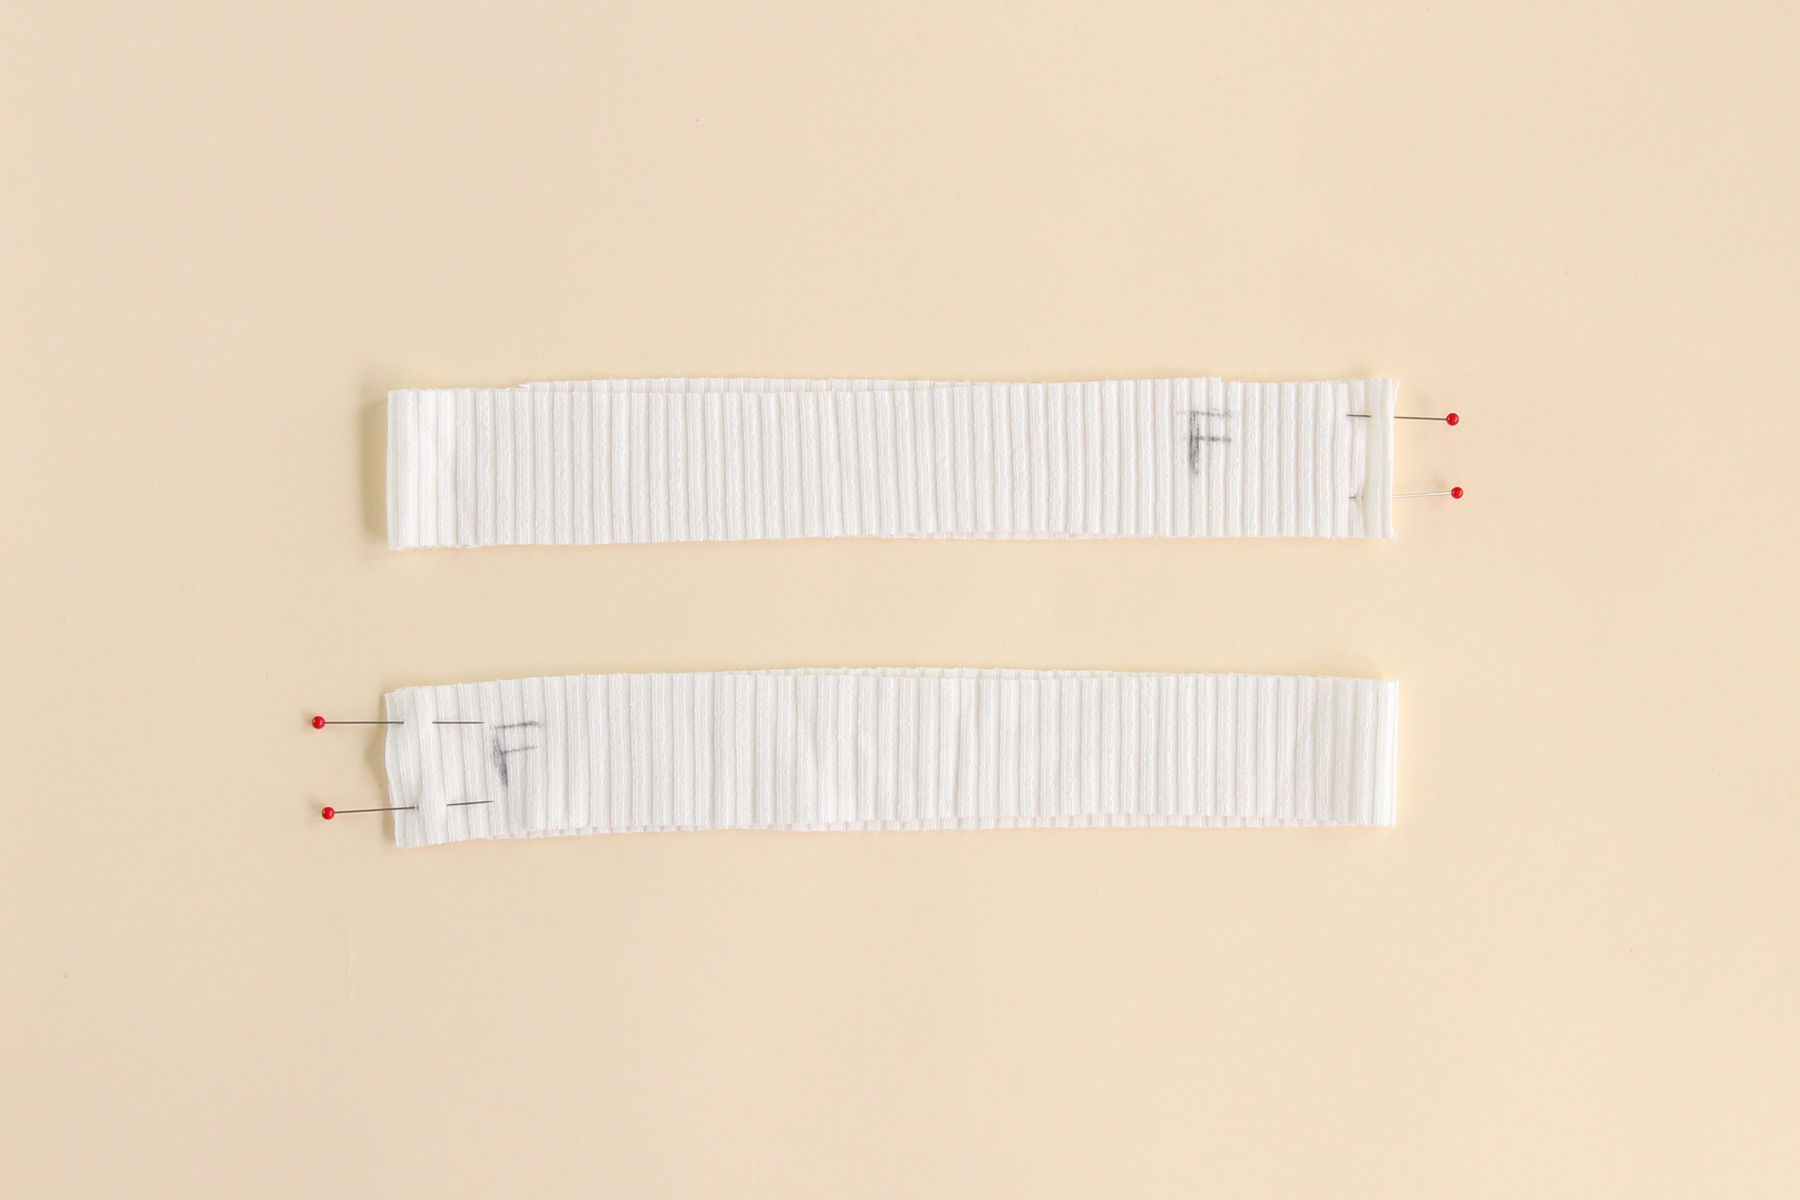
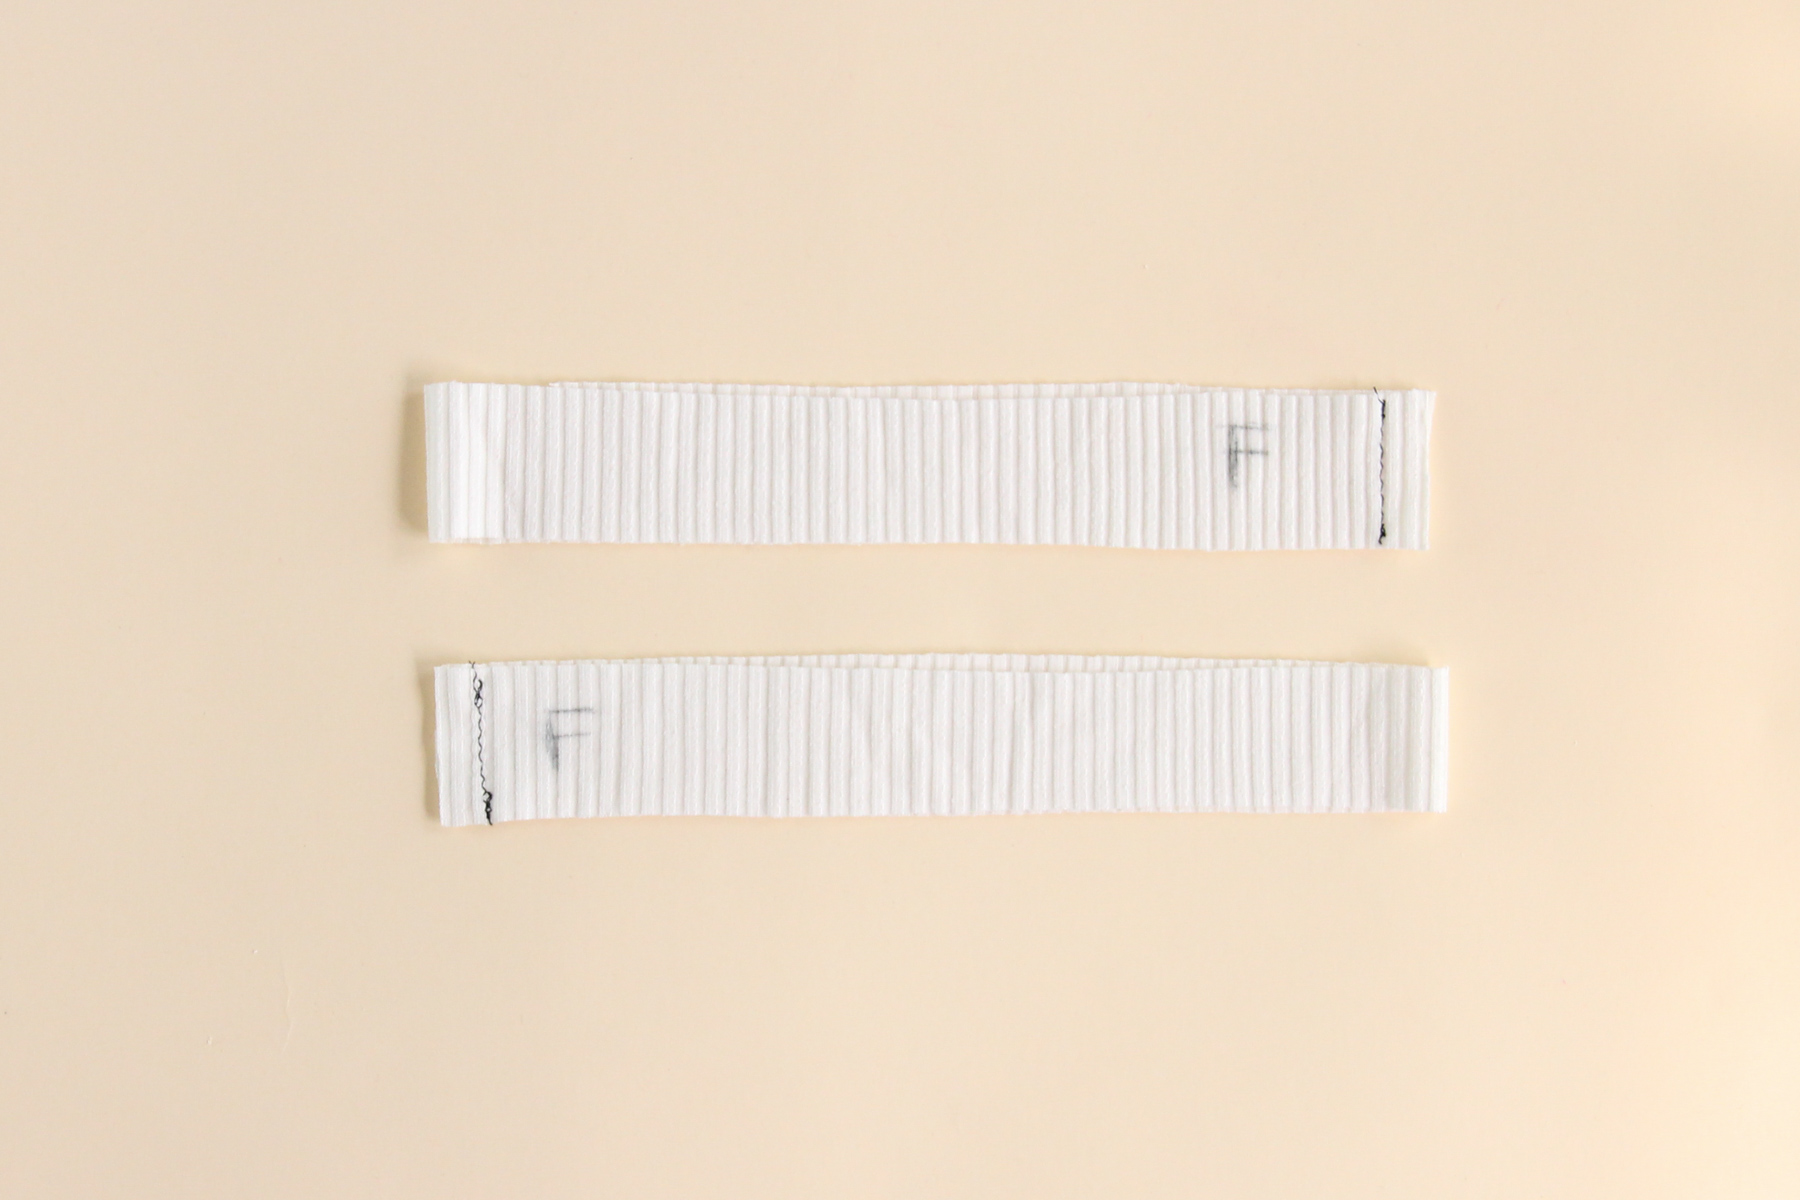
Let’s sew that short end using our 3/8″ seam allowance.
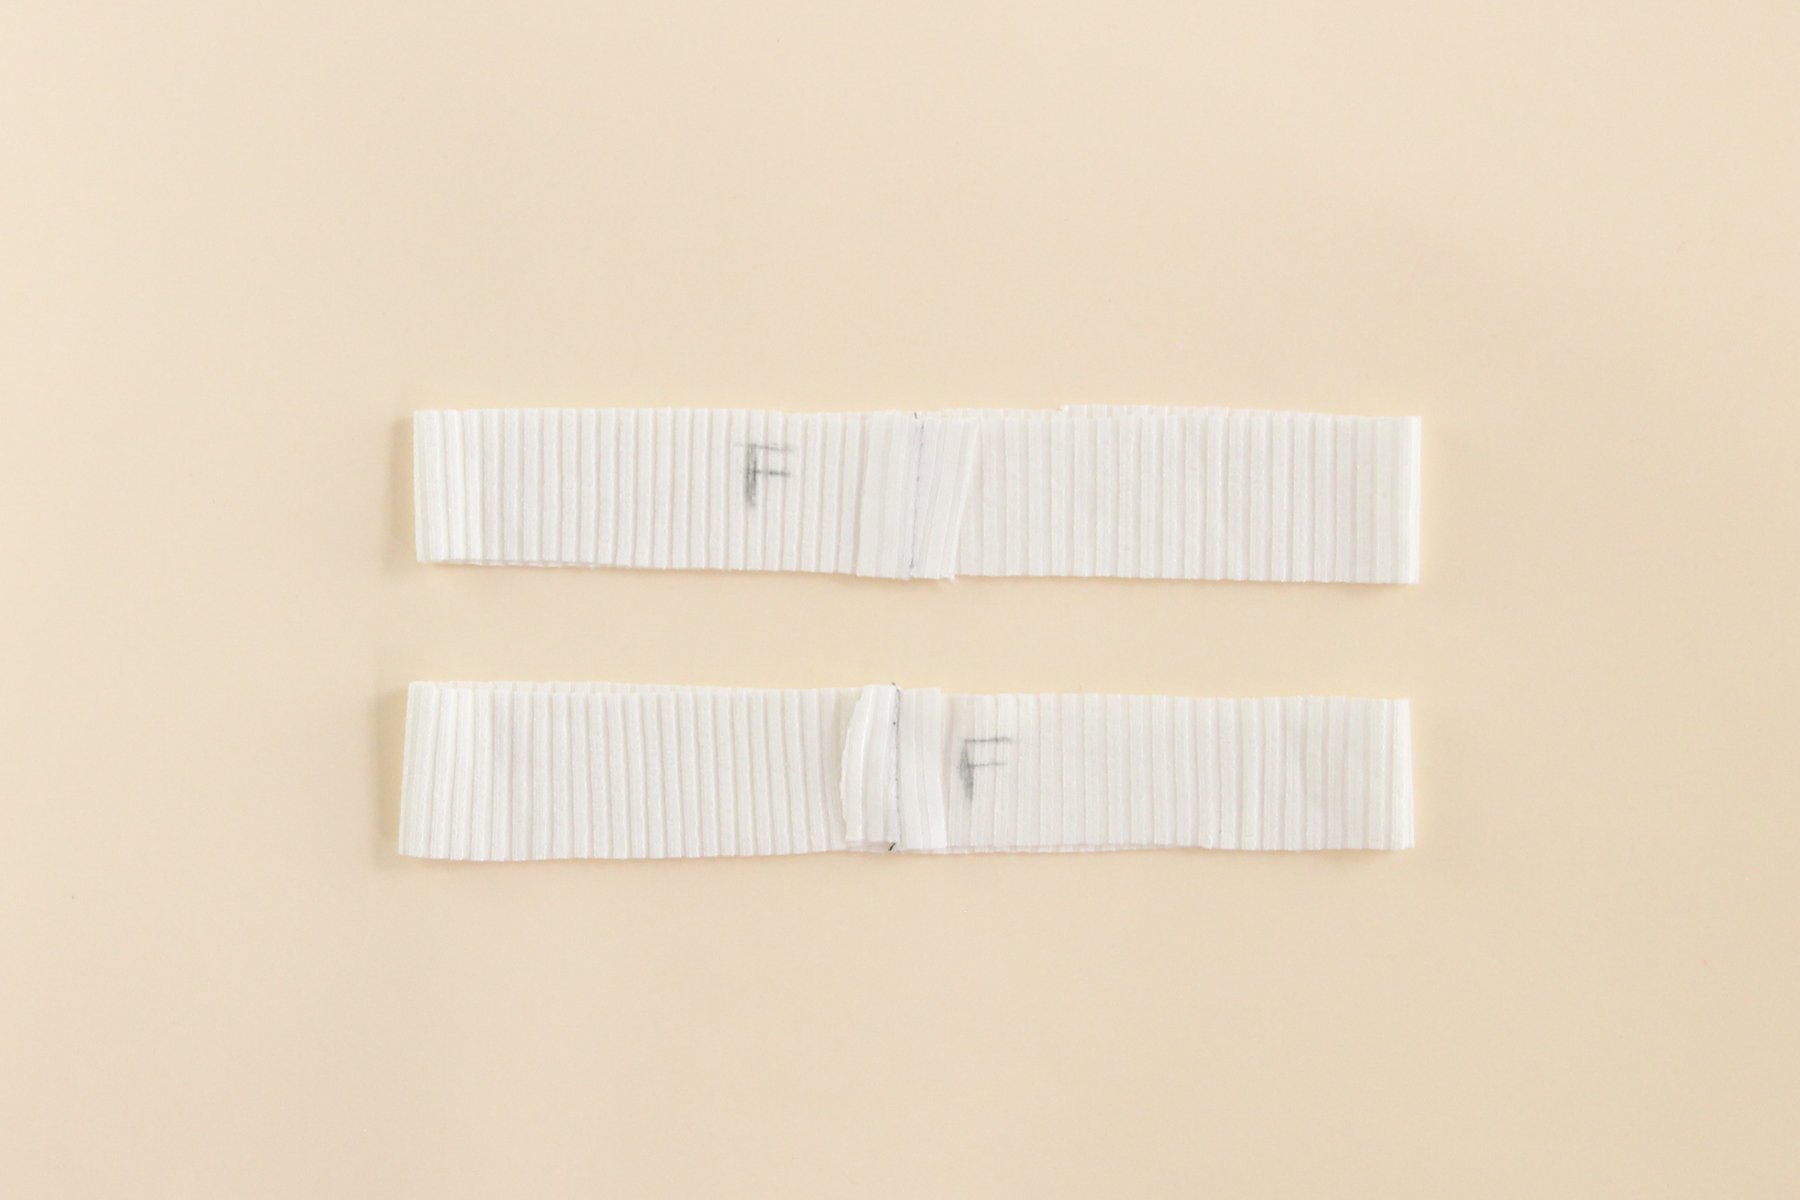
Press the seam allowance open. You now have two loops of fabric.
Pin the armhole binding to the armhole opening on the tank. You’ll want to line the armhole binding seam with the top of the side seam, and armhole binding notch with the shoulder seam. This is where having the front of the binding marked is helpful—make sure that that portion of the armhole binding is indeed oriented to the front of the tank.
Pin all around, stretching the tank slightly to fit the armhole binding. (Once again, the binding is shorter than the tank armhole in order to pull the fabric in and allow it to sit flat on your body.)
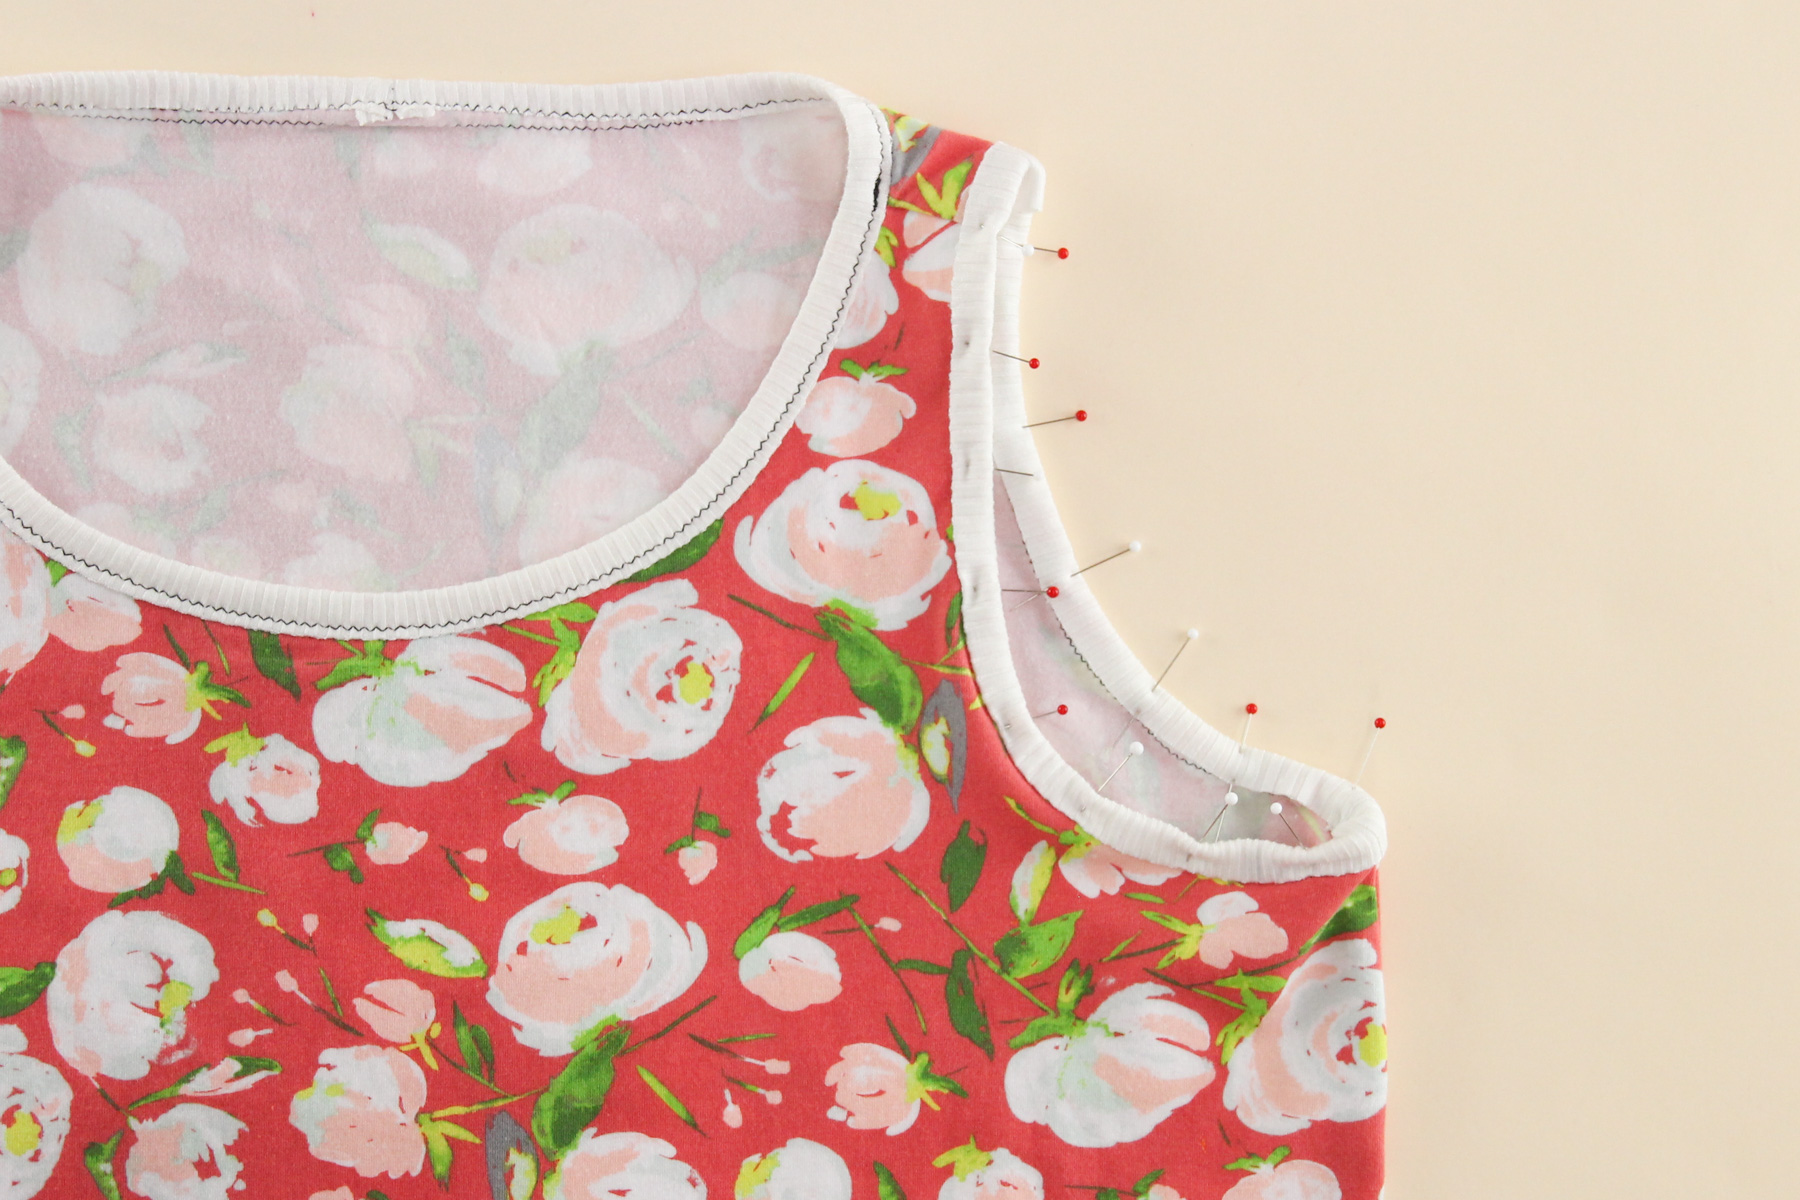
Let’s sew that seam using our 3/8″ (1 cm) seam allowance. I like to sew it on a sewing machine with the tank fabric facing up and the binding down against the feed dogs, but you can also do this directly on a serger.
Stretch the tank armhole gently between pins so that it aligns with the armhole binding, but make sure not to stretch the binding.
Now we’re going to press the armhole binding over the seam allowance, then fold it over to the wrong side, just like how we did with the neckline binding. The binding should just overlap the line of stitching.
Pin in place or use Wonder Tape.
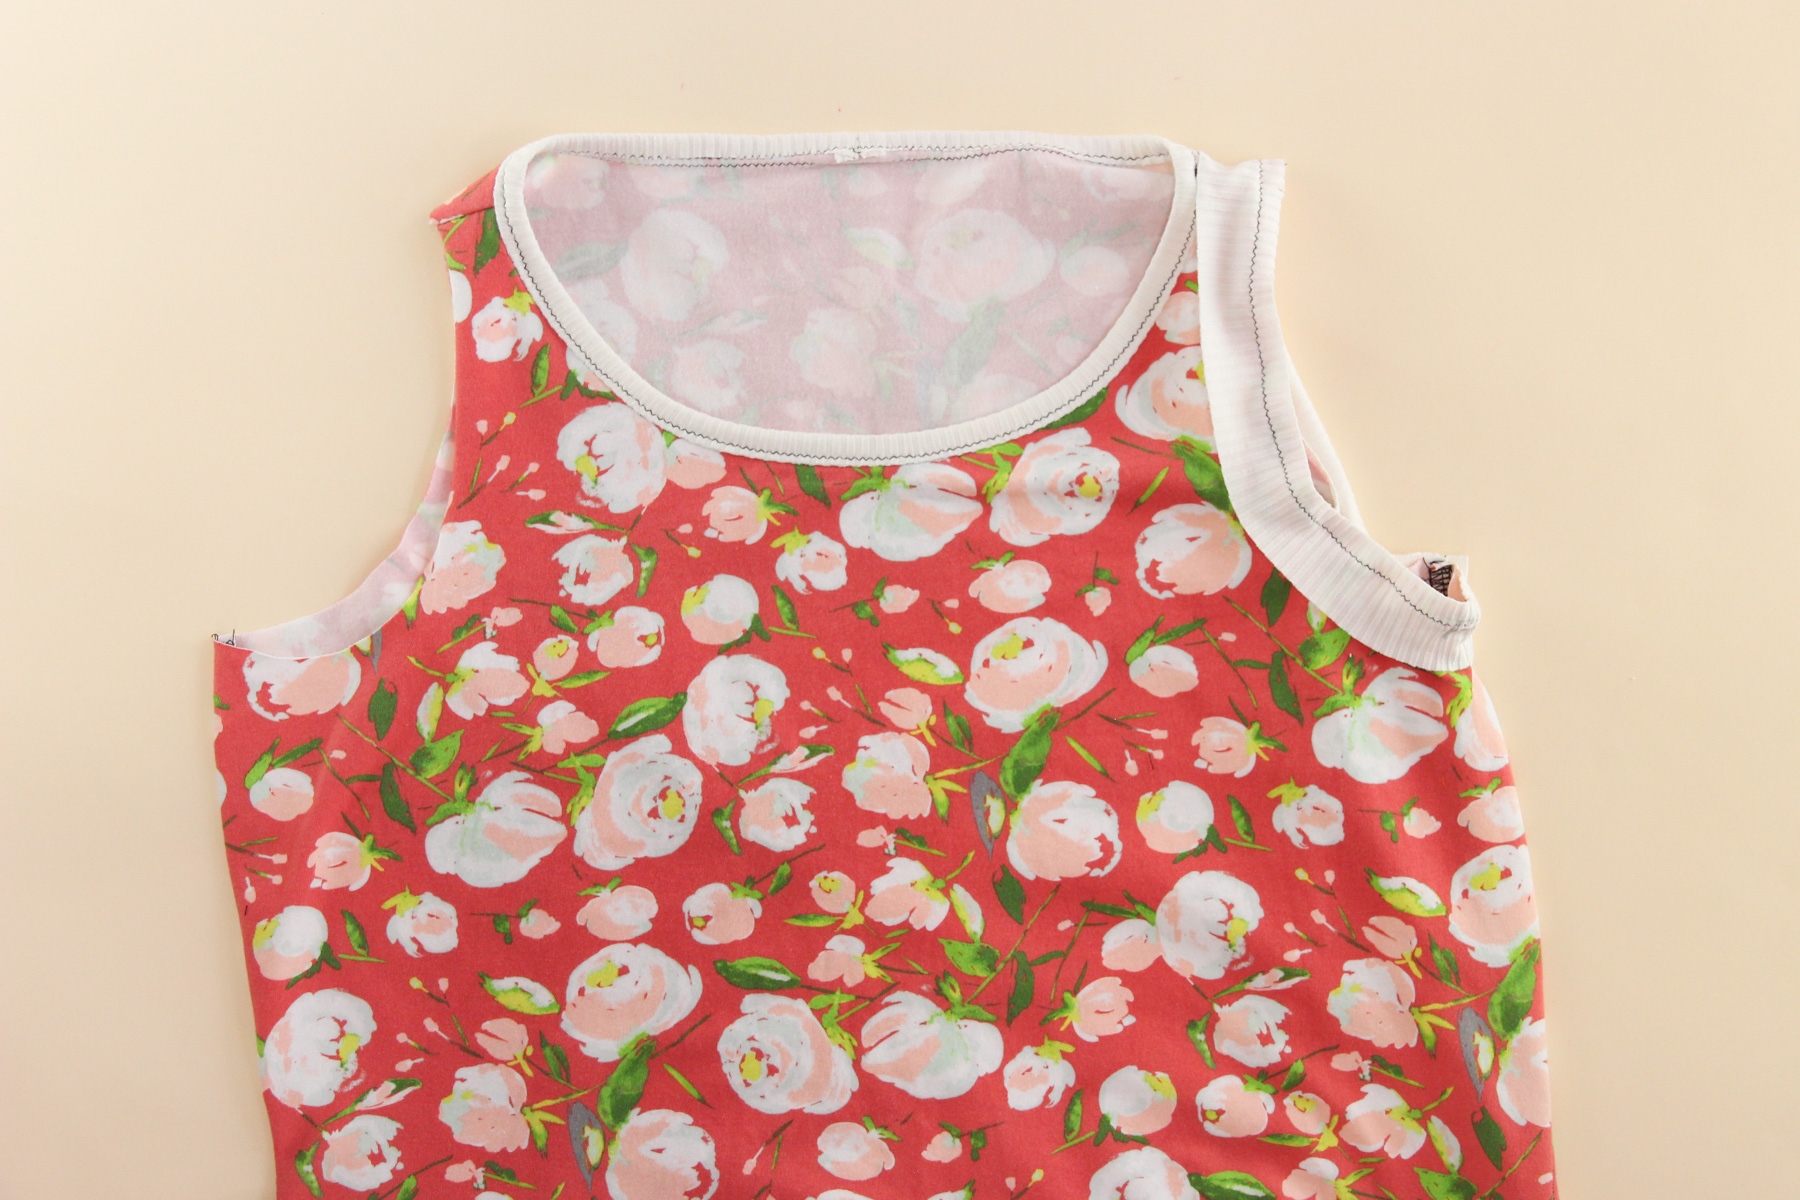
Let’s topstitch that binding down using our 3 mm wide x 2 mm long zigzag stitch. Remember to topstitch from the right side of the garment, then check to make sure your stitches caught the raw edge of the binding on the other side.
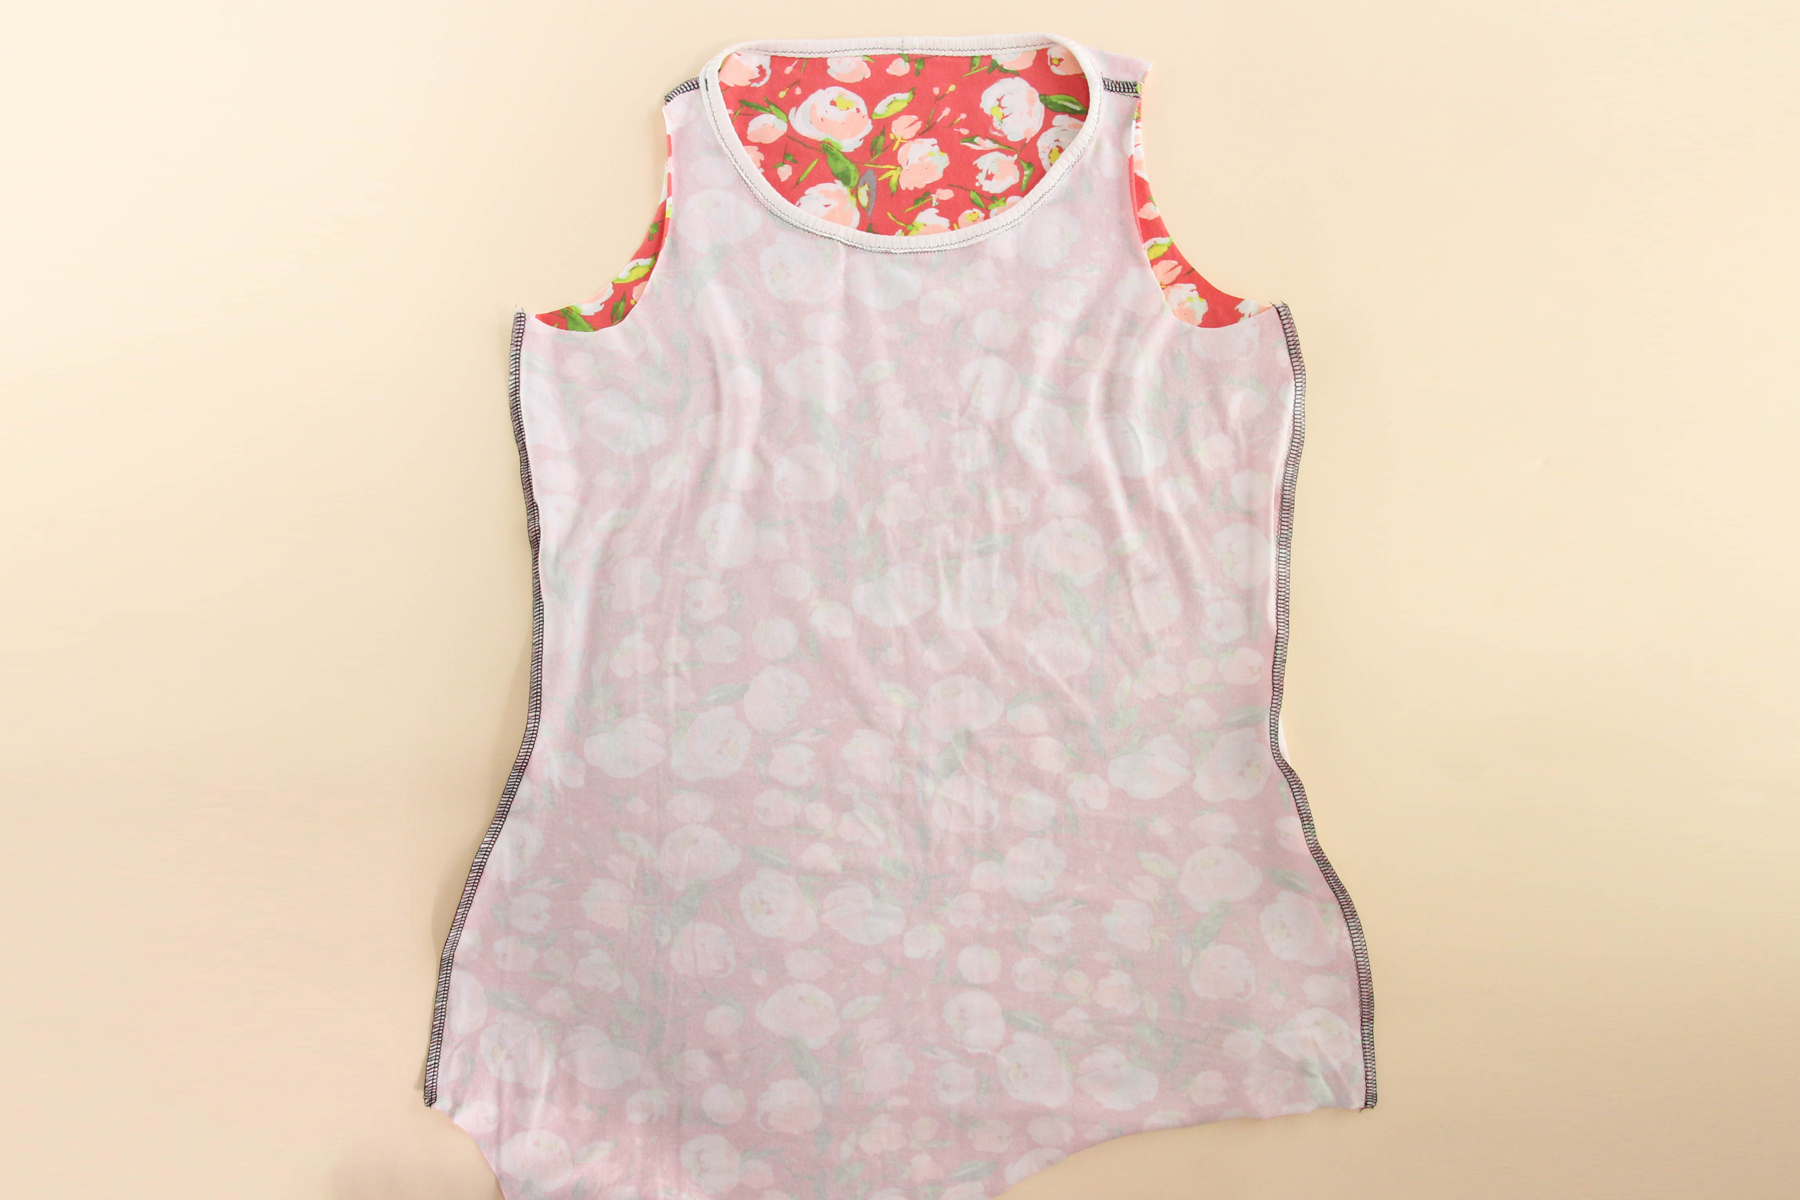
Let’s repeat that with the other armhole.

Nice work!
Hemming the Tank
All we have left to do now is to hem our tank. Make sure you try your Saybrook Tank on first to see if the hem will hit you in the right place, or if you need to adjust it a bit.
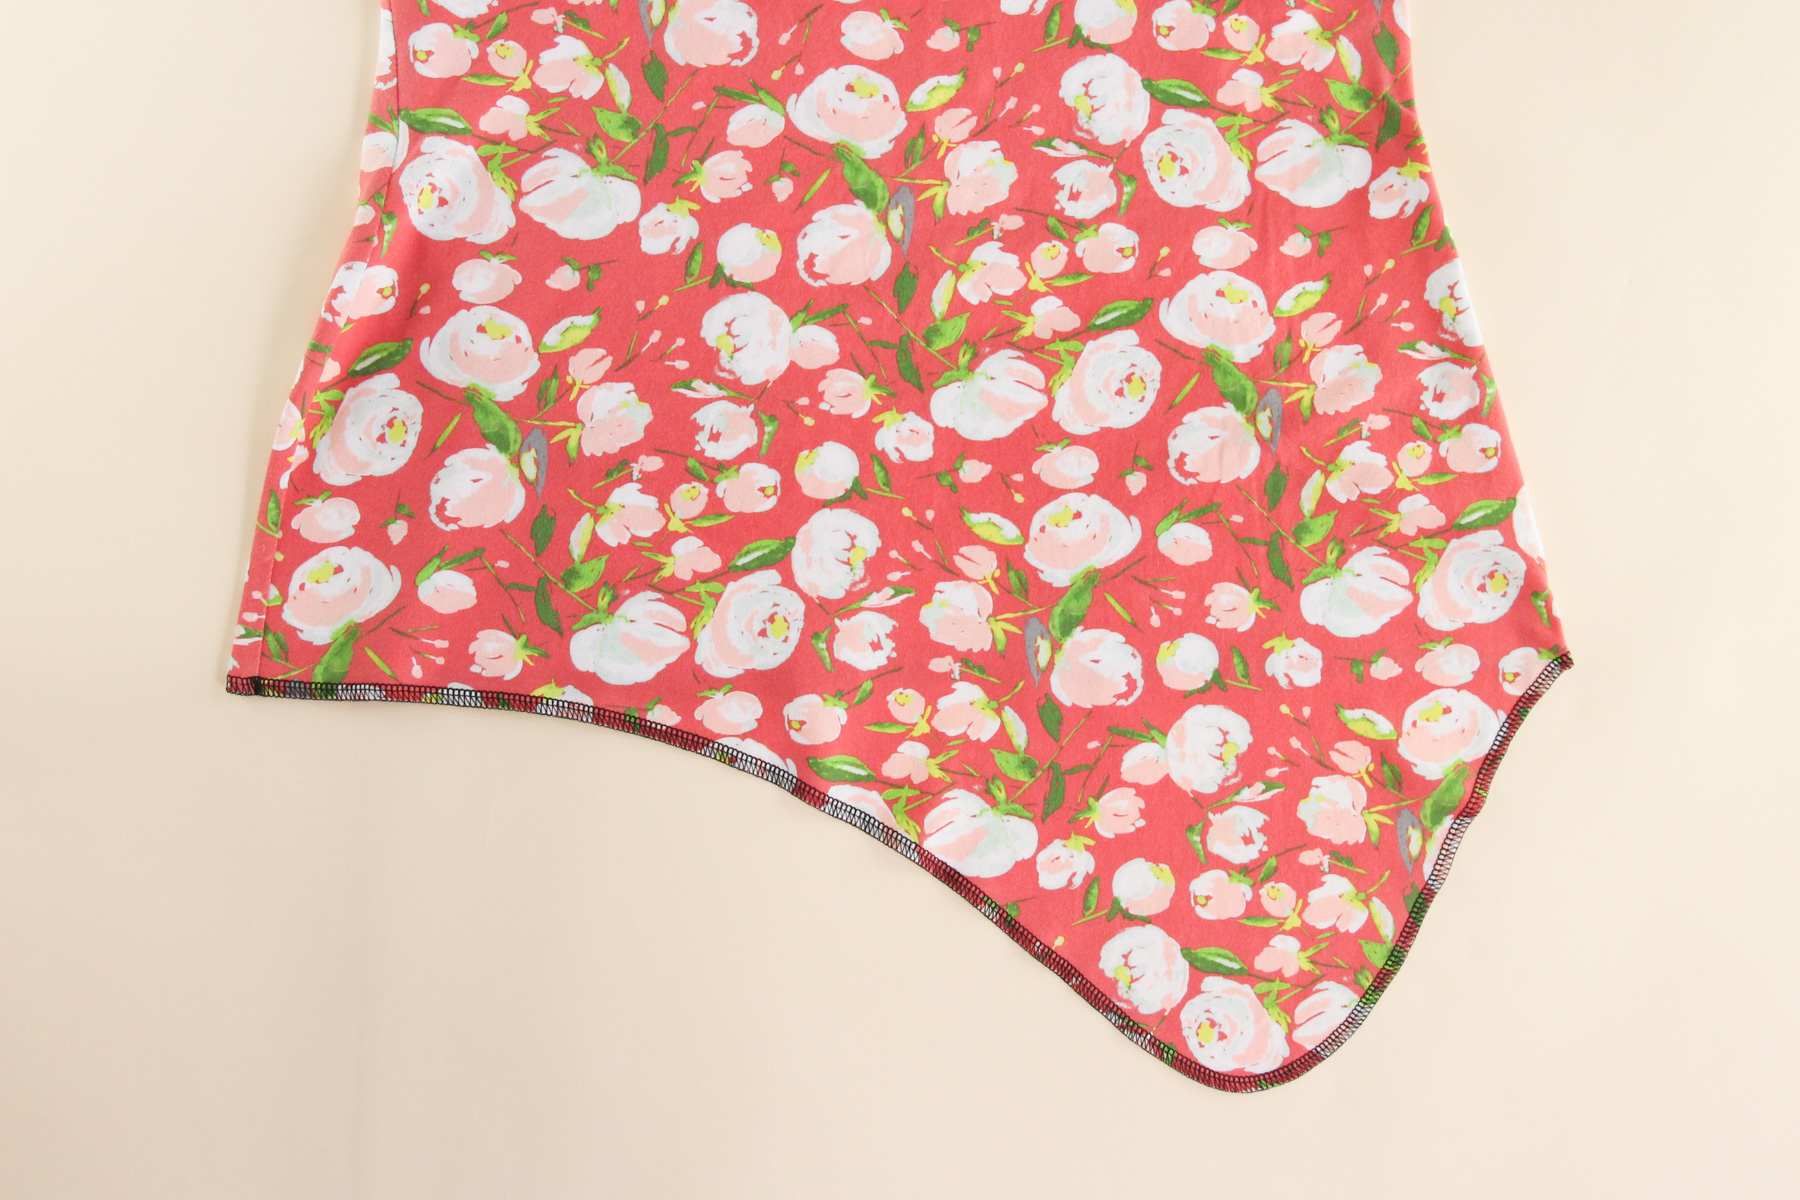
If you’re sewing View A (the knotted hem view), start by finishing the hem edge of your tank. We do this because the inside hem of the garment might peek out a bit when you tie it into a knot, so it looks cleaner with a finished edge. If you’re making View B (straight hem) or View C (cropped tank), you can skip this part.
I’ve finished my seam allowance on a serger, but you can do it using a zigzag stitch on your sewing machine.
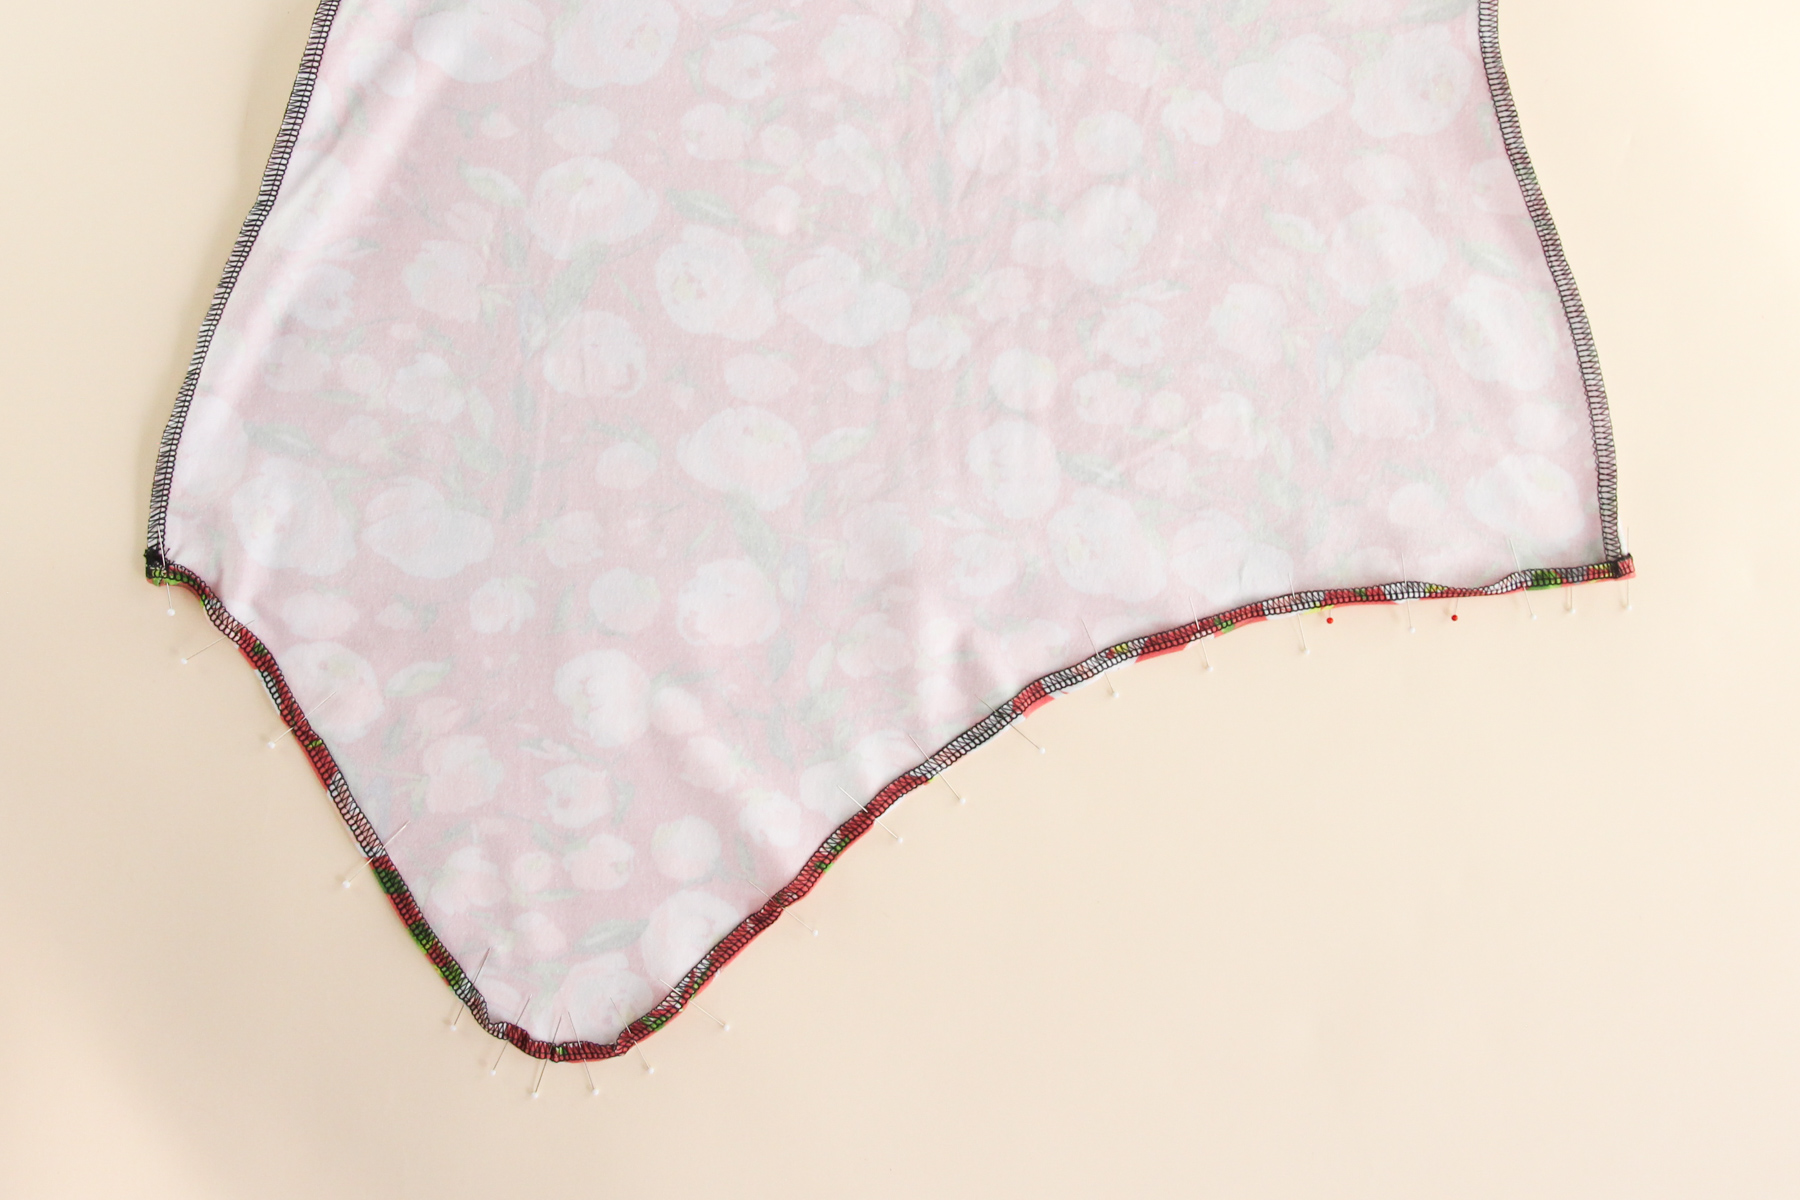
Now we need to fold up the hem to the wrong side. For View A, fold it over 1/4″ (6 mm). For Views B & C, fold it to the wrong side by 3/4″ (1.9 cm).
Press the hem up and pin in place, or use Wonder Tape.
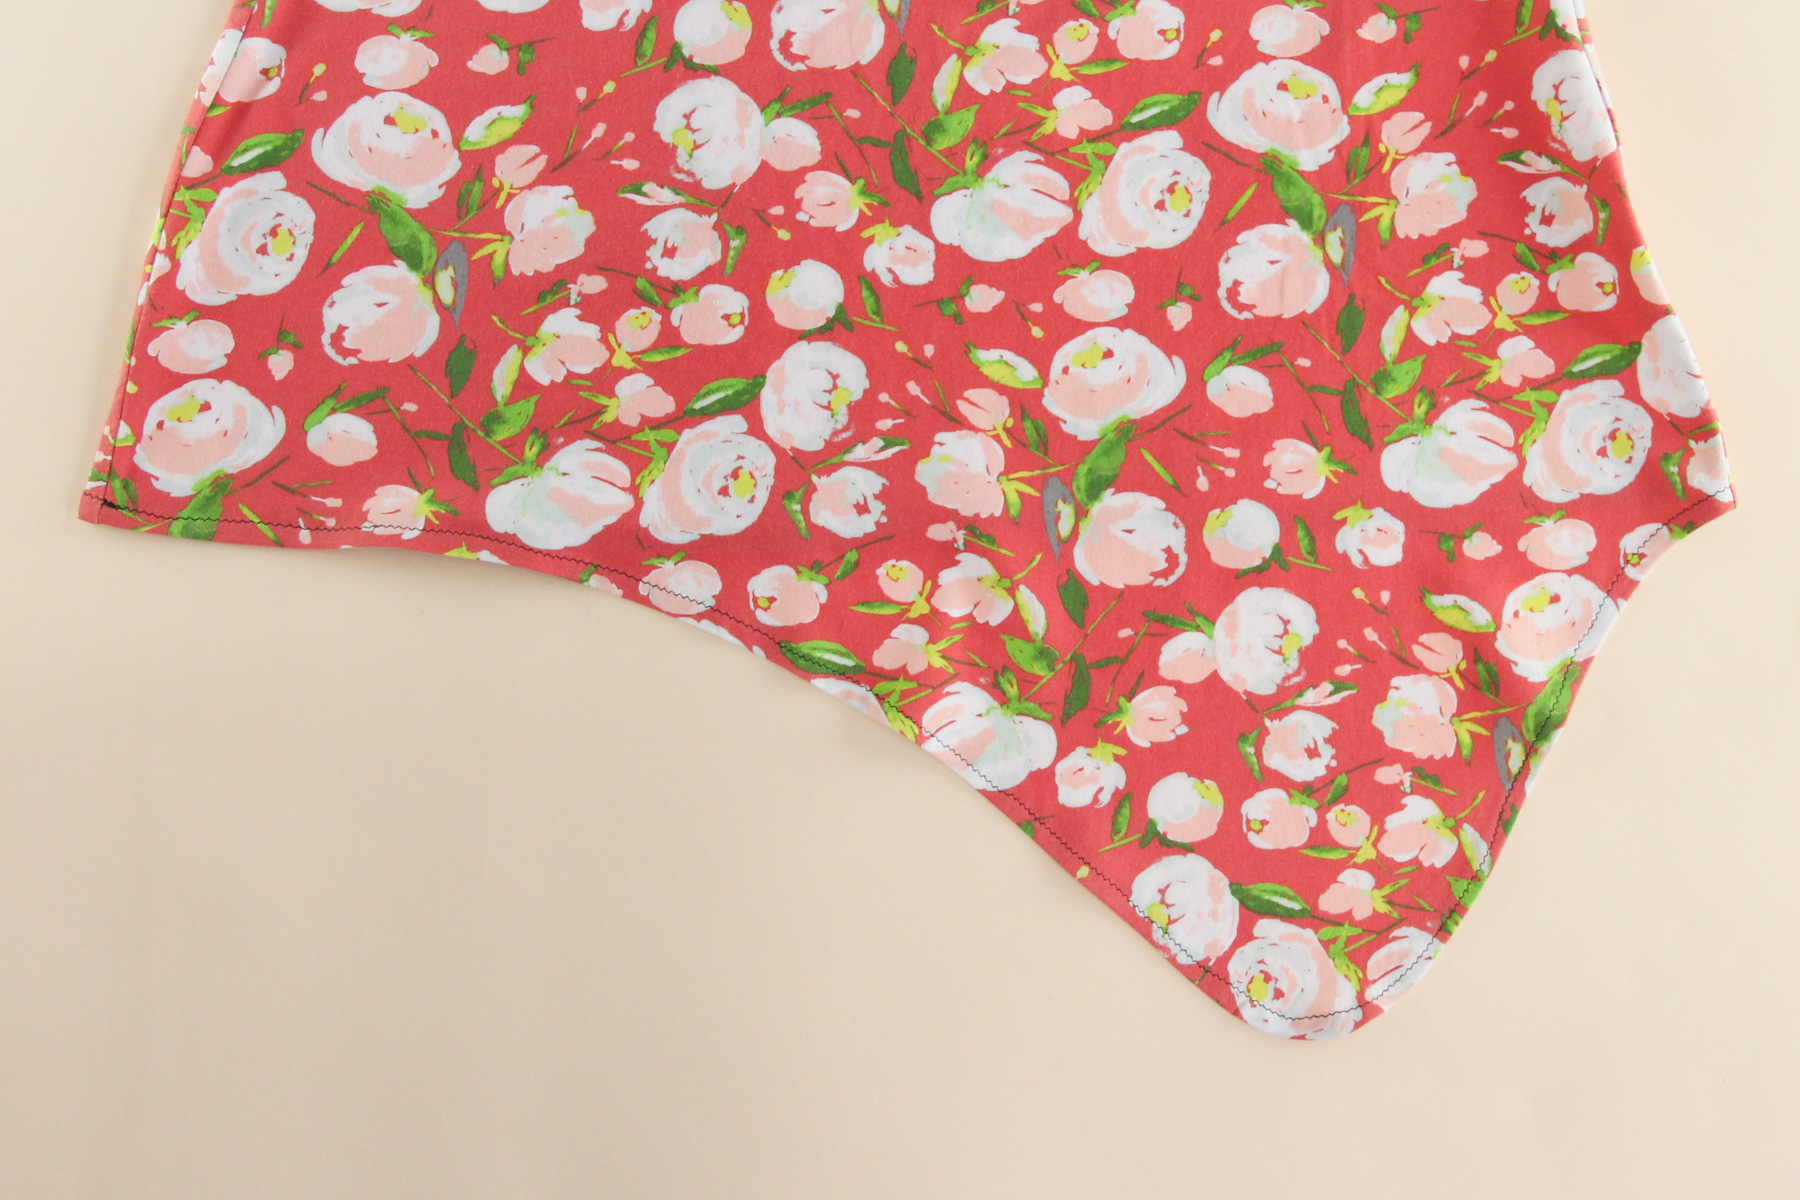
From the right side, we’re going to topstitch the hem down. You can use a twin needle, a narrow zigzag stitch, or a coverstitch machine. I went with the narrow zigzag option.
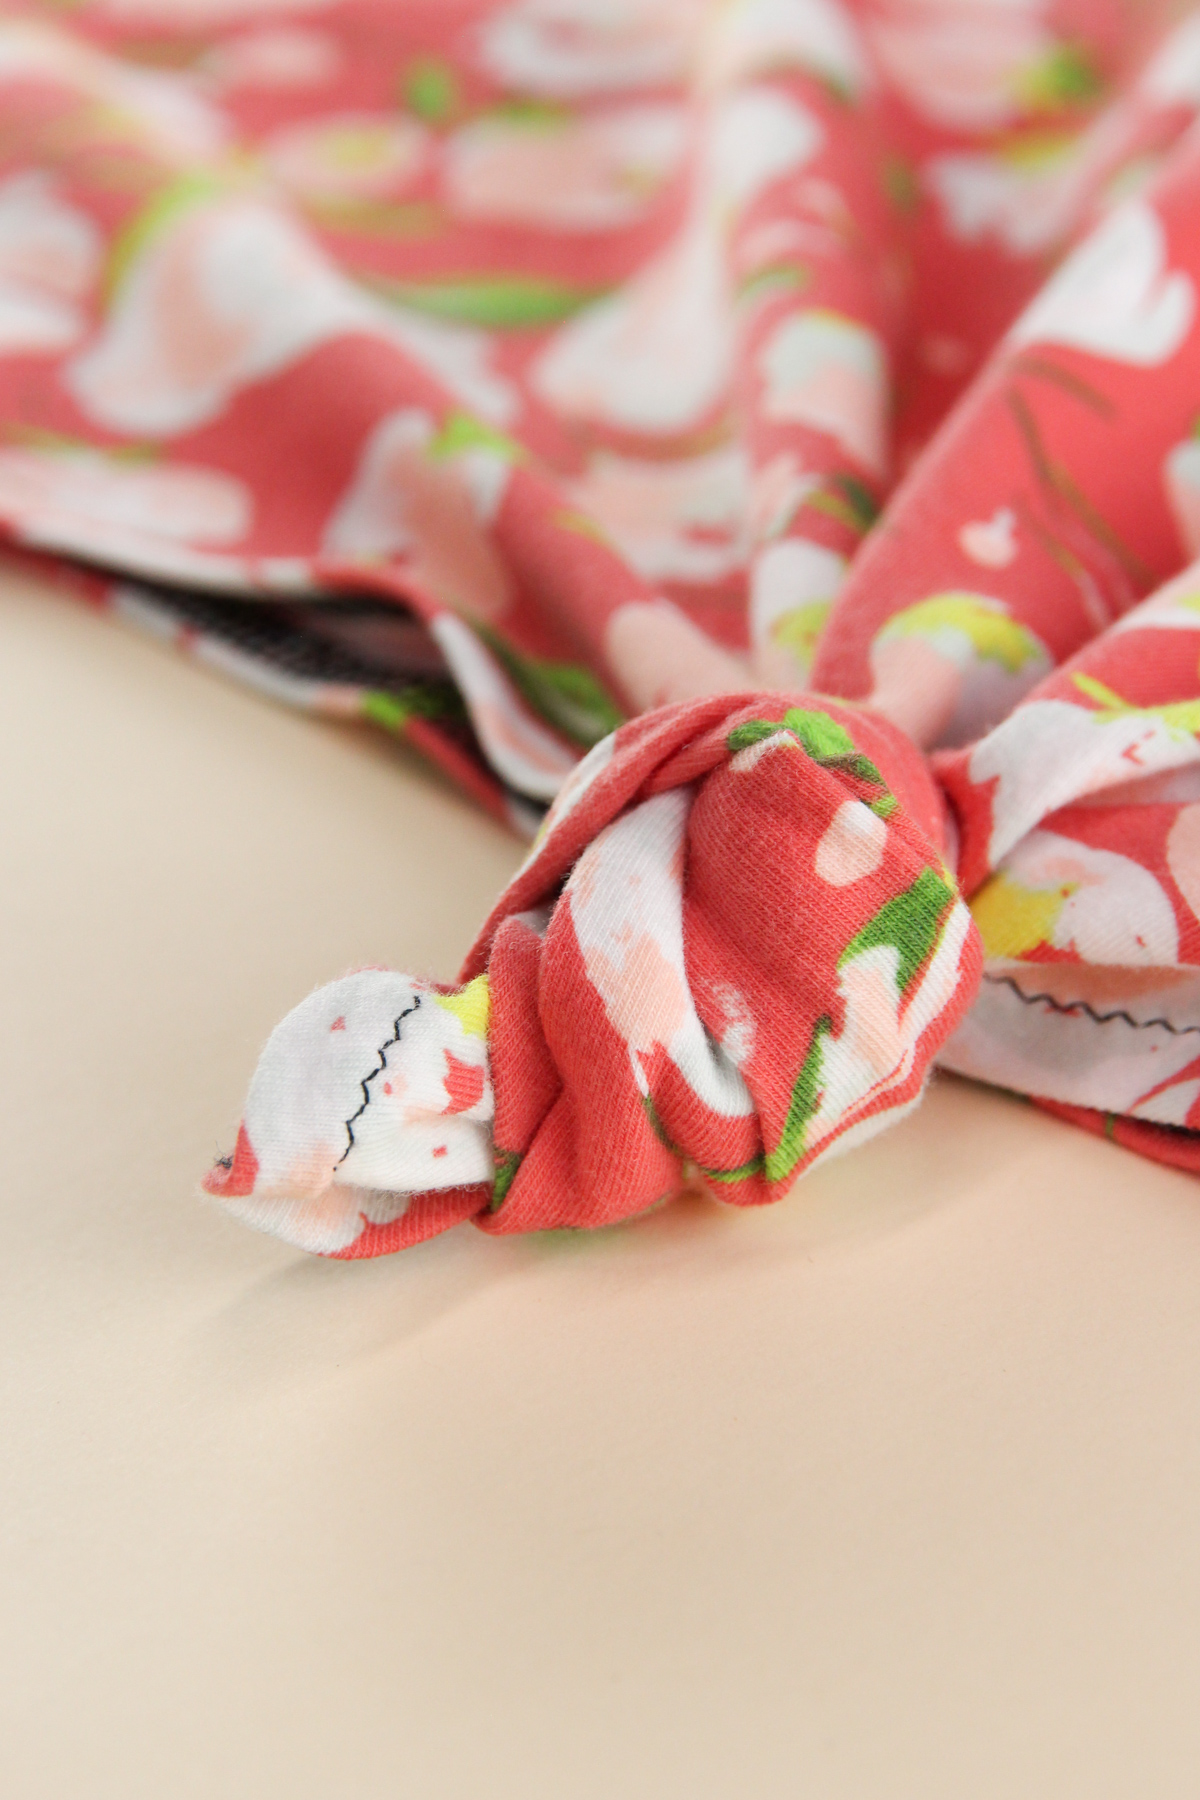
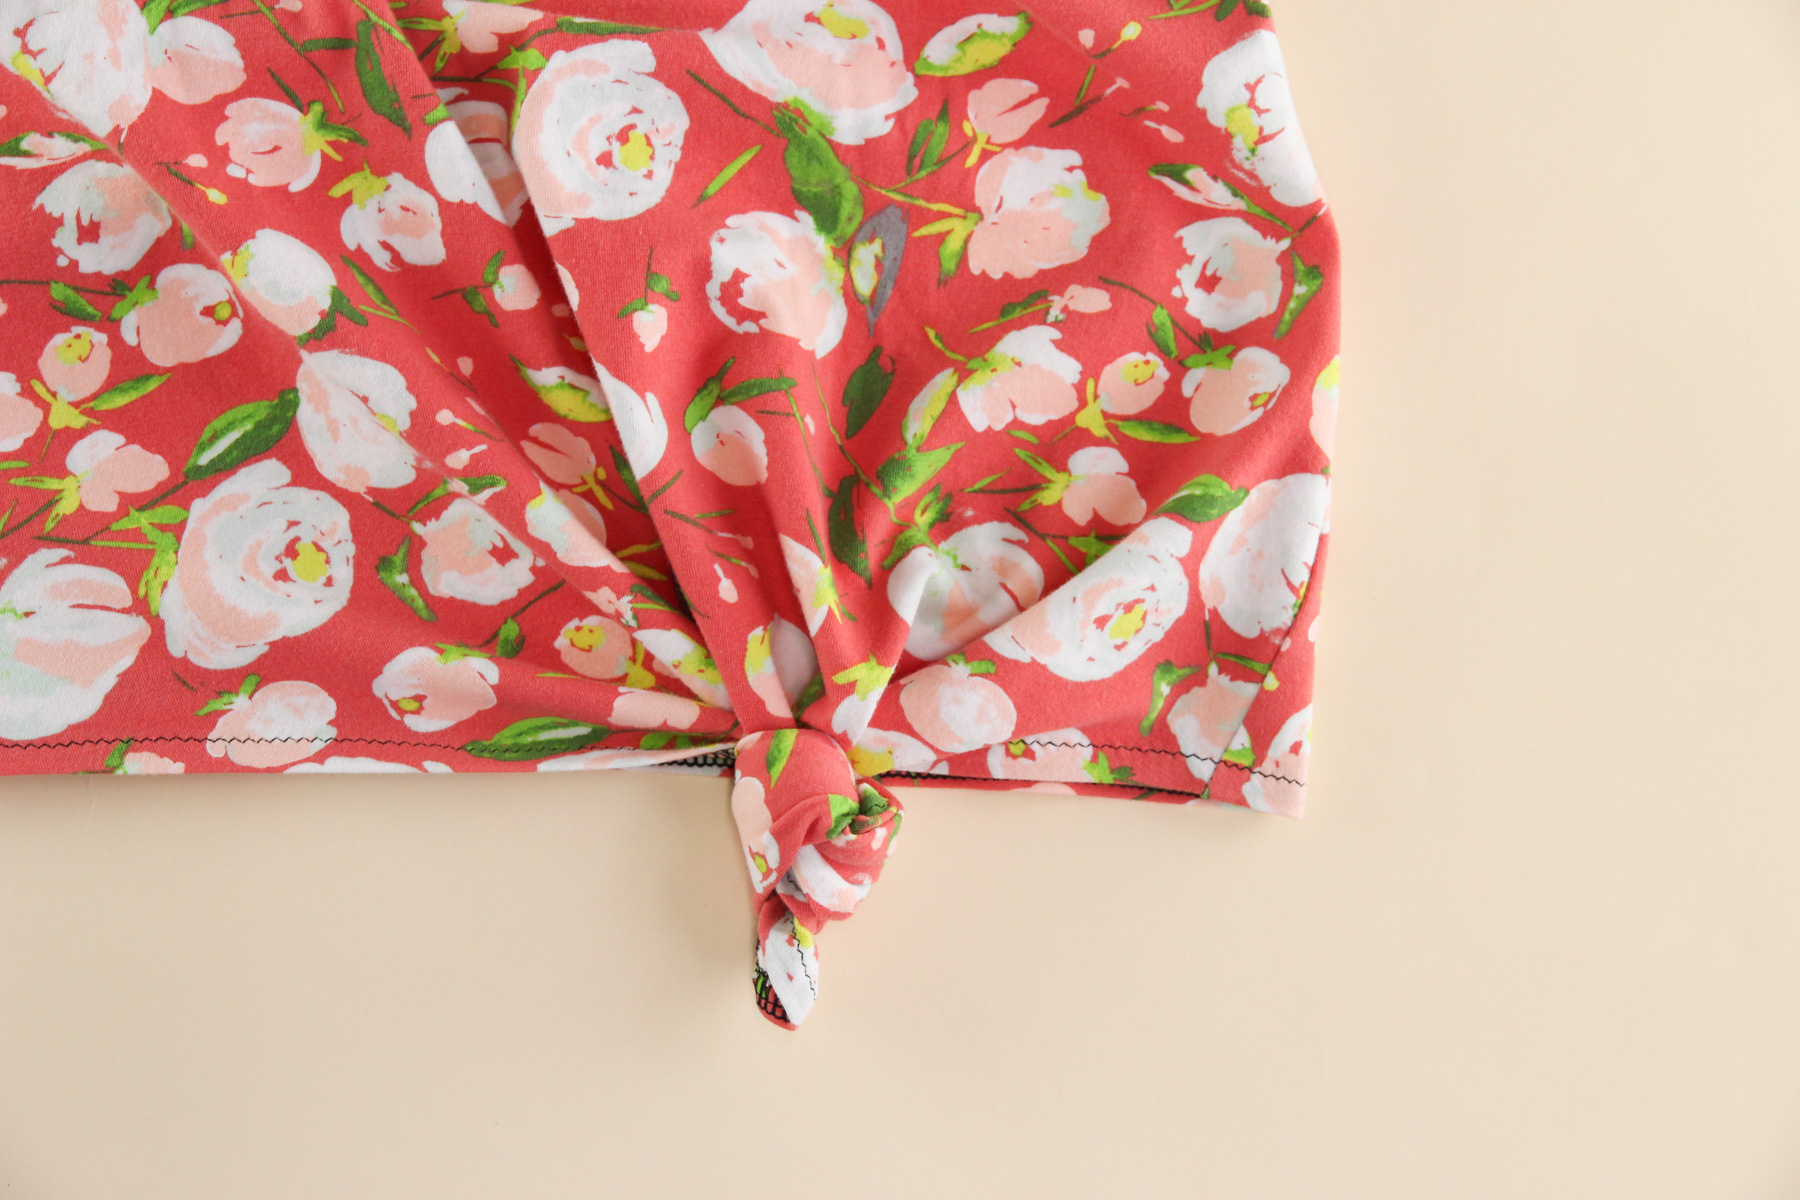
If you’re making View A, the hem can get a little fiddly around the curve of what we’ve taken to calling the “dongle” (not sure why). The curve is a tight around the bit that you’ll be knotting, but do your best and I promise no one will notice if the hem allowance is folded a bit in the back.
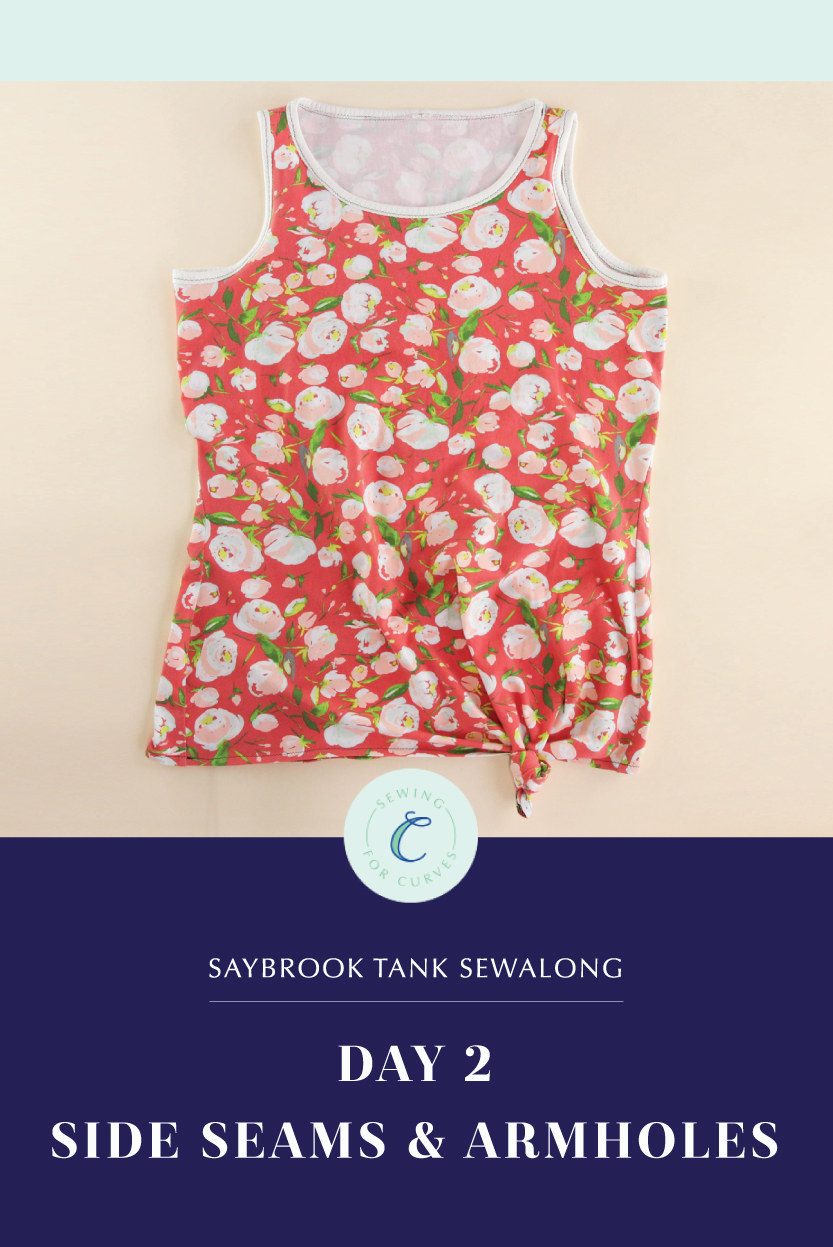
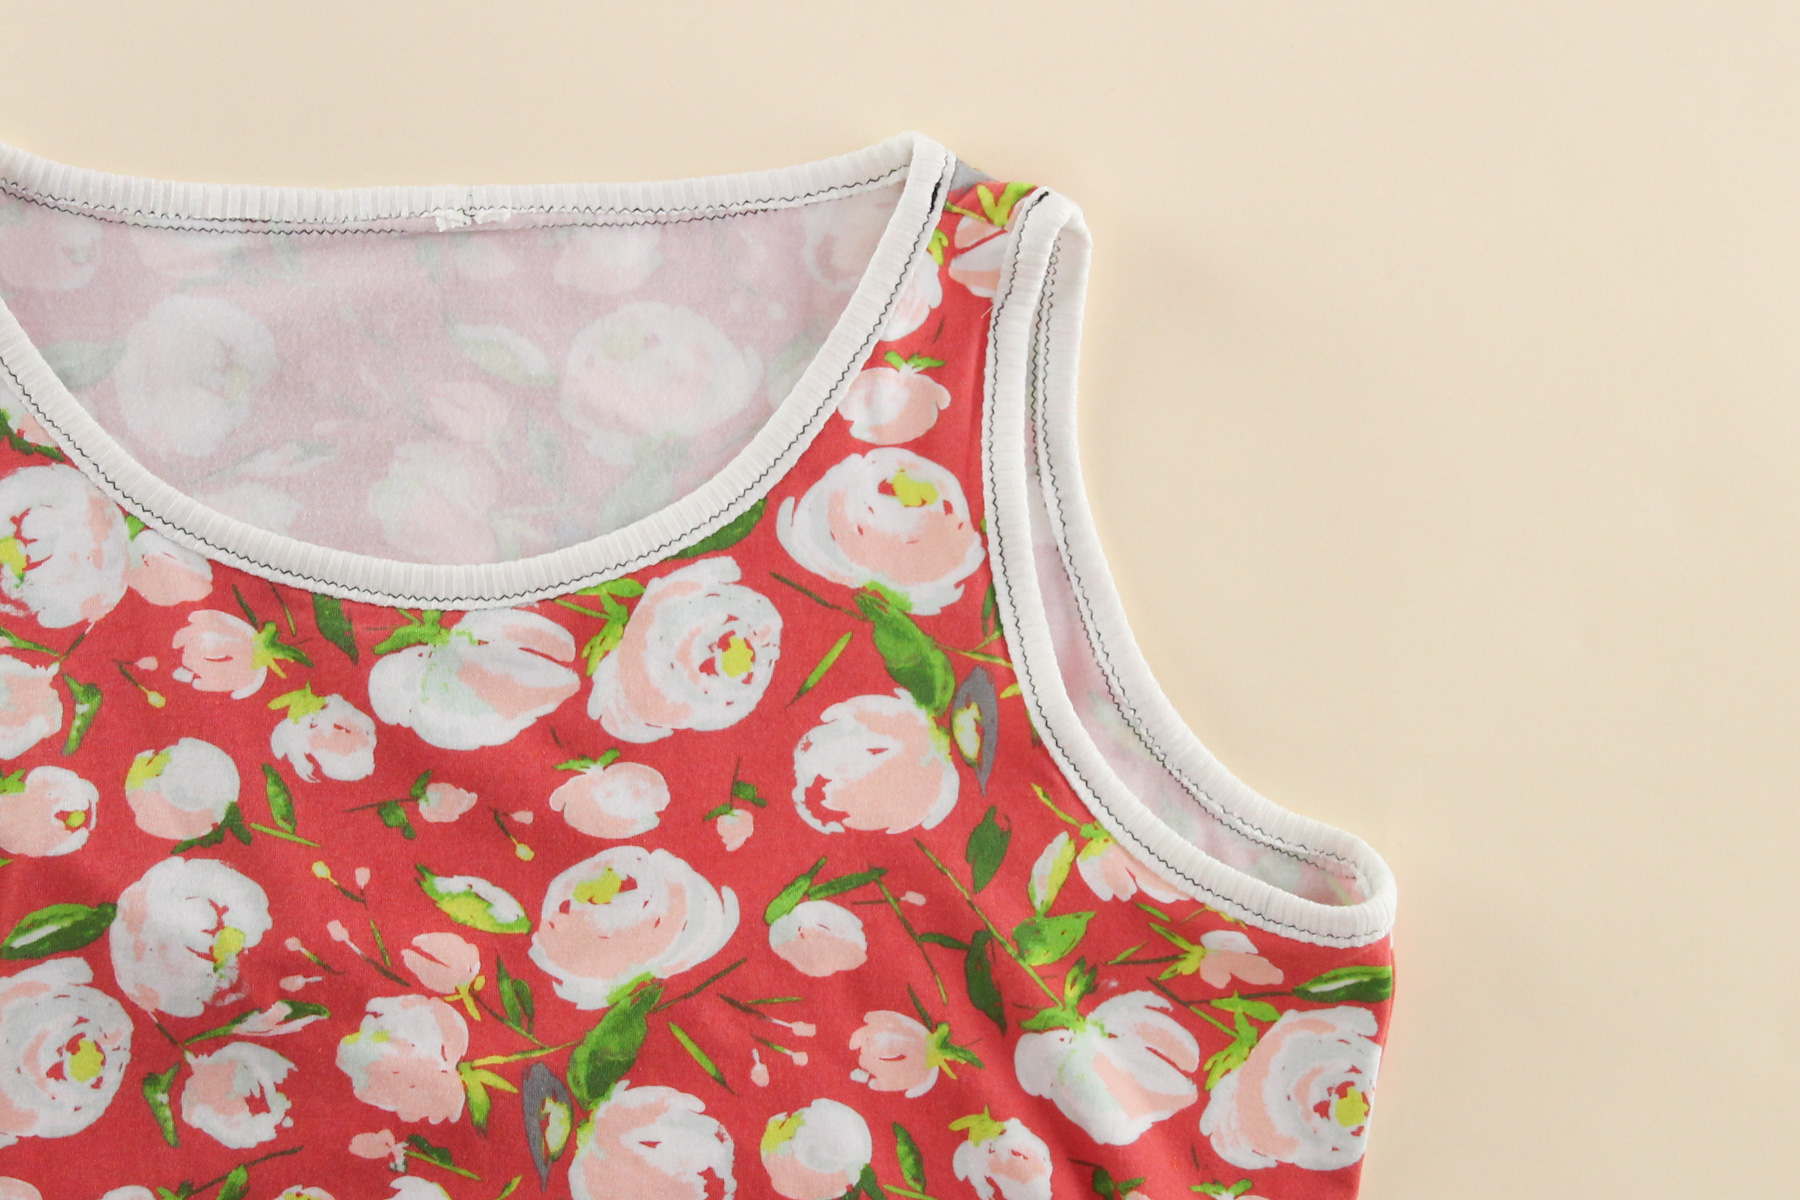
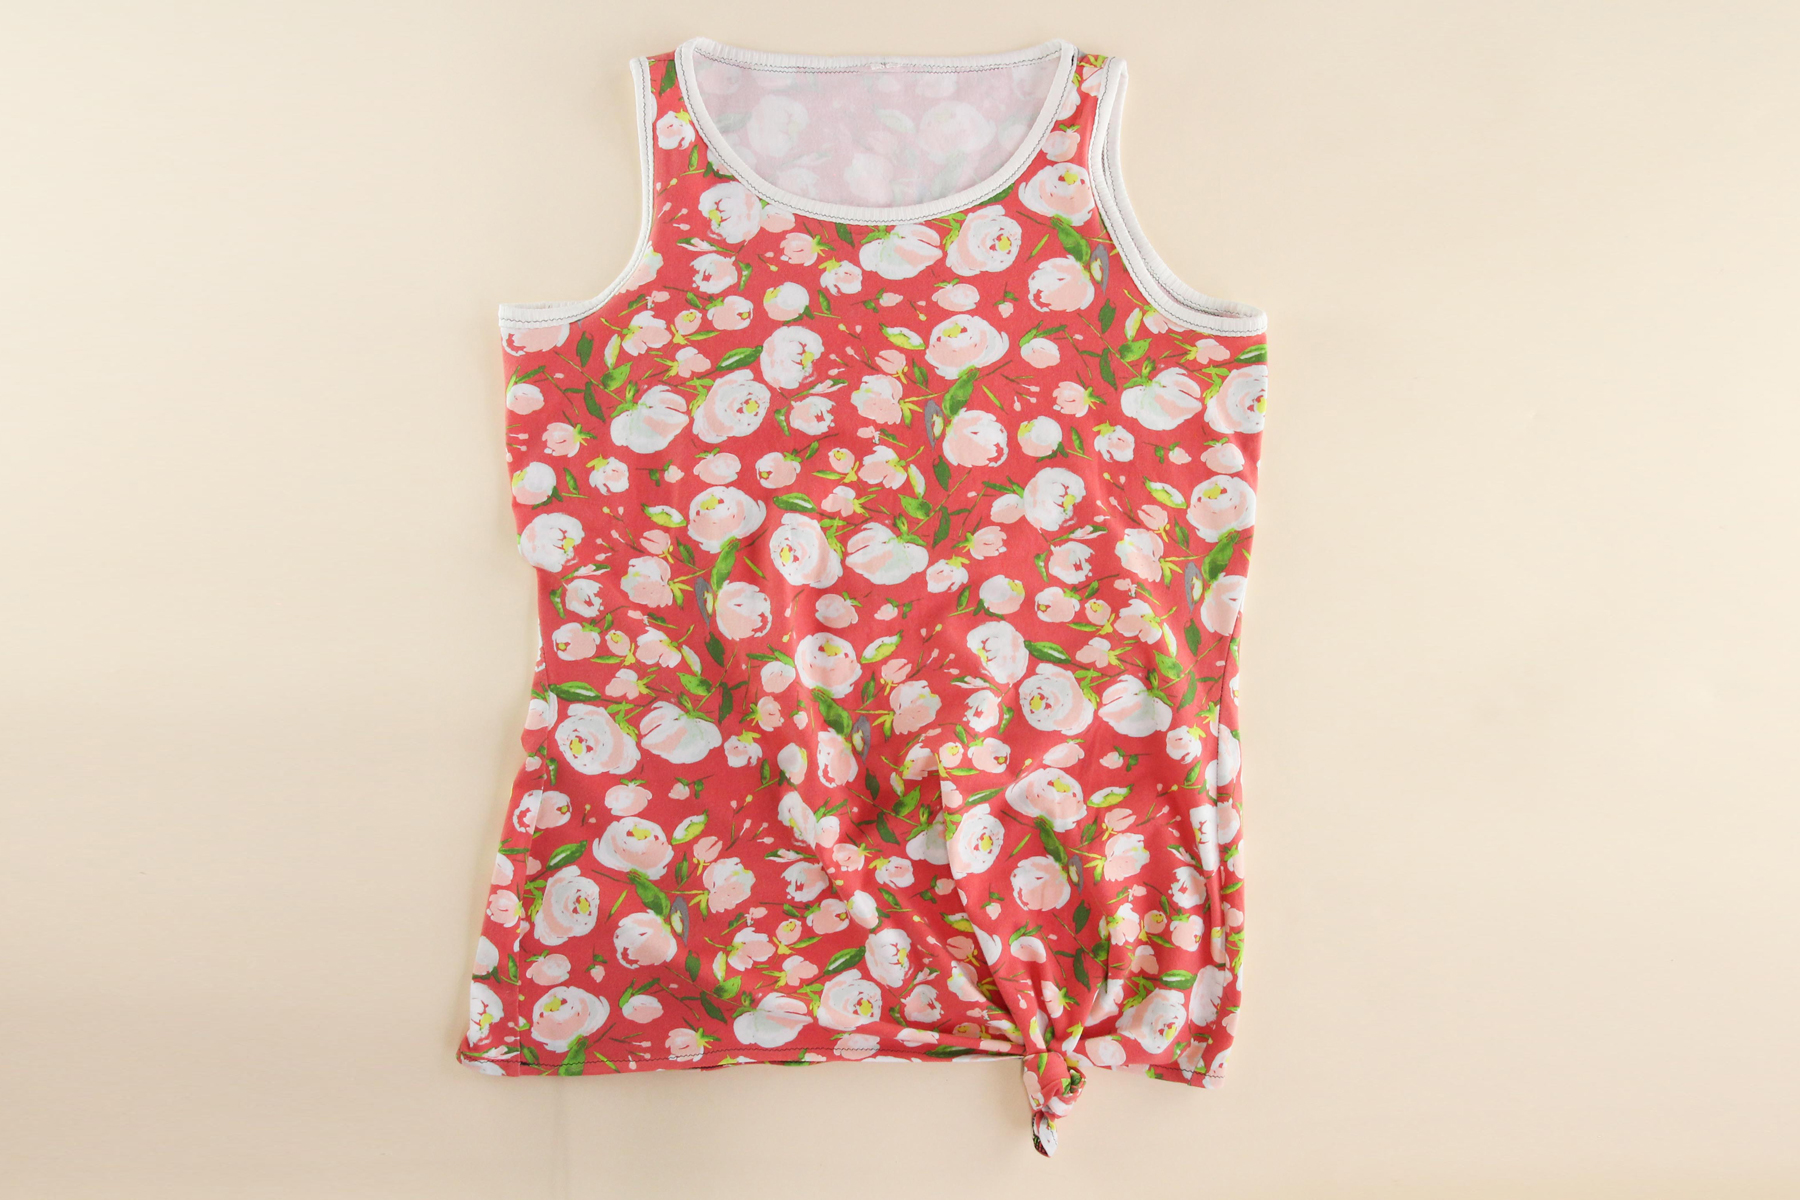
And there you have it! A finished Saybrook Tank, and looking darn good if I say so myself.
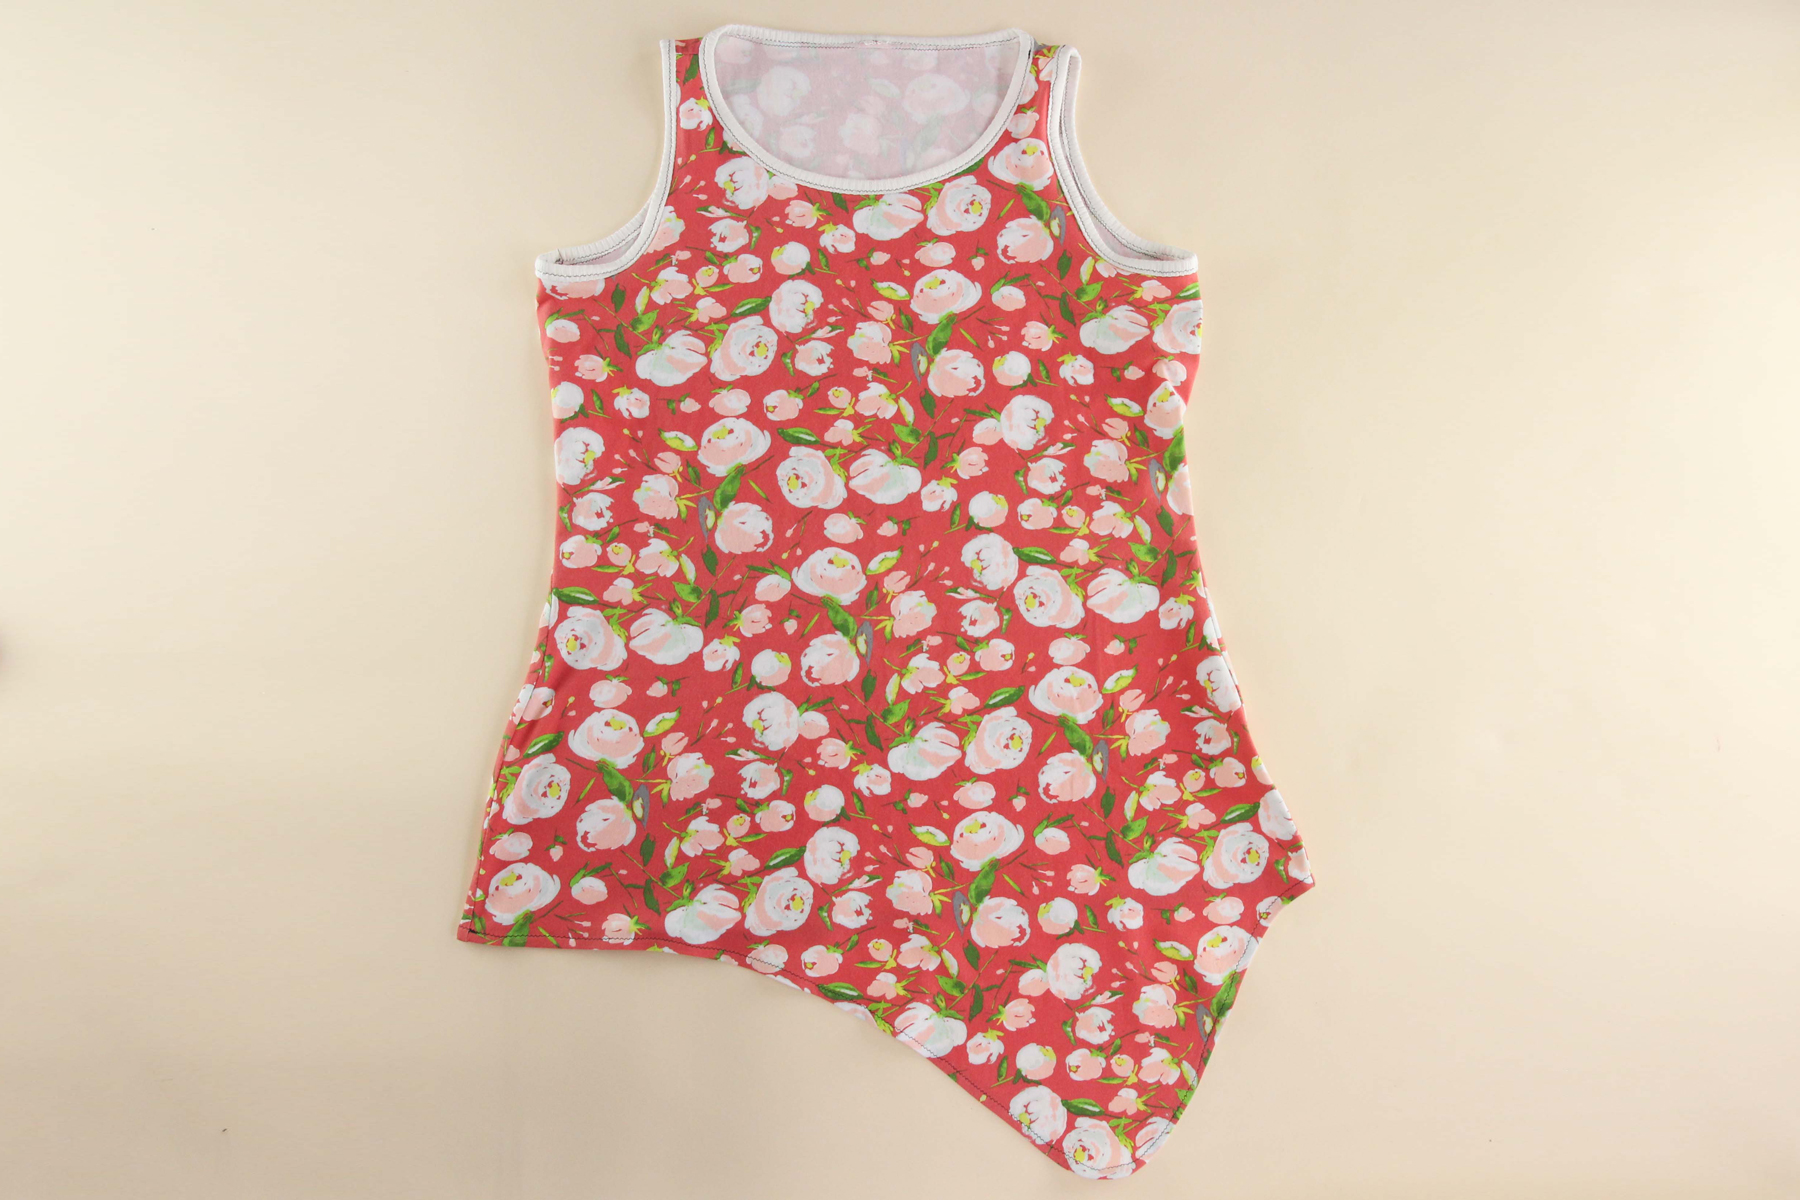
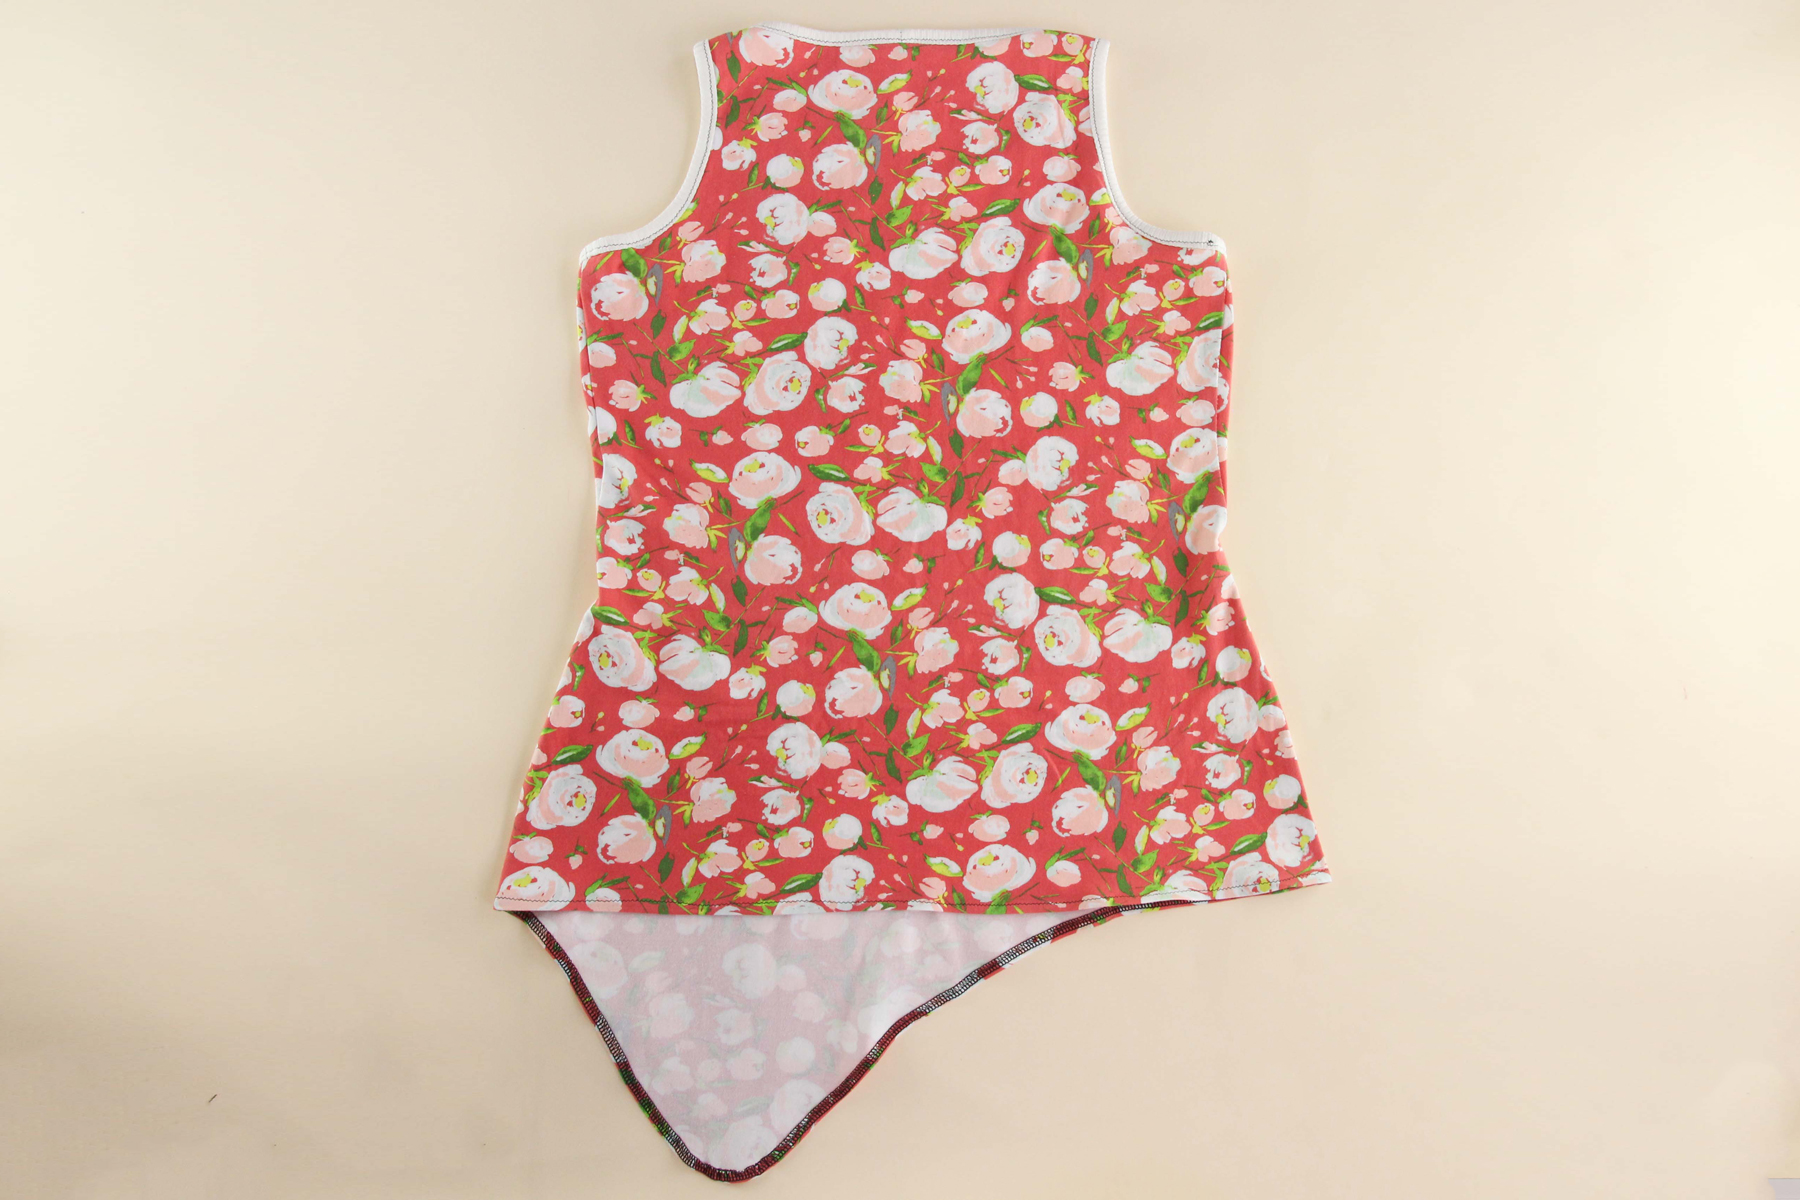
Here’s how it looks from the back:
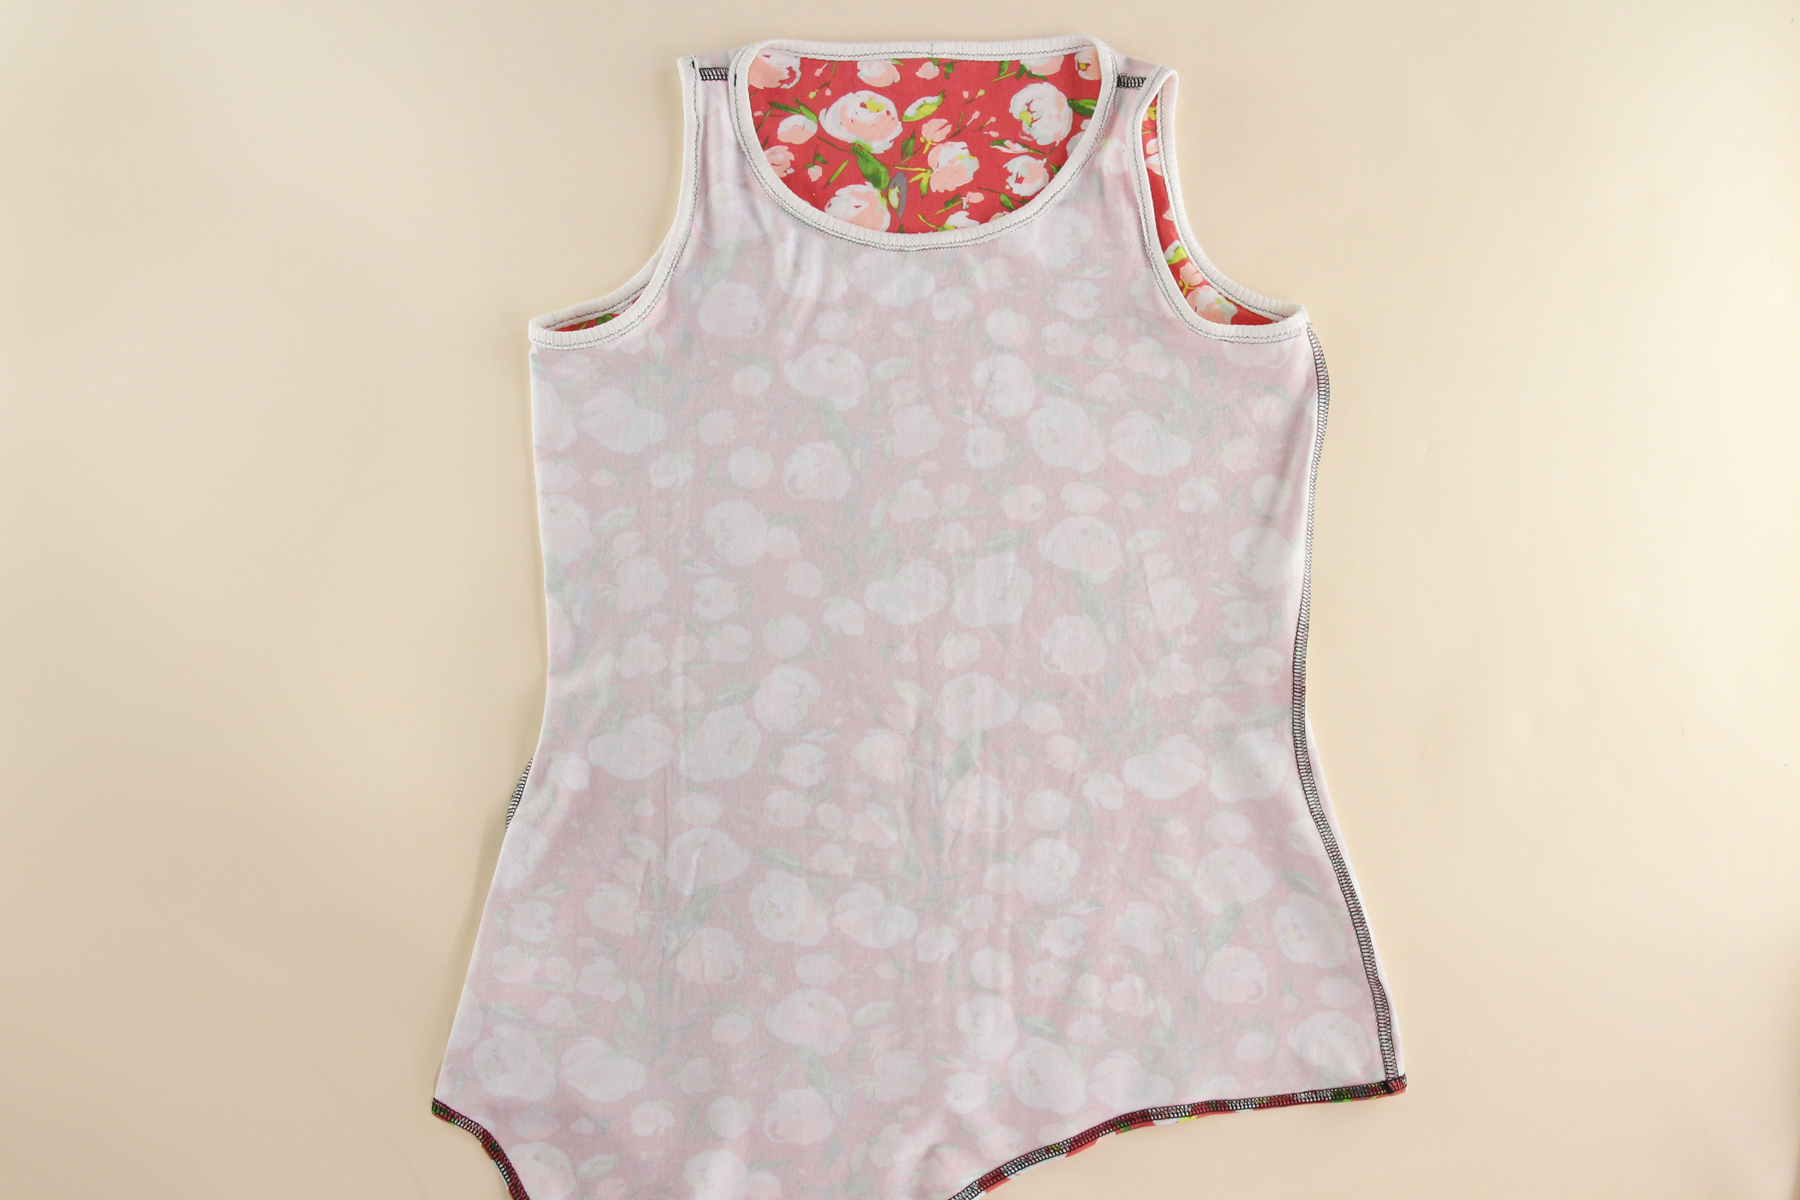
And from the inside:
If you made View A, you can tie it into an overhand knot when you put it on for a fun and cute detail.
You did it! You made your very own Saybrook Tank, one that’s designed specifically for your curves and is sure to cover your bra.
We can’t wait to see how your Saybrook Tank turned out—be sure to use the hashtag #SaybrookTank on social media so we can fawn all over your fun new tank.
Any questions about sewing the Saybrook? Drop them in the comments below and we’ll be happy to help.