Welcome to the Saybrook Tank sewalong! Our pattern and fabric are both prepped, and it’s time to start sewing.
If you’re just joining us, be sure to check out our tips for choosing your size and preparing your pattern and fabric. And don’t miss our favorite fabric ideas and knit tank inspiration from ready-to-wear fashion!
I’ll be sewing up View A of the Saybrook Tank with the cute knotted hem, but the construction is the same for all three views, so you can follow these steps even if you’re sewing up the cami-style View B or the cropped View C. I’m using a cotton/spandex knit for the body and some bamboo rib knit leftovers for the neckline and armhole bindings. (Remember to choose a fabric that has at least 5% spandex for your bindings—you’ll want good recovery so these areas don’t bag out.)
You’ll notice that I’m using a contrast thread to make it easier for you to see what I’m doing, but you should use a coordinating thread. (Or go for a contrast thread! Who am I to dictate your thread choices?) I’ll show you how to sew the Saybrook on a sewing machine in case you don’t have a serger, but if you want, you can sew yours directly on your serger.
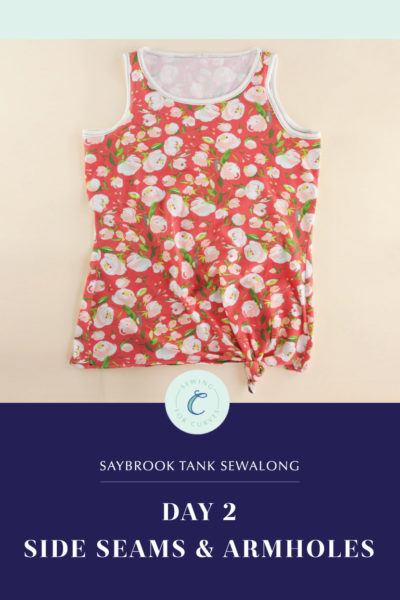
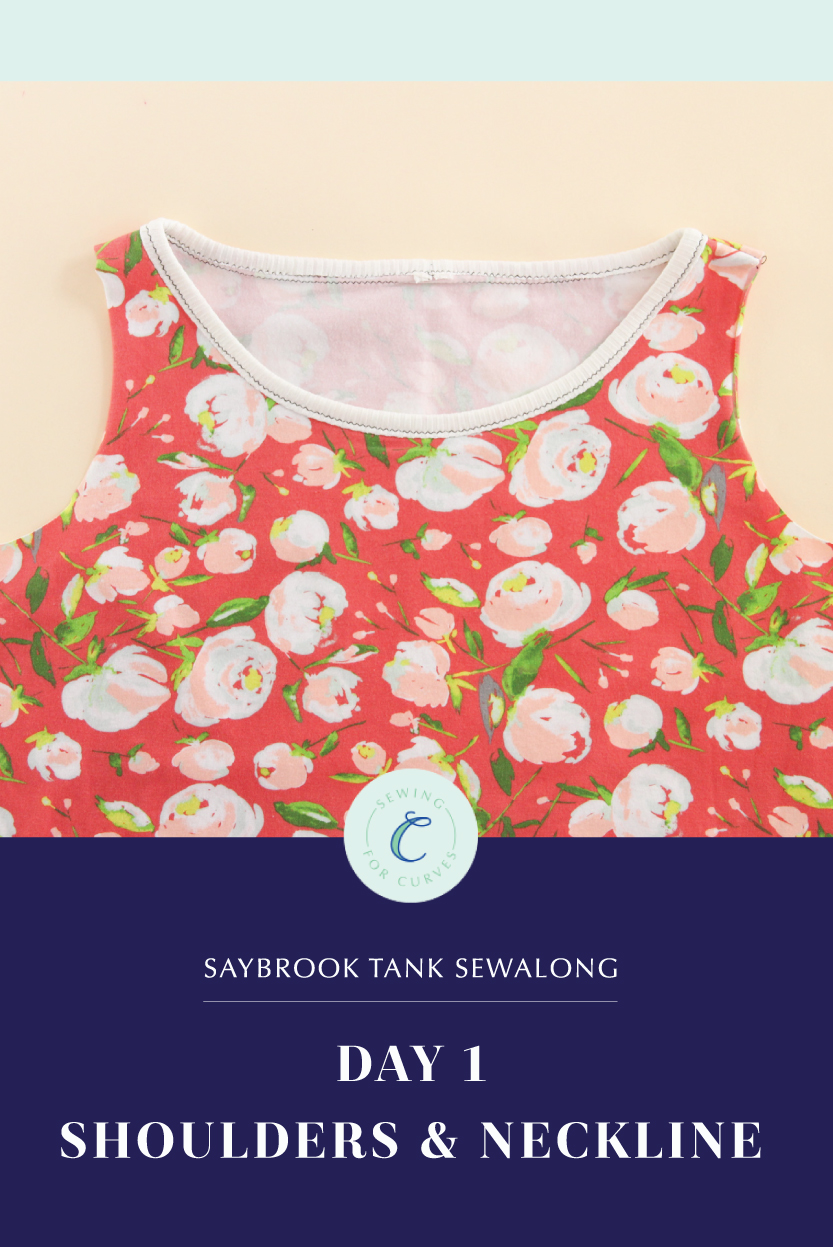
Today we’re focusing on the shoulder seams and the neckline binding. (If you’re comfortable sewing with knits, you may be able to zip through this bit and be done with the entire tank in one afternoon.) So let’s get going!
Sewing the Shoulders
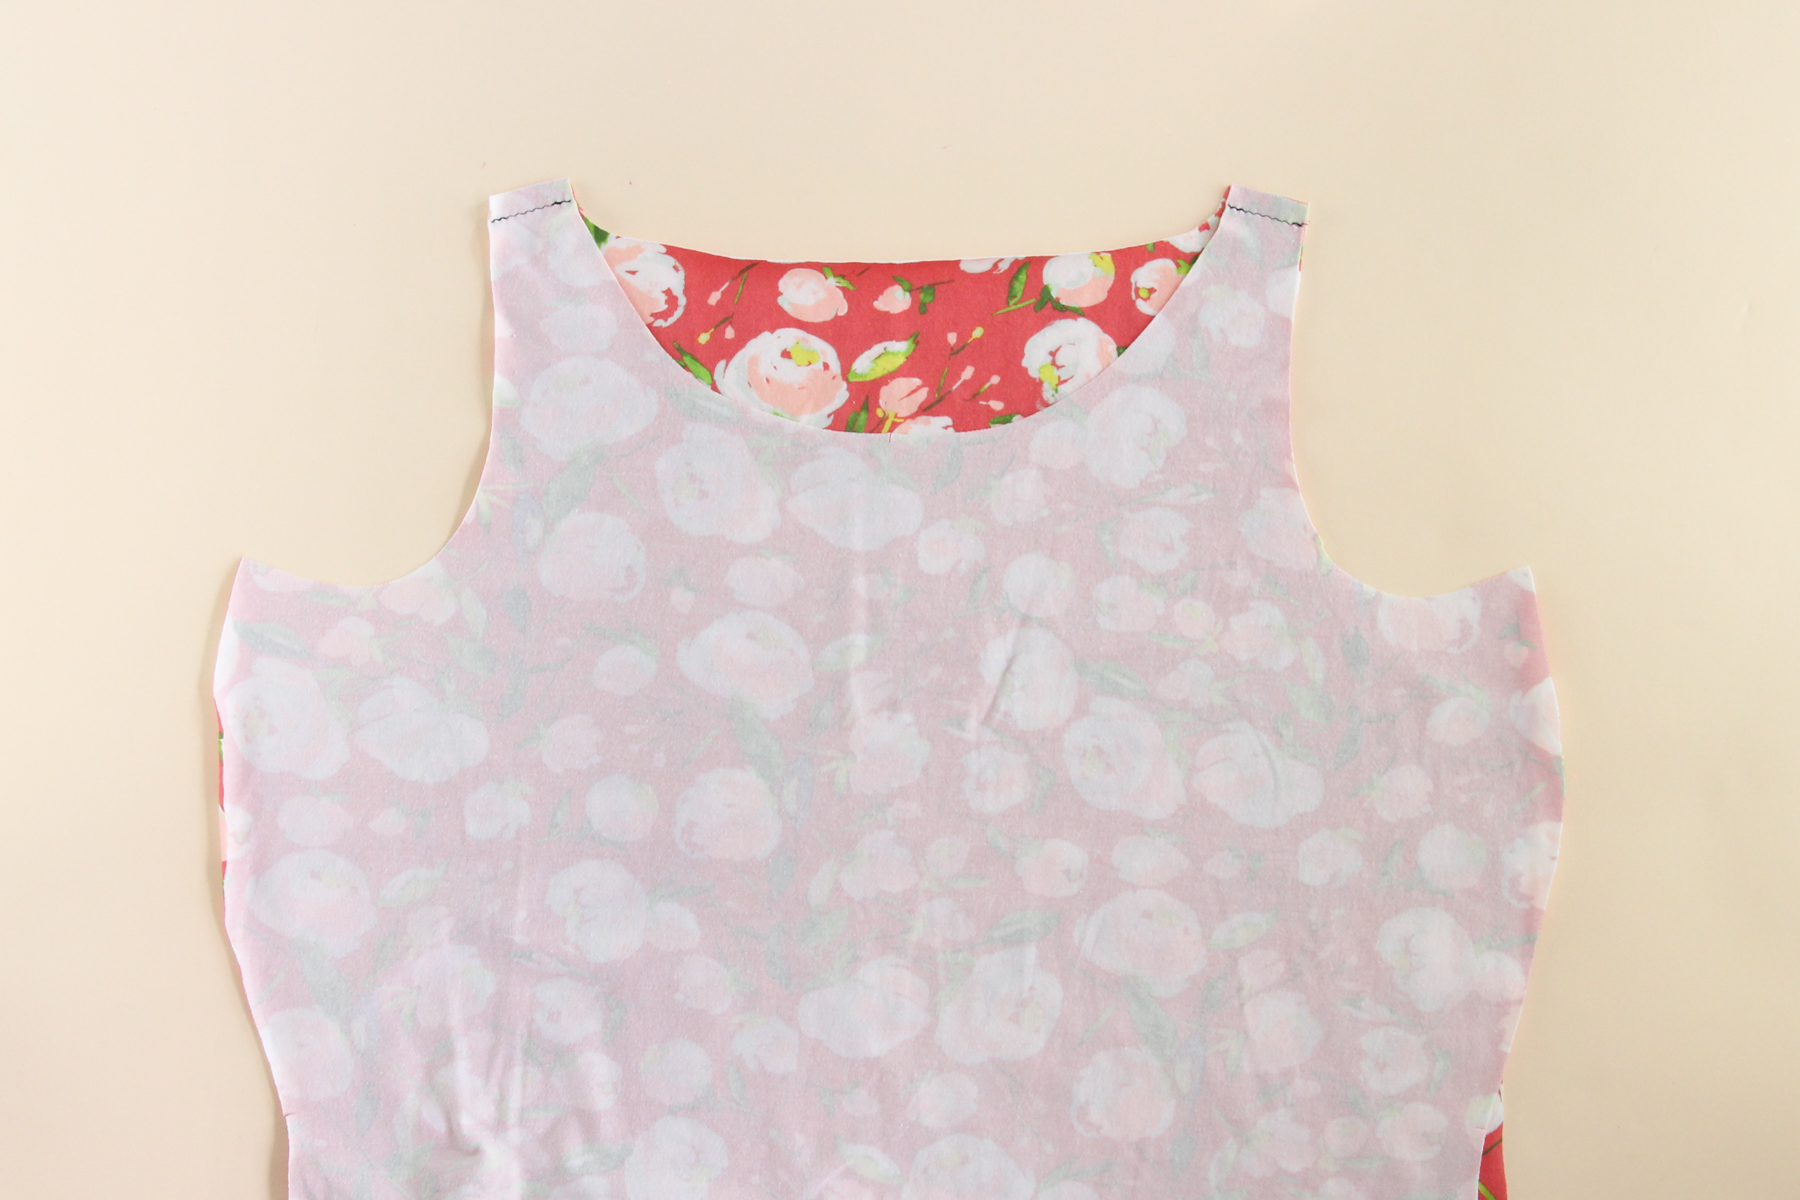
We’re going to start by sewing the shoulder seams. Let’s pin the front to the back at the shoulder seams, right sides together.
Now we need to sew that seam using our 3/8″ (1 cm) seam allowance. We’re going to use a narrow zigzag stitch for this.
If your fabric doesn’t fray (many knits don’t), you can leave those seams raw. Or you can serge them to finish them, or sew a second line of stitching 1/8″ (3 mm) from the seam and trim the seam allowance off very close to the stitching.
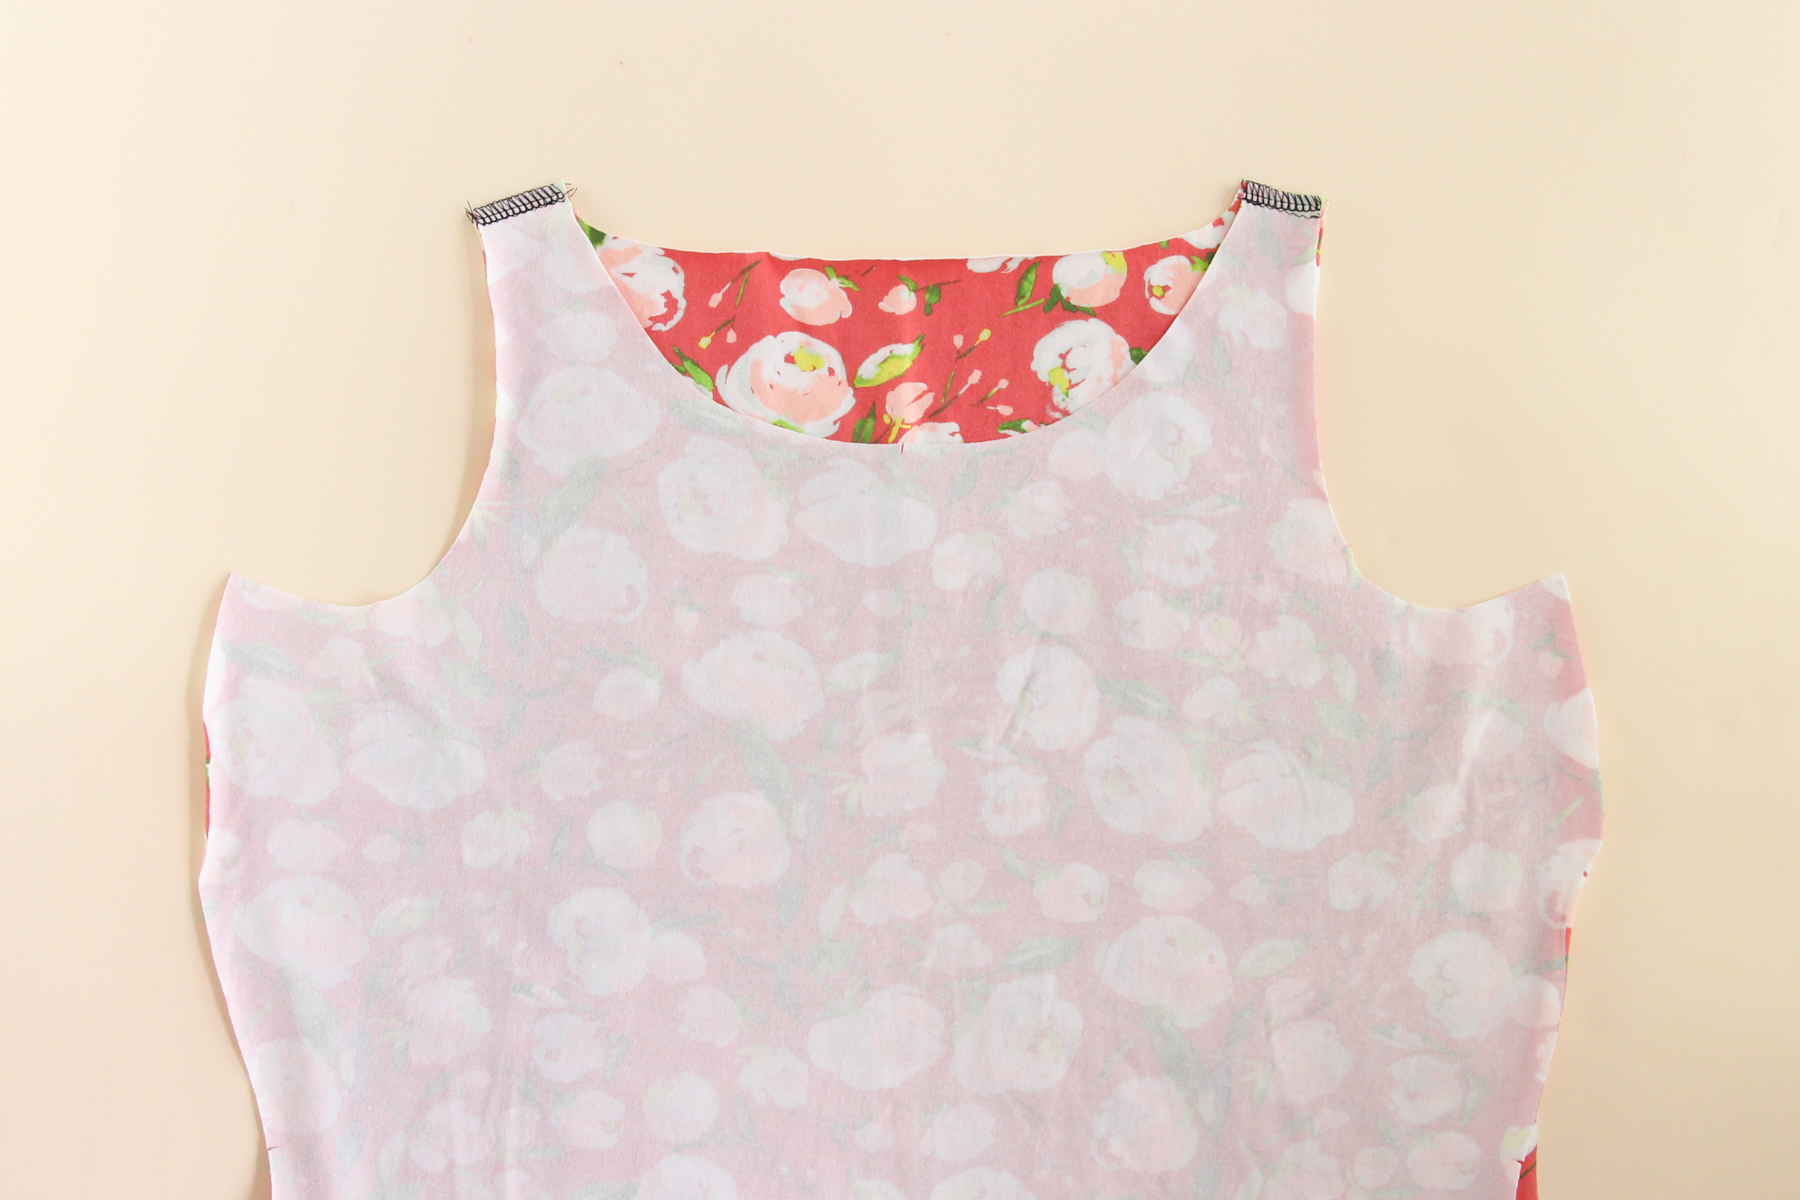
Let’s press those shoulder seam allowances towards the back. Be sure to press from the wrong side and again from the right side. (Test the temperature of your iron on a scrap piece first—knits with a bit of spandex may leave a shine if your iron is too hot.)
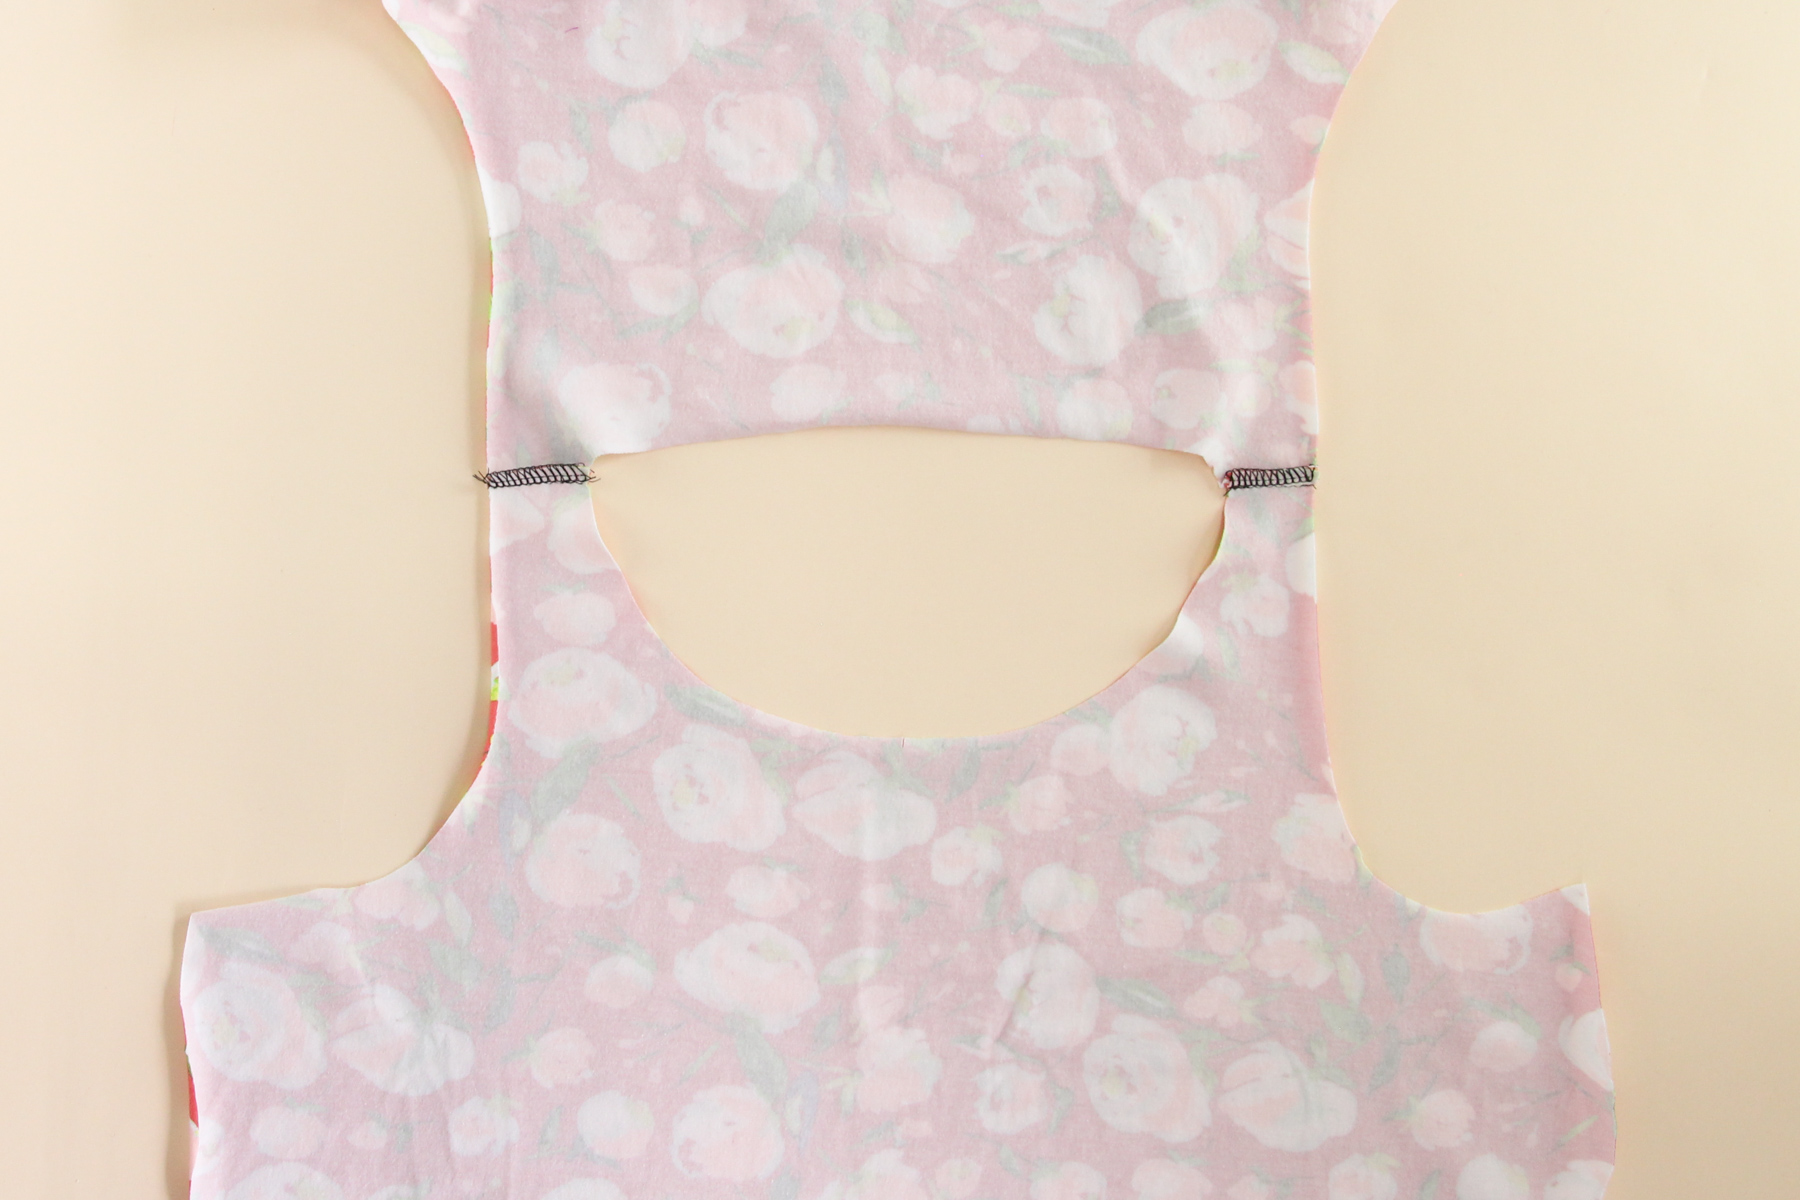
Okie dokey, that part’s done! Give yourself a pat on the back—you’re on your way to having a brand new, super cute knit tank.
Binding the Neckline
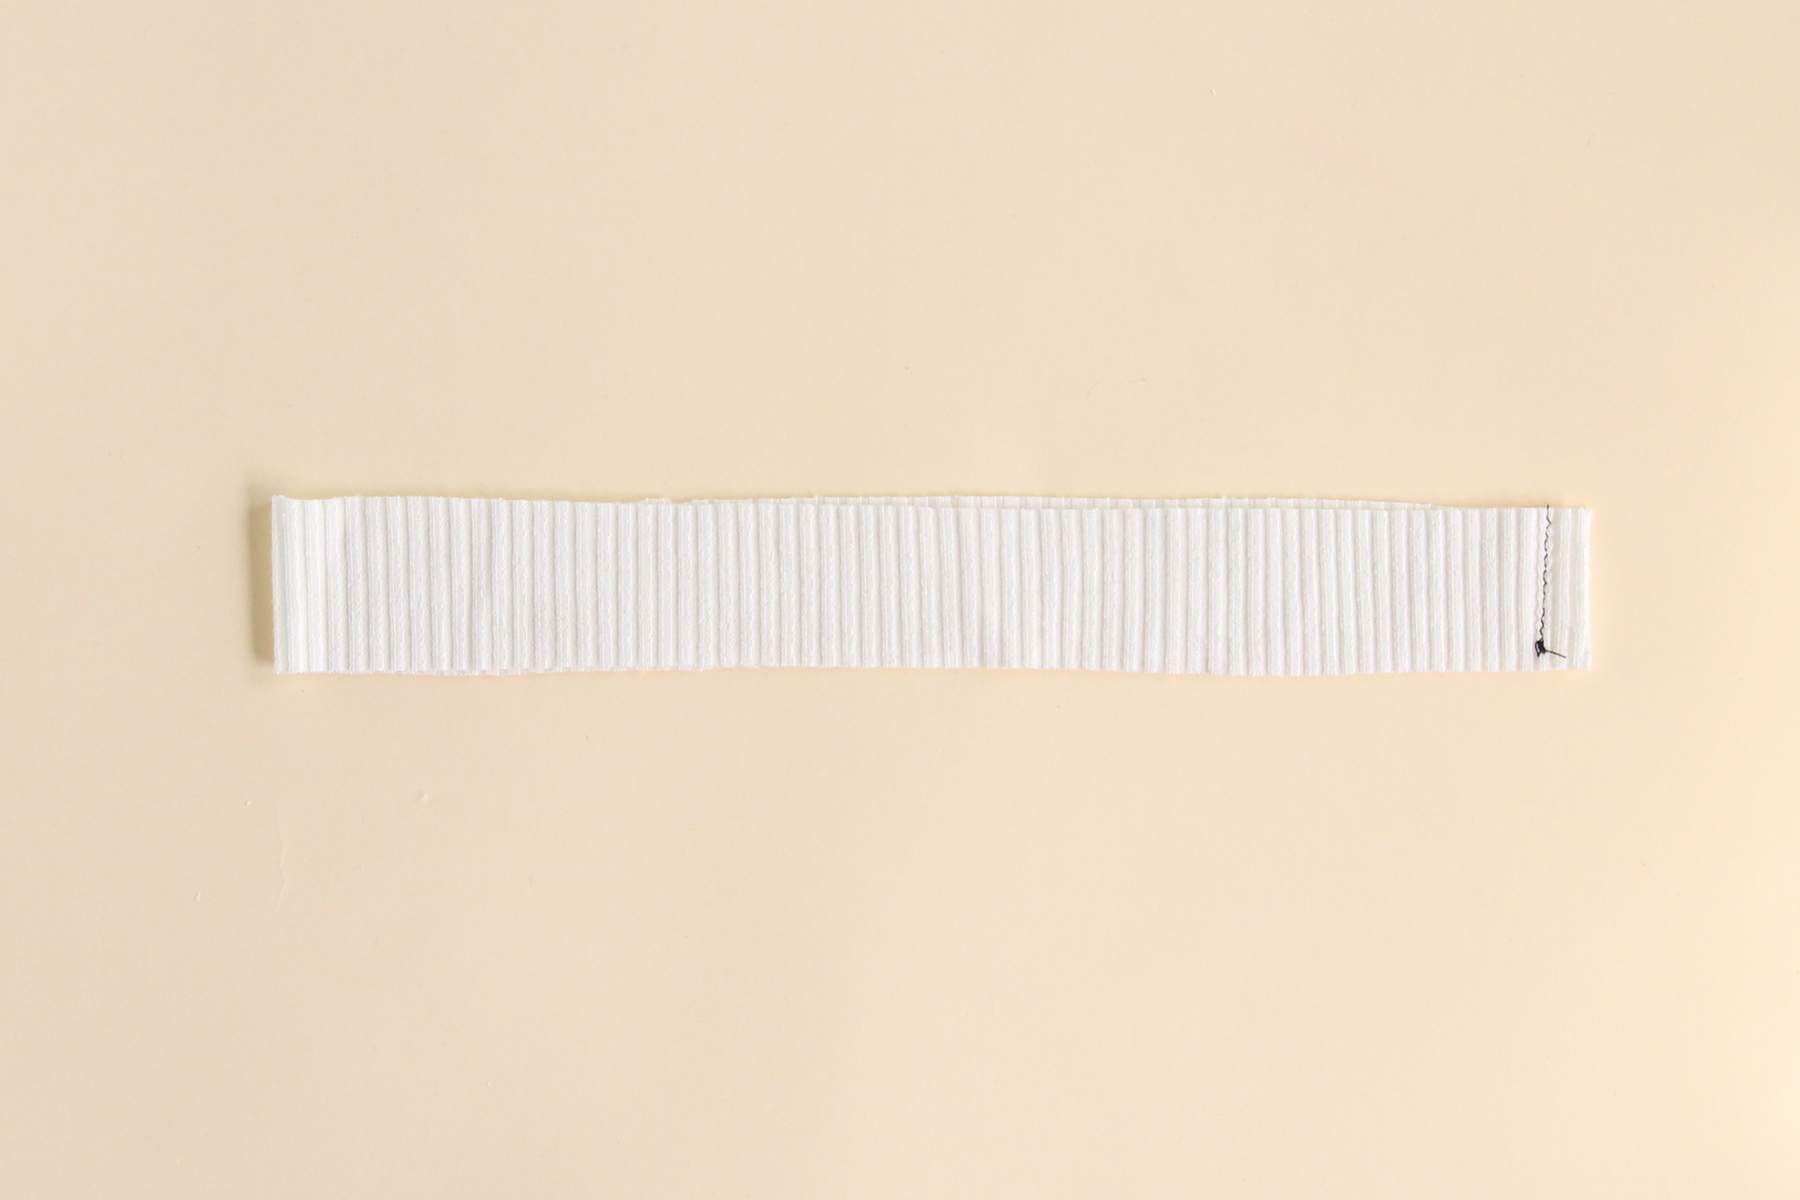
Now let’s take our neckline binding piece. Fold it in half with the two short ends together, right sides together. Pin.
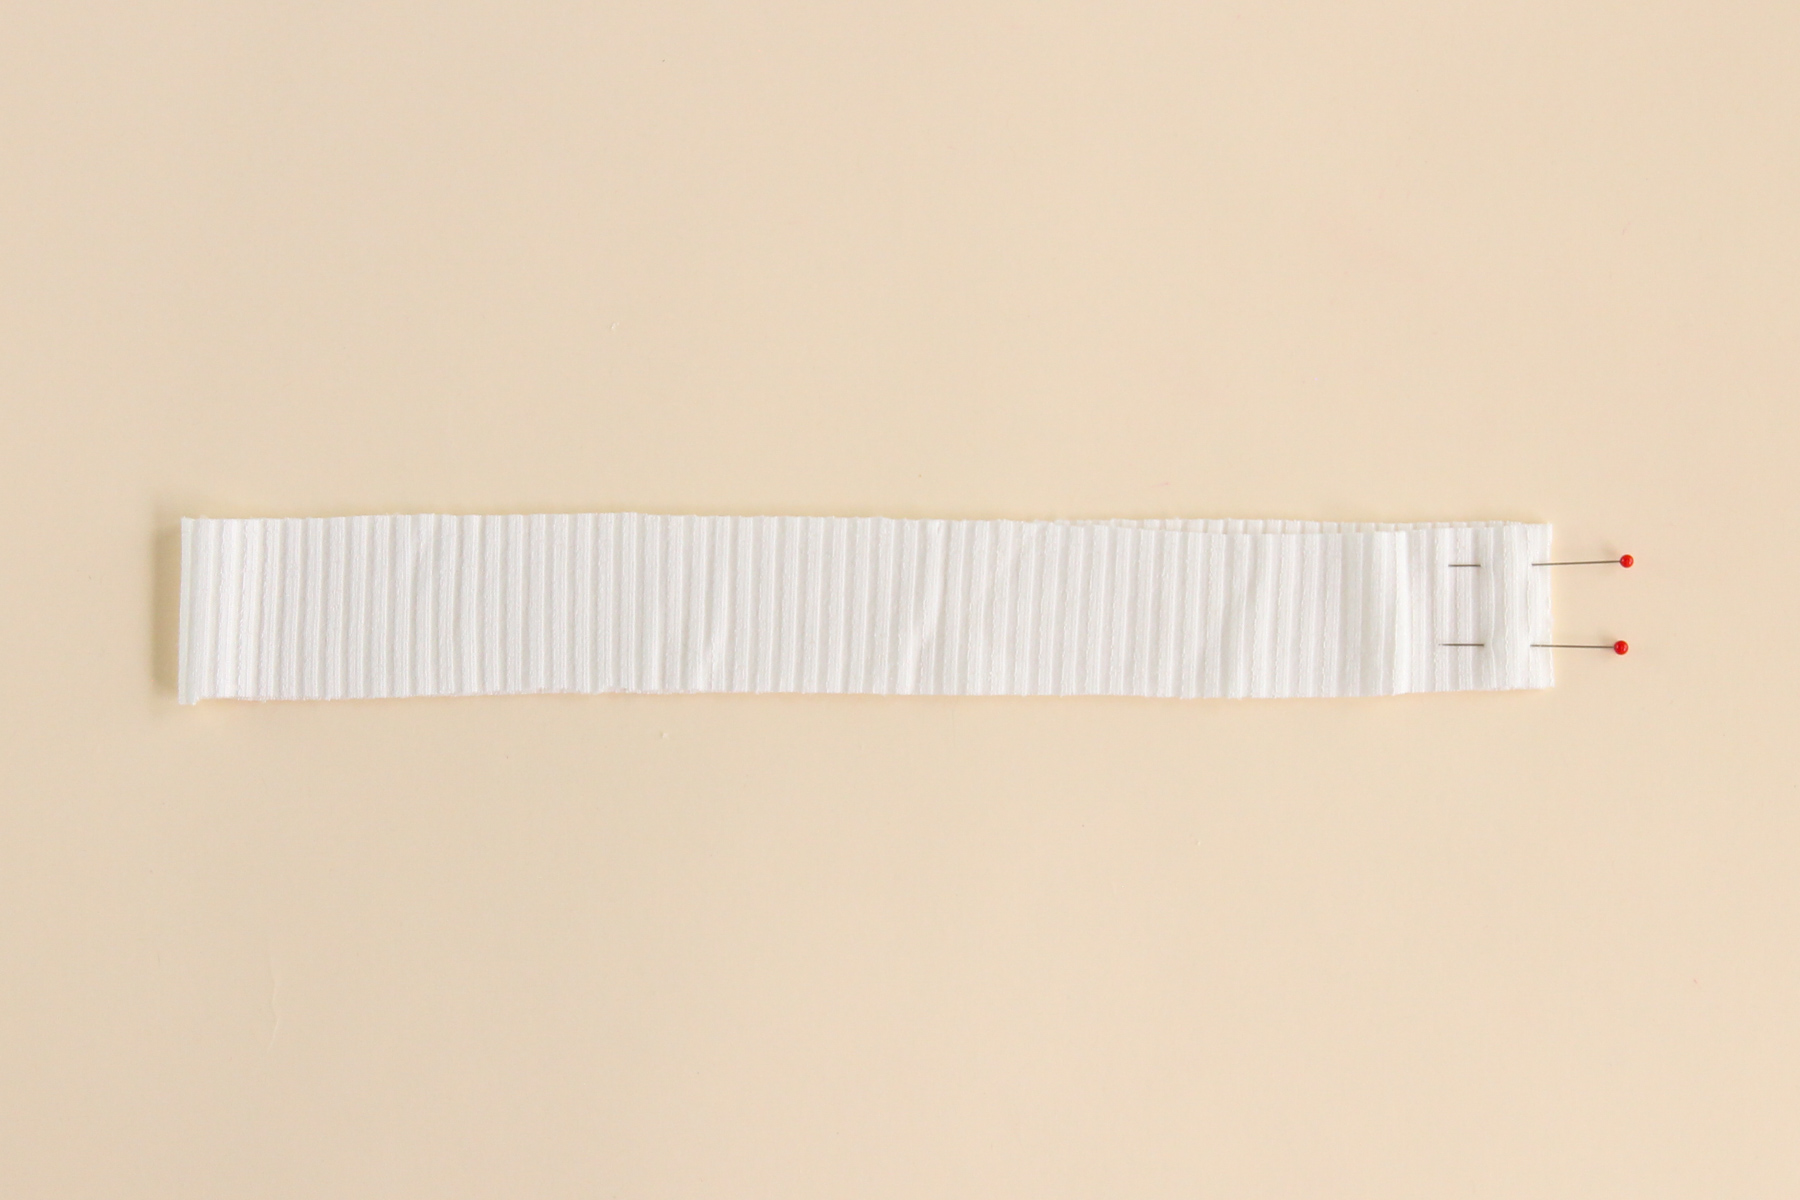
Let’s sew that seam using our 3/8″ (1 cm) seam allowance. (I prefer to do this on a sewing machine even if I have serger, so that I can press the seam allowance apart and reduce some of the bulk.)
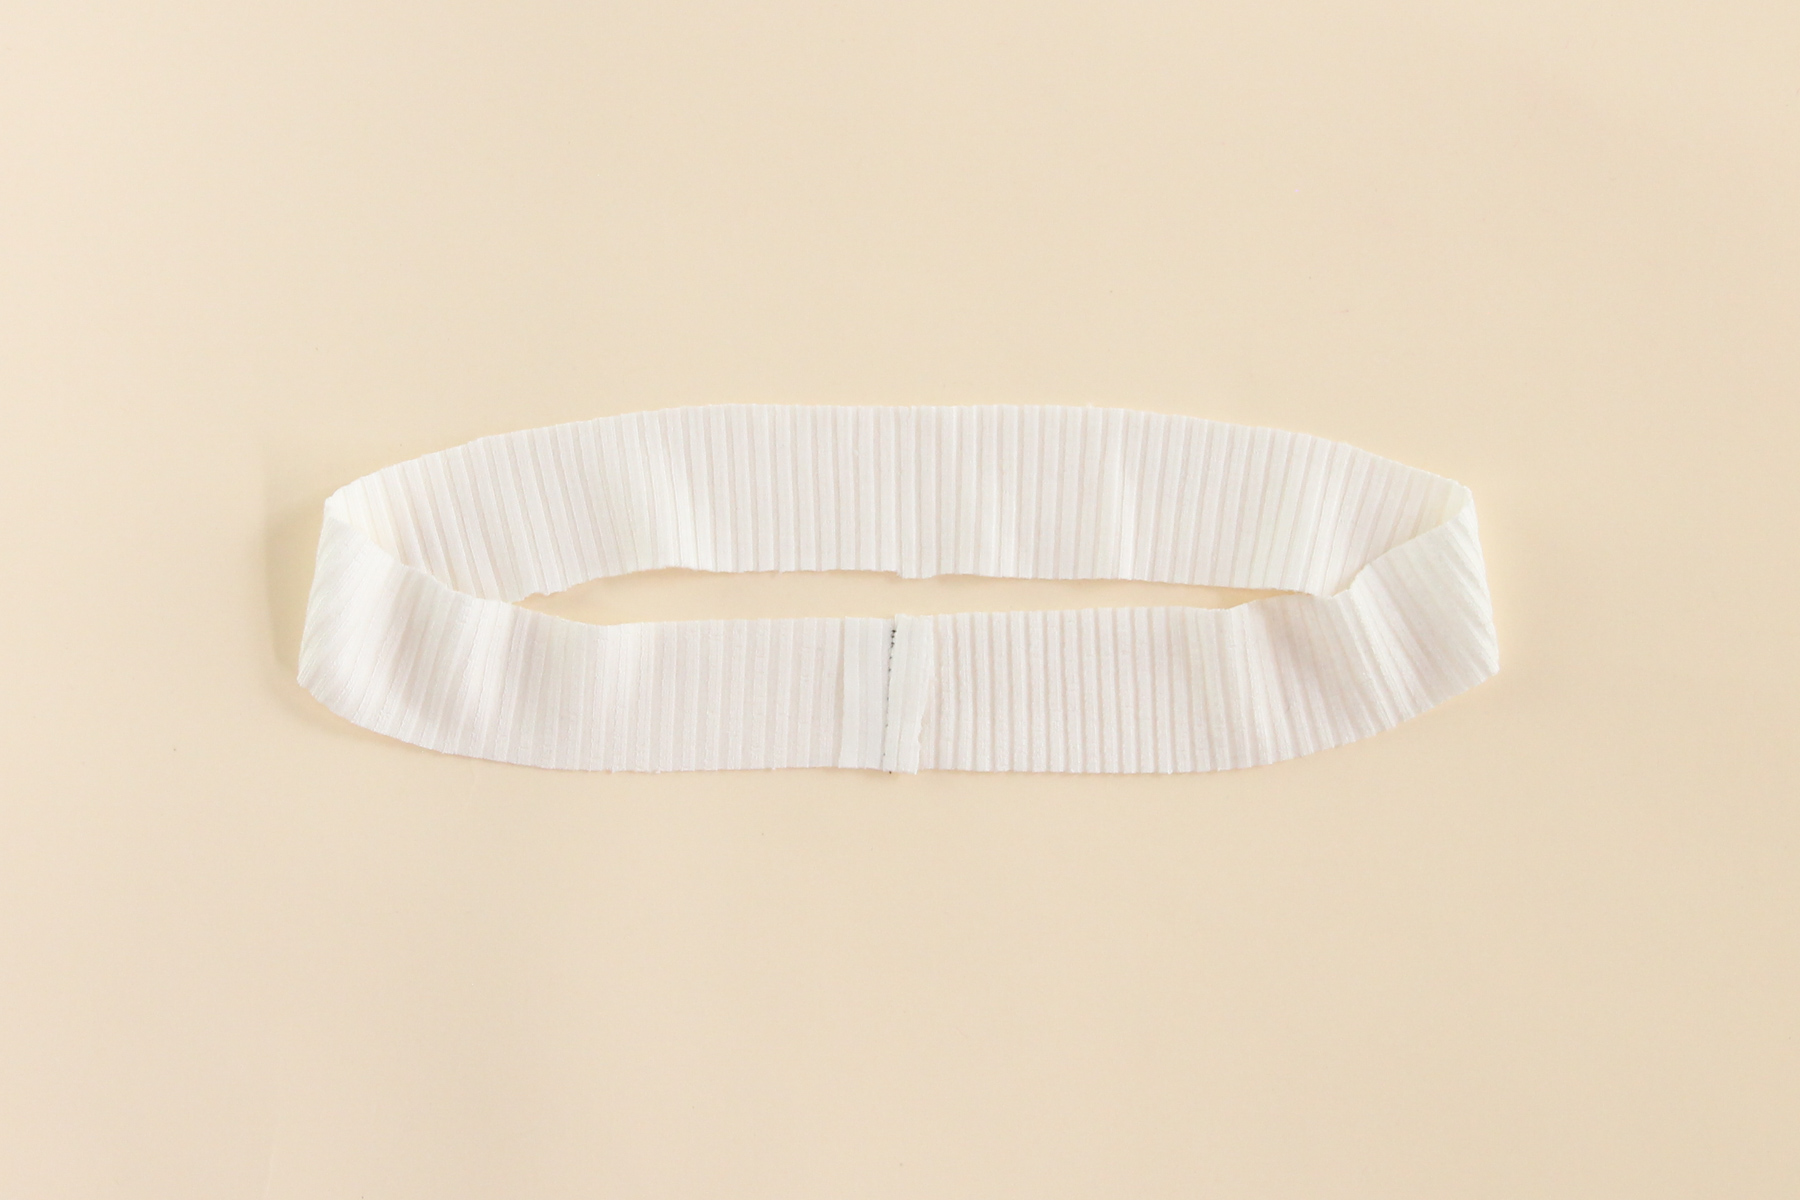
Okay, let’s press that seam allowance open (or to one side if you serged it).
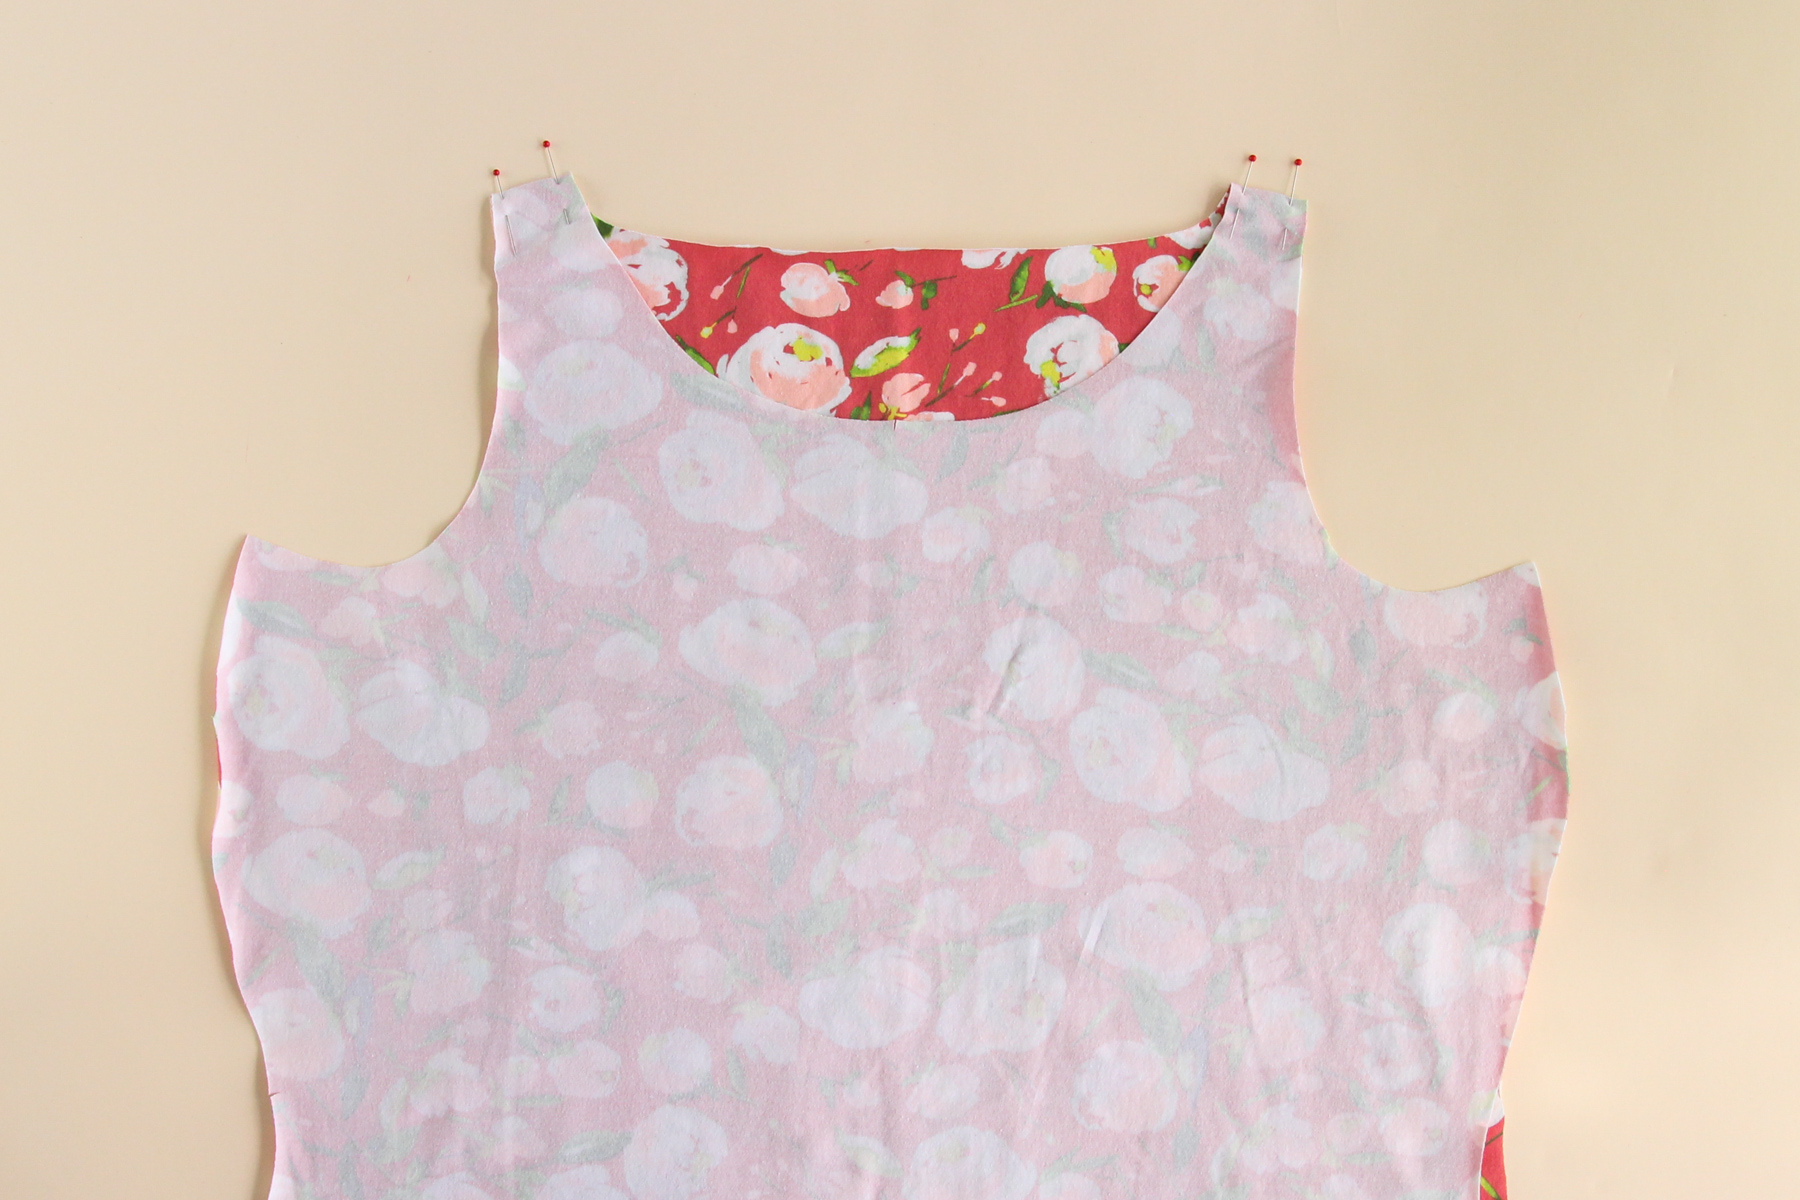
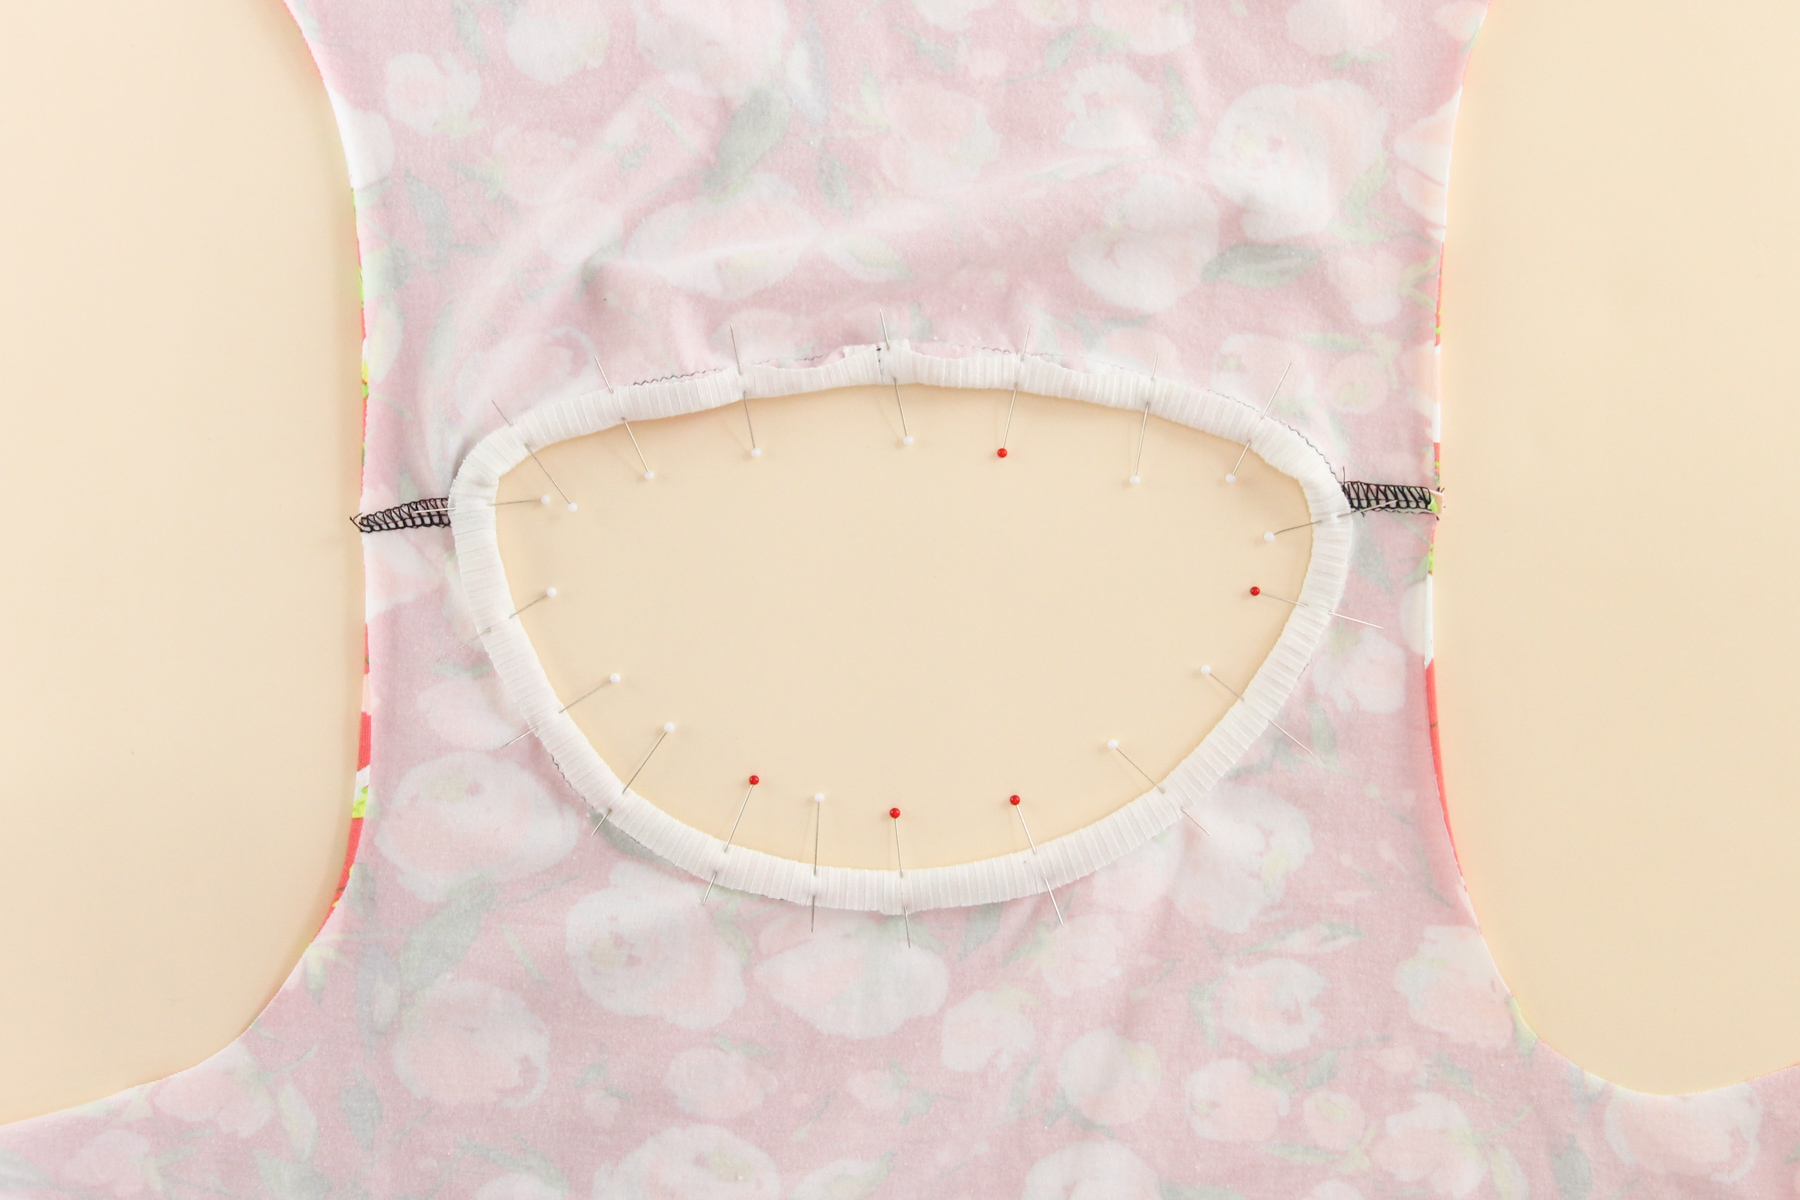
We’re going to pin the neckline binding to the neck opening of the top. You’ll notice that on one edge of the neckline binding, there are 4 notches. This is the edge we want to pin to the neckline.
Lay the neckline binding on top of the tank, right sides together. Start by matching the neckline binding seam to the center back notch on the top. (If you didn’t mark this notch when cutting our your piece, you can fold the back in half, matching up the shoulder seams, to find the center back). Then match the notch opposite the binding seam to the center front notch of the top, and the two other notches to the two shoulder seams.
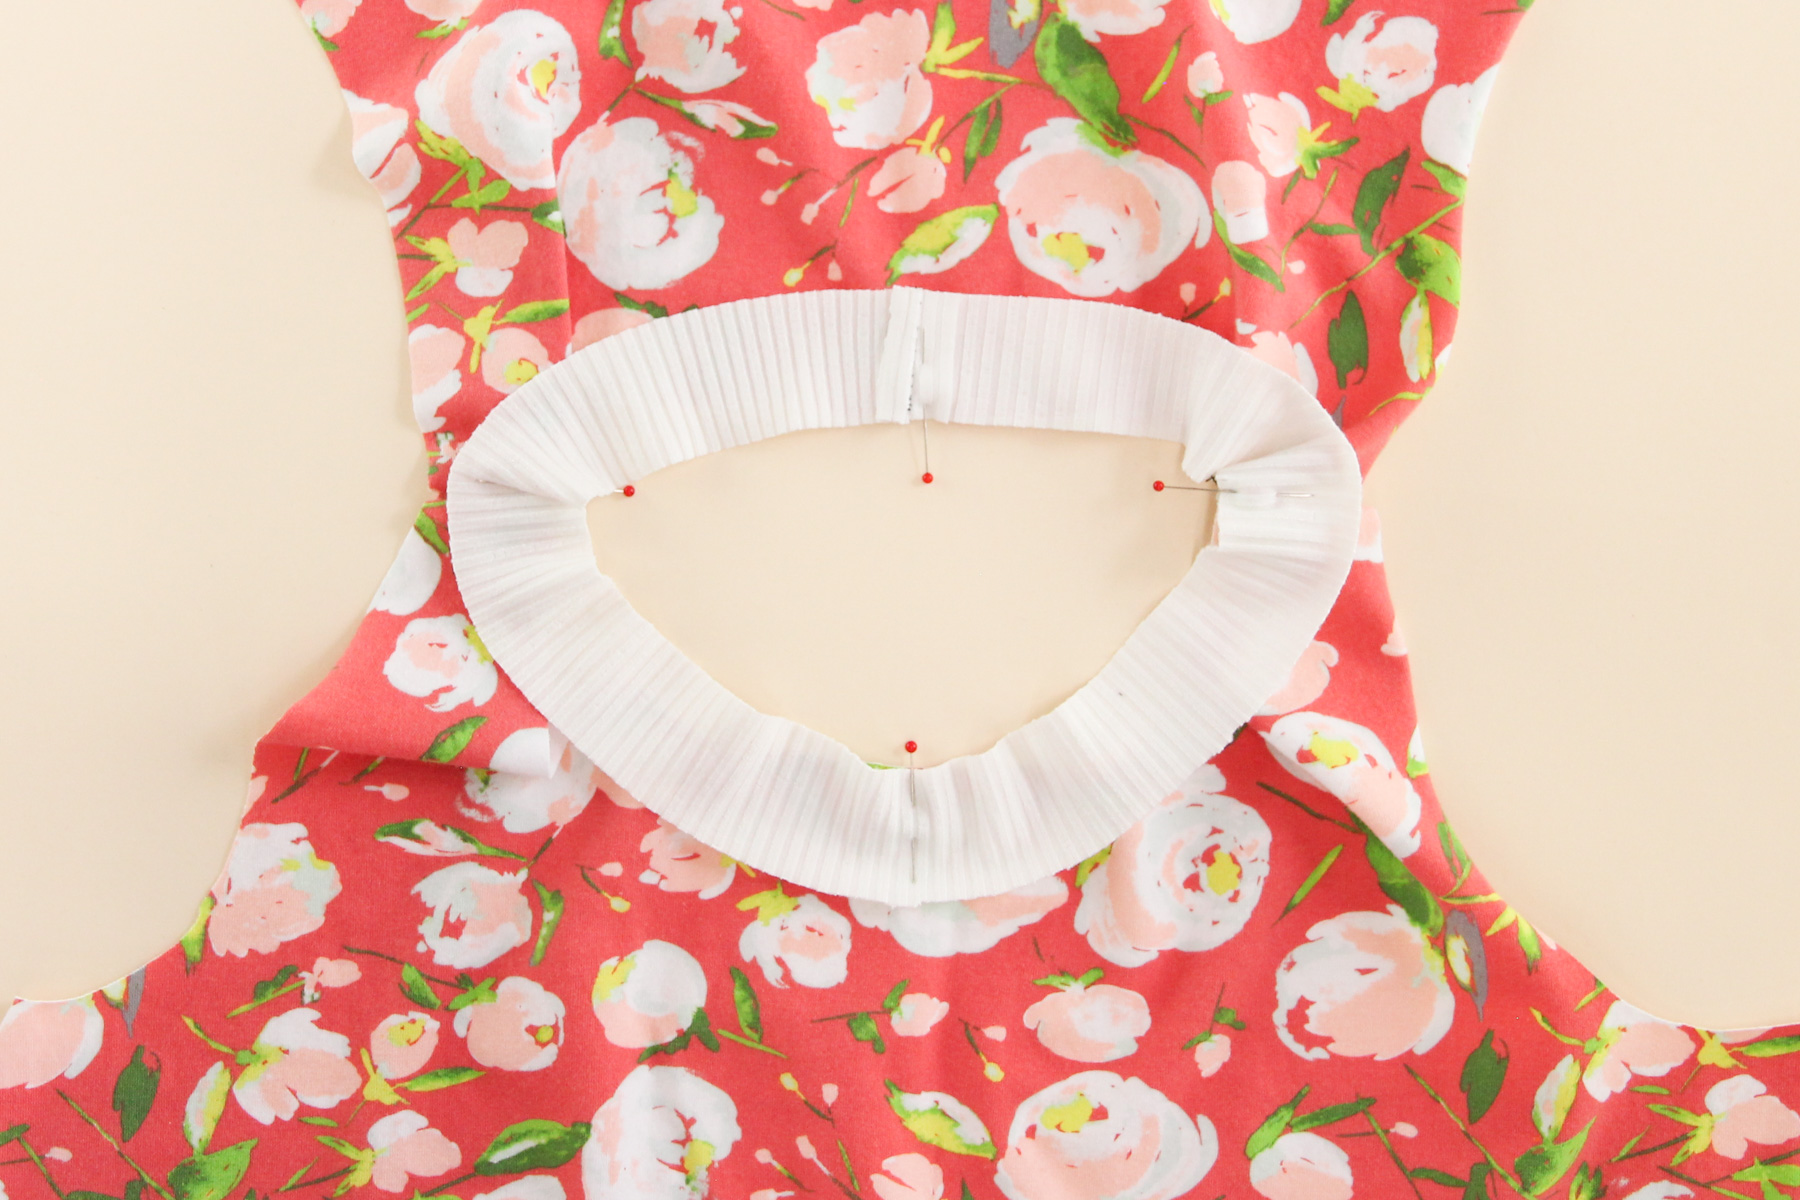
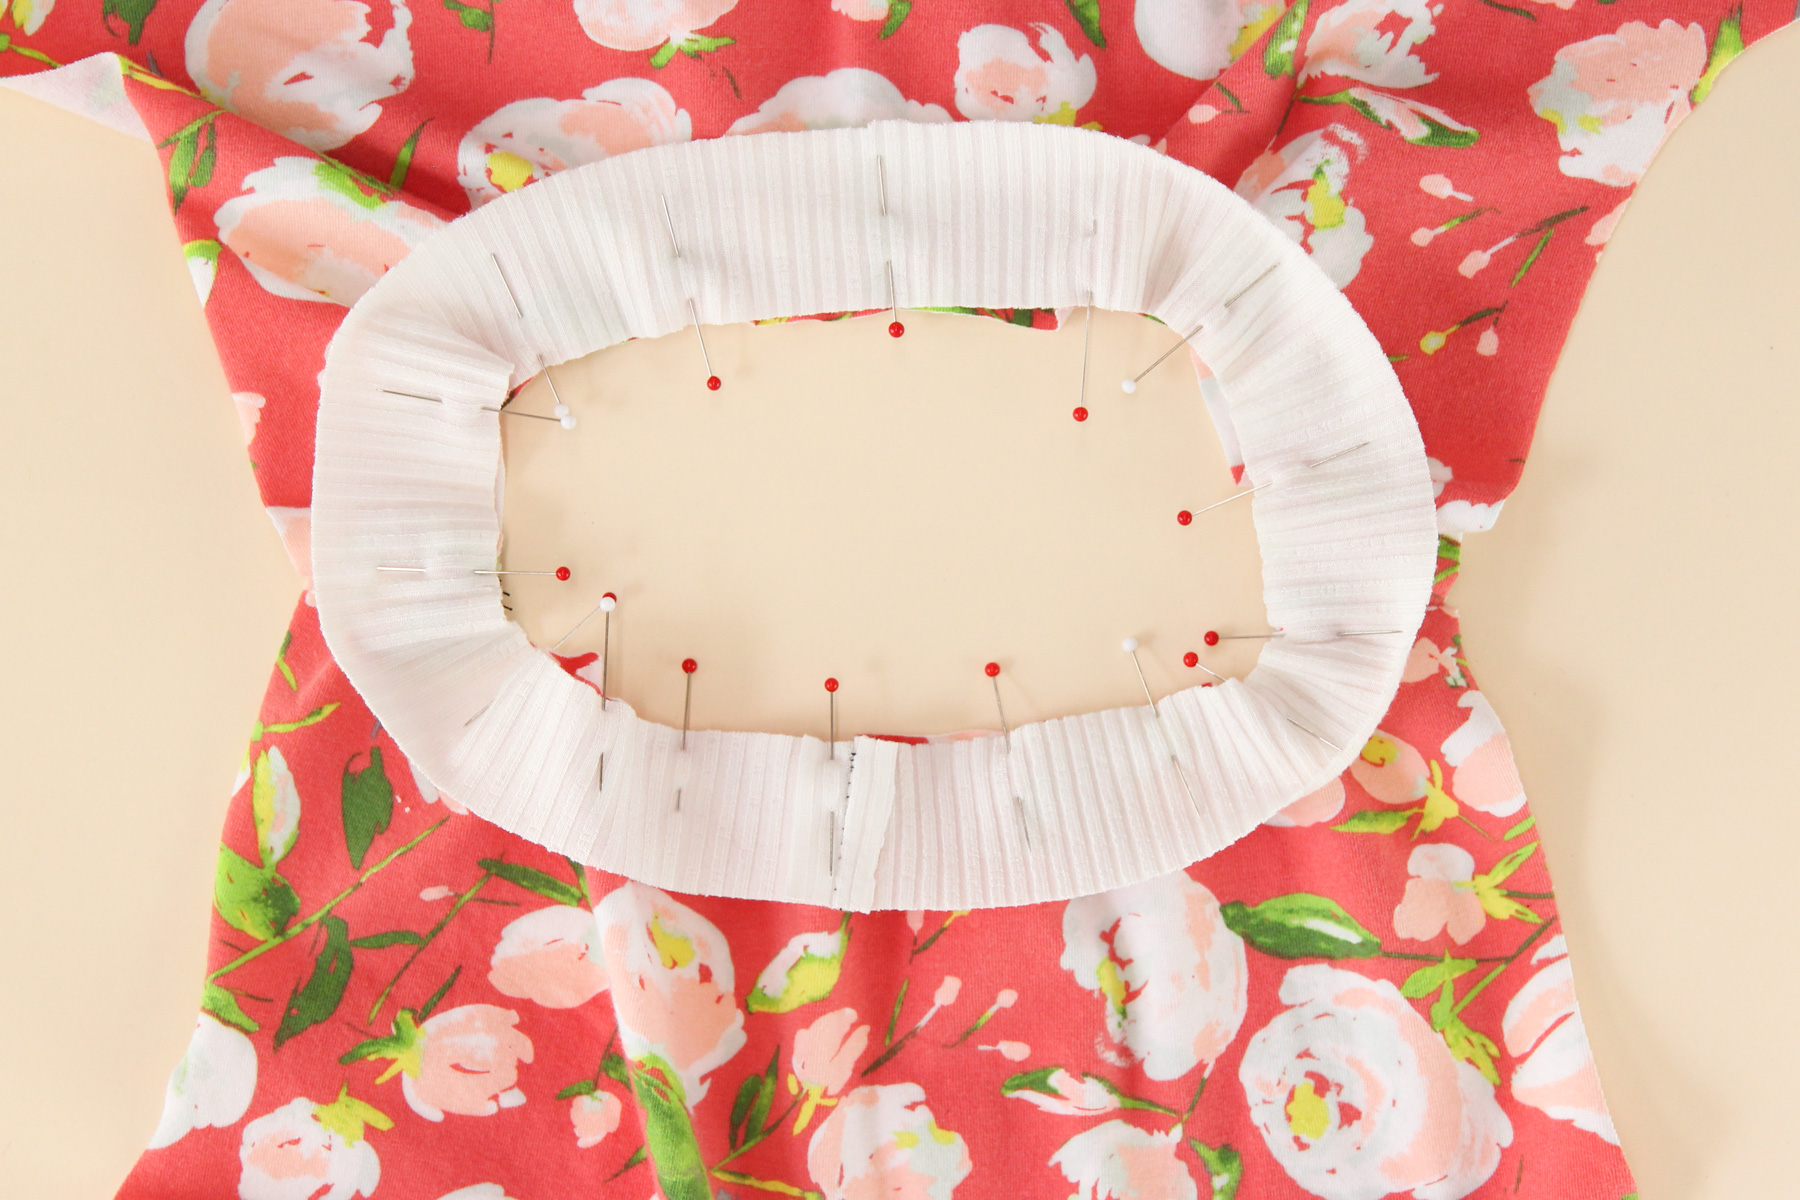
Now let’s pin in between those four notches. My philosophy here is the more pins, the better!
You’ll notice that the neckline binding is shorter than the neck opening of the tank. This is intentional! Having the neck binding be shorter allows it to pull the neckline in a bit and sit flat on your body. Make sure to stretch the neckline of the tank to meet the neckline binding as you pin, to distribute it evenly.
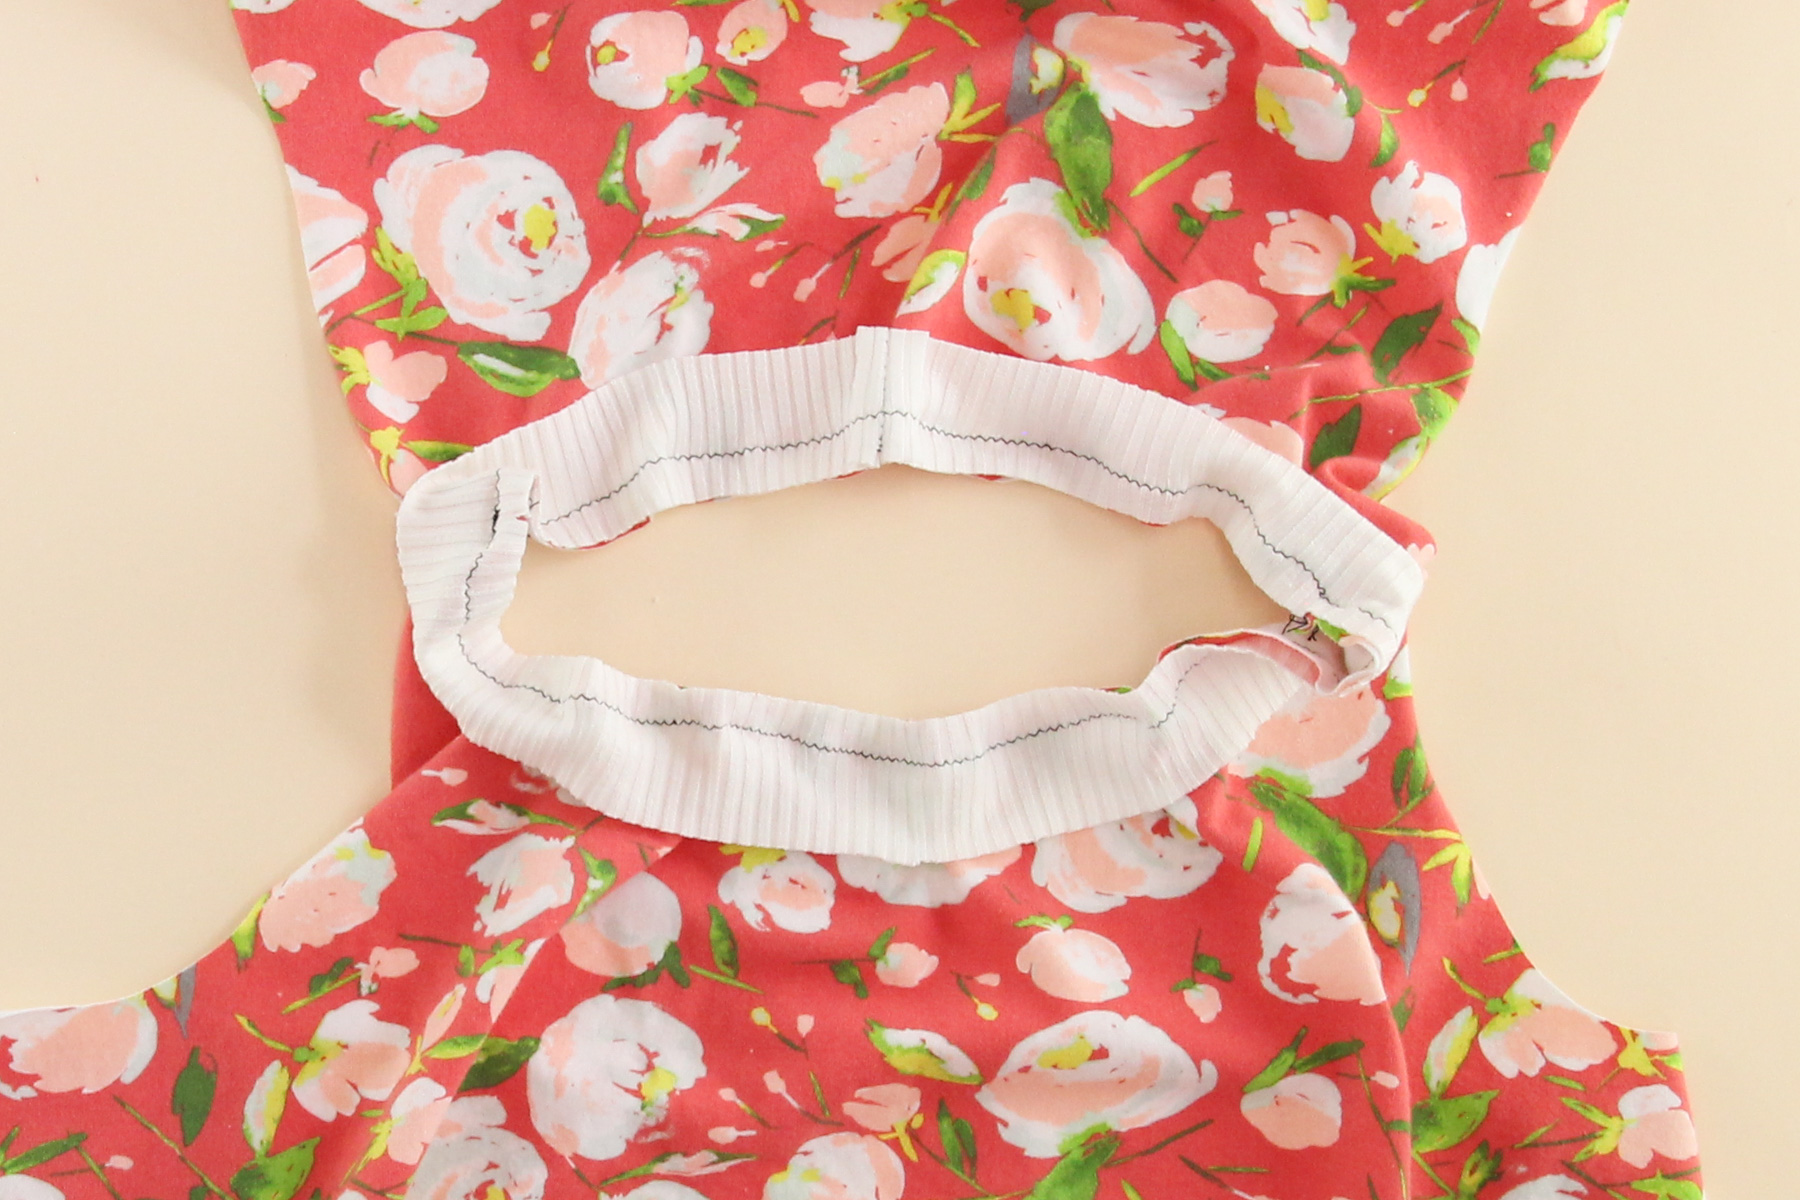
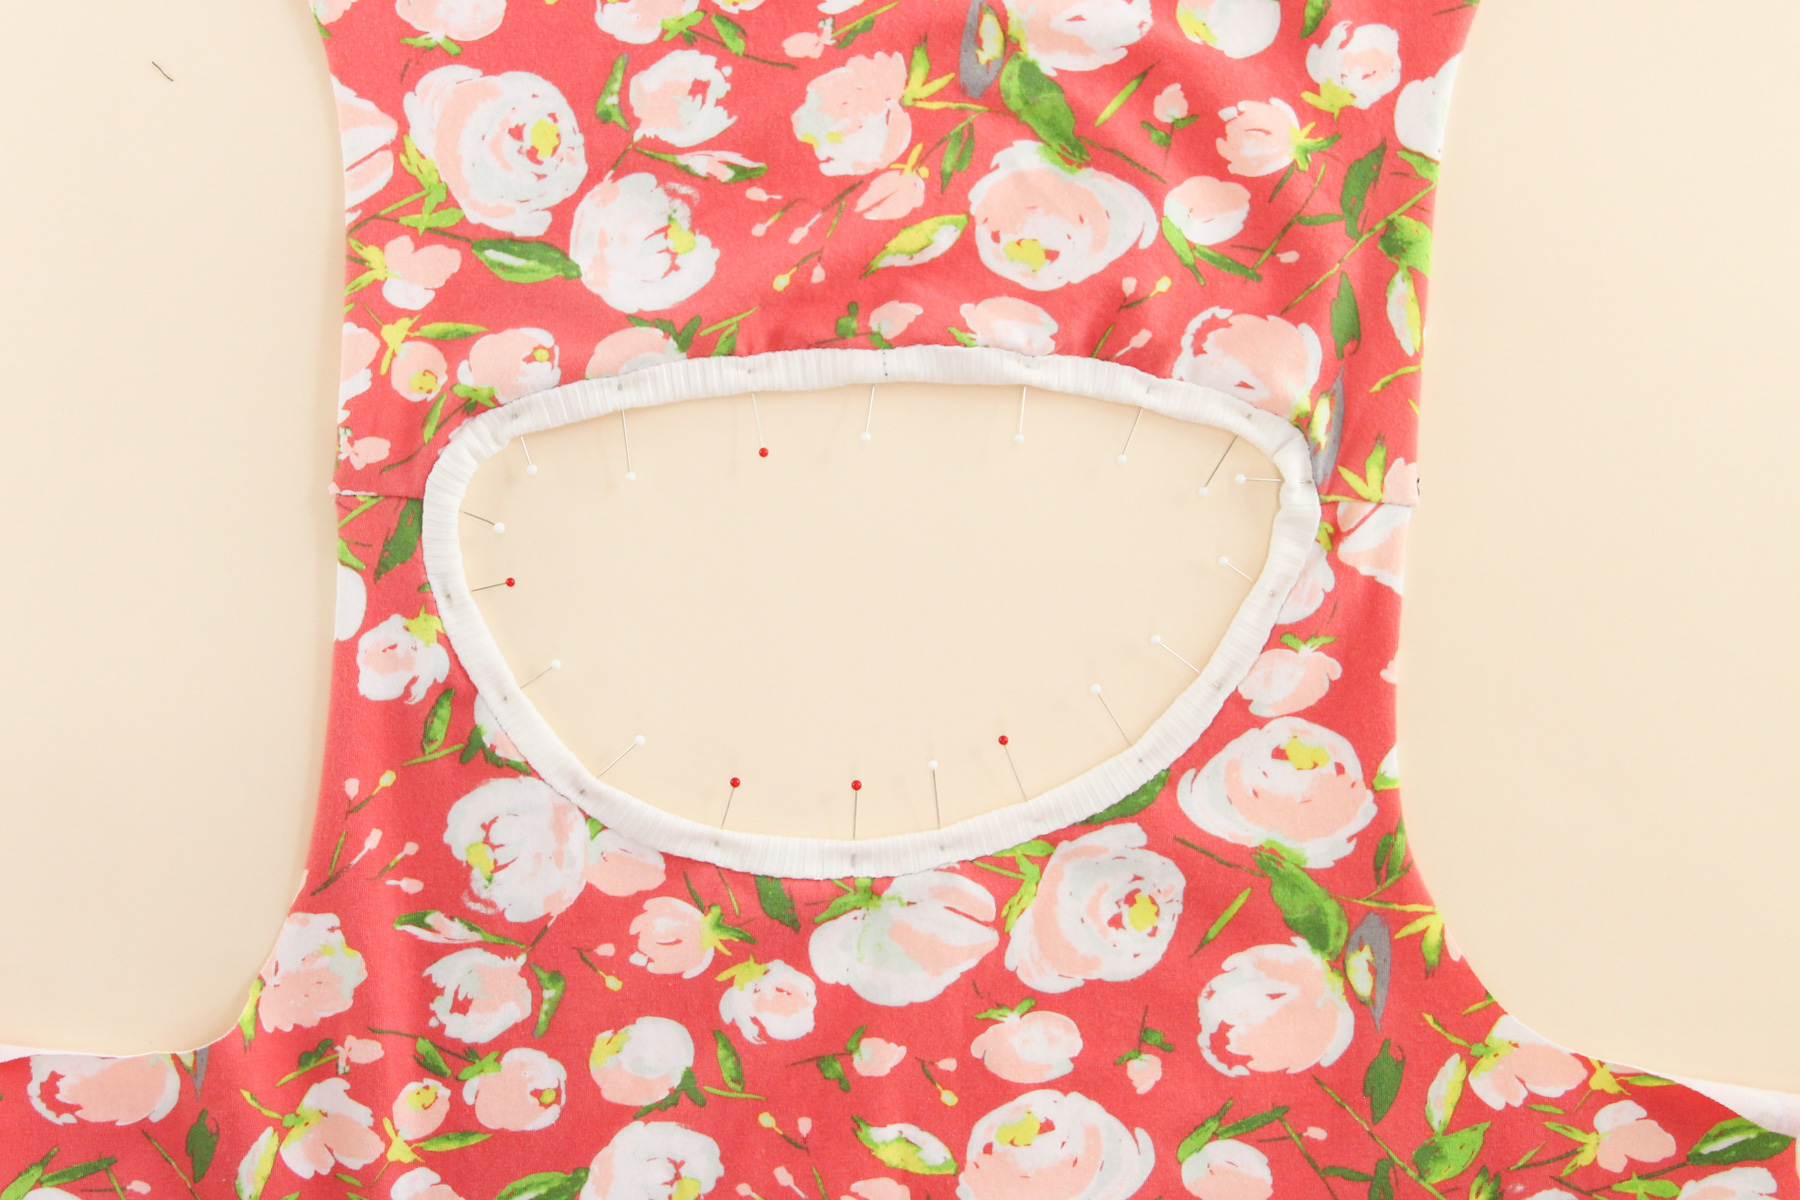
Now let’s sew that seam using our 3/8″ (1 cm) seam allowance. Again, I prefer to sew this on a sewing machine in order to reduce bulk, but also because it’s easier for me to control the fabric and see what I’m doing. I sew with the tank fabric up and the neckline binding down against the feed dogs, and be sure to stretch the tank neck to line up with the neckline binding (but don’t stretch the neckline binding itself!).
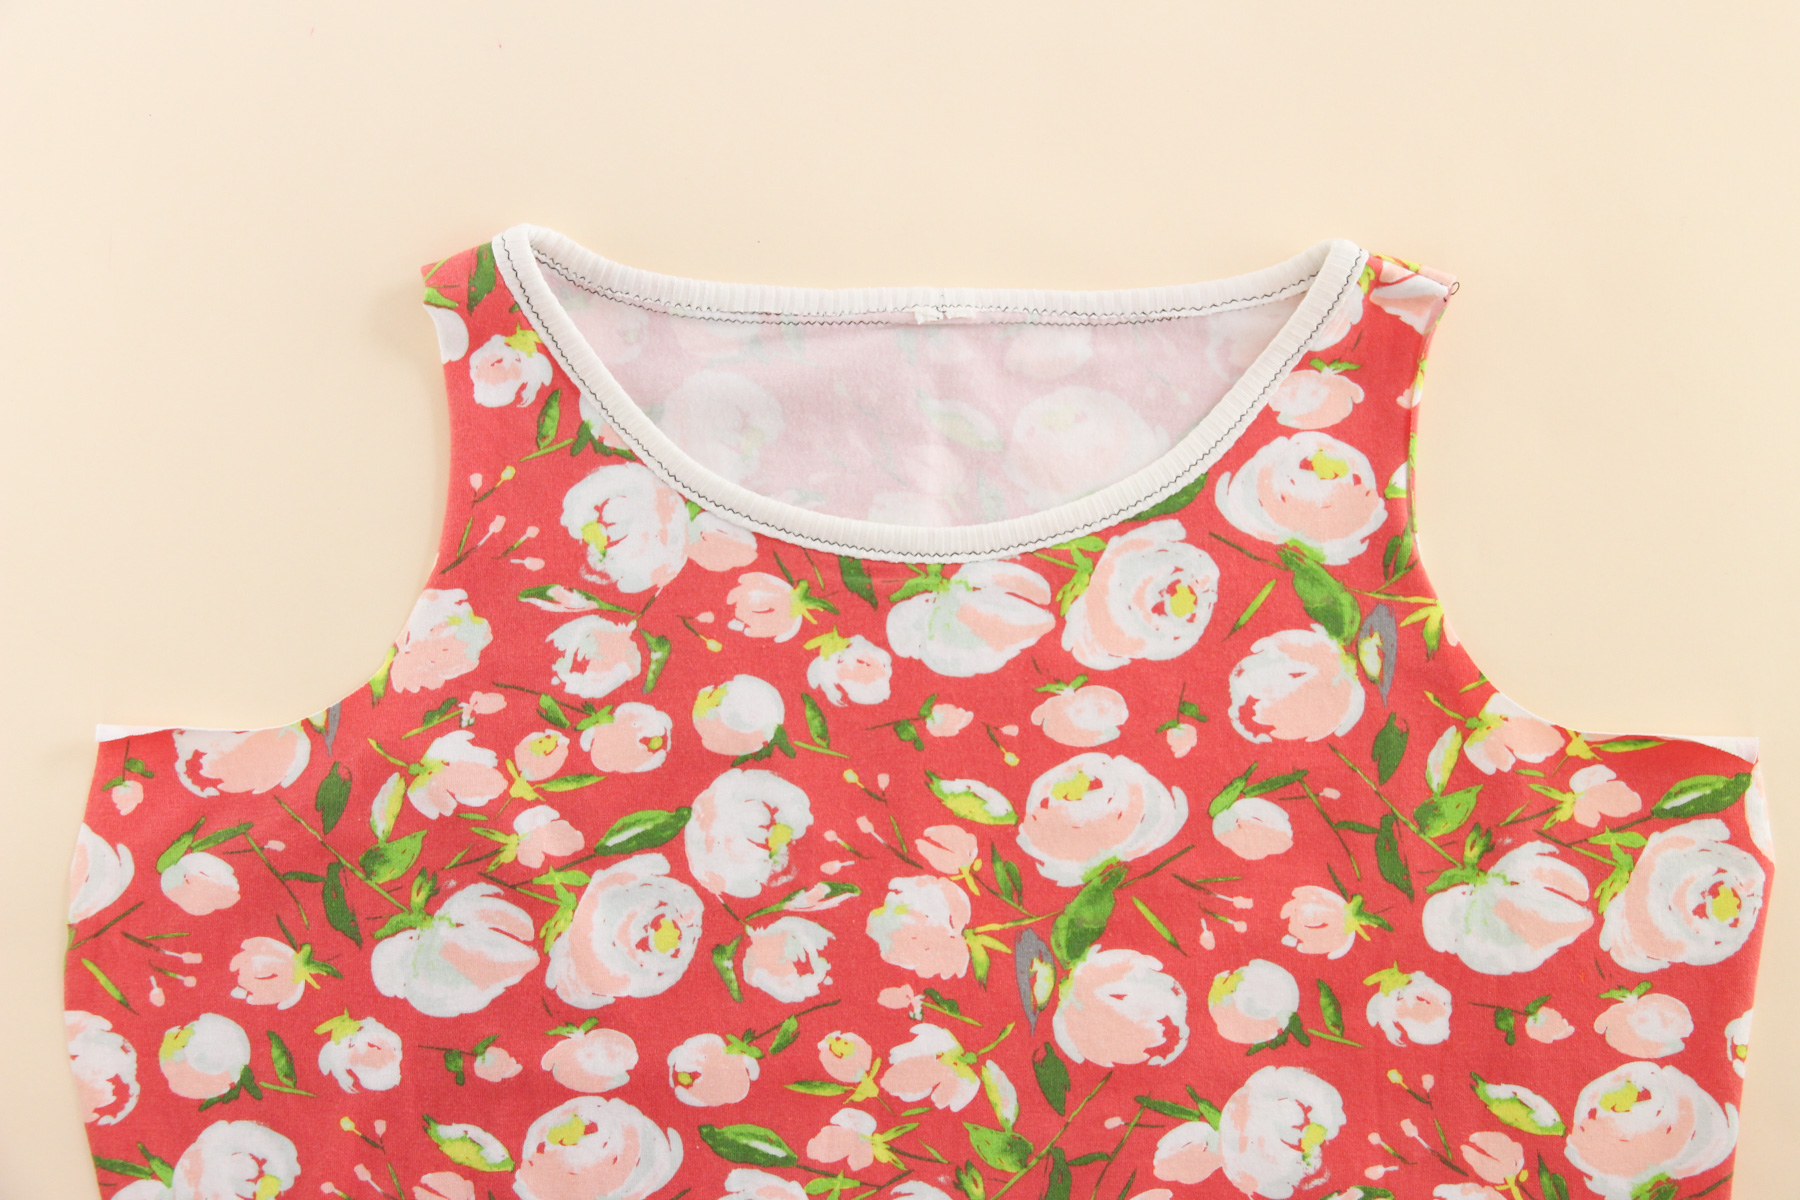
Here’s how it looks once you’ve sewn it on. (It’s not actually as wavy as it looks in the photo—this is when it starts to get hard to lay this 3D object flat for a photo!)
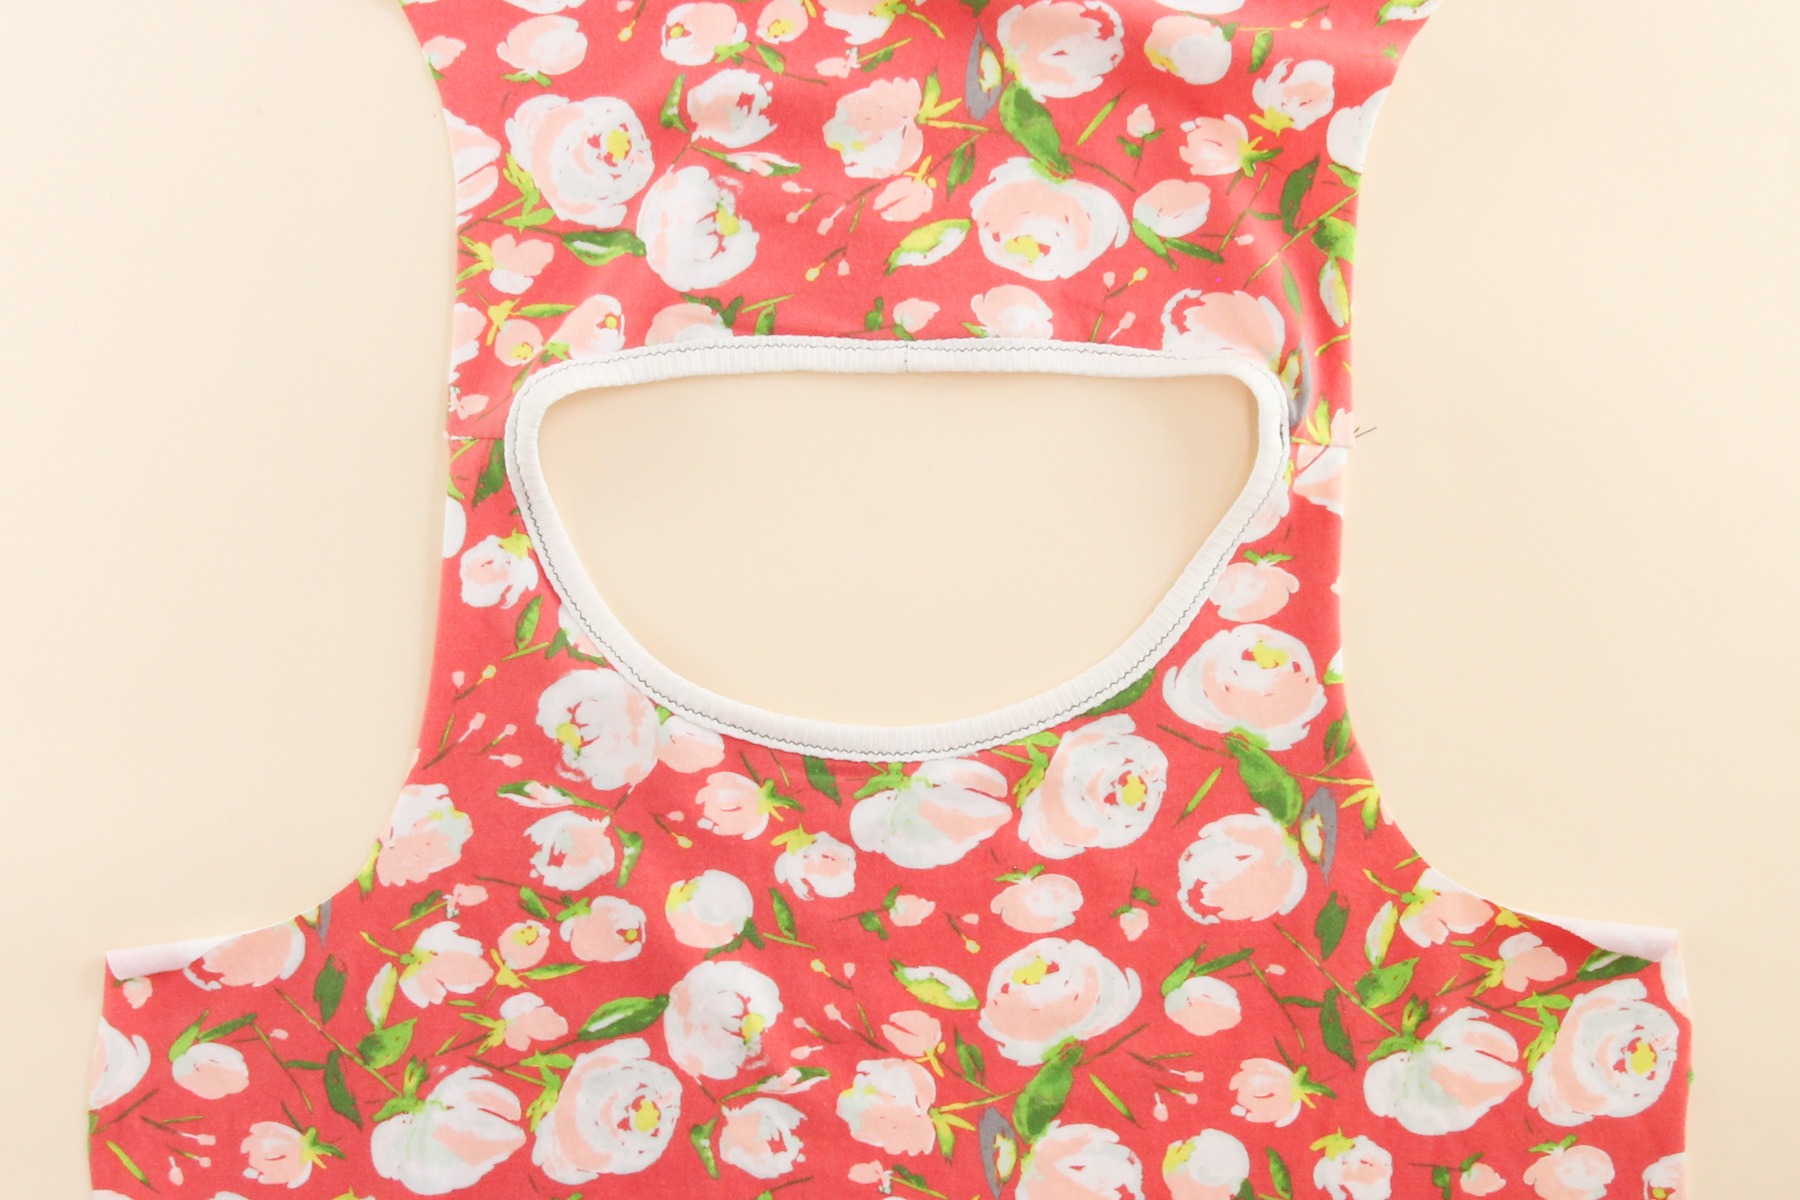
Now we’re going to press the neckline binding up and over the seam we just sewed. Keep the seam allowance also pointed up towards the neckline binding. Here’s how it will look from the right side of the garment.
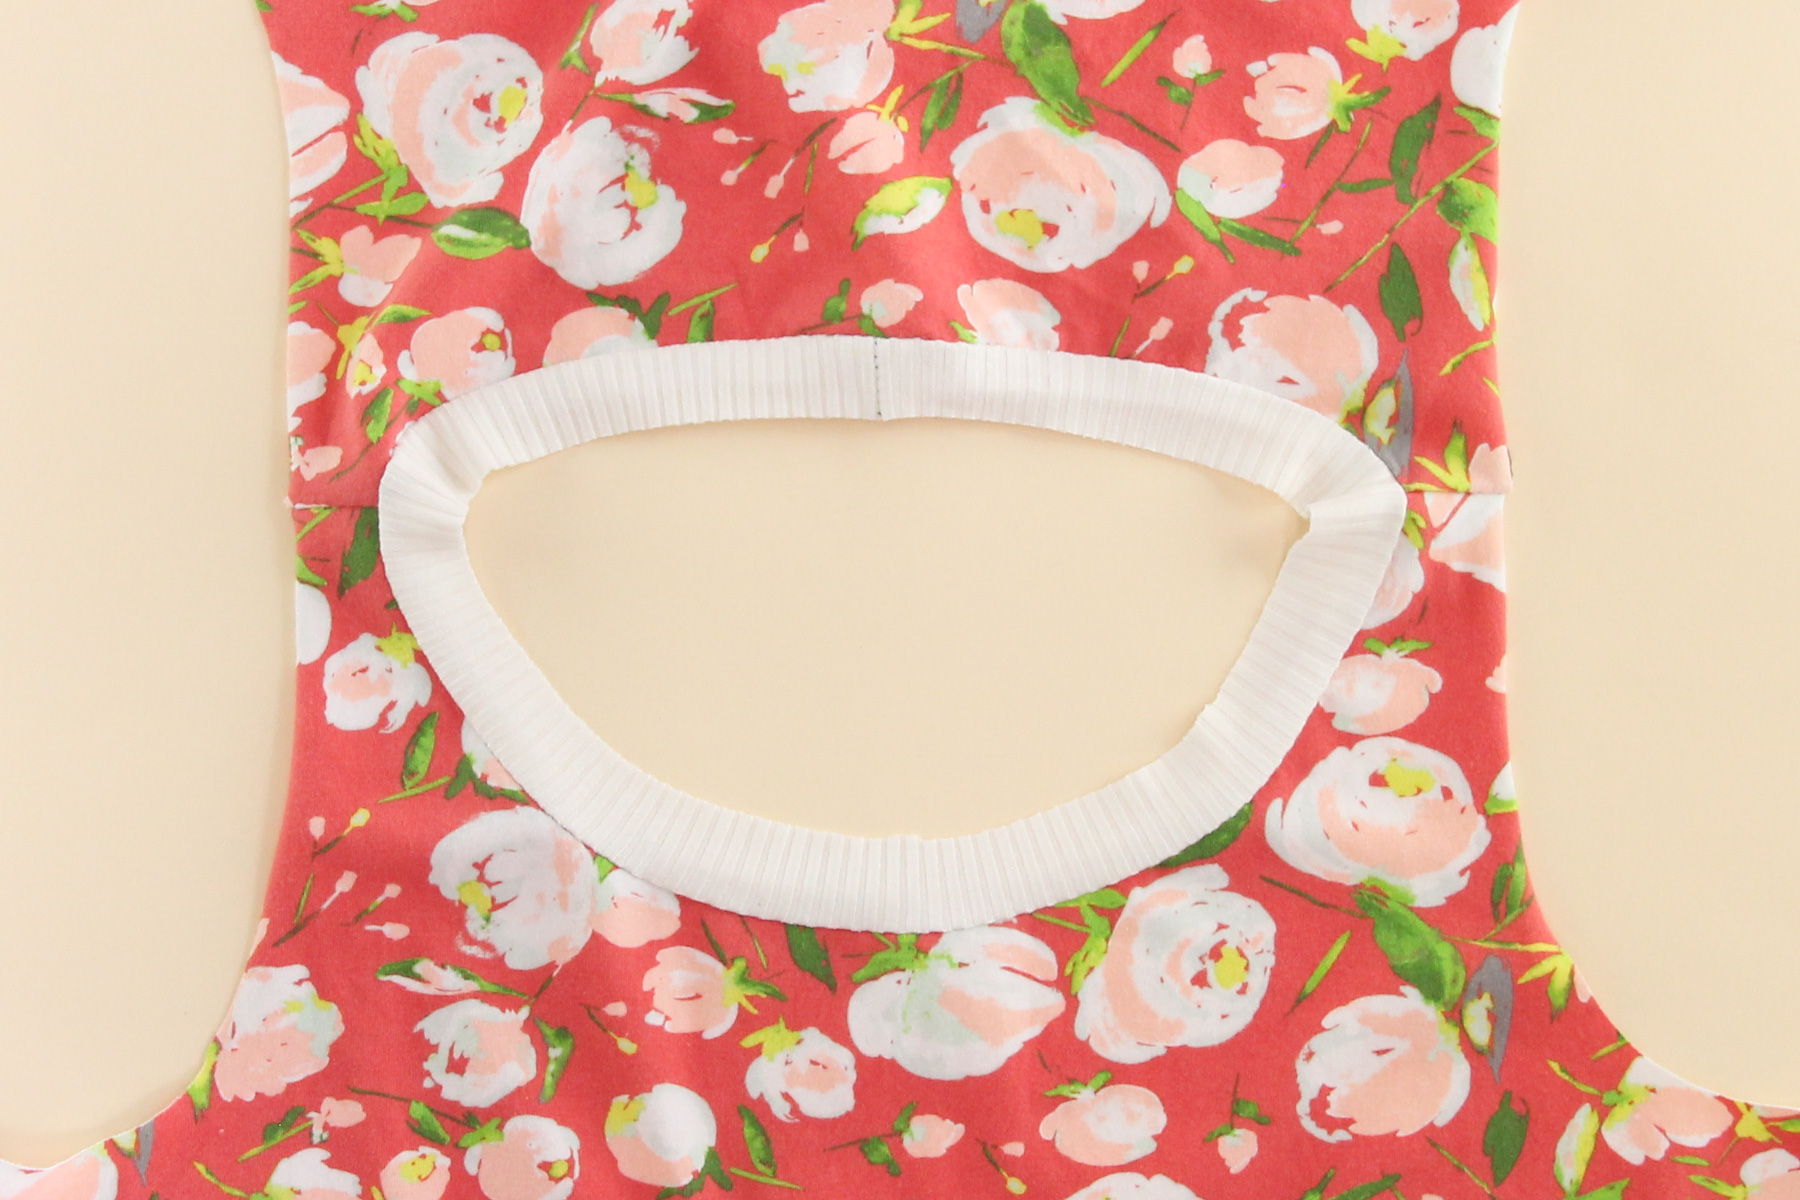
And here’s how it looks from the wrong side.
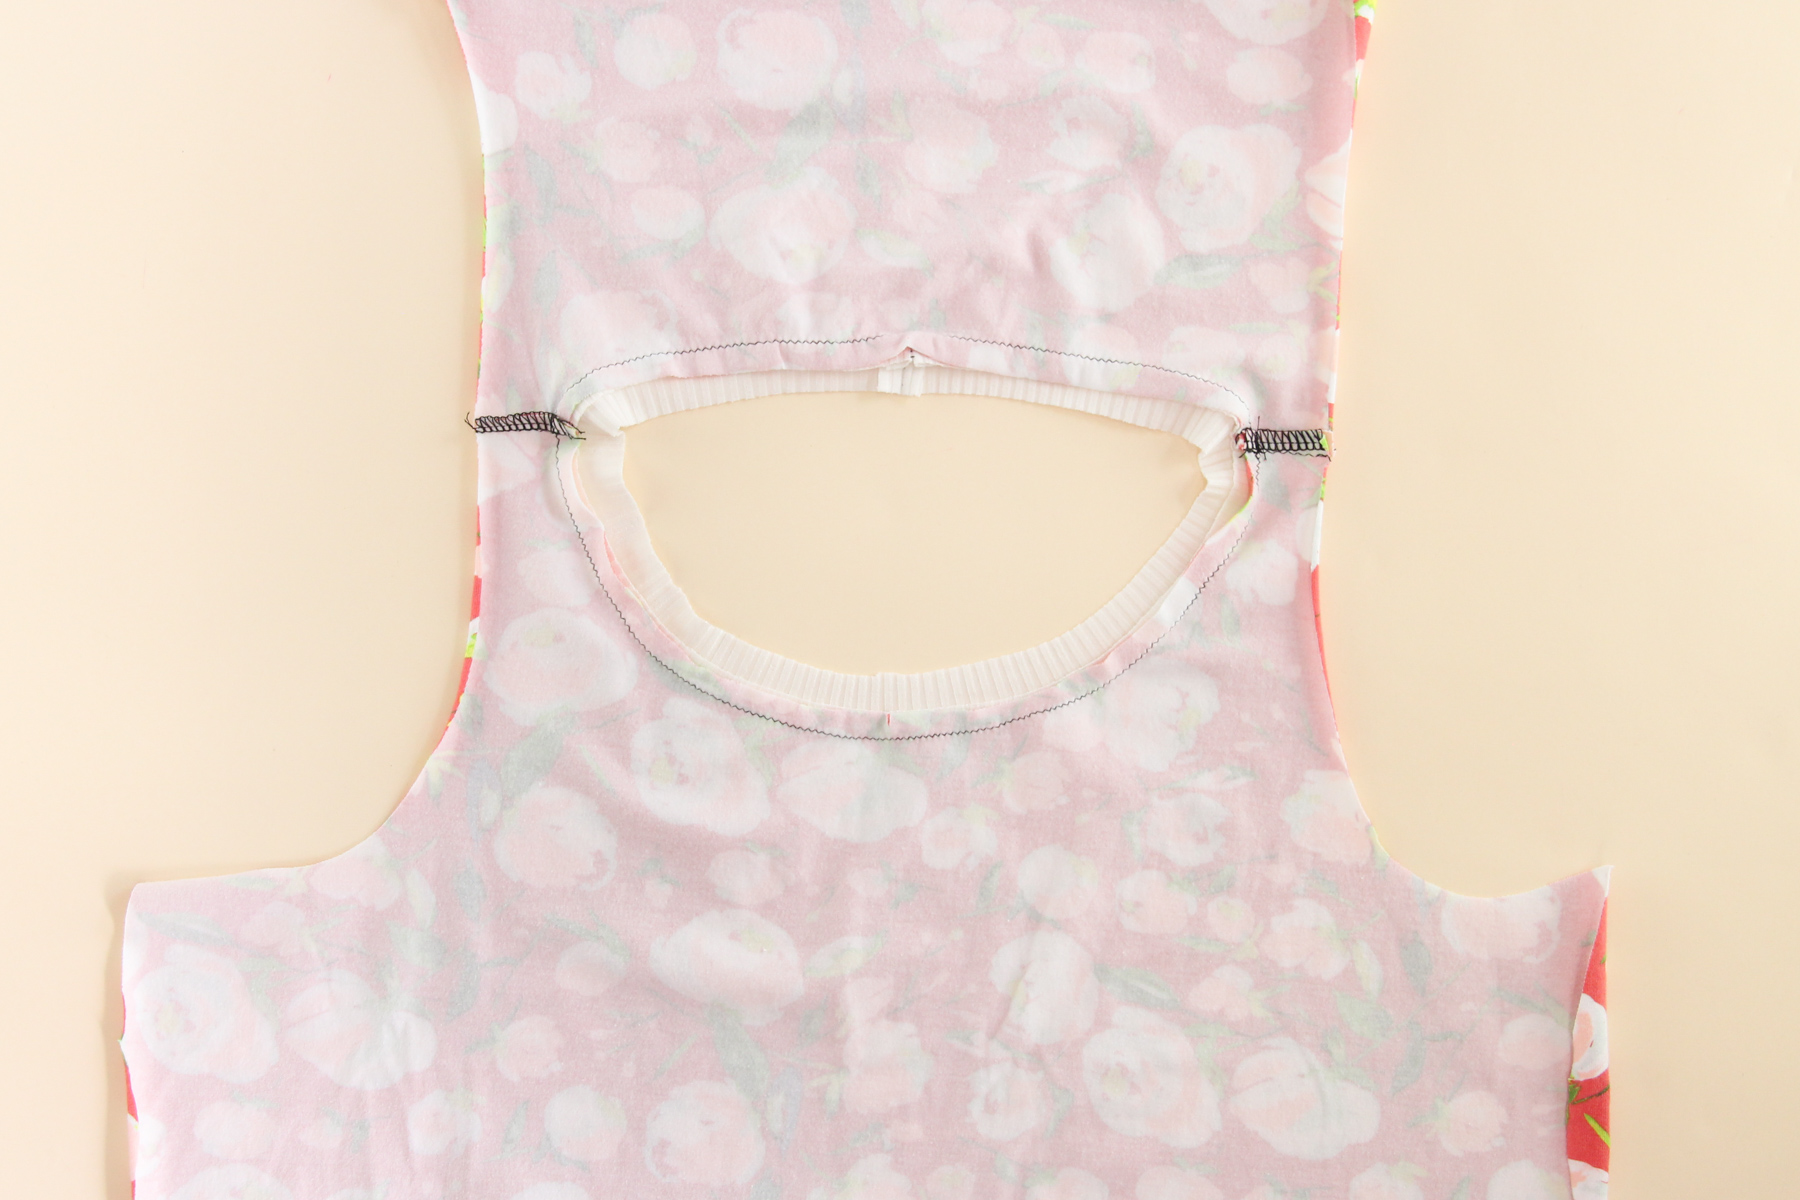
Now we’re going to finish our binding by folding the raw edge of the neckline binding over the seam allowance and pinning in place. You’ll want to cover the line of stitching by just a tad if you can—depending on how carefully you cut your neckline binding and sewed your 3/8″ seam, you might come up a bit short in some spots. (But that’s okay! No one will ever know.)
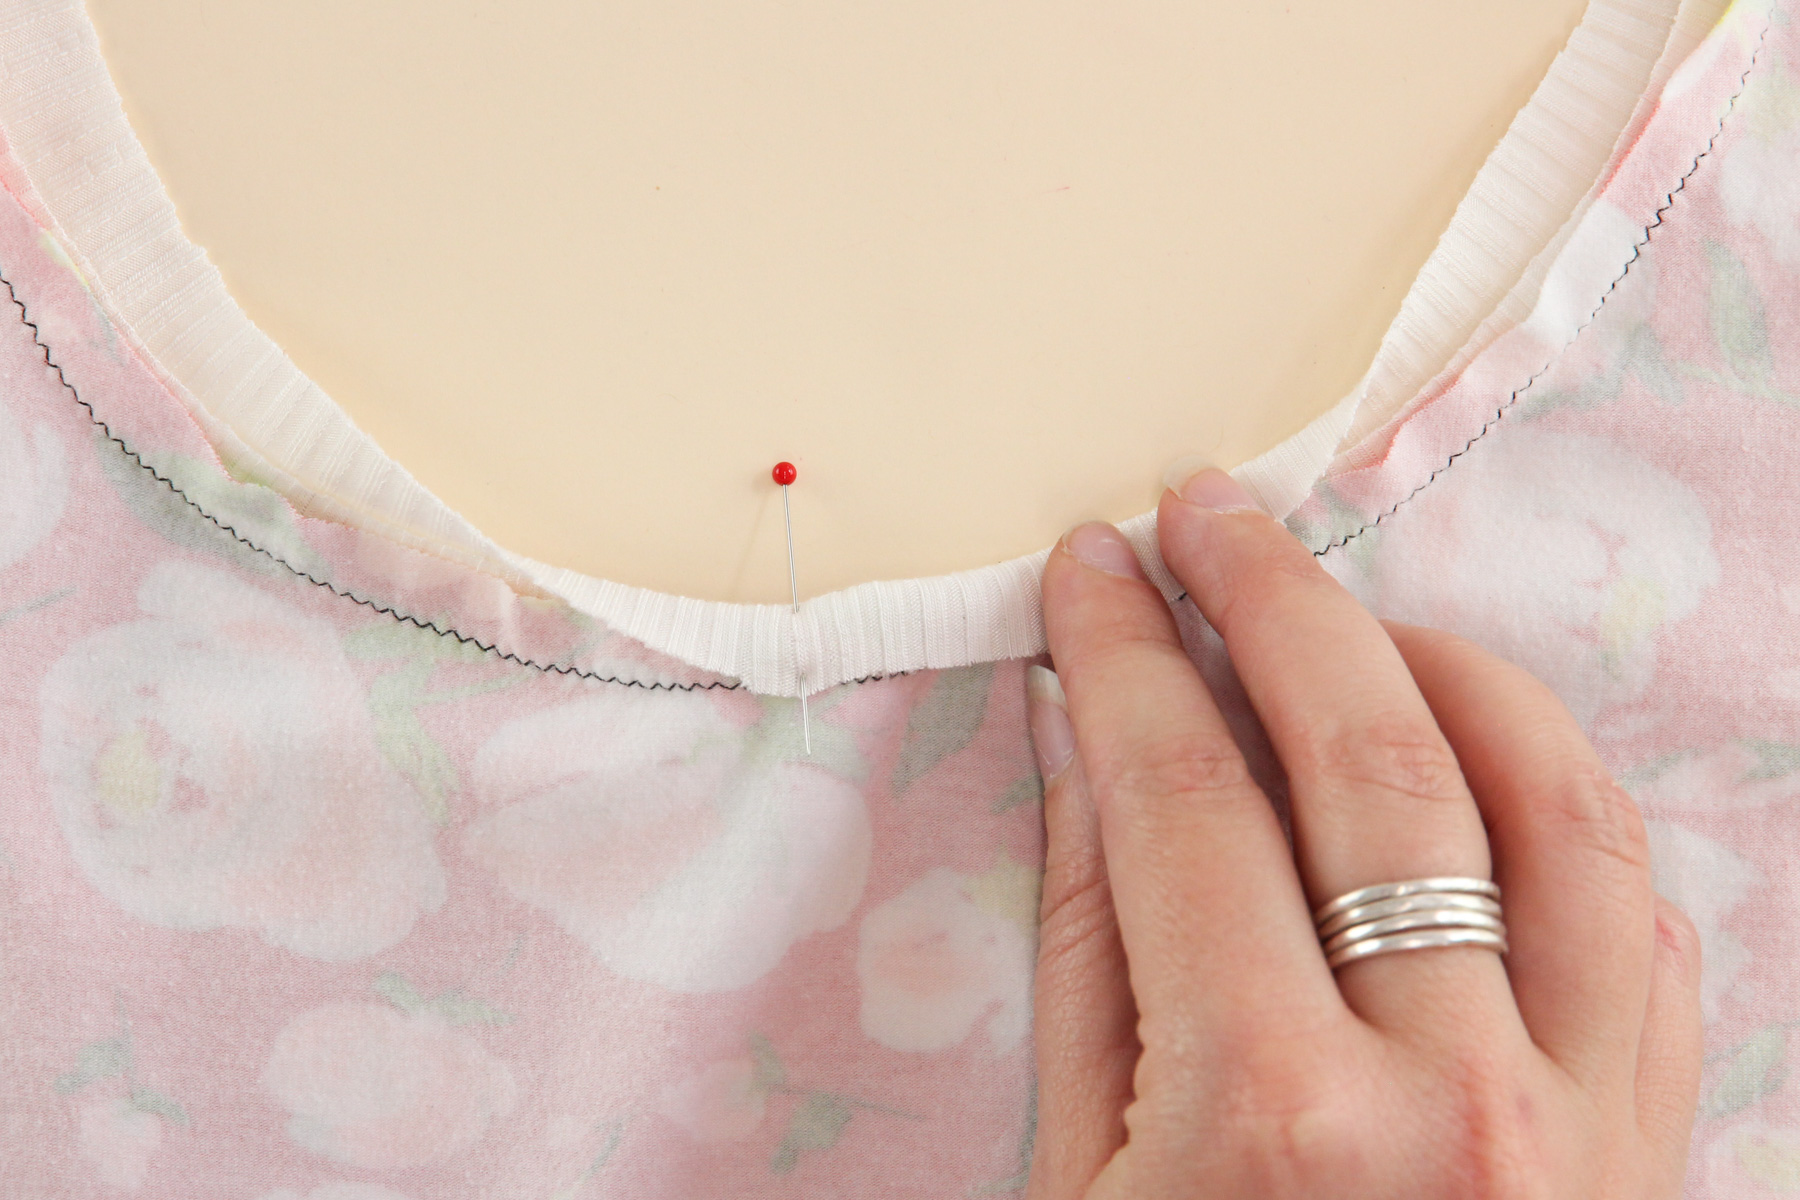
Go all around the neckline and pin your neckline binding down. You’ll need to stretch the neckline binding a bit since it’s still shorter than the neckline of the top. Again, the more pins, the merrier!
You can choose whether to put your pins in from the wrong side or the right side, but either way, make sure they’re pointing towards the neck opening so you can pull them out easily as you sew. Alternatively, you can use Wonder Tape.
Now let’s topstitch that down! You’ll want to topstitch from the right side, using a 3 mm wide x 2 mm long zigzag stitch. (This part definitely needs to be done on a sewing machine.) Get close to the inside edge of the neckline binding, but not too close because you want to make sure your stitching catches the raw edge of the binding inside the garment. If you have a walking foot on your machine, now is definitely the time to get it out!
One trick you can use here is to lay a layer of tissue paper underneath the binding and sew through both the binding and the tissue paper as you topstitch all around. This helps your binding feed through the machine more evenly, since the feed dogs are treating it more like a woven than a super stretchy knit, thanks to the tissue paper. After you sew the topstitching, simply tear off the tissue paper from the back and pull out any little bits of paper that get caught in the stitching.
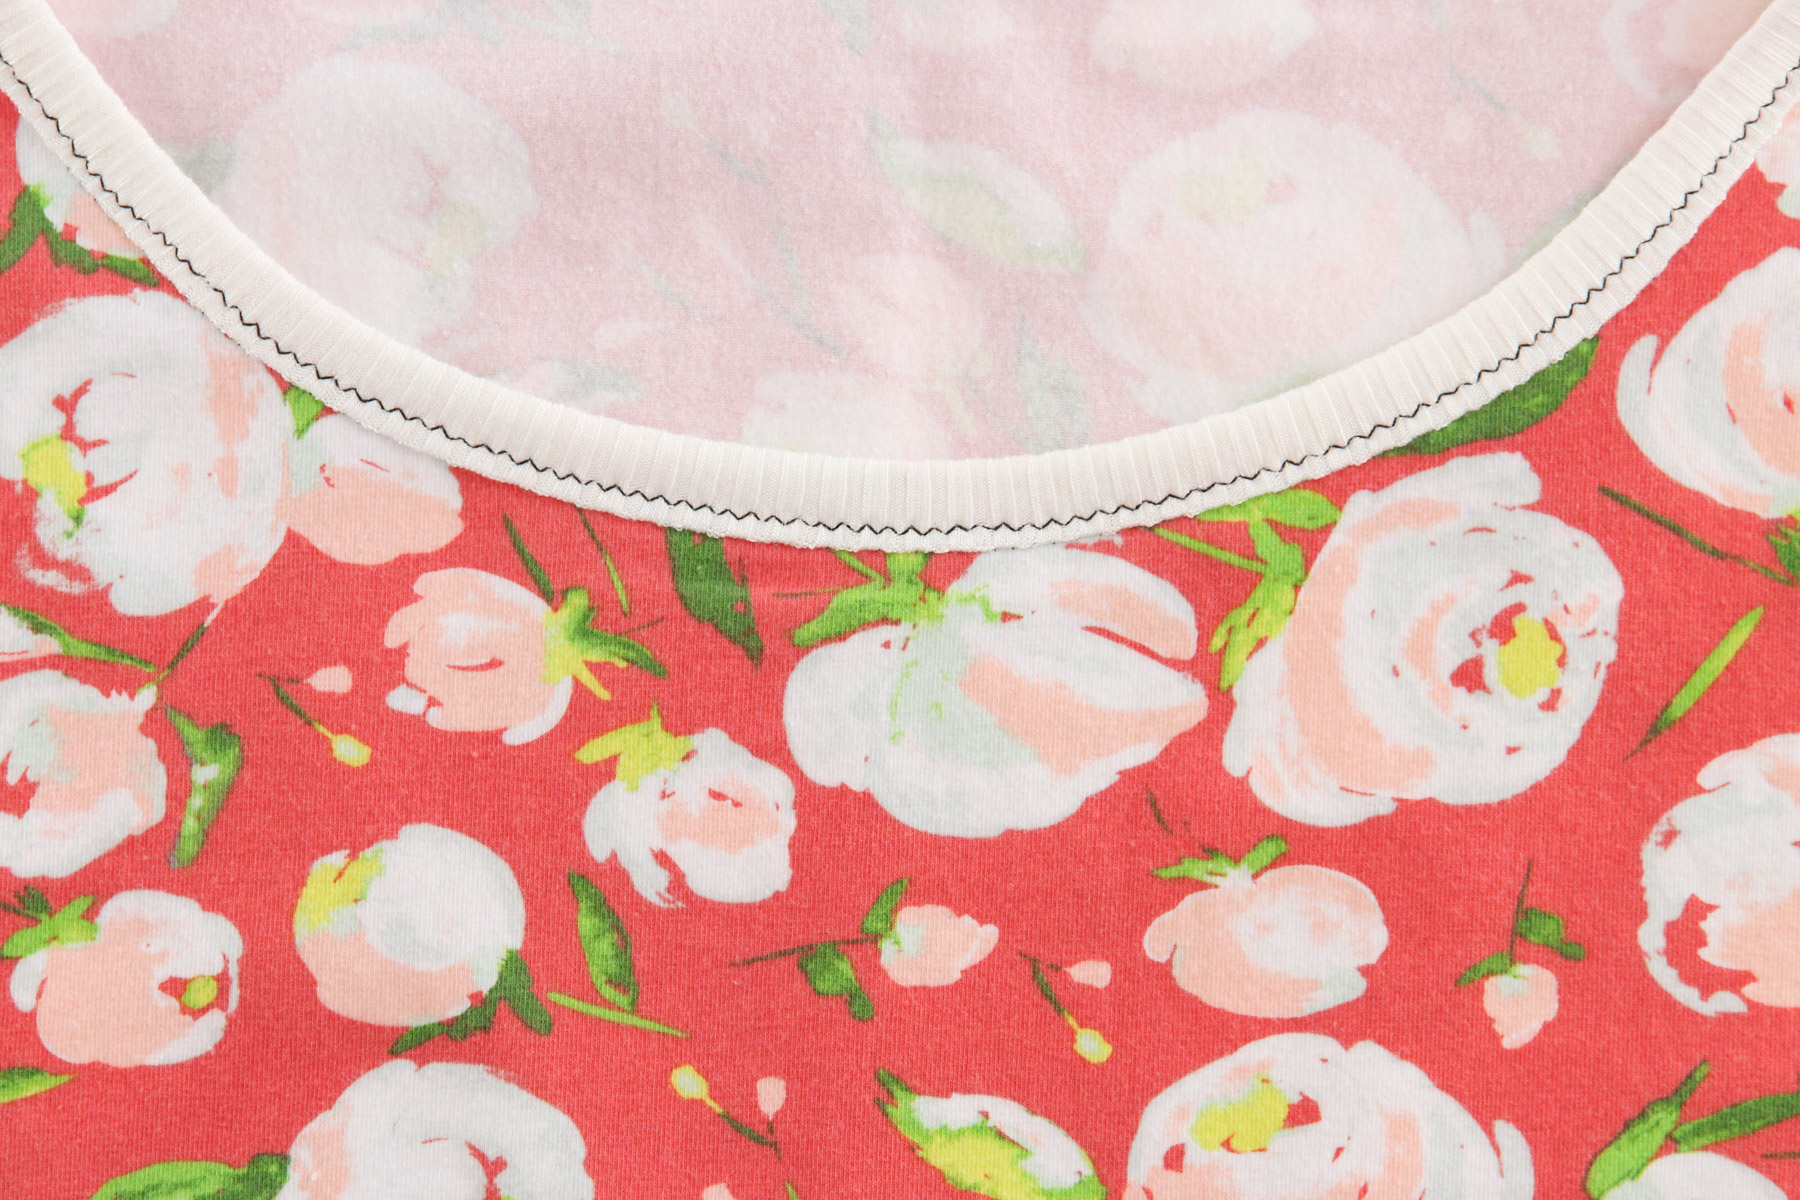
Again, I’m using a contrasting thread here so you can see my stitches, but if you want yours to be less visible, use a coordinating thread.
Here’s a closeup of the topstitching:
Check from the inside that you caught the edge of the binding all the way around. If you missed any spots, you can unpick around those areas and topstitch again—or just do a second line of topstitching (that’s the cheater method I do when I can’t be bothered to unpick).
You’ll see that I didn’t entirely cover the original stitching line in some spots, and if you’re feeling nitpicky you can unpick those spots and redo them. Or you can do like me, and leave them as is—the only person who will ever see inside the garment is me, and I don’t mind one bit.
Press the bound neckline with your iron and then you can relax because we’re done for today! Join us tomorrow as we sew our side seams, bind the armholes, and hem our tank.
How’s your Saybrook Tank coming along? Tell us in the comments below!