Hi, all! Carrie here. Welcome to our Montrose Top sewalong! Today, we’ll be choosing our size and preparing our patterns and fabric. Over the next few weeks, we’ll go through the construction of both views of the Montrose Top. We’ll also have tips on working with embroidered mesh throughout the sewalong and a separate post on working with guipure lace.
The first decision to make today is which size to choose for your Montrose Top. Thanks to the three cup sizes it’s more likely that you’ll fit in a “straight” Cashmerette Pattern than many other companies, but of course we all vary and chances are you may not be perfectly in one size. The good news is that sewing gives you tons of flexibility, and it’s easy to grade between sizes.
How to choose your size
There are two measurement charts: one is the Body Measurement chart, and the other is the Finished Garment chart. The Body Measurement chart helps you choose your size based on what numbers you get when you measure your body with a tape measure – it has numbers for your bust (around the fullest part), waist and hip. The Finished Garment chart shows you the size of the actual sewn garment – the difference between that and the Body Measurement chart is called “ease”, and it’s the amount of extra room in the garment that the designer recommends for the clothes to fit well and allow movement.
Generally, you want to start by comparing your measurement with the body measurement chart. However, if your measurements are between sizes you can take a look at the Finished Garment chart to see if you can fit in just one. The Montrose Top has a bit of an A-line shape, with significant ease in the waist and hips.
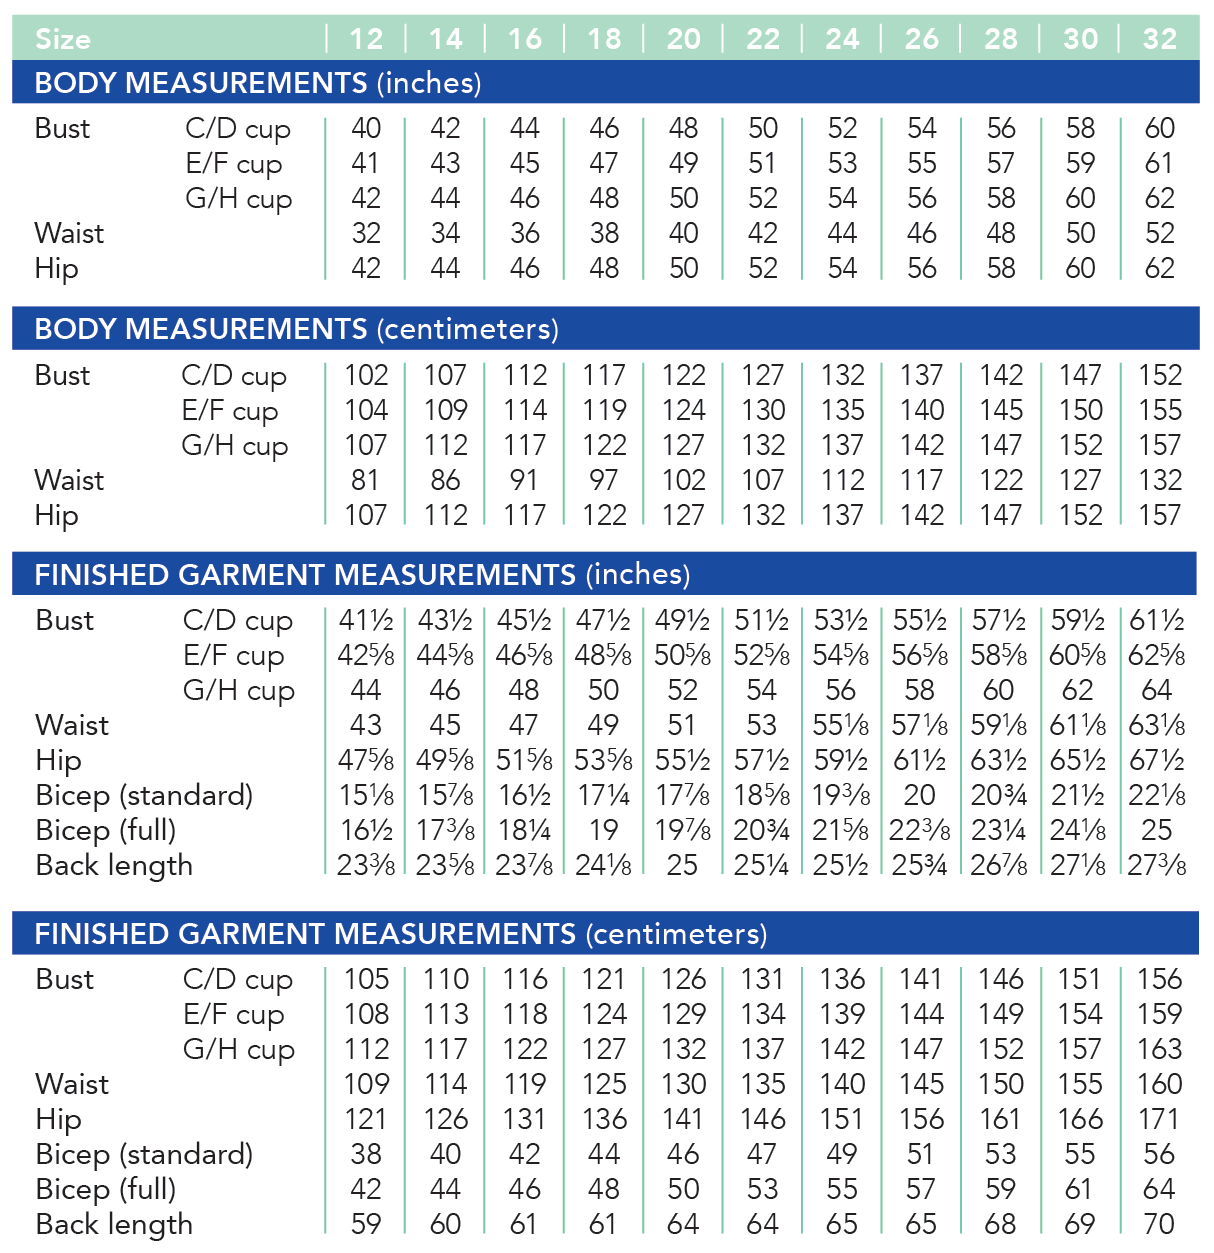
As with all Cashmerette Patterns, the best bet is to start with your bust measurement for the tops – you should use your full bust measurement, which is around the fullest part of your bust. Because of the cup sizing, you may find you could fit in two different bust sizes – in which case, you want to pick the overall size that’s closest to your waist size. So for instance, if your bust is 44″, you could theoretically be a 14 G/H or a 16 C/D. Which one should you pick? Take a look at the waist measurement – if yours is closer to 34″ (size 14), then go with the 14 G/H. If yours is closer to 36″ (size 16), then go with the 16 C/D.
Don’t fret if the cup size doesn’t match up with your bra size – there is so much variation in bra sizing that it’s not possible to perfectly line them up. Use your actual full bust measurement and you’ll be fine.
Grading Between Sizes
If your bust, waist, and hip measurements end up in many different sizes, you may want to grade between sizes. There is significant wearing ease in the waist and hips of the Montrose Top, so if your waist is less than a few inches bigger than the measurement according to your bust size, you don’t need to grade up unless you want more ease. For a run-down of how to grade between sizes on a woven top, check out this tutorial here.
Preparing Pattern and Fabric
Now that we’ve chosen our size and graded if necessary, it’s time to prepare our pattern and fabric so that we’ll be all ready to sew next time!
Here’s your checklist:
- Wash and dry your fabric, to make sure it’s pre-shrunk and you’re not going to get any nasty surprises later! If you’re using an embroidered tulle or lace, you may want to get it dry cleaned before cutting it.
- Press your fabric so it’s nice and flat. Check to see if you get any iron shine when you press the right side. If so, you’ll want to use a press cloth when pressing between steps.
- If you’re using the PDF pattern and are printing your PDF pattern at home, you’ll need to print and assemble it. Here are some pointers to help you. If you want to get it printed, here are some suggestions.
- Either cut or trace off your pattern pieces – if you’re using a paper pattern, making adjustments, or are going to make any other sizes in the future, I definitely recommend tracing.
- Transfer all the markings to the fabric. For the notches, make a little snip into the fabric, within the seam allowance (so no more than 1/4″/6mm).
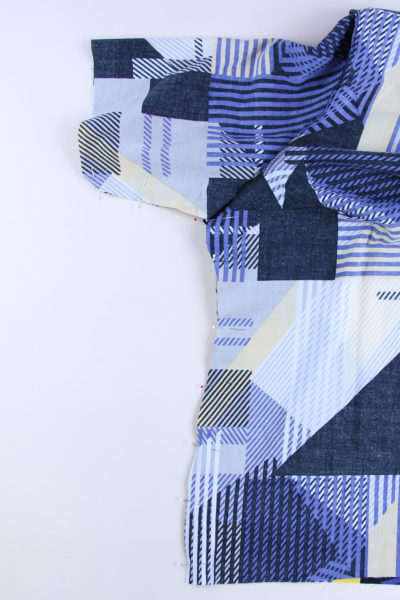
- Cut all pieces, following the layout diagrams in the pattern.
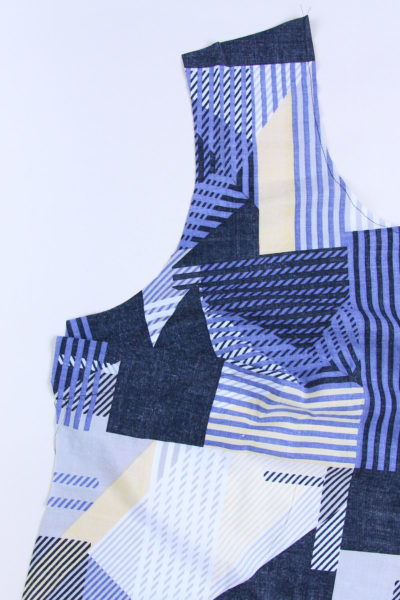
- If you’re using a lace or embroidered tulle, make sure to pay attention to what’s happening at the dart point…some motifs can look a bit dodgy around the bust apex!
Next time, we’ll get right into sewing our Montrose Tops!