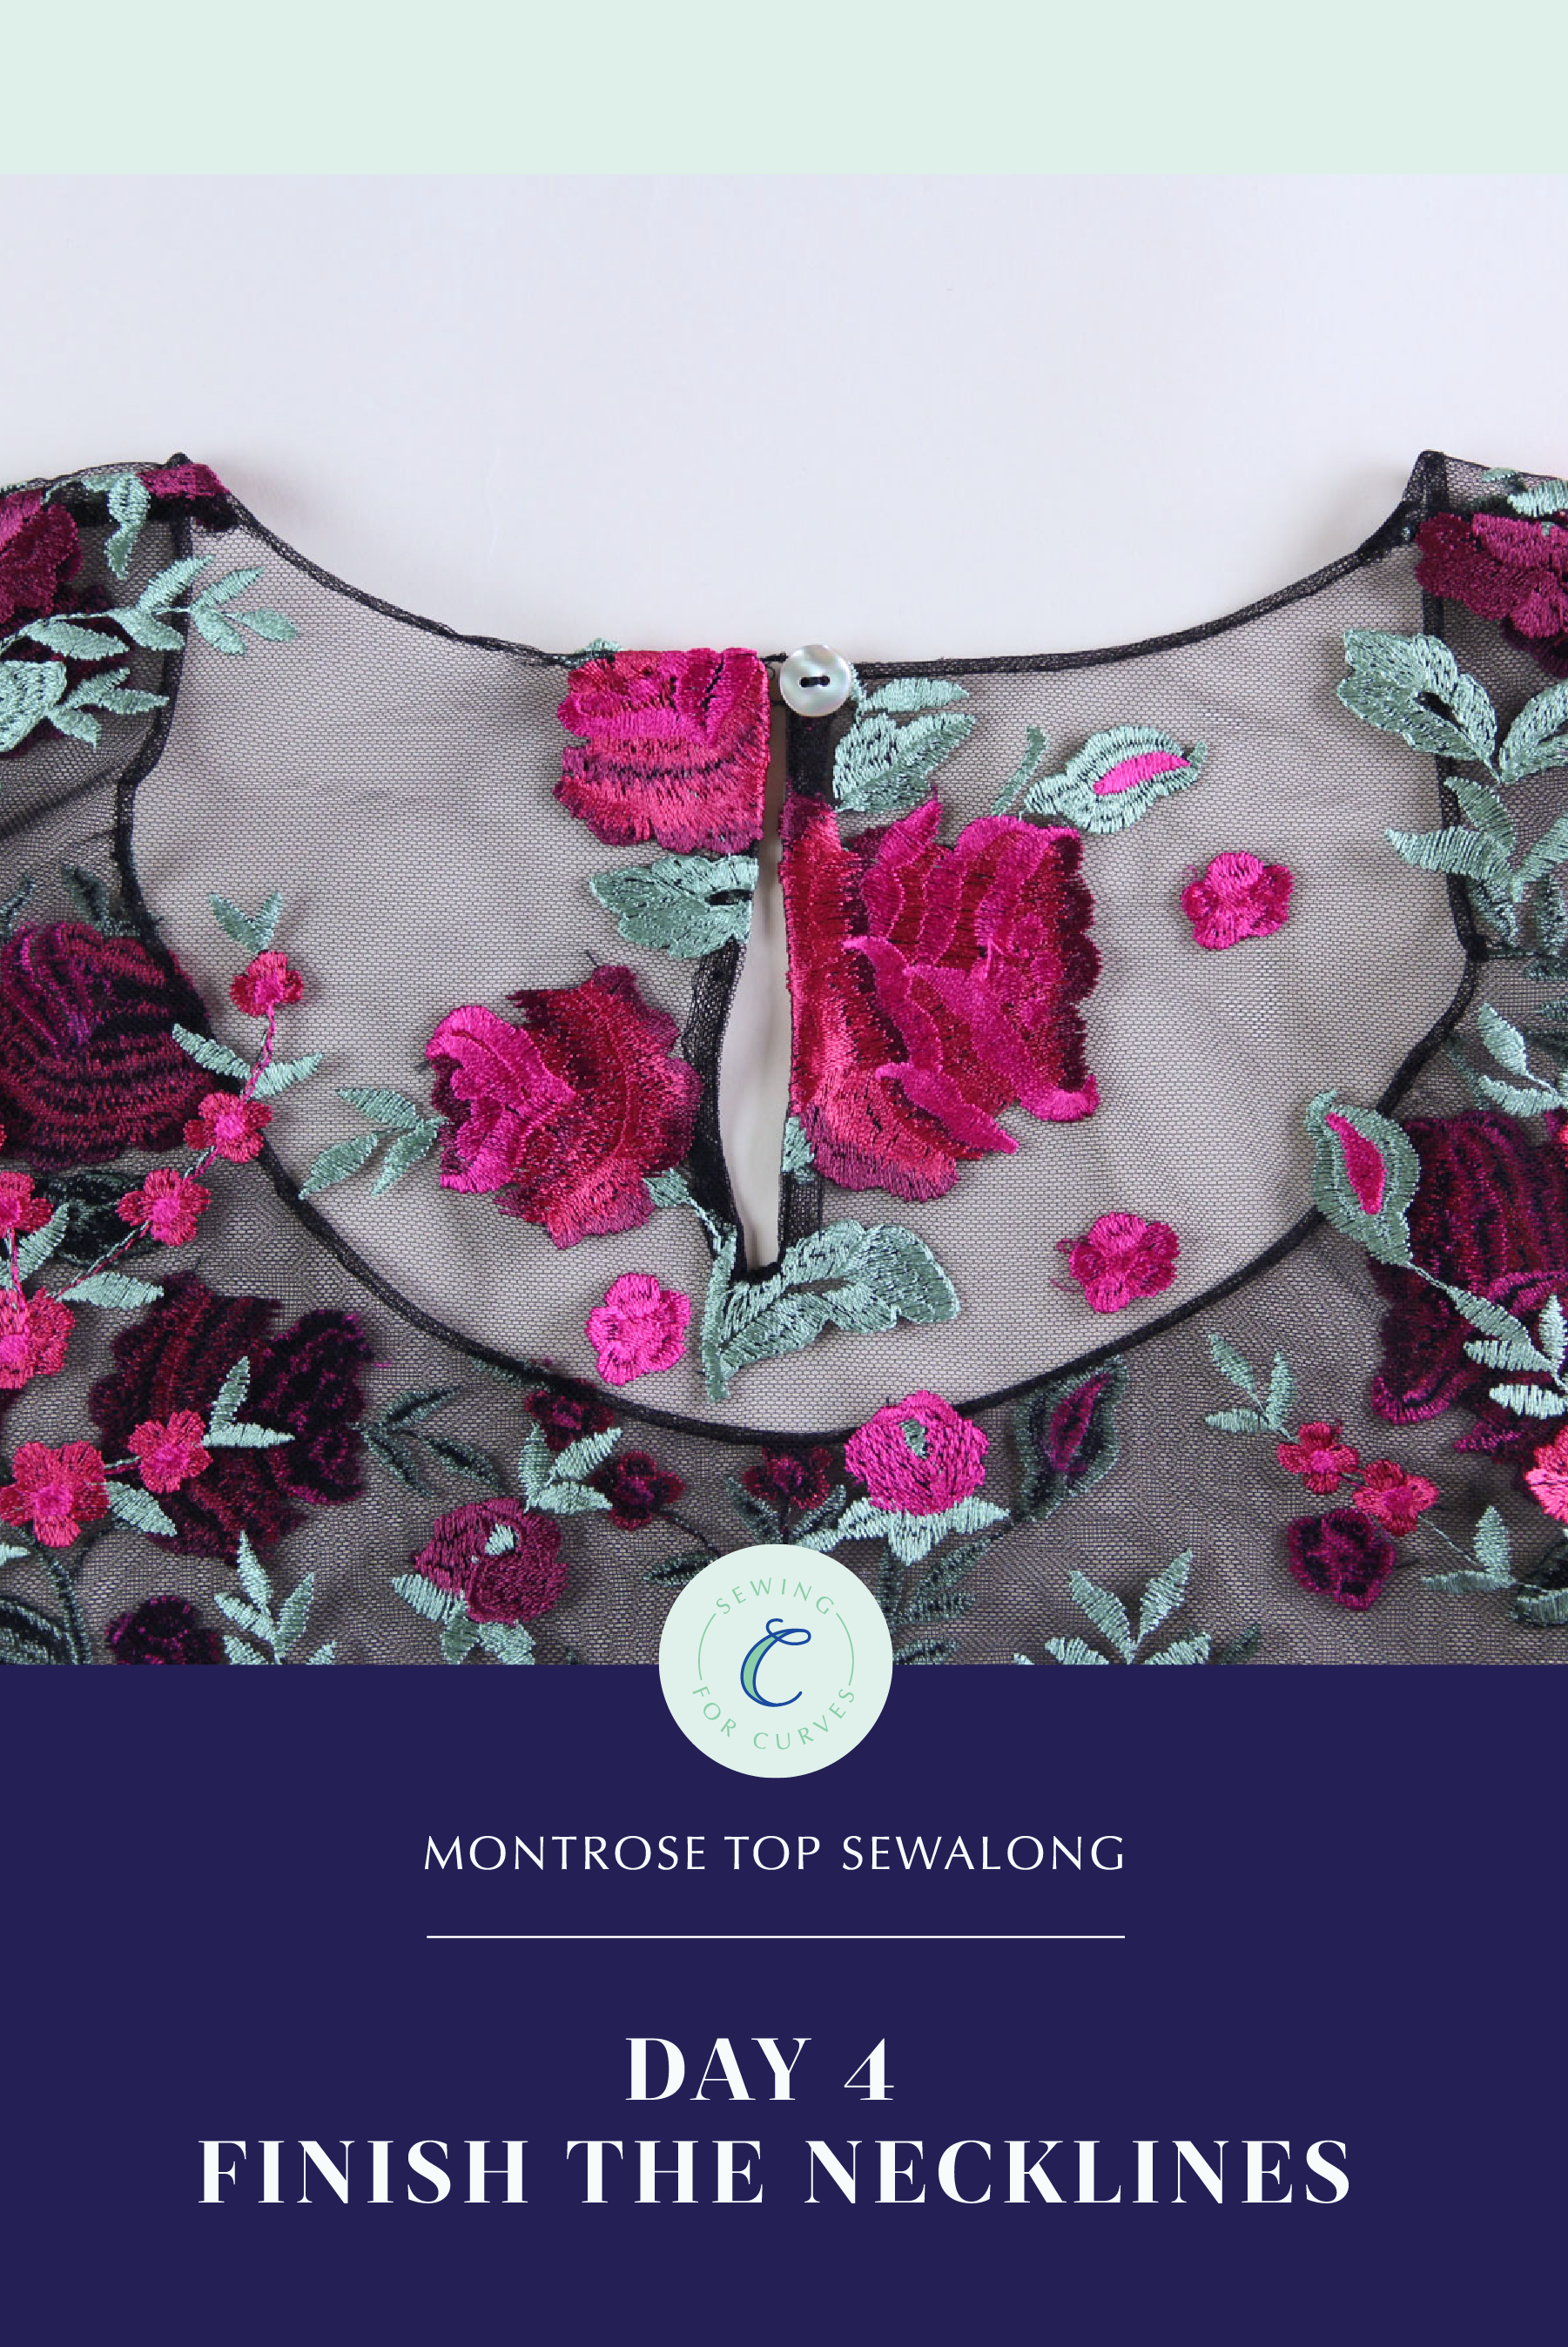
 Welcome to day 4 of the Montrose Top sewalong! The bulk of our construction is done so now we’re on to the finishing touches. Today, we’ll be finishing the necklines on all three versions of the Montrose Top, taking a look at an alternative option for the embroidered mesh version.
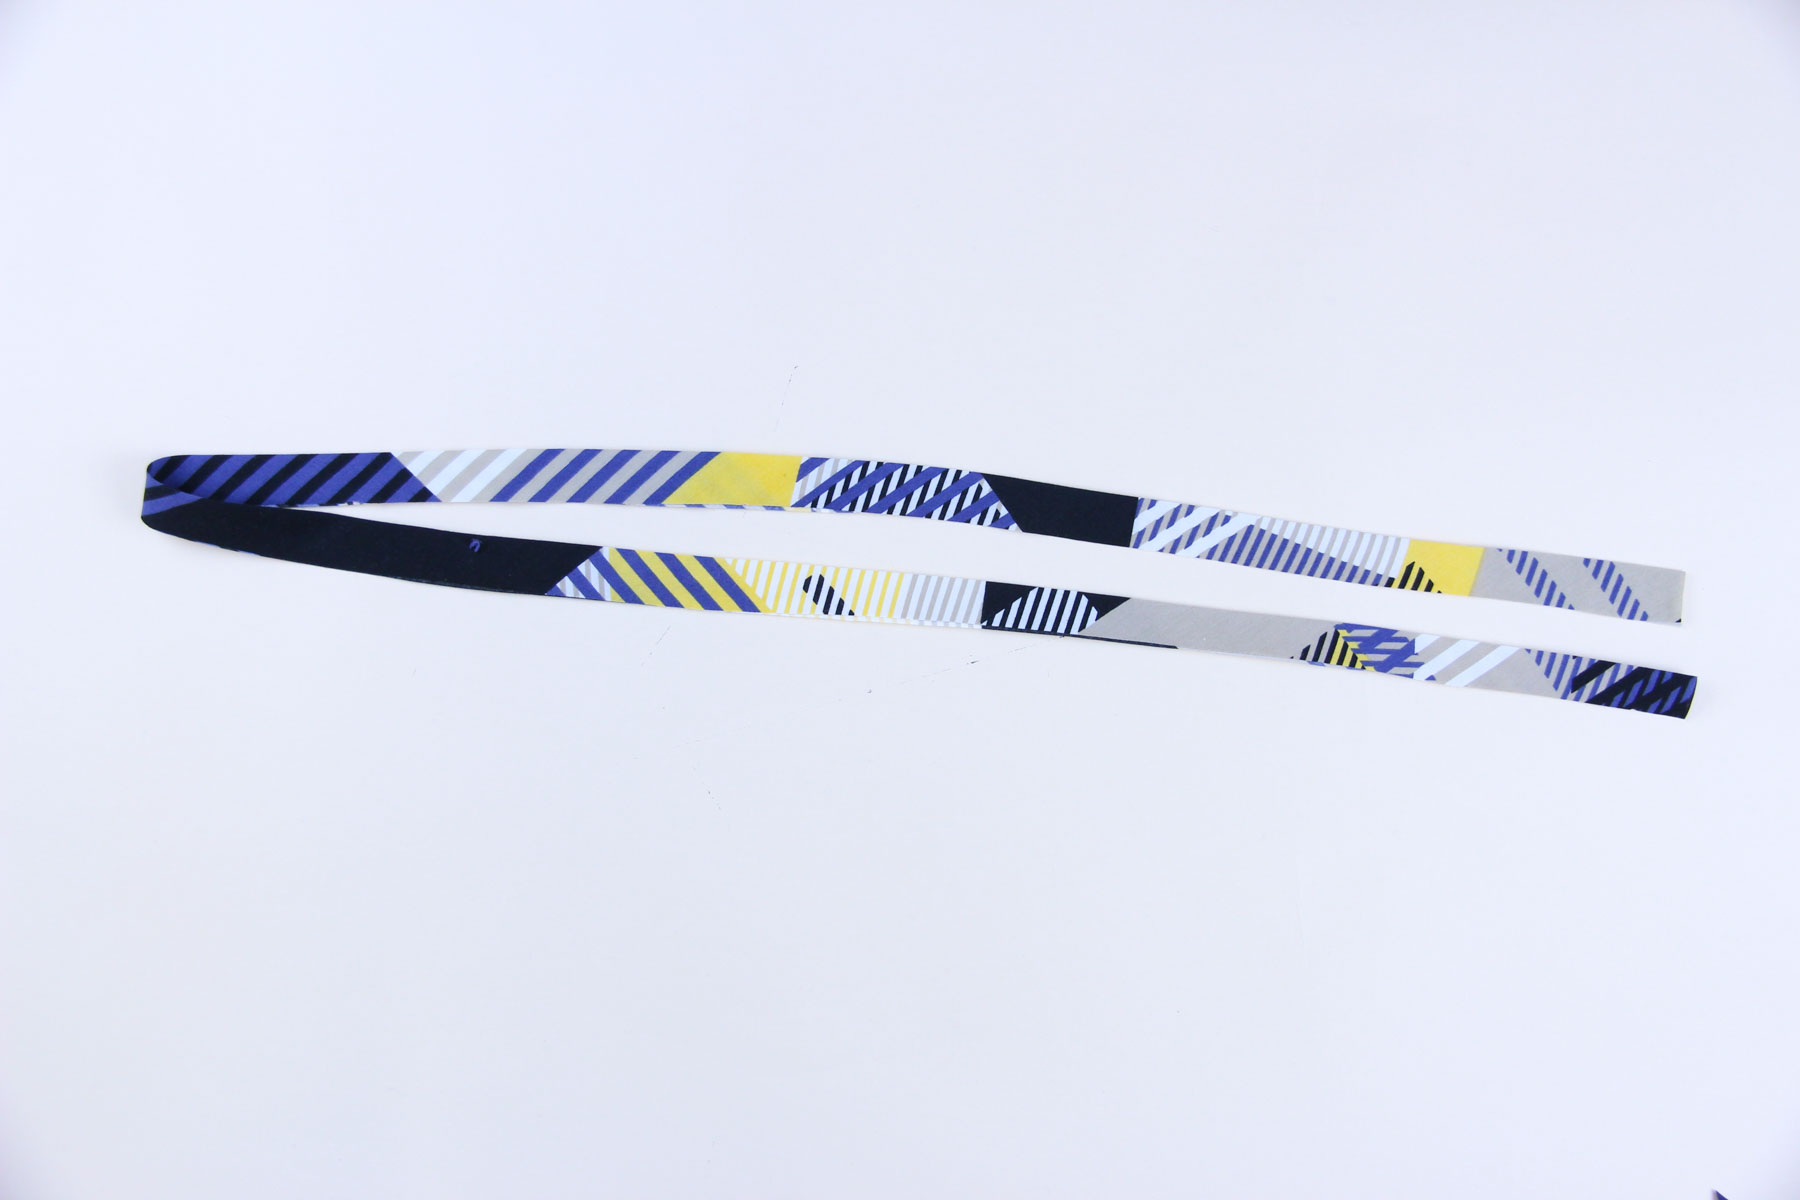
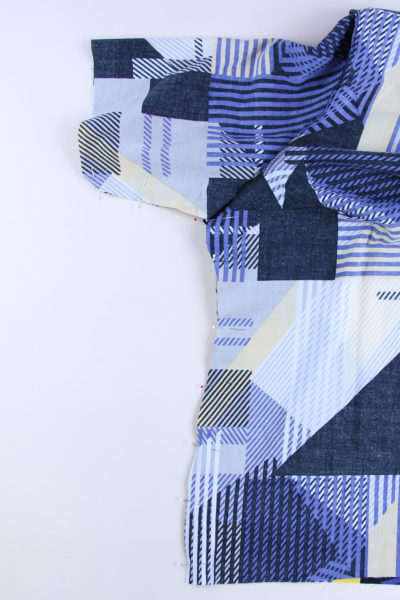
Let’s start with our Version 1, which is a View A neckline. Start by folding the neckline facing in half long ways with the wrong sides together and press.
Pin the neckline facing to the body of the top with the raw edges aligned, starting and ending about 1” from the center back.
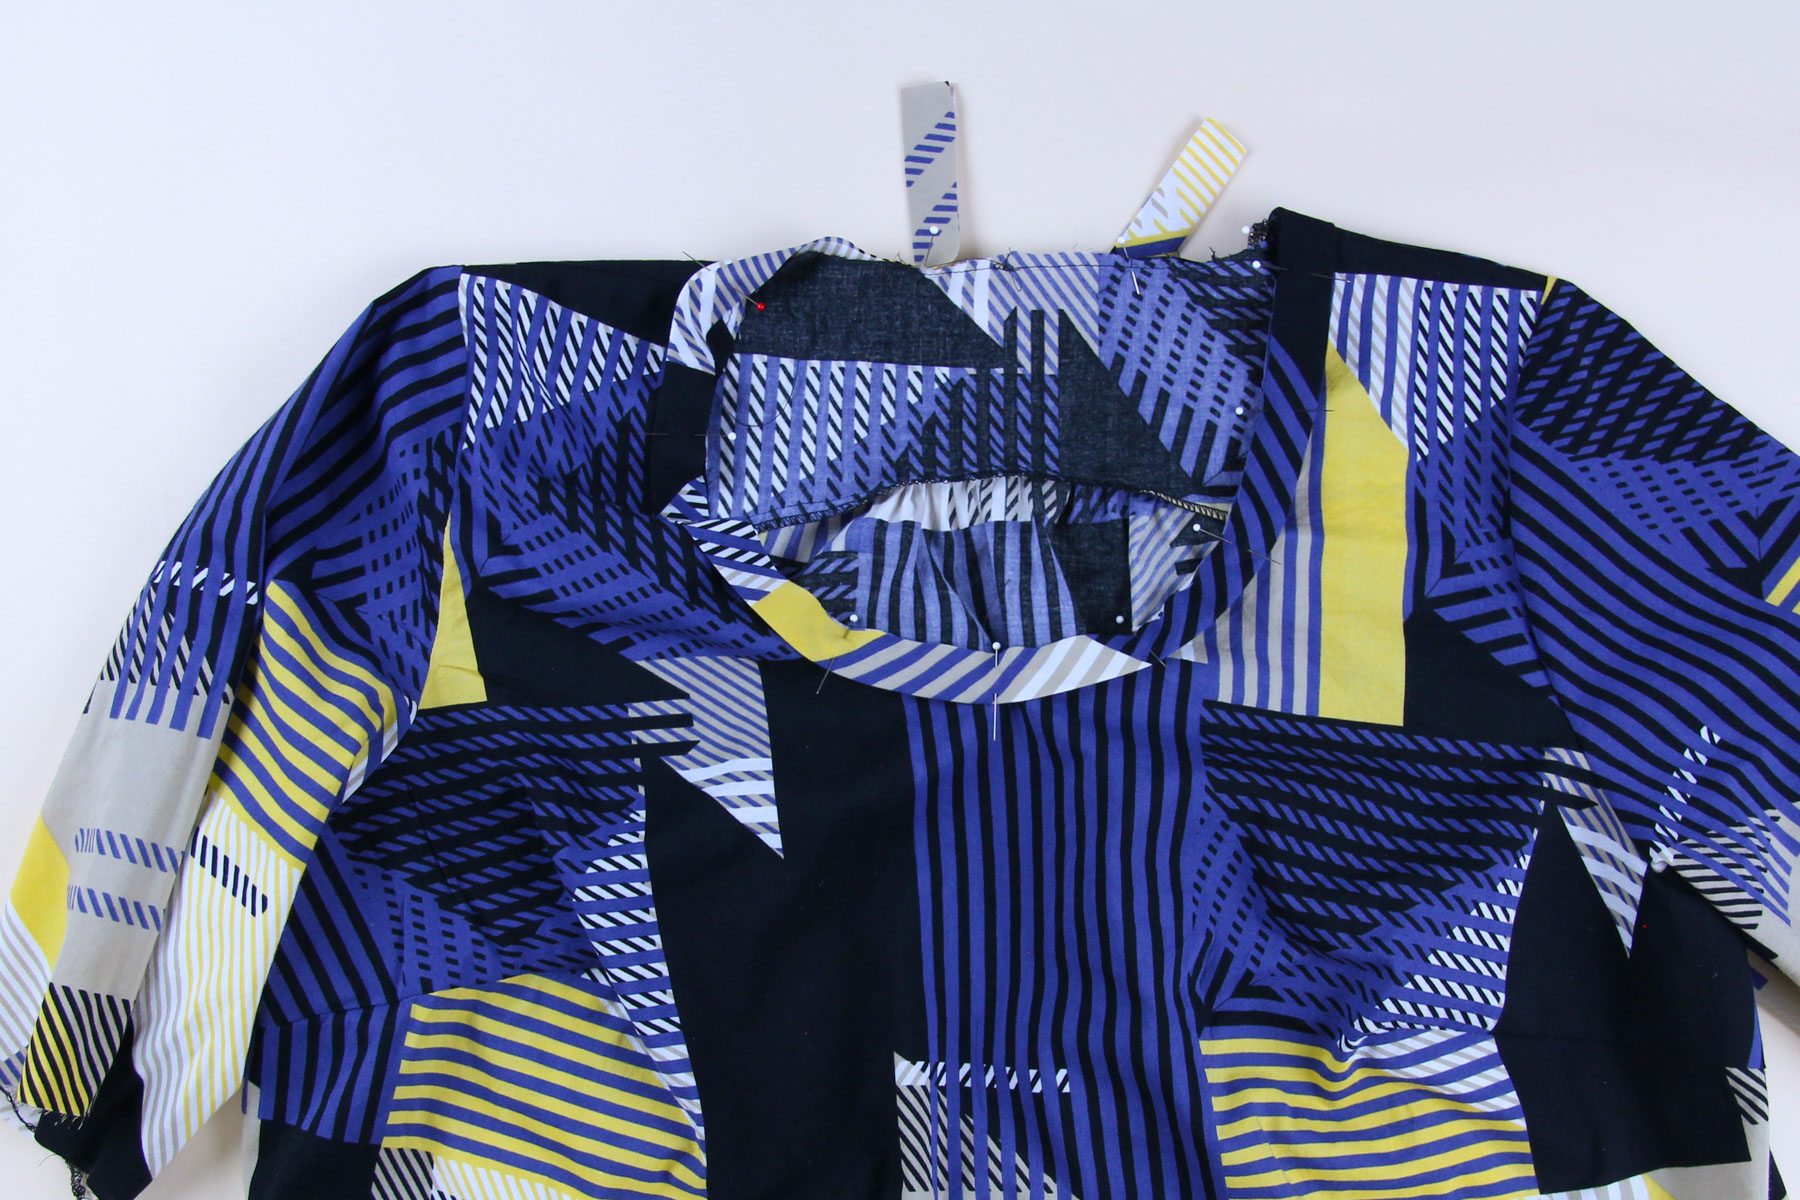
Sew at 1/4” seam allowance, starting and ending 1” from the center back. Pinch the two ends of the facing together at the center back and sew vertically across the facing to close it.
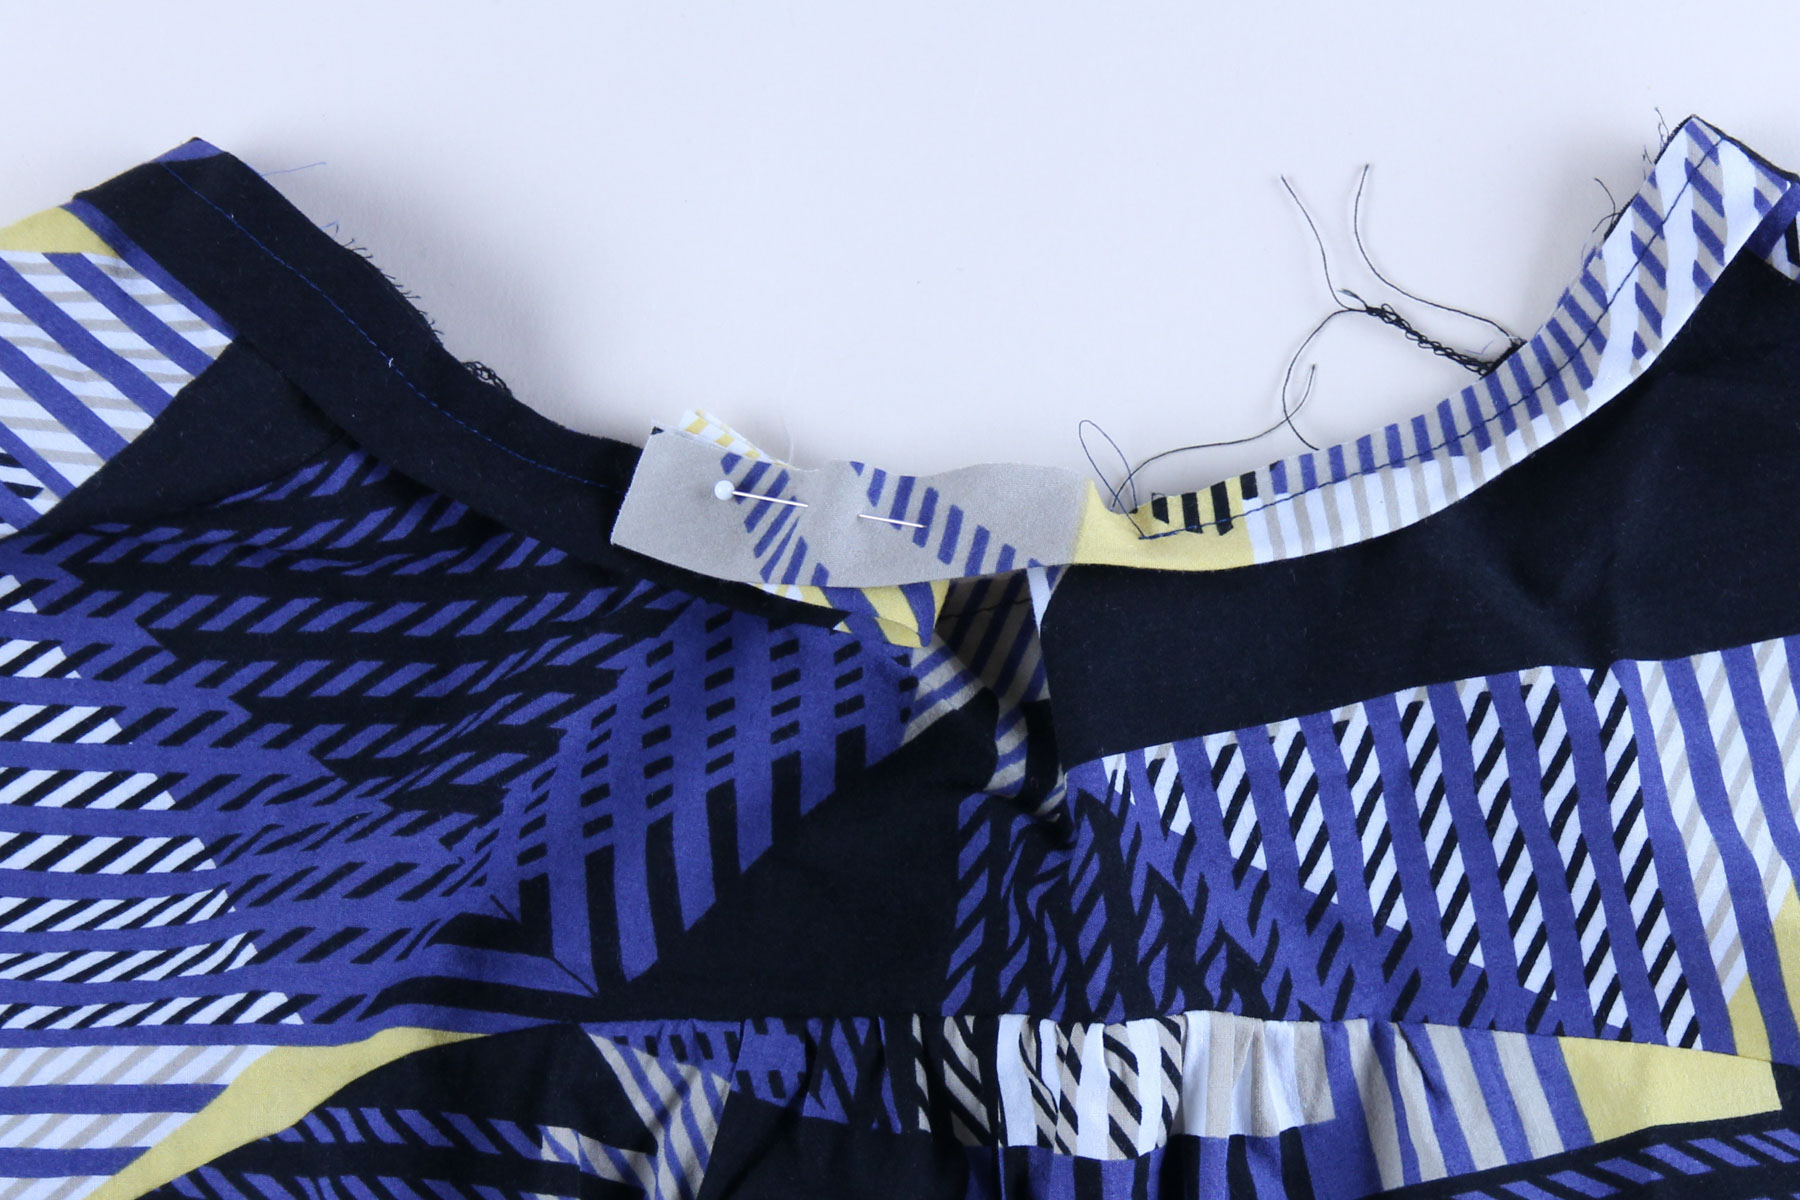
Trim off any excess facing and press the two ends open. Now stitch across the remaining 2” of neckline to close the gap.
Using a ham, press the neckline facing up away from the top over the seam allowance. Understitch the neckline facing to the seam allowance at about 1/8” from the neckline seam. This catches the facing and seam allowance only, not the top, and helps the neckline facing stay tucked neatly inside the shirt when you wear it.
Now press the neckline facing to the inside of the top, again using a ham. Pin in place and topstitch from the right side of the top at about 3/8” from the neckline edge. Give the whole neckline a good press on a ham to maintain the curve.
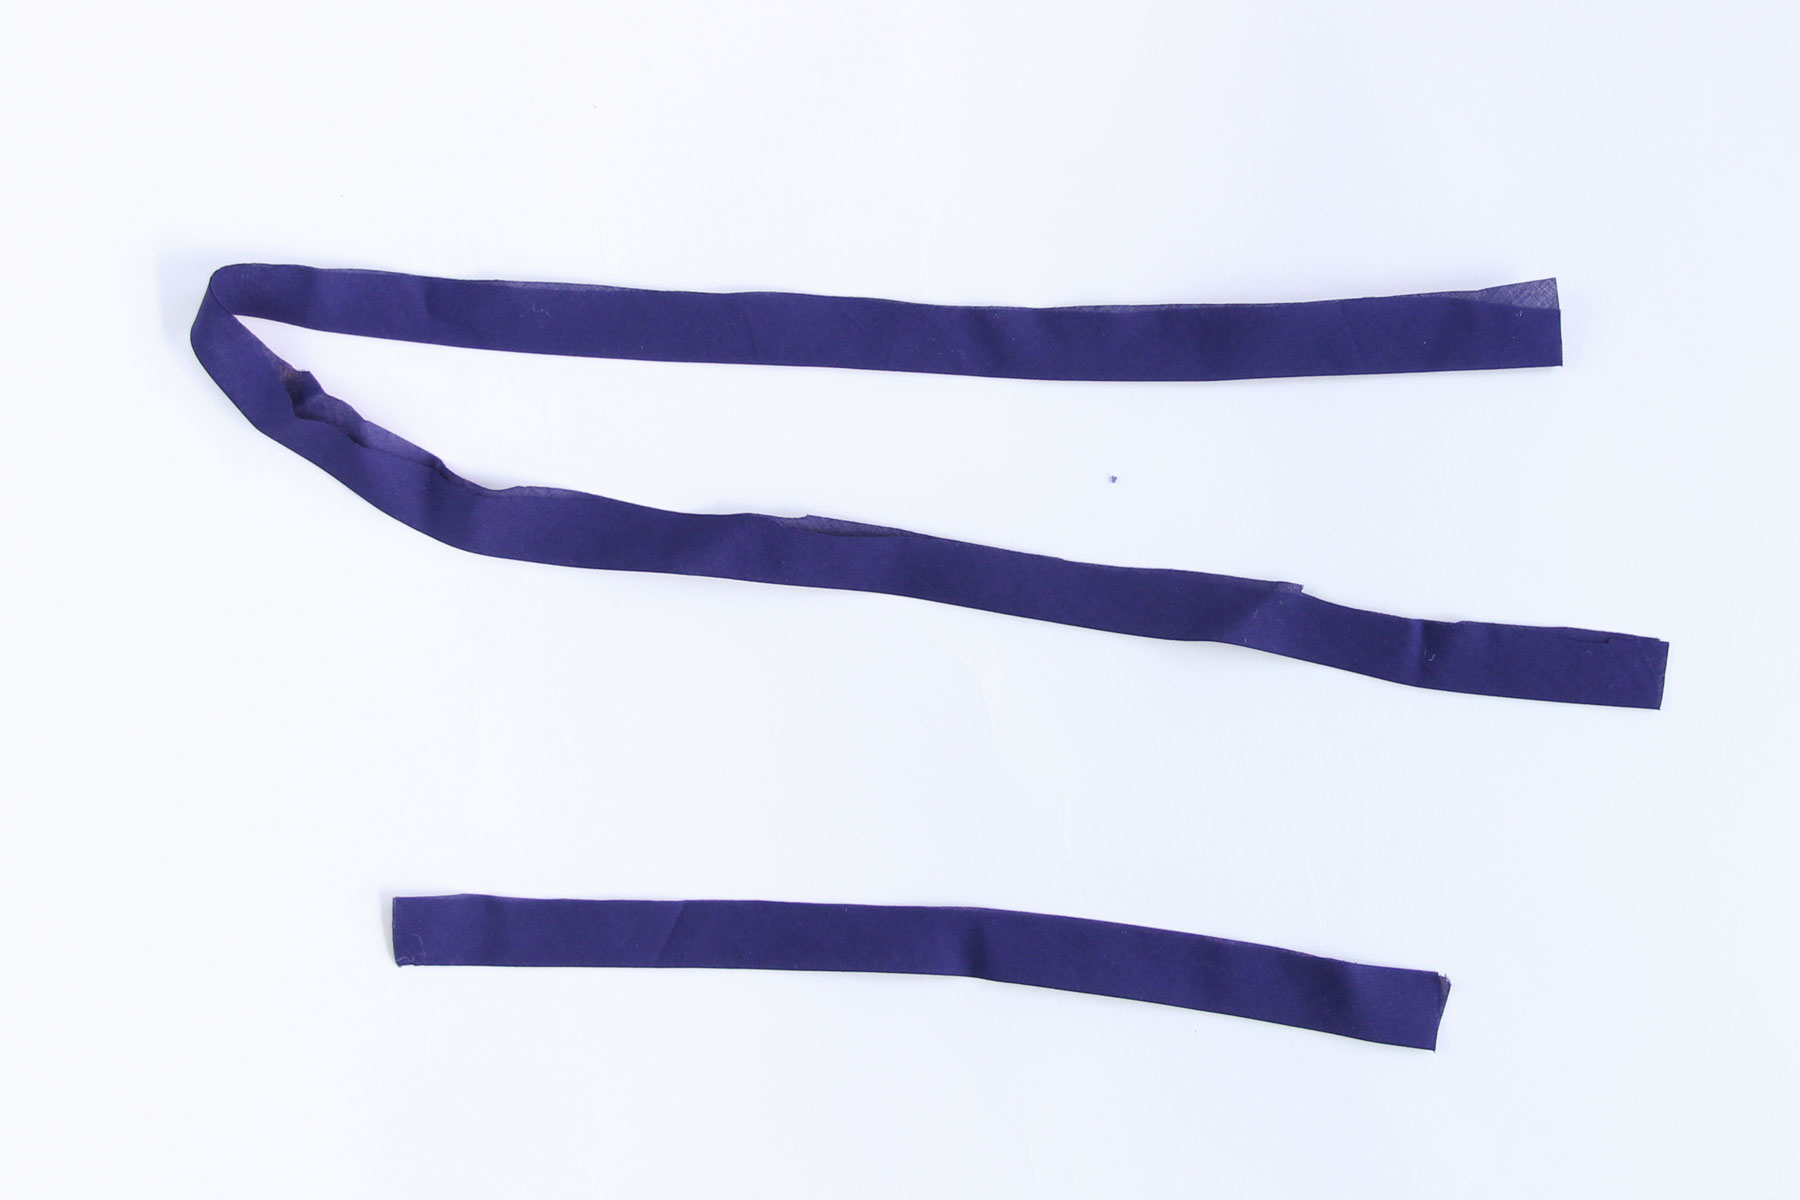
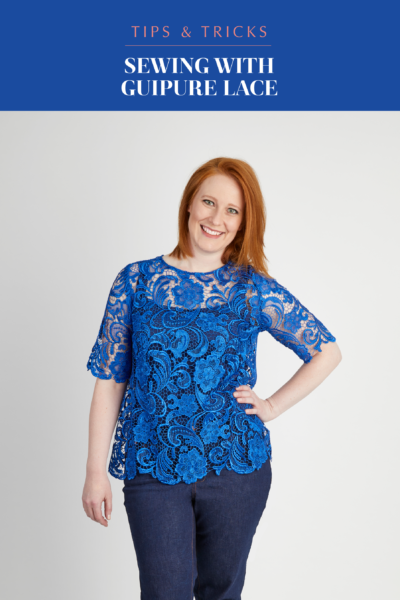
That’s it for the View A neckline! Now, let’s tackle the View B neckline on our guipure lace version. When making this shirt with lace or with any heavier fabric, we recommend using a scrap of cotton voile, lawn, or lightweight store-bought bias tape to finish the neckline. I’m using some leftover cotton lawn for this version.
Begin by pressing both the neckline facing and the keyhole facing in half lengthwise with wrong sides together.
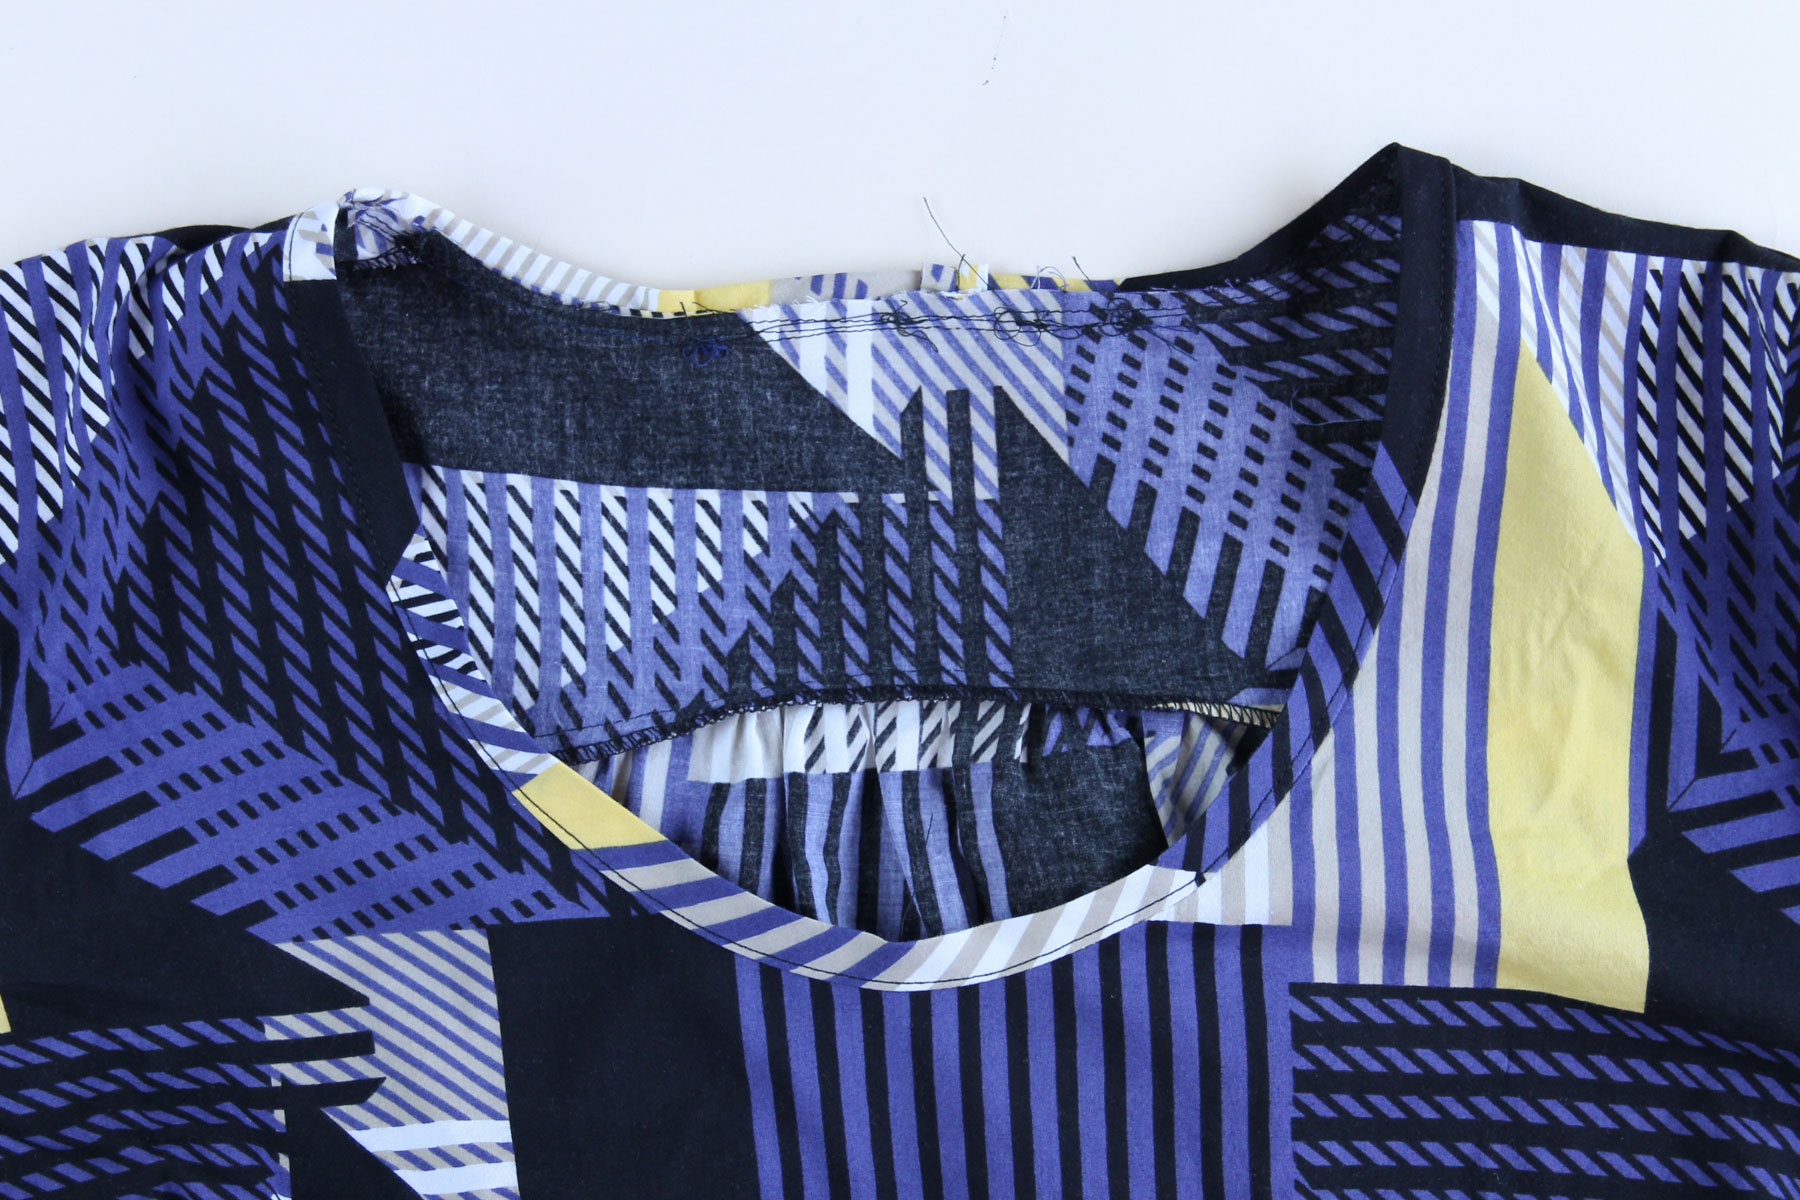
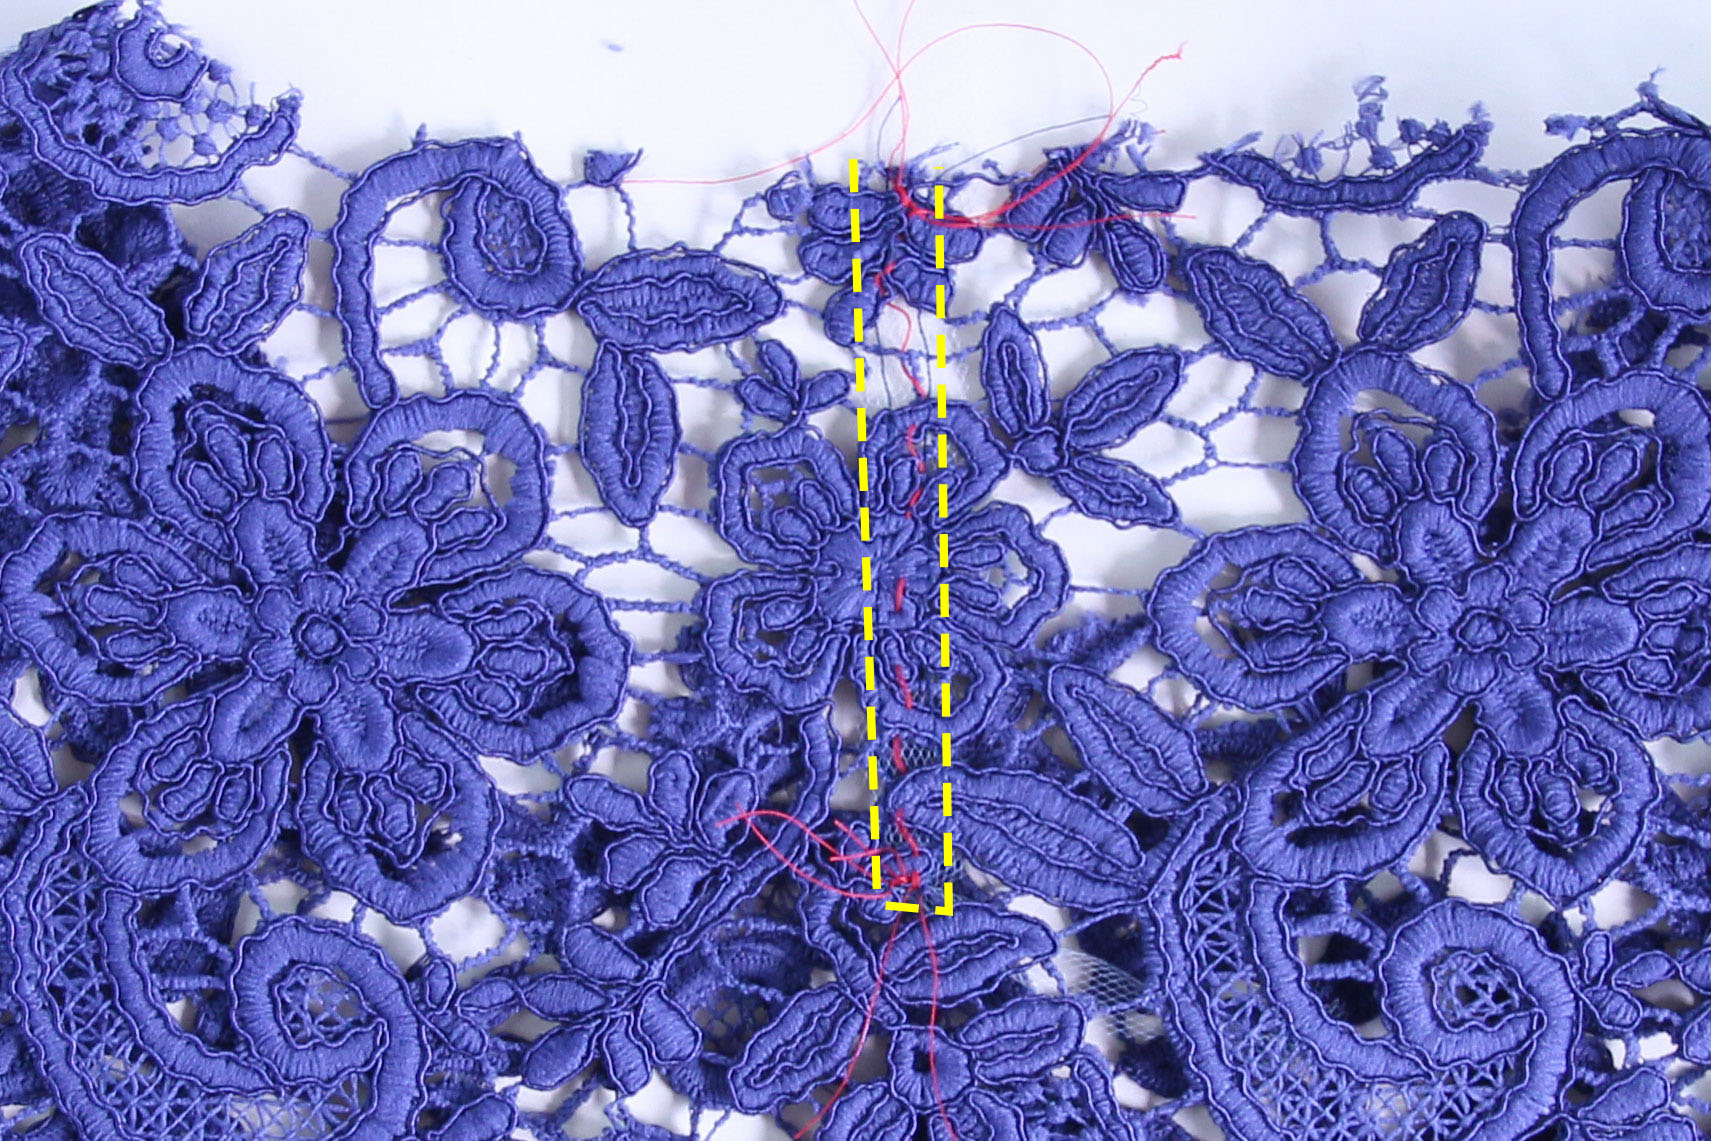
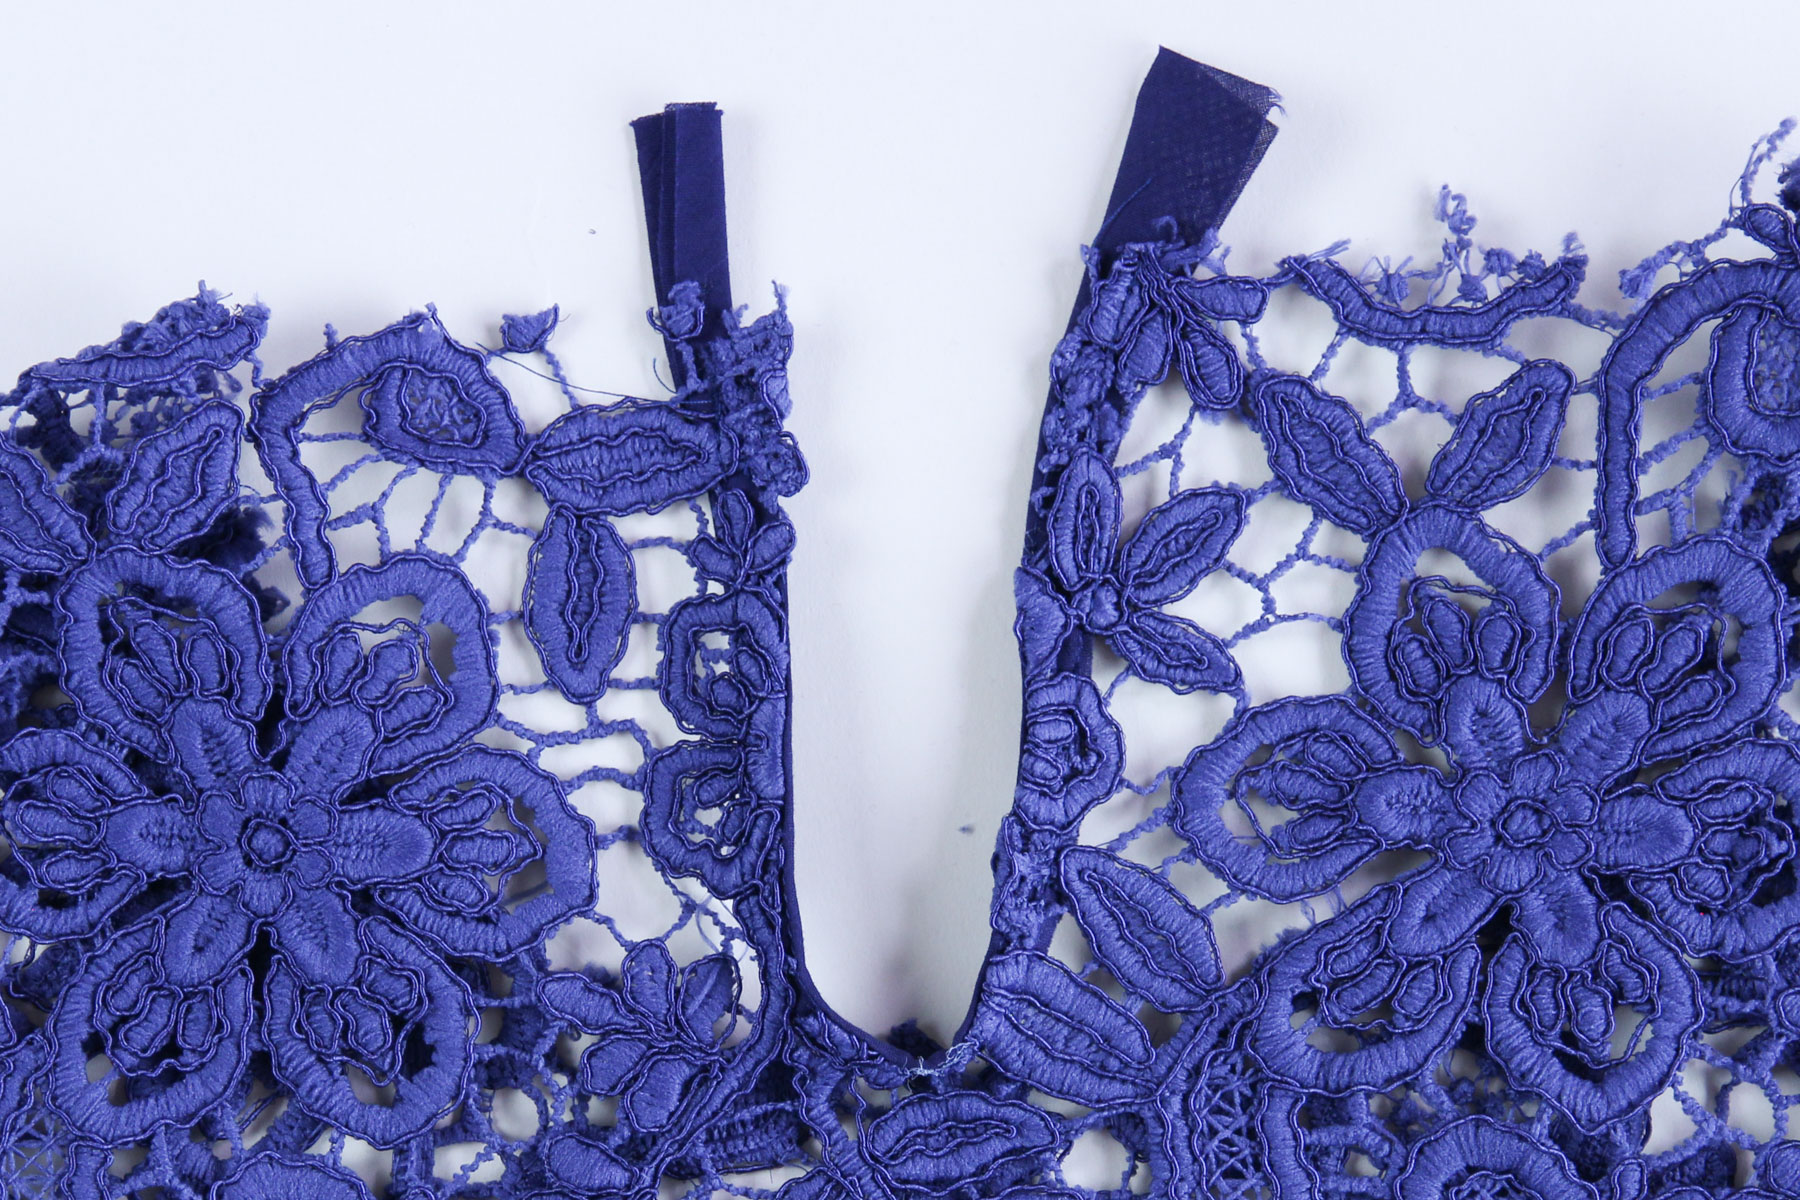
Now let’s make our keyhole. In the instructions, you staystitch after cutting the keyhole, but because we’re using lace and it’s too shifty for that, we’re going to staystitch first. Begin by thread tracing a line vertically from the center back down to the keyhole marking (the tailor’s tack). Next, on your machine using a very short straight stitch, stitch around this line at 1/8”, making a box at the bottom. I’ve highlighted my stitching line so you can see it. I also used a bit of tulle to help stabilize the stay stitching but I think tear-away stabilizer would work better here.
Carefully cut the keyhole along the line you thread traced. Then, snip diagonally from the tailor’s tack to the corners of the staystitching if needed (if there’s a hole in your lace there, no need to snip.)
Gently splay the keyhole open and pin the keyhole facing to the opening, right sides together. Pin with the keyhole facing on the underside so that it can face the feed dogs when you sew.
Sew carefully at 1/4” seam allowance, dropping down to 1/8” seam allowance at the bottom of the slit, making sure not to sew any tucks (less of an issue with lace).
Press the keyhole facing to the inside of the top, making sure it’s not visible from the outside. Topstitch the keyhole facing in place, sewing with the keyhole facing down against the feed dogs.
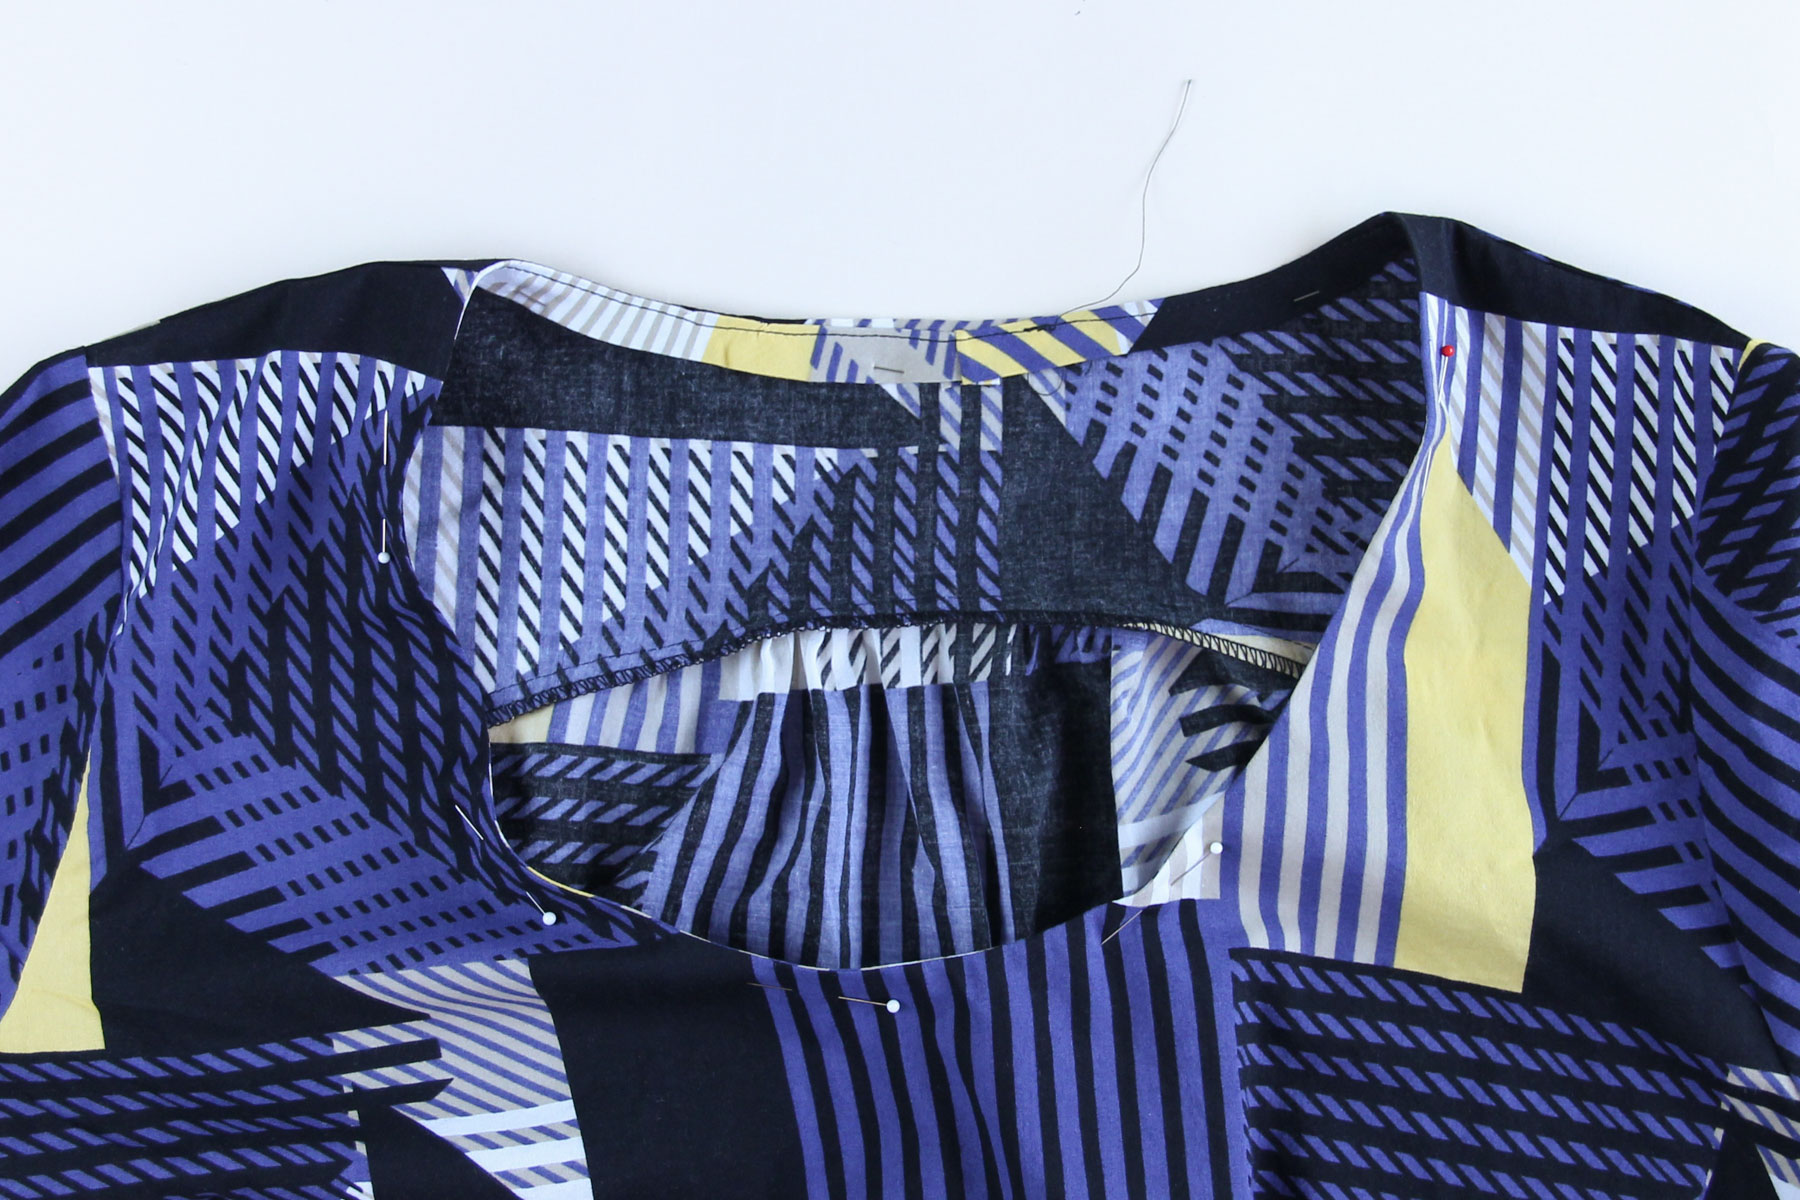
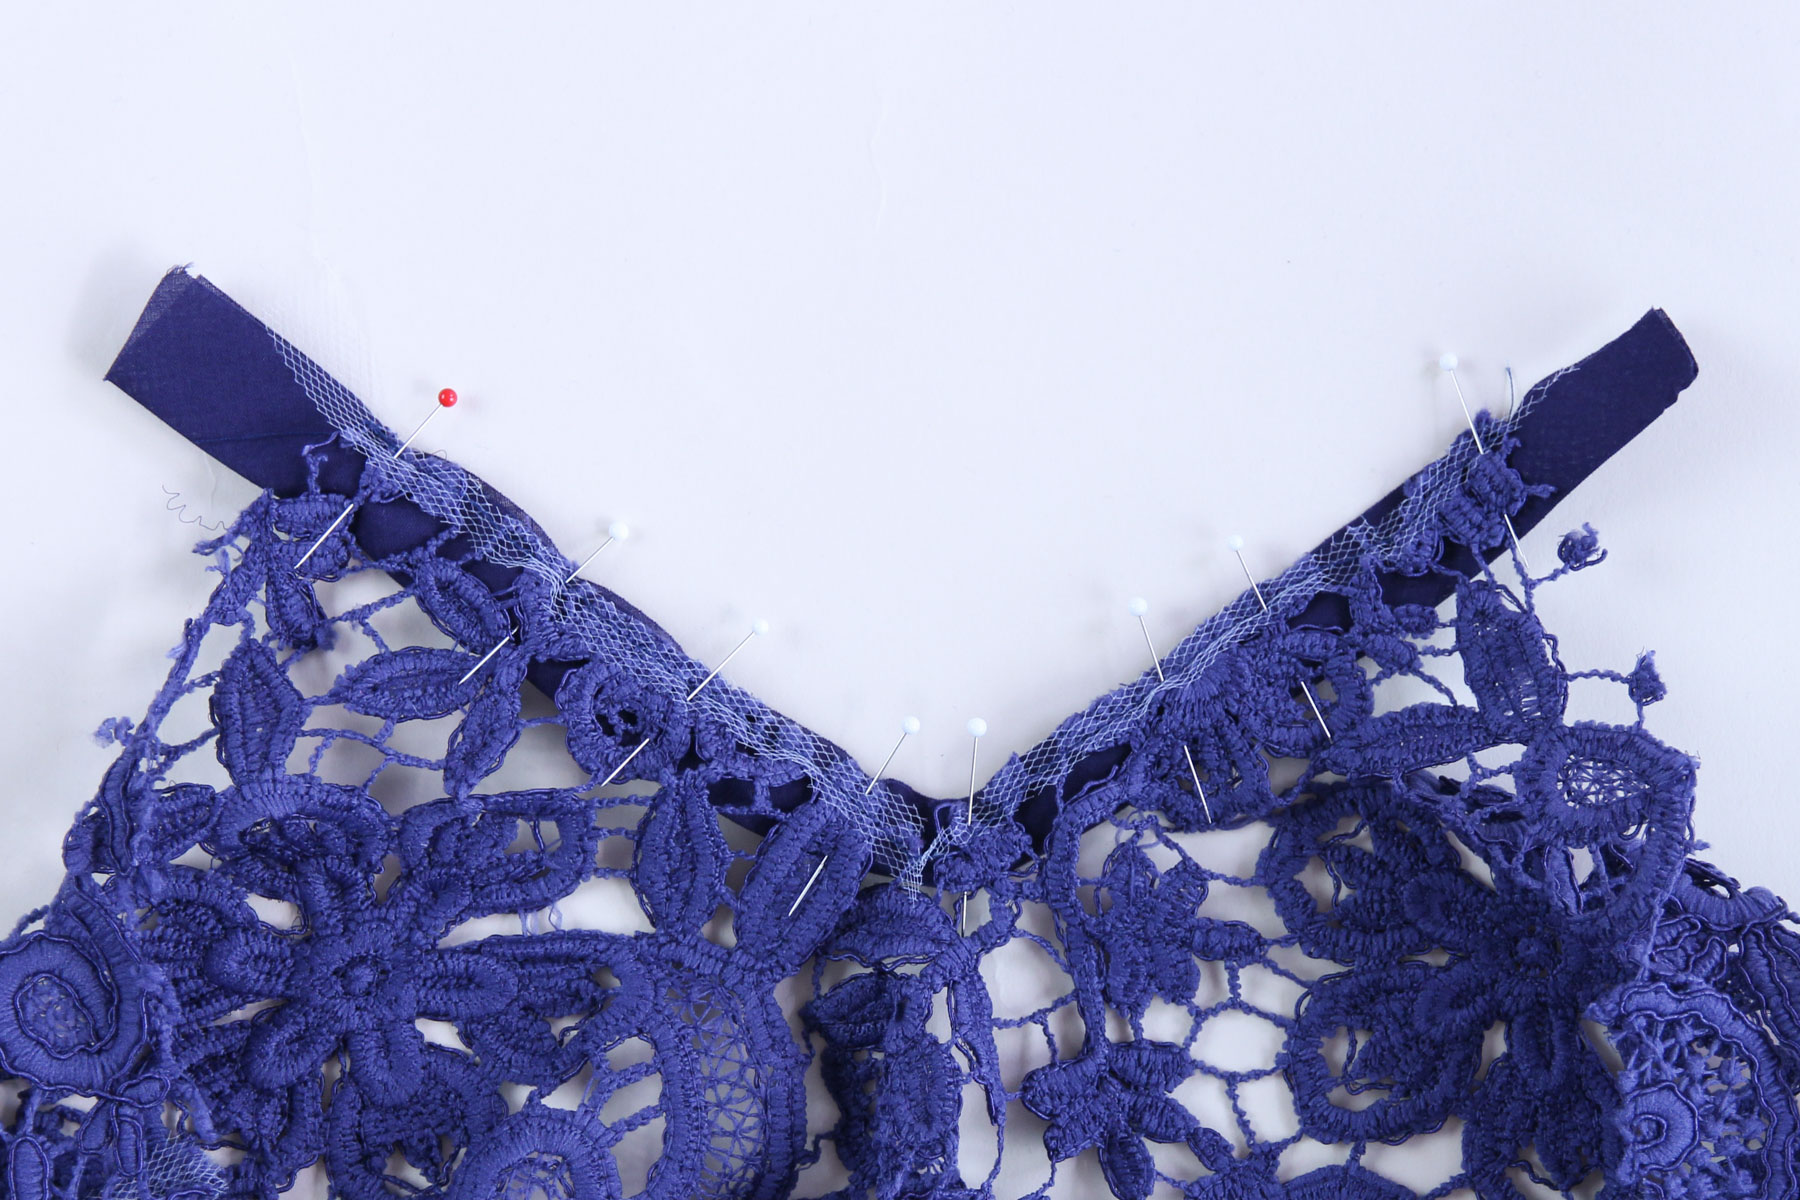
Pin the neckline facing to the right side of the neckline of the shirt all the way around, matching the raw edges.
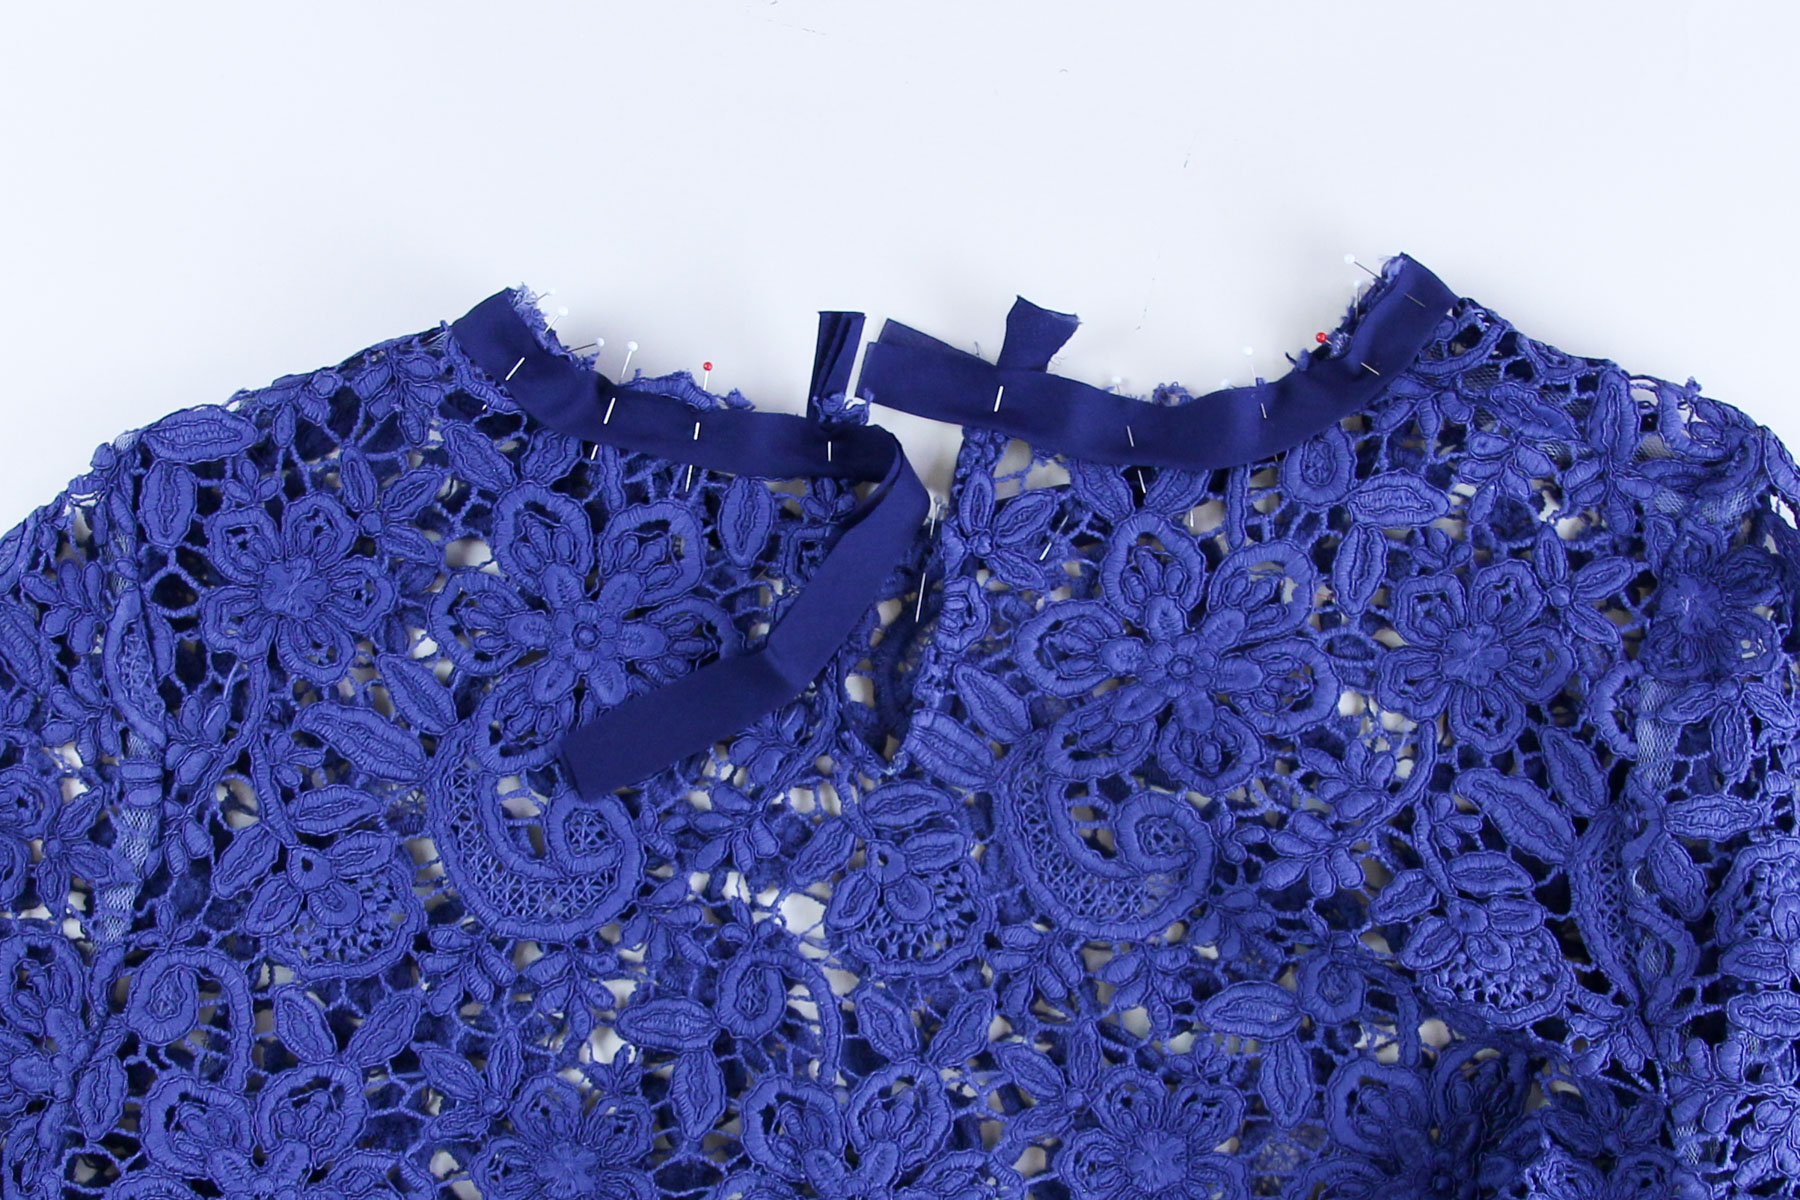
Sew the neckline facing to the top at 1/4” seam allowance, sewing with the neckline facing down against the feed dogs, just like we did for the keyhole facing.
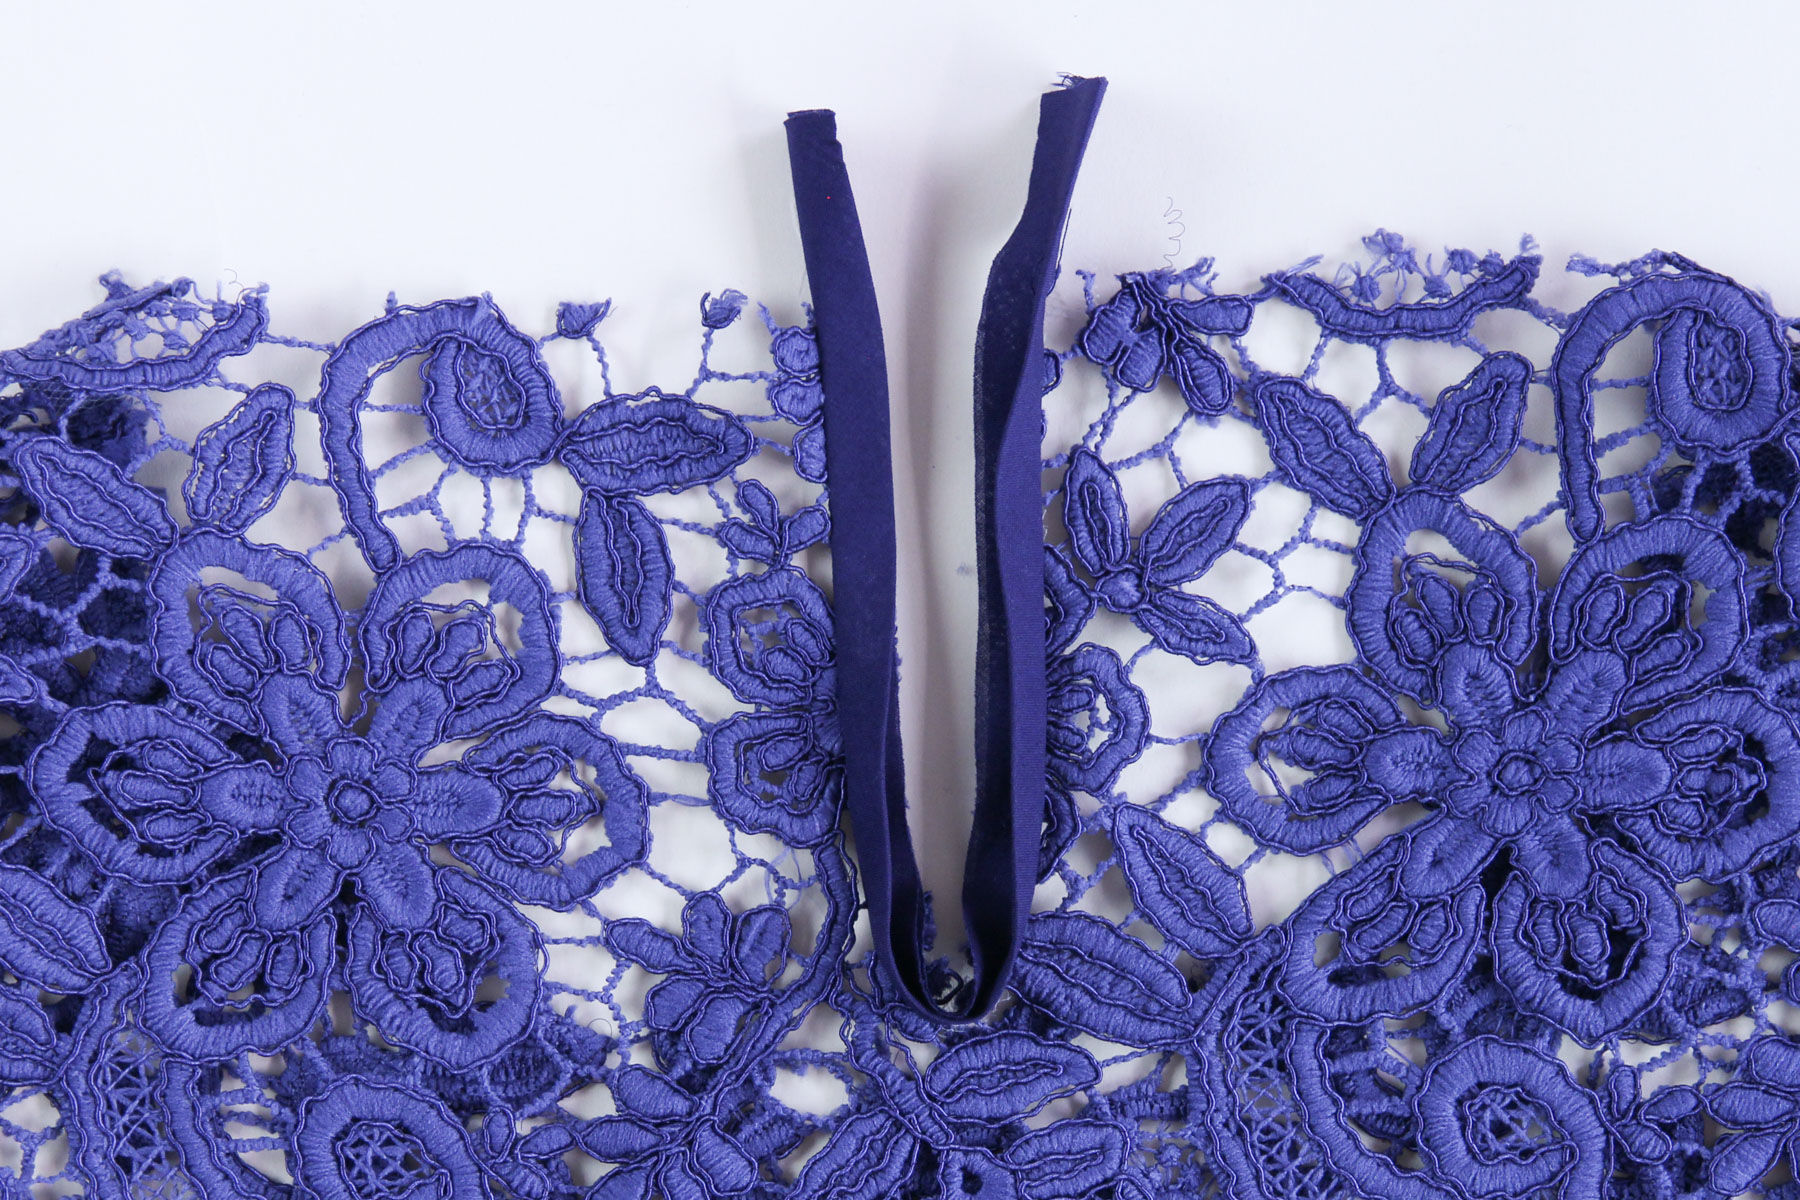
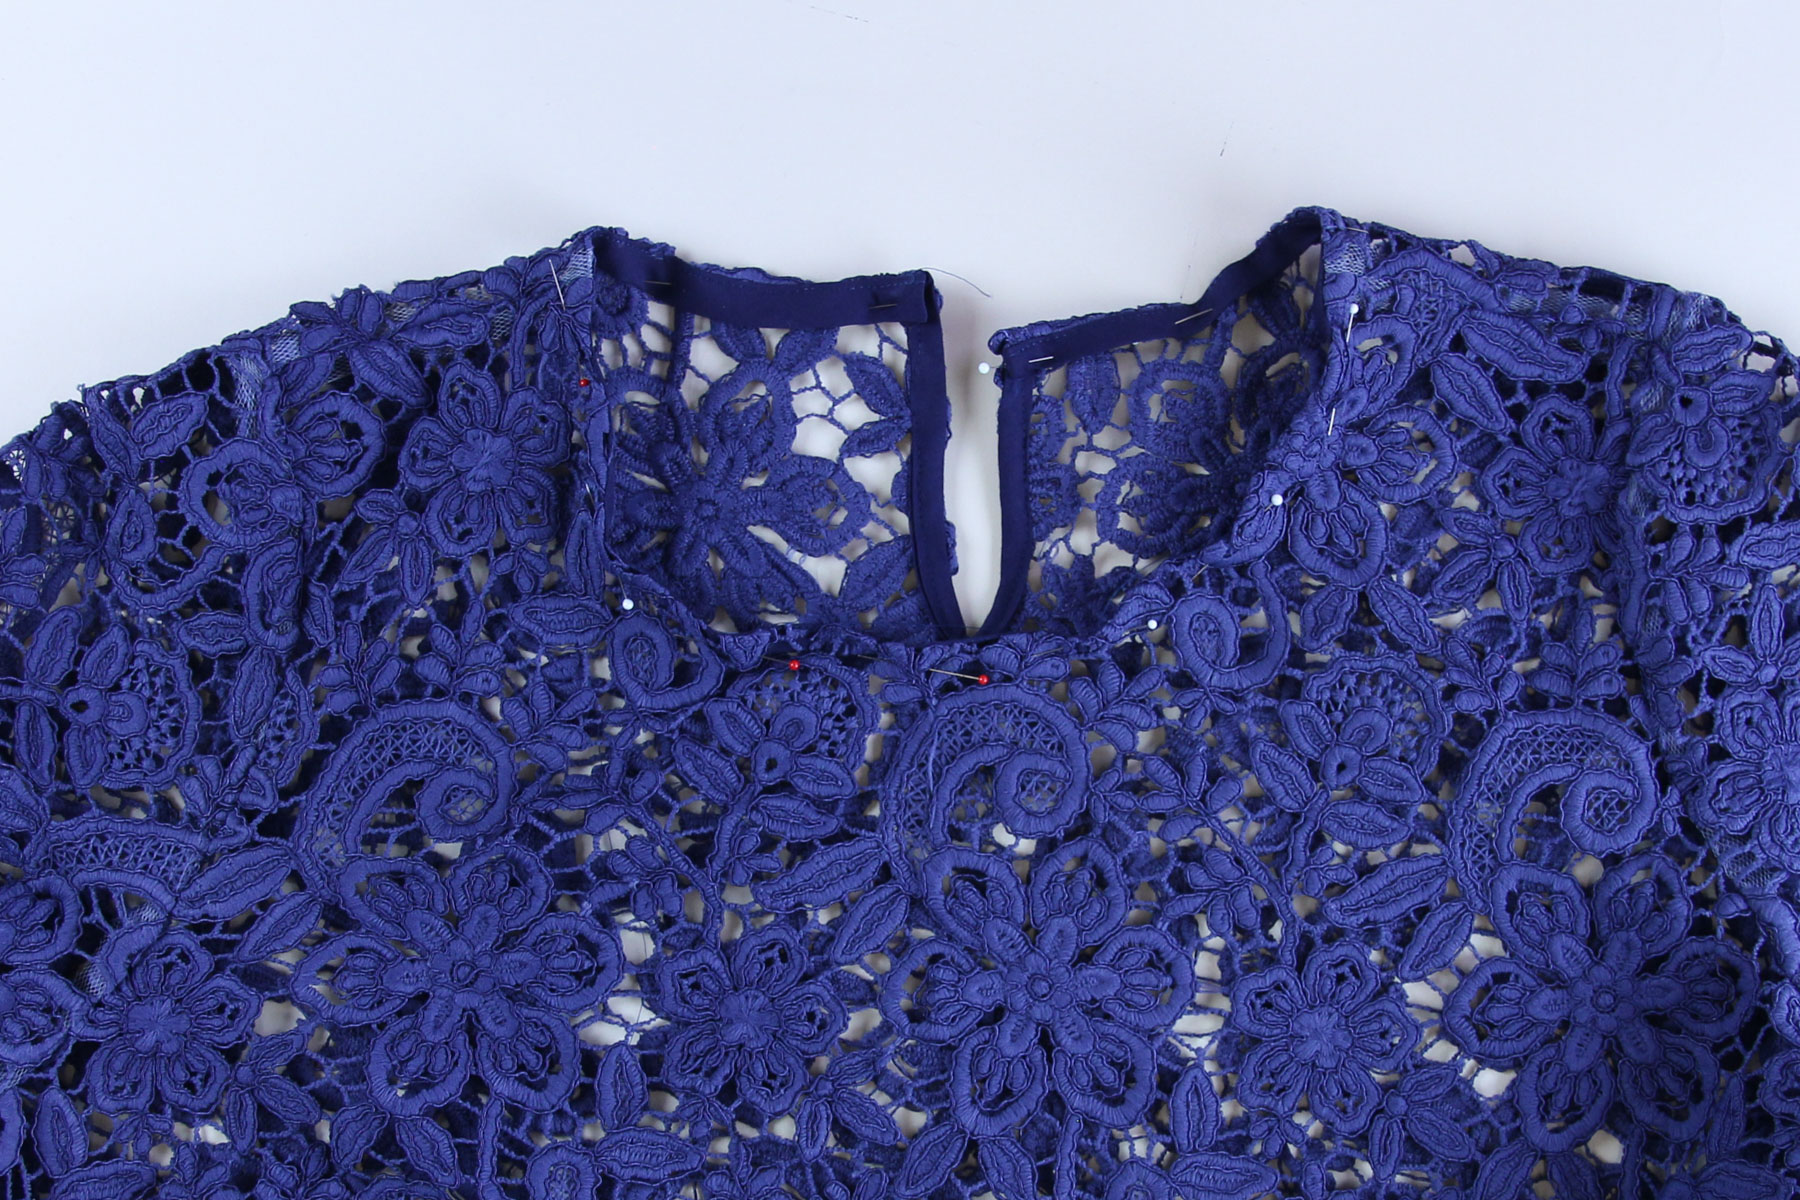
Press the neckline facing up away from the top over the seam allowance. Fold the ends of the neckline facing at the keyhole facing in to the wrong side of the facing and pin in place. Understitch the facing to the neckline seam allowance, catching the folded in edges at both ends.
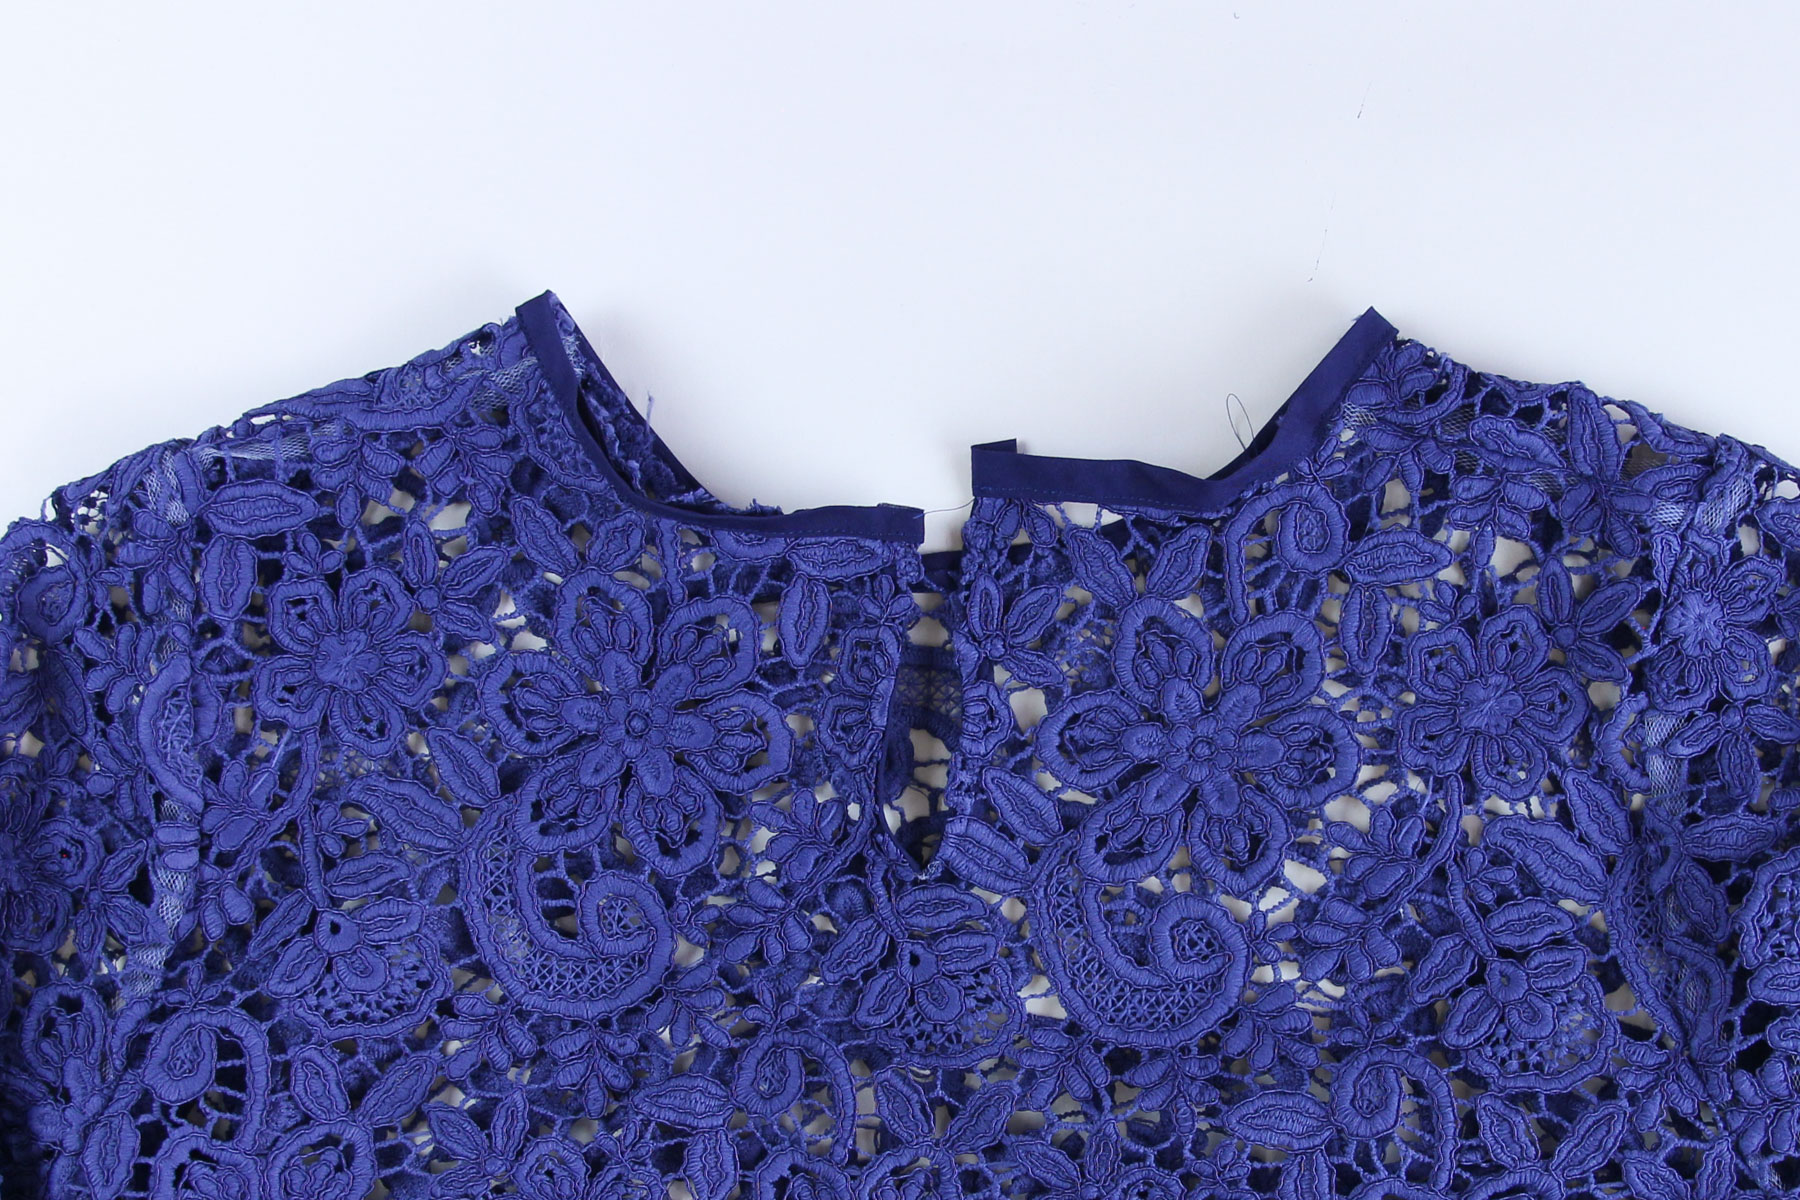
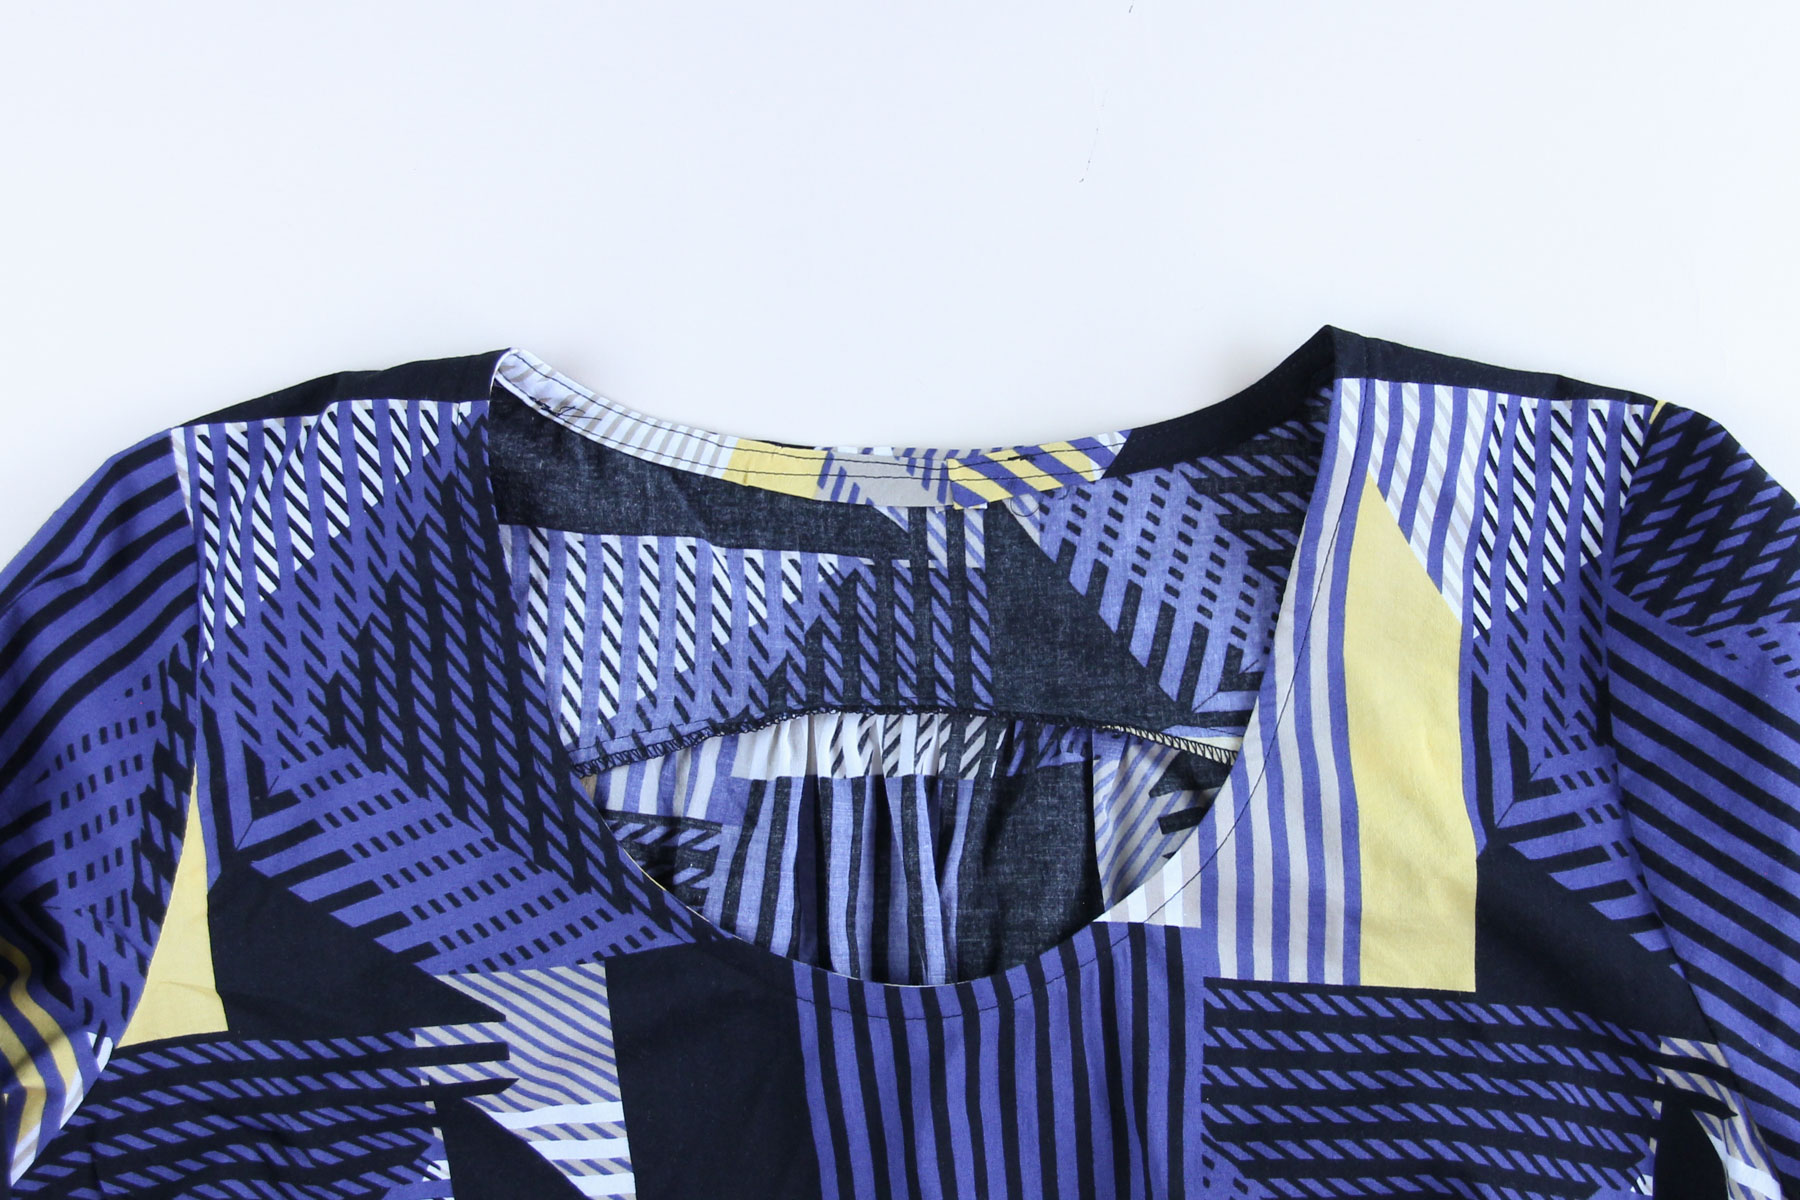
Press the neckline facing to the inside of the top and pin in place. Topstitch with the neckline facing down against the feed dogs and give it one more press.
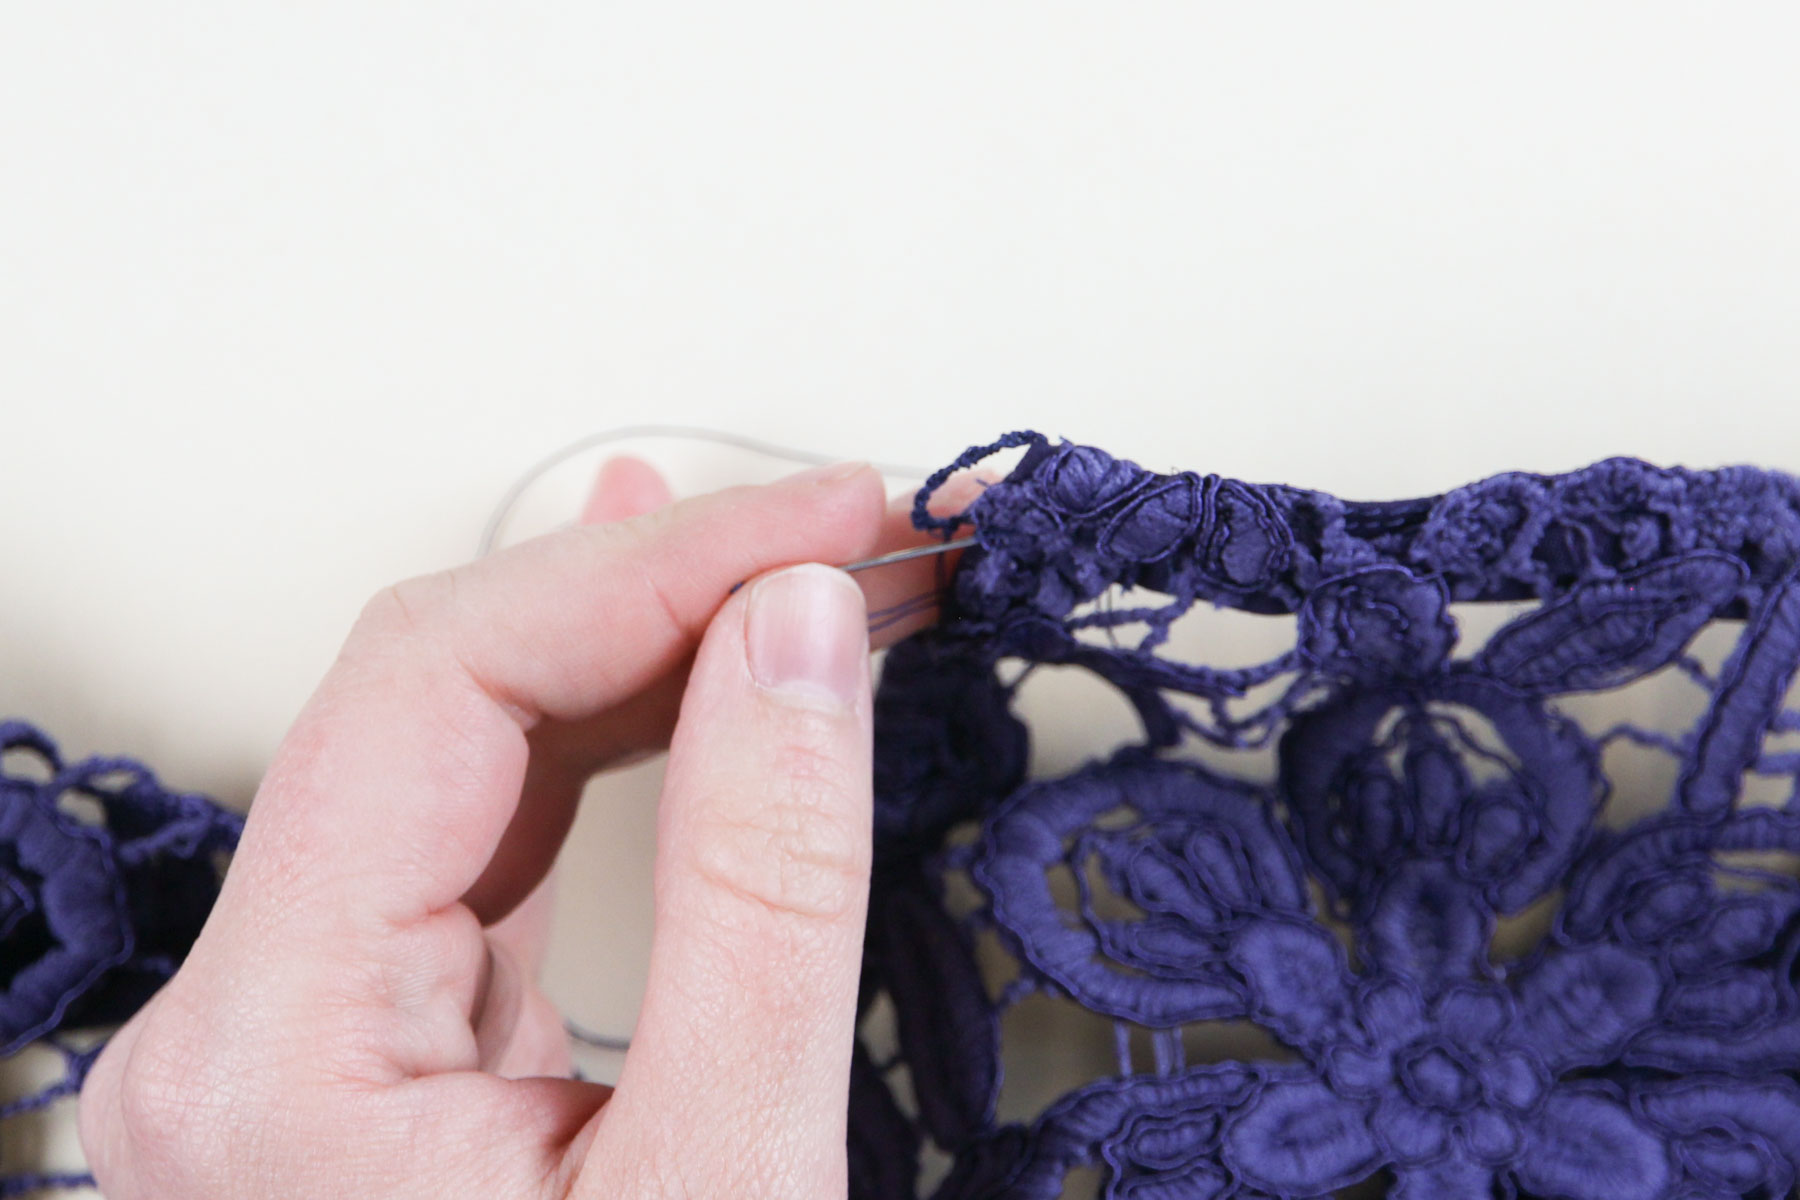
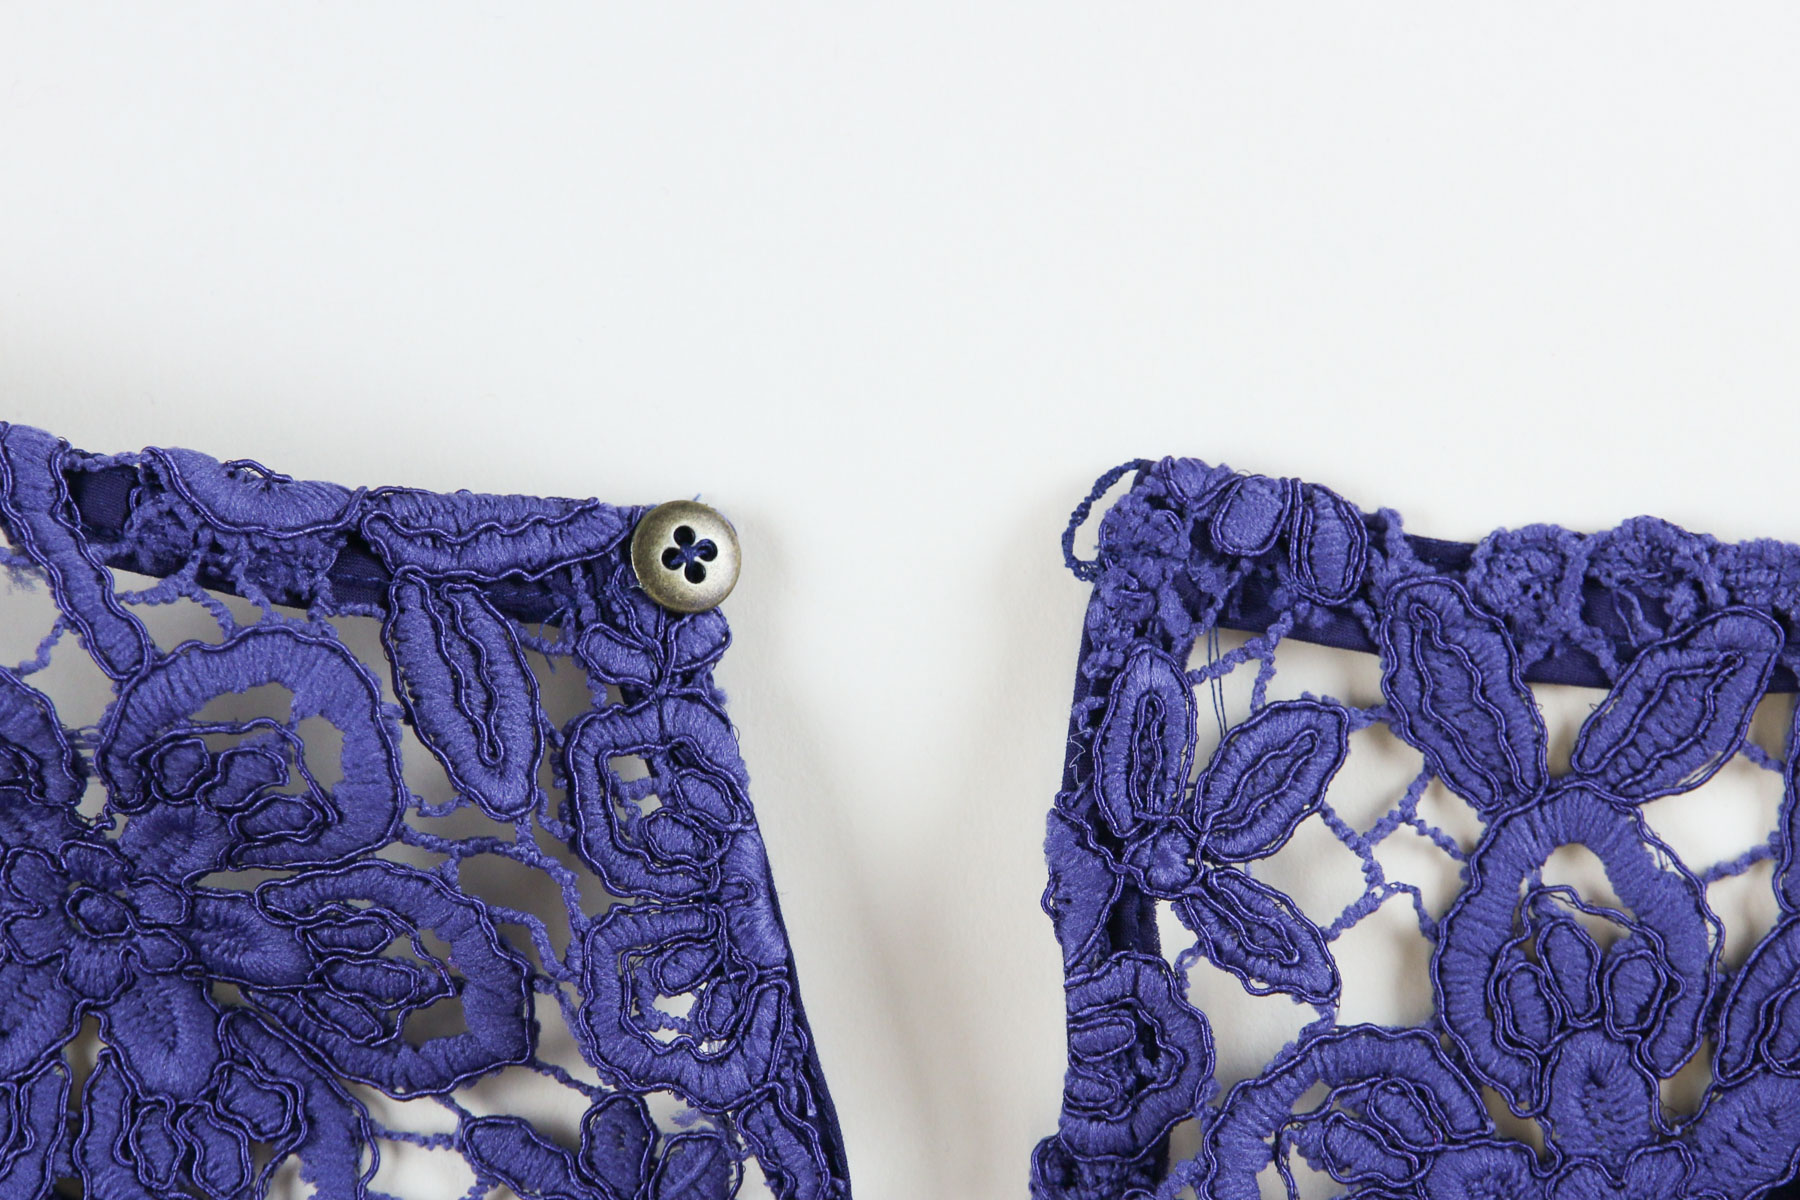
The last step on the View B neckline is adding a closure. For this version, I’m going to sew a button and thread loop on at the top of the keyhole. You could also use a hook and eye or even a ribbon if you wanted.
Sew on your button first. This is a great time to use a special or unique button. To sew a thread loop, thread a hand sewing needle with a coordinating thread color. Double the thread and knot at the very end. From the inside of the top, poke the needle through the neckline facing, coming out at the very top corner of the keyhole.
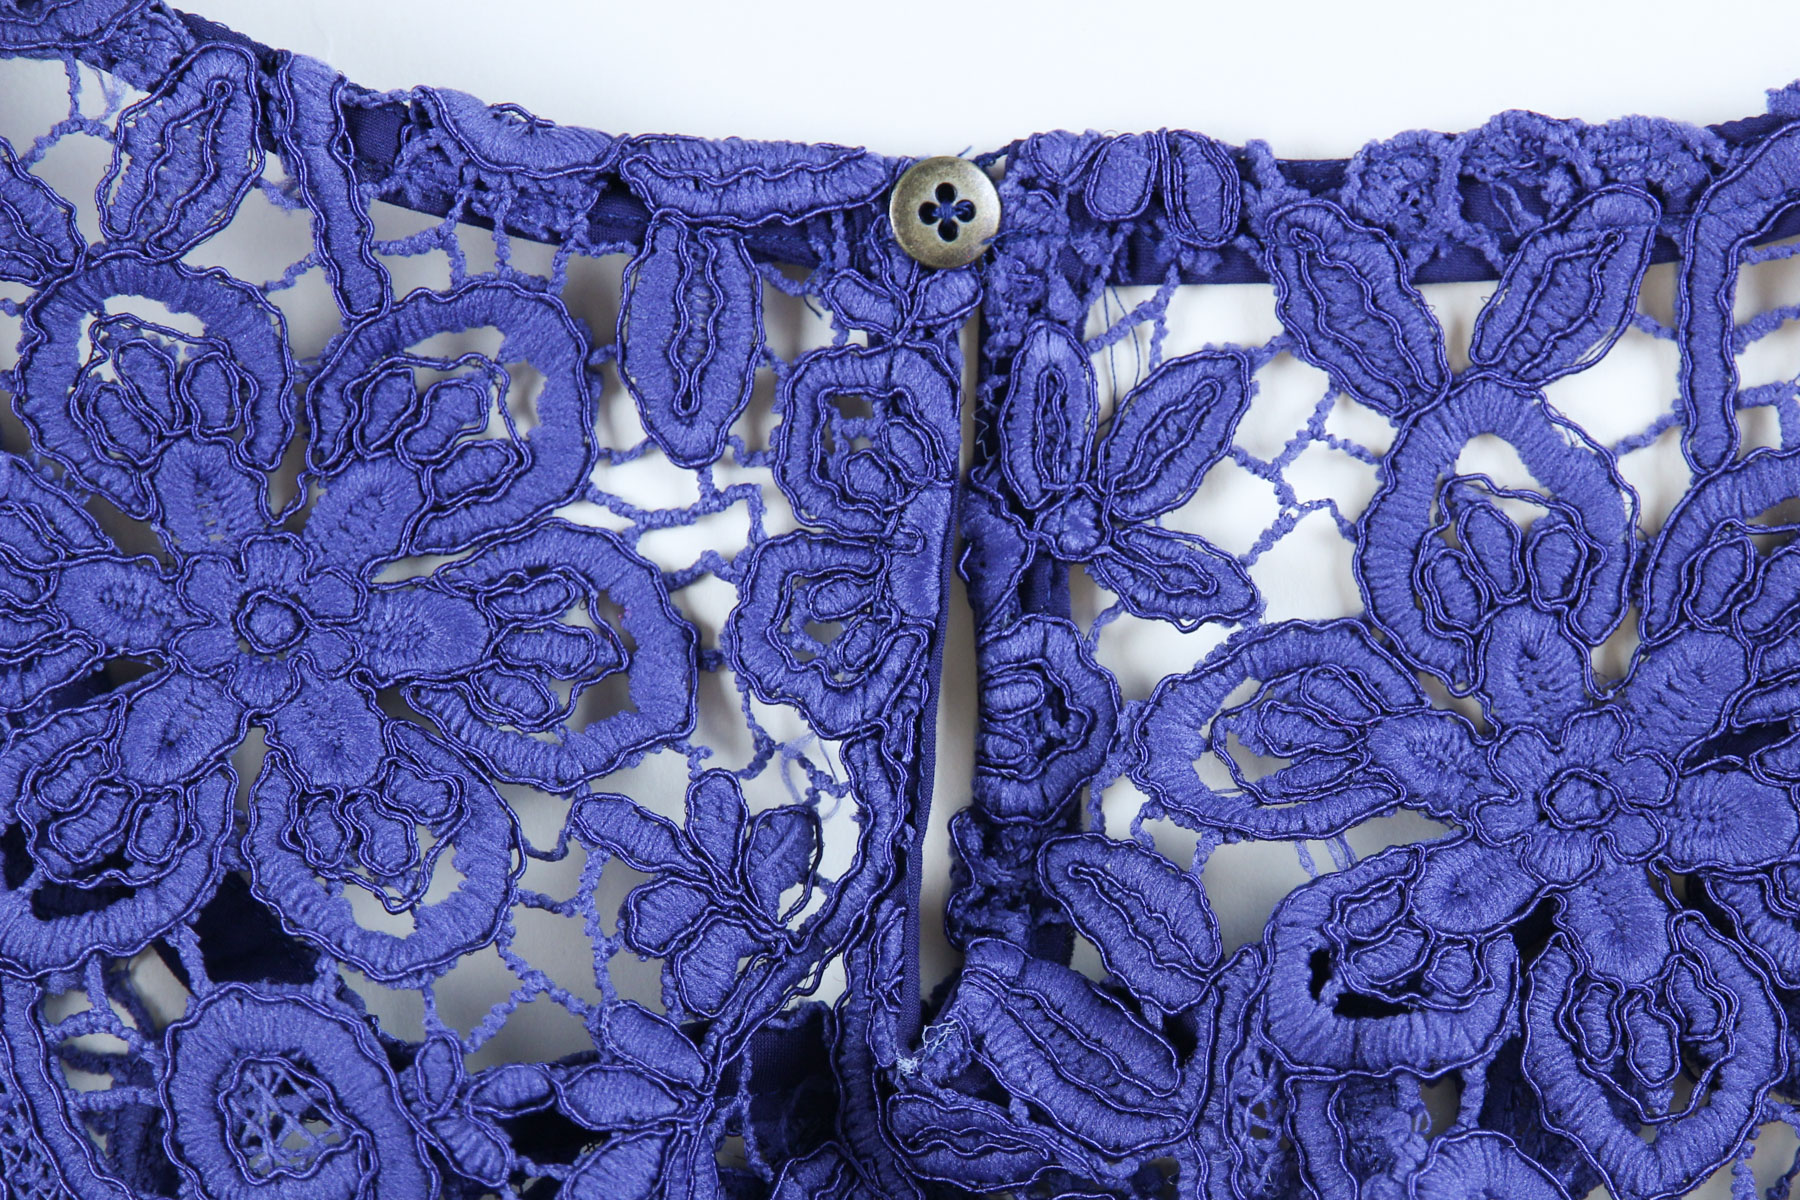
Pull the thread all the way through so the knot nests neatly inside. Depending on the side of your button, your thread loop may end up being larger or smaller than mine, so keep that in mind. You basically want your thread loop to be just the same length as the button diameter, if not a tiny bit bigger. Using a catch stitch, make an anchor point for the other end of your thread loop.
Using your finger to keep the thread at the length you want (long enough to get around the button but short enough to keep the keyhole closed), run the doubled thread back and forth two more times.
To connect all these threads, you’re basically going to make a teeny tiny friendship bracelet. First, tie off your thread to one end of the thread loop by taking a tiny stitch and running the needle under the stitch before pulling the thread tight. Tie a series of half hitch knots, or blanket stitches depending if you’re more nautical or embroider-y, pressing each knot flush against the one before. Here’s a little video of my first few knots:
Continue on in this vein all the way around the loop you created. When you get to the end, push the needle through to the wrong side of the shirt and tie off the thread.
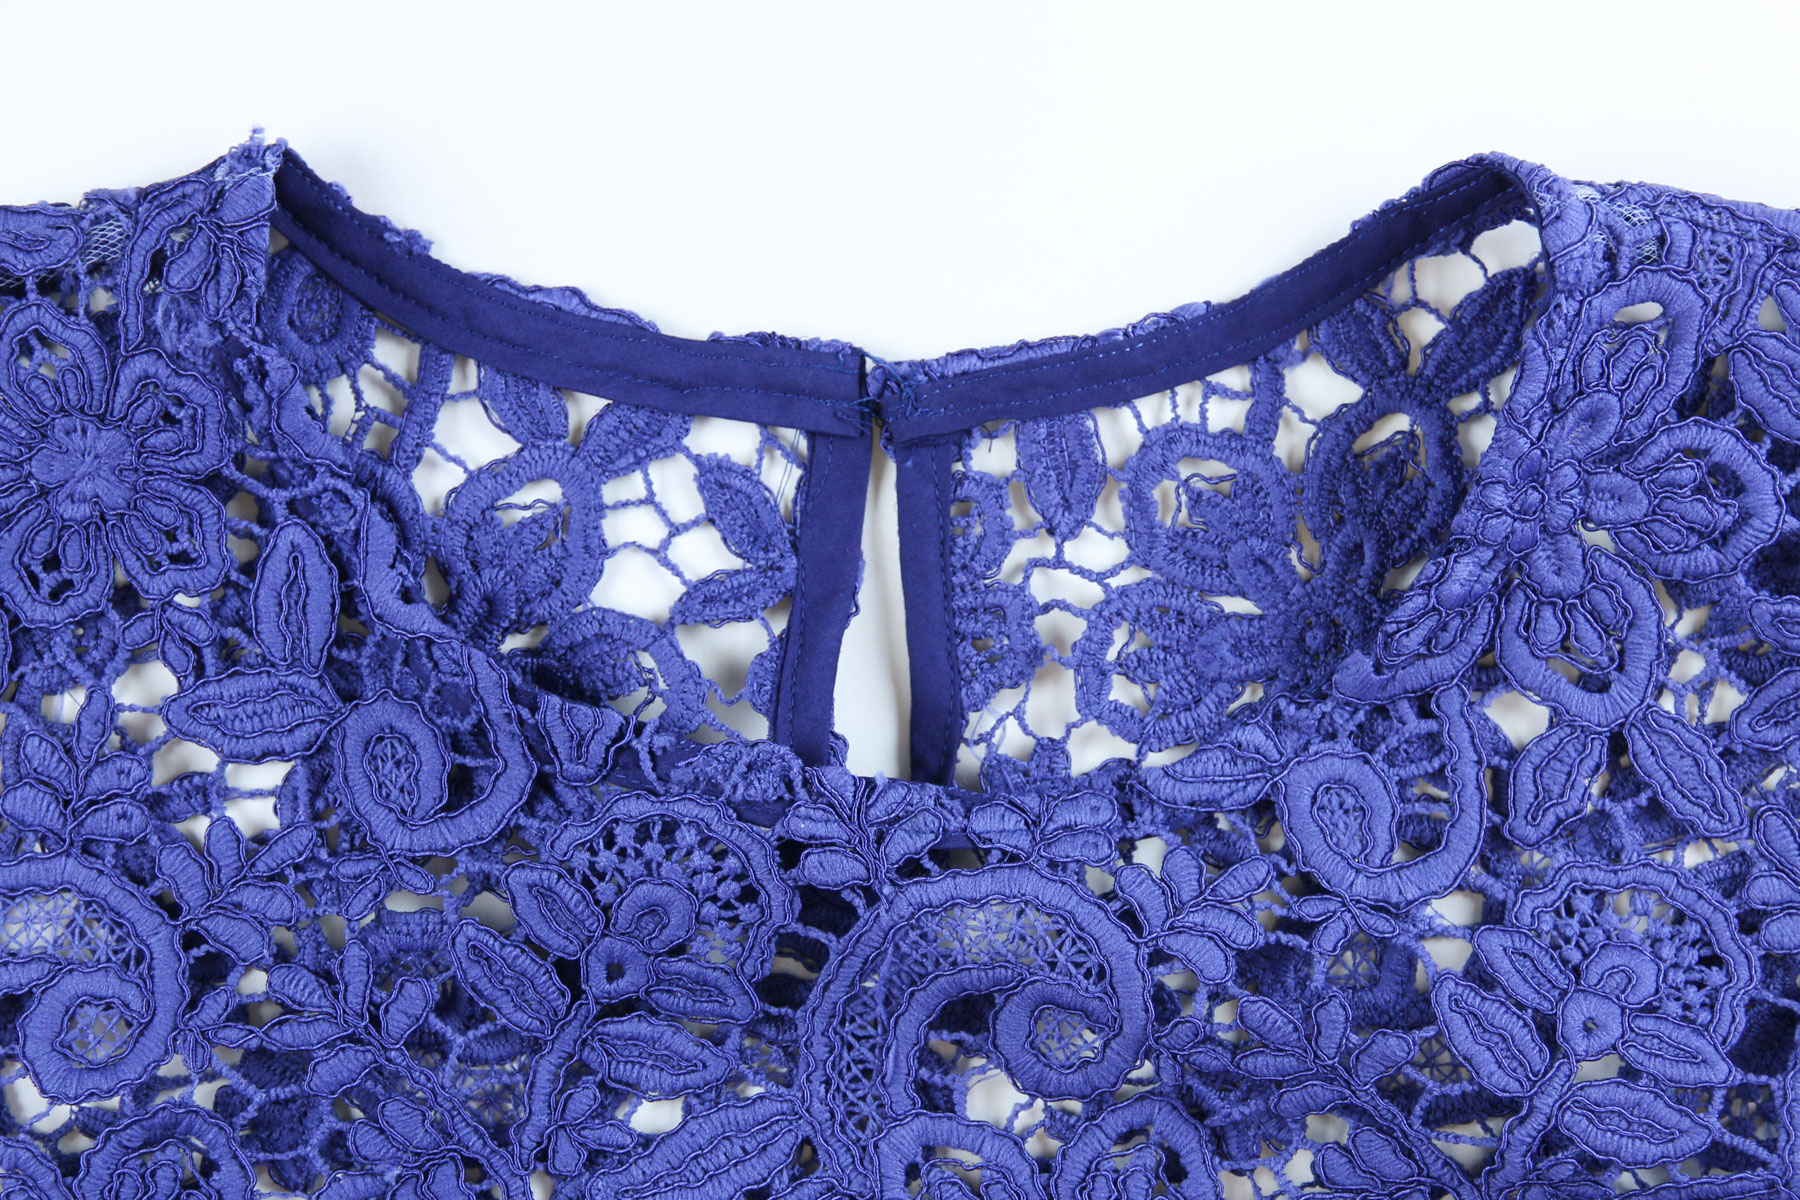
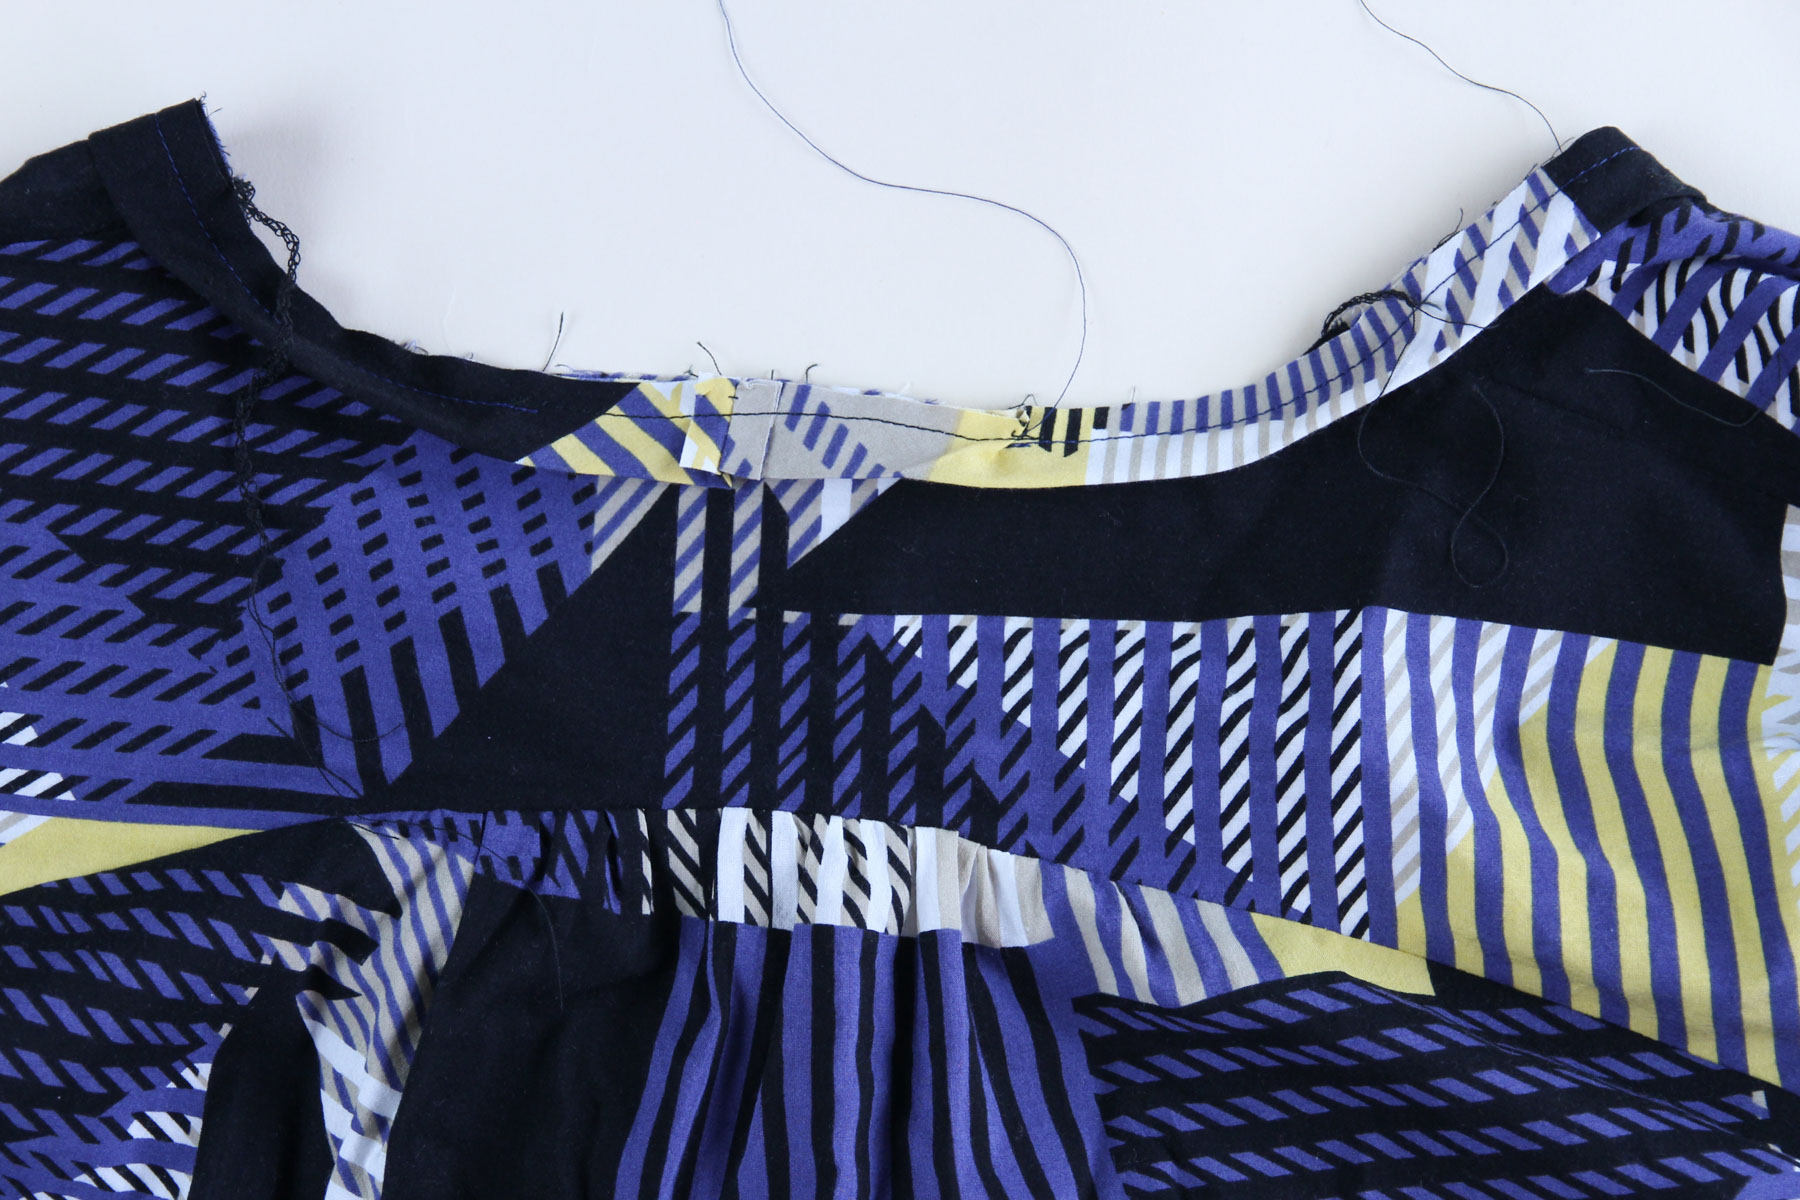
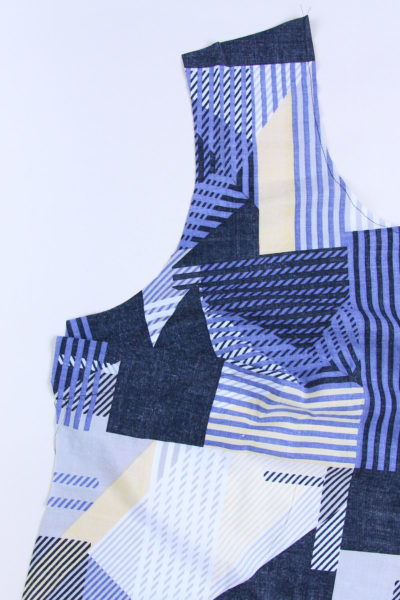
For our final neckline today, we’re going to finish the neck of version 2 which is the scoop front of View A paired with the keyhole back of View B. (NOTE: You can’t combine the jewel neck of View B with the yoked back of View A because the neck hole would likely be too small to get over your head!)
Start by sewing the keyhole facing just like we did for version 3, including stay stitching before cutting because the mesh is quite delicate. I’m using a scrap of the unembroidered mesh instead of voile for this step so it will be quite invisible. Instead of topstitching, I’m hand sewing the facing in place to keep it super clean.
To finish the neckline of this version, we’re going to use a different technique that’s quite nice for sheer and super light fabrics. It is hand sewing, so if just the thought makes you cringe, carry on facing the neckline just like we did for the lace version!
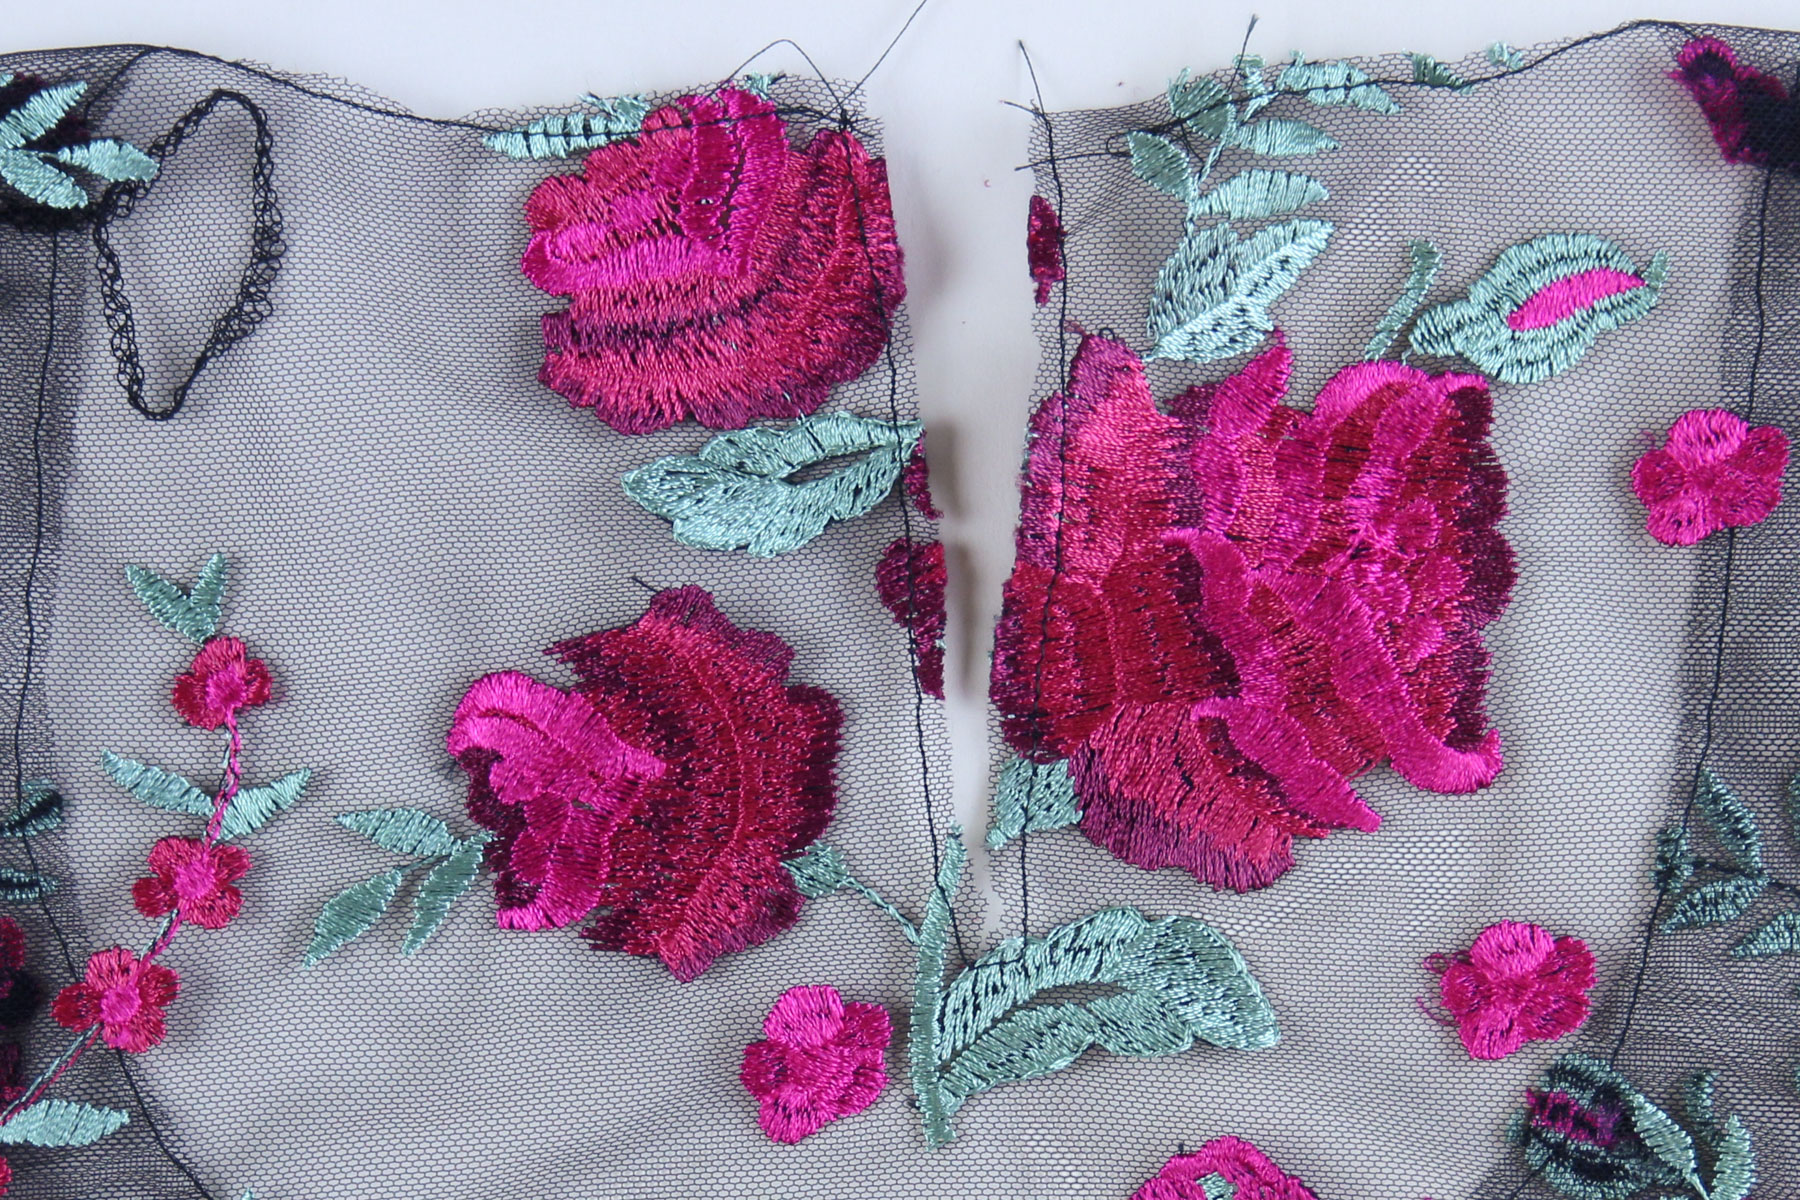
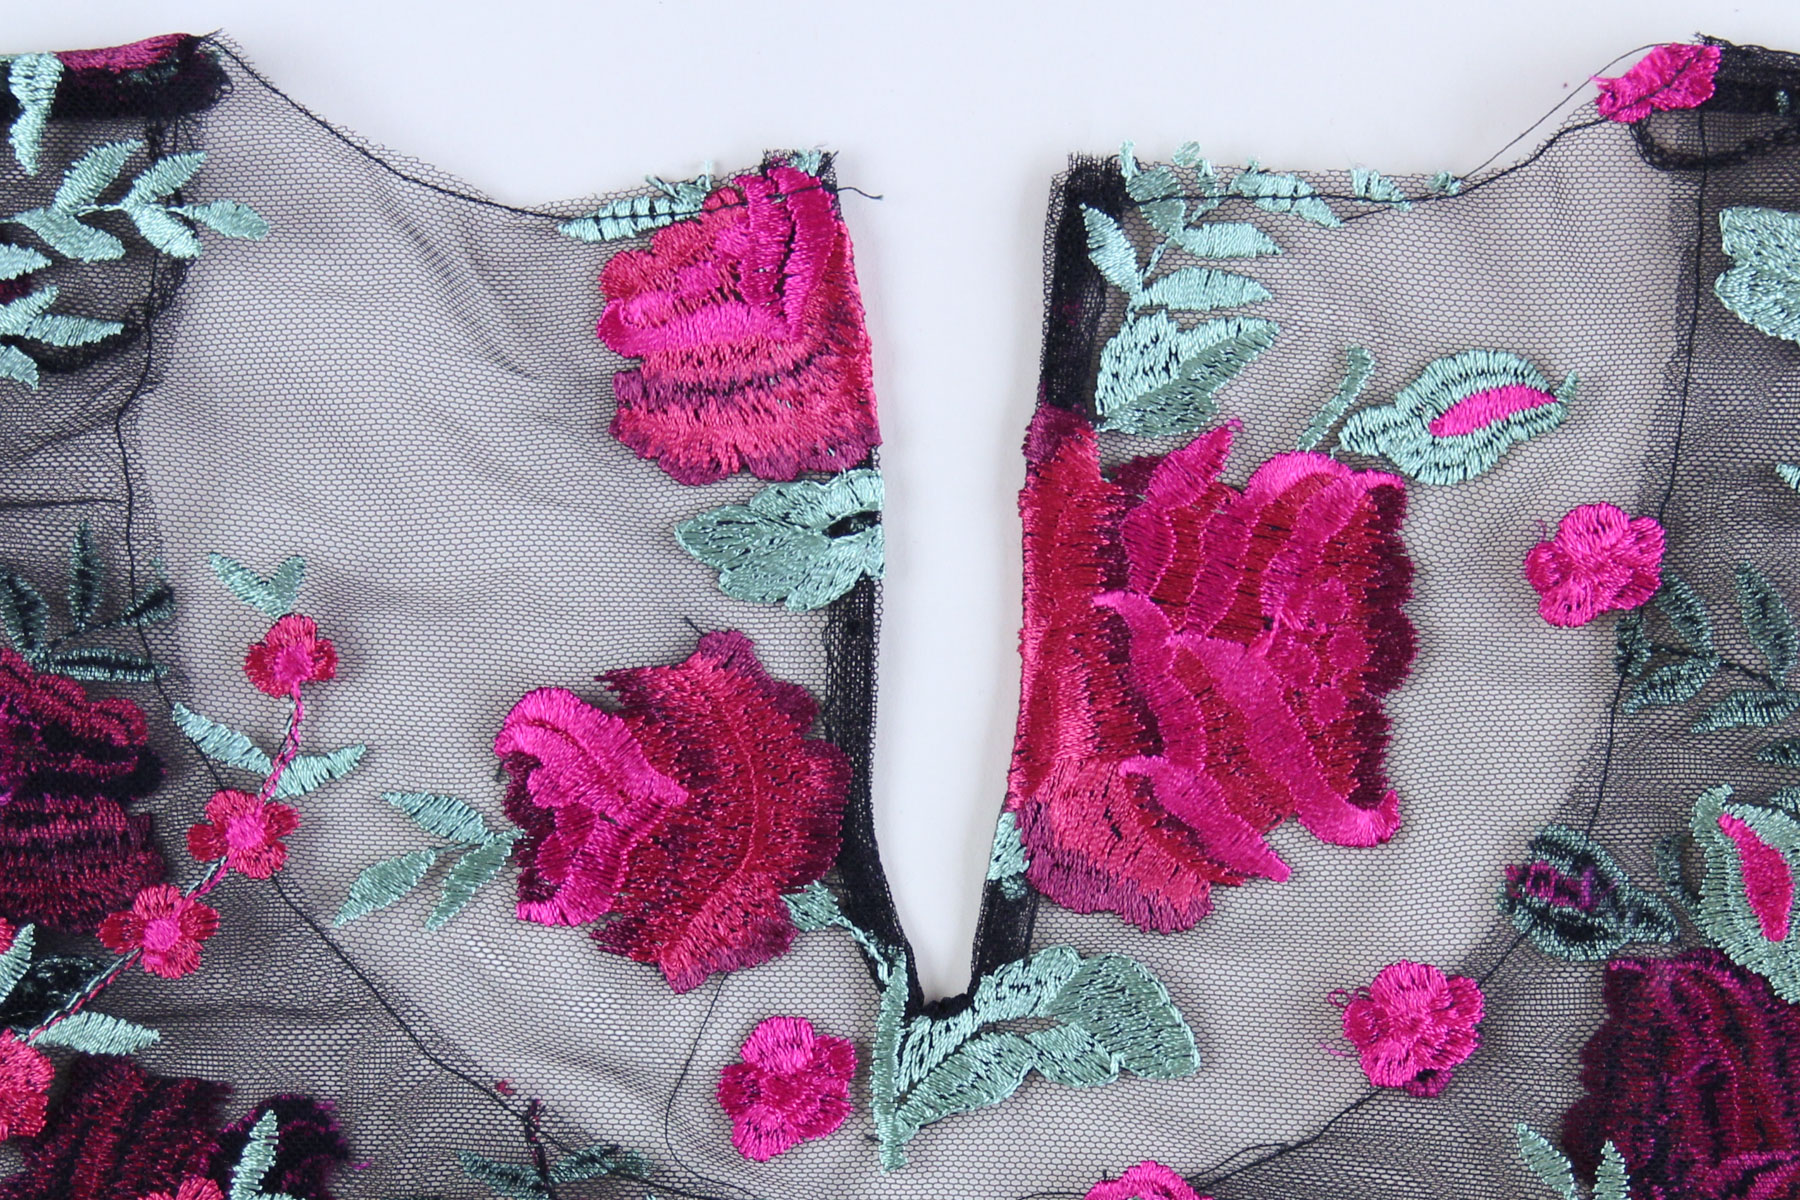
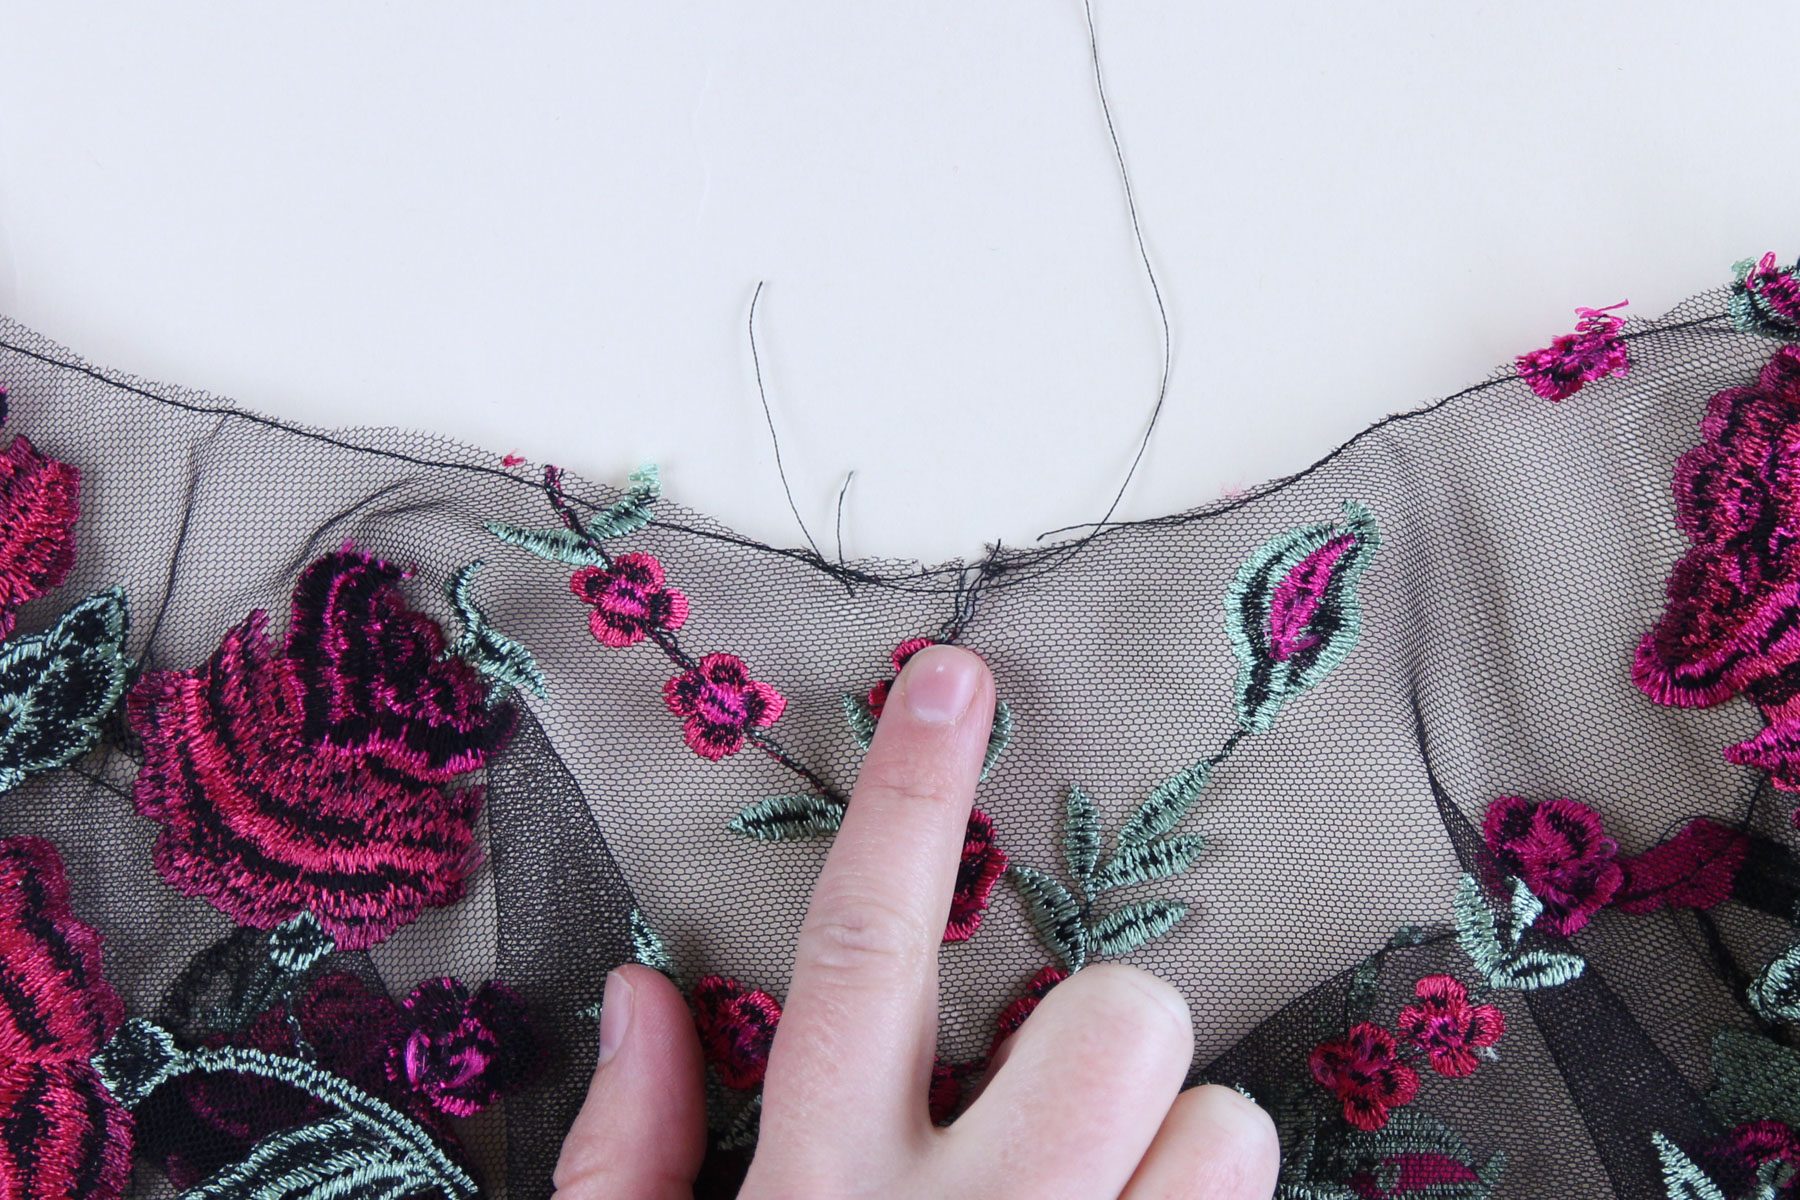
Start by picking out any embroidery that falls within about 3/8″ of the neckline. You can use a seam ripper for this and take your time to avoid ripping the mesh. This is pretty tedious but it leads to a nicely finished neckline. I only removed small flowers and leaves, leaving the big flowers intact.
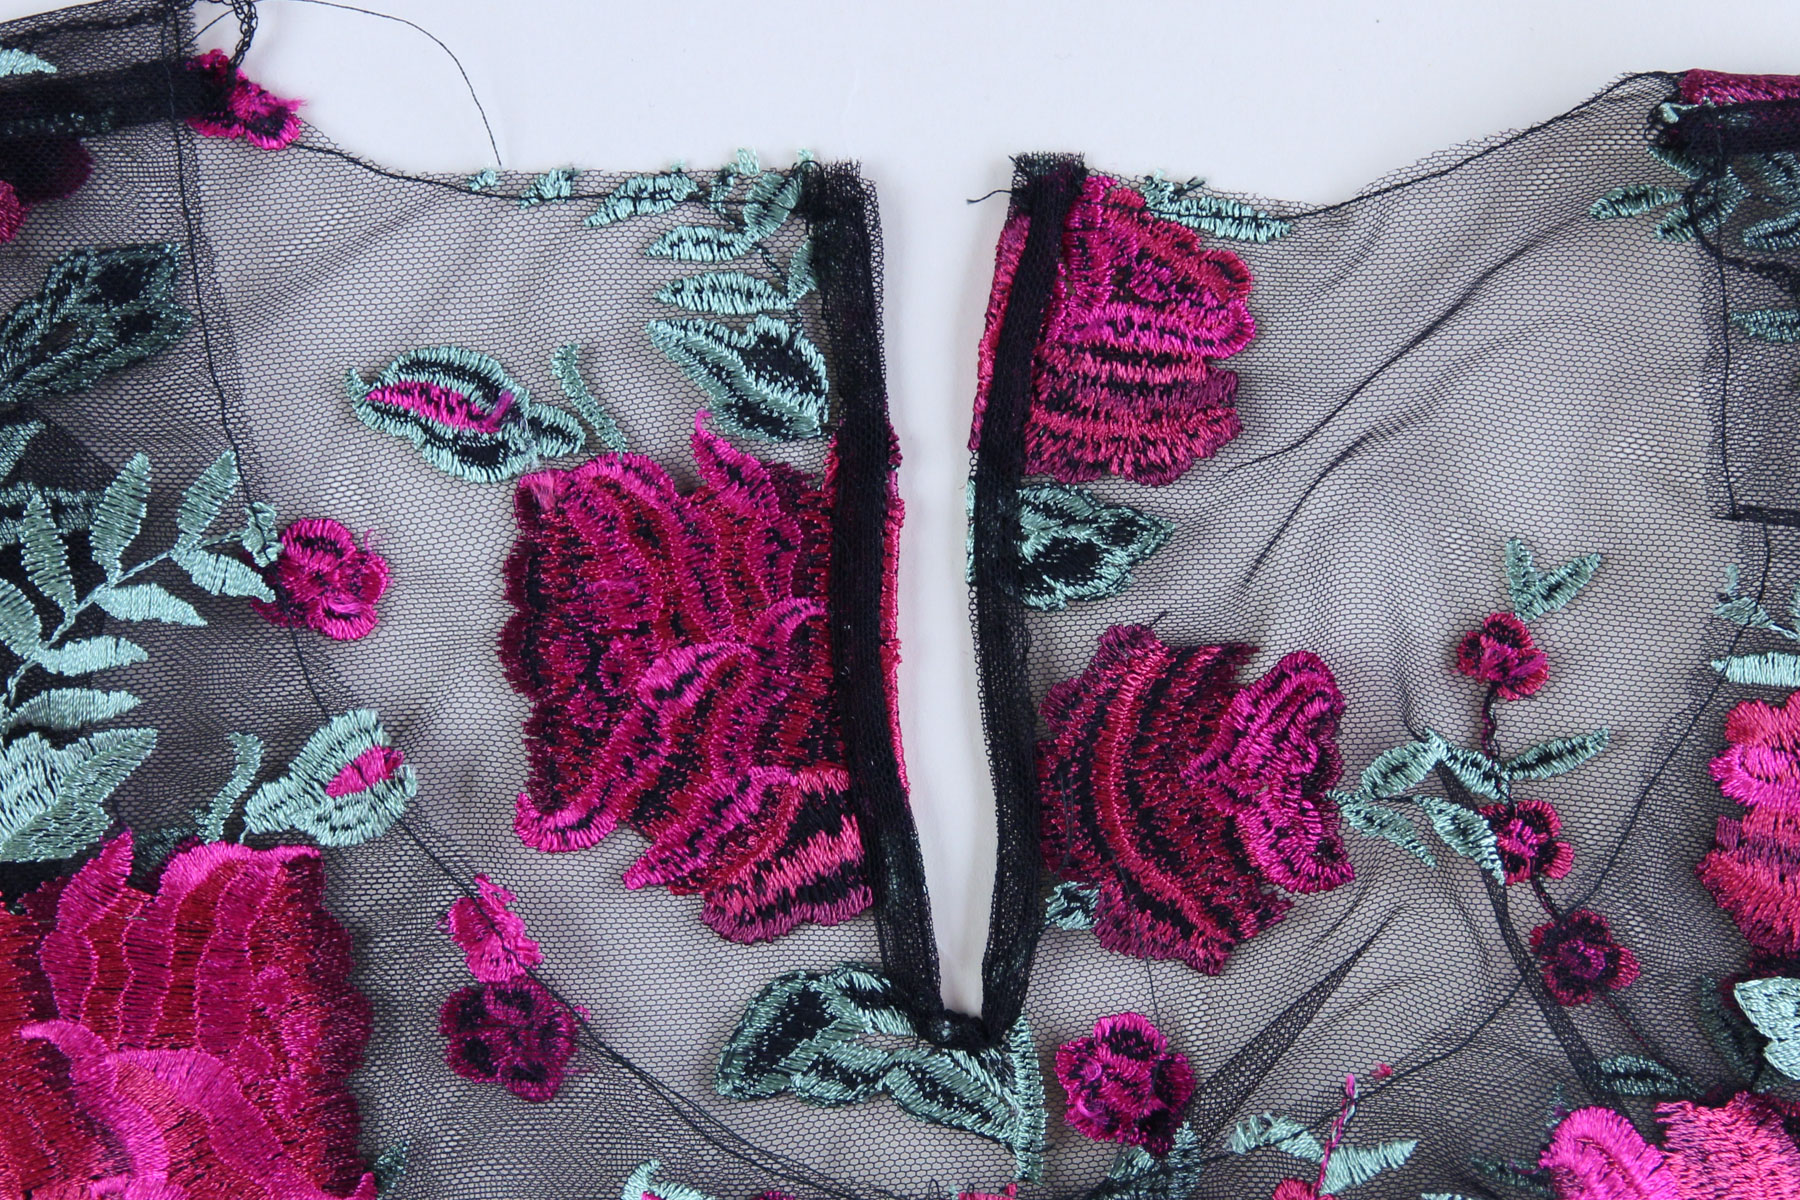
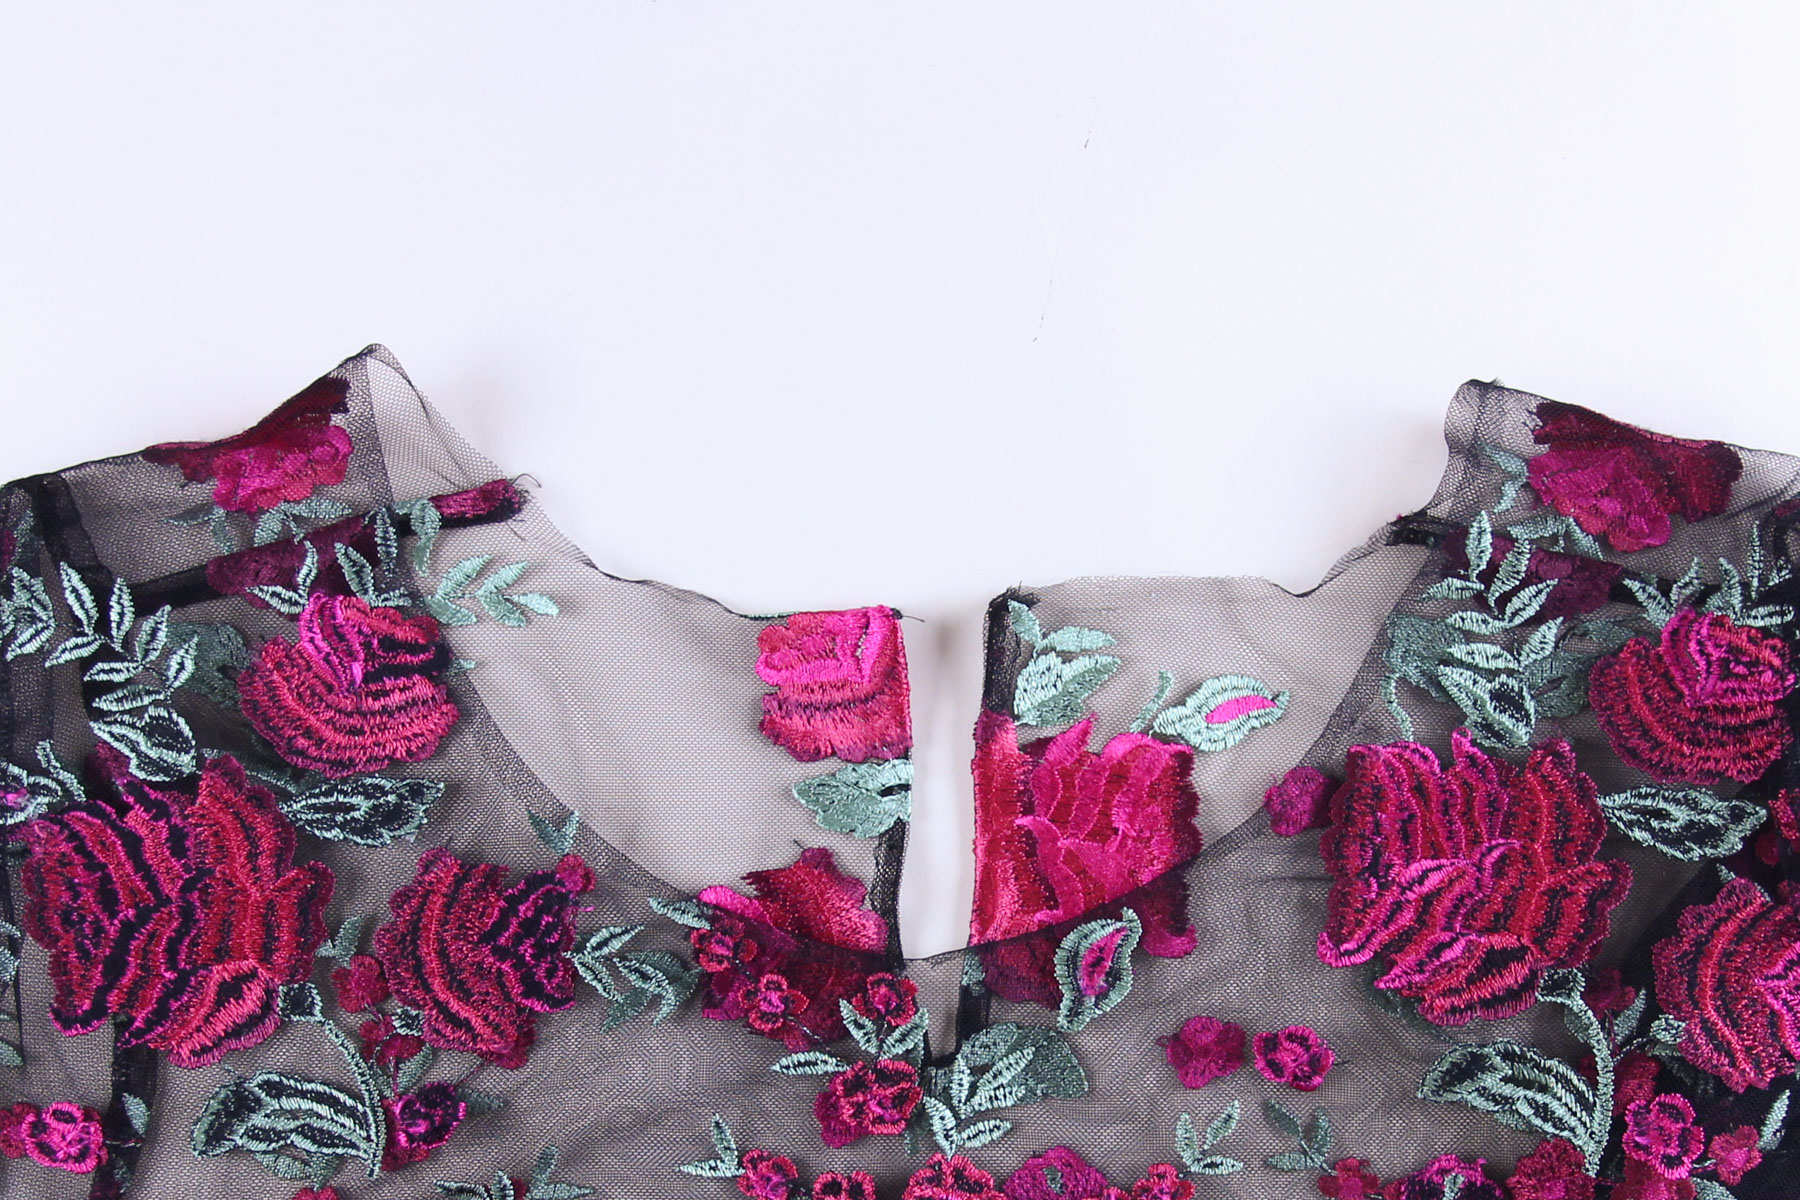
Next, remove your stay stitching and press the neckline to the wrong side by 1/4″. Make sure you press with a cool iron; this will create more of a curved edge than a sharp crease, but that’s okay! Take care around the end of the keyhole to capture the raw edges.
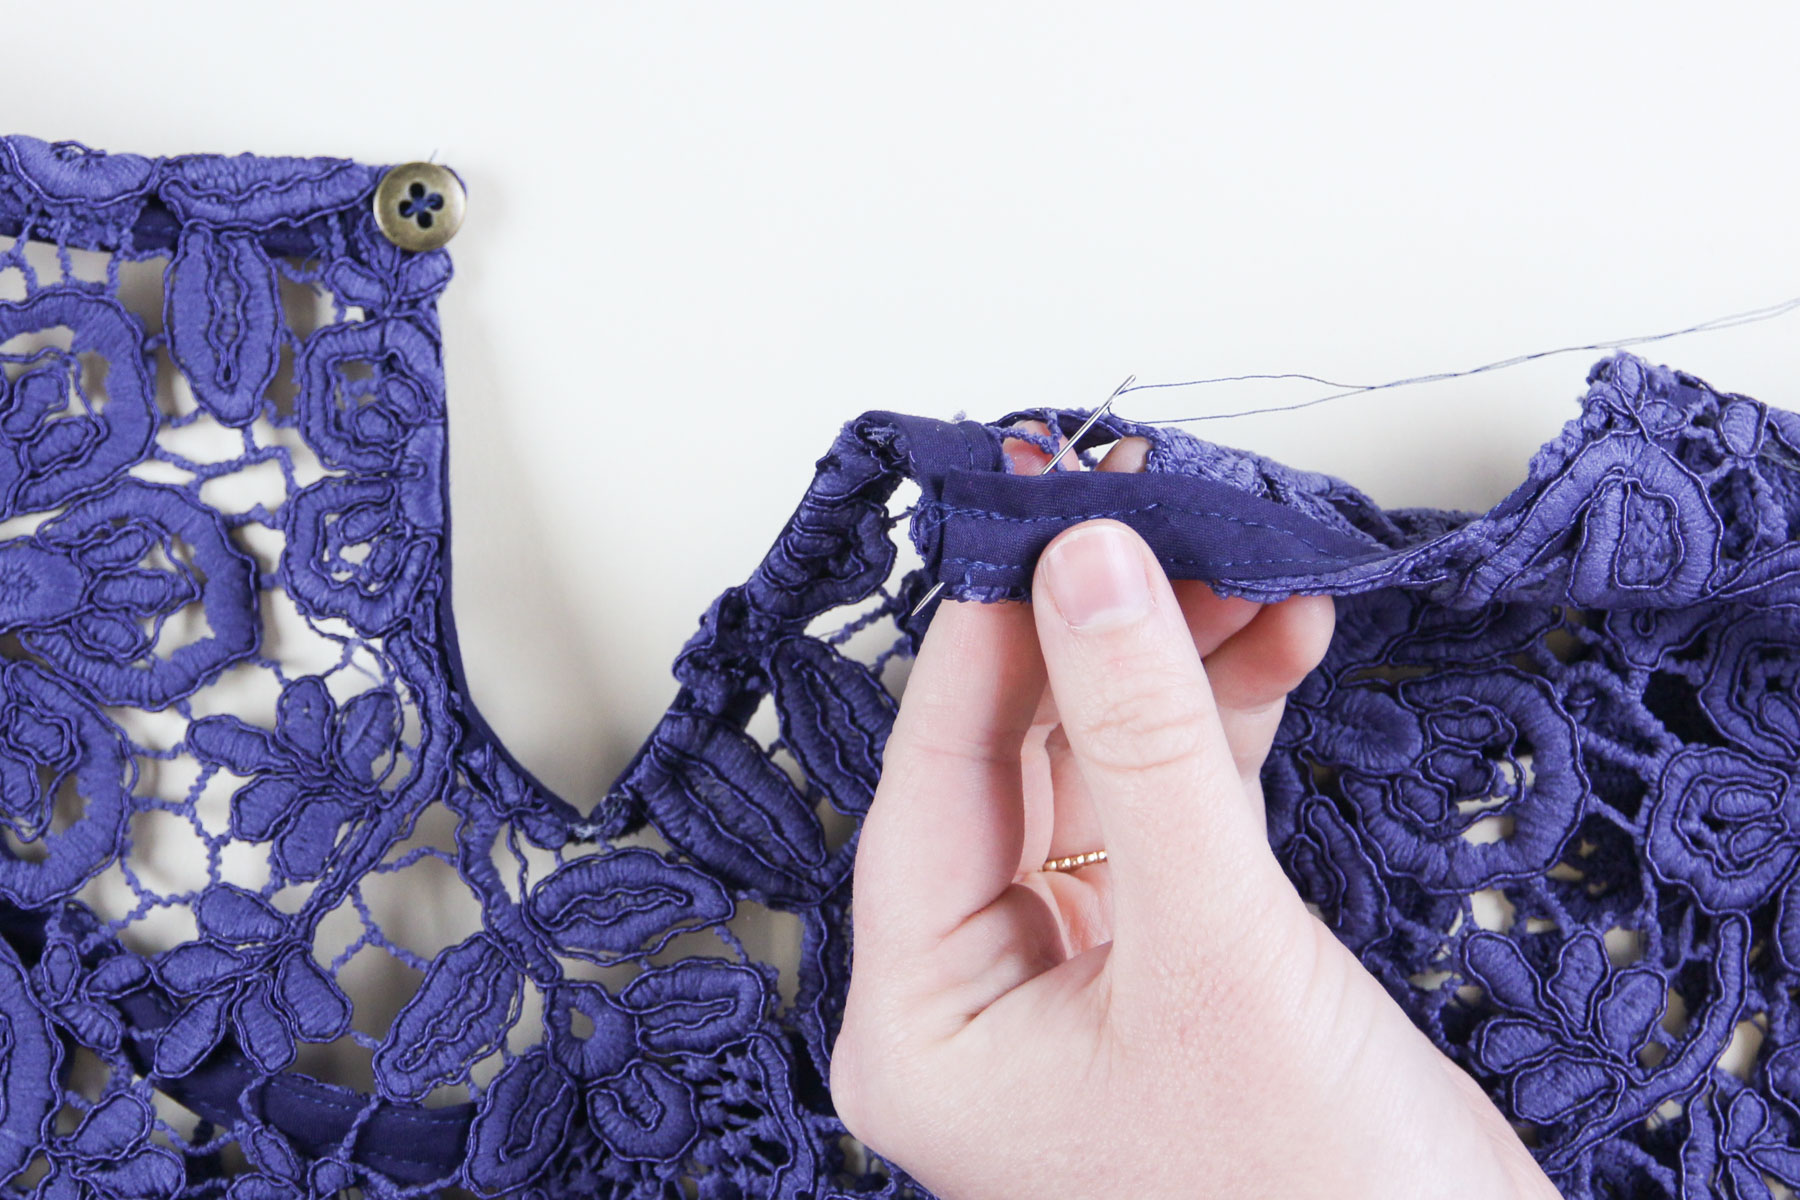
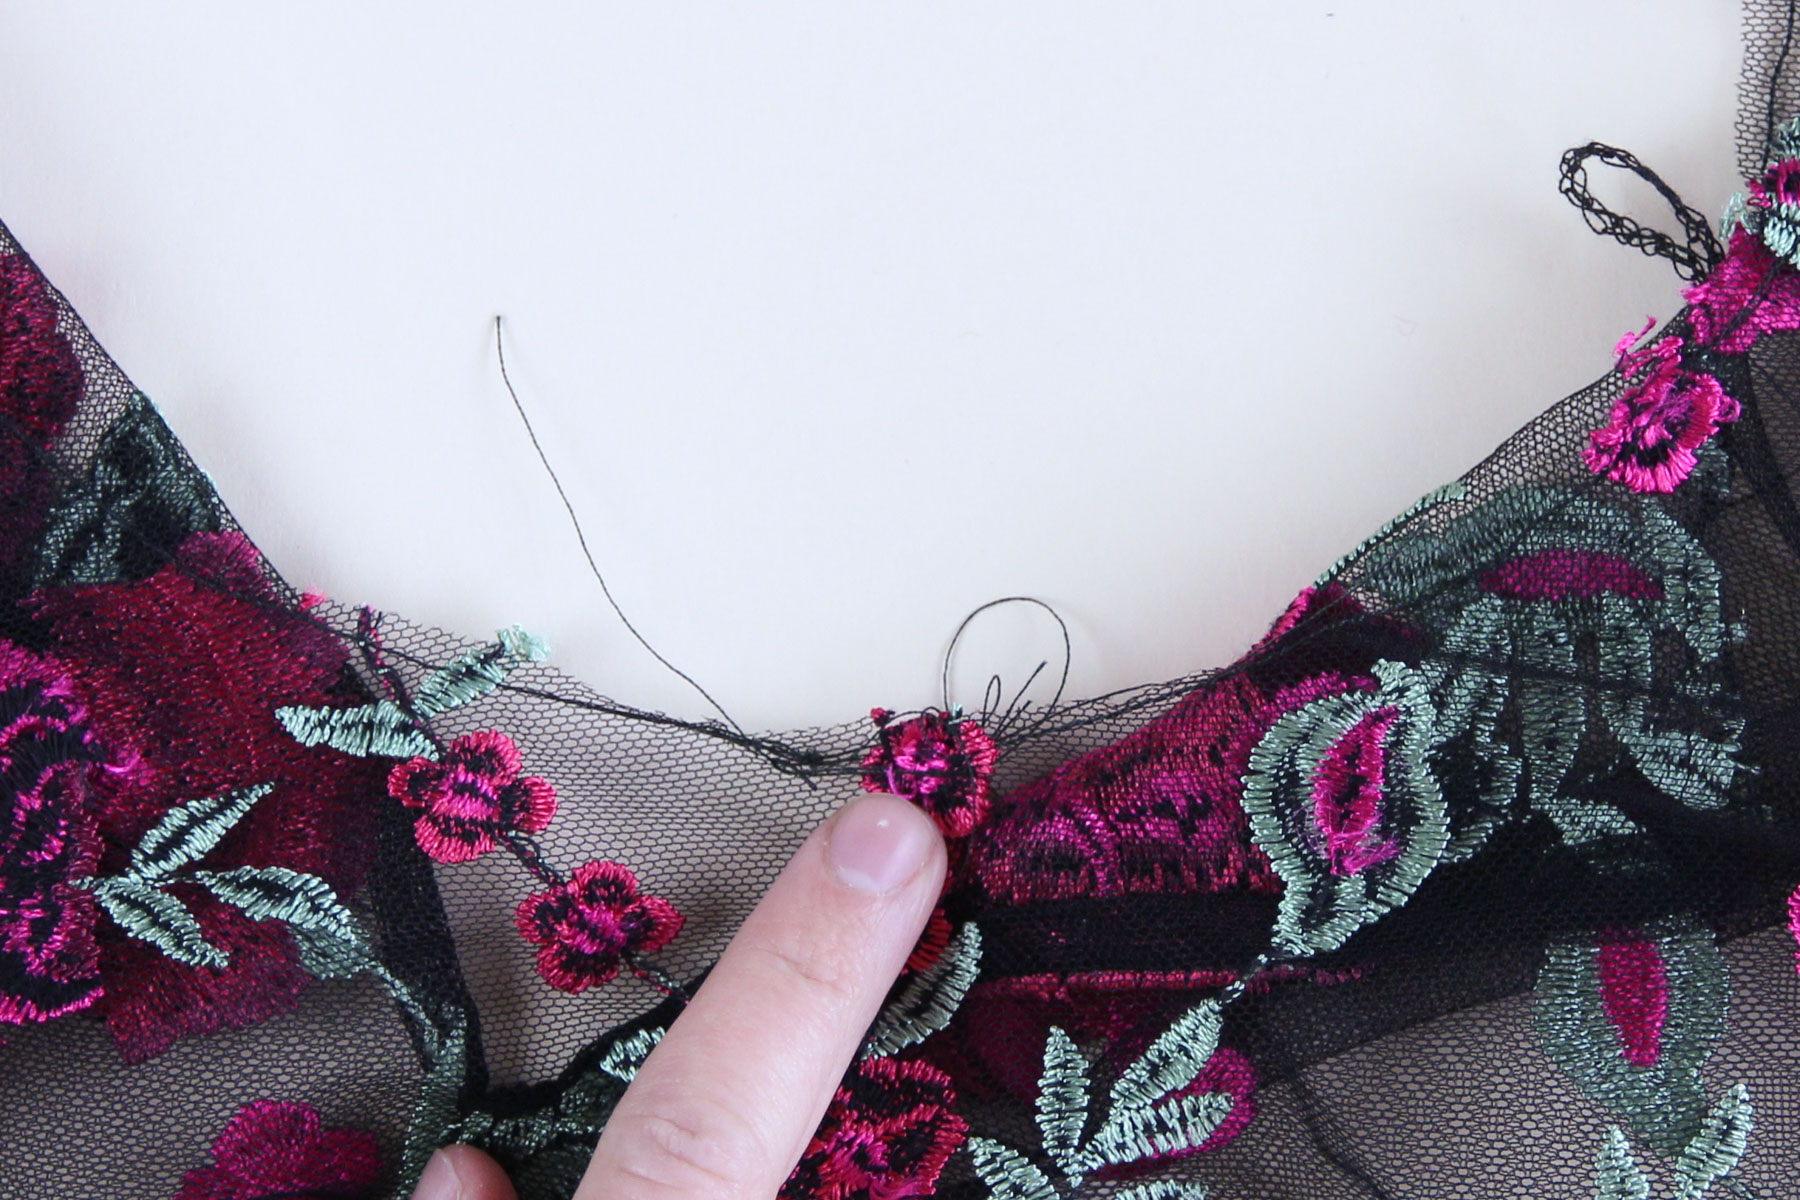
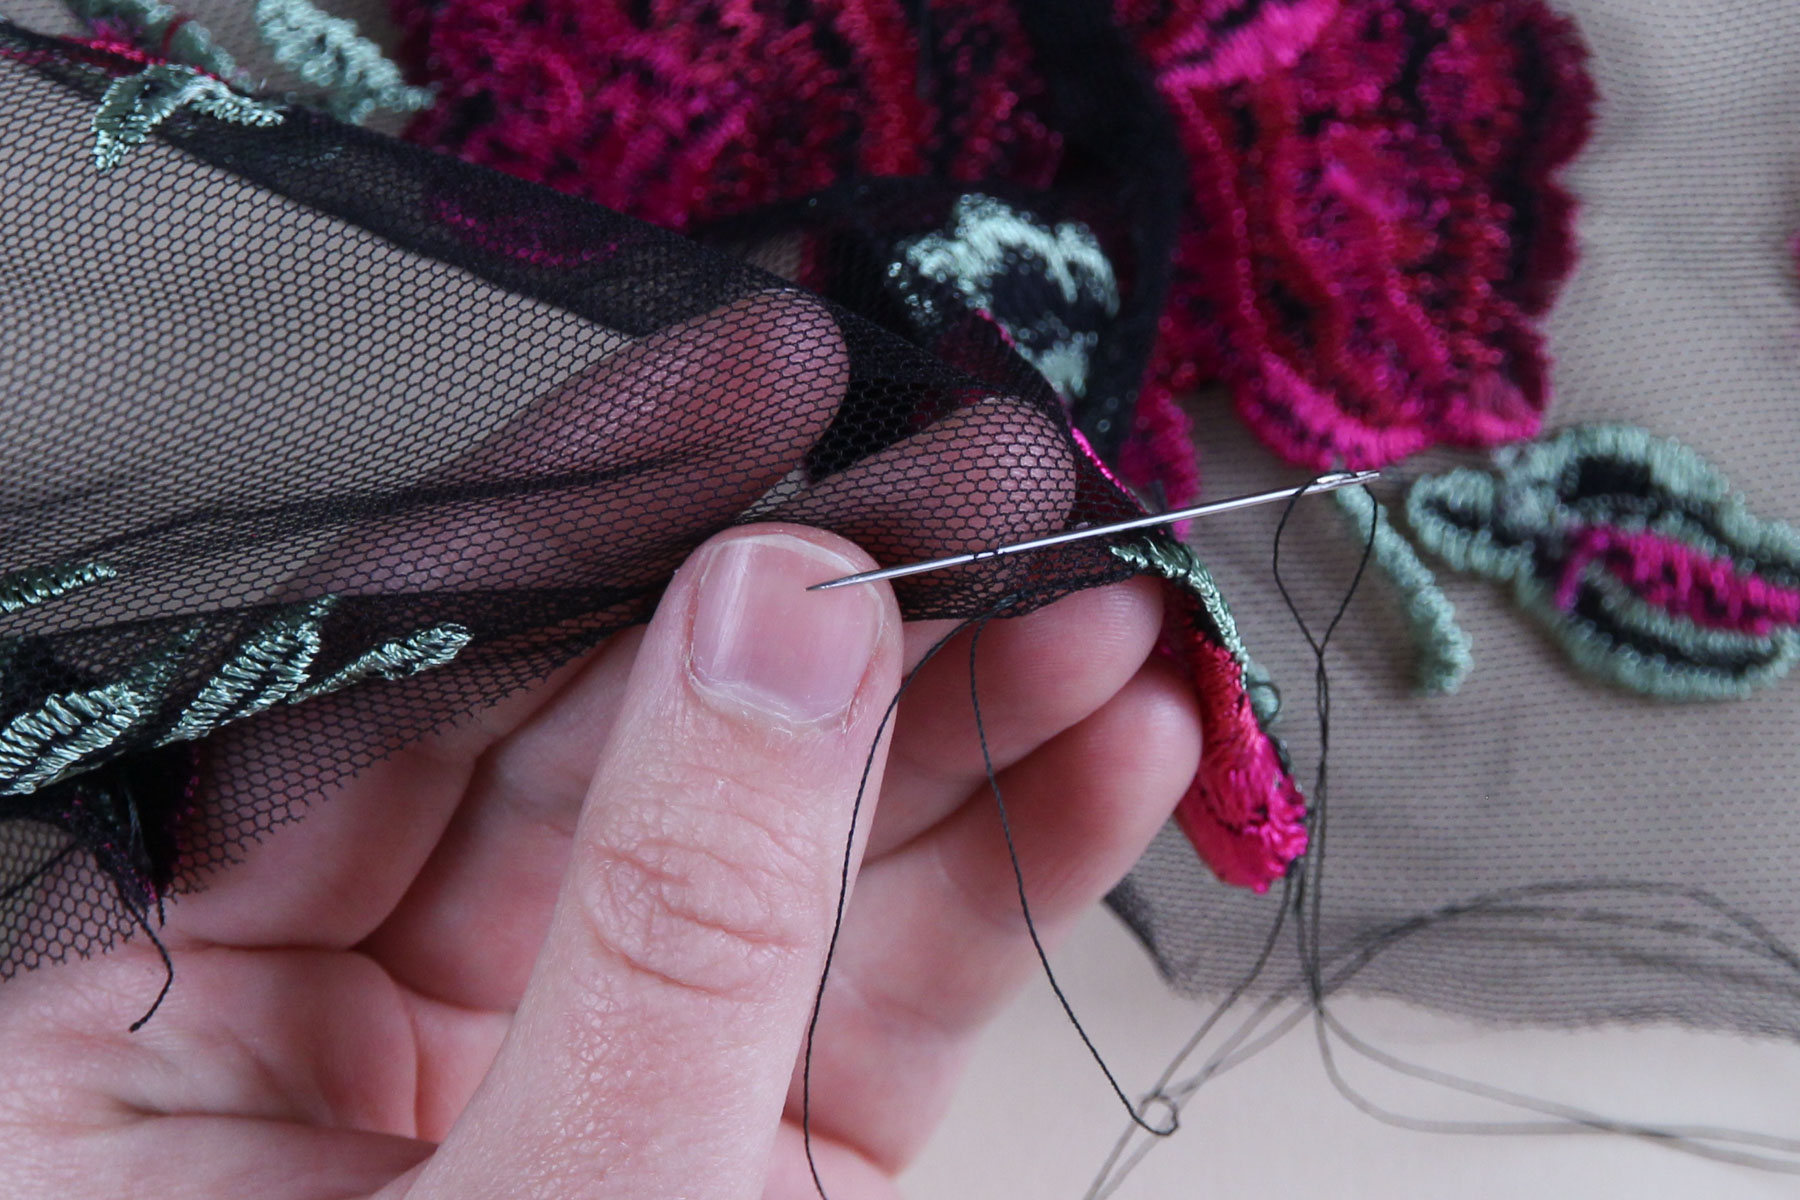
Now it’s time to hand sew. Thread a hand sewing needle in a coordinating thread, tie a knot in the tail, and thread it into the fold at the top of the keyhole.
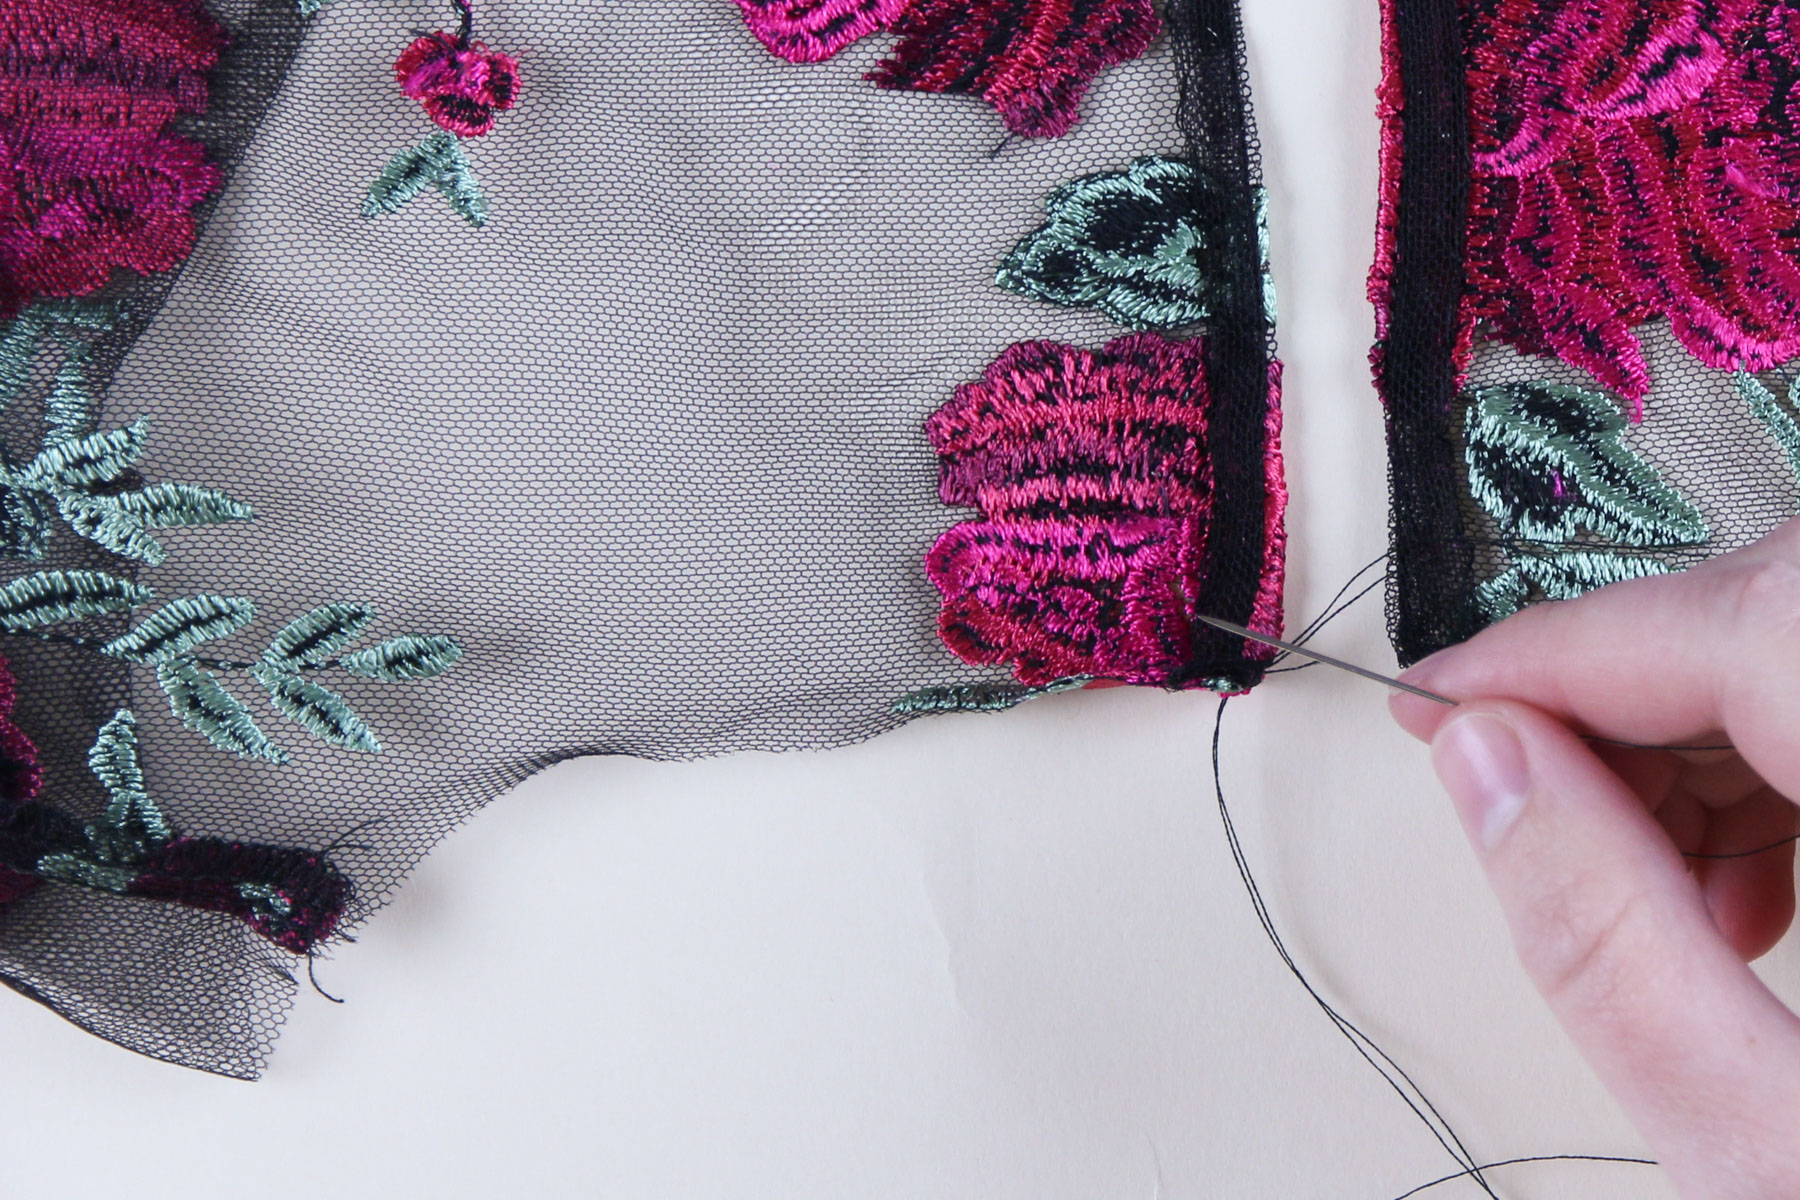
Pull the needle through so the knot is nested tightly. Now, directly above where your needle just came through, take a tiny stitch of the body fabric right against the raw edge of the neckline.
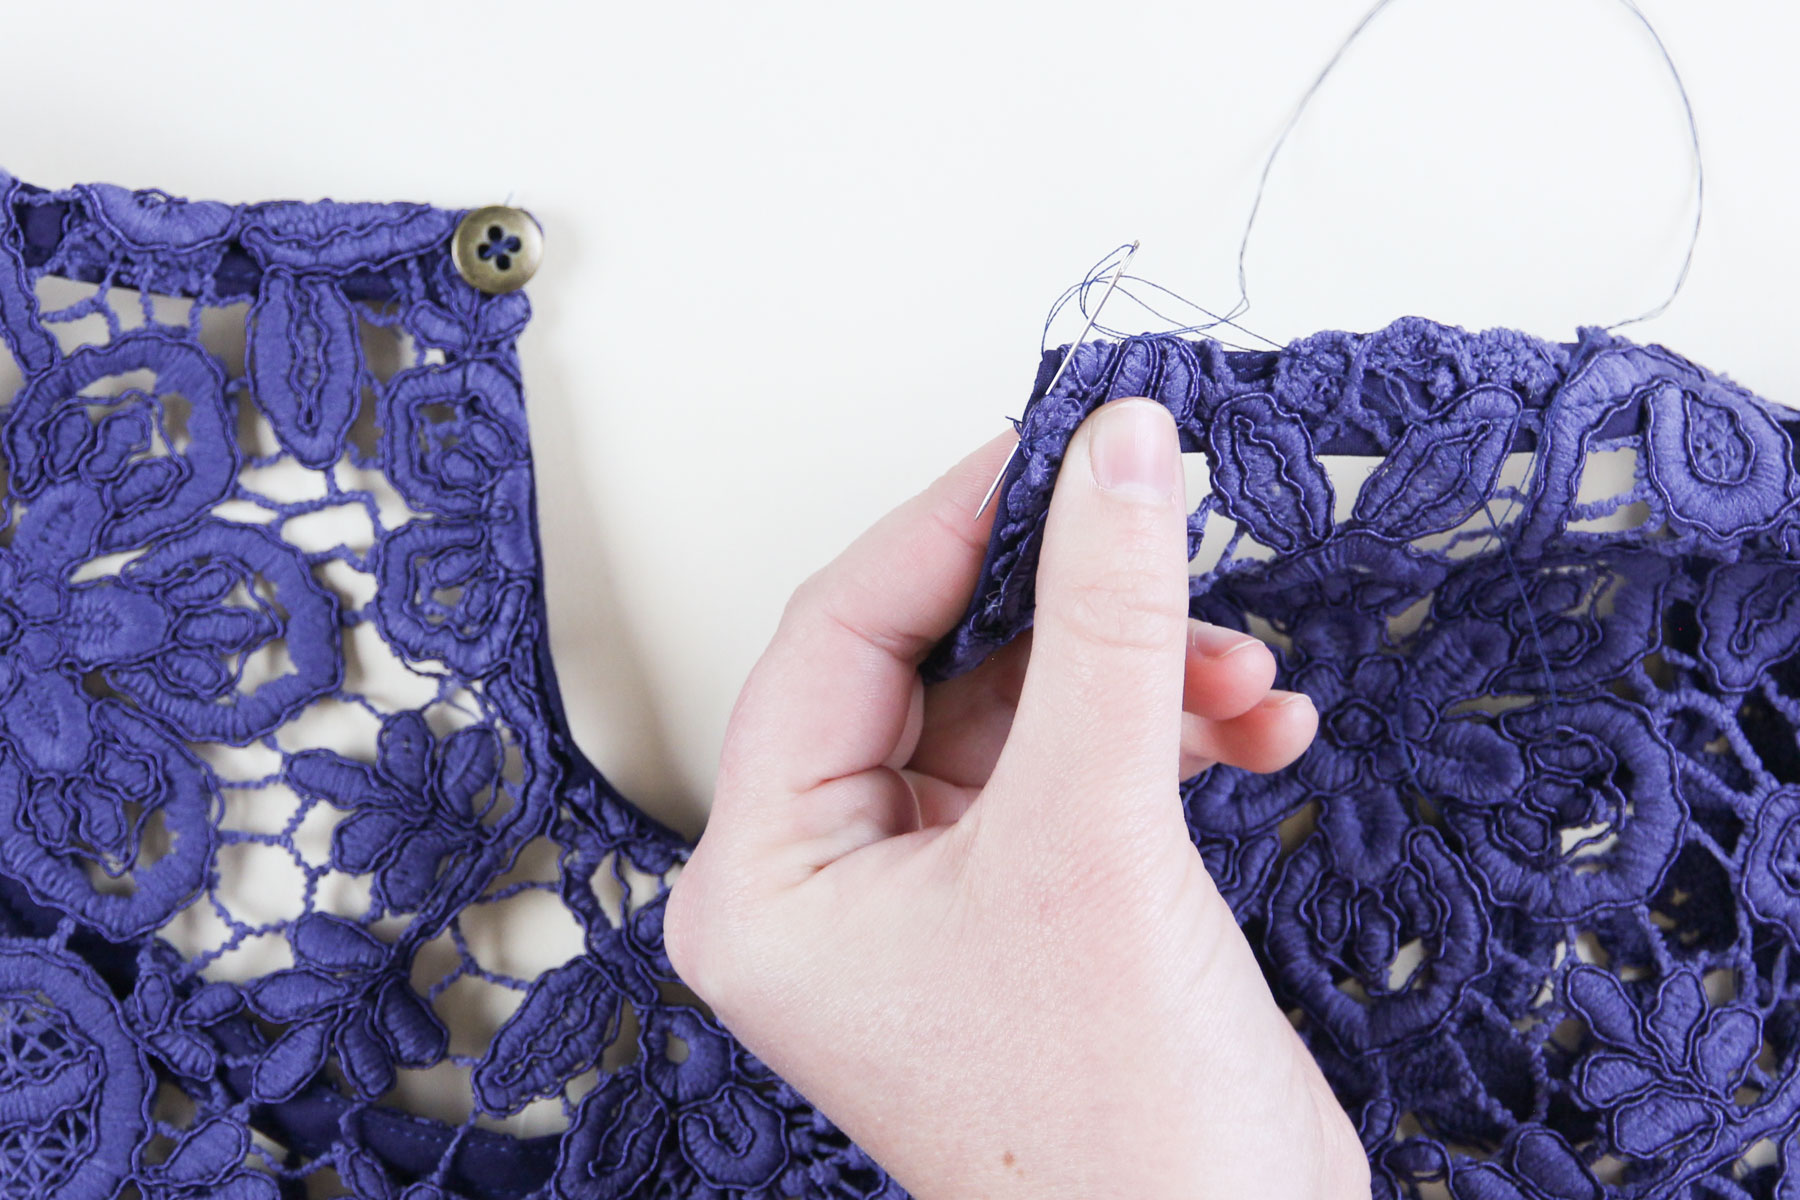
Bring the needle straight back down and stitch into the fold, traveling the needle through the fold by about 1/4”.
Again, directly above where your needle came out, take another tiny stitch of the body fabric right agains the raw edge of the neckline. Repeat for a few inches.
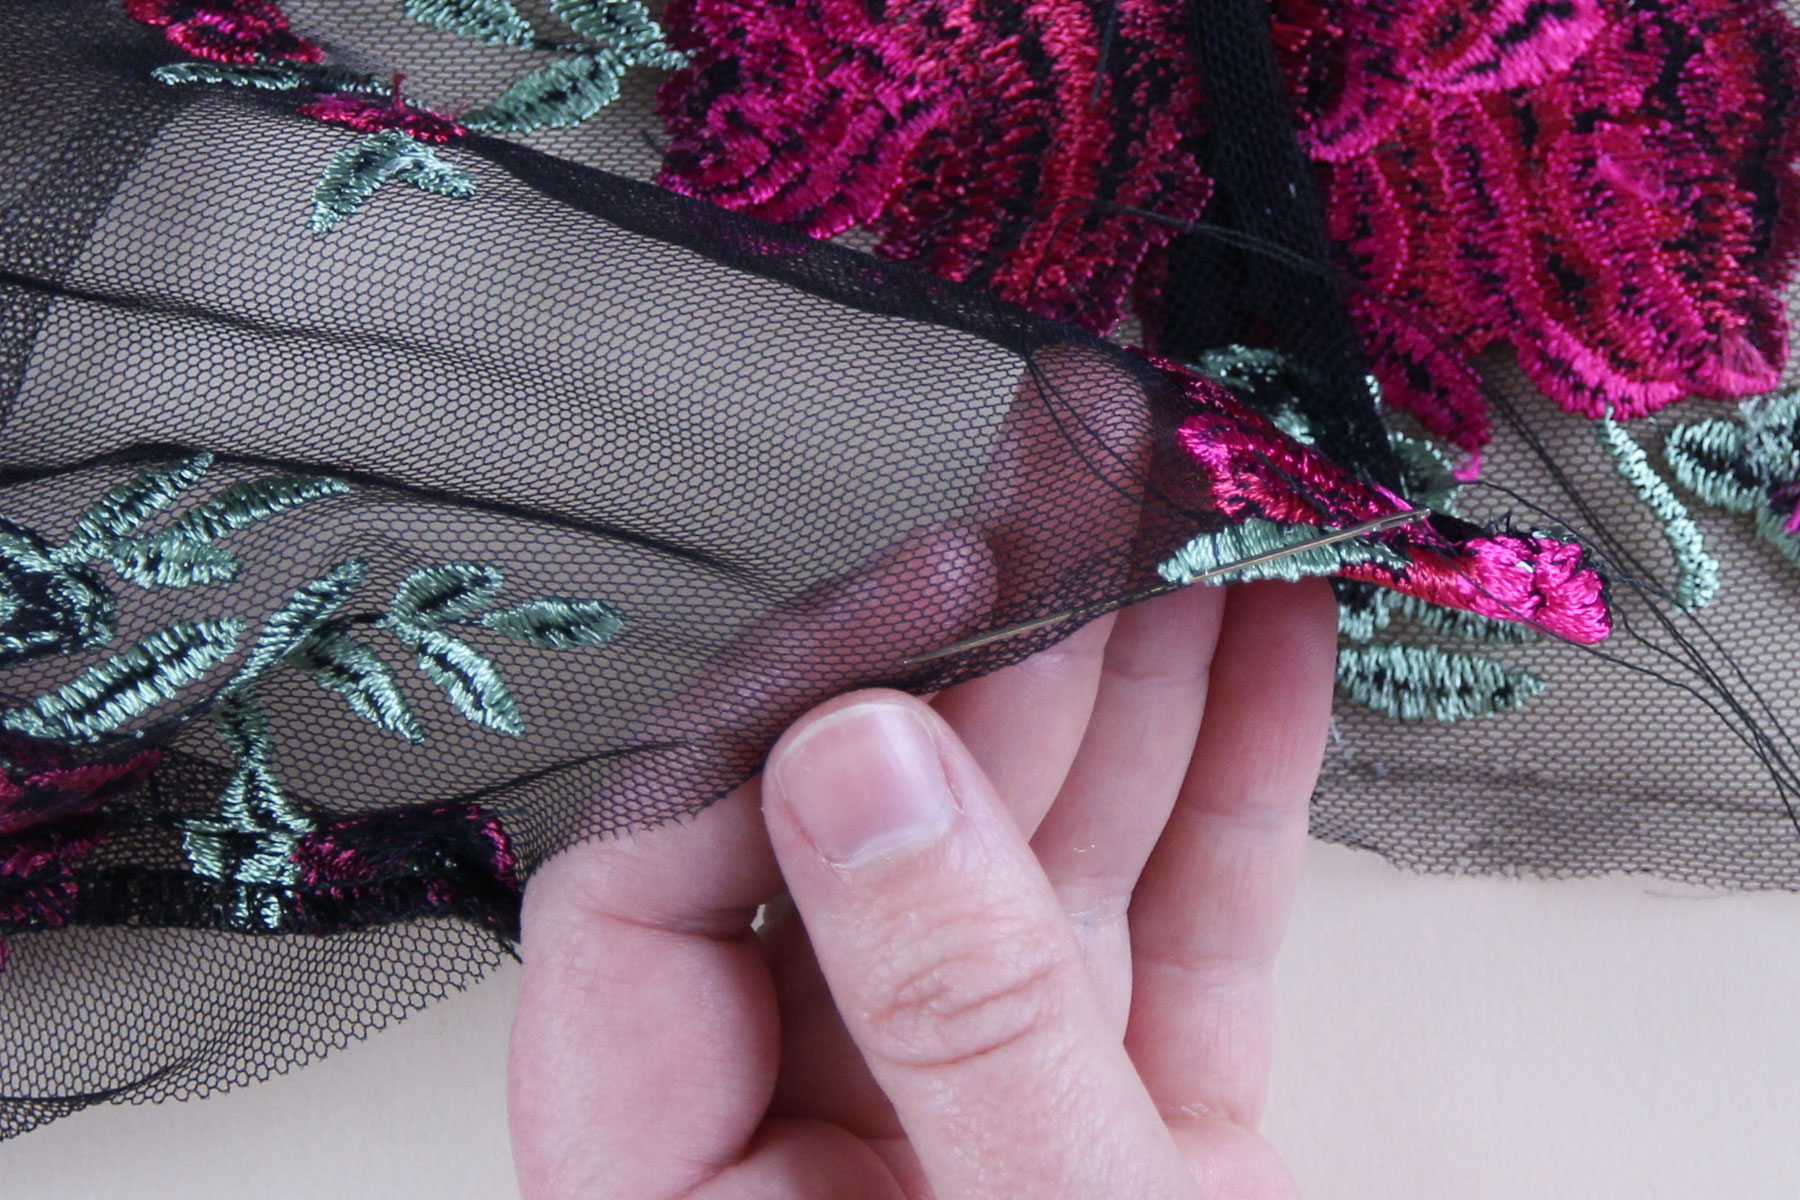
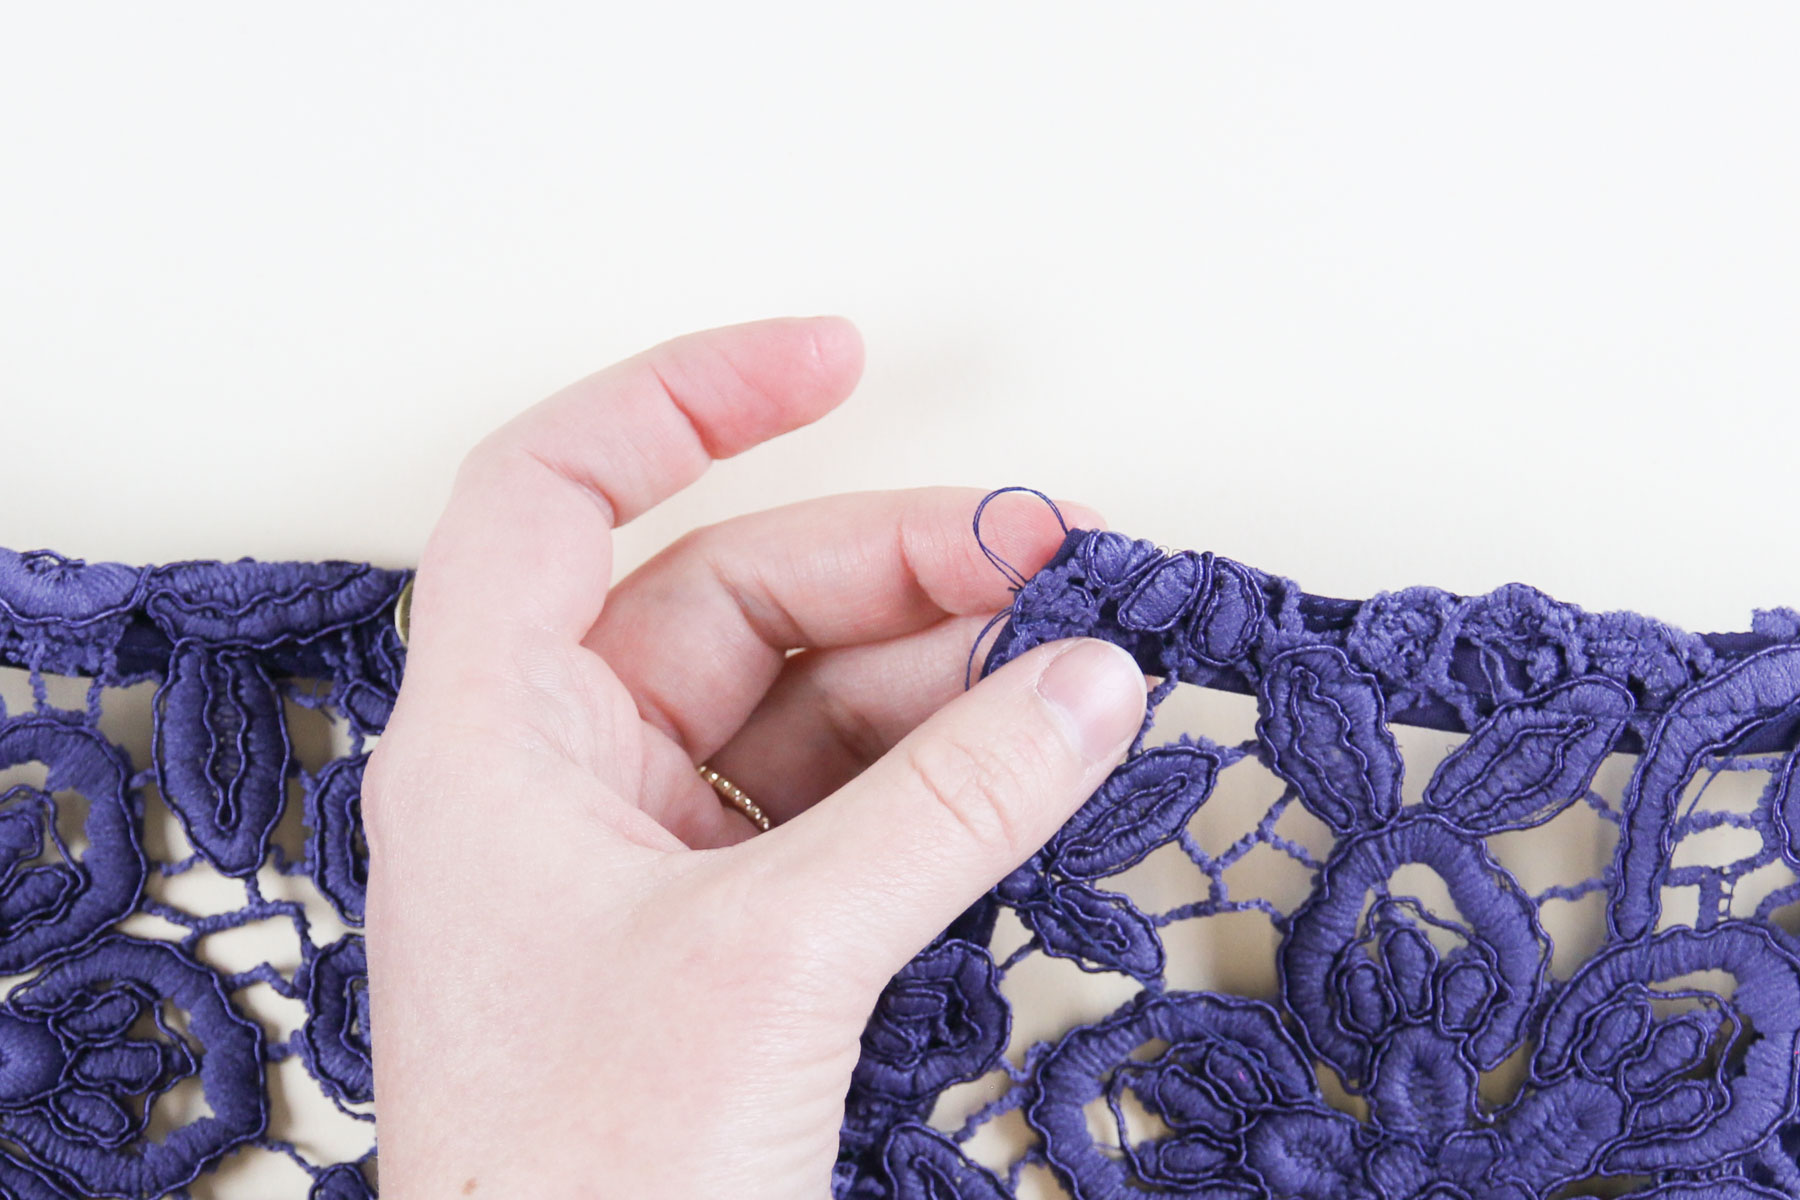
Pull gently and evenly on the thread, which rolls the fabric in on itself, creating the finished edge. If there are any bubbly areas, gently redistribute with your fingers.
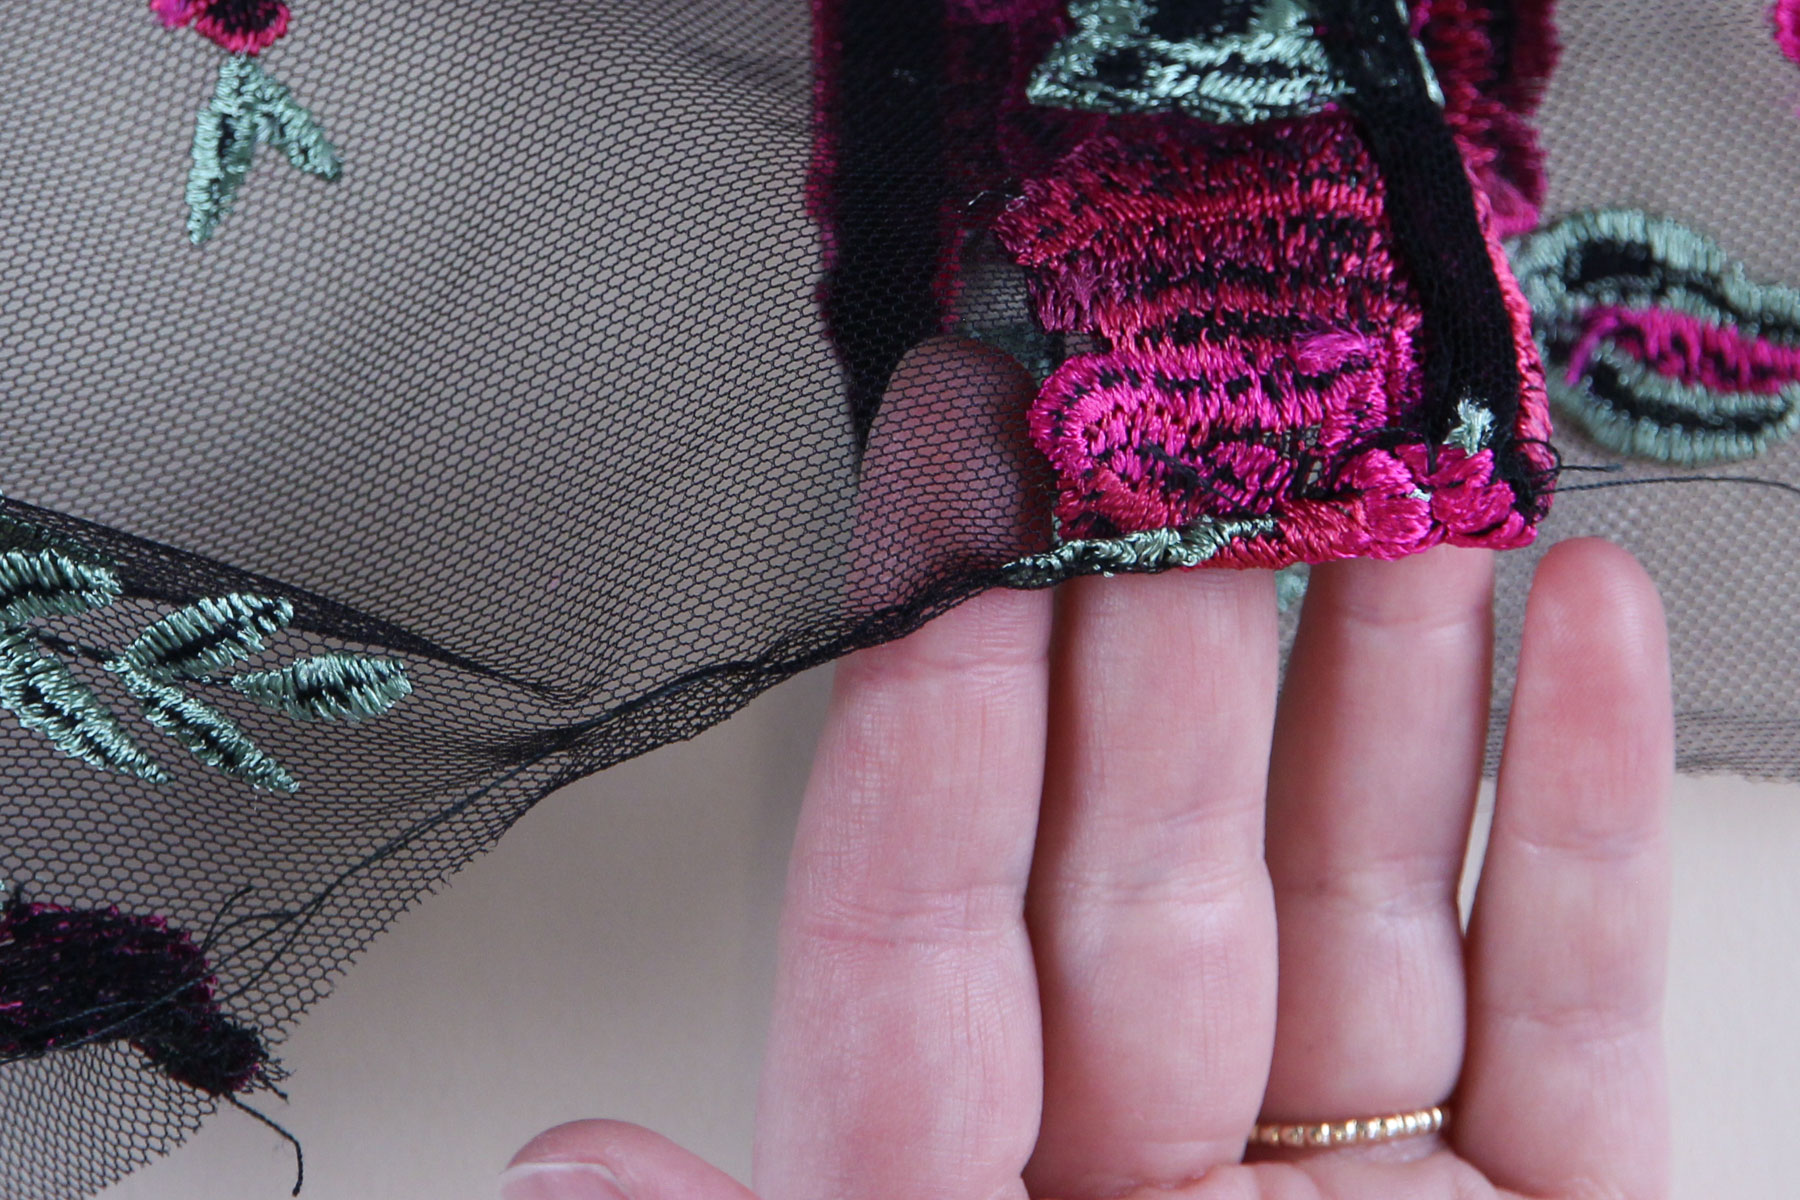
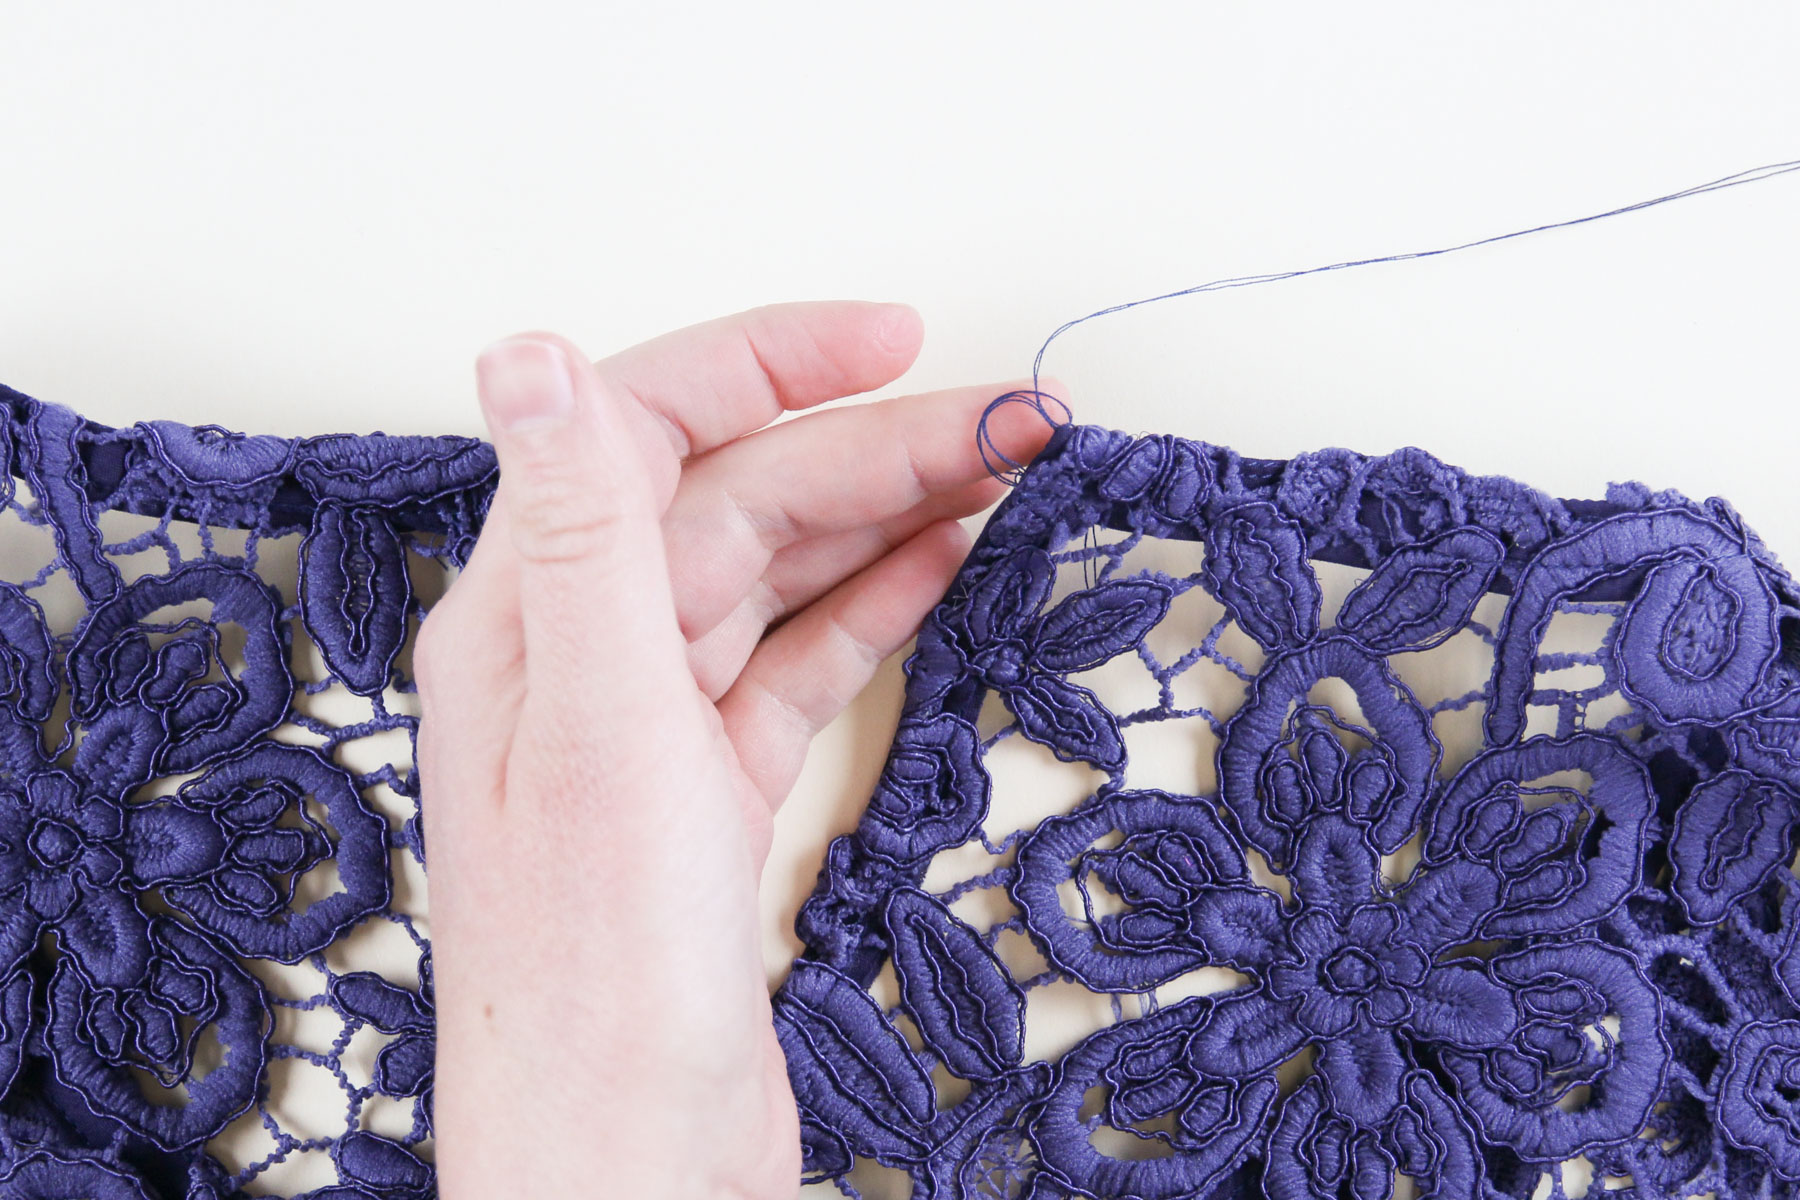
Repeat these stitches, pulling to tighten every few inches, all the way around the neckline and then tie off your thread and snip.
Finally, finish off this neckline with a button and thread loop just like we did for the lace version above.
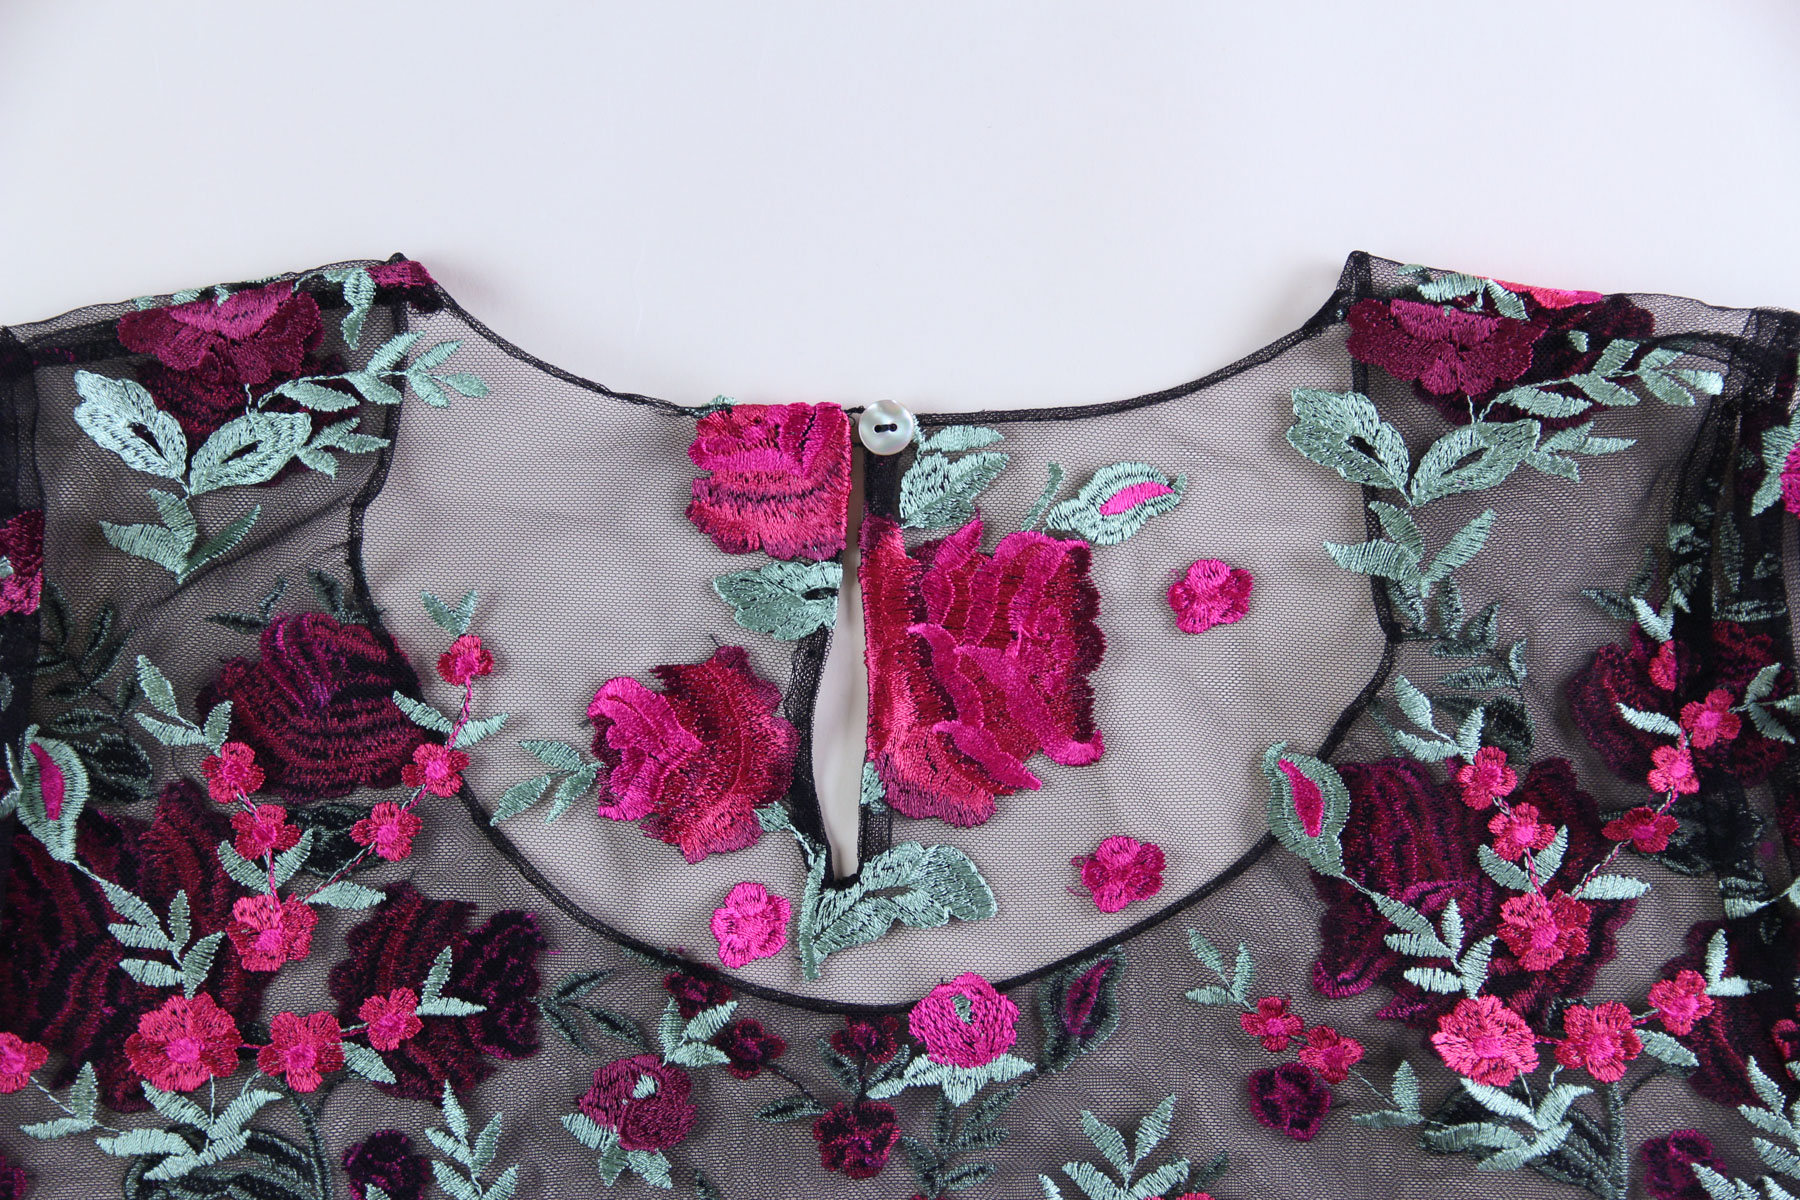
There we have it! Three lovely and well-finished necklines! Next time, we’ll wrap up the sewalong with hems.
SaveSave

These are wonderful workshops that will really help me with both my cotton and mesh Montrose. Thank you!
Cracking job, Jenny, especially the mesh fabric.
LOVE this tutorial! I’ve been looking for this for quite some time! I saw it somewhere couldn’t remember where, logged into your website to share with a curvy colleague of mine (convincing her she should learn to sew and start with your pattern) and voila! Can you PLEASE share where you got that fabulous fabric with the roses is from?
It’s from Stonemountain and Daughter – they’ve run out of this specific one, but they have lots of very similar alternatives.