Welcome to day 1 of the Montrose Top sewalong! I’ll be making three versions of the Montrose for this sewalong and addressing tips and tricks along the way. The three versions highlight some of the different types of fabric you can use for the Montrose as well as how you can mix and match the neckline options. Here are the three versions:
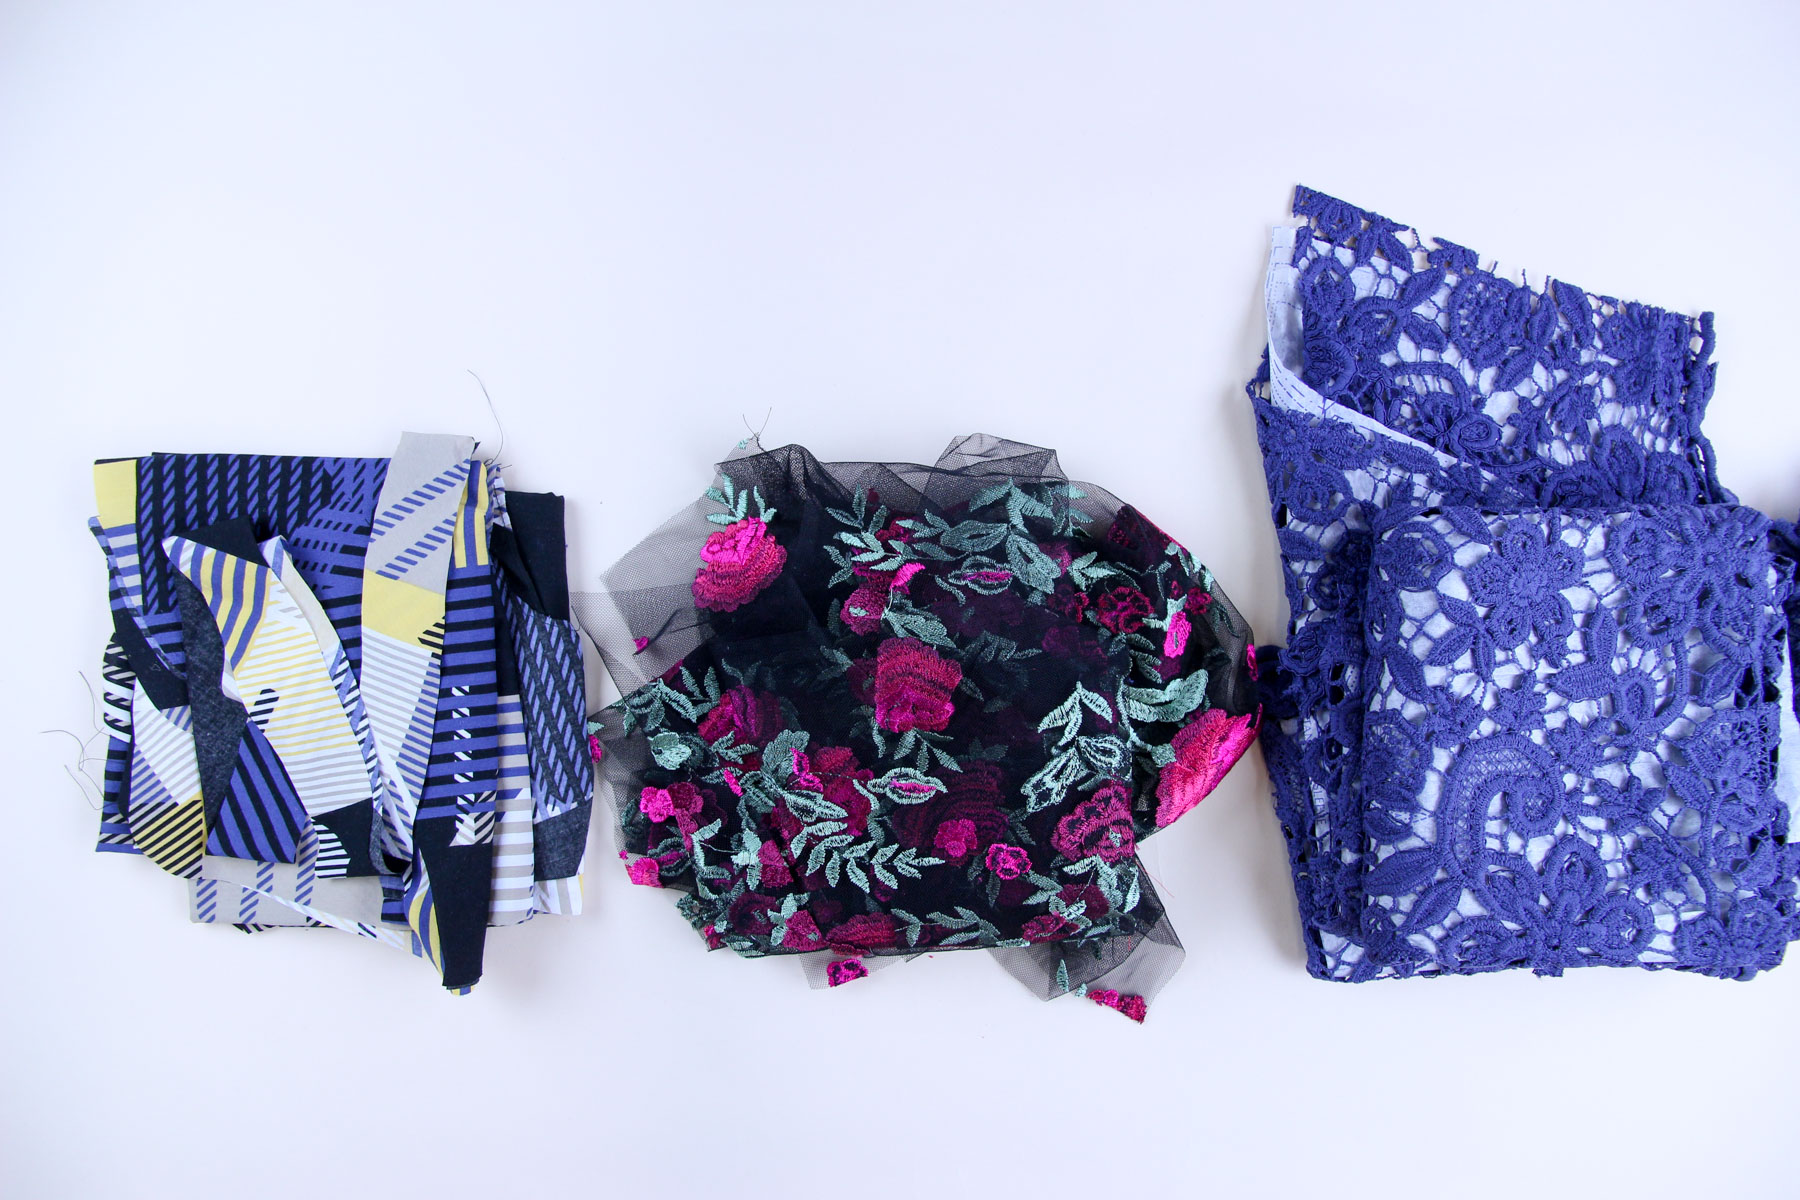
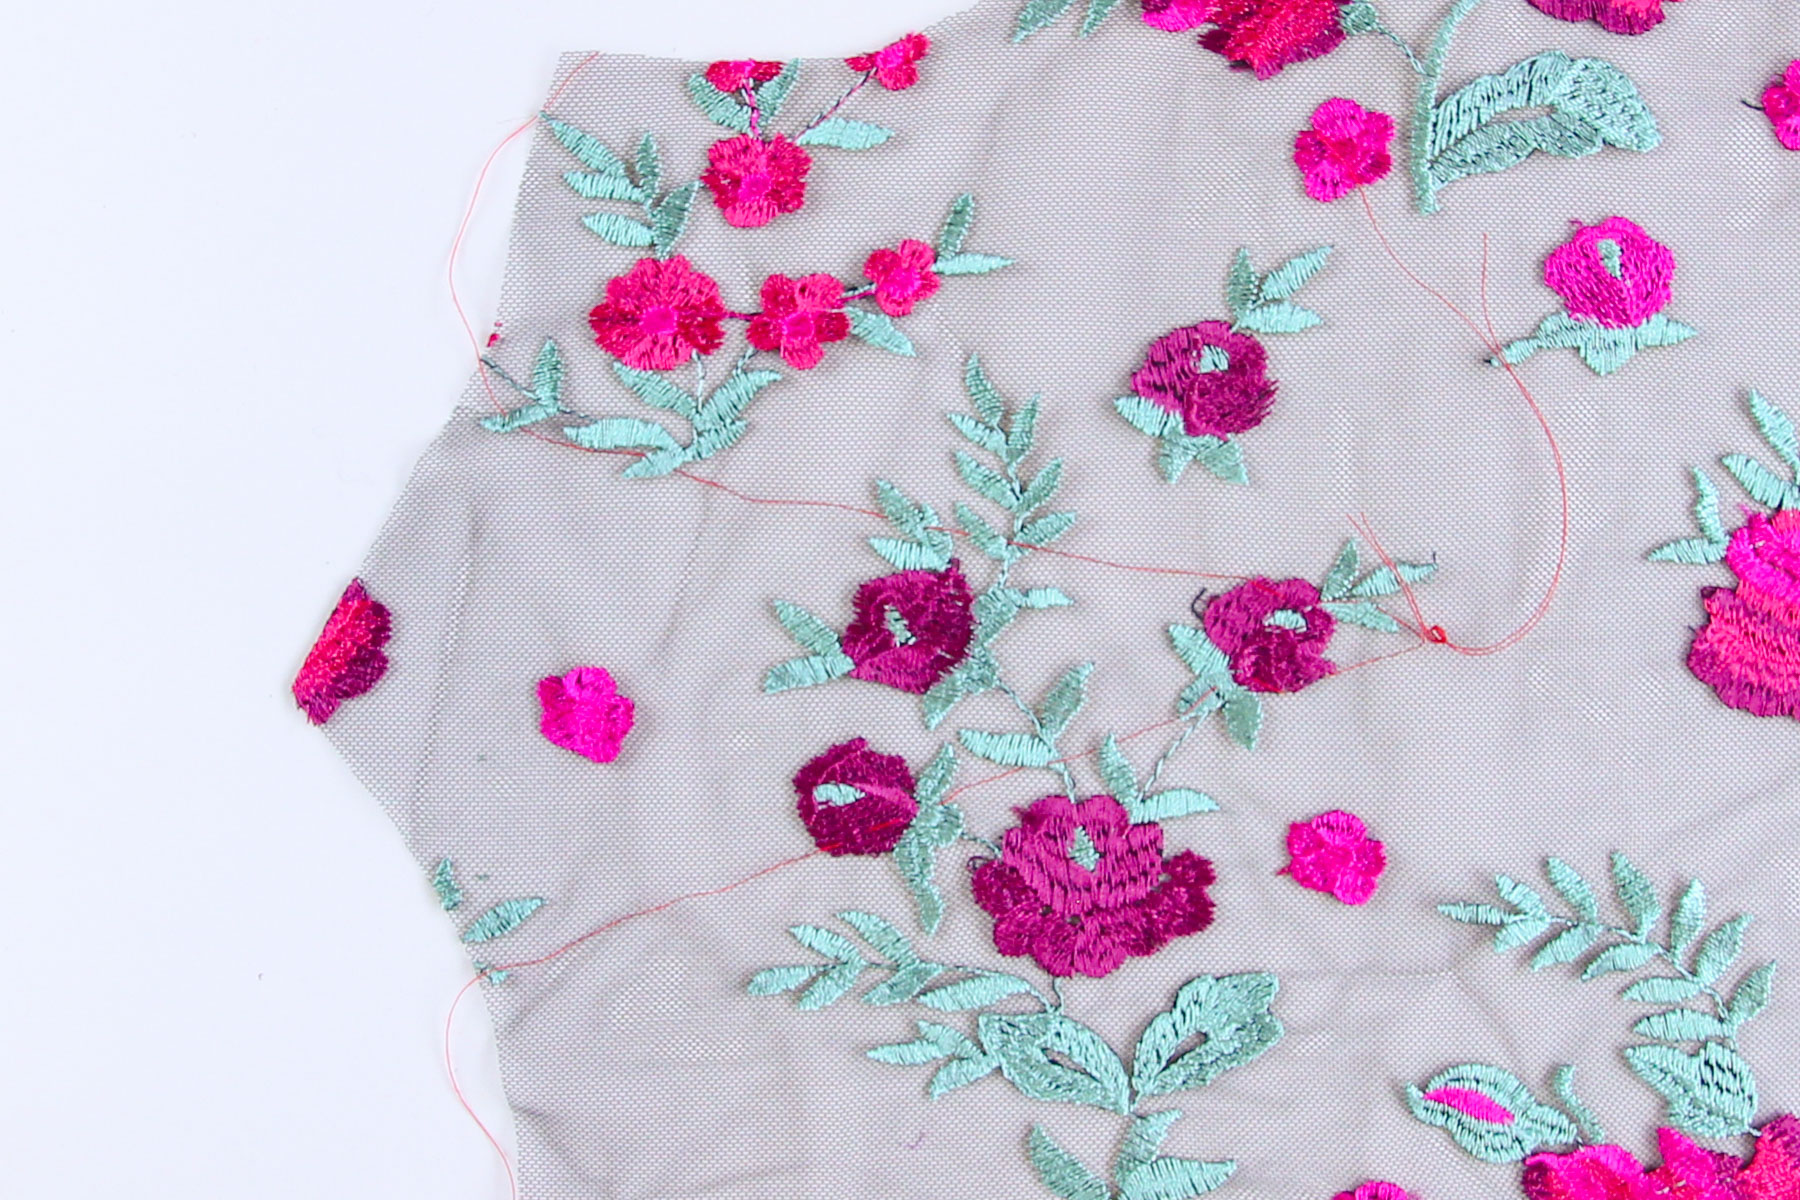
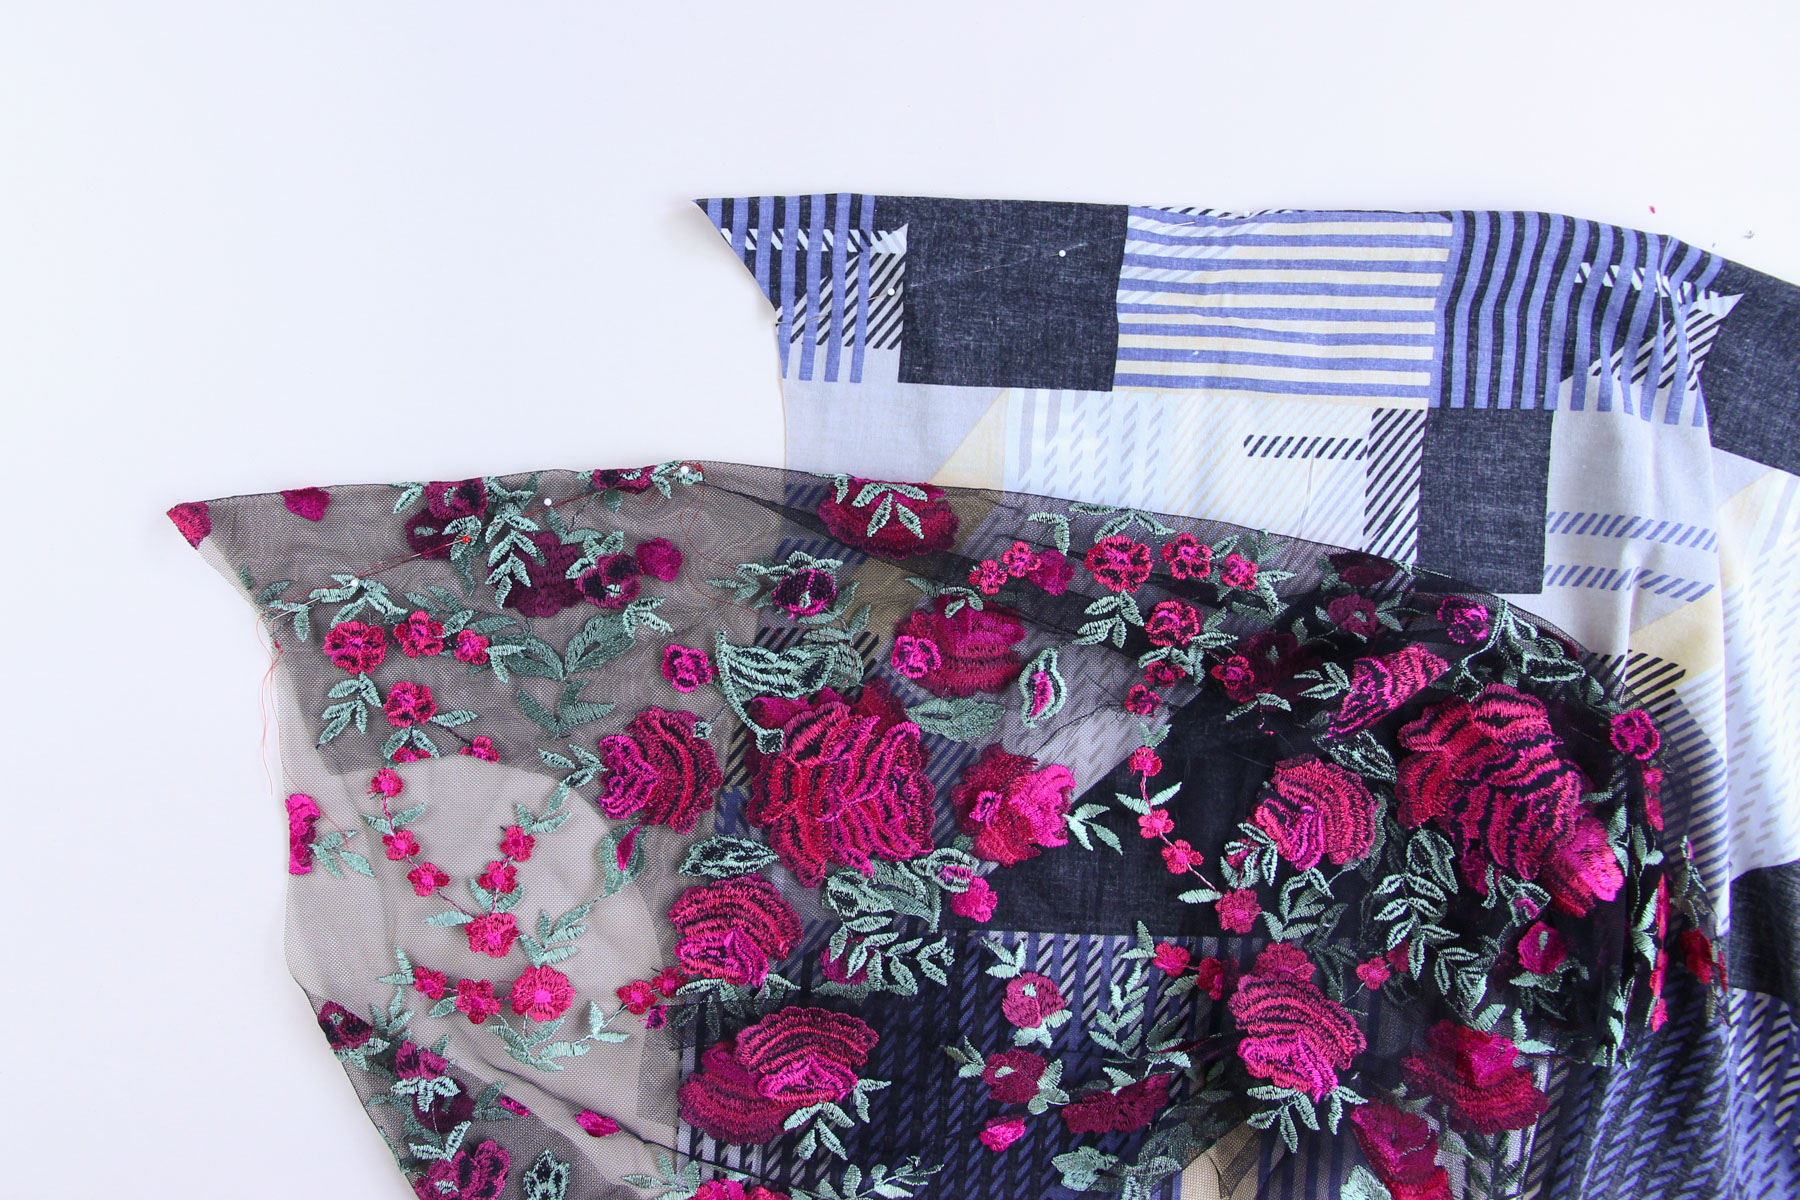
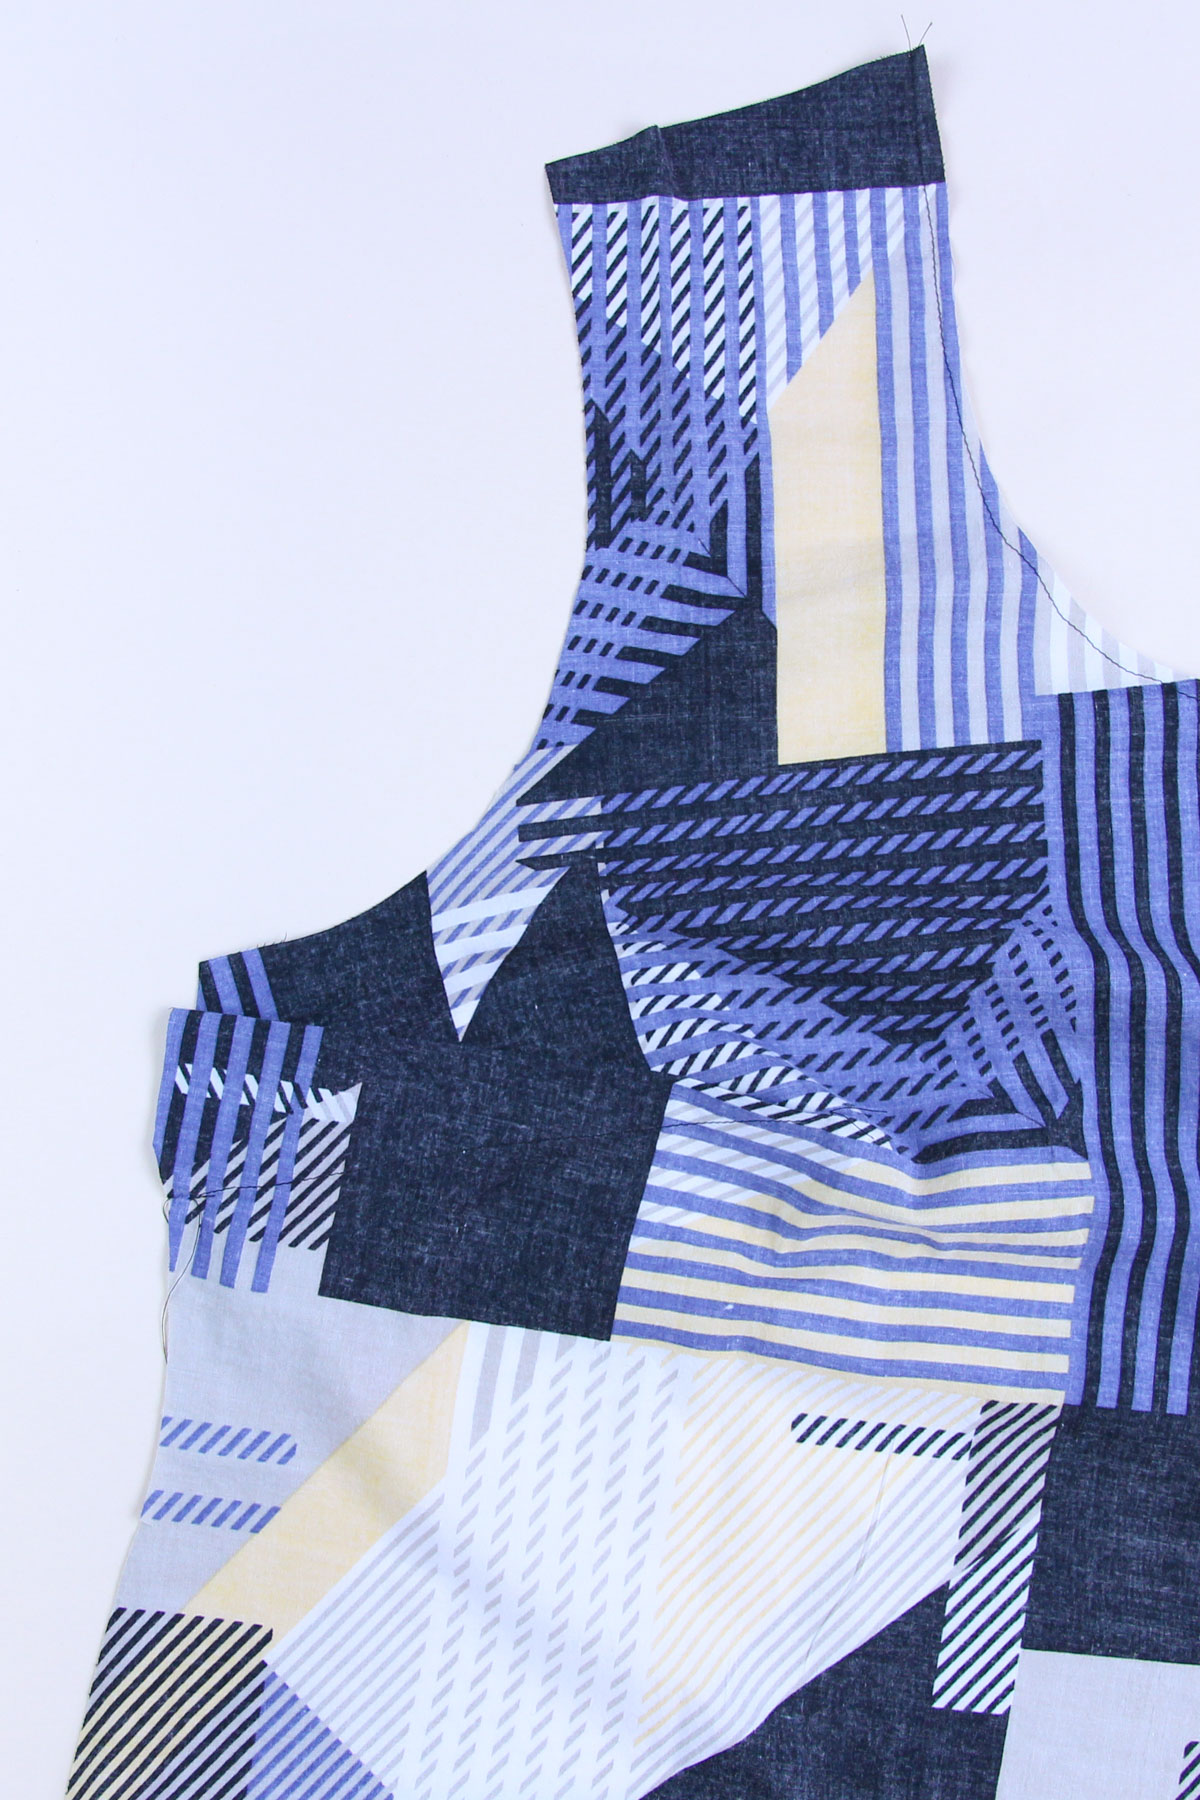
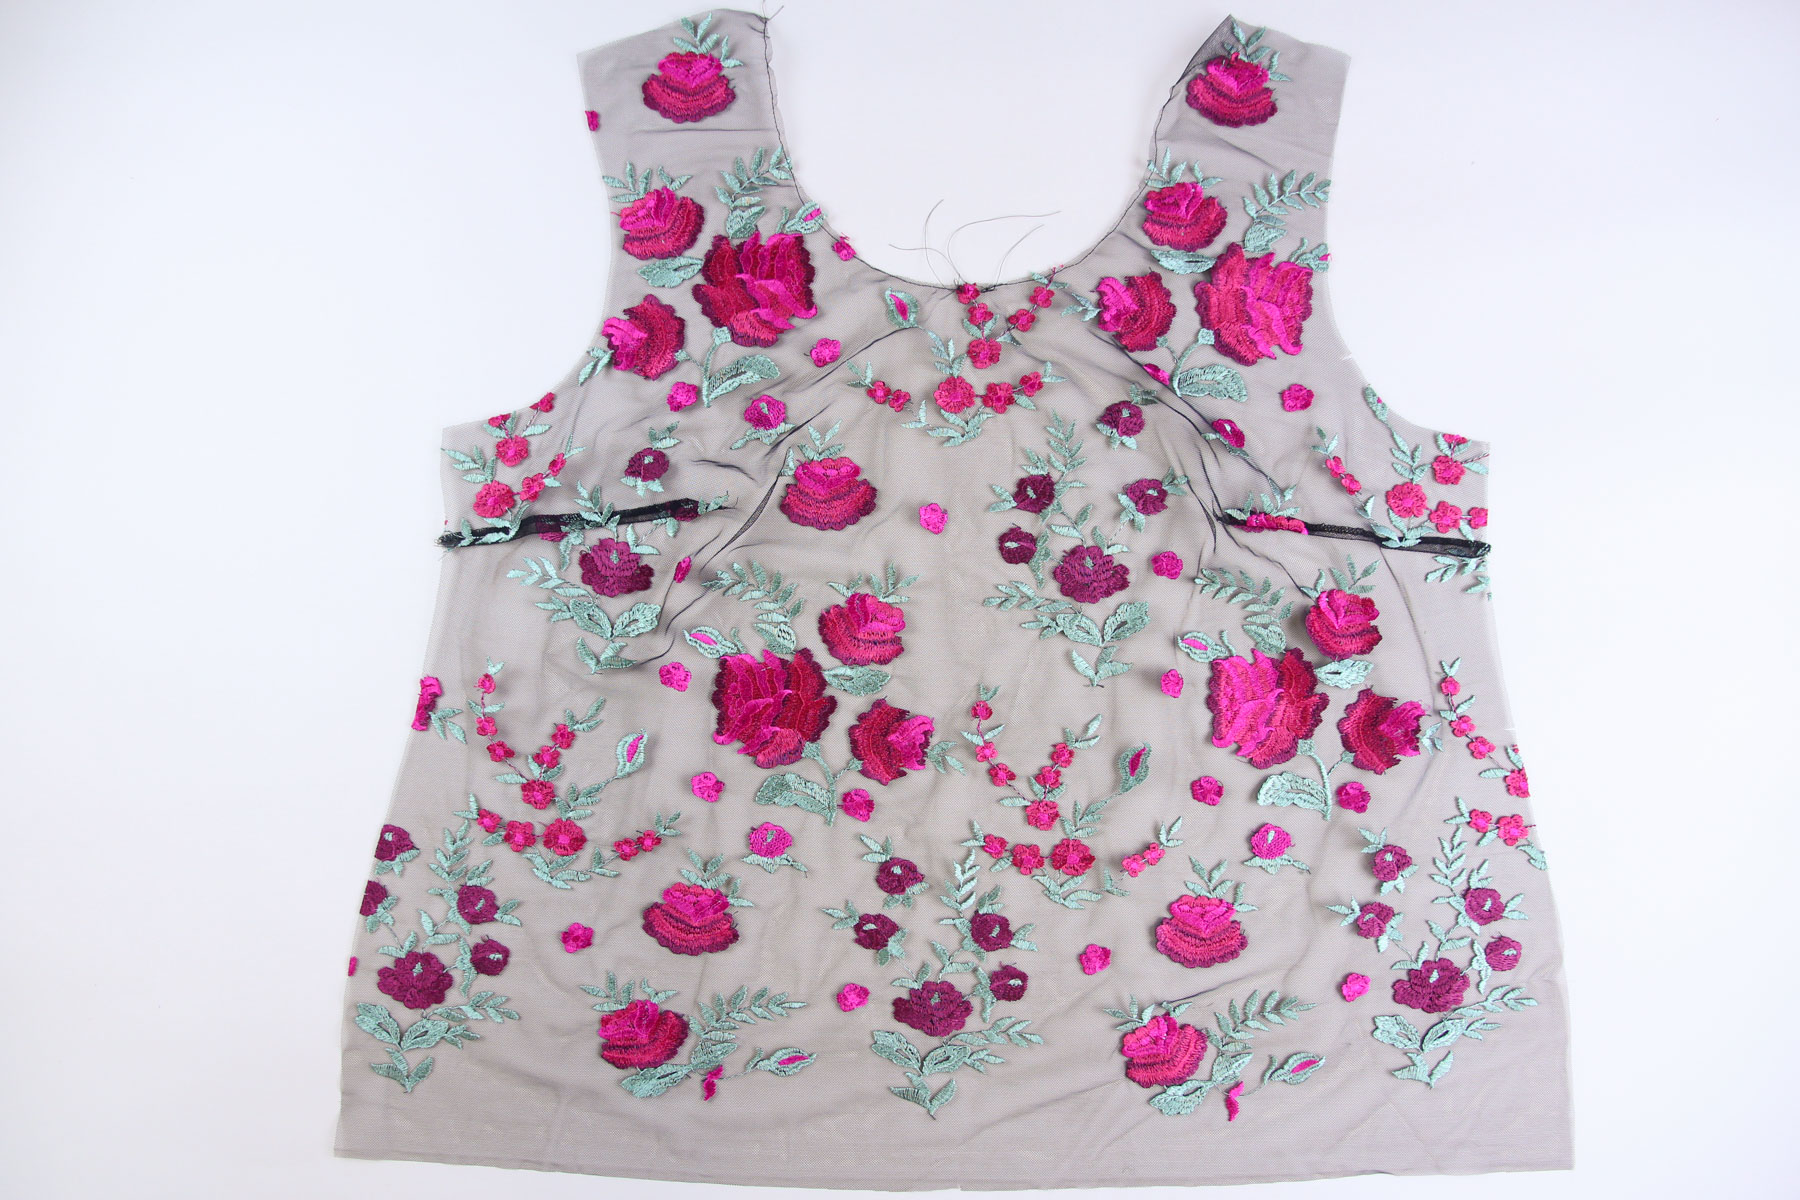
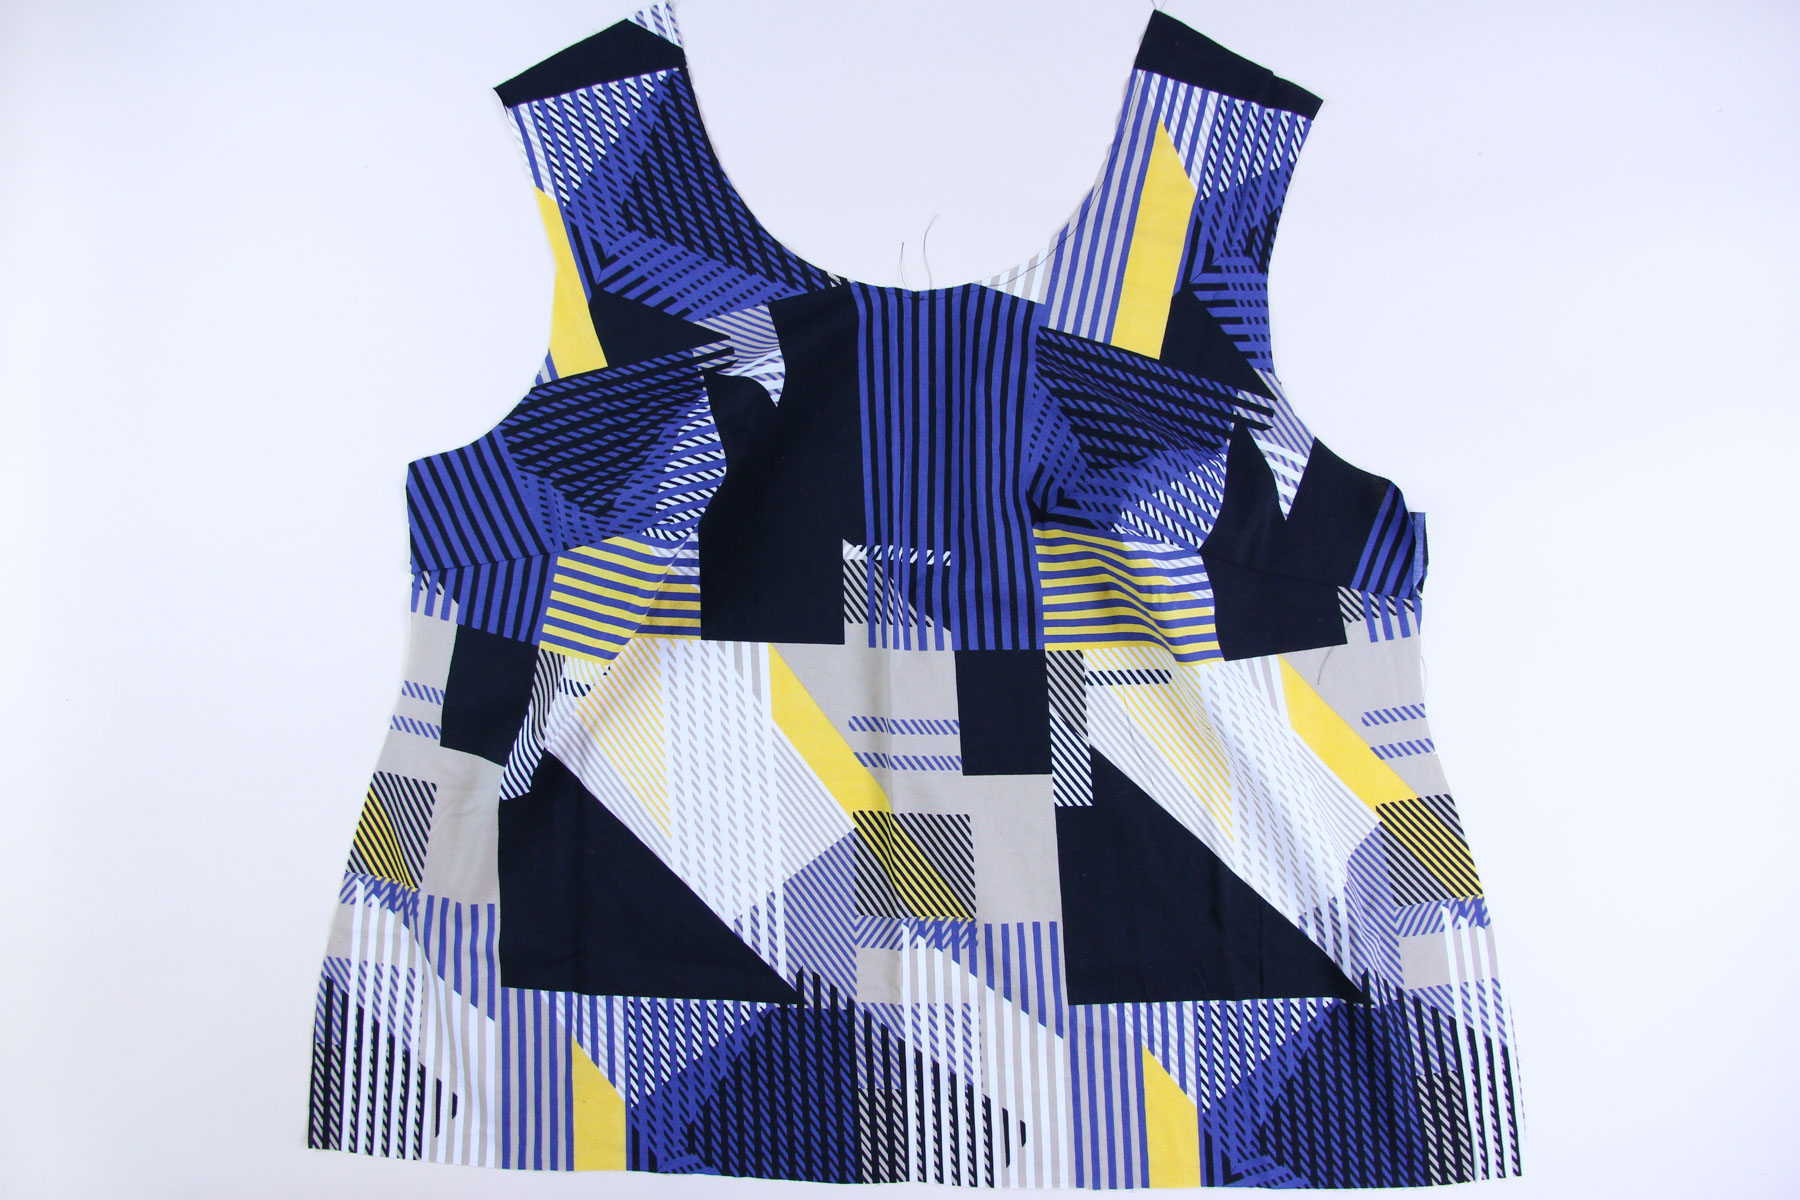
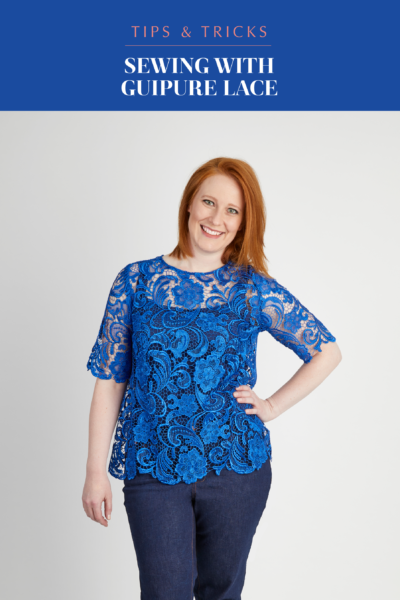
Version 1 is View A in a geometric printed cotton lawn. Version 2 is View B with the scoop front neckline in an embroidered mesh. Version 3 is View B in a guipure lace (this one will pop up from time to time as well as in a separate post about sewing with open laces.) Also, heads up, photographing mesh and lace flat makes them look out of focus; if you zoom in, they actually are, but can look a bit fuzzy from far away. I’ve taken down the shadows on the pictures as much as possible to minimize the fuzz.
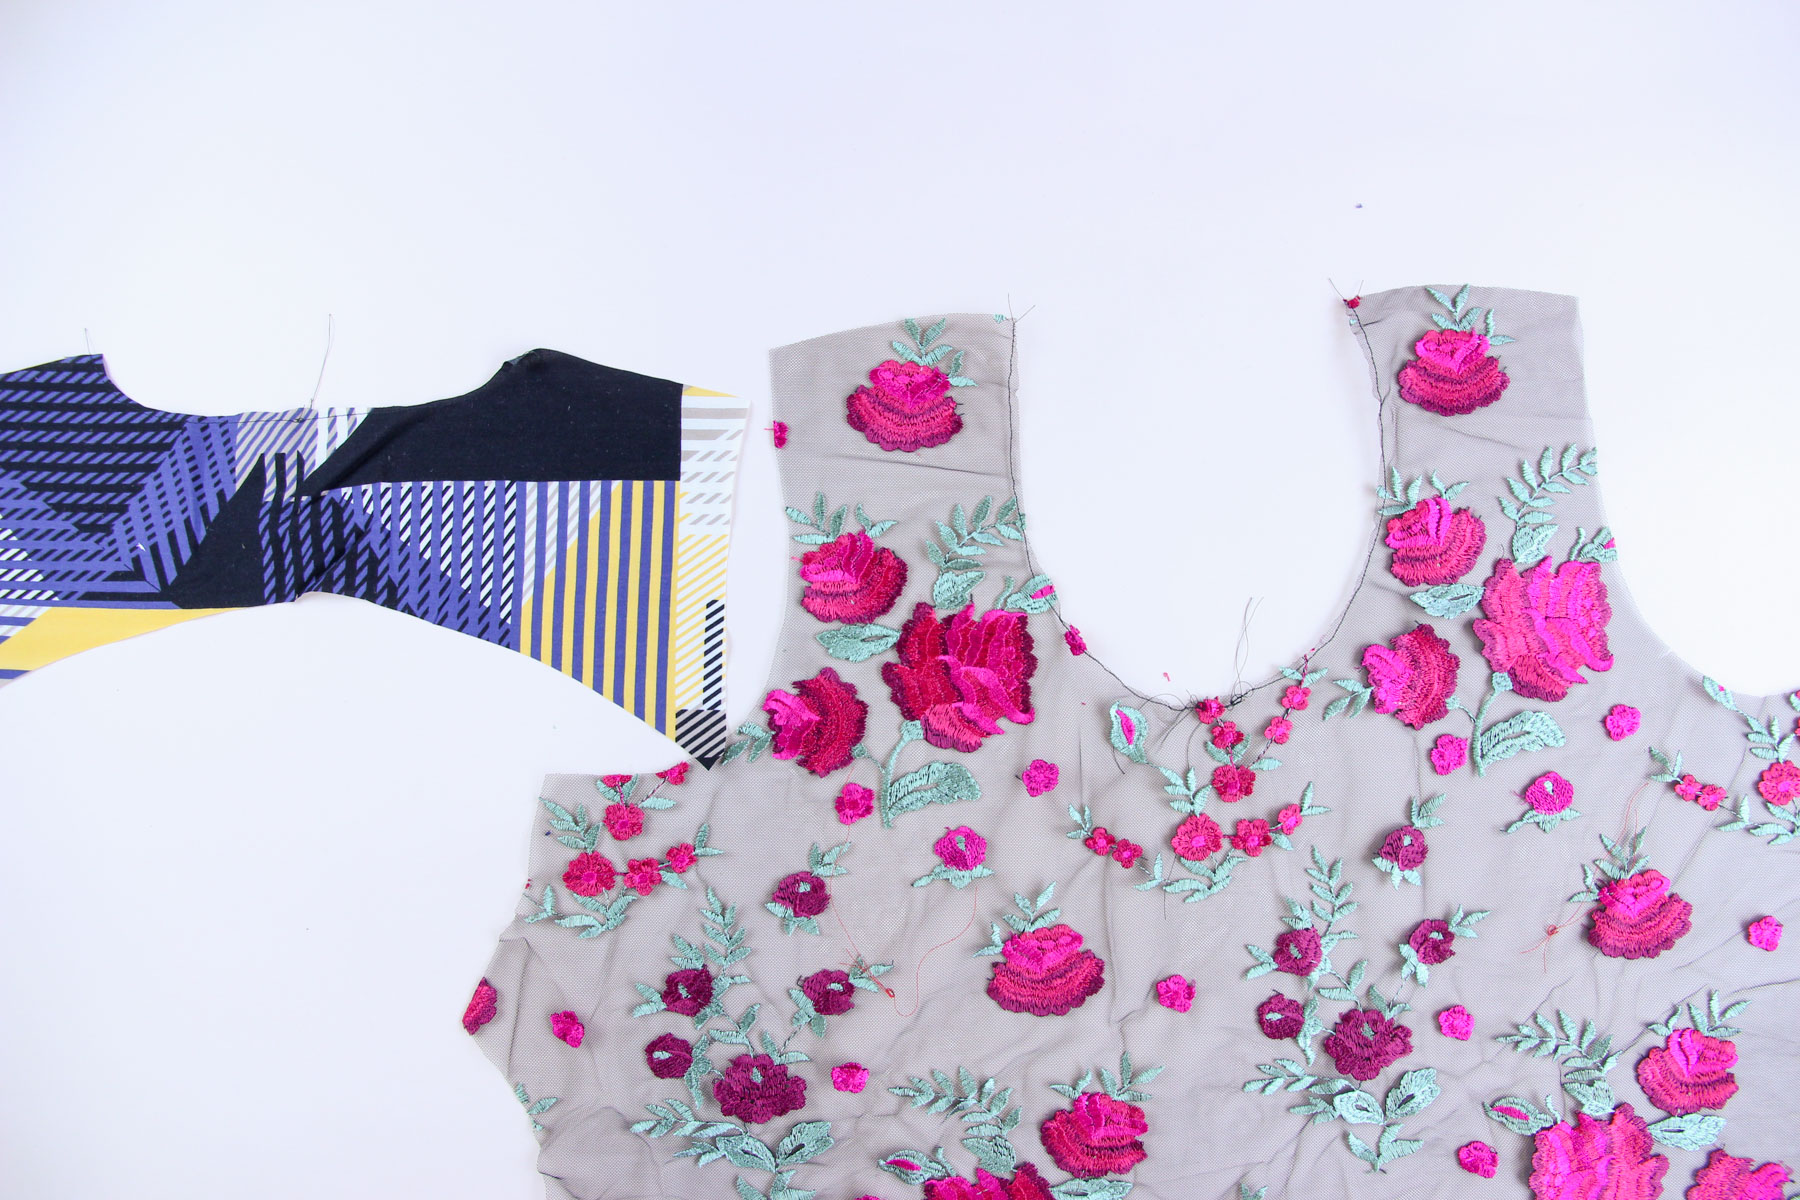
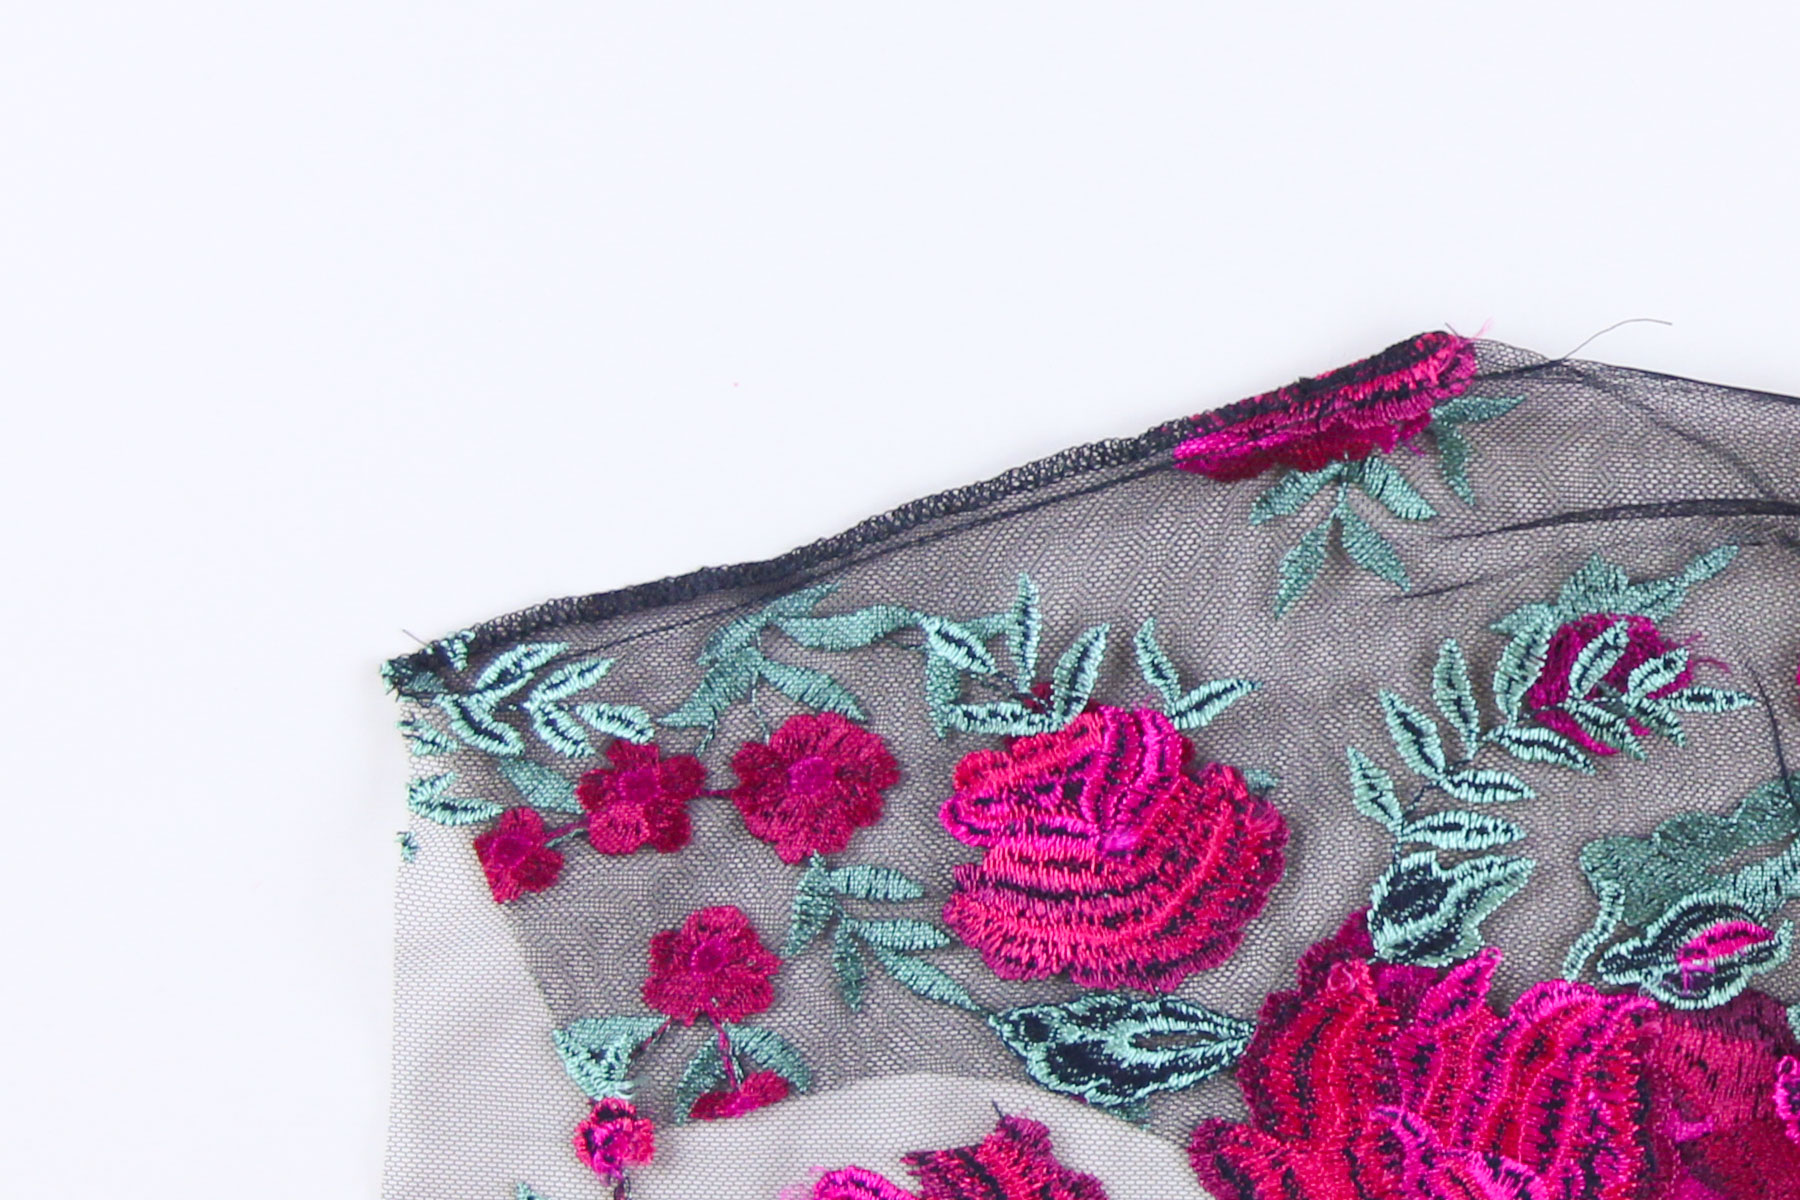
Today we’re going to start by stay stitching the neckline of the front and back of your Montrose Top to prevent the neckline from stretching out. Anytime you’re cutting a curve into fabric, parts of it will be on the bias and will be prone to stretching out. By staystitching, you’ll hold everything in place!
Stitch 1/4” (6mm) from the cut edge of the fabric with a straight stitch, 2 – 2.5 length. Do this in two passes starting at the center front and ending at the shoulder. Repeat with the back neck (on the yoke if you’re making view A and on the back if you’re making view B.)
Next, we’ll sew the darts. I like to draw in my dart legs with chalk from a Clover chalk marker. If you find the marking doesn’t stay on a tulle, mesh, or lace, you can mark the dart with a quick running stitch sewn by hand.
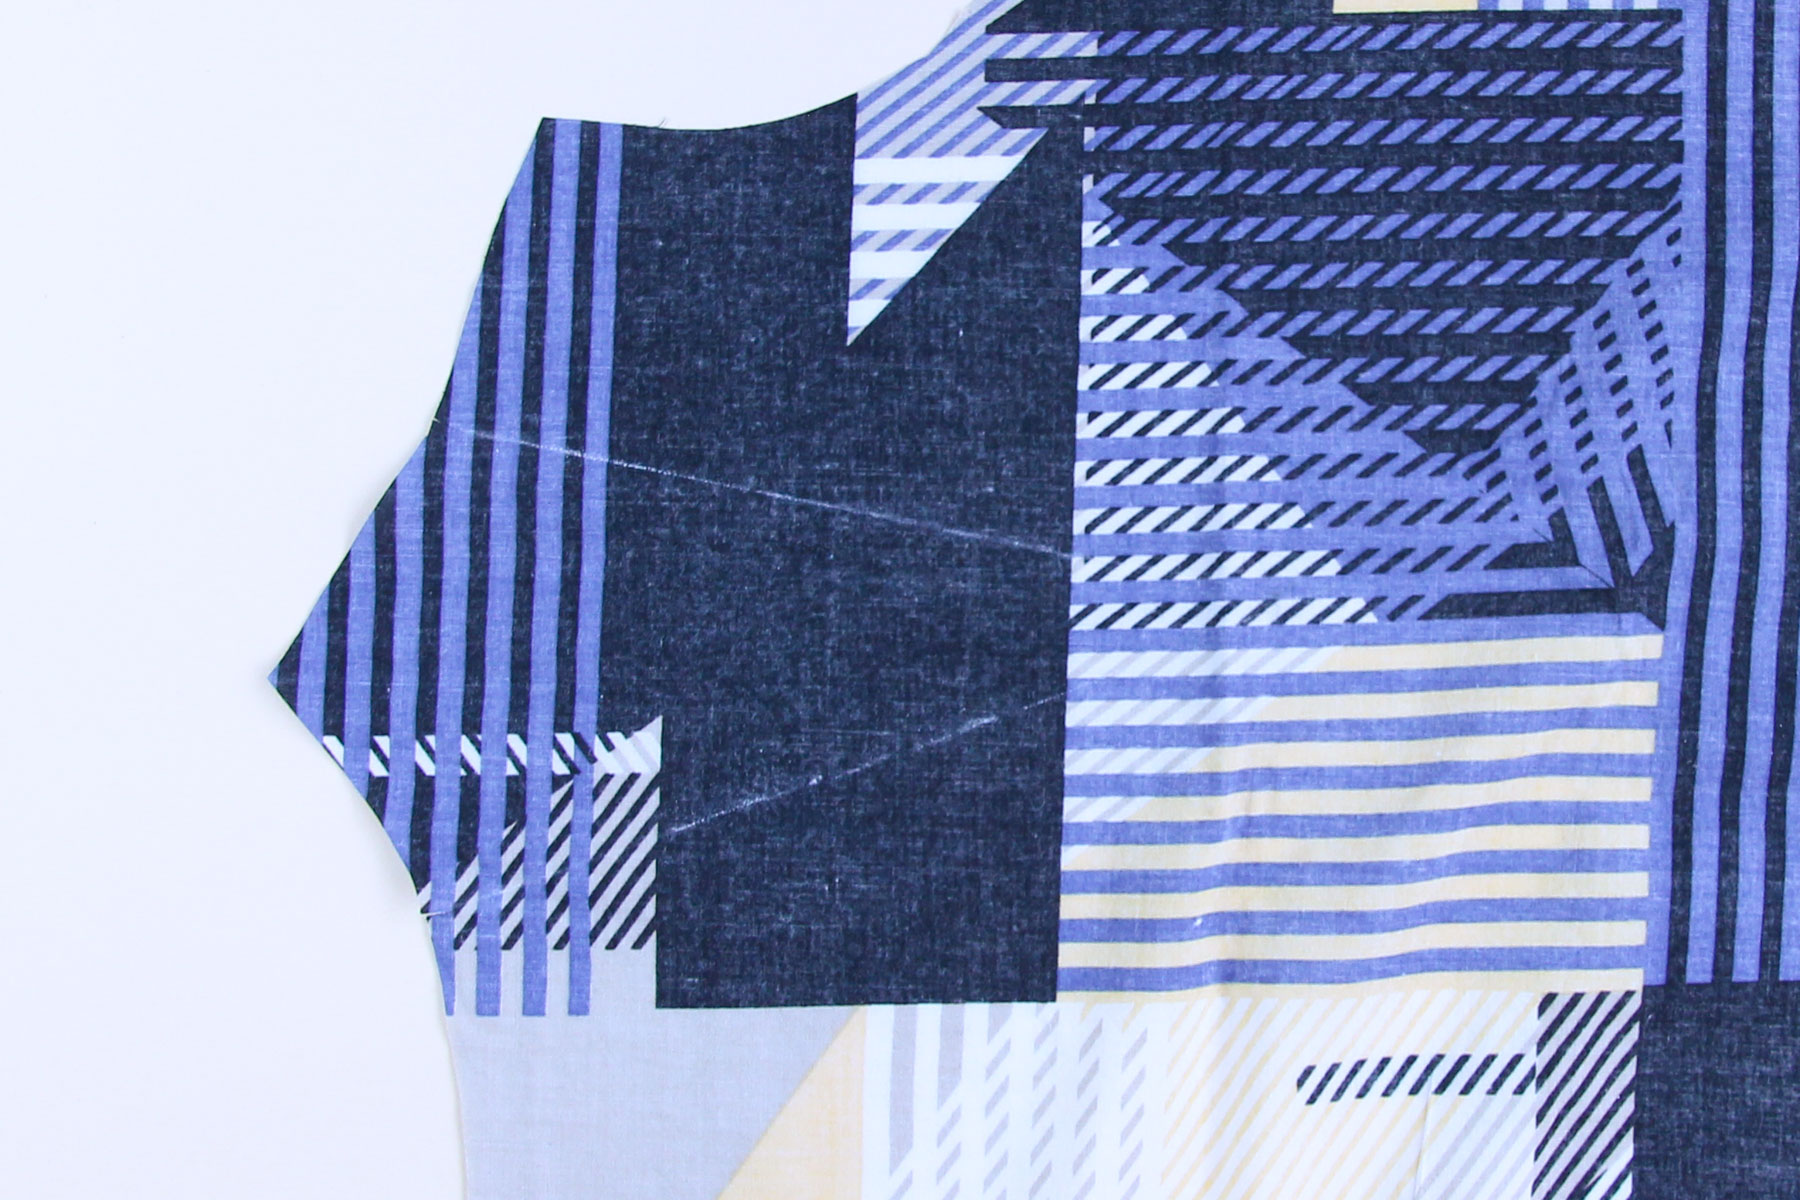
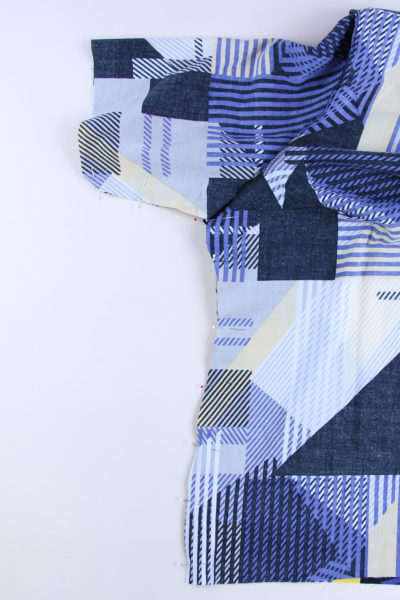
Carefully line up your dart legs and pin with the point of the pin facing the side seams so you can pull it out easily as you sew. Sew the darts from the side seam to the dart point, leaving long thread tails at the dart point, but don’t back stitch. You want to keep the dart point nice and clean for a well-shaped dart. Tie a square knot in the thread tails and trim the threads.
Press the sewn dart flat first and then up over a ham to maintain the fullness at the dart point.
If you’re using an embroidered tulle/mesh and the dart looks too visible, sew a line of zigzag stitching close to the dart legs and trim off the excess fabric. This will keep the fabric from fraying while reducing bulk and visibility of the dart.
Repeat with the second dart. Your front is now all ready. For tips on how to sew darts in guipure or other open laces, stay tuned for another post on sewing with lace.
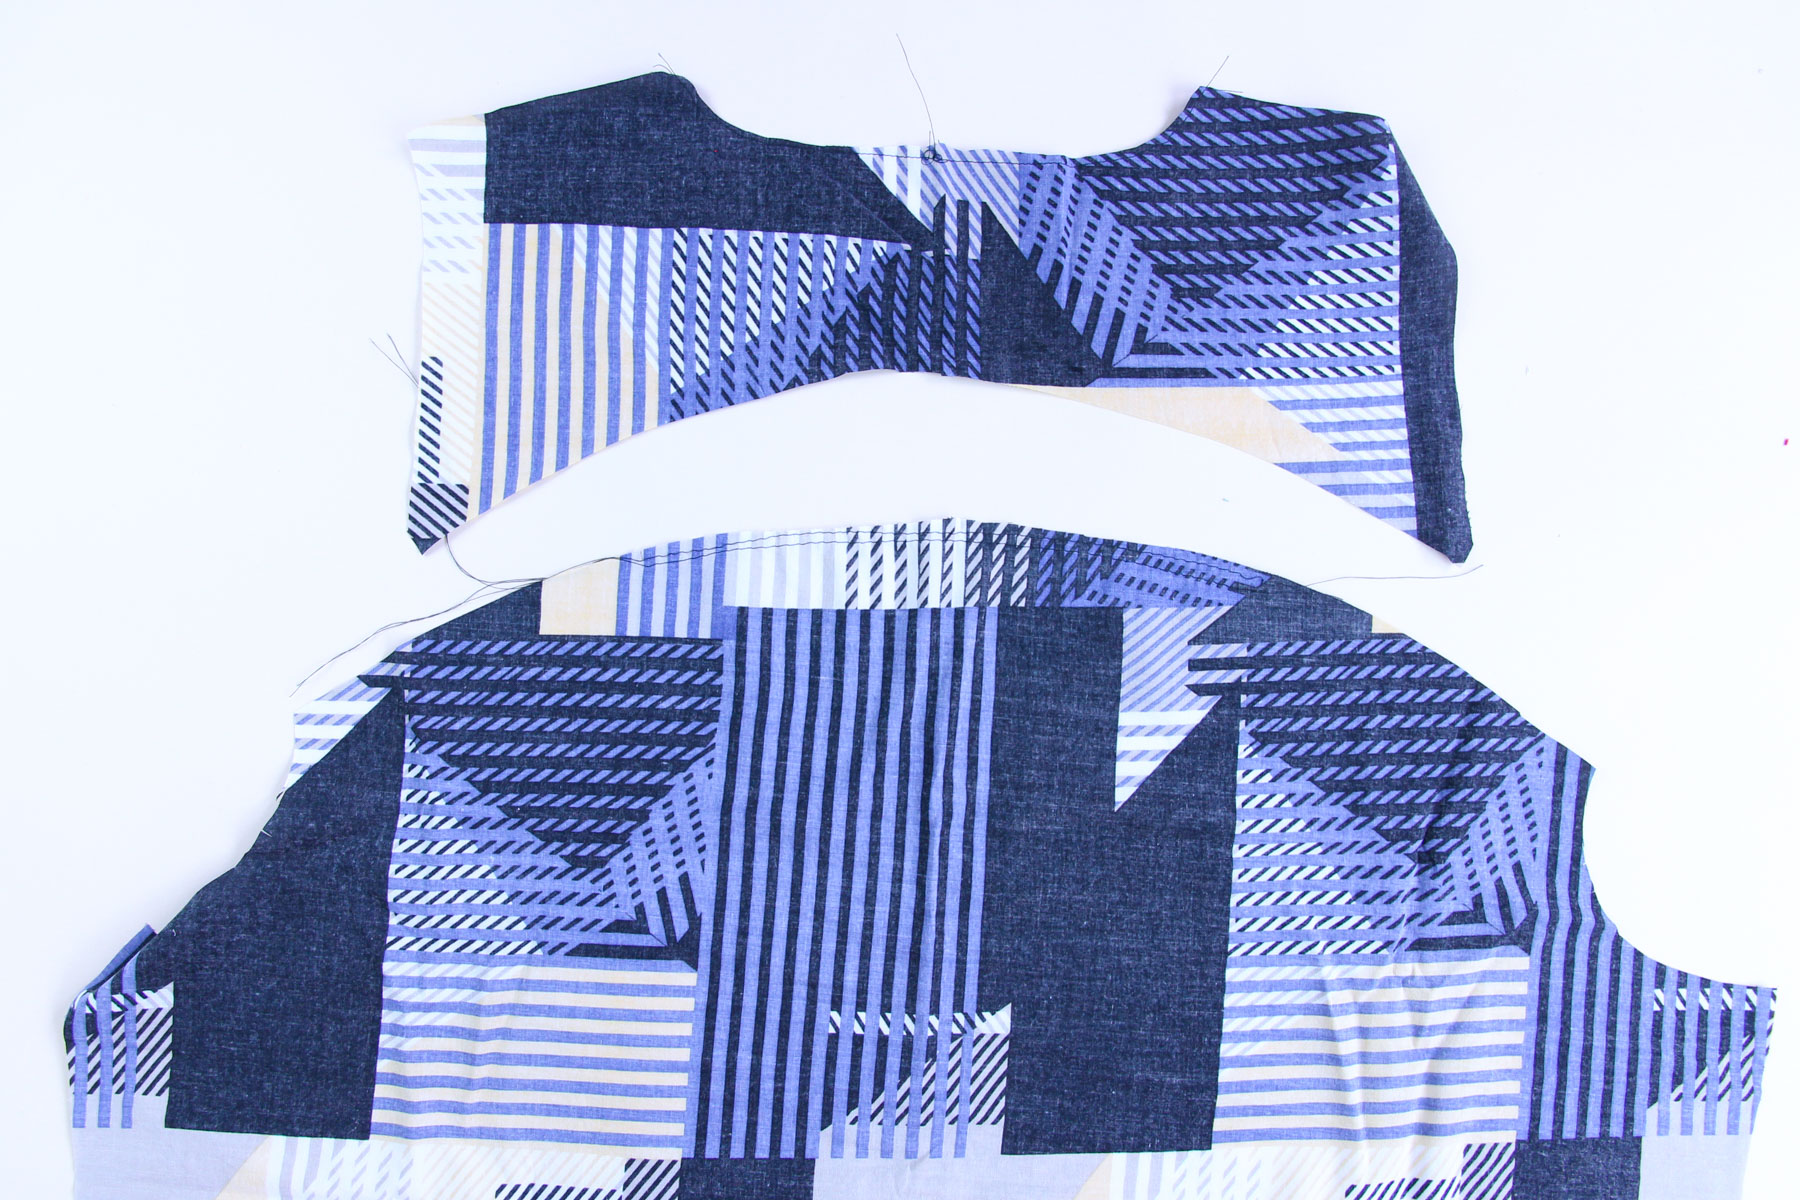
The last step today is to assemble the back of View A; if you’re making View B, you’re done for today!
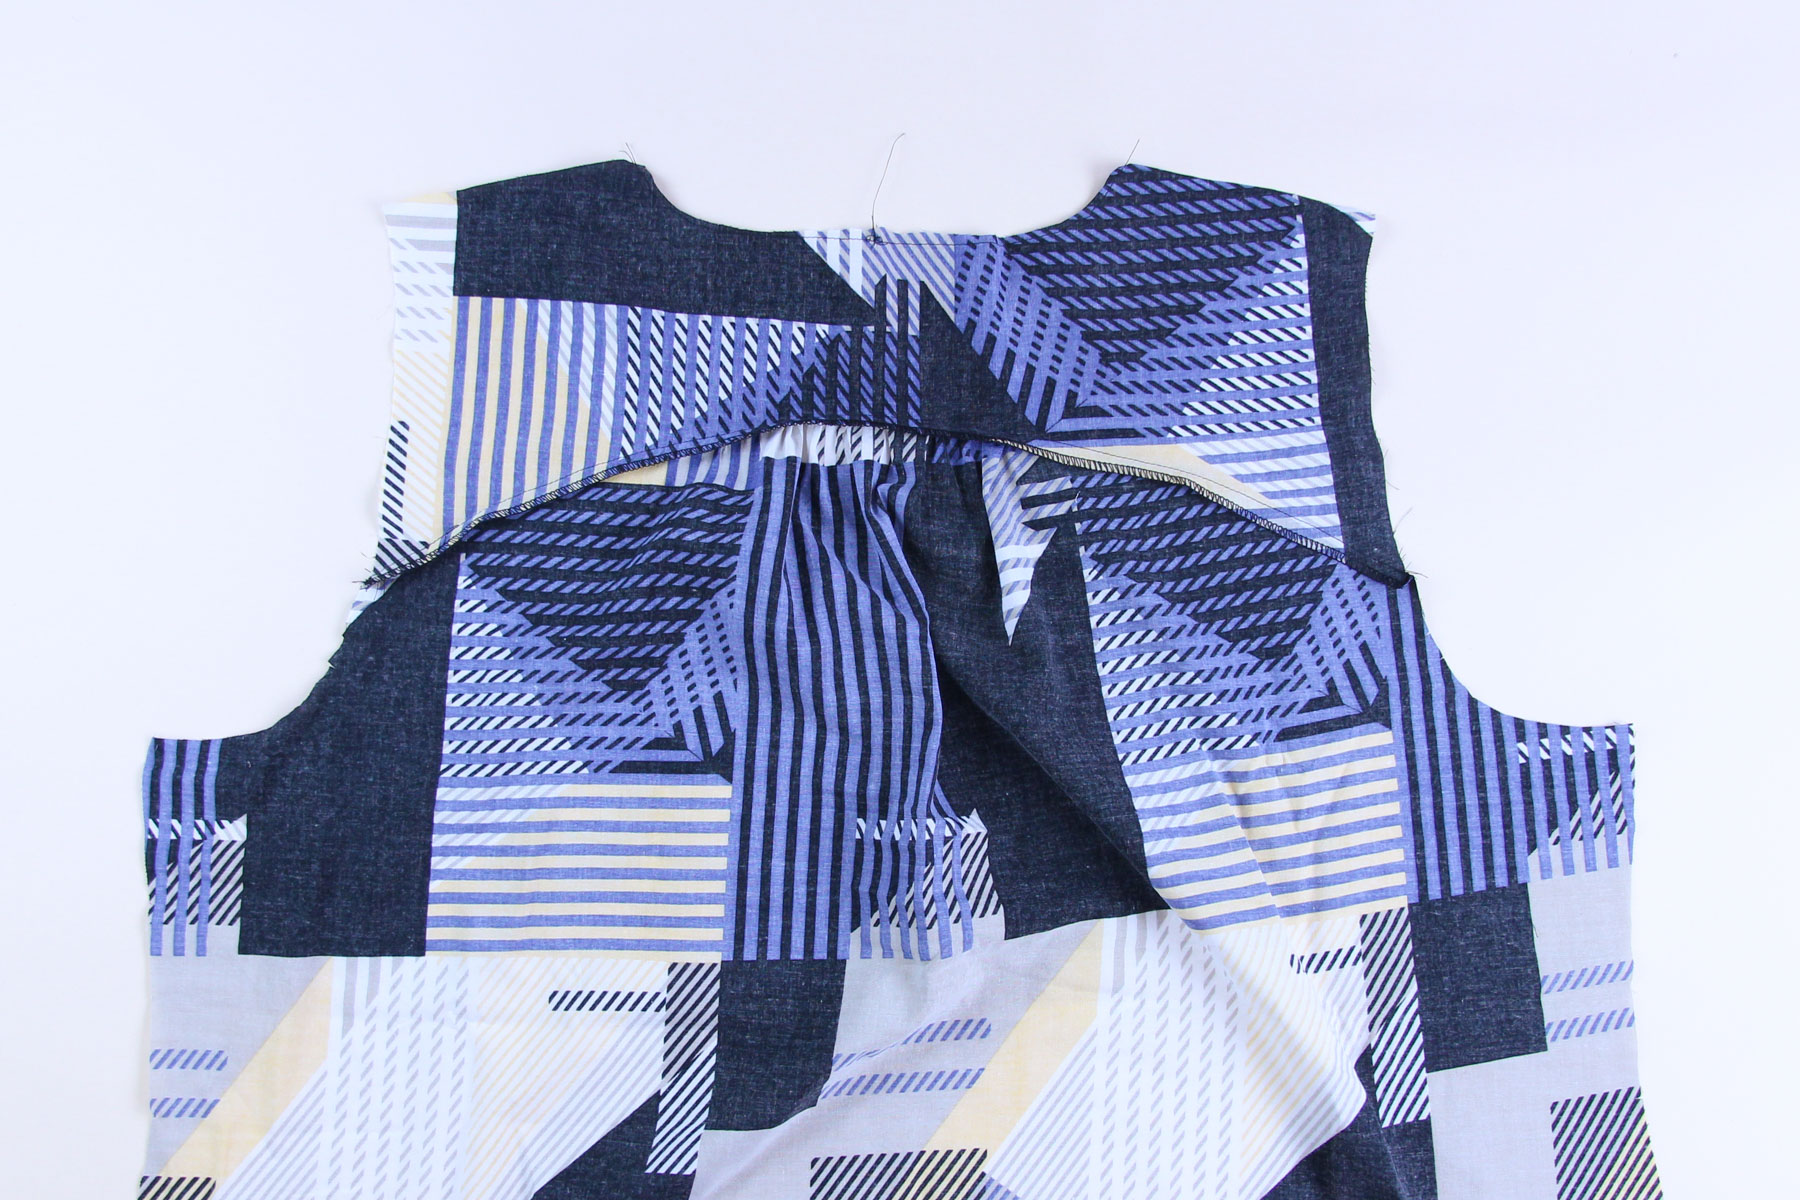
Start by sewing two lines of basting stitches (4mm straight stitches) within the seam allowance between the notches on the lower back piece. I like to start with the line of stitches closest to the edge of the fabric (about 1/8” from the edge) and then sew the second line about 1/4” from that row. If any of your basting stitches end up showing on the finished garment, no big deal, you can rip out the visible stitches with a seam ripper!
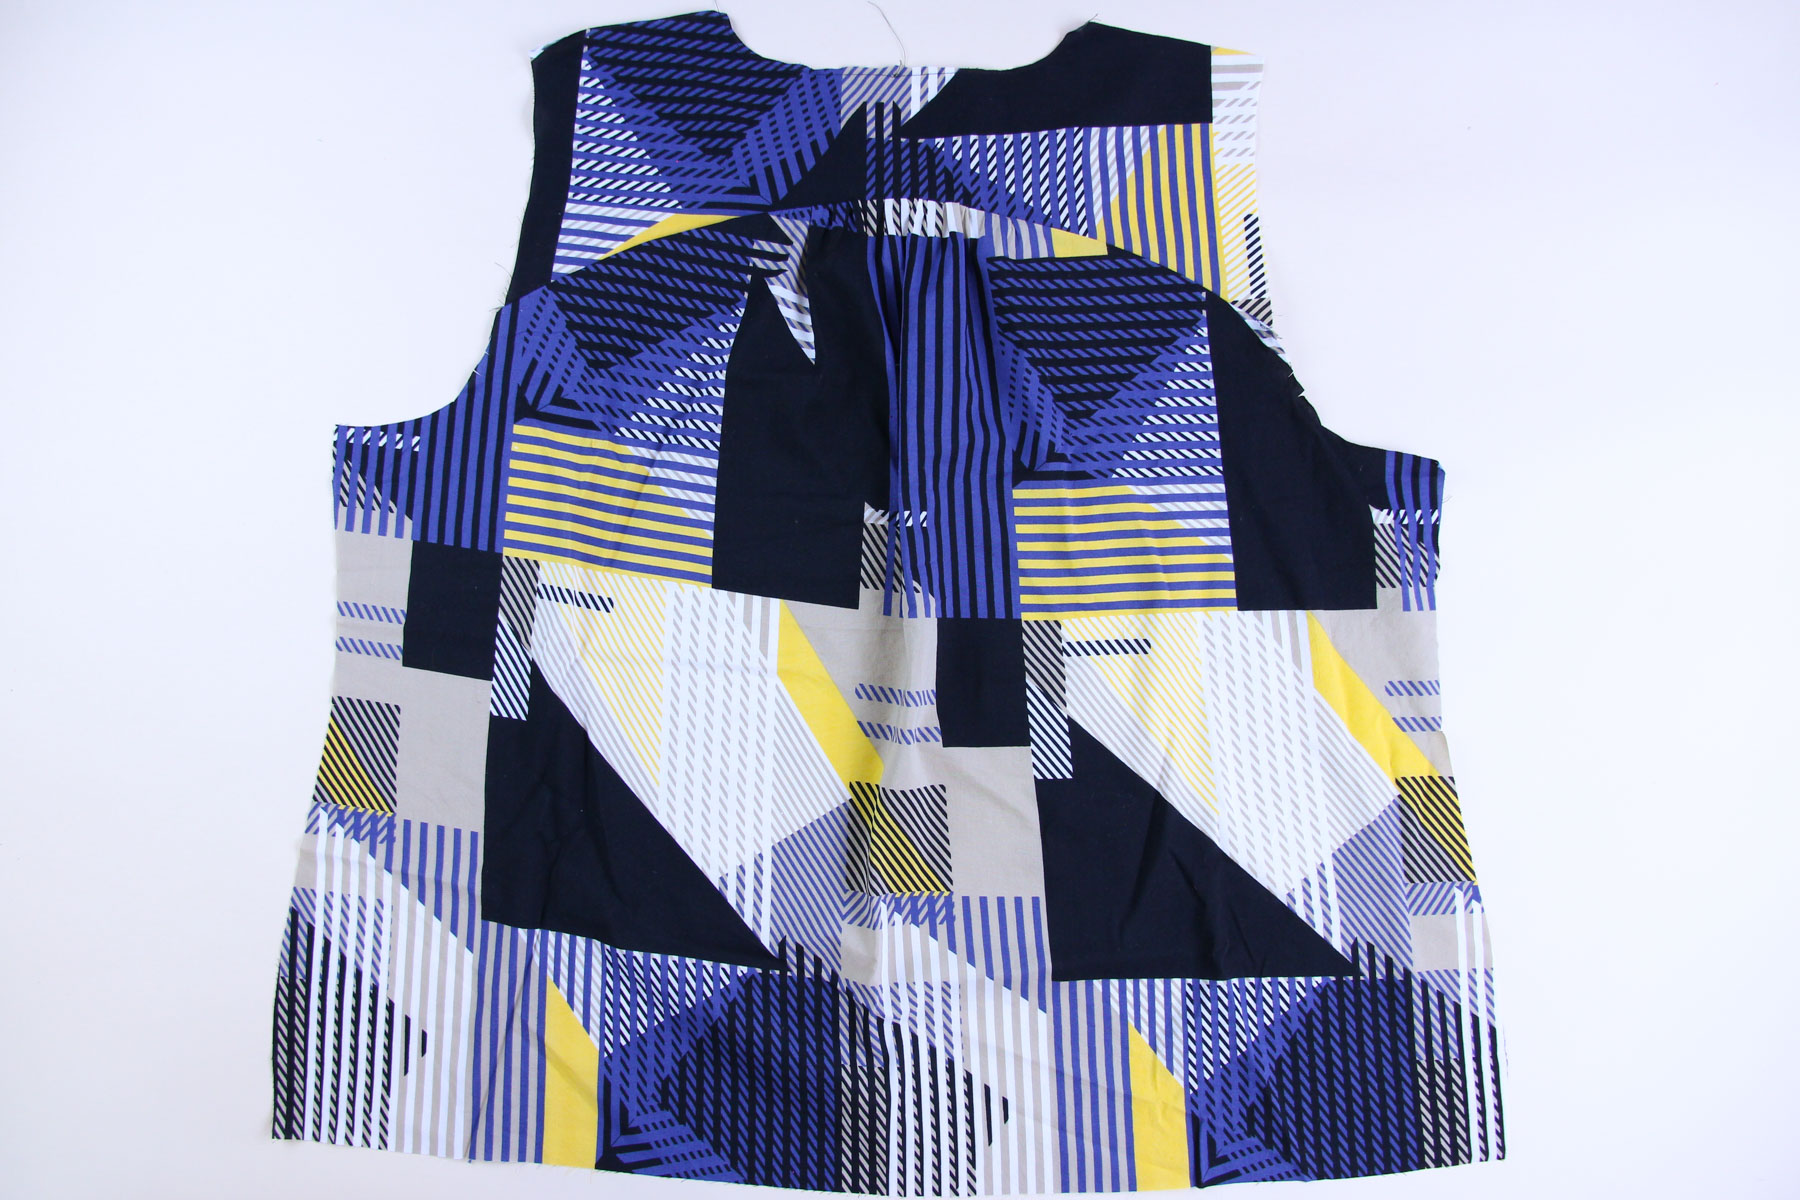
Gently gather the fabric of the lower back then pin the yoke to the lower back, right sides together, matching the notches. Adjust the gathering until all the notches match. Pin in place and distribute the gathering evenly between the notches.
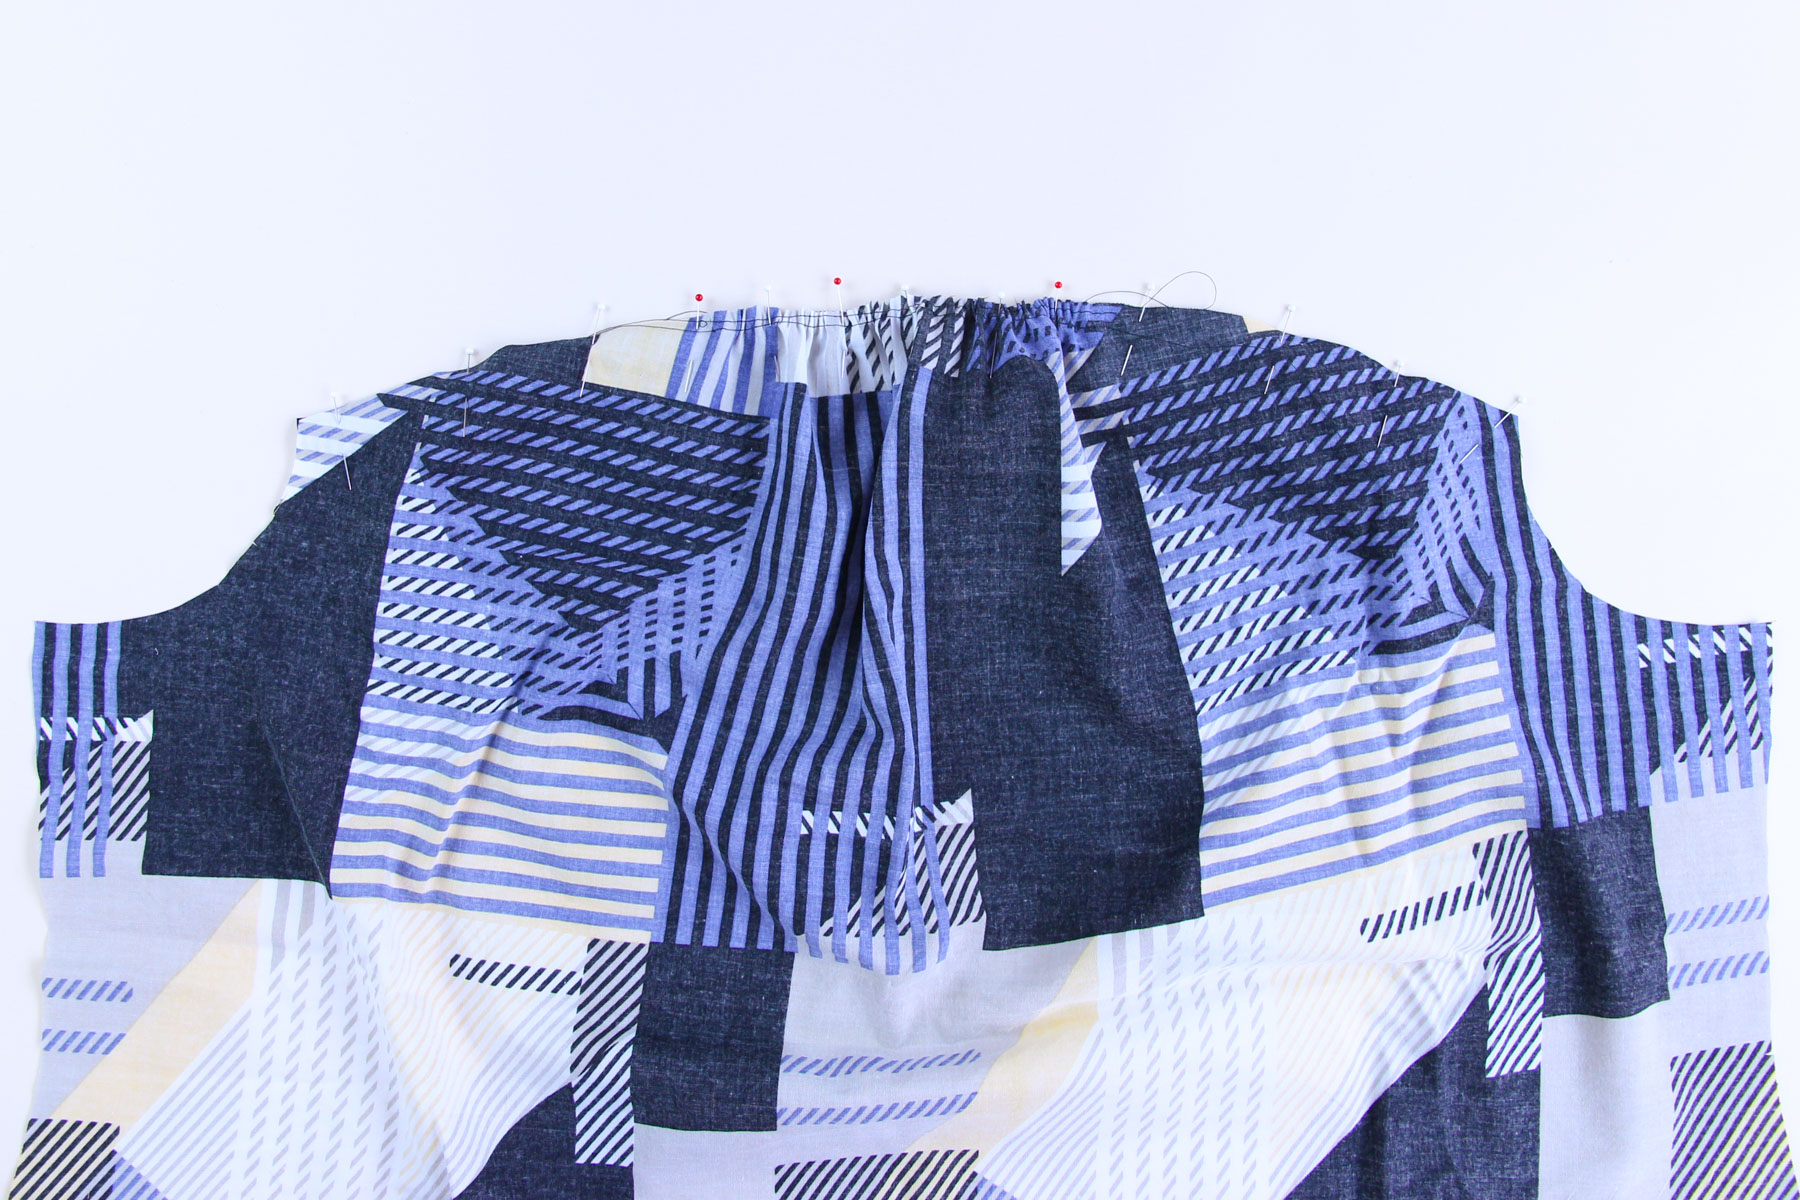
Sew on your sewing machine (make sure you move the stitch length back down to 2.5mm). It’s helpful to sew with the lower back down against the feed dogs, they help move the gathers through the machine. Sew slowly and then check for any tucks or puckers. If you have one or two, pick out a few stitches, redistribute the fabric, and sew that section again until you like the way the gathers look. This is time consuming but results in a nicely finished garment.
Finish the seam allowance and press the seam allowance down towards the lower back.
That’s it for today! Next time, we’ll sew the shoulder seams, set in the sleeves, and sew the side seams.

Beautiful pattern. But, I’m wondering if I did something wrong. Should I have leftover triangle flaps at the darts? Do I cut them off or somehow ease them back into the side seams? Thanks for all you do for the sewing community!
If you find extra triangles, just trim them off! They’re made so that even if people press them down (which we don’t recommend, but is the most common approach) then they’ll still work fine.
I made up this pattern in size 20 with the small cup and it fit me perfect! I was so excited with the sleeve placement especially because I often end up with gaping armholes with other patterns. I think the cup variation made a big difference in the fit because not all plus size women are large busted. Thank you!
It would be very helpful to have all of the days linked in each post! They don’t always show up in the related posts and I’m having a little difficulty navigating.
Thank you very much for the pattern and sewalong. I’m very much enjoying getting back into dressmaking. Just to let you know that the instruction “Do this in two passes starting at the center front and ending at the shoulder” for the staystitching contradicts the pdf pattern instruction which advises “starting at the shoulder and ending at the center front or back”. I’m sure both approaches work, but just wanted to let you know about this anomaly. May this be my first of many Cashmerette garments.
Thanks Diane!
-Ayelet at Cashmerette