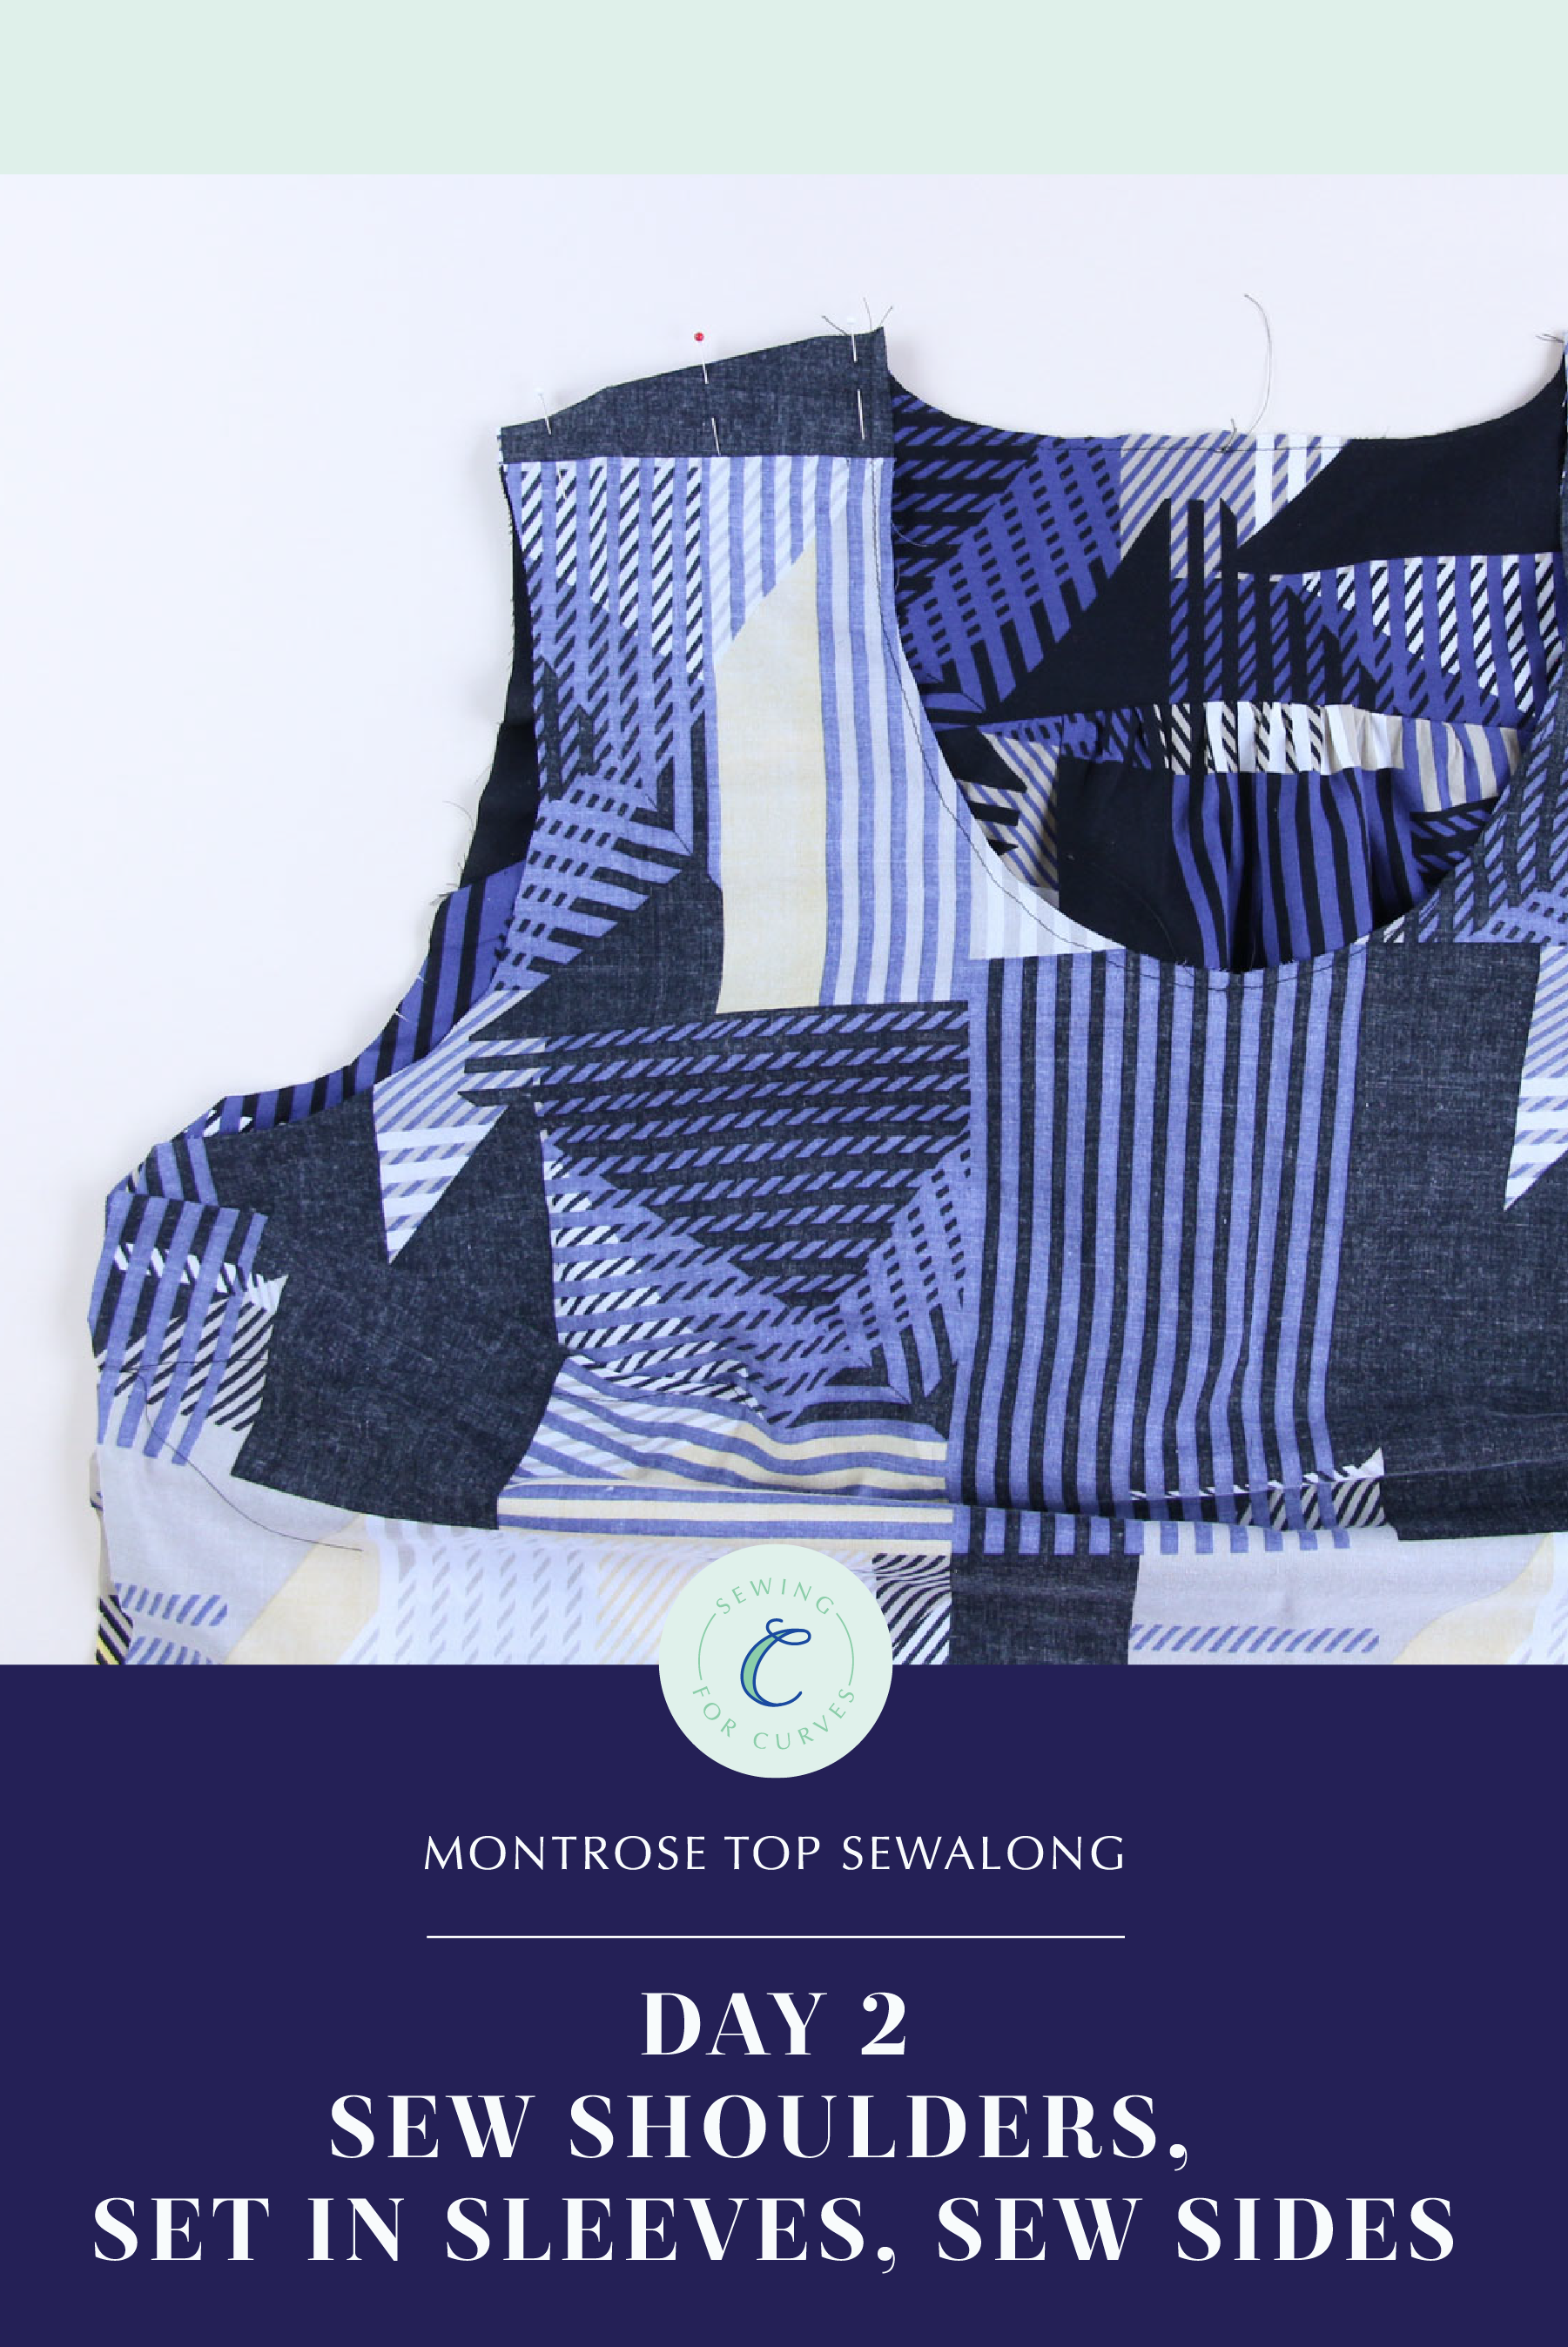
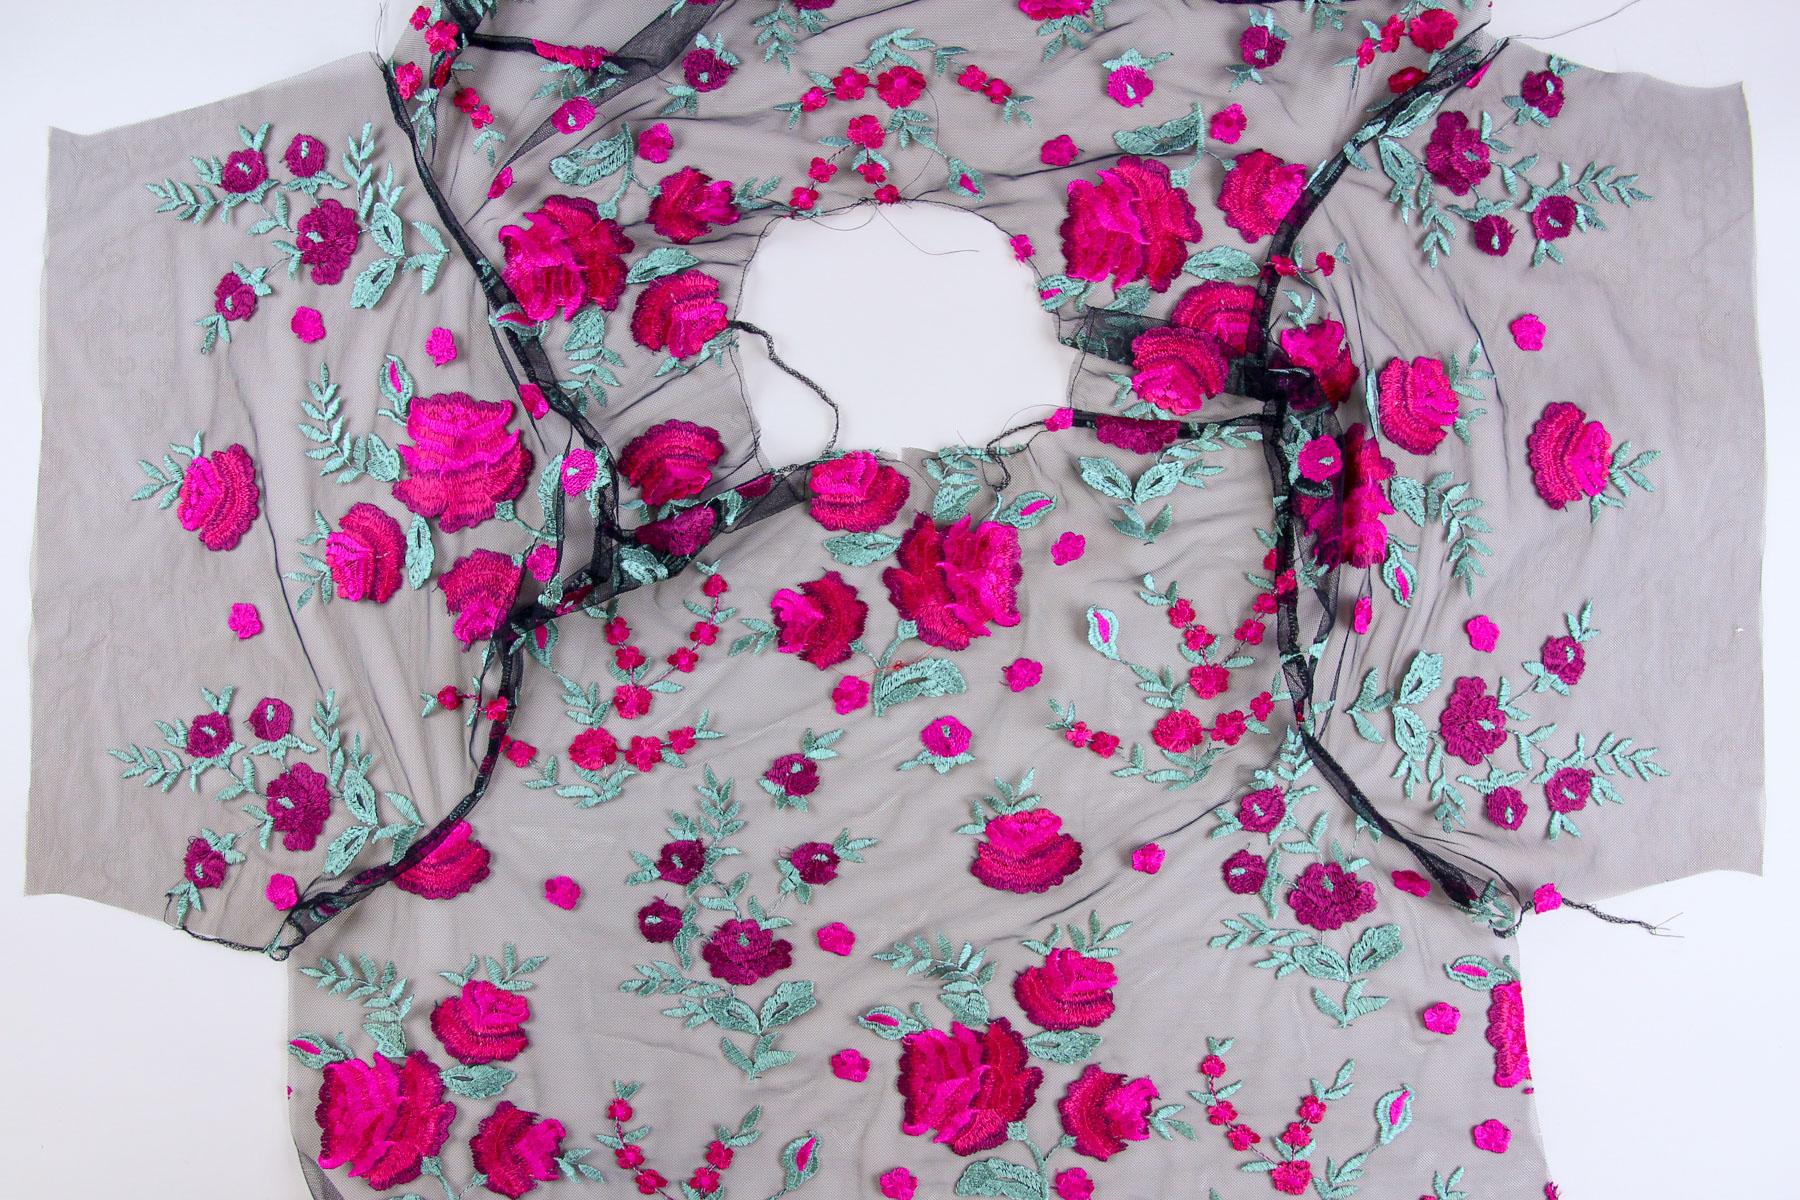
Welcome back for day 2 of the Montrose Top sewalong! Today, we’re going to complete the bulk of the construction of our Montrose Tops: sewing the shoulder seams, setting in the sleeves, and sewing side seams. These steps are the same for all views and fabrics (except for guipure and open laces; we’ll cover that in a separate post.) I’ll be demonstrating on Version 1, but there will be finished images of Version 2 for each step as well!
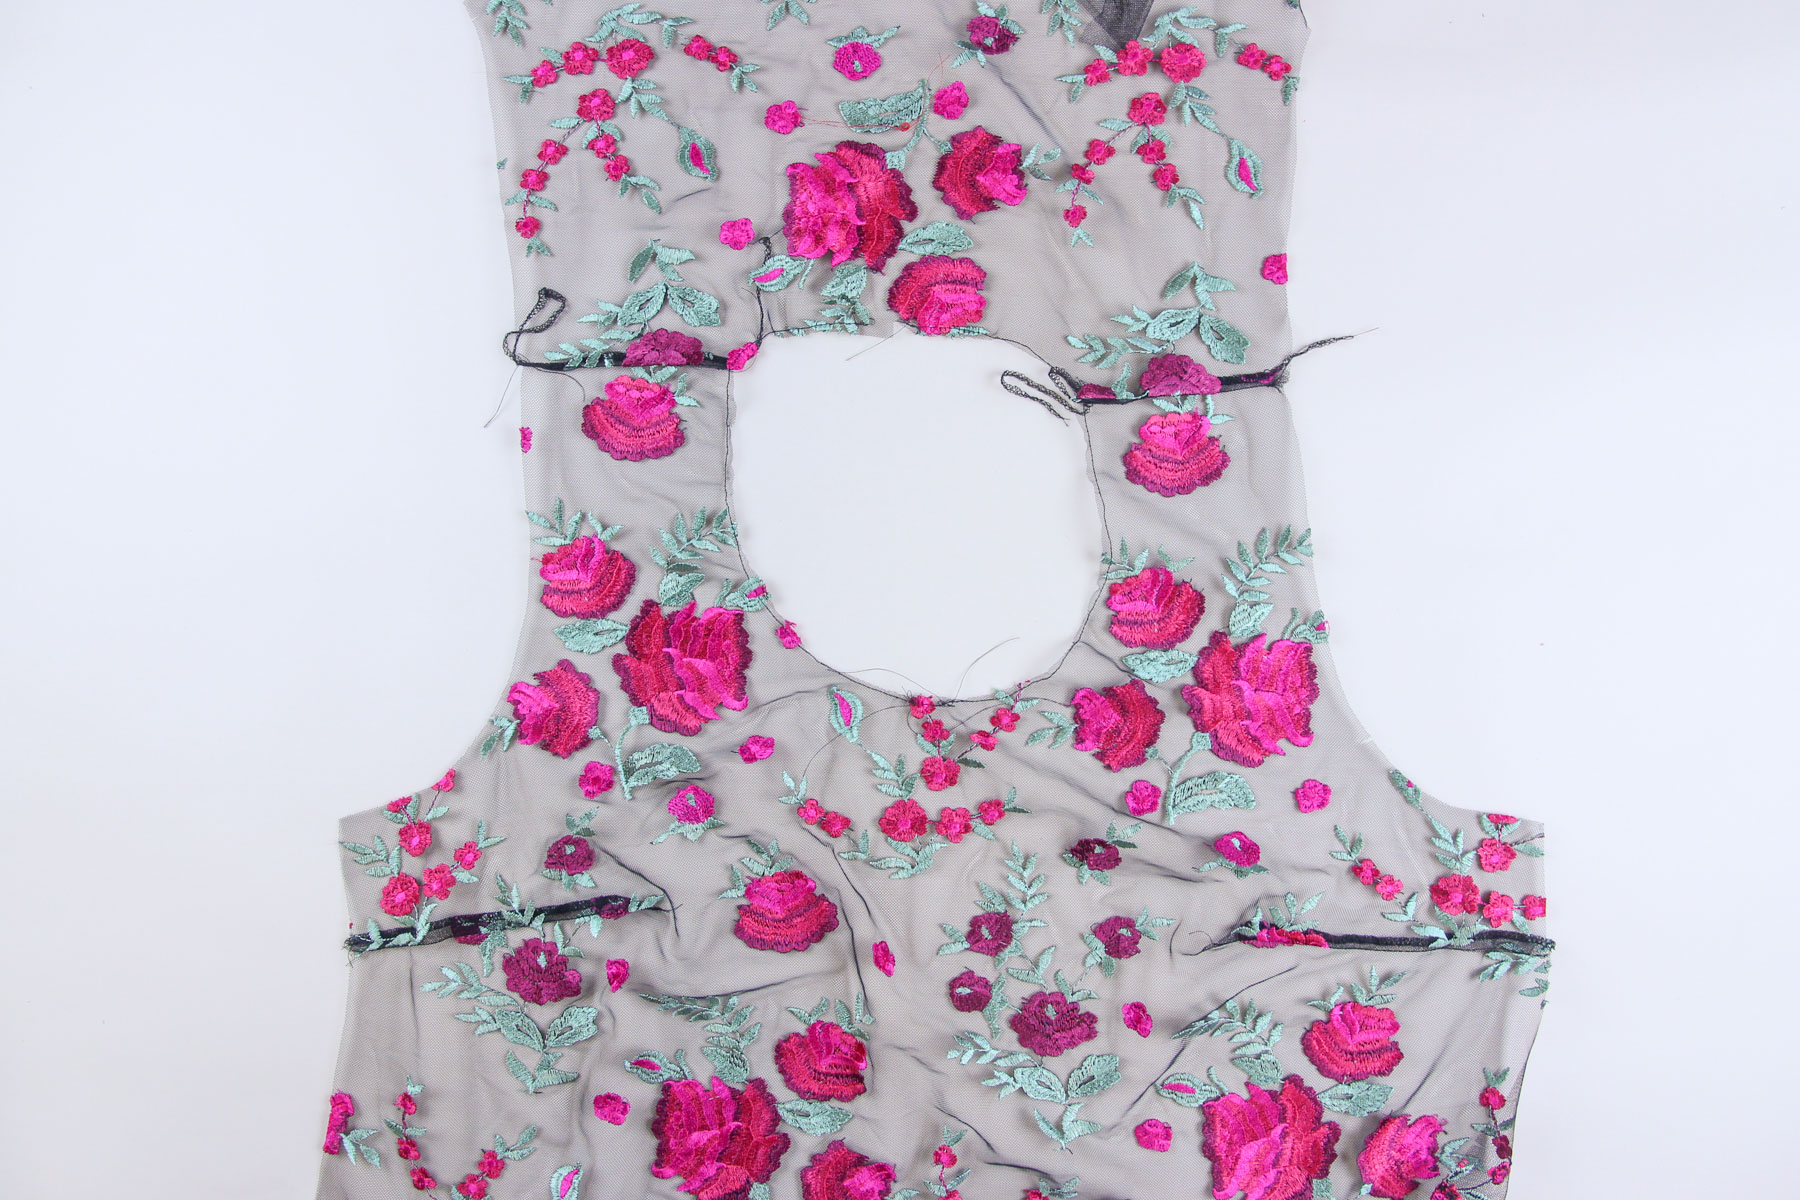
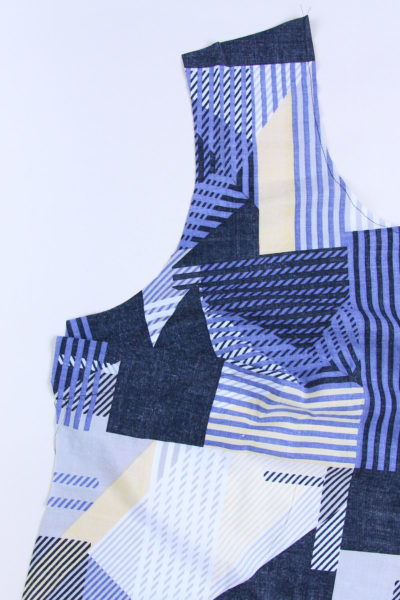
Start by pinning the front to the back at one shoulder, right sides together, making sure the armscye and the neckline match up.
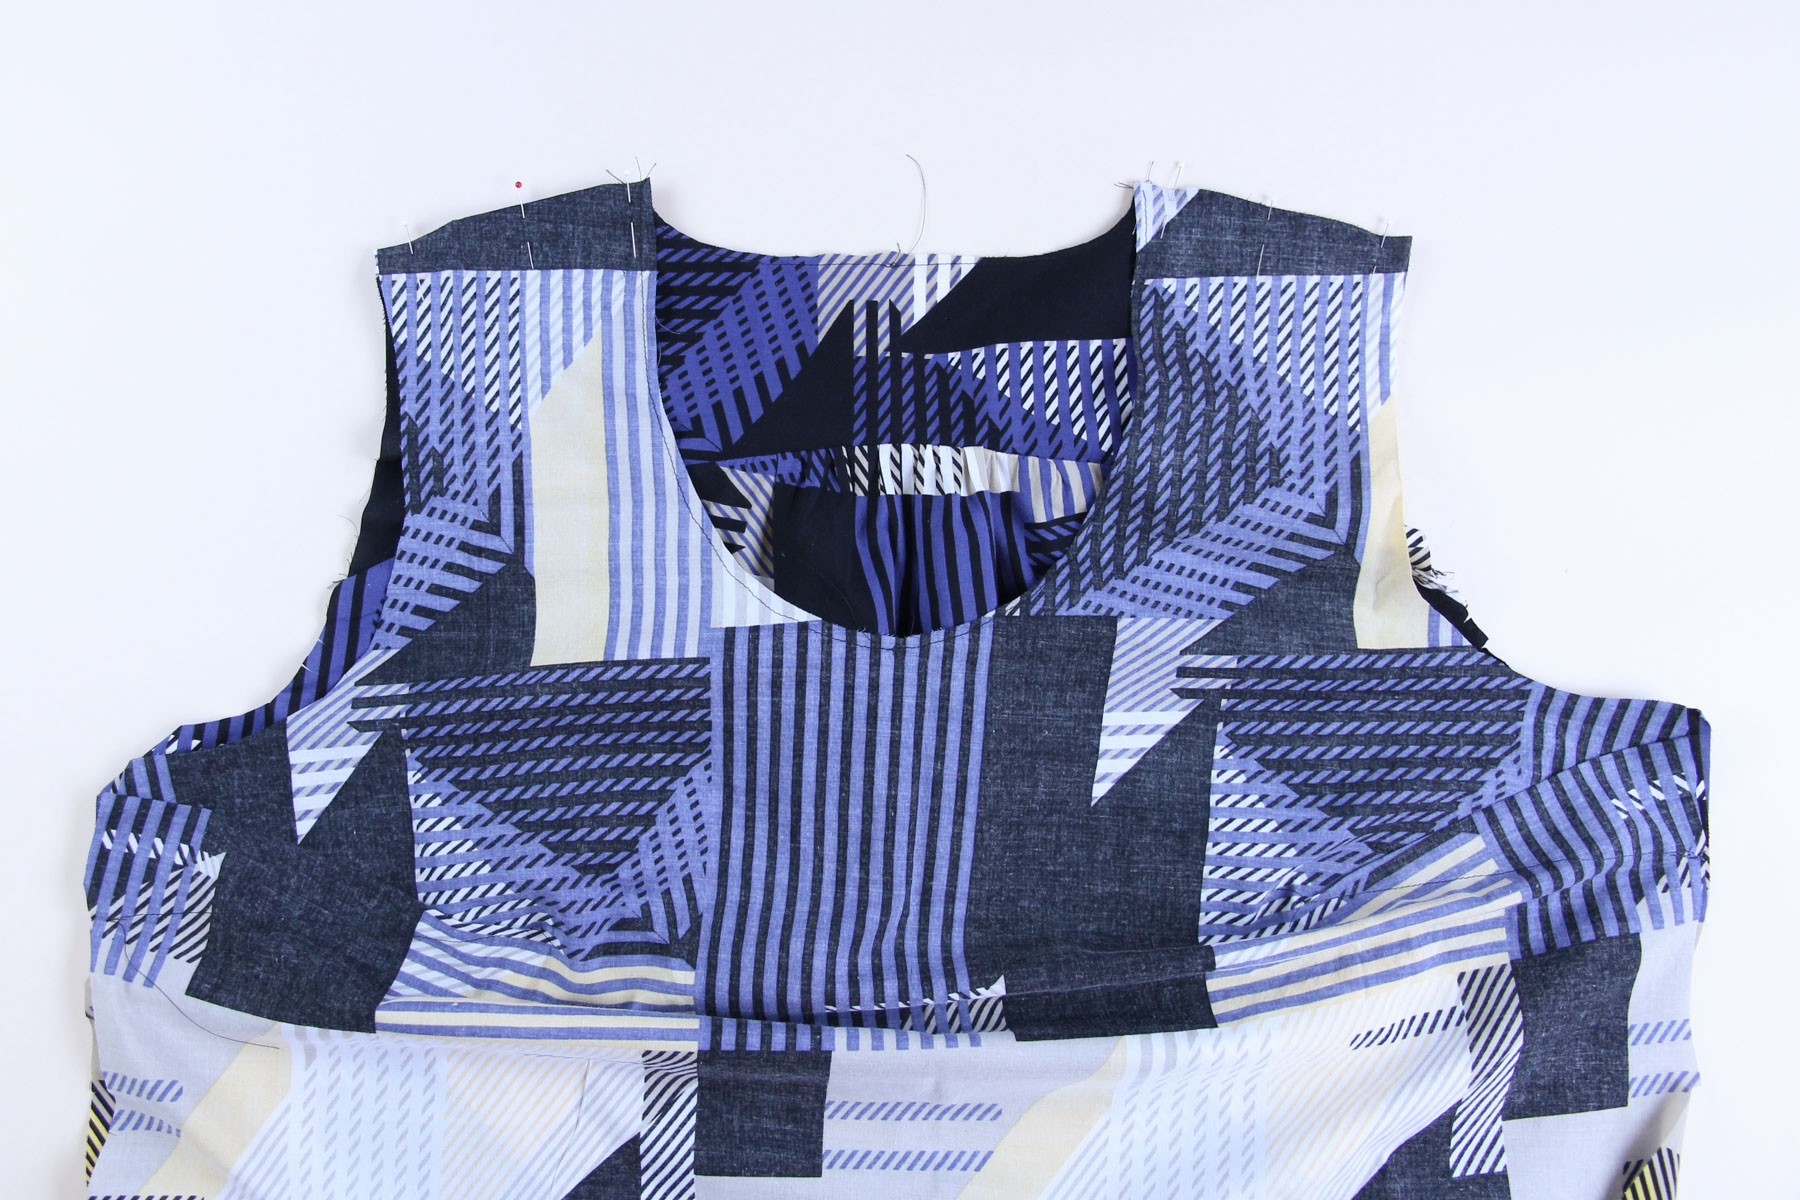
Sew this seam, finish the seam allowance, and press the seam allowance towards the back of the top. Repeat with the second shoulder.
To prepare the sleeve for insertion, start by sewing two lines of basting stitches (4mm straight stitches) within the seam allowance between the notches on the sleeve piece. I like to start with the line of stitches closest to the edge of the fabric (about 1/8” from the edge) and then sew the second line about 1/4” from that row. If any of your basting stitches end up showing on the finished garment, no big deal, you can rip out the visible stitches with a seam ripper!
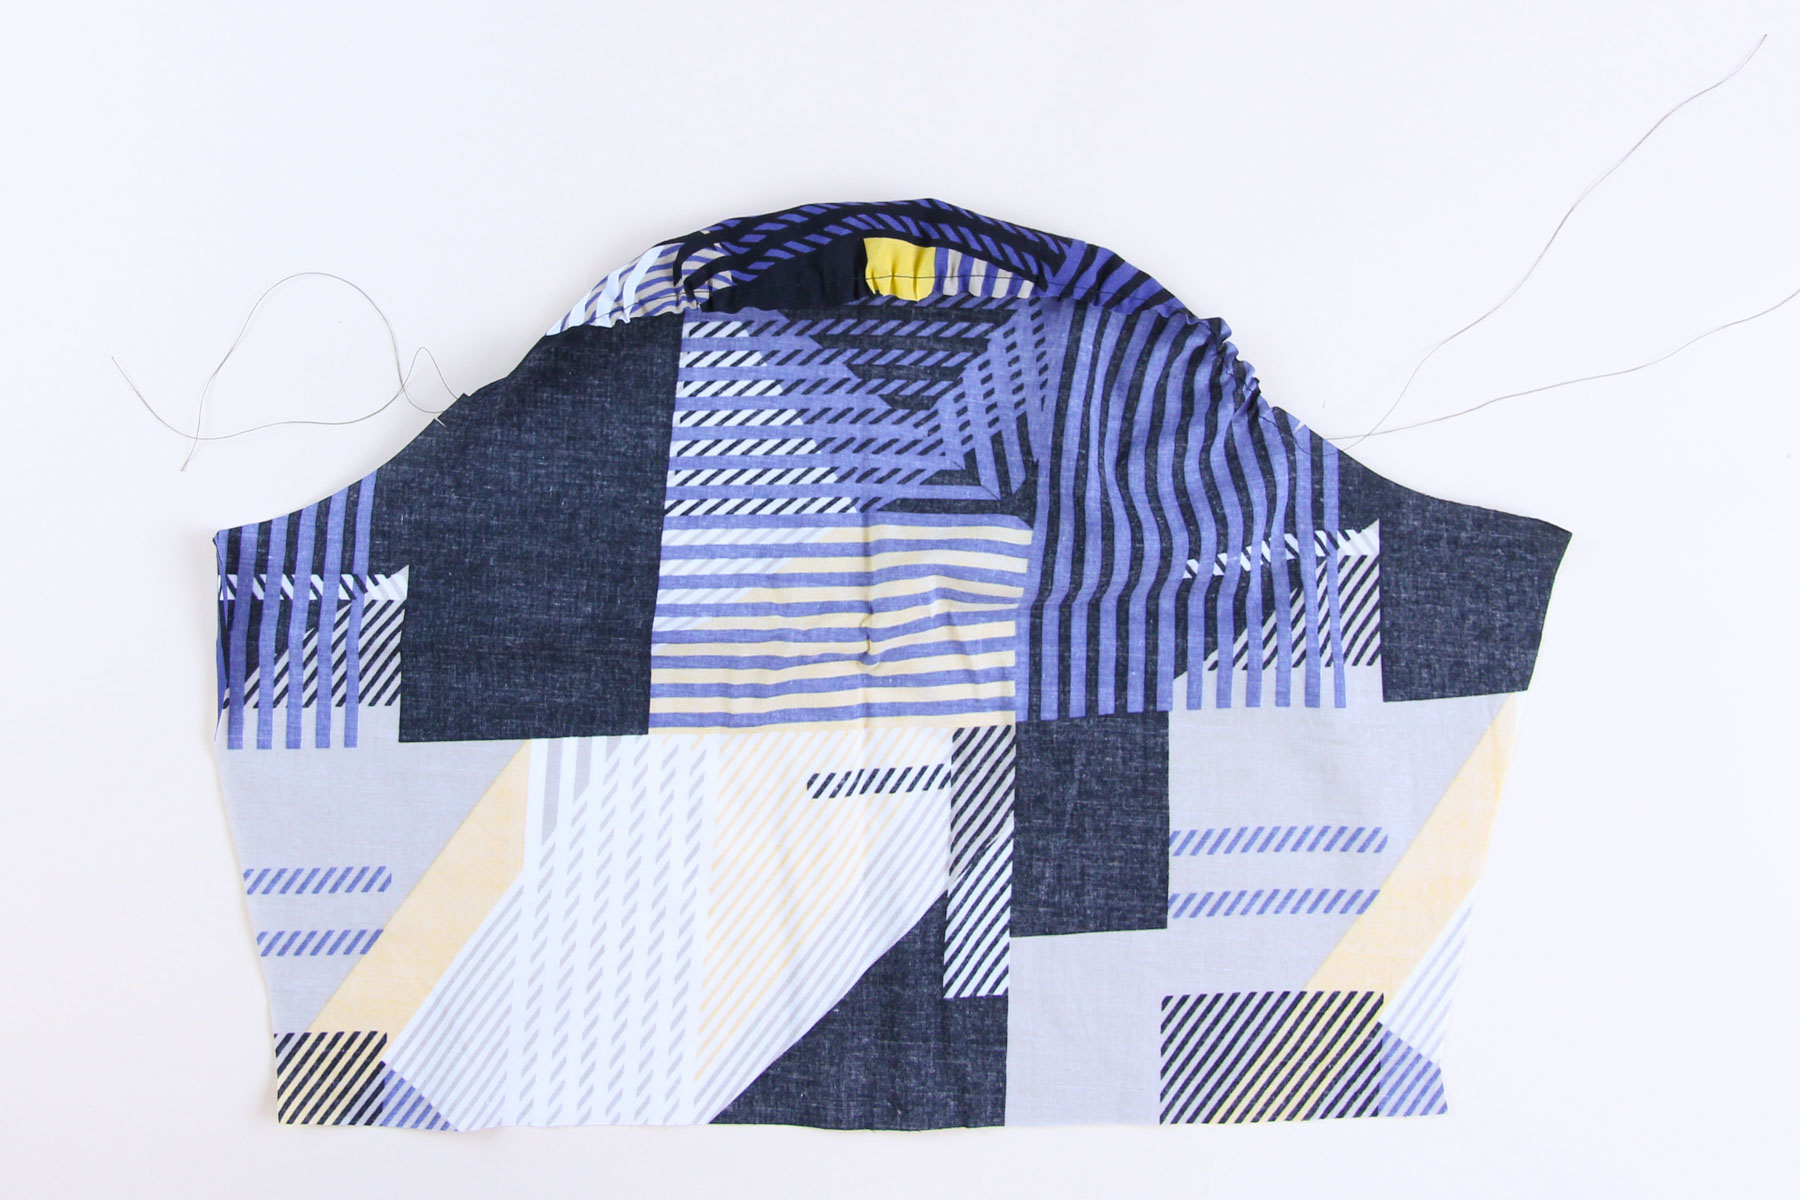
Gently gather the fabric of the sleeve cap then pin the sleeve to the body, at the shoulder notch. Adjust the gathering until all the remaining notches match. Pin in place and distribute the gathering evenly between the notches. You’ll have to gently shape the armsyce on the body to match up with the sleeve cap.
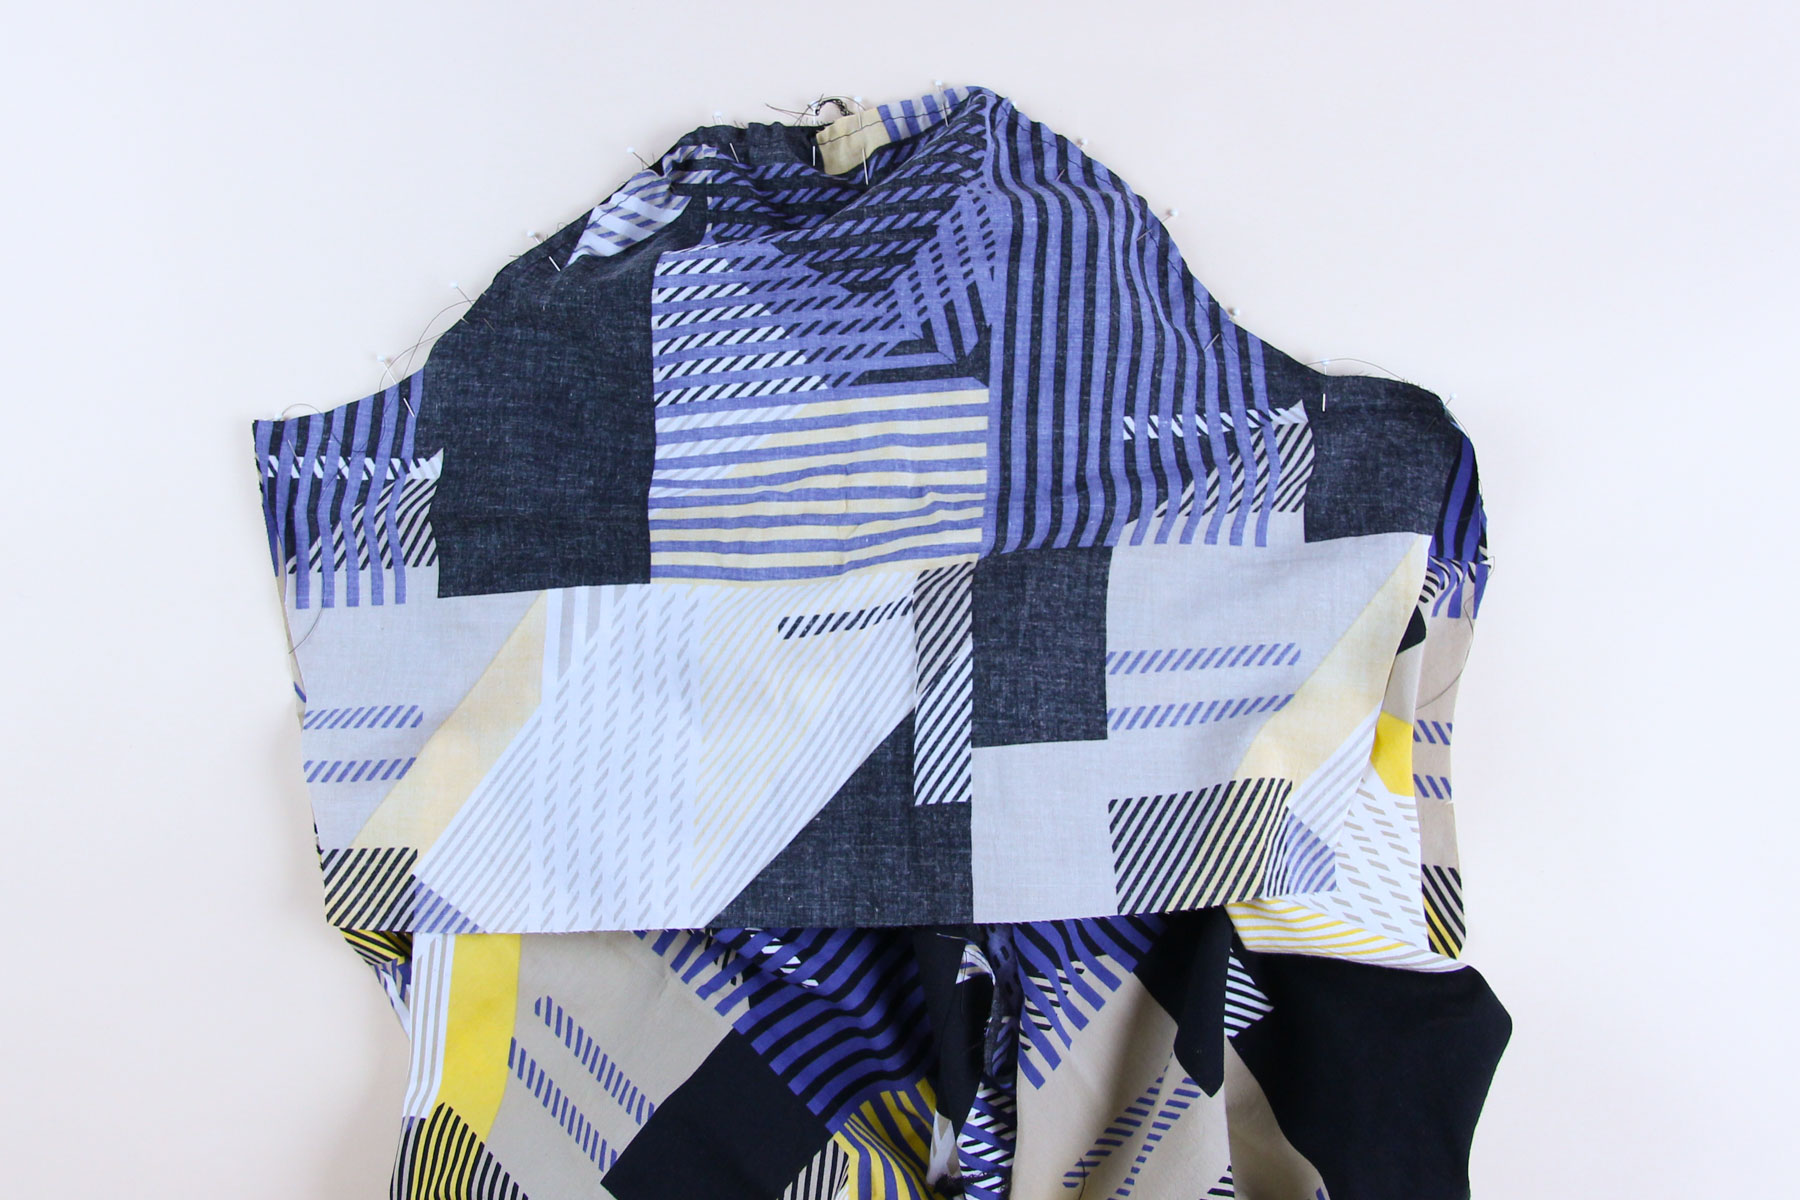
Sew on your sewing machine (make sure you move the stitch length back down to 2.5mm). It’s helpful to sew with the sleeve down against the feed dogs, they help move the gathers through the machine. Sew slowly and then check for any tucks or puckers. Be very careful not to catch any sections of the sleeve or body as you sew. If you have one or two, pick out a few stitches, redistribute the fabric, and sew that section again until you like the way the gathers look.
Finish the seam allowance and press the seam allowance towards the sleeve. Repeat with the second sleeve.
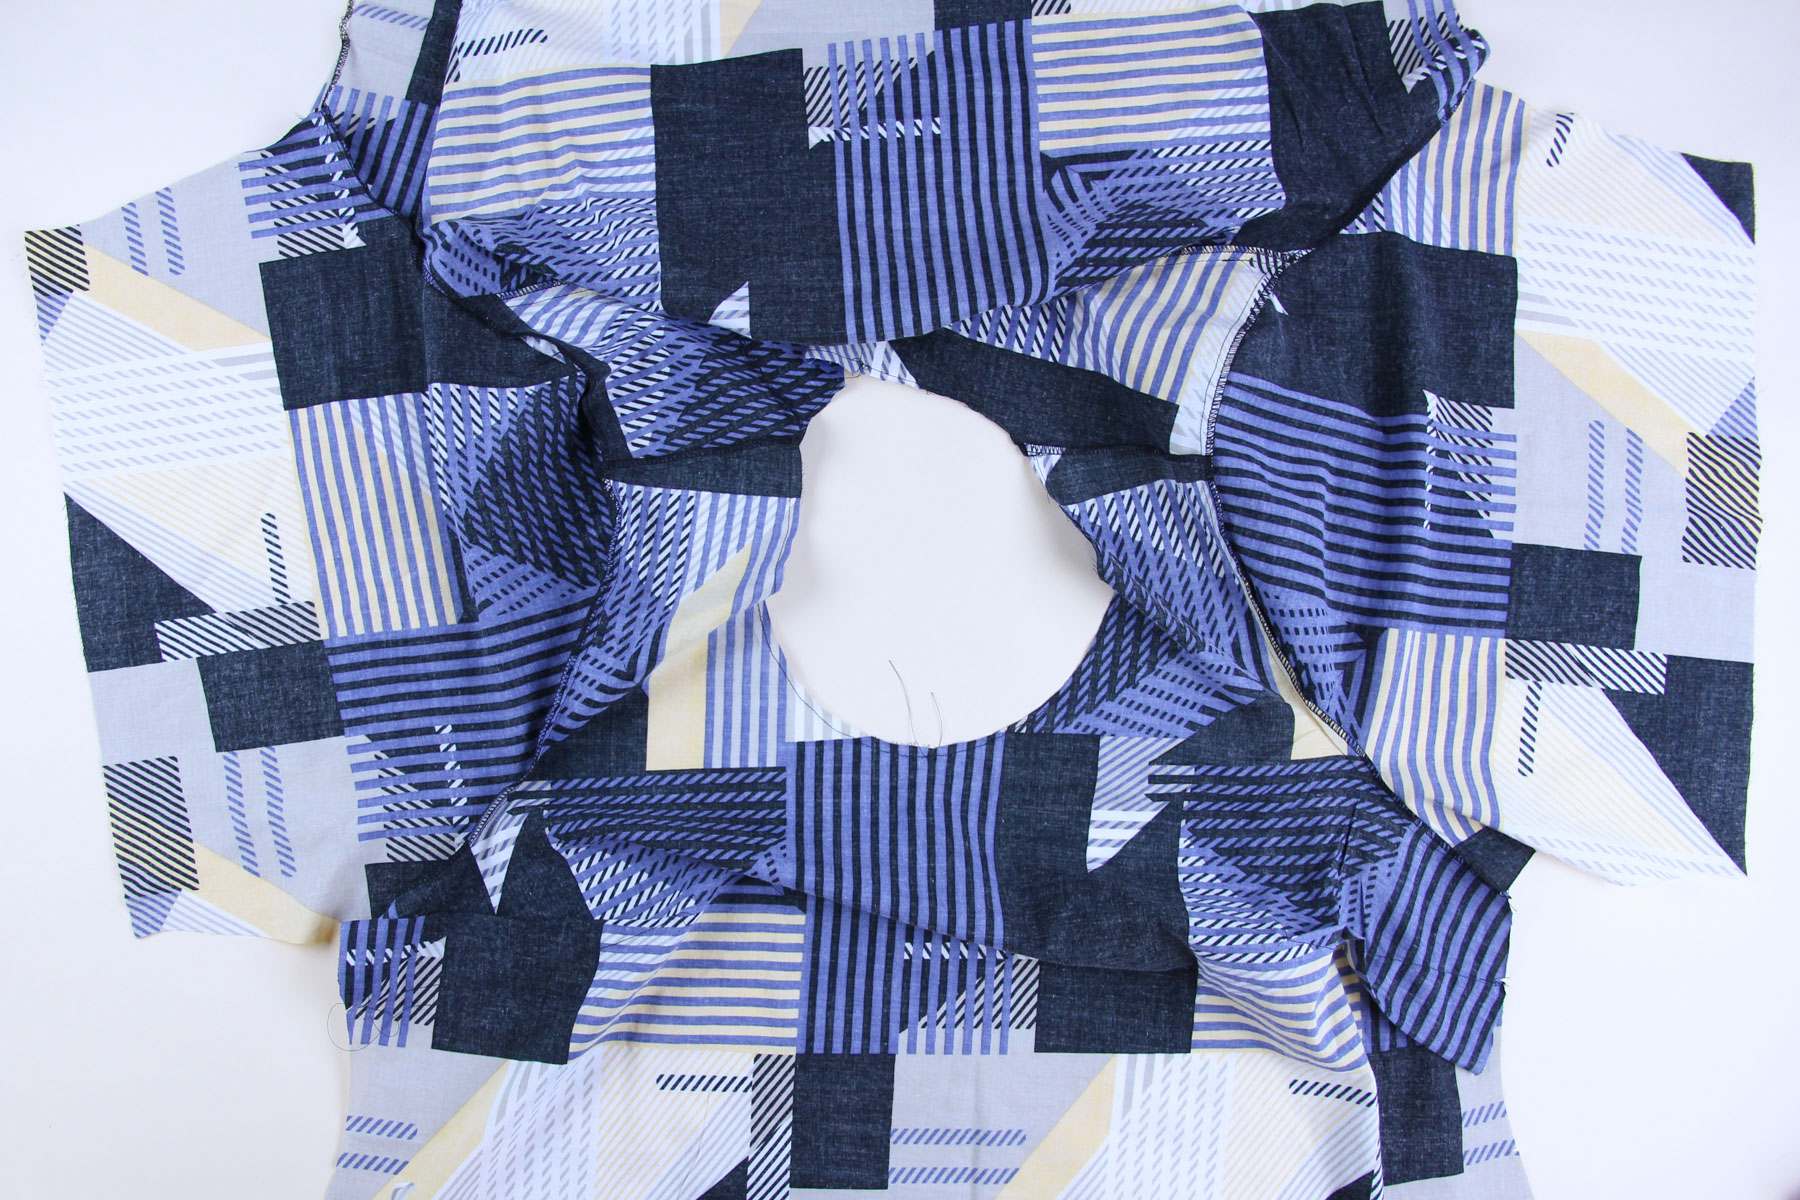
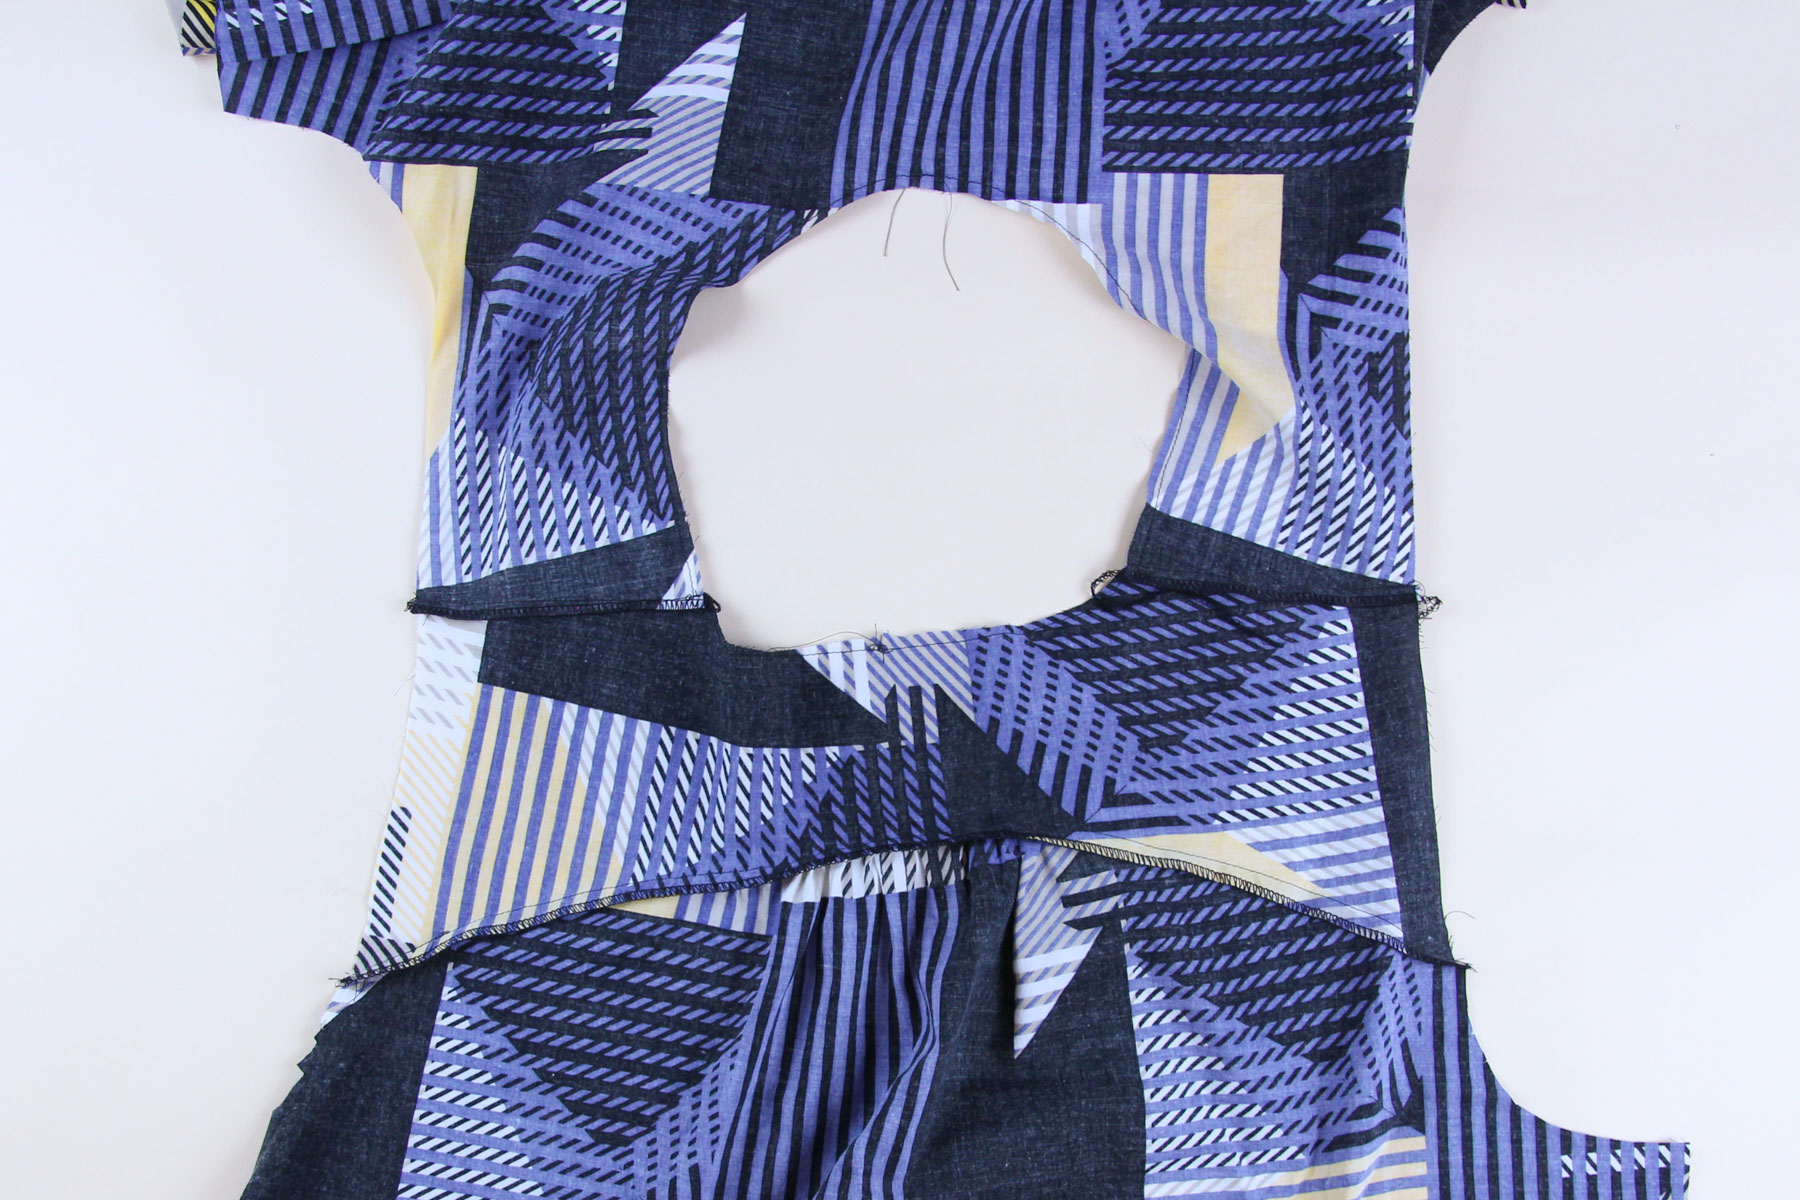
Now turn your top inside out so the wrong side is facing out. Match up the underarm seams on one side and pin, right sides together. Pin down the side of the body, matching the notches, all the way to the hem. Then, pin the sleeve seam down to the hem.
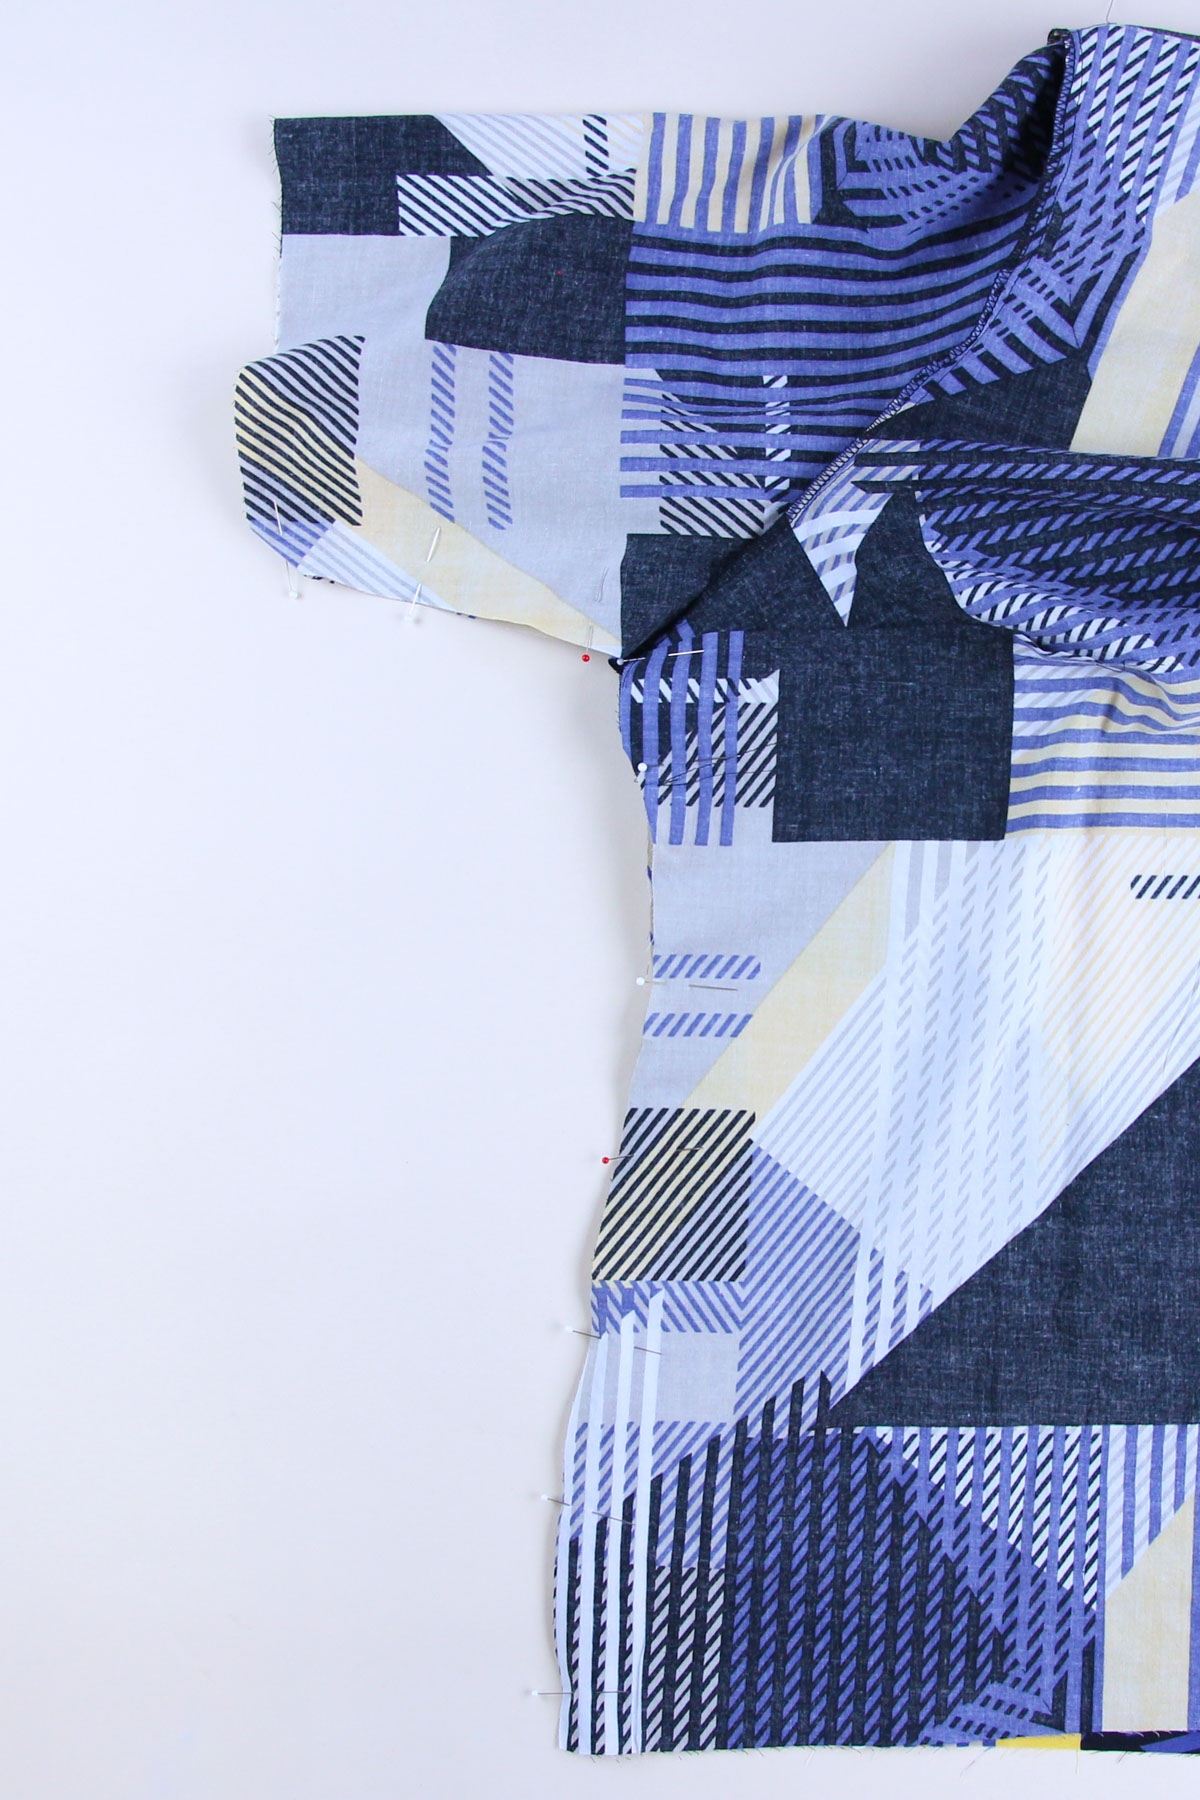
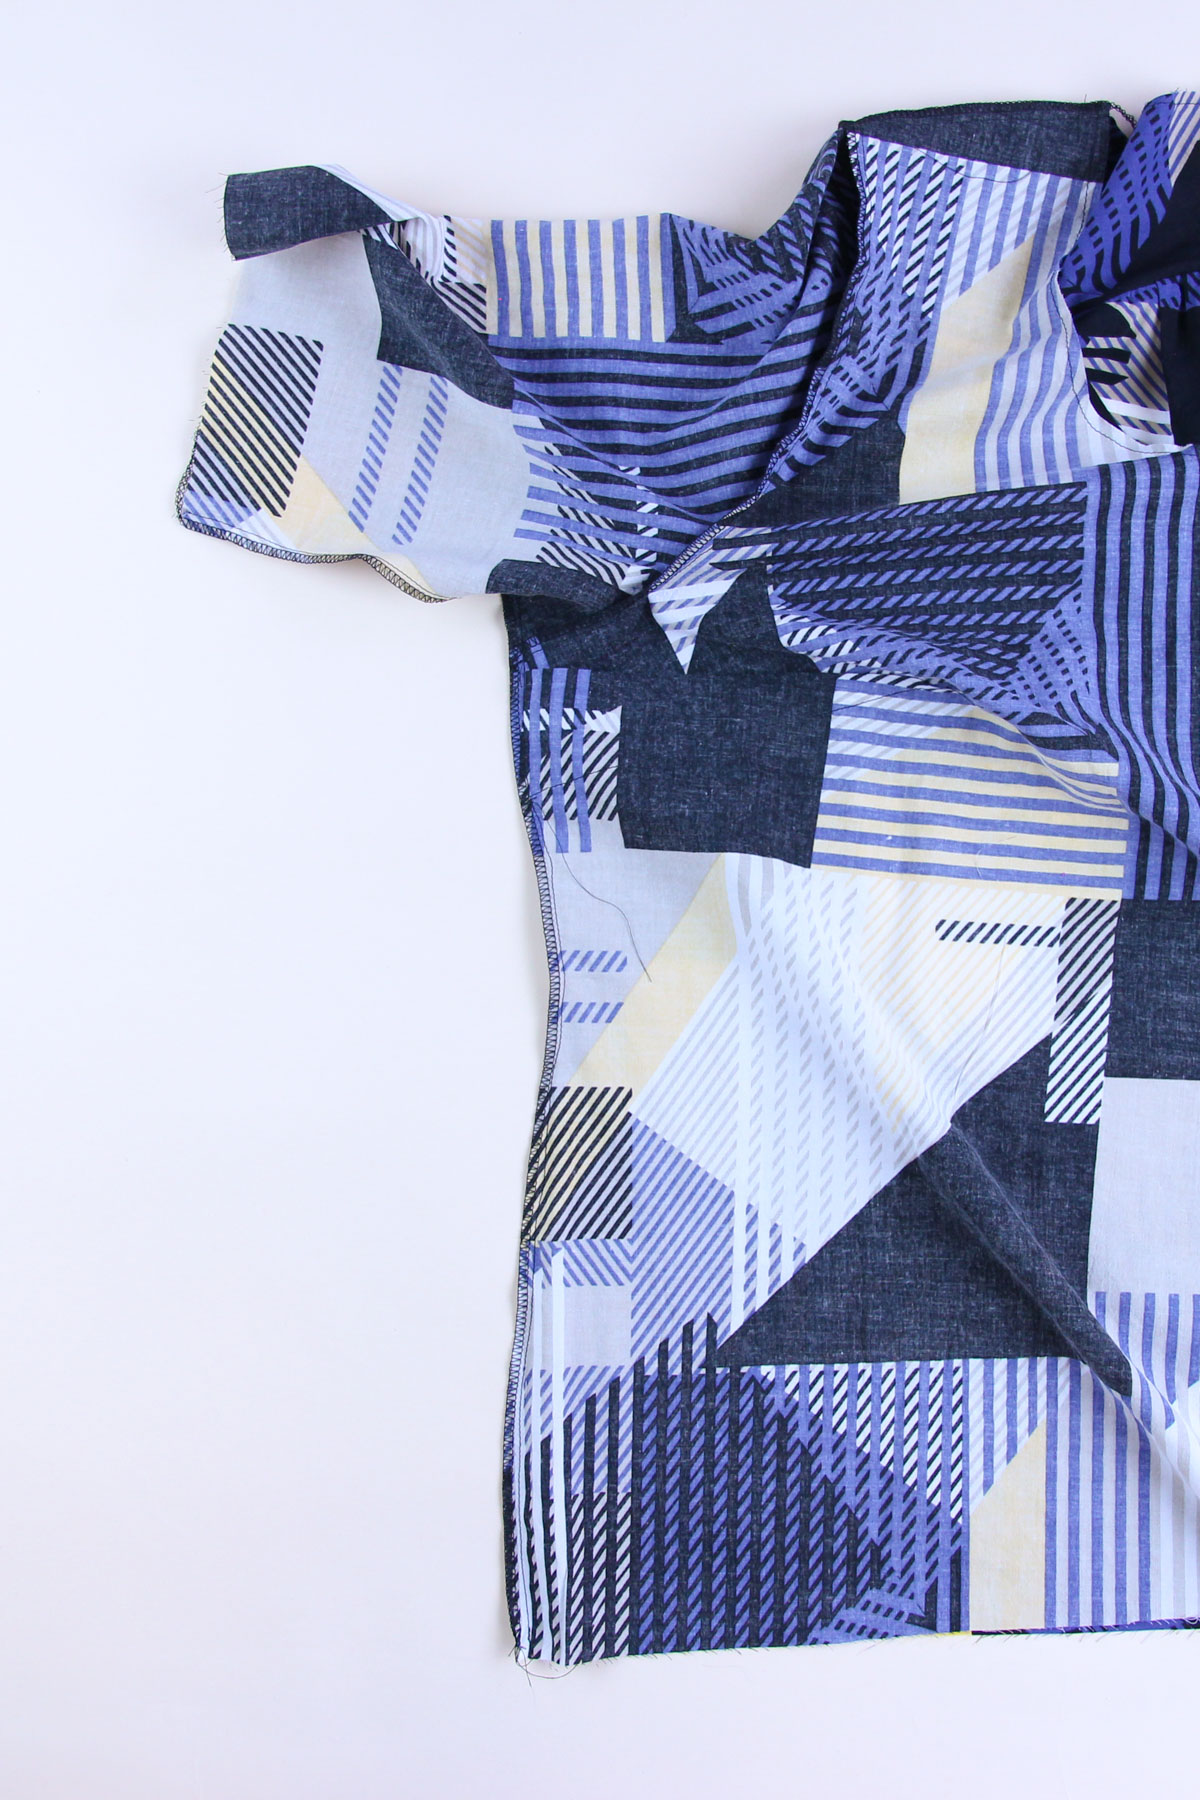
Sew the side seam in one go; start at the hem of the body and sew up to the underarm seam. Keeping the needle down, lift the presser foot and pivot the fabric underneath. Continue sewing down the sleeve seam to the hem. Finish the seam allowance and press towards the back. Repeat with the second side seam.
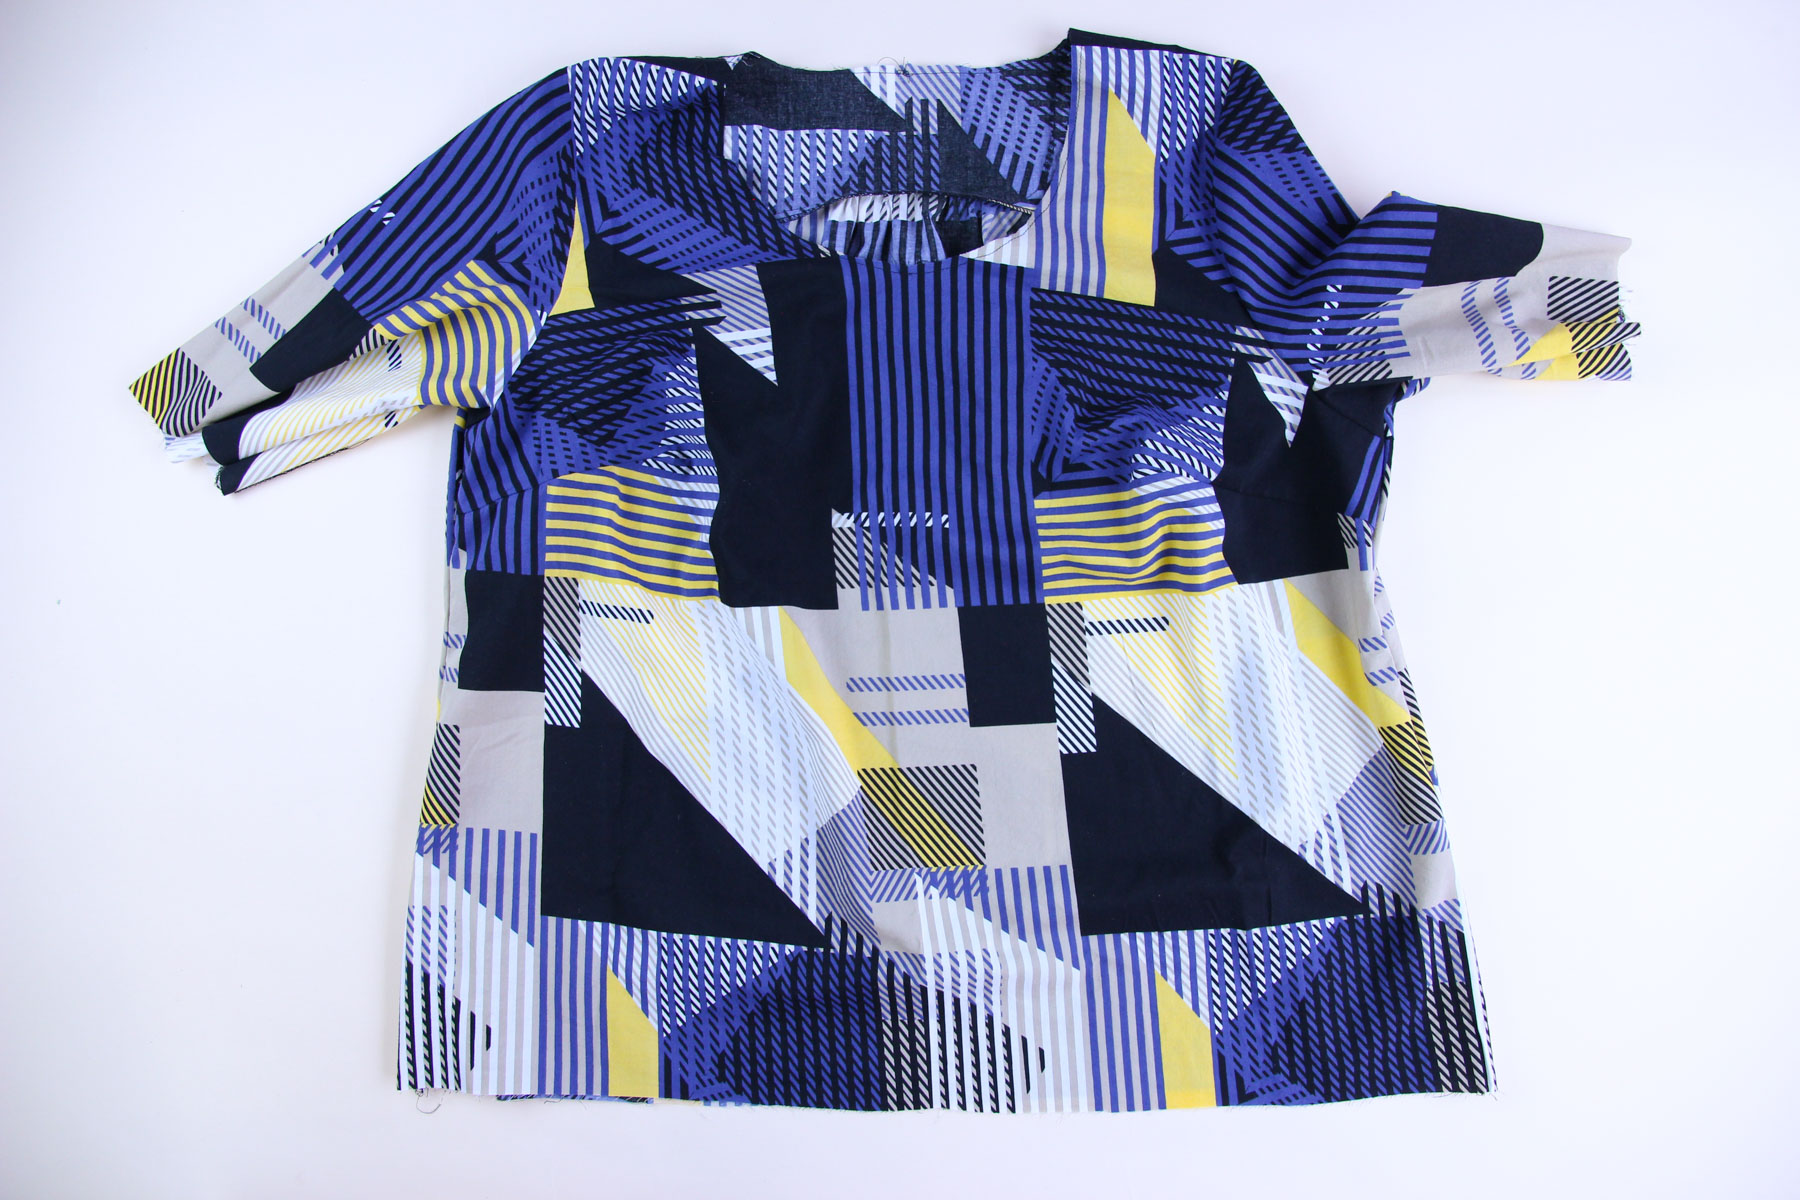
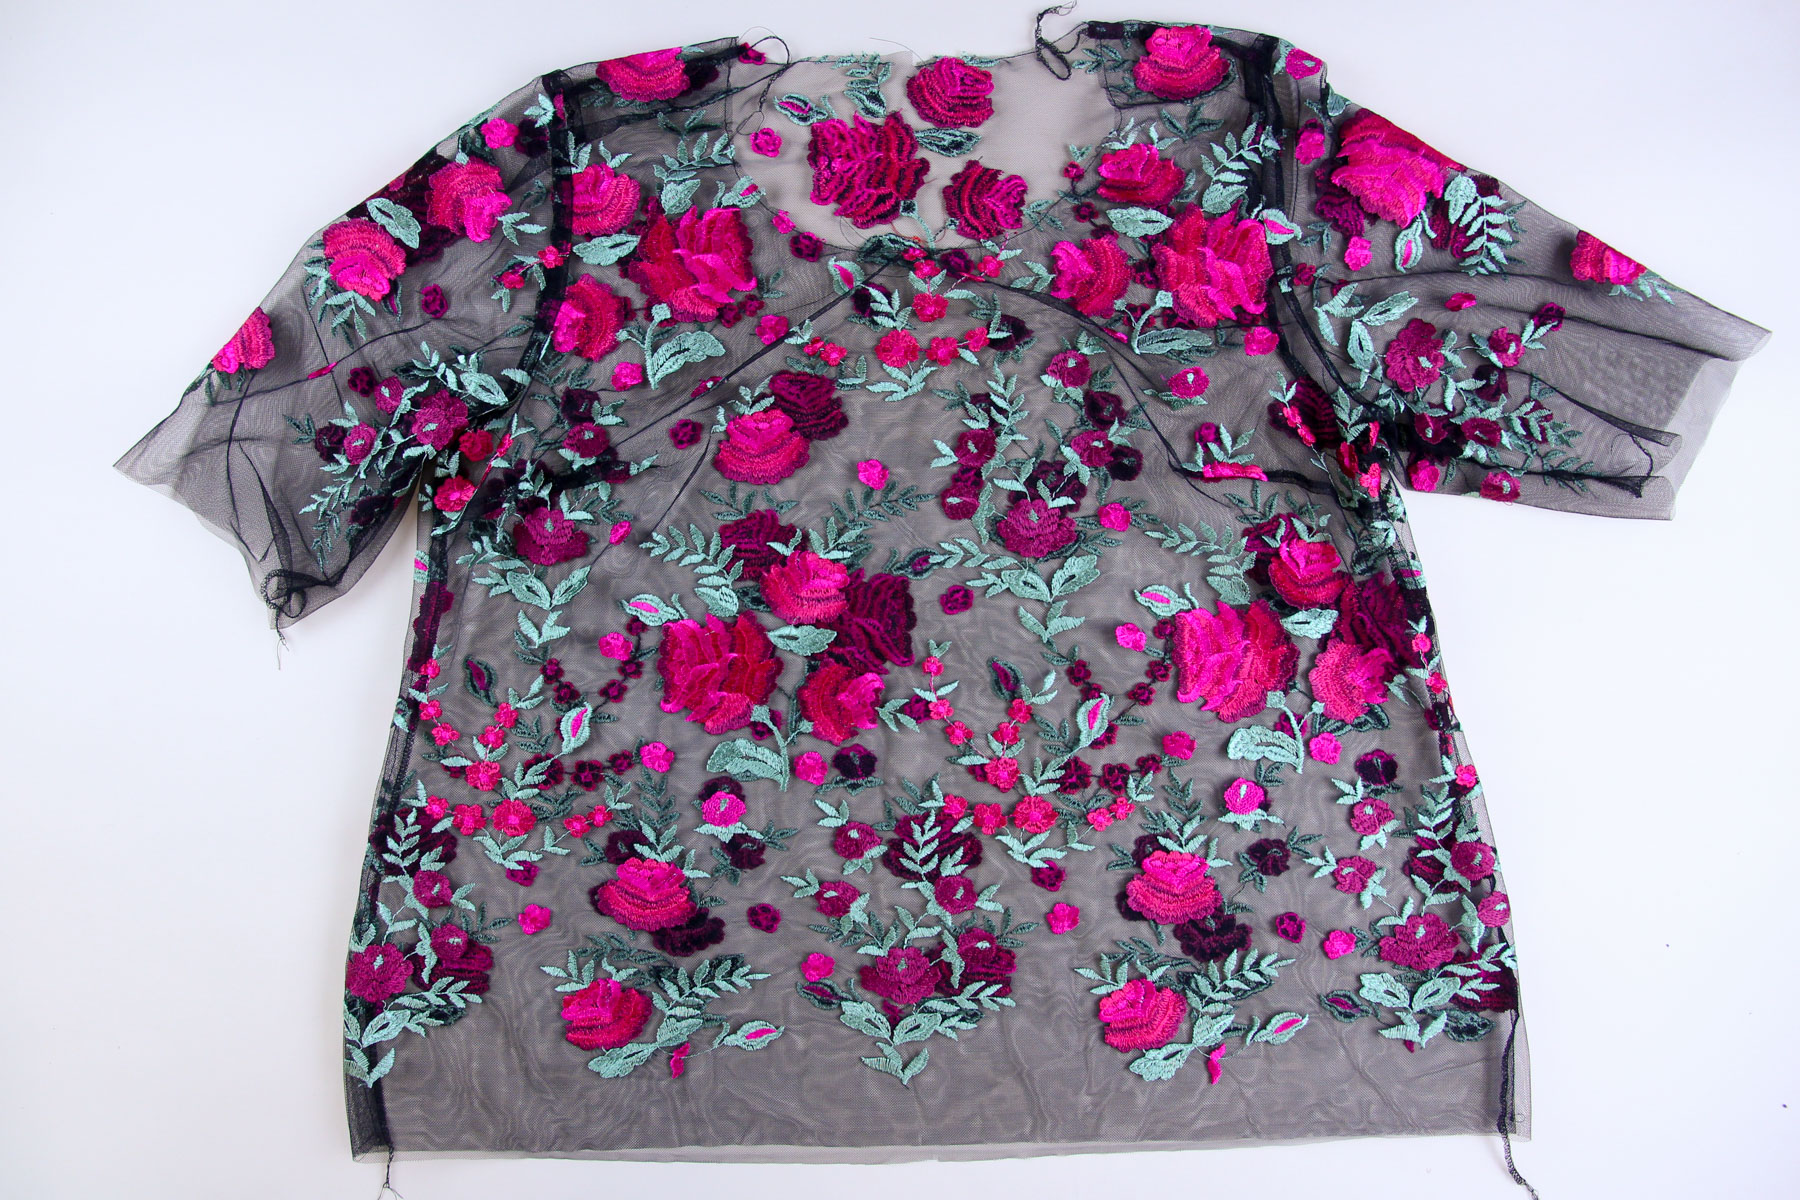
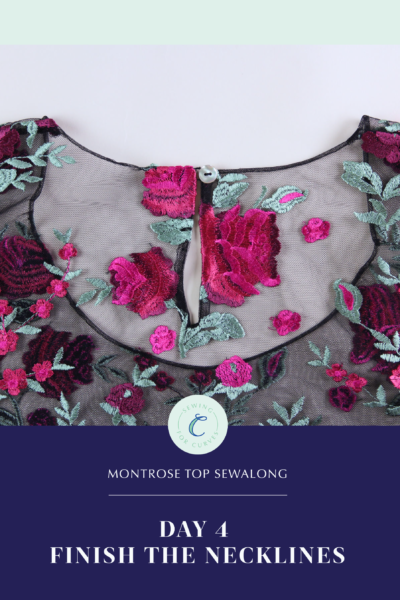
The Montrose Top now looks like a top! Next time, we’re going to go through some construction tips for sewing with guipure or other open laces. Then, we’ll move on to finishing the necklines and learning an alternative finish for sewing with mesh or other fine fabrics.
SaveSave


I am so glad you are doing this sew along because the sleeve gathering step was tricky for me to figure out. I love your fabric choice, but it’s kind of hard to see the stitches and what you are doing with that pattern. I think I know what to do now, but maybe it’s something you could consider for next time. Thank you for taking the time to create the sew along.
I agree with Natasha. A solid light fabric with darker thread would be easier to follow.
I have enjoyed making up the pattern in a muslin so far but, suspecting it might be a bit tight, I only sewed a quarter inch seam under the arm and down the sides. It fitted nicely like that. Should I go up a whole size or just adjust the side seams? The shoulders and arms fitted well.