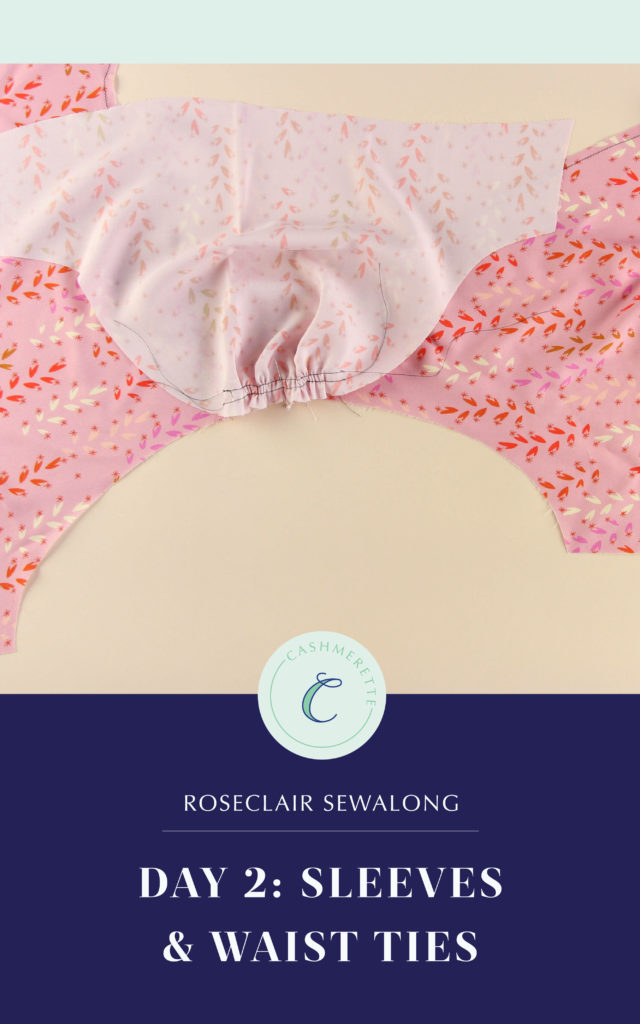
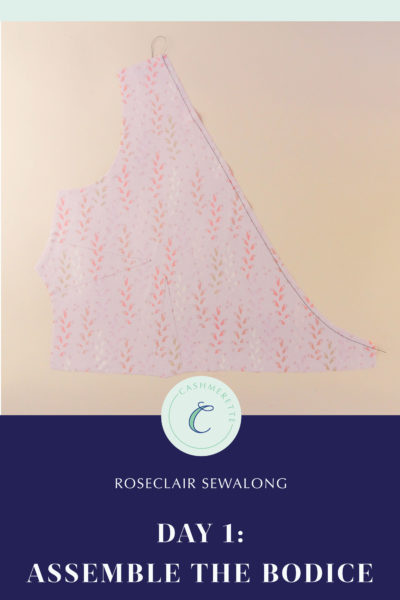
Are you ready to finish up the bodice of your Roseclair? The final steps in the process are attaching the sleeves and waist ties.
This part can get a bit confusing, so make sure you know your right from your left and that you’ve properly marked the notches on your sleeves and bodice armscyes.
In case you want to skip to a certain step, click one of the links below!
- Attach the Sleeves
- Assemble the Waist Ties
- Attach Waist Ties and Sew Side Seams
- Finish Sleeves (View A)
- Finish Sleeves (View B)
- Finish Sleeves (View C)
Let’s get to it!
Attach the Sleeves (All Views)
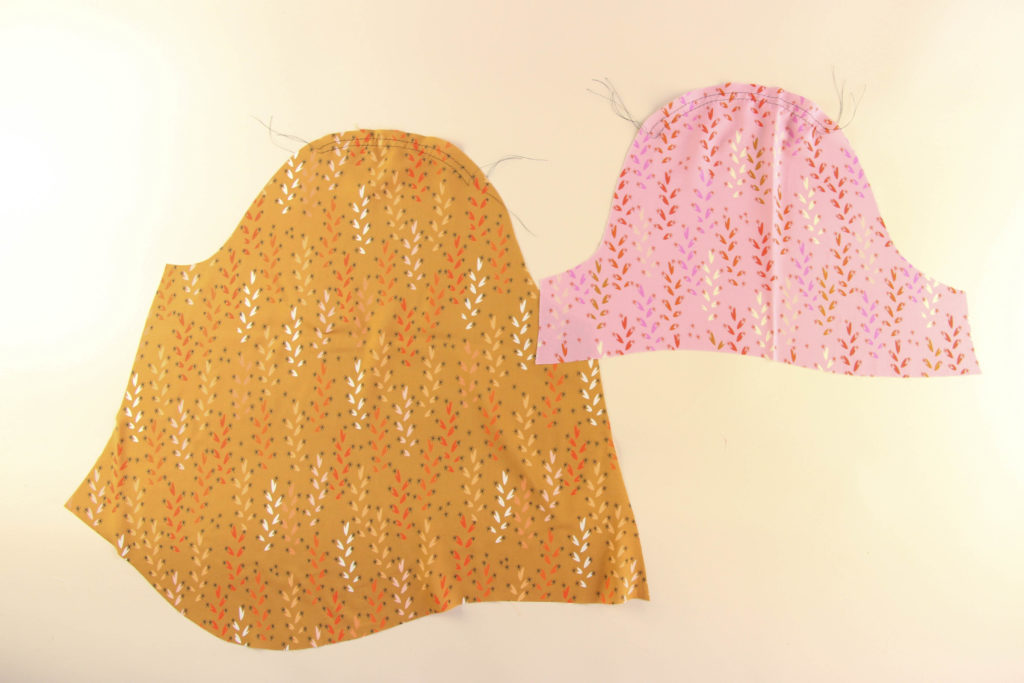
First, we need to prepare our sleeve caps for gathering. Sew two lines of long basting stitches (4mm long) within the seam allowance along the cap of the sleeve between the two notches. Here you can see the view A sleeve in light brown and the view B/C sleeve in pink:
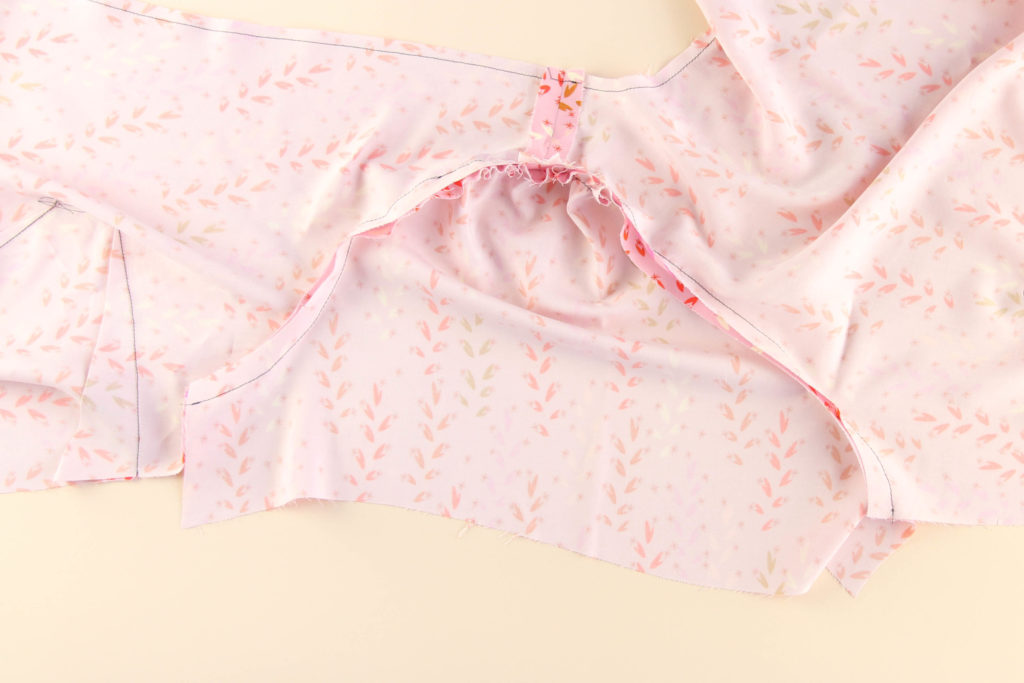
Place the sleeve on the bodice right sides together, matching the shoulder seam with the top notch on the sleeve and pin the pieces together at the notch.
Gently pull on the threads of your basting stitches to gather the sleeve cap so that the notches on the sleeve align with the notches on the bodice. Take your time and distribute the gathers evenly.
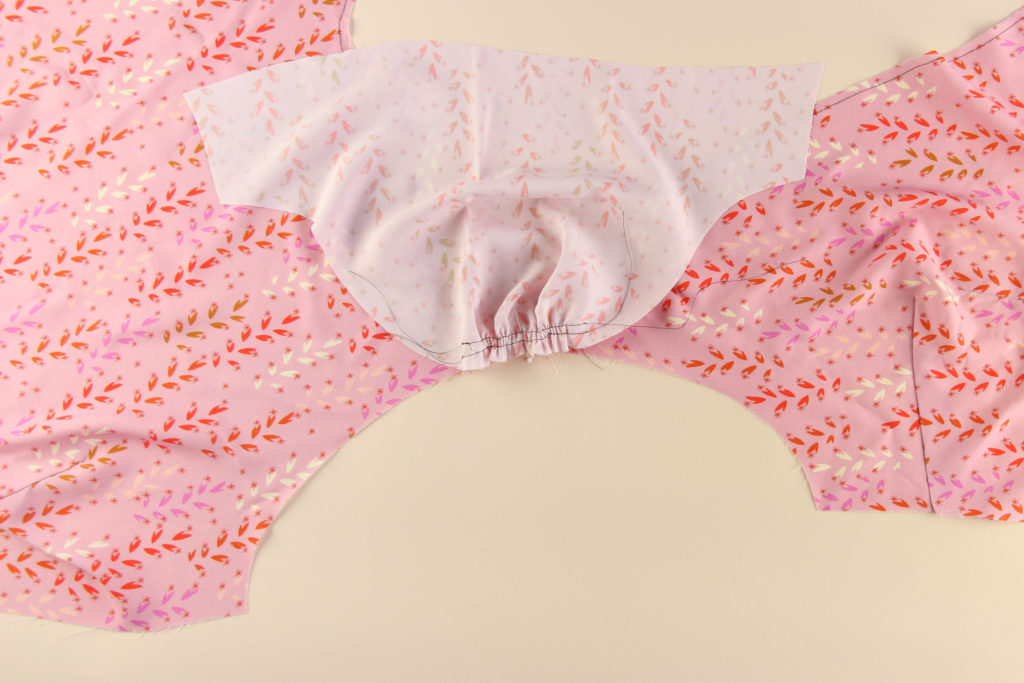
Pin the gathers in place and pin the rest of the sleeve to the armscye.
Sew the sleeve in place. Take your time as you sew over the gathers. You may need to pause (with needle down) and raise your presser foot if your foot is “pushing” the gathers forward as you sew.
Assemble the Waist Ties
Next, we’ll assemble and attach the waist ties to the Roseclair bodice. Get your irons ready!
Press the waist ties in half wrong sides together, matching the long ends. Then unfold the waist ties and fold the long raw edges to the center crease that you just pressed. Your waist ties should look as if they’ve been divided into four long rectangles.
Open the waist ties fully and press the short ends toward the center by 1/4″. With the short raw ends pressed inward, refold the ties along the creases you made, first folding the raw edges toward the center, then folding the tie in half. You should have a skinny rectangle with no raw edges visible.
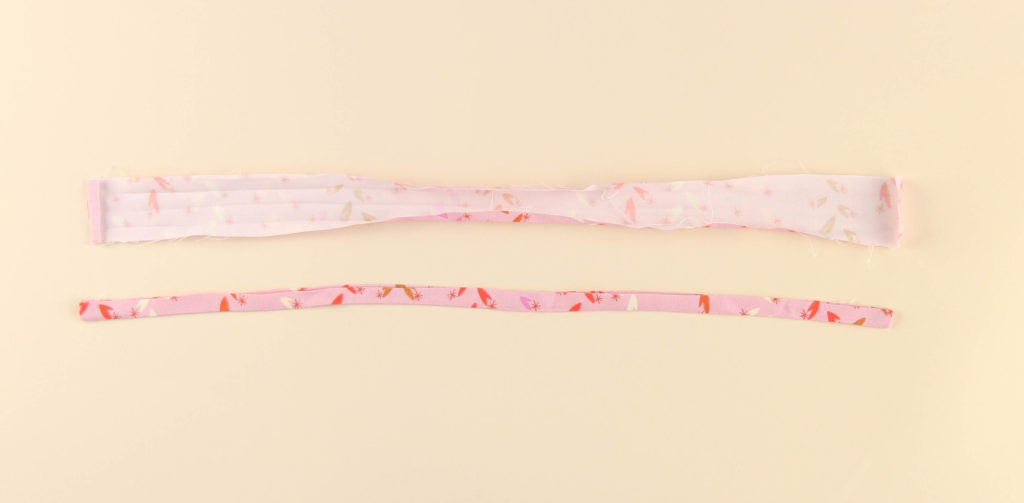
Now sew around the folded edges to finish your waist ties.
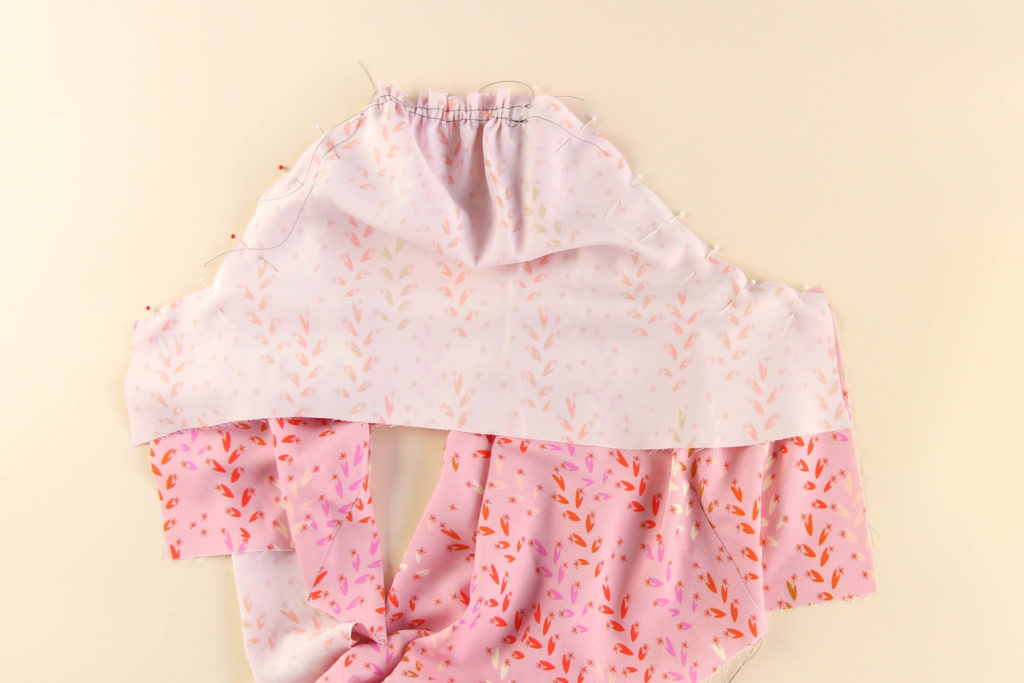
Attach the Waist Ties and Sew Side Seams
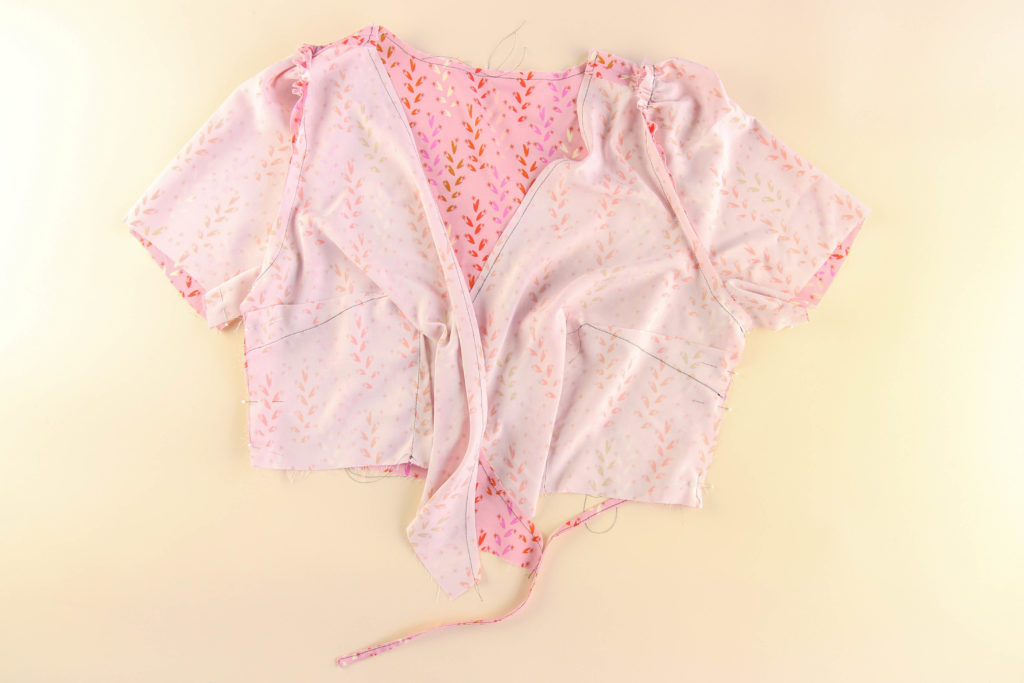
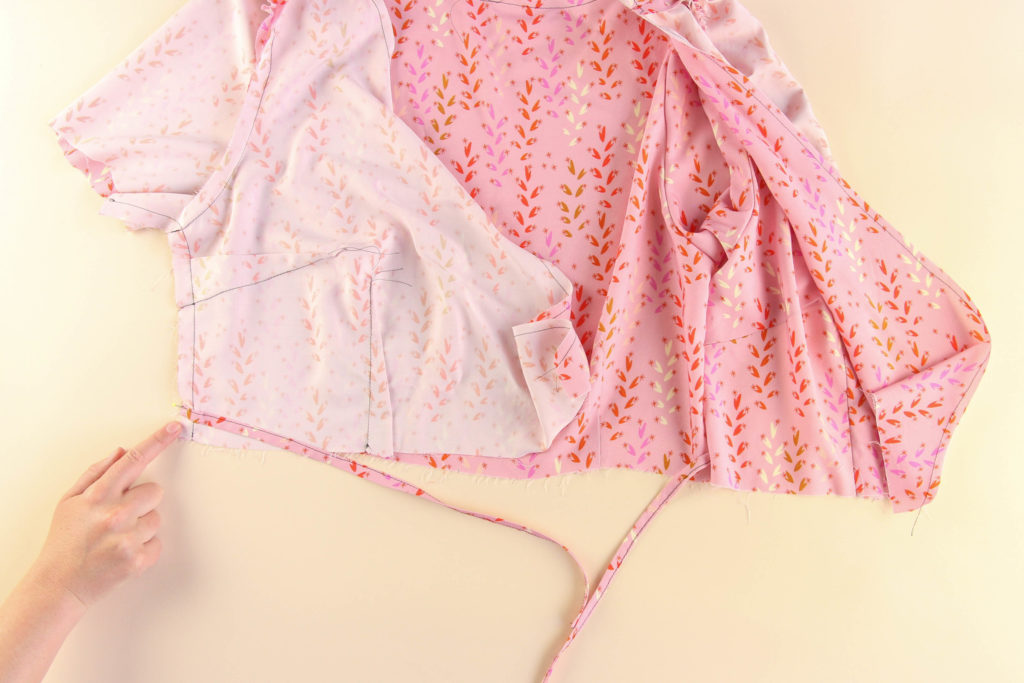
Attach one waist tie right sides together to the right-hand side-front of the bodice. Baste it in place within the seam allowance and 1/2″ up from the waistline. Pin the rest of the tie to the bodice, so that it’s out of your way as you move on to the next steps.

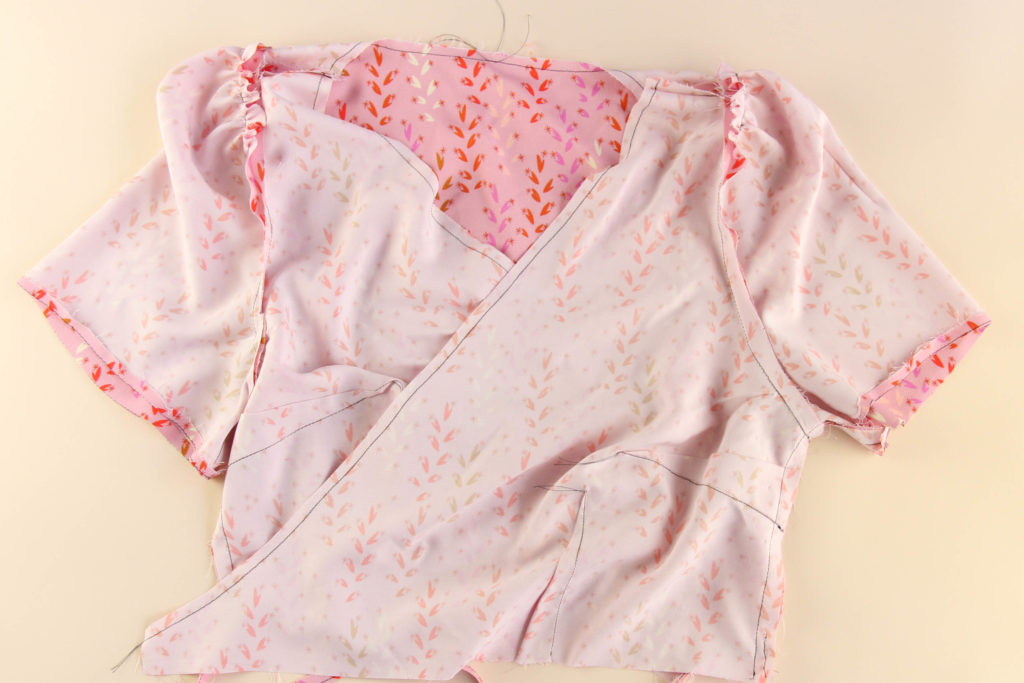
Fold the bodice in half with right sides together, aligning the side seams from waistline to sleeve hem. Sew the side seams and finish your seam allowance. Make sure that first waist tie was incorporated into the side seam- but just once (where you pinned it)!
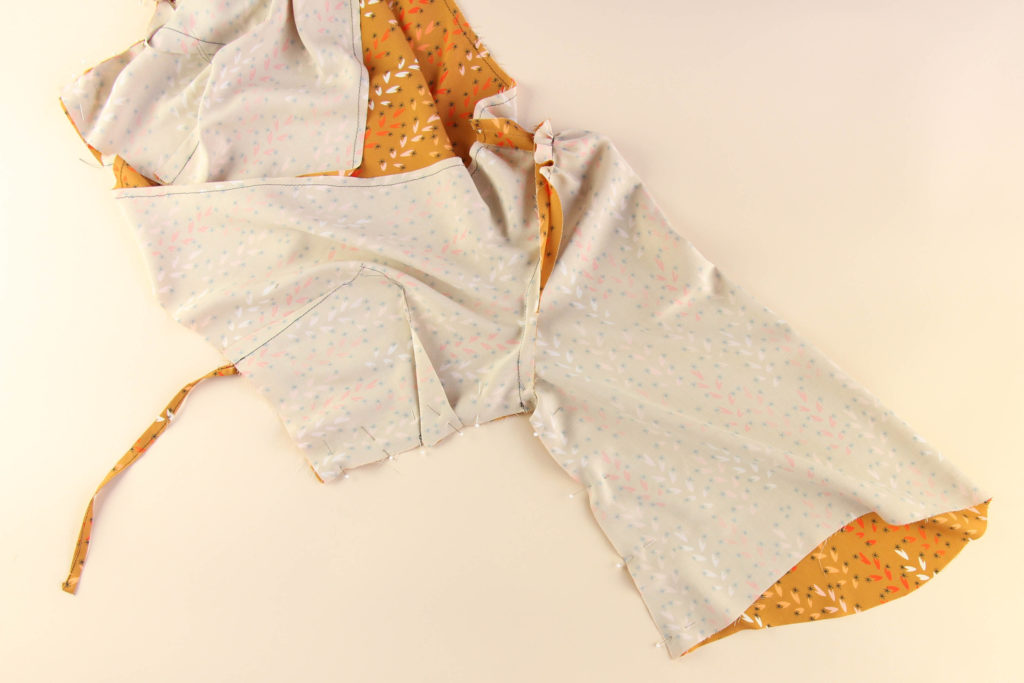
Here is the the View B/C version of the Roseclair, ready for side seam sewing:
Here’s a picture of View A.
With the bodice turned inside out, attach the second waist tie to the left-hand side of the bodice. Place one short edge of the waist tie so that it buts up to the seam and the rest of the waist tie extends away from the center of the bodice, then pin it within the seam allowance 1/2″ above the waistline. Stitch back and forth a couple of times to really keep it in place.
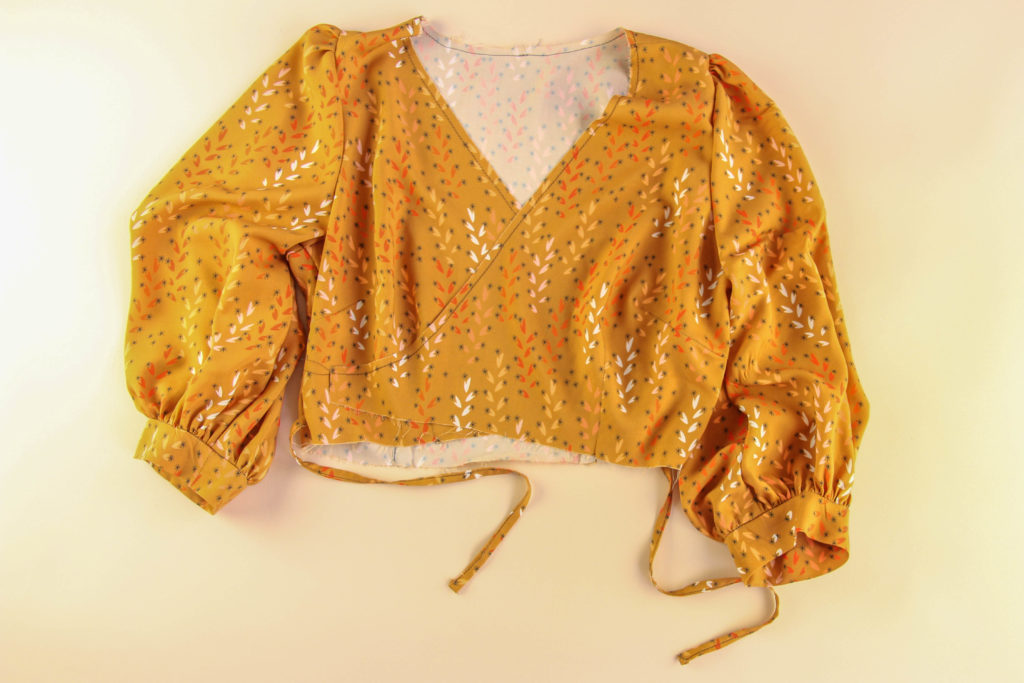
That’s the bodice constructed, now it’s time to finish the sleeves.
Finish Sleeves (View A)
It’s gathering time for our statement sleeve! Remember, even though the cuff is a rectangle, the sleeve is designed so that it lays at an angle on your forearm after the sleeve hem is gathered and applied to the cuff. If that’s confusing- no worries, read on and you’ll see what we mean!
Stitch two lines of basting stitches around the hem of the sleeve within the seam allowance.
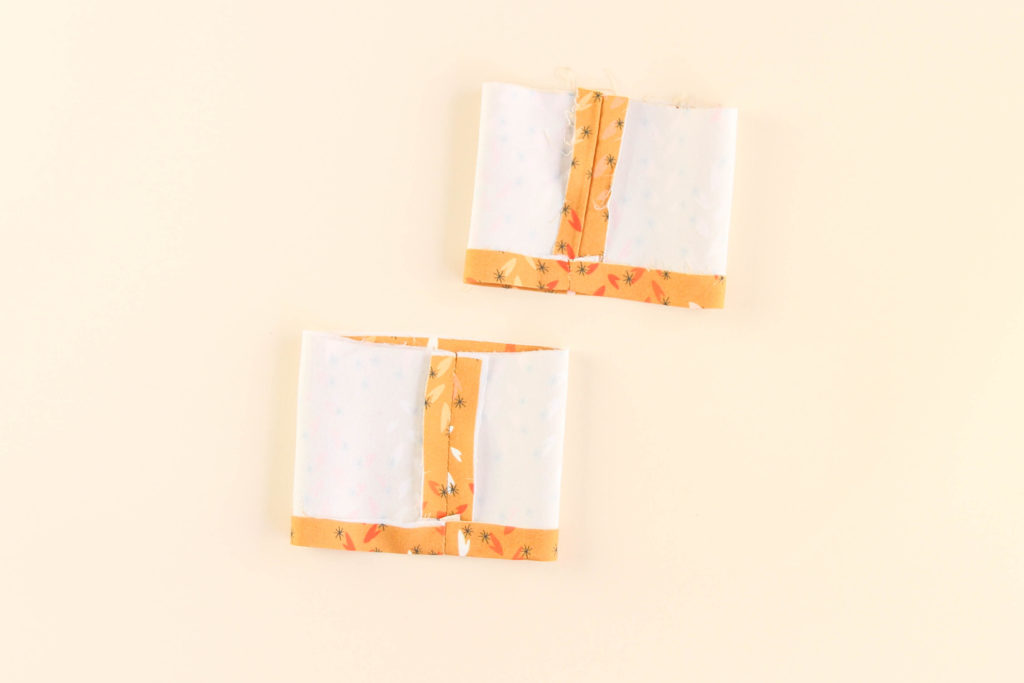
Construct each cuff by sewing the short ends with right sides together and pressing the seam allowance open.
Then, press one edge of the cuff to the wrong side by 1/2″.
With right sides together, pin the unpressed edge of the cuff to the sleeve at notches and use your basting stitches to gather the volume of the sleeve between the notches. There will be more volume/gathers toward the “back” of the sleeve.

Stitch the gathered sleeve hem to the cuff, taking your time and making sure not to distort the distribution of your gathers.
After attaching the sleeve to the cuff, press the seams allowances toward the cuff, being careful not to press the gathers on your sleeve- we want the sleeve to remain a bit puffy, and pressing the gathers on the sleeve will crush the volume and perhaps leave some unsightly lines.
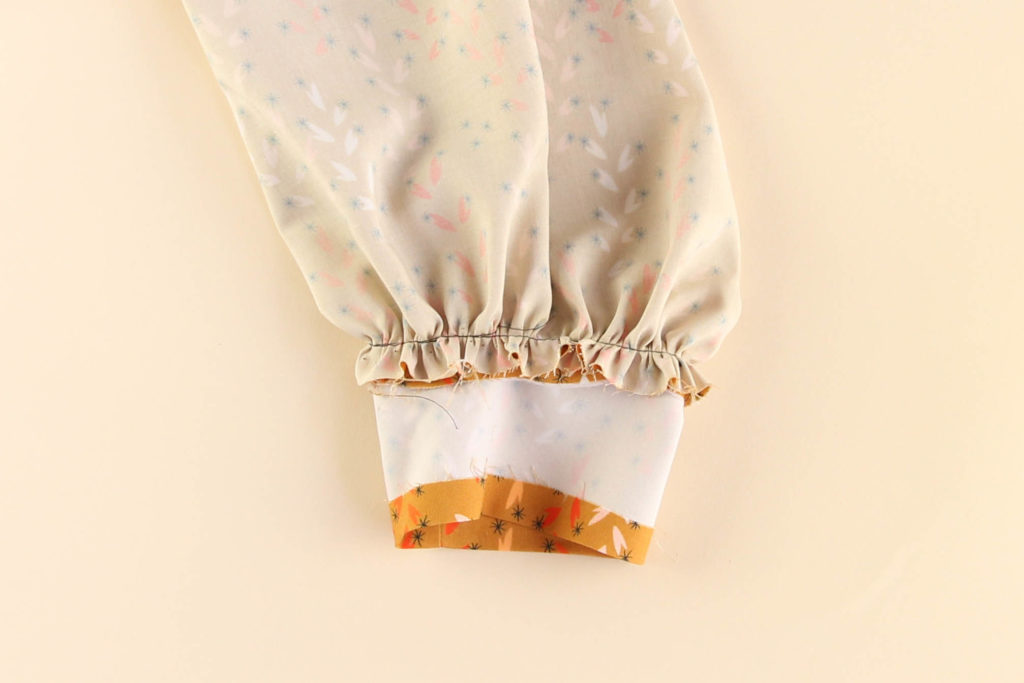
Next, fold the pressed edge of the cuff to the inside of the sleeve to enclose the seam allowance and top stitch the cuff 1/4″ away from the seam.
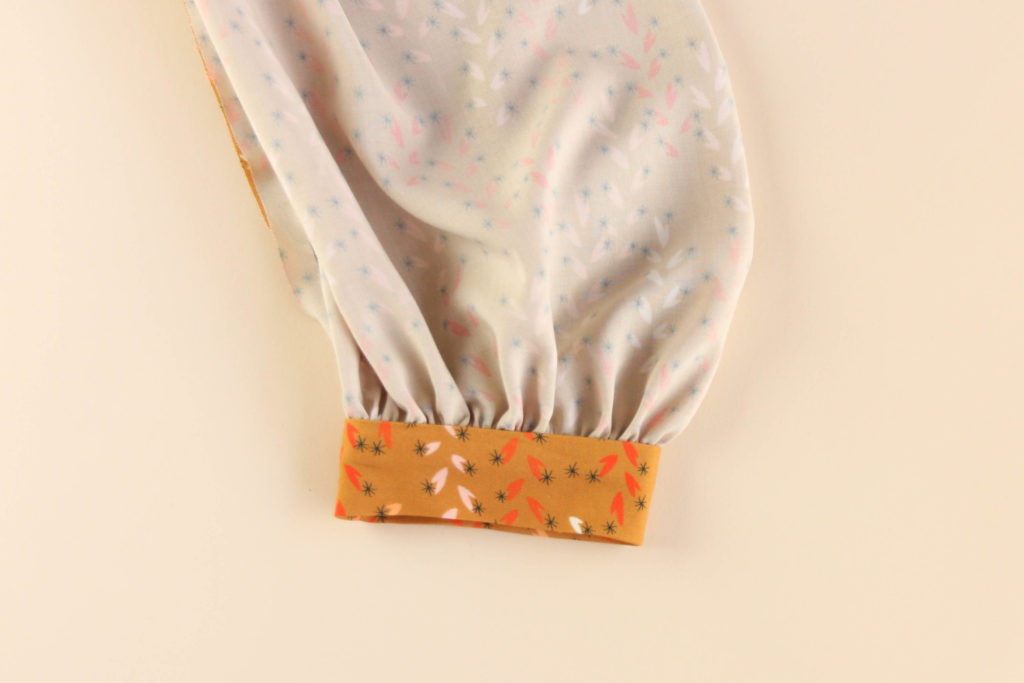
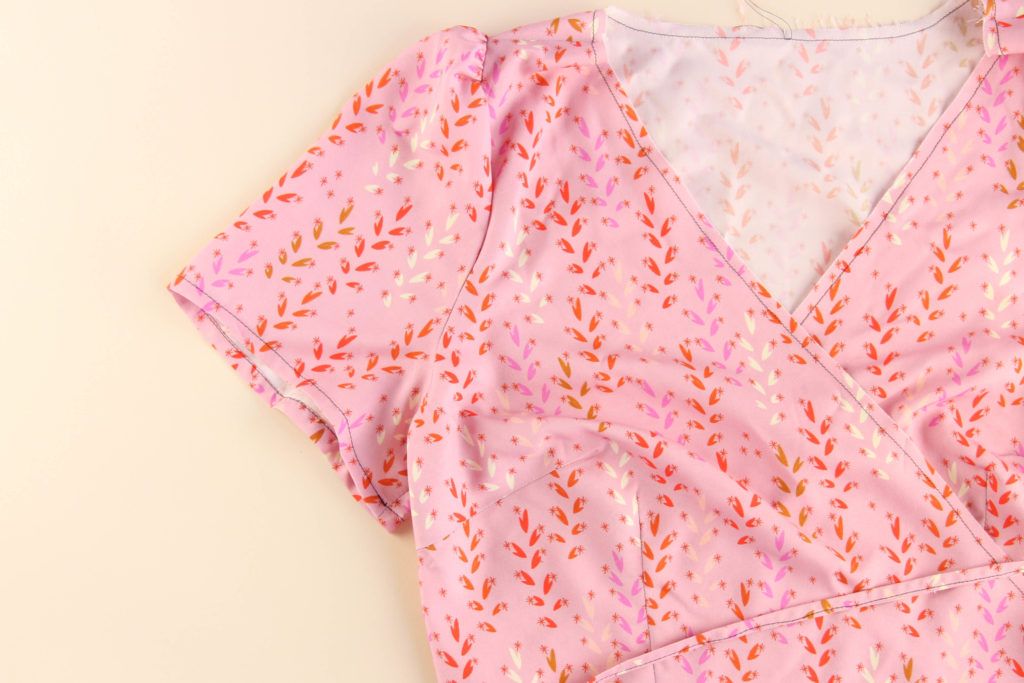
Of course, if you’d rather, you can slipstitch the cuff together by hand for an invisible finish. Here’s a picture of the View A Bodice, complete to this point:
Finish Sleeves (View B)
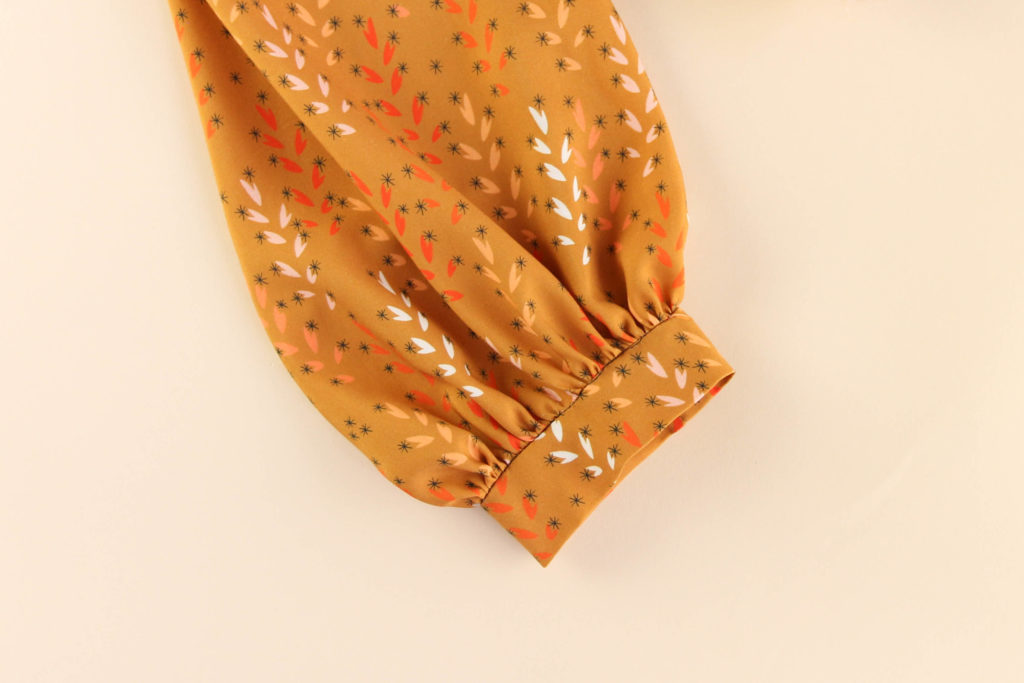
The simplest sleeve finish of the three- View B! To finish this sleeve, simply press the hem up 1/4″.
Then press up another 1/4″ and top stitch your hem in place from the right side.
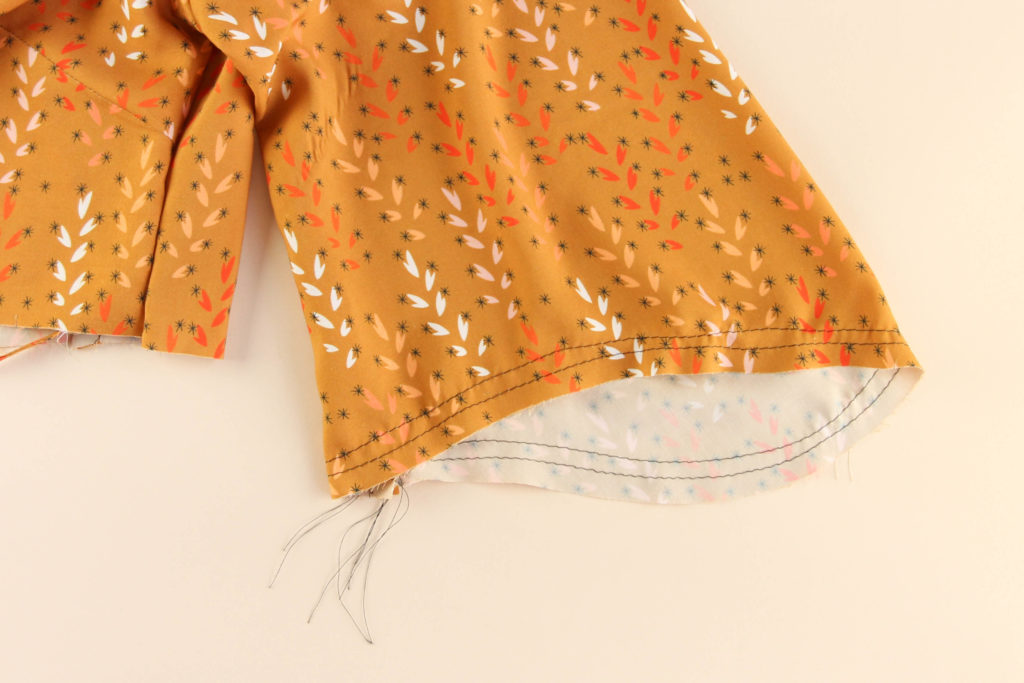
Finish Sleeves (View C)
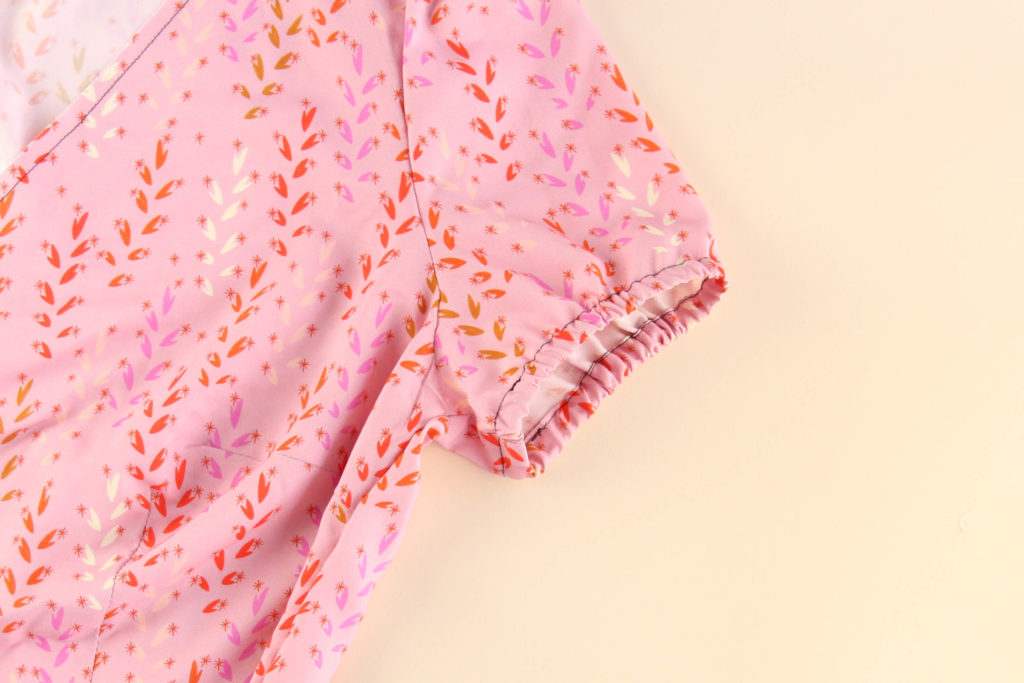
For the View C sleeve, press the sleeve hem 1/4″ and then 3/8″ and topstitch, leaving space near the under-arm seam, so that you can thread elastic through the channel you made.
Then, determine the length of your elastic. Measure around your bicep about 2″ from your underarm and cut a piece of elastic 1/2″ shorter than that measurement.
Thread the elastic through the channel, making sure that you don’t twist it. sew the cut edges of the elastic together with a zig zag or honeycomb stitch to secure it and then let the elastic retract and sit in the channel.
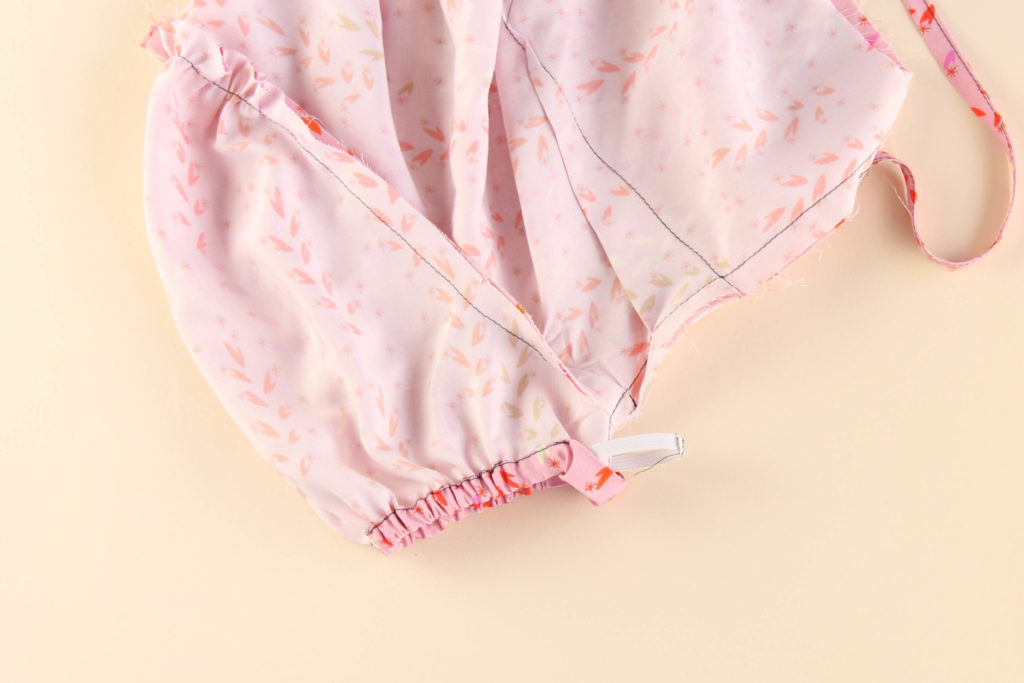
If you like, you could try the sleeve on your bicep to double check the snugness of the elastic. If all is well, topstitch over your opening, and you’re finished with your View C sleeve!
We’re all done with our Roseclair bodice! Admire yourself with a cheeky try-on, but make sure to be gentle with that neckline (that we know you stay stitched the other day, right?!).
We’ll set our bodice aside for a day while we construct the skirt in our next post!


Struggling with the directions on the roseclair dress trying to attach skirt to bodice and drawing is confusing,
If I don’t want the sleeves to be gathered, could I just omit the gathering part or will that result in finish issues. My plan was to take length out of the top arch, but I’d just as soon save the effort.
If you want to not have gathering you’d need to adjust the sleeve cap, because it requires gathering to fit into the armscye.