It would appear that an ecological academic work – sewing cycle is in operation chez Cashmerette #2. An inverse relationship cycle, in case you were wondering. Summer time: lots of sewing! presents a go-go! new projects on board! Term time: ergh. (Apologies for the ecological theories interfering here: Ecology midterm is on Tuesday and it’s all predator-mediated coexistence species round these parts).
However, today it was decided: enough is enough. Crafting must recommence! And I decided to begin with my biggest project to date: a quilt. Now I think everyone knows that quilts are a LOT of work (see previous posts by Ms. C for proof if needed). What I maybe didn’t anticipate however is the amount of preparation work needed before one can even get to the easy-peasy task of sewing together 448 individual pieces. So, preparation has started.
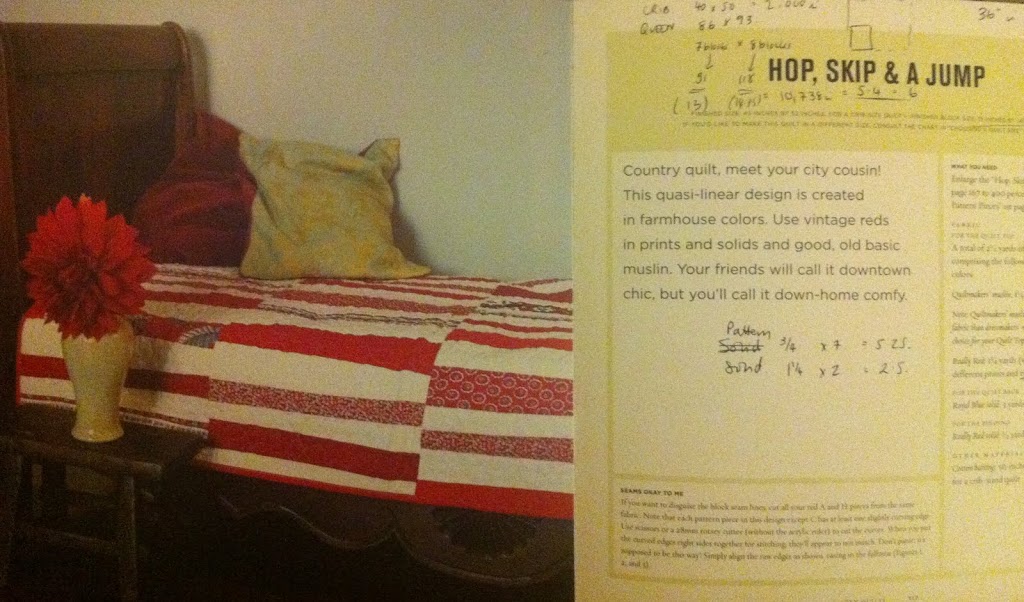
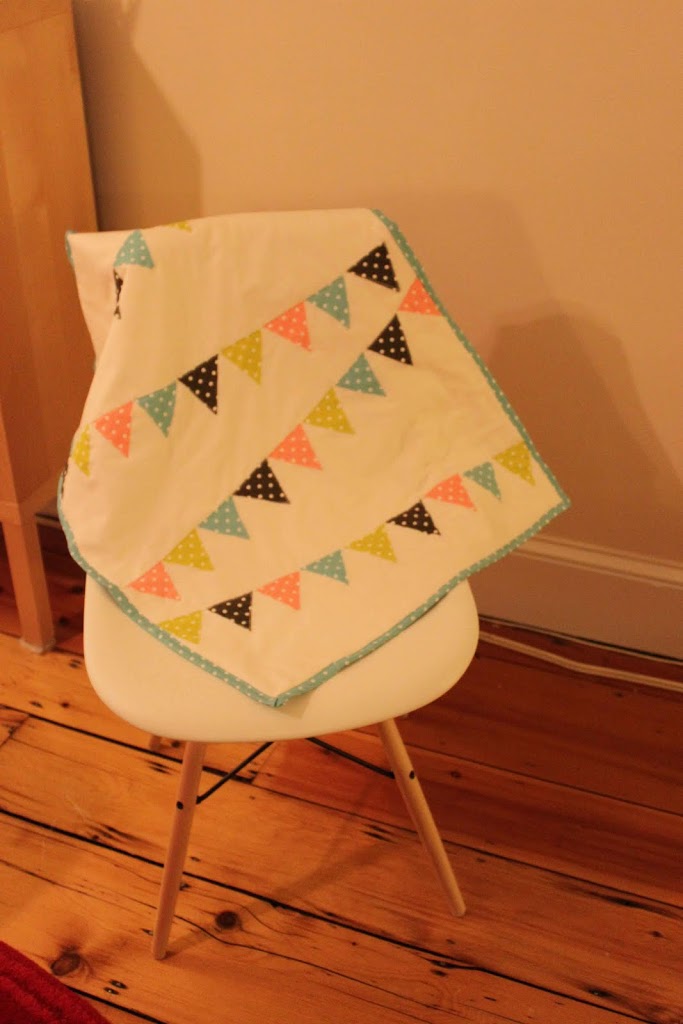
The planned “Hop, Skip & A Jump” quilt:
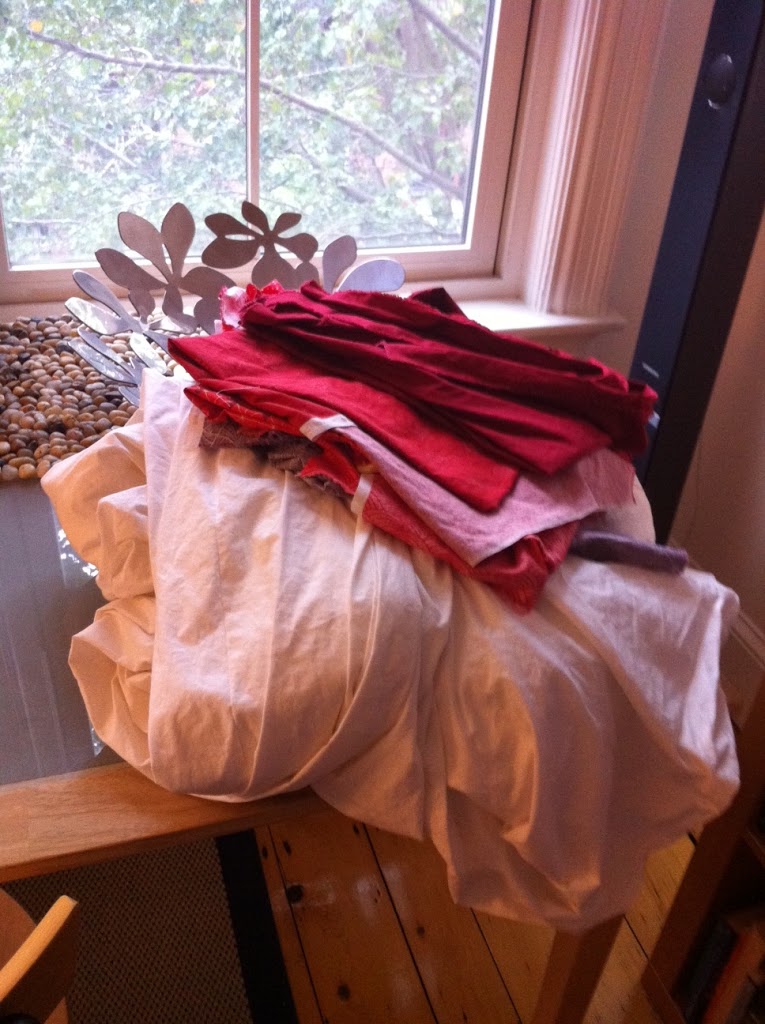
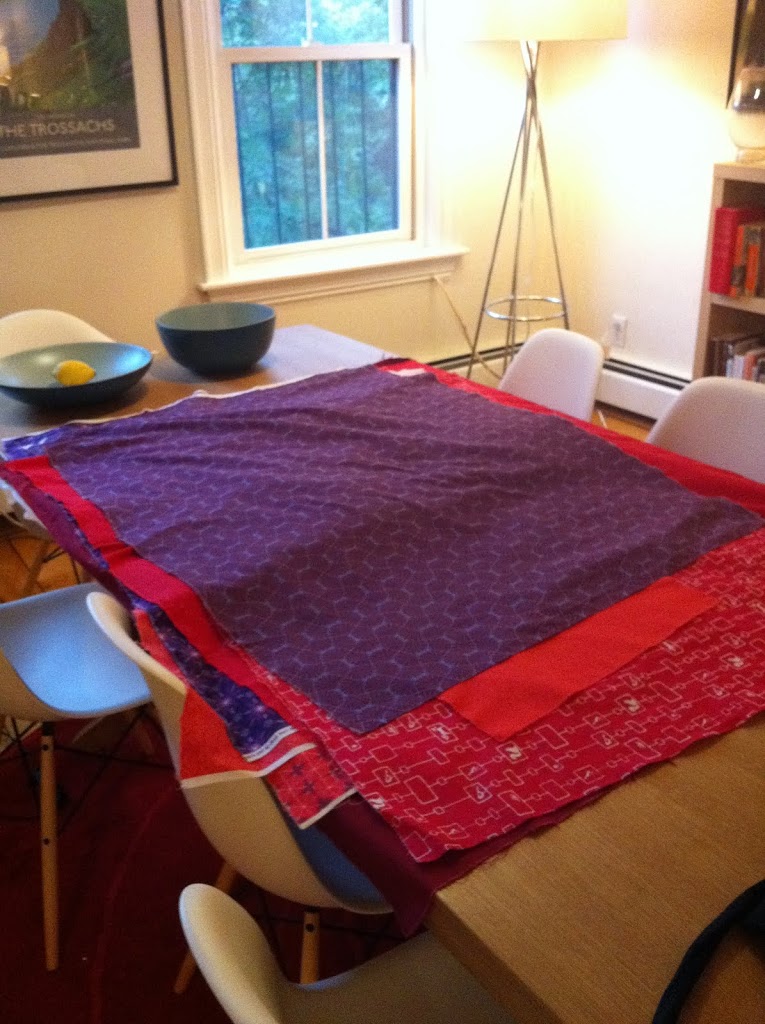
Prep step 1: Pre-wash the fabric. You have to do this because many materials shrink when they’re washed, and to different degrees – so for something as multi-fabriced as a quilt, that could lead to disaster! Or at least some buckling. Pre-washing is painful at the best of times, but even more so when you have to walk down 4 flights of stairs into a dirty basement to do your laundry. Thus I availed myself of the lovely services of Tremont Cleaners and spent a morning pre-washing and doing quantitative data analysis of tree species in the Estabrook Woods of Concord (this is not a joke). This is in itself quite a task: you have to “pink” the edges of the fabric (so it doesn’t unravel in the wash) and handle 7.5 yards of fabric. However, it is nothing compared to Prep Step 1.5: iron! I can now exclusively report that ironing 7.5 yards of fabric in a moderately effective fashion takes exactly 2 episodes of John Stewart’s Daily Show.
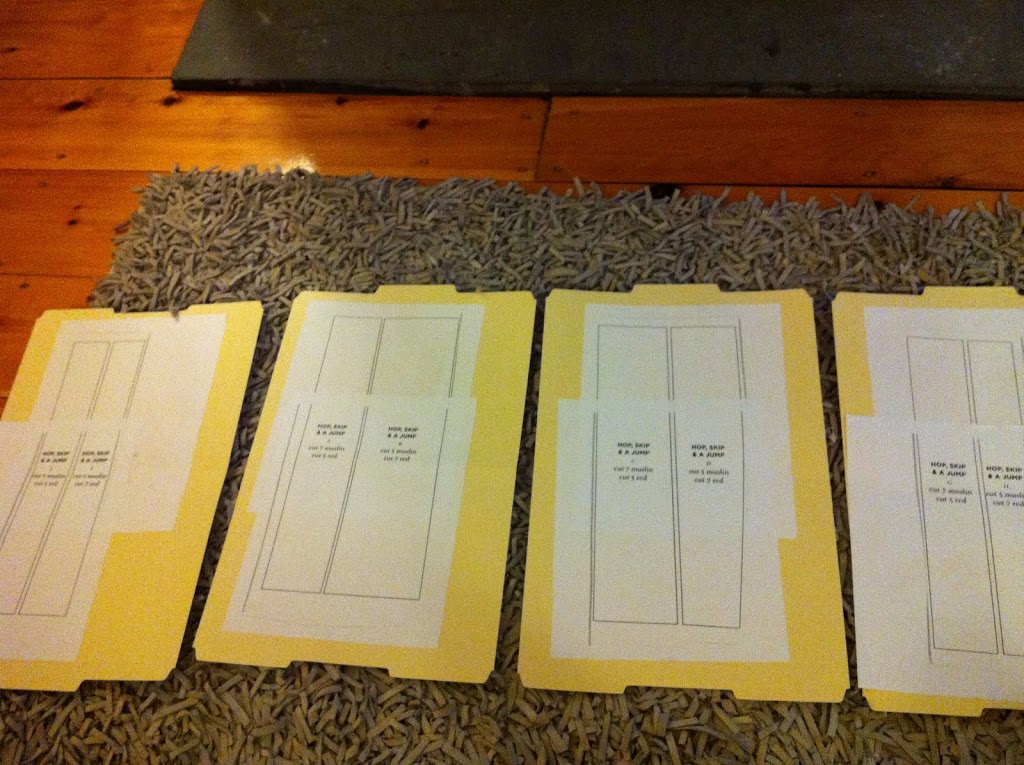
Prep step 2: Make your pattern pieces. This is harder than you might imagine, because first one has to use a photocopier to enlarge the pattern pieces from the book by 400% – which is larger than normal paper size…. I am now a master in geometry thanks to figuring out how to do this. Then: mount them on manila folder cardboard, and cut out your pieces: voila!
Prep step 3: Do all the sums. Unfortunately, the directions for the quilt in my book (the very good Denyse Schmidt Quilts) were for a crib size (teeny tiny!) so lots of proportioning-up were in order. I ended up figuring out I’ll need 56 blocks, 448 pieces, and various ratios of white muslin, red solids, and red and purple patterns. The historic document:
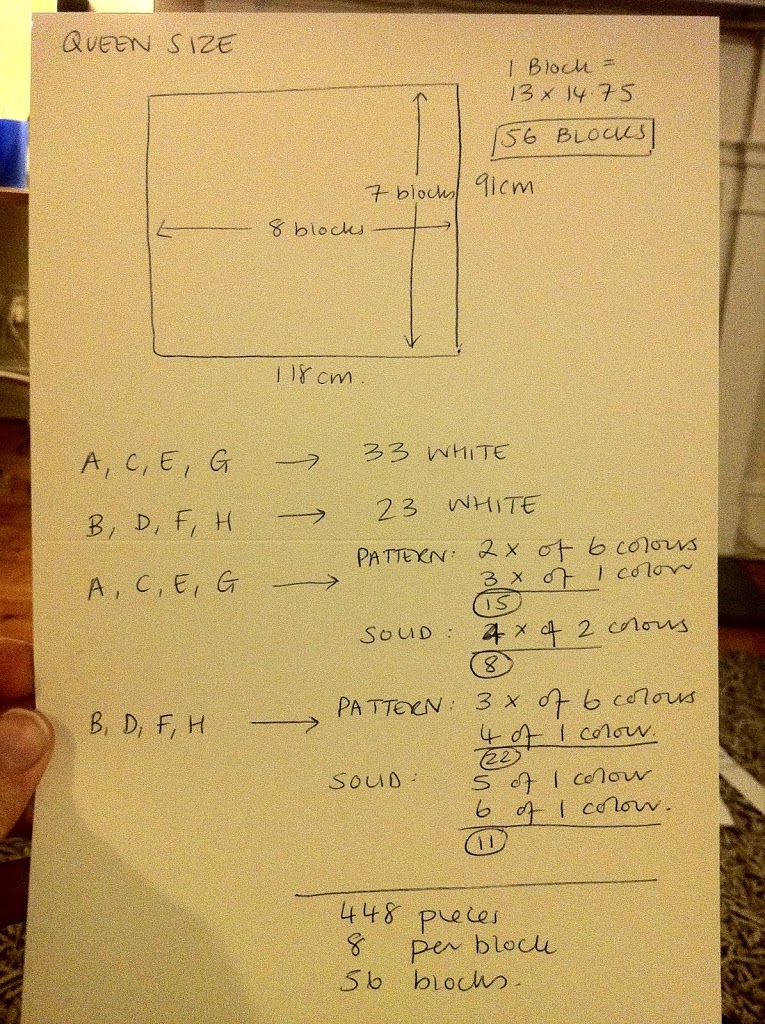
Phew! So all that done, and I still only have some flat fabric and pieces of card. However, I am much better positioned to start now – next step is cutting out the pieces, and labeling them, because remembering the subtly different shapes of 448 pieces is probably *slightly* beyond my ability.
