Ever since I starting learning to sew, my Mum has been suggesting I make a patchwork quilt. I was strangely resistant for quite a while, but then two things happened. First, I found a really cool, quite modern, quilting book at Gather Here. Second, my Mum’s birthday was coming up. And I thought: what better way to make her happy than to deploy not only some patchworking skills but also use the Clarice Cliff fabric which she bought me a few years ago? No better way, thought I.
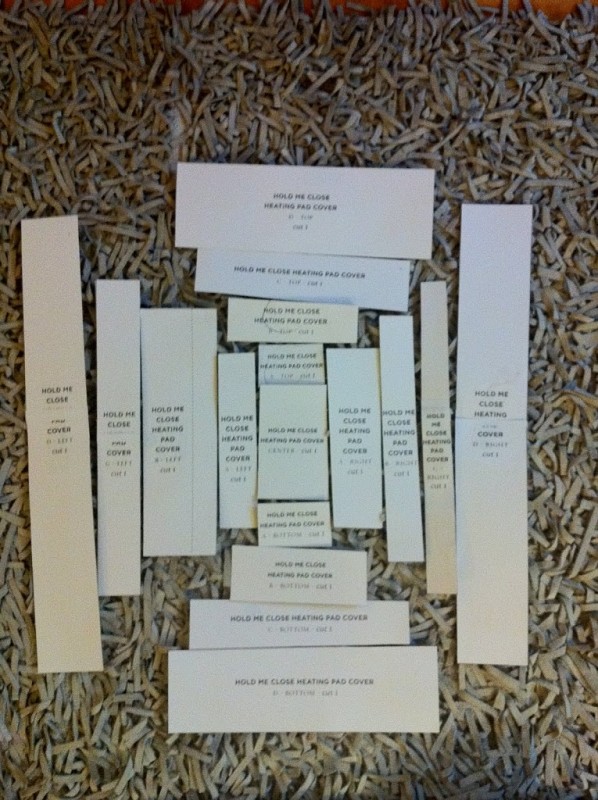
So, here’s the results of attempt 1! First of all, I had to photocopy the pattern pieces out of the book and enlarge them 200%. This was *considerably* trickier than you might imagine, for my office photocopier (shhhh!) can only print onto A4 paper. But the pieces had to be much bigger. Cue about 15 attempts to get it right, and a lot of poor trees gone to waste (for those who know my profession, this is, clearly, an unforgiveable crime). Anyway, here’s what I ended up with, eventually:
I was a bit lazy so I didn’t take photos of each stage, but basically: I cut out these pieces in different colours I had lying about (including the Cliff fabric which has a very distinctive pattern on) and then sewed it together, starting in the centre, sewing the shorter sides on first and then the longer sides. Basically, building up the square on all sides.
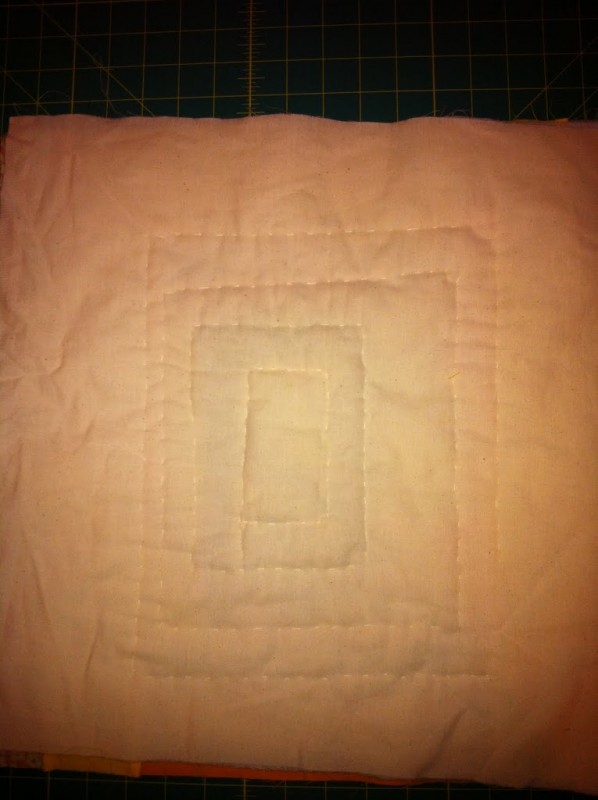
Then, I sandwiched some batting between the patchwork and a piece of muslin, and did a bit of ‘quilting’ by hand along the key lines:
In all honesty I’m not sure what value the quilting added, but at least I gave it a shot.
And here is the end cushion cover! (without a cushion inside it):
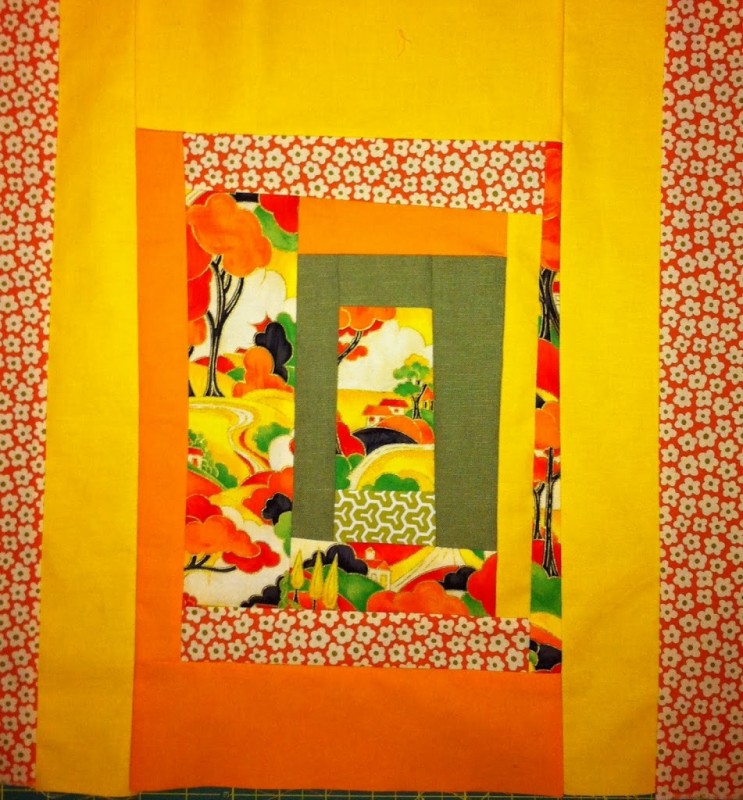
And the real result: Mum was very pleased.
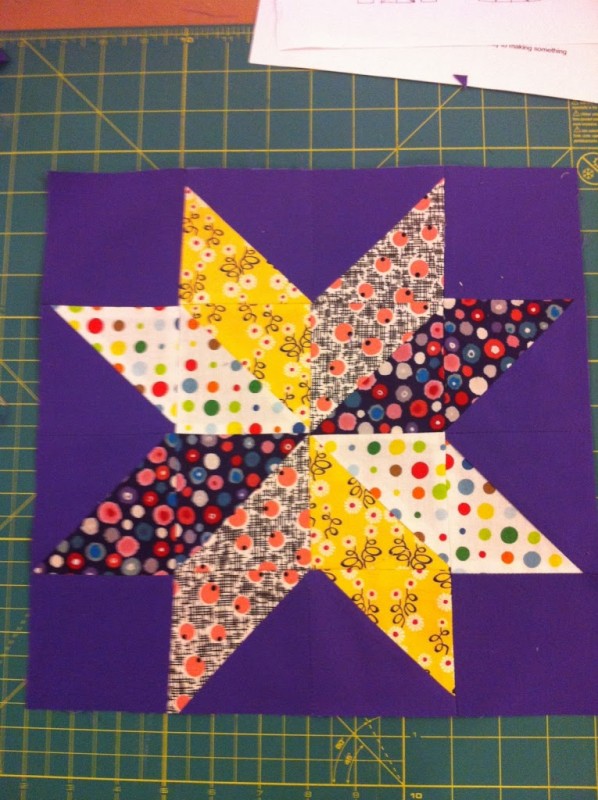
That first cushion under my belt I went valliantly on, and attended a Quilt Block class at Gather Here last night, where we learned how to make a half-triangle star block.
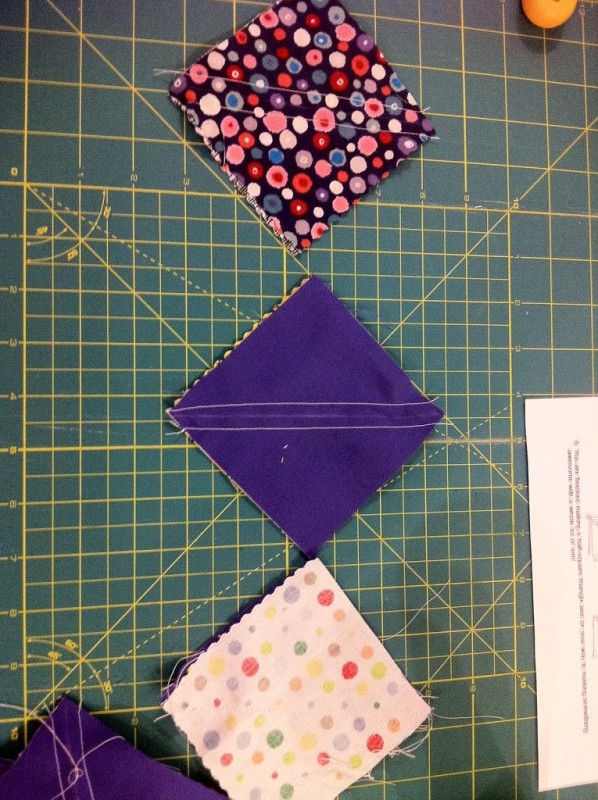
First we cut out various squares, then sewed them together in pairs using two lines of stitching. Then, by cutting down the middle between the stiched lines, you end up with two half-triangle squares! Clever, eh? I also learned the cool technique of ‘chain stitching’ which saves a huge amount of time when you have lots of fiddling things to do. Basically you stitch one block, then continue your sewing machine without any material in it for an inch or so, and then stick your next block in and so on. When you’re finished you just cut the thread between each block, and you’re done! This works well for quilting because all the ends are going to be sewn over again, so you don’t need to worry about backstitching.
Here are some of my chain-stitched double-squares:
Then, you trim them down to size (thus discovering how incredibly innacurate I was when originally cutting out the fabric.. thank goodness for second steps), iron out the seams, and arrange them in a pretty pattern:
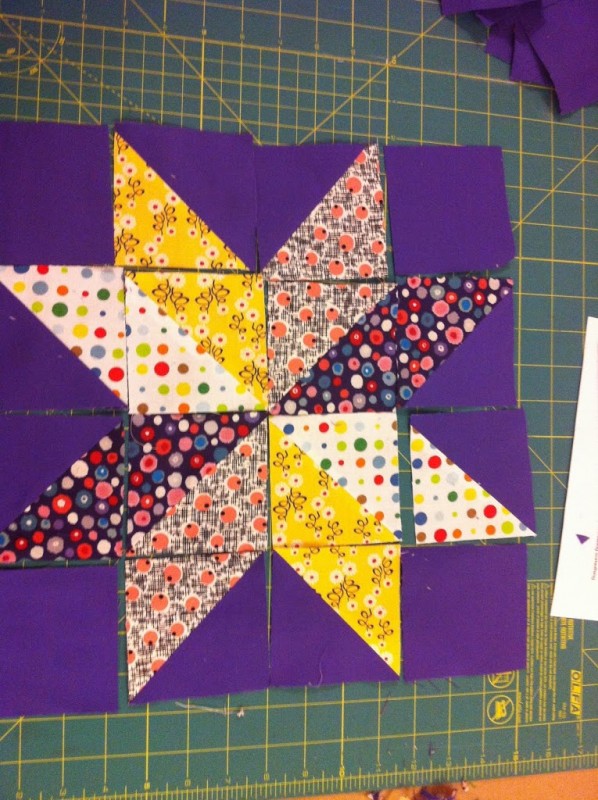
And then, more sewing, this time putting blocks together two at a time. This was a bit tricker than it looked because you had to match the seams up and some of my blocks were, er, a bit wonky.
But I’m quite pleased by how it came out in the end:

