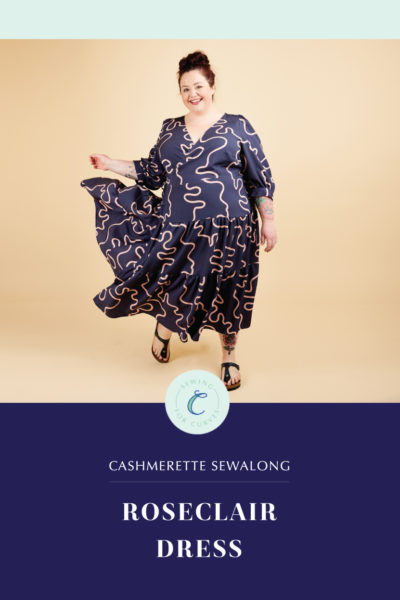
Welcome to the Roseclair Dress sewalong! If you’re ready to sew a gorgeously floaty woven wrap dress designed specifically with your curves in mind, you’ve come to the right place. Let’s get started!

Today we’re starting to sew our Roseclair Dresses. If you’re just joining us, be sure to check out the main Roseclair sewalong page to get all the deets on how to choose your size, prep your pattern and your fabric, and more.
We’ll be sewing up a Roseclair in View A and one in Views B & C, using fabric generously gifted by the folks at Ruby Star Society! We’ve using two rayon prints from their recent collection called “Wheat Earth” and “Wheat Lavender”
Okay, enough chitchat—let’s get started..
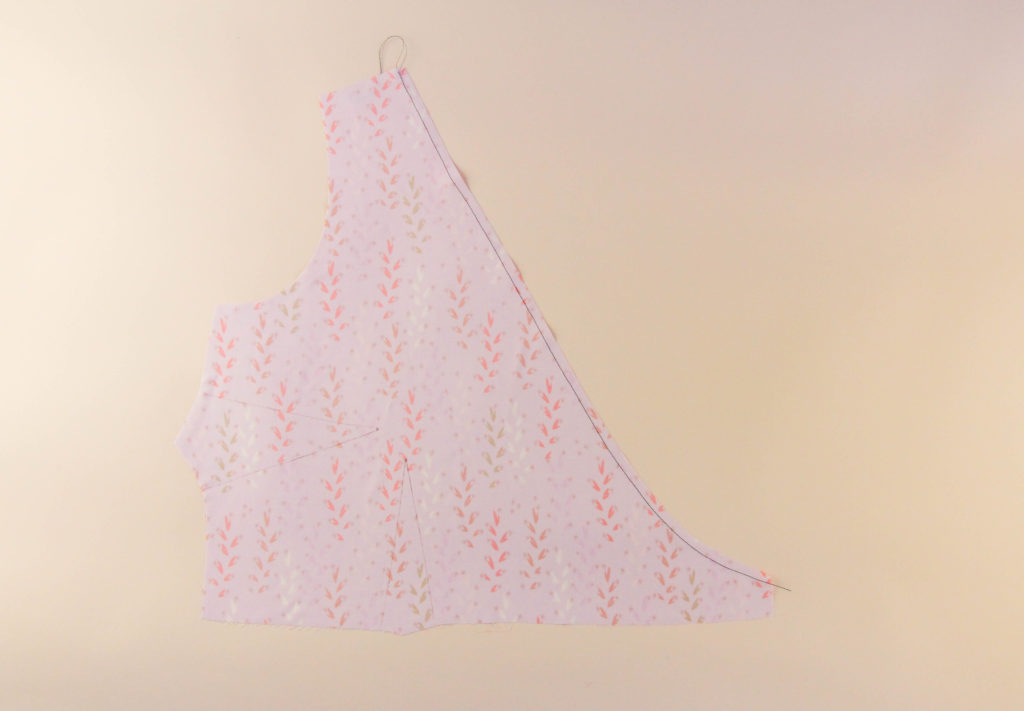
Staystitch the Neckline
For both views of the Roseclair, it’s critical to first staystitch the neckline. Staystitching means sewing a line of very short stitches within the seam allowance, and it keeps the piece from stretching out during the construction process. If you skip this step, you might end up with a gaping neckline, so do yourself a favor and make sure to staystitch.
If you find that your piece is distorting in the process of staystitching, you can try this method: draw your pattern piece onto your fabric in chalk, then staystitch, then cut your piece out. That way, your piece never has an opportunity to distort!
For the front bodice pieces, start at the shoulder edge and staystitch down to the side seam. We want to staystitch 1/8″ (3 mm) from the edge.
For the back bodice piece, start at the shoulder edge and staystitch towards the middle, stopping when you get to the center. Flip the piece over and repeat from the other side.
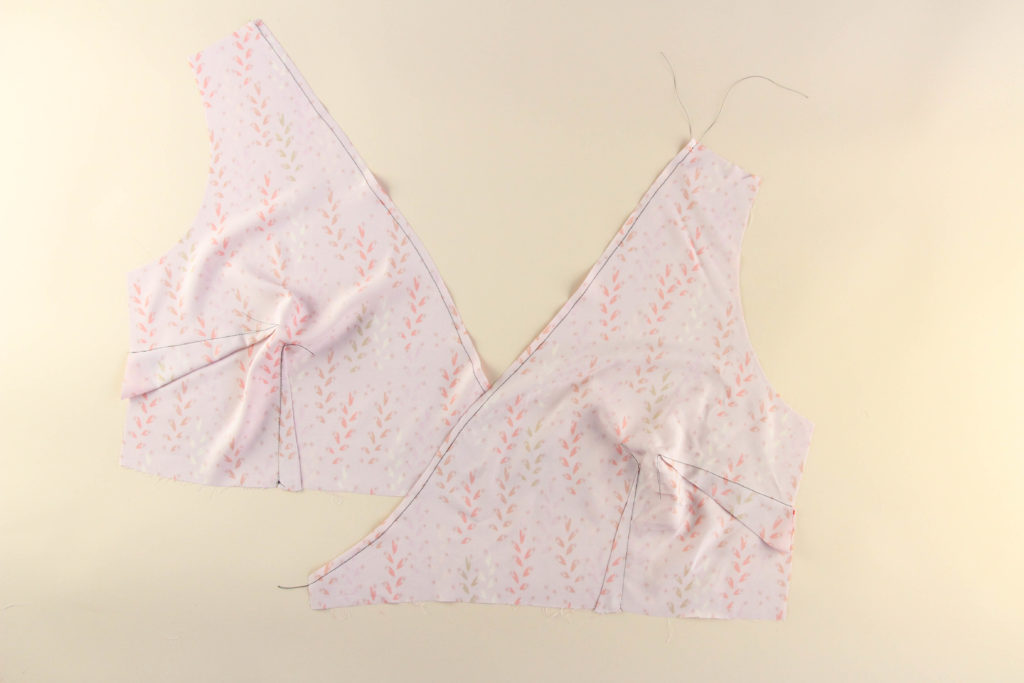
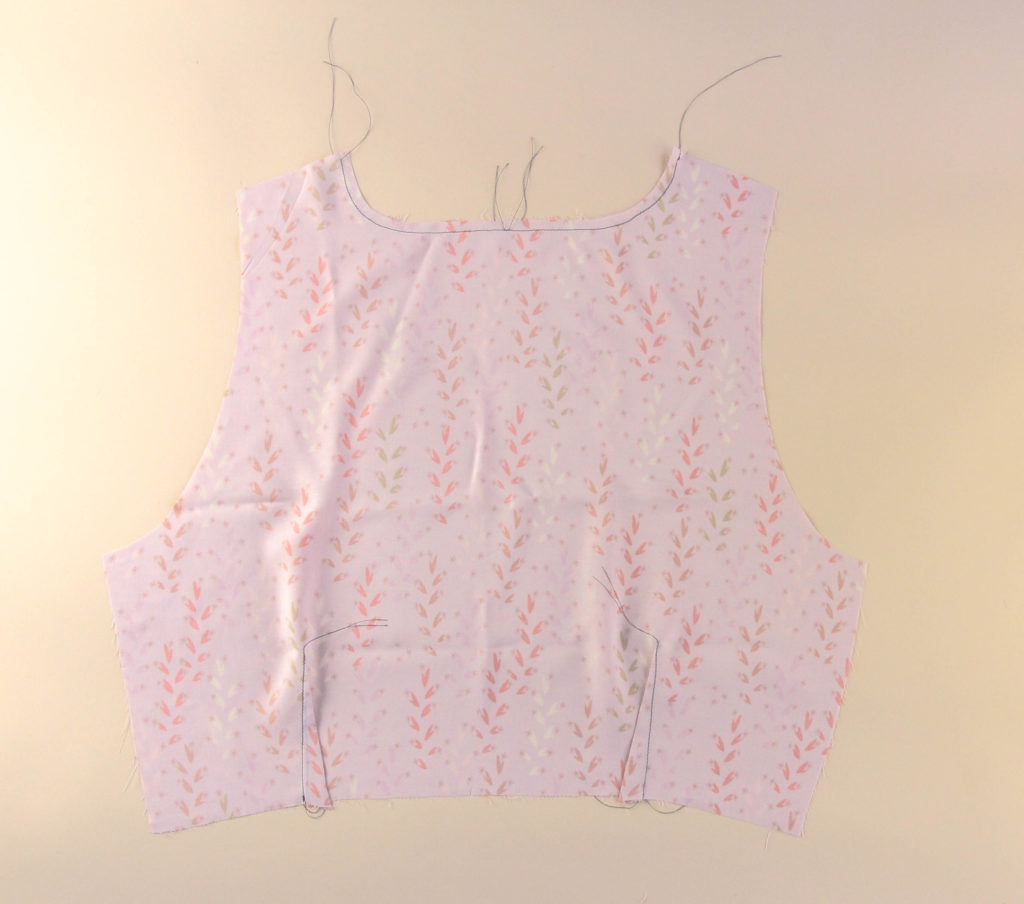
Sew the Darts
Now it’s time to sew up some darts. The bust, waist, and back darts help give our Roseclair bodice its shaping, which is part of what makes it so great for curves. So give those darts some love—they do so much for us!
Start with the bust dart. Fold your pattern piece and pin along the dart legs, making sure the legs are aligned.
Sew the dart, then press it up. You can use a tailor’s ham here to maintain the bust shaping. We press darts upwards because it looks best on larger busts, but you’ll need to trim the excess bit of the dart. If you want to press down, the dart will align with the edge.
Now, sew the waist darts. These we want to press towards the center.
Next up, we’ll be sewing the back darts. Pin the darts as we did previously, then press them towards the center.
Darts are now done—nice work!
Sew the Shoulder Seams
For our final step of the day, we’re going to sew the shoulder seams. Start by pinning the two fronts to the back at the shoulders.
Sew those seams using our 1/2″ (12 mm) seam allowance.
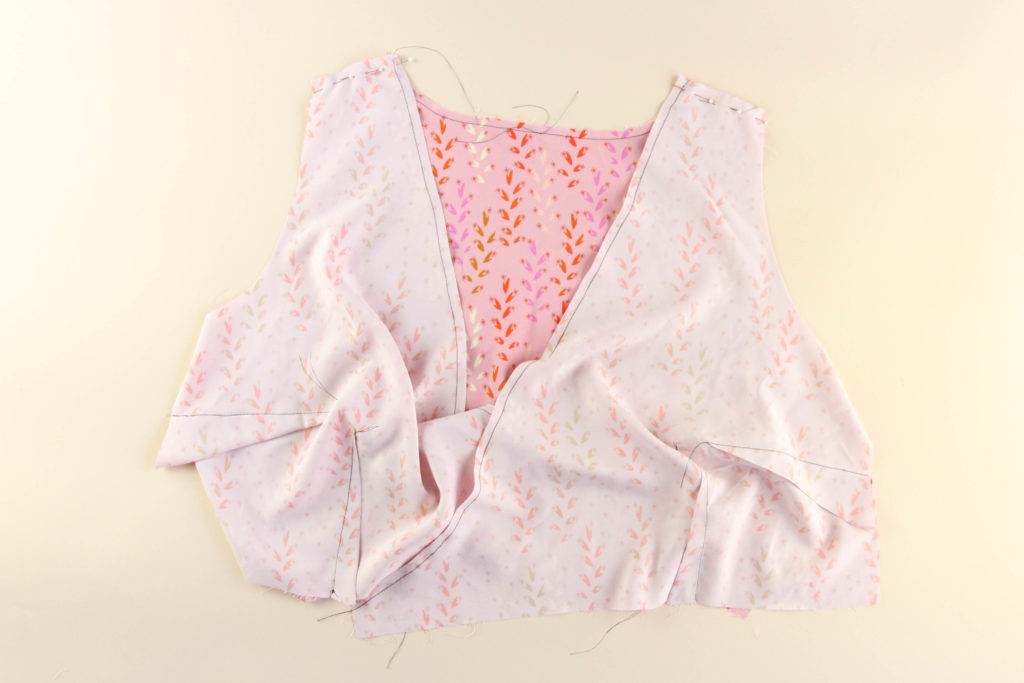
Now we can finish the seam allowance using our preferred method (we’re using a serger here, but you can sew a second line of stitching 1/8″ (3 mm) from the edge of the seam and trim very close to the stitching, if you’re working on sewing machine only. Press the seam allowance towards the back.
Looking good! Our Roseclair bodice is assembled, and next time we’ll be ready to add our sleeves. See you then!