Update 2/1/2021: An updated Upton Sewalong is available here.
Today we’re going to be constructing our bodice shell and lining, as two separate pieces.
Sew the darts in the bodice shell front: there are two bust darts and two waist darts. The waist darts are shaped to give a good fit under the bust; however, if you have a low or full-at-the-bottom bust shape, you can narrow them down to more traditional triangular darts (always worth making a muslin to check!). Press the bust darts upwards, and the waist darts towards the center.
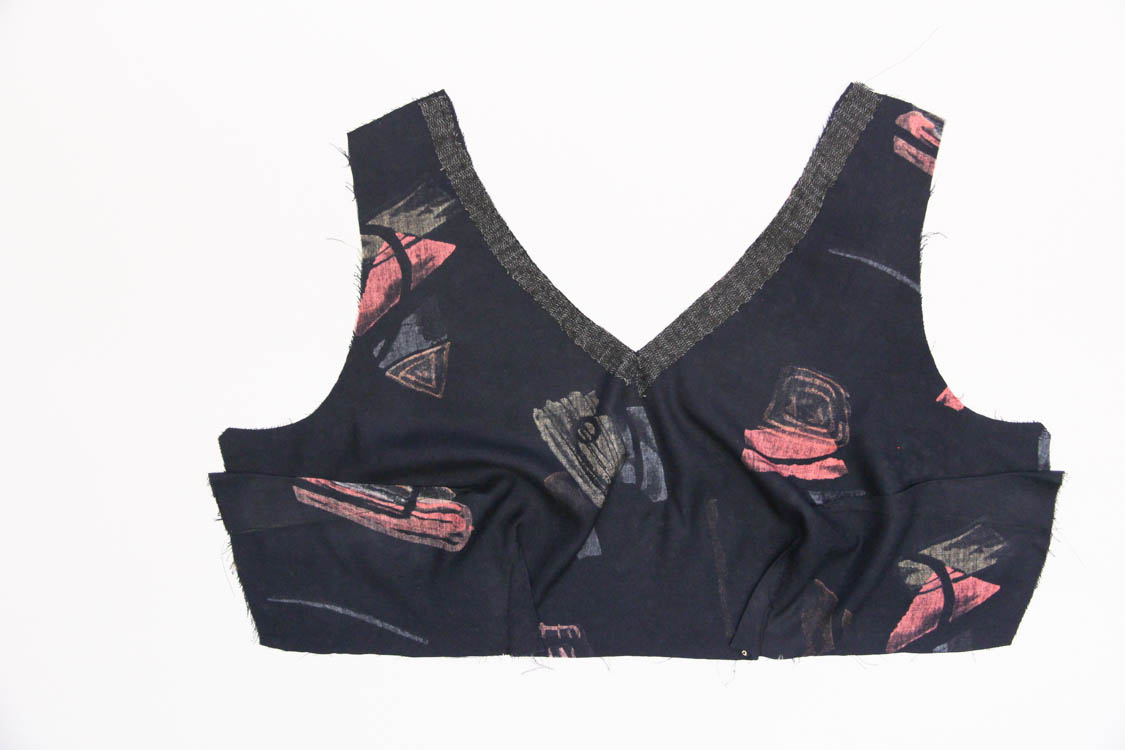
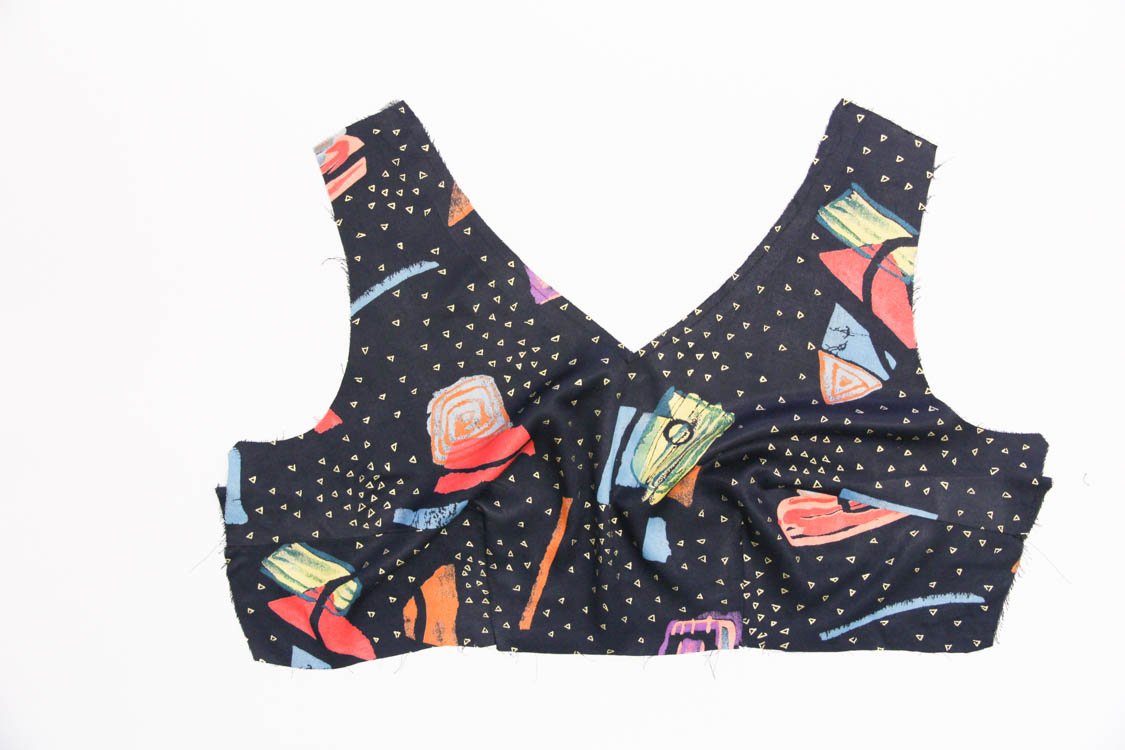
Now we’re going to sew the front waistband to the bodice. Place the waistband on top of the bodice, right sides together, and pin, matching up the notches (double check you’re doing it the correct way up – the notches will help). Sew at a 1/2″ (12mm) seam allowance, and press the seam towards the waistband. It’s up to you whether you want to finish this seam and others in the bodice – they will be enclosed eventually but if your fabric frays a lot it’s never a bad idea to finish everything regardless.
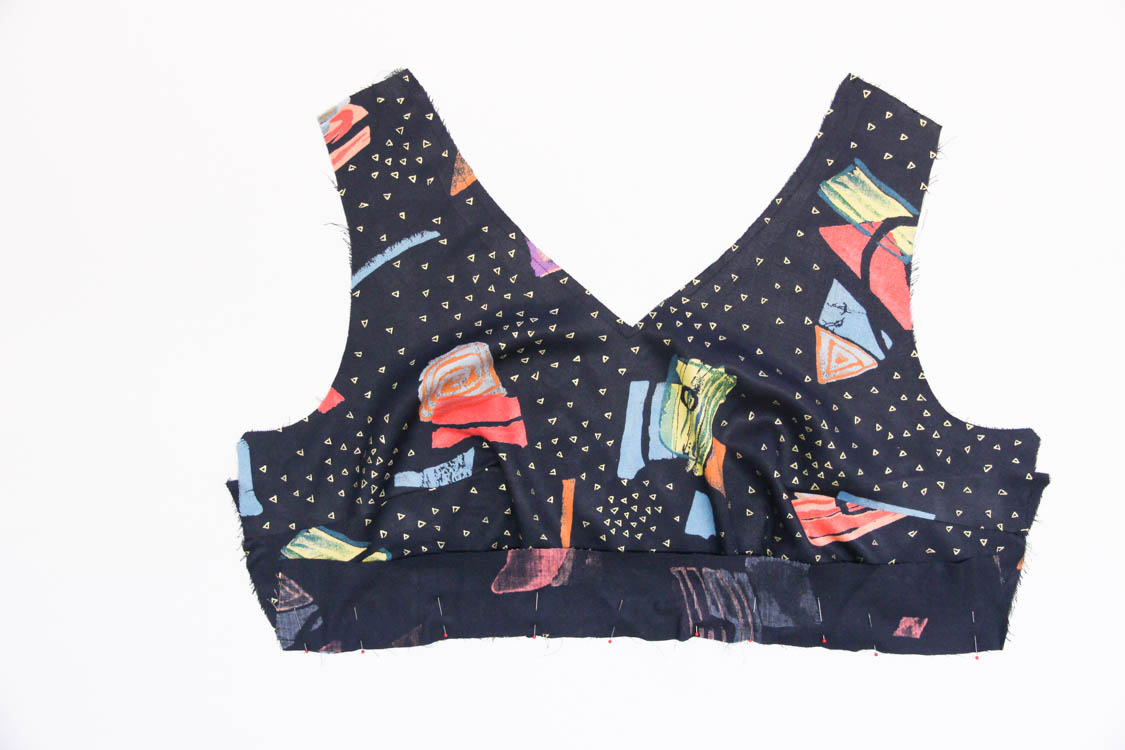
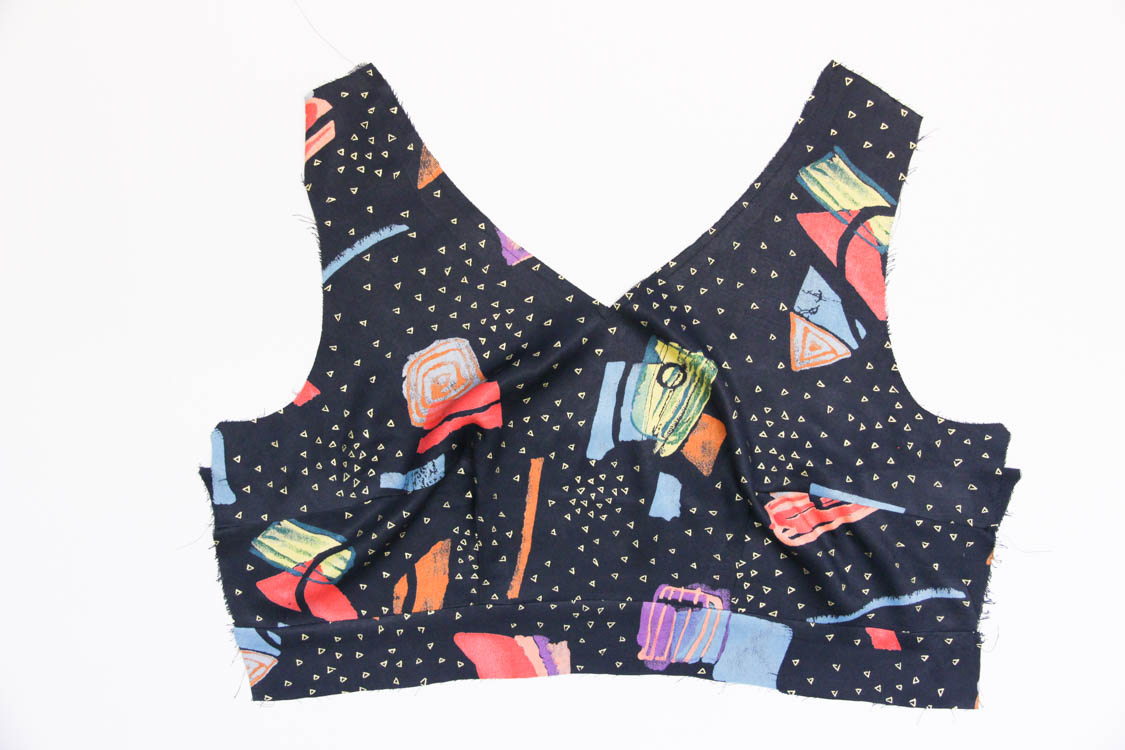
Now we’re going to repeat the same steps with the back bodice piece. Sew up the waist and shoulder darts first:
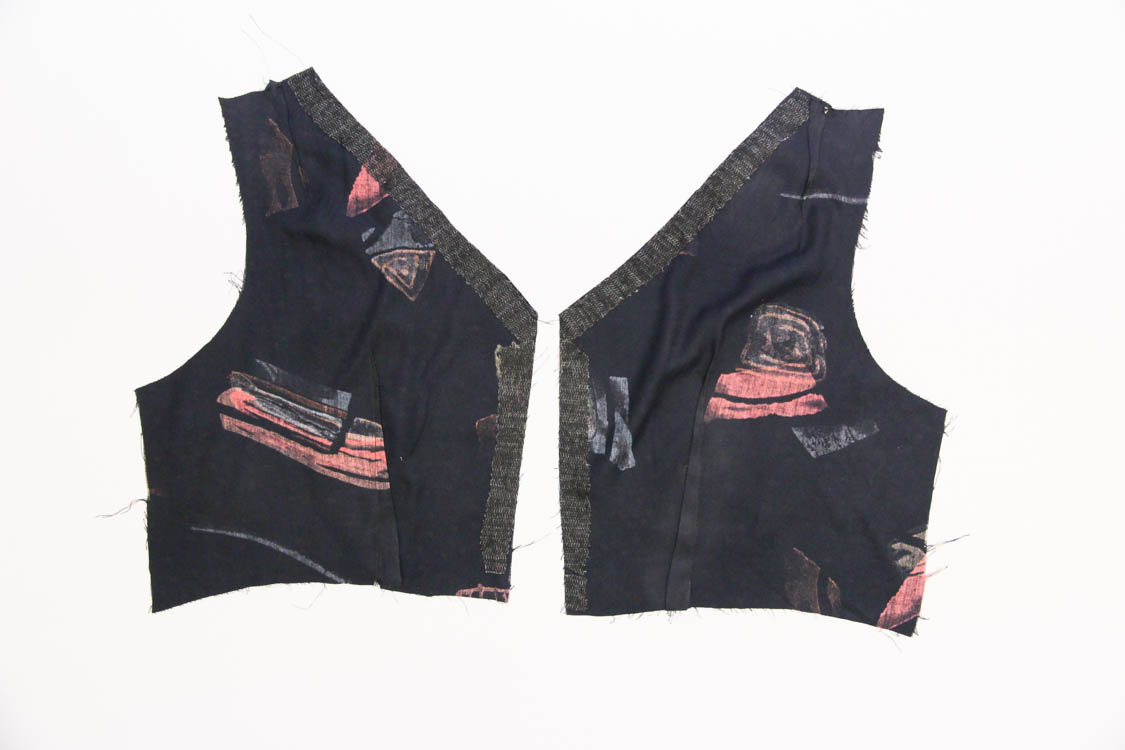
Then attach the back waistband pieces (again, make sure they’re the right way up, and the right angled end is aligned with the center back).
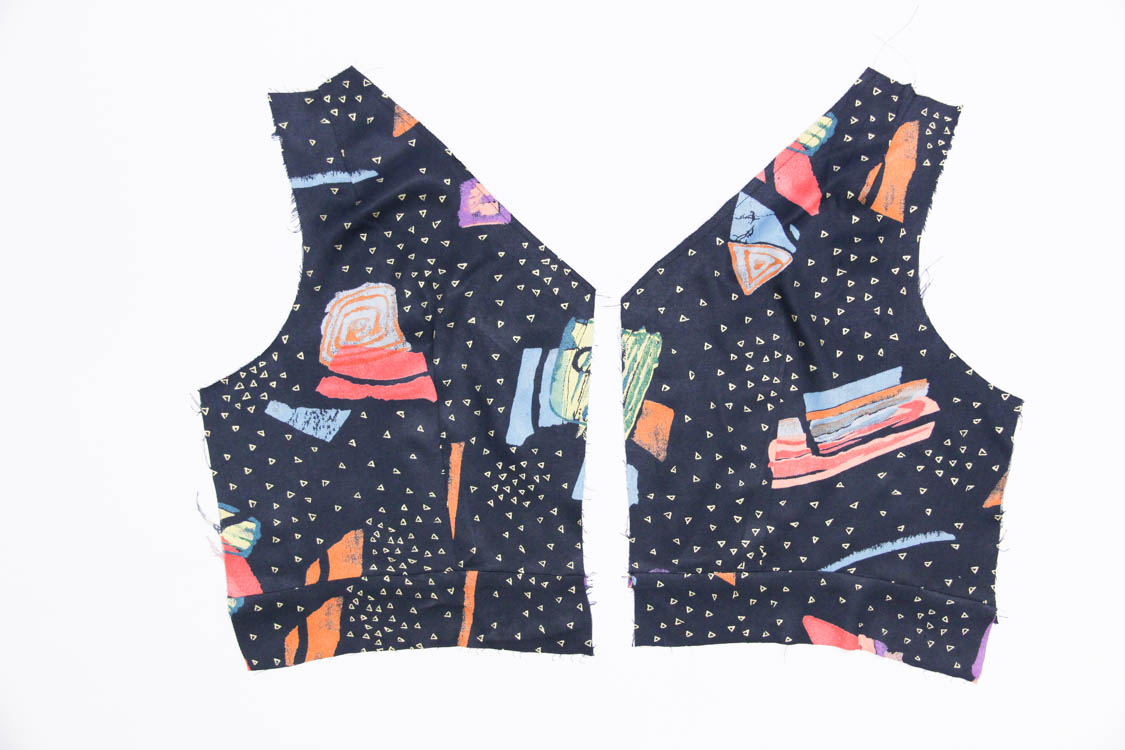
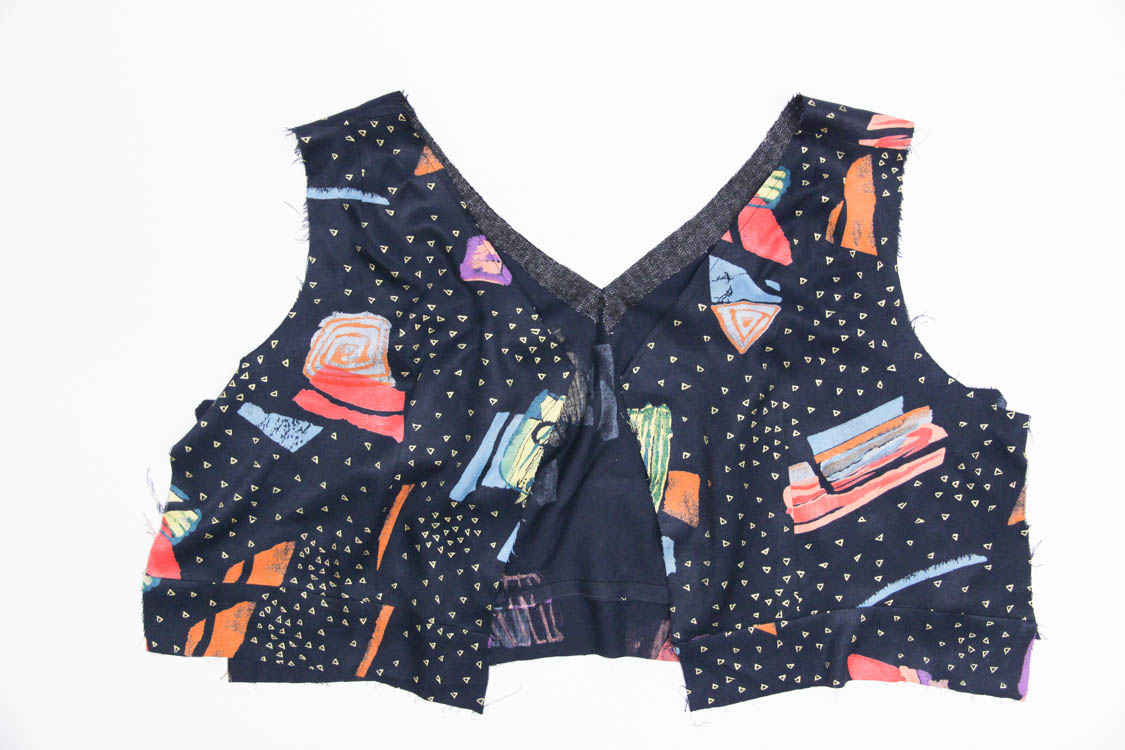
Place the back bodice pieces on top of the front bodice piece, right sides together and pin at the shoulders. Sew the shoulders, and press the seam towards the back.
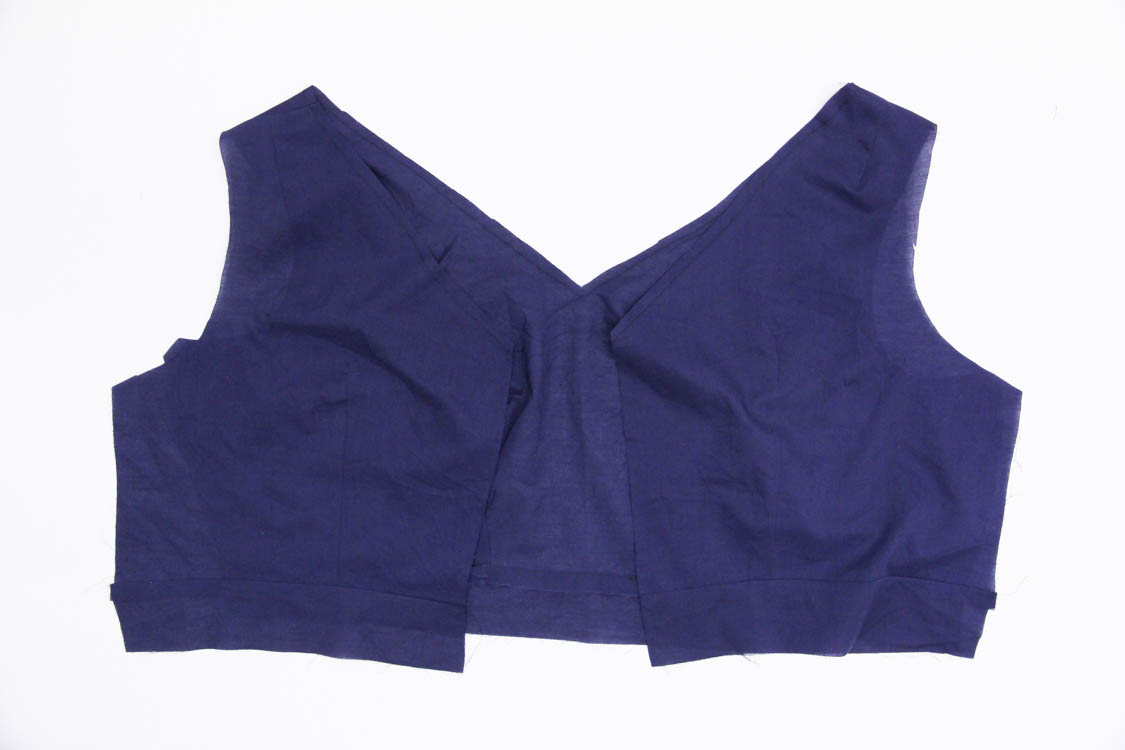
Repeat all the steps above with the bodice lining pieces (except, press the shoulder seam forward so the shell and lining seam allowances are offset) so you have an identical bodice in the lining fabric like so:
And we’re done for today! Next we’re going to do a bit of magic attaching the bodice shell to the lining. Any questions today?

Is there a particular reason for pressing the bust darts upwards? I usually press them down and haven’t previously come across an instruction to press upwards.
Yes, it’s more flattering on larger busts. If you think about it, your bust is fuller on the bottom than the top – this way it adds the bulk where there’s less room, rather than adding to the fullness that’s already there under your bust. Perkier!
That makes complete sense…..you learn something new every day! Thanks.
Thank you! I was wondering, too, as I haven’t ever seen an instruction to press the dart up either. Since I have a B/C cup, this tells me I can press down and no harm done.
I learned pressing the bust dart up from the Palmer Pletch Workshop! It makes sense, they say, to keep the bust as uplifted as possible. I have to agree!:)
Should say: more room rather than less!
I’very been following you online for a month or so…ever since I discovered your post on Japan. Love your blog! Congrats on all your successes! Hubby and I head to Tokyo next month!!!
Hi Jenny, where are the bust darts supposed to hit relative to the apex? Mine are approximately an inch closer to center than each of my apex points, so I’m wondering if I need to move them out a bit. Thanks!
Whoops, I think I mixed up my terminology. I meant the darts along the waistband.
Hi Maggie – the bust darts should be pointing in the direction of the apex. If they’re not, you should move them out.
Thanks very much!
Coming late to the party here, but a question about the shoulder dart on the back piece. When I sew the dart the shoulder edge has a slight V in it. Should I accomodate the dip in the seam allowance by sewing straight along or keep the egges even and pivot a little at the dart?
The shoulder seam is sewed straight.
Question, which waistband (view A or View B) for this combo: scoop neck/high back bodice (View A) with the gored skirt (View B). Does the waistband correspond to the top or skirt? Also, are the front and back bodice pieces interchangeable (ex// scoop neck with V-back)? Thanks so much!
The waistbands are the same, they just have different notches. And yes you can swap the front and back bodice pieces