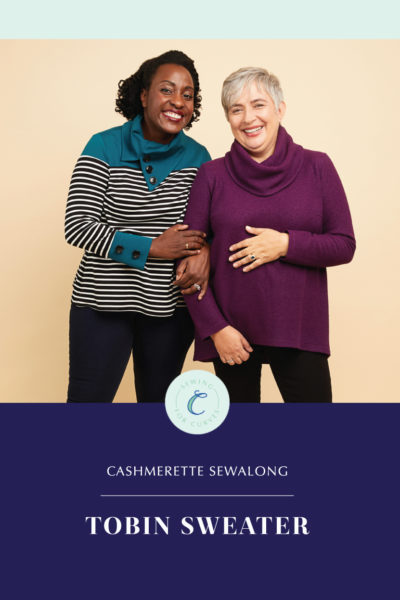
Who doesn’t love to hang around the house in sweats on a cold, gray day? The Tobin Sweater is your go-to curve-friendly sewing pattern when you’re in need of a garment to keep your warm and cozy. And it’s perfect to beginners and more experienced sewists alike! Today, we’re showing you how to sew a plus size sweatshirt using View C of the Tobin Sweater.
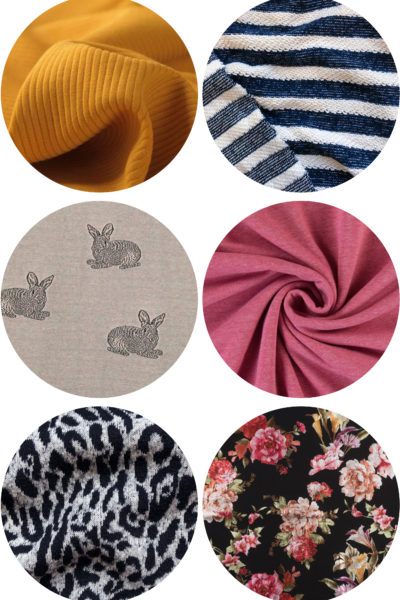
If you’re just joining us, head over to the main Tobin Sweater sewalong page to get tips for choosing your size, grading between sizes, and prepping your fabric. And we’ve also go you covered with inspiration from ready-to-wear fashion as well as our favorite sweater knit fabrics available online!
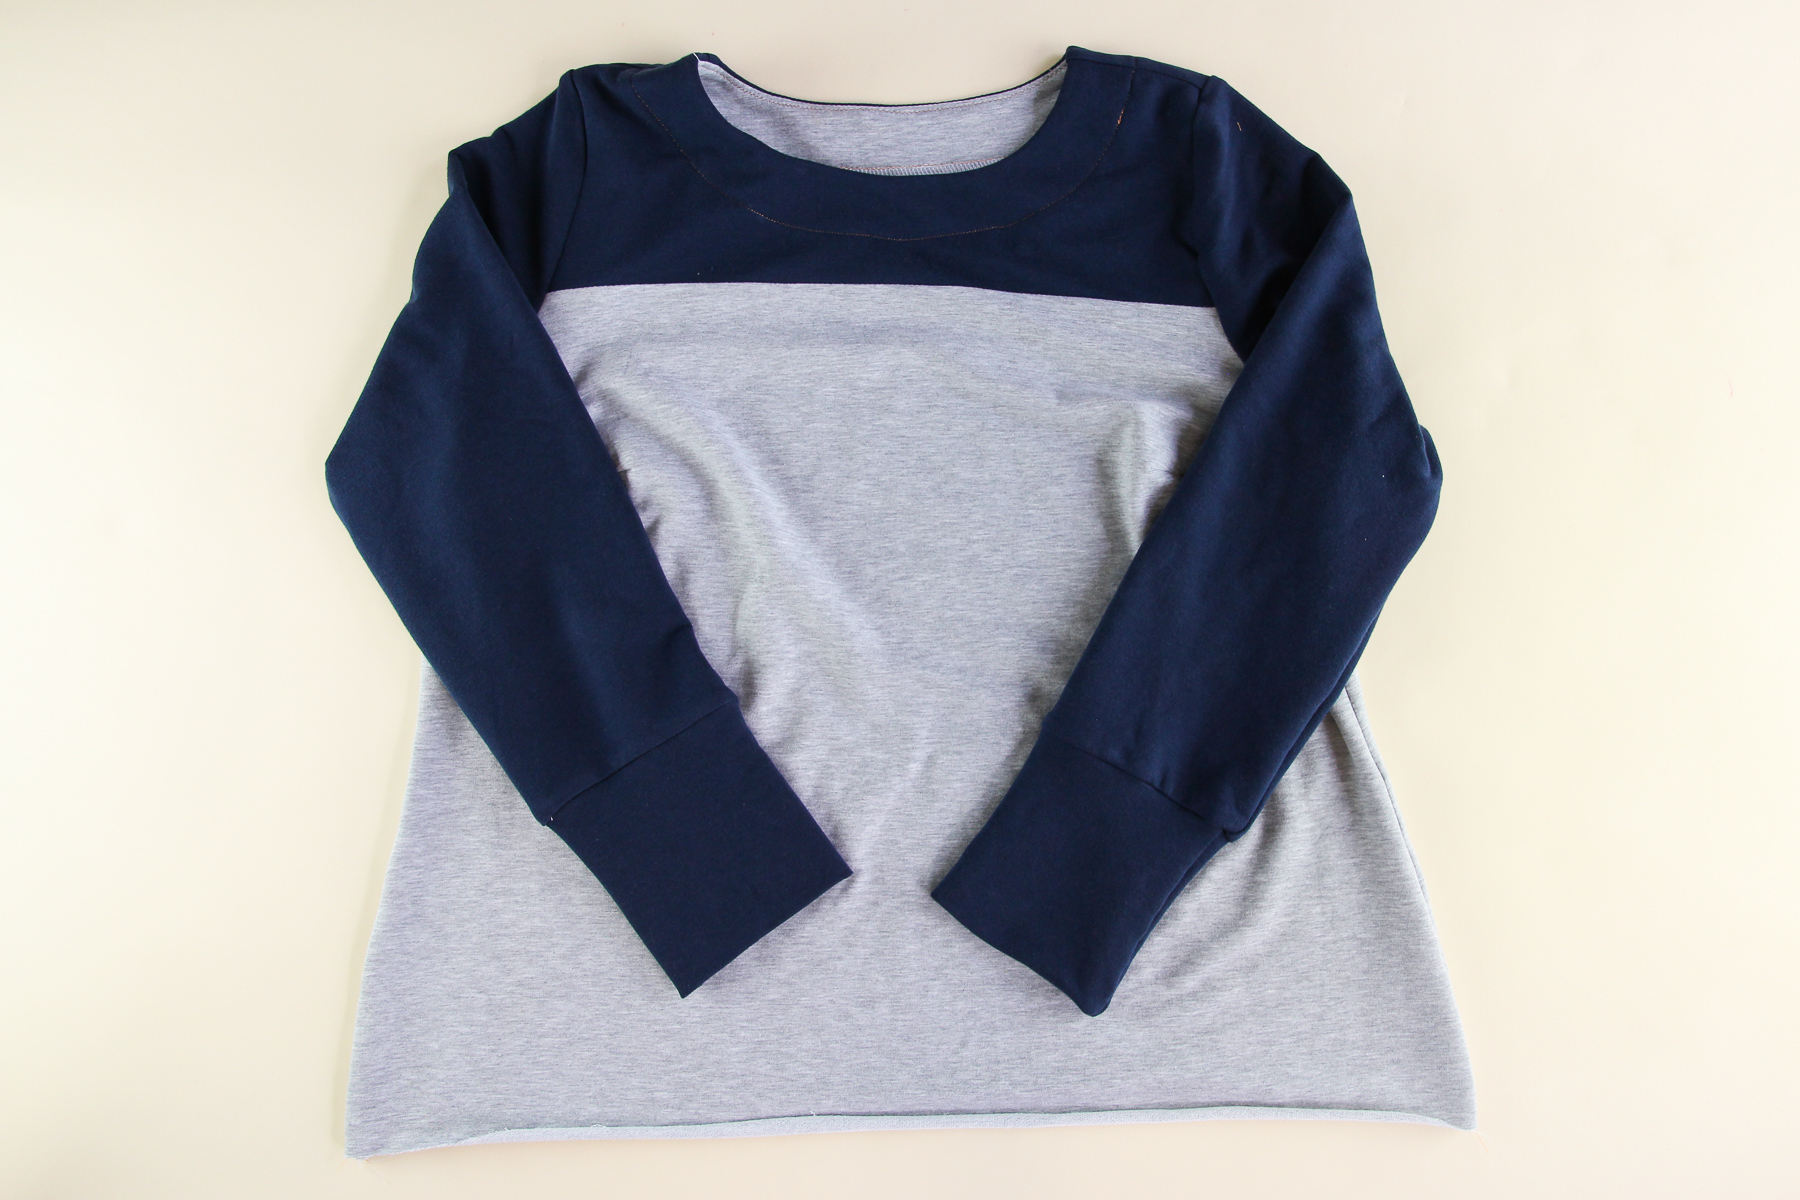
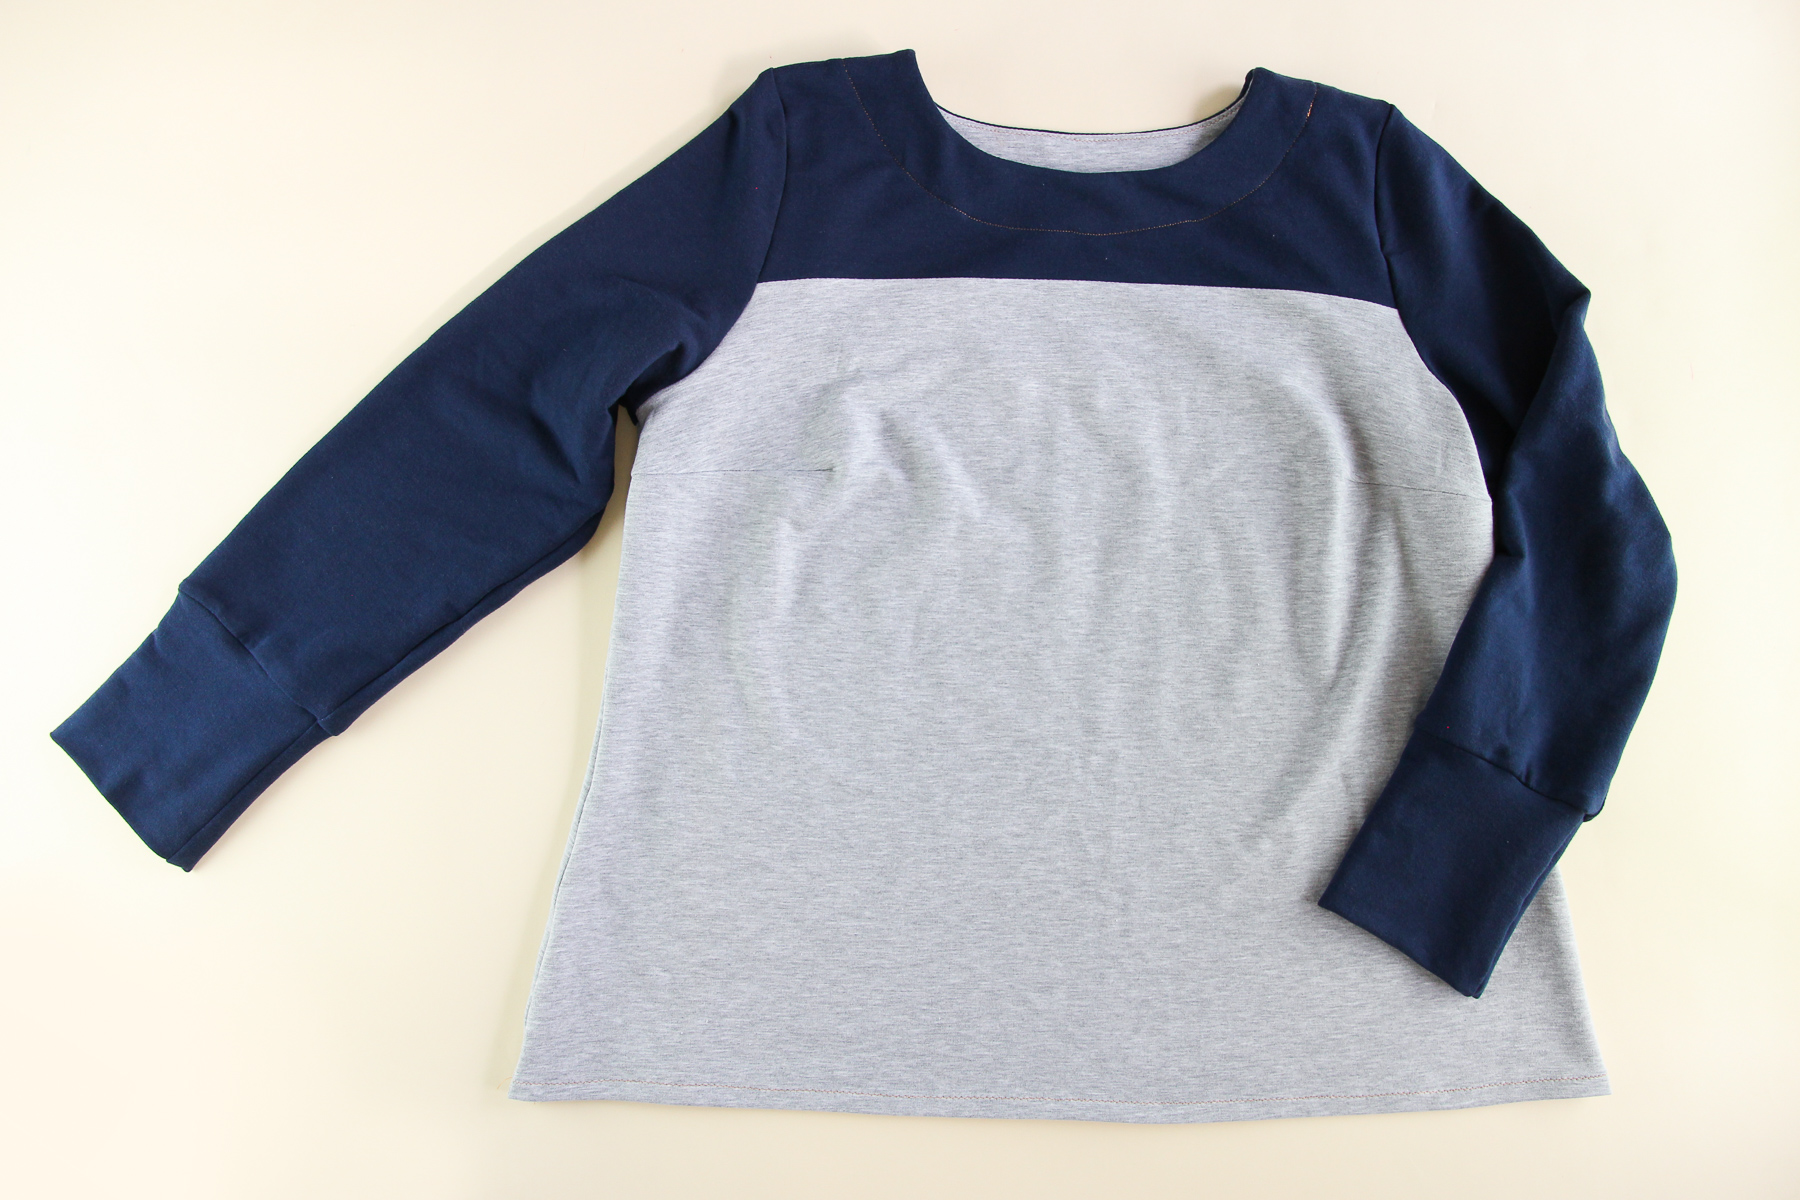
Alright, let’s get to sewing. We’ve making View C of the Tobin Sweater—the classic sweatshirt with a color block twist. Here’s what it looks like when it’s all done:
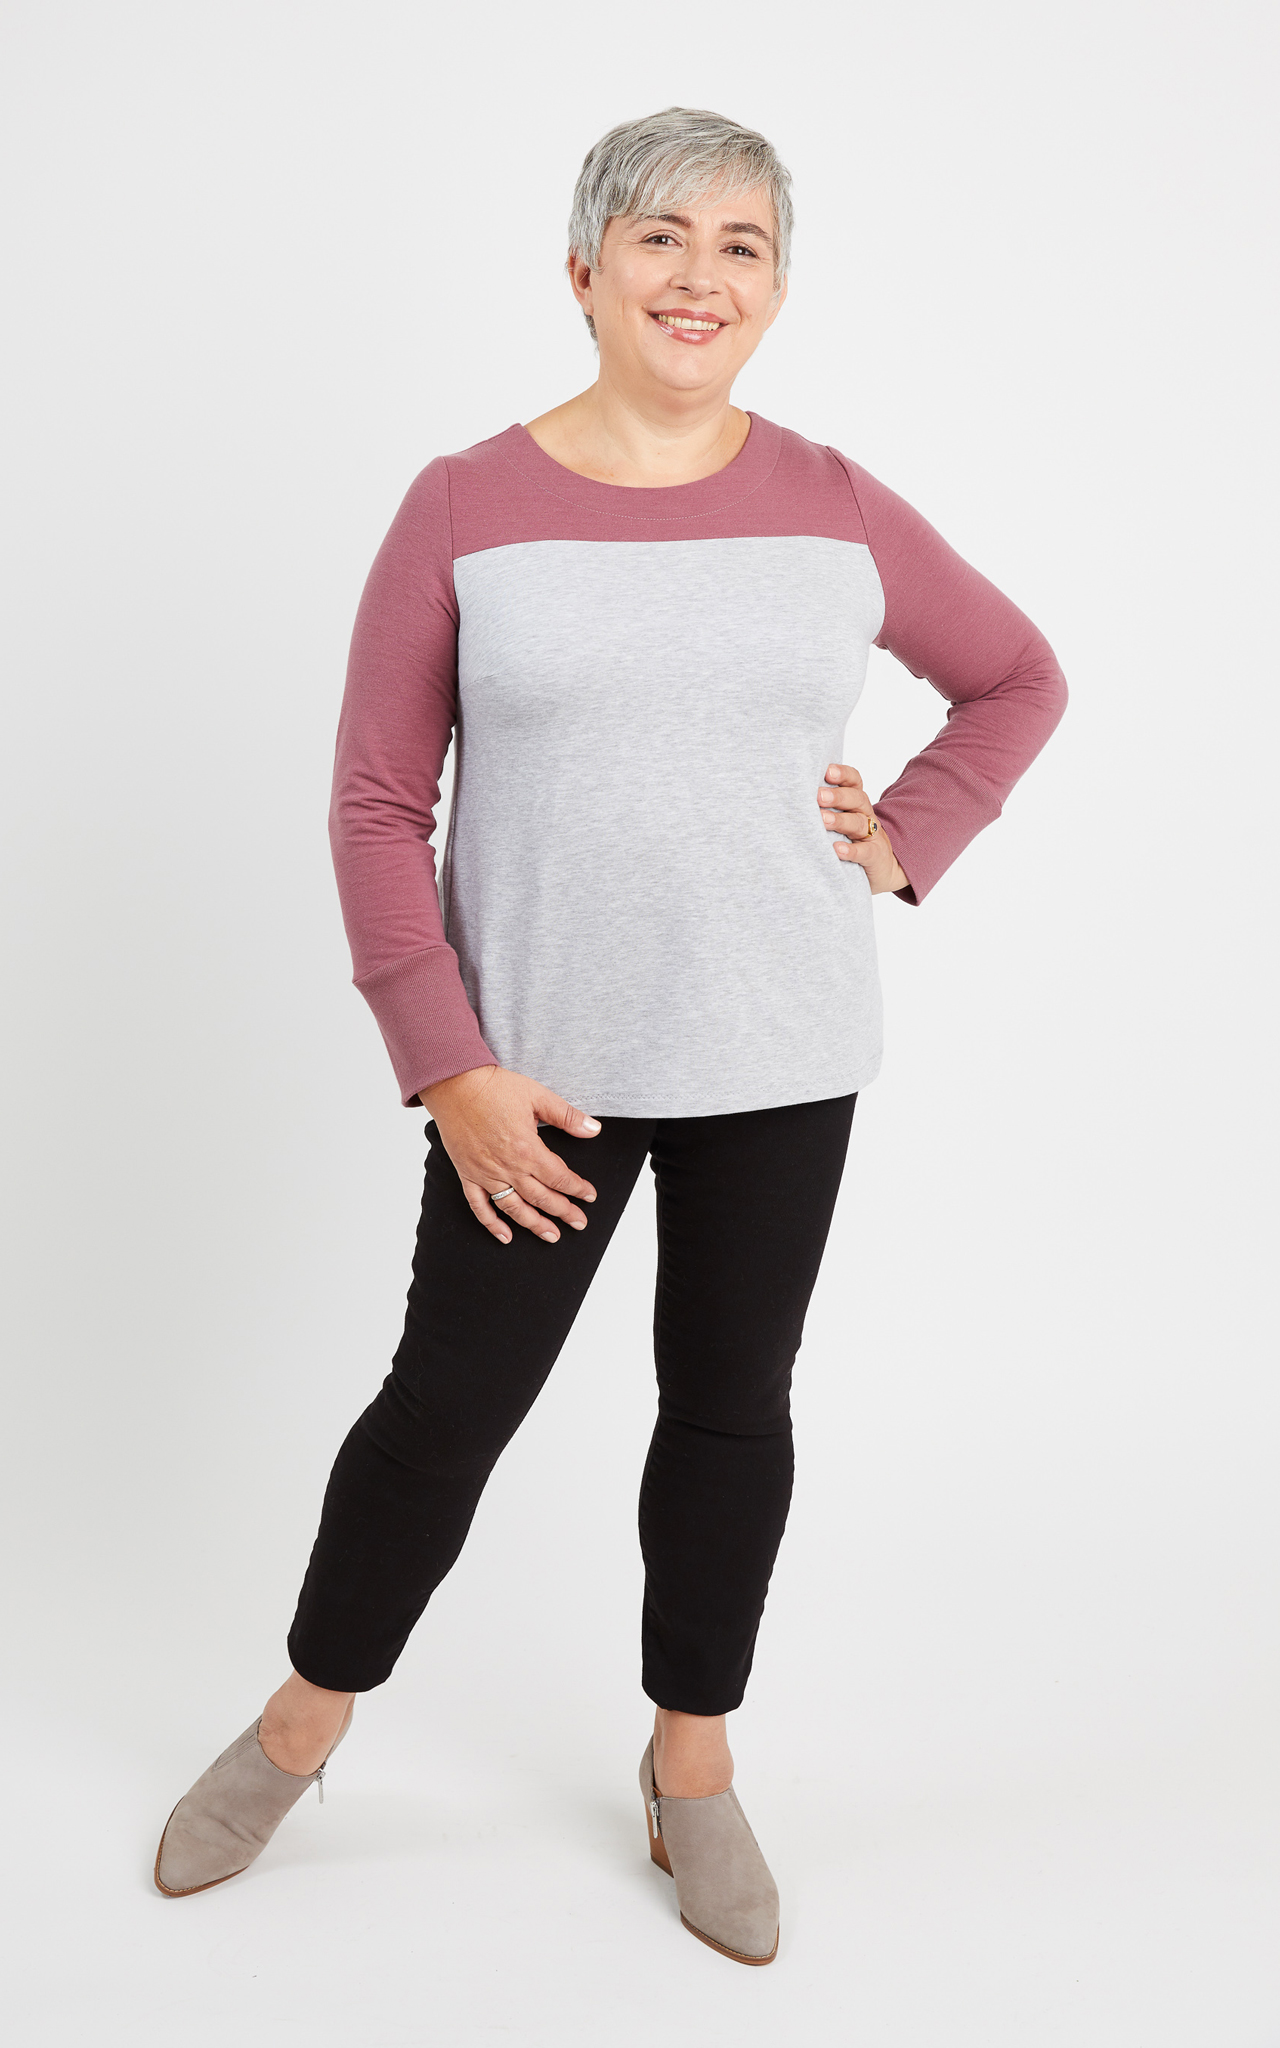
Cute, right?! Everyone should have one, so let’s start making ours.
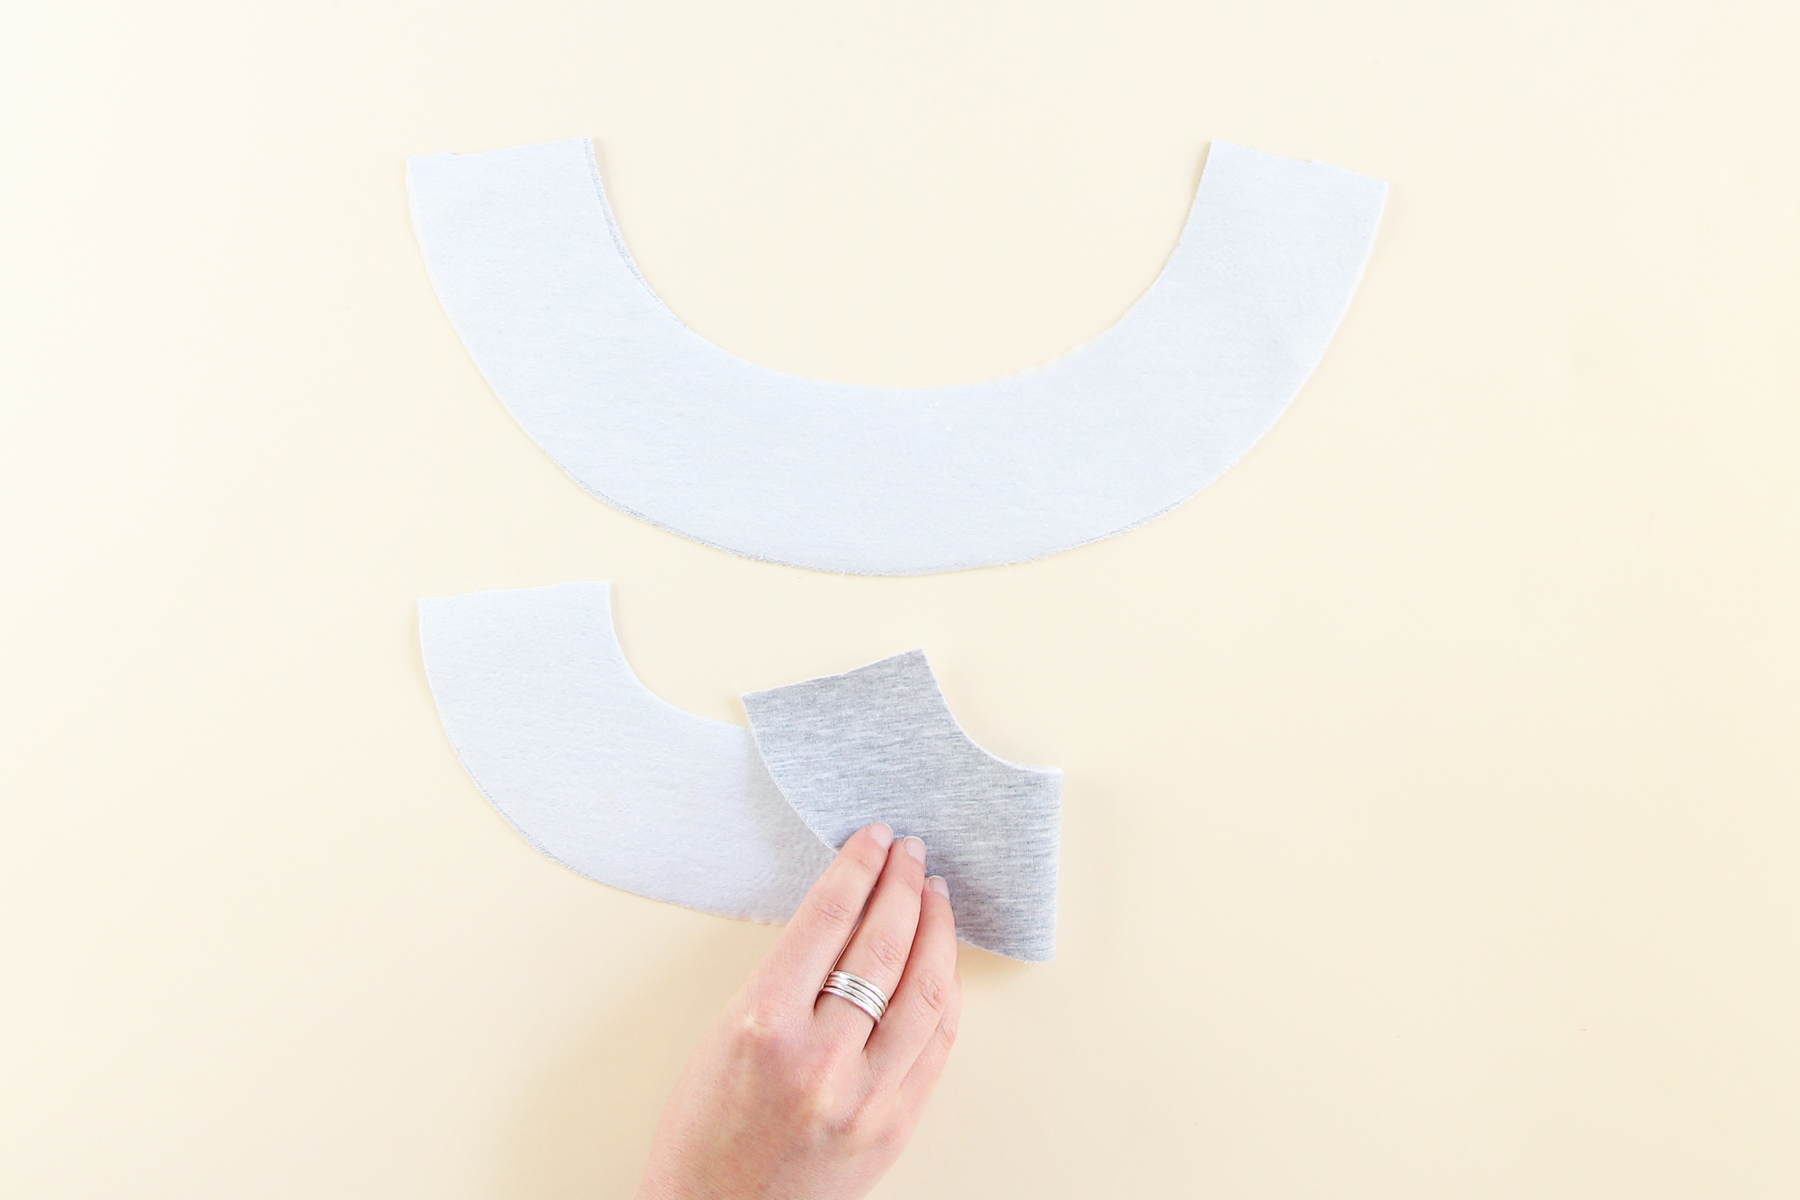
We’re going to start by applying lightweight knit interfacing to our front and back neck facing pieces. This gives our neckline a little more support and structure.
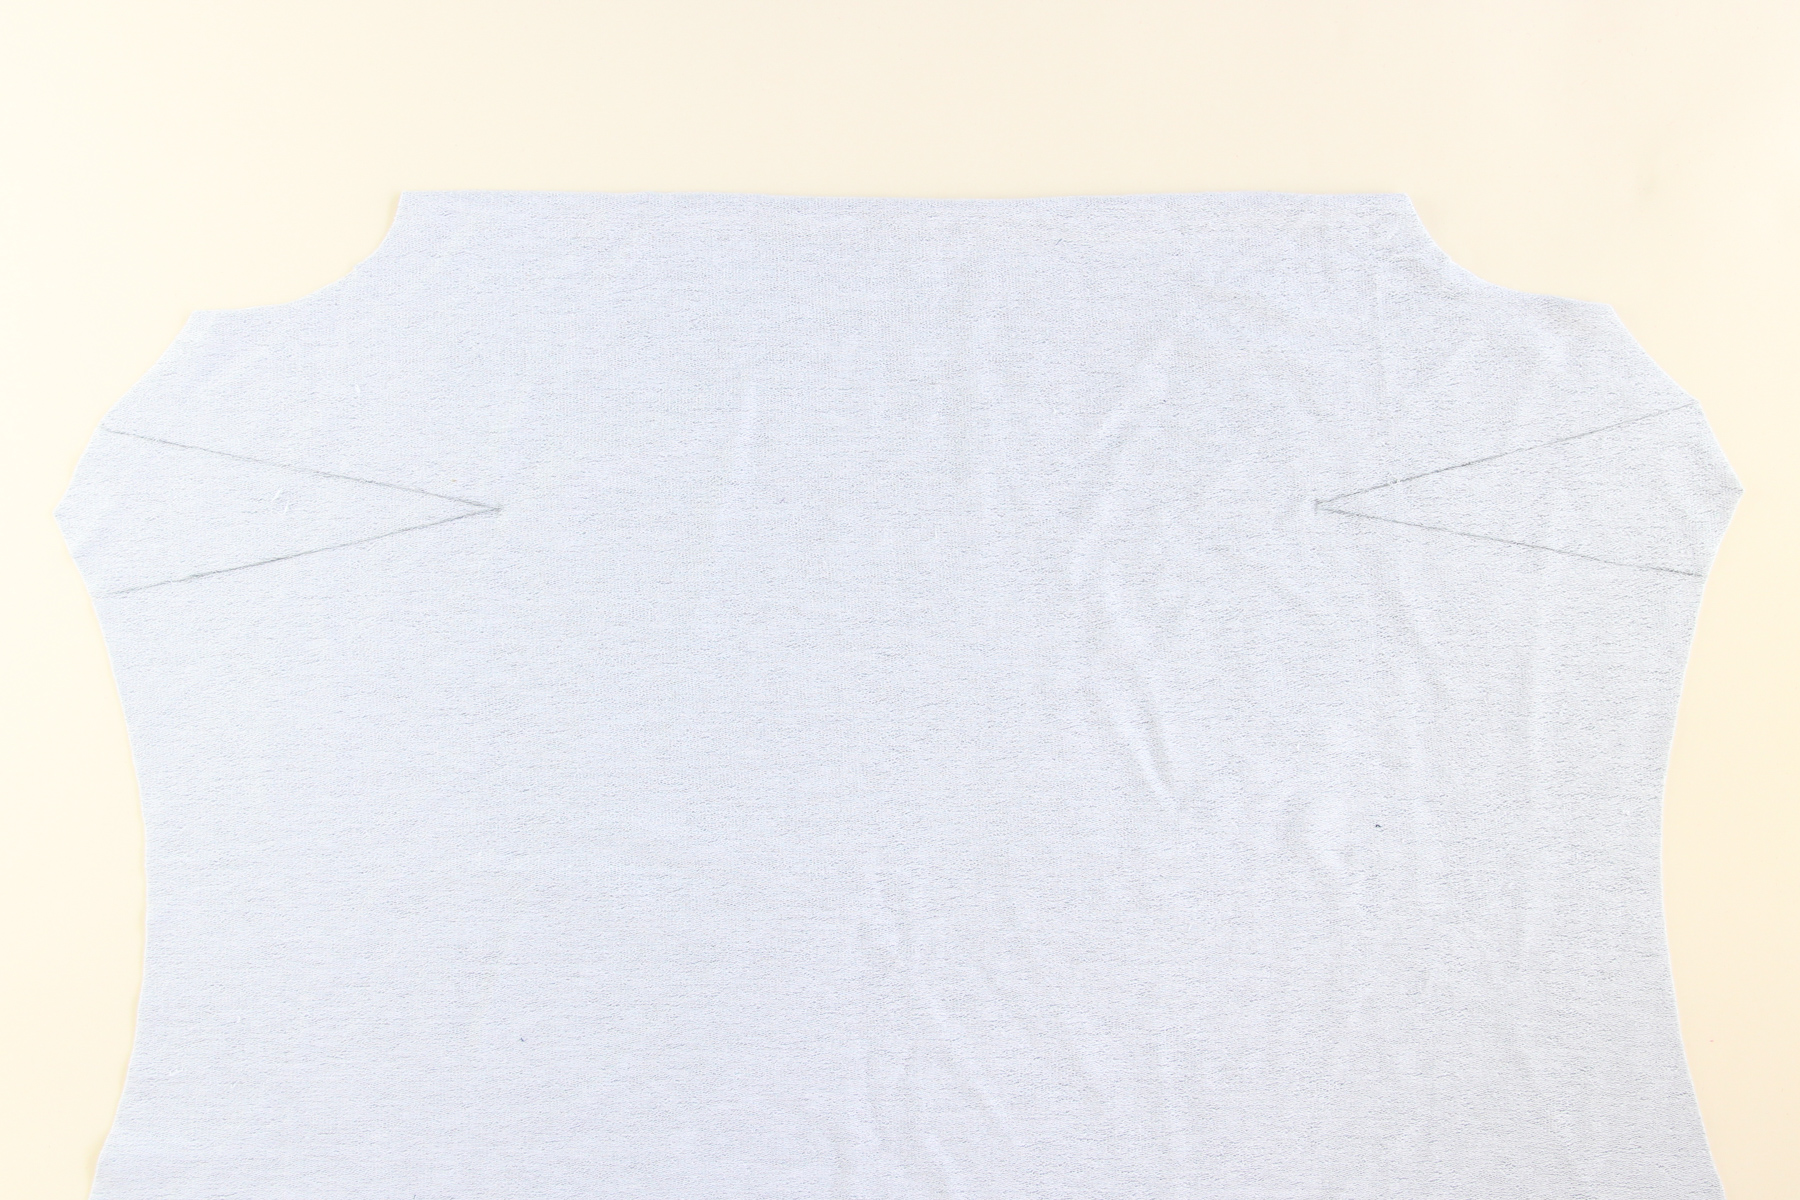
Let’s mark our bust darts on our lower front piece. (These darts, while a bit fiddly to sew, will make this likely the best-fitting sweatshirt you’ve ever worn.) Use tailor’s chalk for this, but make sure that it’ll come out of your fabric (some sweater knits have a tendency to hang on to chalk).
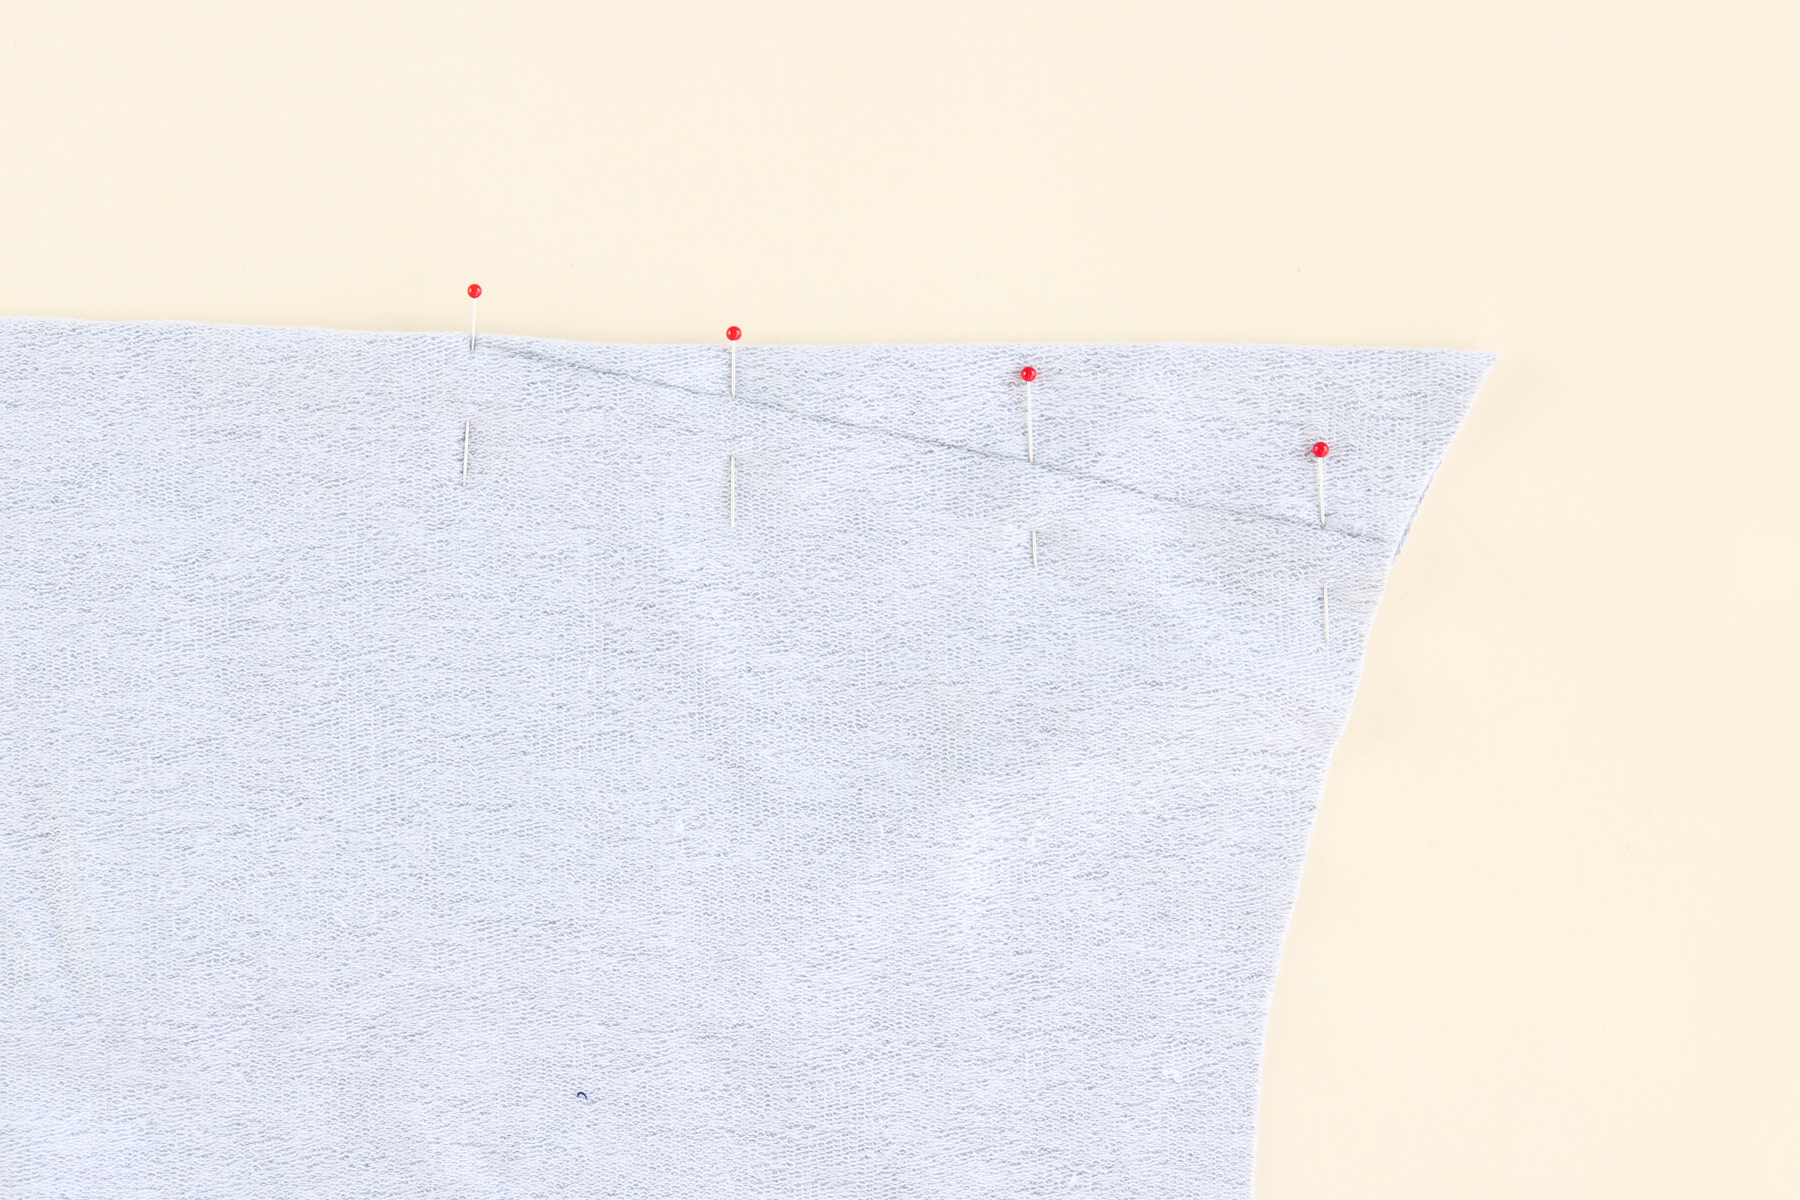
Fold your dart in half and pin on the wrong side.
Sew along the dart leg using a straight stitch, starting at the side seam and ending at point of the dart. Tie off the ends and snip them.
I’m sewing all of my seams with contrast thread so you can see them more easily but you should sew with a coordinating thread.
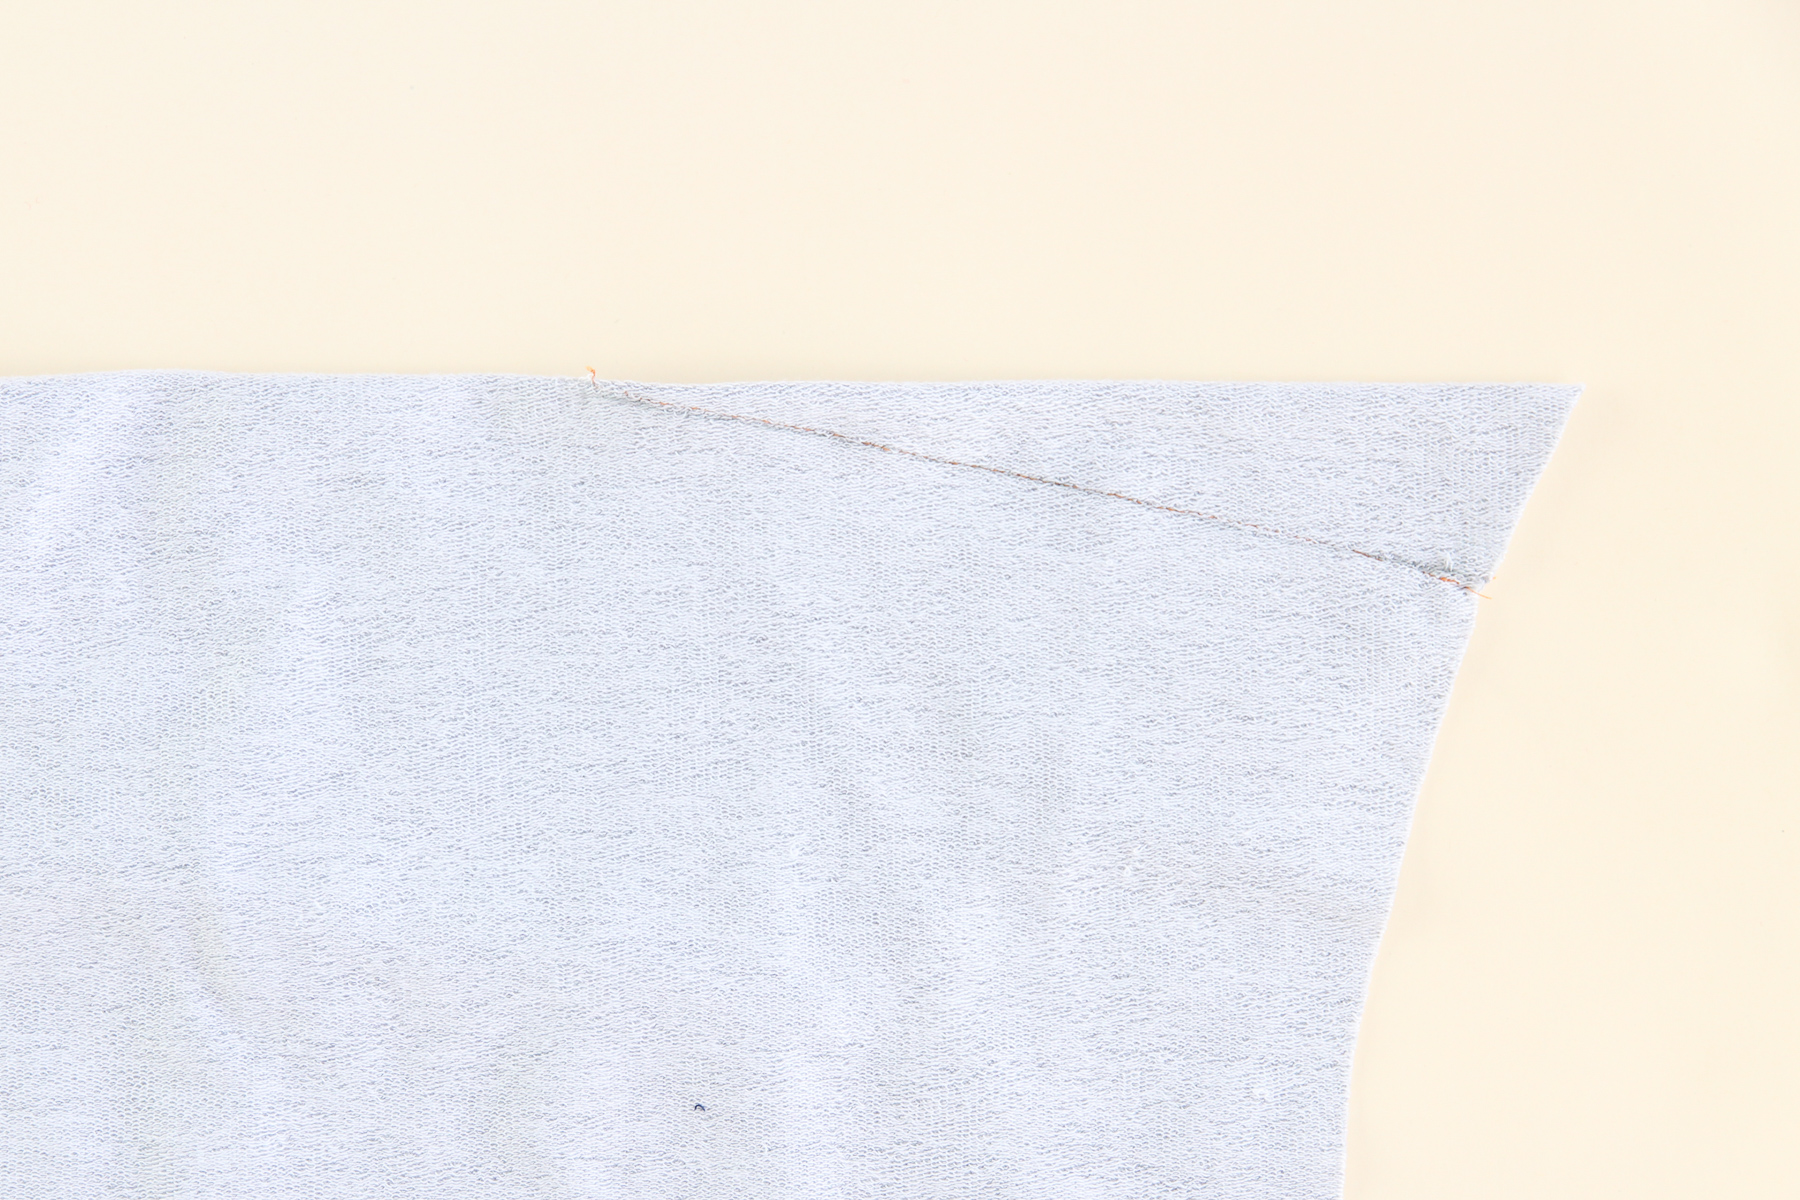
Let’s do the same with the other dart.
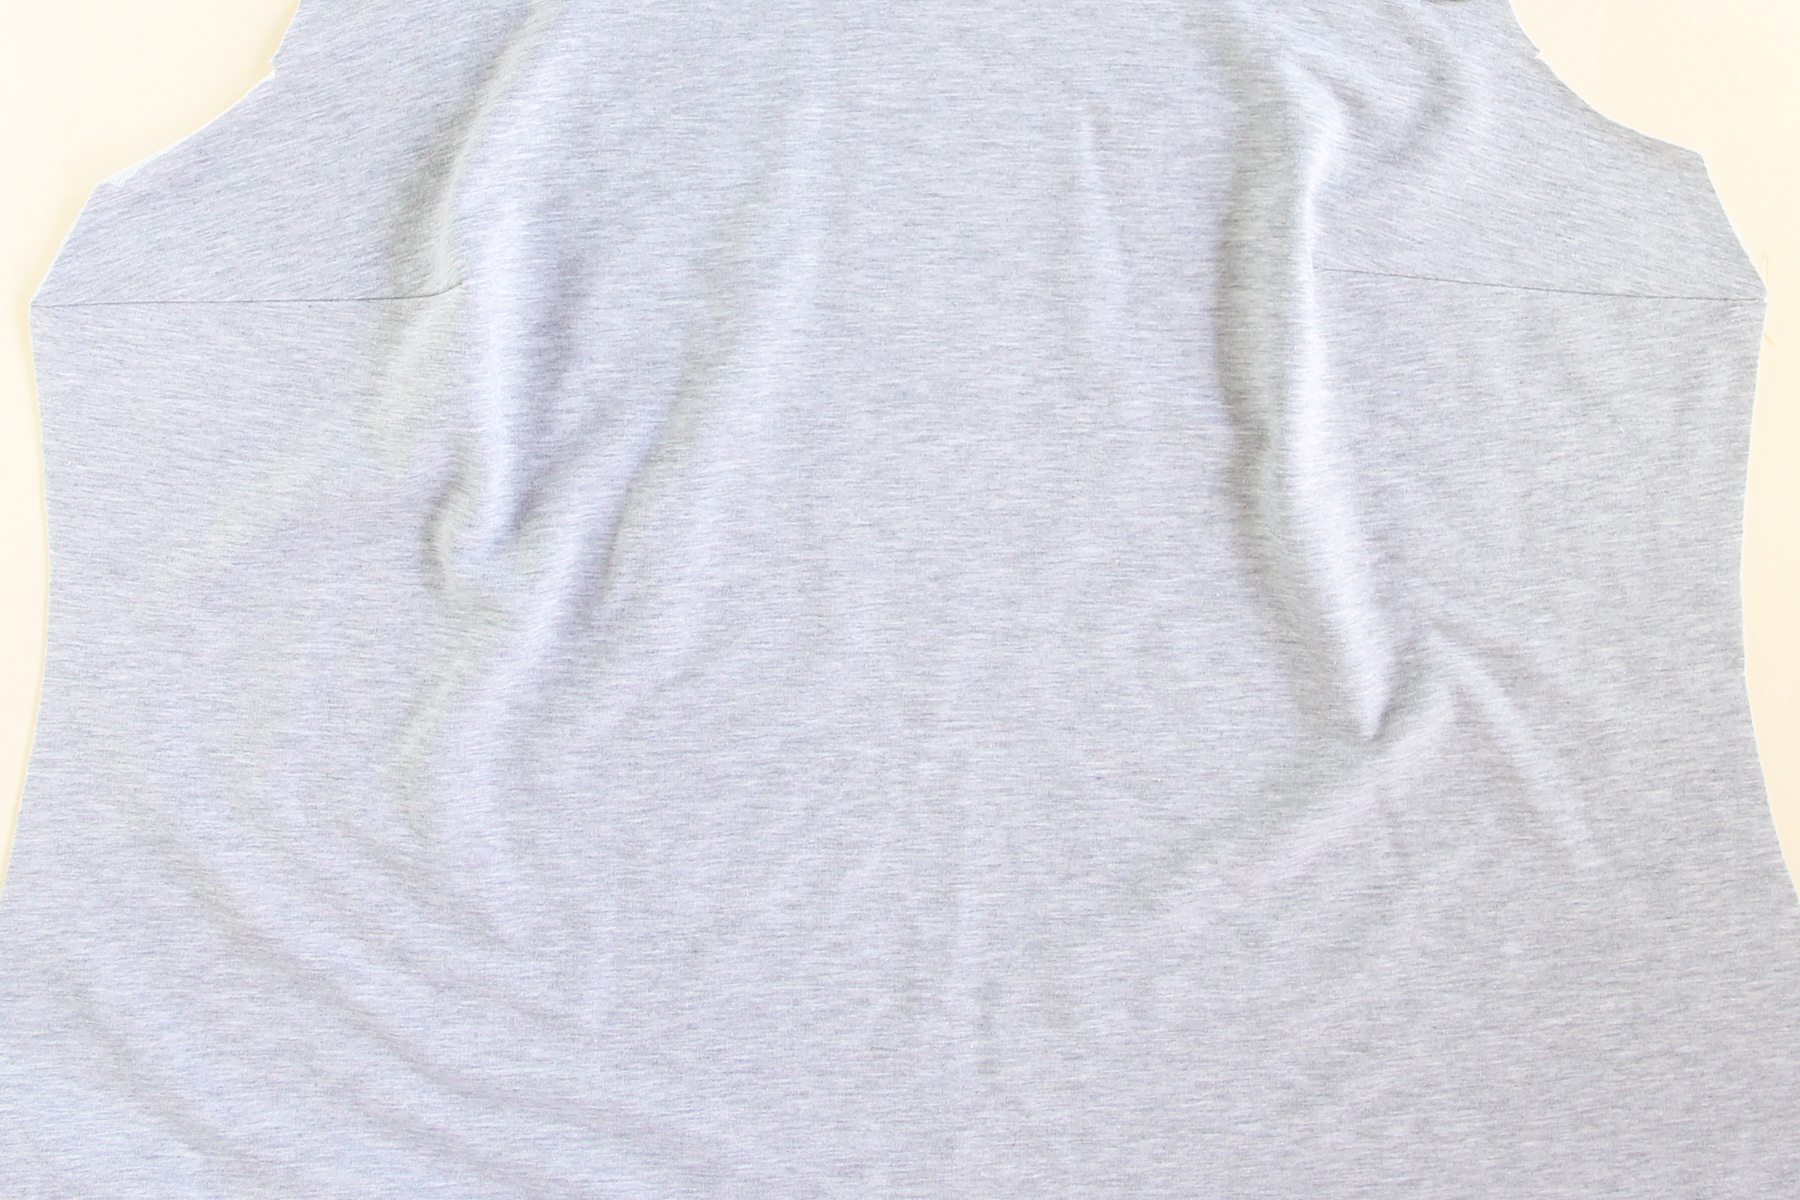
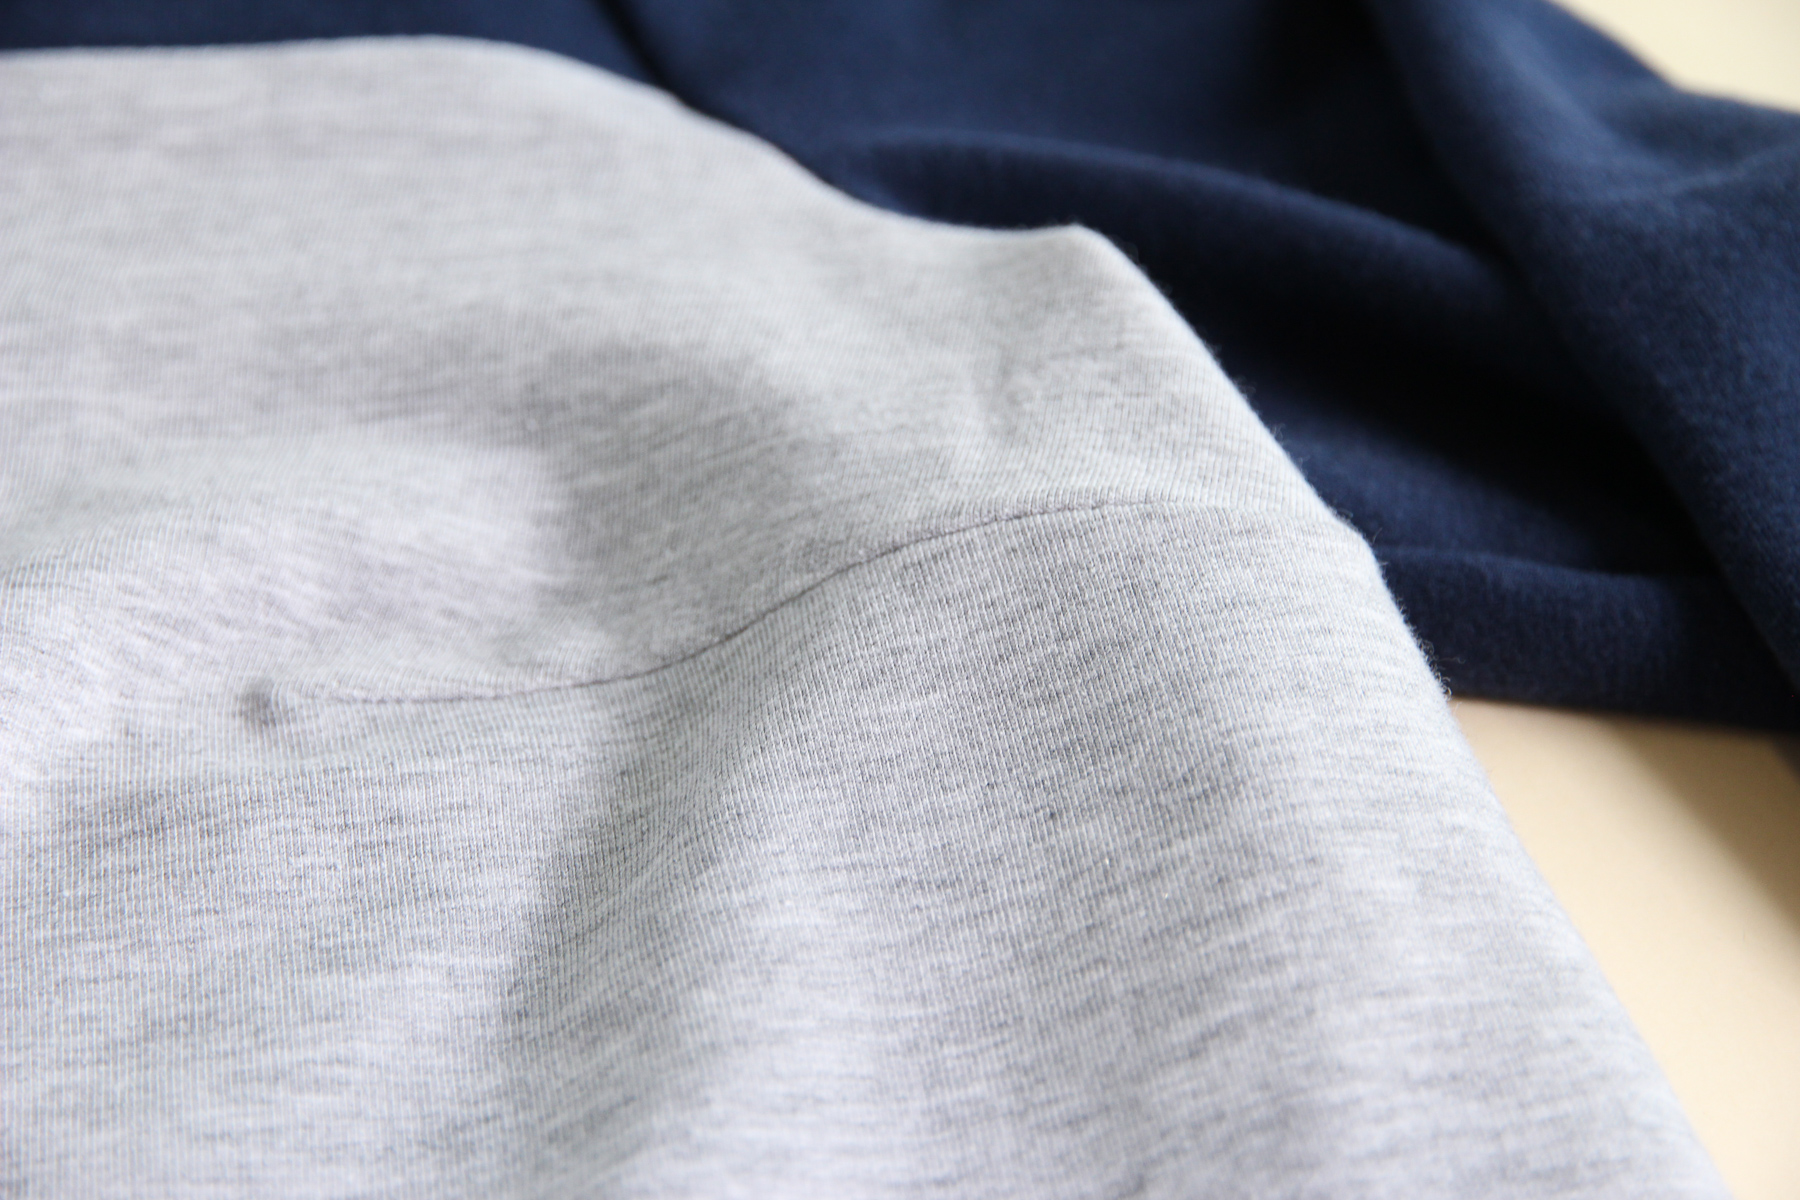
Now we need to press our darts flat and then upwards. It’s helpful to use a ham here.
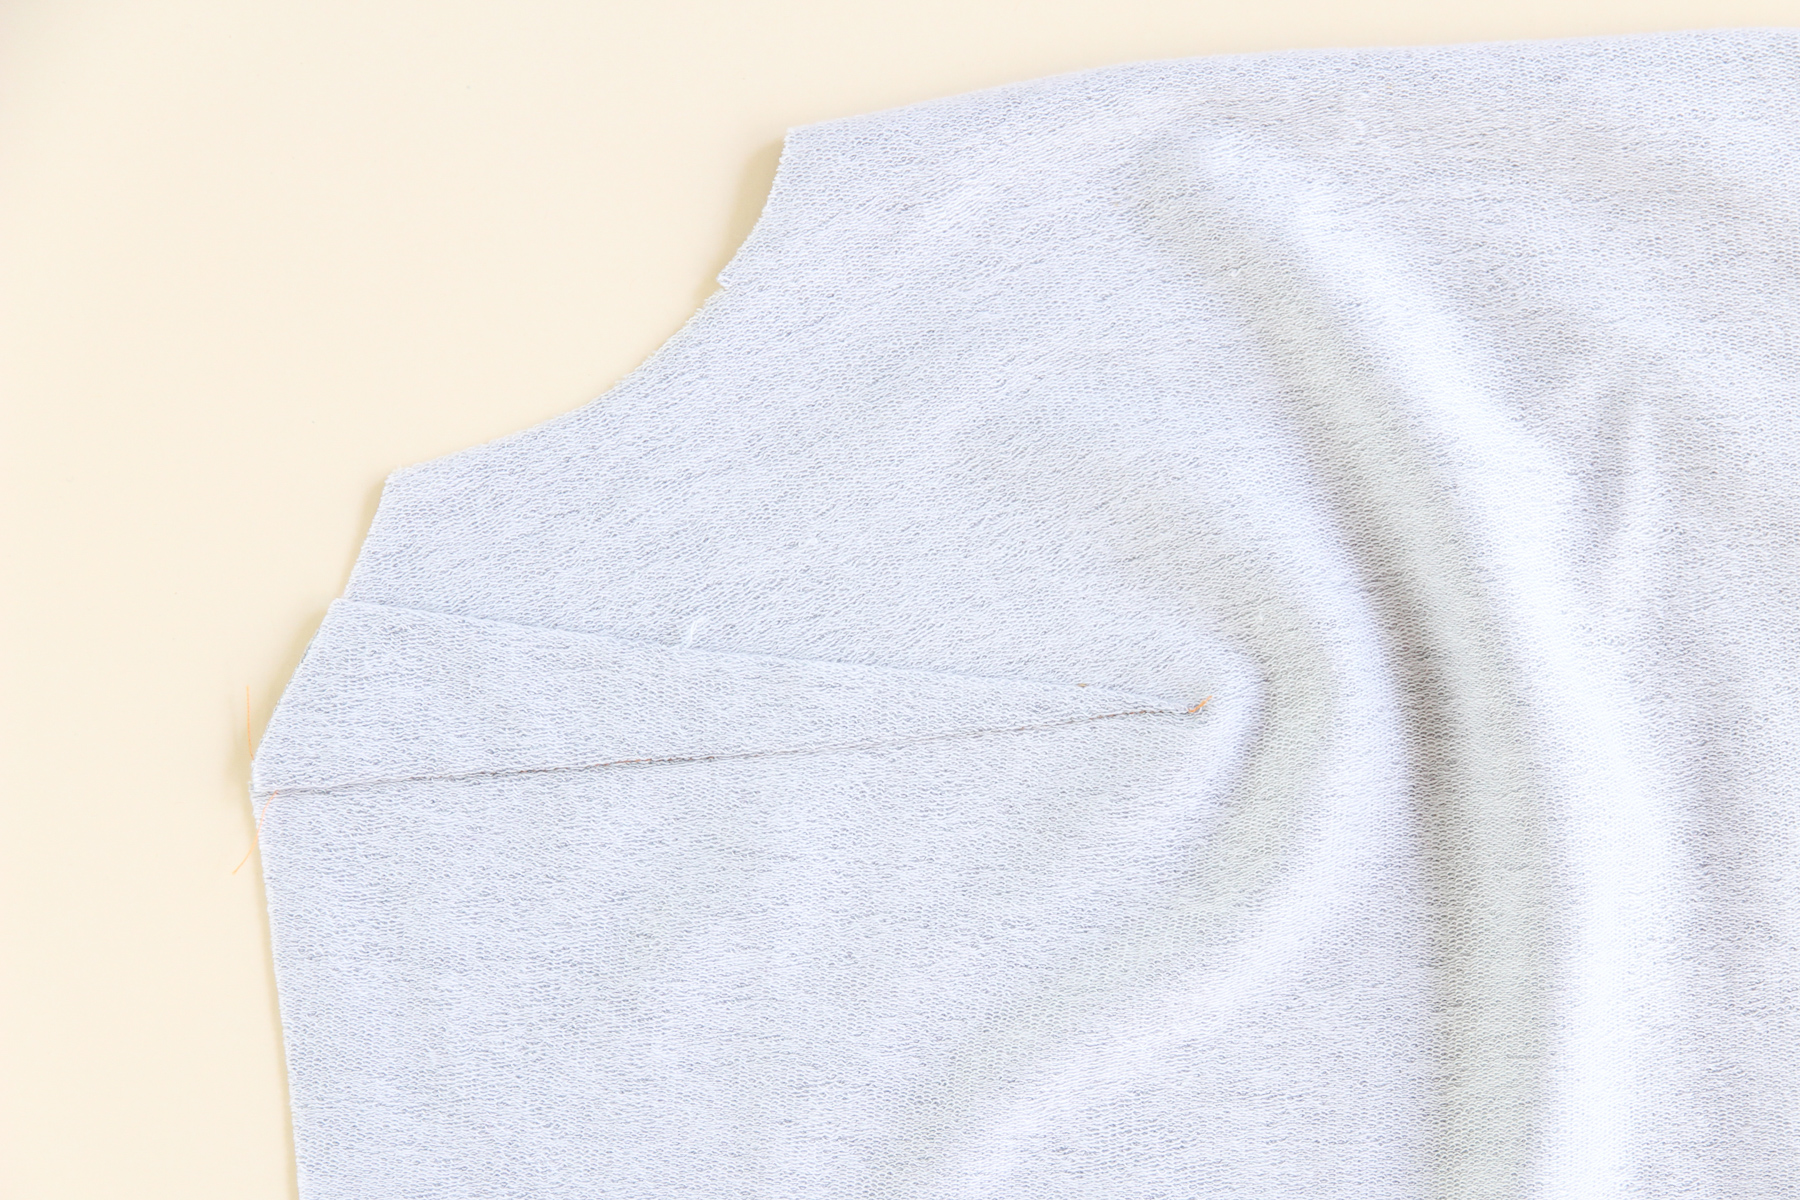
If your dart is sticking out past the side seam, snip it off so that it’s lined up nicely.
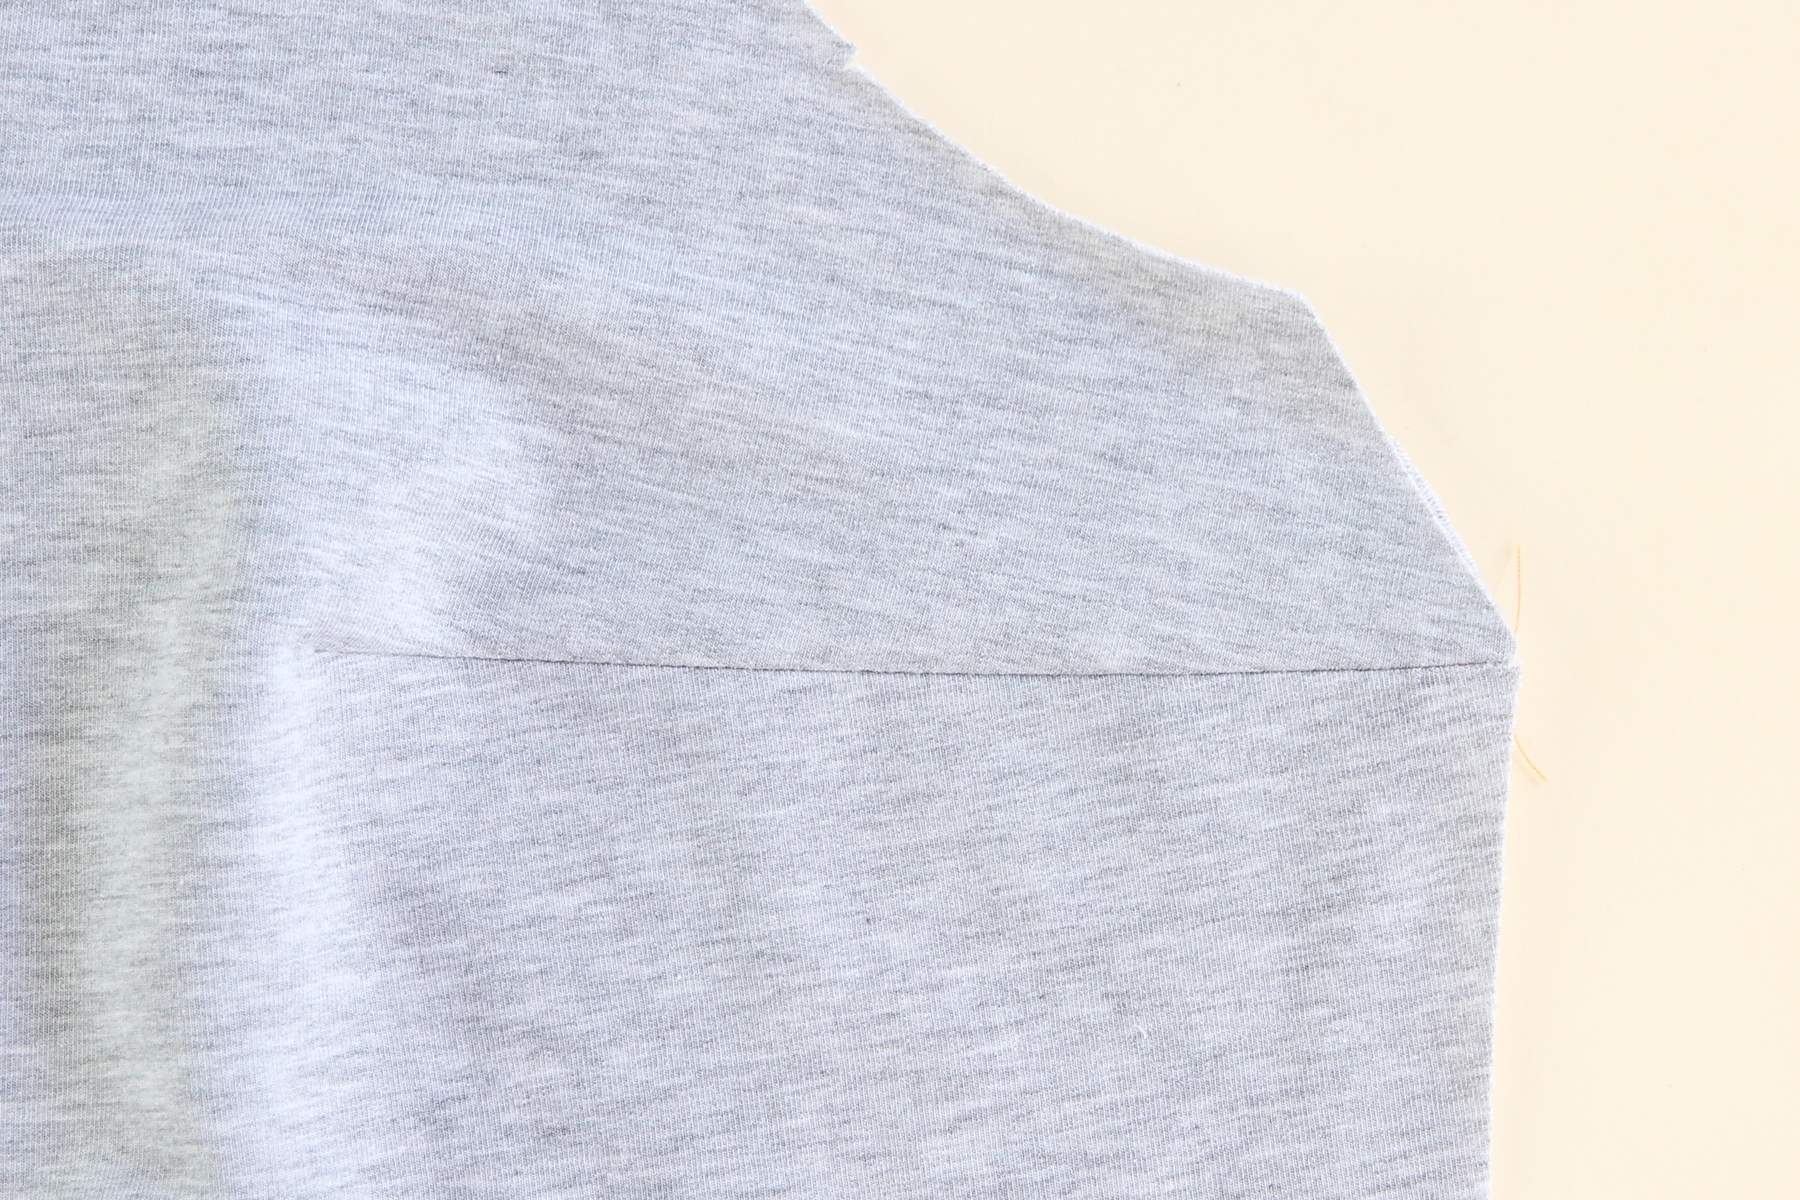
Darts are done! Now we’re going to assemble the front of our sweater. Line up the upper front with the lower front, right sides together, and pin.
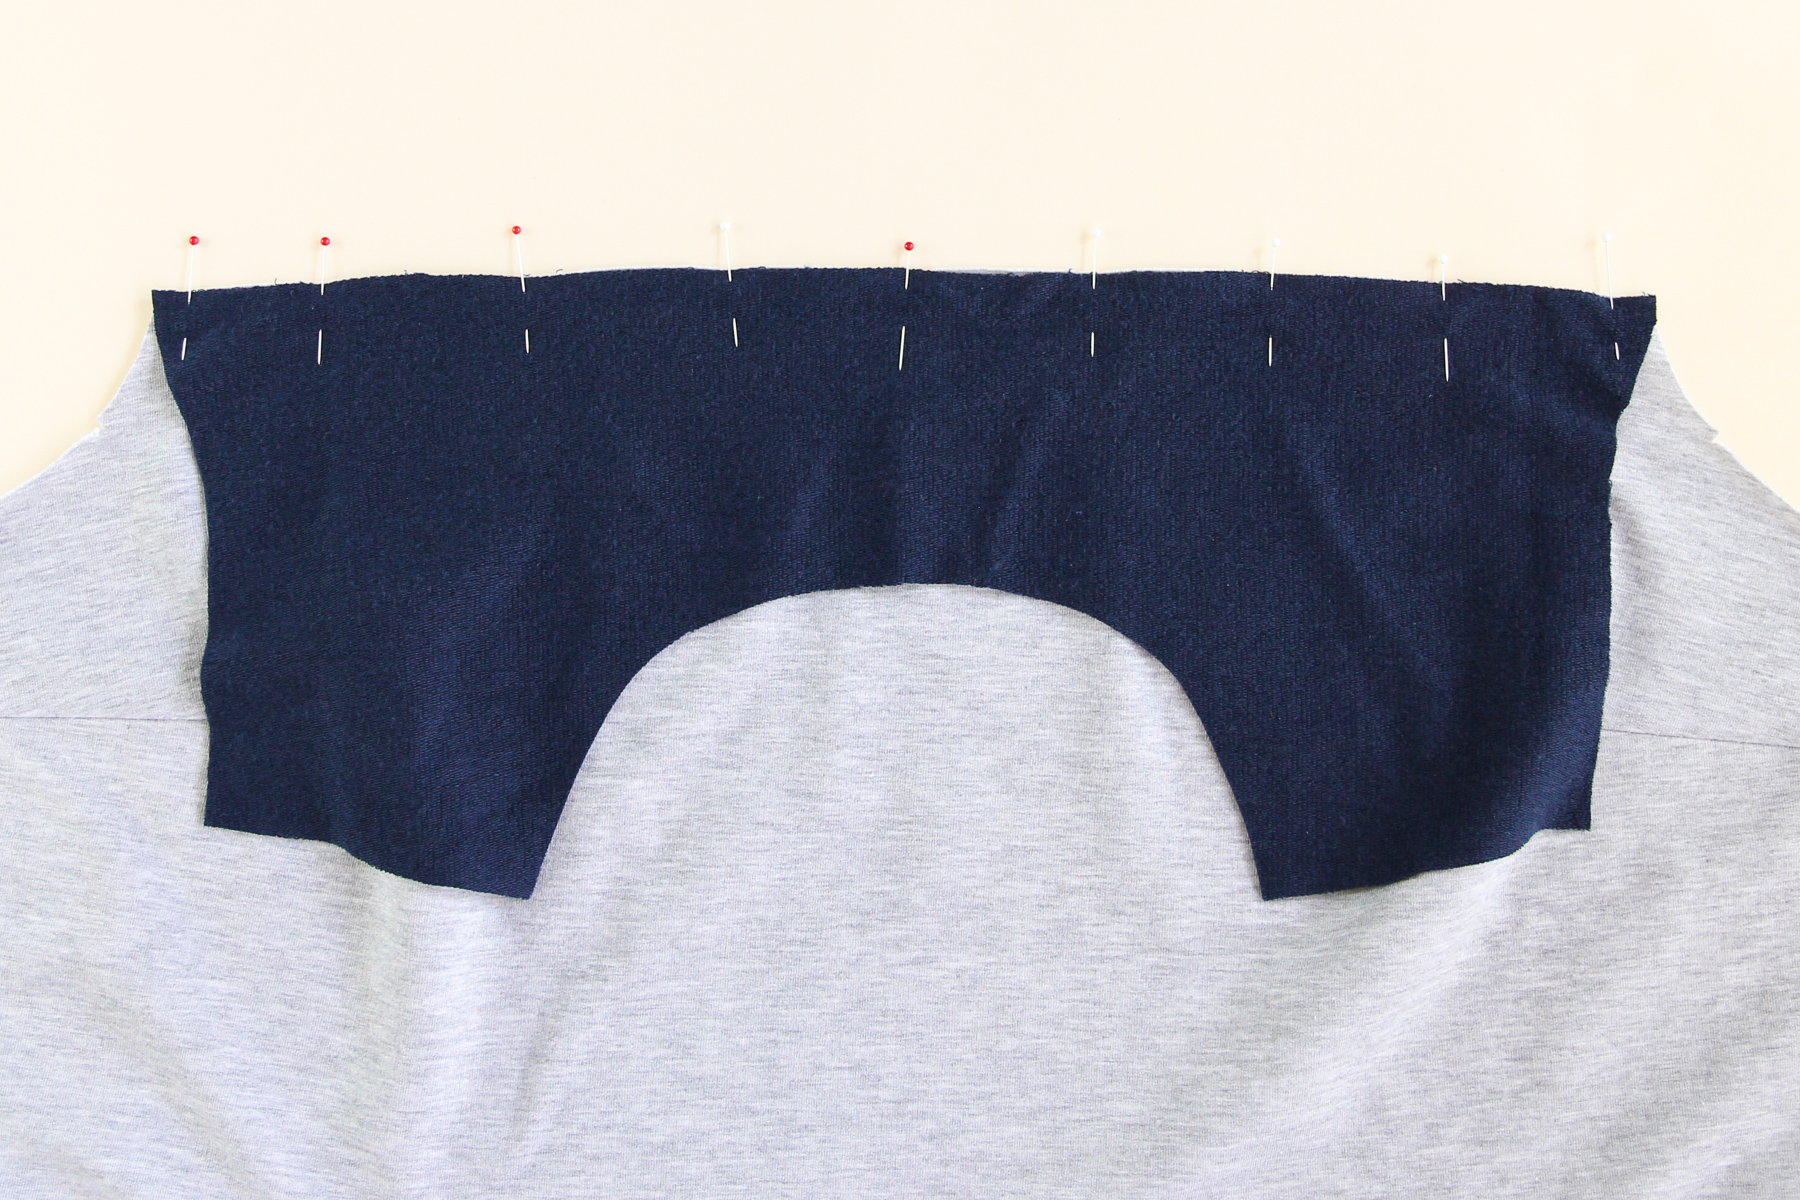
Let’s sew that seam at our 3/8” (1 cm) seam allowance. I’m sewing my seams on a sewing machine first so that you can see what I’m doing better, but you can sew directly on a serger to save the extra step.
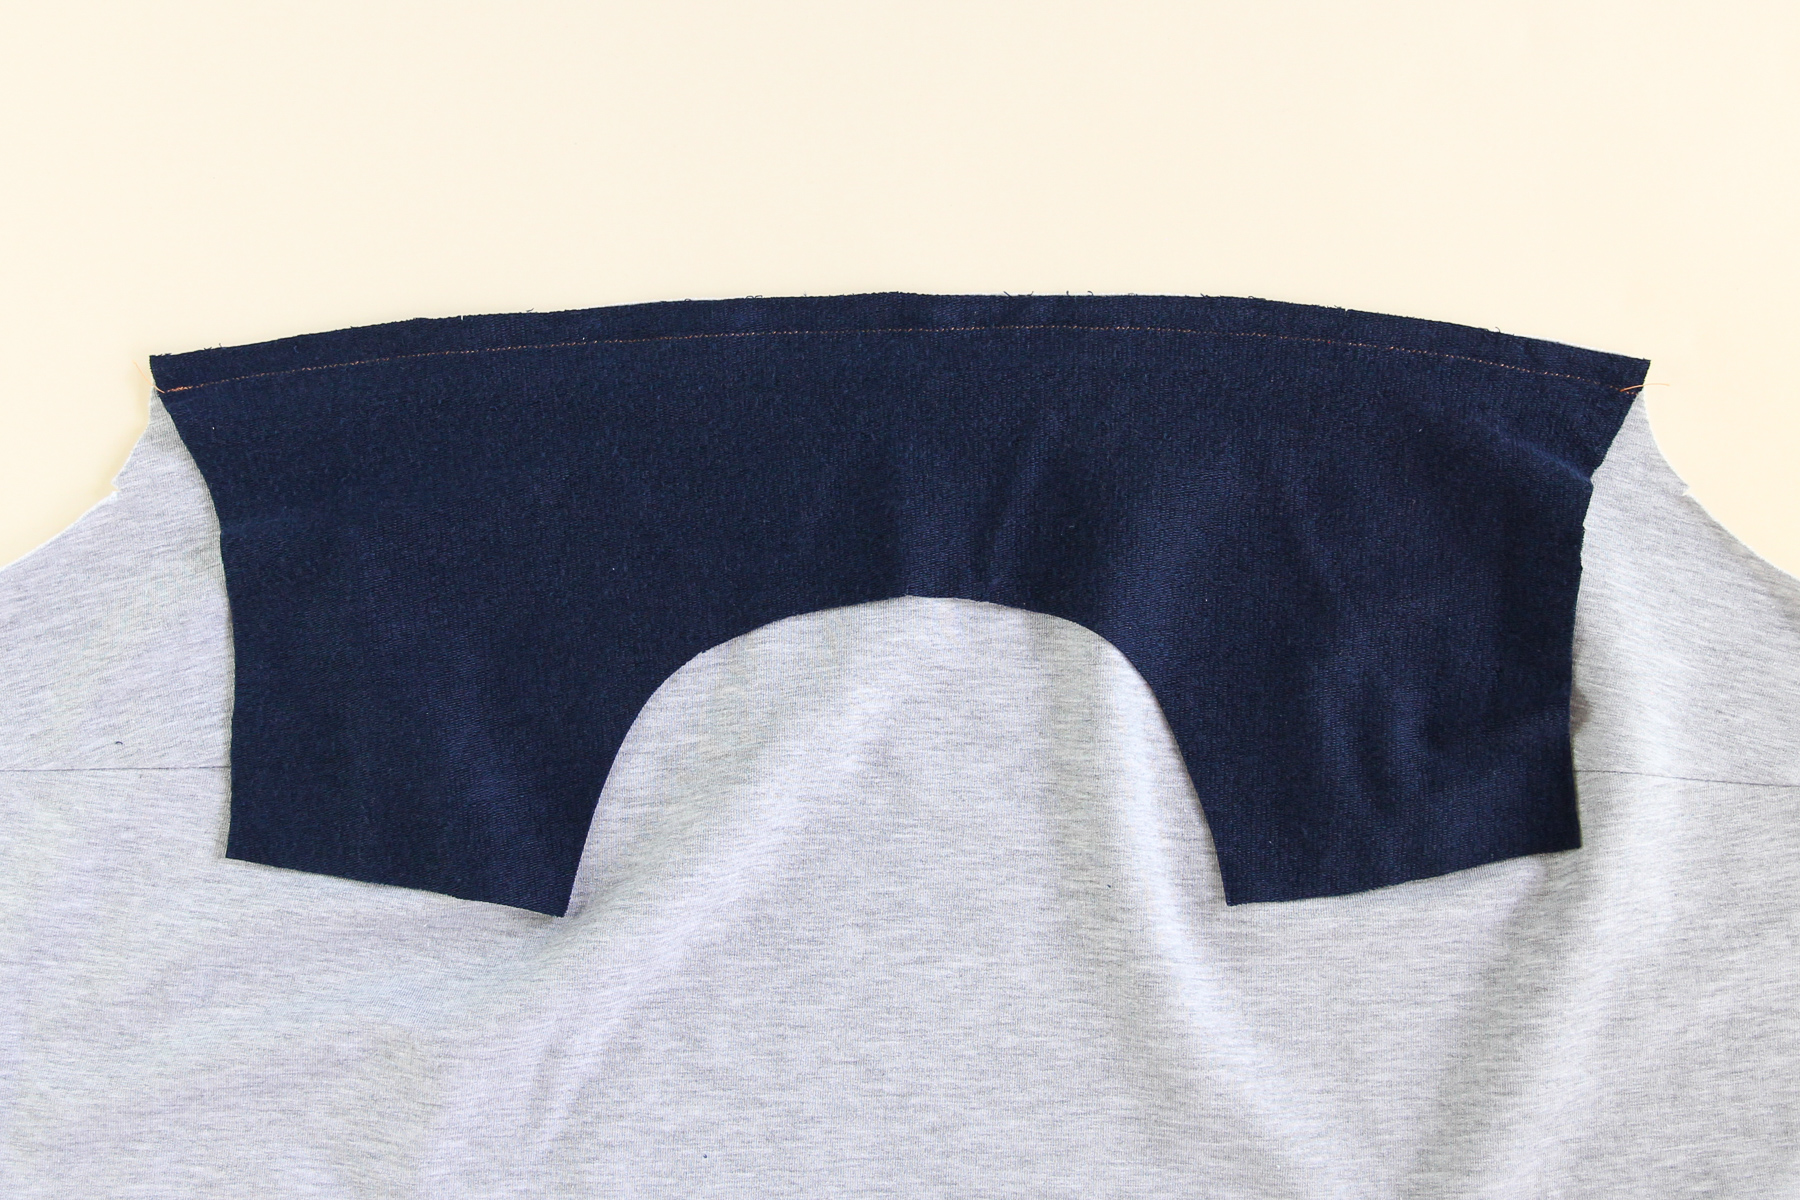
Finish that seam and press it down towards the hem.
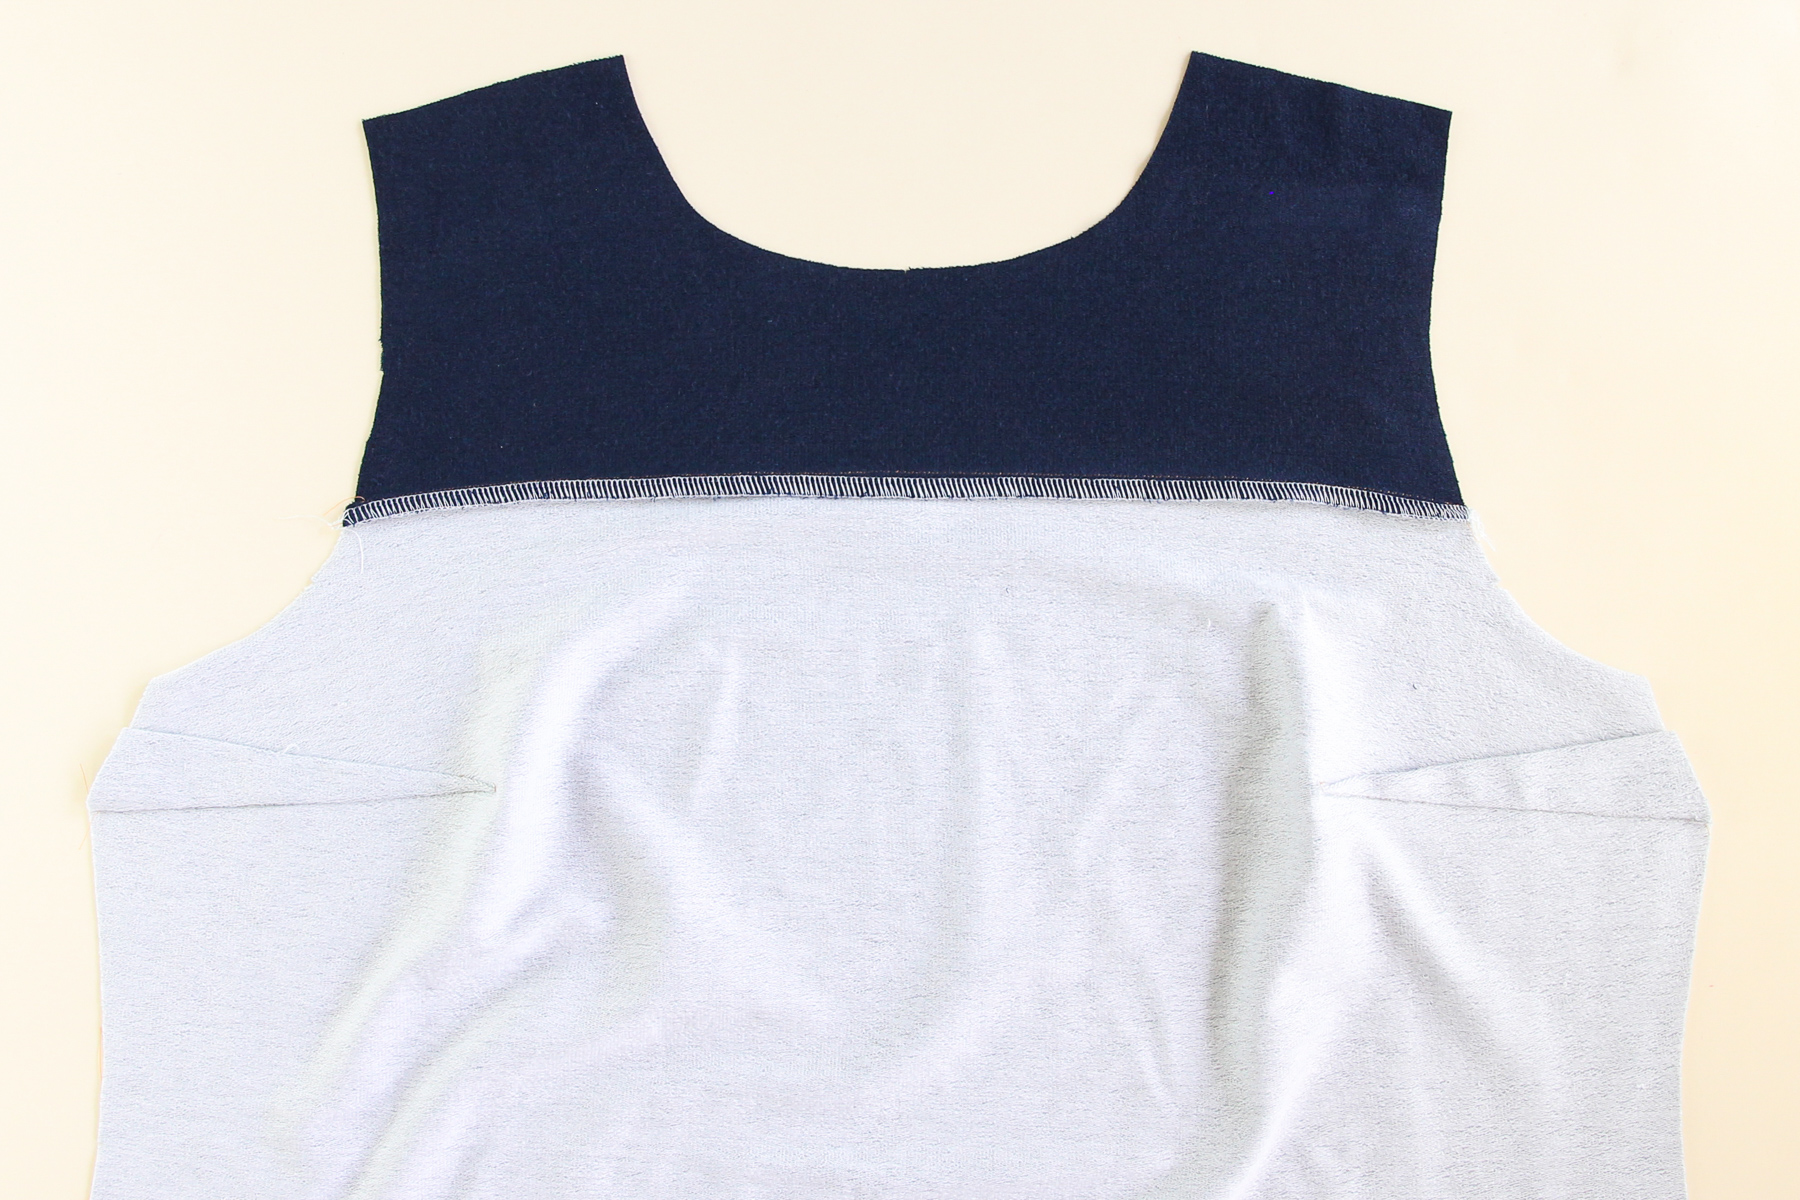
And there’s our assembled front!
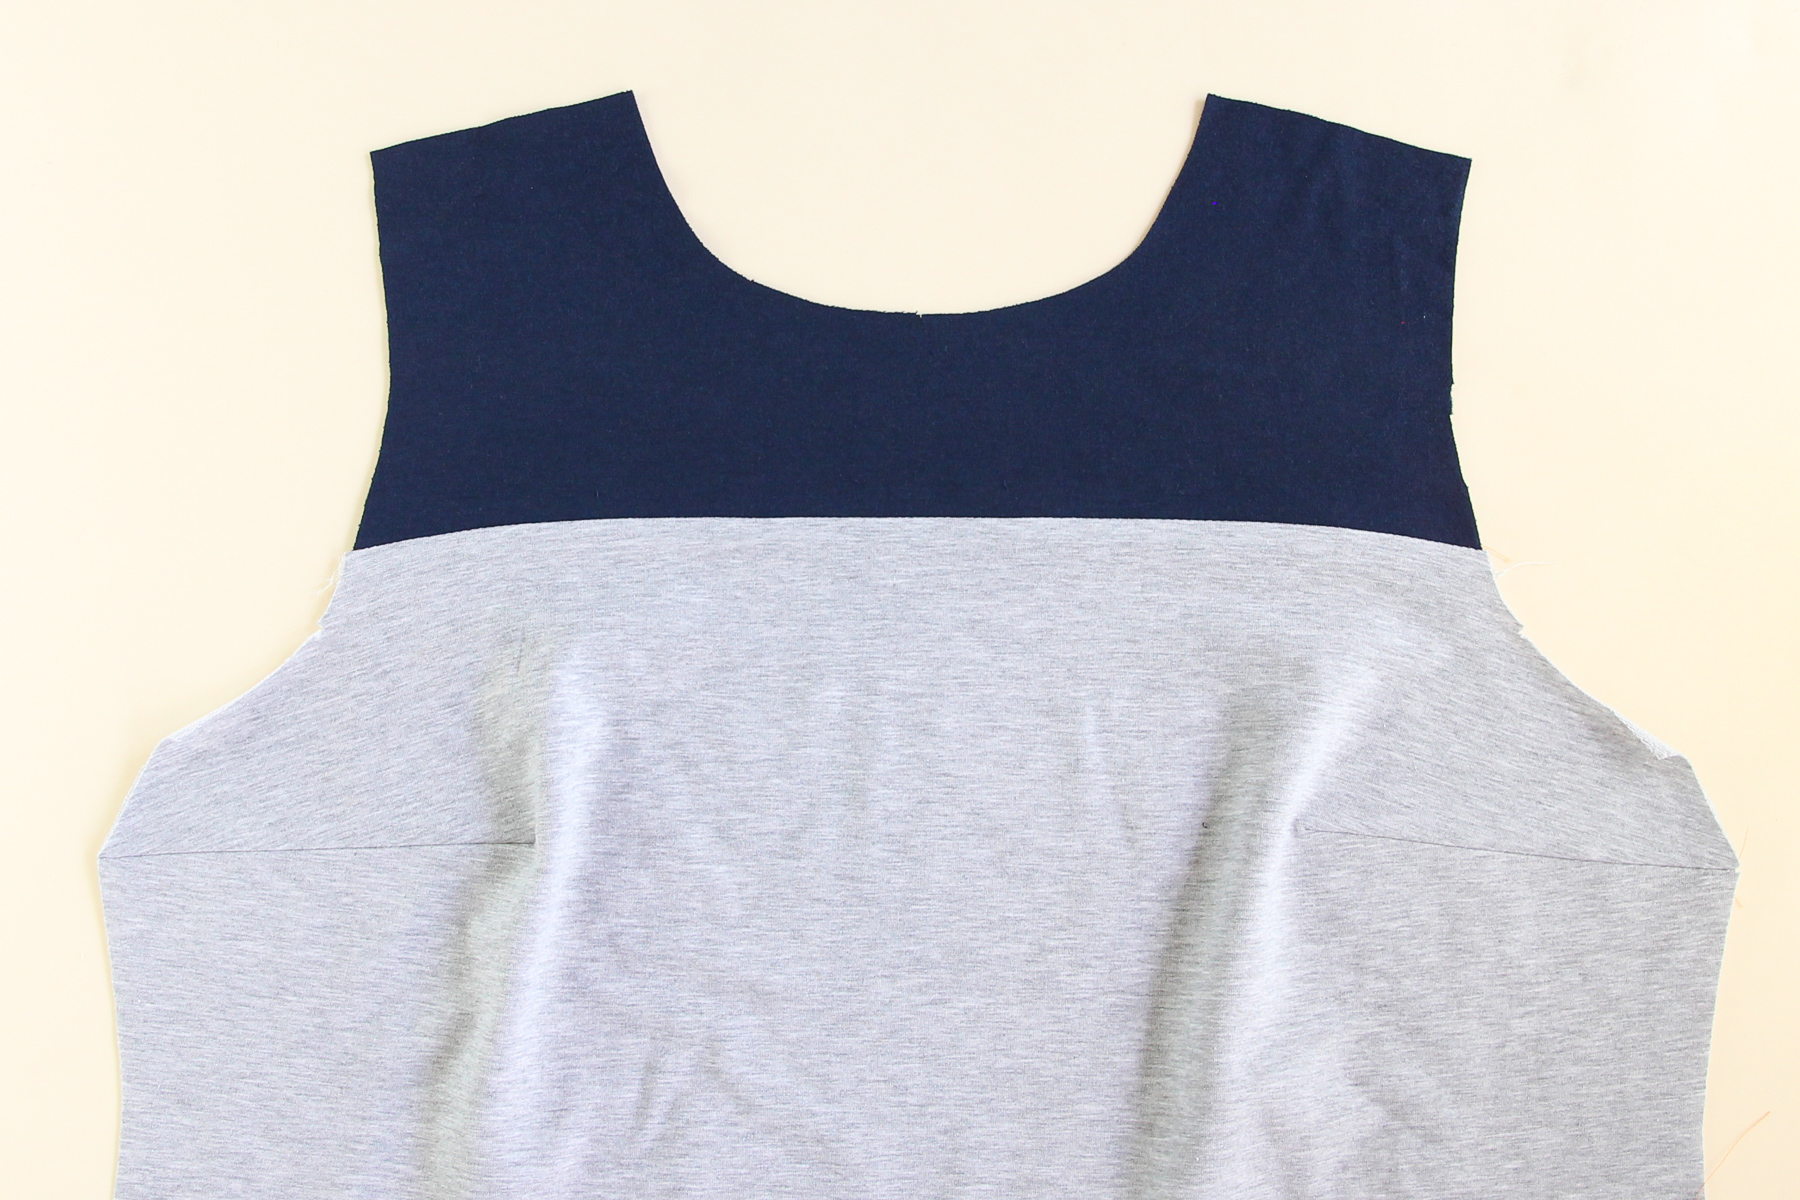
Let’s do the same with the upper and lower back pieces as well.
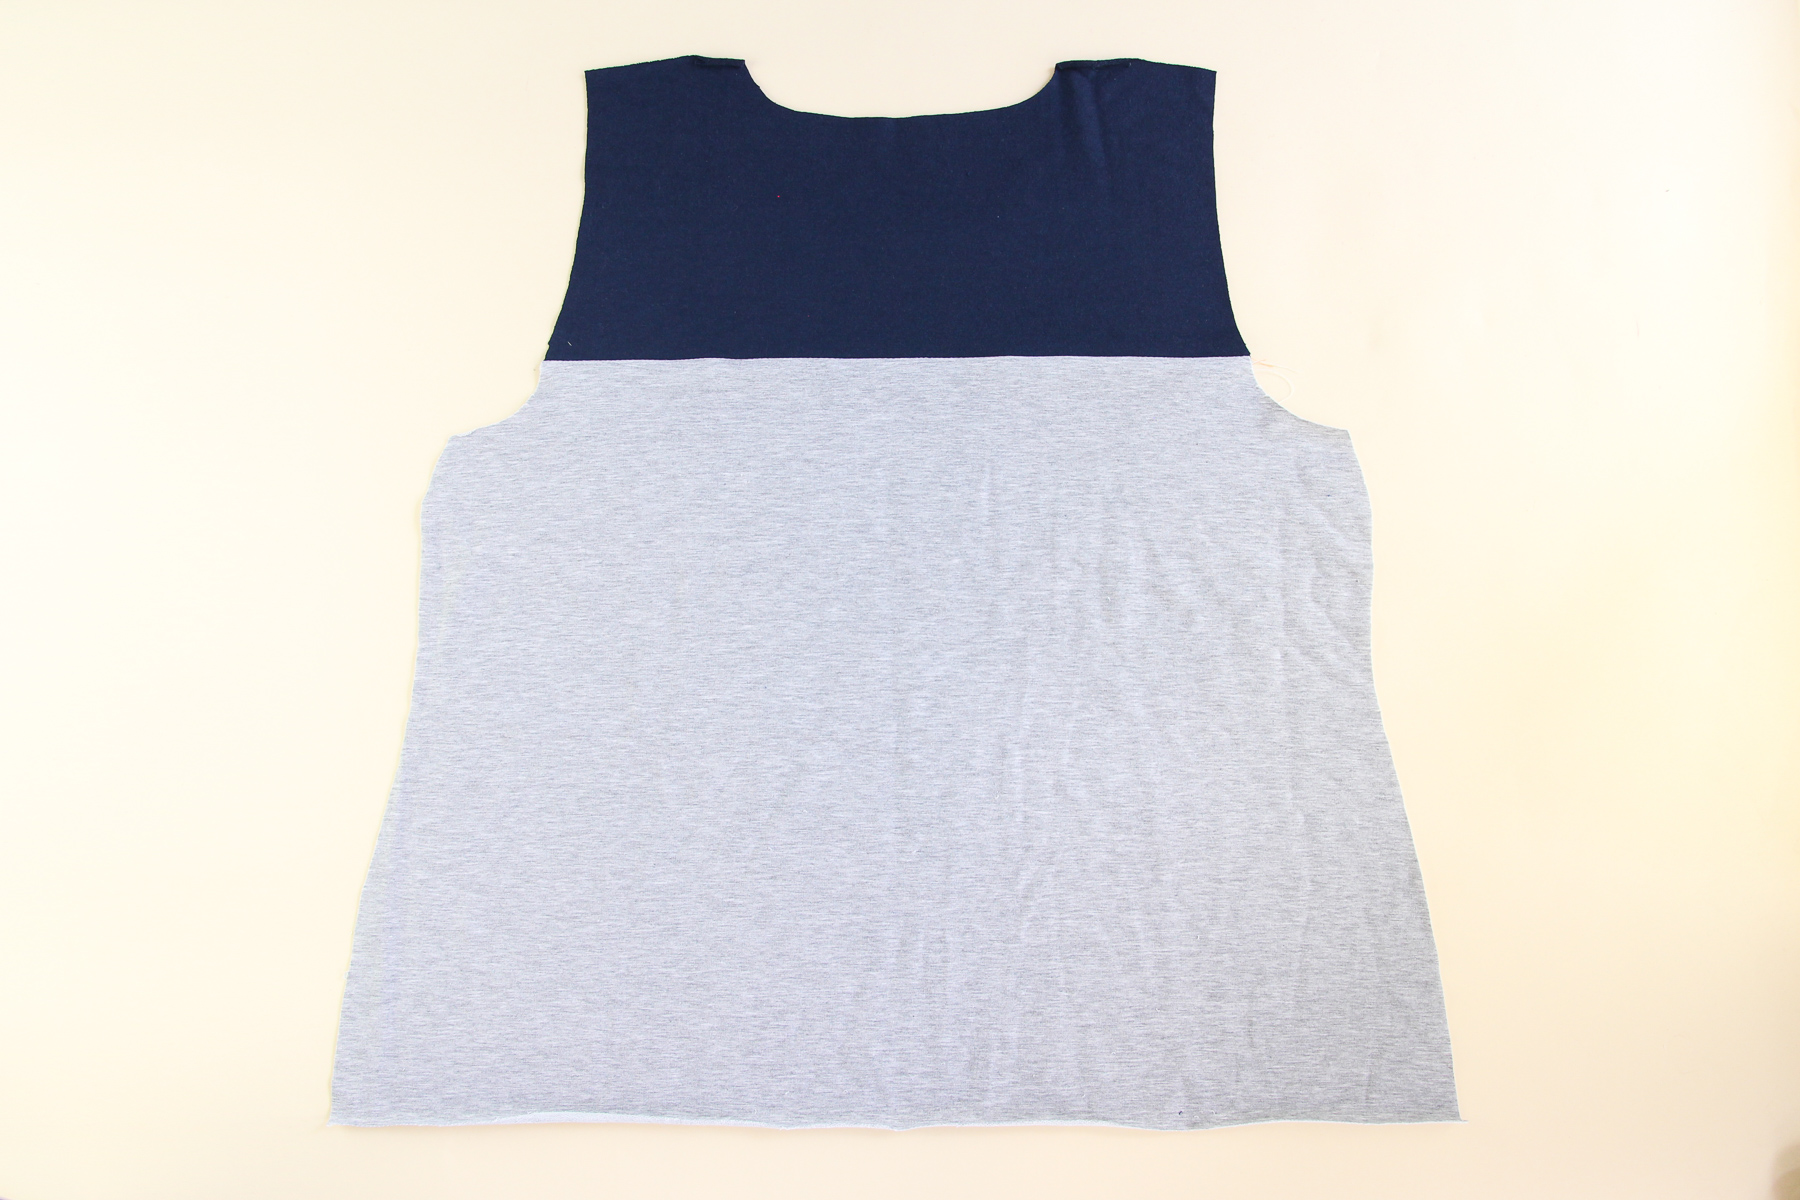
Now let’s take the front and back and line them up at the shoulders, right sides together. Pin.
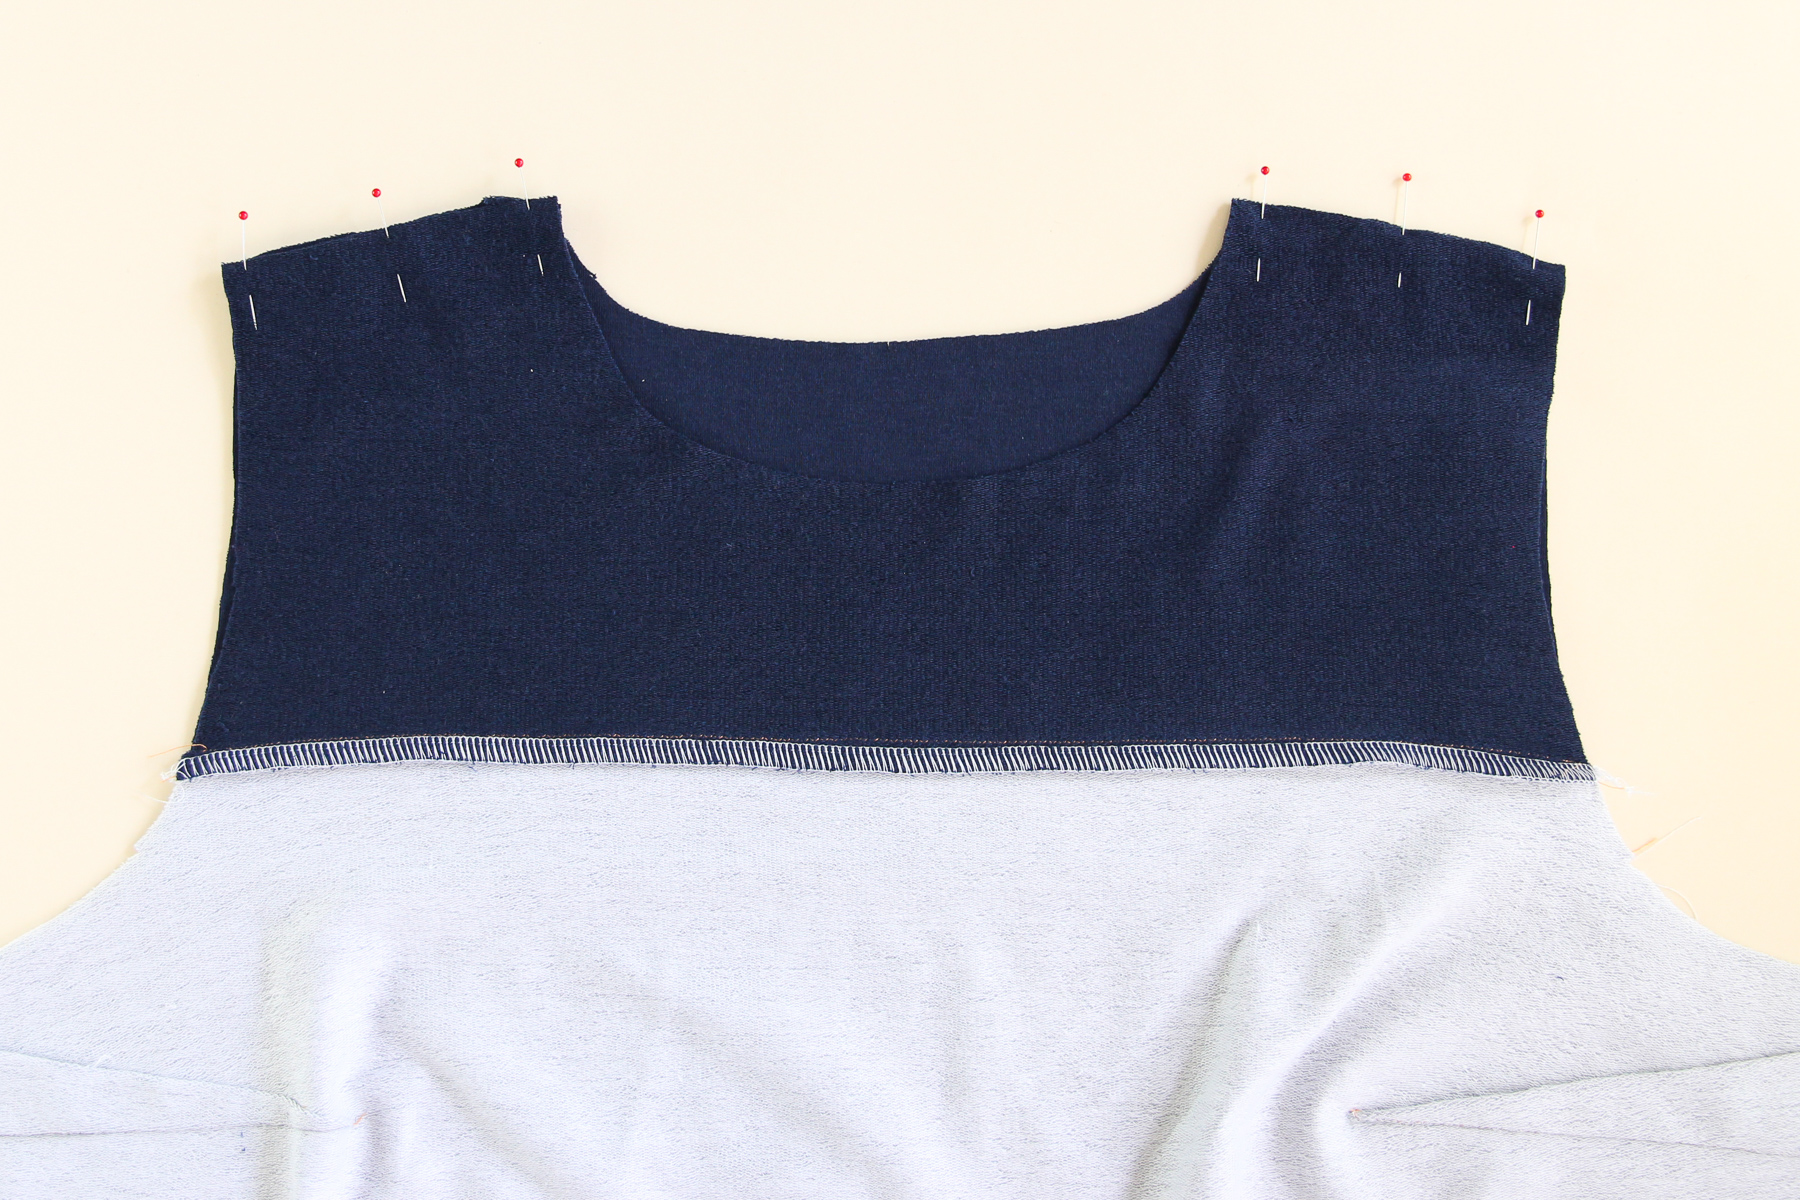
Sew, then finish the seam and press towards the back.
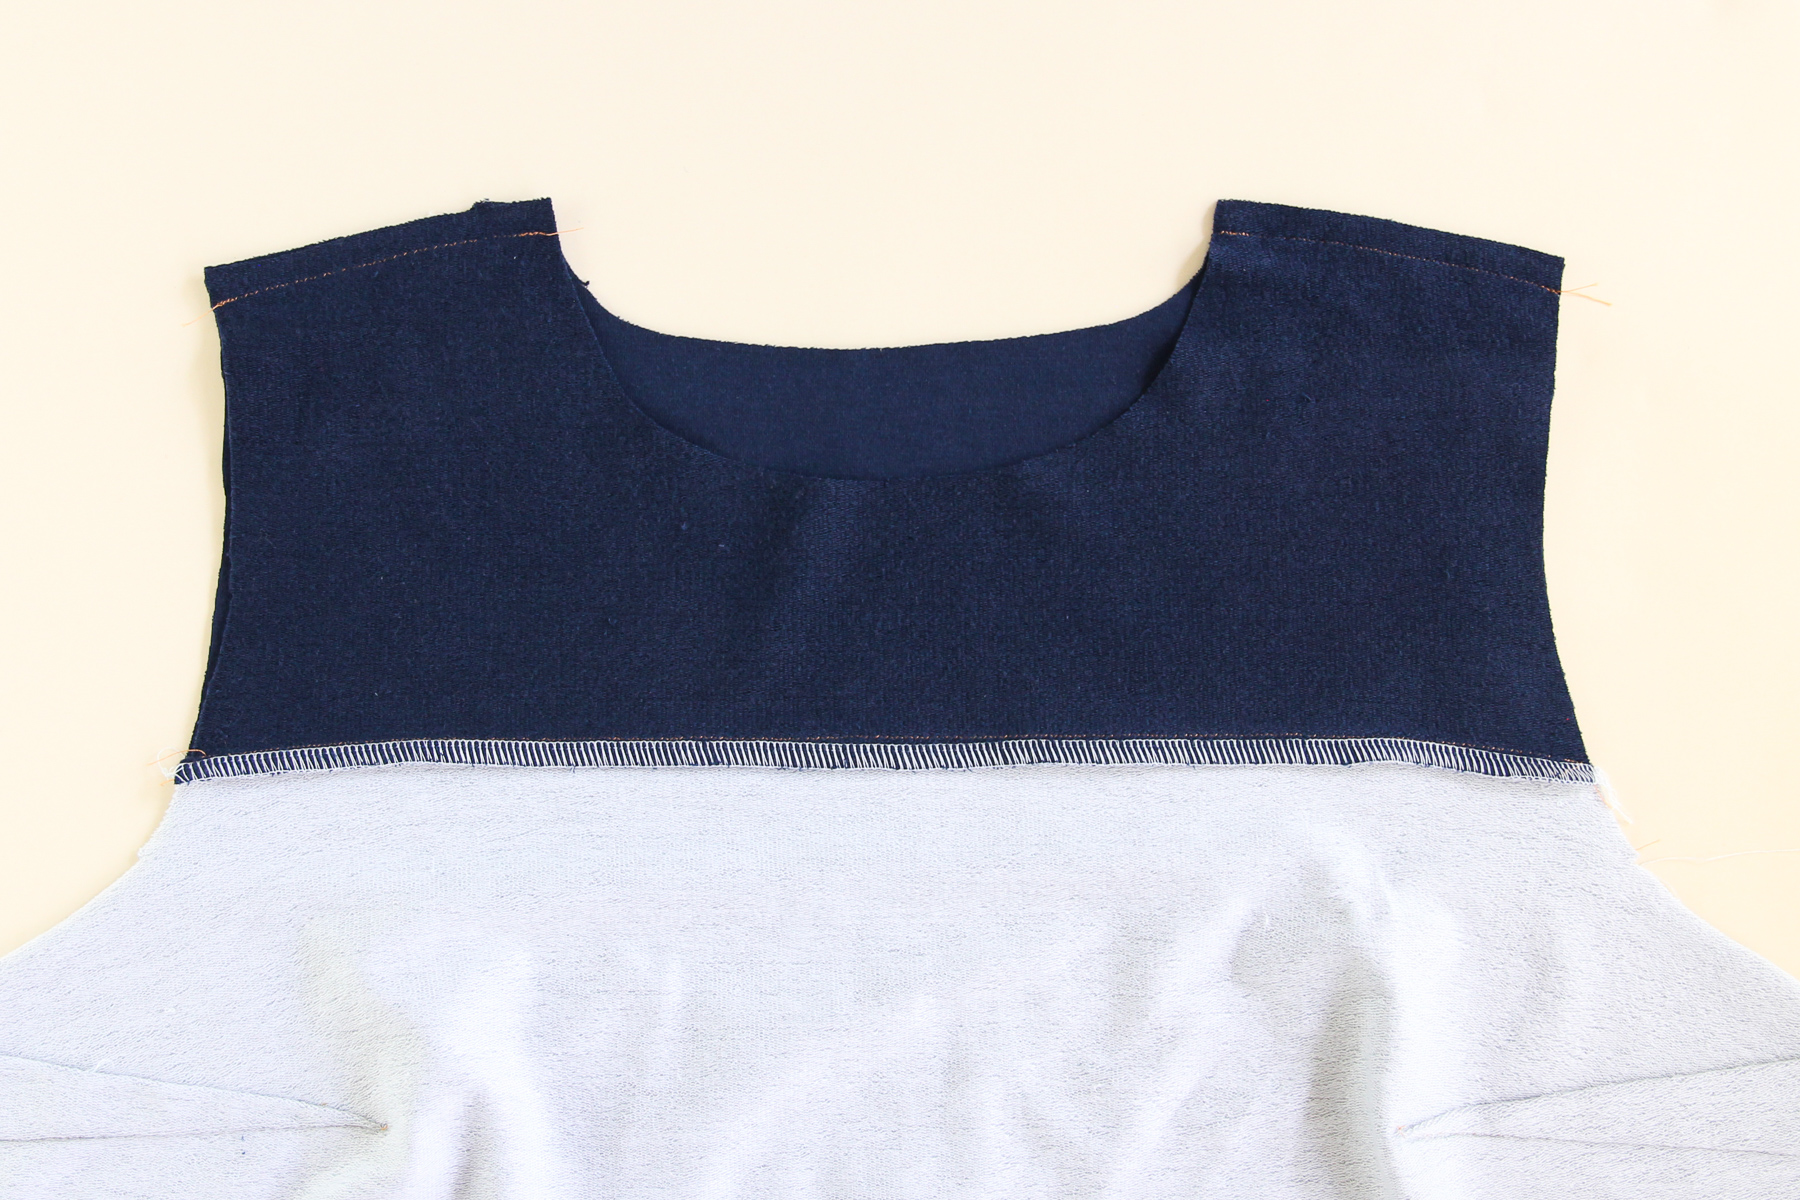
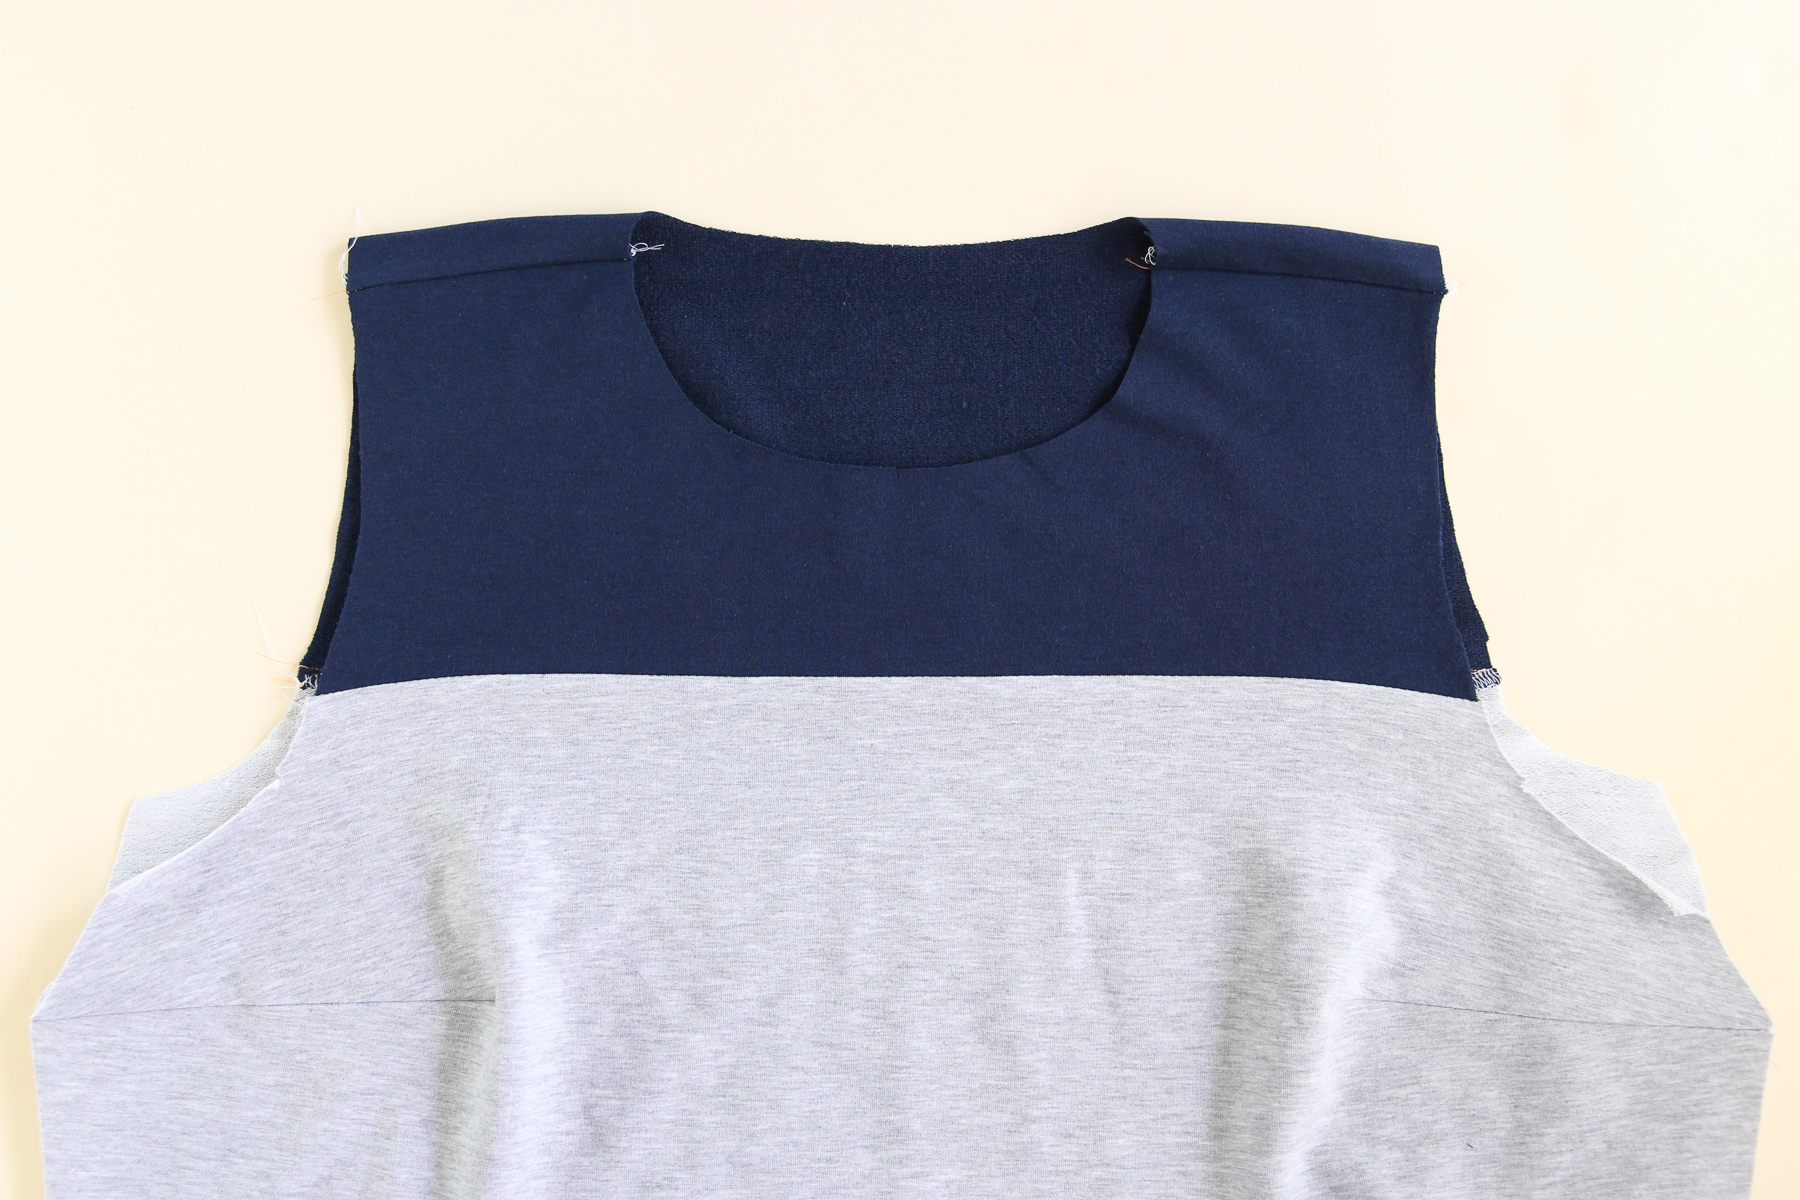
It’s starting to look like a sweatshirt! (And a cute one at that, if I do say so myself.)
Next we’re going to finish the neckline. This view uses a neckline facing to get a beautiful finish at the neck.
Let’s take our front and back neckline facings and line them up at the shoulders. (Make sure you haven’t forgotten to interface them!) You might notice that this neckline facing was cut from my main fabric, rather than the contrast fabric. When you run out of fabric for the facing, you get creative! But you should cut your facings from your contrast fabric so that it’s not as noticeable if it happens to peek out.
Let’s pin the neckline facings at the shoulders and sew using our 3/8” (1 cm) seam allowance, then press them open.
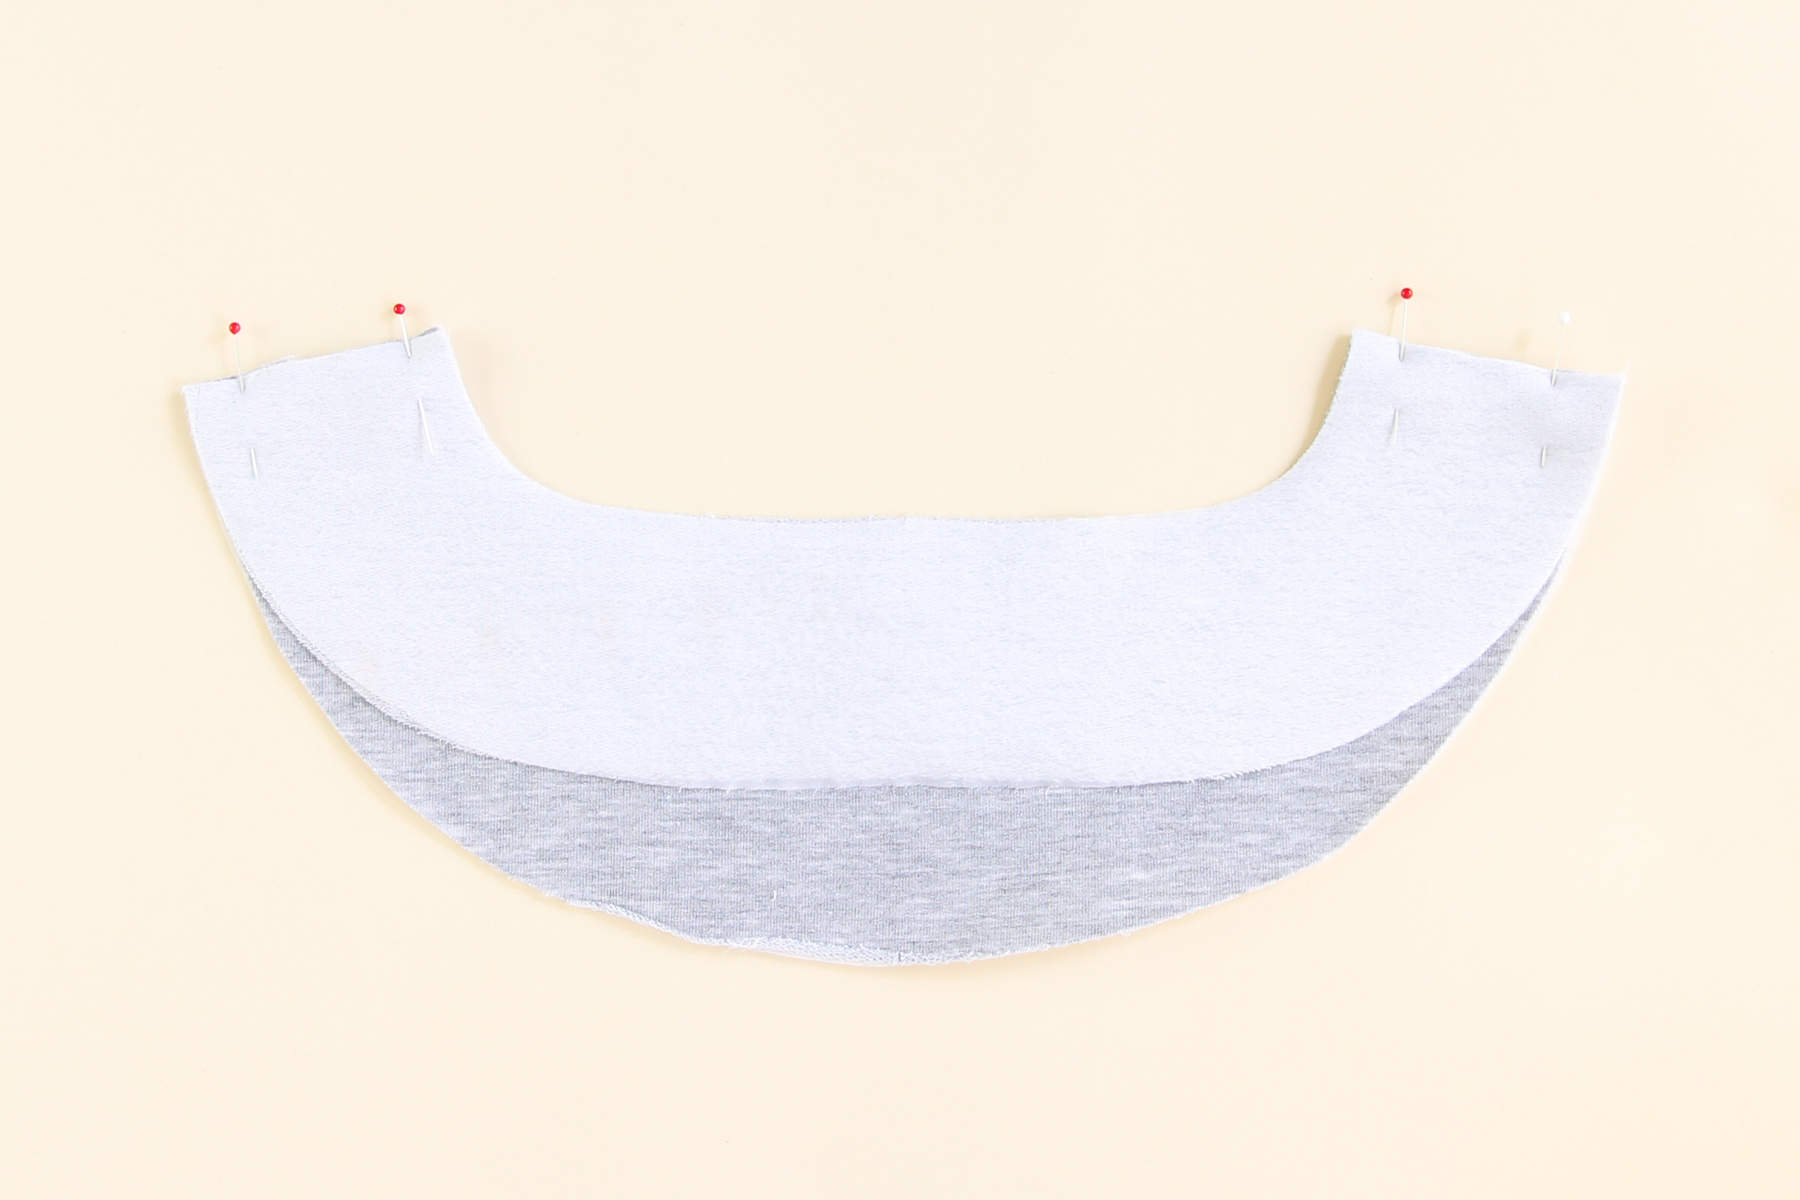
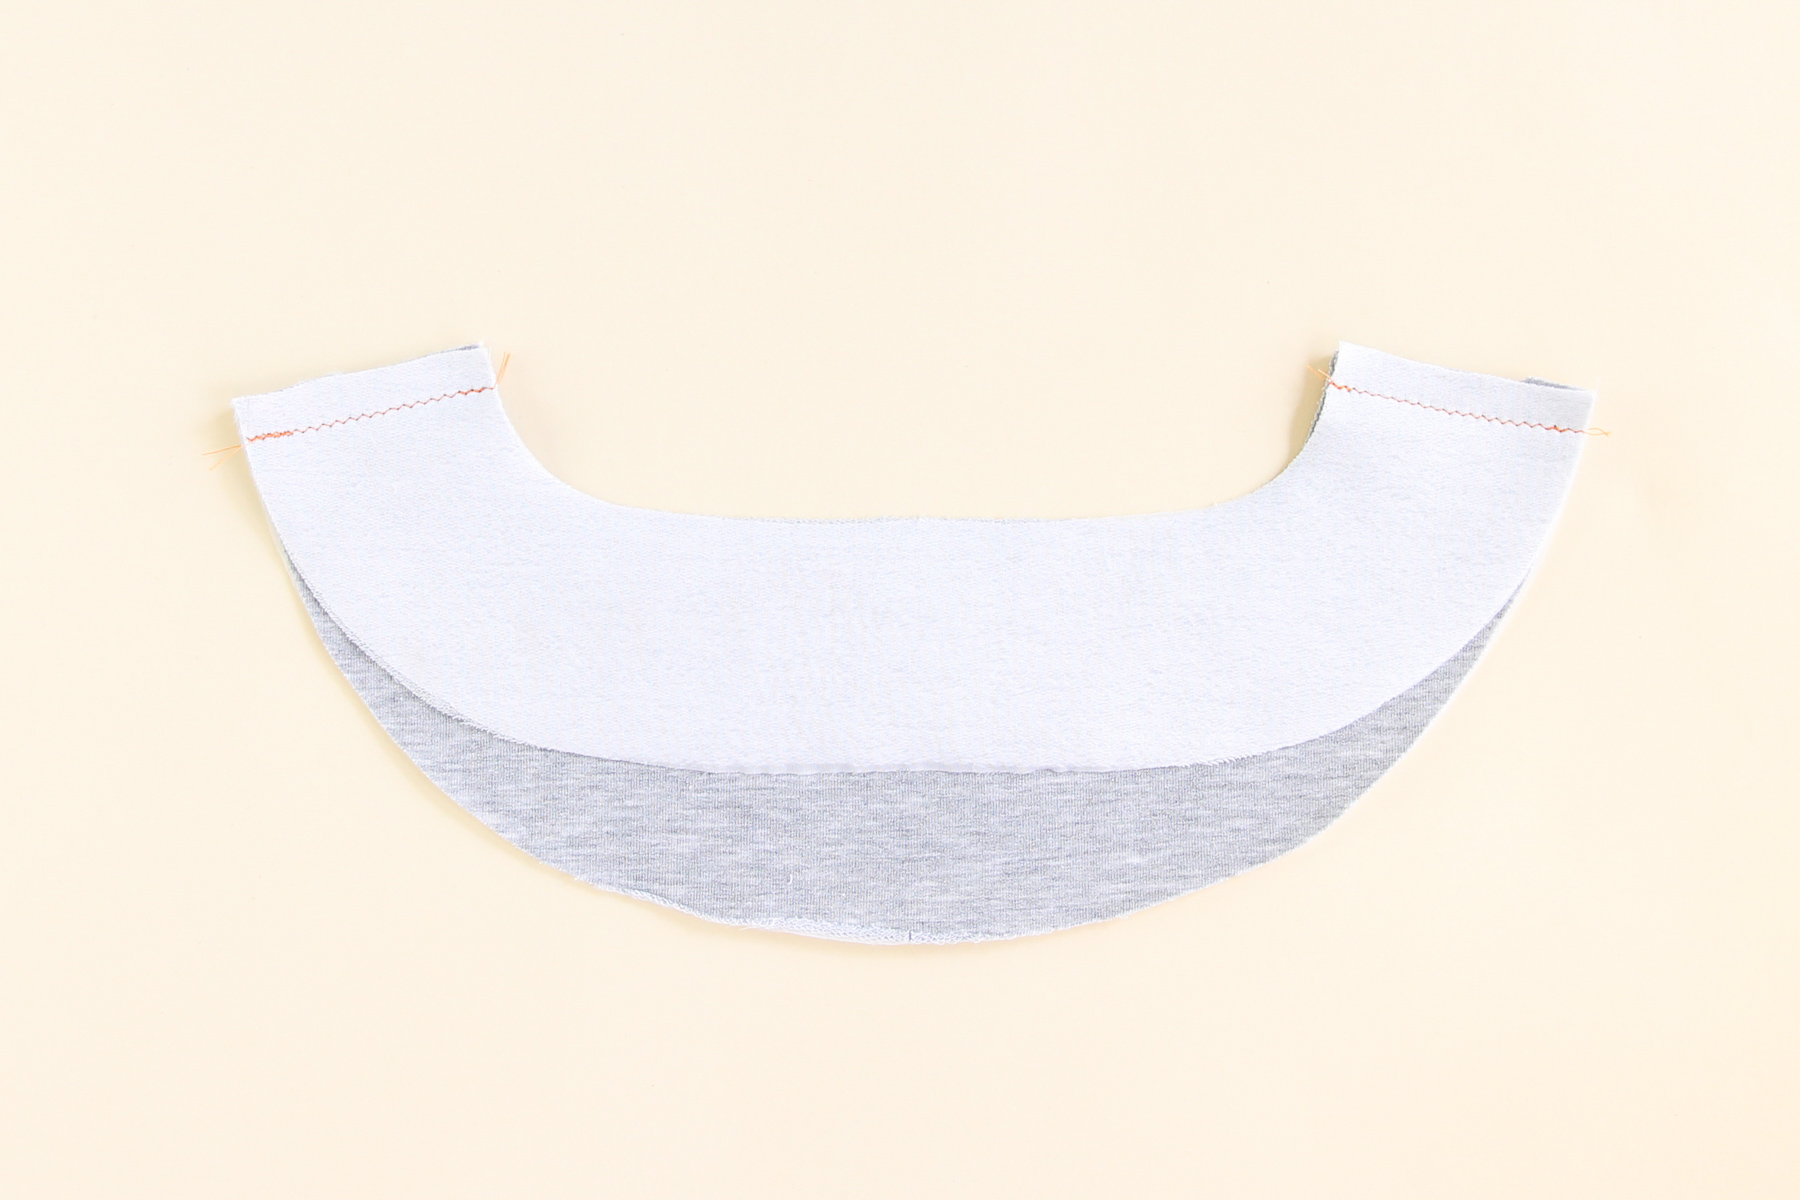
If your knit frays, finish the outer edge of the neckline facing by serging or zigzagging close to the edge.
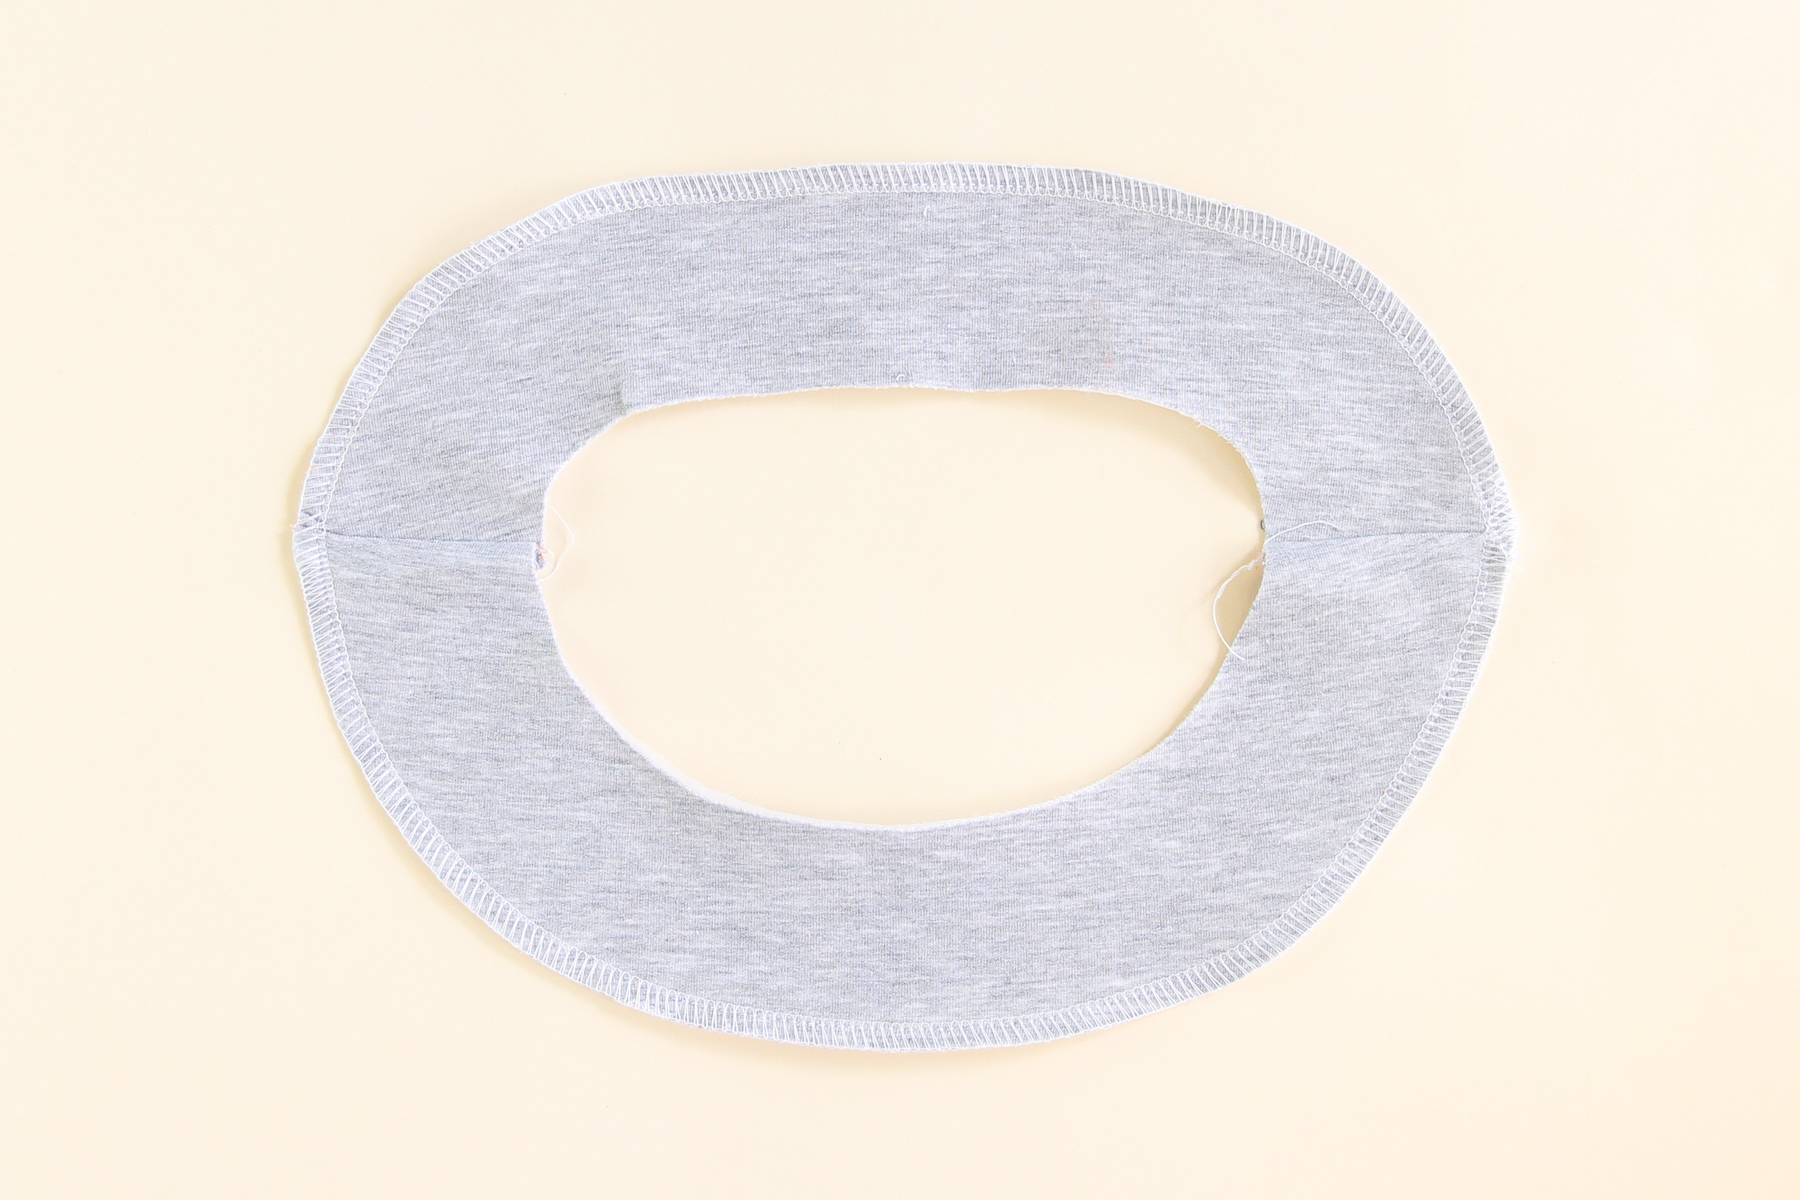
To attach it to the body, place the neckline facing over the neckline, right sides together. Align the shoulder seams and the front and back centers and pin.
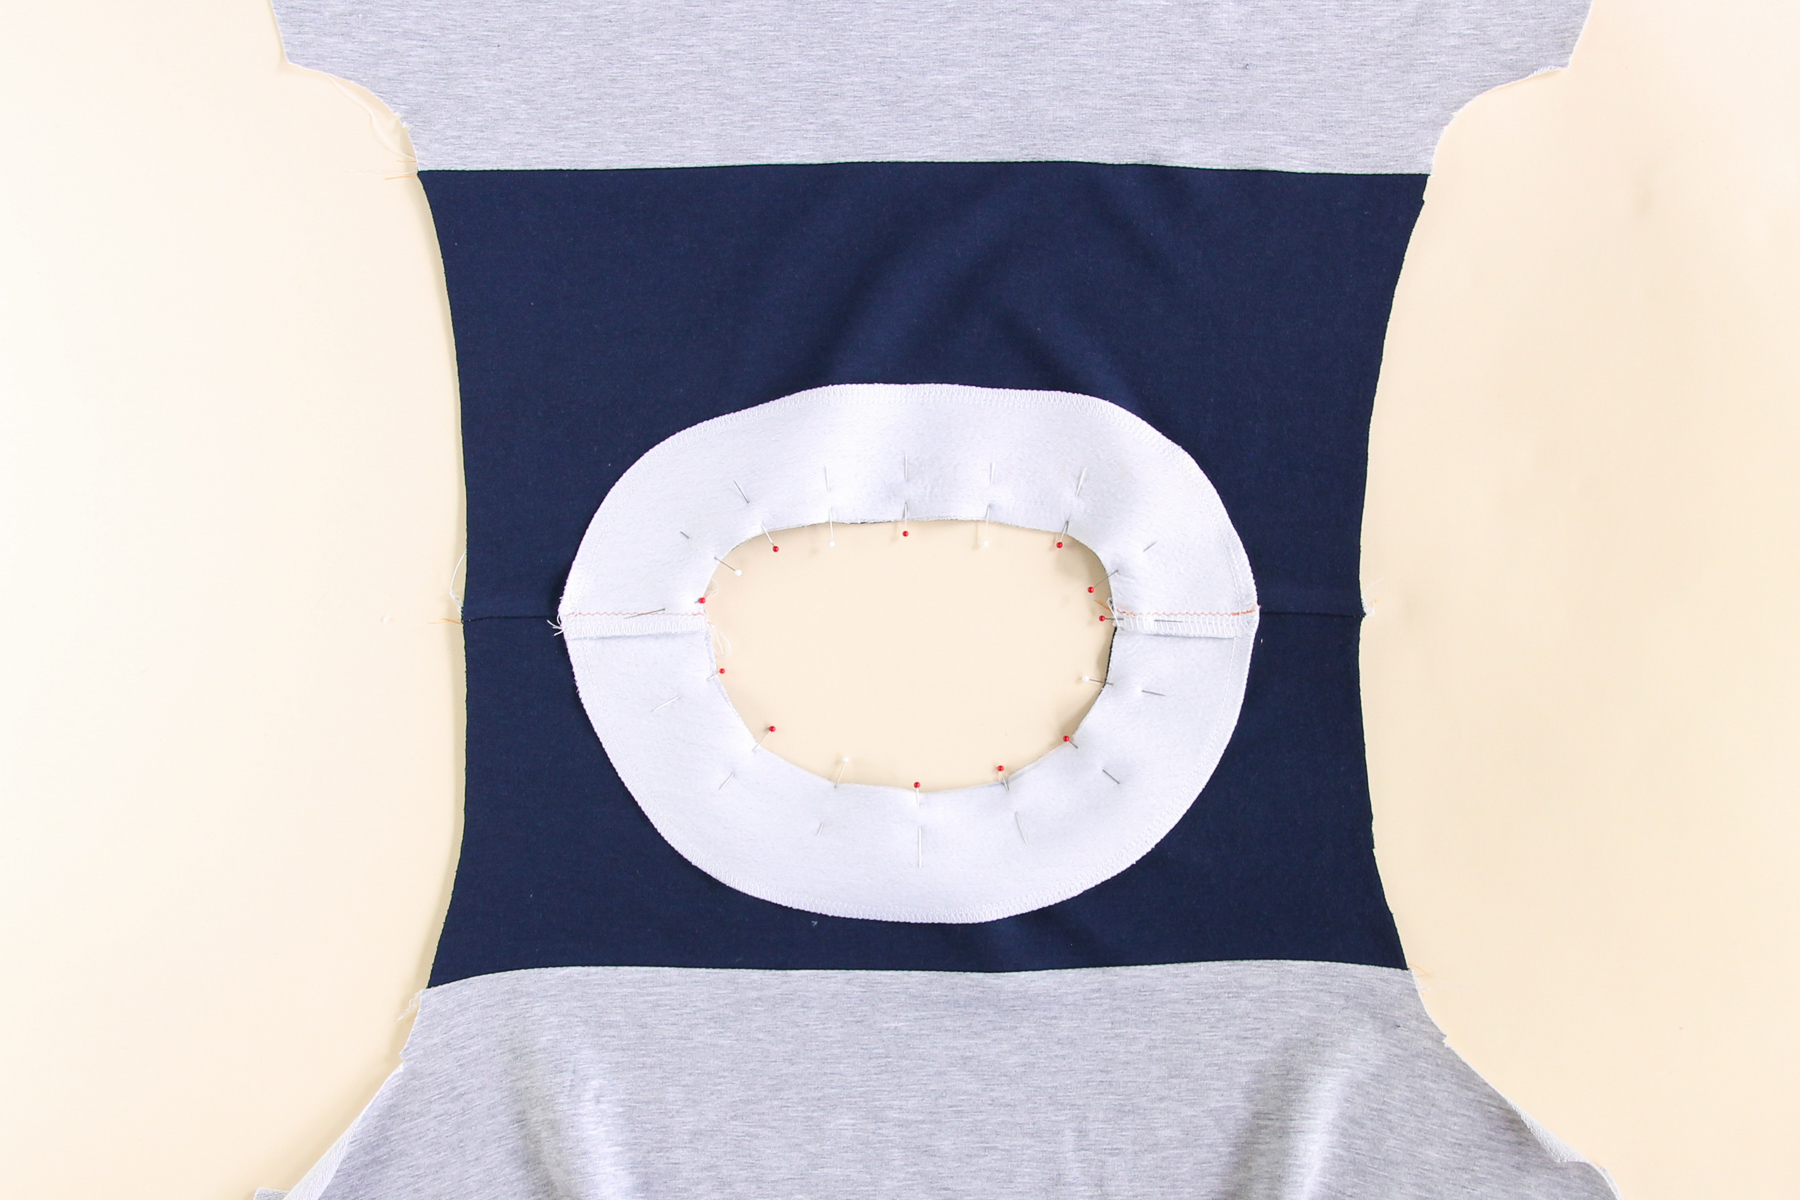
Sew that seam at our 3/8” (1 cm) seam allowance.
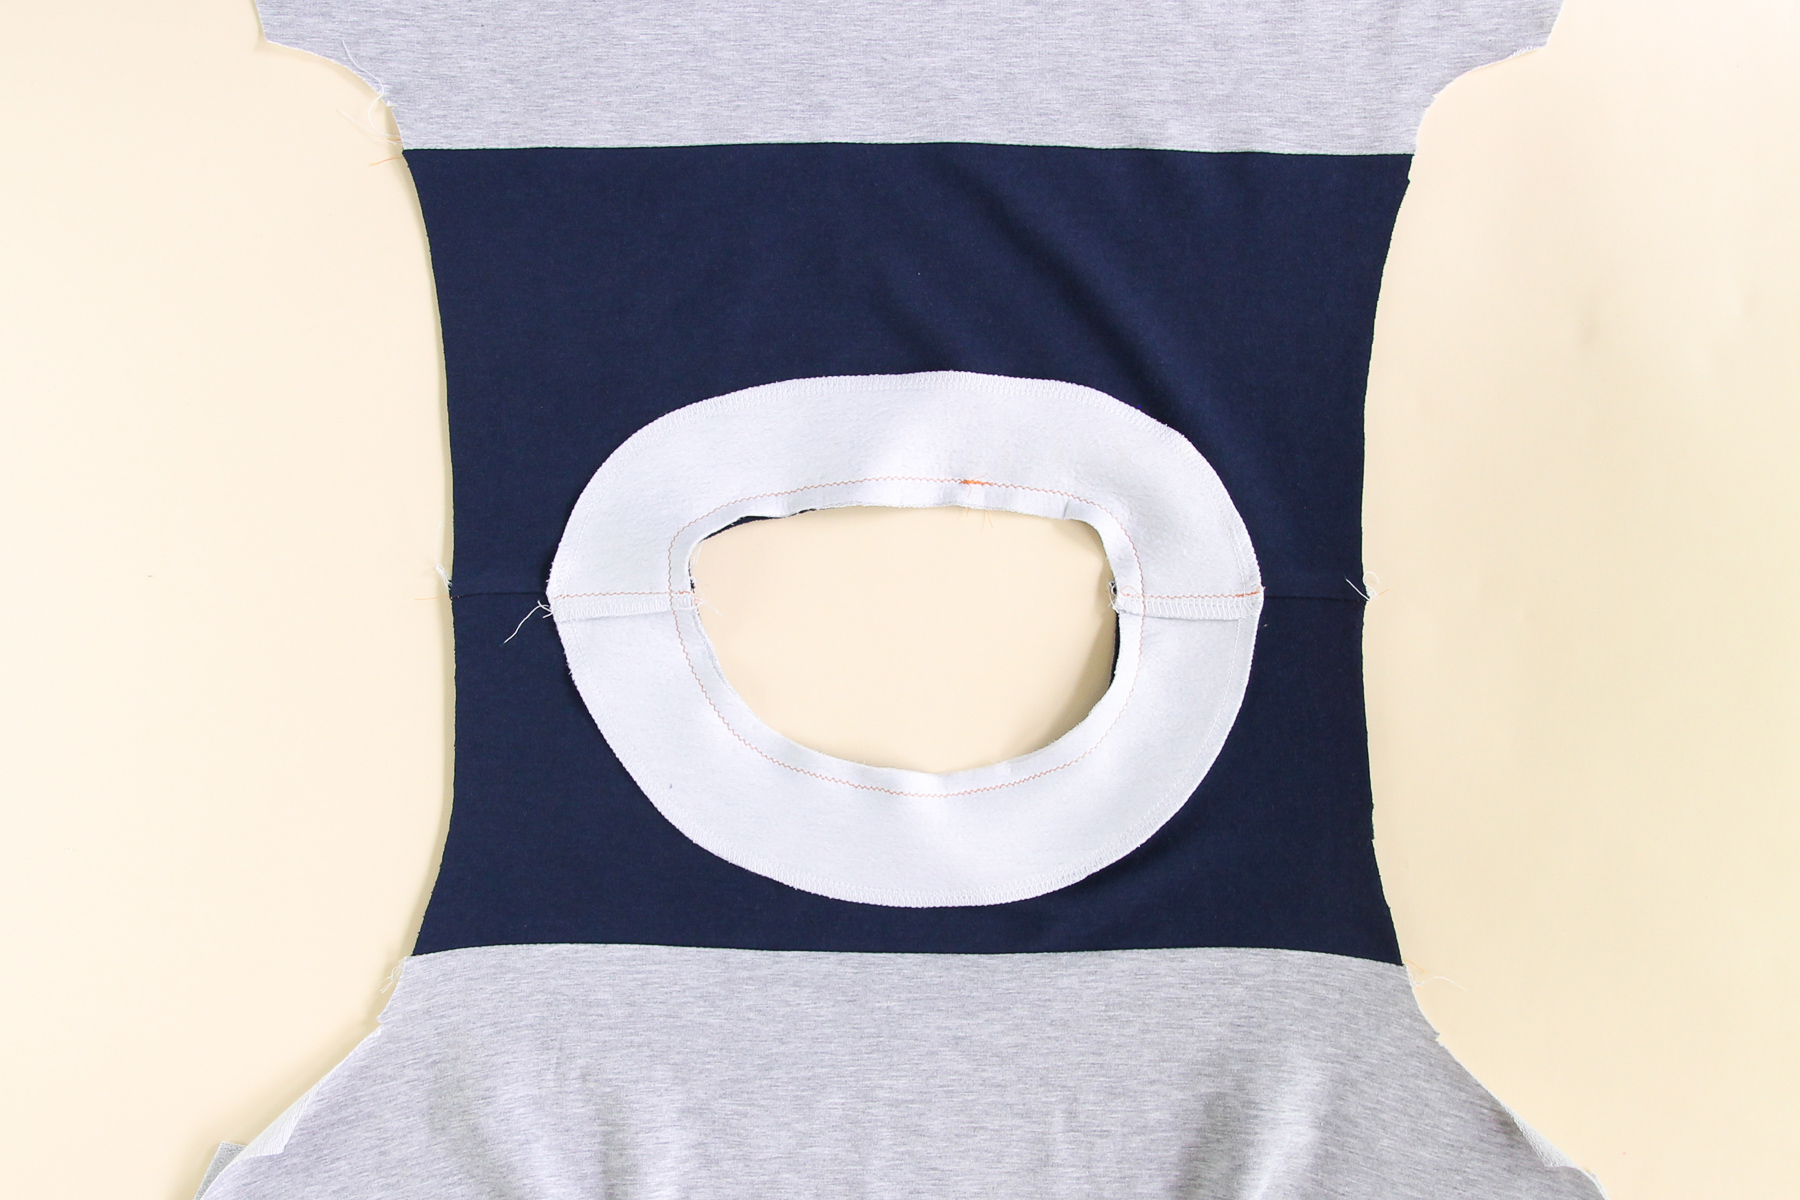
Now we’re going to understitch that seam allowance to the facing to help prevent the facing from rolling out. Press the facing over the seam allowance (in towards the hole where the neck goes) and stitch the seam allowance to the facing. Make sure you’re using a zigzag stitch here.
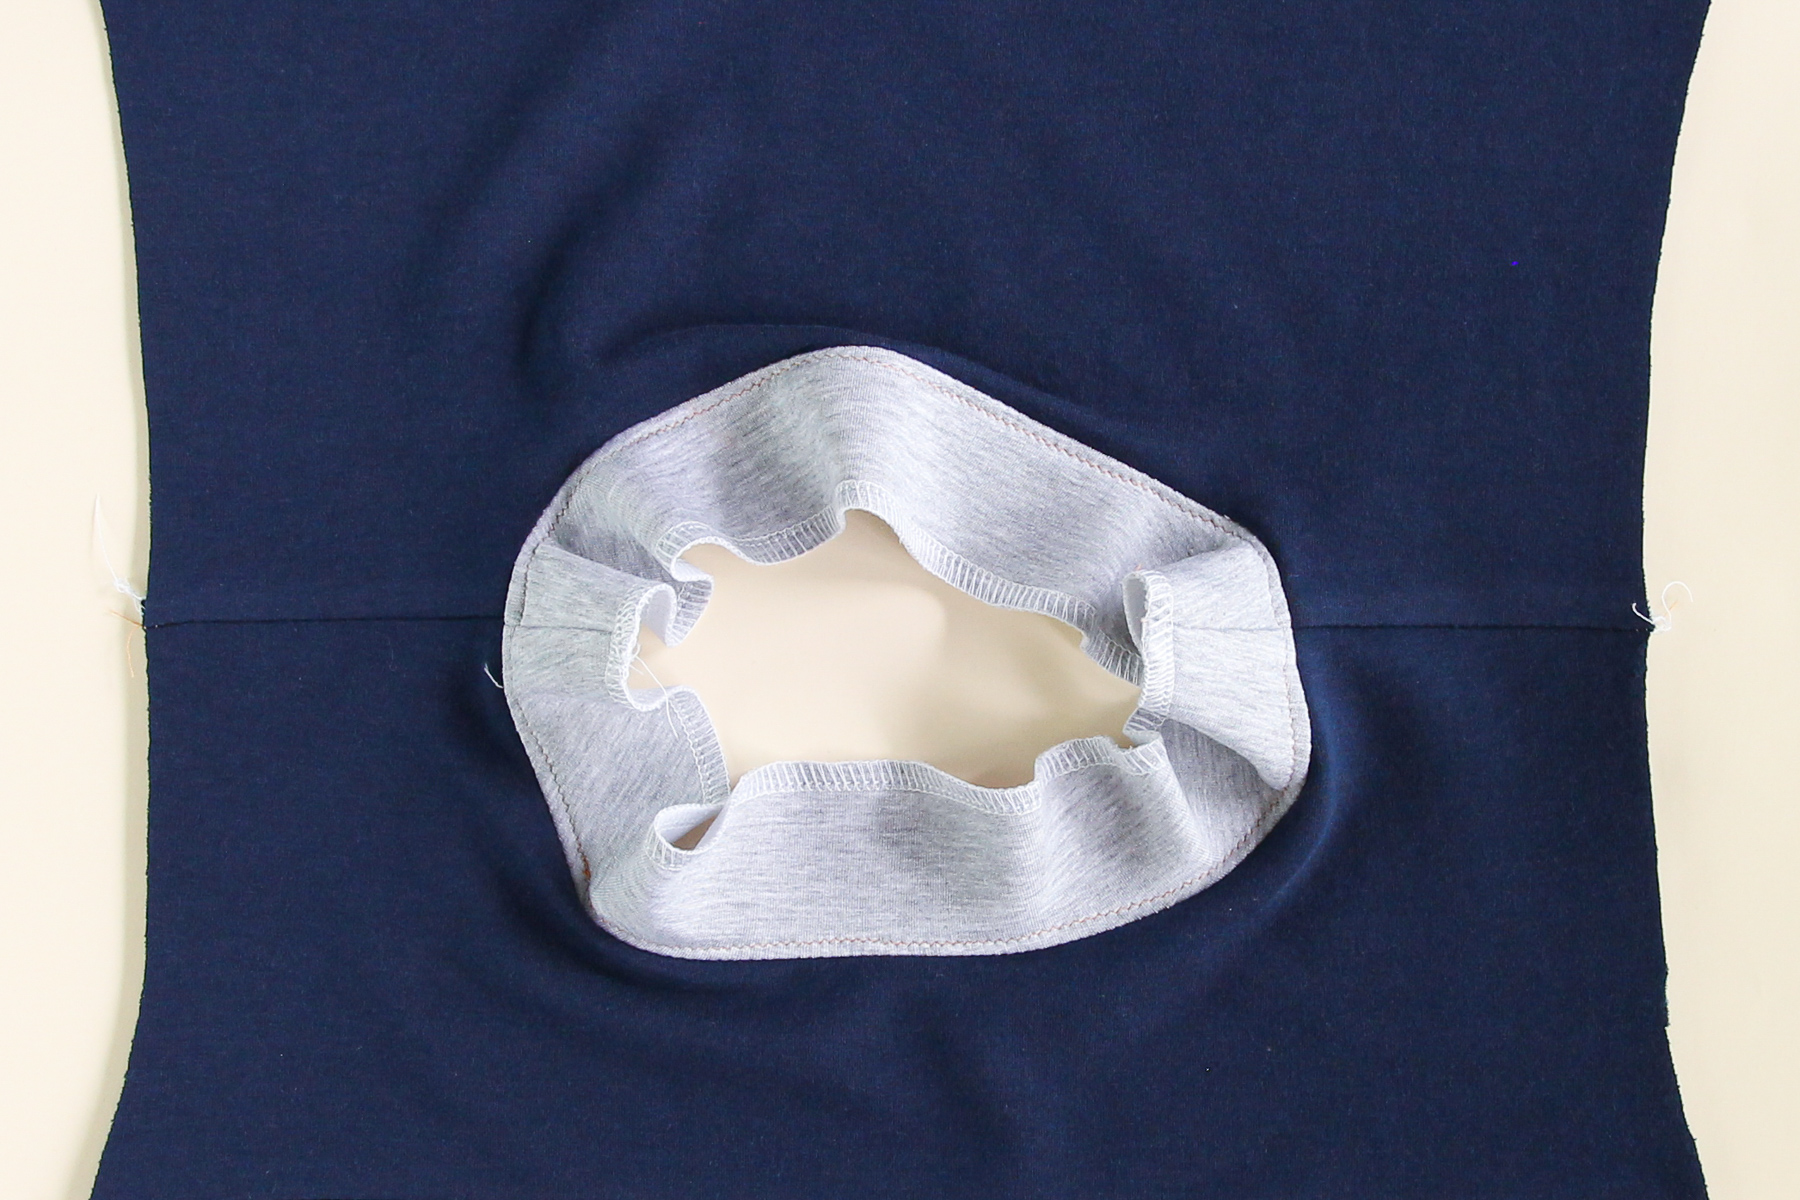
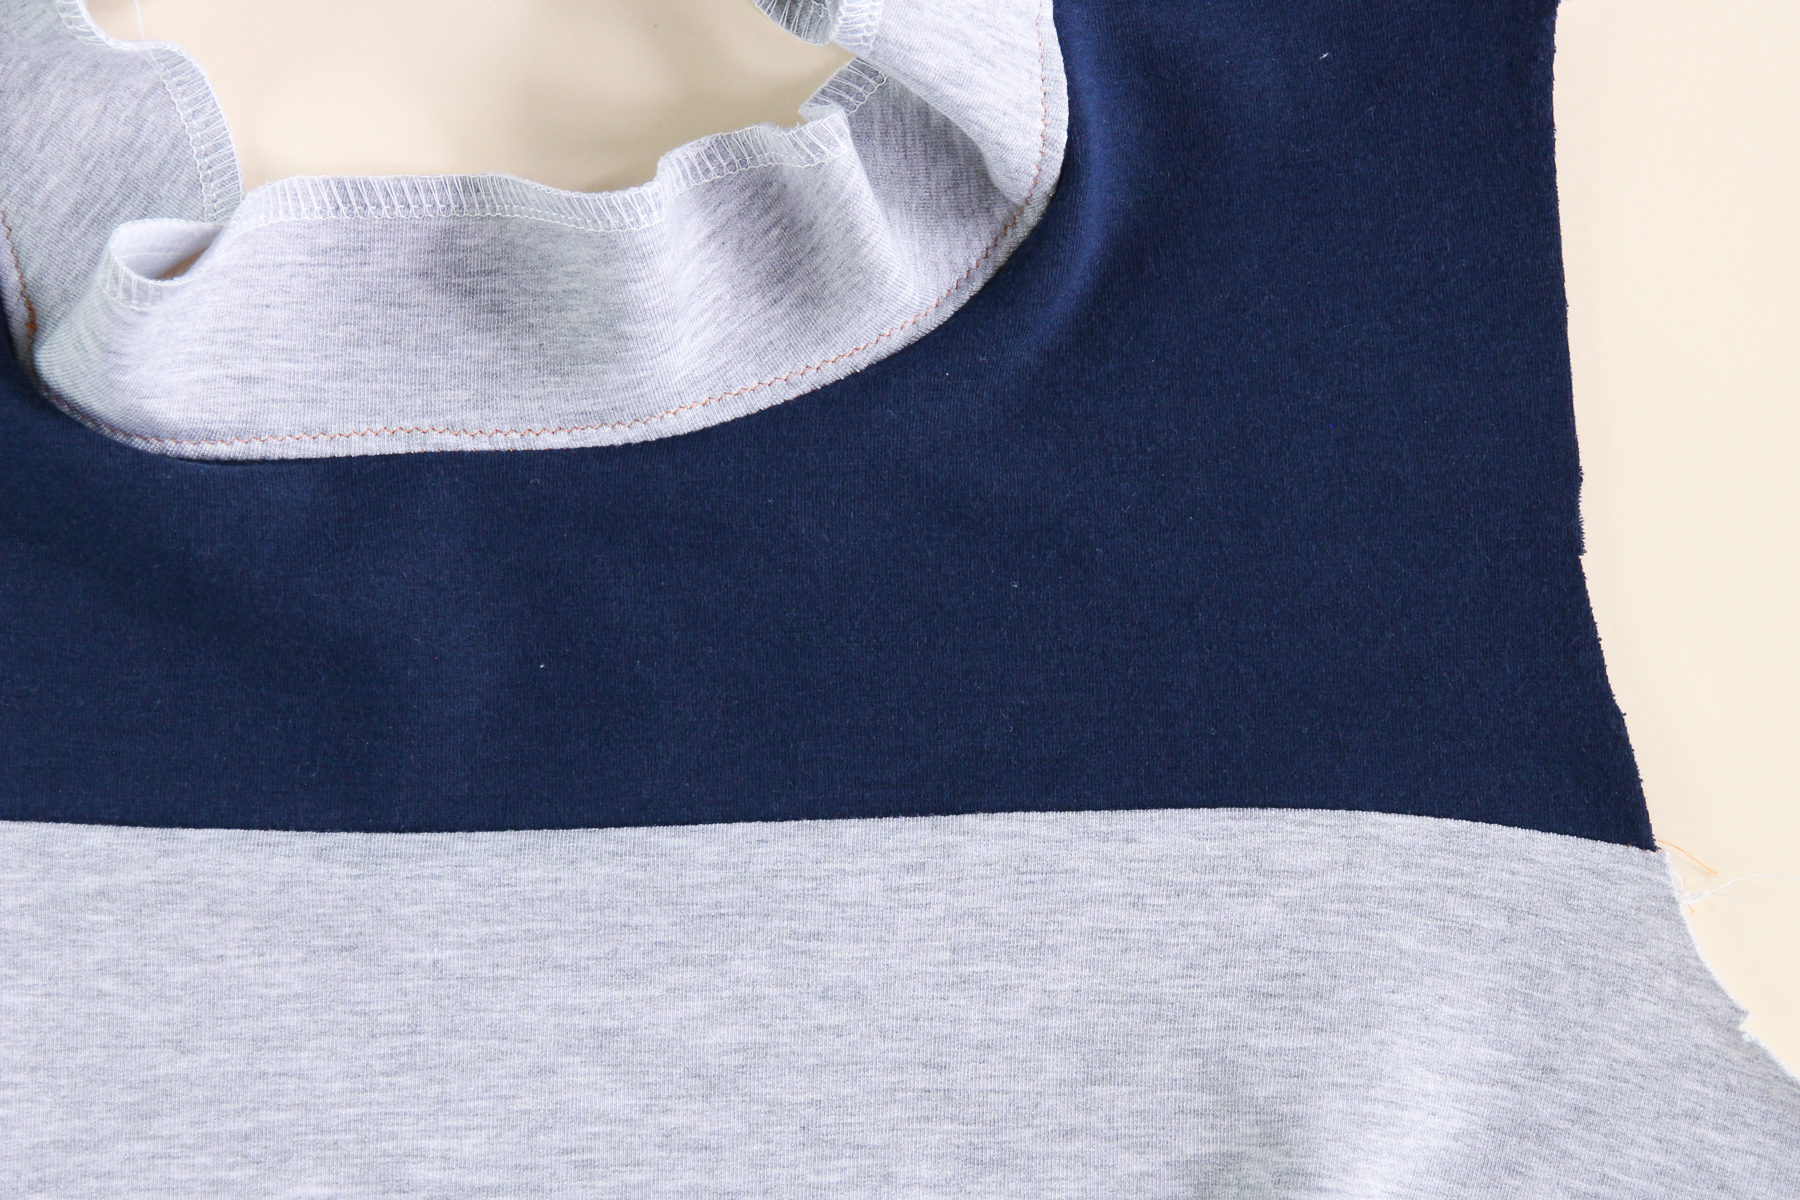
Now we can flip our neckline facing to the inside of the sweater and pin it in place.
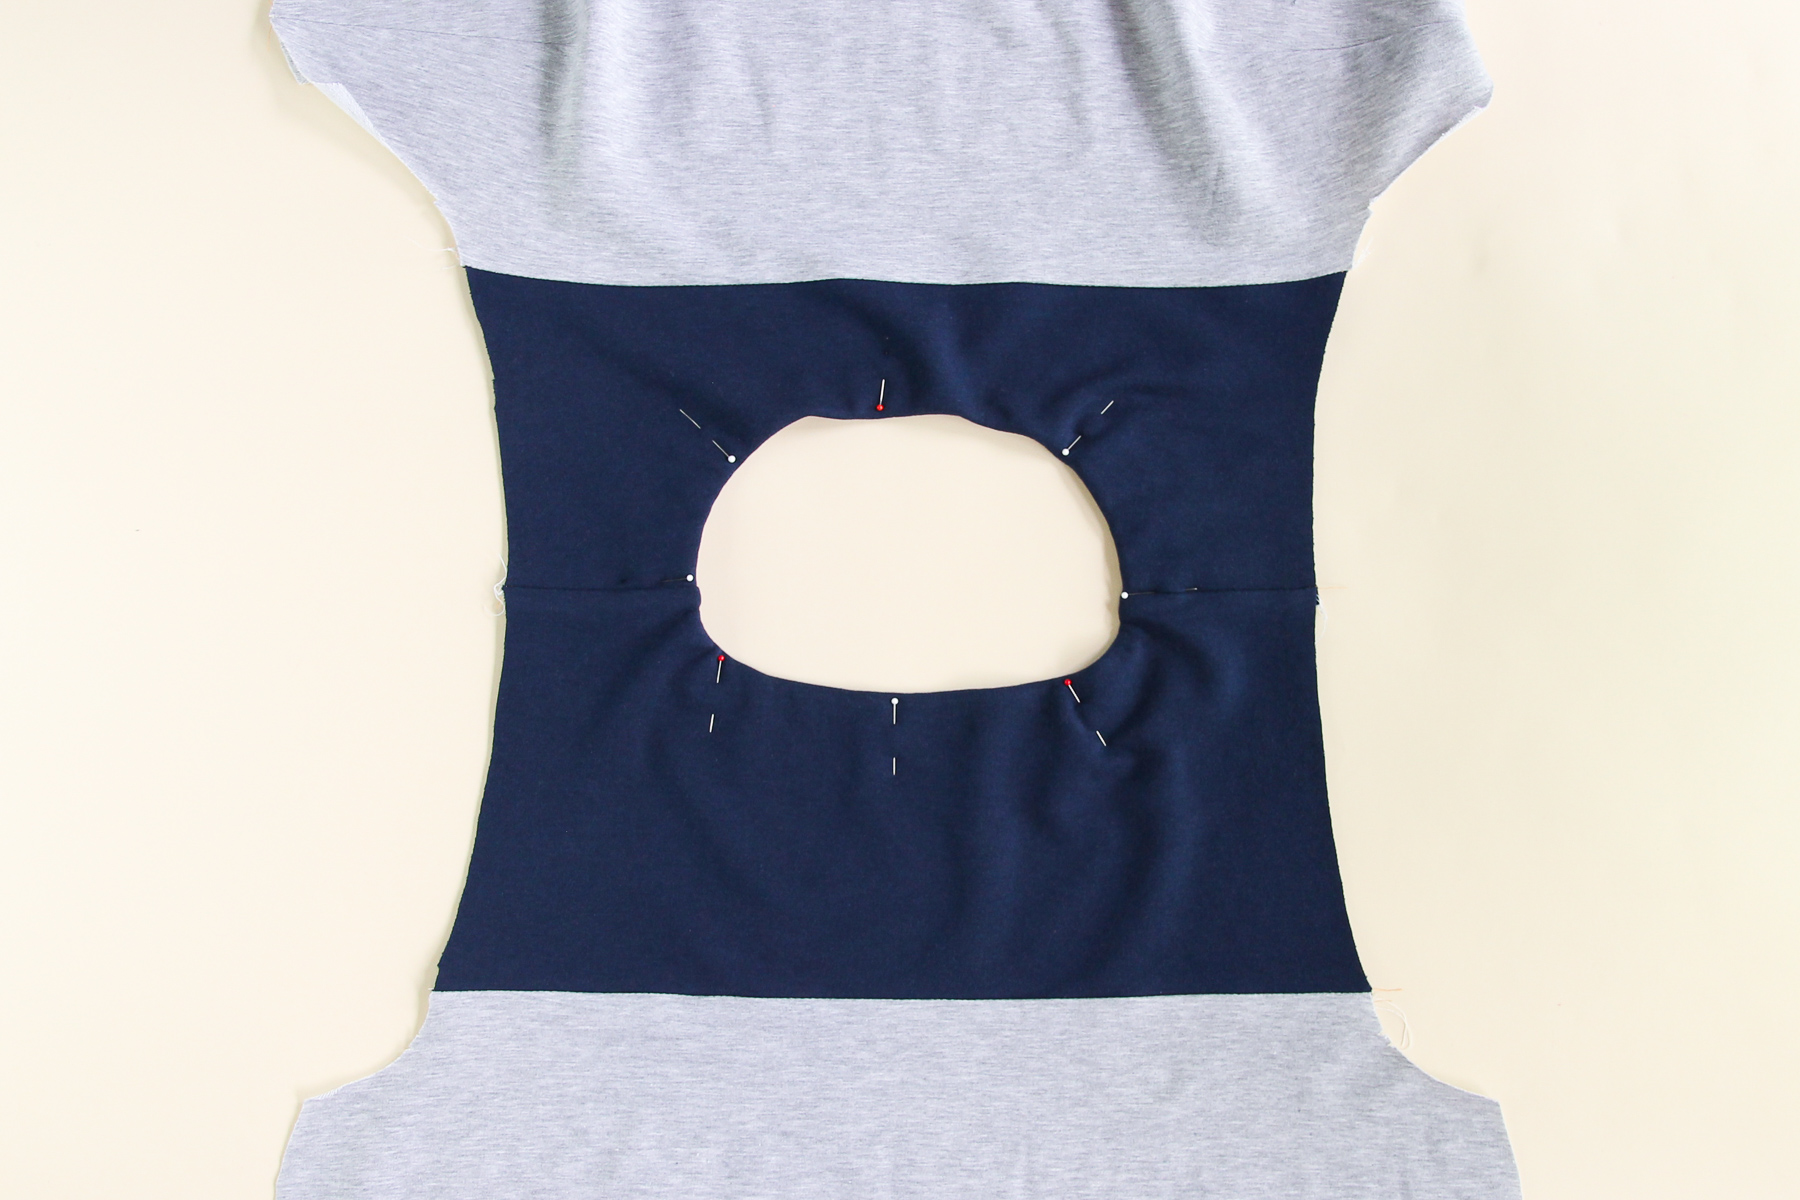
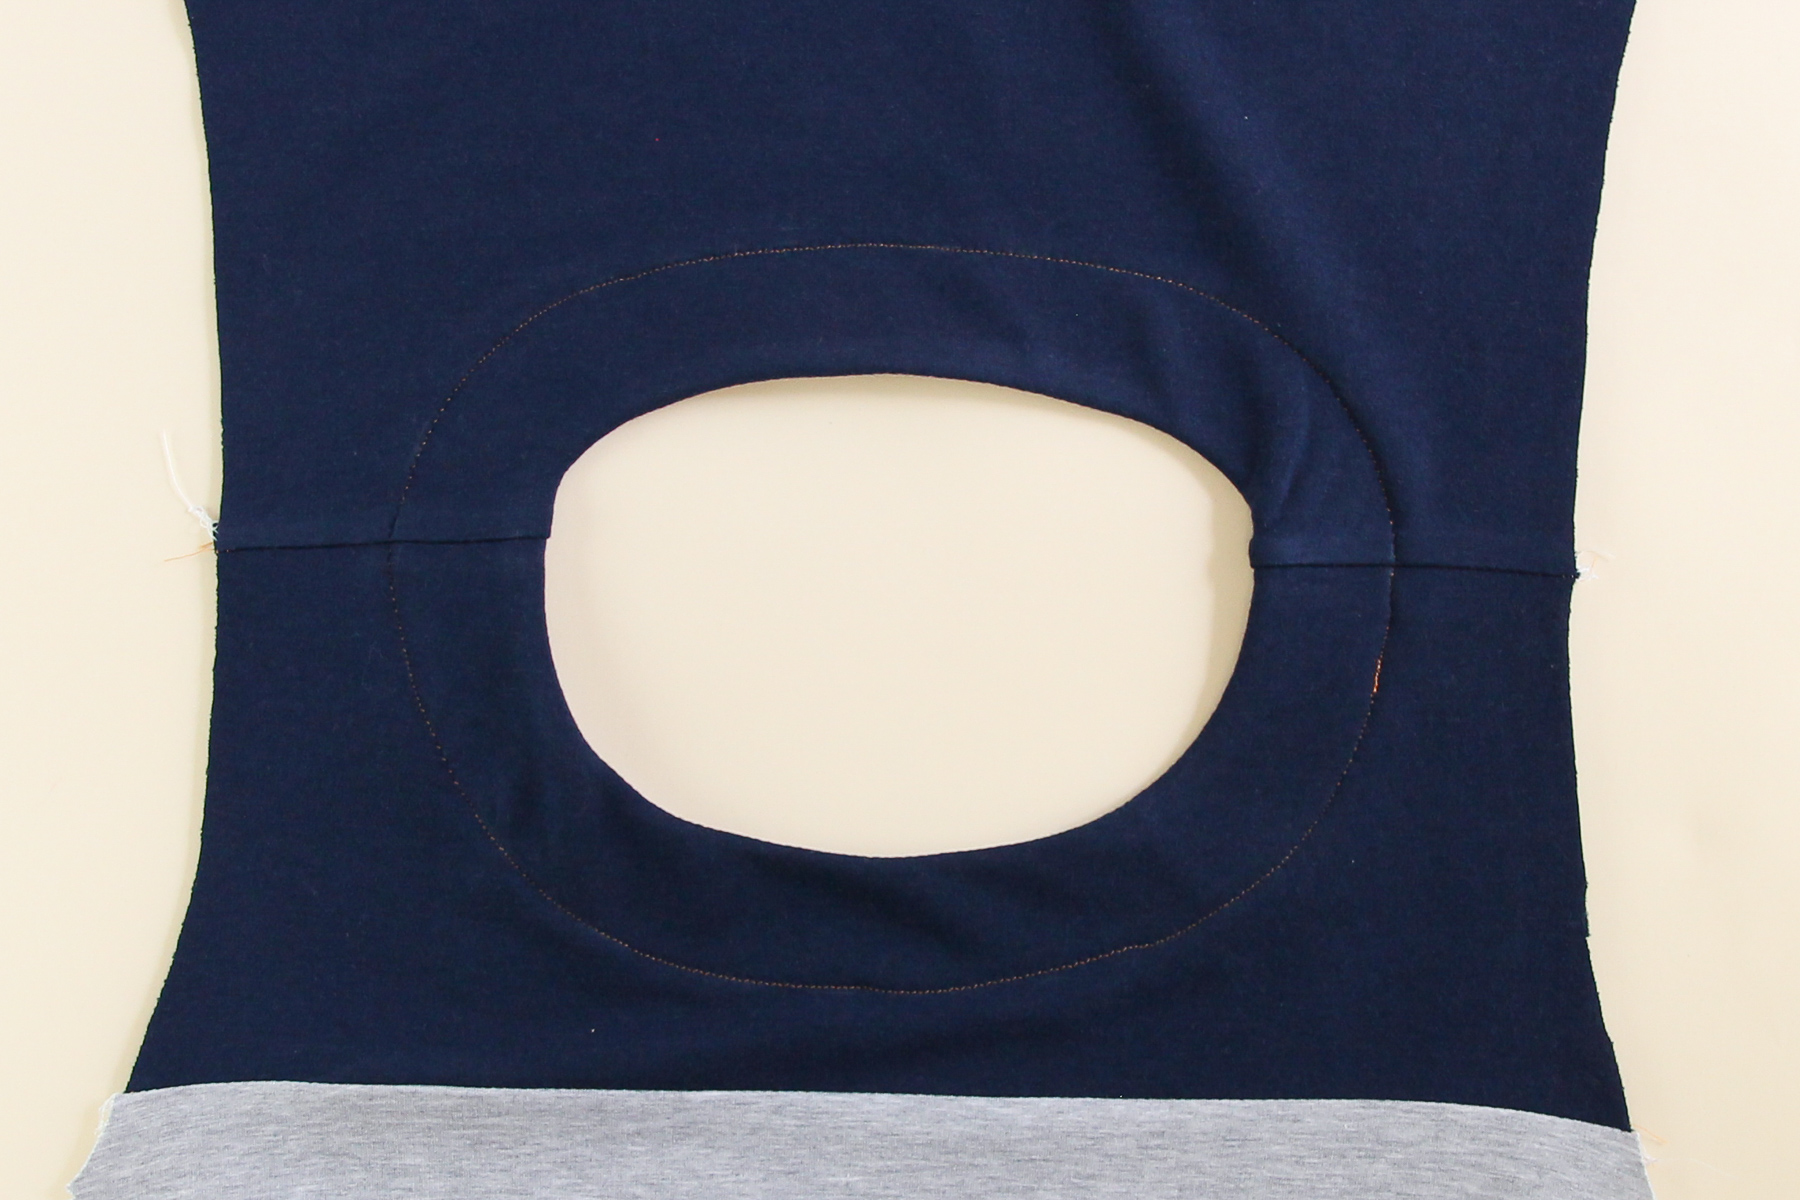
We’re going to topstitch the neck facing from the right side of the sweater, 1.5” (3.8 cm) from the neck opening. I find that it’s helpful to mark where the topstitching should go in chalk first, but make sure you test whether the chalk will come off afterward.
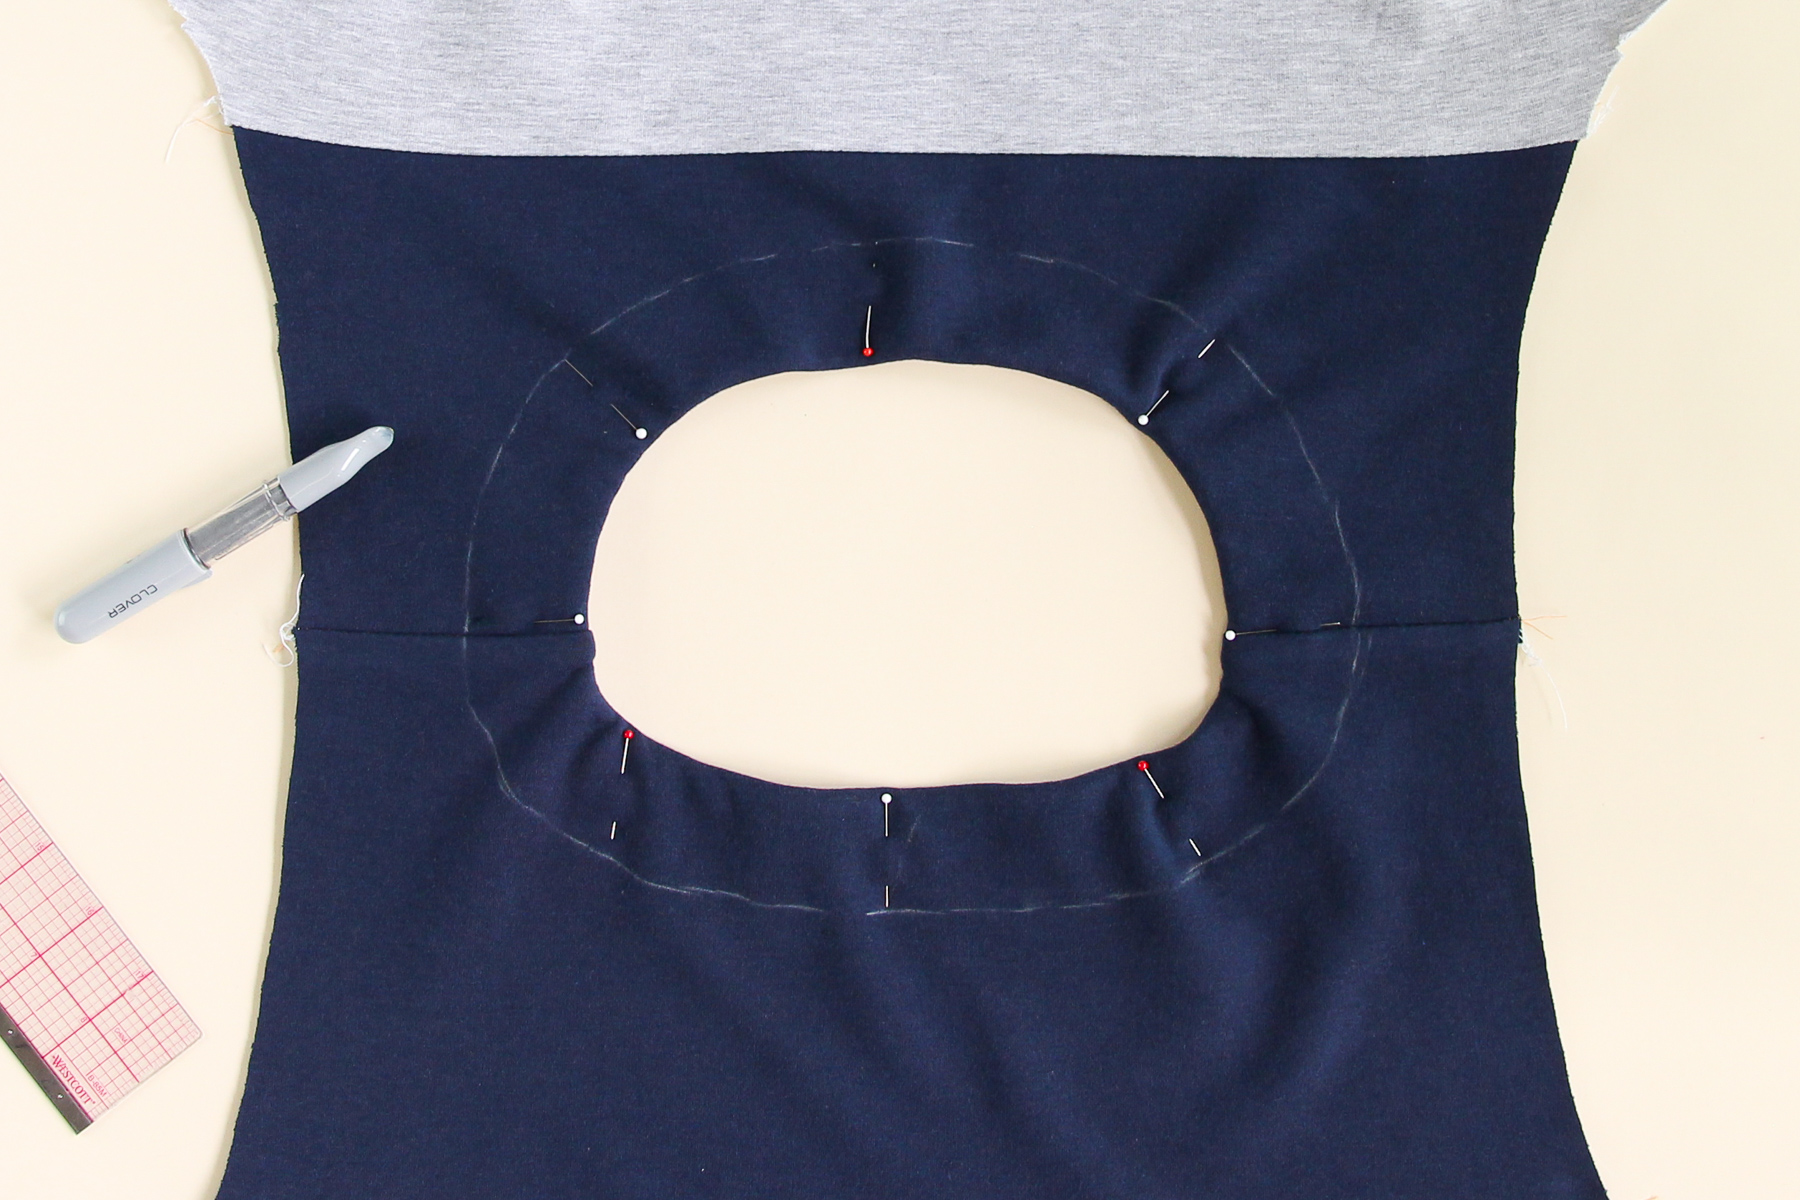
Topstitch in place.
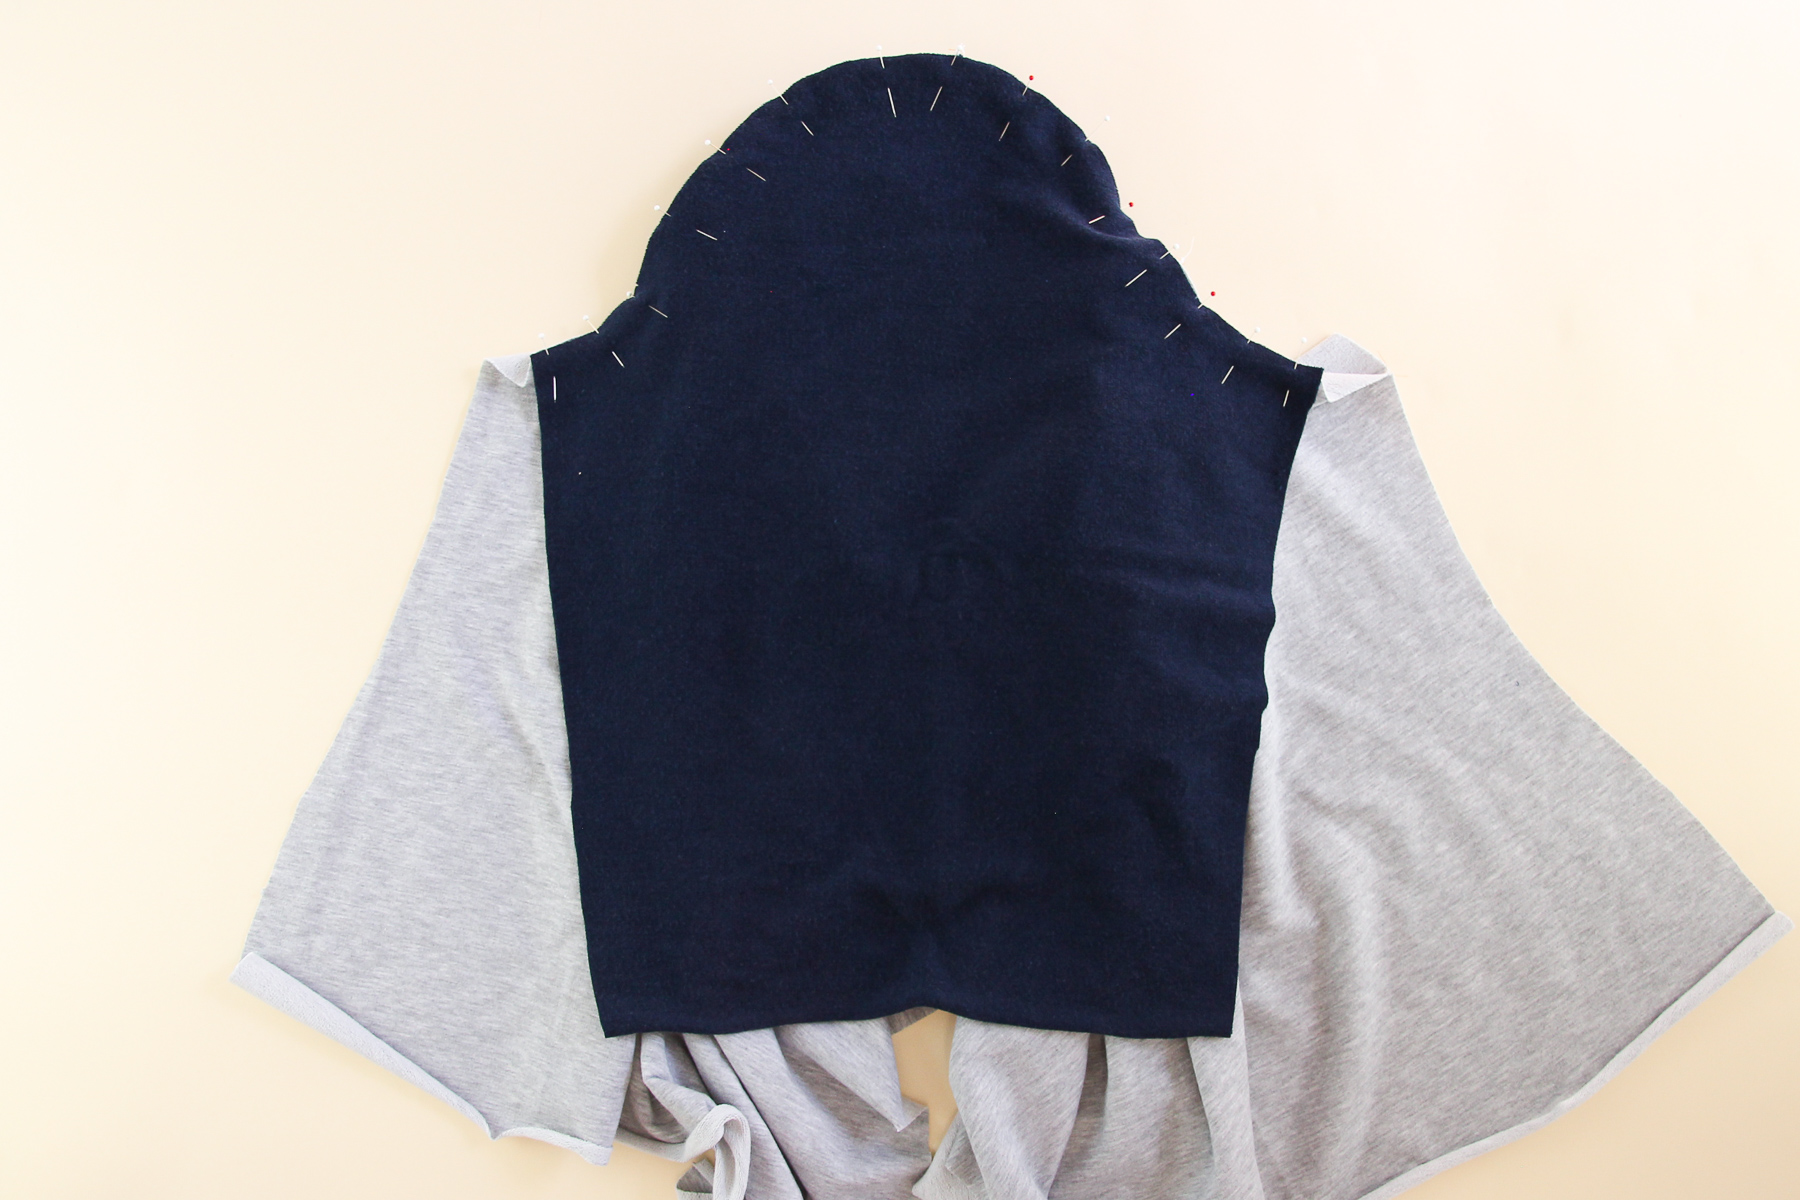
Time to get our sleeves on! Pin one sleeve to the armhole, matching notches. You’ll have to gently shape the armhole to fit the shape of the sleeve.
We’re going to sew that sleeve on, with the bodice facing up and the sleeve down against the machine.
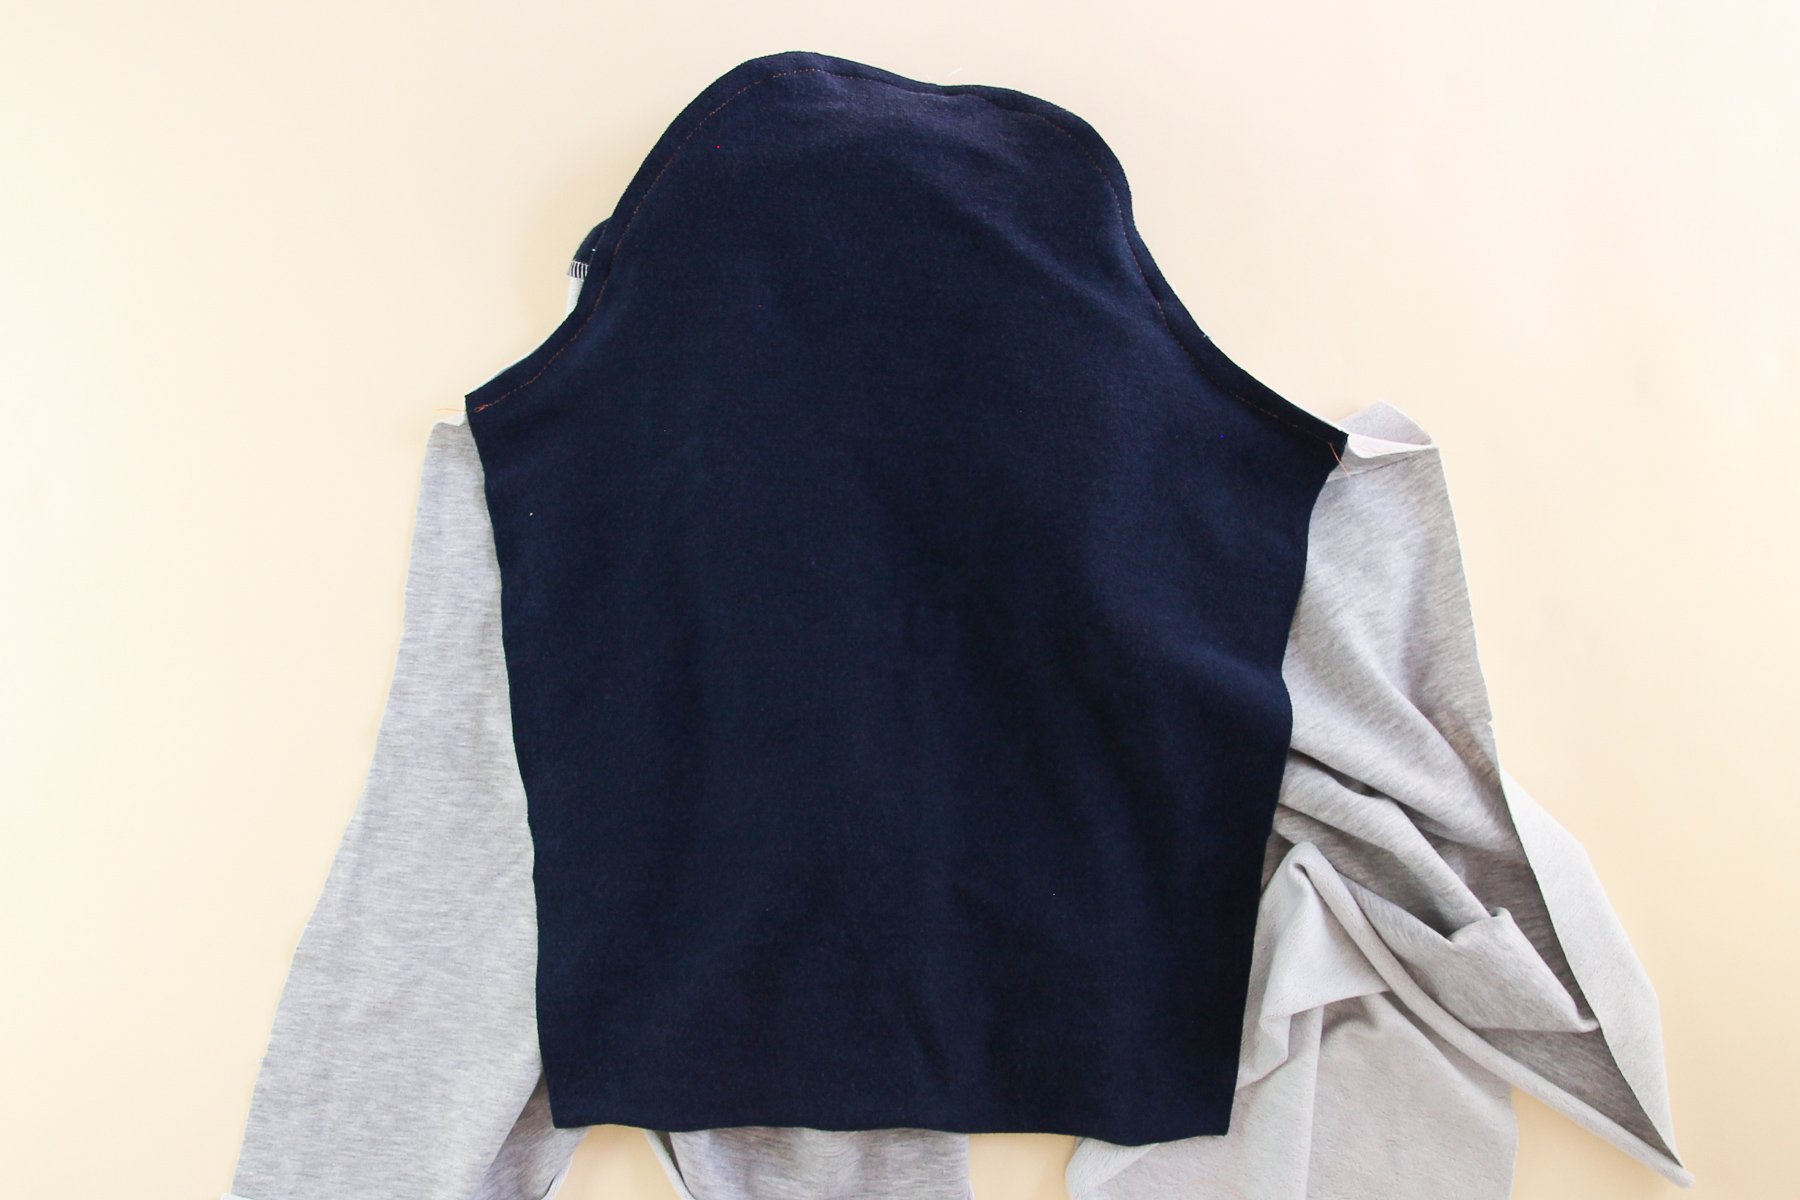
Finish that seam and press it towards the sleeve.
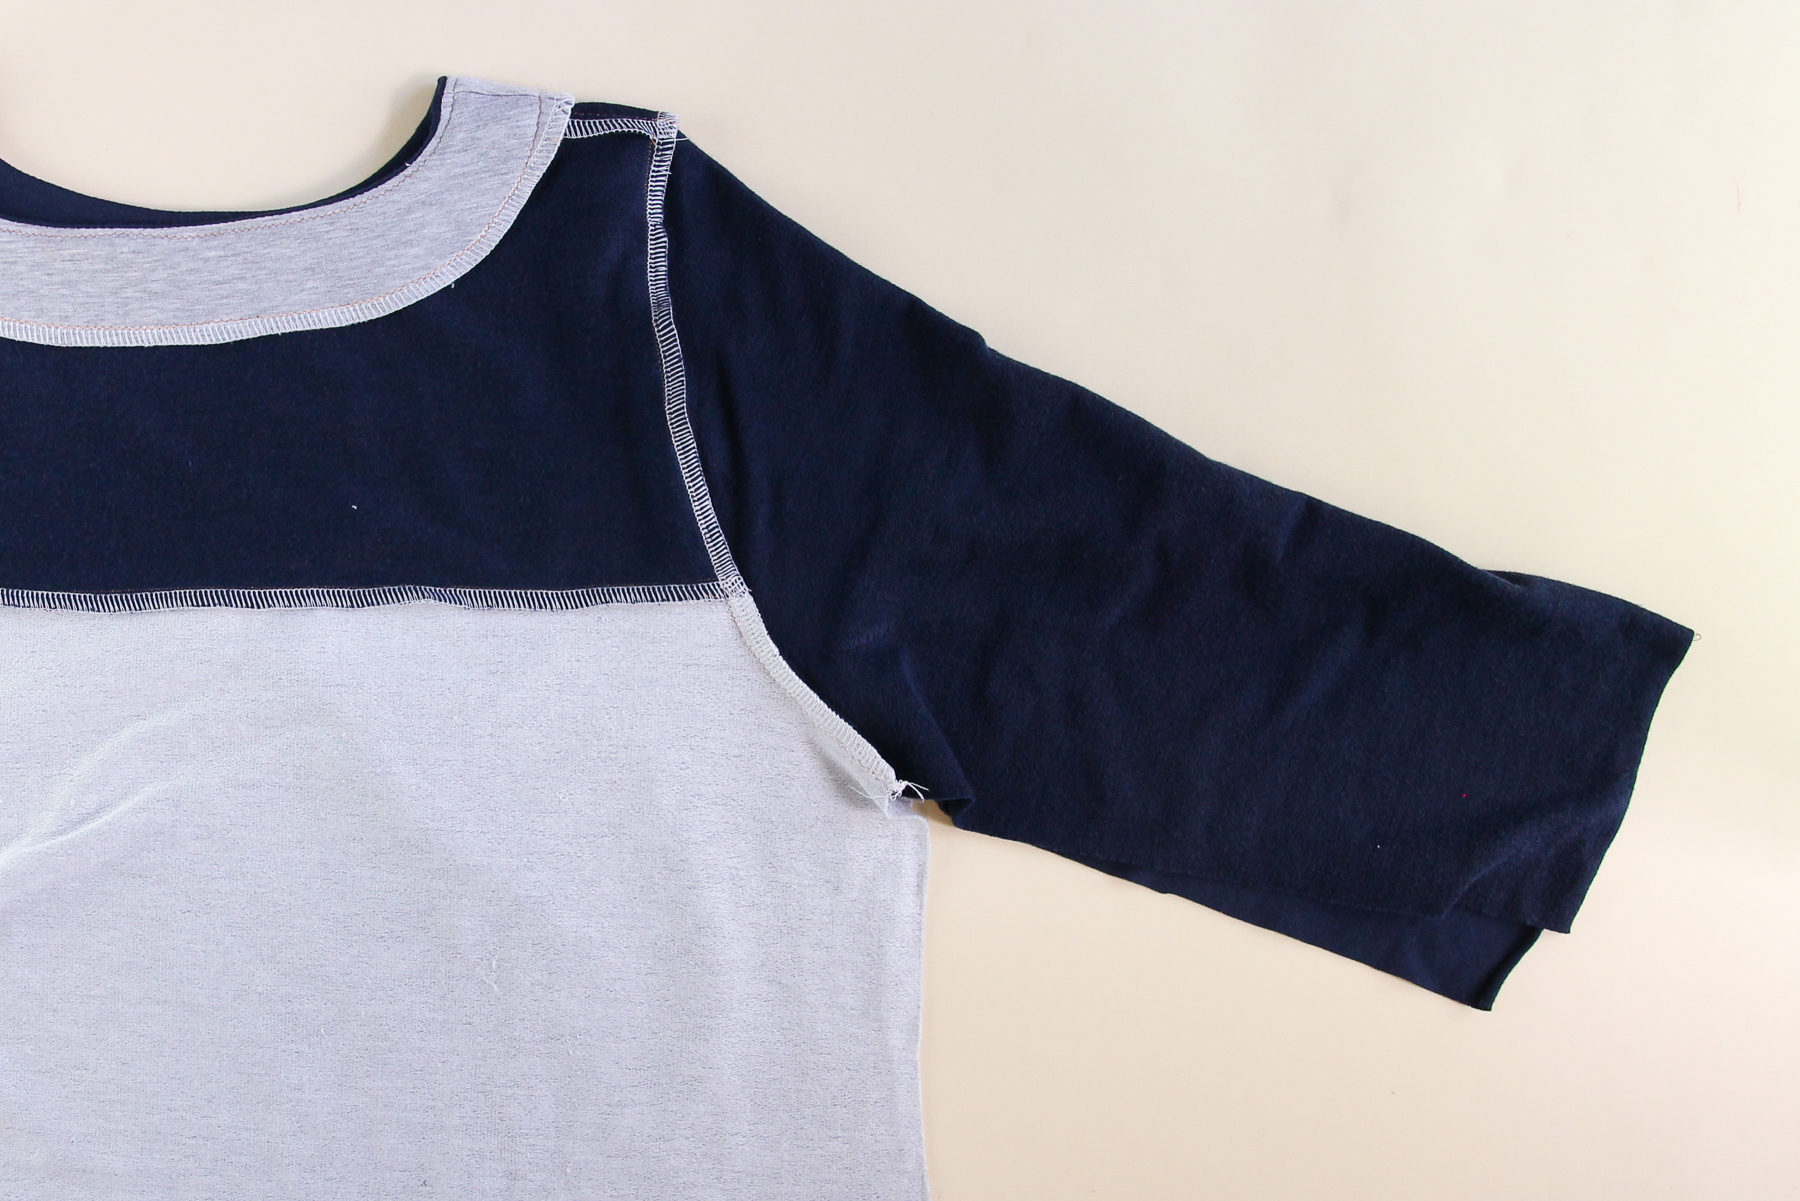
Let’s repeat that with the other sleeve
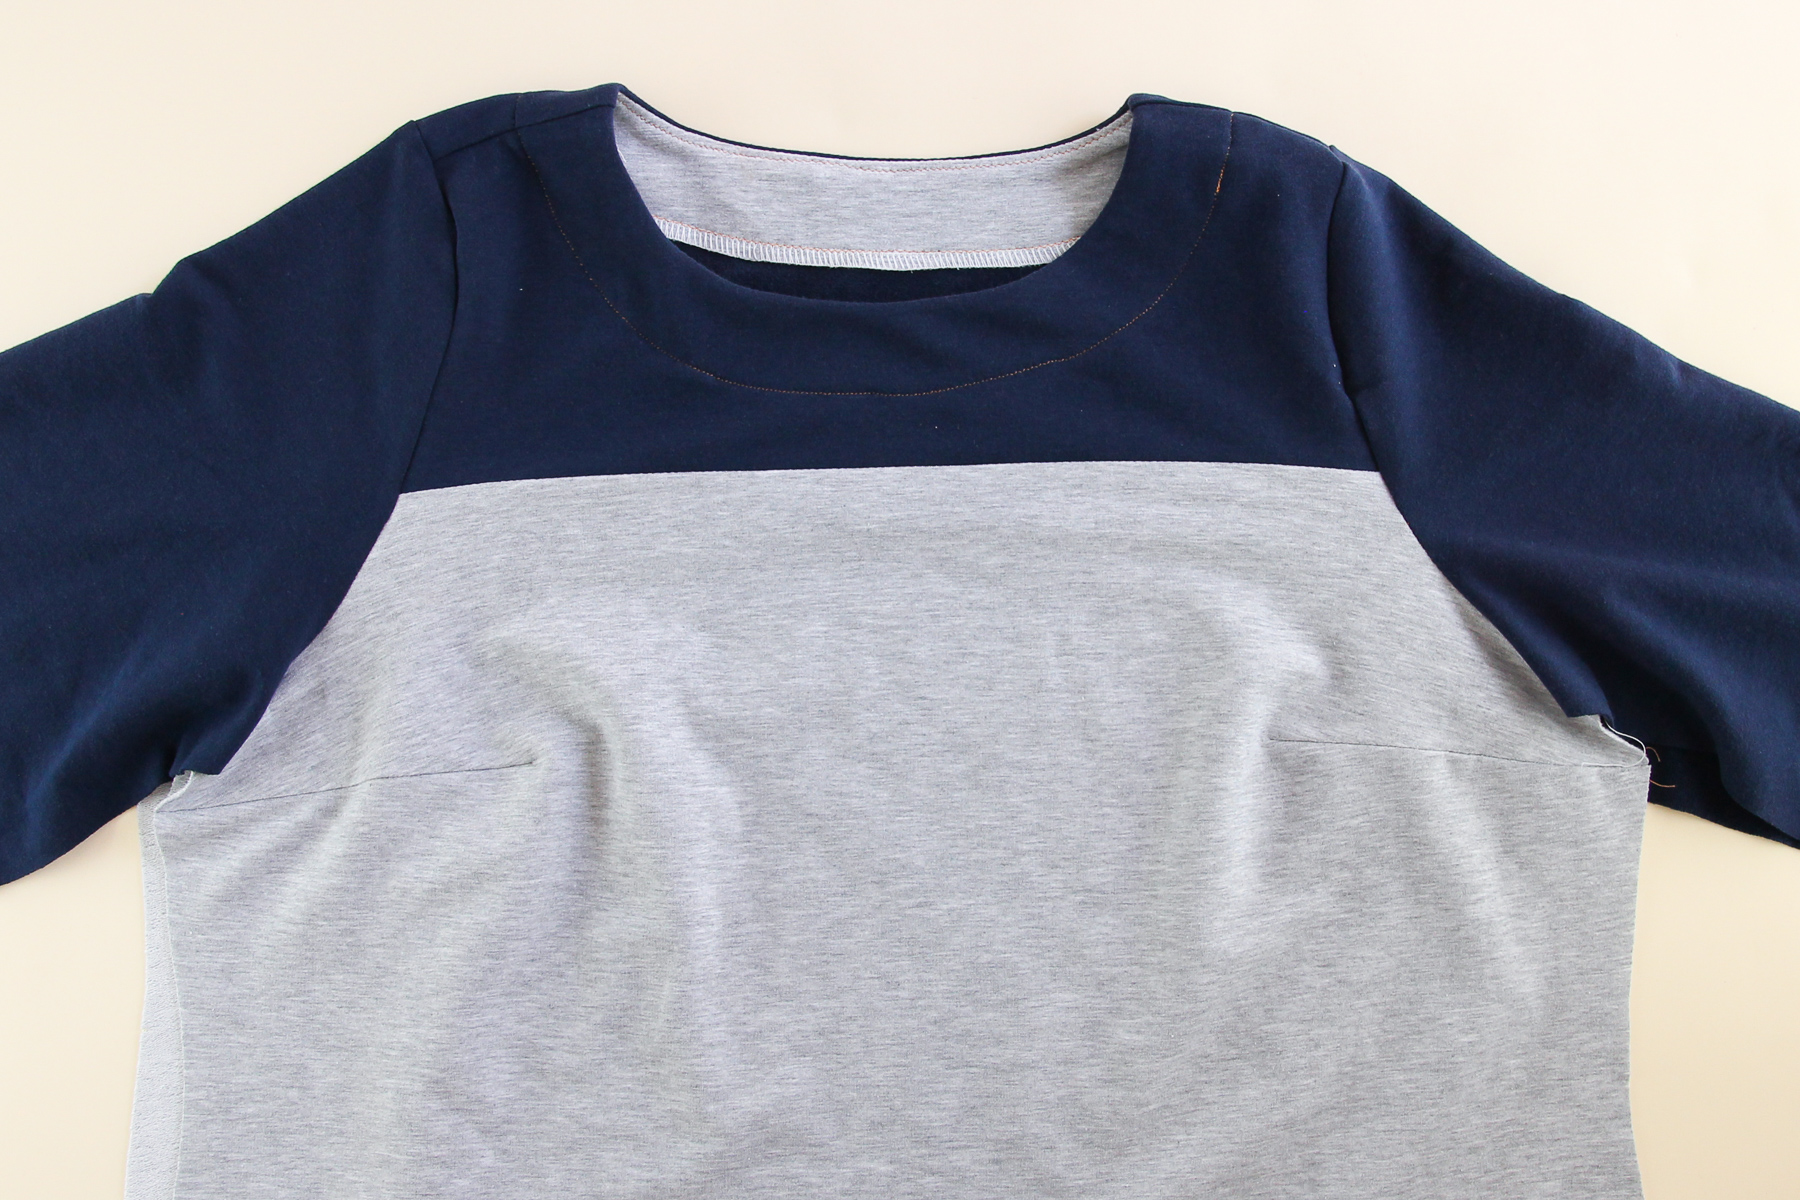
And now we’re going to sew the side seams. Pin one side seam all along the bodice and sleeve.
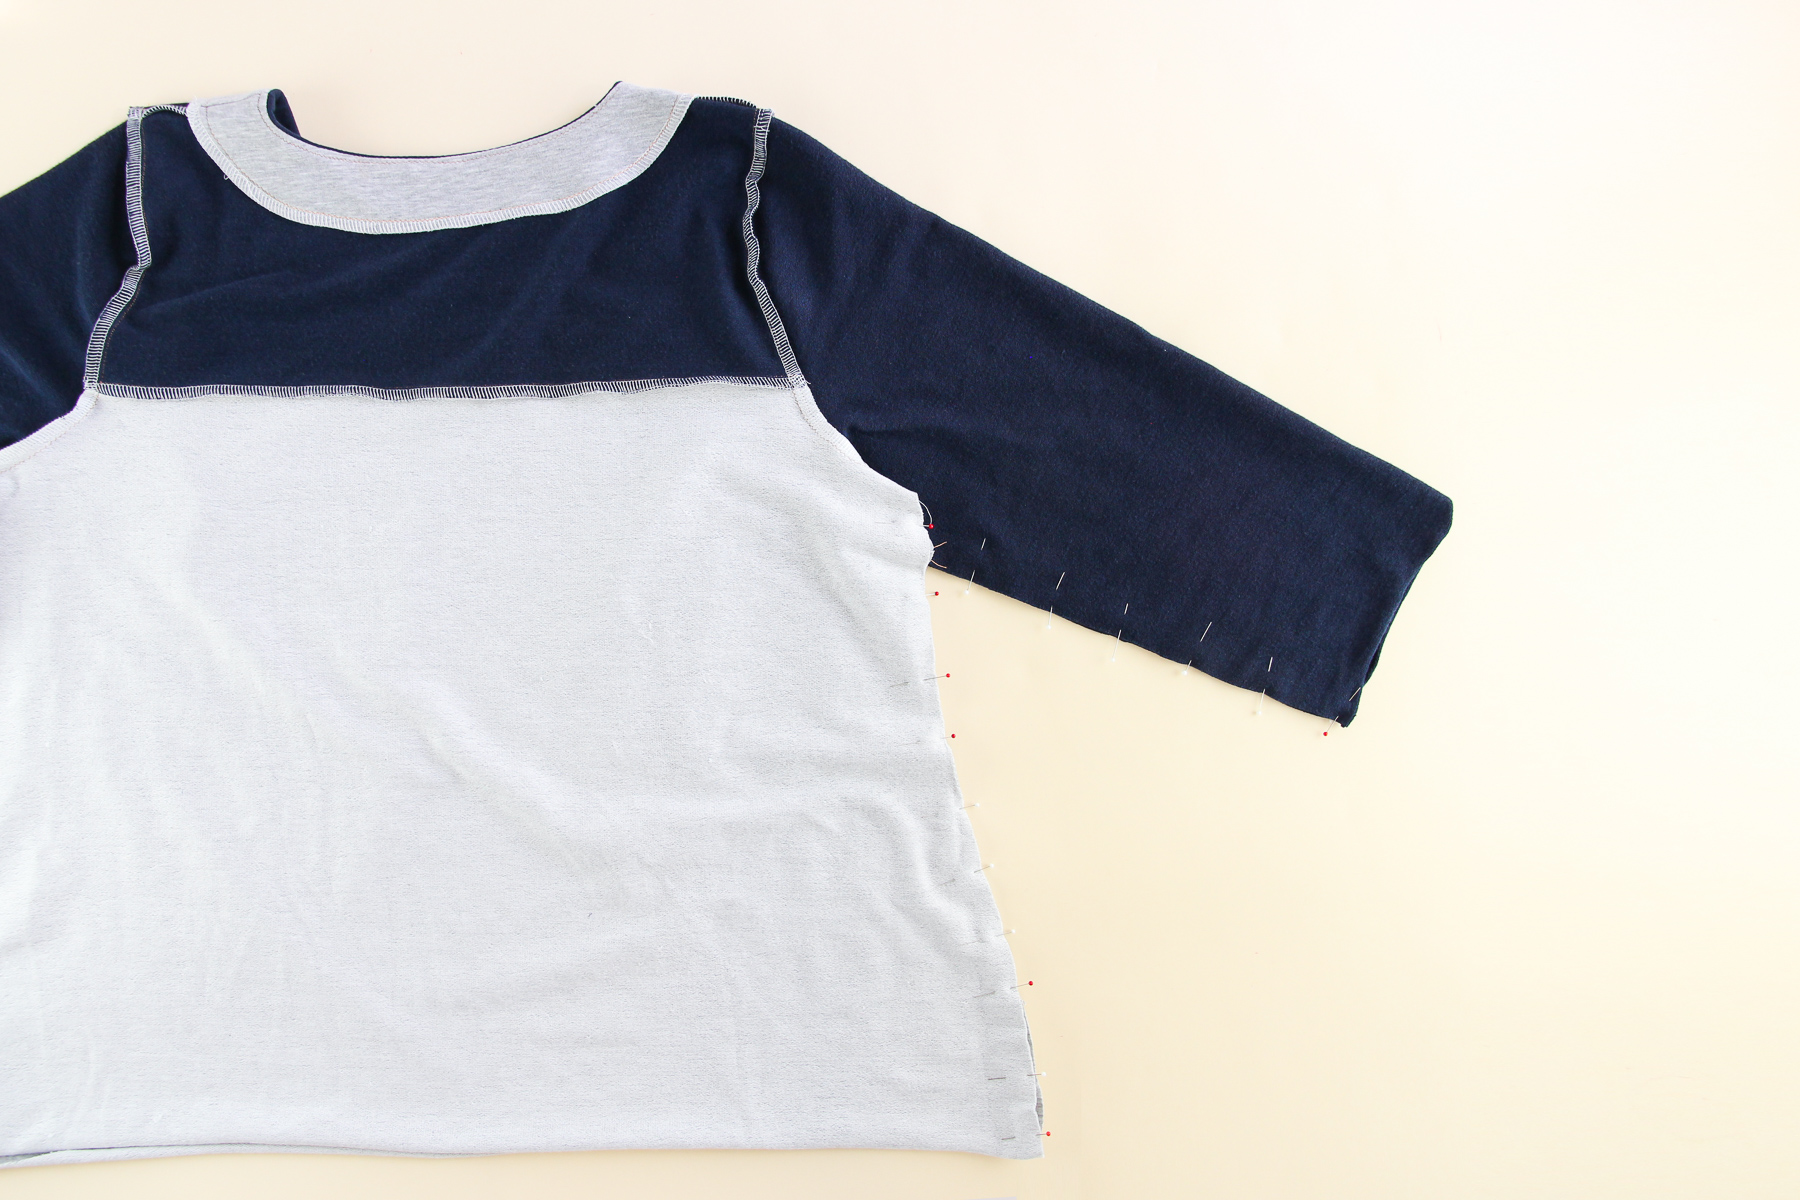
Sew that seam at our 3/8” (1 cm) seam allowance, starting at the hem and going up, pivoting at the underarm seam. Make sure your bust dart is folded upward.
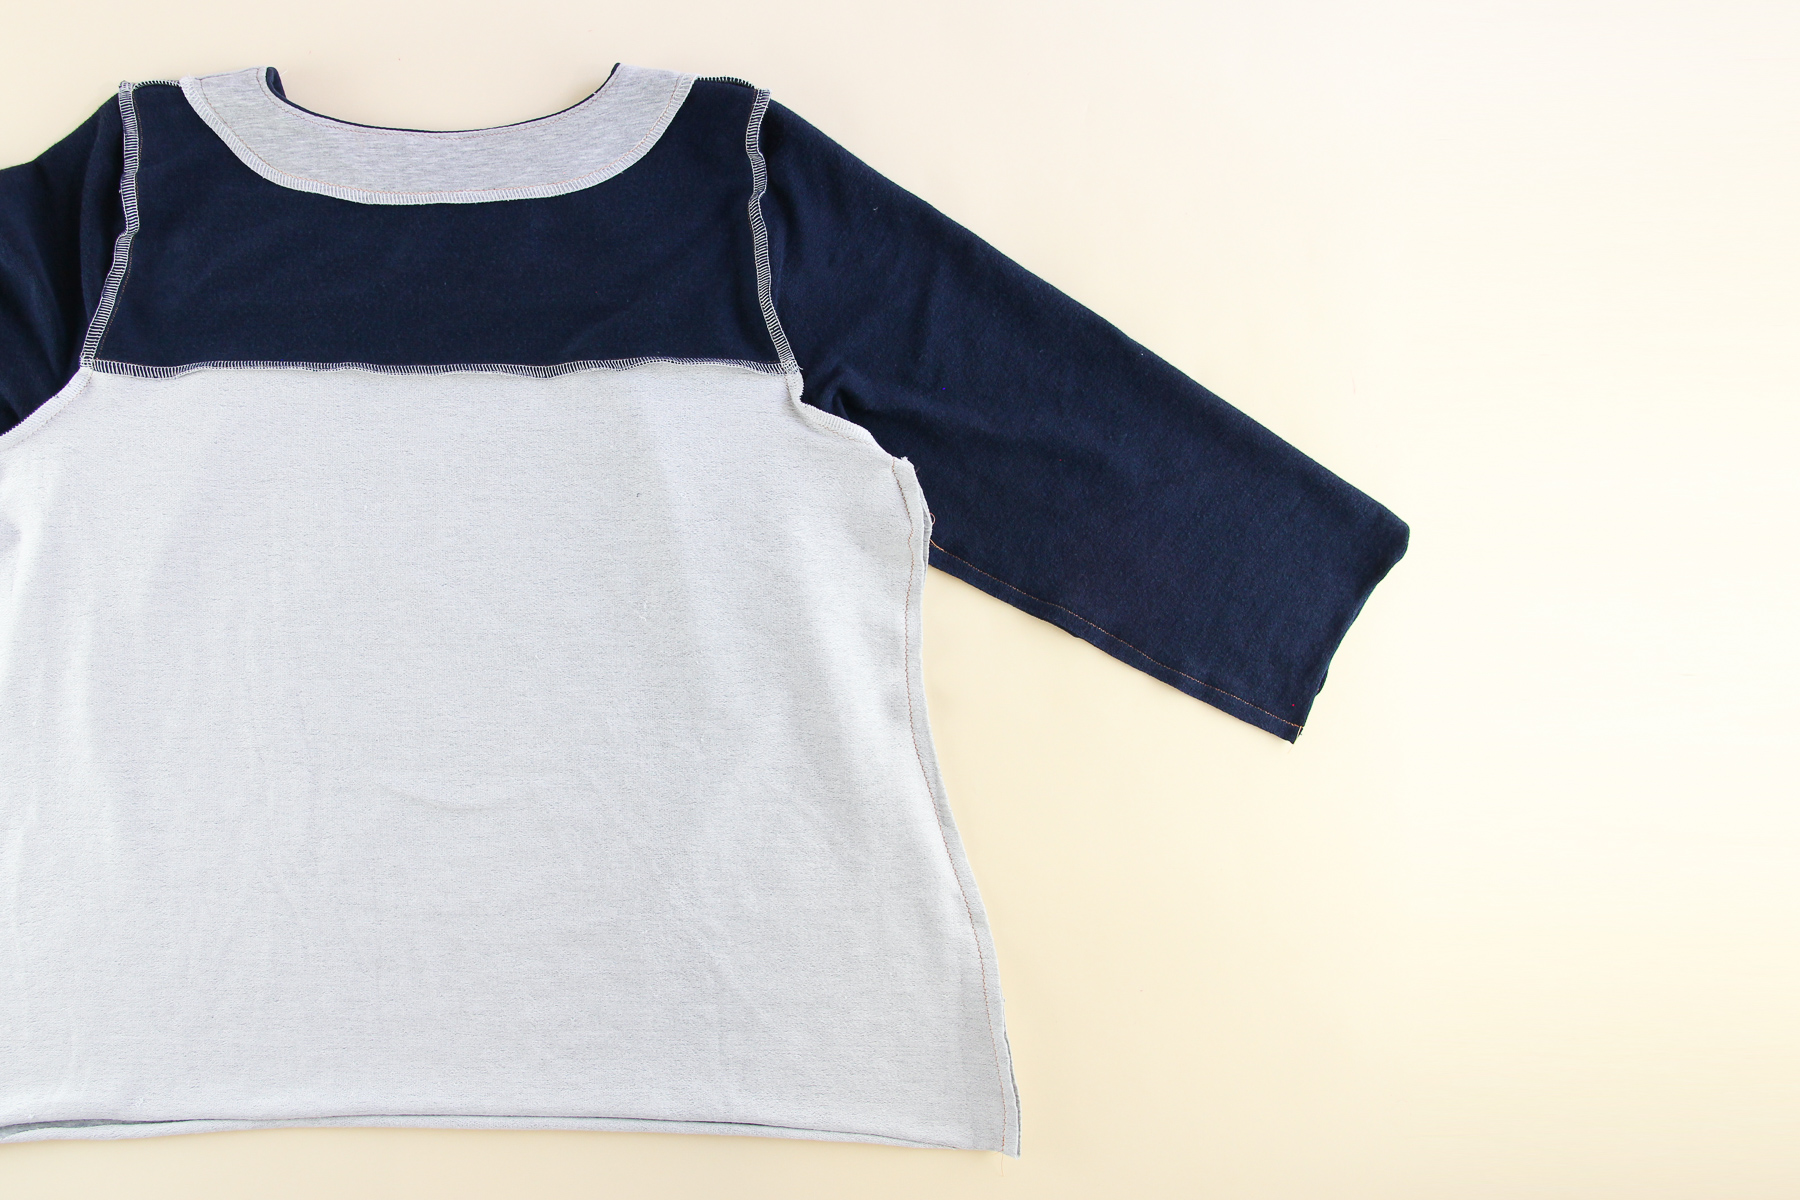
Let’s finish that seam and press it towards the back of the sweater. (If this is your first time making a Tobin, sew the other side seam before finishing this seam in case you want to make adjustments.)
And we’re going to do the same thing on the other side!
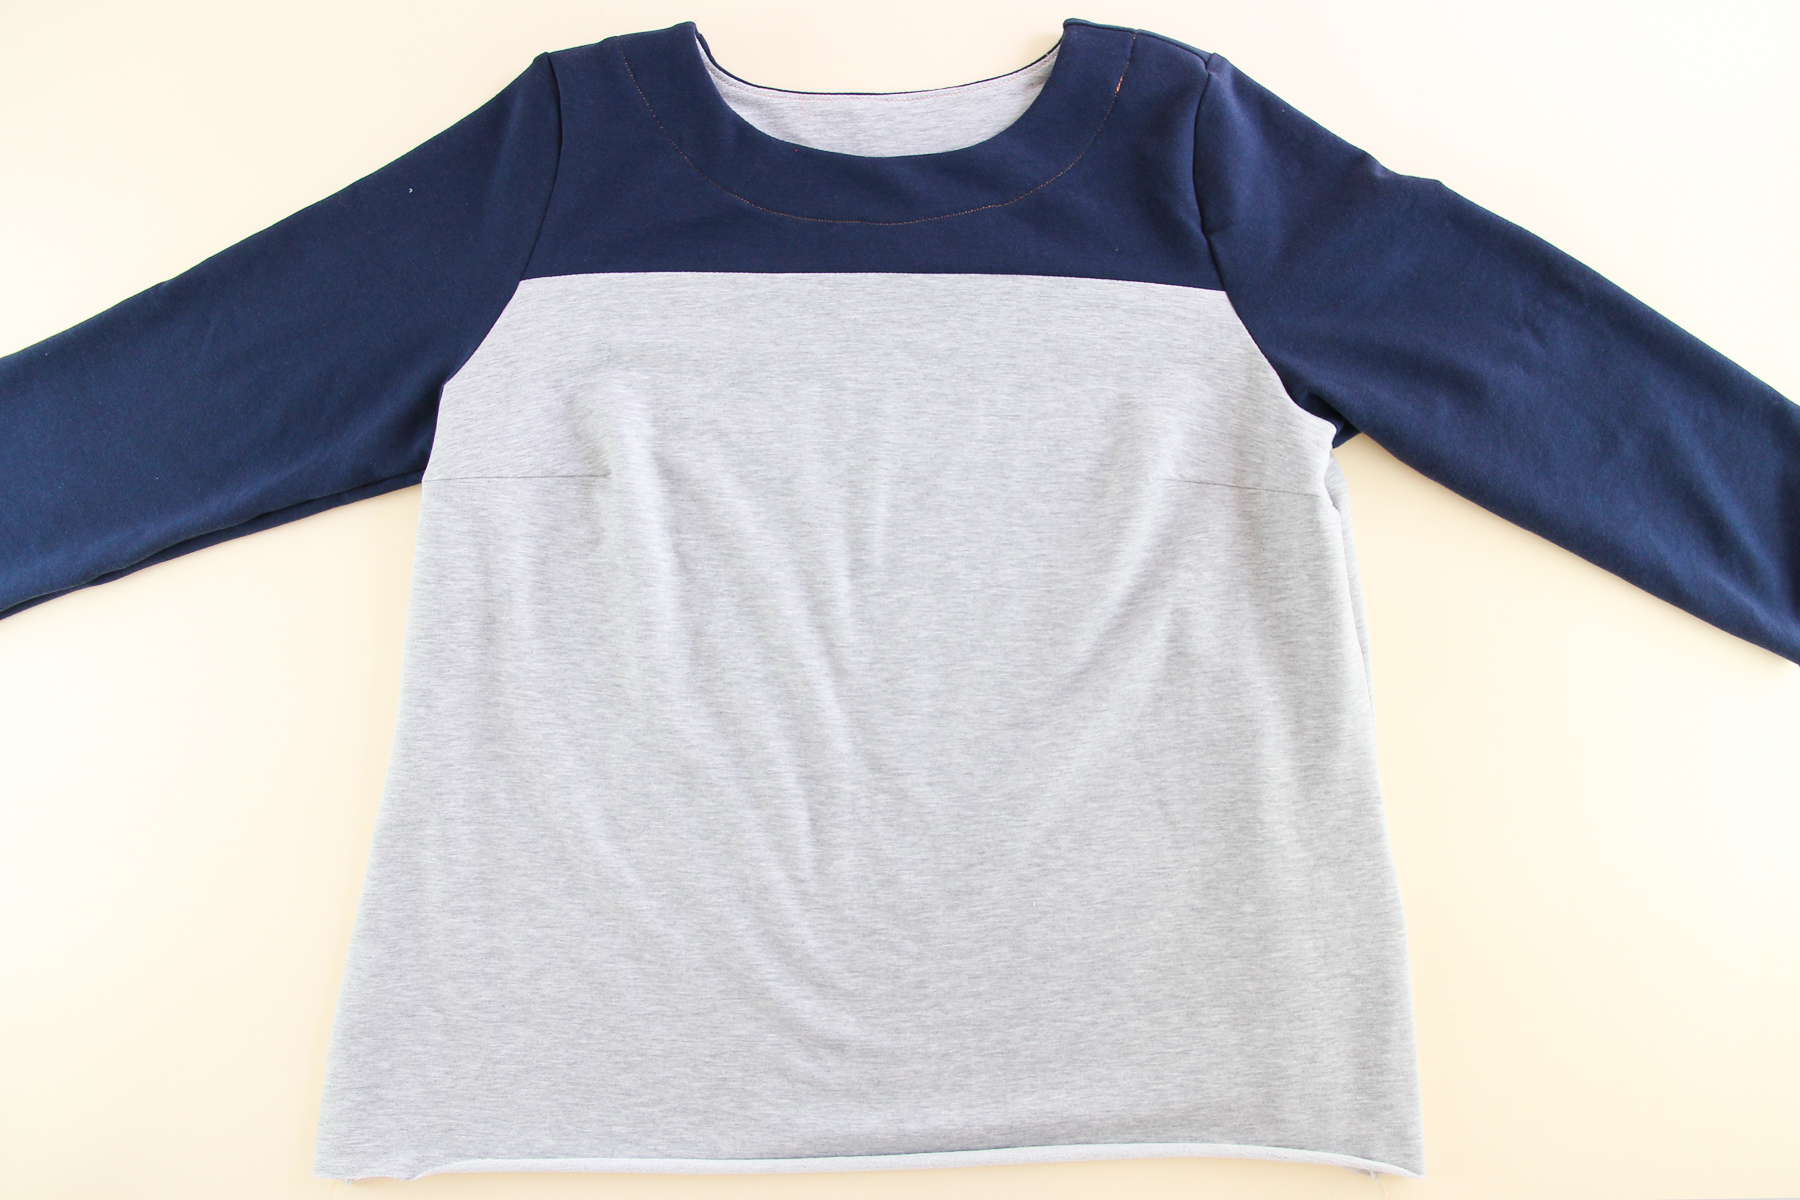
We are moving right along! Let’s do our sleeve cuffs next.
Taking one of the cuffs, fold it in half, right sides together. Pin along the side seam.
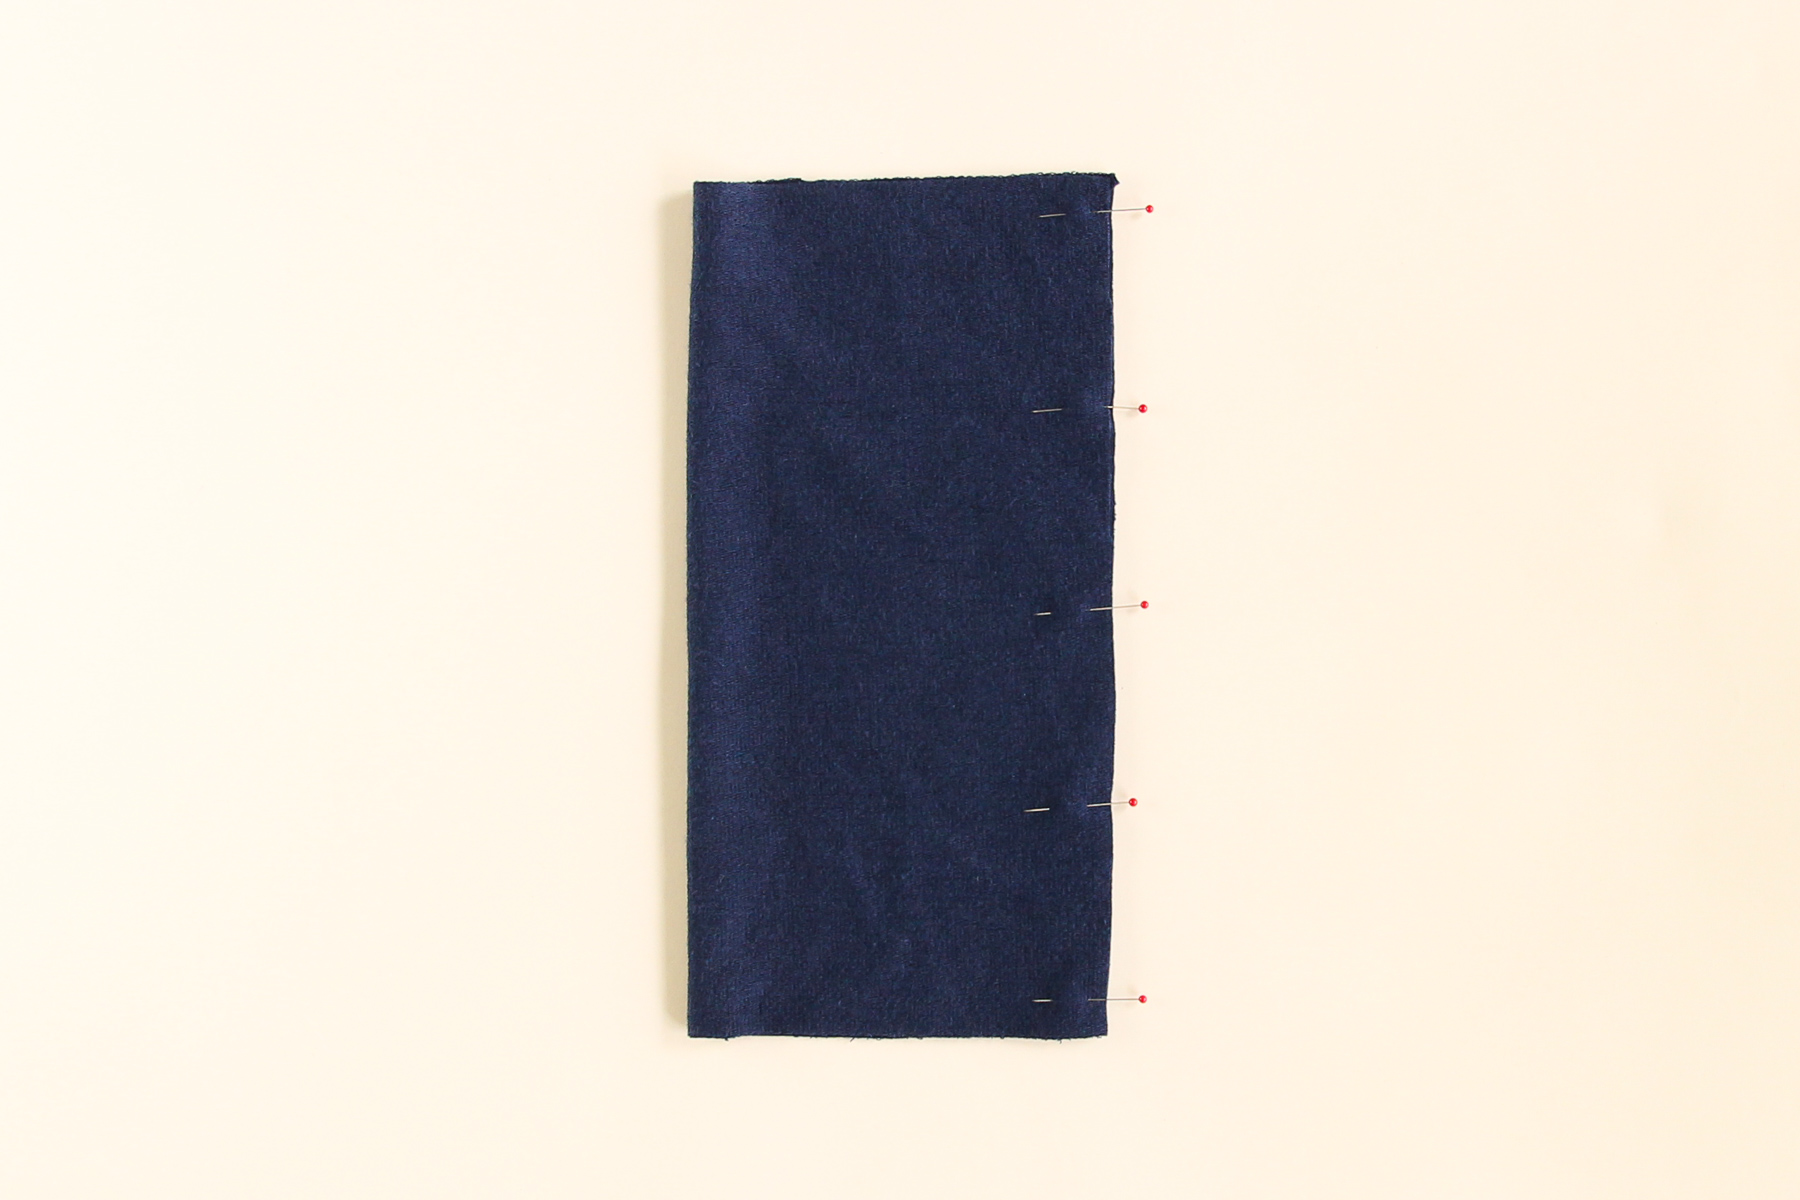
Sew that seam at our 3/8” (1 cm) seam allowance.
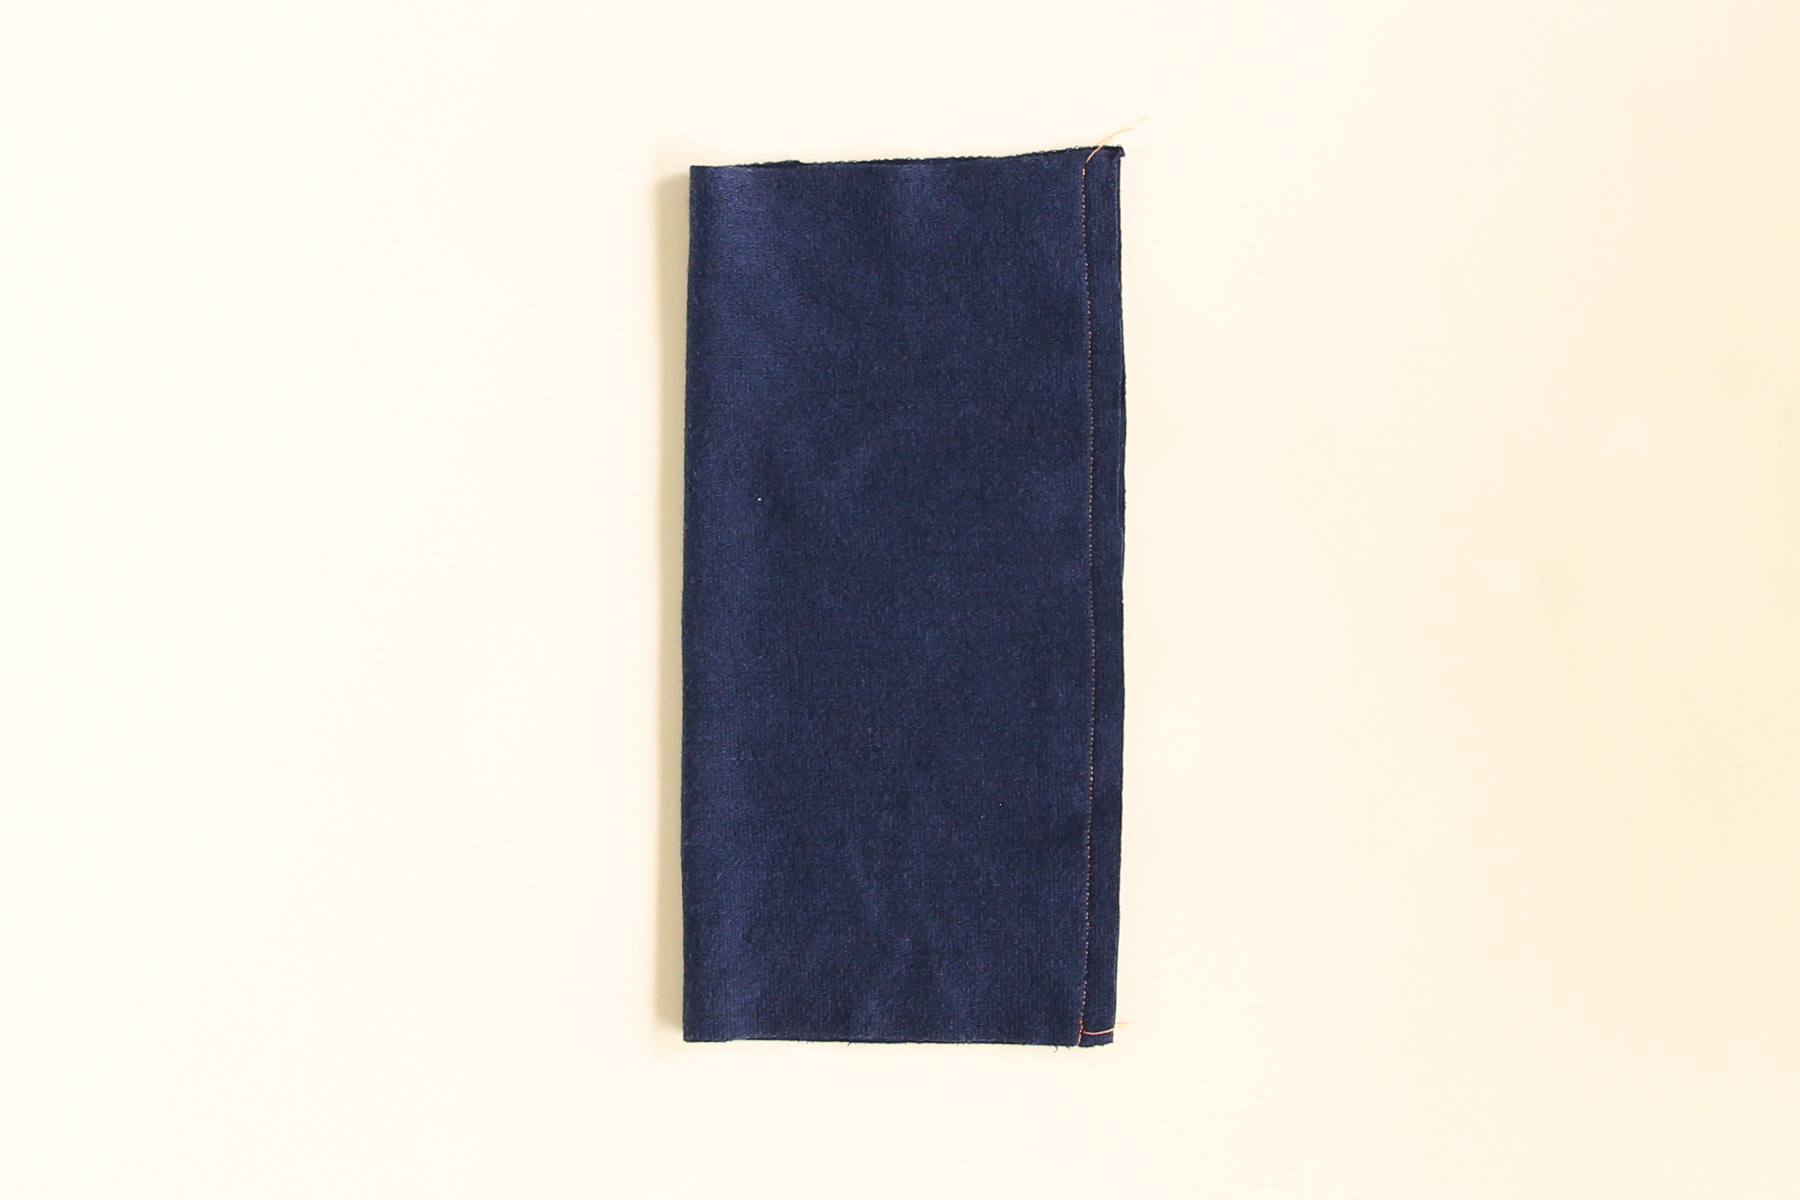
Press those seam allowances open, and then fold in half, wrong sides together, to make a cuff.
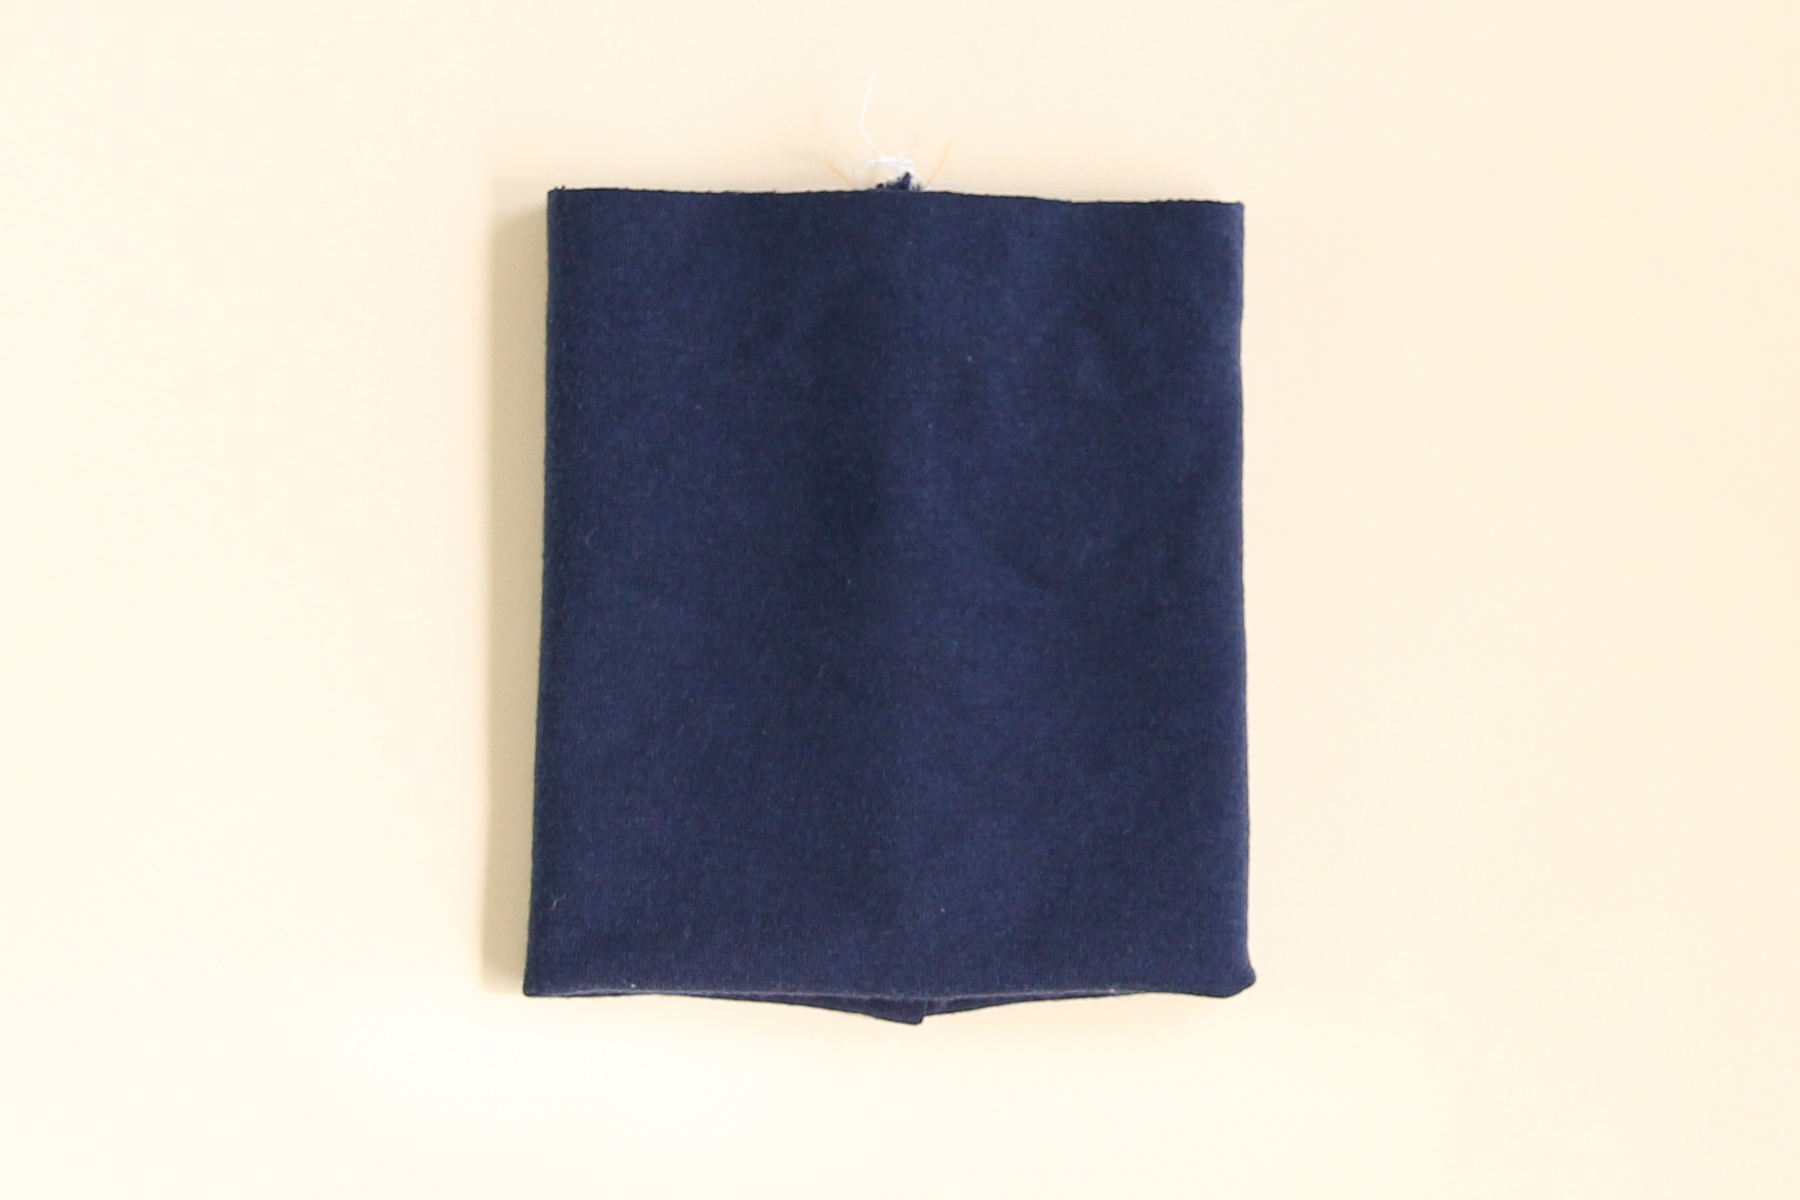
I find that it’s helpful to baste the two layers together first, since sewing the cuff to the sleeve can be a little fiddly. Sew a line of stitching within the seam allowance.
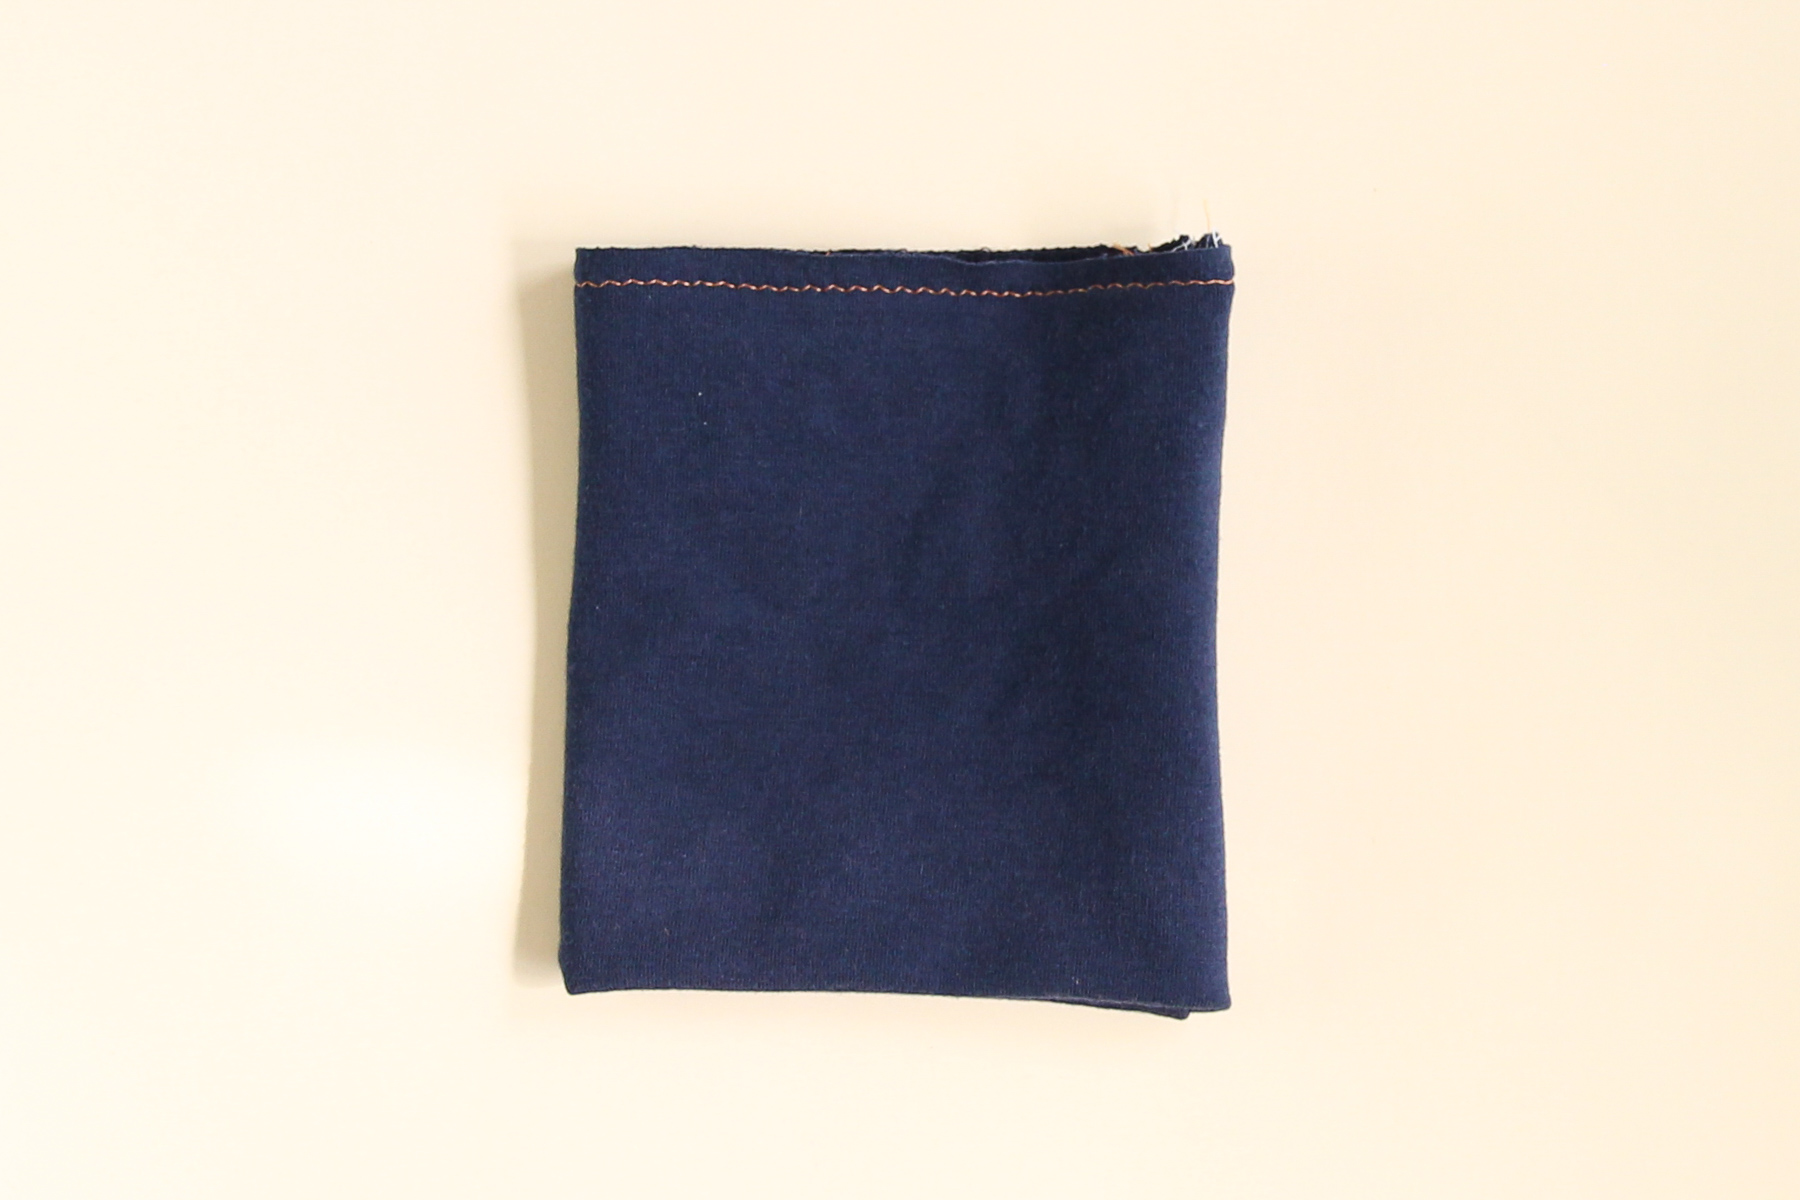
Let’s make our other cuff the same way.
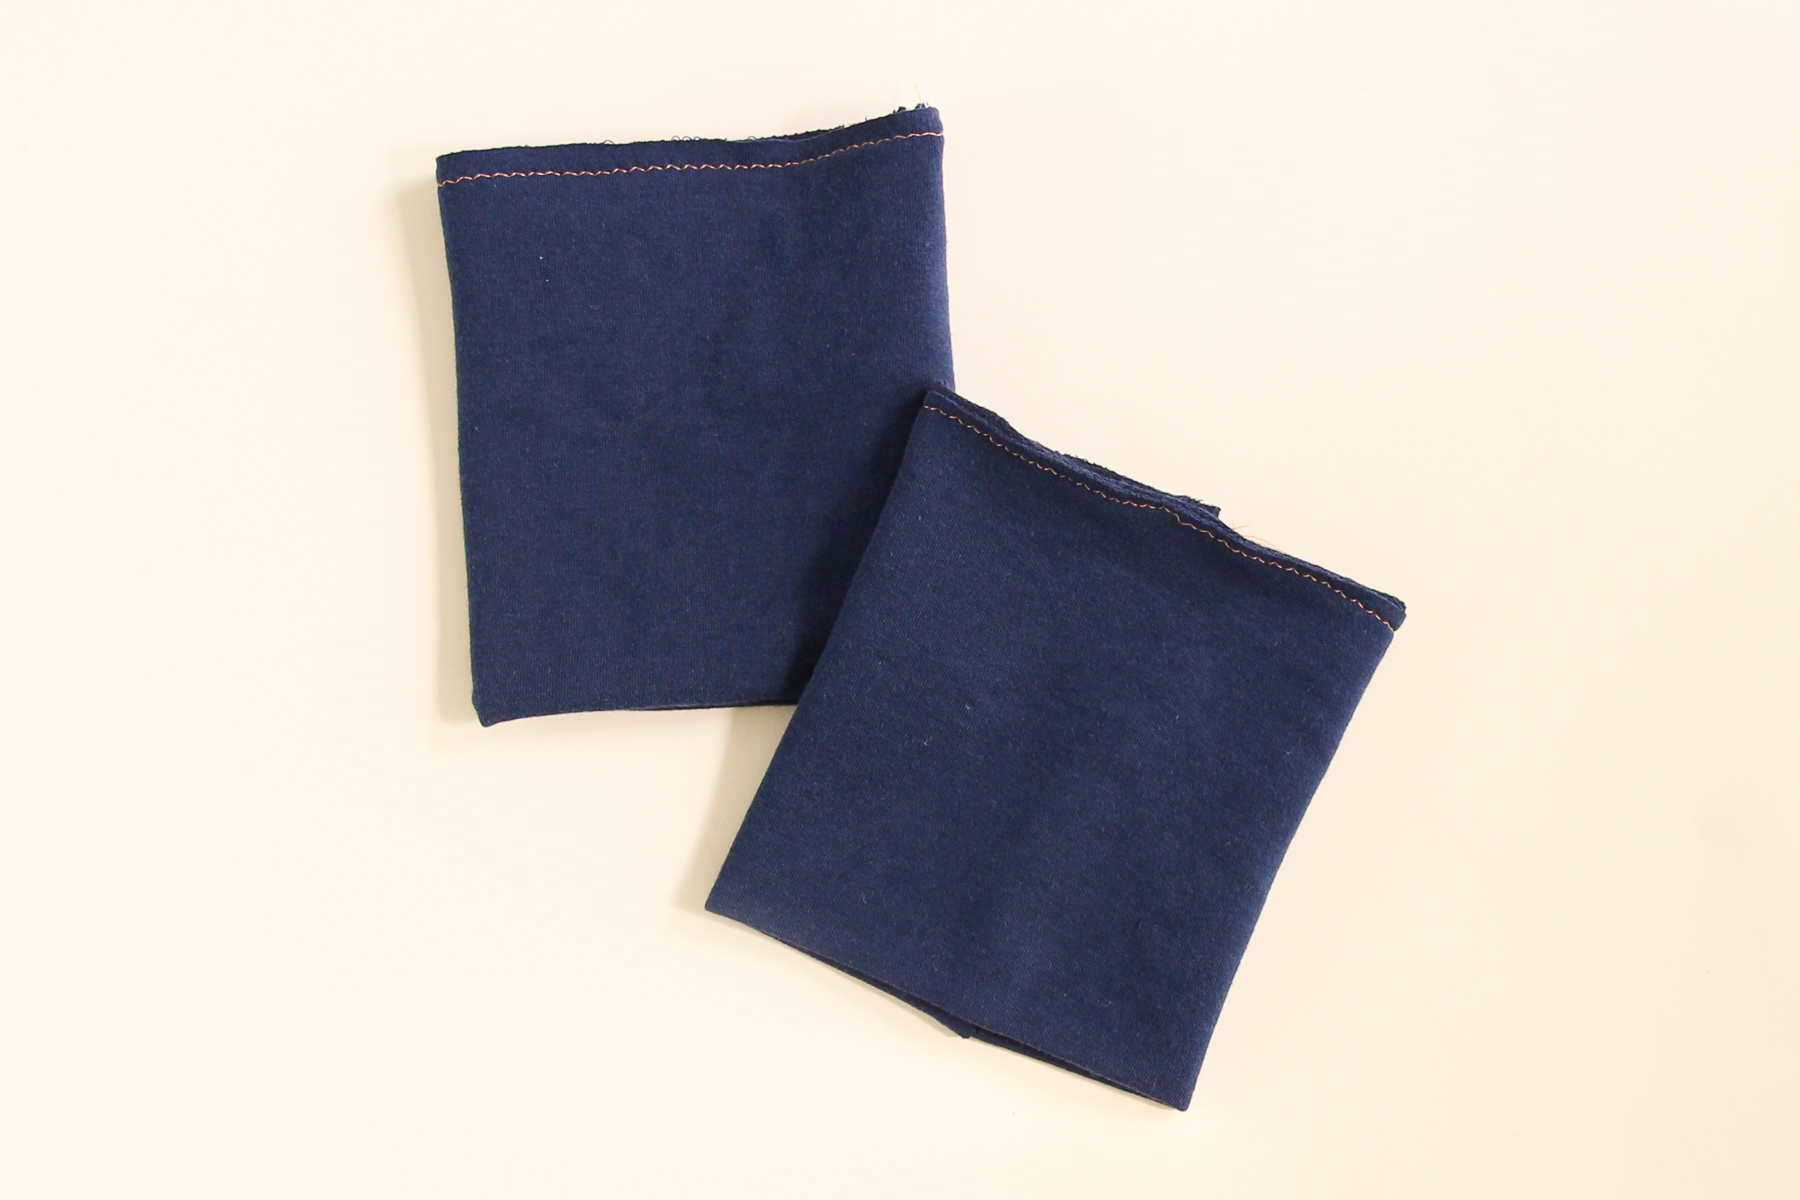
Slide one of the sleeves into one of the cuffs, aligning the raw edges. The right side of the sleeve should be facing out against the cuff. Pin.
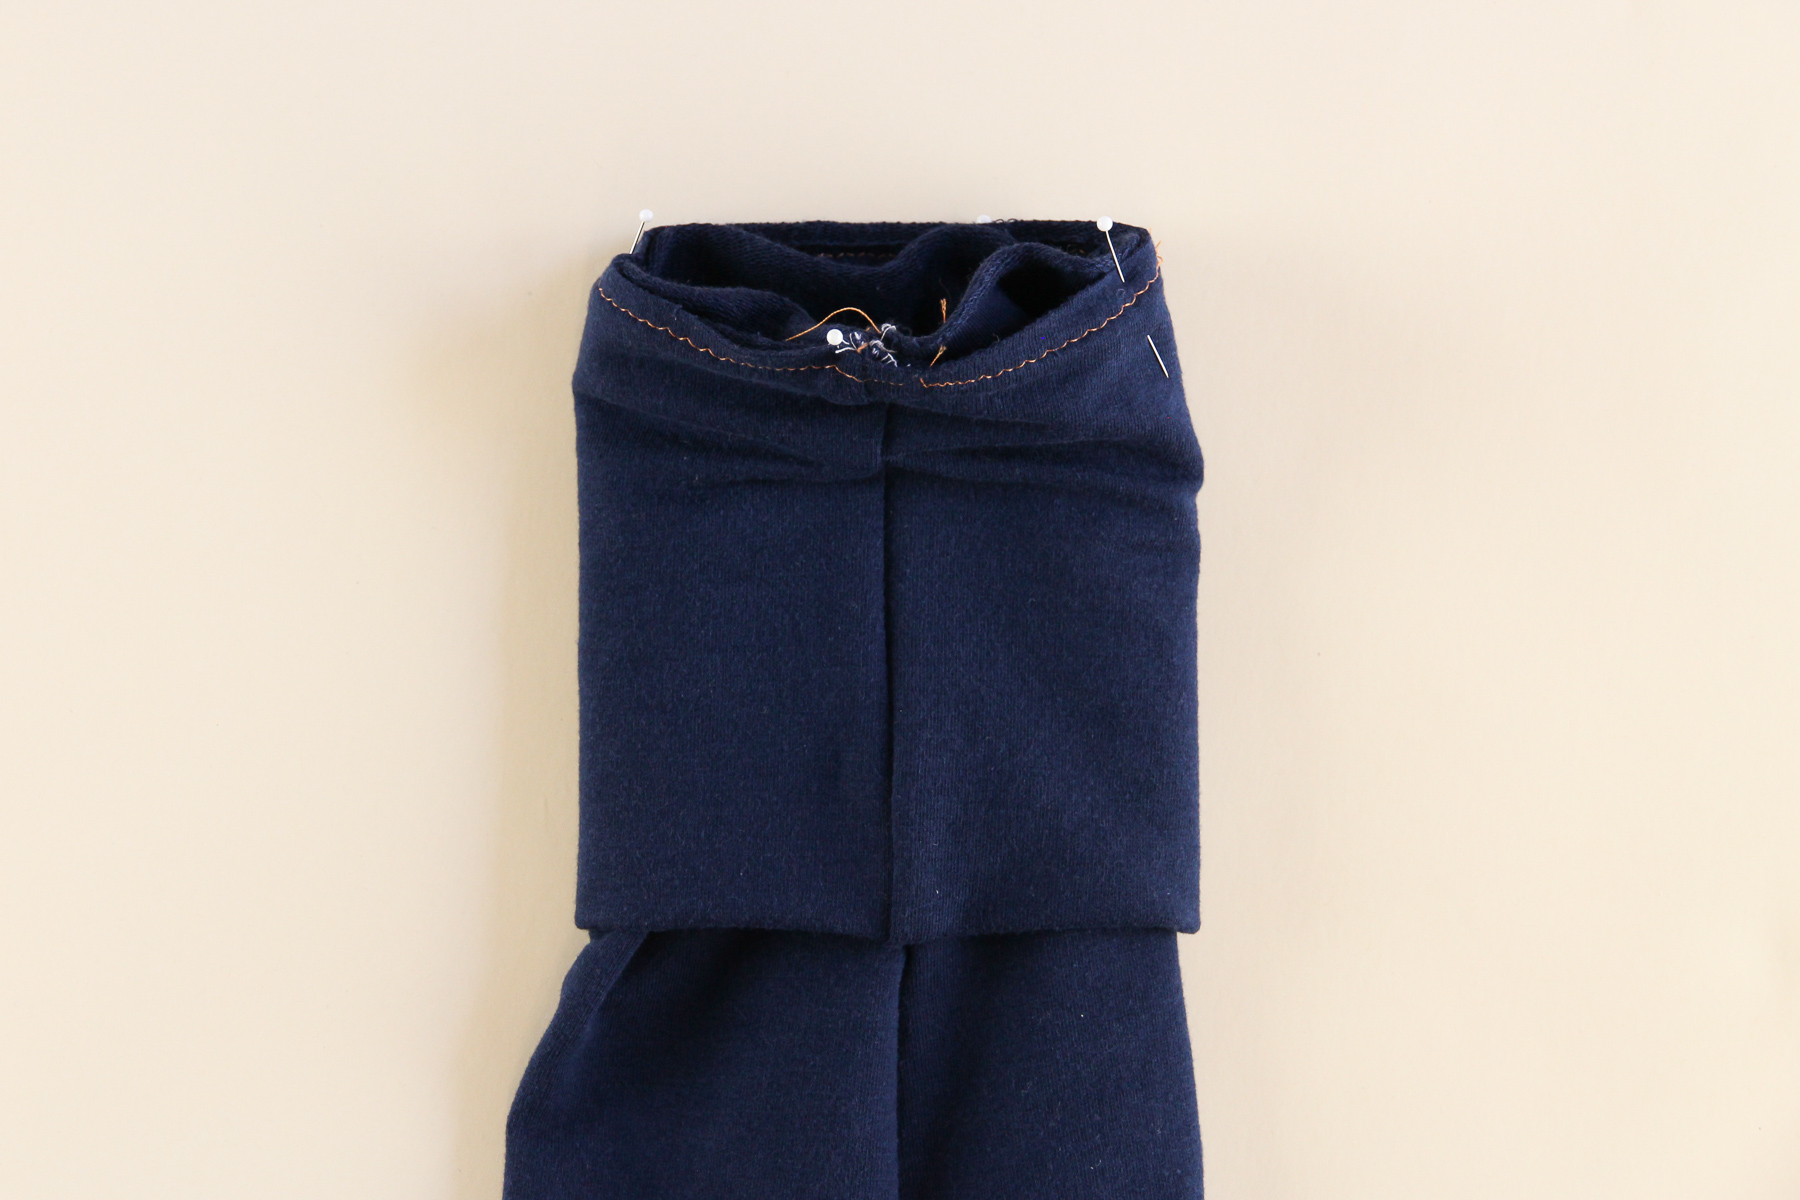
Sew, making sure to stretch the cuff a bit if needed to fit the sleeve.
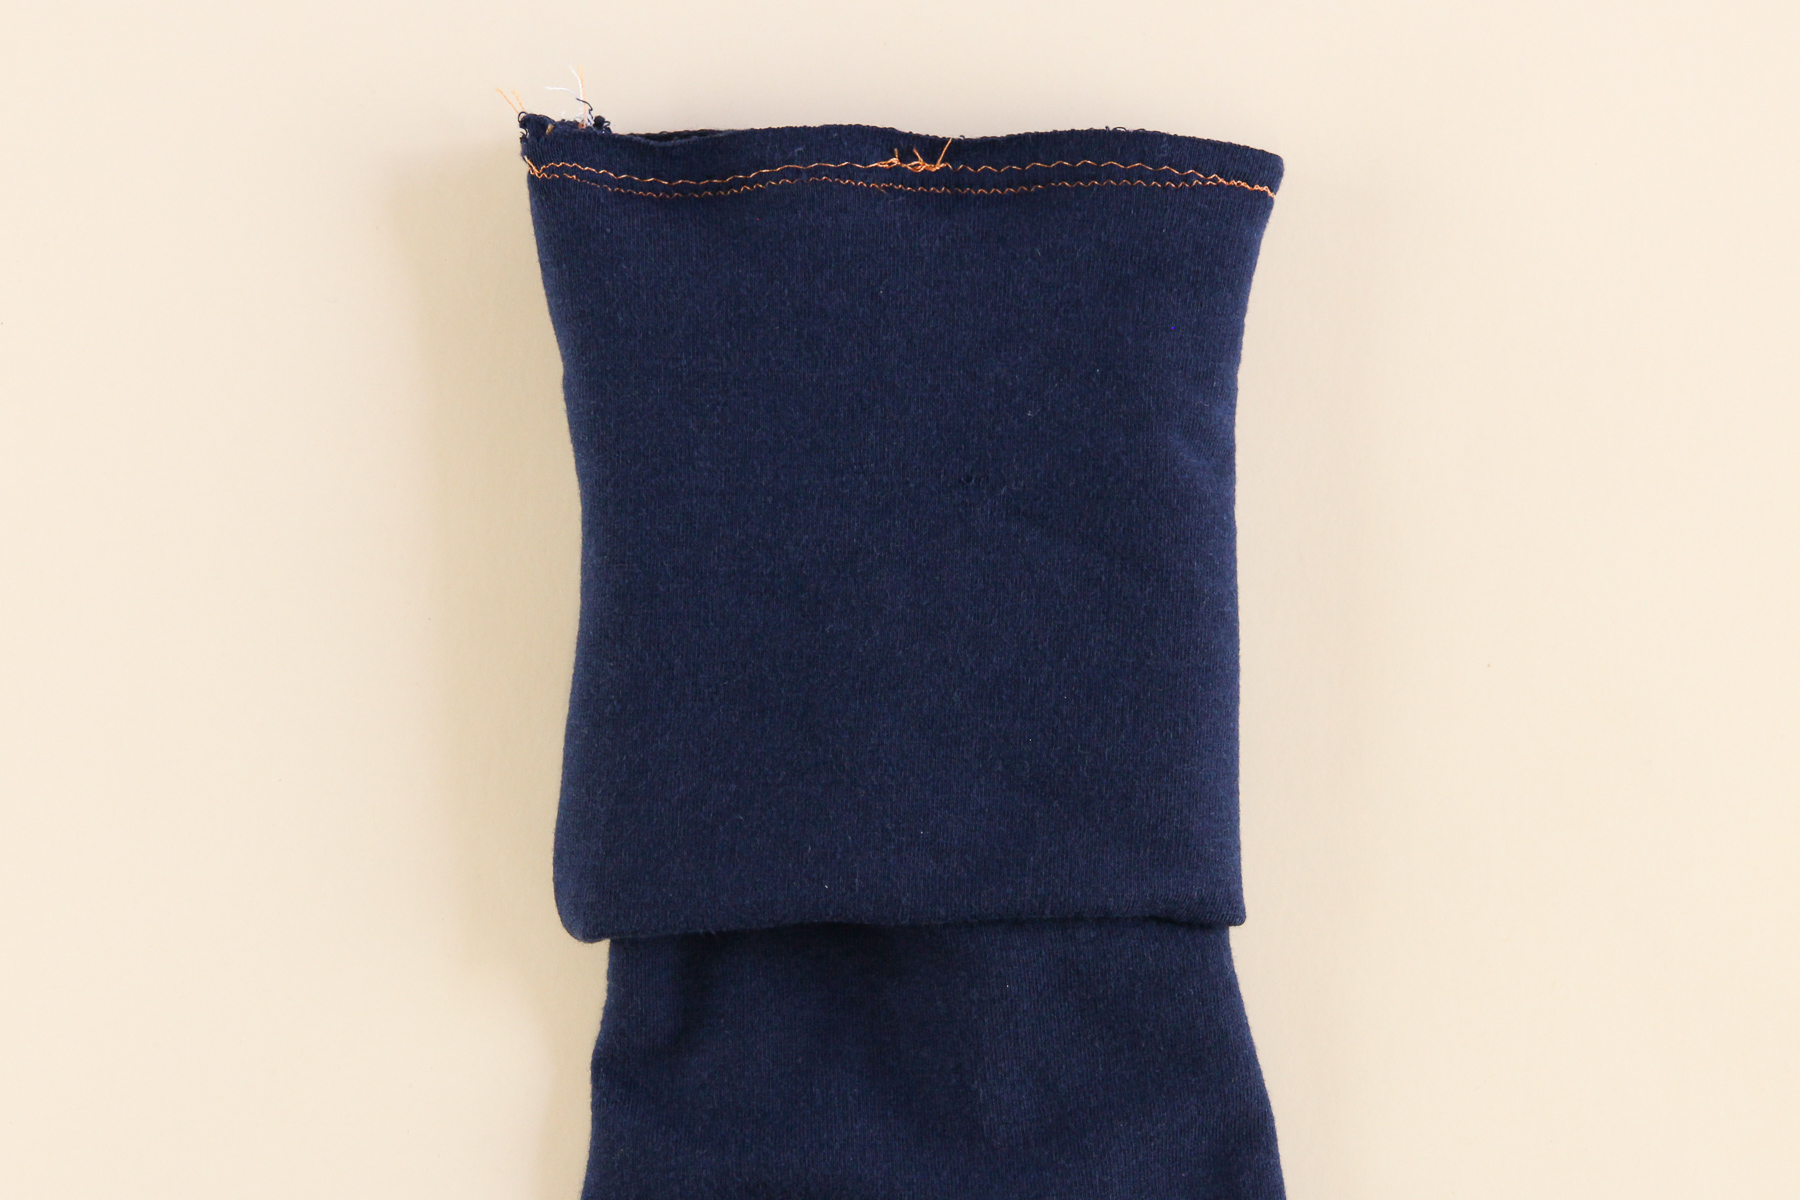
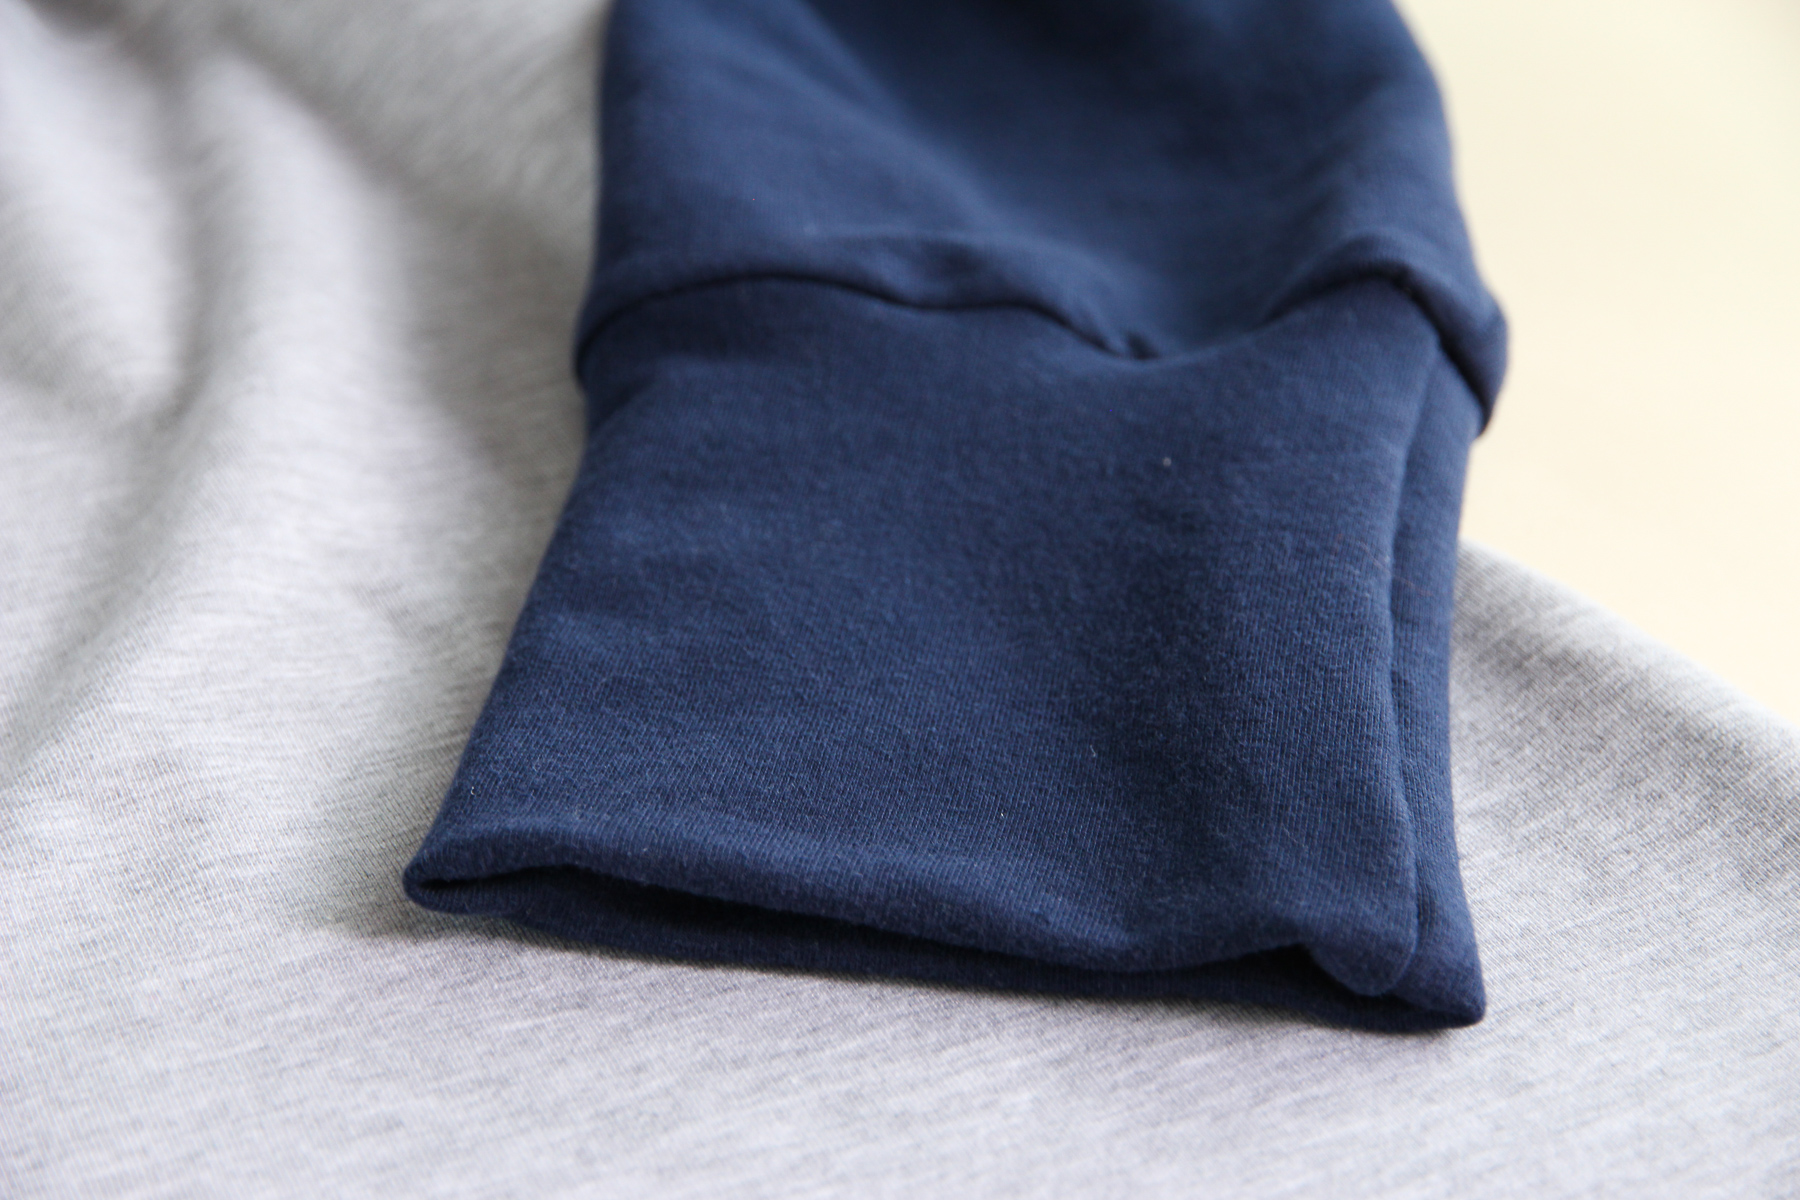
Finish the seam allowance and fold the cuff out, pressing the seam allowance towards the sleeve.
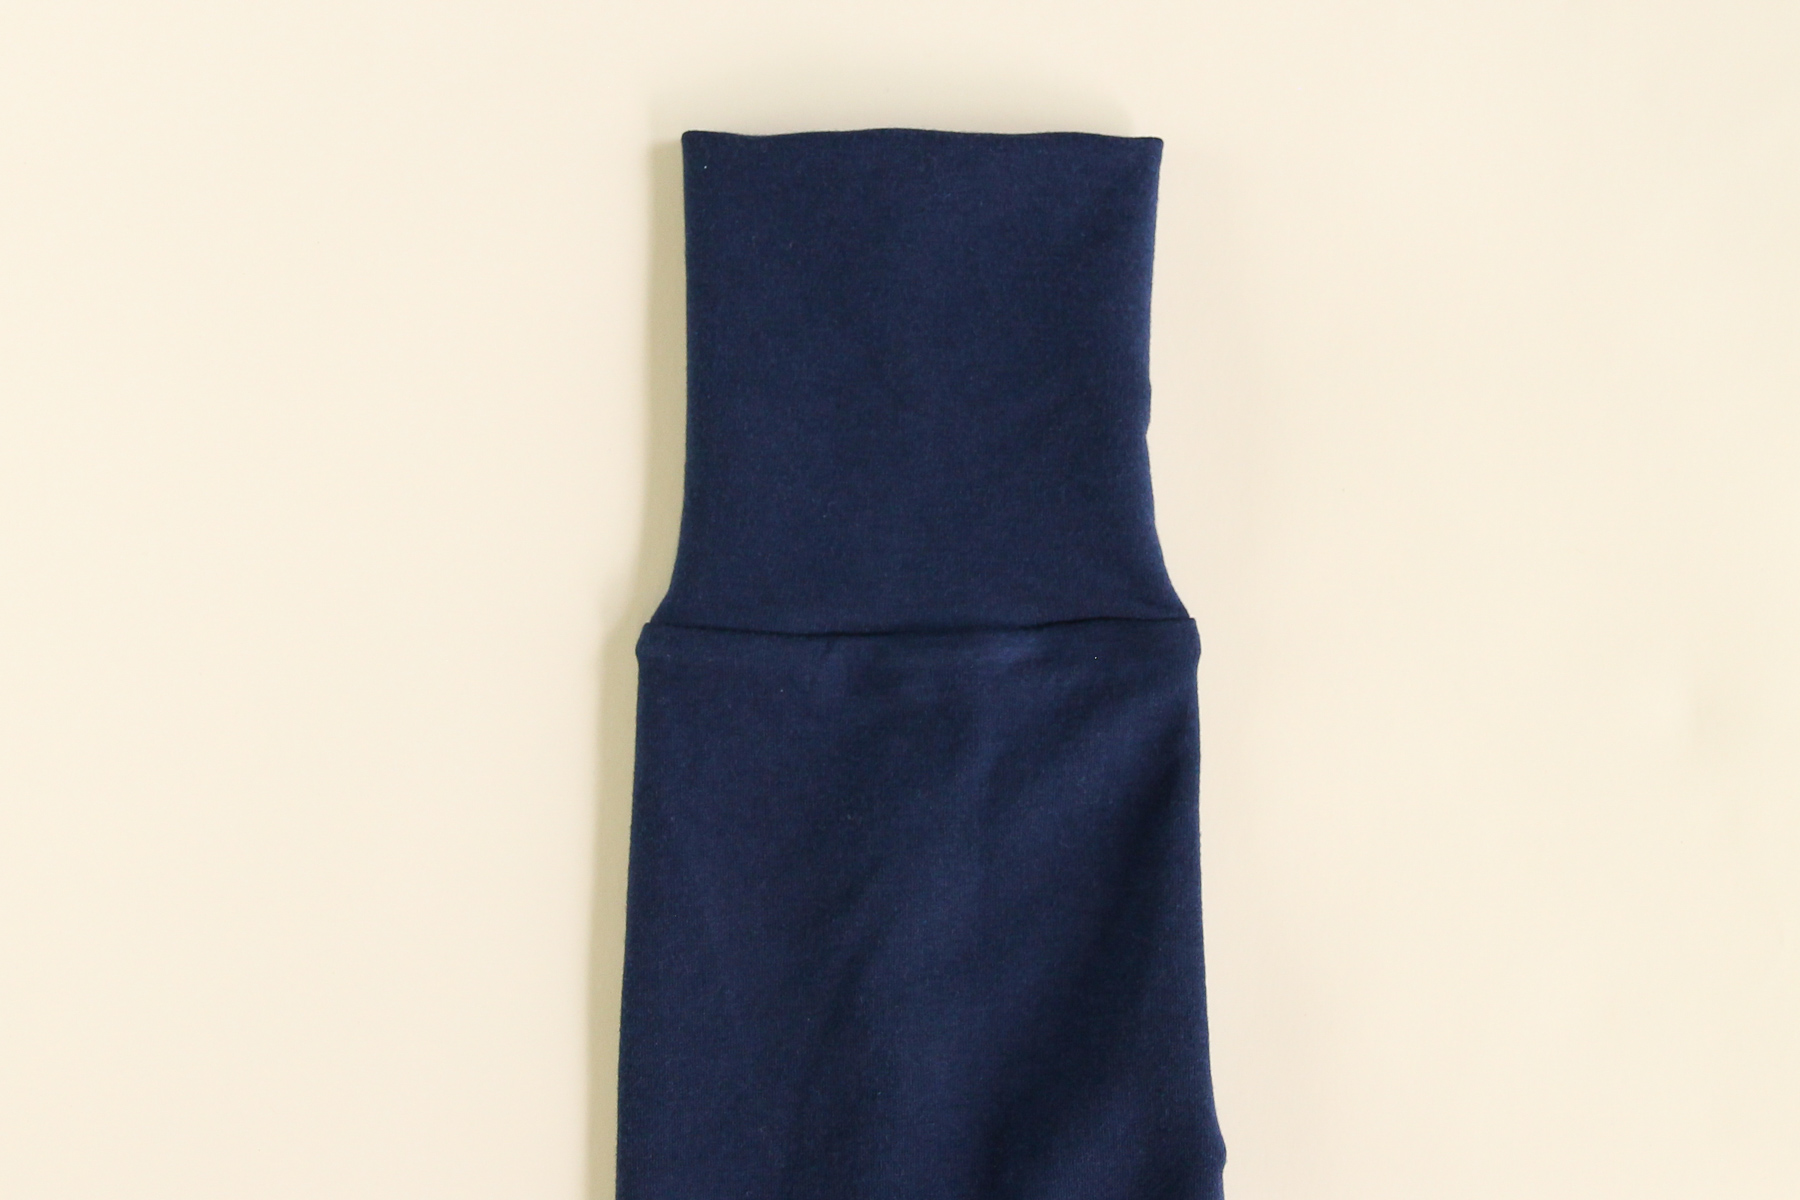
Repeat these steps with the other sleeve and cuff.
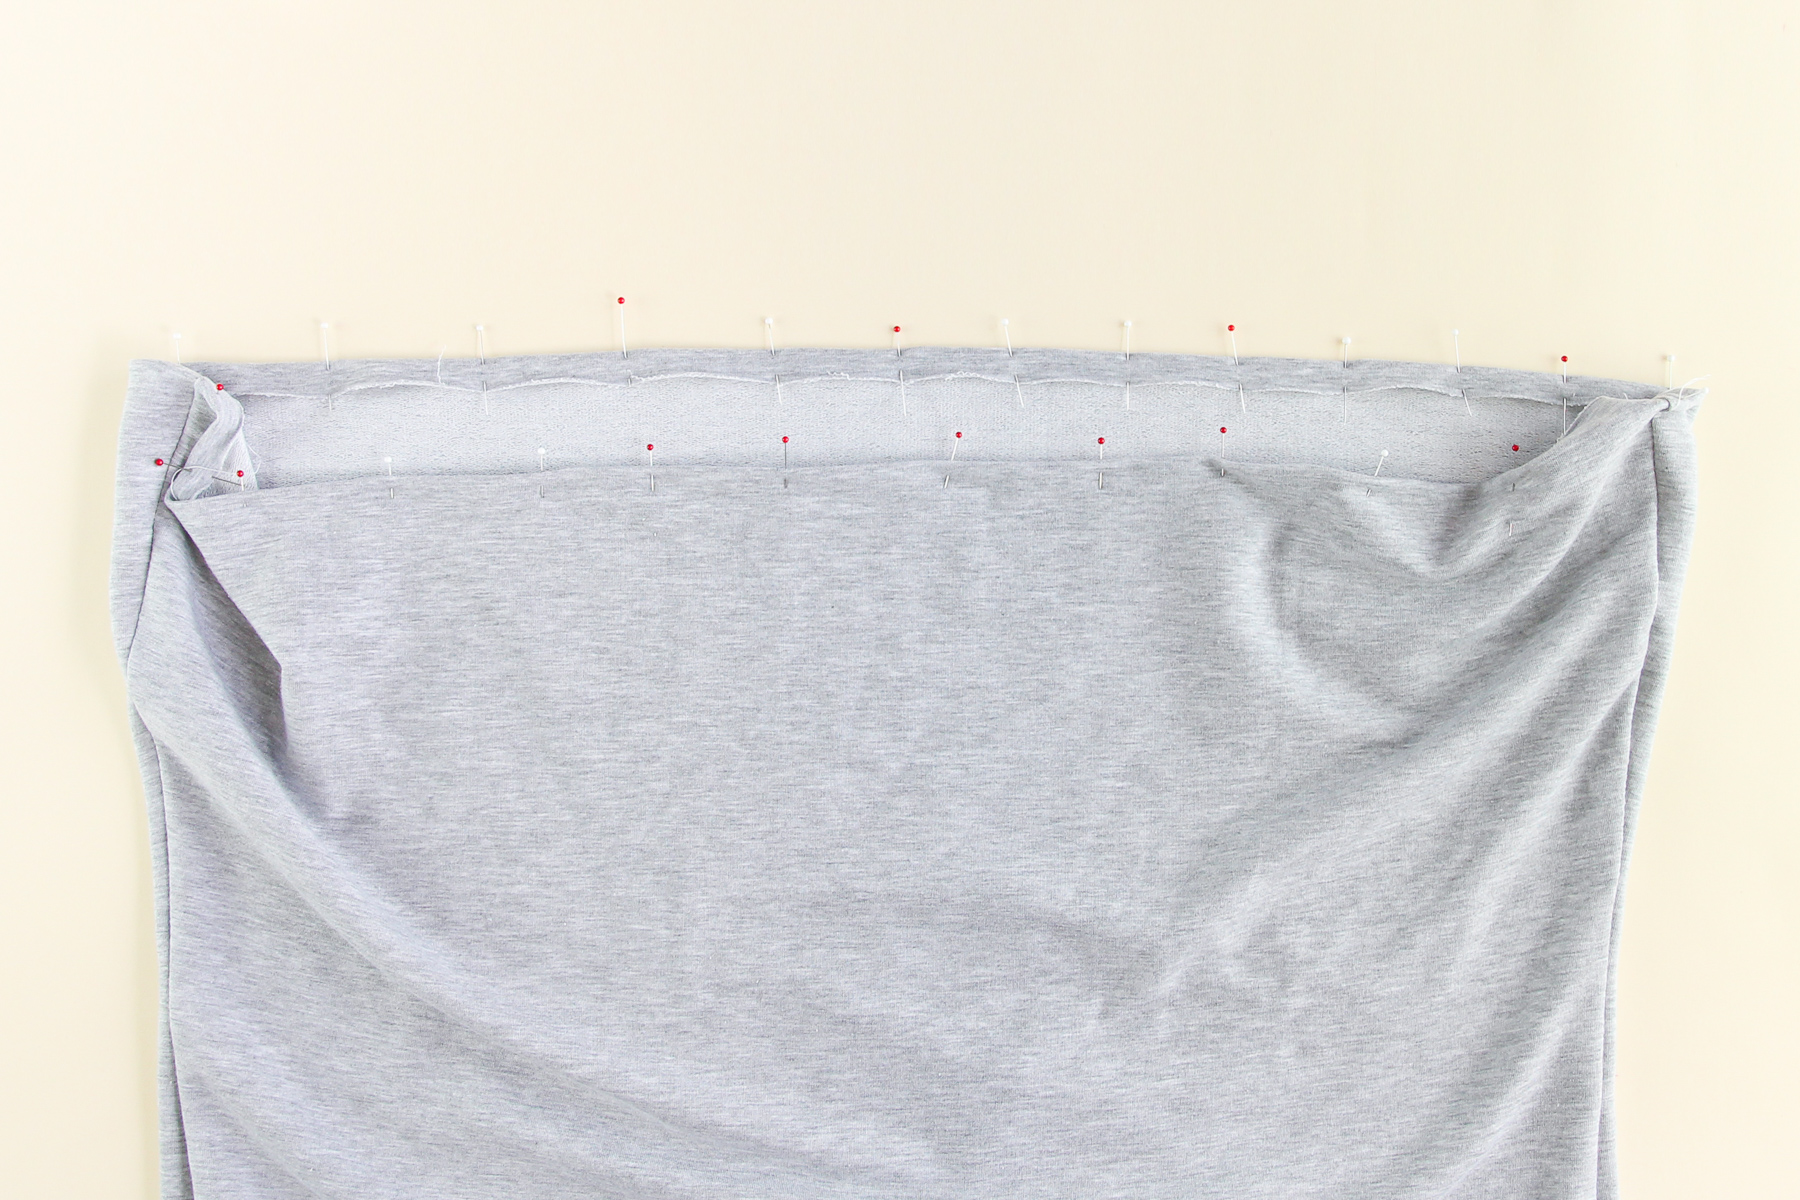
Our final step is to hem the bottom edge of the sweatshirt. Fold the edge to the wrong side by 5/8” (1.5 cm) and pin.
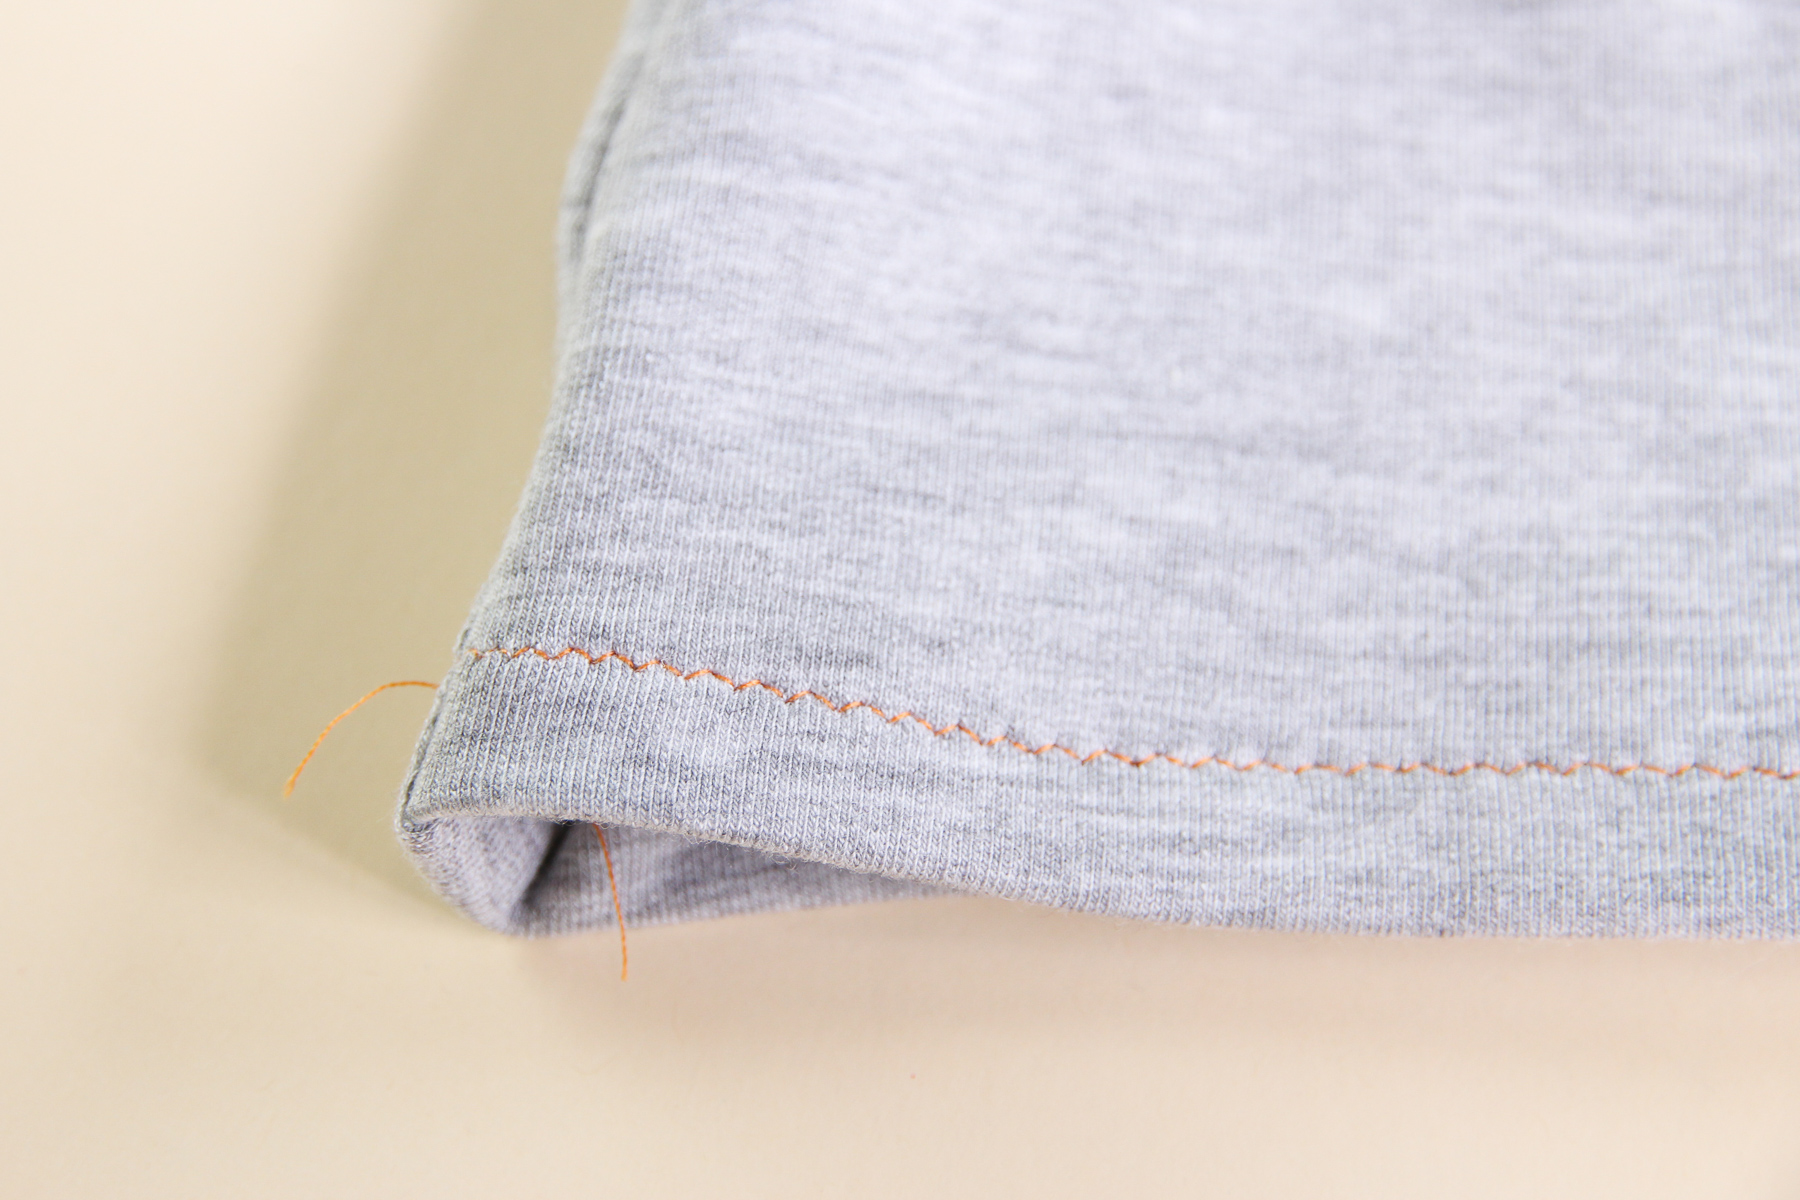
Topstitch from the right side using a zigzag stitch, press, and then you’re done!
Ta-da! A gorgeous, stylish, cozy, curve-friendly plus size sweatshirt you can wear all season long.
Got a question about any of the steps above? Drop us a comment down below. And be sure to tag your Tobin Sweaters with the hashtag #TobinSweater on social media—we love to see what you make!

Why do you press the dart up? And not down? I’ve only ever seen darts pressed down.
(Thanks for the step by step – it’s very inspiring)
Hi Win,
With larger busts, we don’t necessarily want to add extra bulk to the lower part of the bust; when you press it up, the extra bulk falls above the bust, so it lays nicer.
-Ayelet at Cashmerette
I LOVE this pattern! It was a joy to make, and it turned out beautifully!!