Is there anything better than curling up with a cozy sweater when it’s cold out? Perhaps having a sweater that’s as stylish as it is warm! The Tobin Sweater is the ideal plus size, curve-friendly sweater for when the weather starts to turn, and today we’ll be showing you how to sew View A, the split funnel neck.
If you’re just joining us, head over to the main Tobin Sweater sewalong page to get tips for choosing your size, grading between sizes, and prepping your fabric. And we’ve also got you covered with inspiration from ready-to-wear fashion as well as our favorite sweater knit fabrics available online!
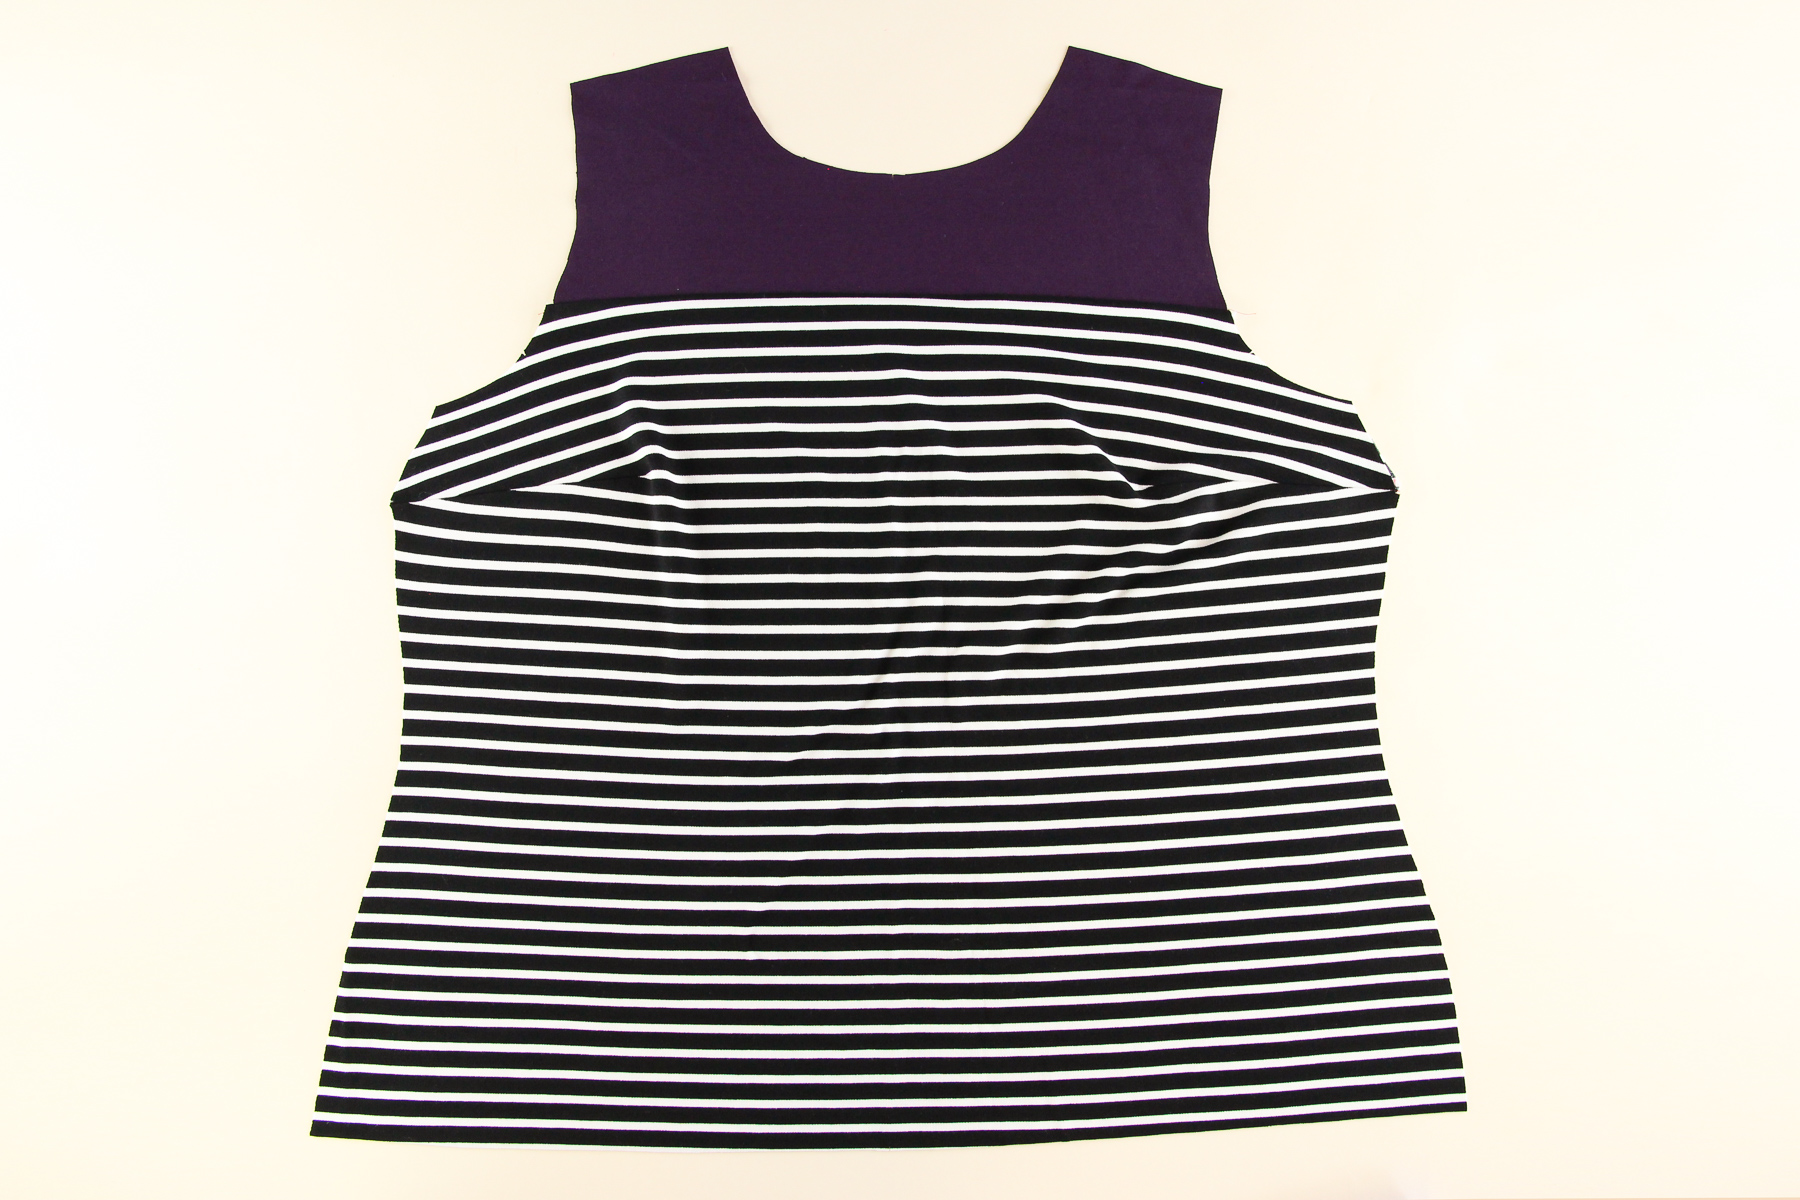
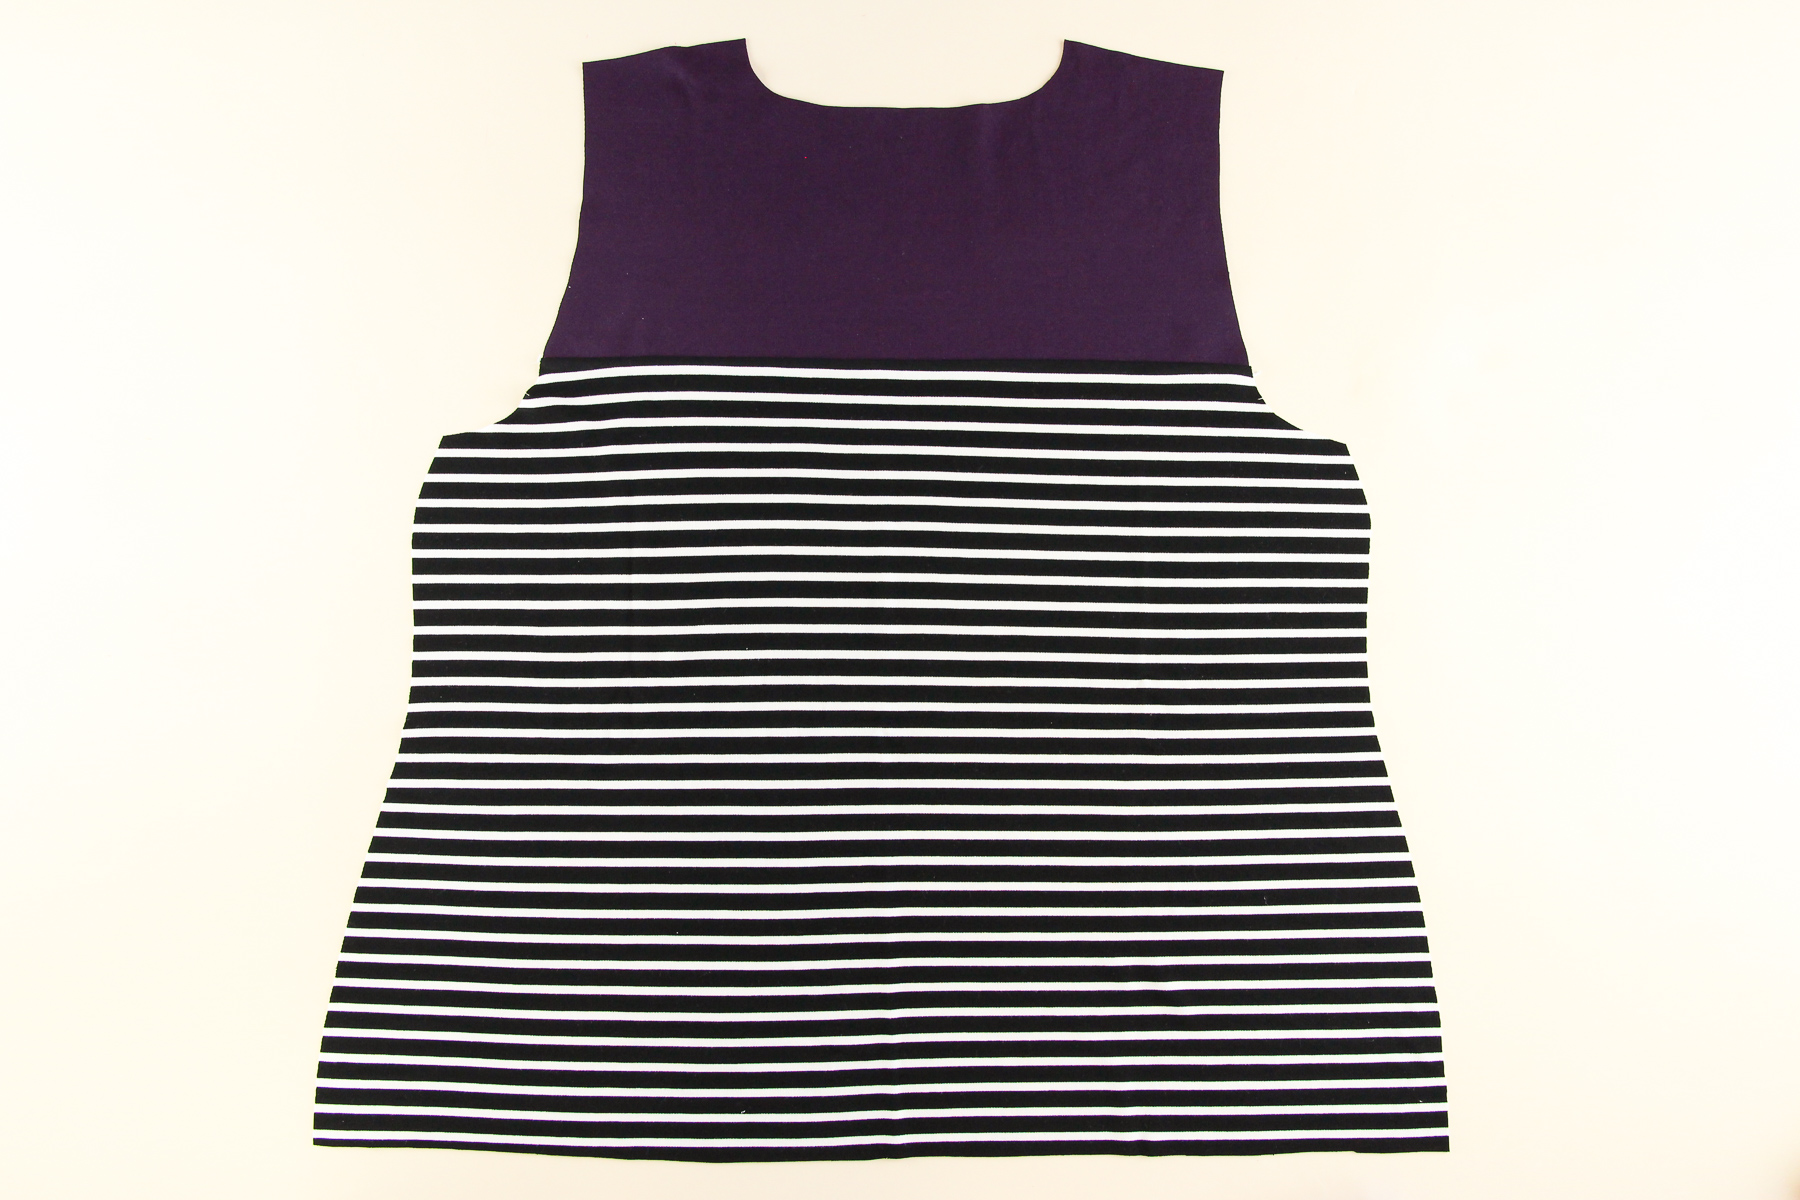
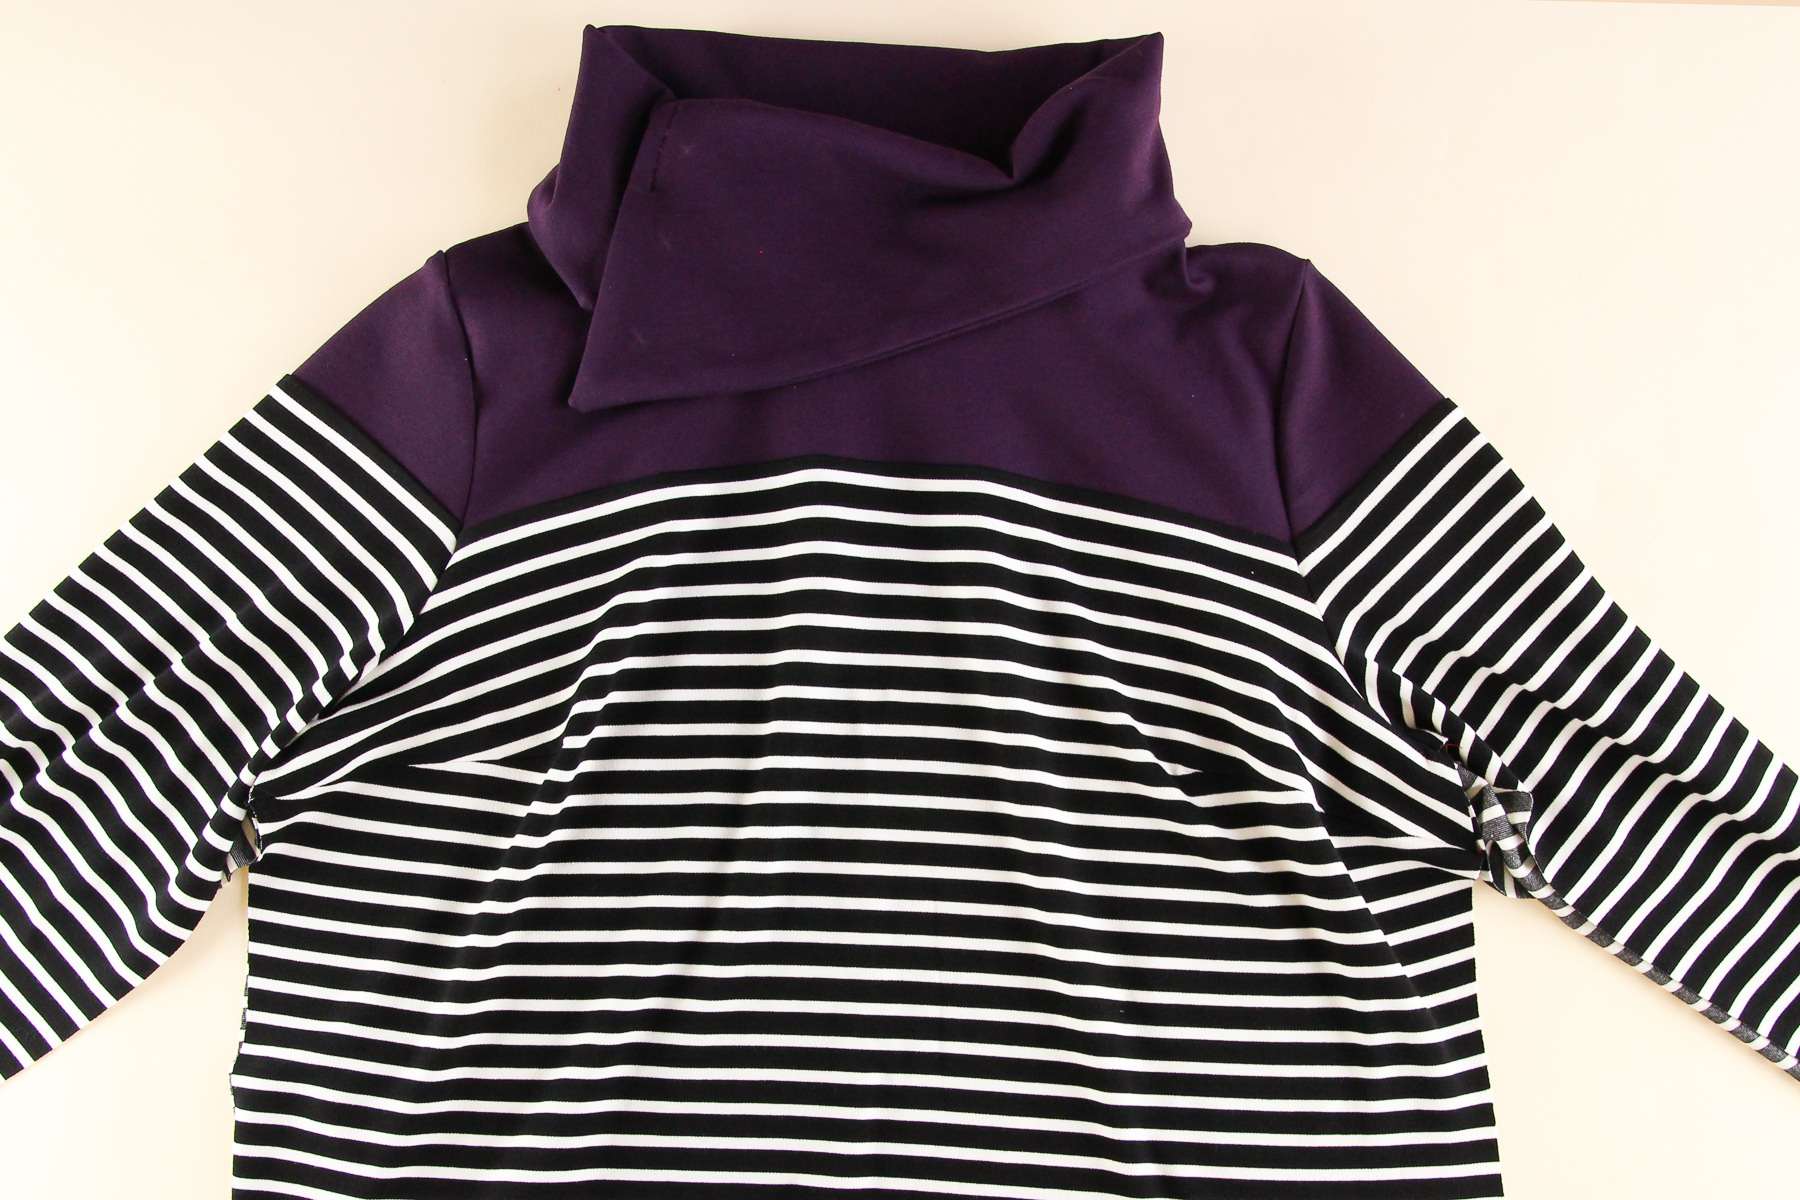
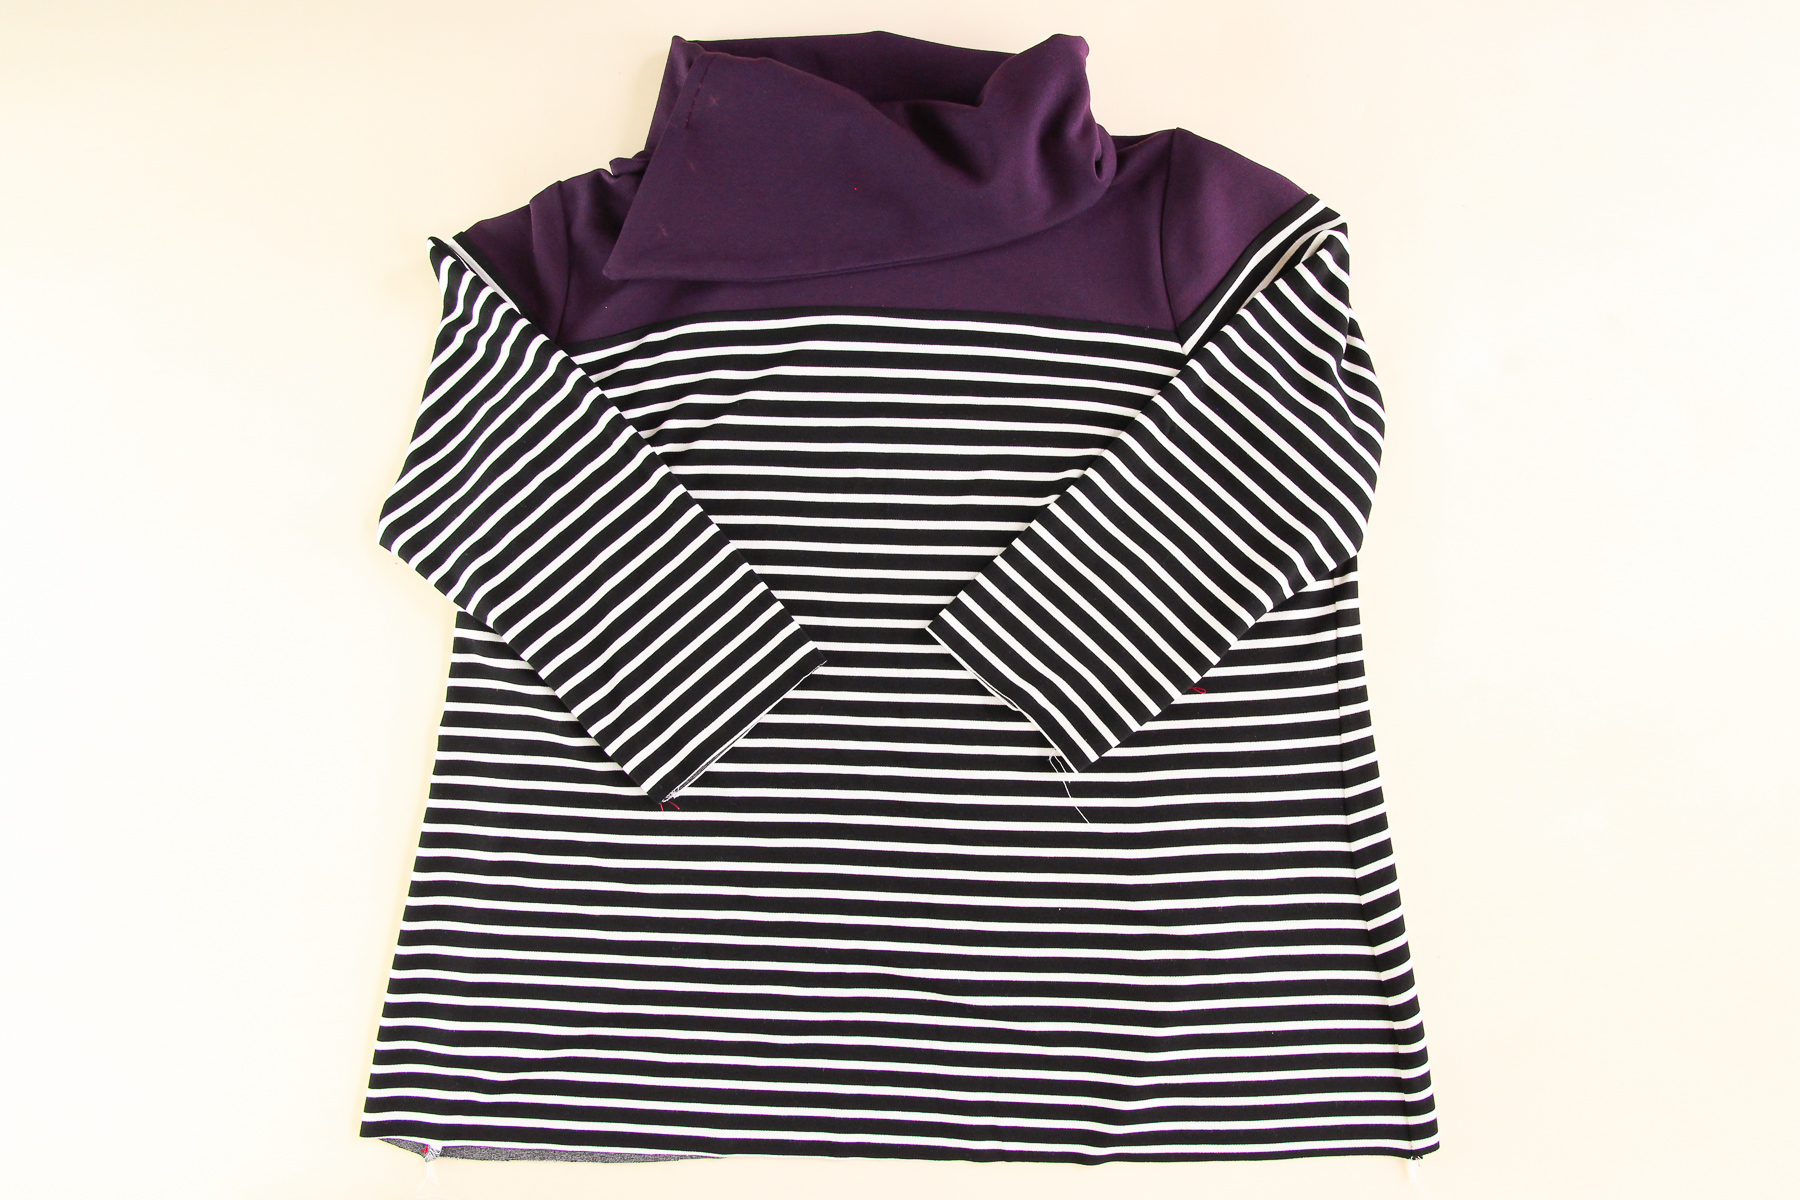
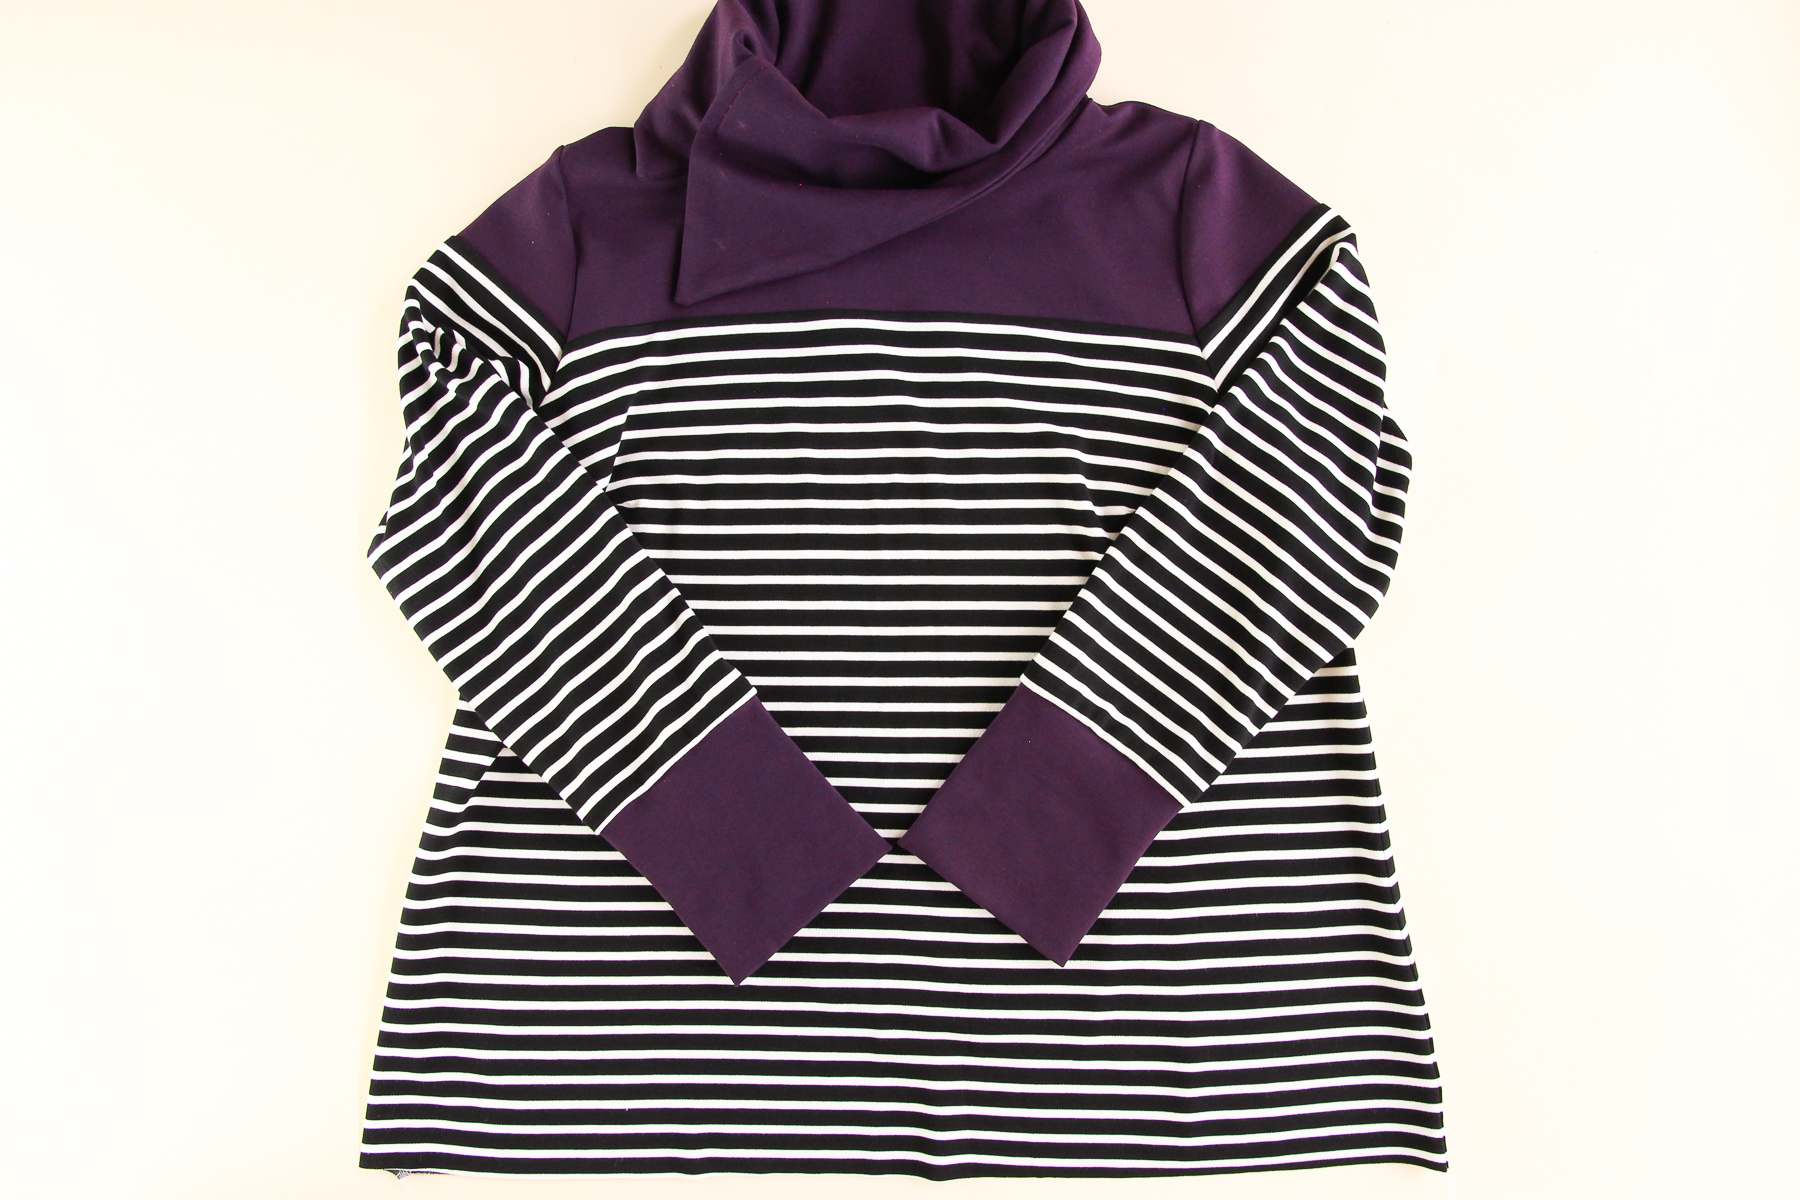
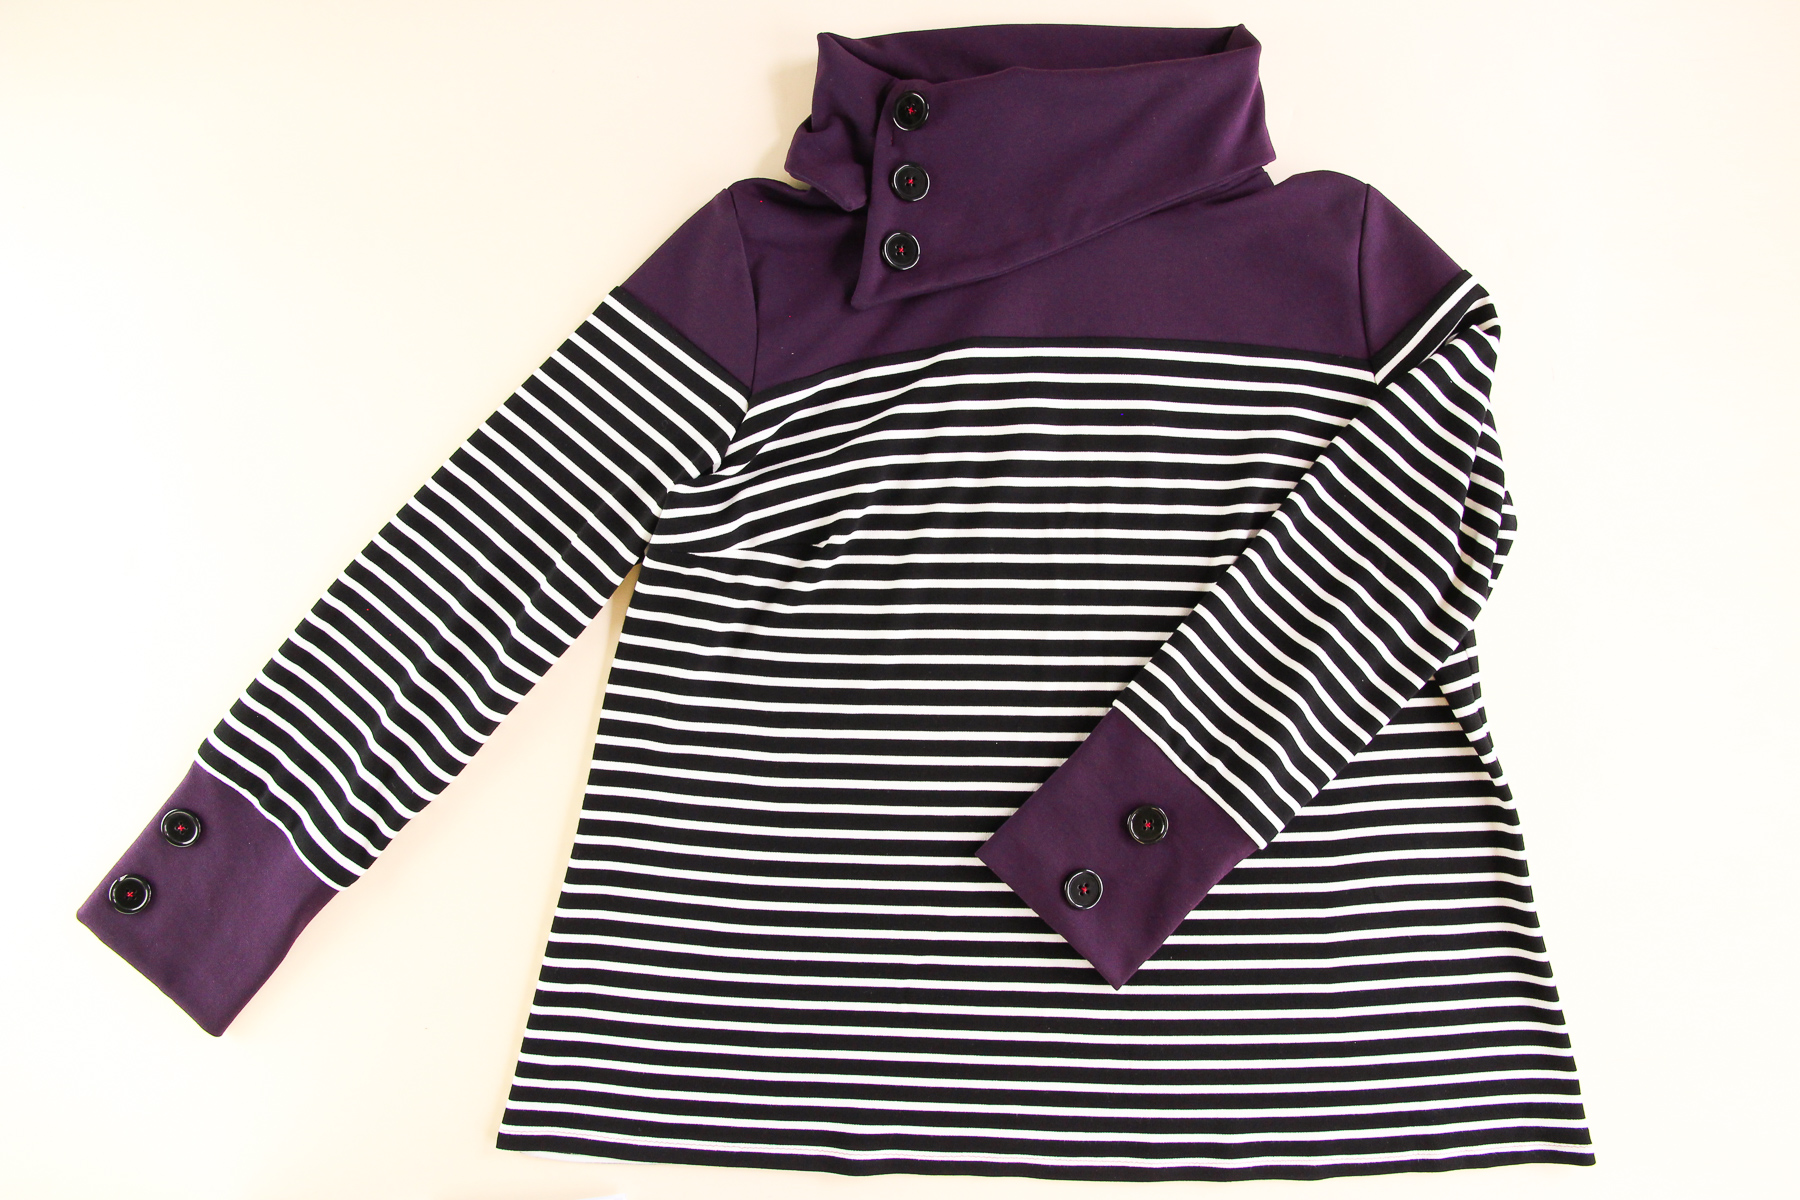
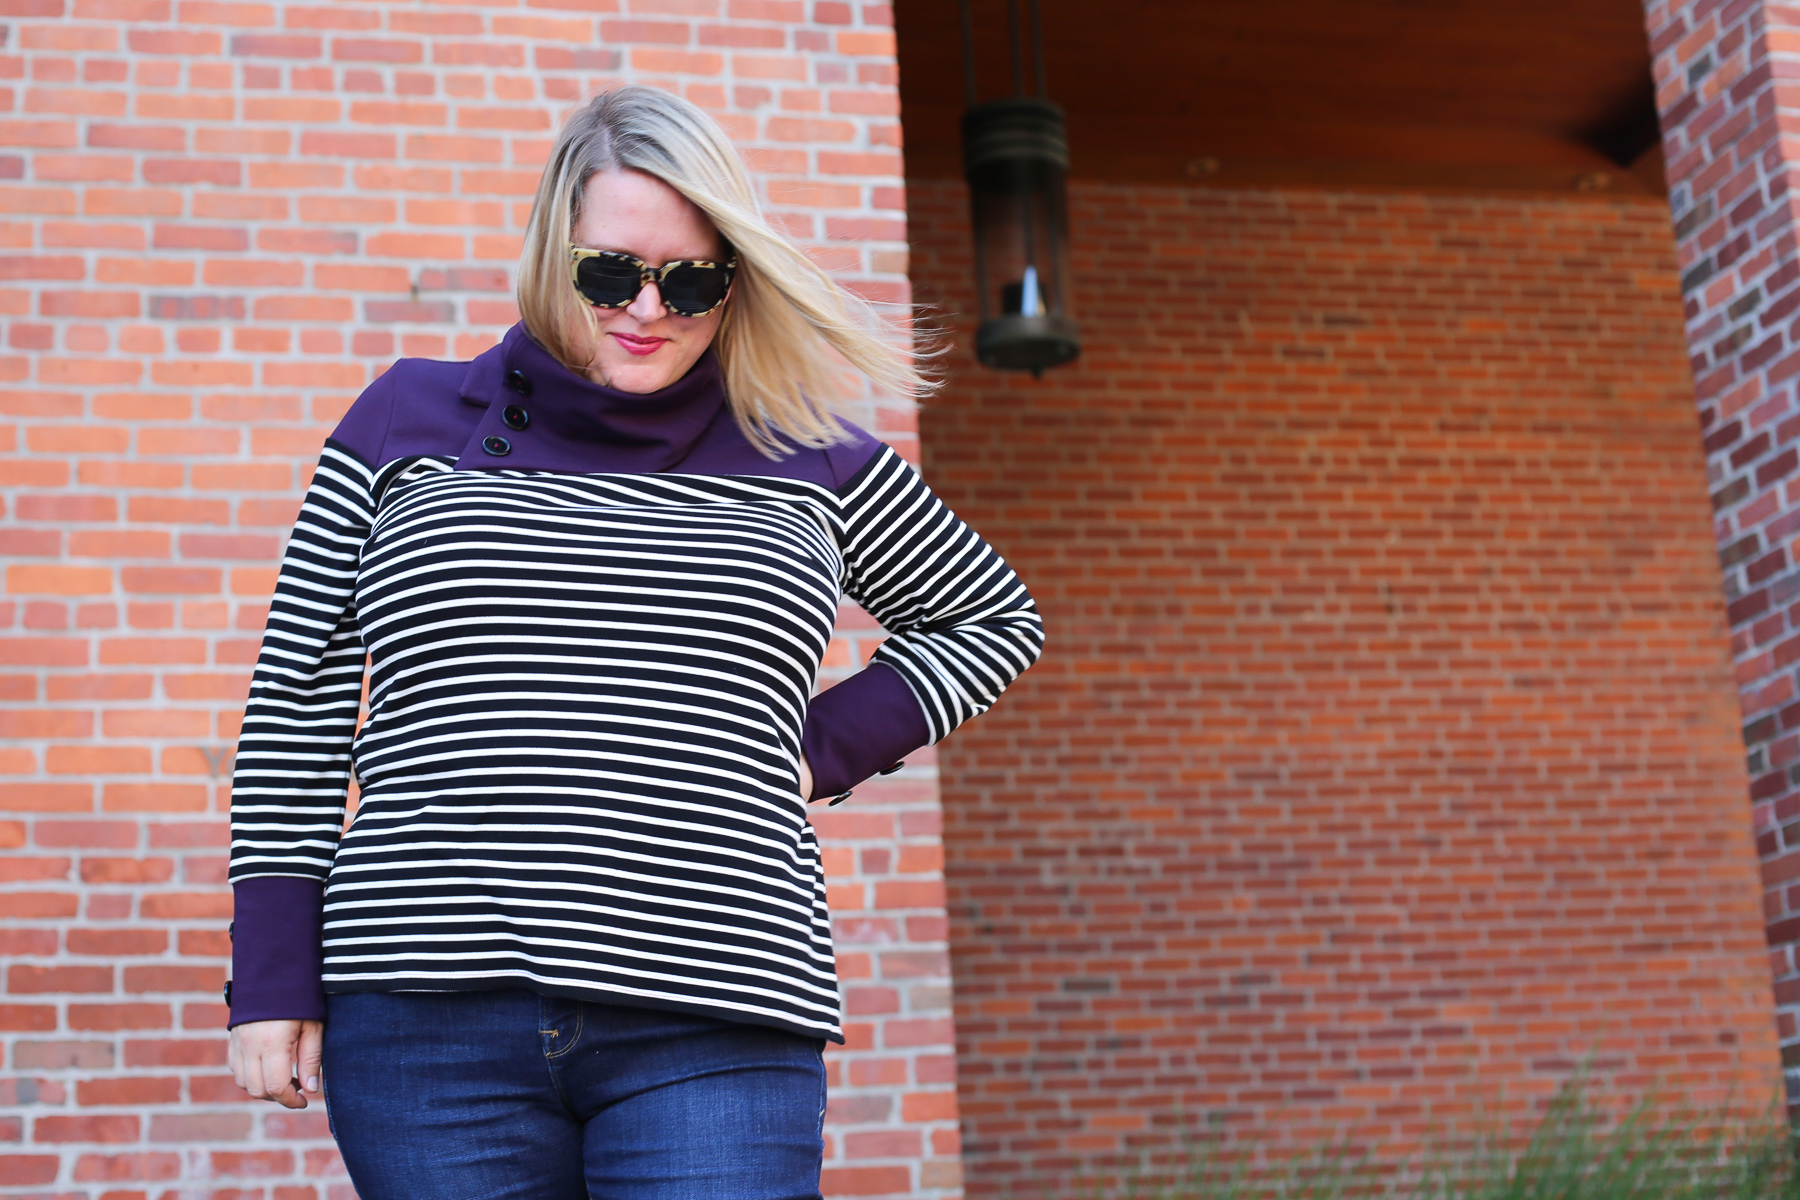
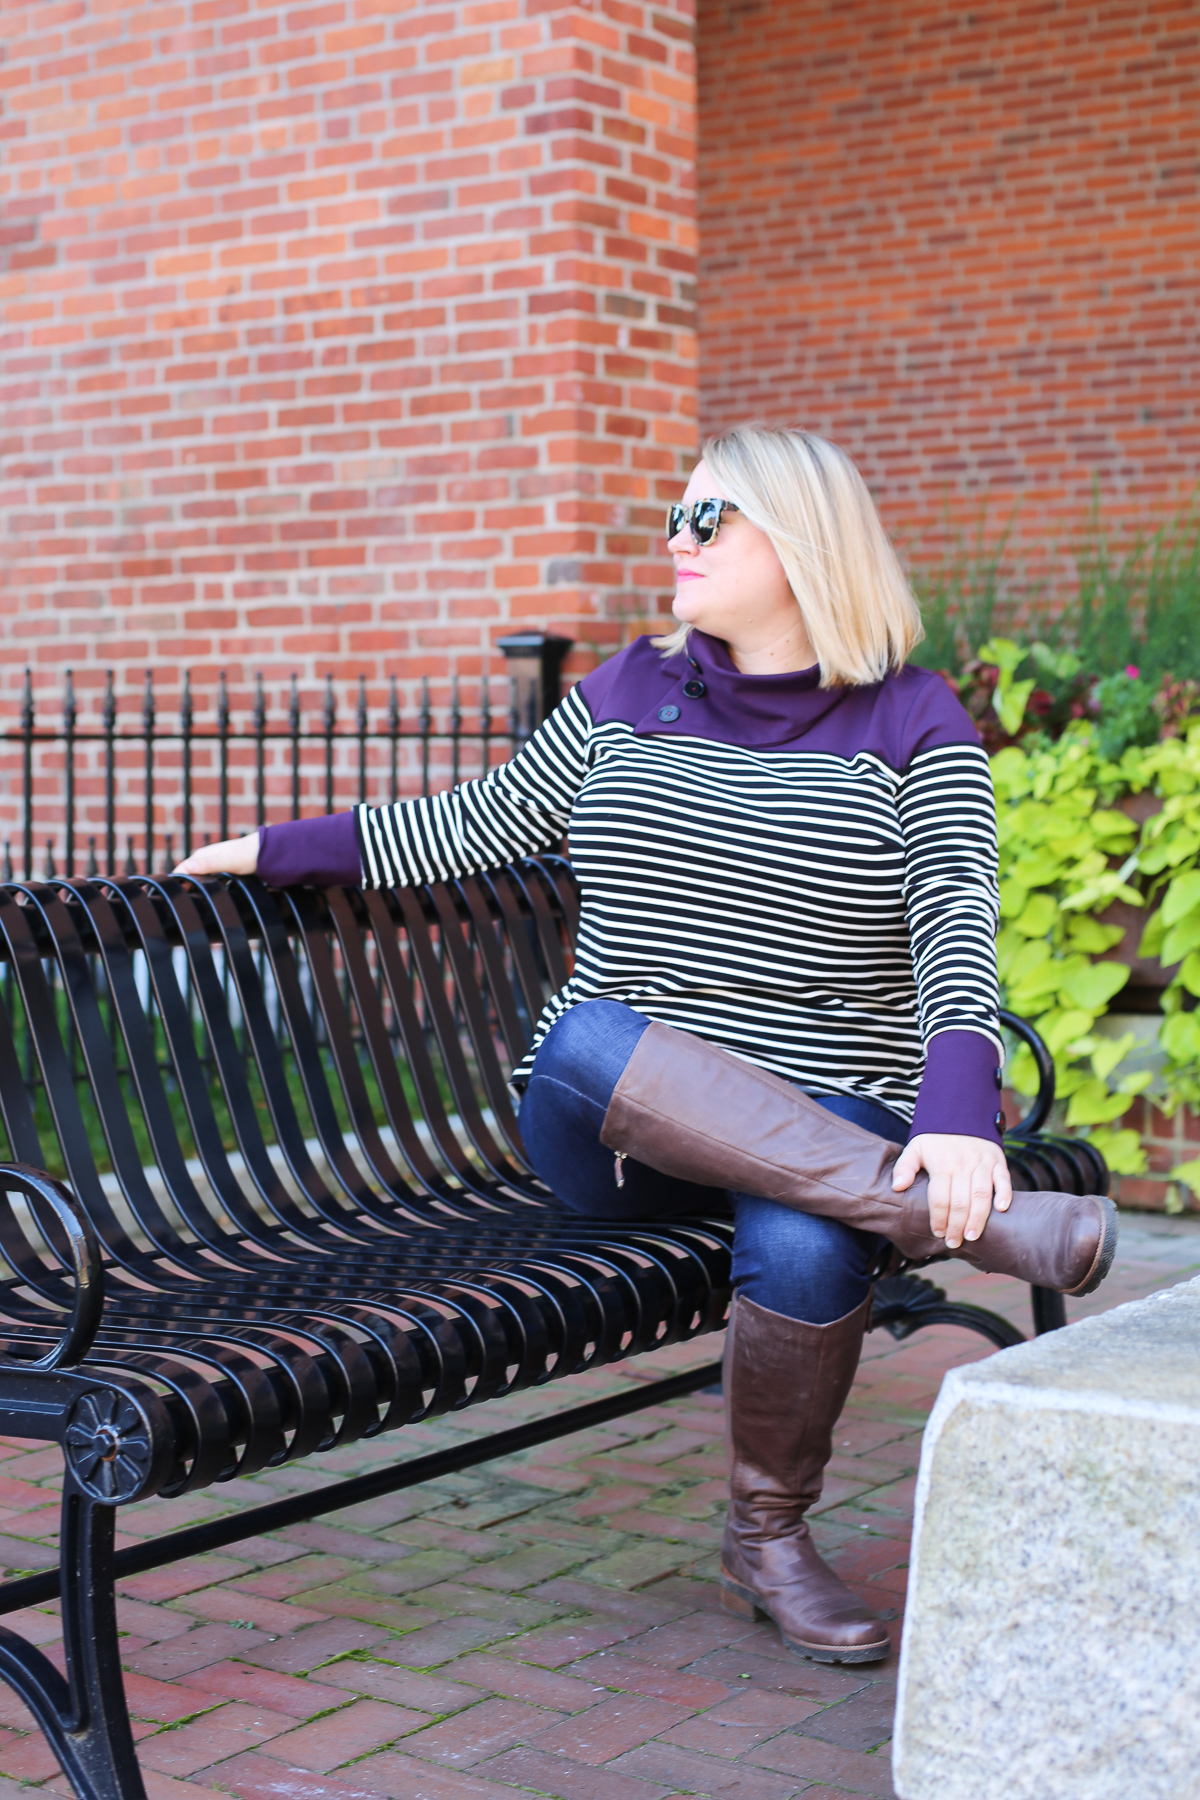
Here’s what this view of the Tobin is going to look like when it’s done:
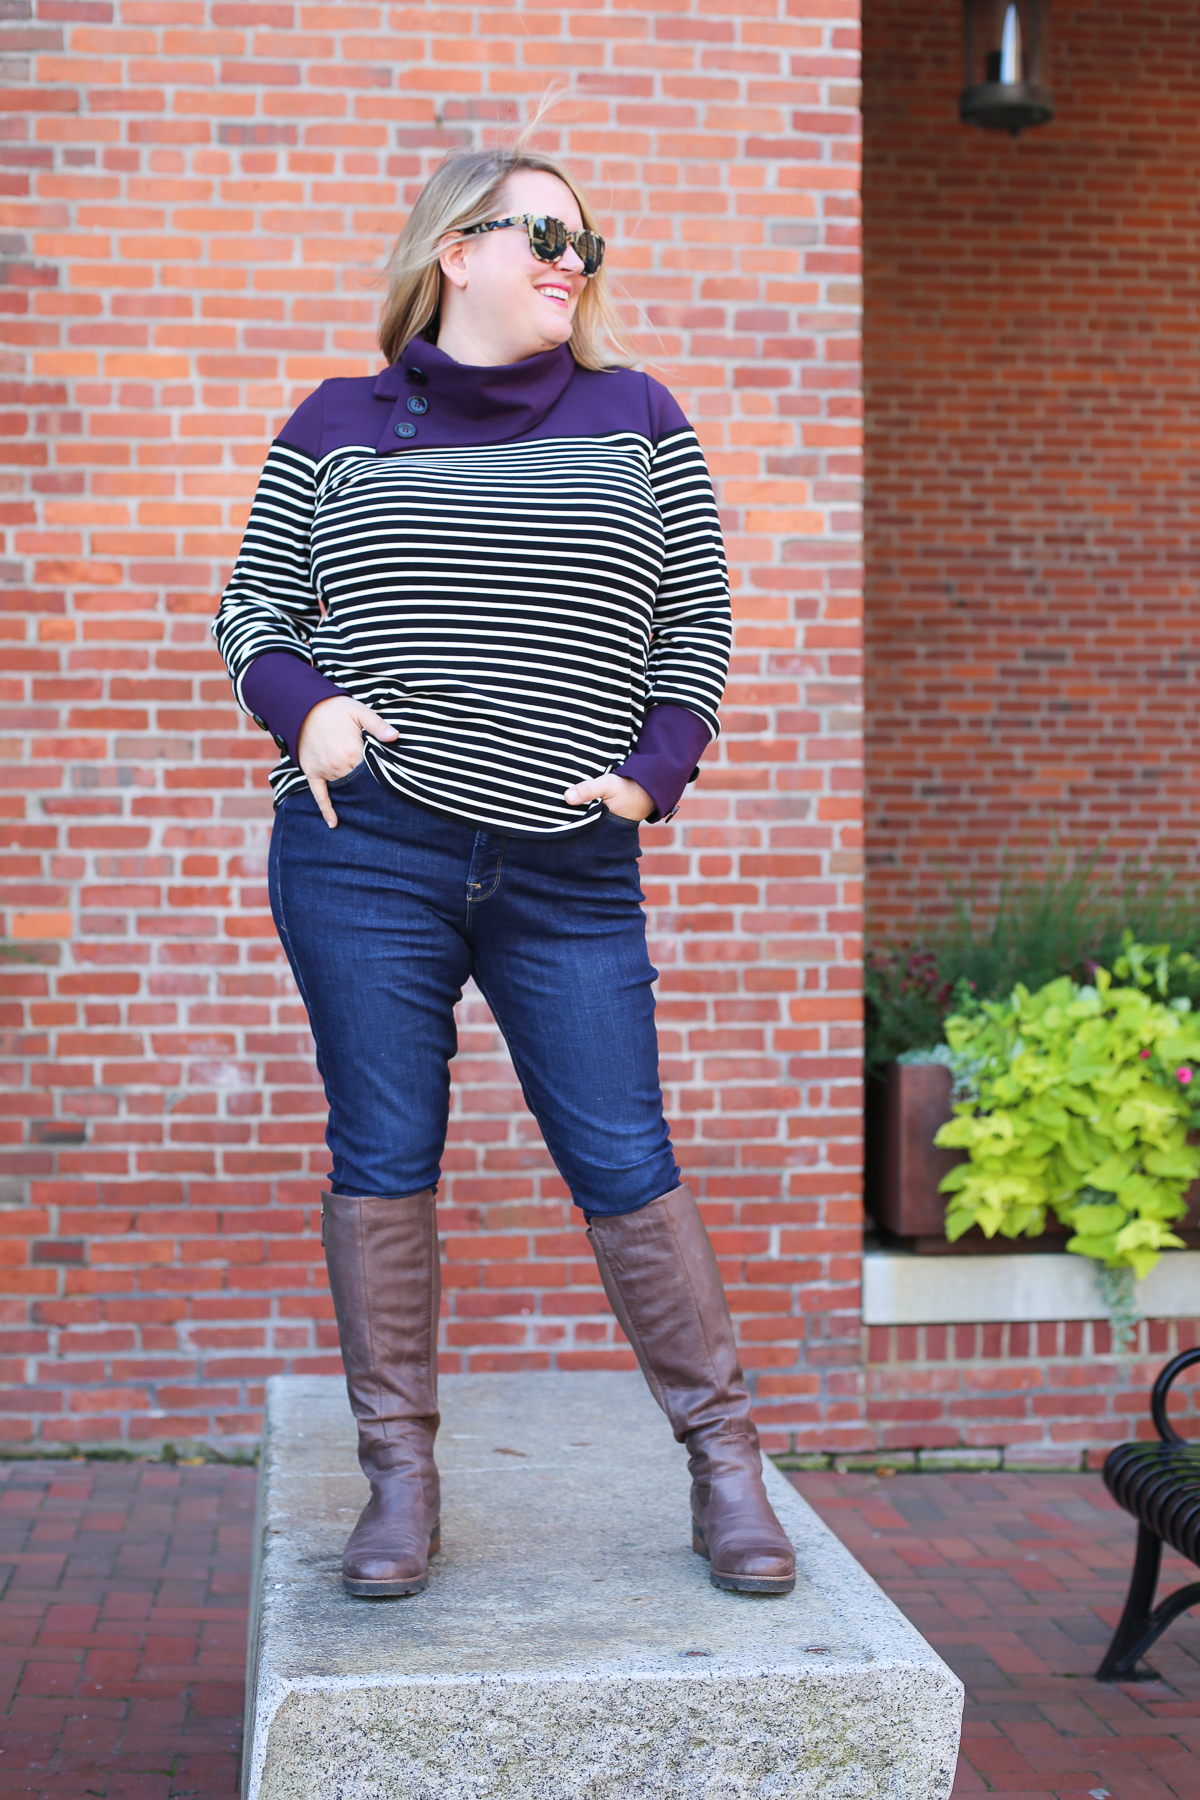
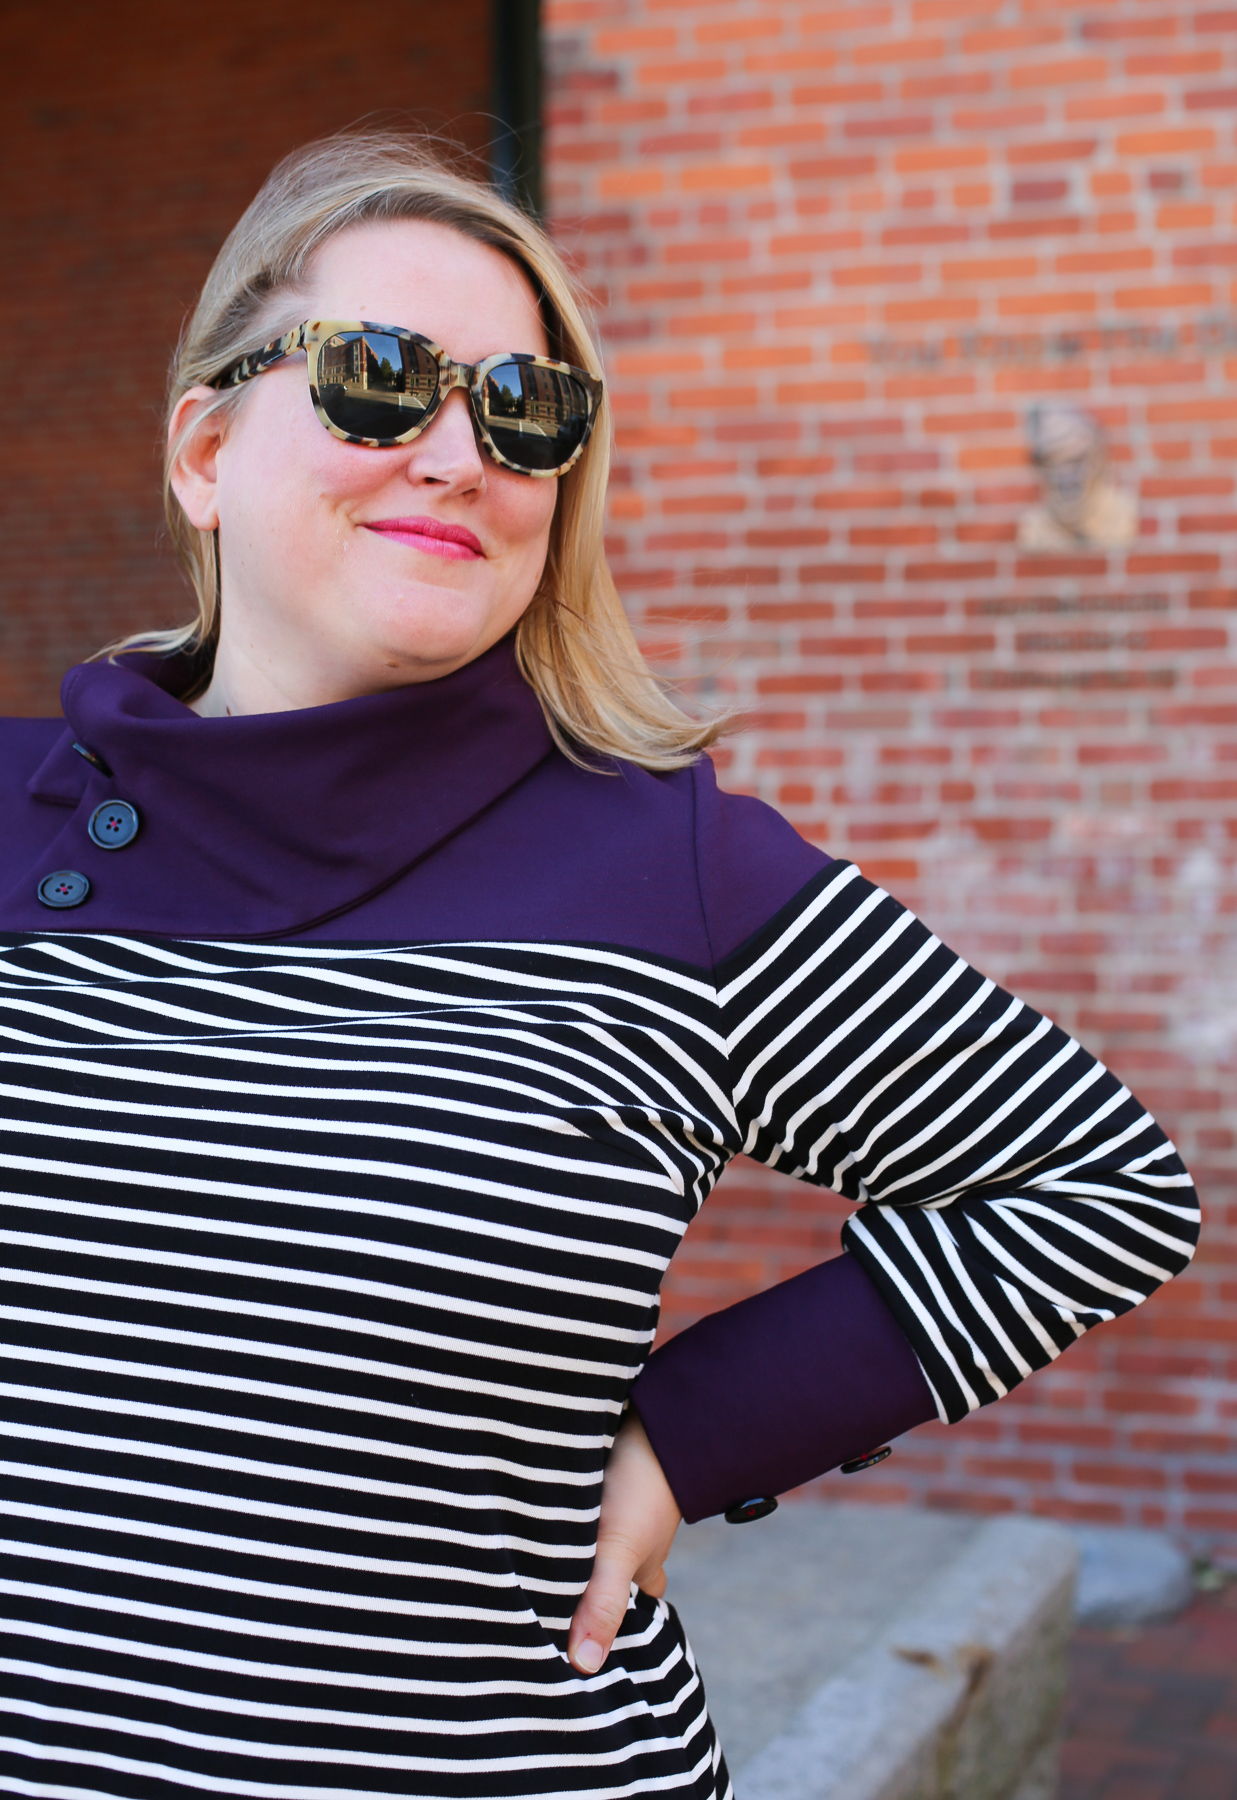
How cute is this look?! We’re sewing this Tobin up in ponte, and if you want to get the look for yourself, we have a few teal and stripe ponte kits left.
Okay, I can’t wait any longer—let’s get to sewing!
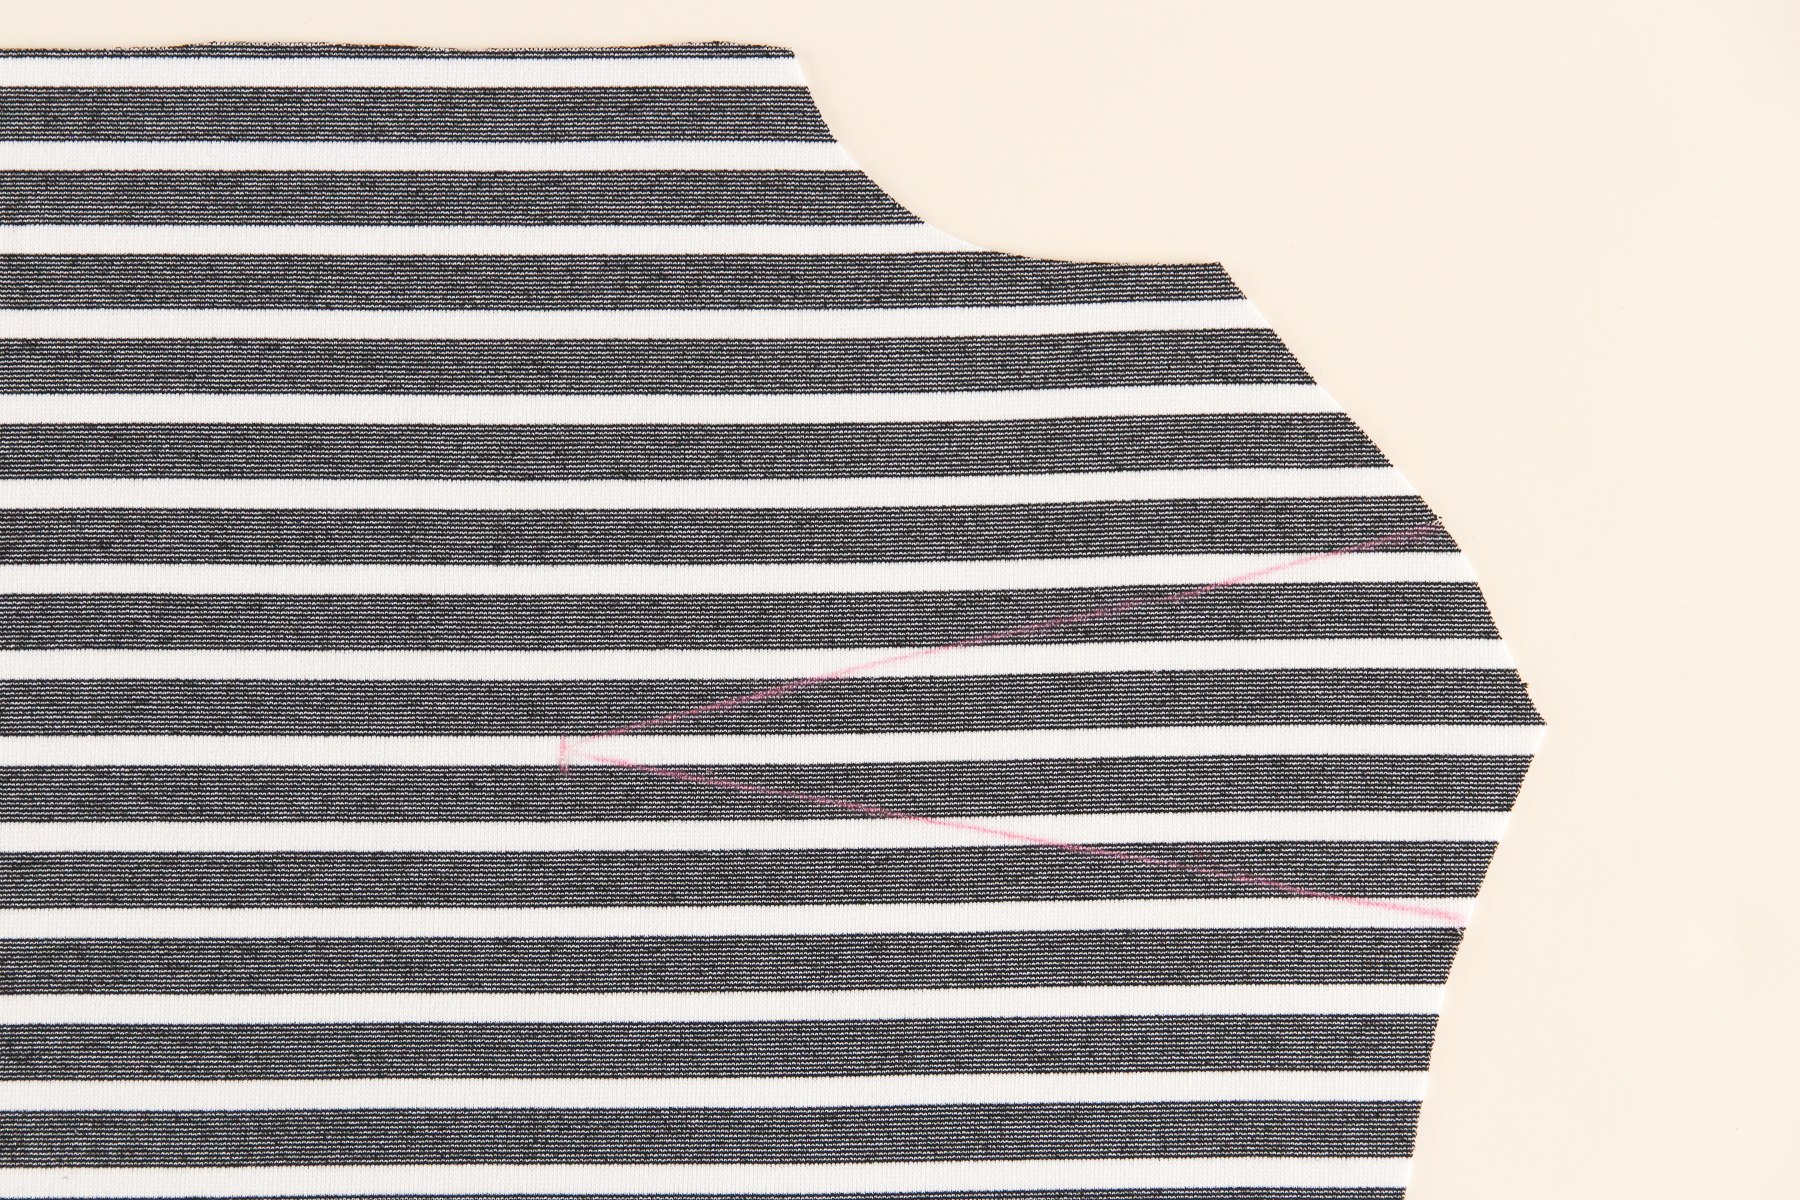
We’re going to start by marking our bust darts on our lower front piece using tailor’s chalk.
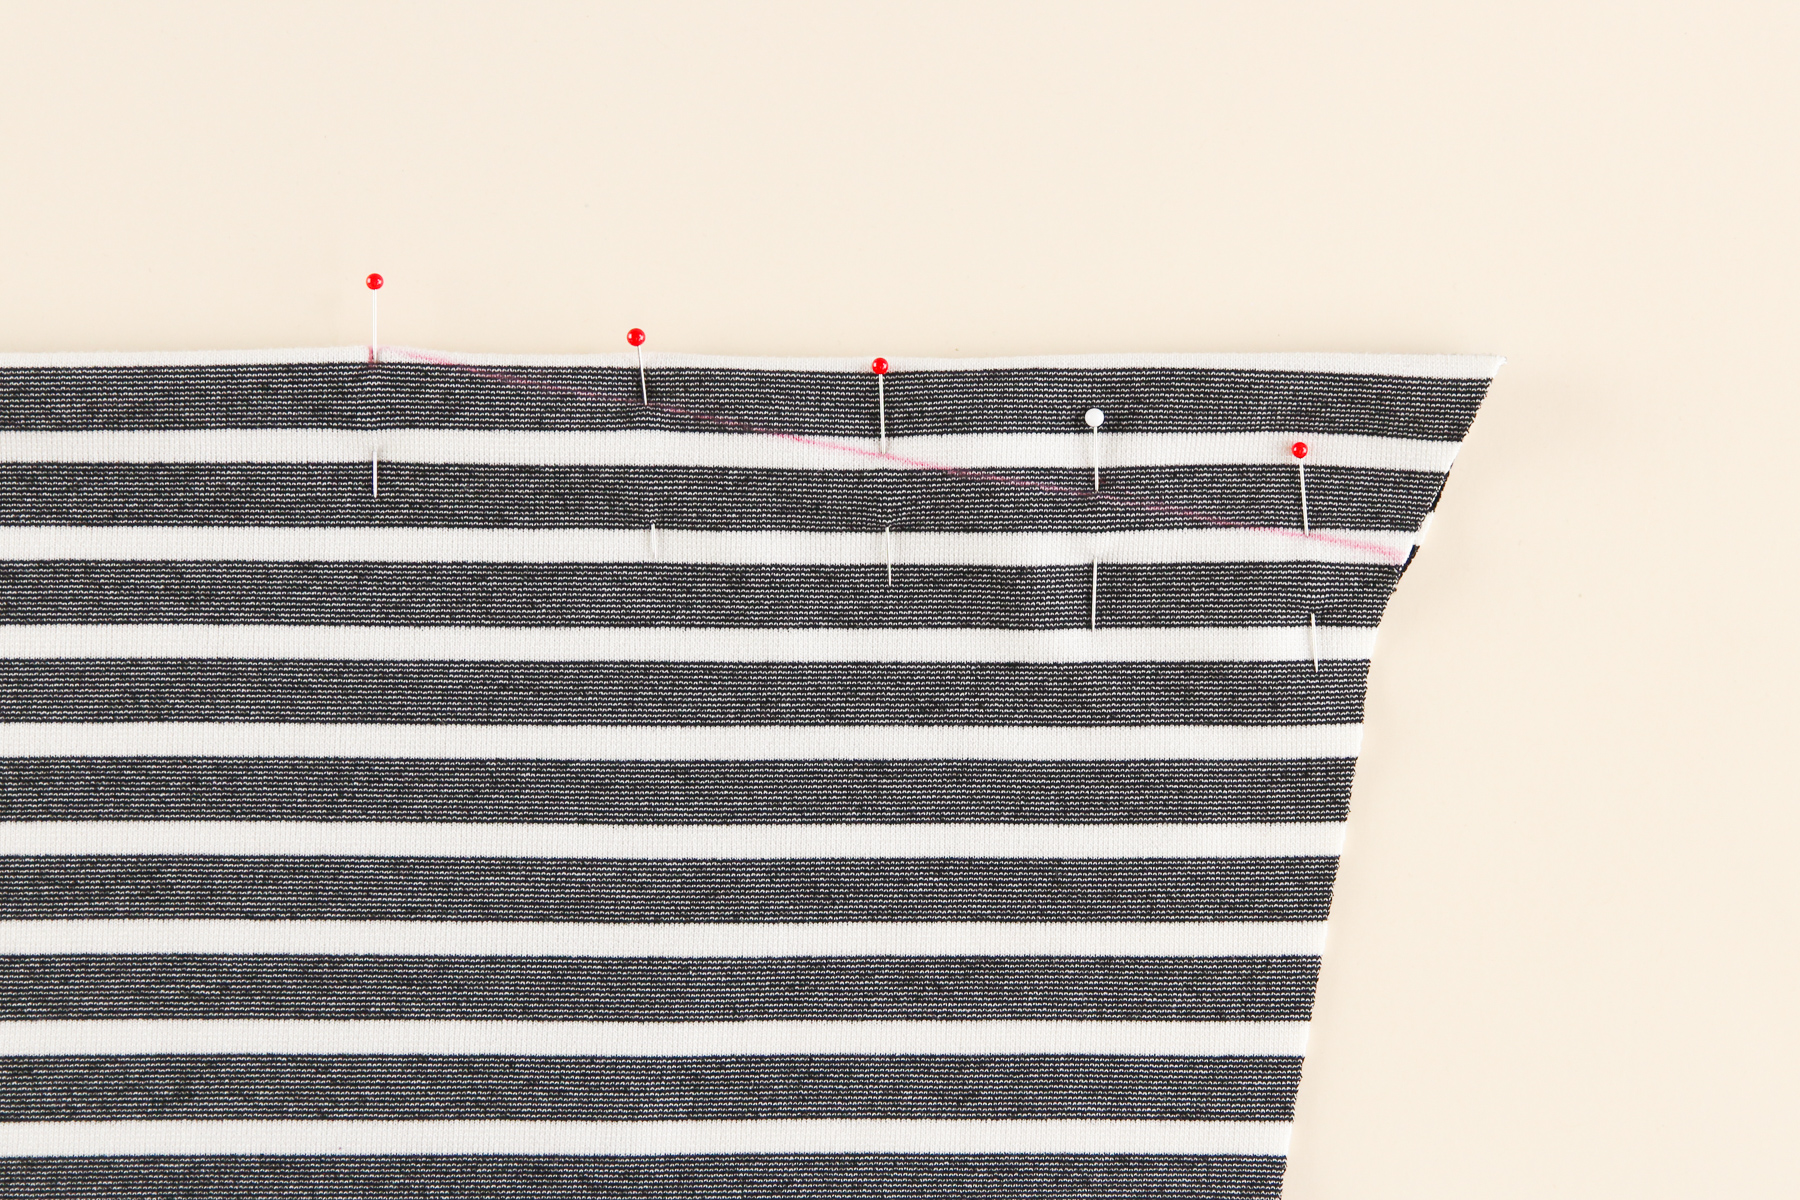
Fold your dart in half and pin on the wrong side.
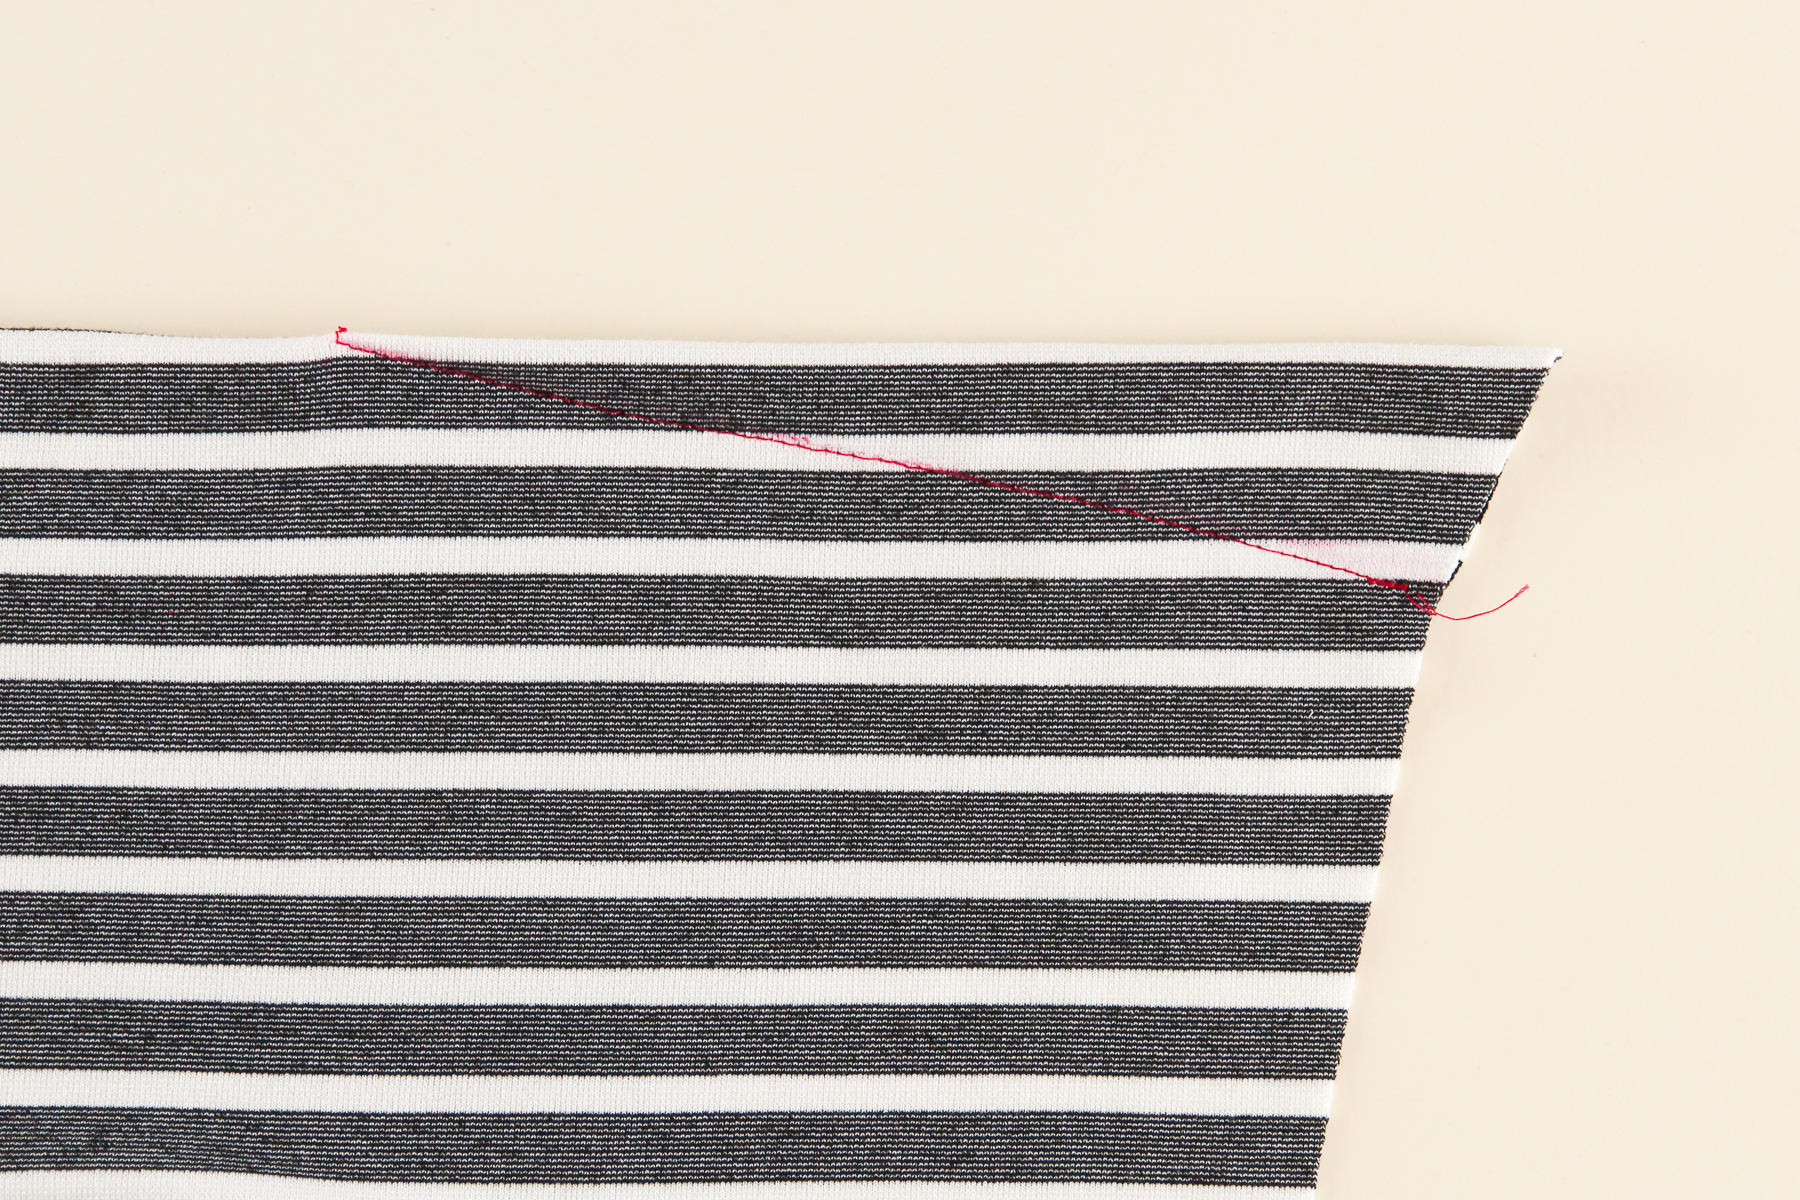
Sew along the dart leg using a straight stitch, starting at the side seam and ending at point of the dart. Tie off the ends and snip them.
I’m sewing all of my seams with contrast thread so you can see them more easily, but you should sew with coordinating thread.
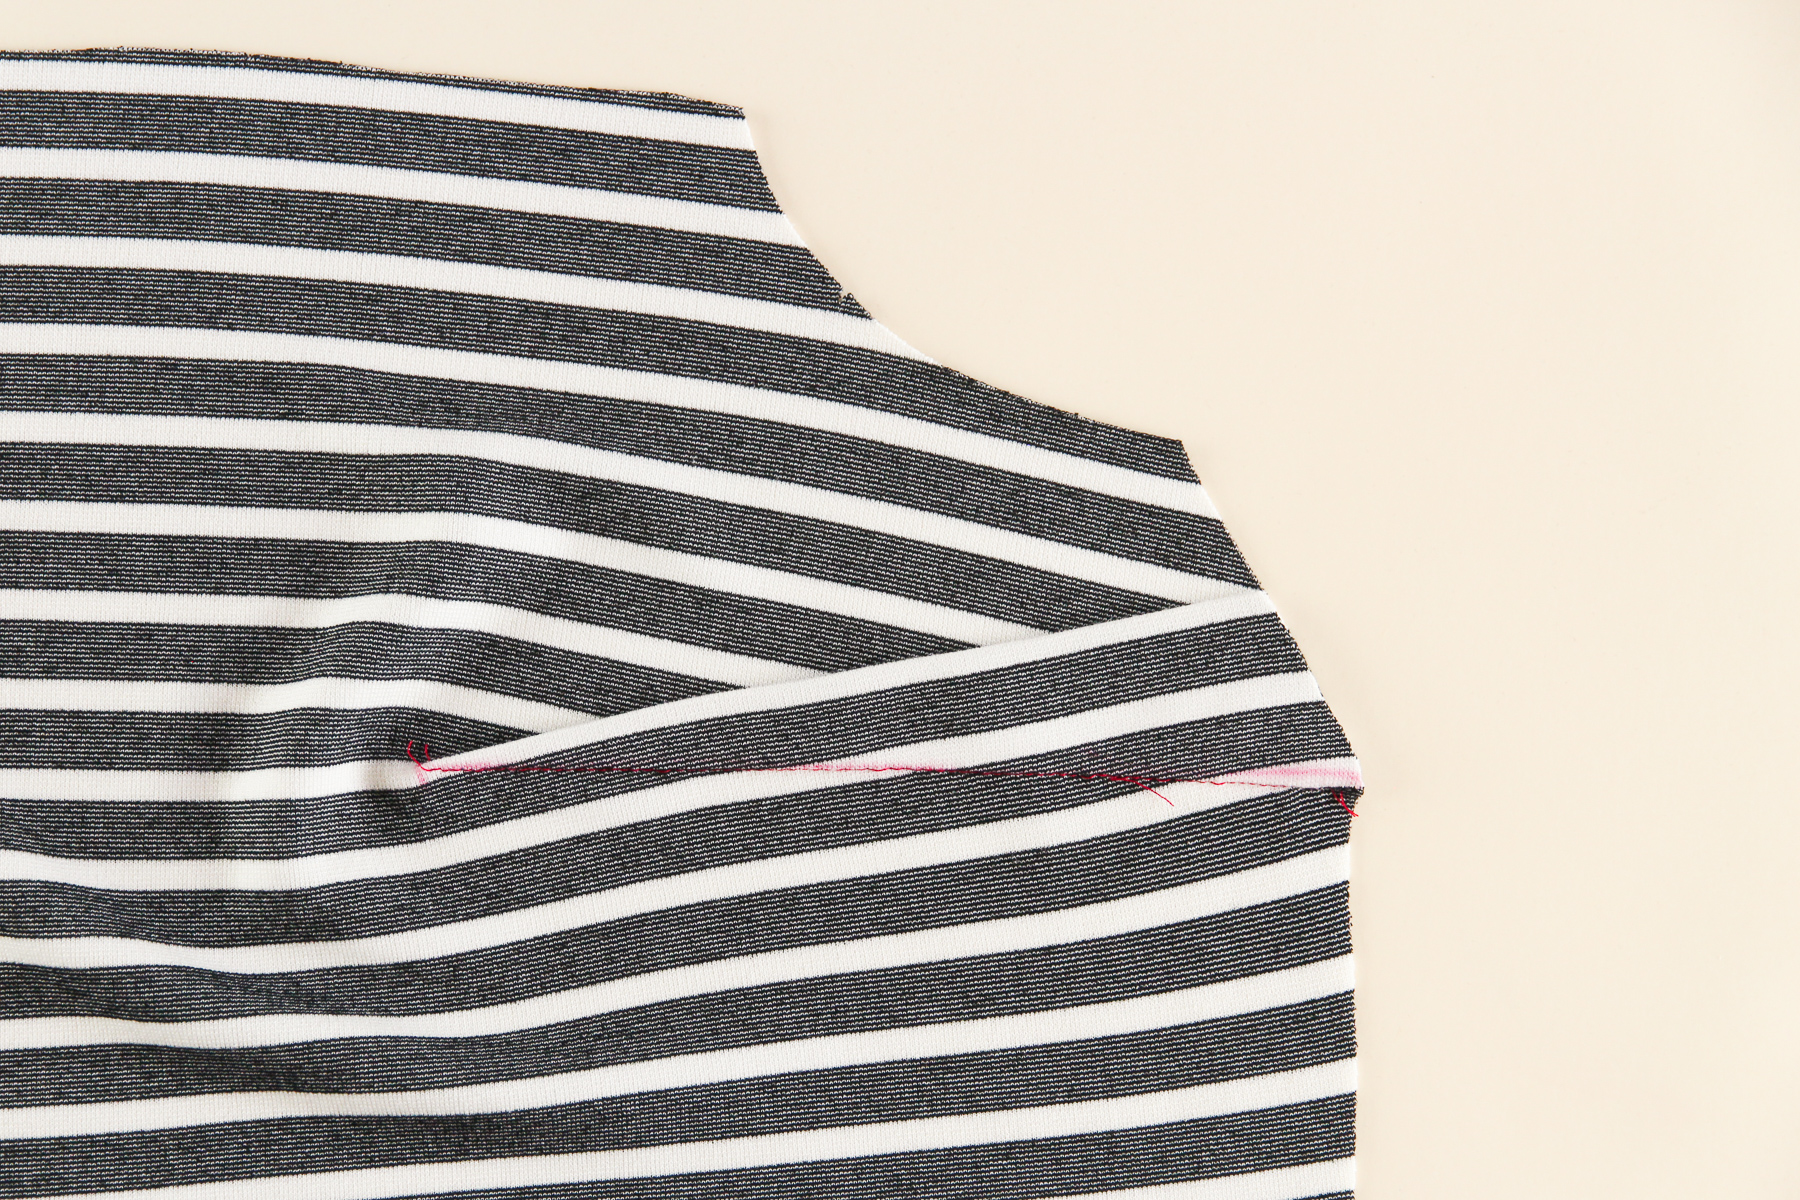
Now we need to press our darts flat and then upwards. It’s helpful to use a ham here.
If your dart is sticking out past the side seam, snip it off so that it’s lined up nicely.
Let’s do the same with the other dart.
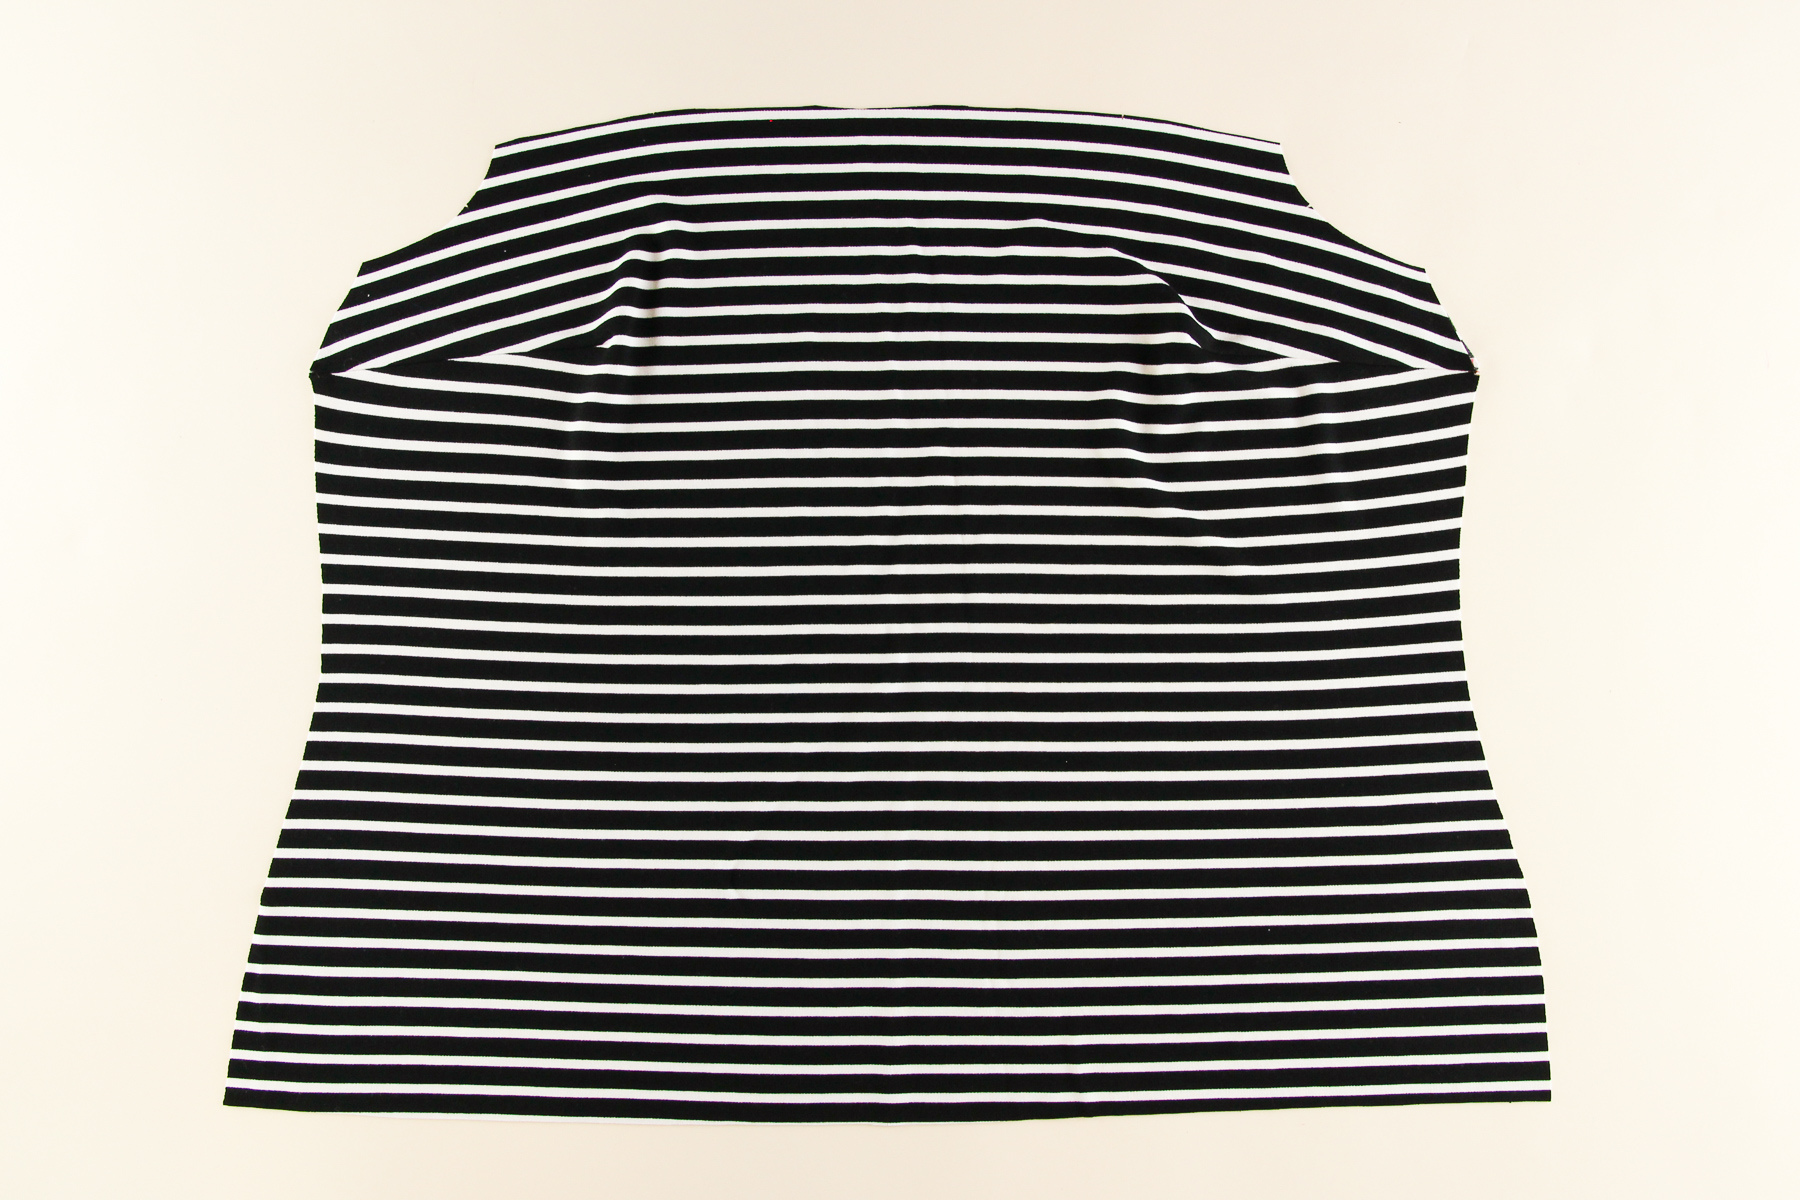
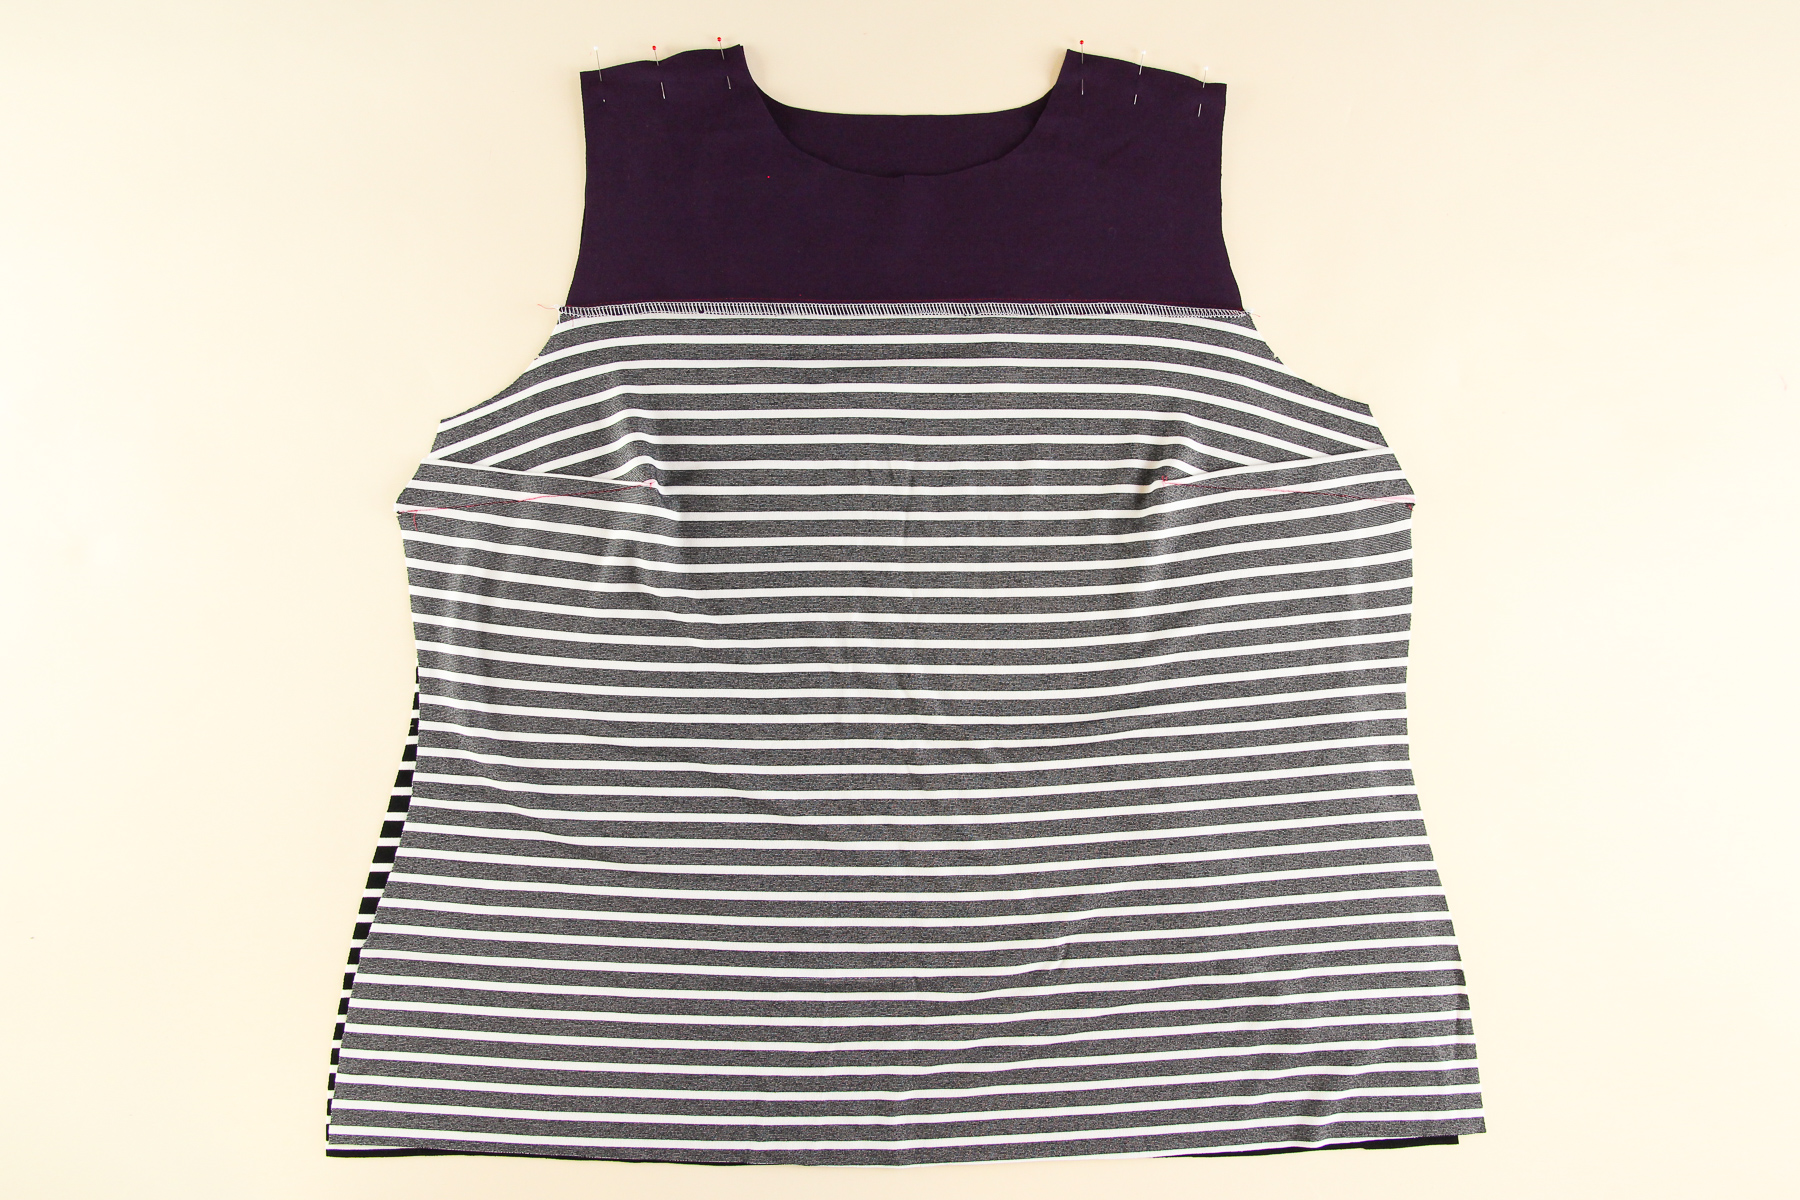
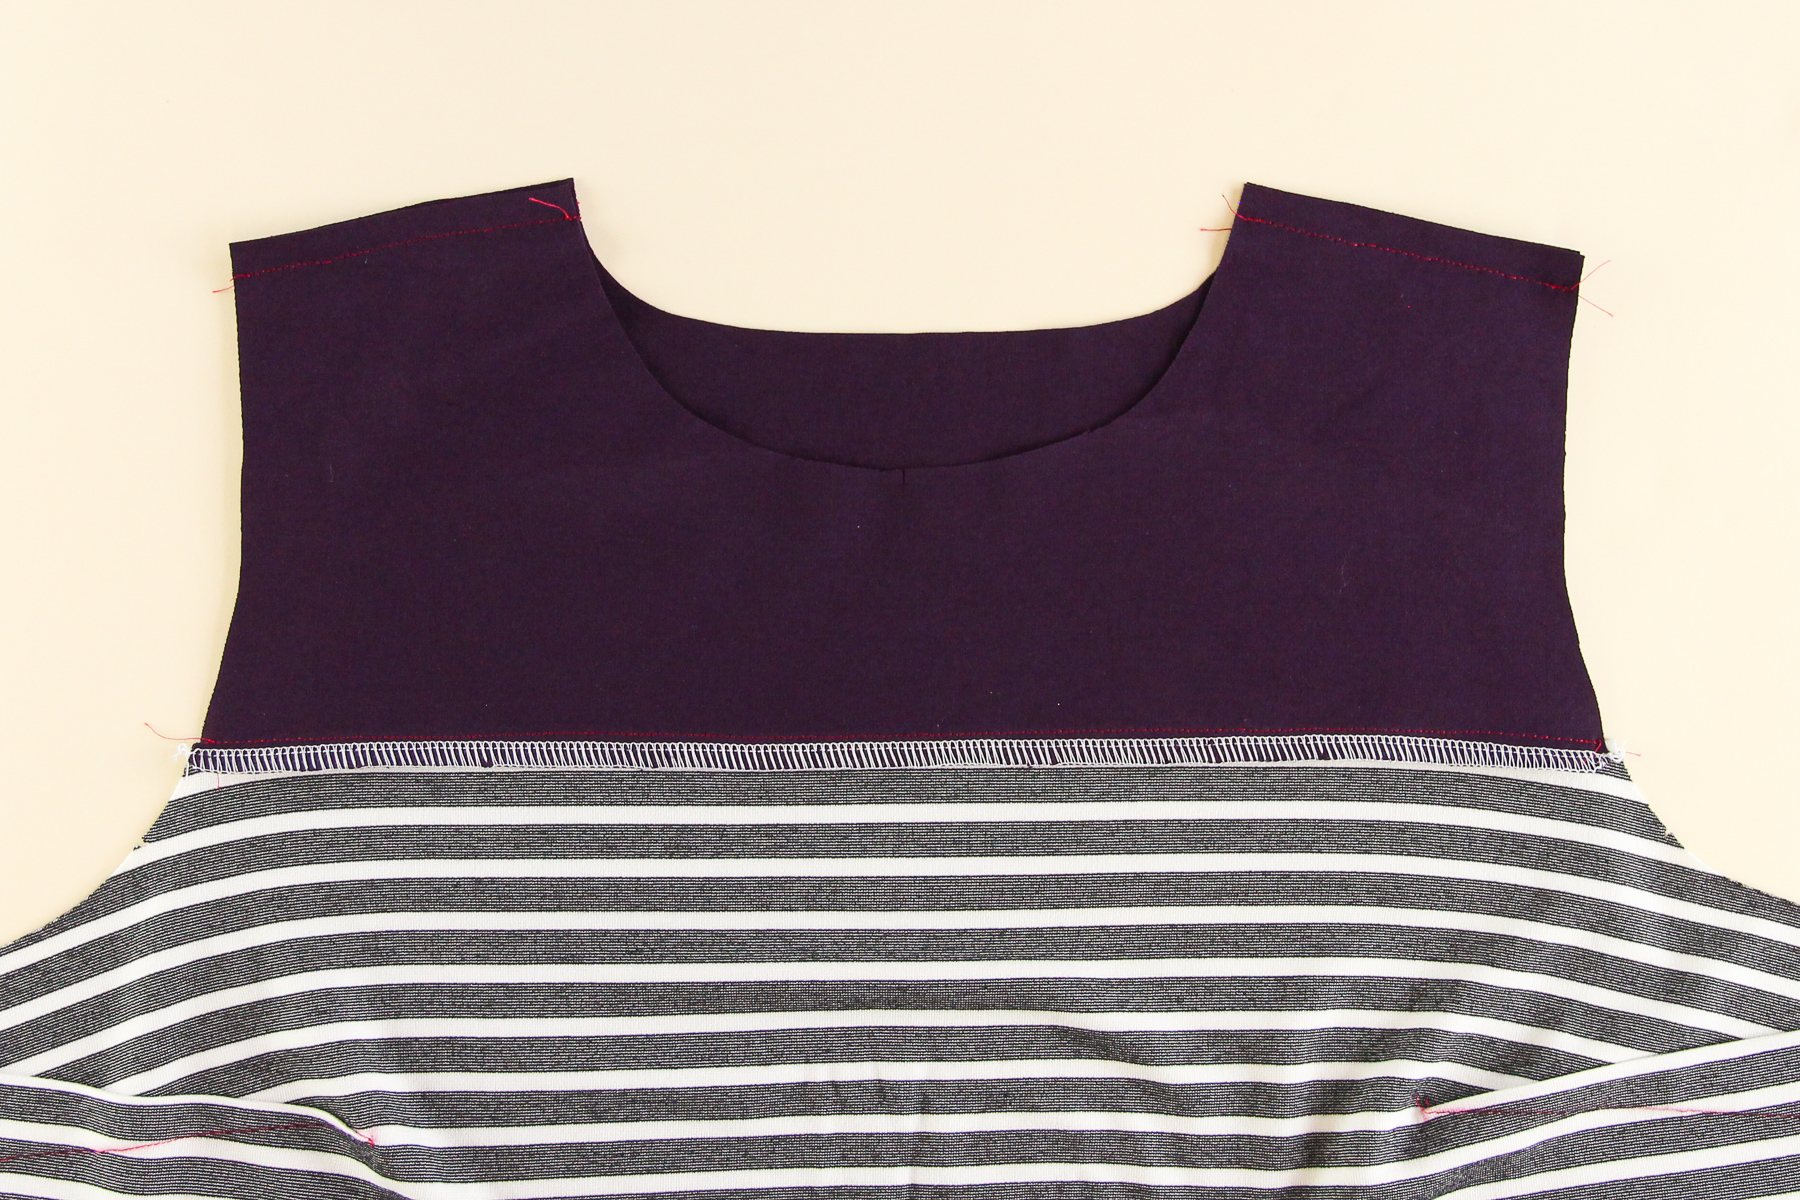
Both darts are done, now it’s time to assemble the front of our sweater. Line up the upper front with the lower front, right sides together, and pin.
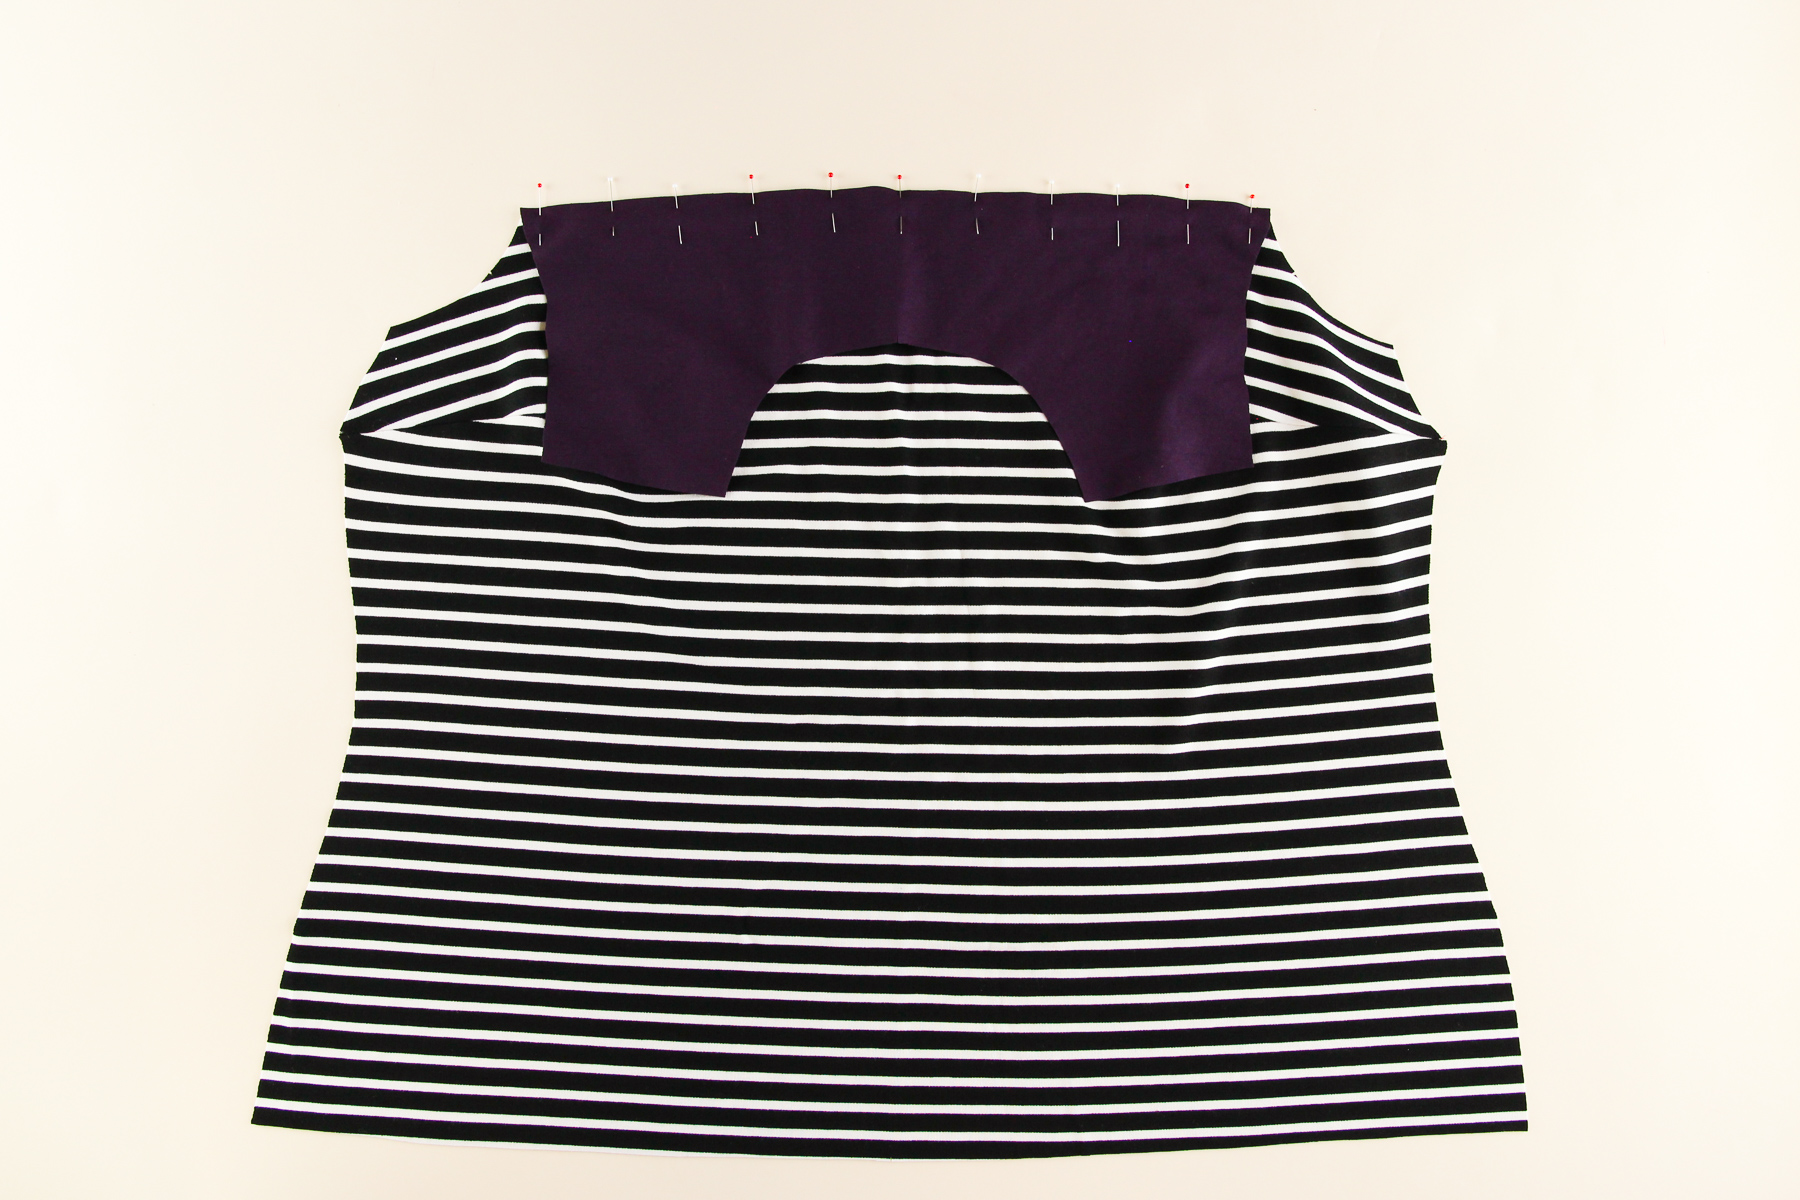
Let’s sew that seam at our 3/8” (1 cm) seam allowance. I’m sewing my seams on a sewing machine first so that you can better see what I’m doing, but you can sew directly on a serger to save the extra step.
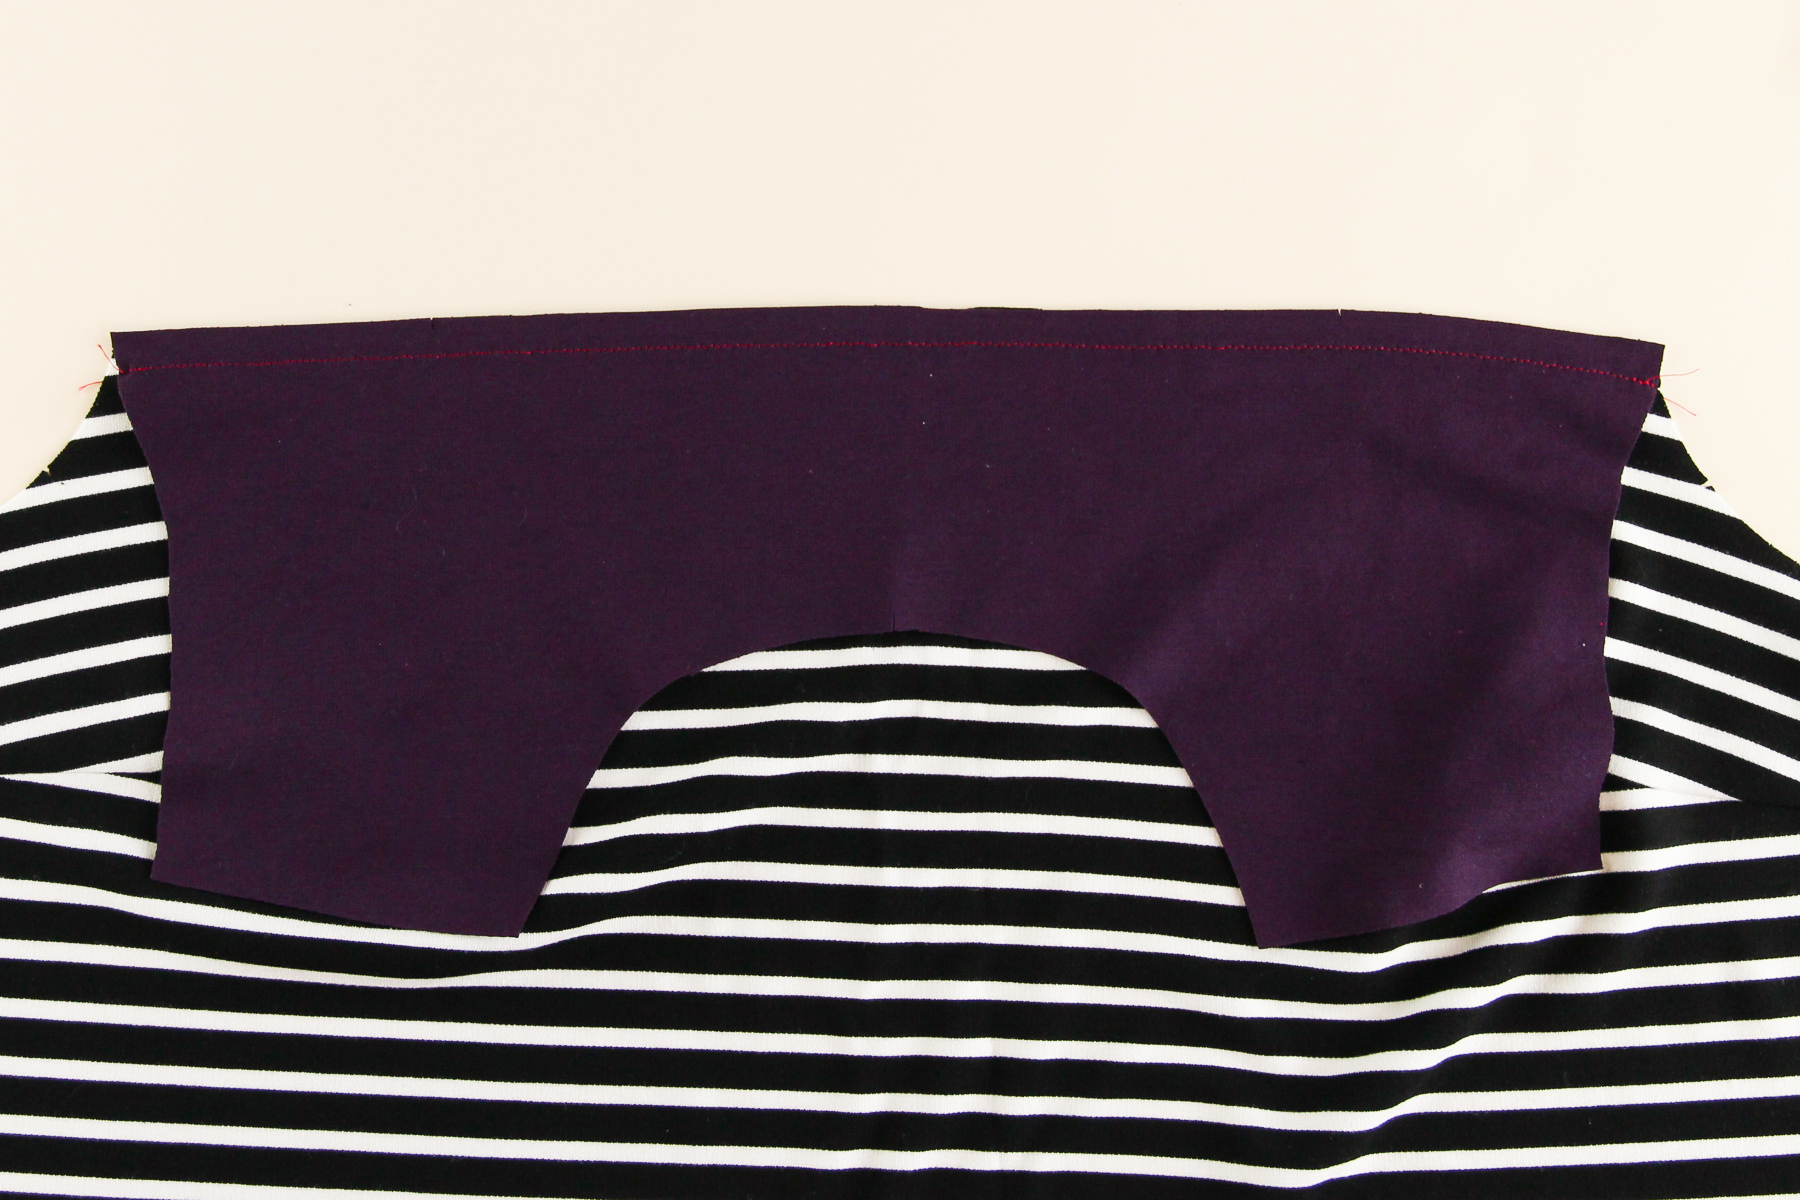
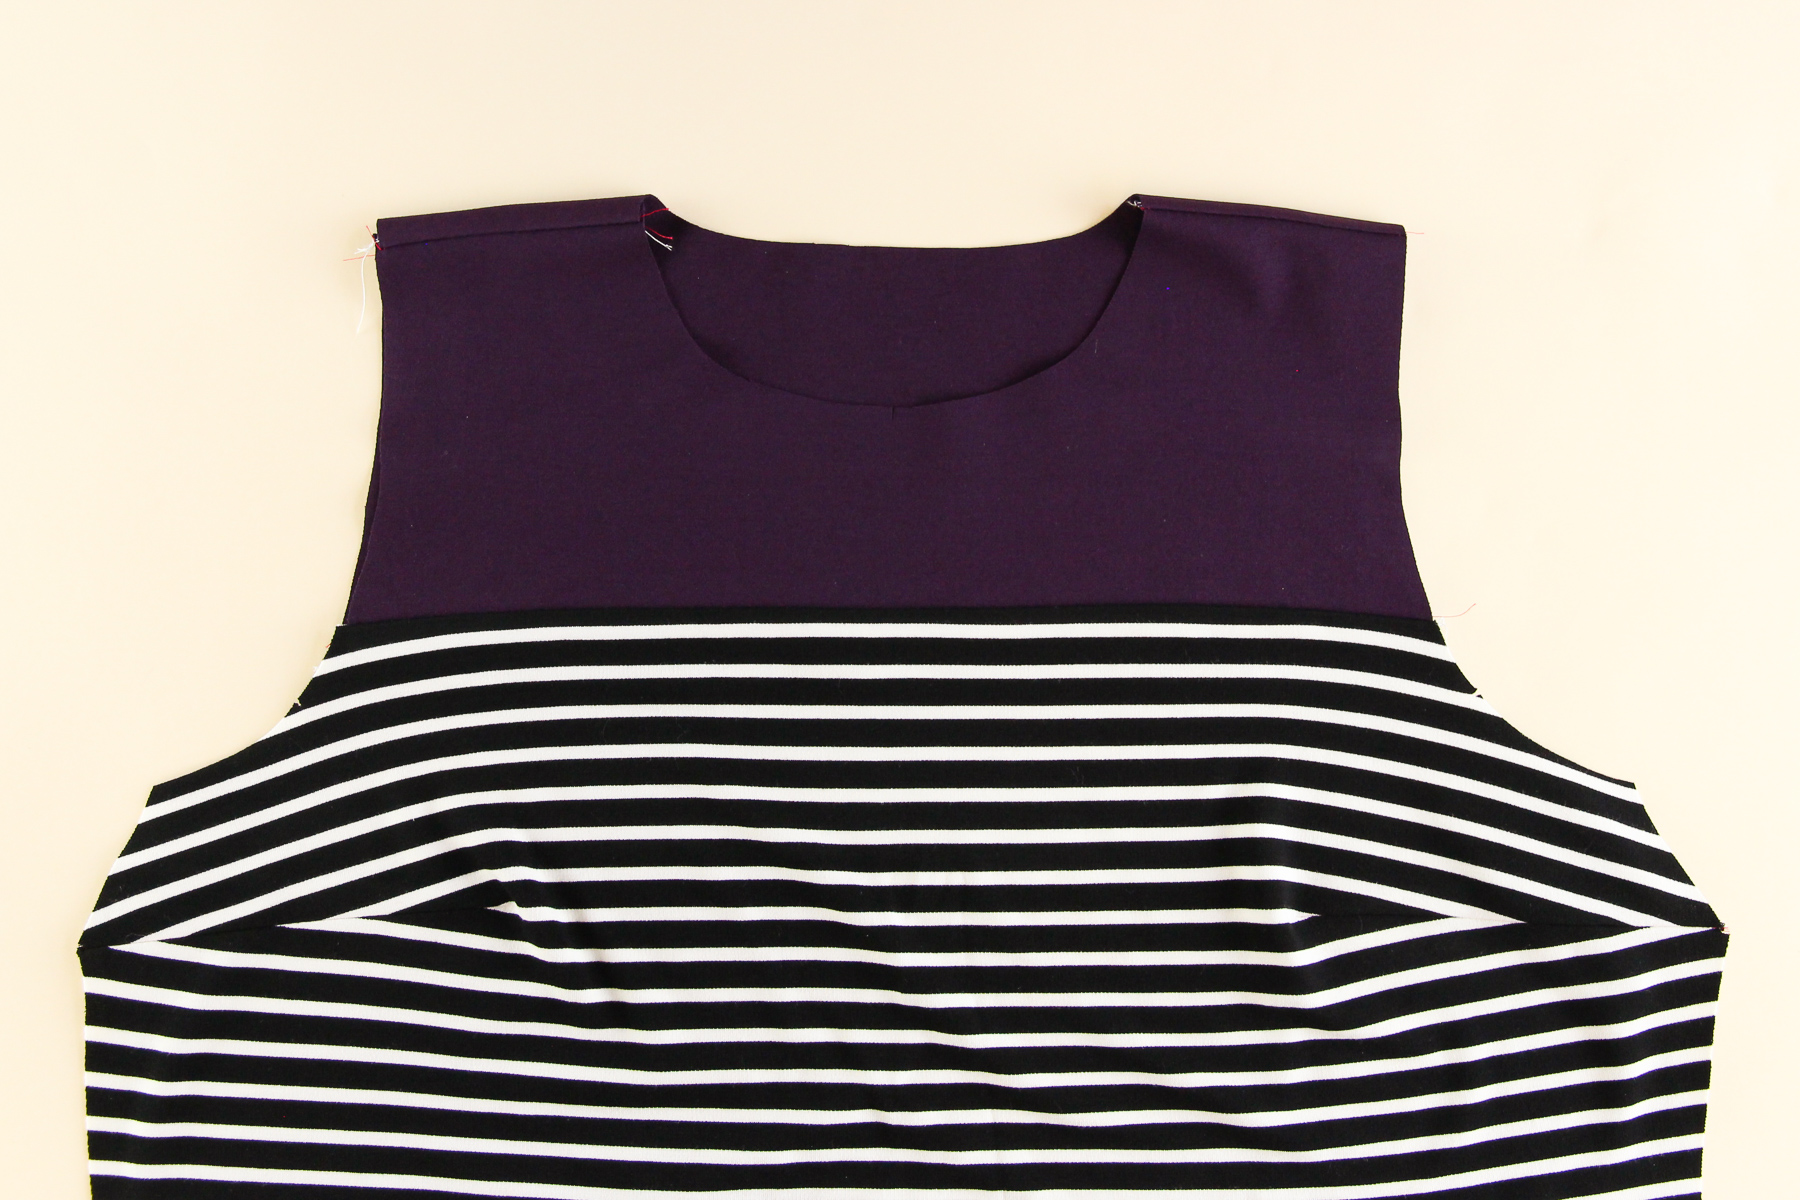
Finish that seam and press it down towards the hem.
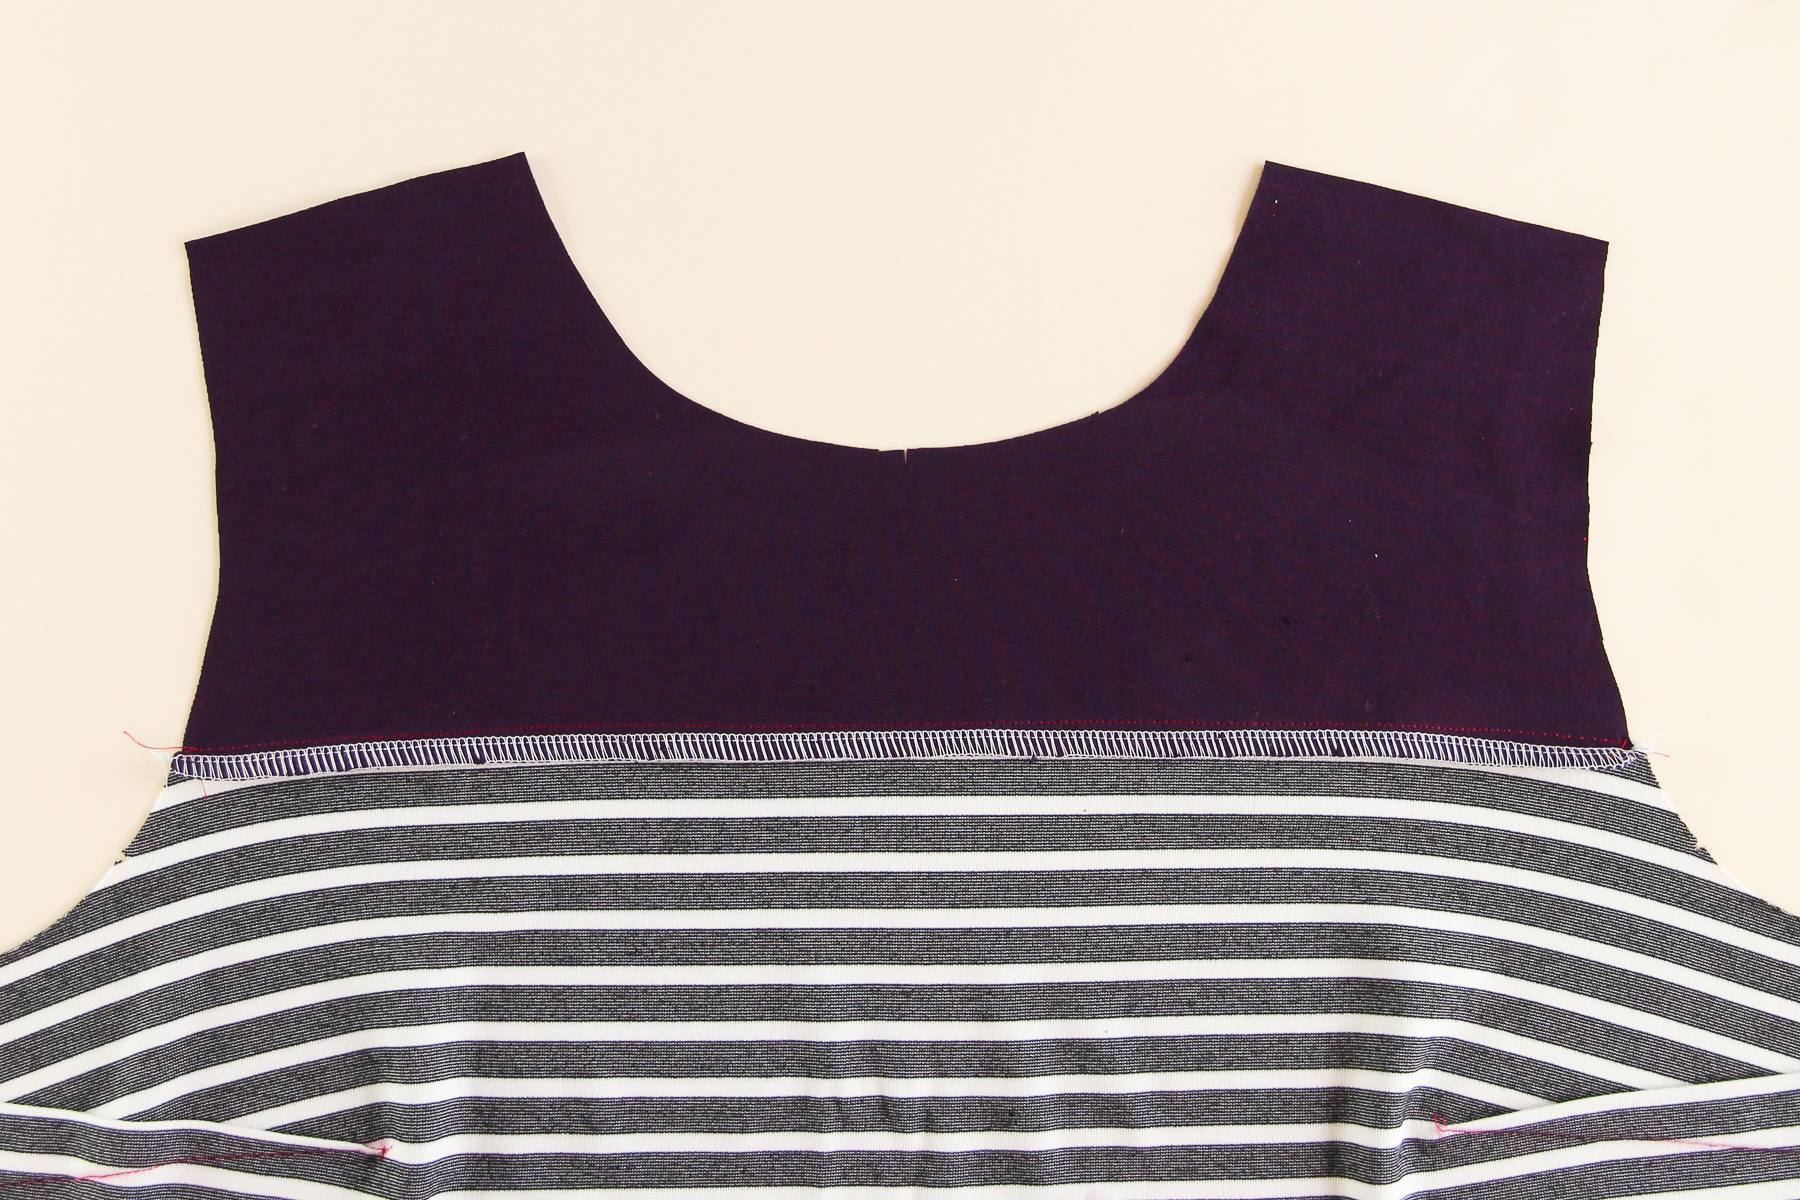
And here’s our assembled front!
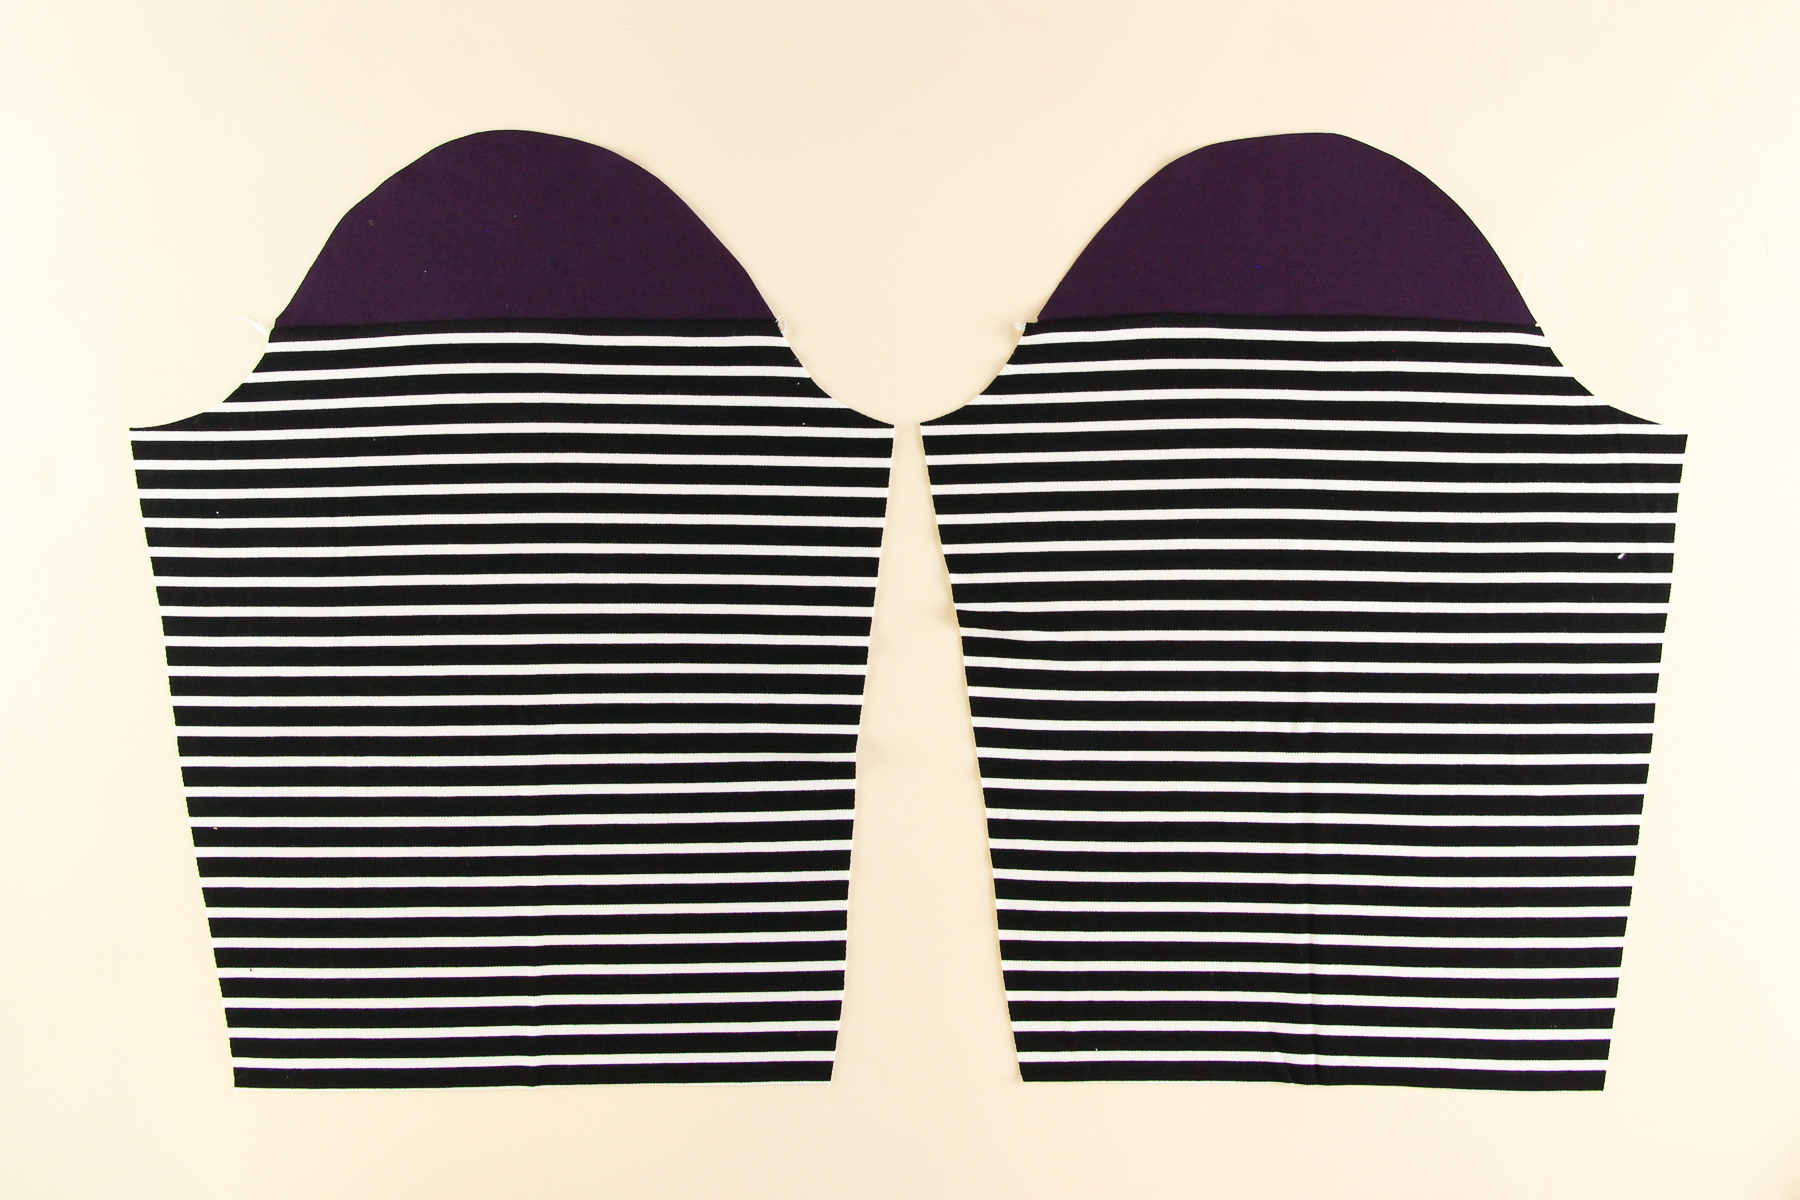
Let’s do the same with our back pieces.
And while we’re at it, why don’t we also assemble our sleeves as well. Make sure to line up the notches so that you’re pairing the correct upper and lower sleeves together.
Now it’s time to sew our shoulder seams. Pin the front bodice to the back at the shoulders, right sides together and sew.
Now we’re going to finish those seams and press them towards the back.
Alright, good work! Time to make our split funnel neck.
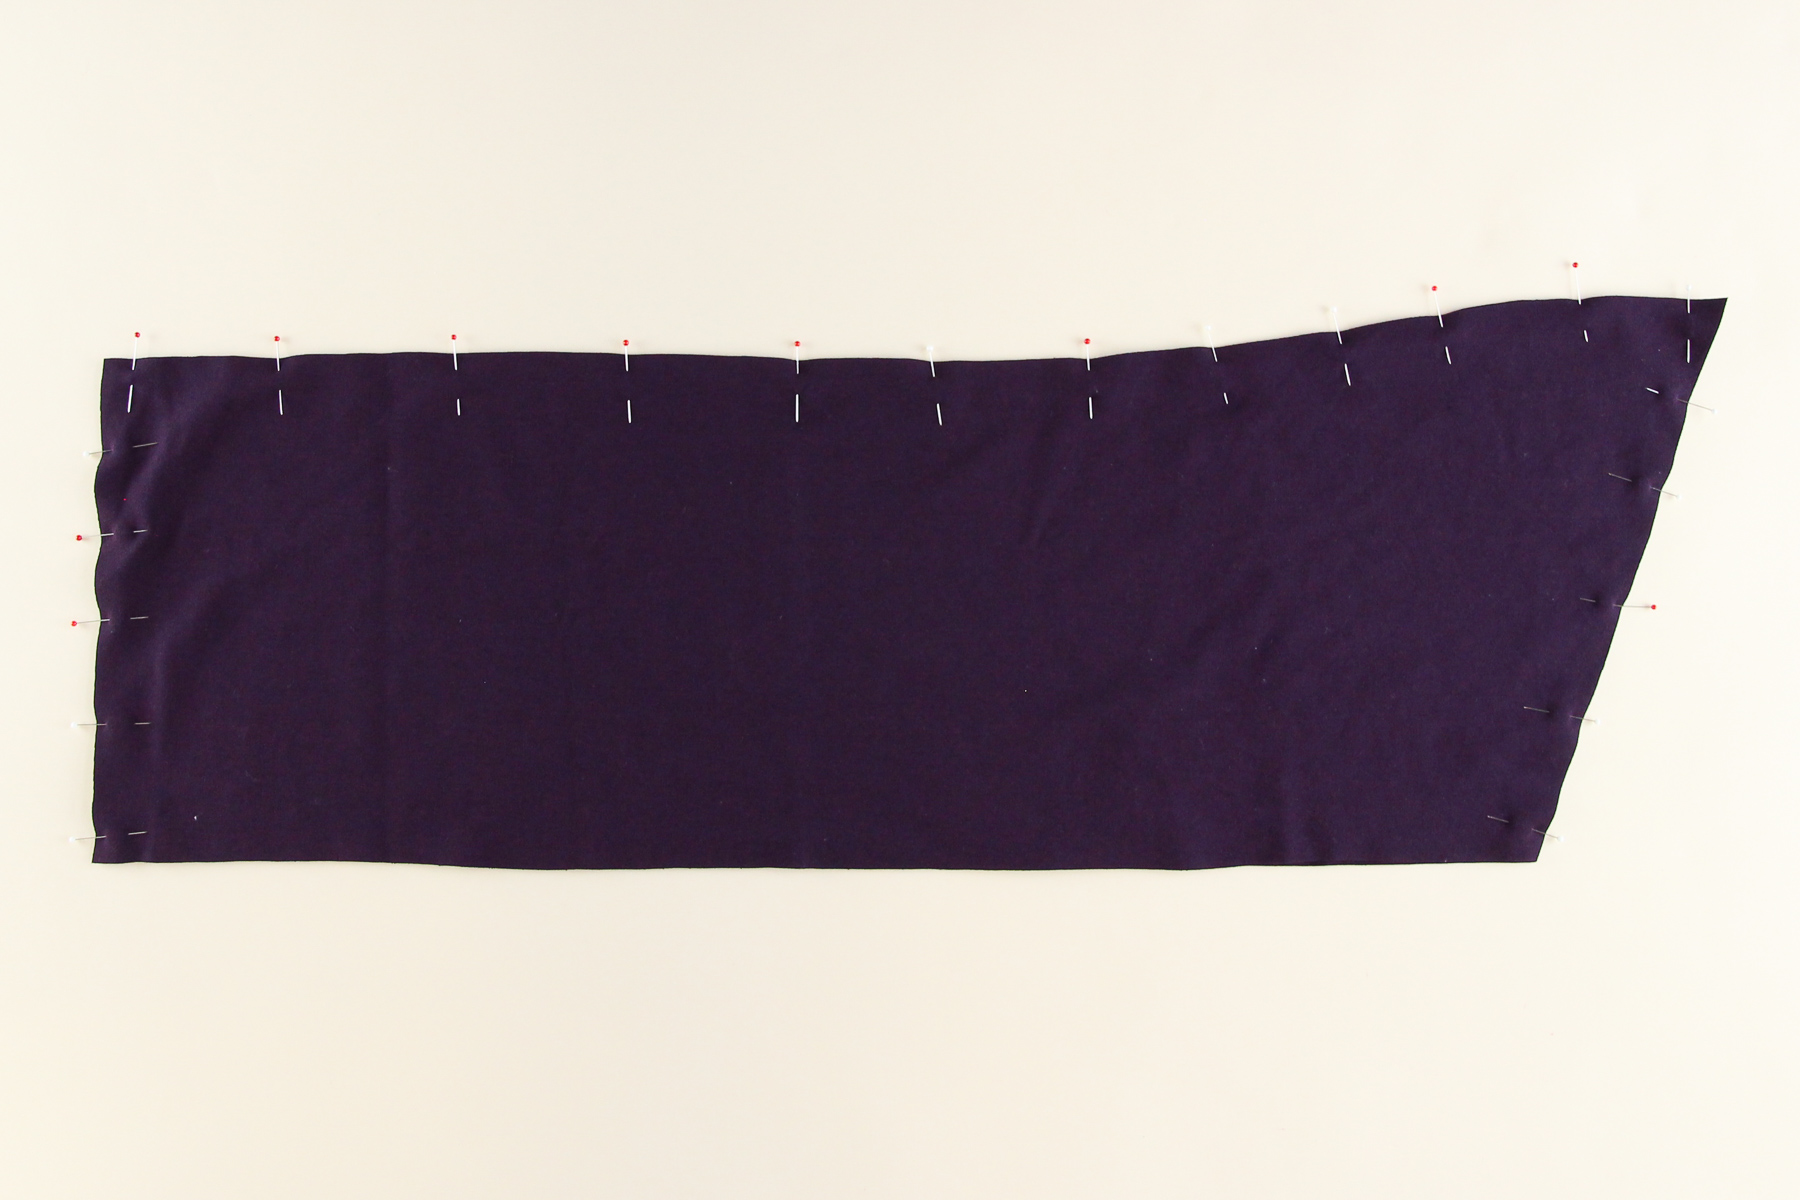
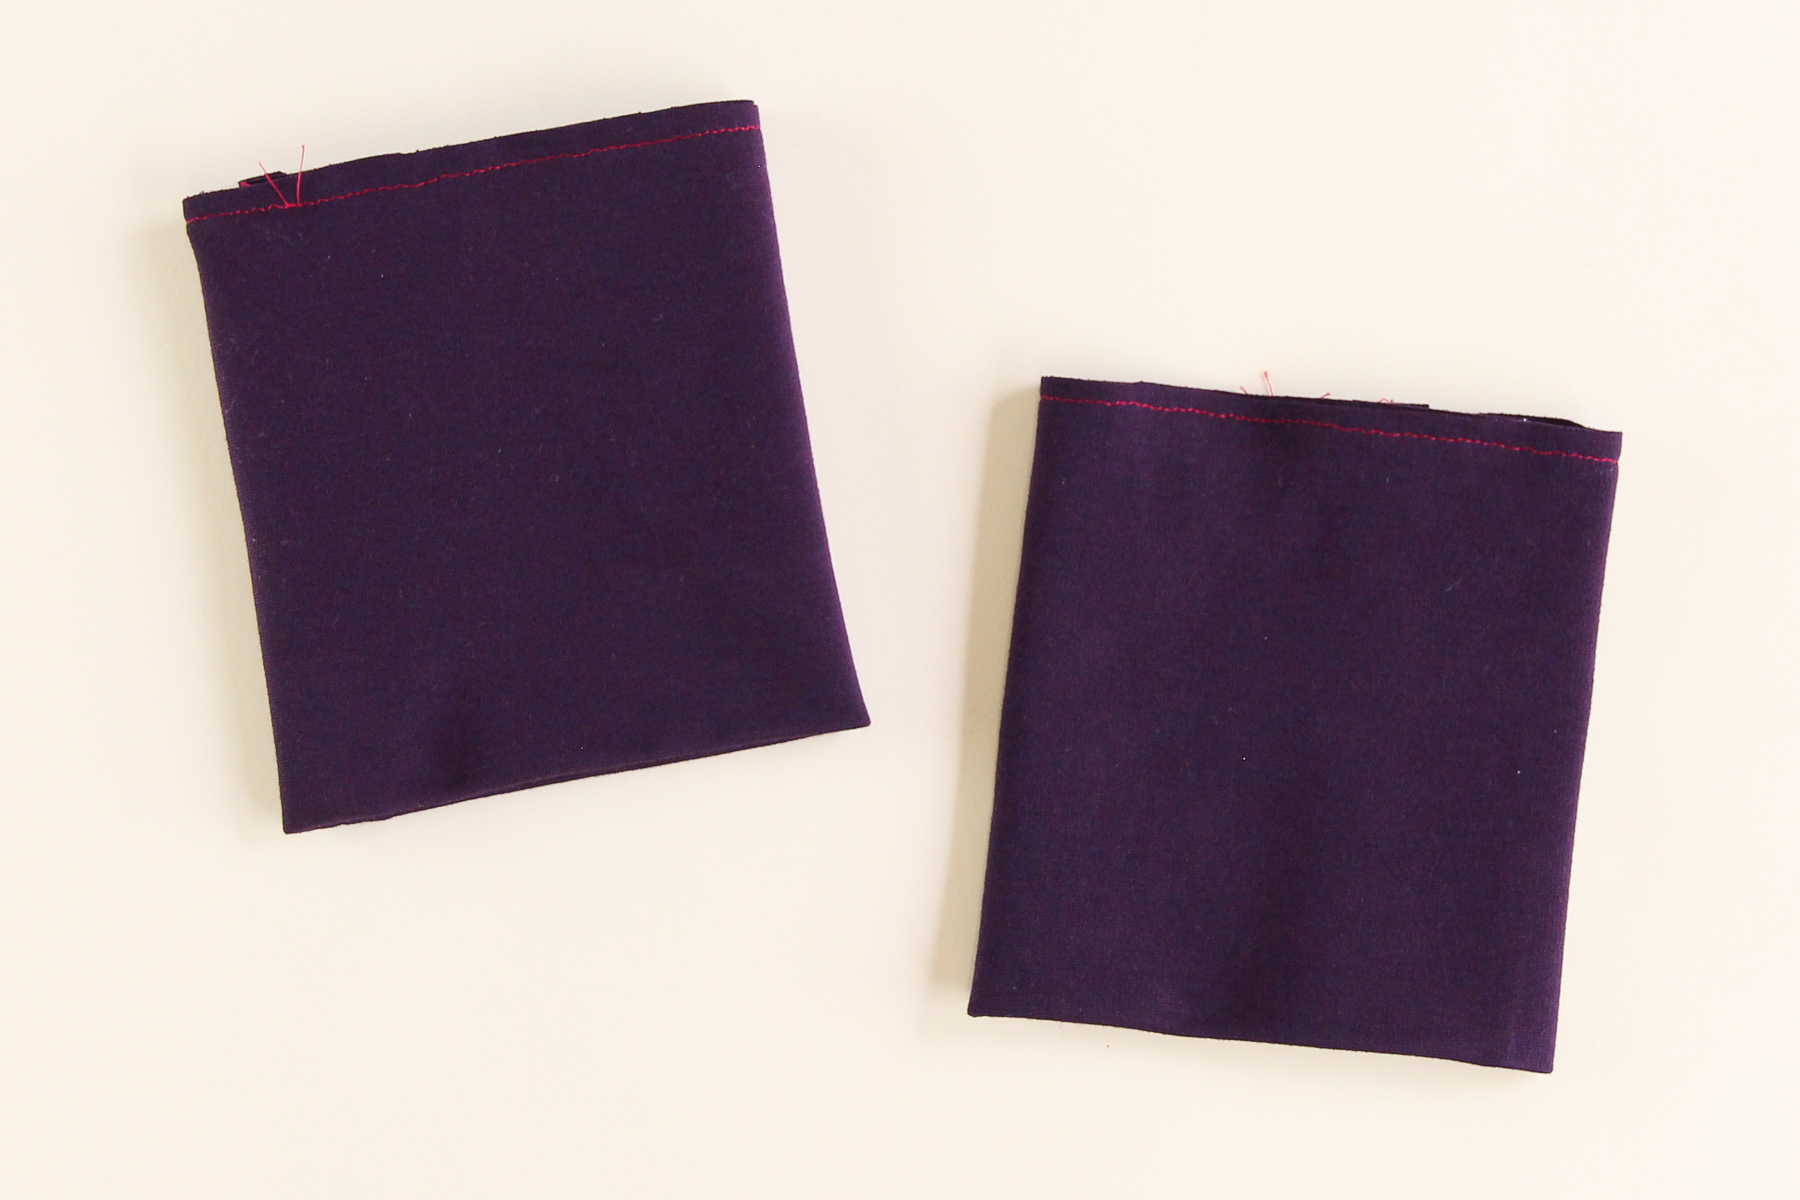
Line up the two collar pieces, right sides together. Pin along the top (the longer end) and the sides (the short ends), leaving the bottom unpinned.
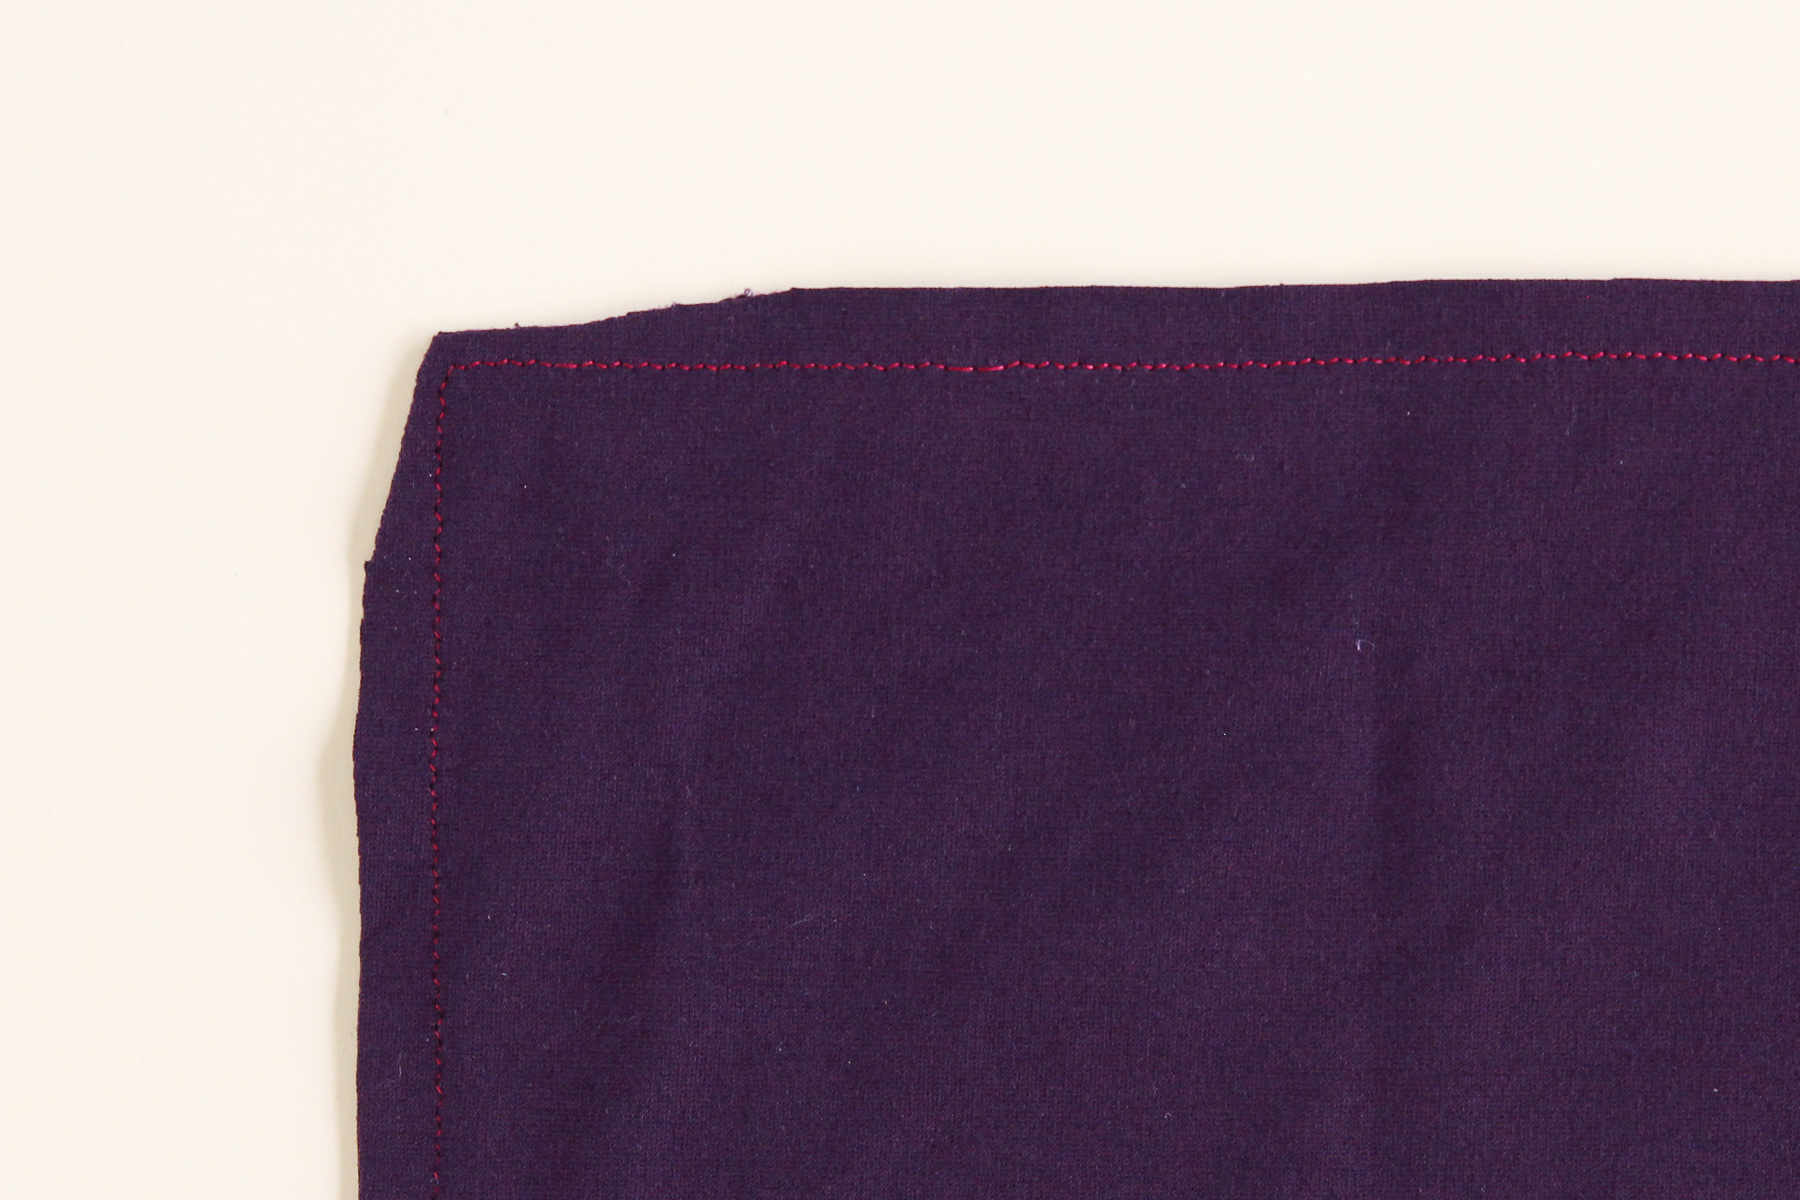
Sew those seams at our 3/8” (1 cm) seam allowance.
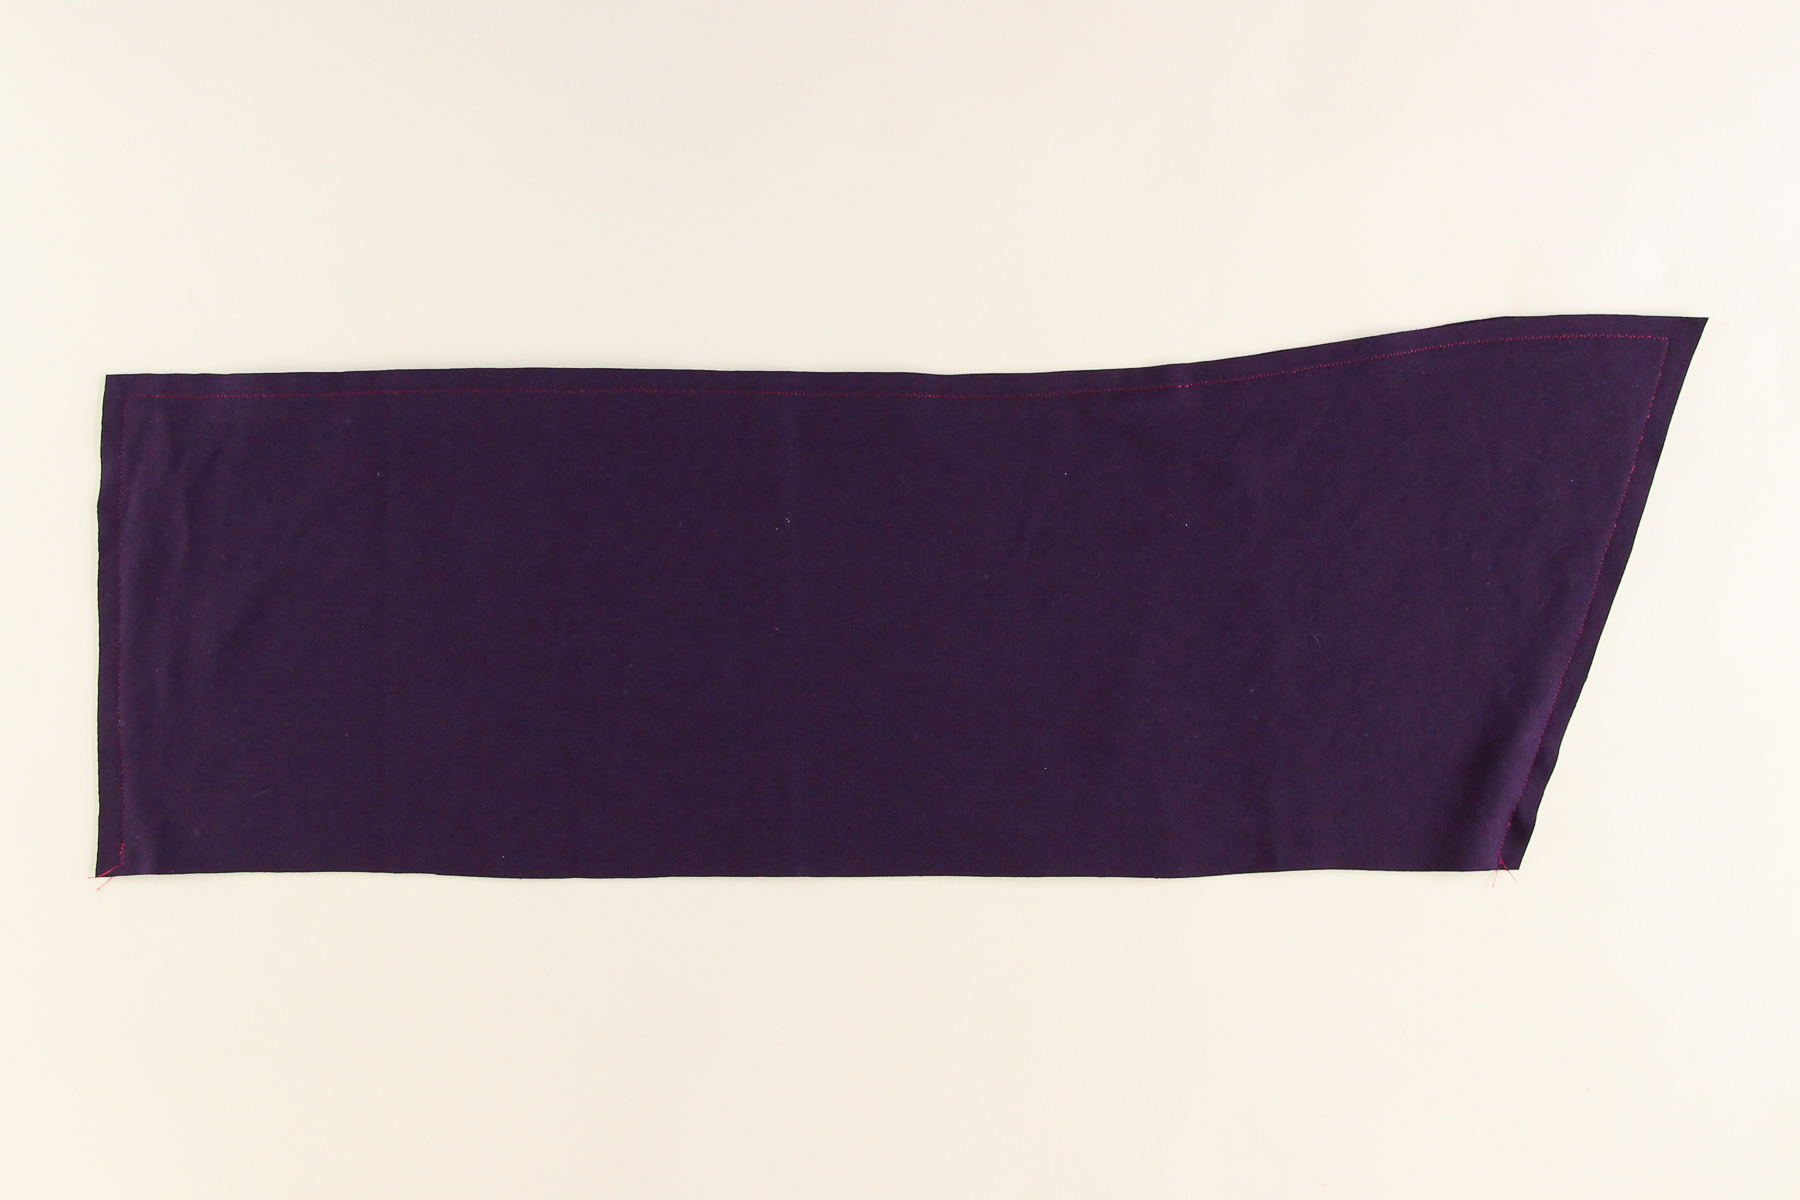
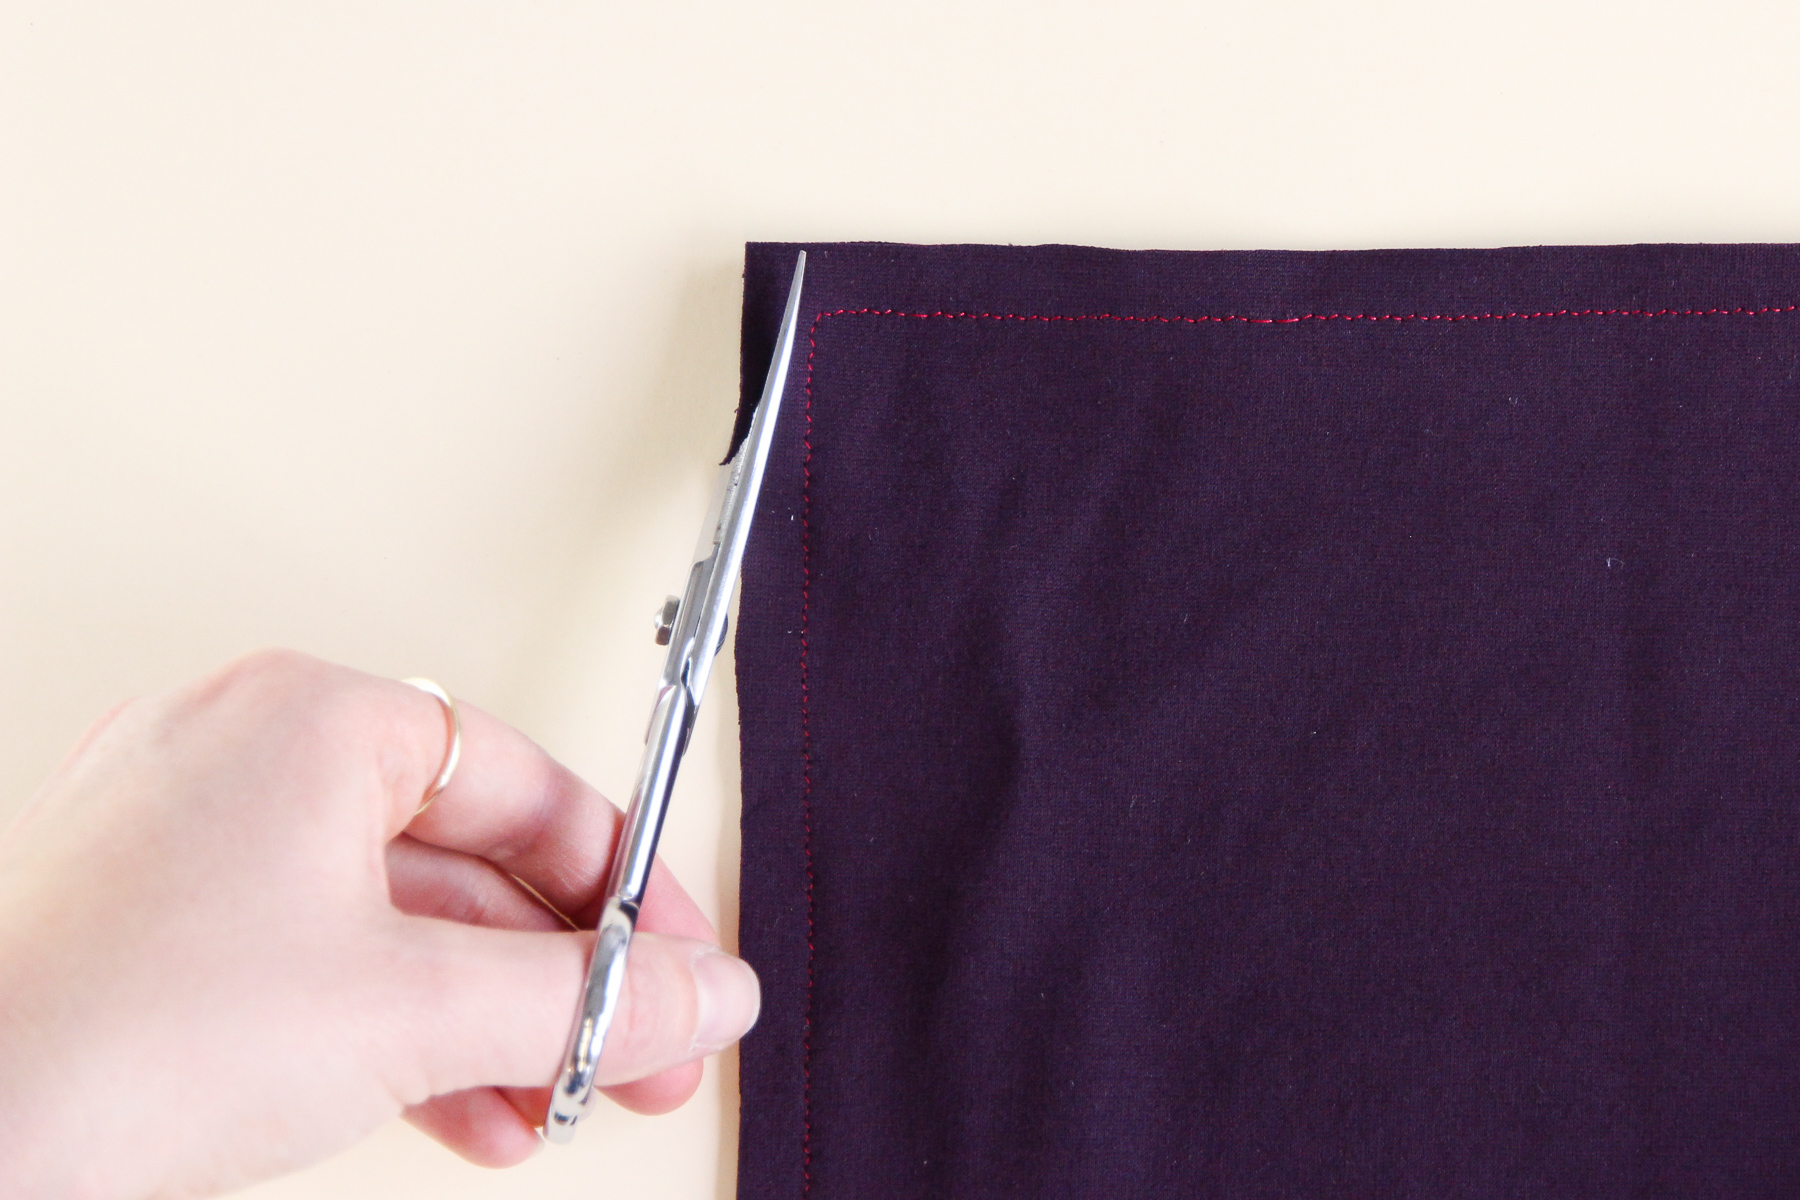
We’re going to flip this right side out, but first, let’s trim the corners to reduce bulk.
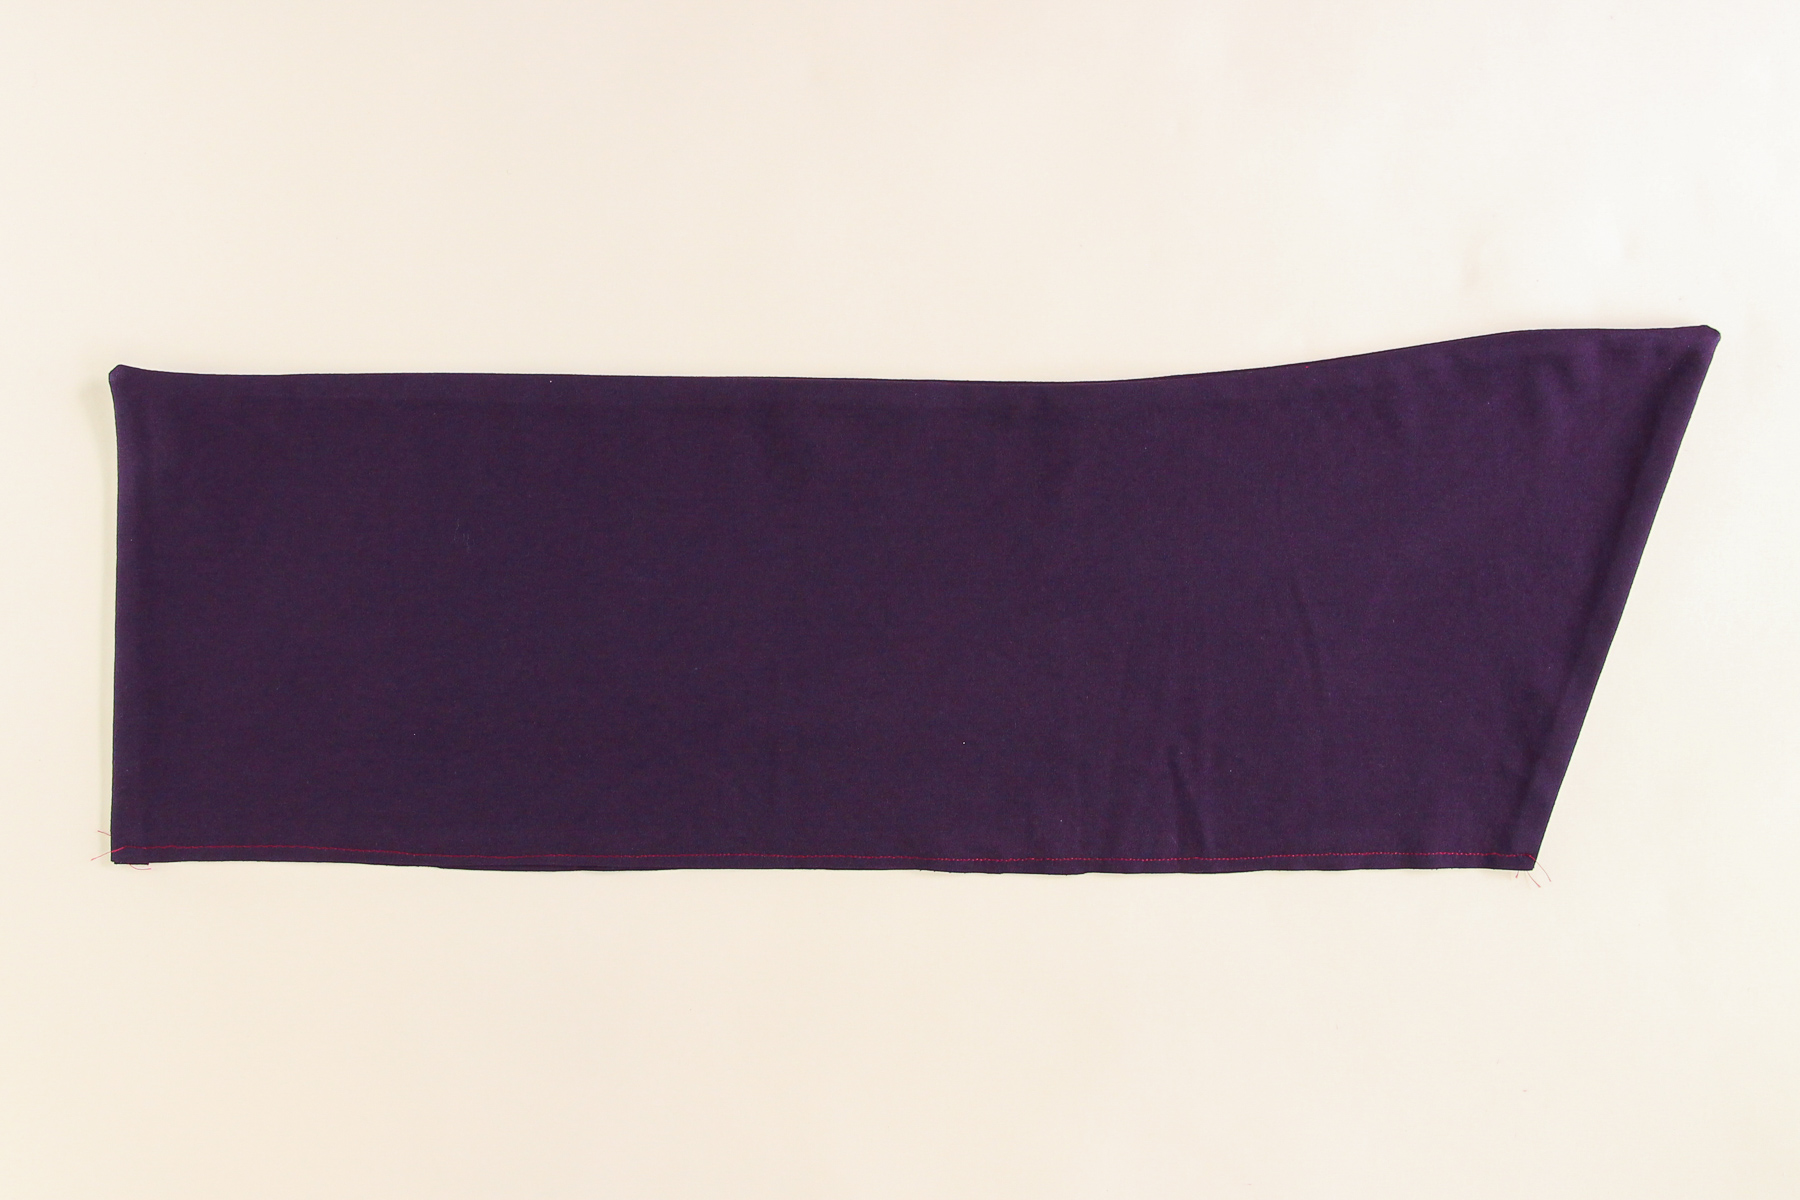
Okay, time to flip the collar! Turn the corners and press it flat.
I find it helpful to baste the open edge closed, so that I can treat this as one fabric instead of two. So let’s go ahead and baste within the seam allowance.
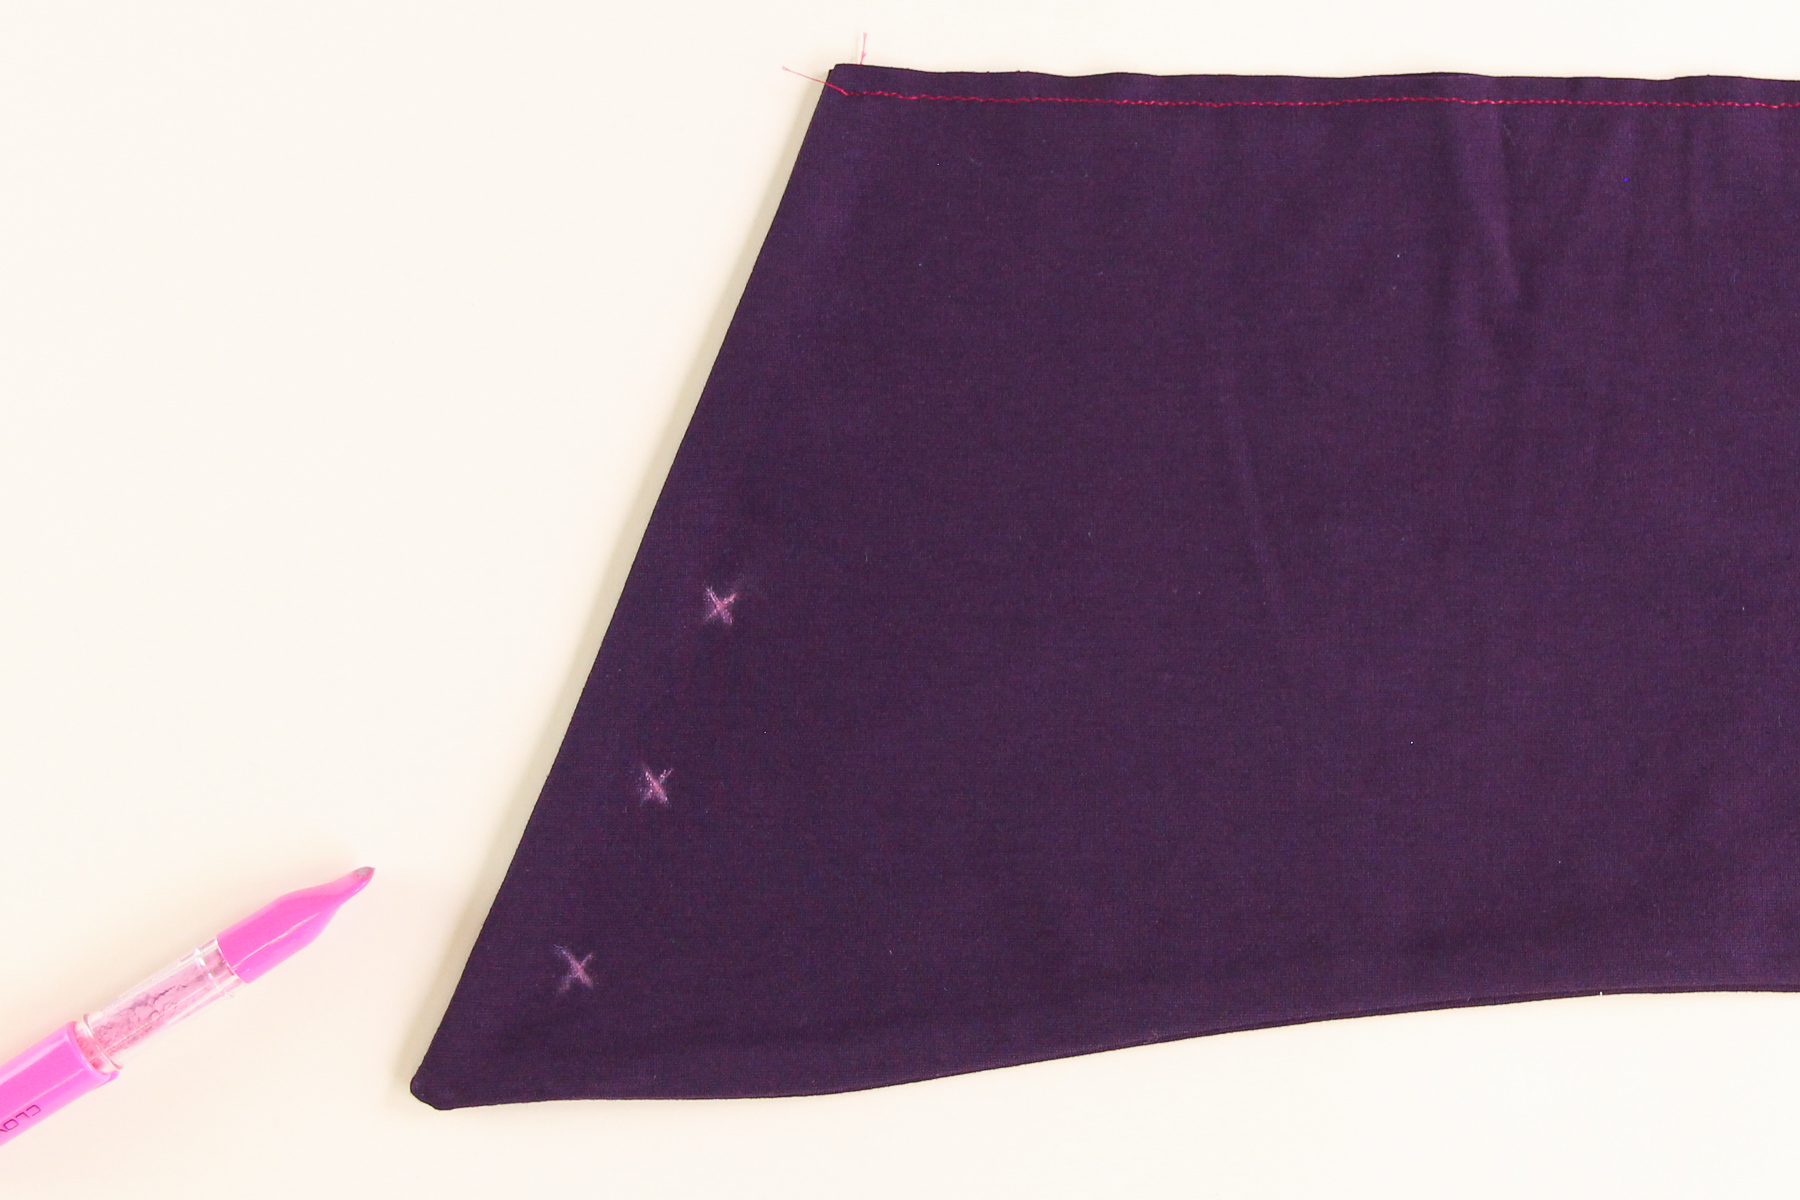
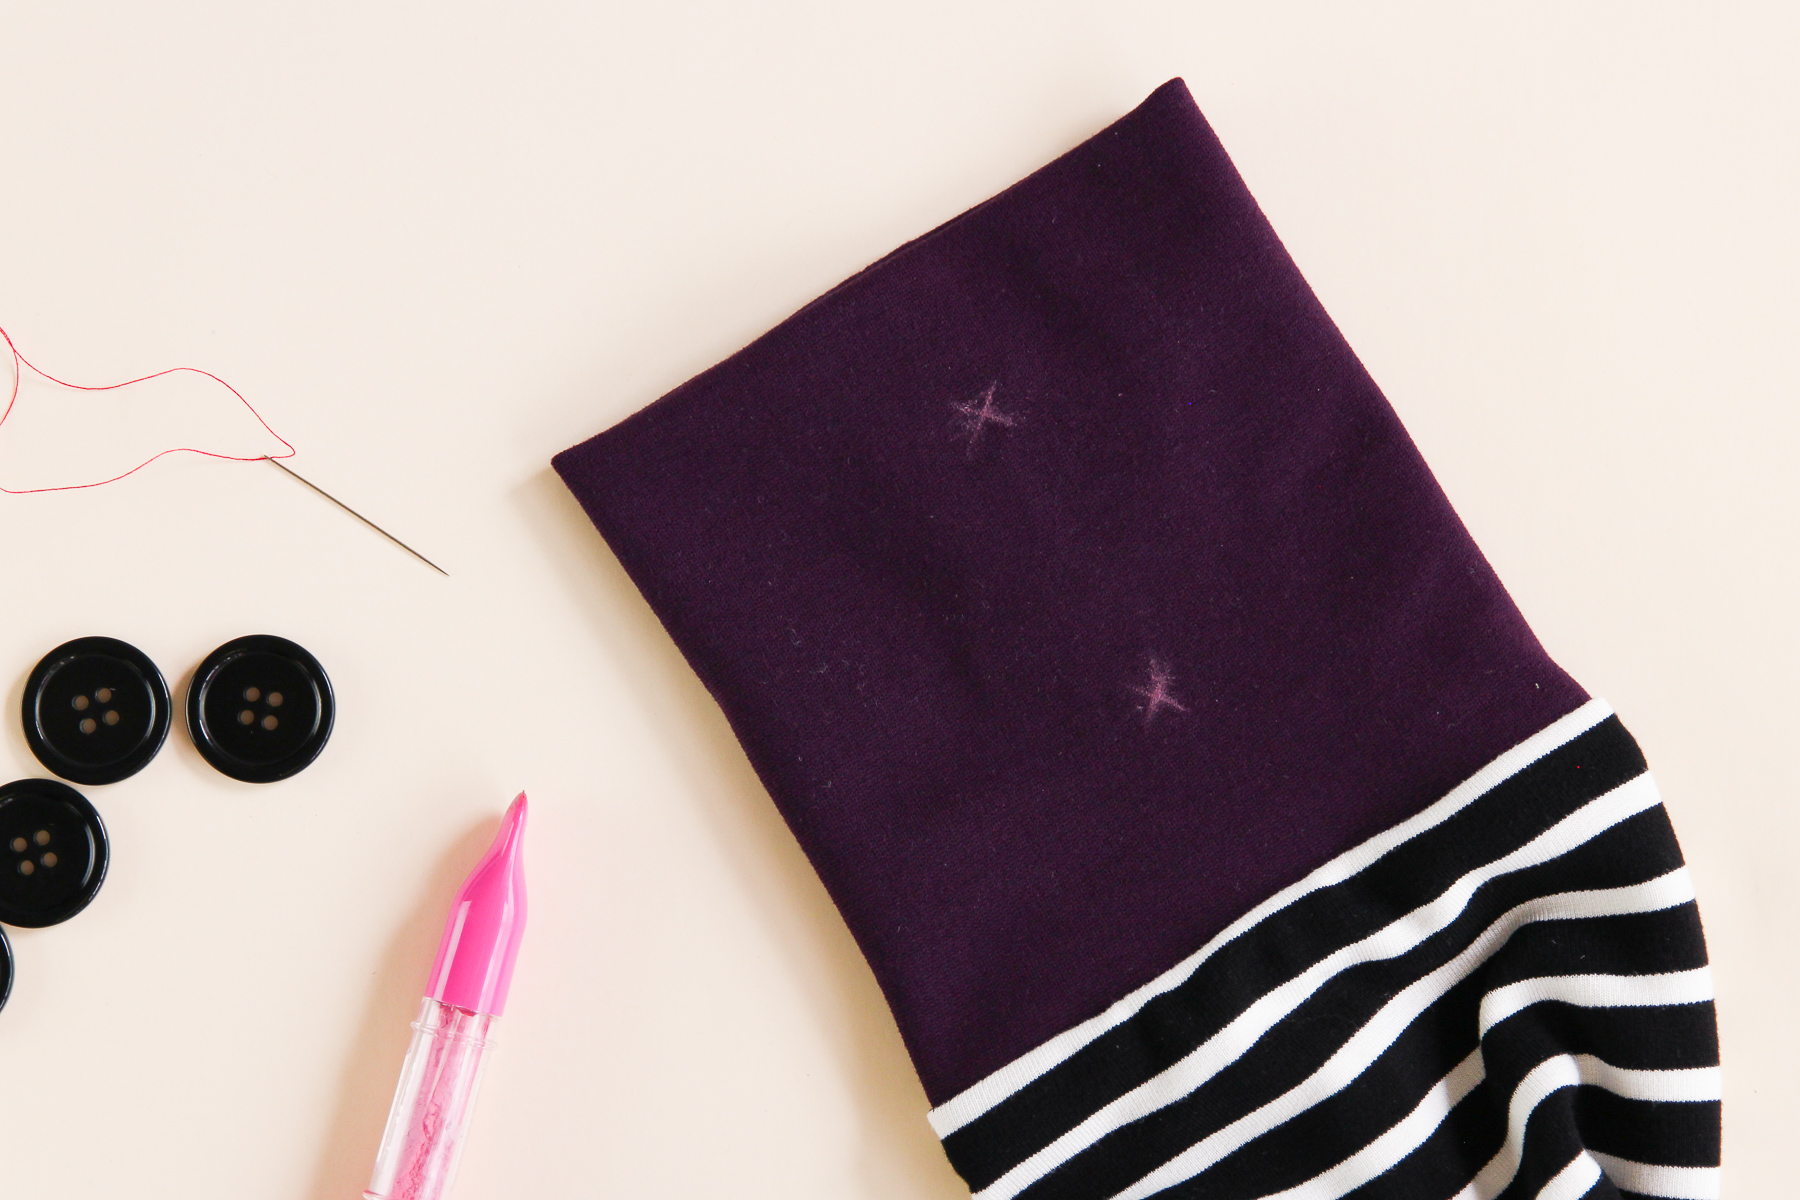
Before going further, let’s mark the button placement using our template piece and tailor’s chalk.
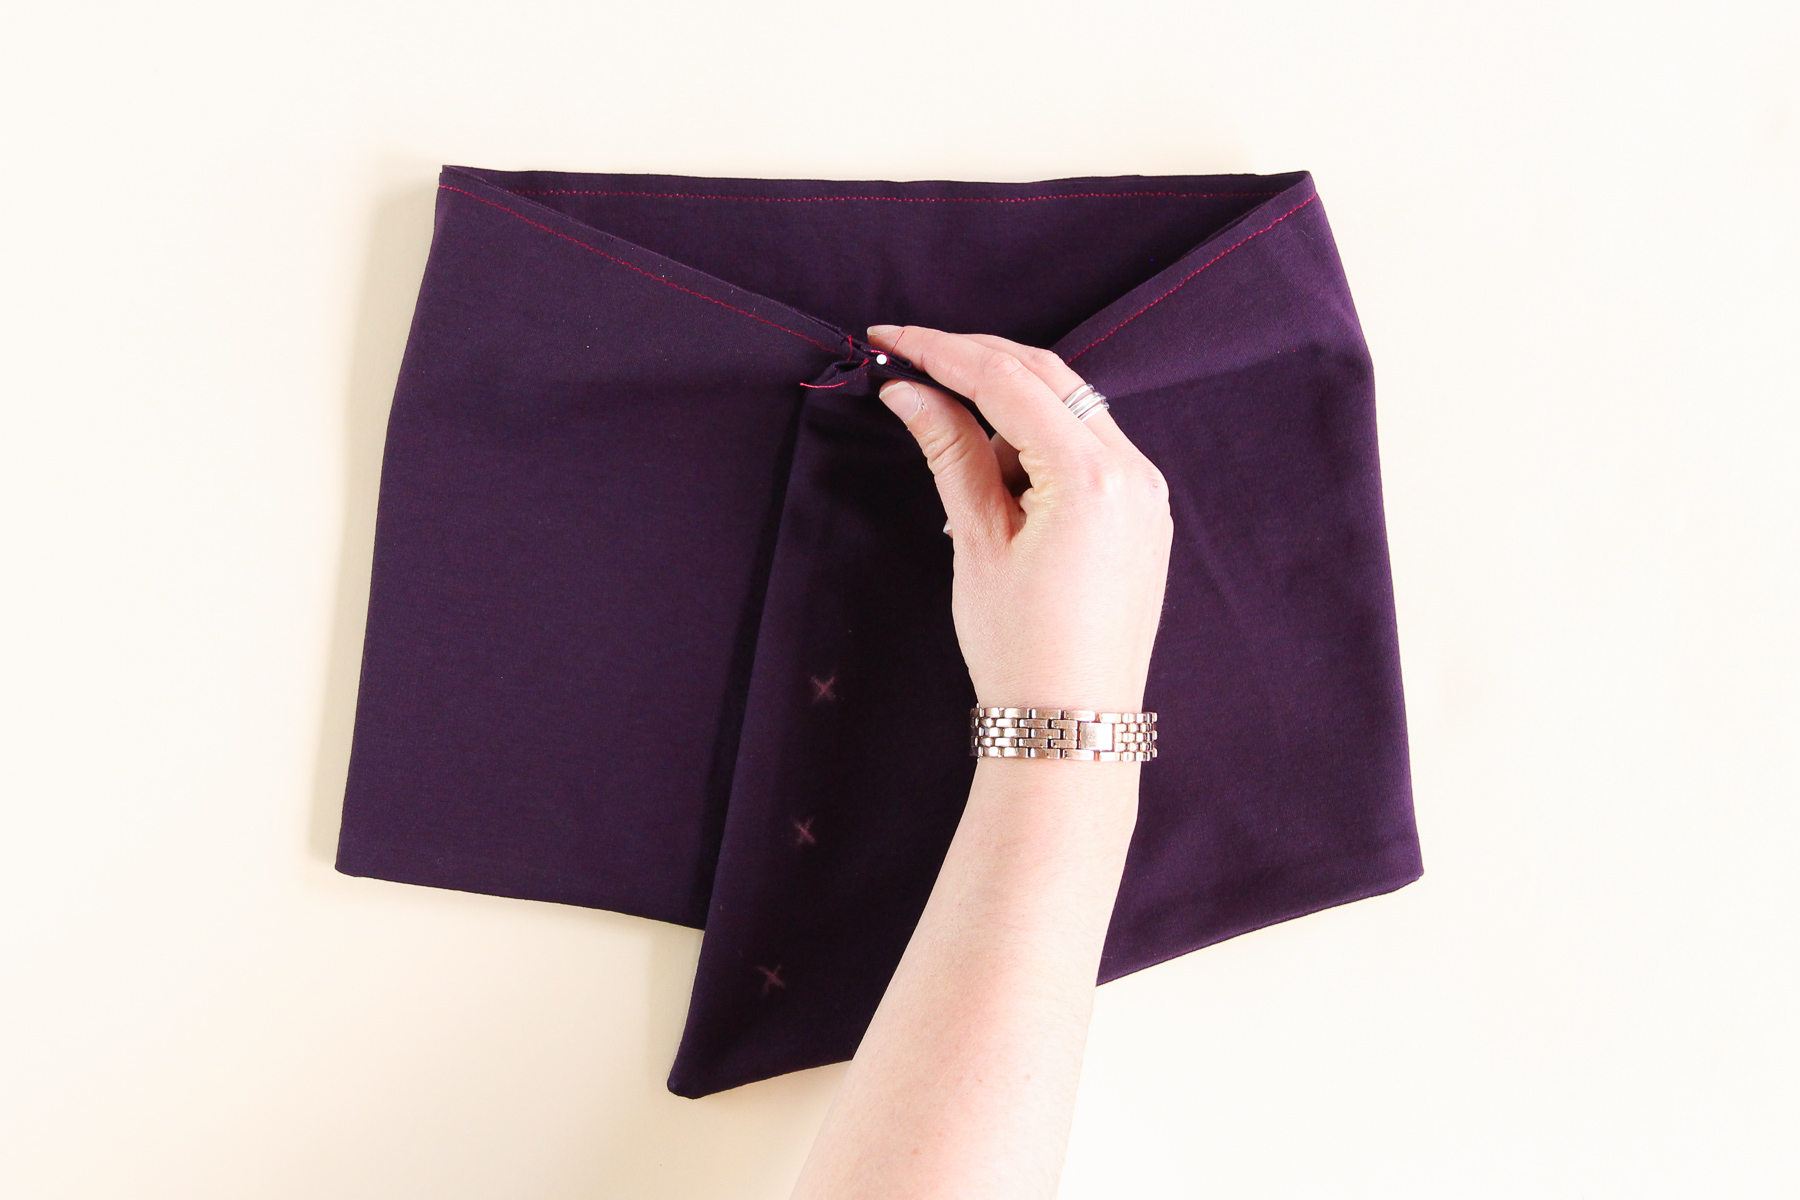
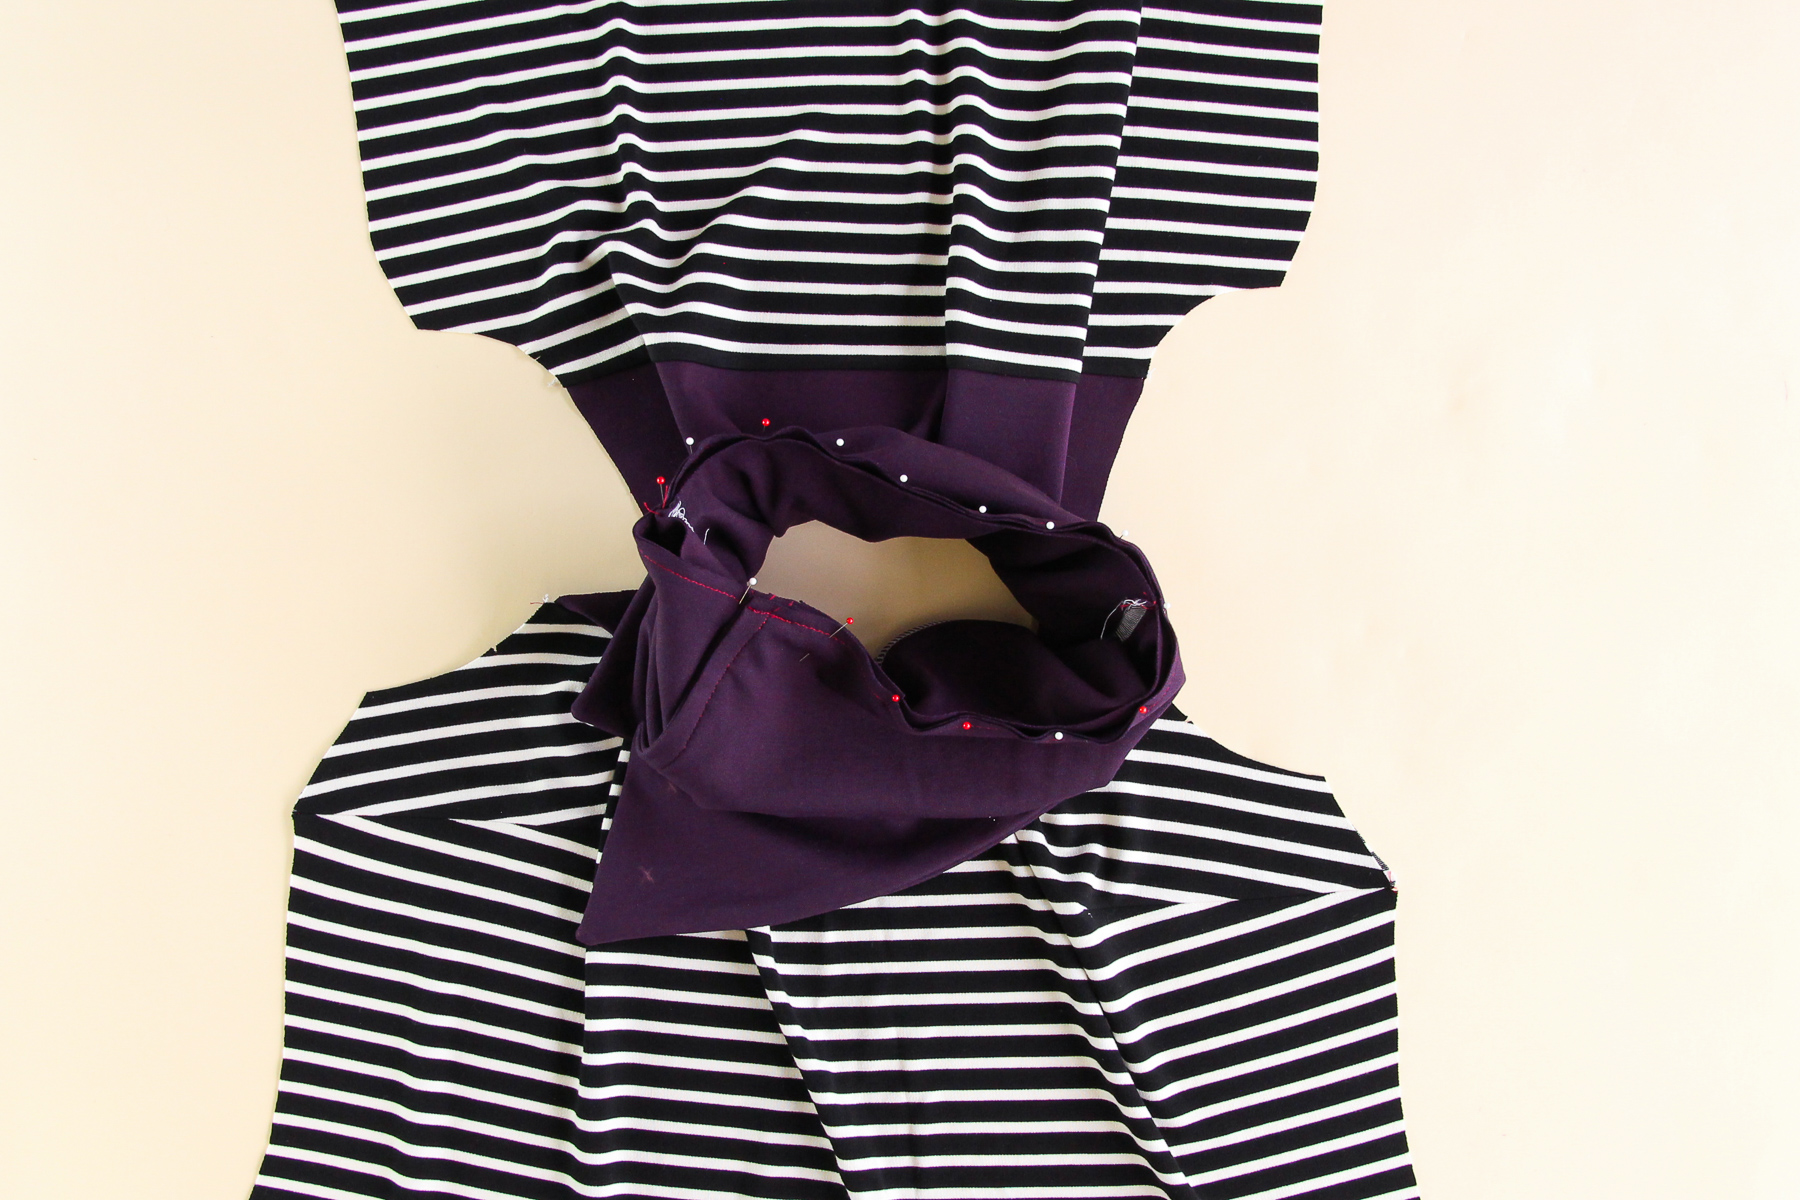
Now we’re going to overlap the right end of the collar (left side as worn) over the left end to make a loop. We need to line up the edge of the diagonal end with the outer notch at the square end and pin.
Let’s baste that top edge closed.
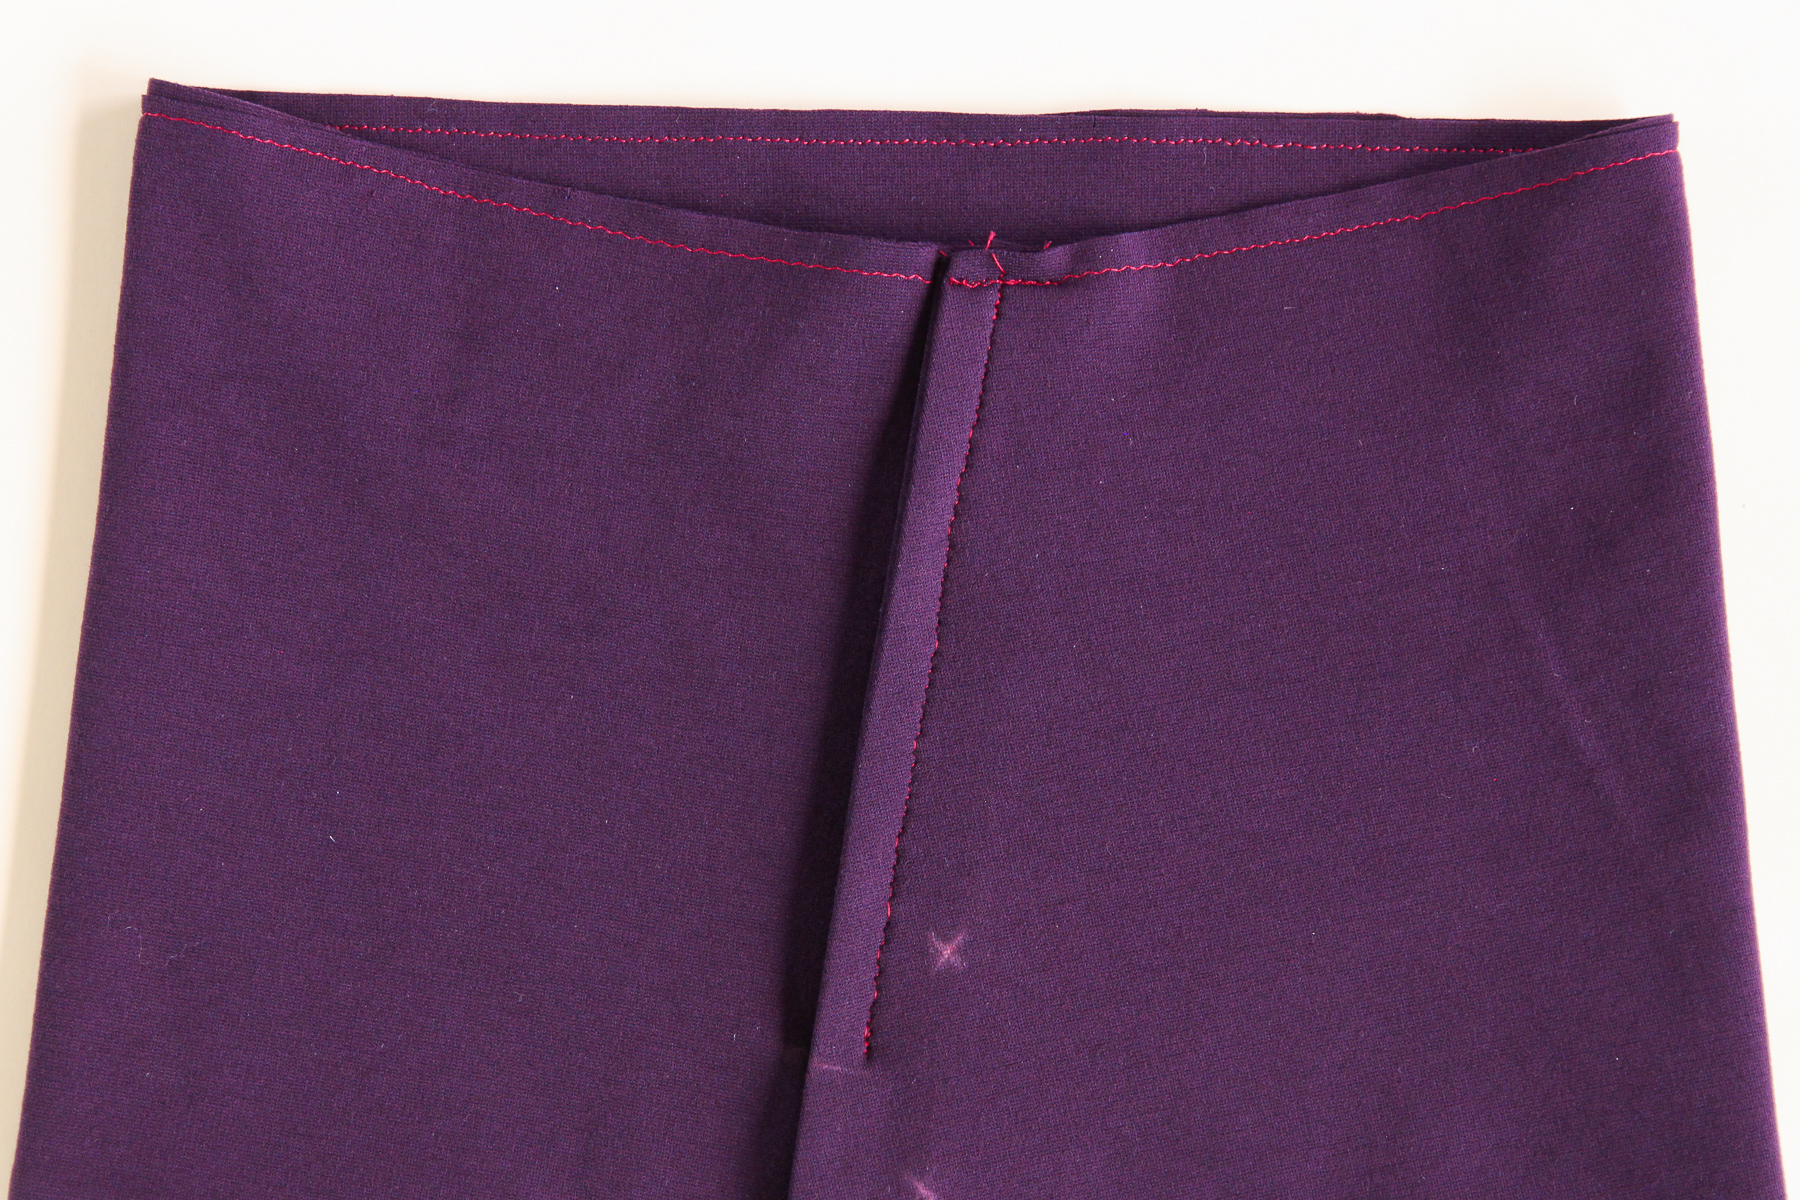
Now go ahead and pin the two ends closed, overlapping the diagonal end over the square end by the same amount as the overlap we just made and basted. Pin this in place.
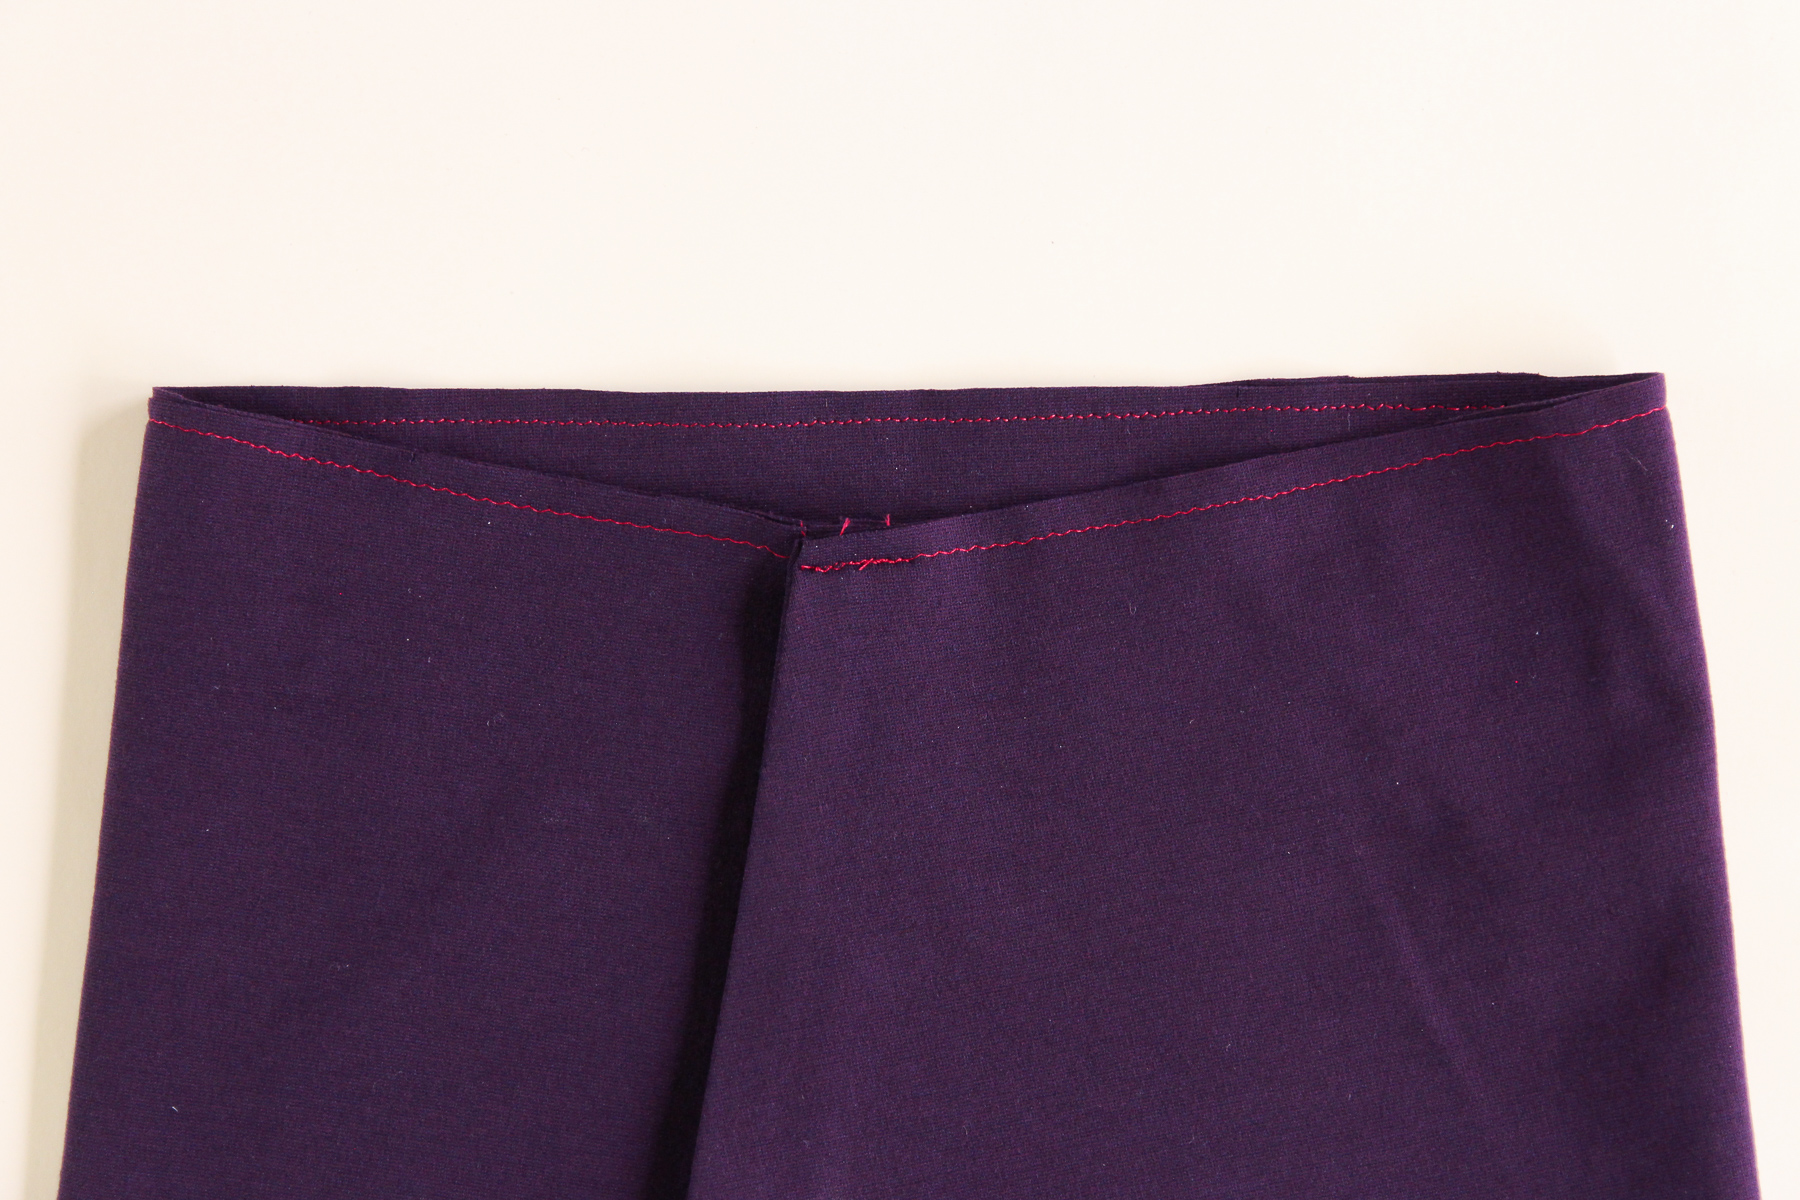
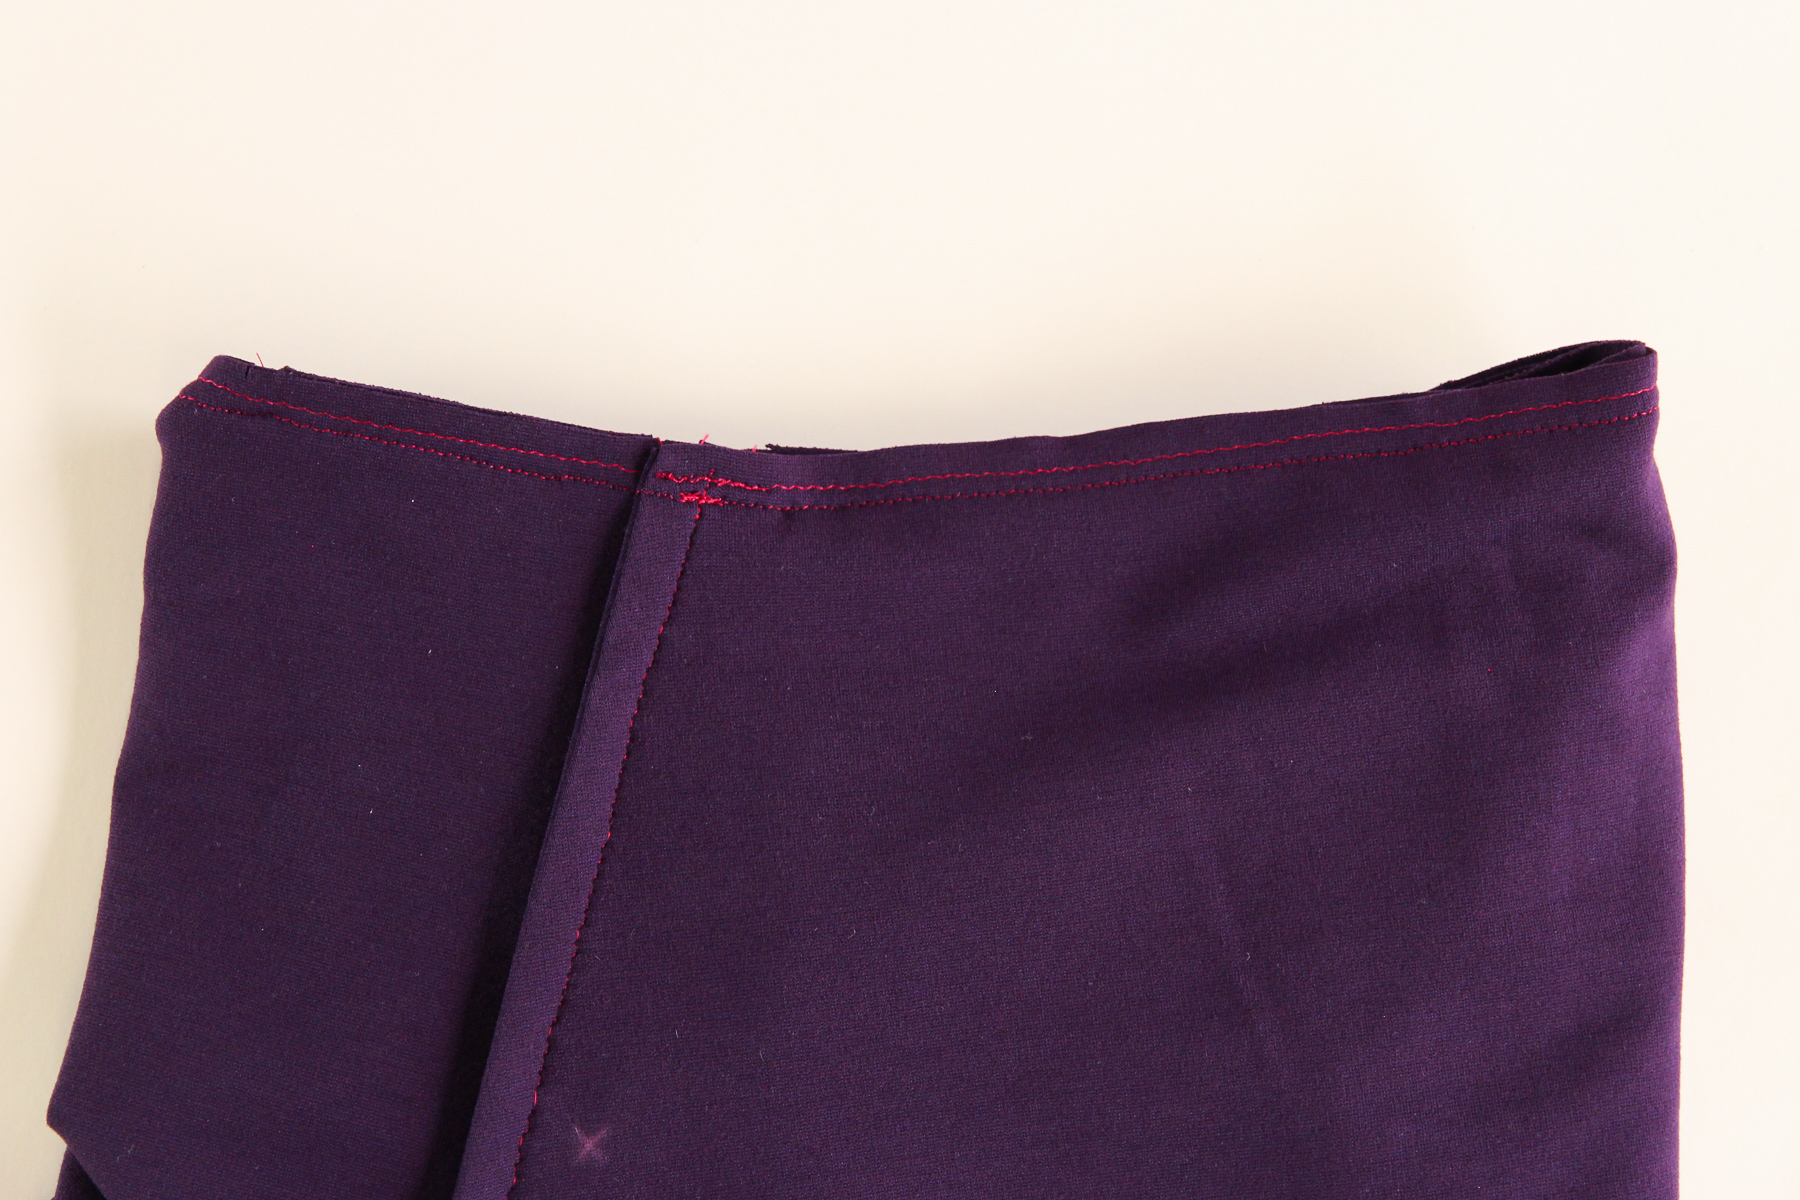
We need to sew this closed 6” (15 cm) down from the top edge. Because this stitching is going to be partially visible when worn, you have two options: you can topstitch with a coordinating thread, or hand sew this closed with a blind stitch. In order for you to see what I’m doing, I’m going to do option number three: topstitch with a contrast thread!
I’ve marked 6″ (15 cm) down from the top so that I know where to stop.

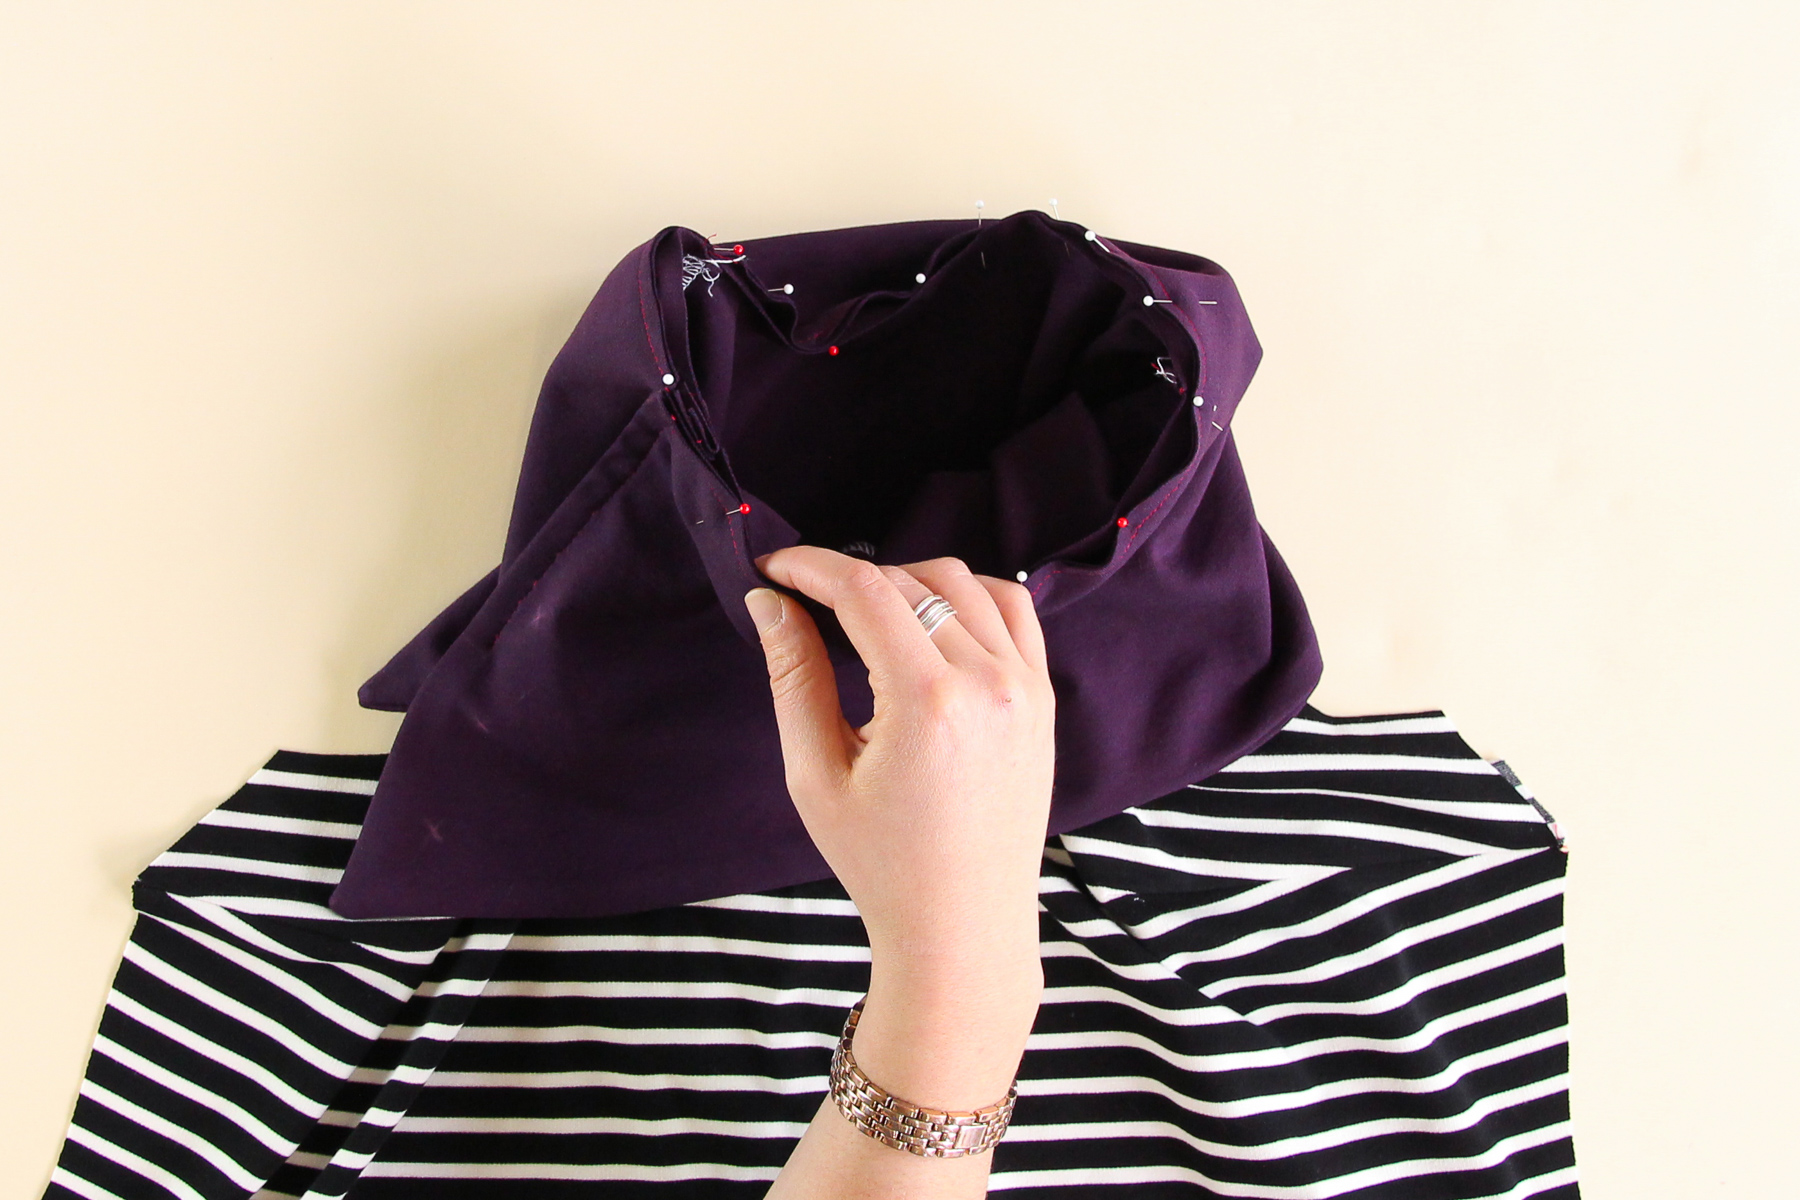
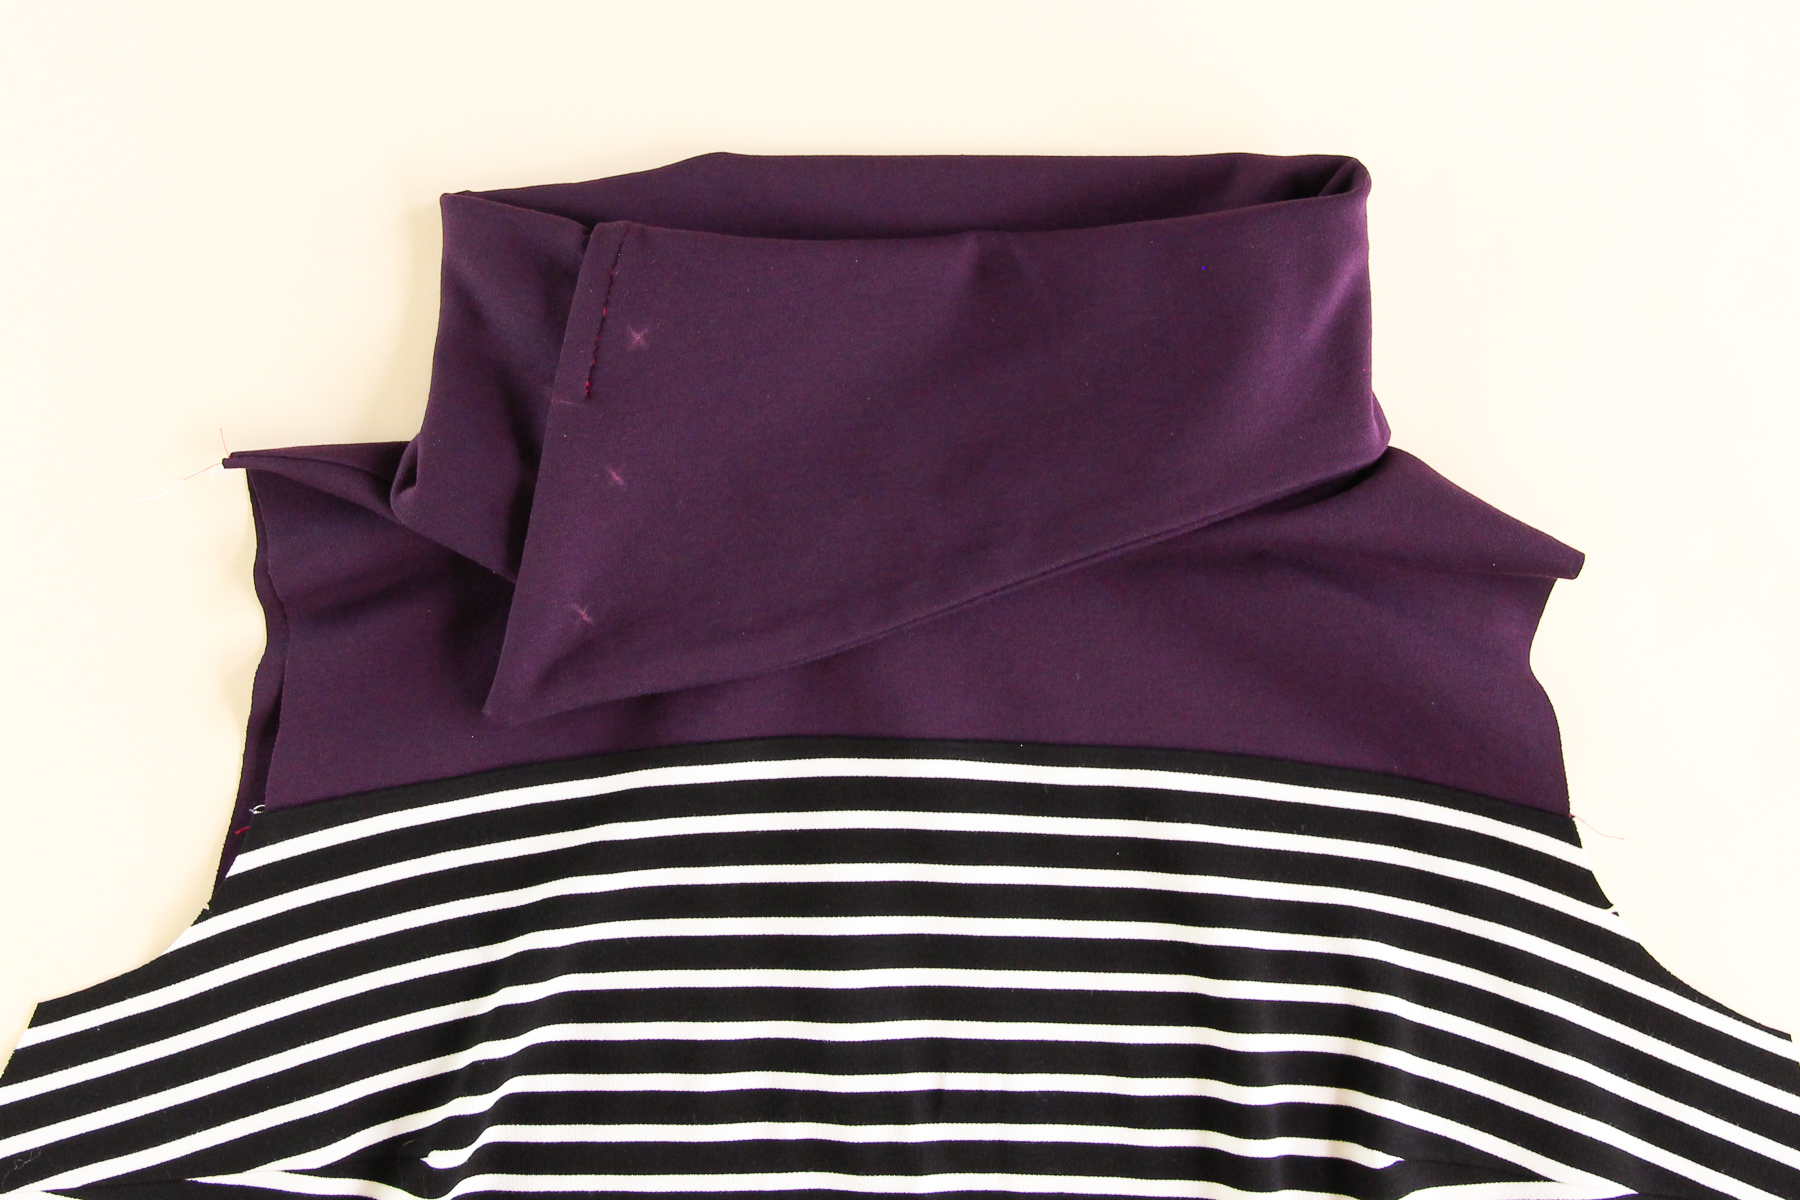
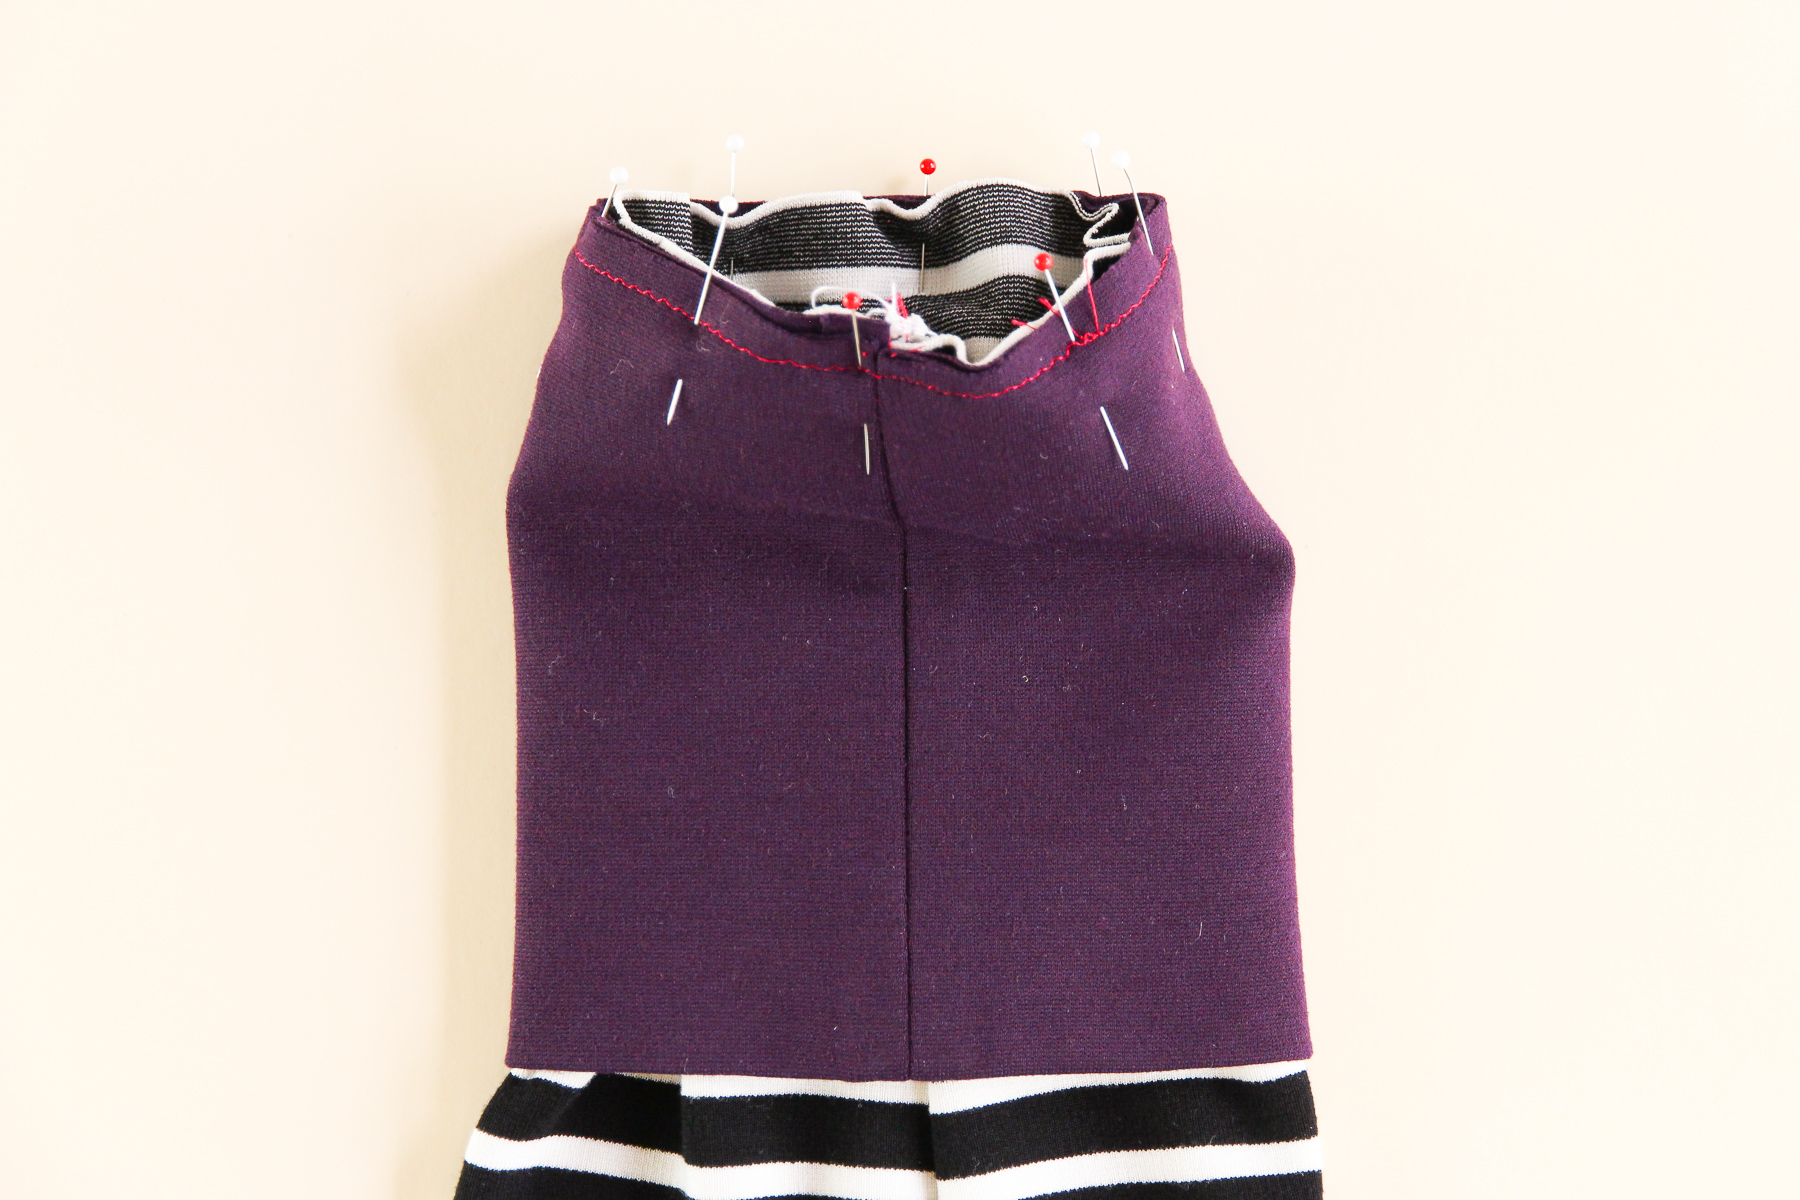
Now our funnel collar is ready to be attached to the neckline of our Tobin. Pin the collar to the neckline, matching the notches with the shoulder seams. Make sure that the collar is right side out, with the wrong side of the collar up against the right side of the bodice.
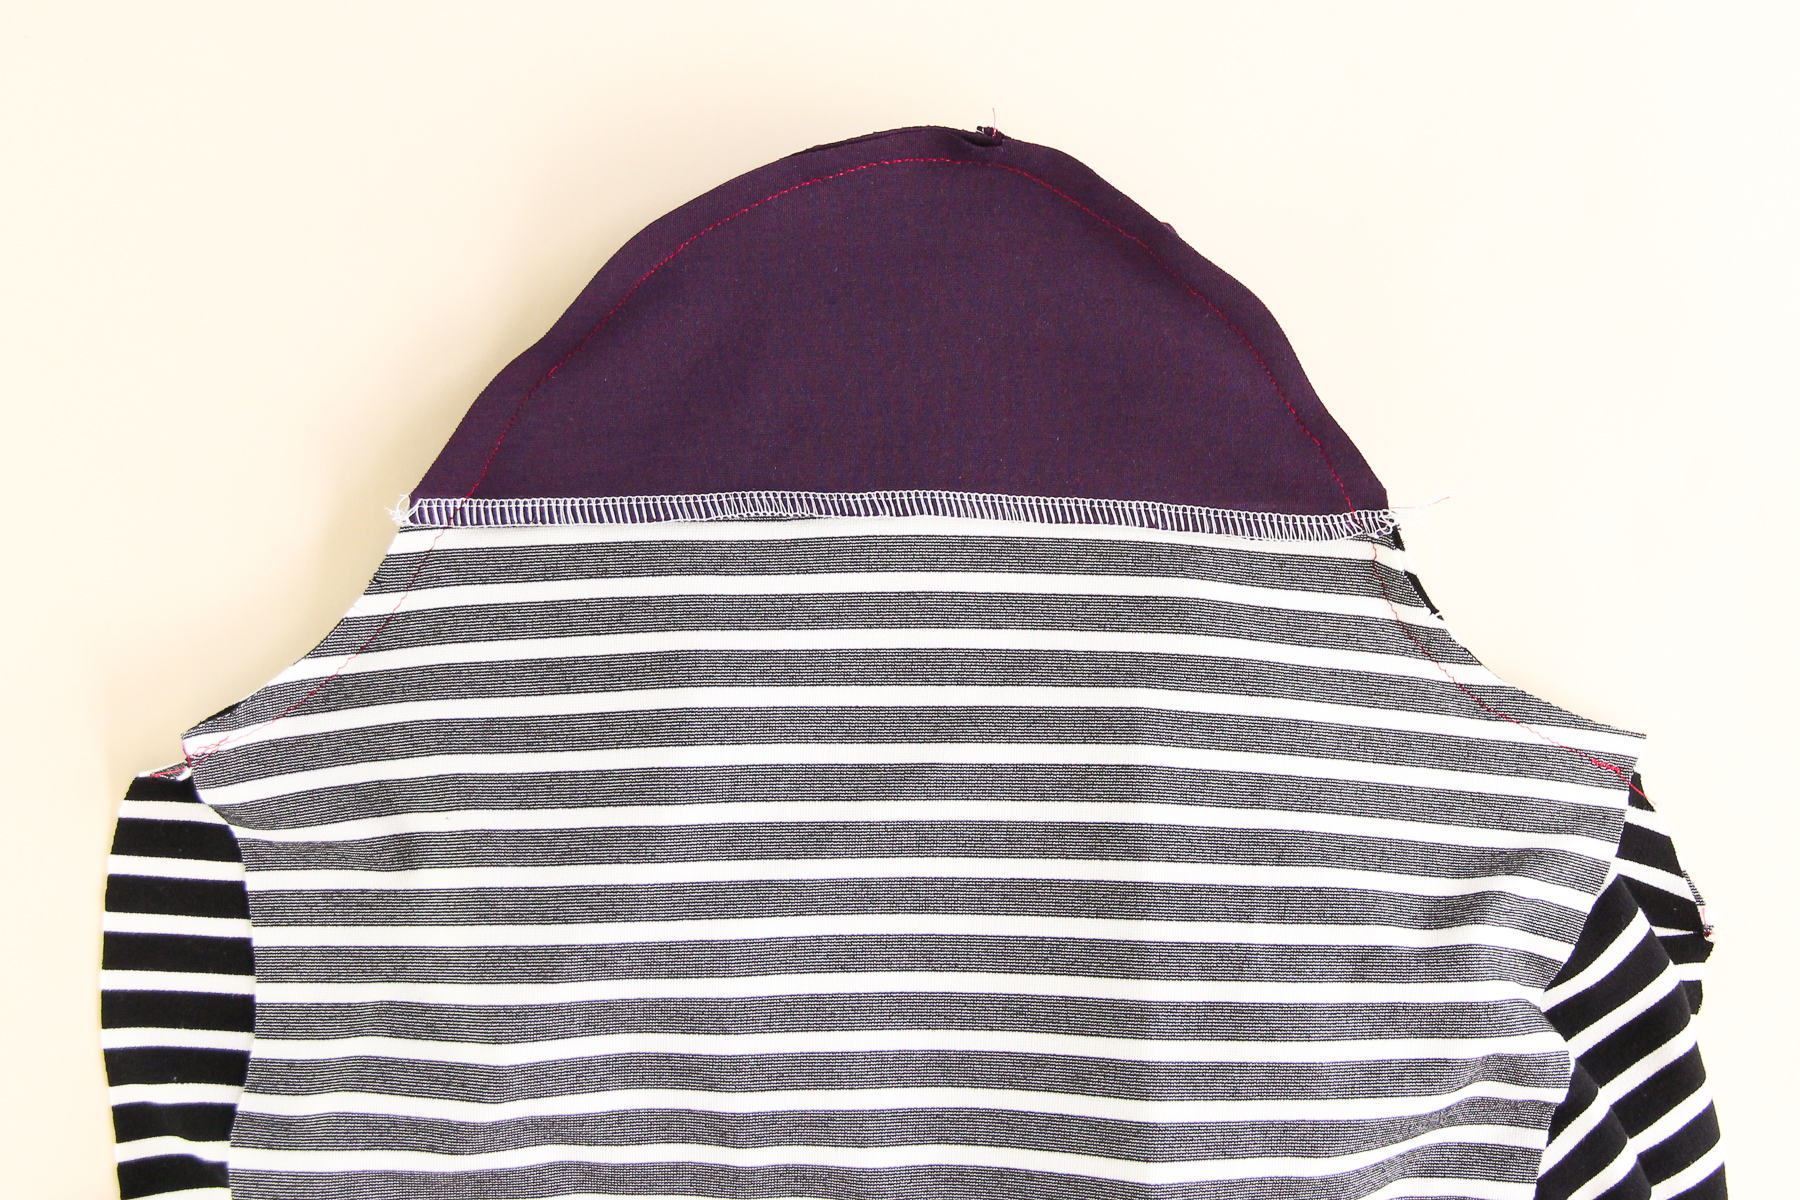
Sew around the neckline at our 3/8” (1 cm) seam allowance.
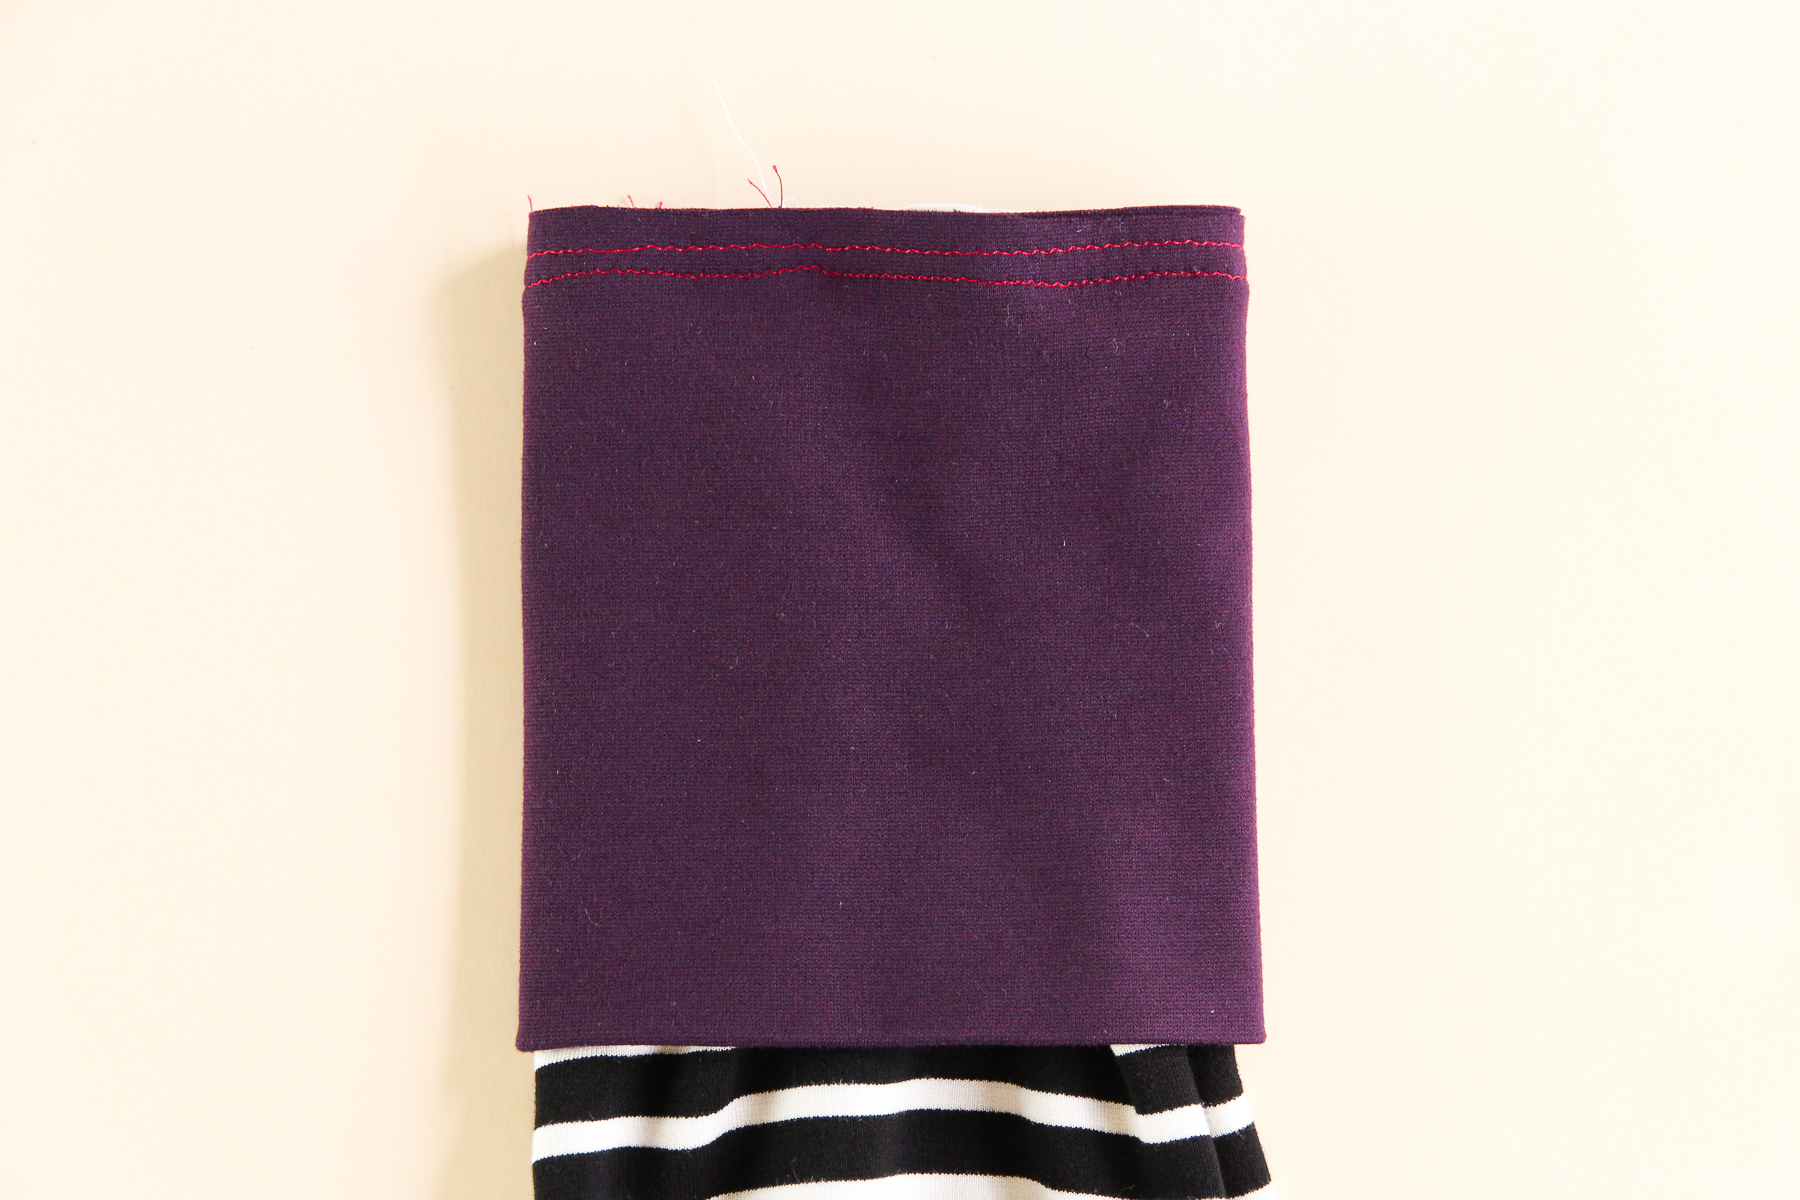
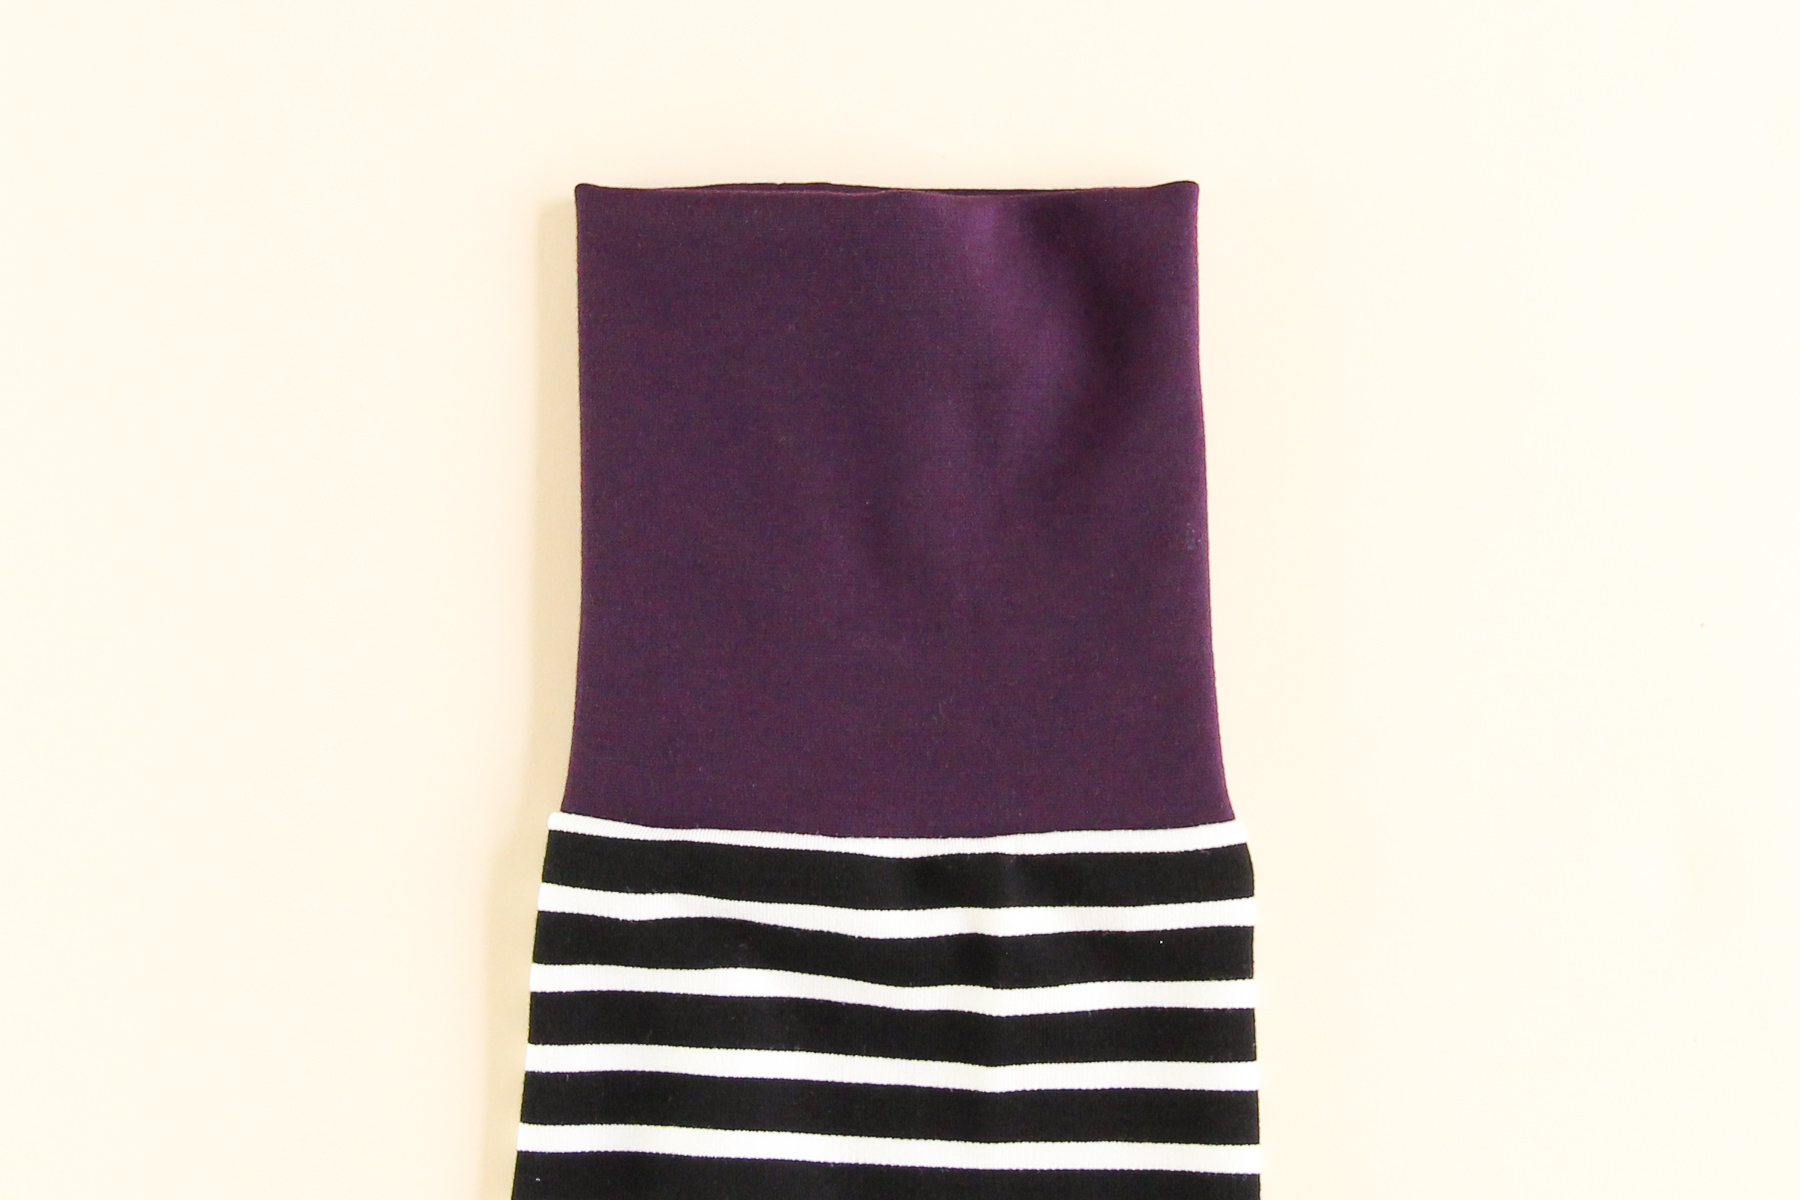
Finish that seam and press it down towards the body of the sweater. You can also flip the collar up and fold it in half—that’s how it’ll be worn.
Time to get our sleeves on! Pin one sleeve to the armhole, matching notches. You’ll have to gently shape the armhole to fit the shape of the sleeve.

We’re going to sew that sleeve on, with the bodice facing up and the sleeve down against the machine.
Finish that seam and press it towards the sleeve.

Let’s repeat that with the other sleeve.
And now we’re going to sew the side seams, and then the sweater is ready to try on!
Pin one side seam all along the bodice and sleeve.
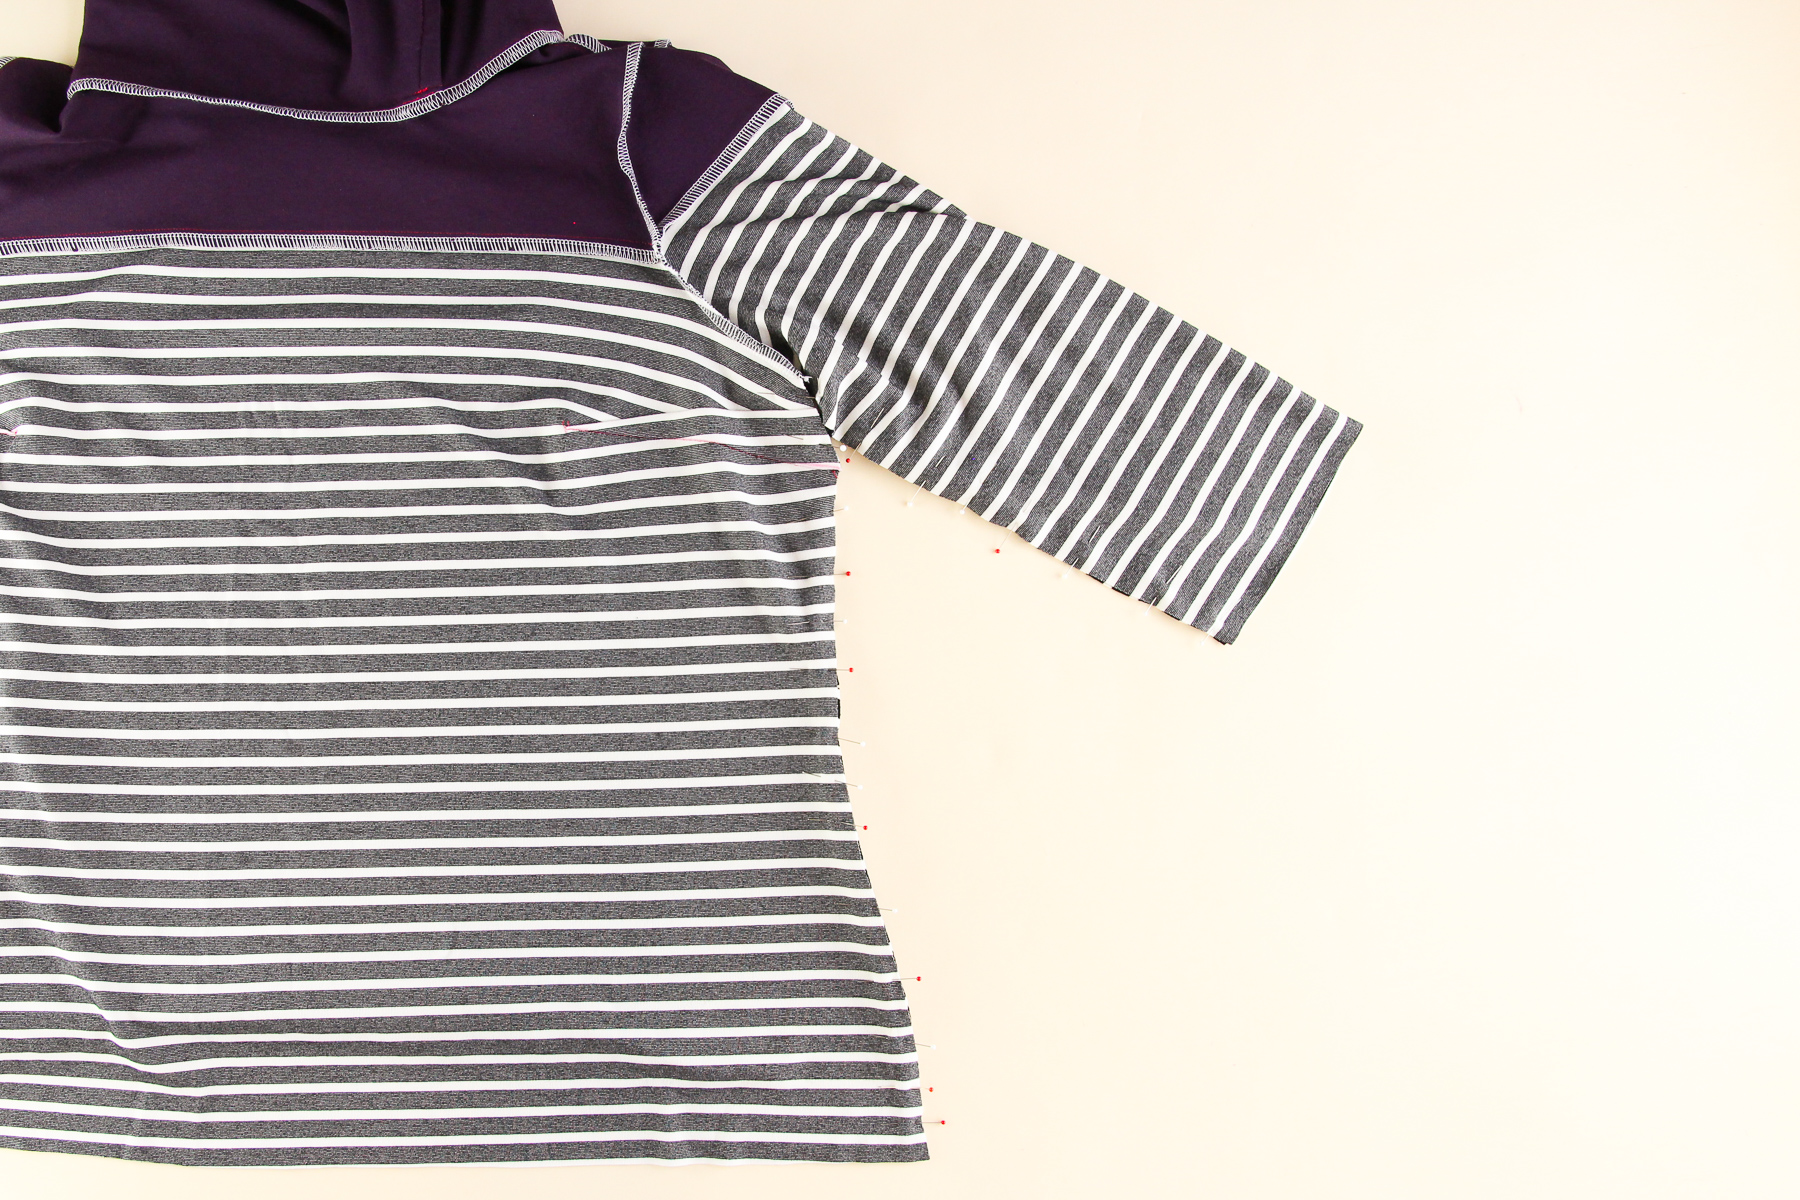
Sew that seam at our 3/8” (1 cm) seam allowance, starting at the hem and going up, pivoting at the underarm seam. Make sure your bust dart is folded upward.
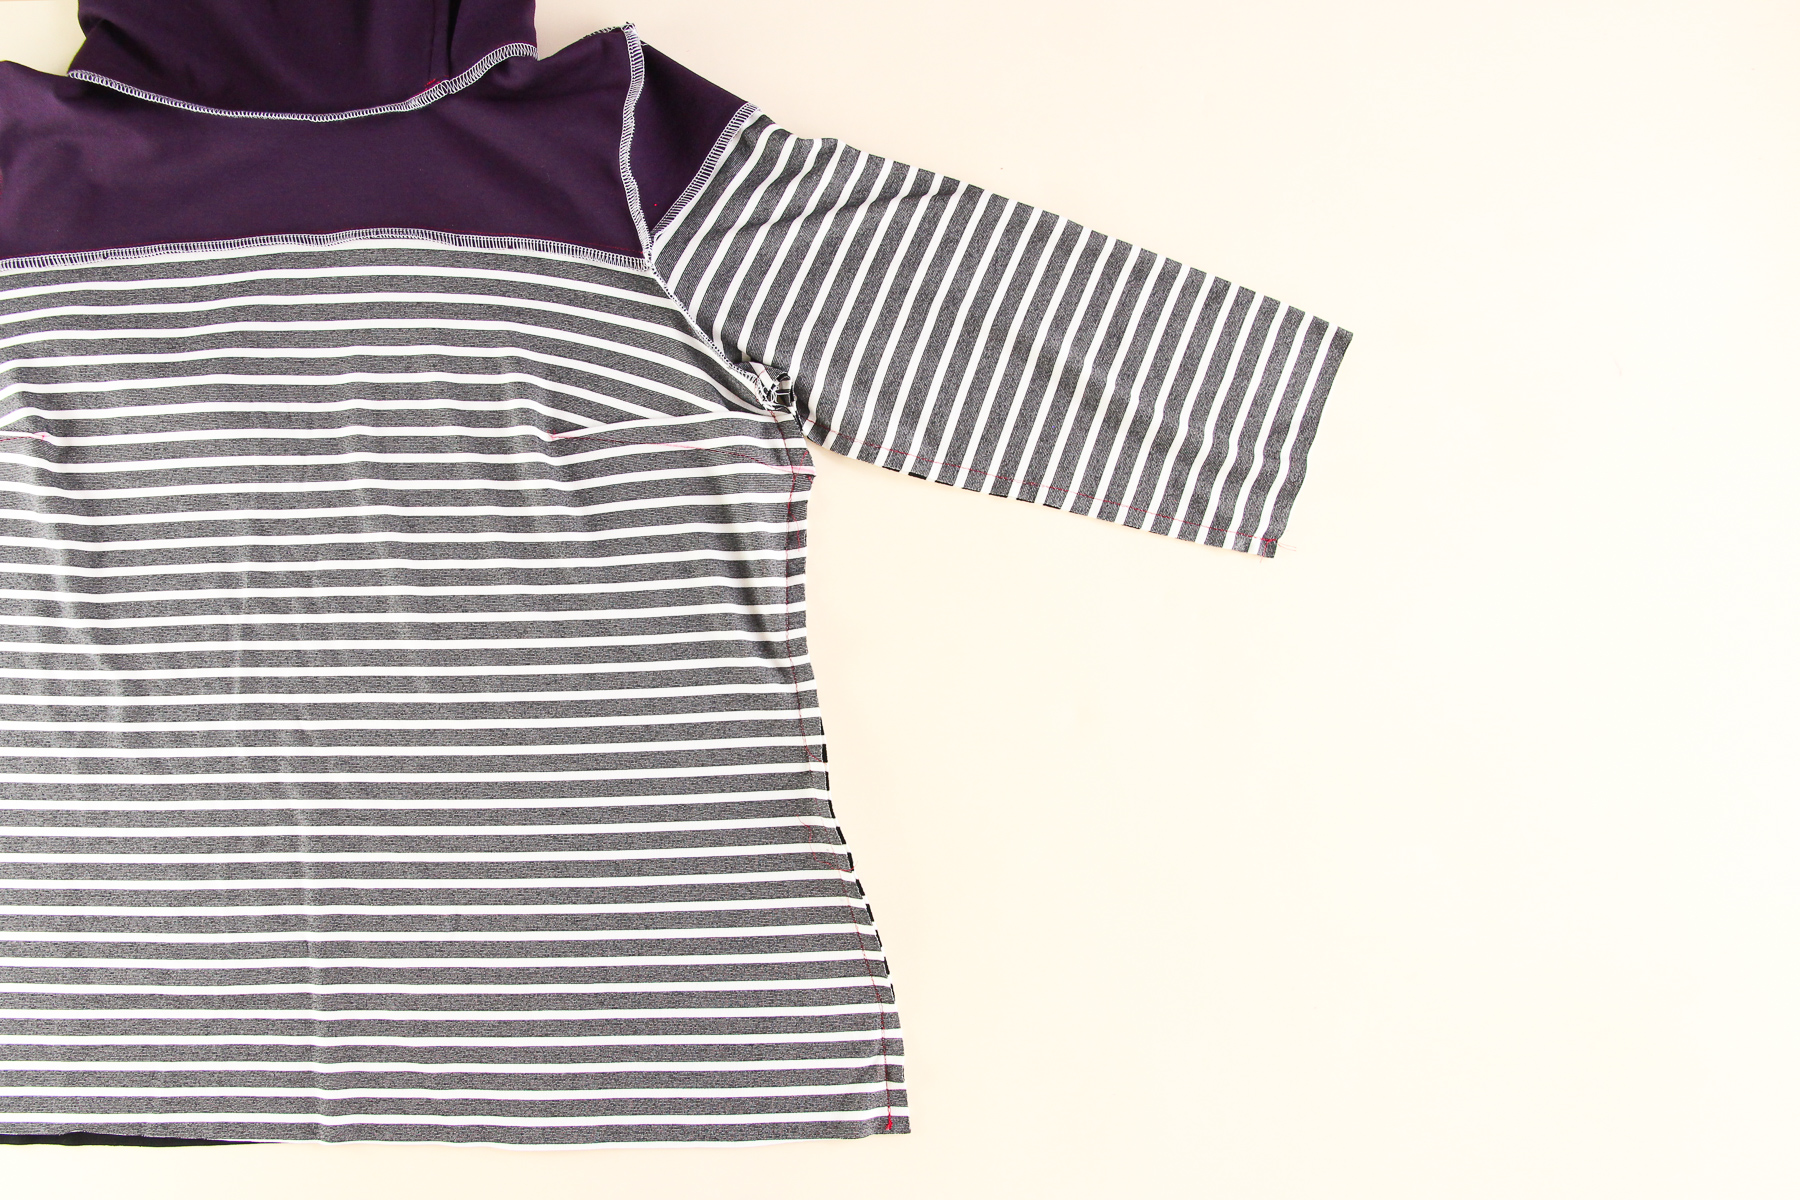
Let’s finish that seam and press it towards the back of the sweater. (If this is your first time making a Tobin, sew the other side seam before finishing this seam in case you want to make adjustments.)
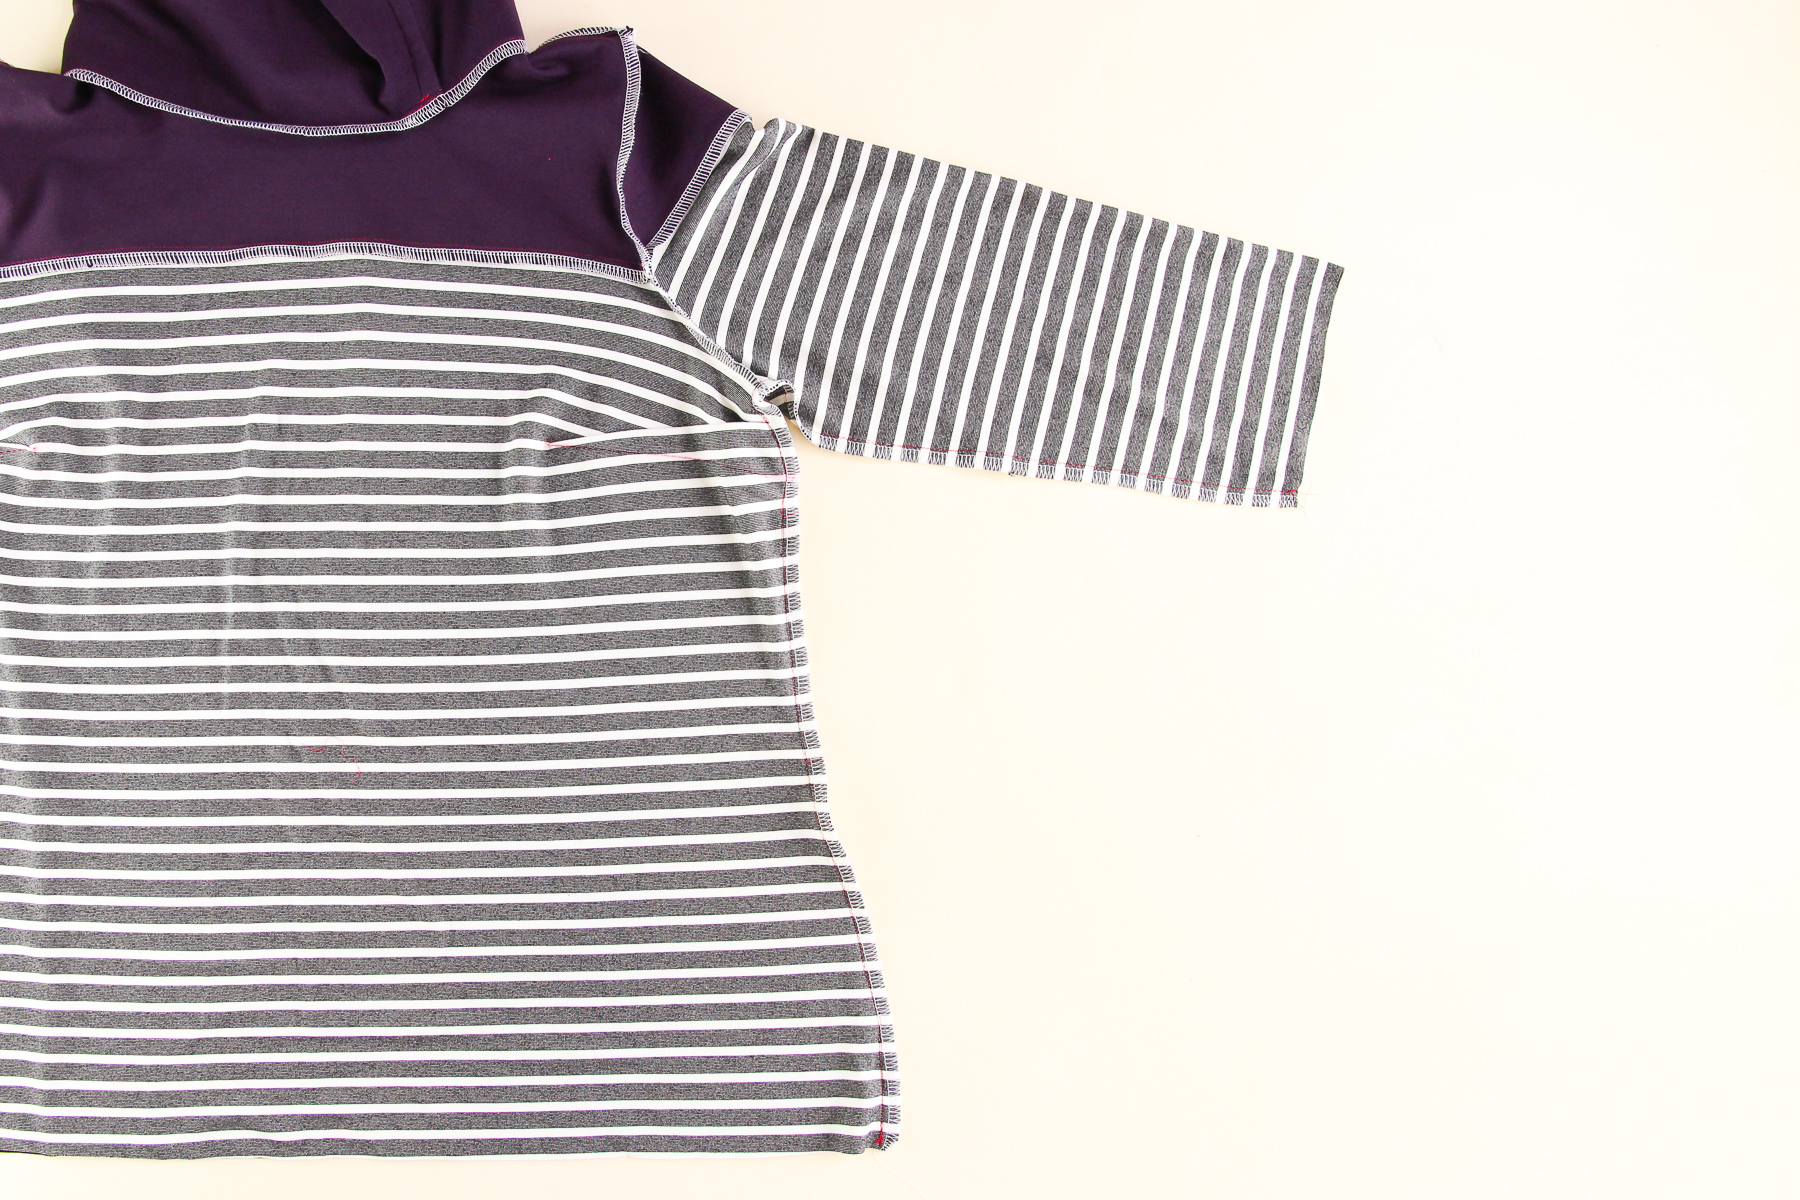
And we’re going to do the same thing on the other side.
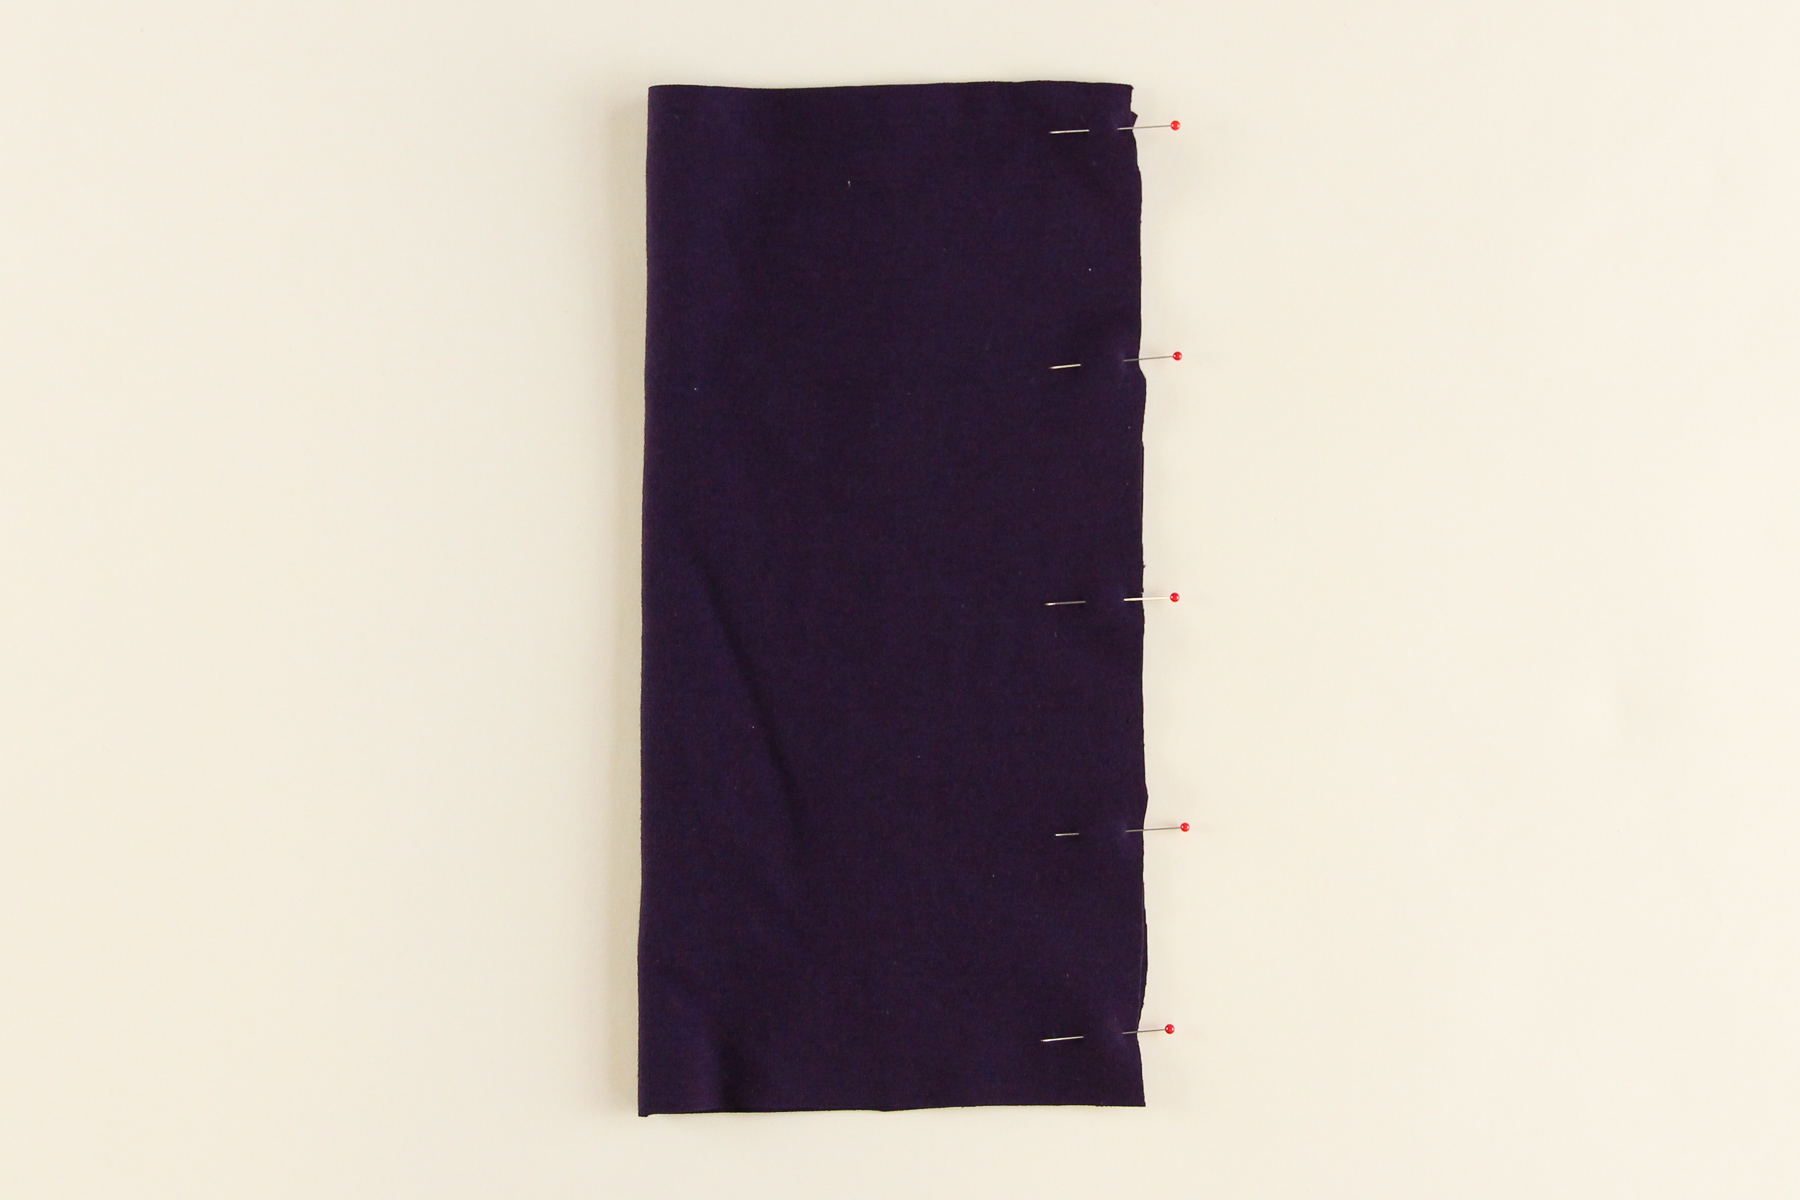
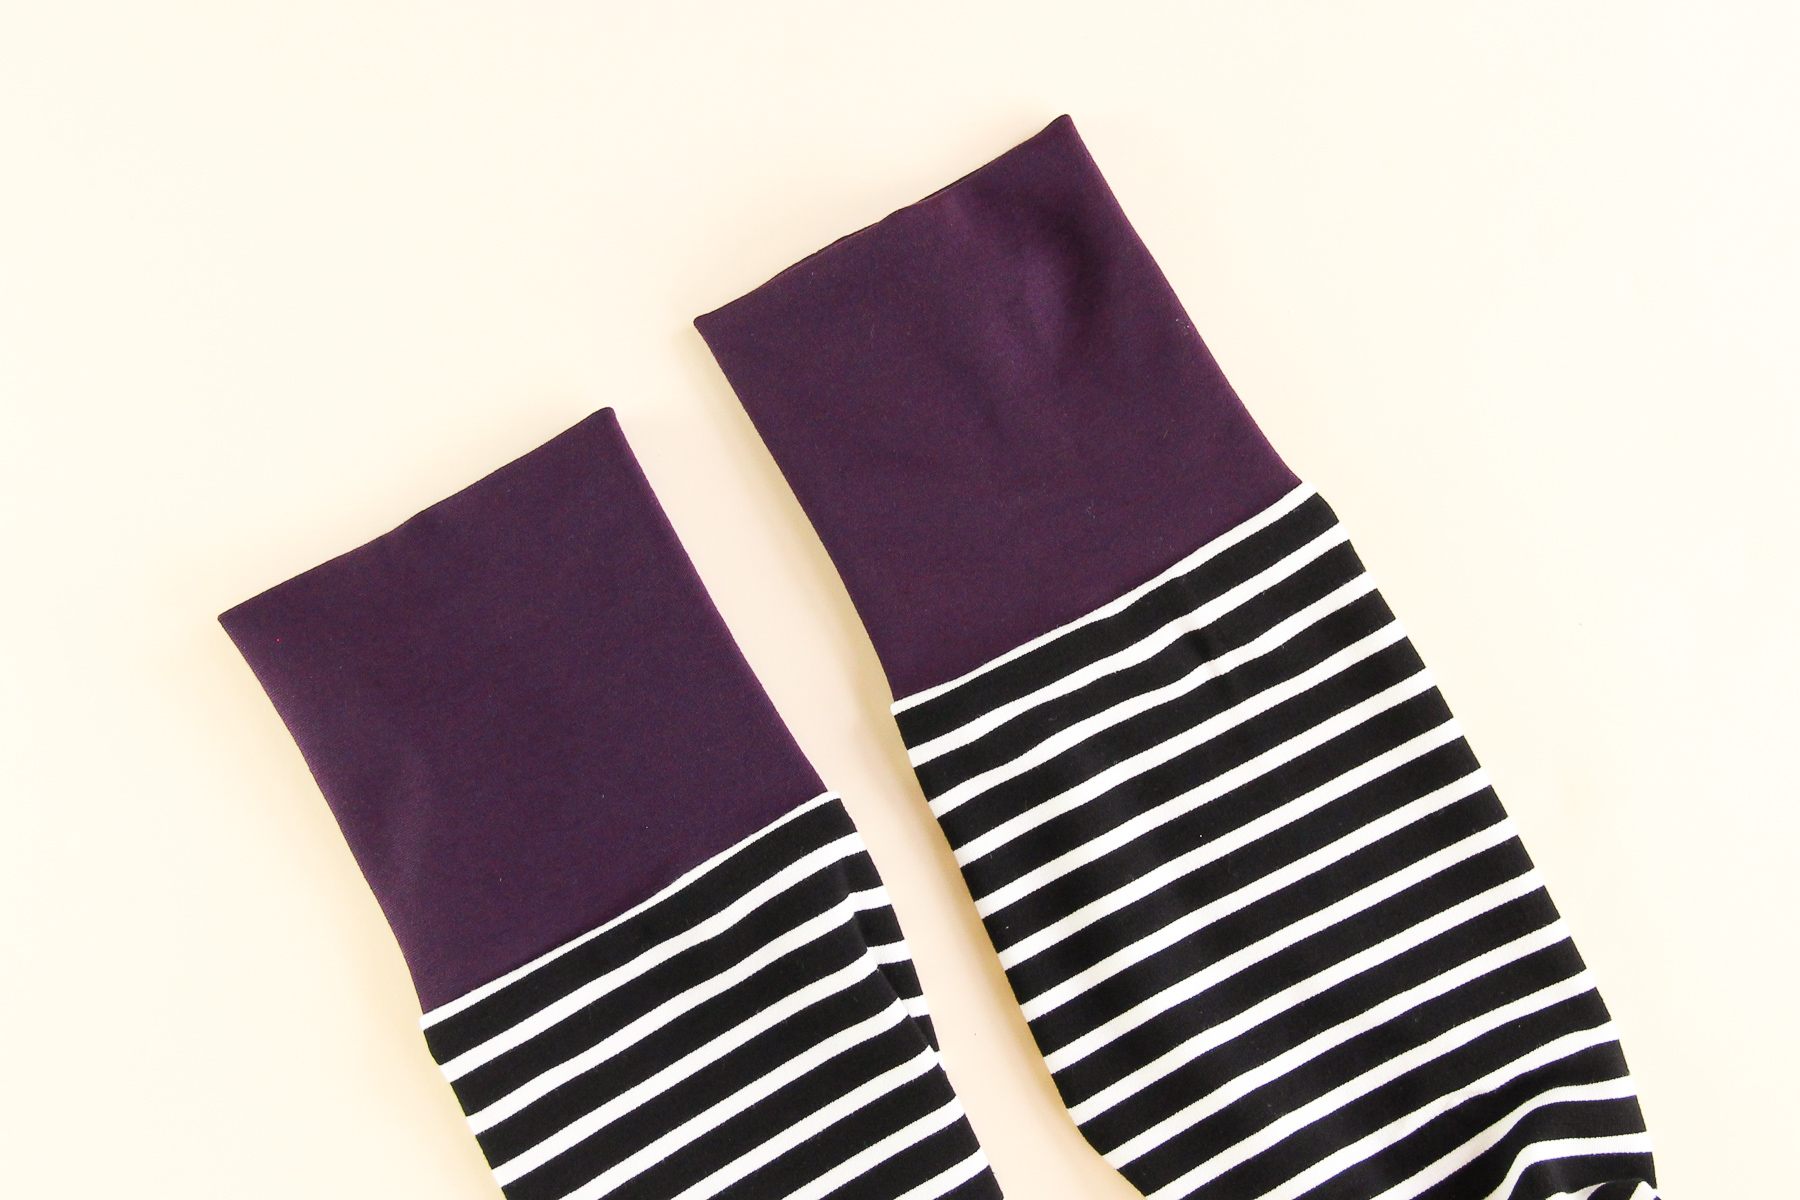
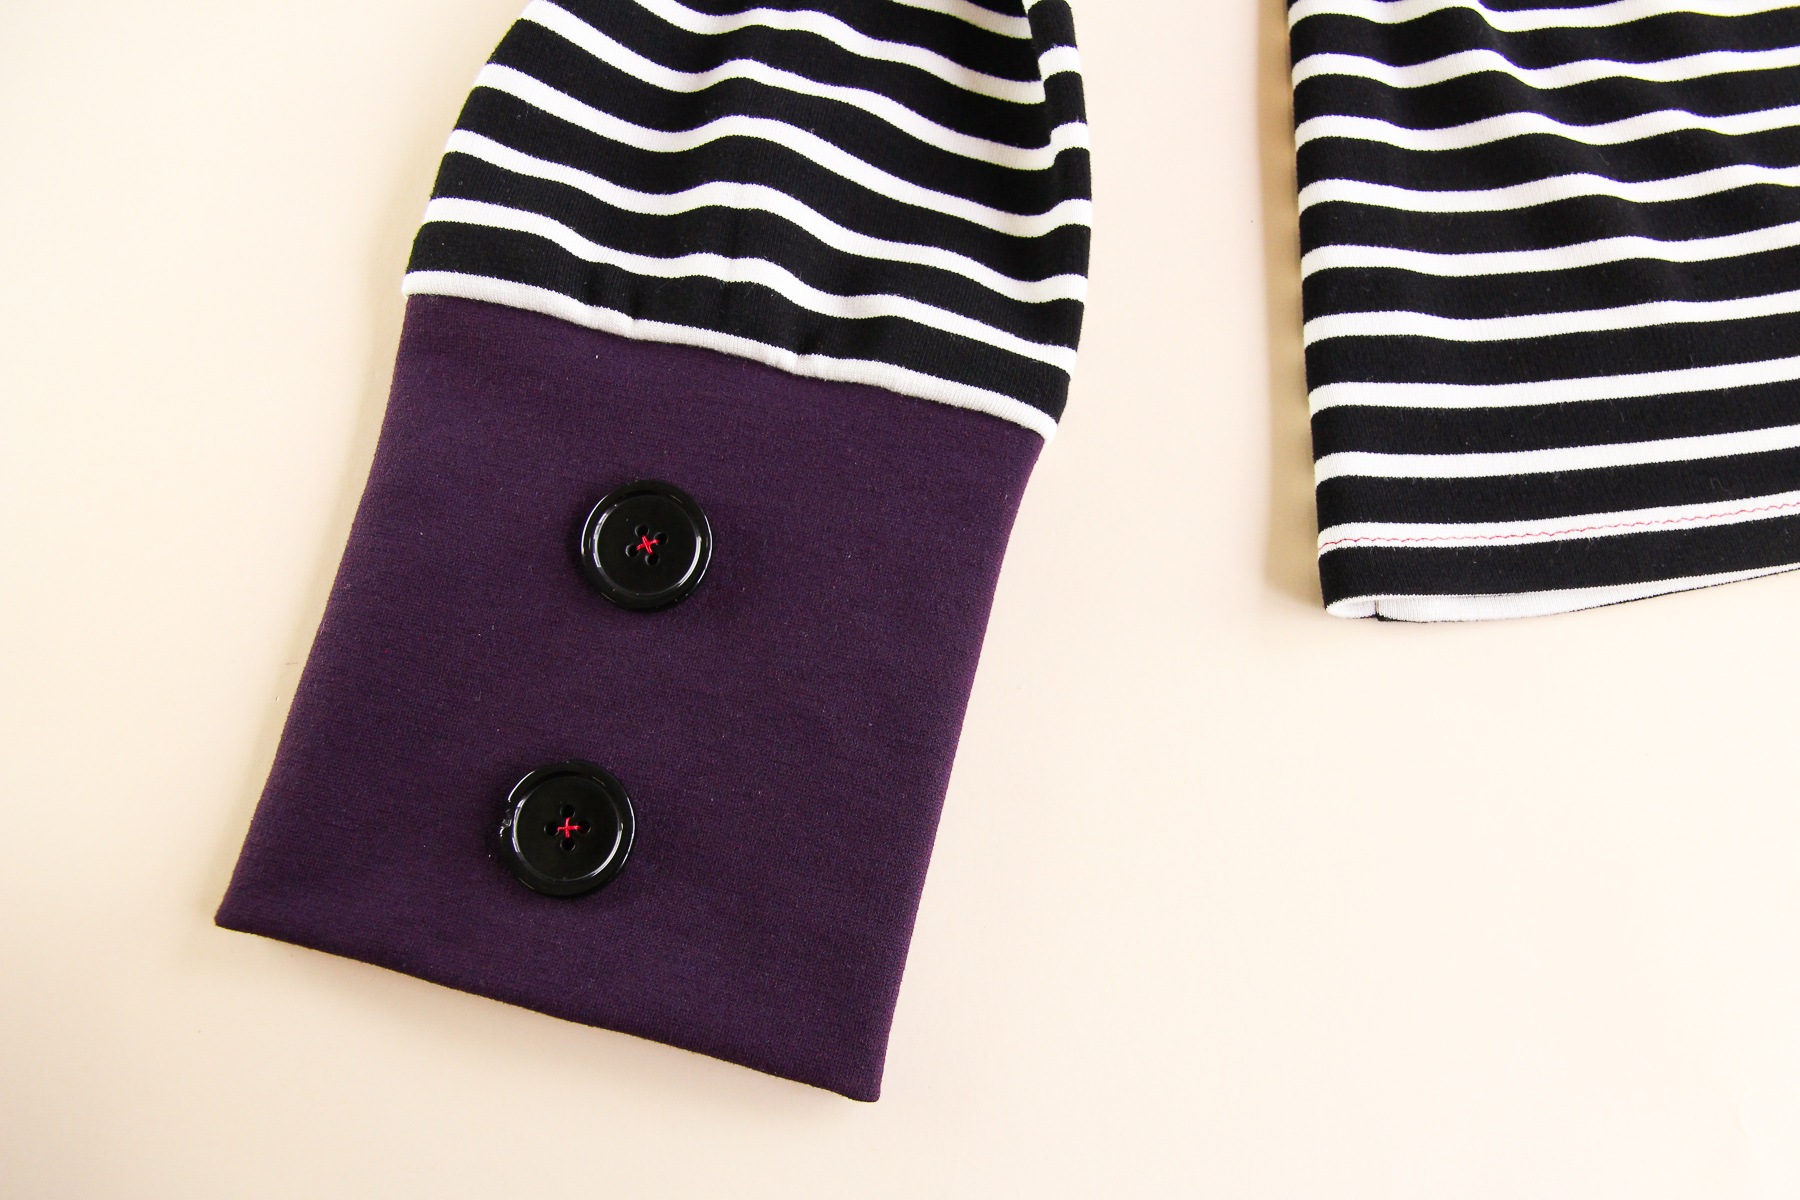
Time for some cuffs! Taking one of the cuffs, fold it in half, right sides together (the notches should match up). Pin along the side seam.
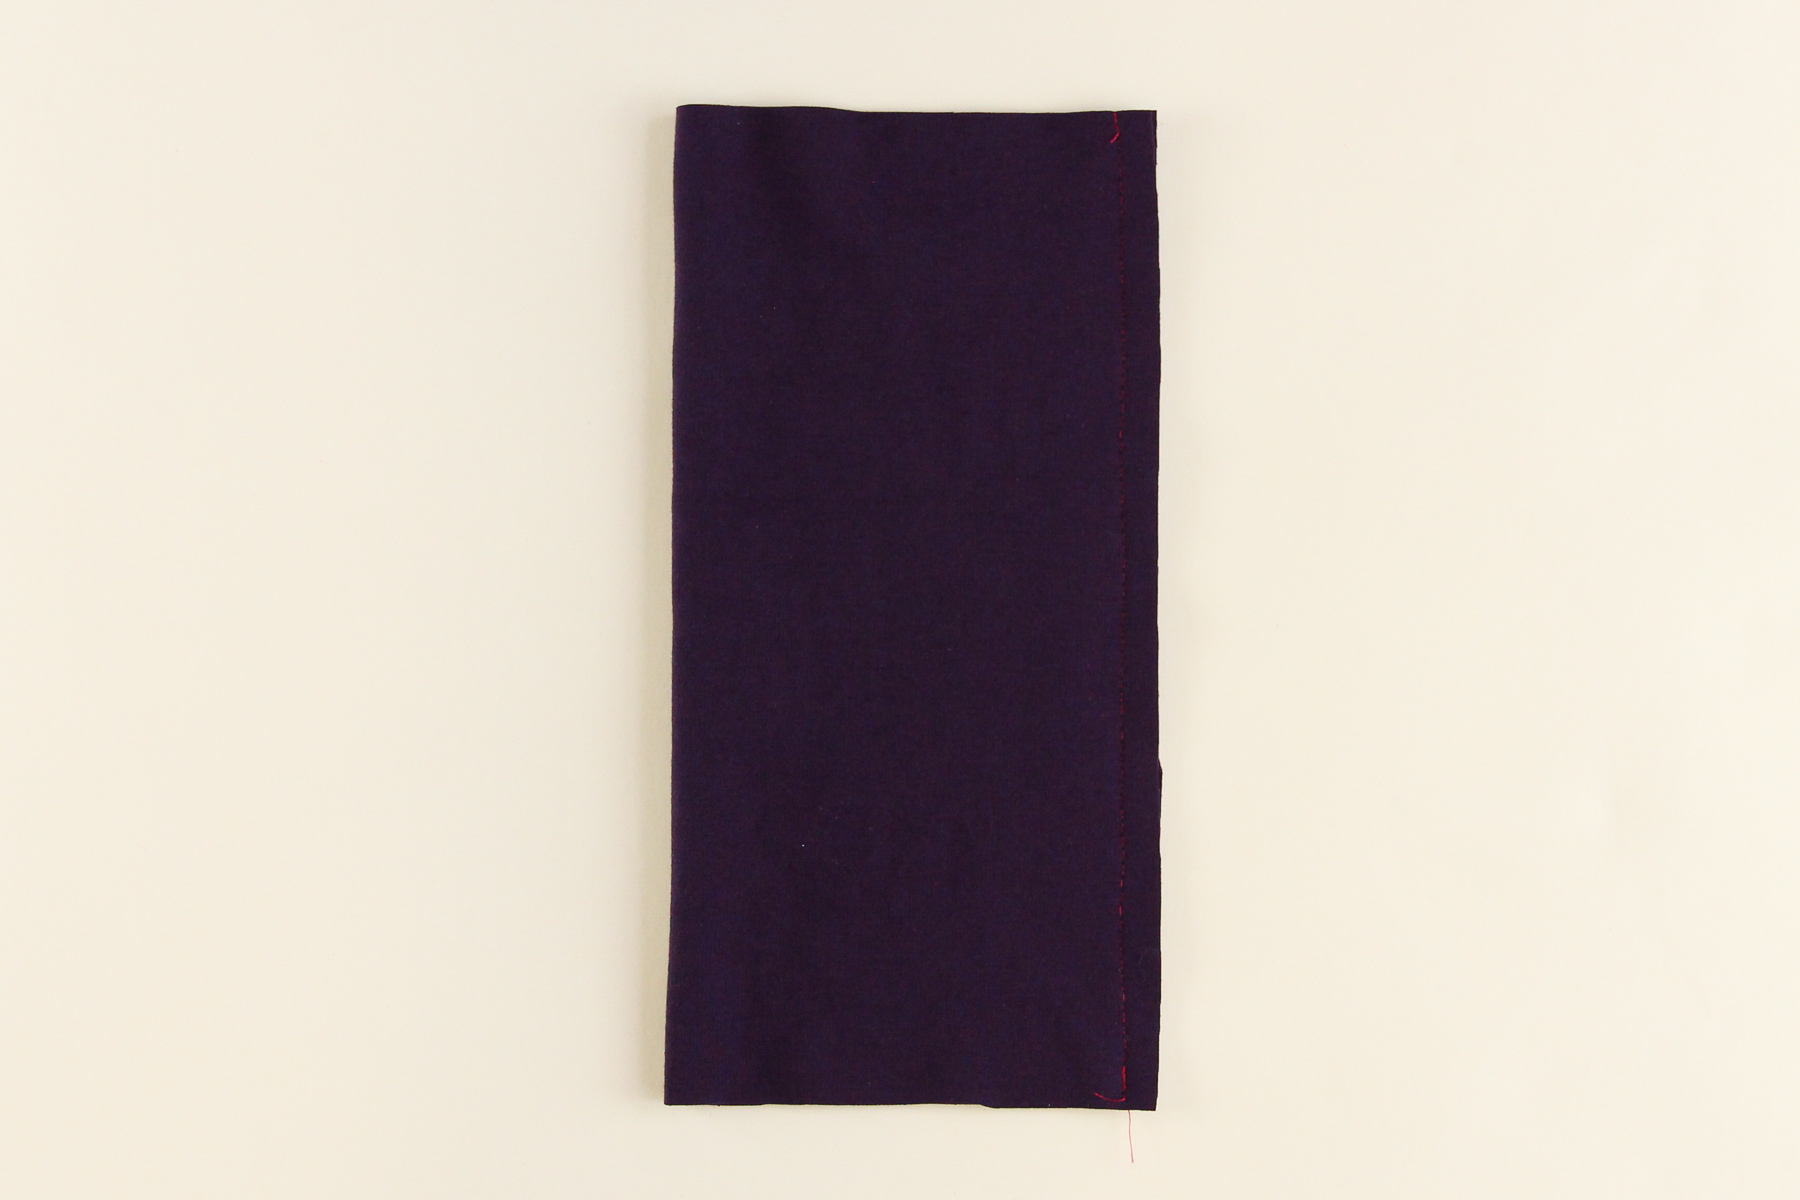
Sew that seam at our 3/8” (1 cm) seam allowance.
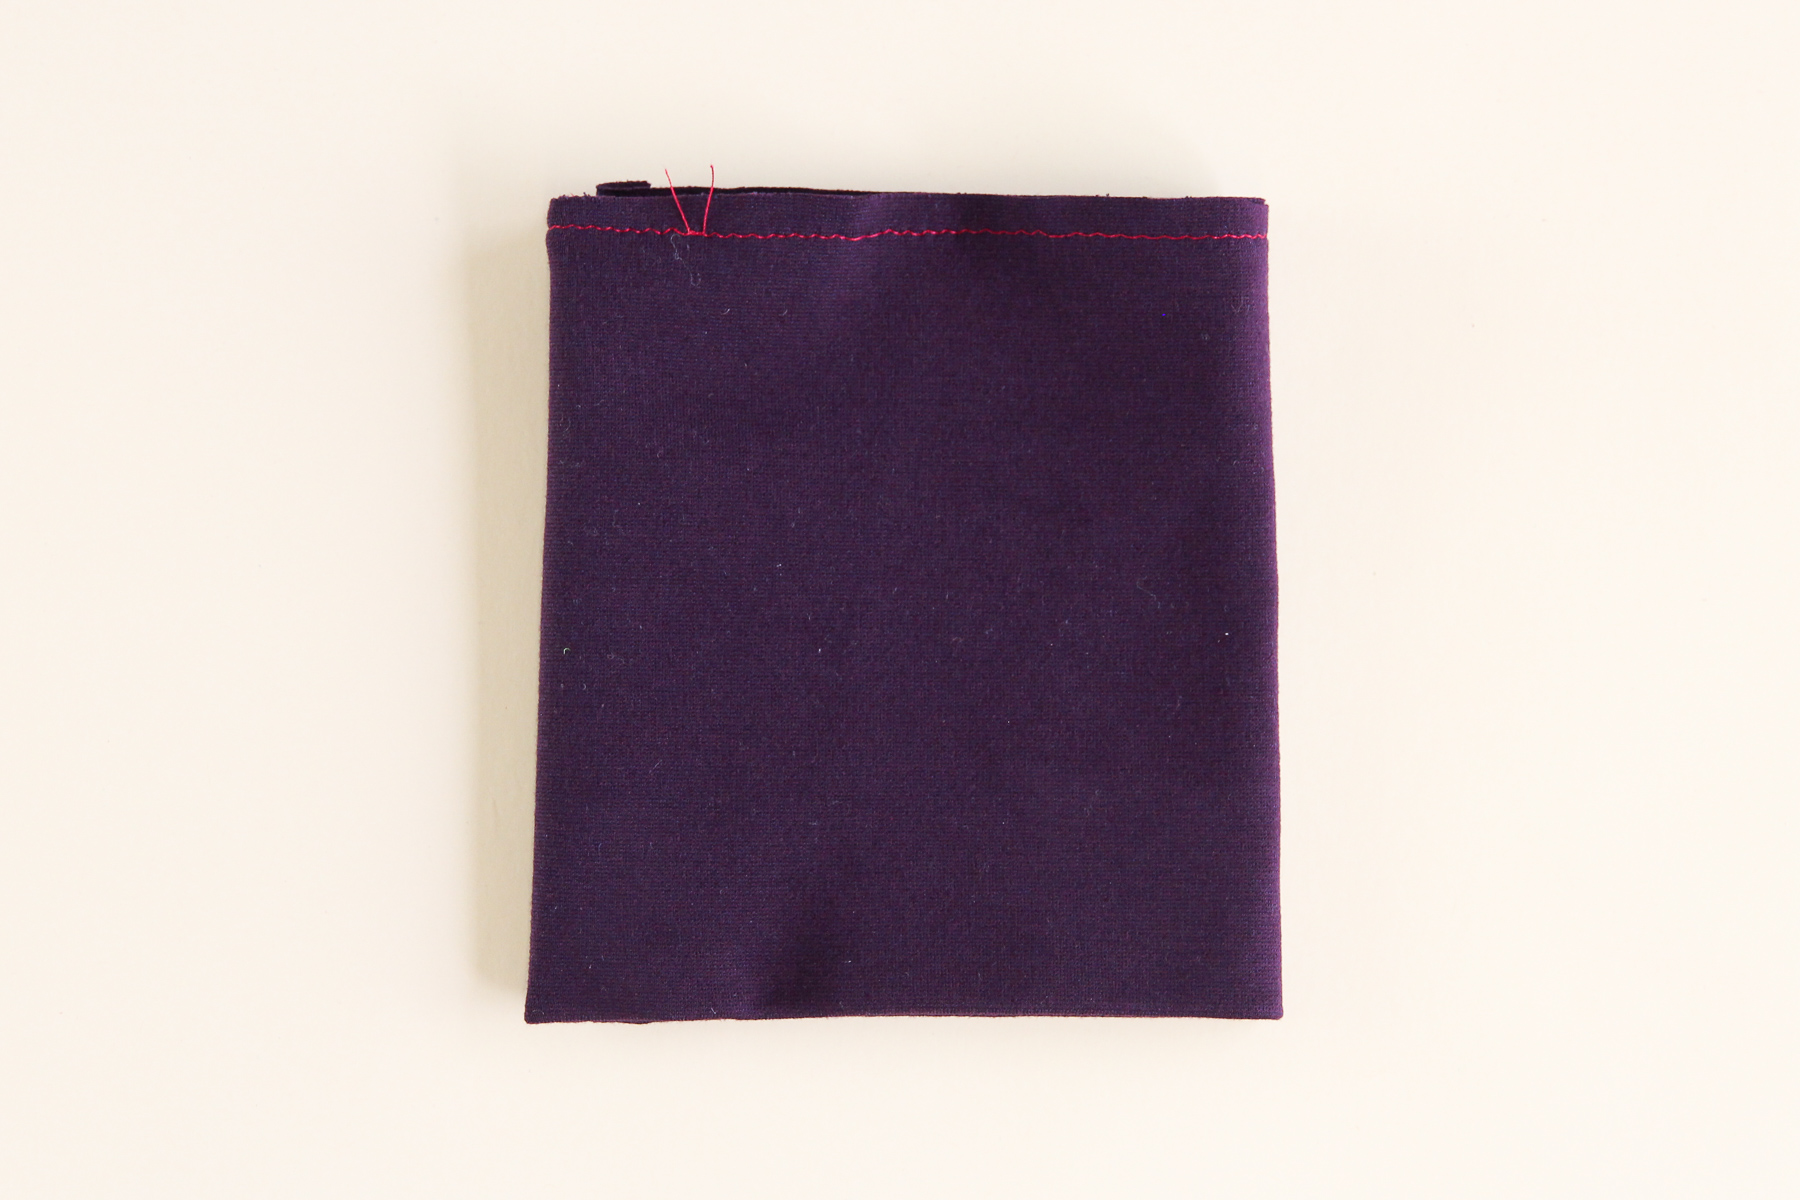
Press those seam allowances open, and then fold in half, wrong sides together, to make a cuff.

I find that it’s helpful to baste the two layers together first, since sewing the cuff to the sleeve can be a little fiddly. Sew a line of stitching within the seam allowance.
Let’s make our other cuff the same way.
Slide one of the sleeves into one of the cuff, aligning the raw edges. The right side of the sleeve should be facing out against the cuff. Pin.
Sew, making sure to stretch the cuff a bit if needed to fit the sleeve.
Finish the seam allowance and fold the cuff out, pressing the seam allowance towards the sleeve.
Repeat these steps with the other sleeve and cuff.
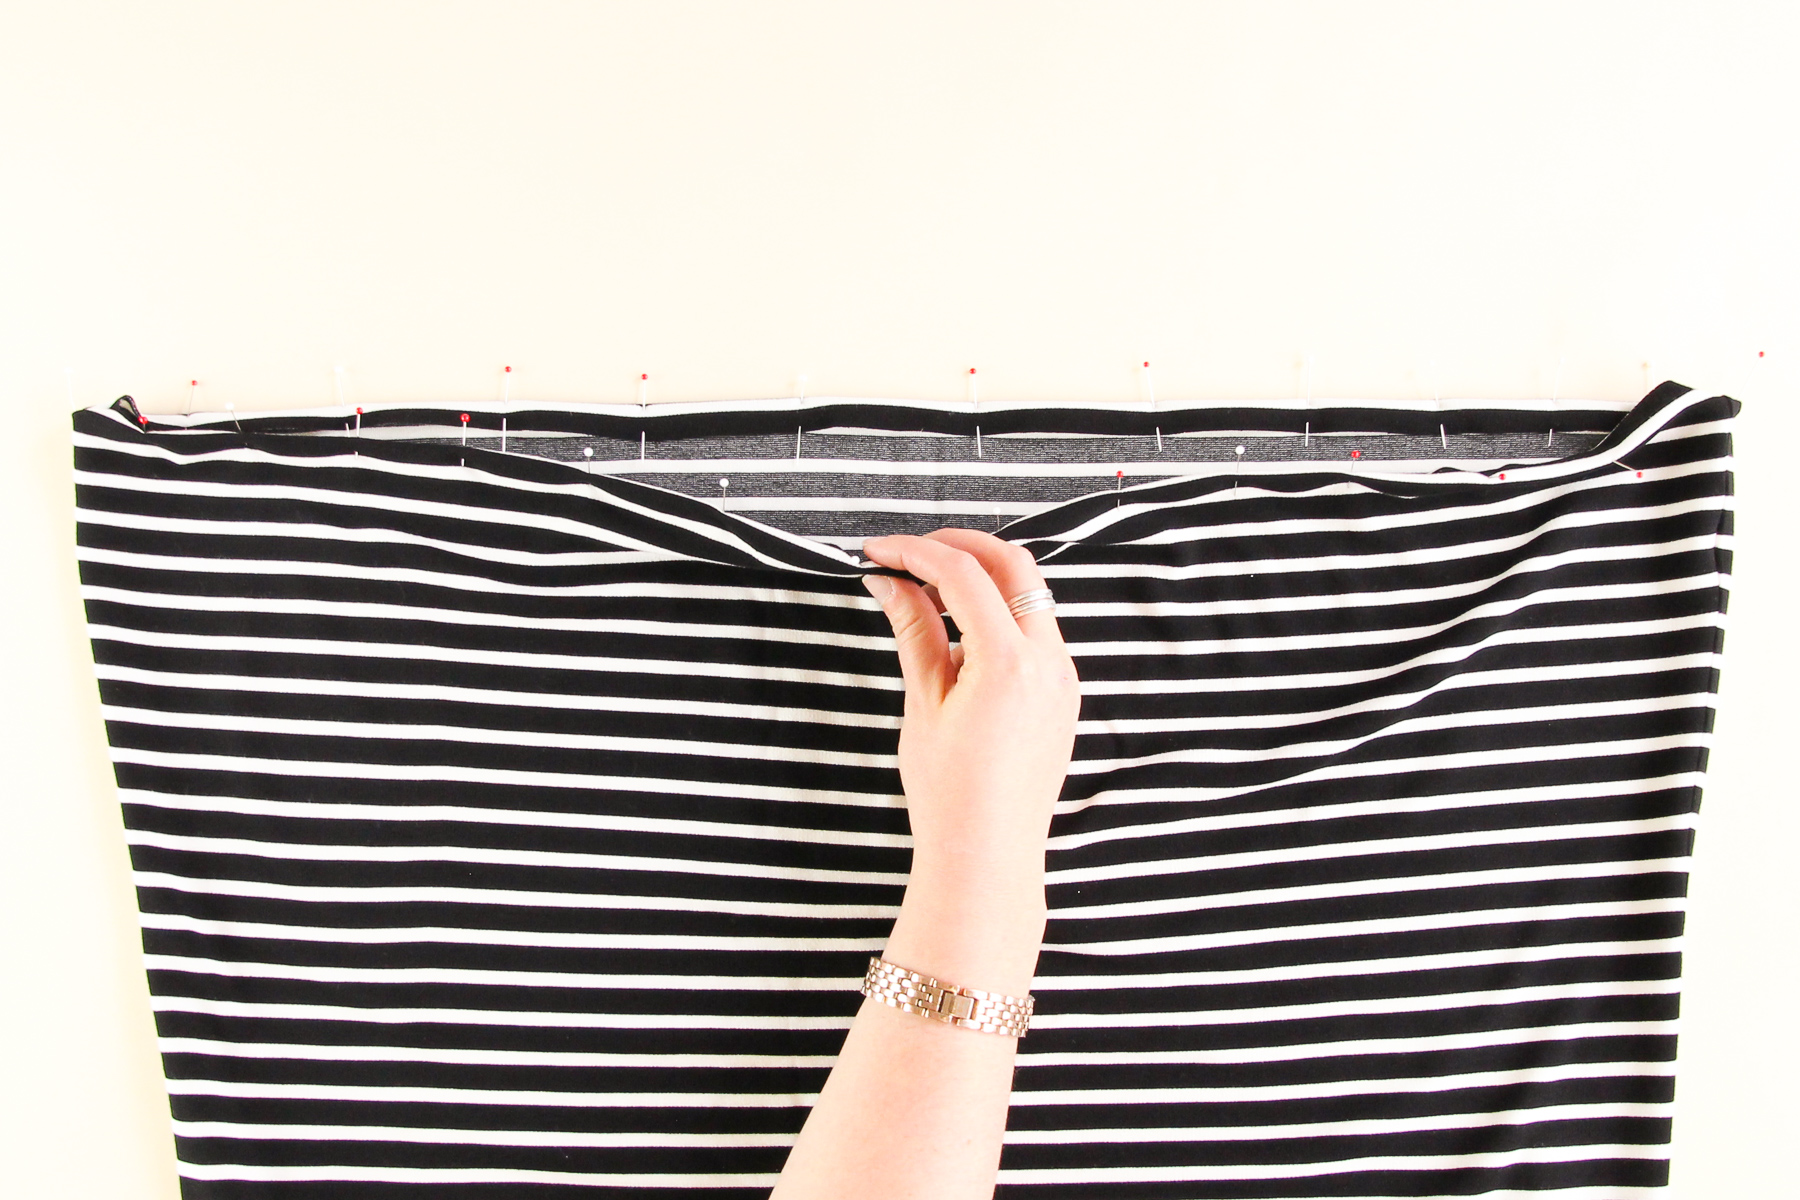
Our second-to-final step is to hem the bottom edge of the sweatshirt. Fold the edge to the wrong side by 5/8” (1.5 cm) and pin.
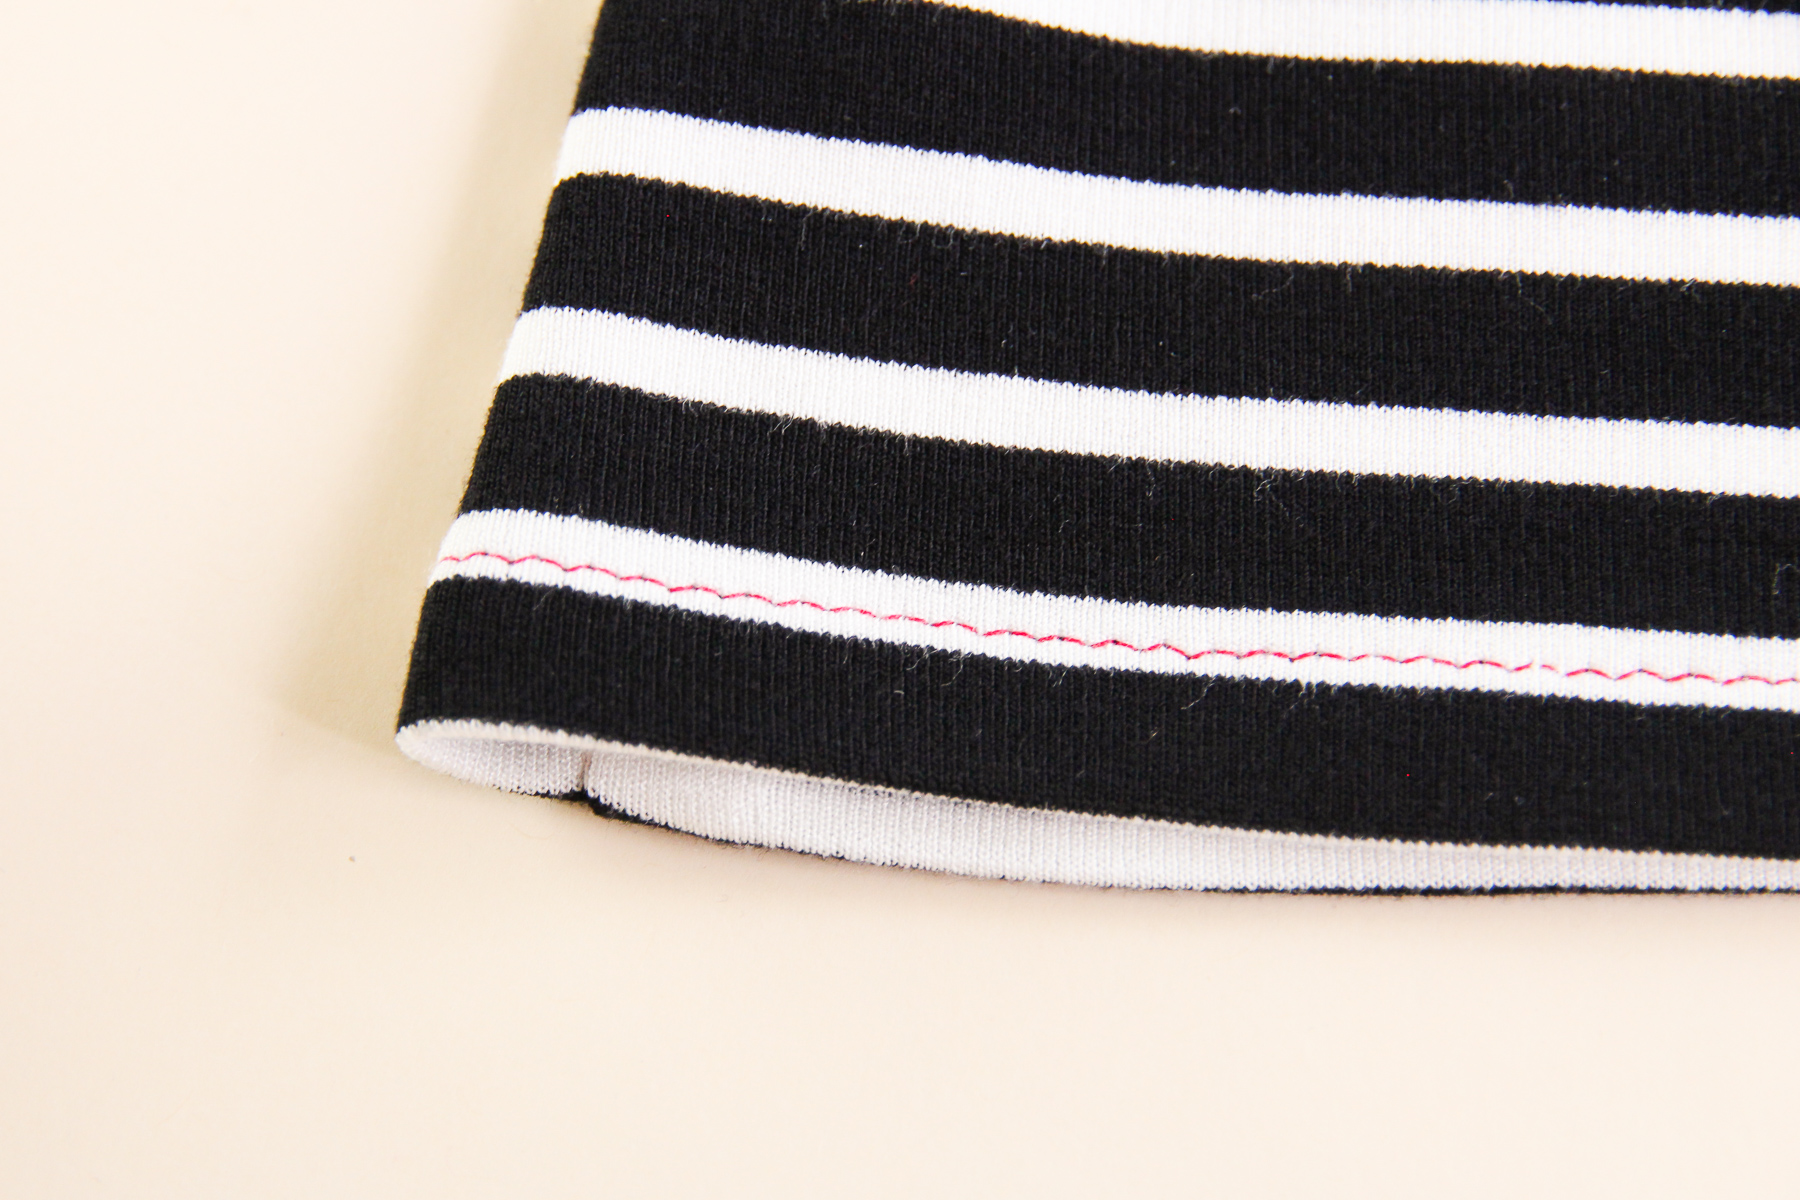
Topstitch from the right side using a zigzag stitch and press.
And lastly, we need to sew on our buttons. (But no buttonholes—phew!) Three buttons on the collar and two on each cuff, following the placements marked on the pattern pieces.
and voila! A gorgeous, stylish, cozy, curve-friendly plus size sweatshirt you can wear all season long.
Now all that’s left to do is to put it on and go take some pics!


Got a question about any of the steps above? Drop us a comment down below. And be sure to tag your Tobin Sweaters with the hashtag #TobinSweater on social media—we love to see what you make!