When it’s chilly out, there’s nothing better than a cozy sweater and a hot cup of tea. If you’re ready to start sewing your very own Tobin Sweater, turn on the kettle and let’s get started!
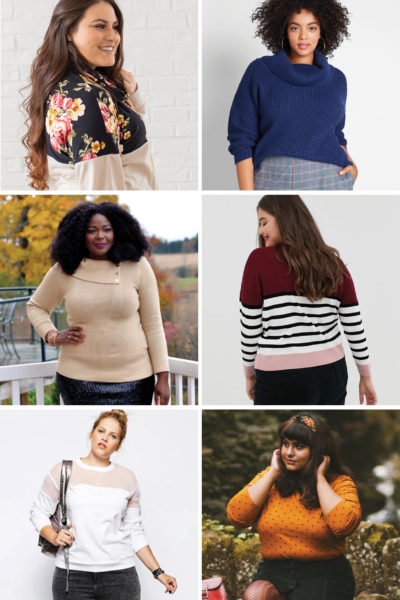
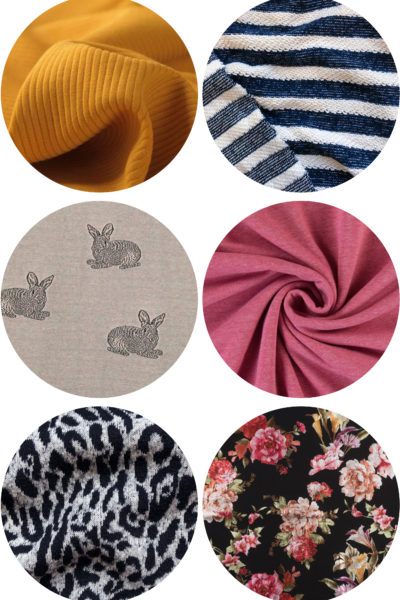
If you’re just joining us, make sure you’ve got your pattern and fabric prepped first. Need a bit more inspiration first? We’ve got you covered with loads of ideas from ready-to-wear fashion and fabric recommendations.
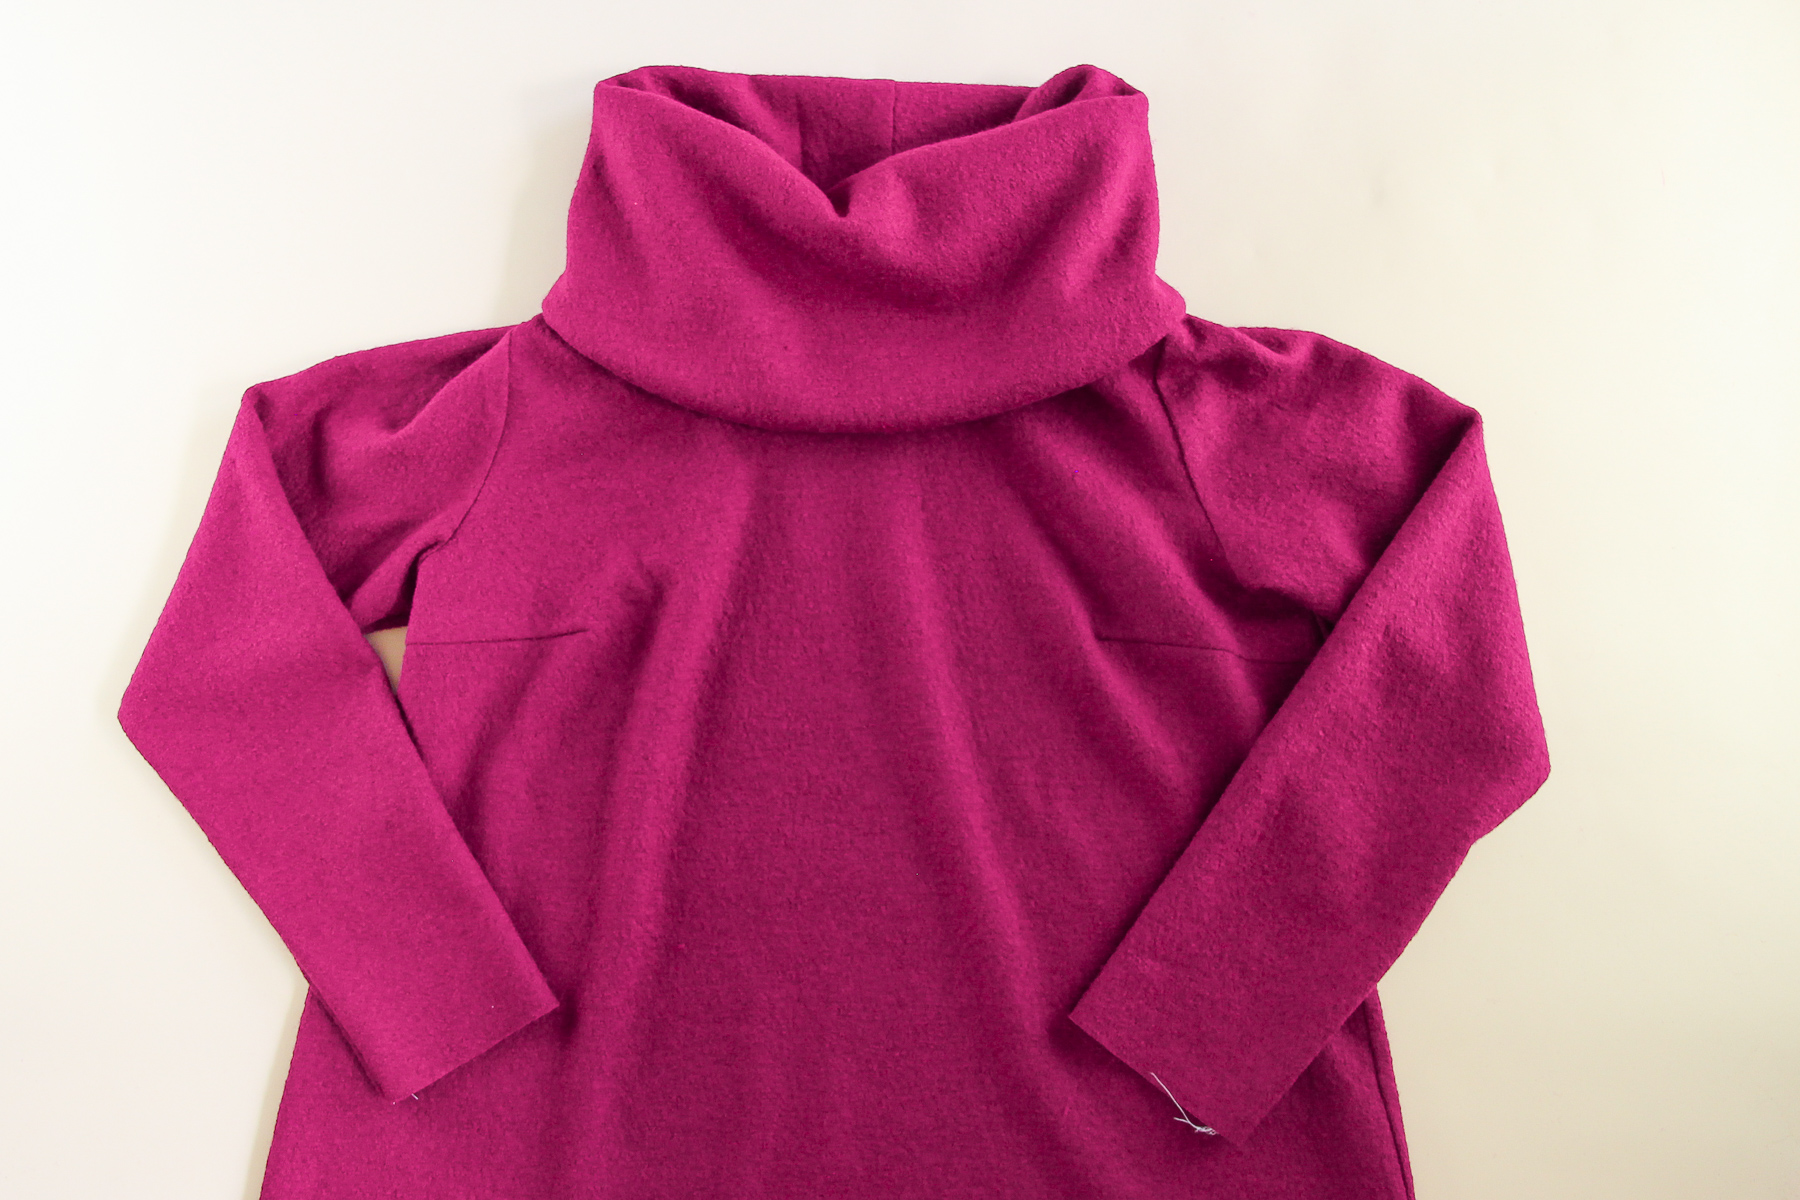
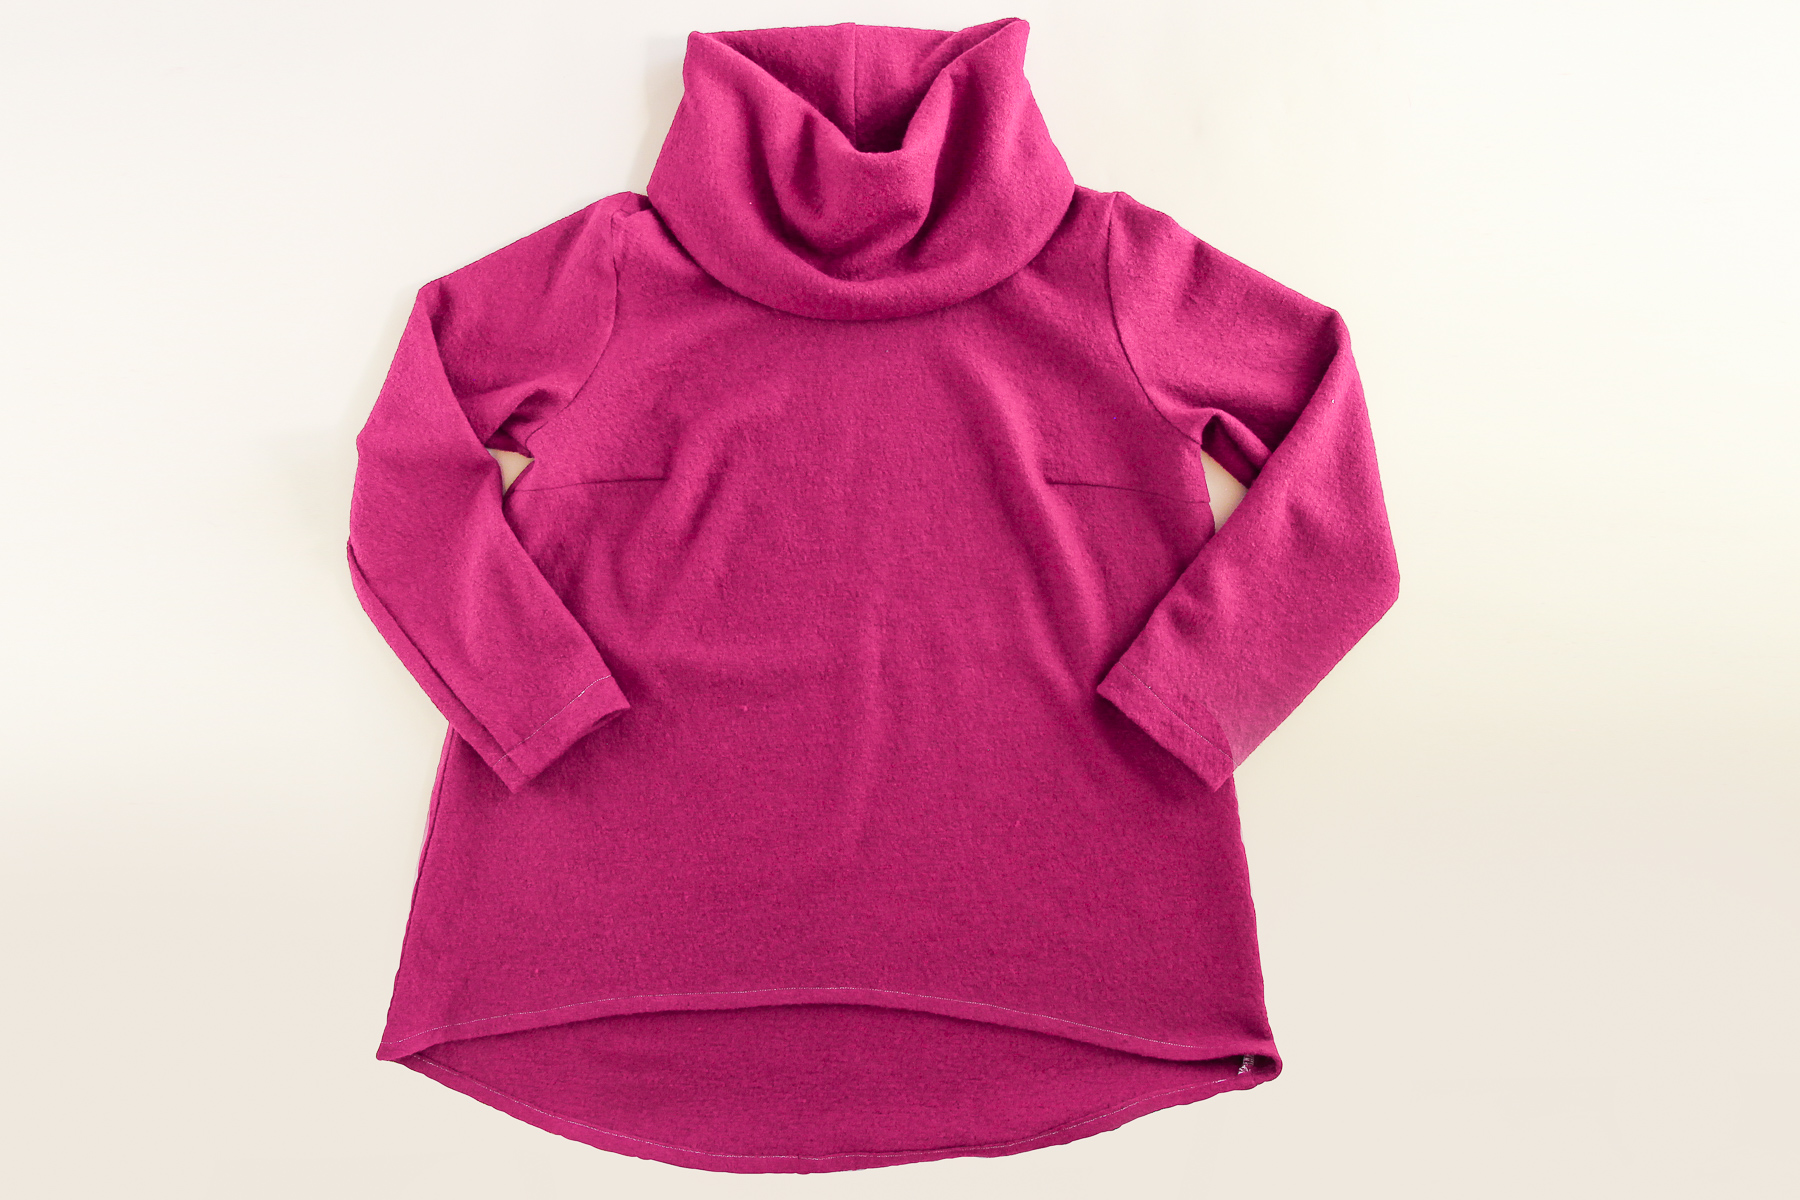
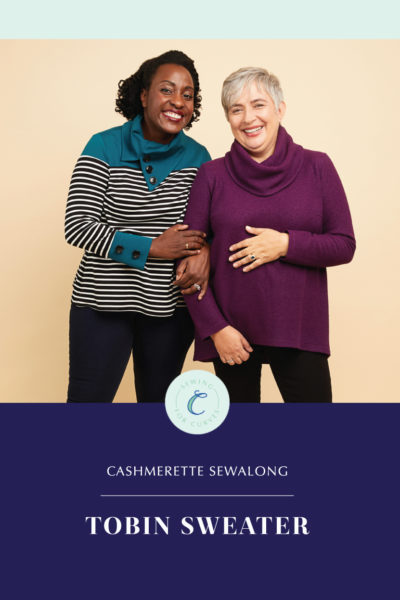
Today, we’ll be showing you how to sew a cowl neck sweater with a hi-low hem, which is View B of the Tobin Sweater. Here’s what it looks like when it’s all done:
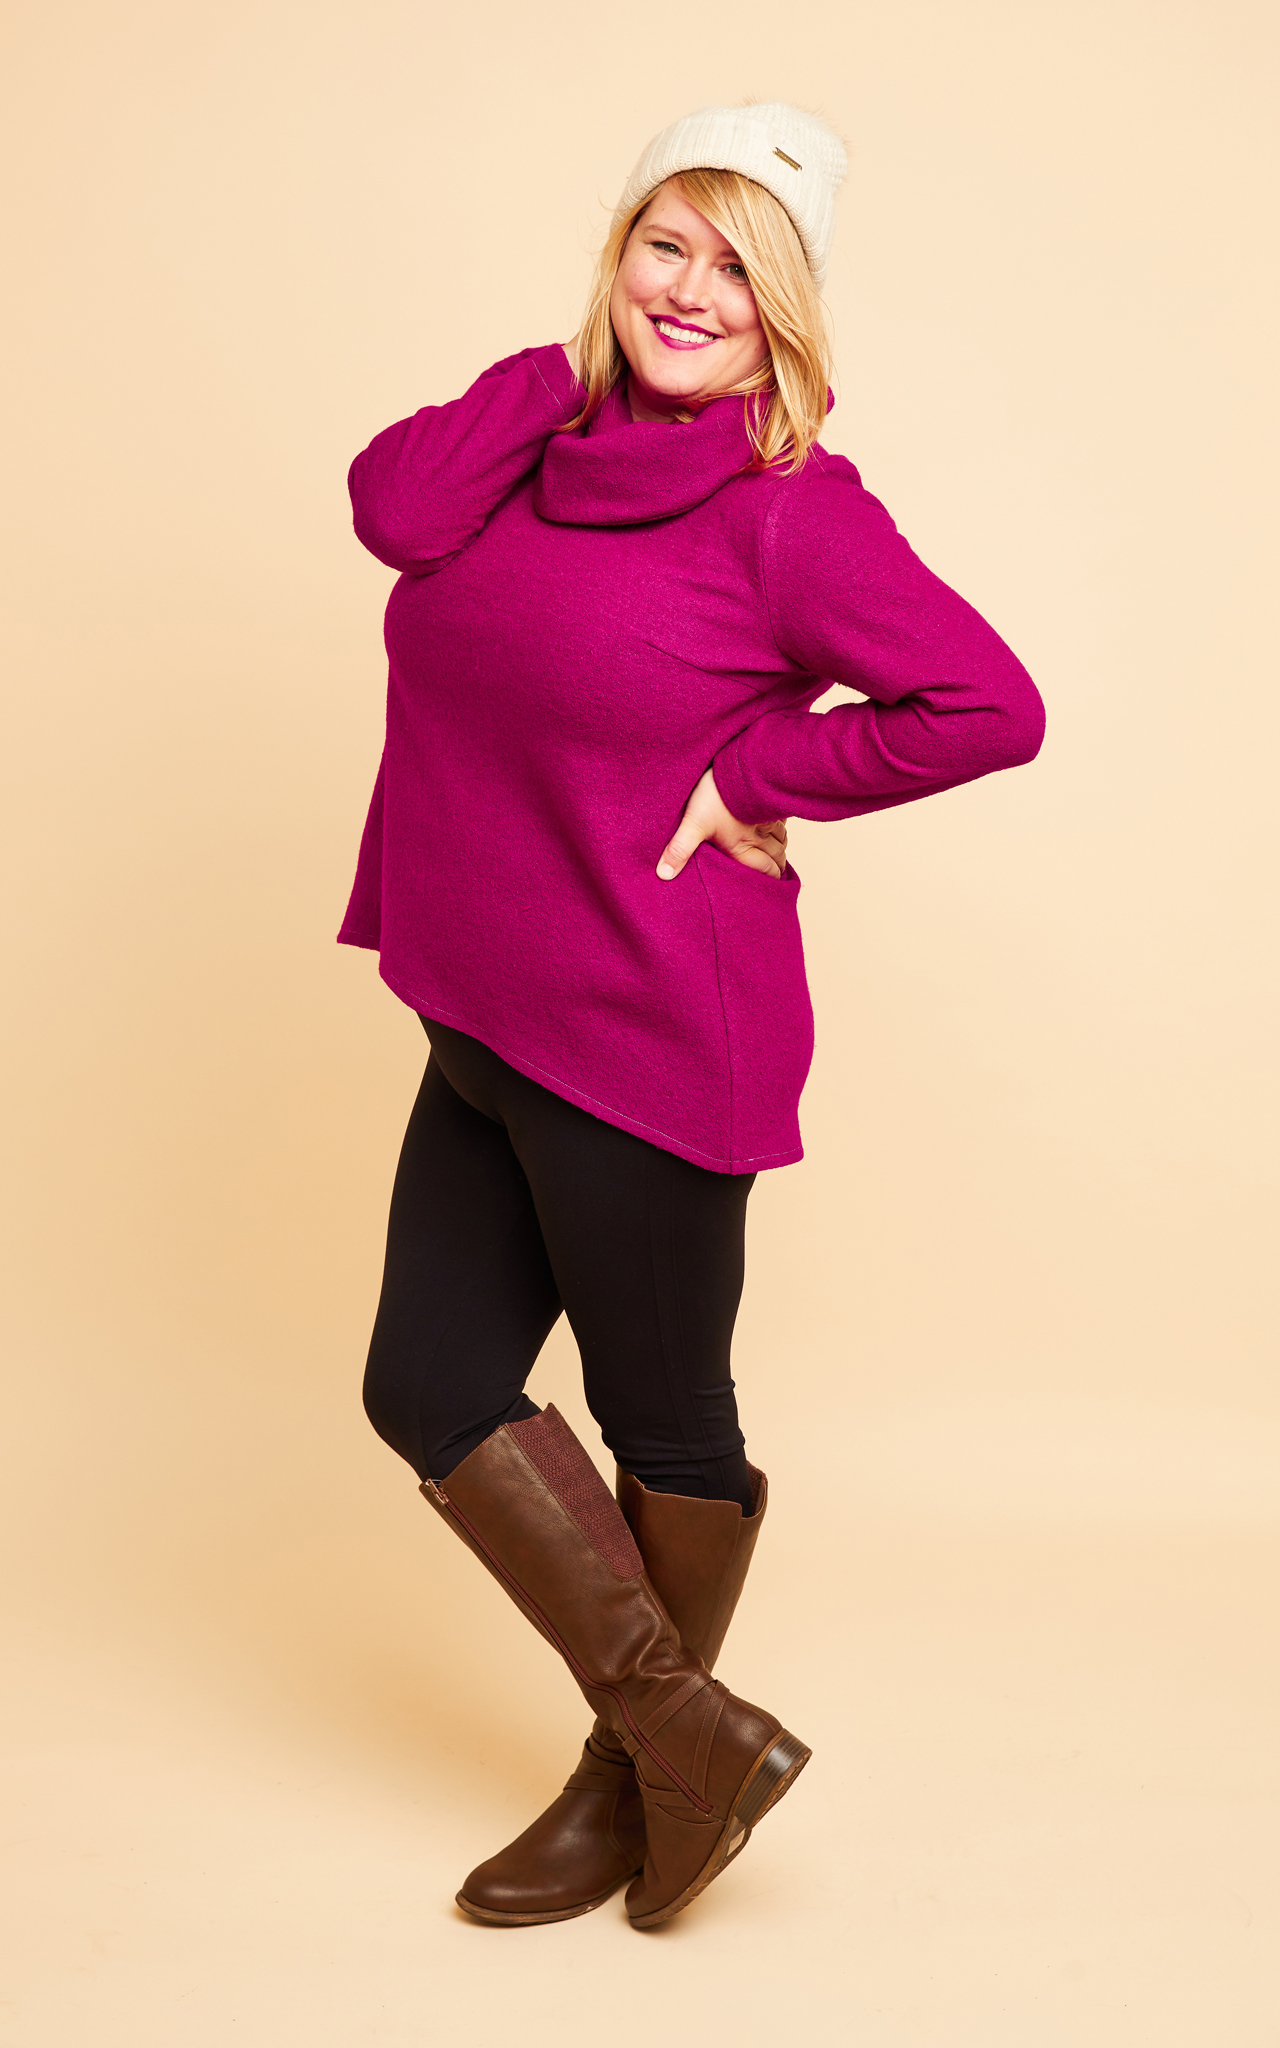
(Want to get this exact look? We’ve got a few more kits available in this vibrant fuchsia boiled wool blend.)
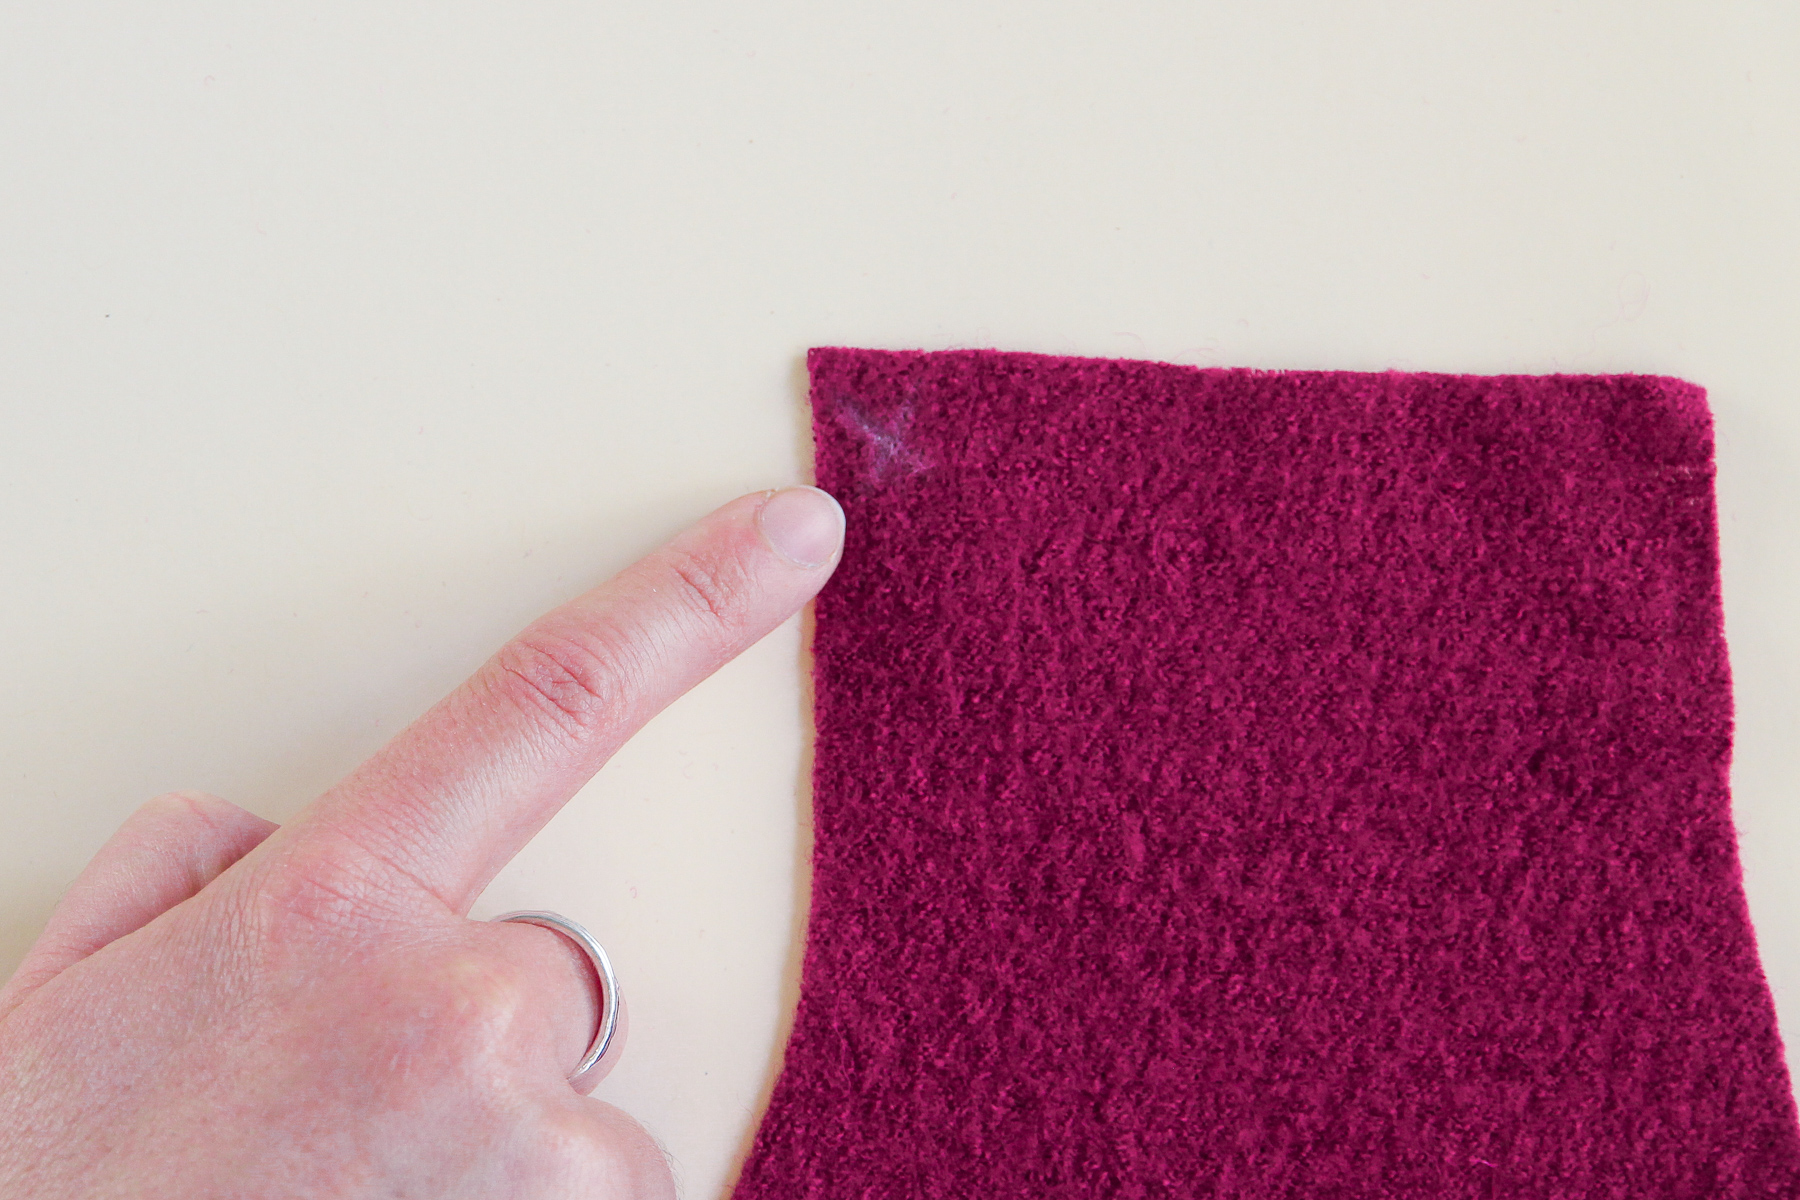
Let’s get started! One thing I wanted to point out first is that with some sweater knits (and knits in general), it can be tricky to identify the right and wrong side of the fabric. One way to save yourself time is to mark a small X within the seam allowance of all of your pieces to denote the wrong side as you’re cutting the pieces out. This means you only need to identify the wrong side once (right before you cut) and then never have to worry about it again.
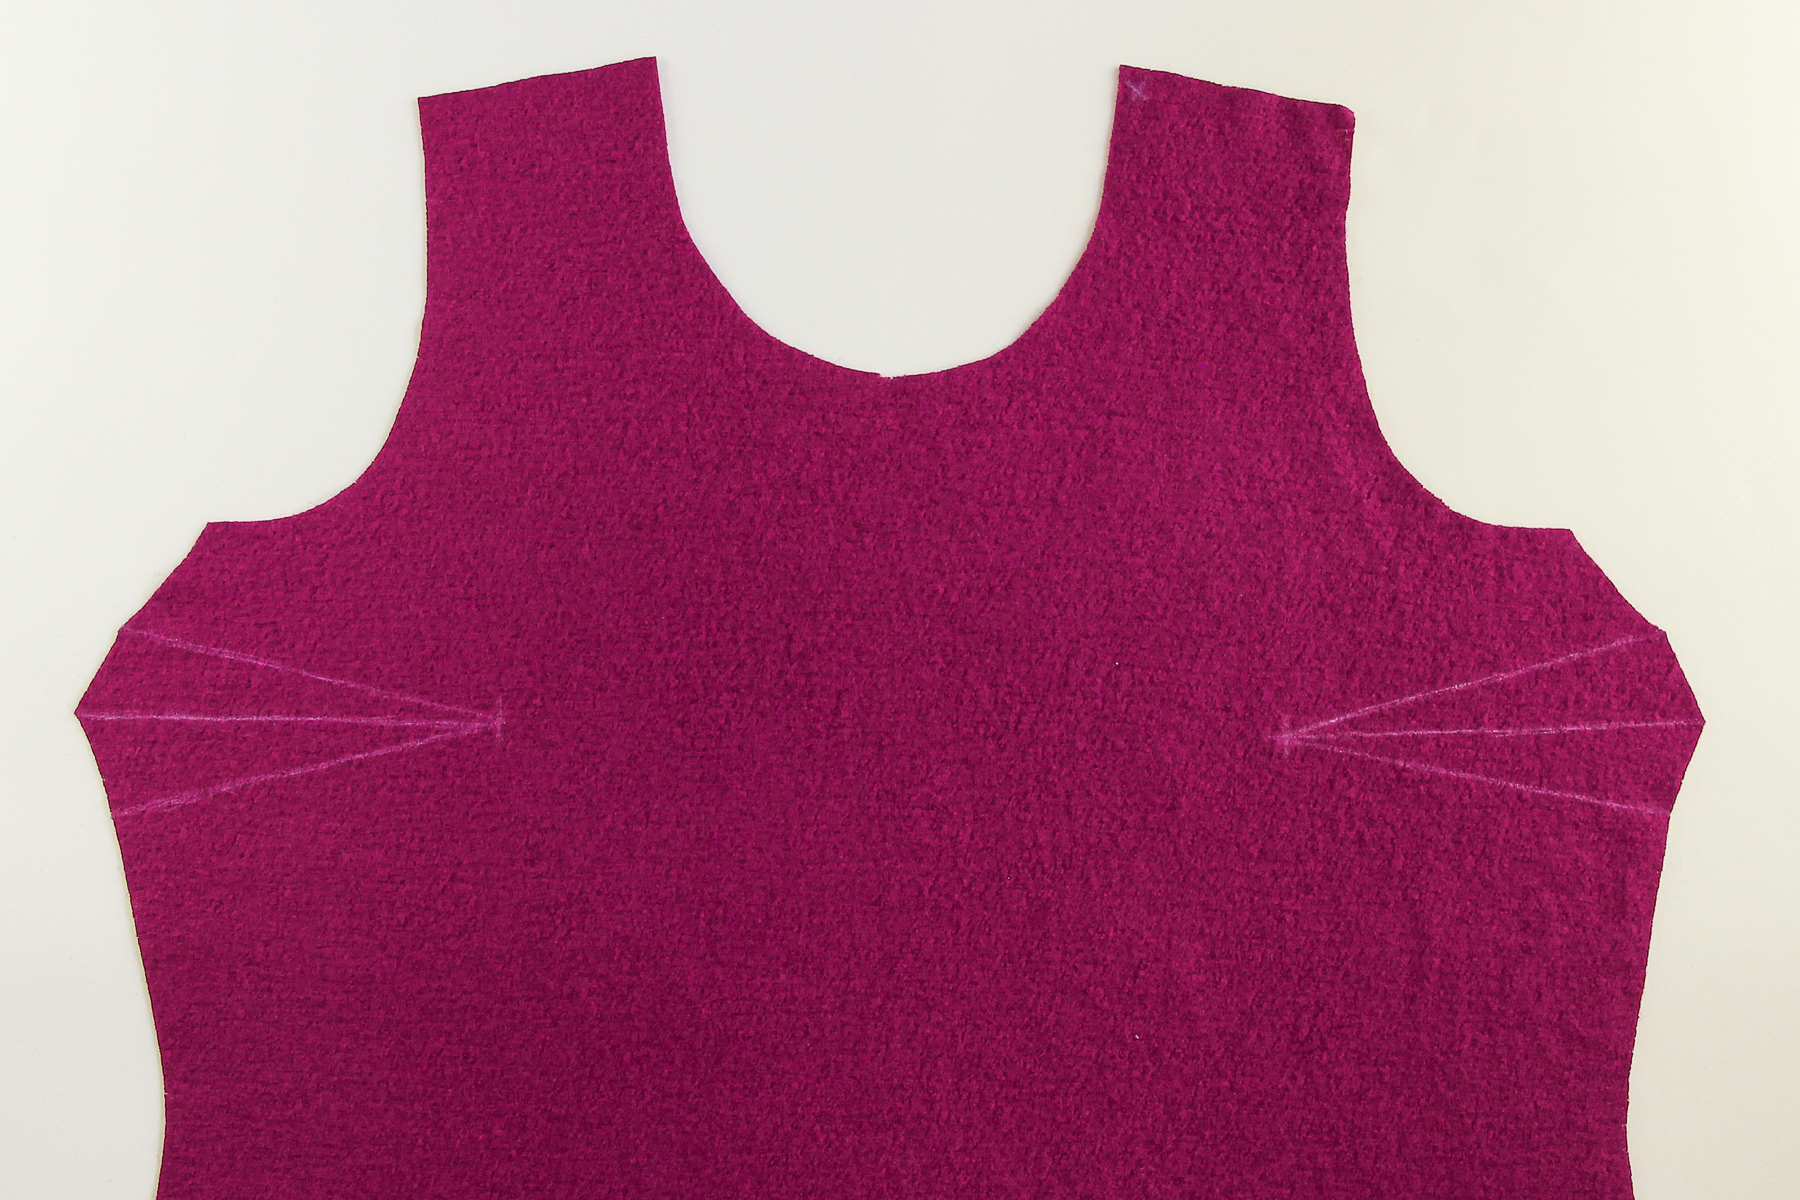
We’re going to start by marking our bust darts on the wrong side. Use tailor’s chalk for this, but make sure that it’ll come out of your fabric (some sweater knits have a tendency to hang on to chalk).
Fold your dart in half and pin.
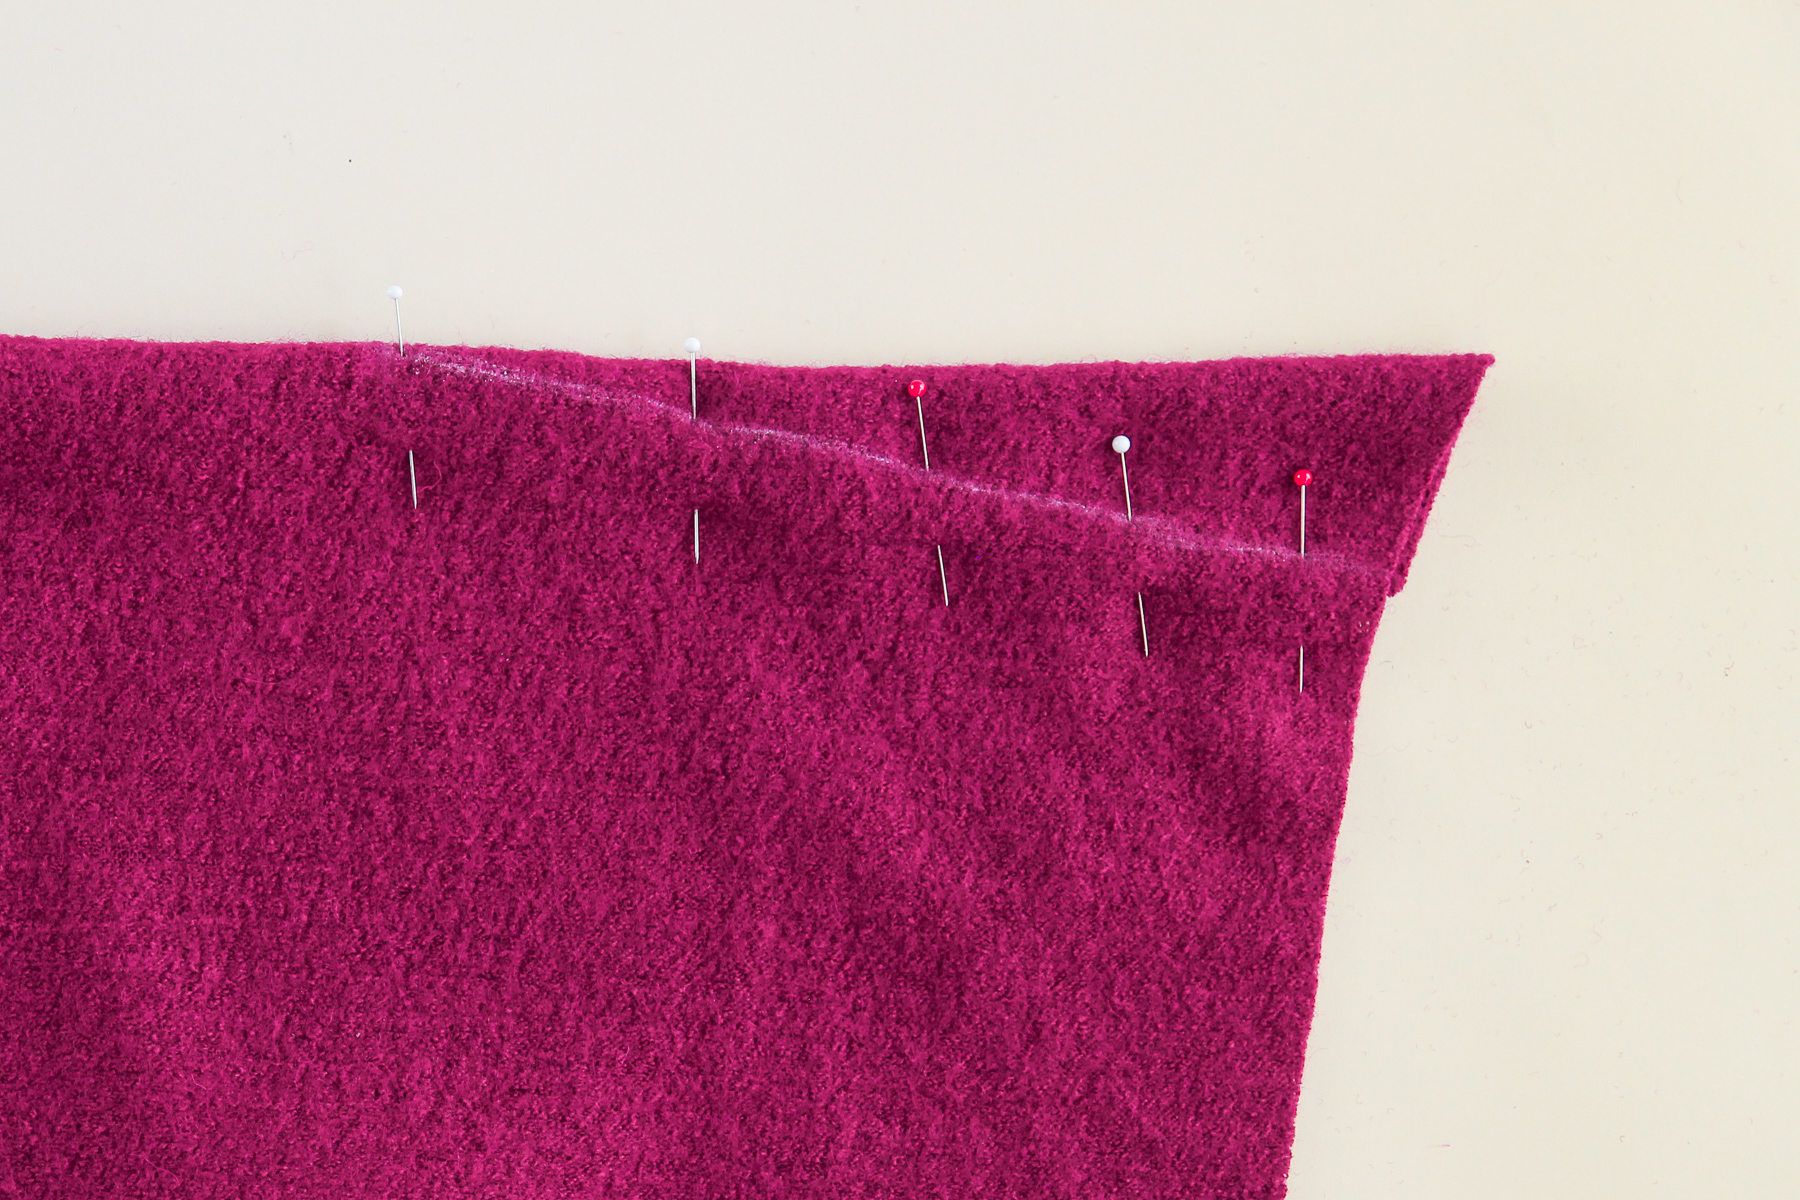
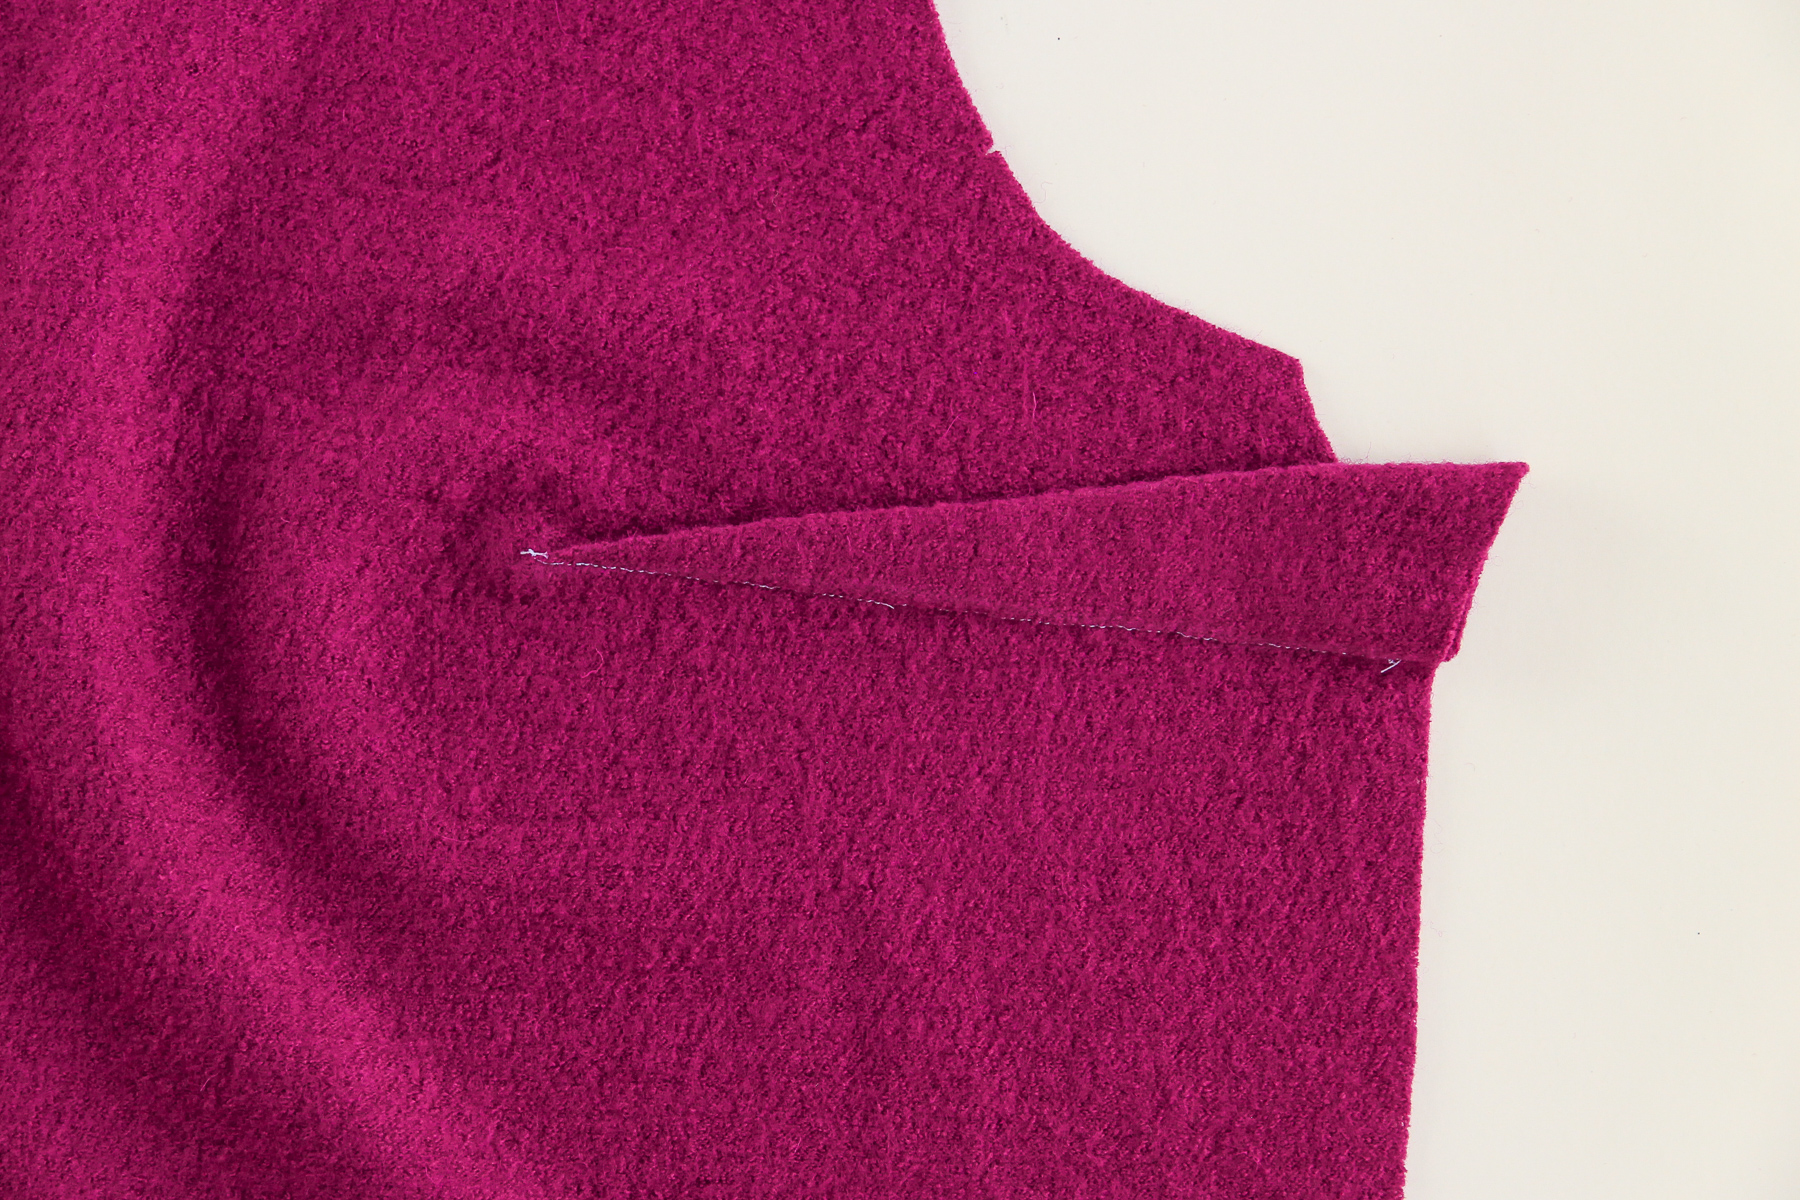
Sew along the dart leg using a straight stitch, starting at the side seam and ending at the point of the dart. Tie off the ends and snip them.
I’m sewing all of my seams with contrast thread so you can see it more easily (except that my fabric is absorbing it a bit, so hopefully you can still see it!) but you should sew with a coordinating thread unless this is the look you’re going for.

Let’s do the same with the other dart.

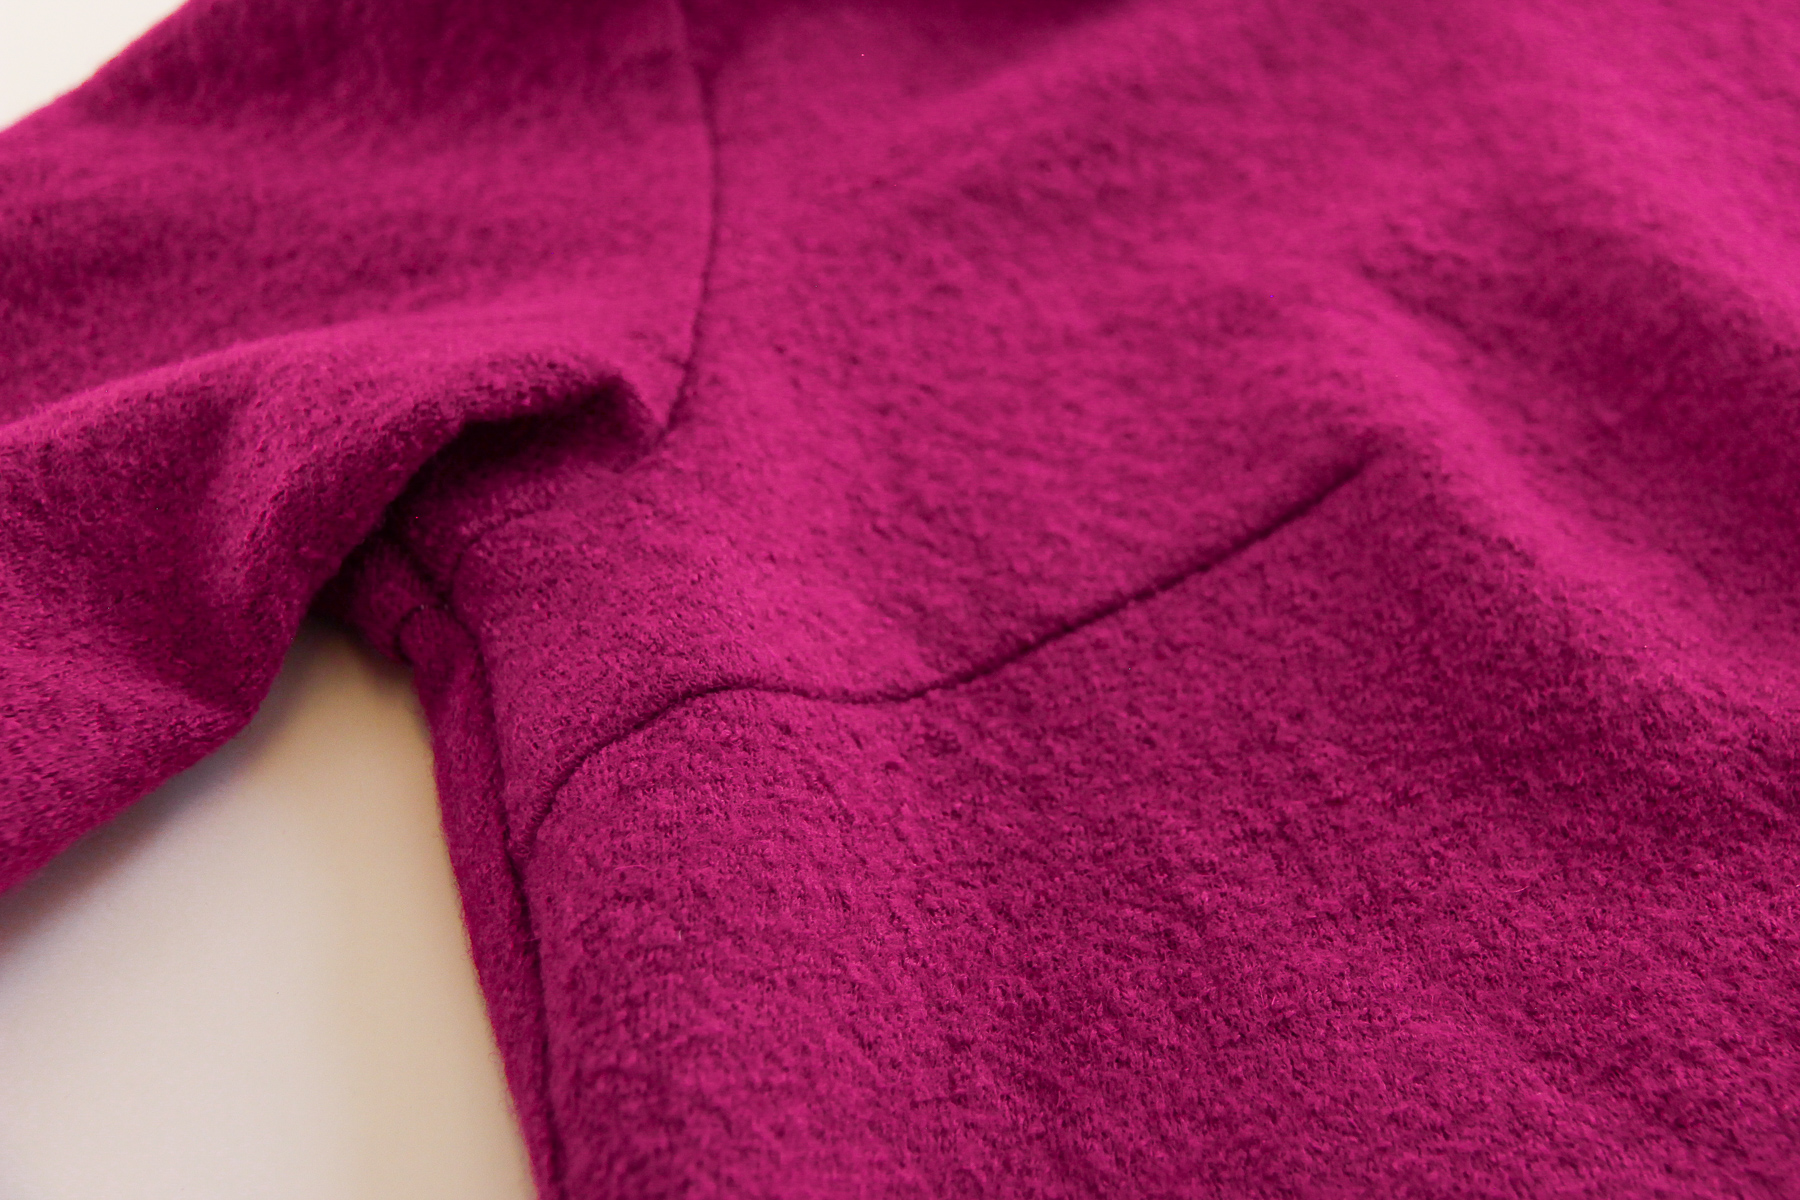
Now we need to press our darts flat and then upwards. It’s helpful to use a ham here.
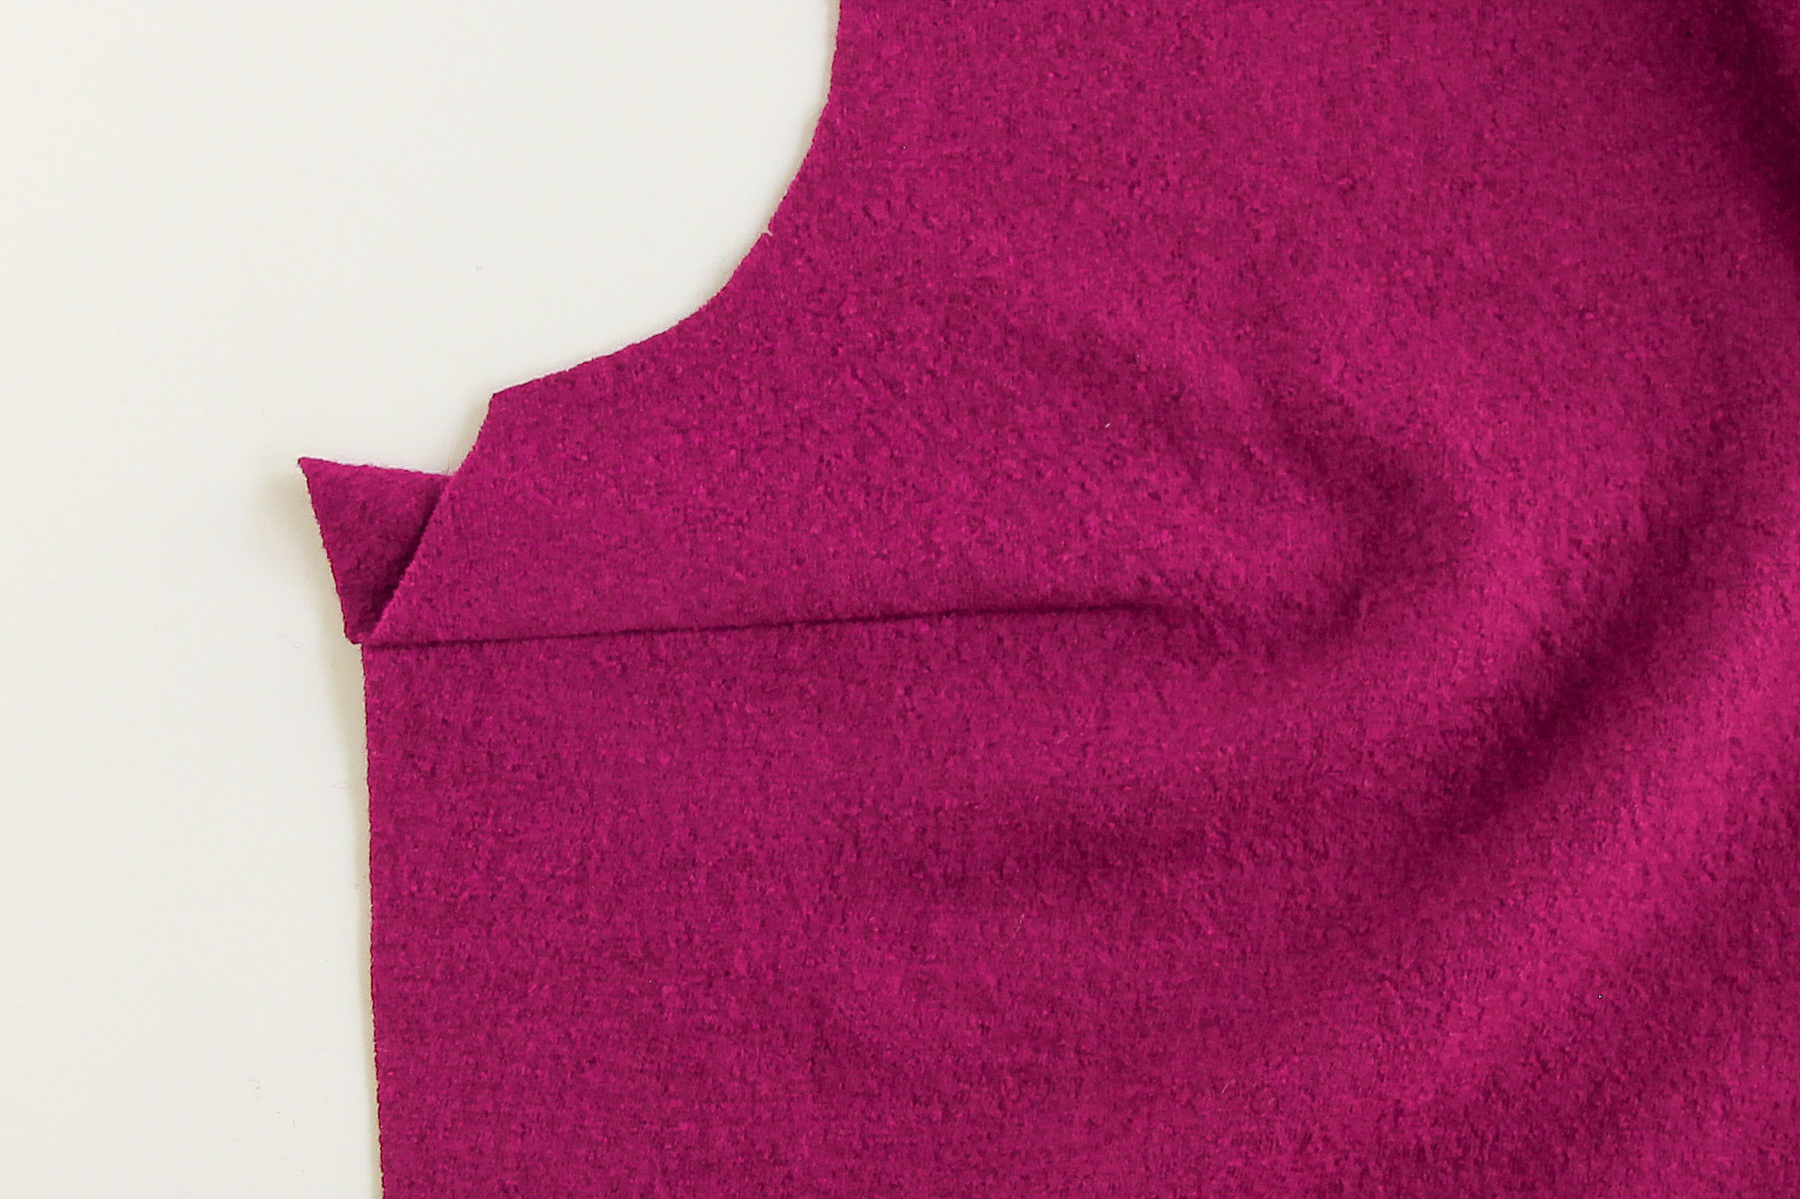
If your dart is sticking out past the side seam, snip it off so that it’s lined up nicely.
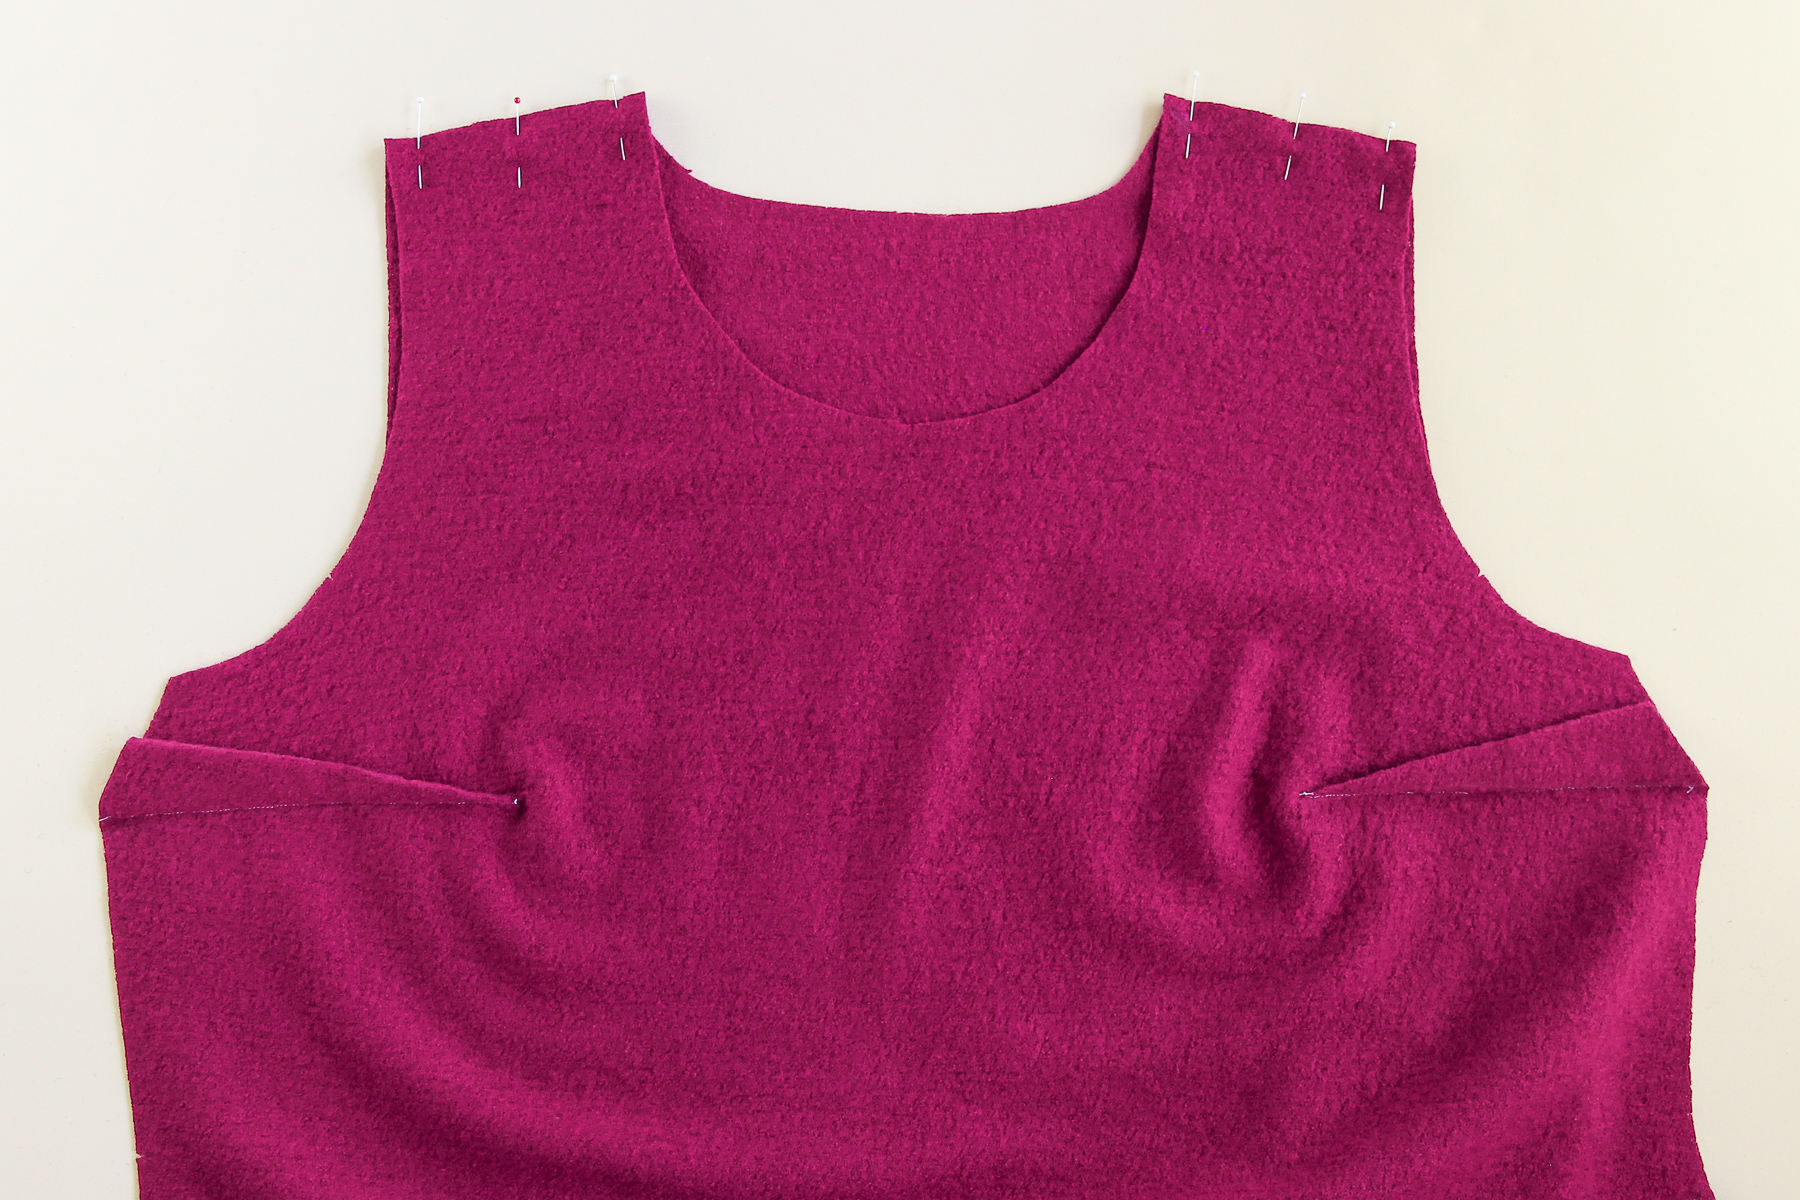
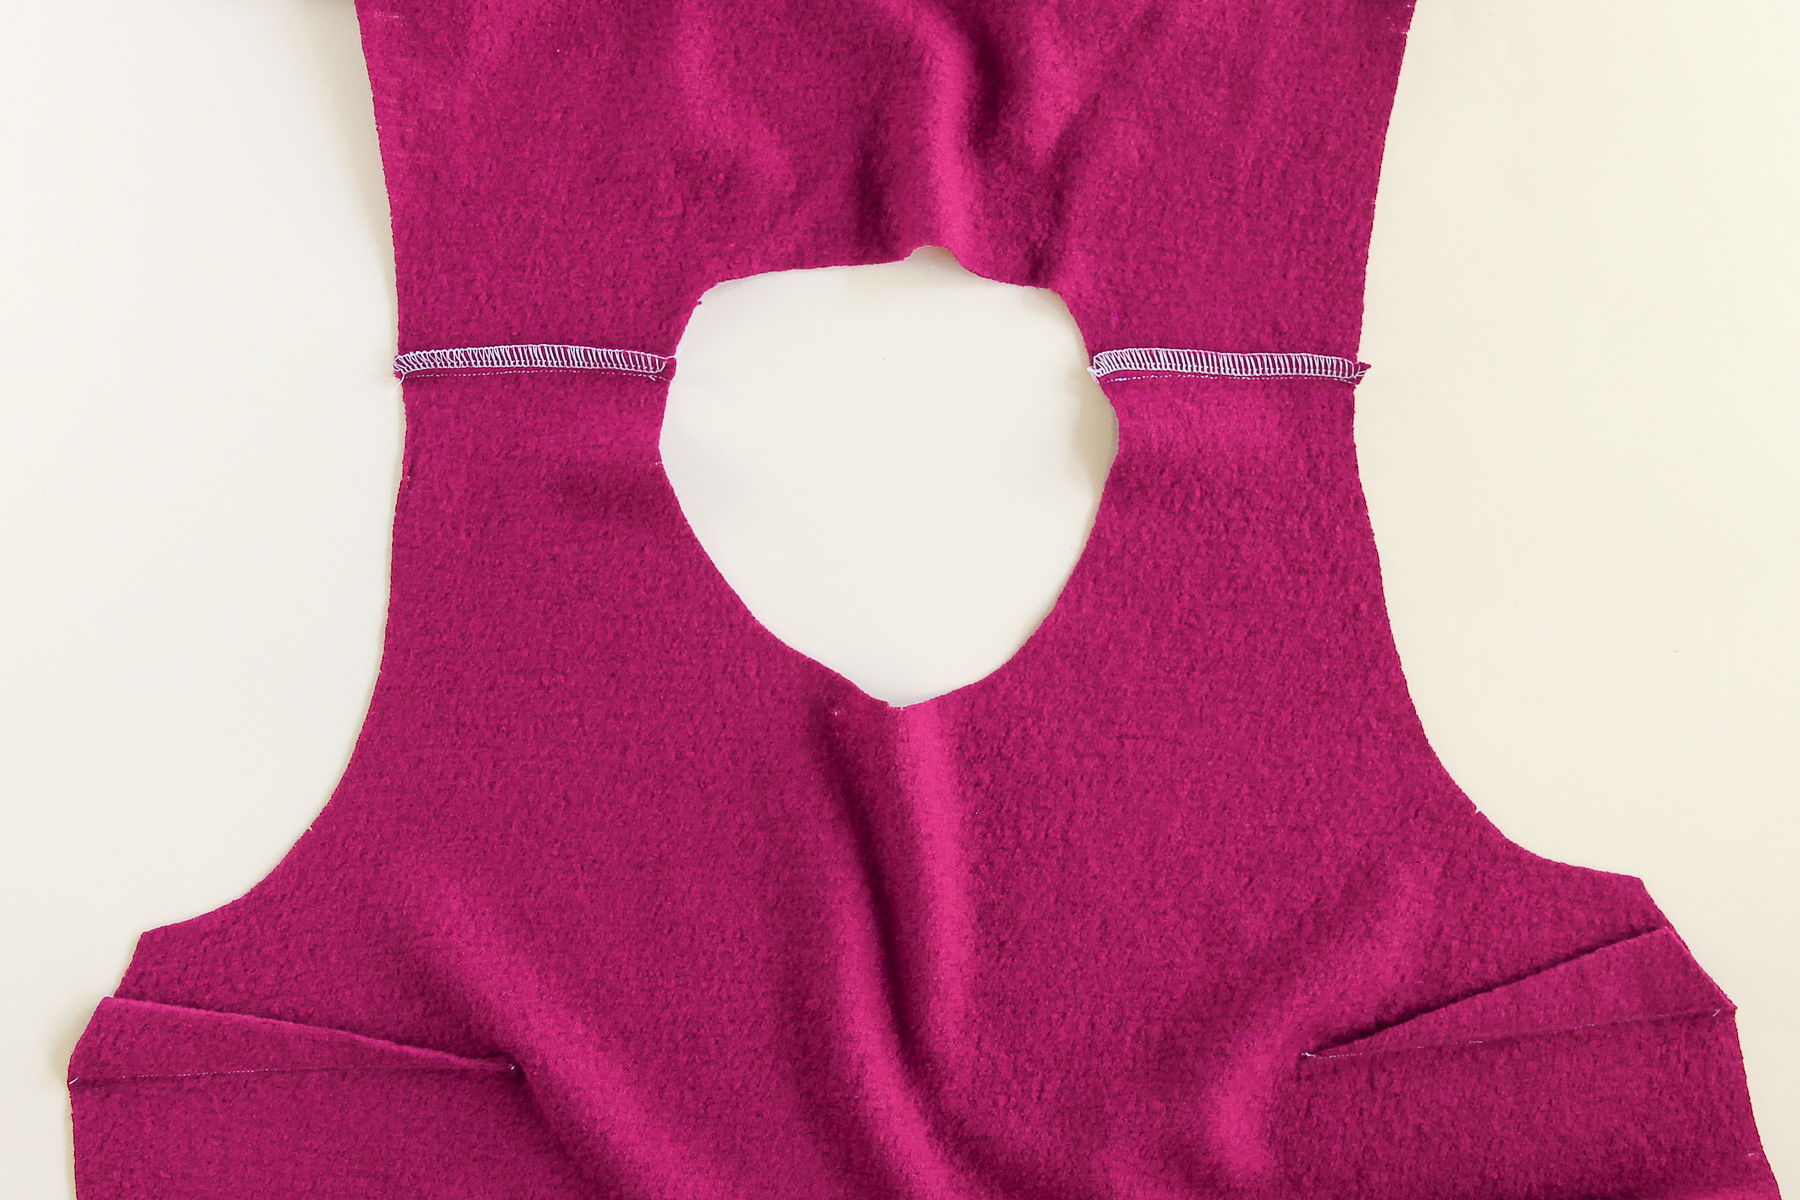
Now it’s time to sew our shoulder seams. Pin the front of the bodice to the back at the shoulders, right sides together.
I’m going to sew my seams on a sewing machine first so you can see what I’m doing, and then I’ll finish them with a serger. If you’d like, you can sew directly on a serger to save yourself the extra step.
I’m sewing the shoulder seams at our 3/8” (1 cm) seam allowance.
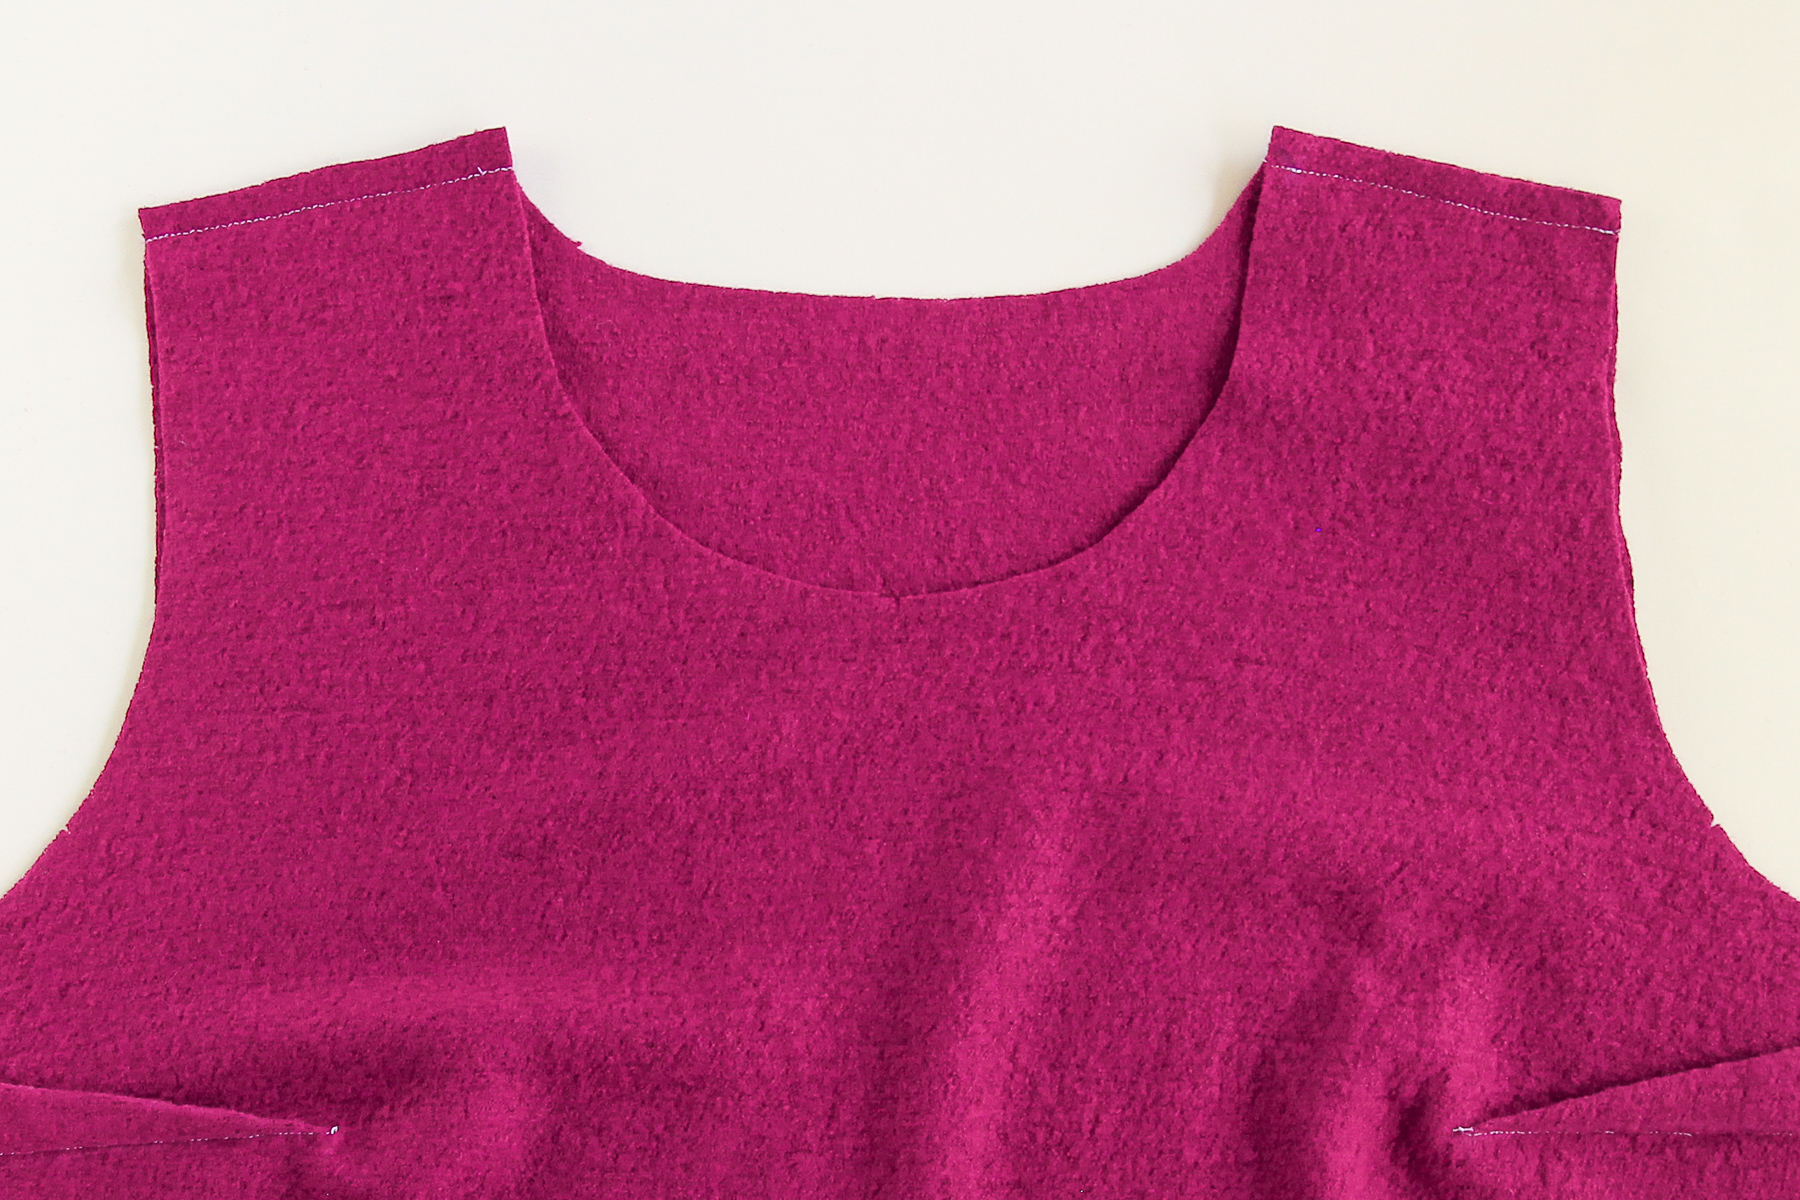
Now we’re going to finish those seams and press them towards the back bodice.
Alright, good work! Time to make our cowl.
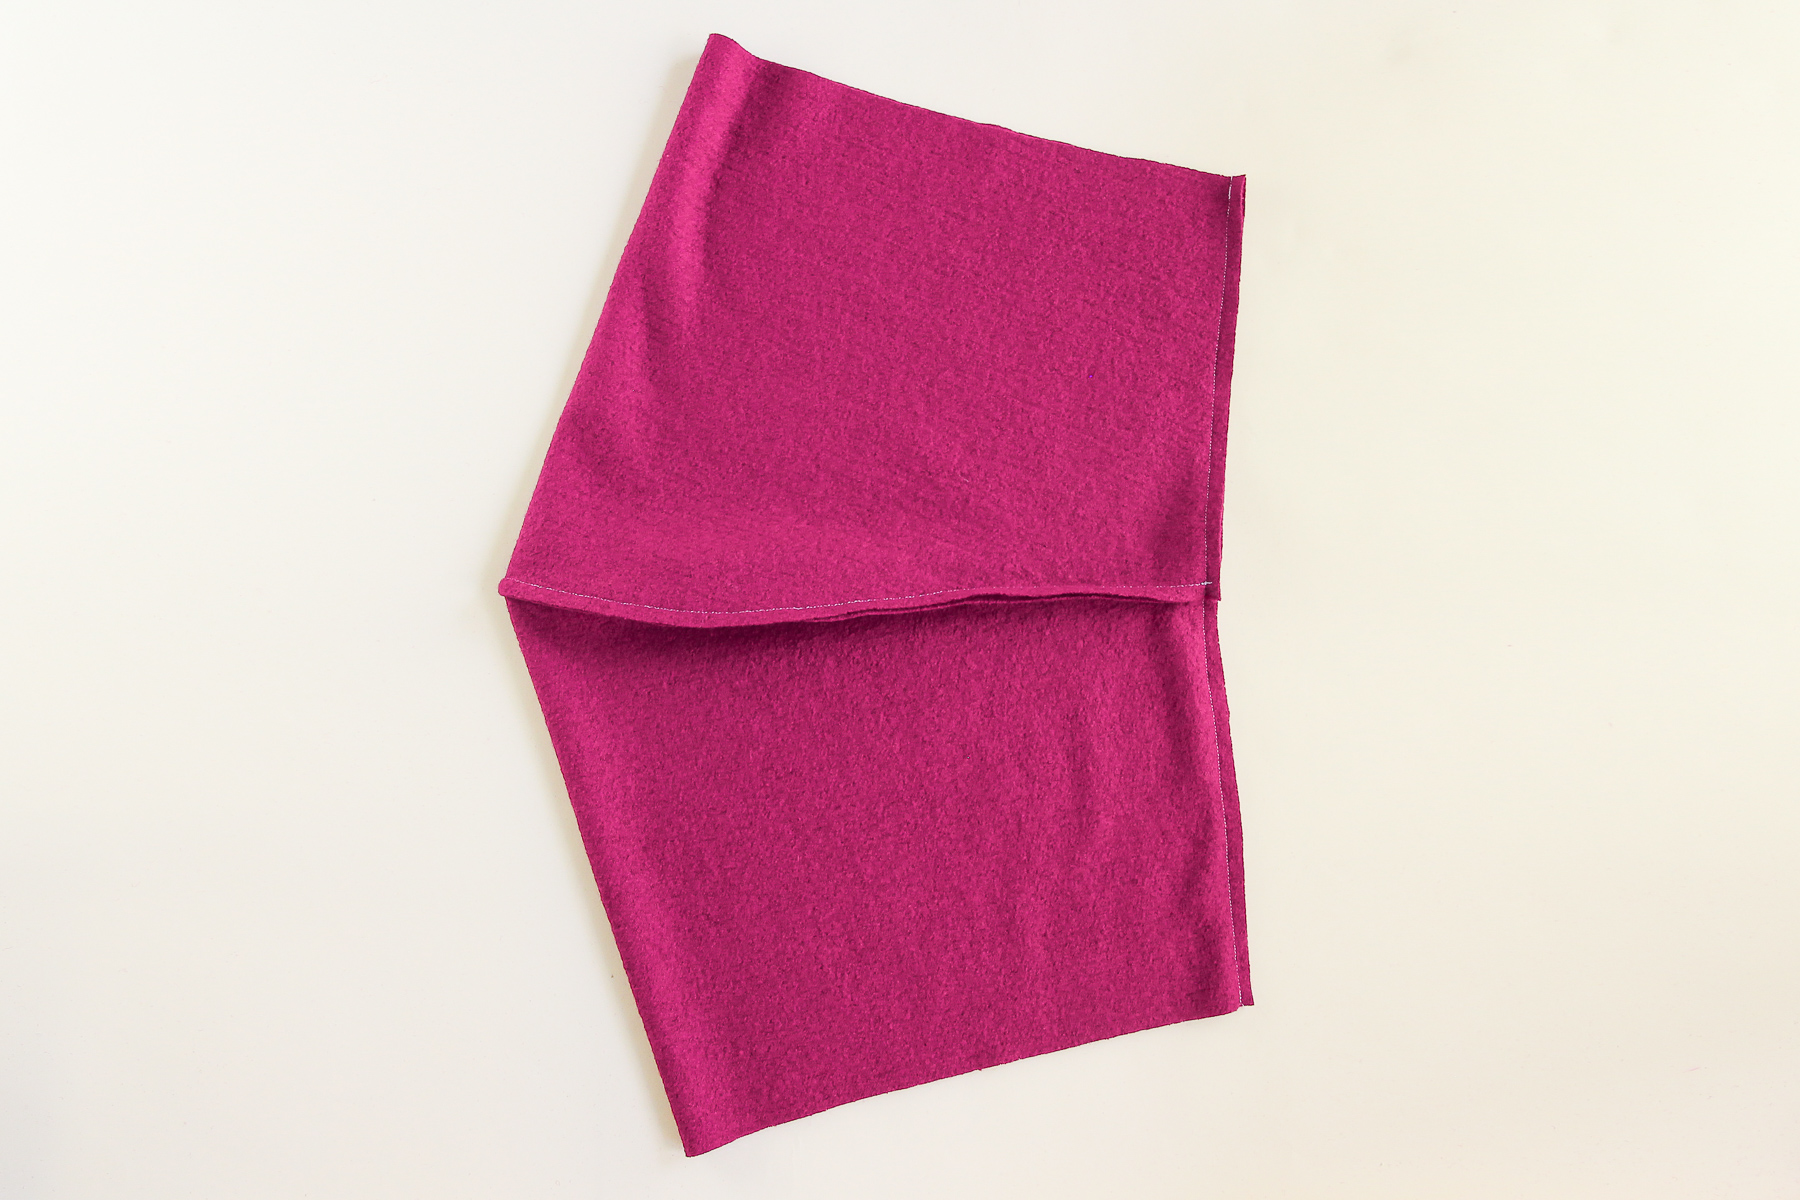
Pin the two cowl pieces right sides together along the curved edge.
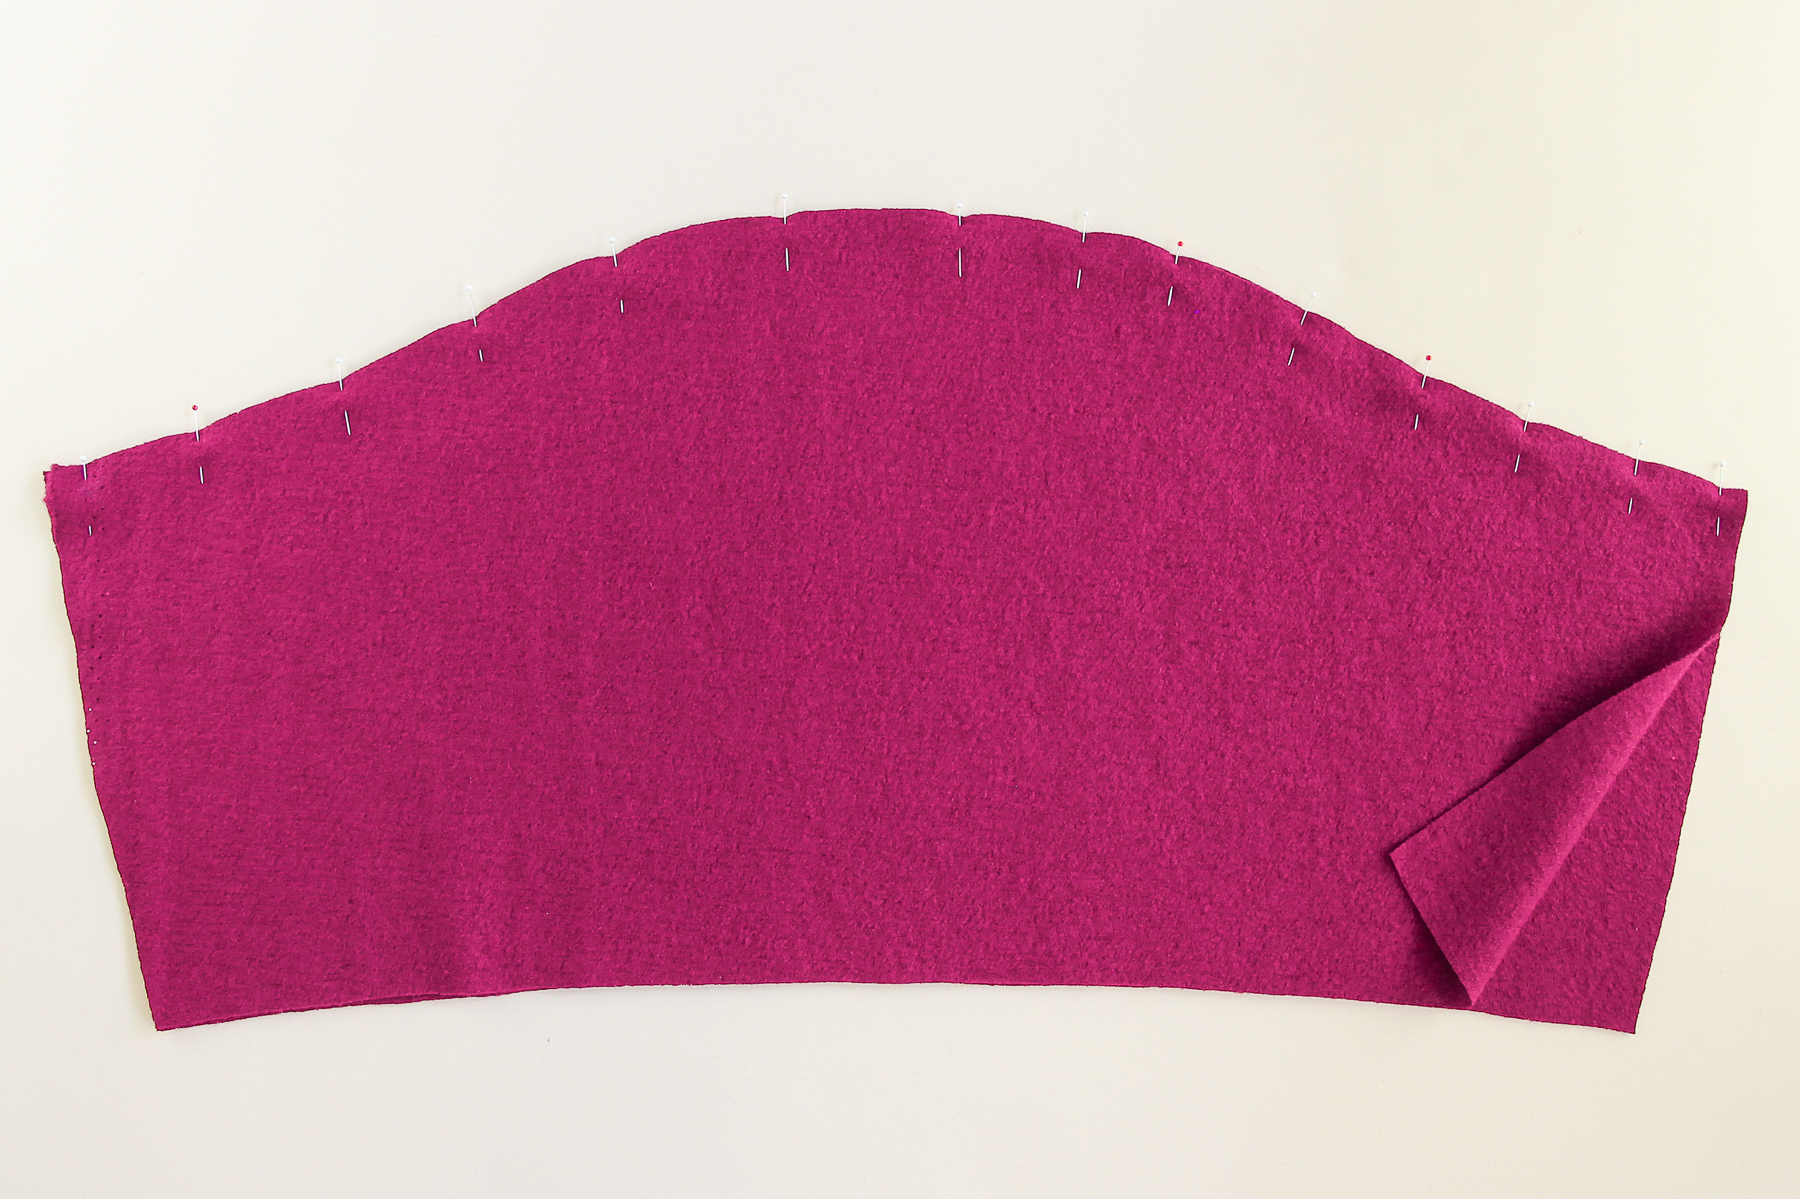
Let’s sew that seam at 3/8” (1 cm)—no need to finish it, since it’ll get enclosed.
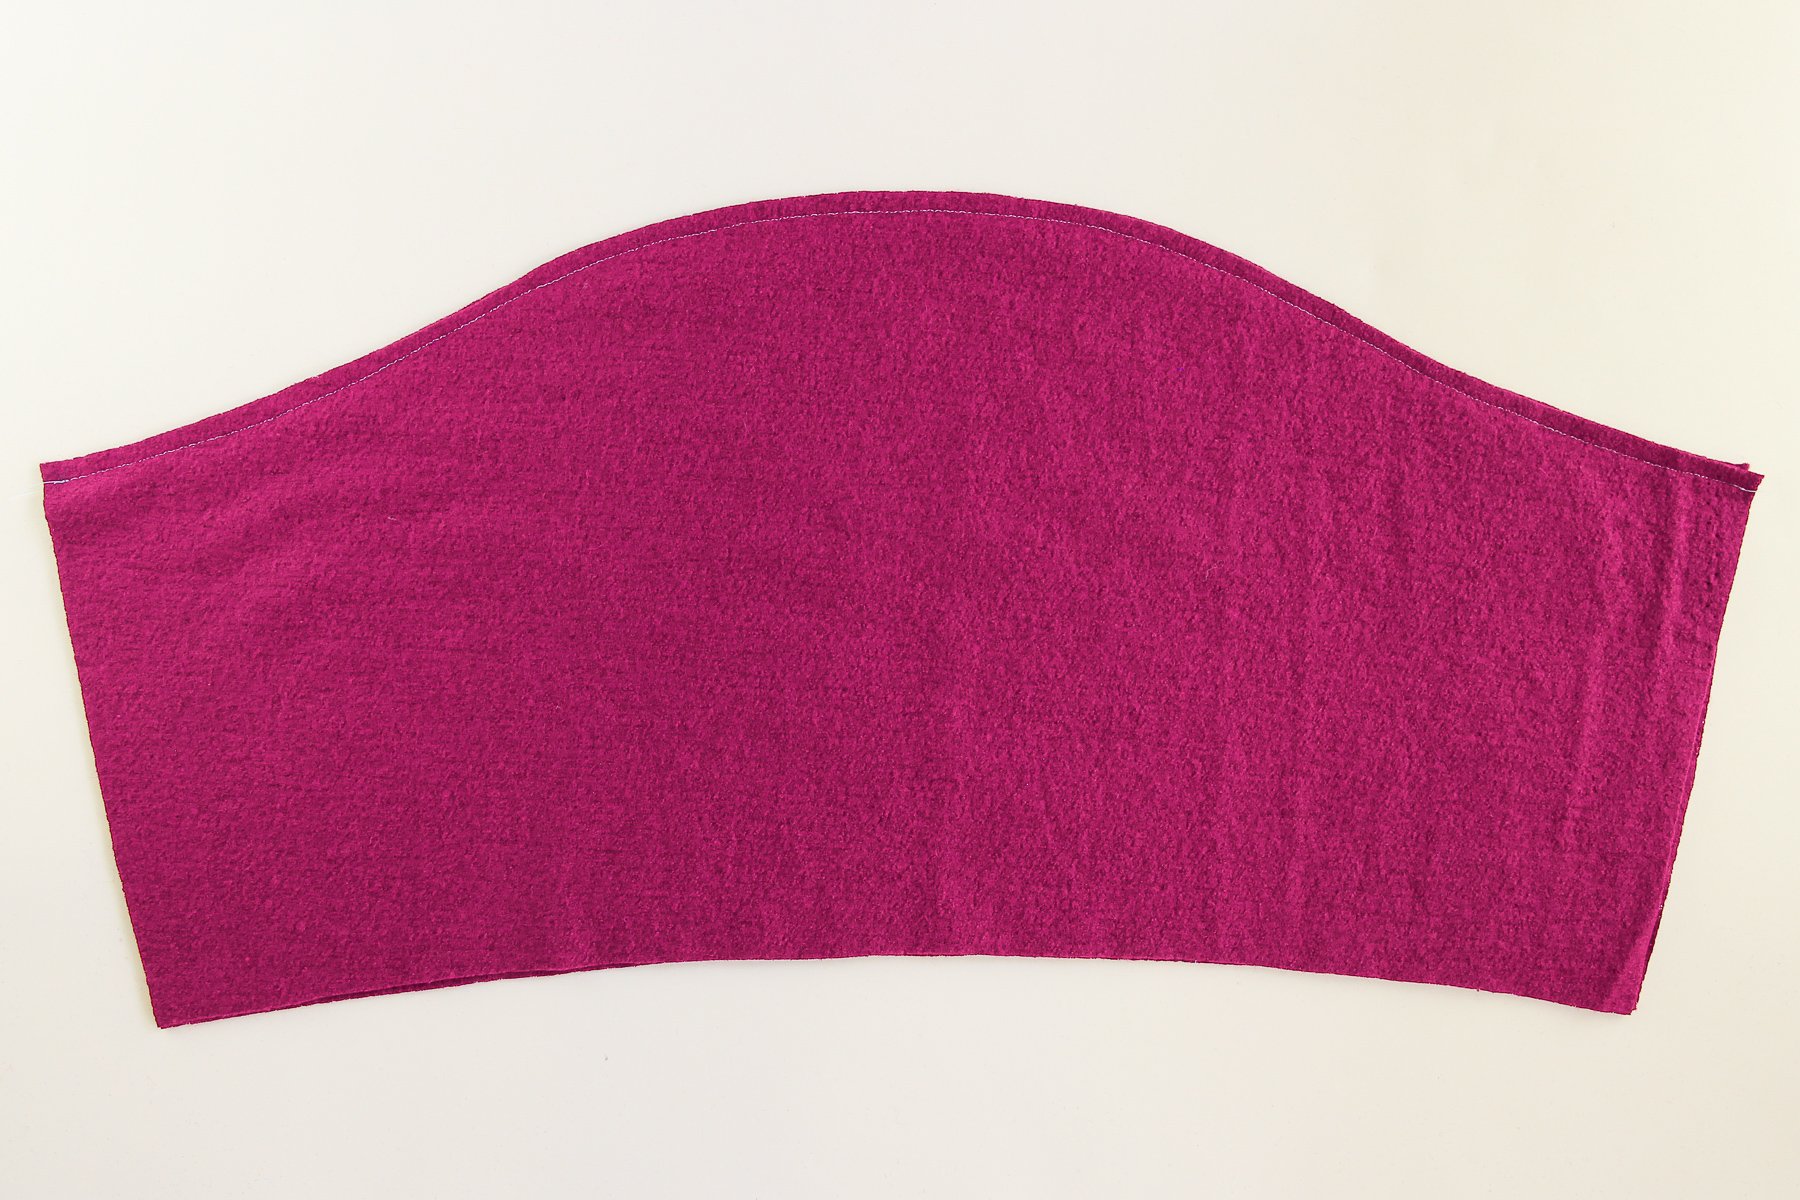
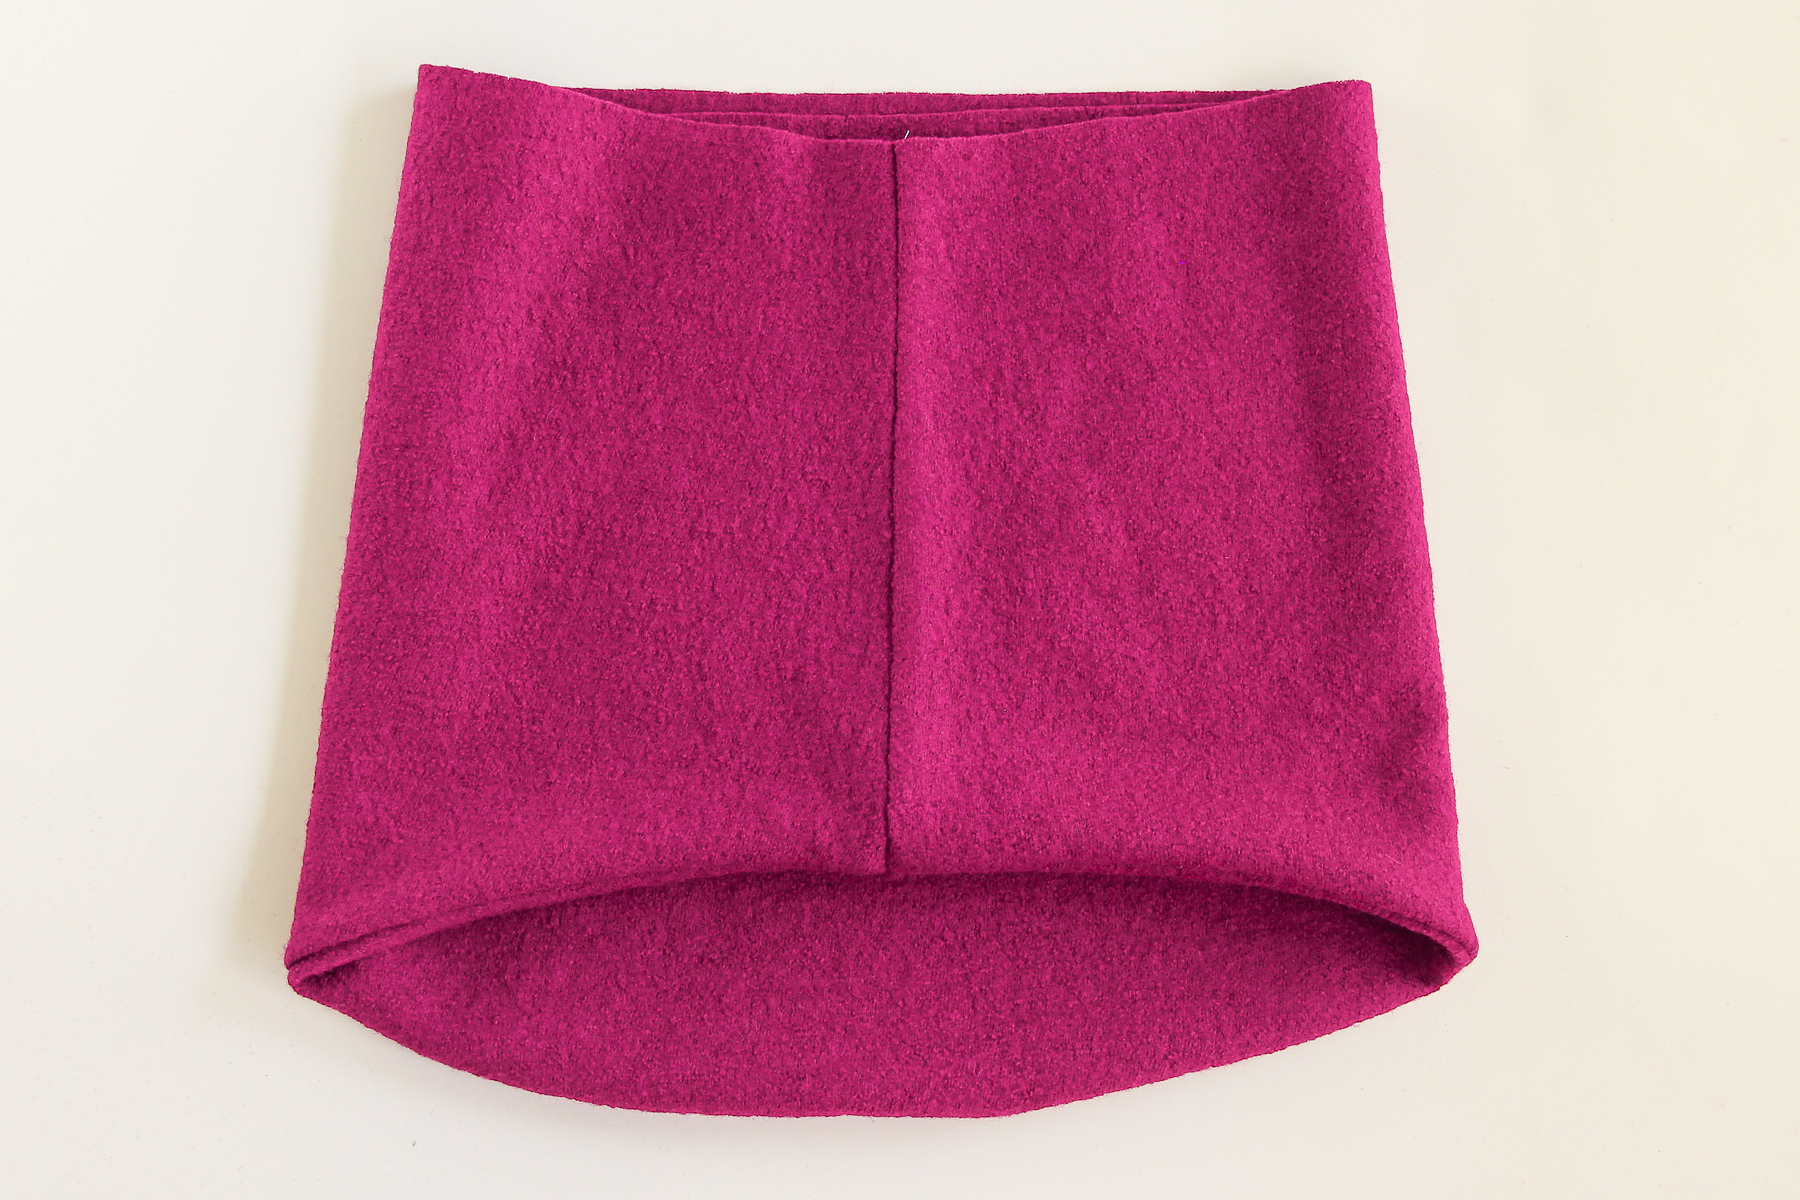
Now we’re going to open up the cowl and fold it the other way, still right sides together. Pin and sew that seam. Again, no need to finish this seam.
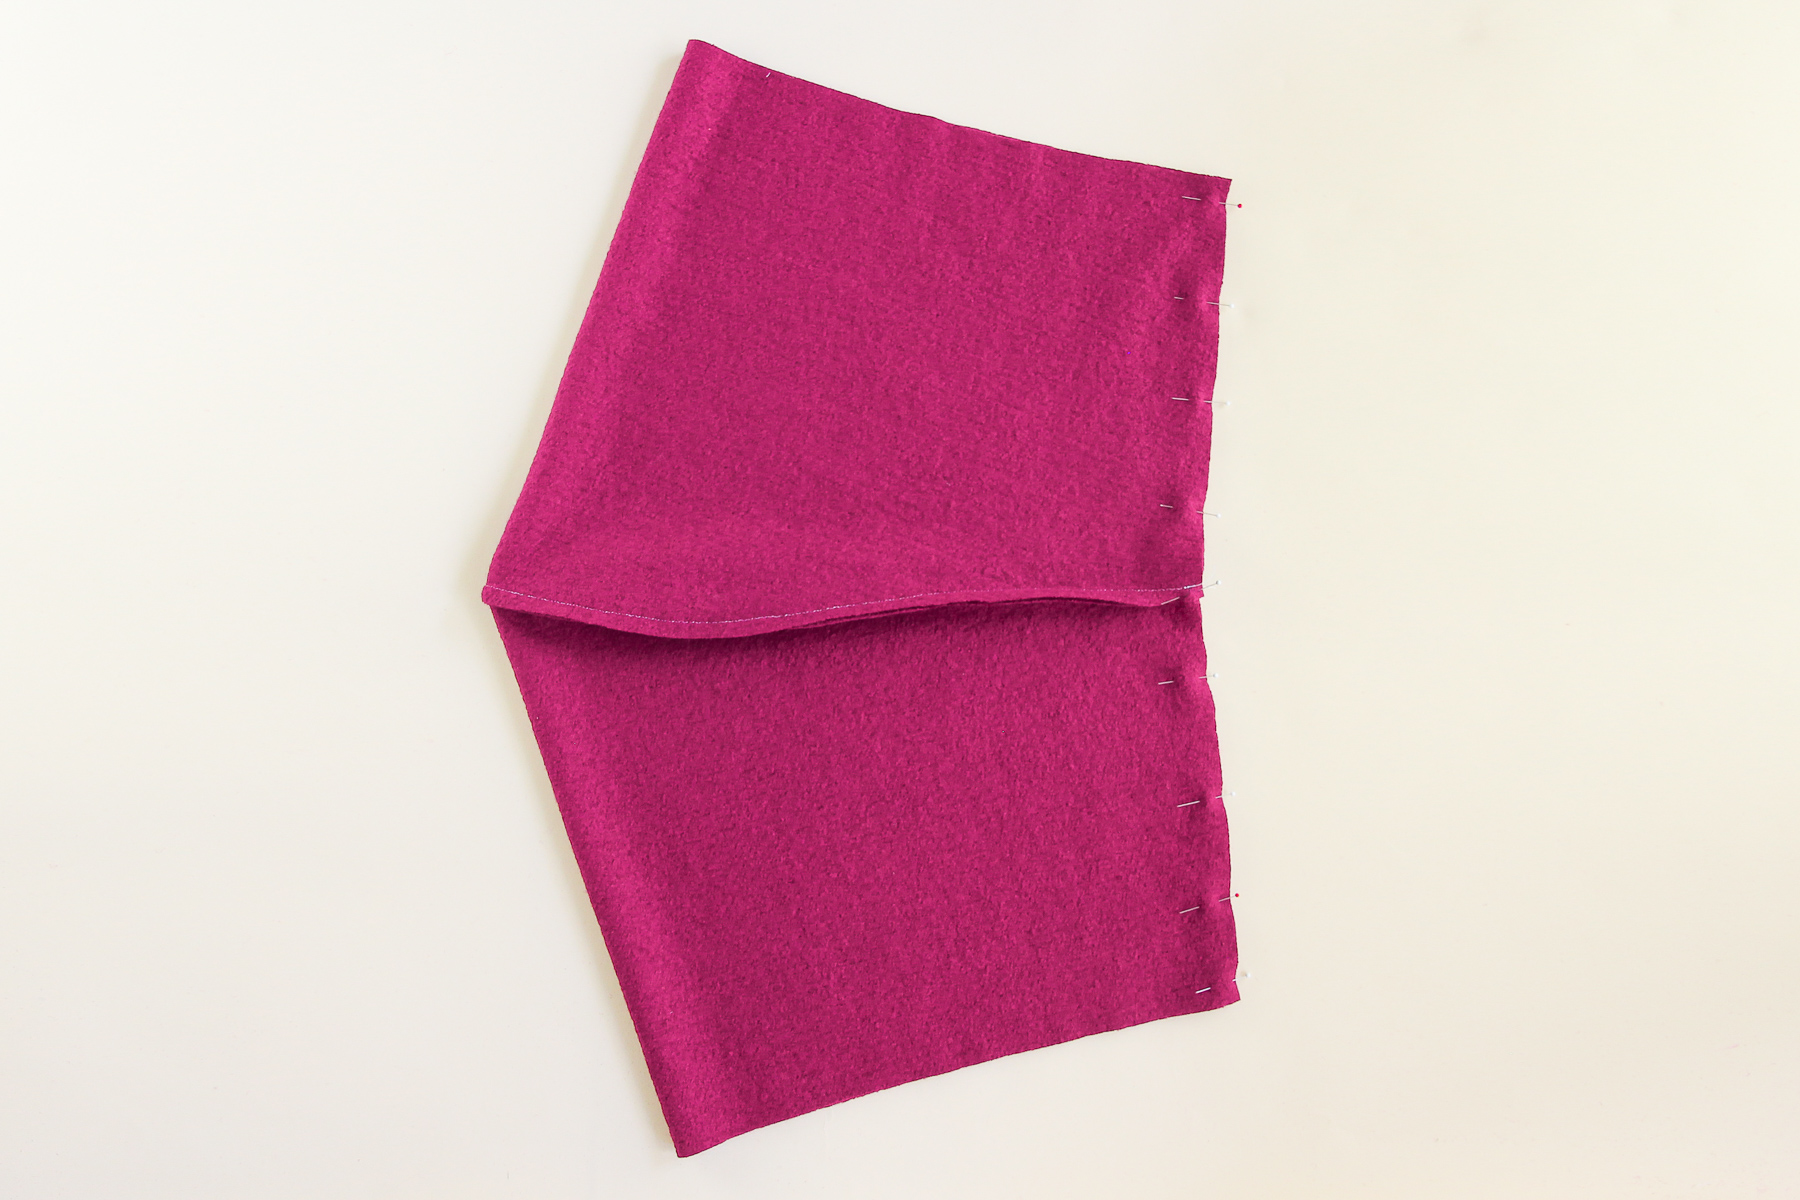
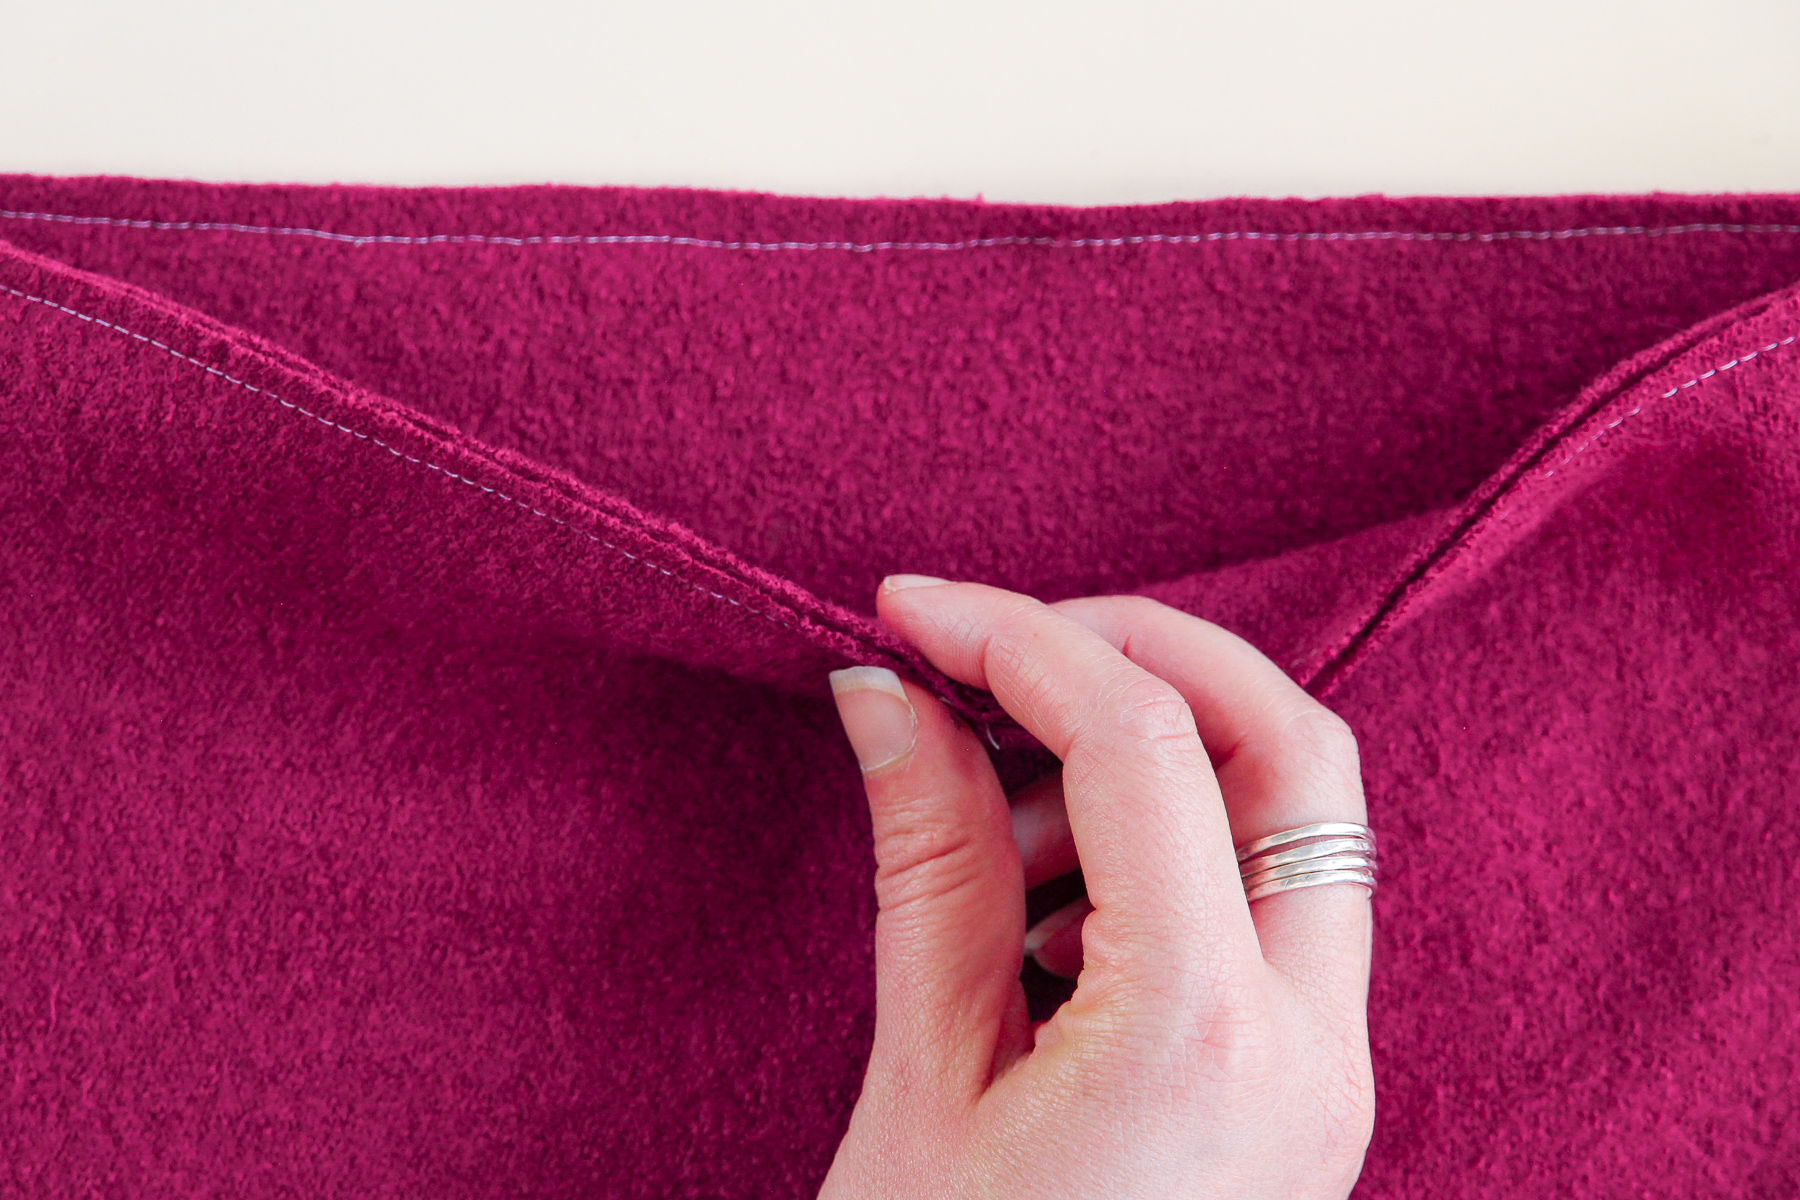
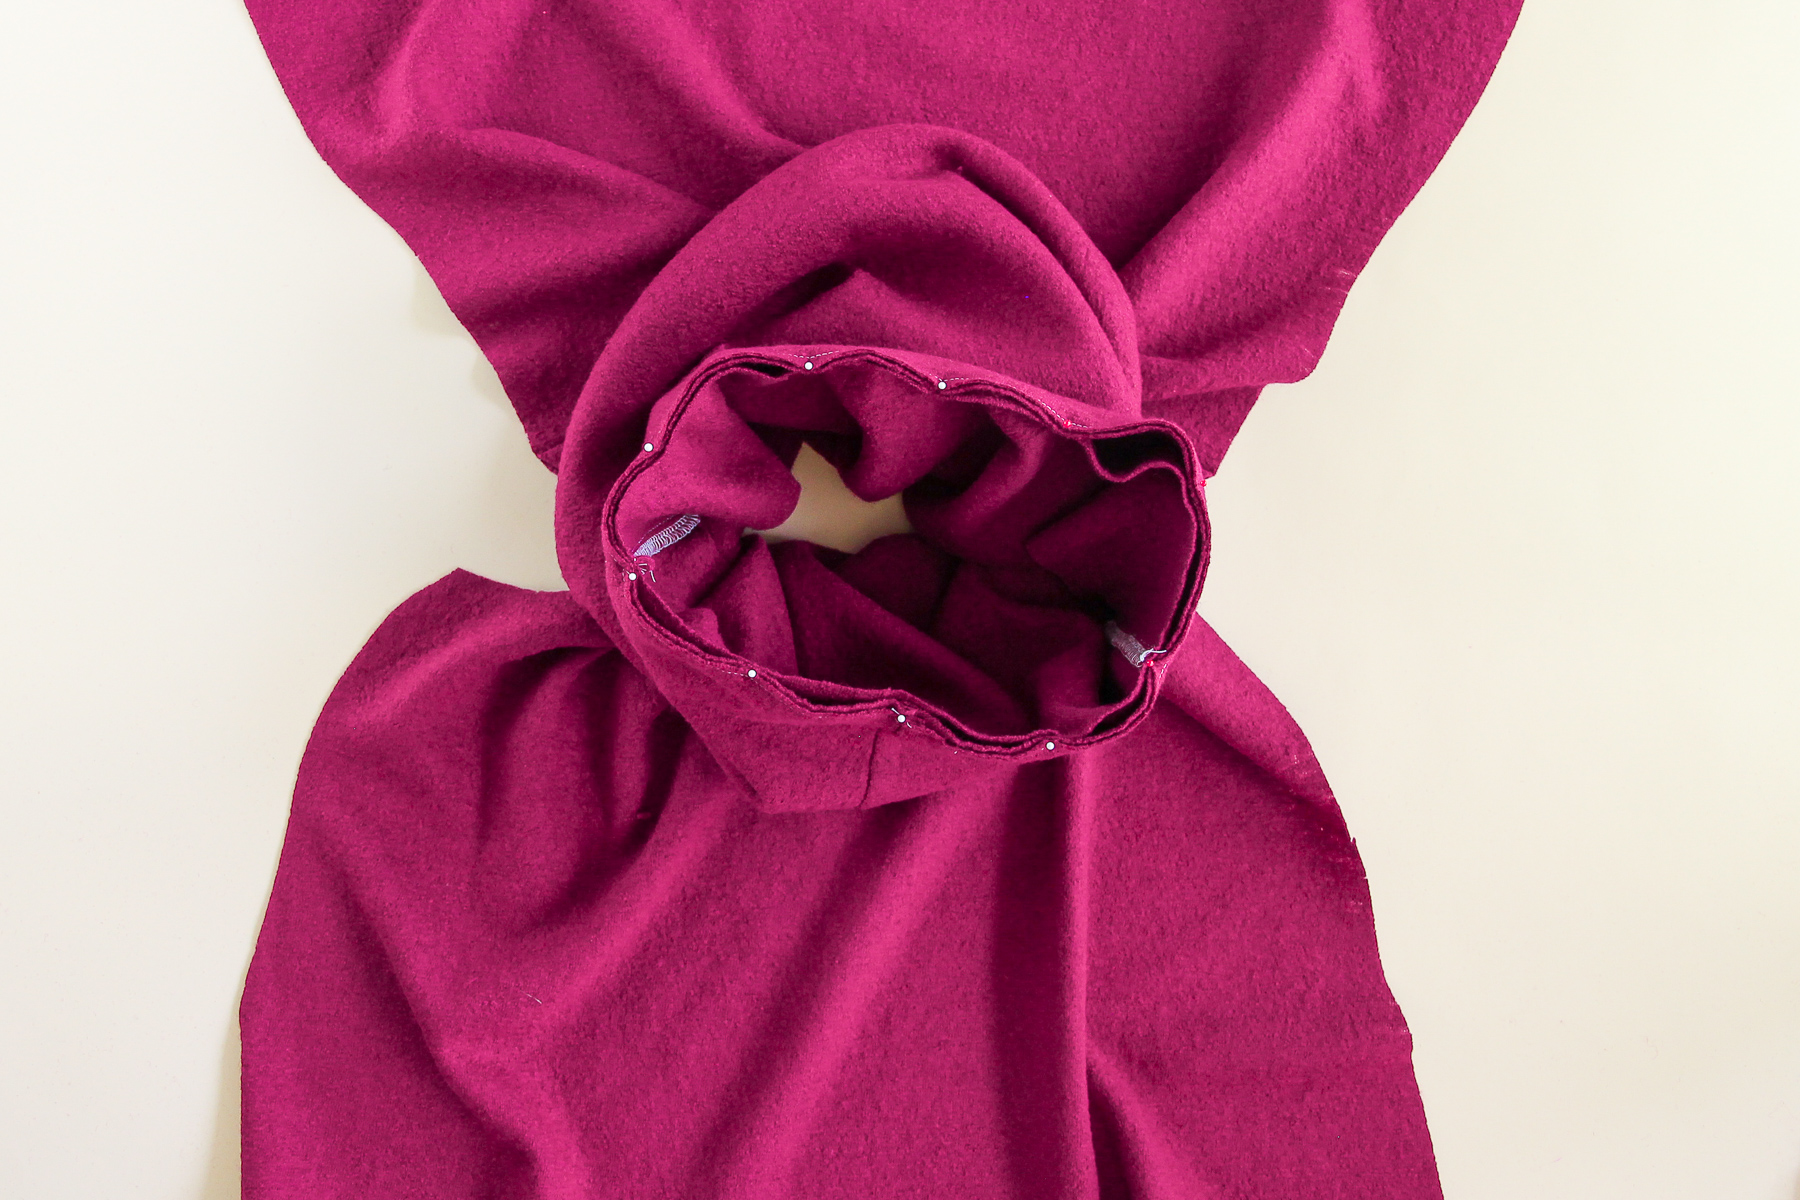
Now we’re going to flip it right side out and fold it in half, aligning the raw edges together. Your cowl should look like a big loop.
We’re going to attach the cowl to the neckline. I find that it’s helpful to baste the two layers of the cowl together first, so that I’m only lining up two layers rather than three when attaching to the neckline.
Pin the cowl to the neckline, matching the notches with the shoulders and the center front, and the seam of the cowl with the center back. Make sure that the cowl is right side out, with the wrong side of the cowl against the right side of the bodice. (If your cowl is the same on both sides, there’s no need to worry which is the right side and which is the wrong side!)
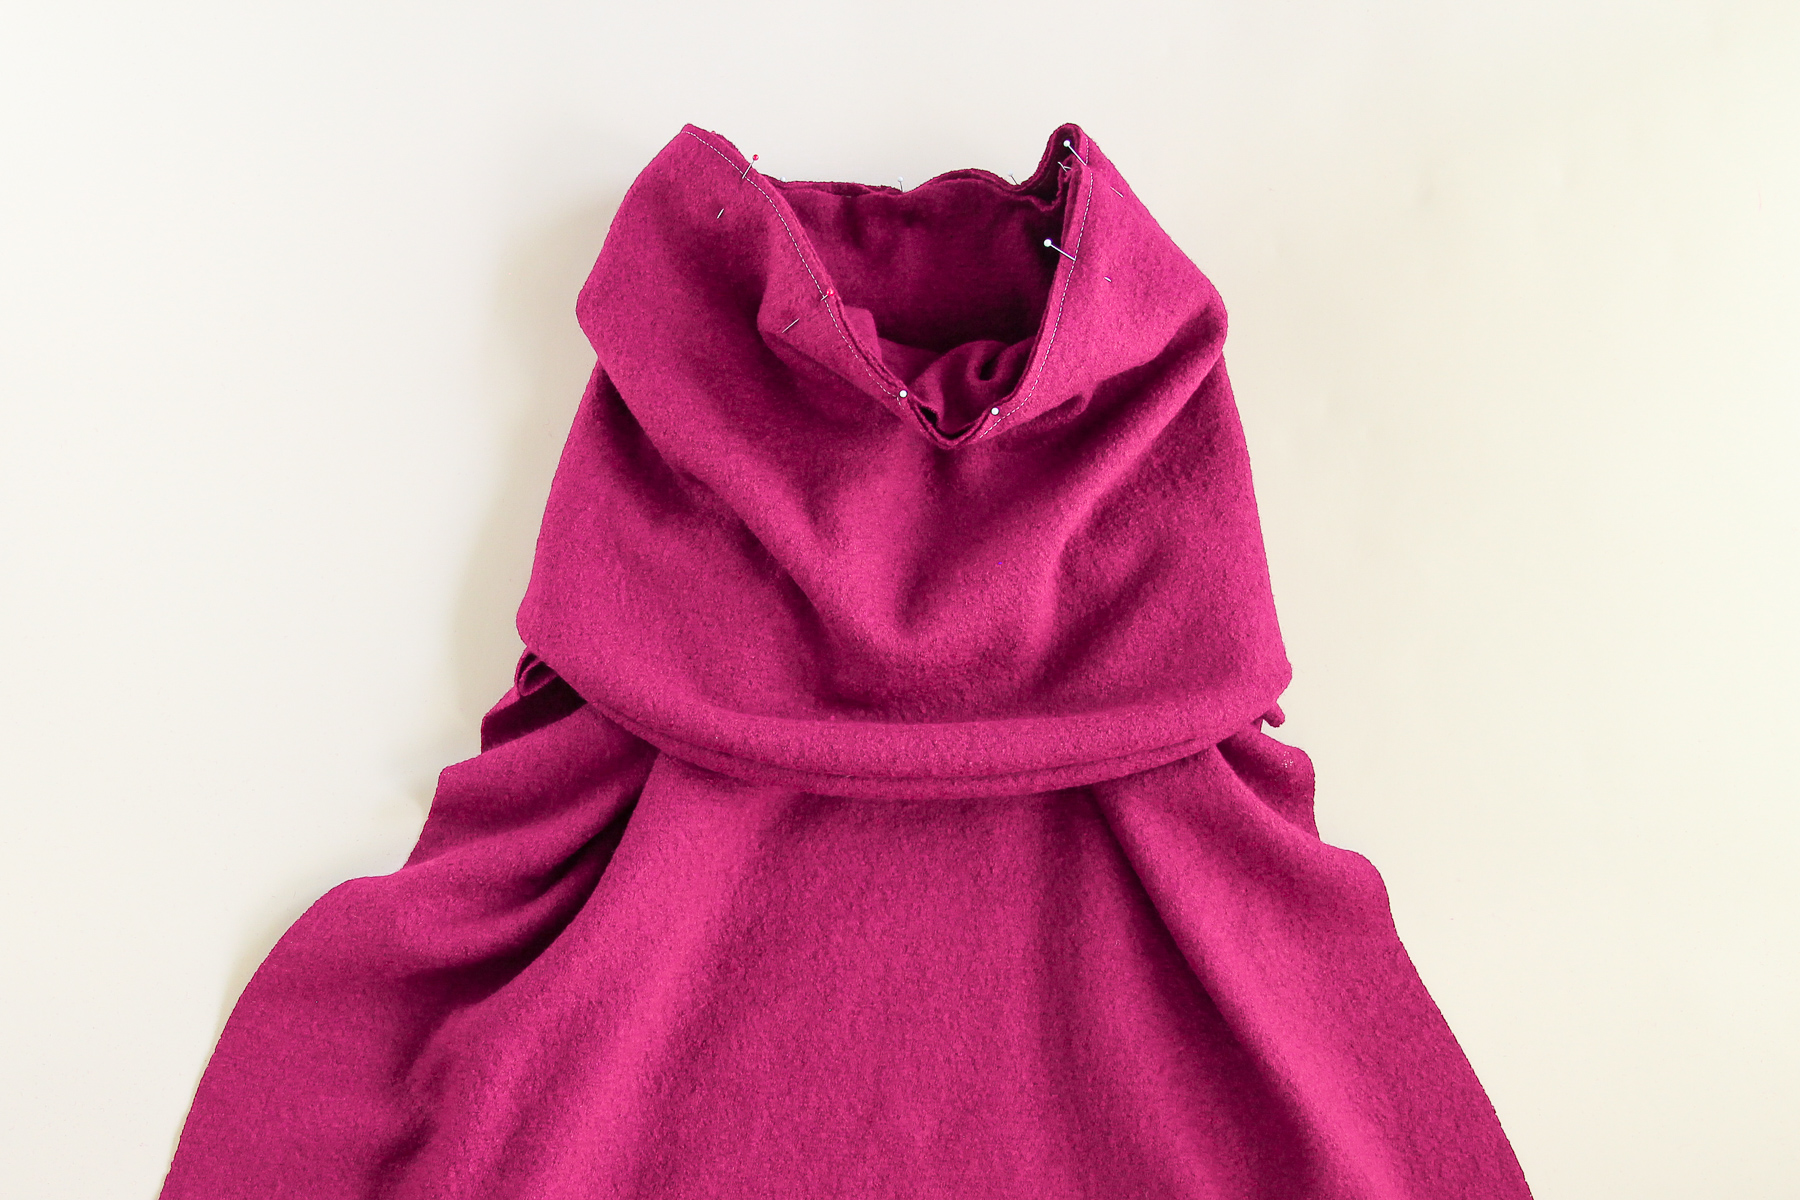
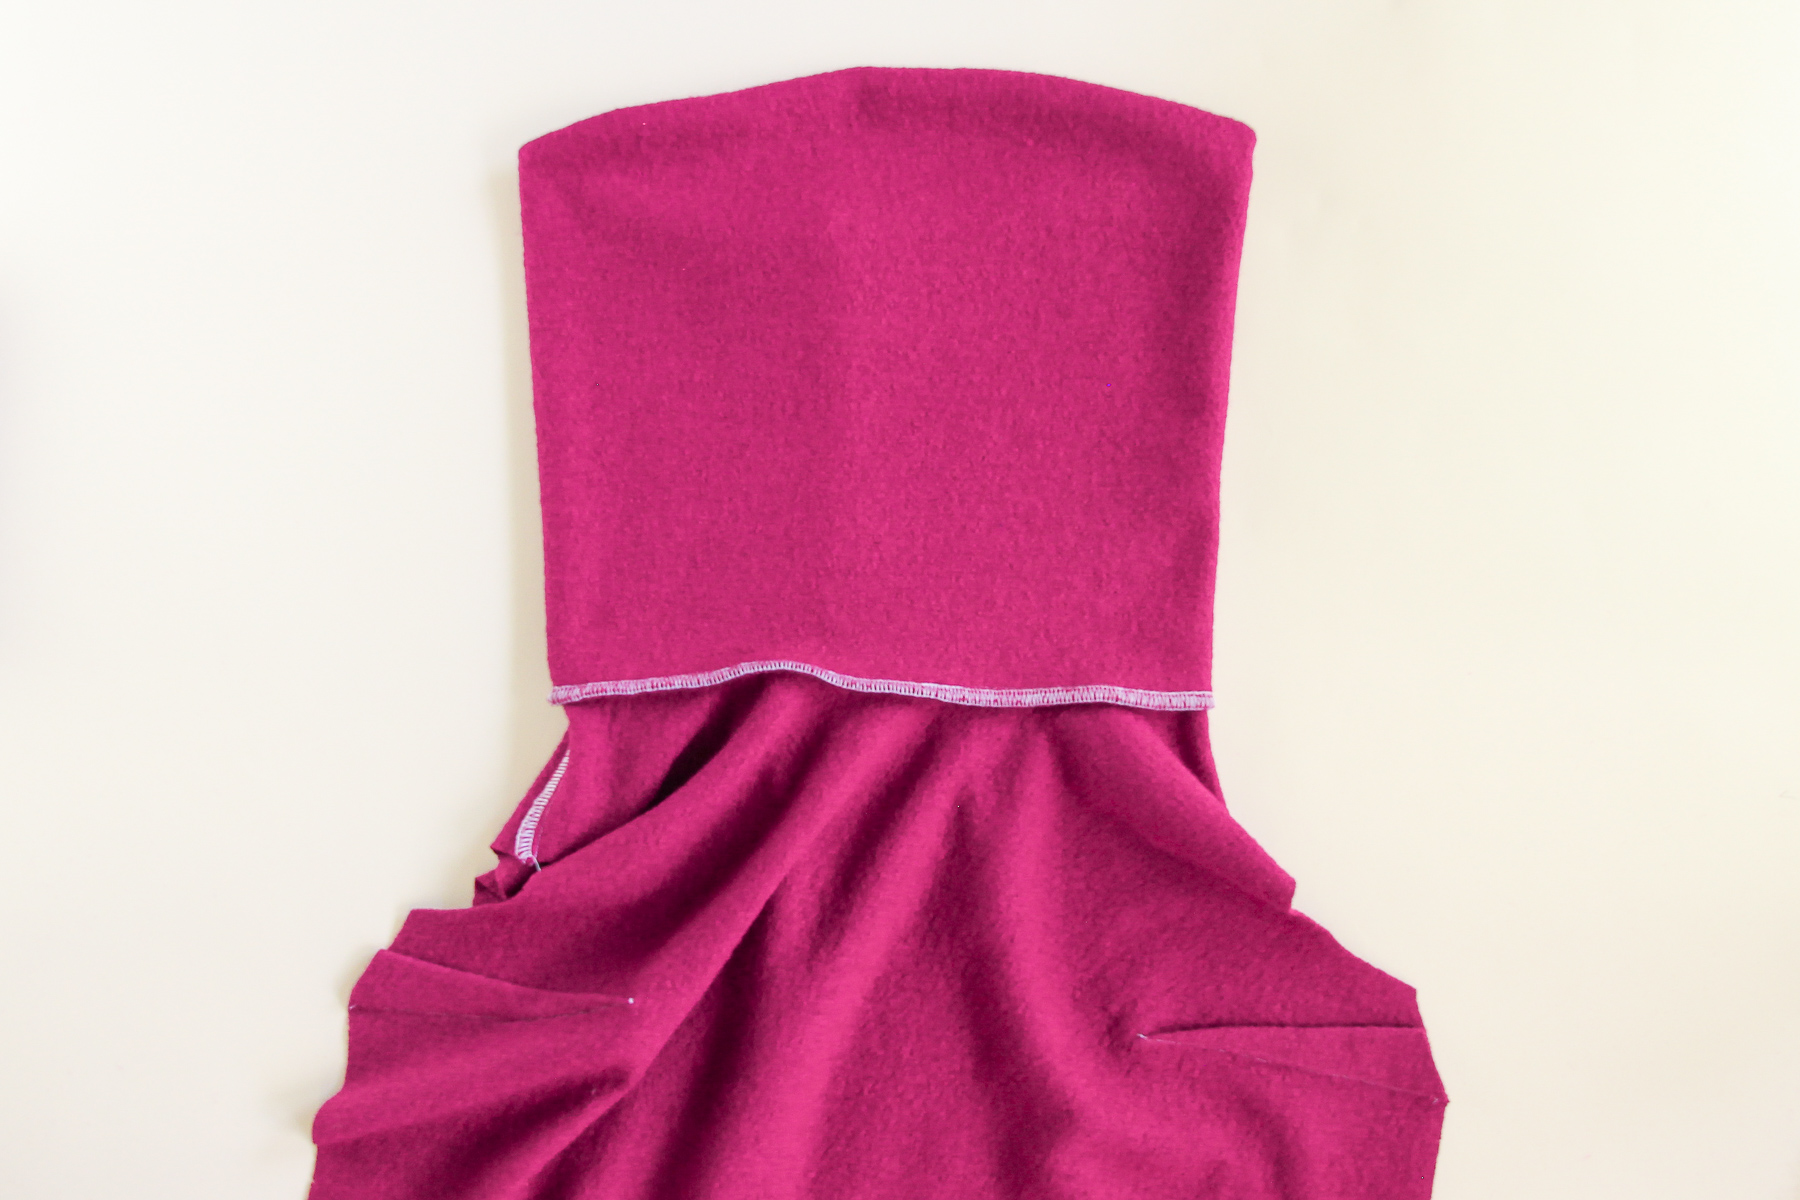
Sew around the neckline at our 3/8” (1 cm) seam allowance.
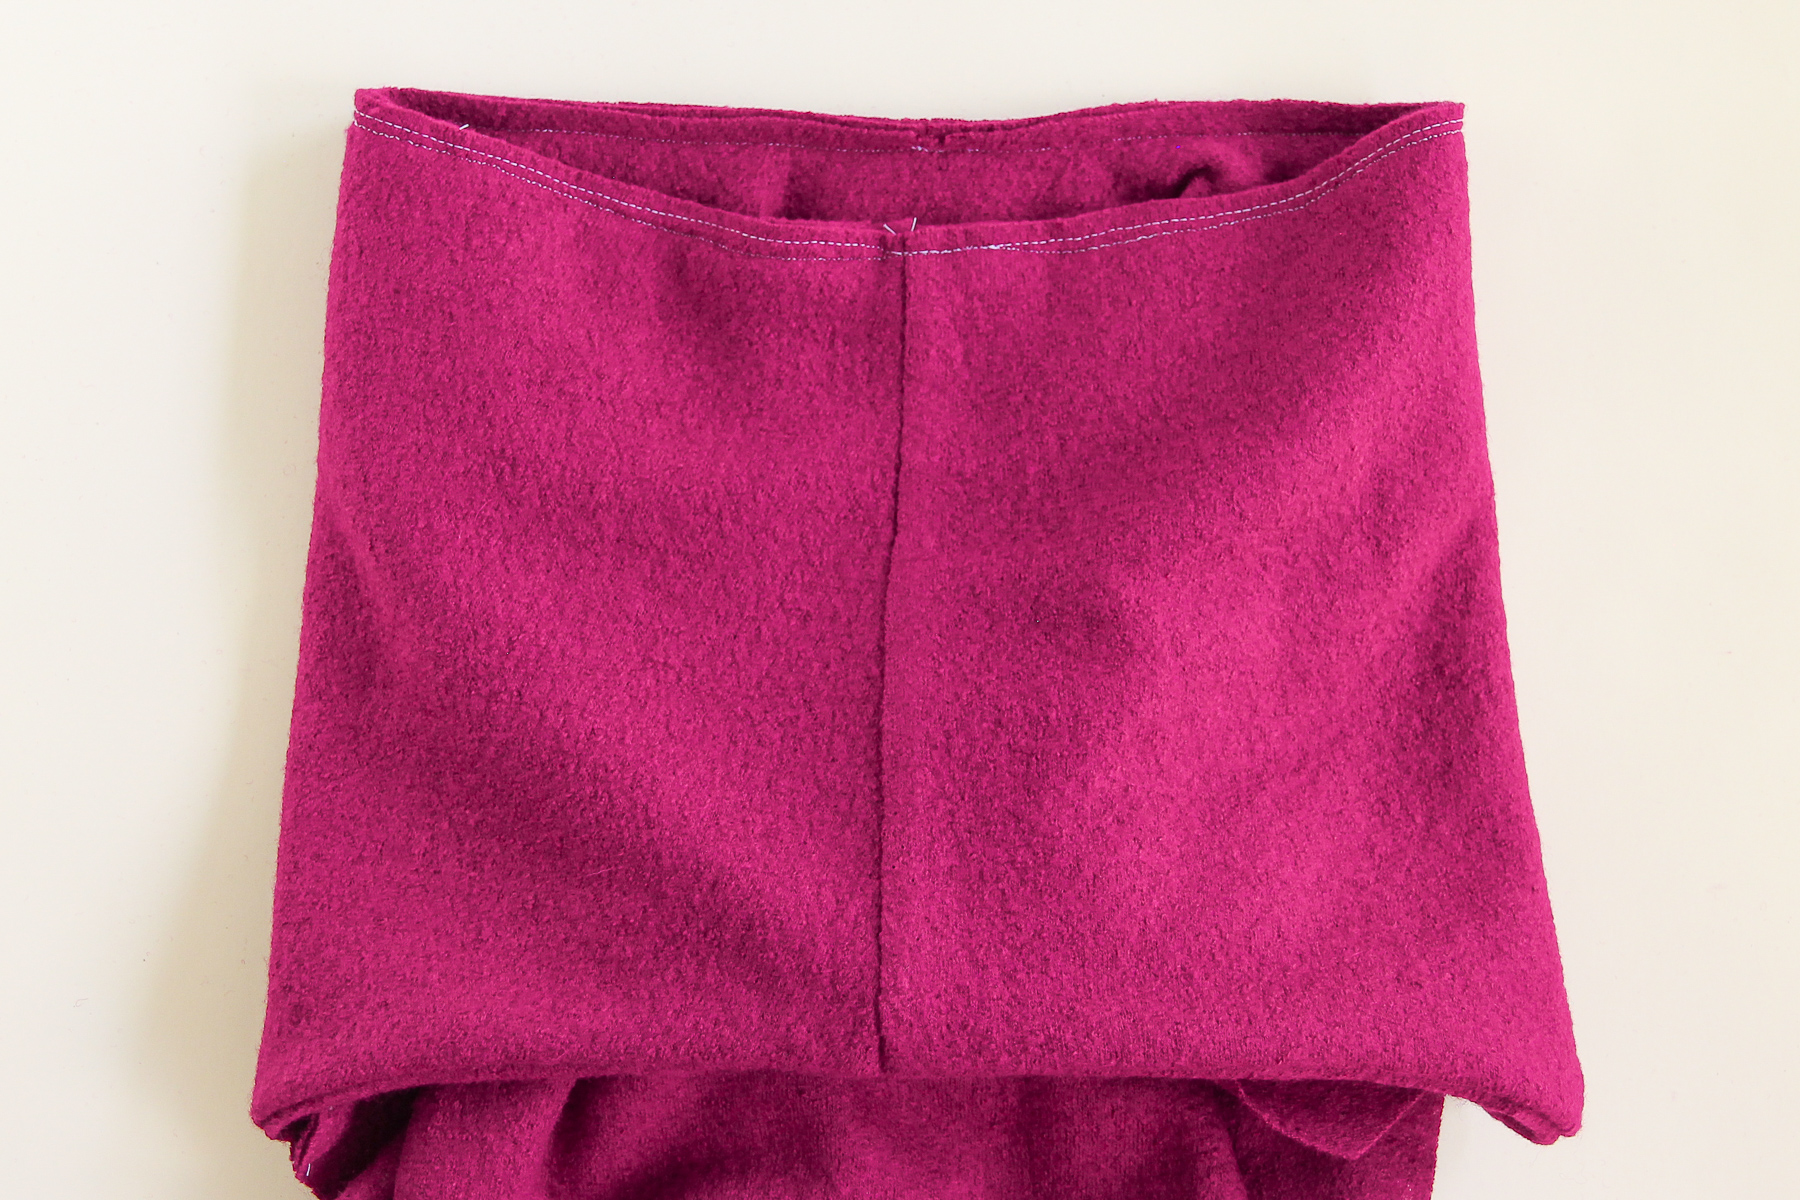
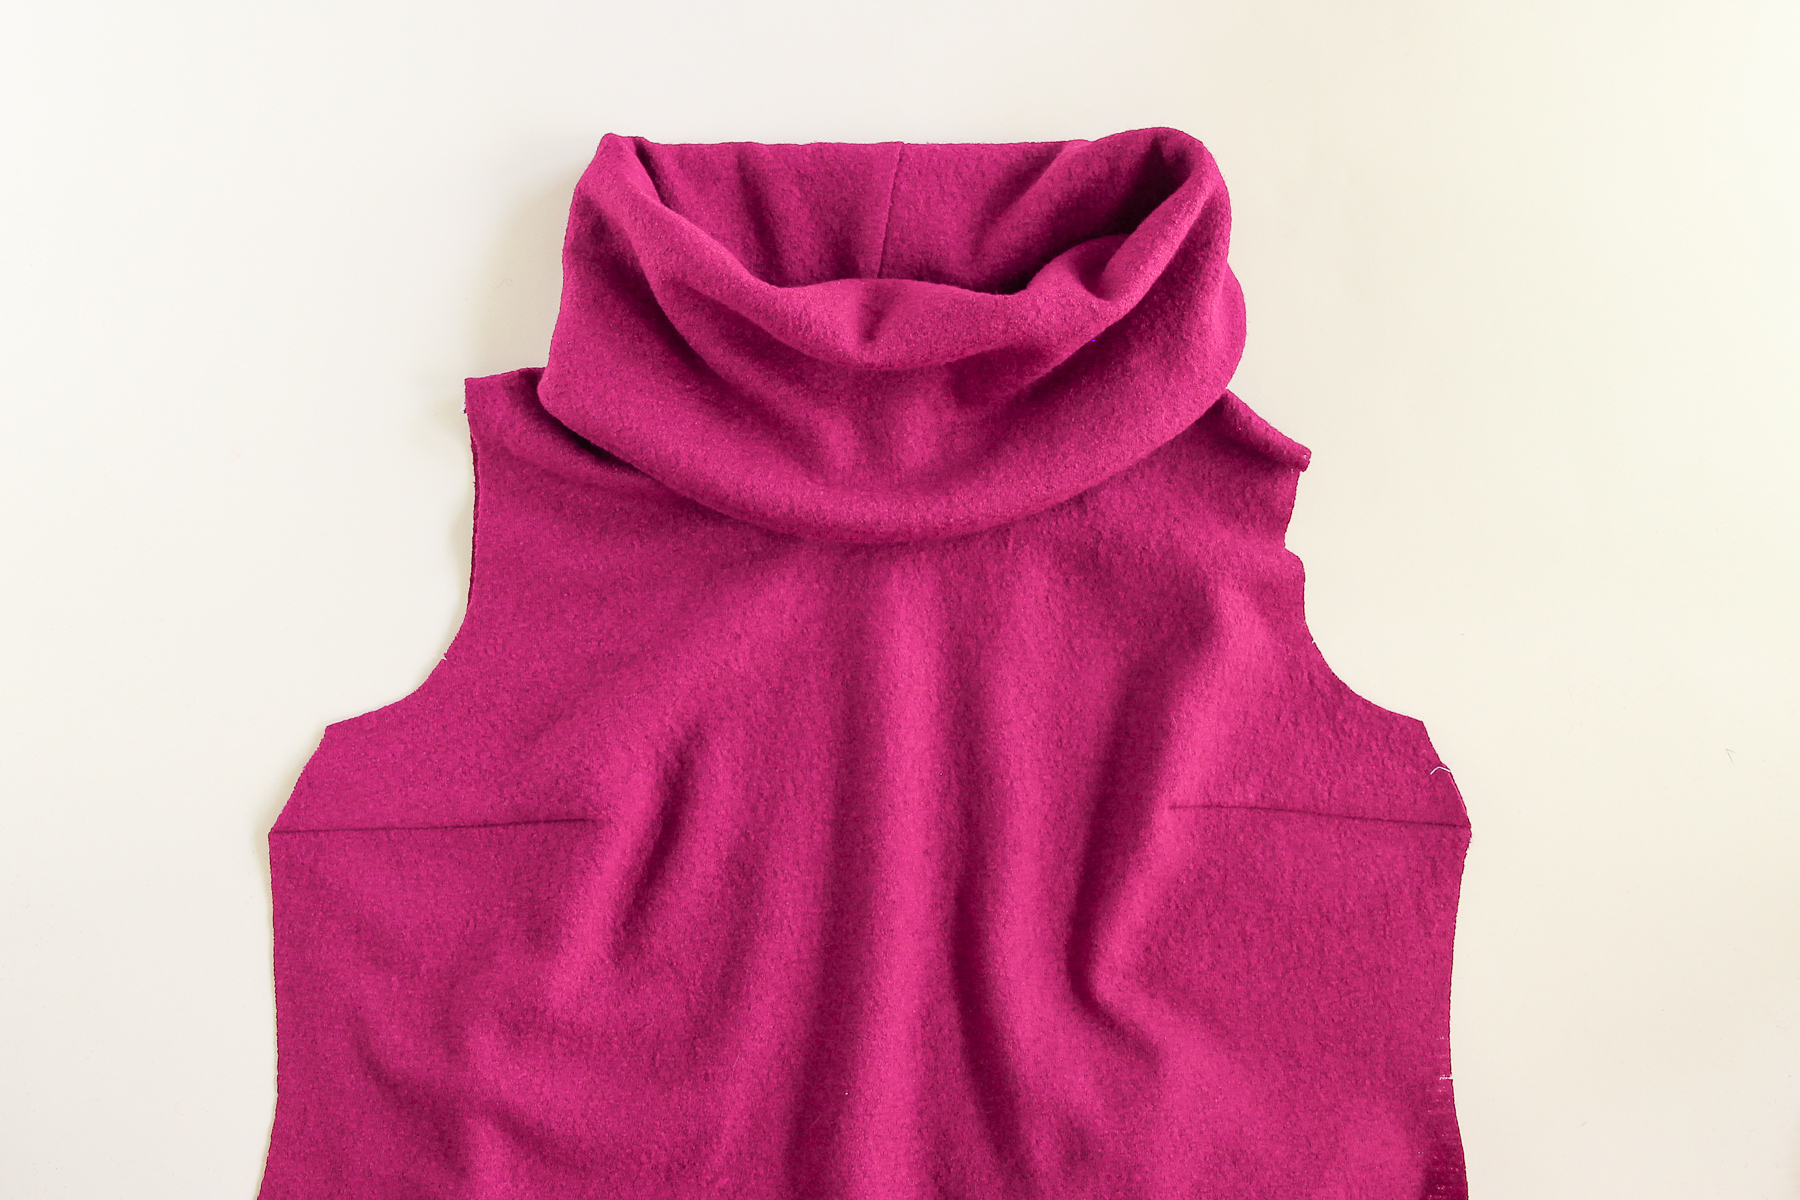
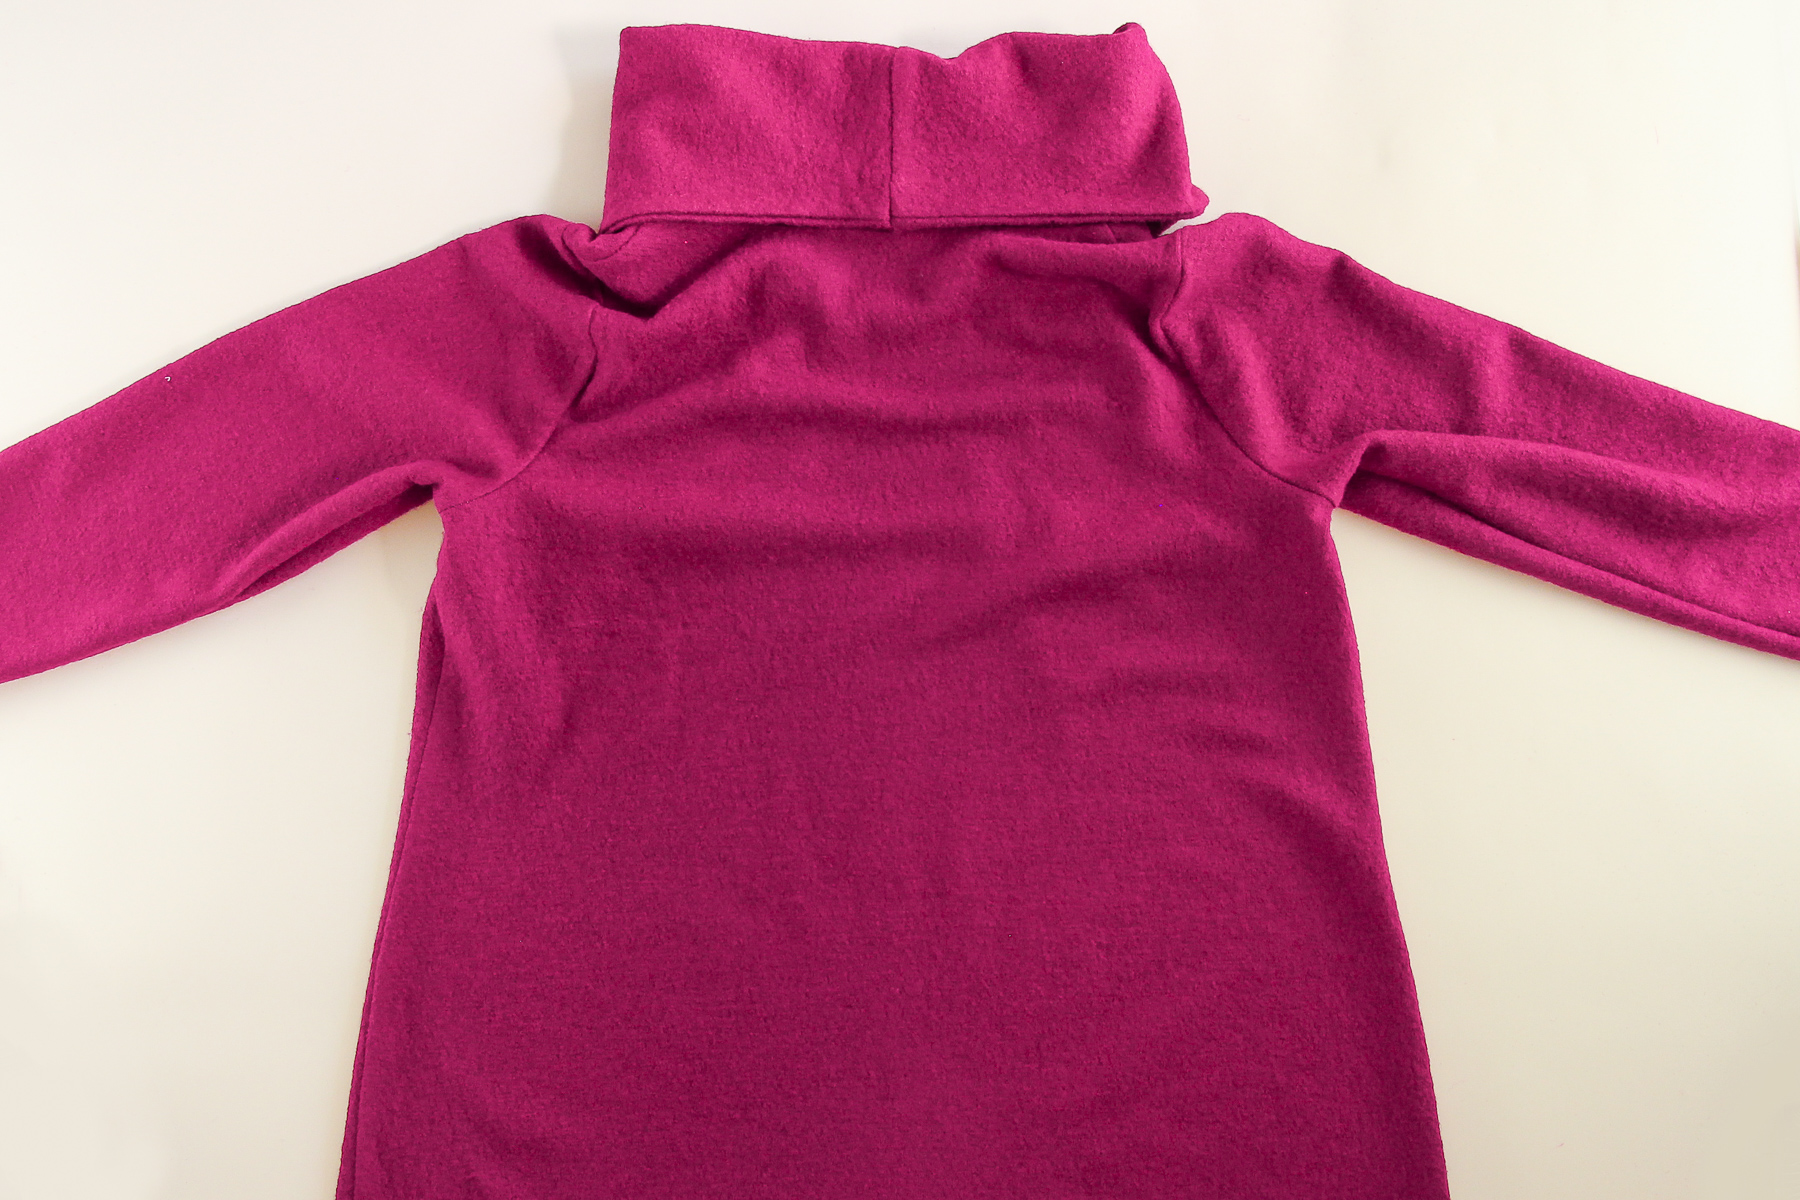
Finish that seam and press it down towards the body of the sweater. You can also flip up the cowl and fold it in half—that’s how it’ll be worn.
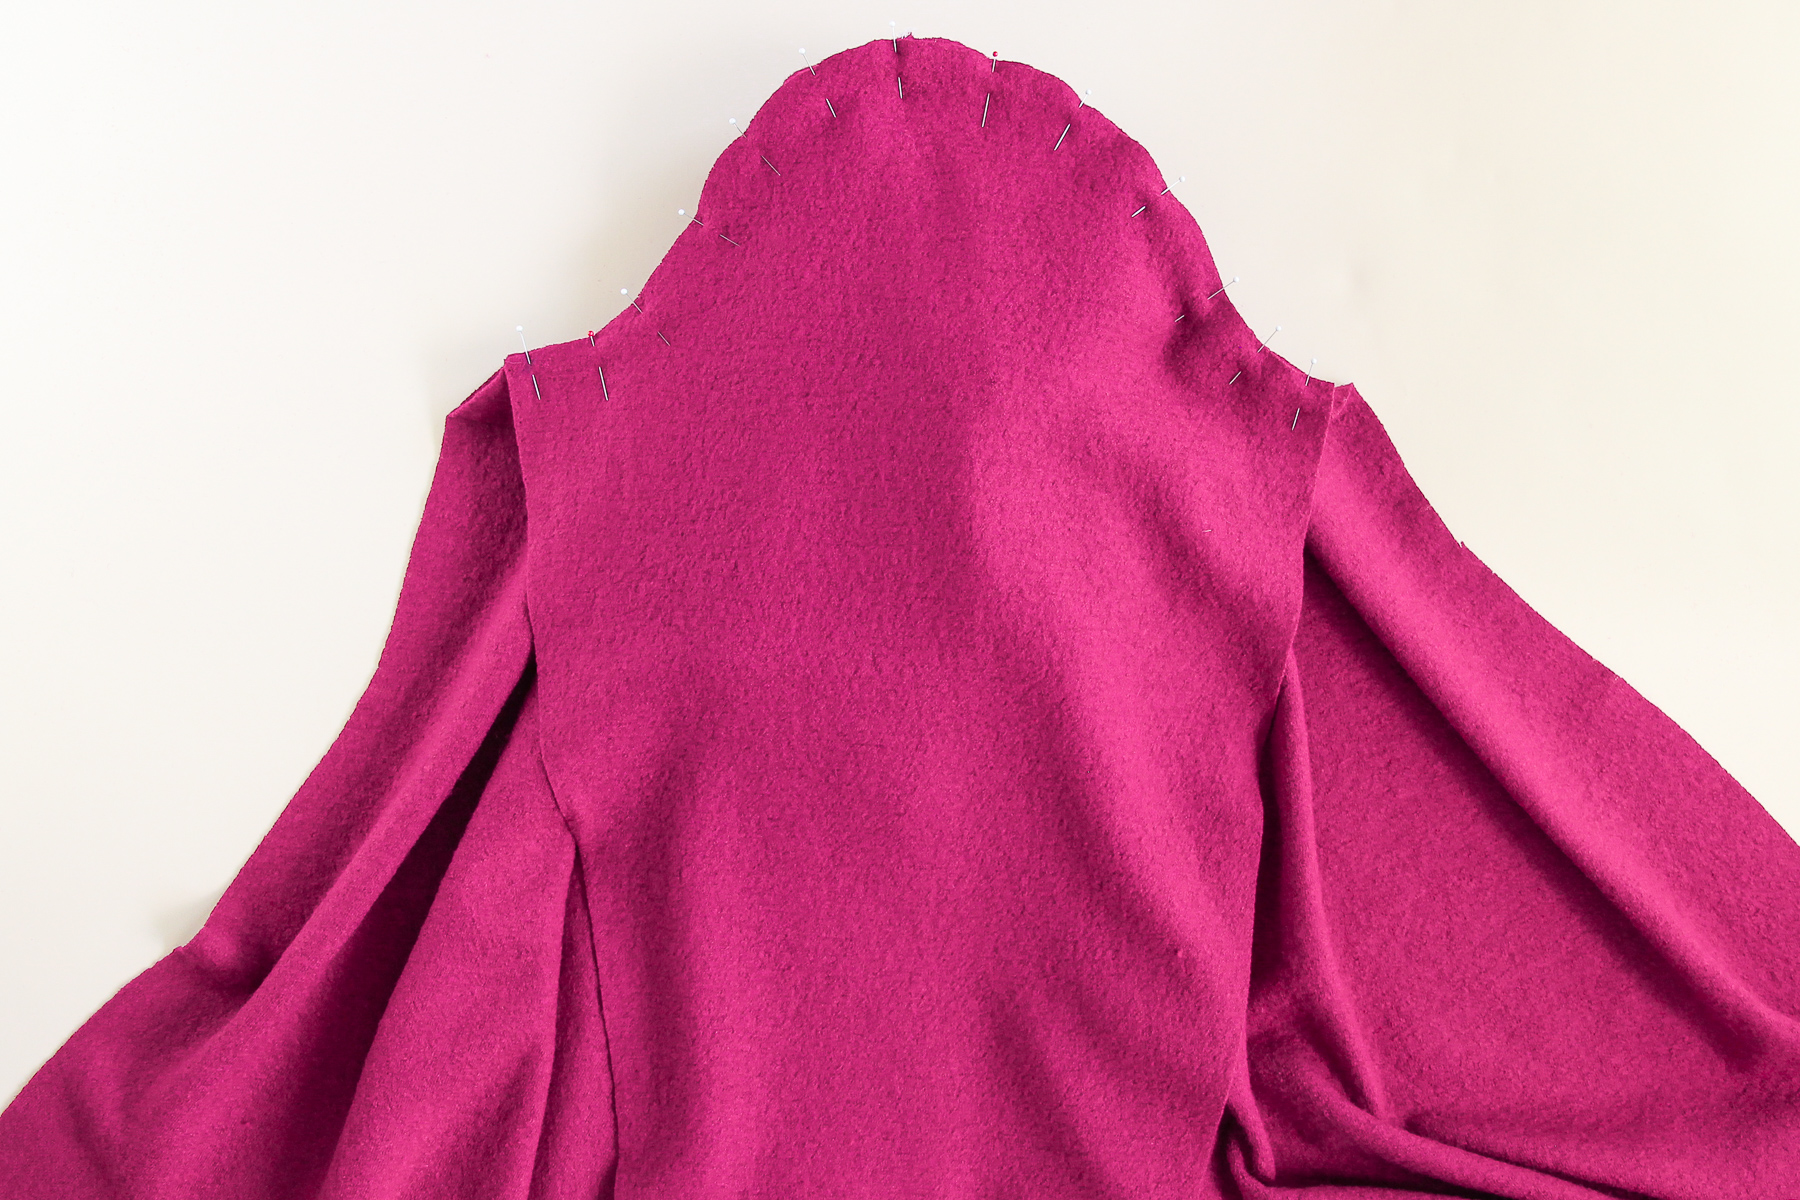
Time to get our sleeves on! Pin one sleeve to its corresponding armhole, matching notches. You’ll have to gently shape the armhole to fit the shape of the sleeve.
We’re going to sew that sleeve on, with the bodice facing up and the sleeve down against the machine.
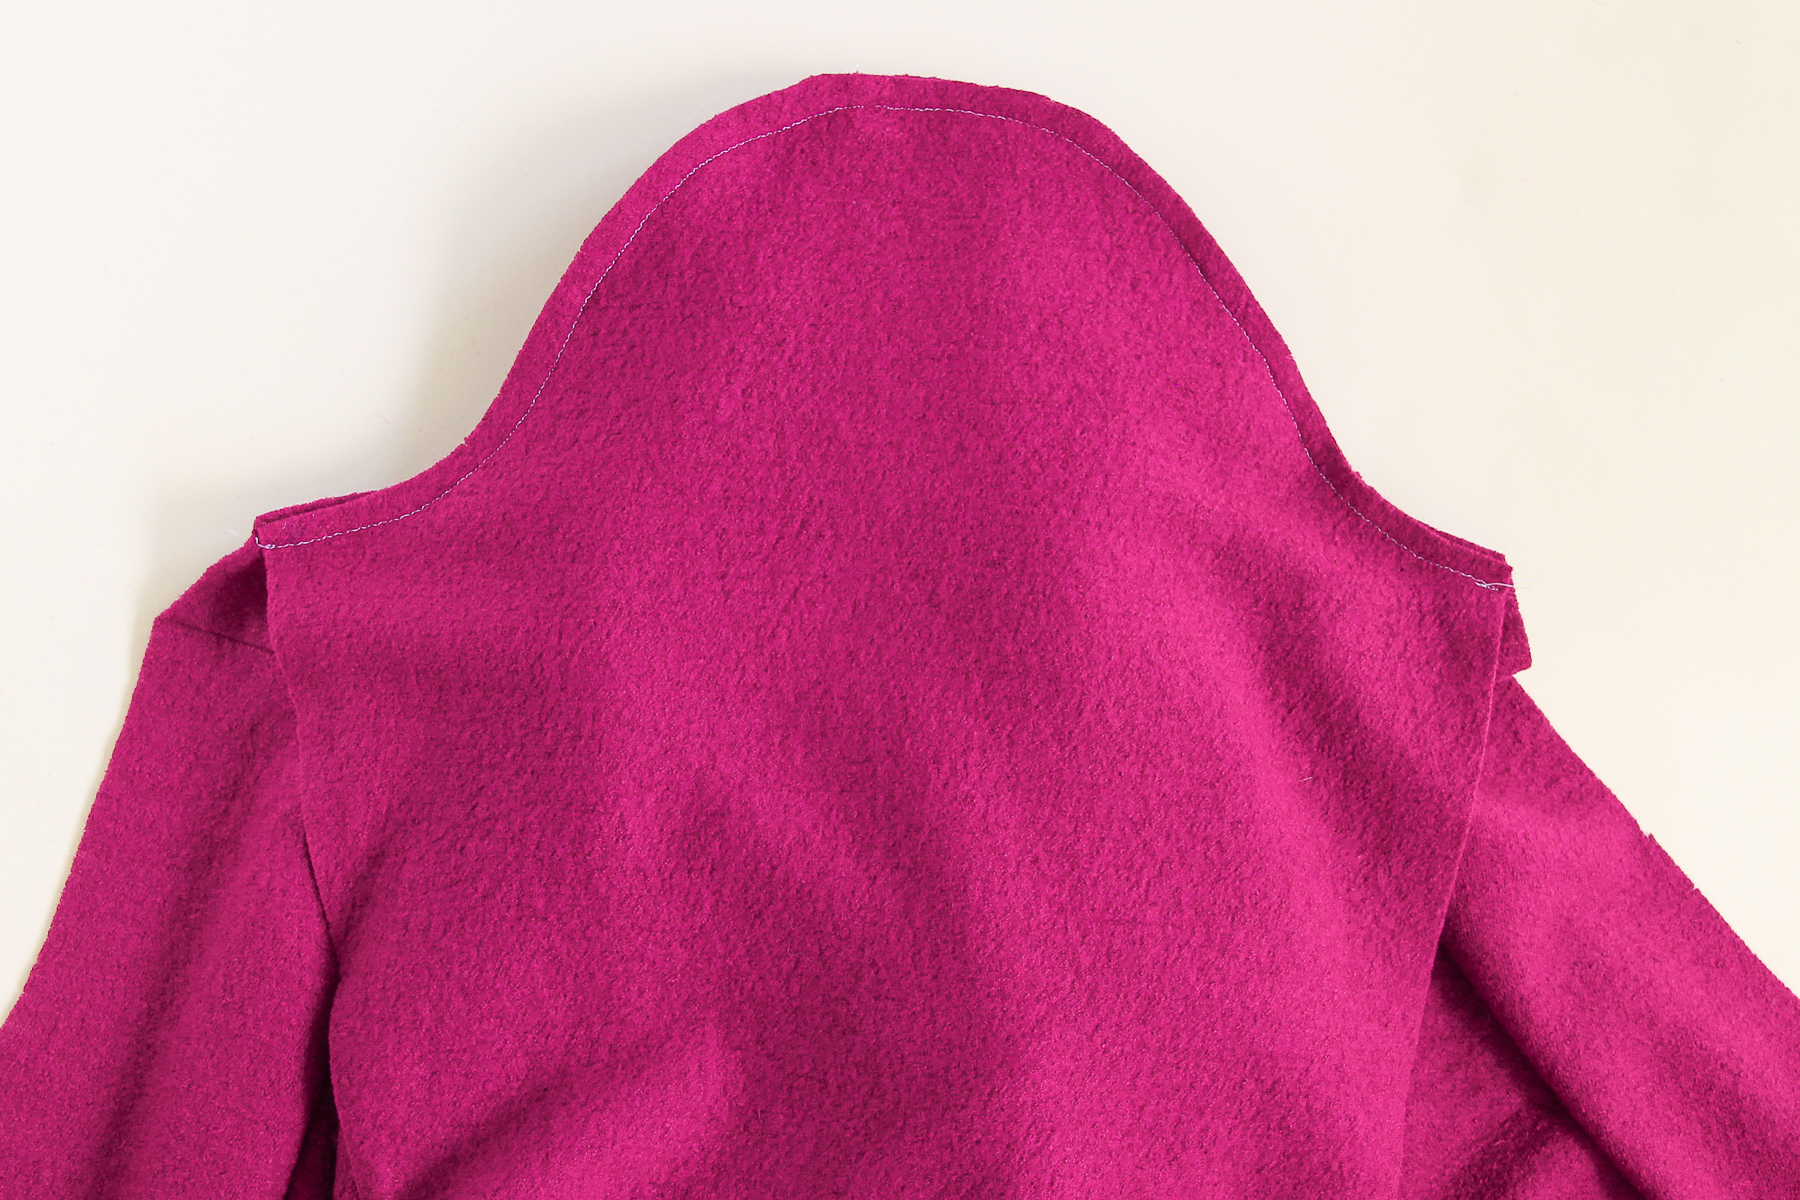
Finish that seam and press it towards the sleeve.

Let’s repeat that with the other sleeve
And now we’re going to sew the side seams, which is my favorite part because then the sweater is ready to try on!
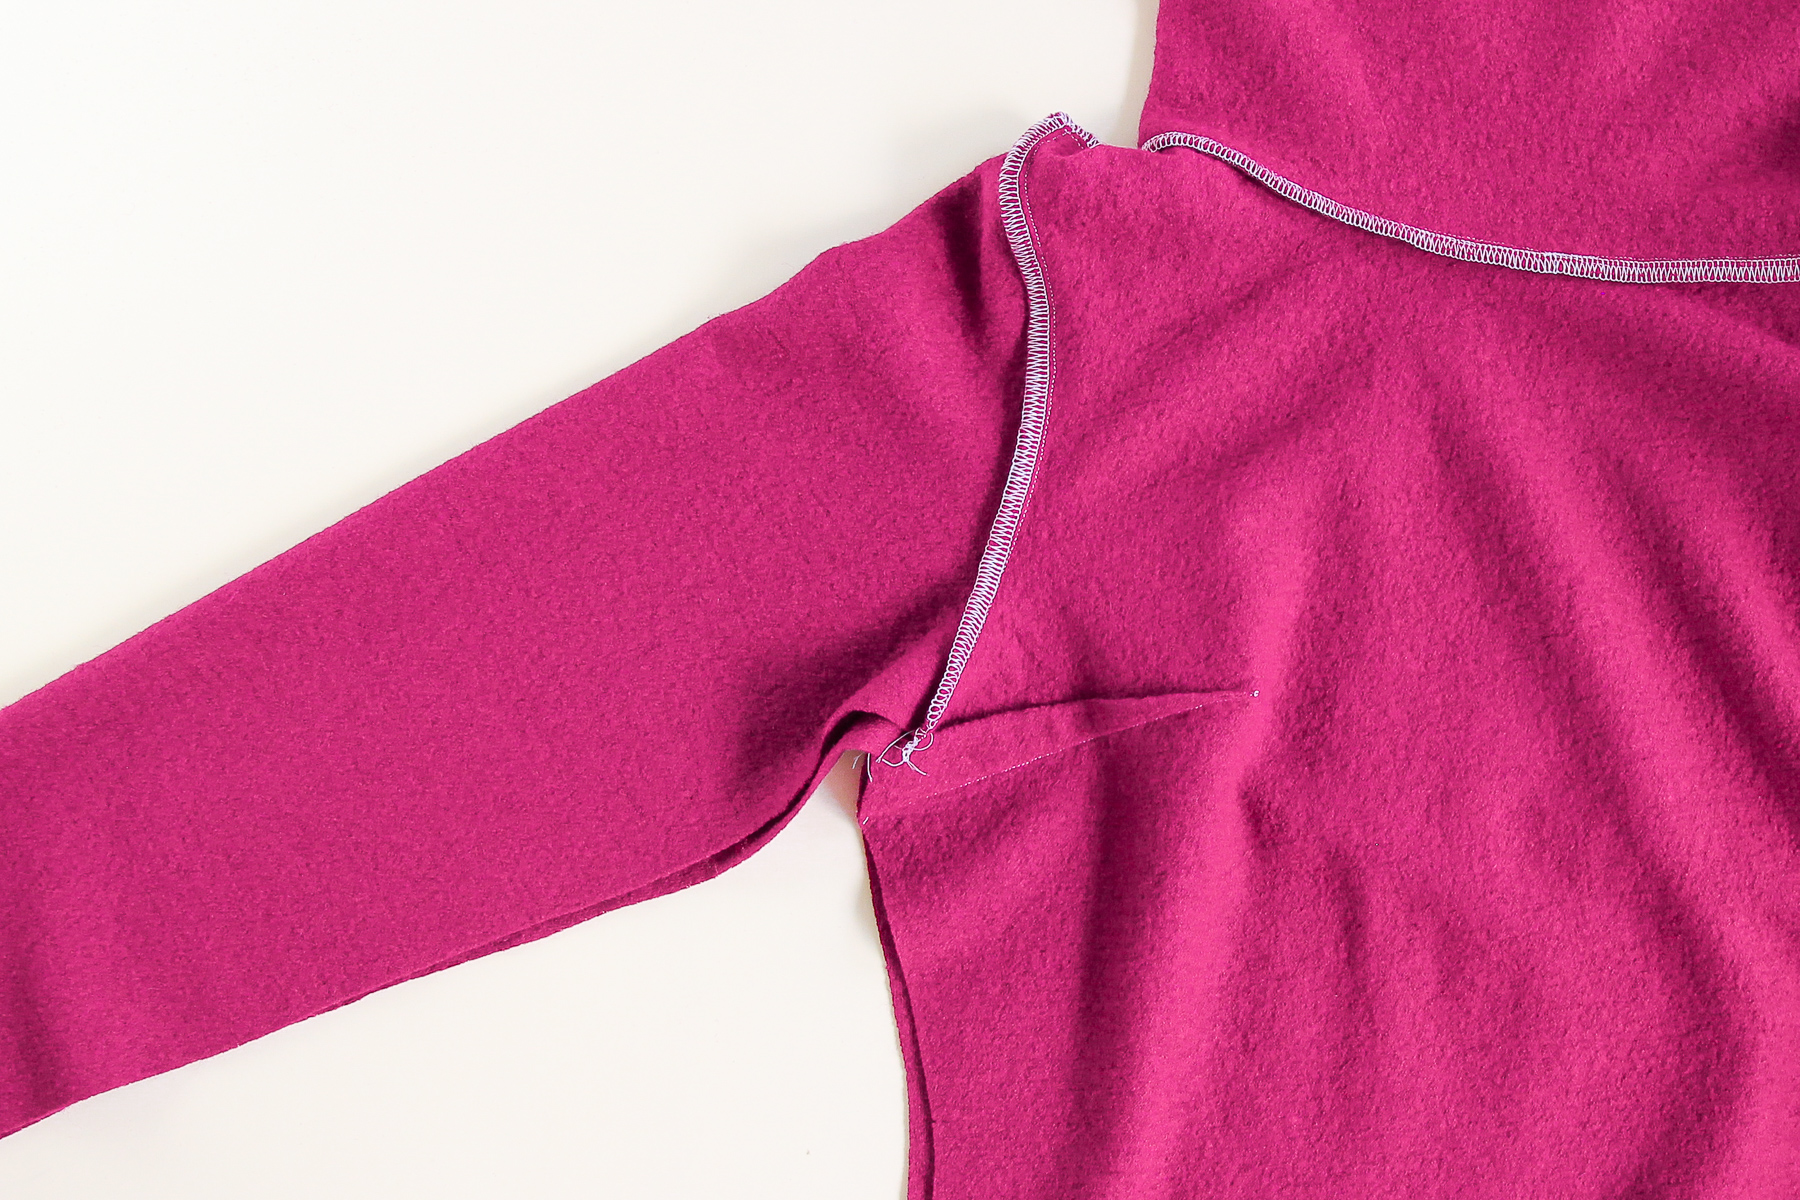
Pin one side seam all along the bodice and sleeve.
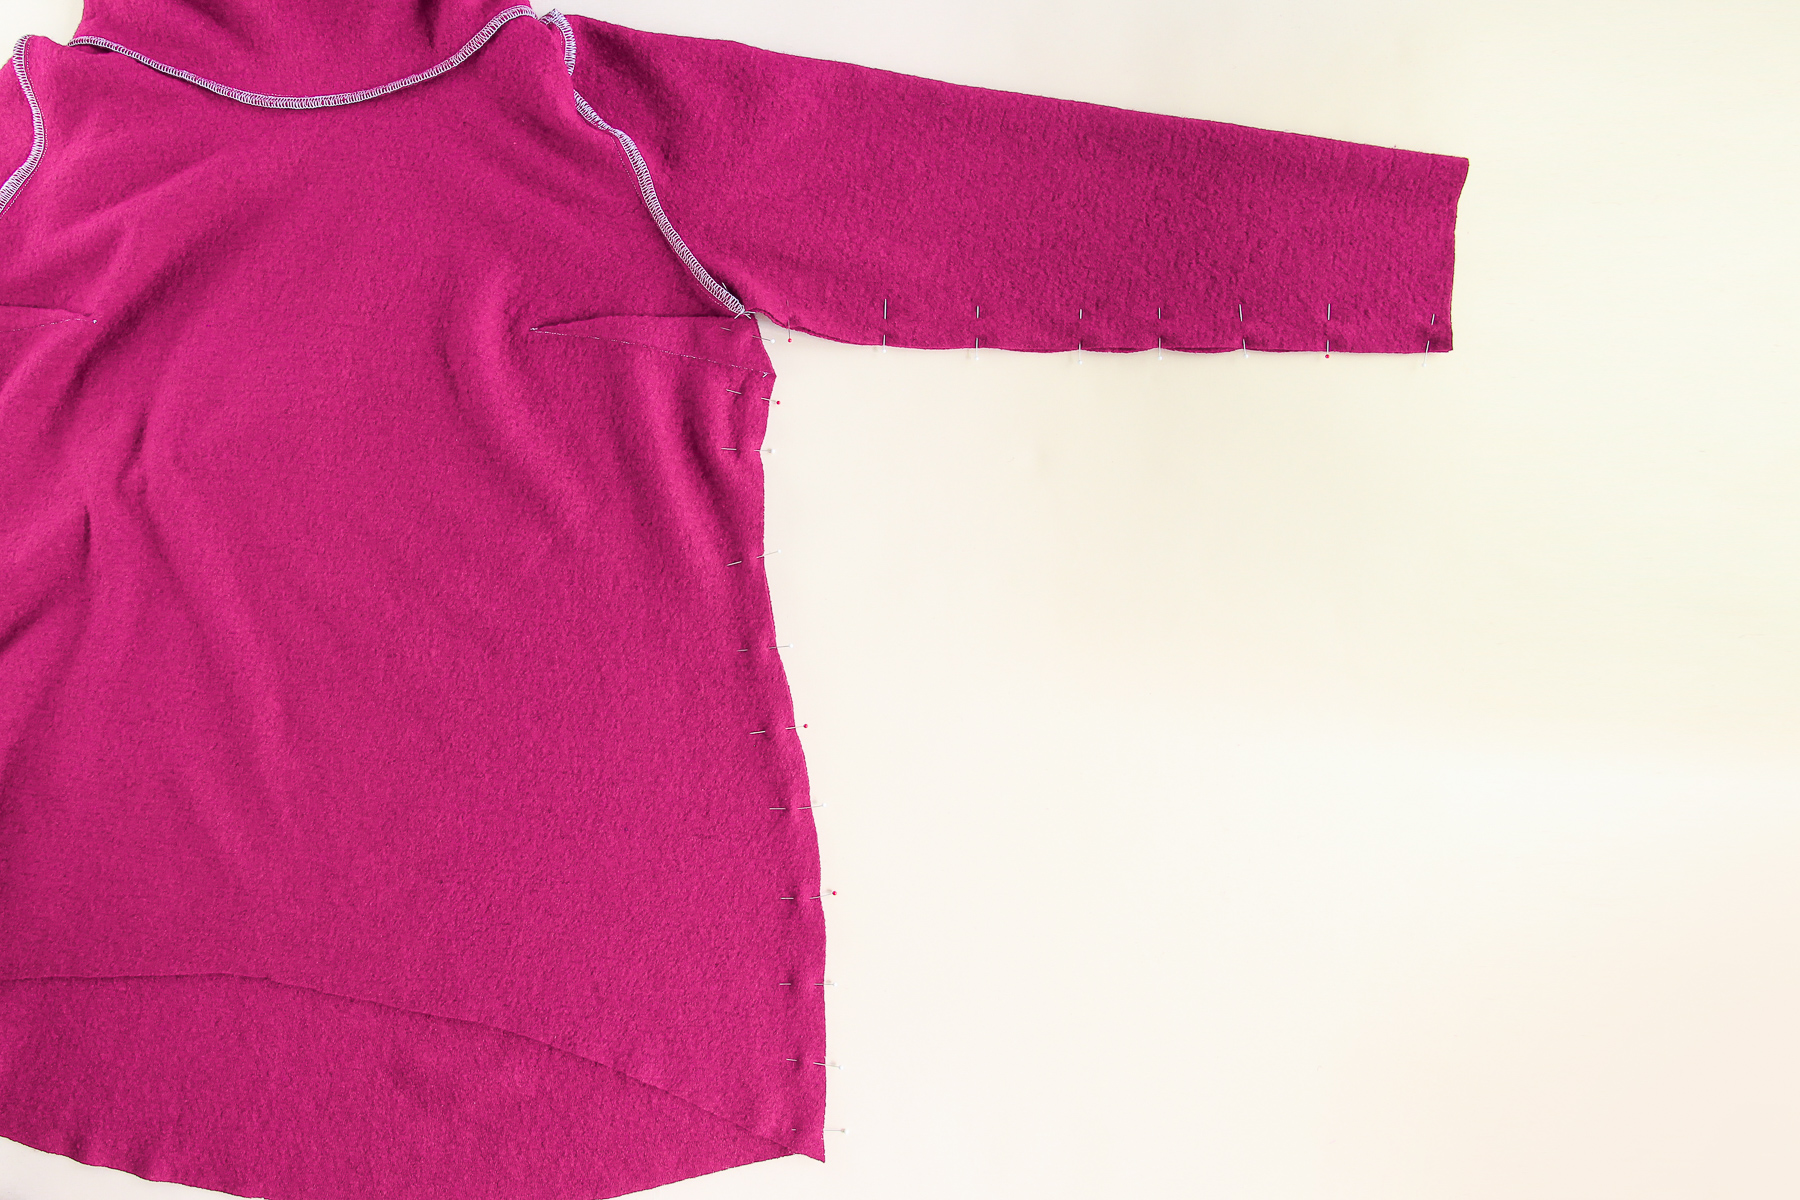
Sew that seam at our 3/8” (1 cm) seam allowance, starting at the hem and going up, pivoting at the underarm seam. Make sure your bust dart is folded upward.
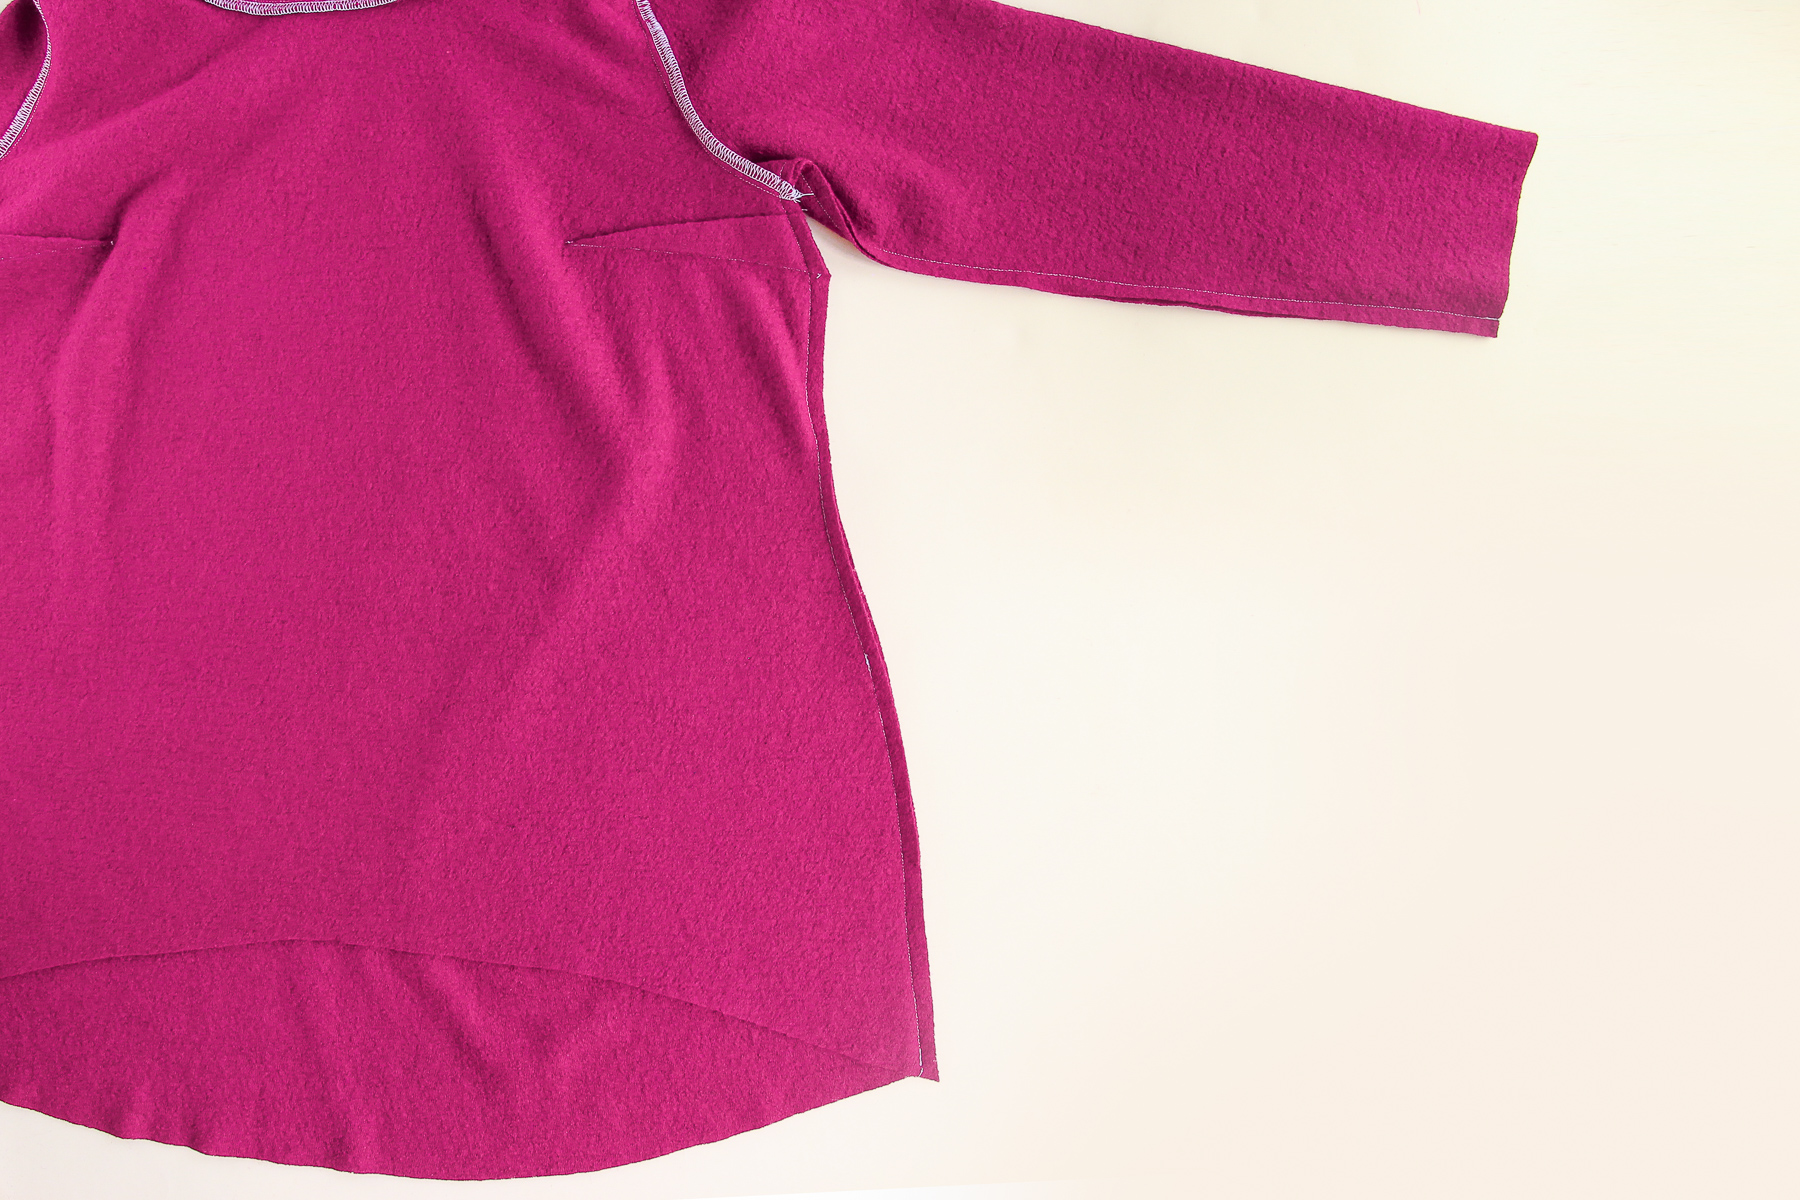
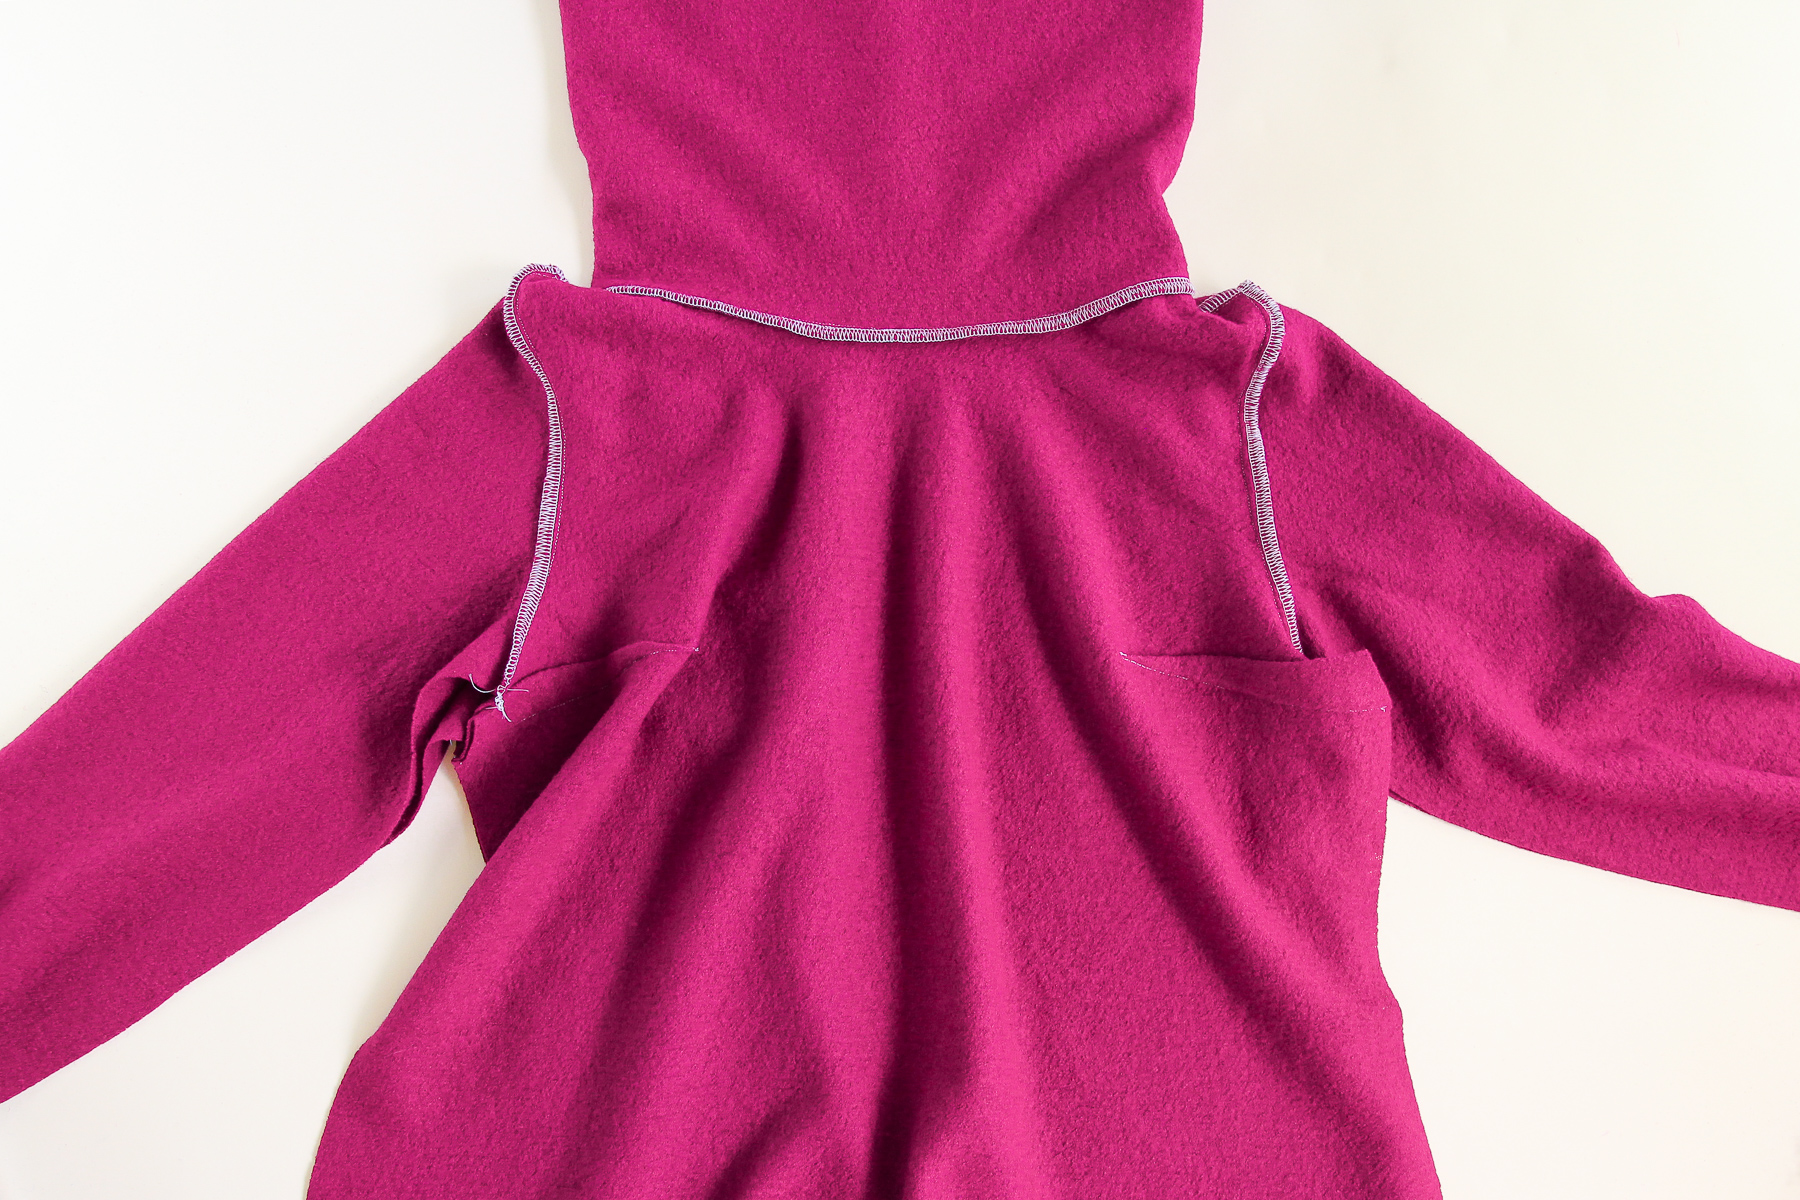
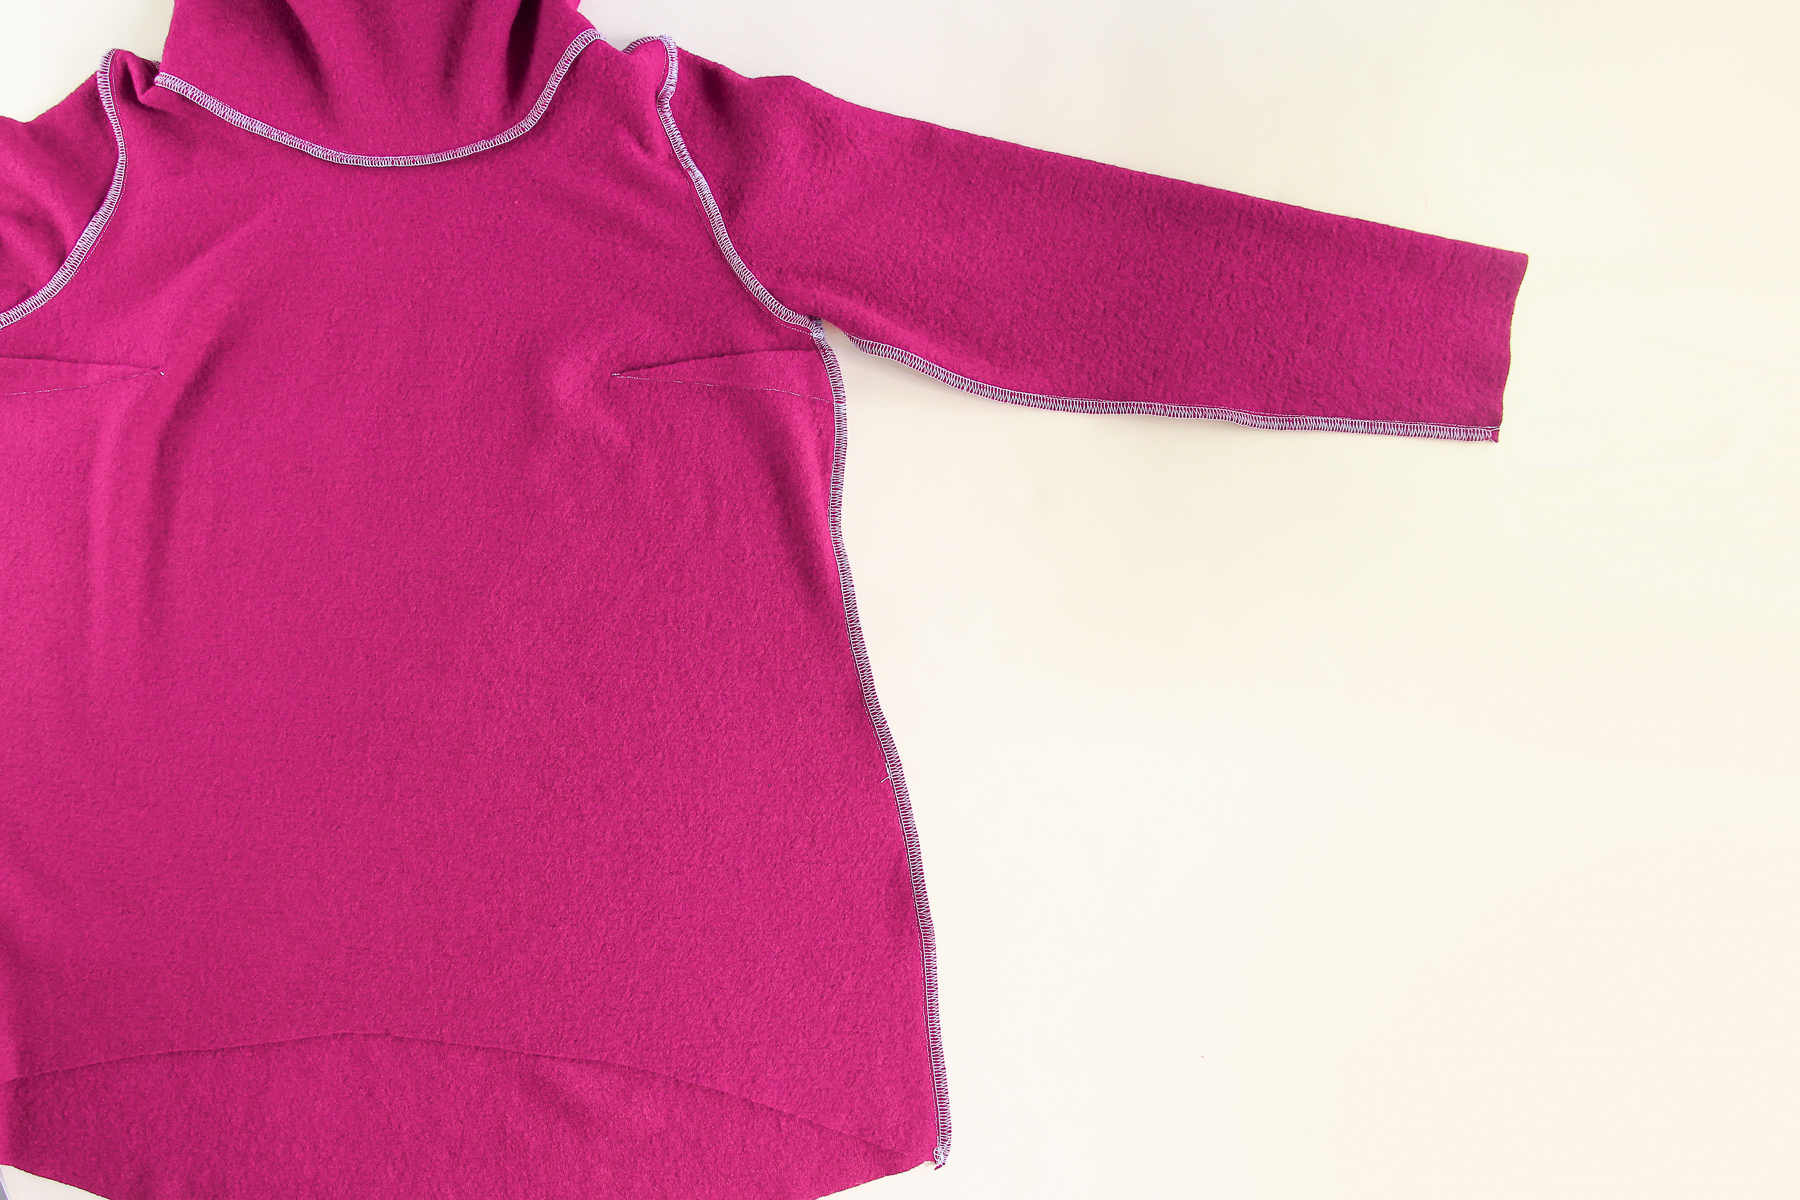
Let’s finish that seam and press it towards the back of the sweater. If this is your first time making a Tobin, first sew the other side seam and check the fit before finishing the seams, in case you want to make adjustments to side seams.
And we’re going to do the same thing on the other side!
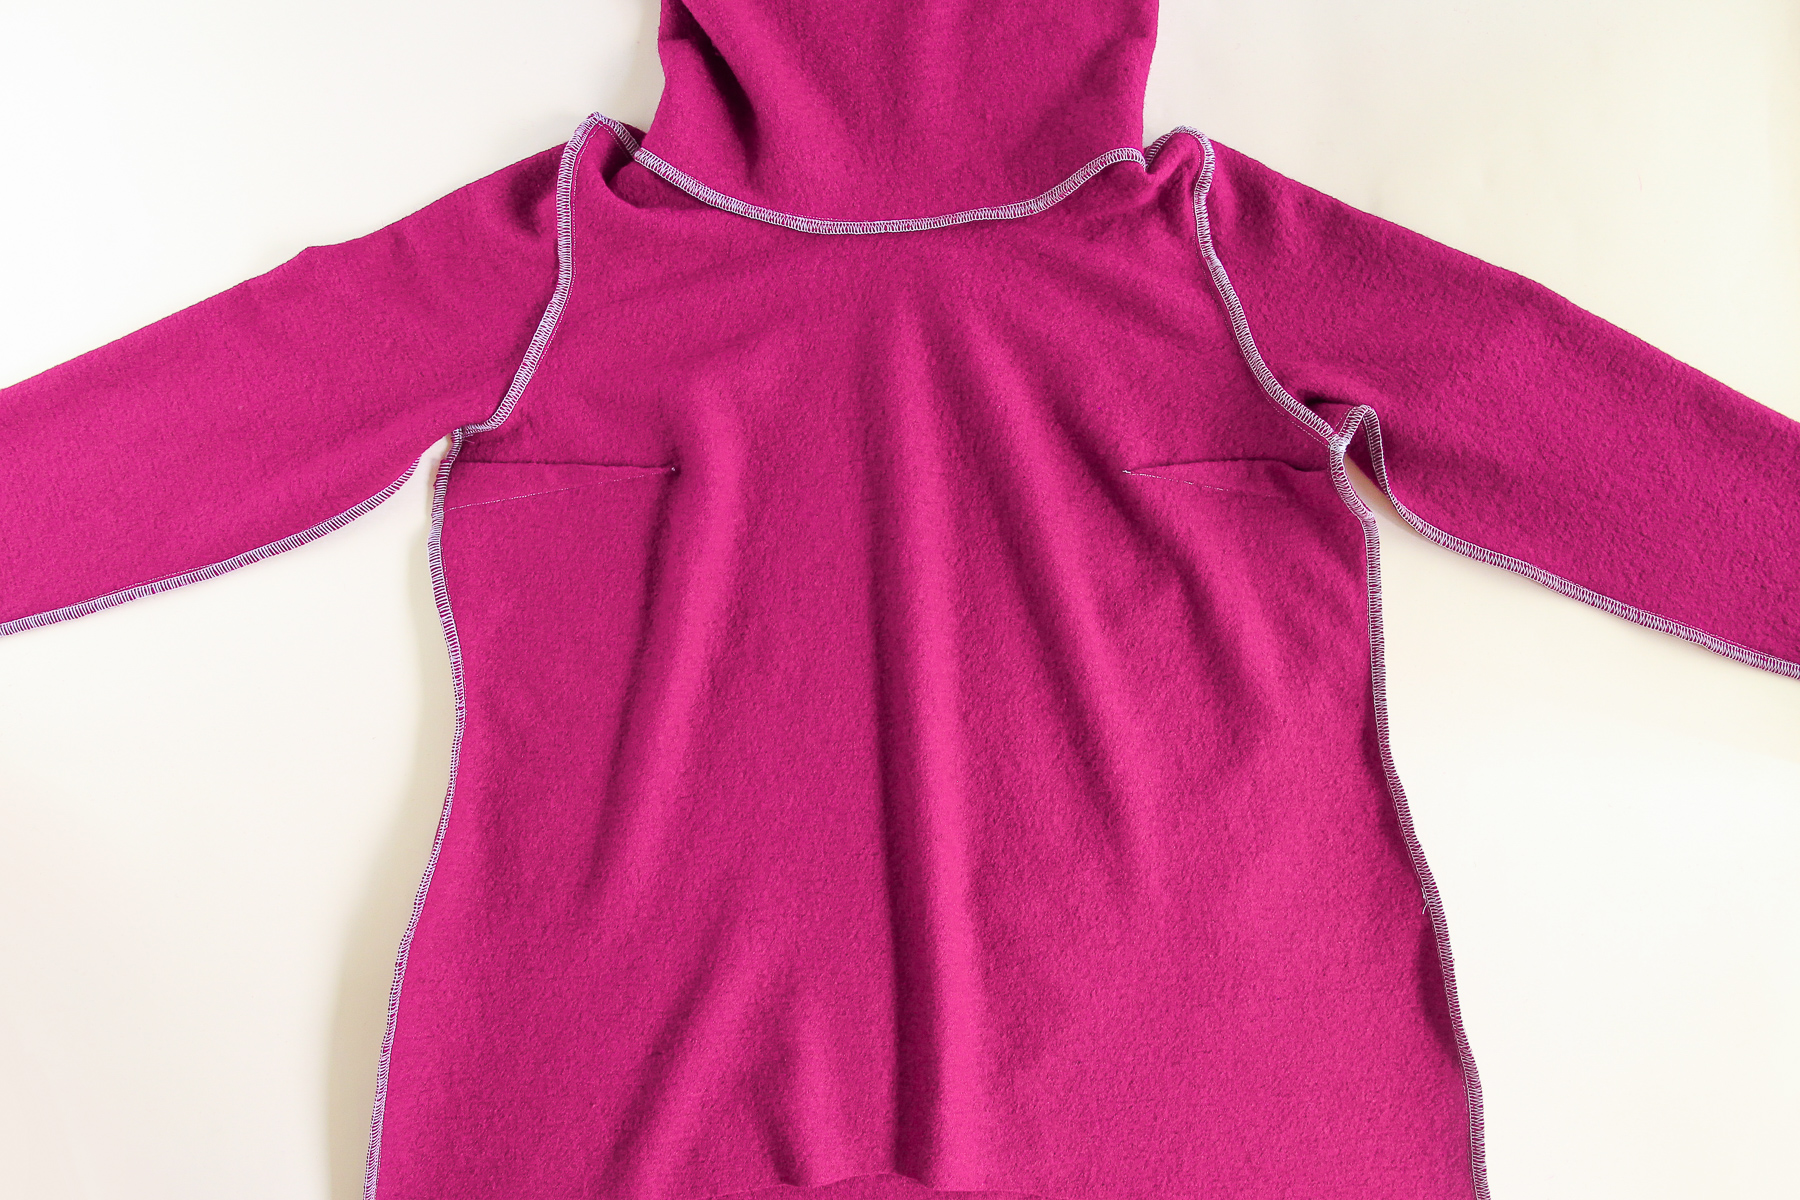
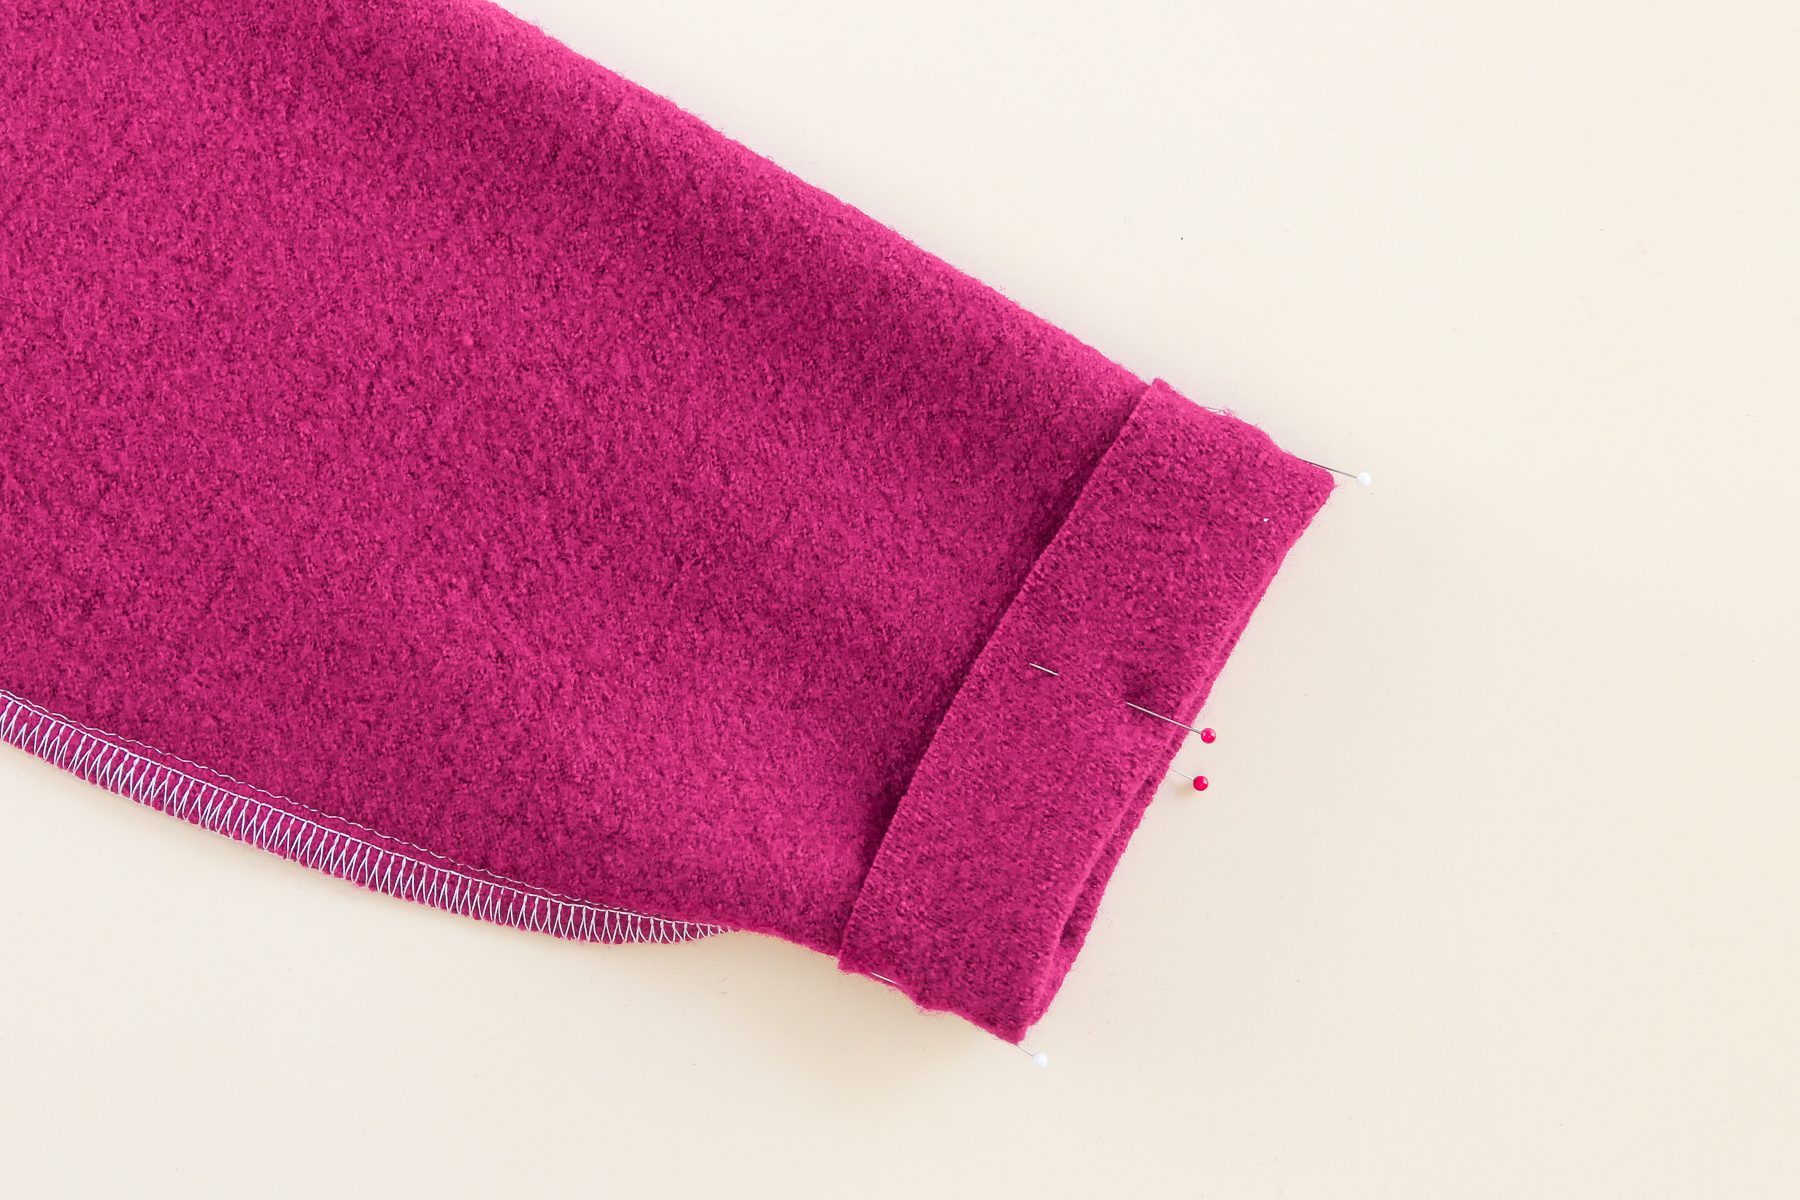
Now all that’s left is some hemming! Let’s start with the sleeves.
Fold the bottom edge of one sleeve to the wrong side by 1.5” (3.8 cm) and pin.
Topstitch from the right side using a zigzag stitch, a twin needle, or a coverstitch machine.
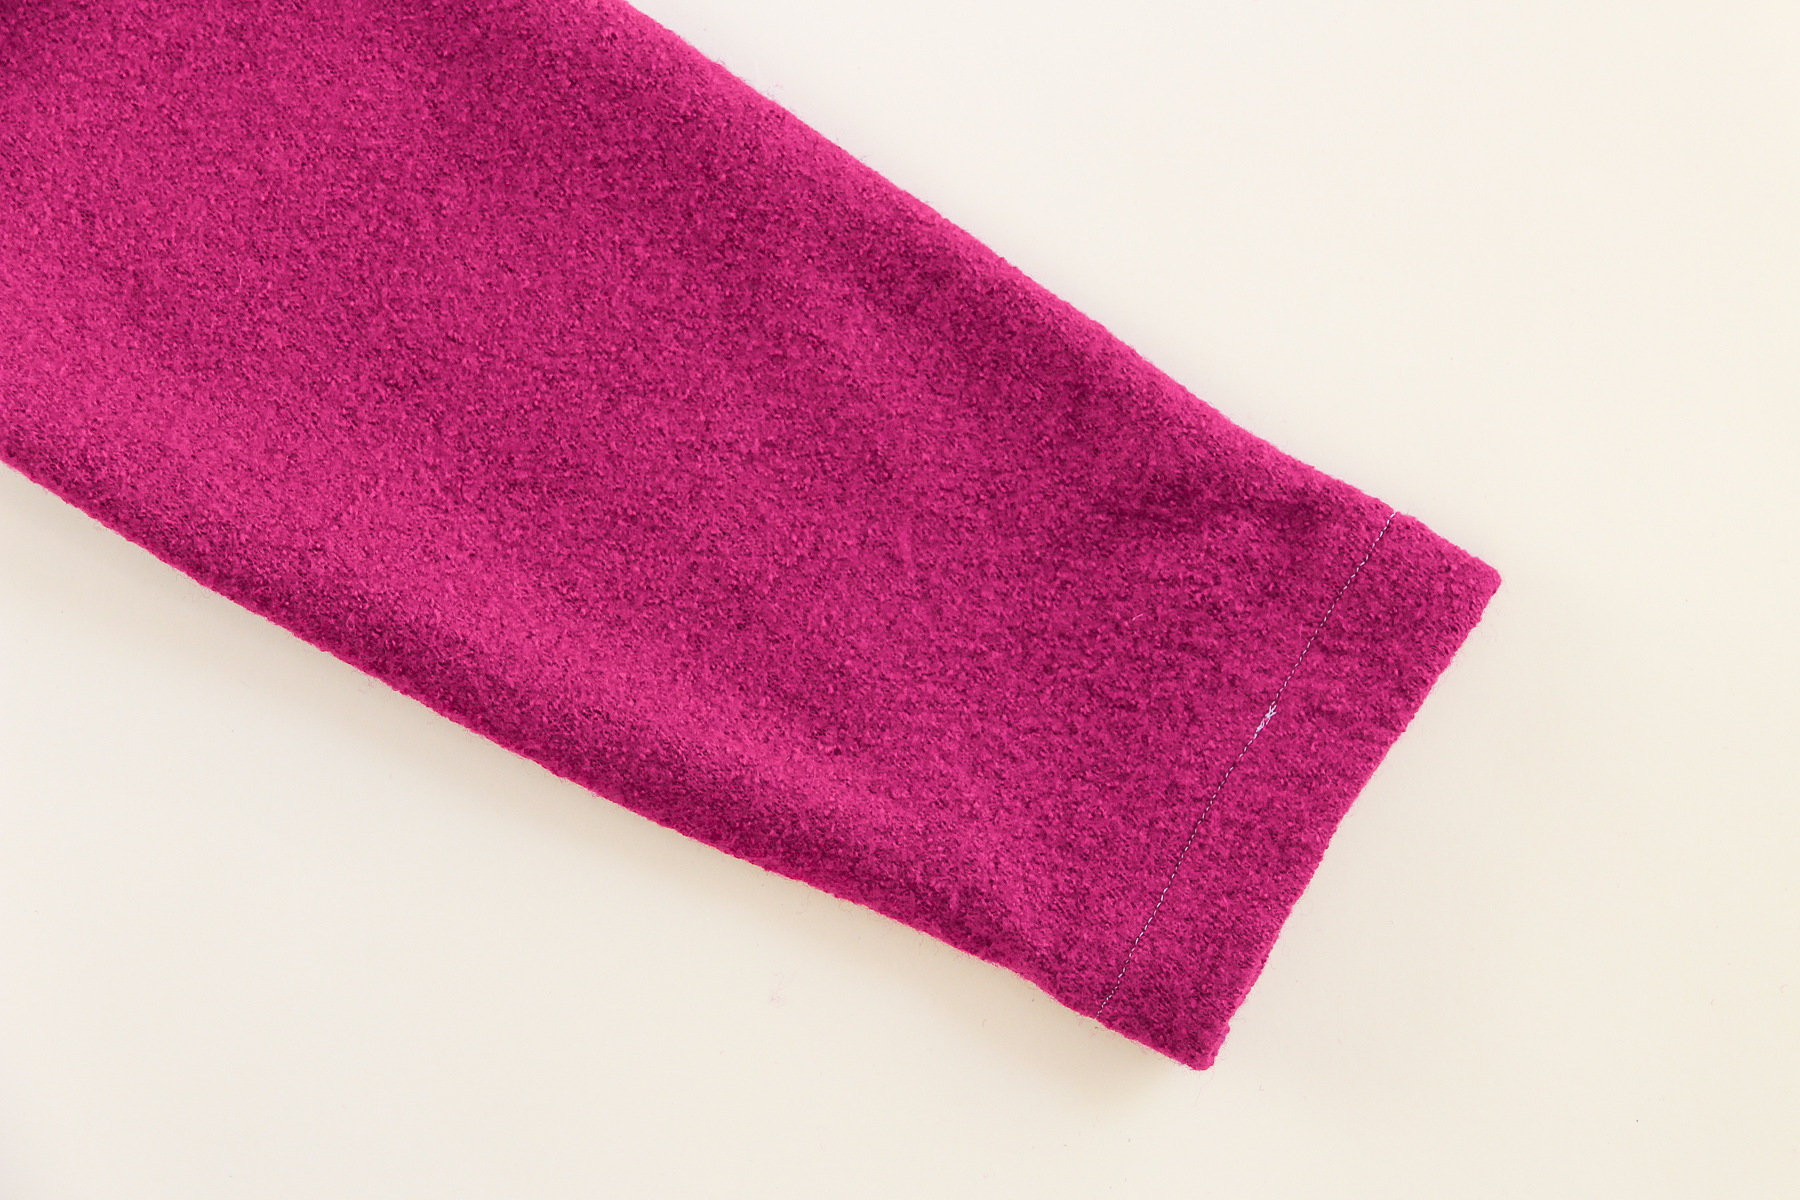
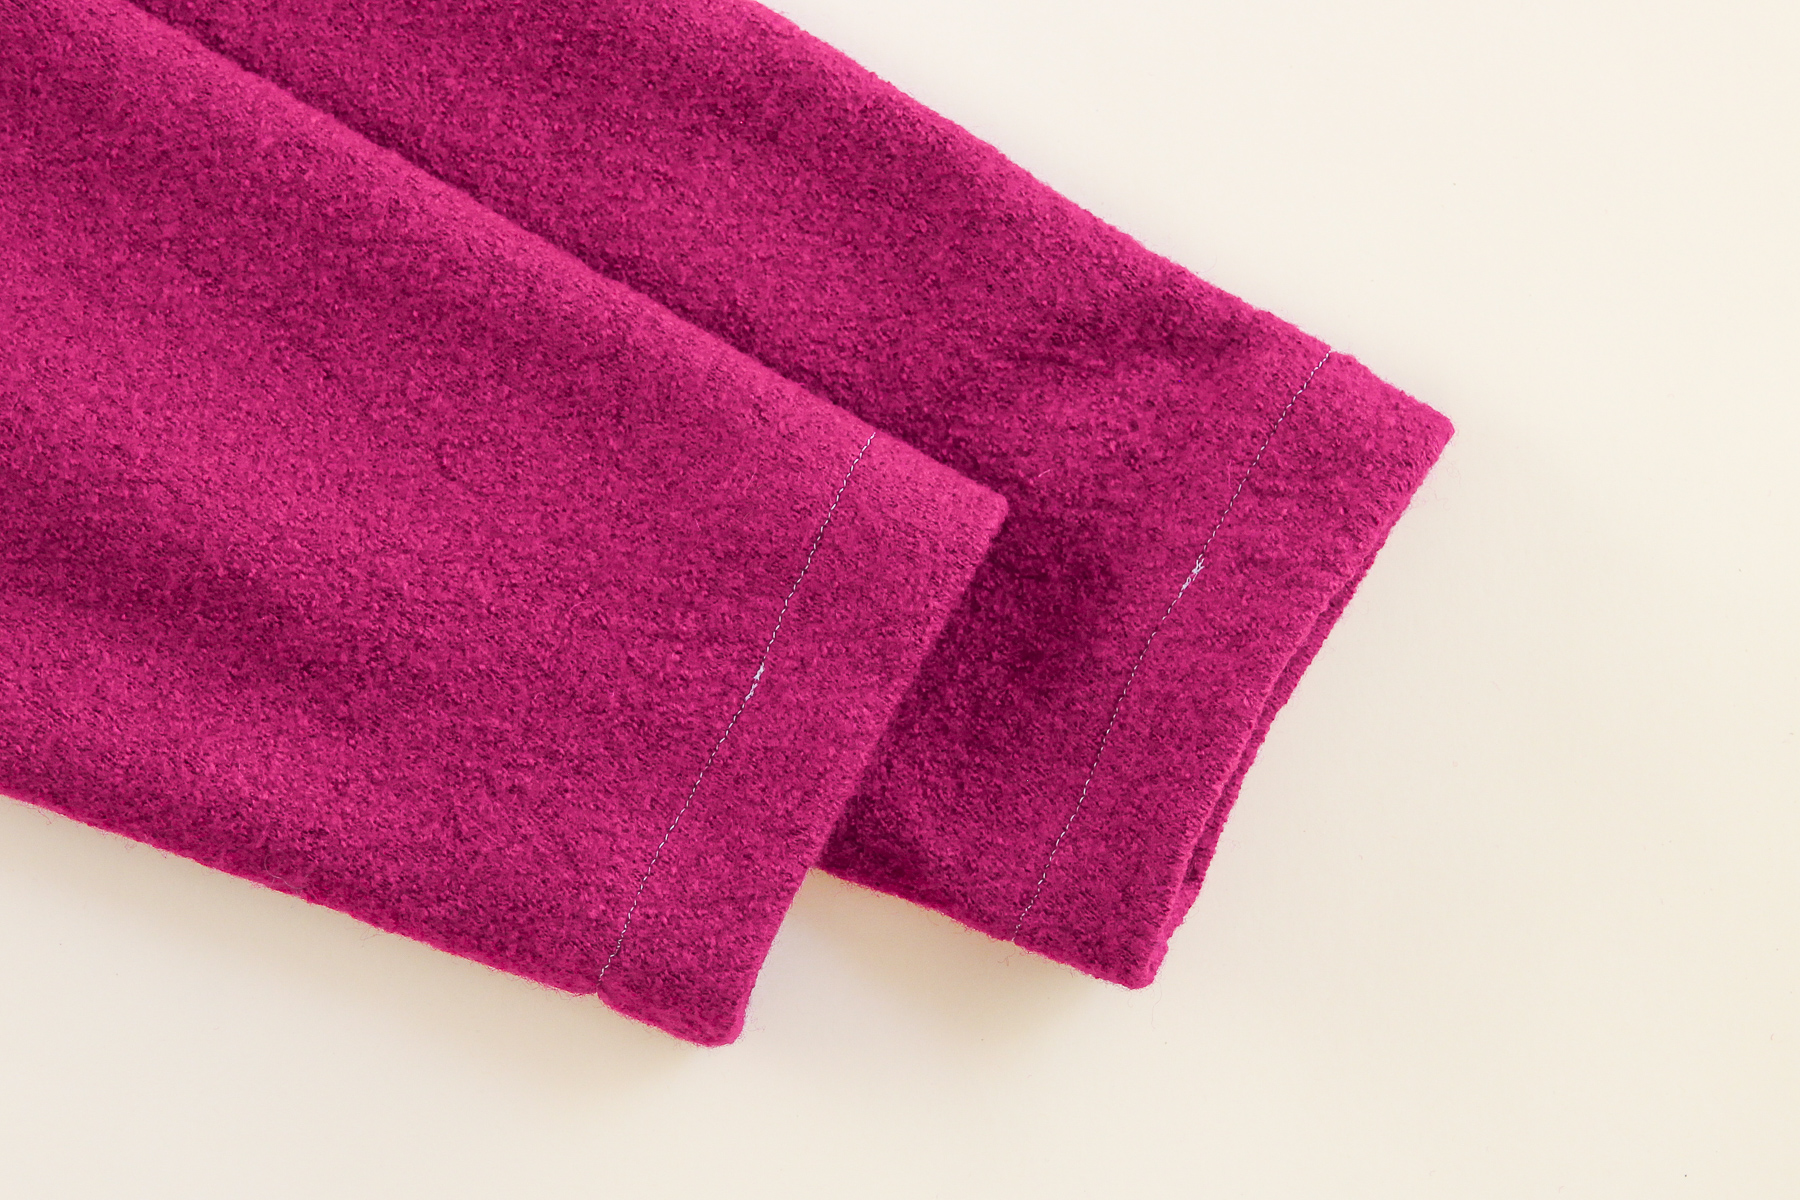
Repeat with the other sleeve, and press to get a crisp edge.
For the bottom hem, we’re going to fold up the edge to the wrong side by 5/8” (1.5 cm). Pin that in place. (Wonder tape can do wonders here if you’re having trouble getting a neat hem.)
Topstitch from the right side and press.
And there you have it, folks! You just learned how to sew a cowl neck sweater that’s sure to keep your warm and toasty. Got questions about sewing the Tobin? Drop us a note in the comments below and we’ll be happy to help.
Next we’ll be sewing the other two views of the Tobin Sweater, both of which have fun color blocking options—look for that next week. And don’t forget to share your Tobins with us on social media using the hashtag #TobinSweater.
Stay warm and cozy out there!
I’m using a sweater knit (more stretchy than the boiled wool you’re using in your demo) so I sewed some stay tape to the shoulder seems to prevent stretching there.