Welcome back to the Fuller Cardigan sewalong! Last time, we sewed our side seams and assembled our facing and hem band. Today, we’ll be attaching our facing and finishing the hem.

If you’re just joining us, head over to the main Fuller sewalong page to get a ton of inspo as well as tips and tricks for choosing your size and prepping your pattern and fabric.
Quick reminder that I’m using a gray sweater knit for View A and olive ponte for View B. The facing and hem are where the two views differ, so I’ll be showing you all the steps on both of the views separately. We’ll start with View A, but if you’re sewing View B, you can skip this and scroll down to View B.
Okay, let’s get going!
Attach the Facing, View A
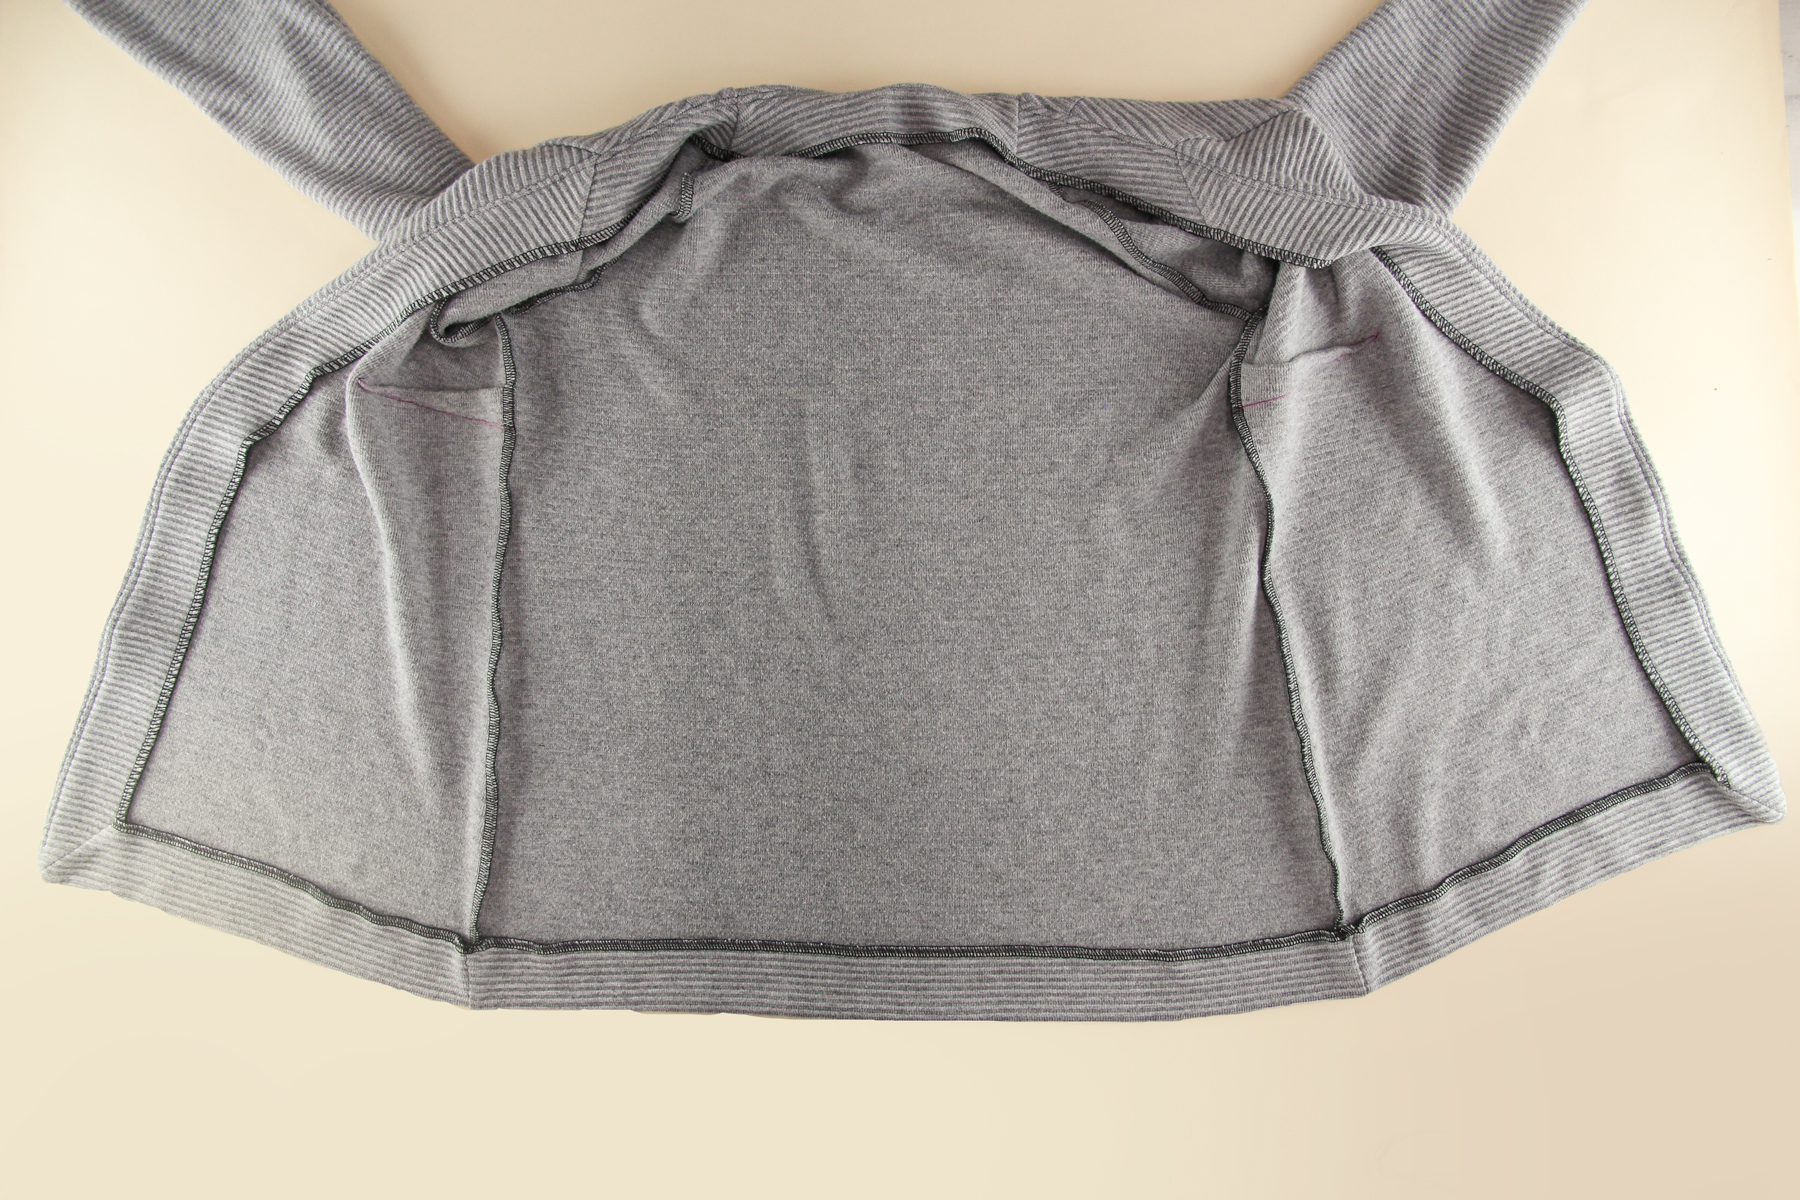
We’re going to start by taking our assembled facing and lining it up with the assembled bodice along the neckline, right sides together. Pin.
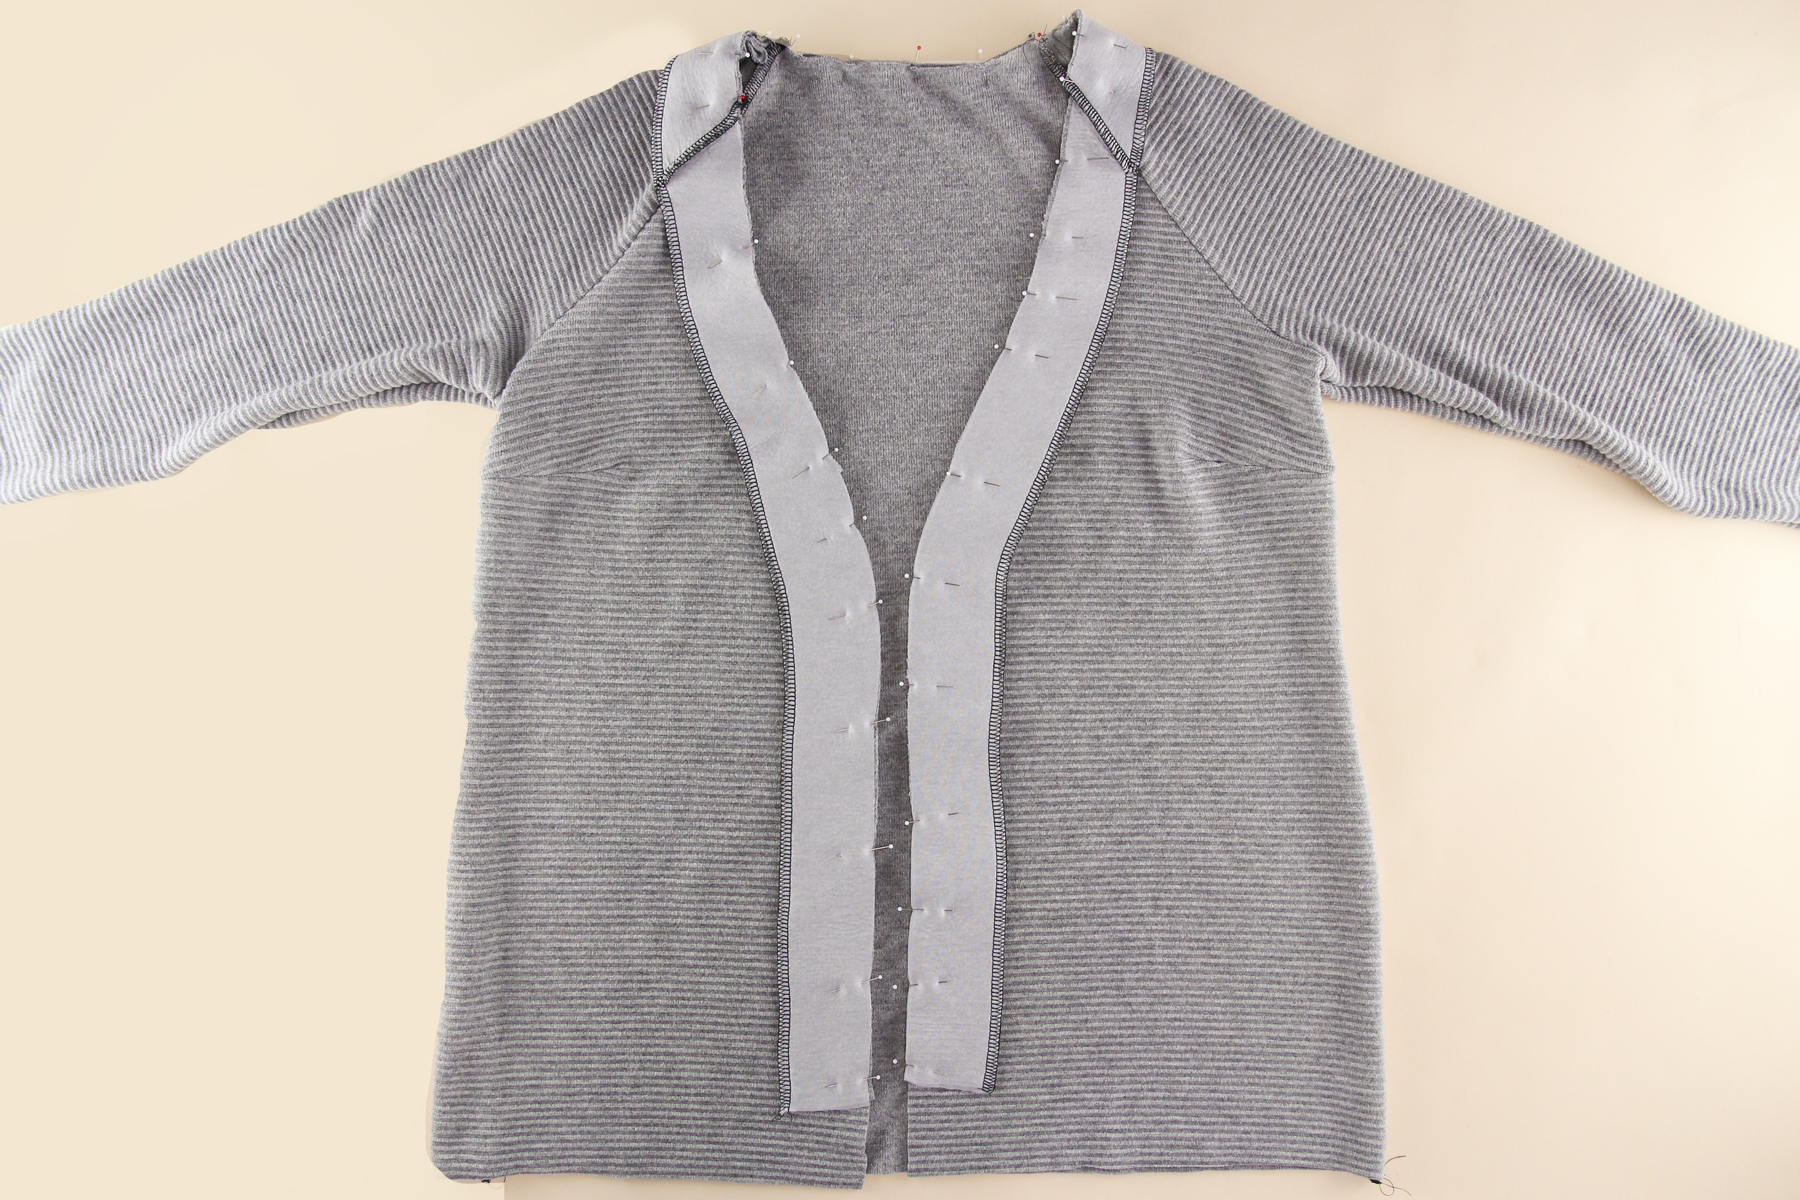
You’ll notice that the View A facing doesn’t go all the way to the bottom of the front piece. This is intentional, not an error. (Phew!) The facing should end at the notch, which is what will allow us to do some really nice mitered corners in a second.
We’re going to sew the facing to the bodice with our 3/8” (1 cm) seam allowance, starting at the bottom of one front, going up and around the back neckline, and ending at the bottom of the other front.
If you’re sewing with a bulky sweater knit and you suddenly discover that it’s too thick for your machine to play along, don’t fret! You can quickly whip up a lighter weight facing from scrap jersey (don’t forget to apply the interfacing).

Finish the Hem, View A
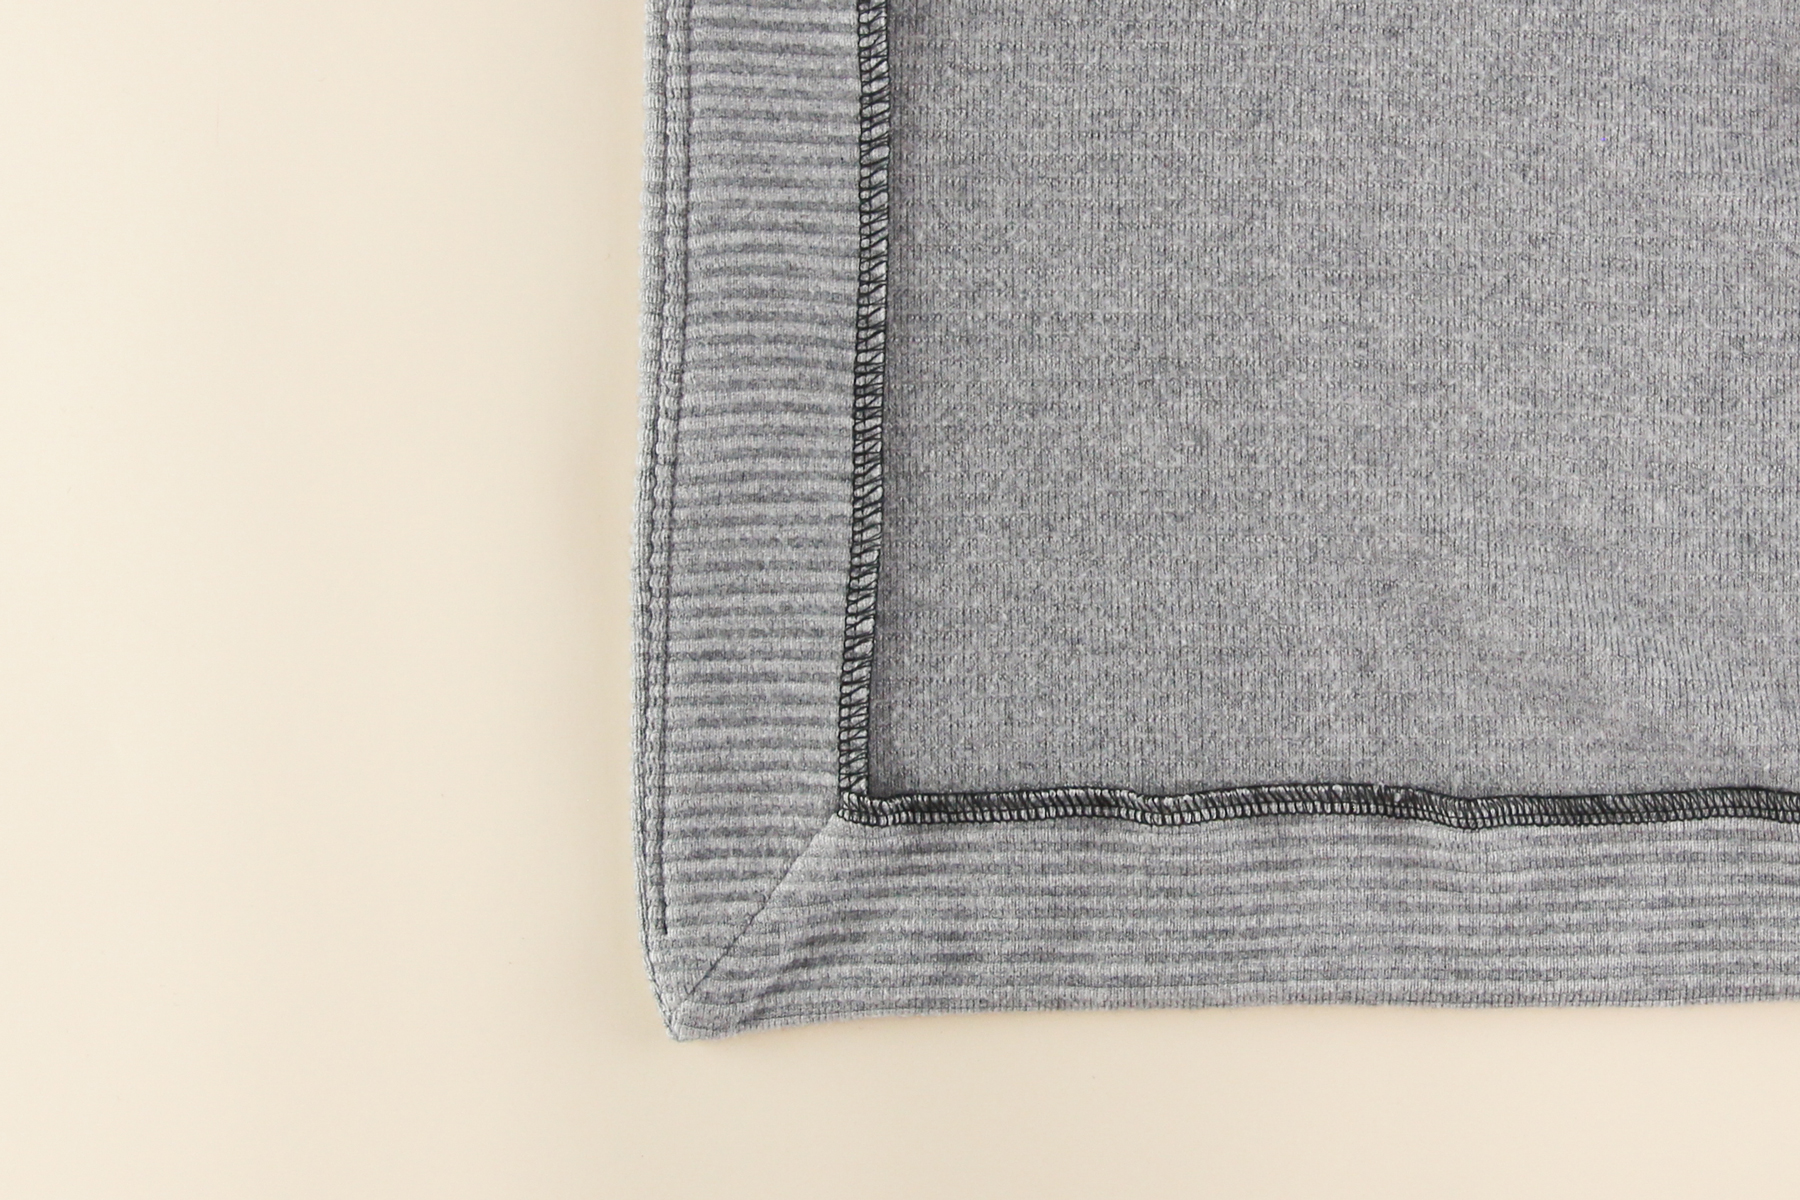
Now we’re going to work on our mitered corners. Start by finishing the hem either by serging the bottom like I’ve done, or by folding the hem up by 3/8” (1 cm) to the wrong side and topstitching. (Use the same method you used to finish the outer edge of your facing for a consistent look.)
Now we’re going to fold up the hem to the right side. If you serged the edge, fold up the hem by 1 7/8” (4.75 cm). If you folded and topstitched, fold up the hem by 1 1/2” (3.8 cm).
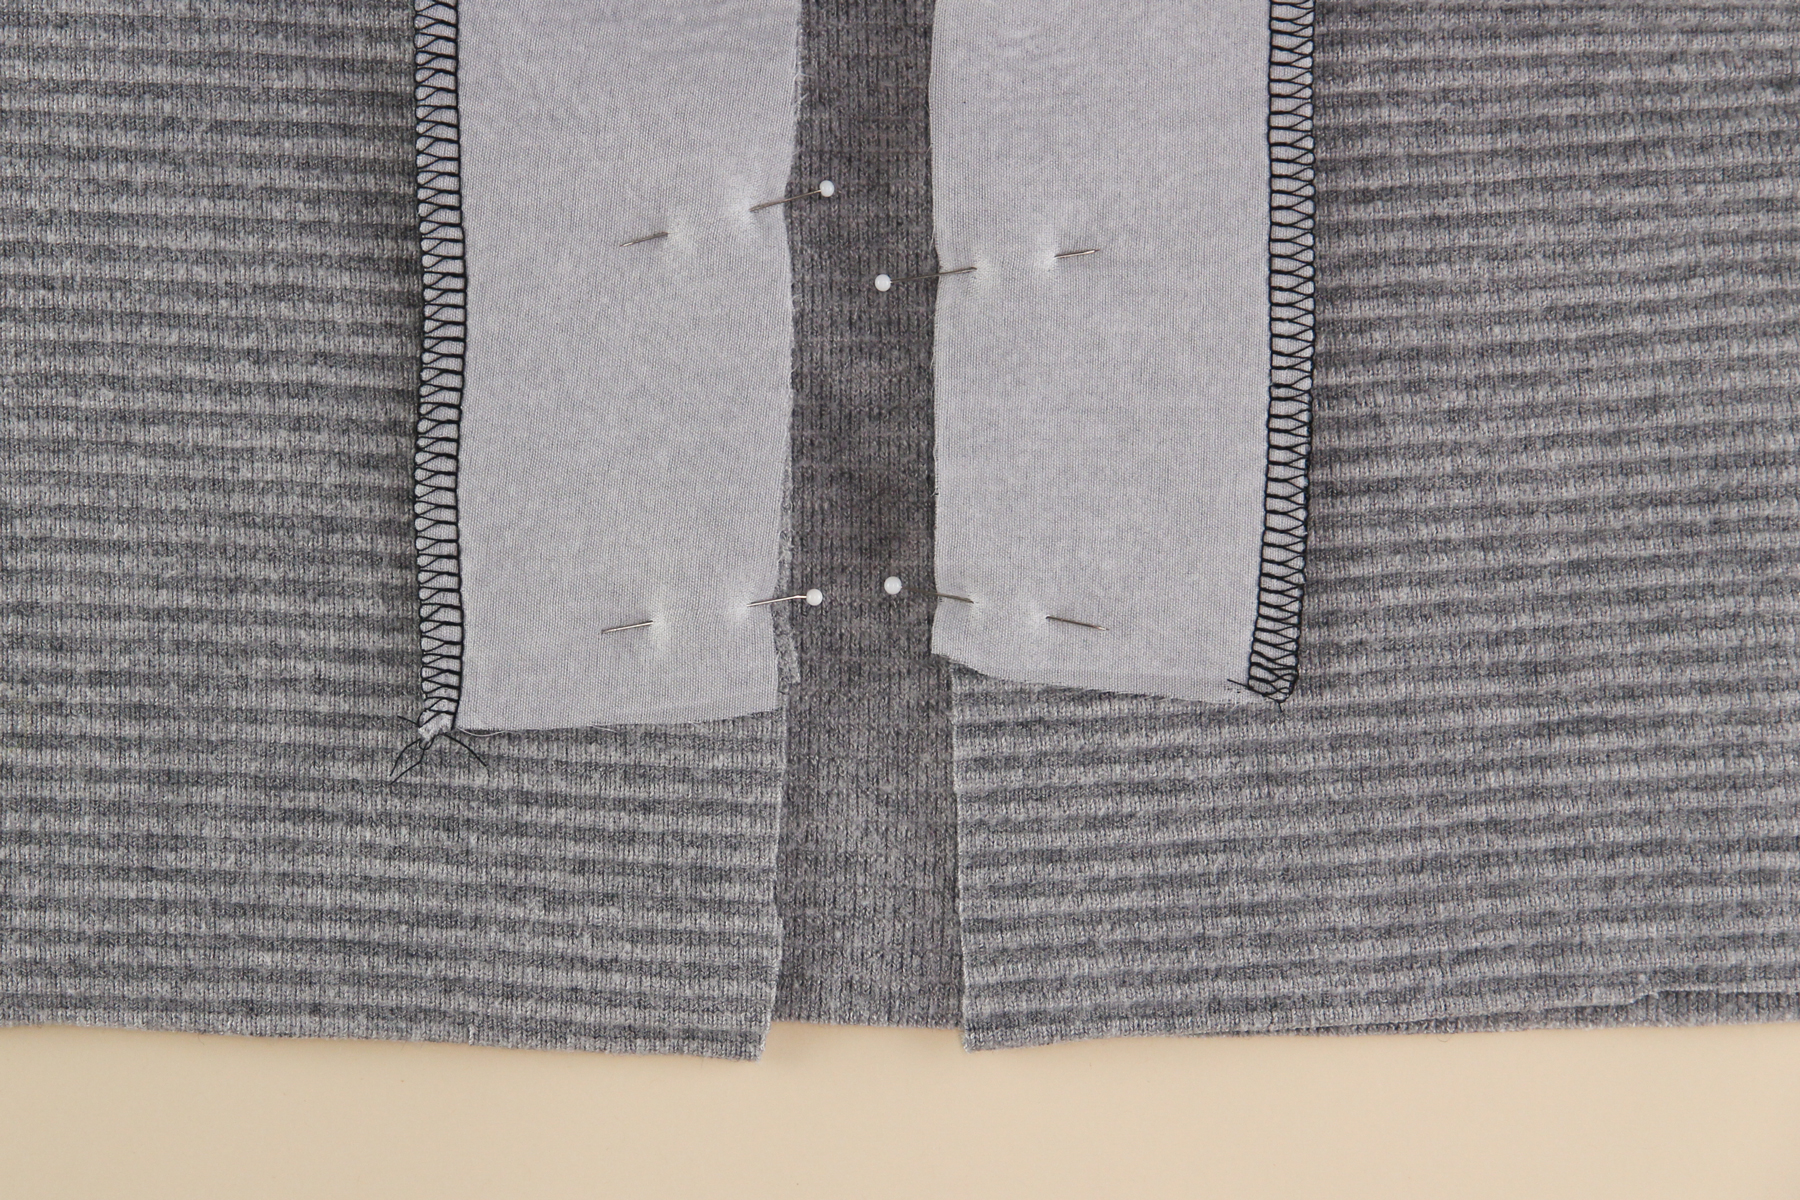
To get the mitered corner, we need to line up the facing with the hem fold. Pull the bottom corner of the facing back so that it lines up with the hem, right sides together.
We’re going to stitch these two layers together at a diagonal, going from the outside corner to the notch at the inside corner. I find it easier to mark this stitch line ahead of time with tailor’s chalk.
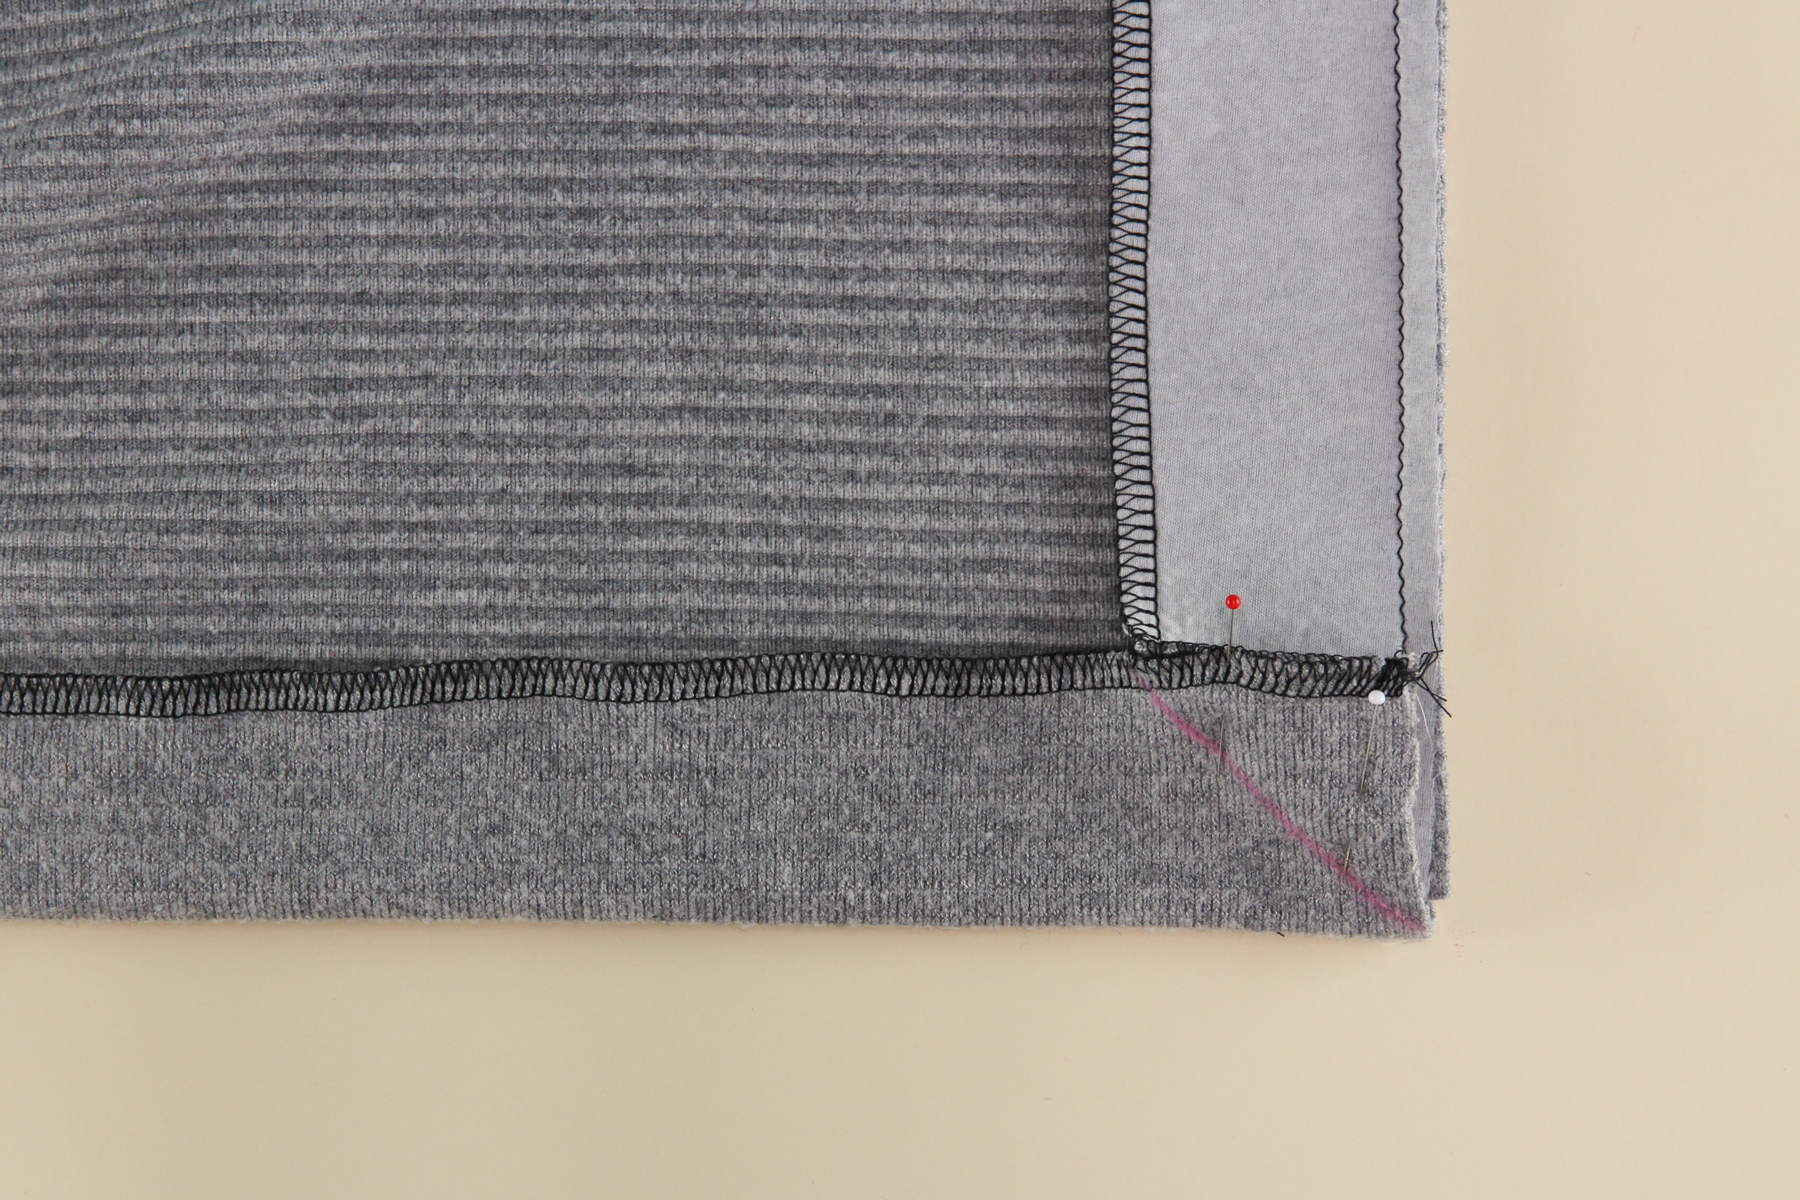
Use a straight stitch when sewing this line of stitching. Make sure you’re sewing only through the hem fold and the front facing, not the bodice.
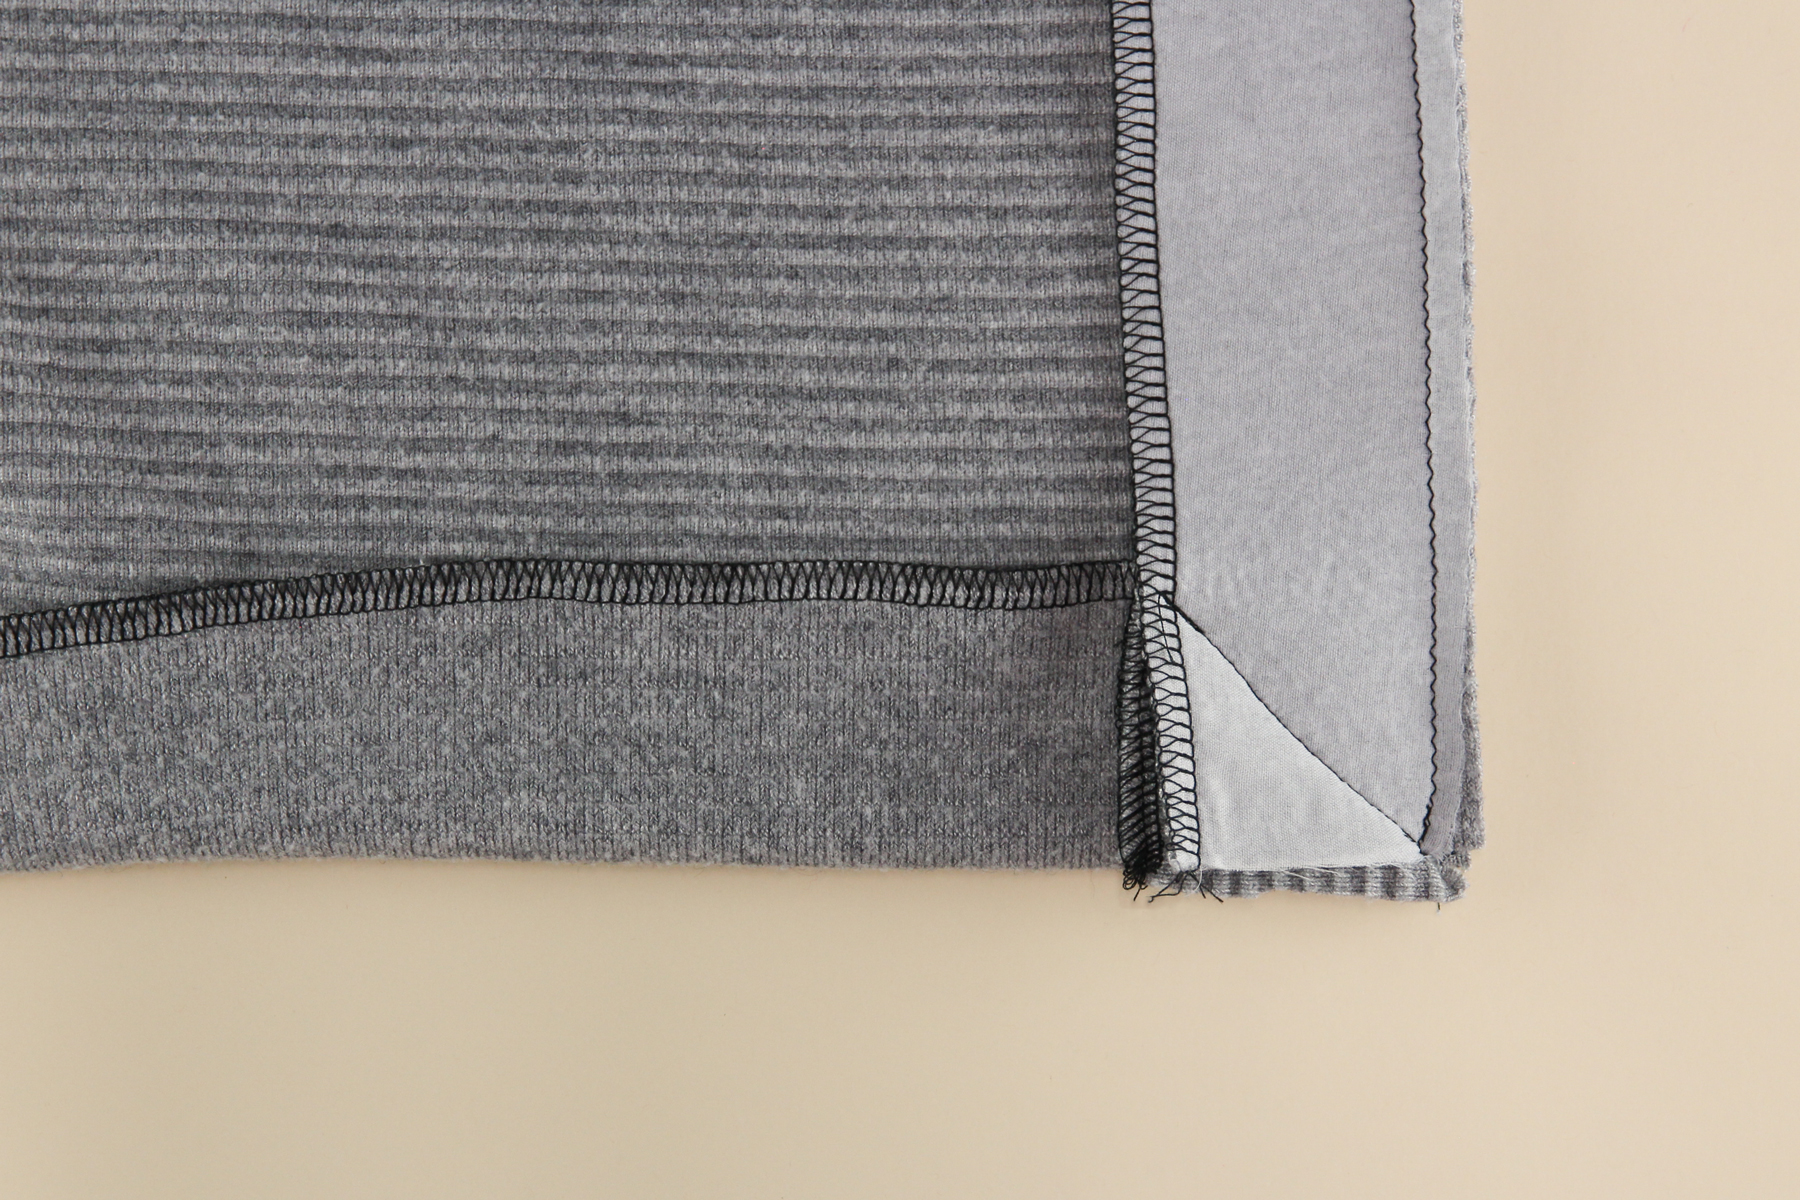
Before we flip this over to the wrong side, we’re going to trim the triangle down to 1/4” (6 mm).
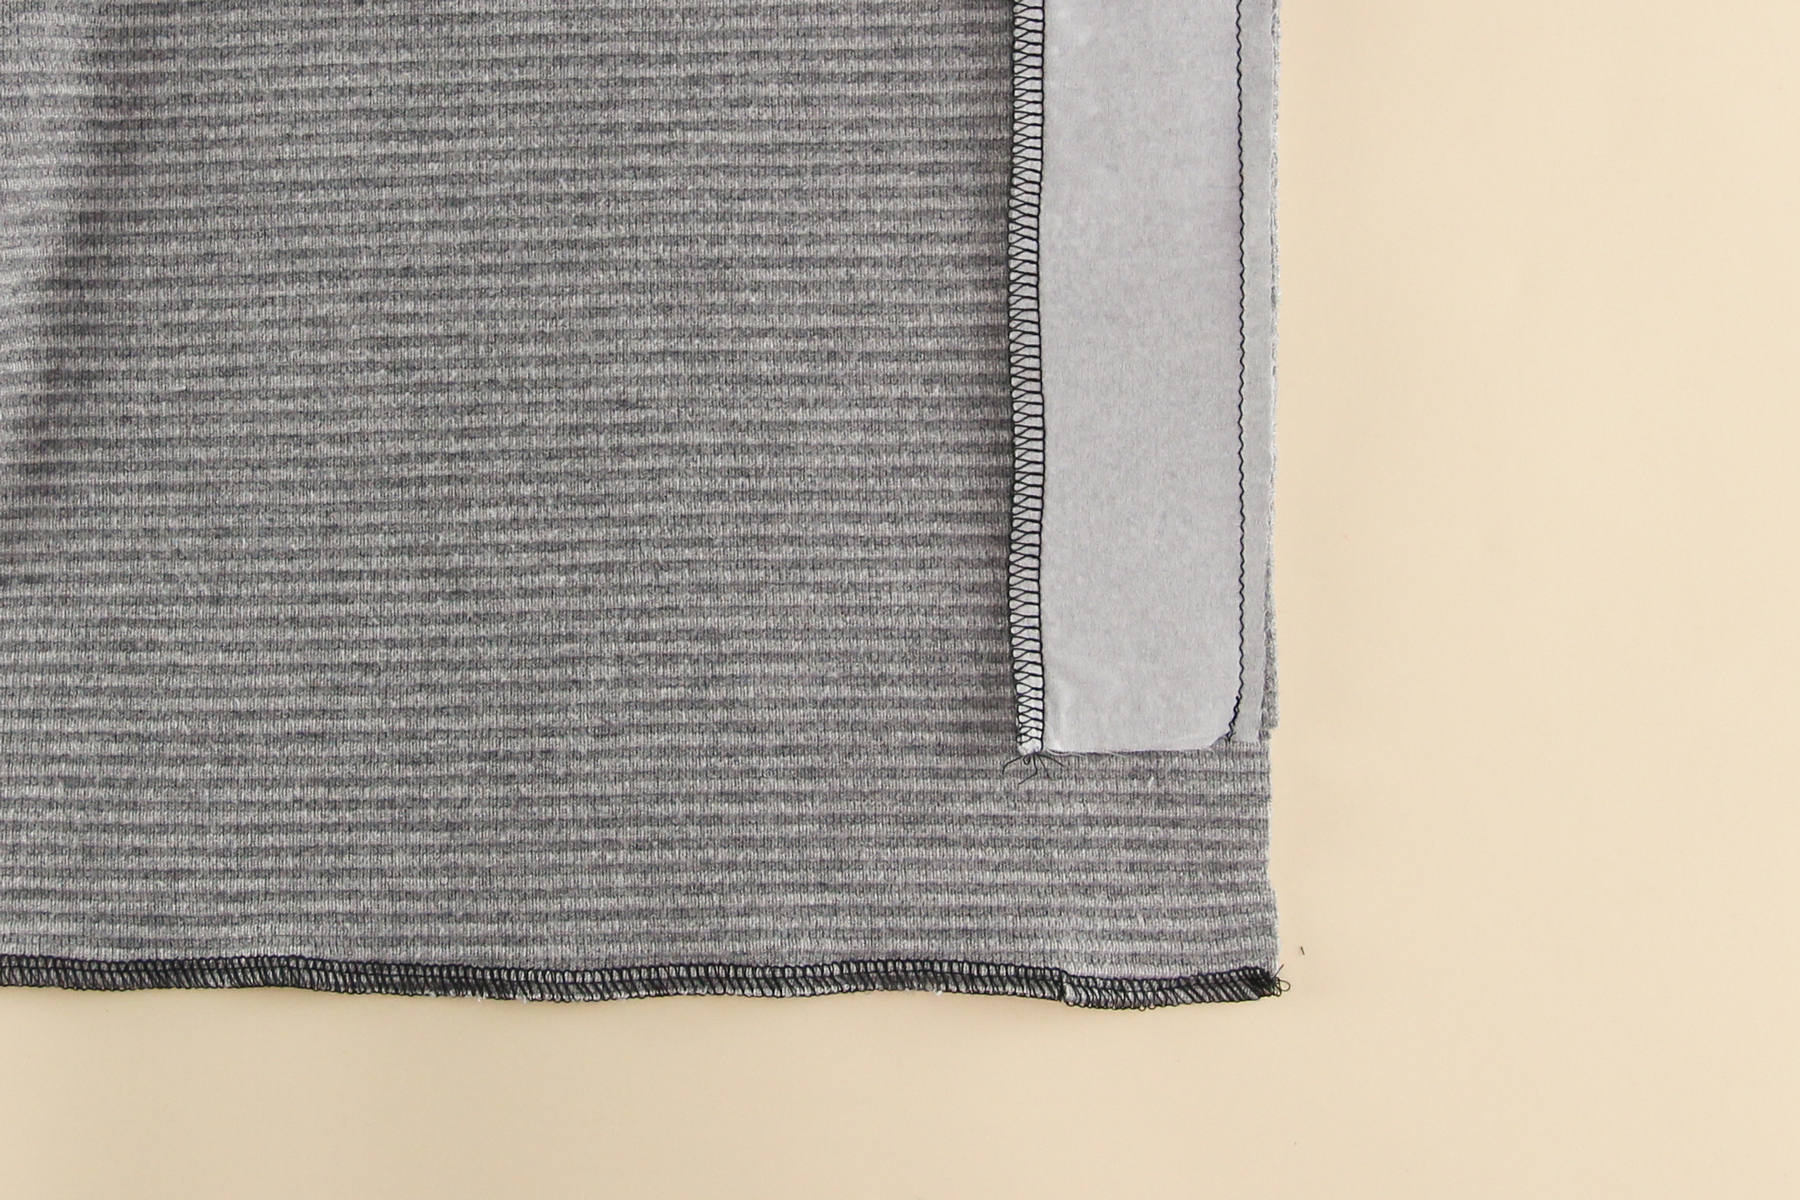
Okay, time to flip it over and see our beautiful mitered corner!
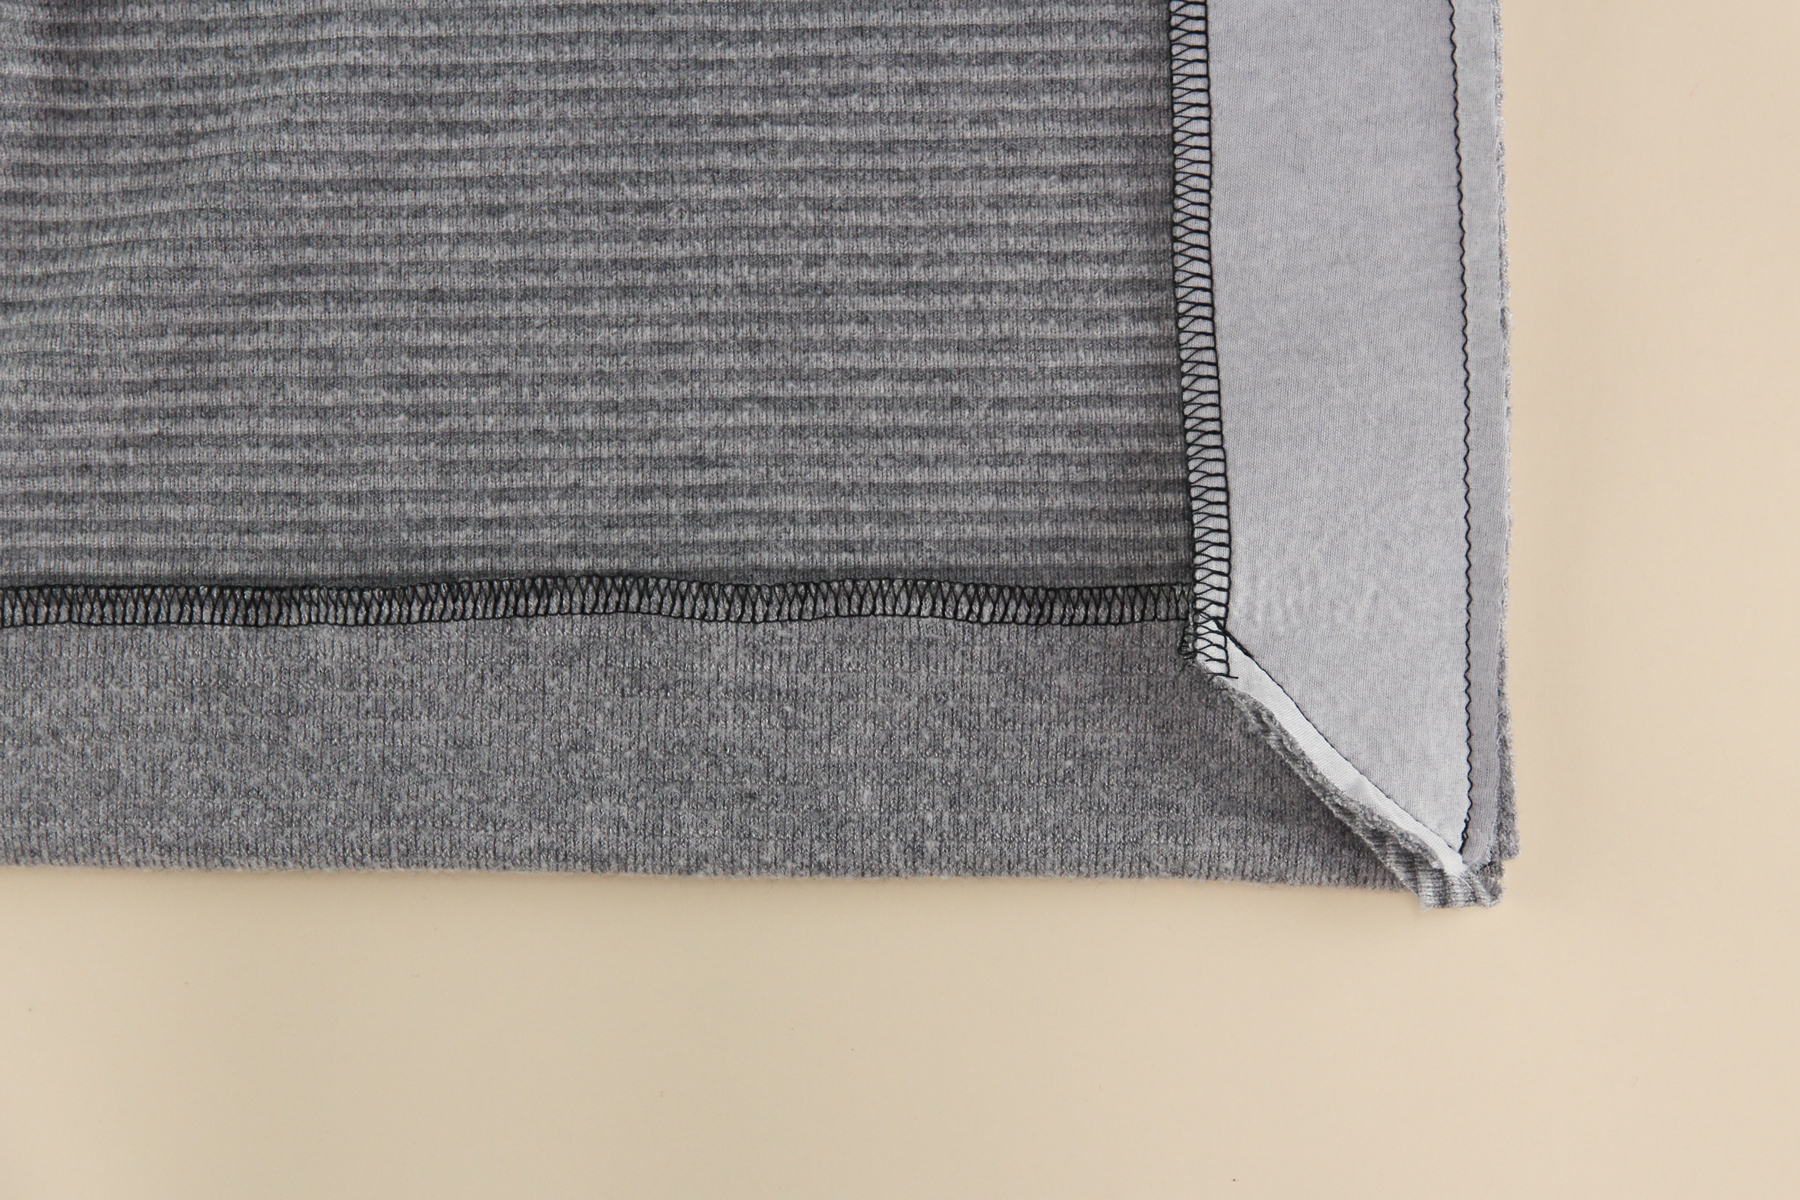
Let’s repeat with the other side.
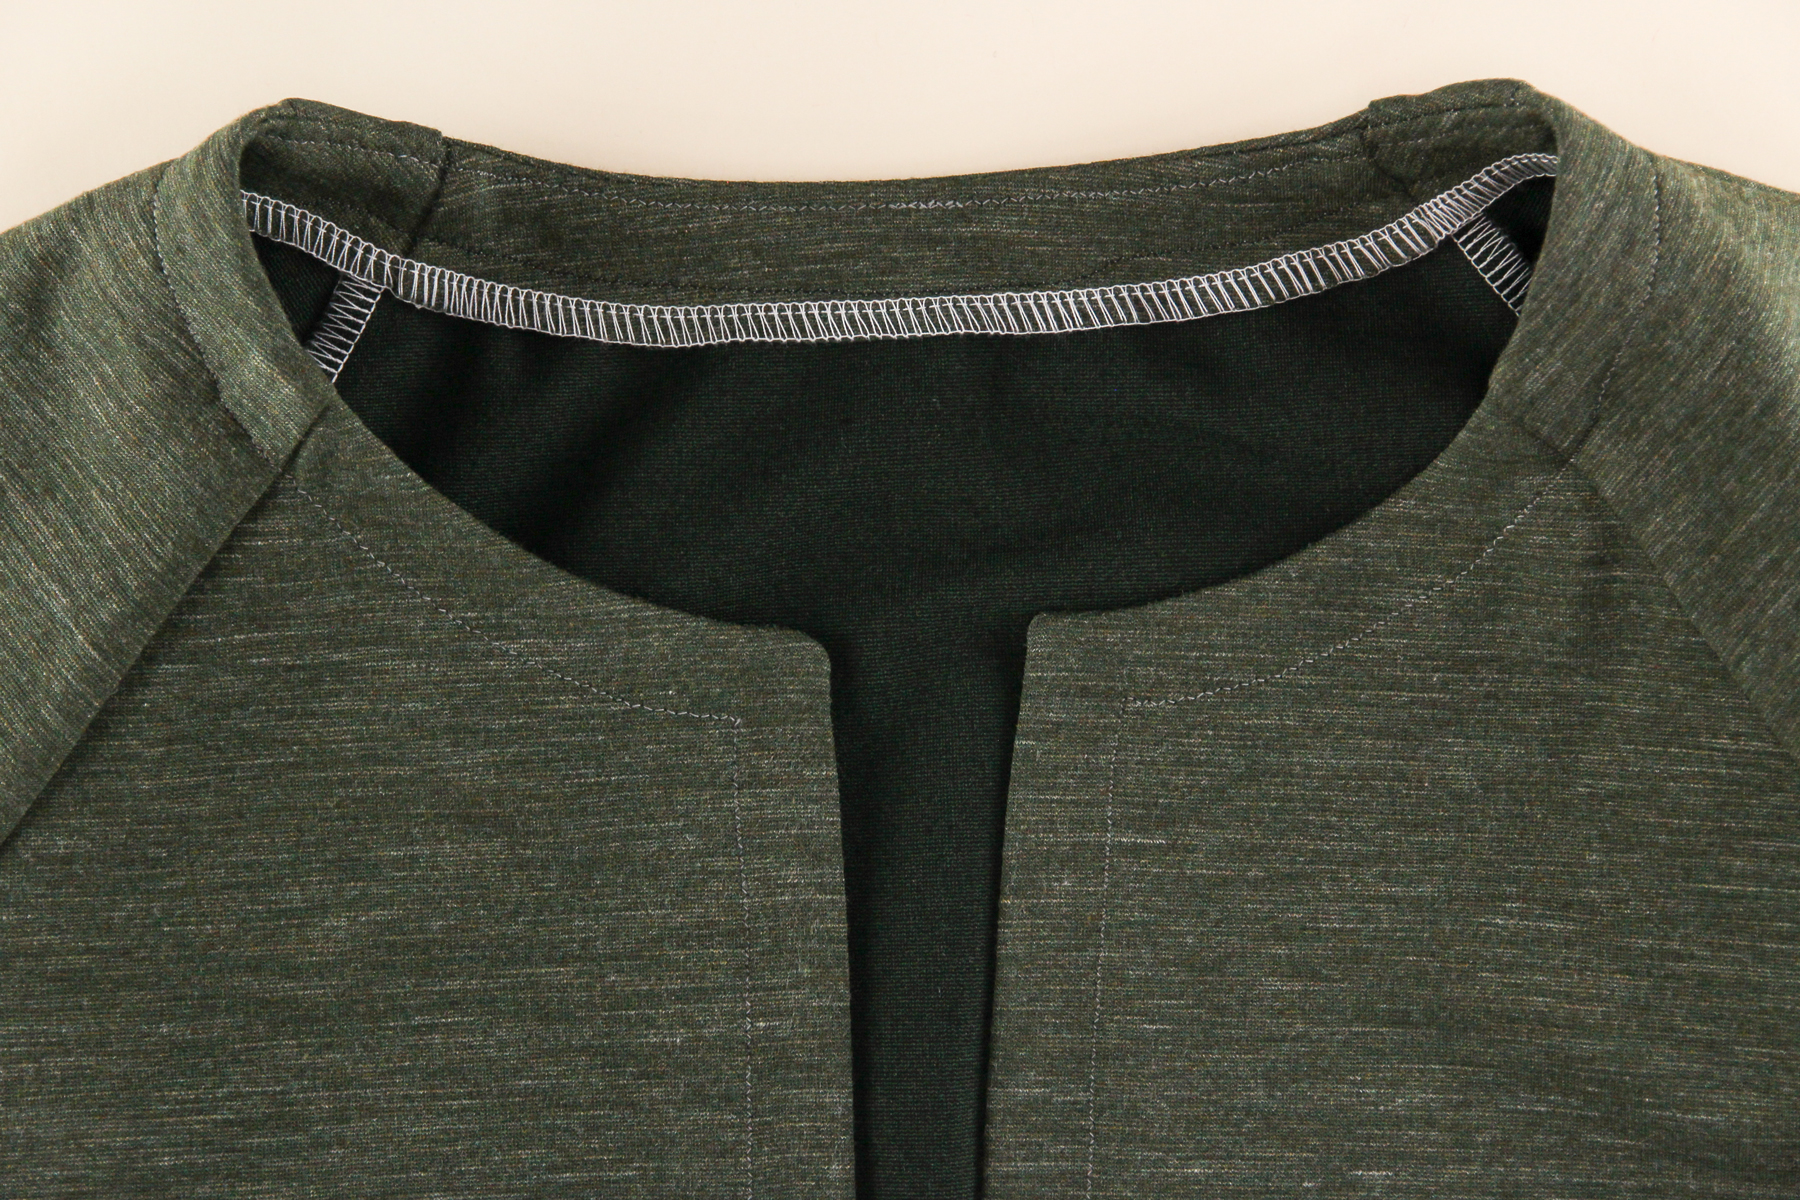
Now we have the option of understitching the facing all the way around the neckline. Understitching helps keep the facing from rolling out and showing from the outside. Sew a line of zigzag stitching all the way around to attach the seam allowance to the facing. You won’t be able to go all the way to the corners, but get as close as you can and don’t worry about the small gaps.
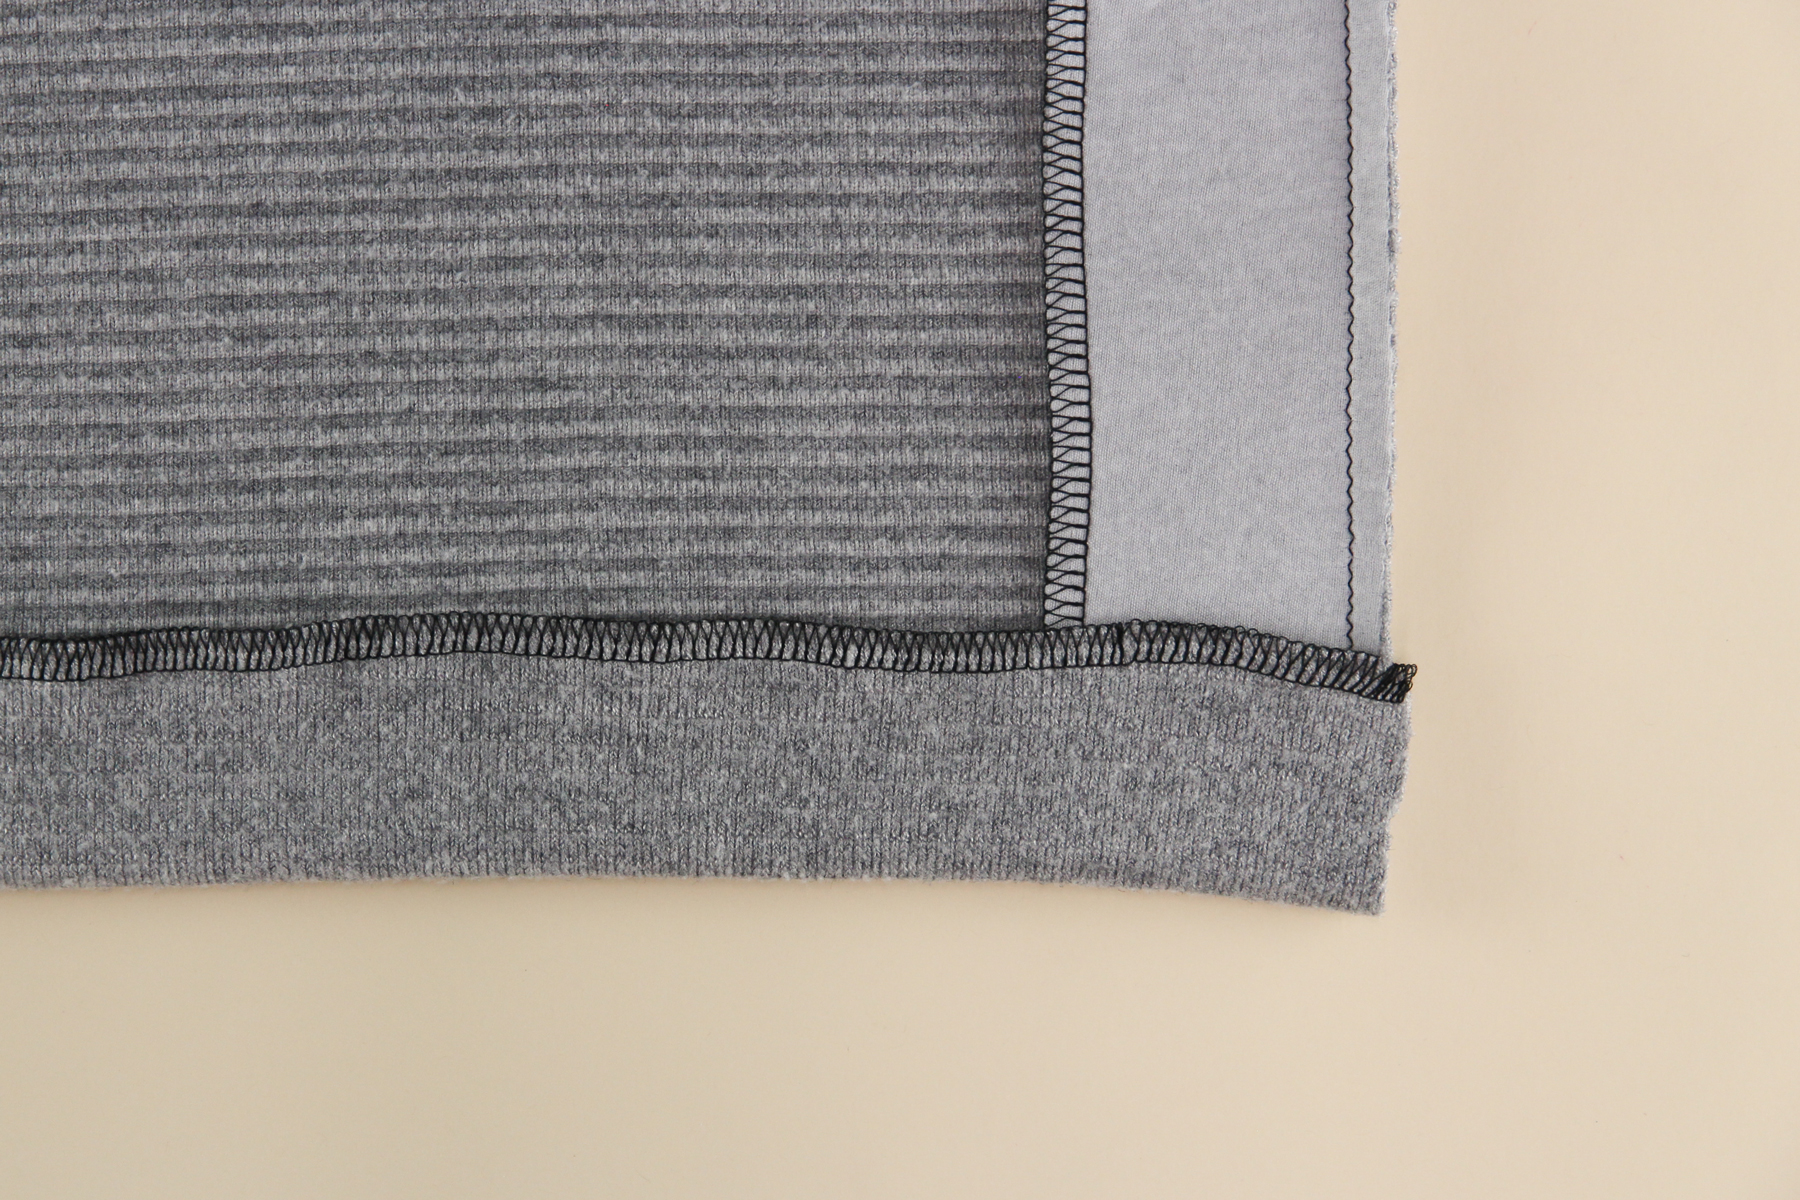
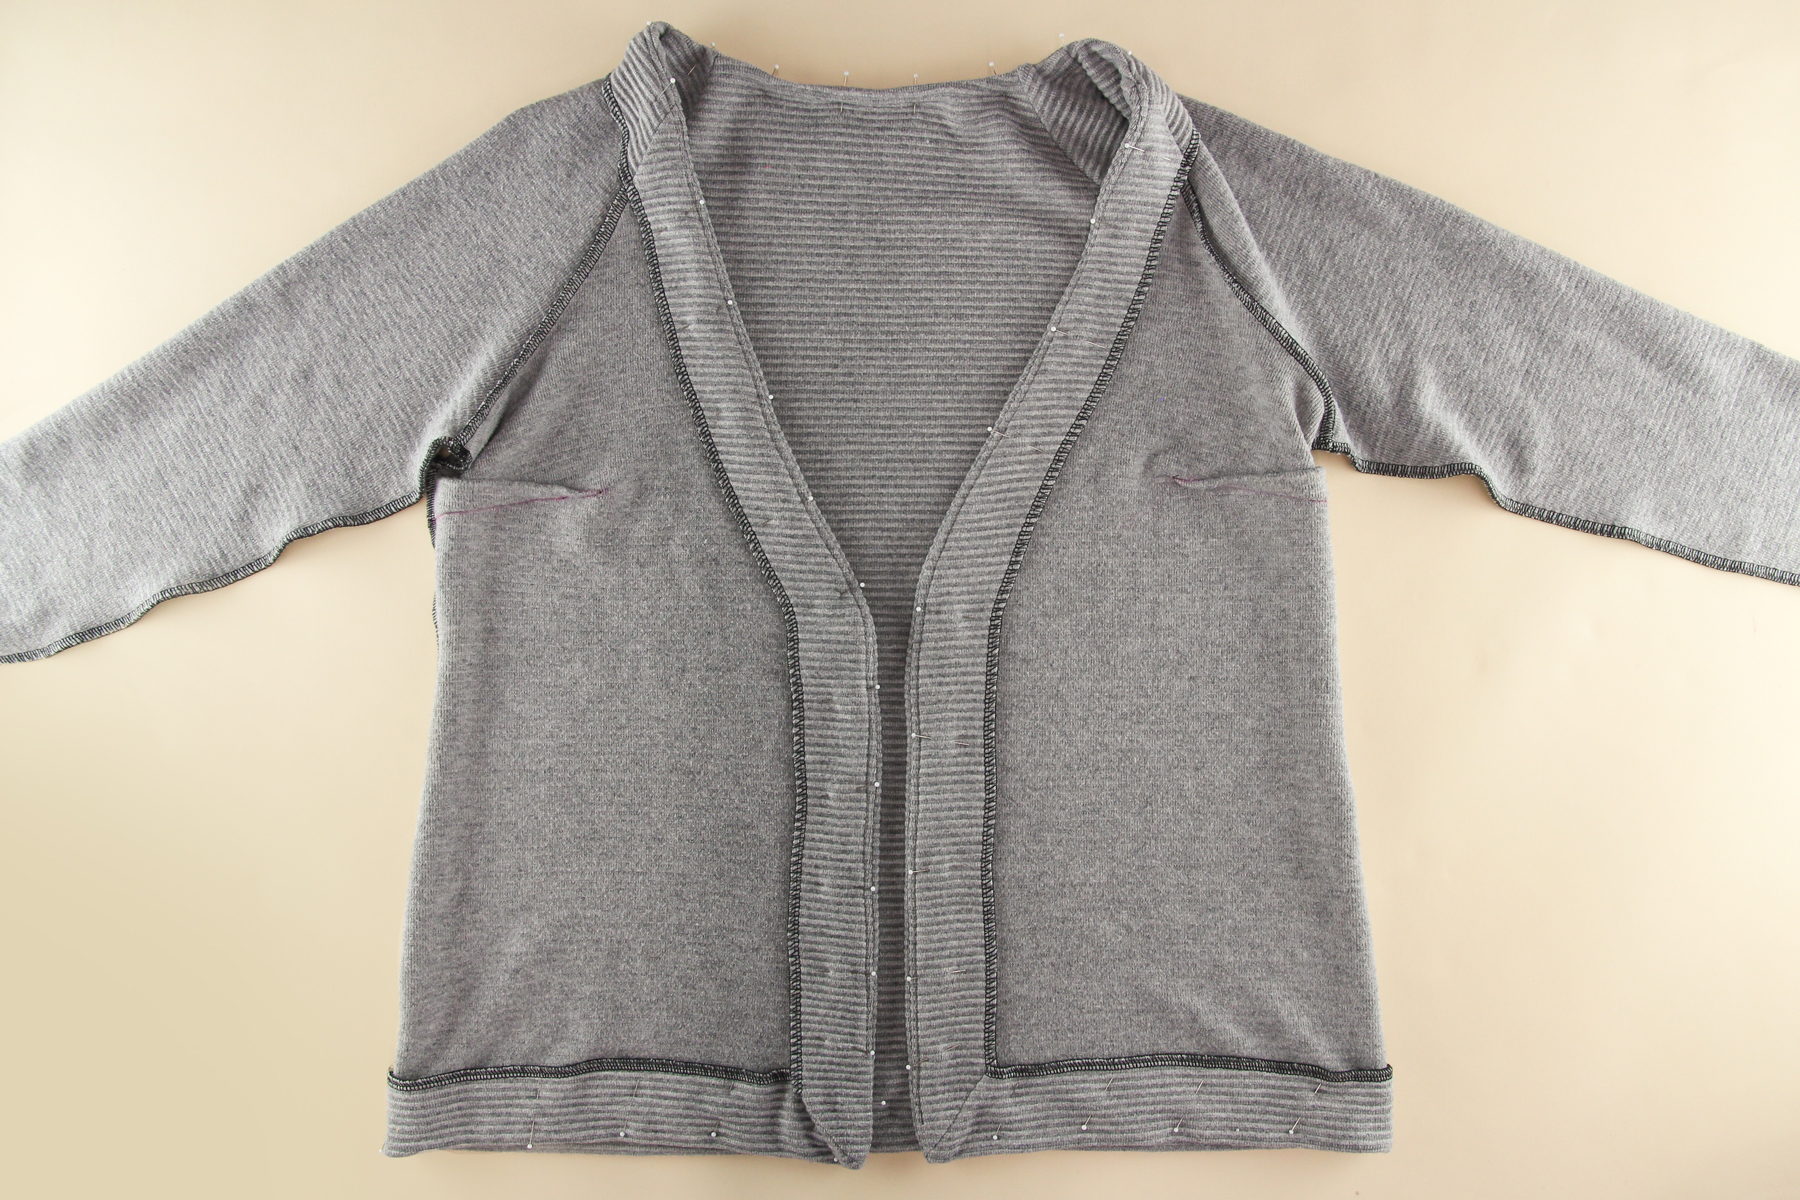
Once you’ve topstitched, fold the facing to the wrong side and press.
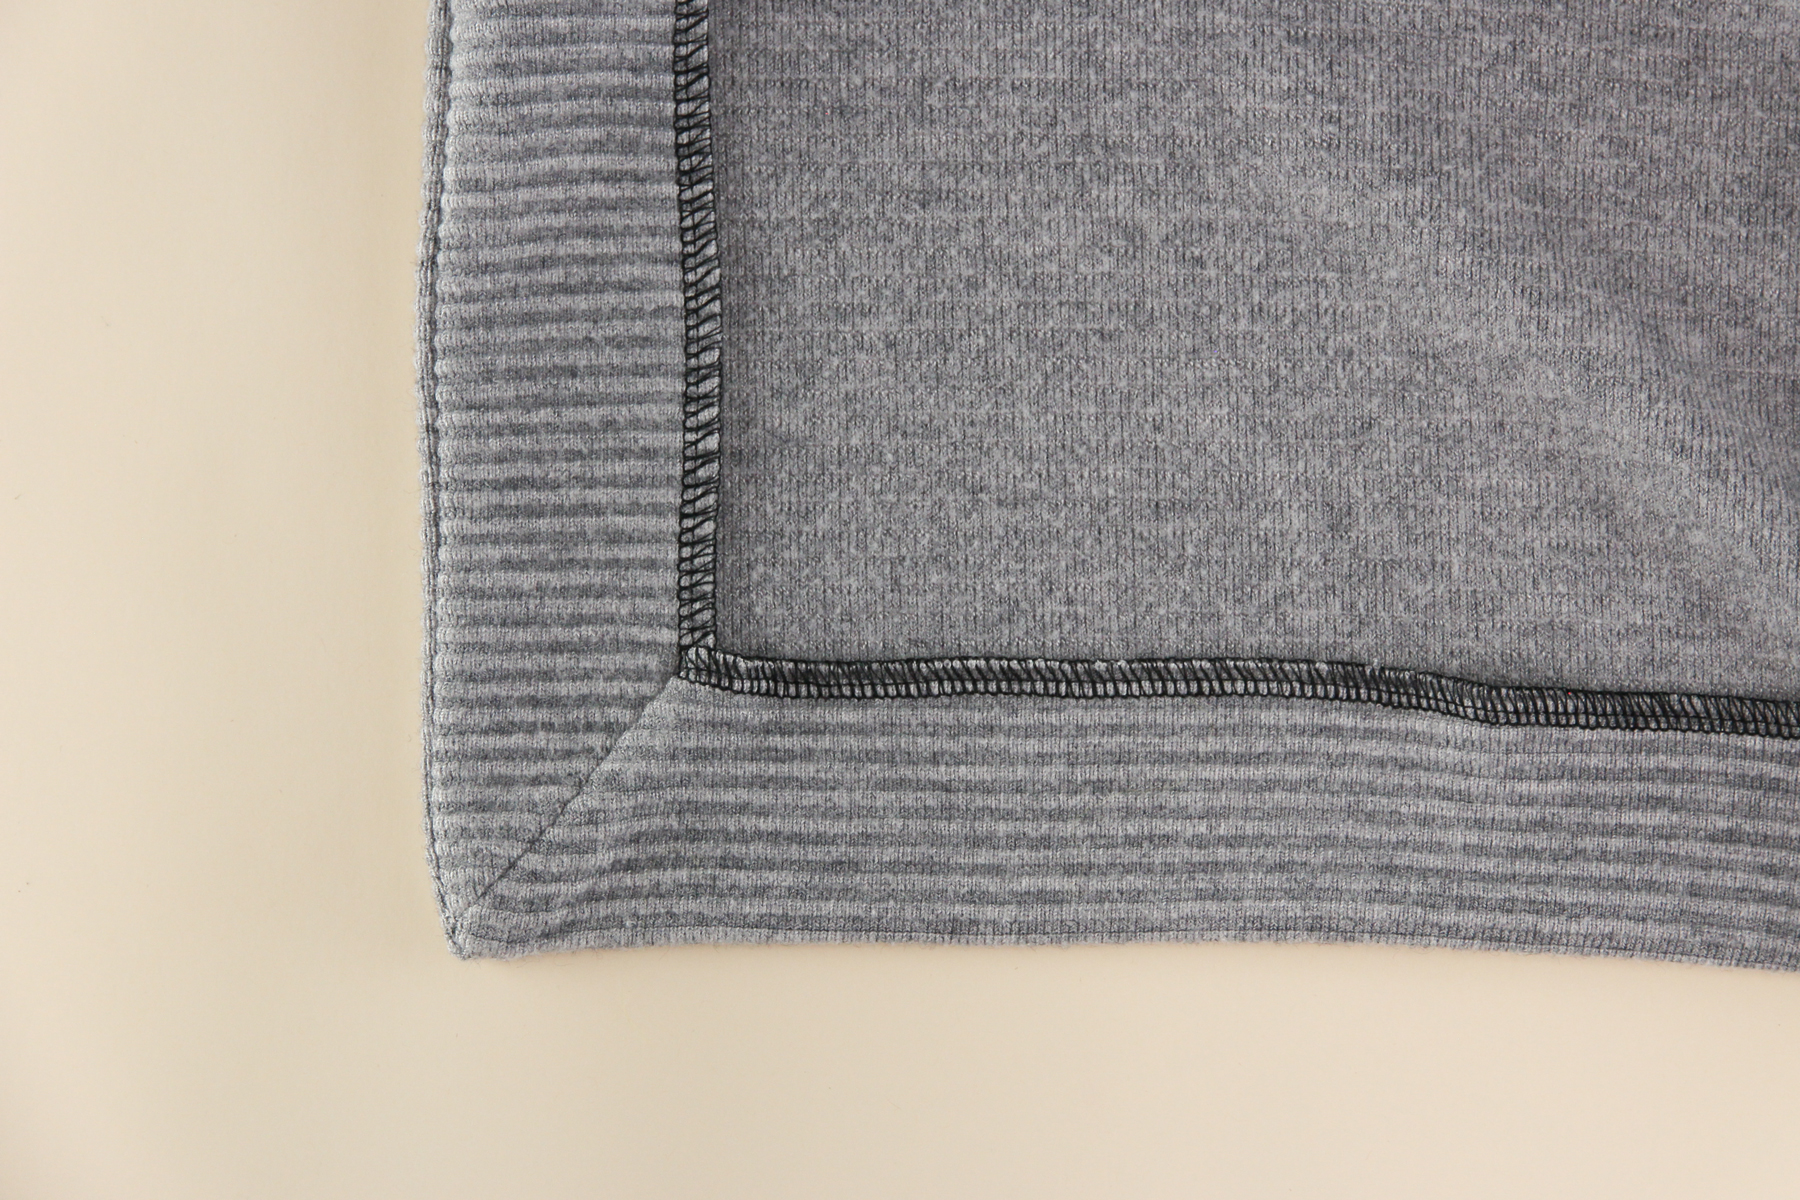
Now we need to fold up the rest of the hem to the wrong side. Again, if you serged the edge you should fold up the hem by 1 7/8” (4.75 cm) and if you folded and topstitched, fold up the hem by 1 1/2” (3.8 cm).
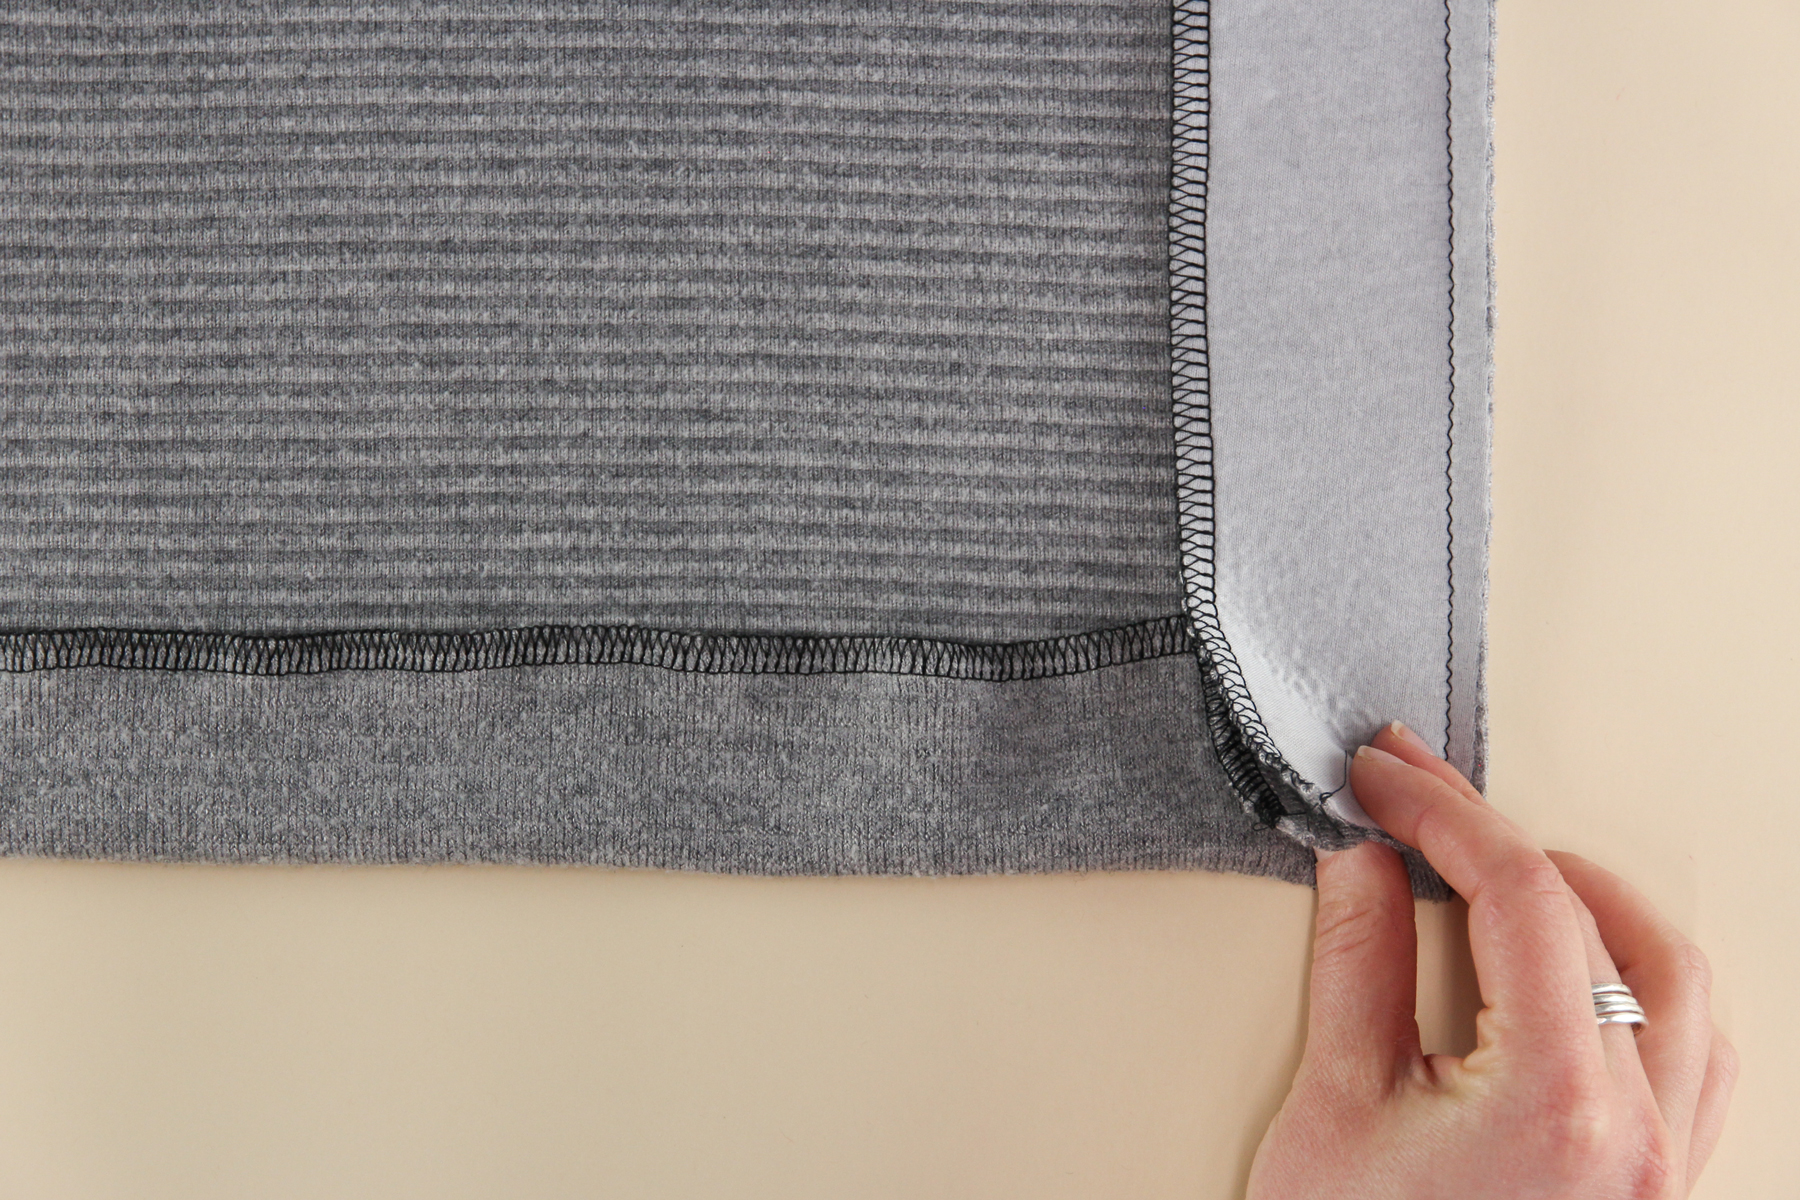
Lastly, we’re going to topstitch the facing and hem down all the way around the neckline and bottom of the cardigan.
Start by pinning the facing and hem all the way around, or use Wonder Tap. We’re going to sew a line of zigzag stitching 1 3/8” (3.5 cm) from the edge. I like to start at the center back hem and work my way up one front, around the neckline, down the other front, and along the other side of the back hem, but it doesn’t really matter where you start.
 And there we go! If you’ve sewing View A, you’re done for today! If you’re sewing View B, you can join back in now.
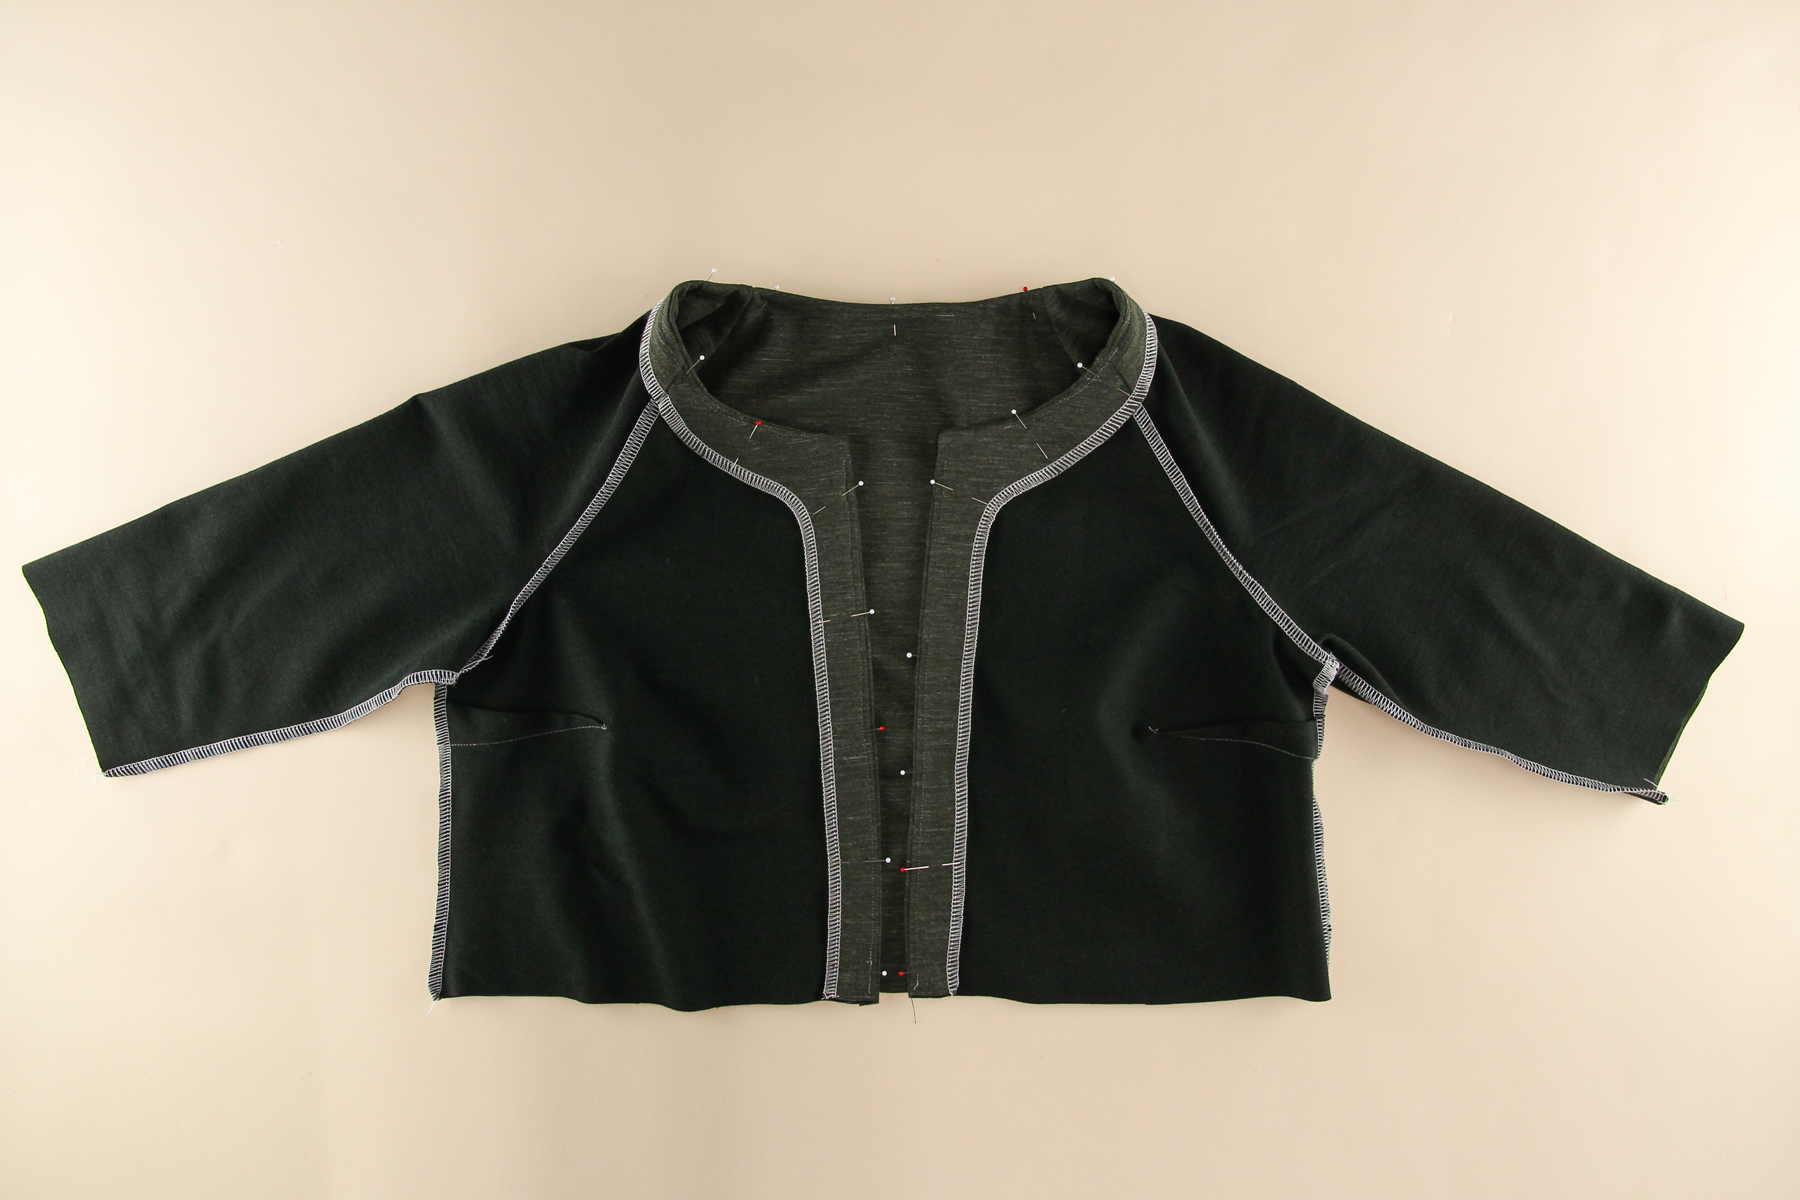
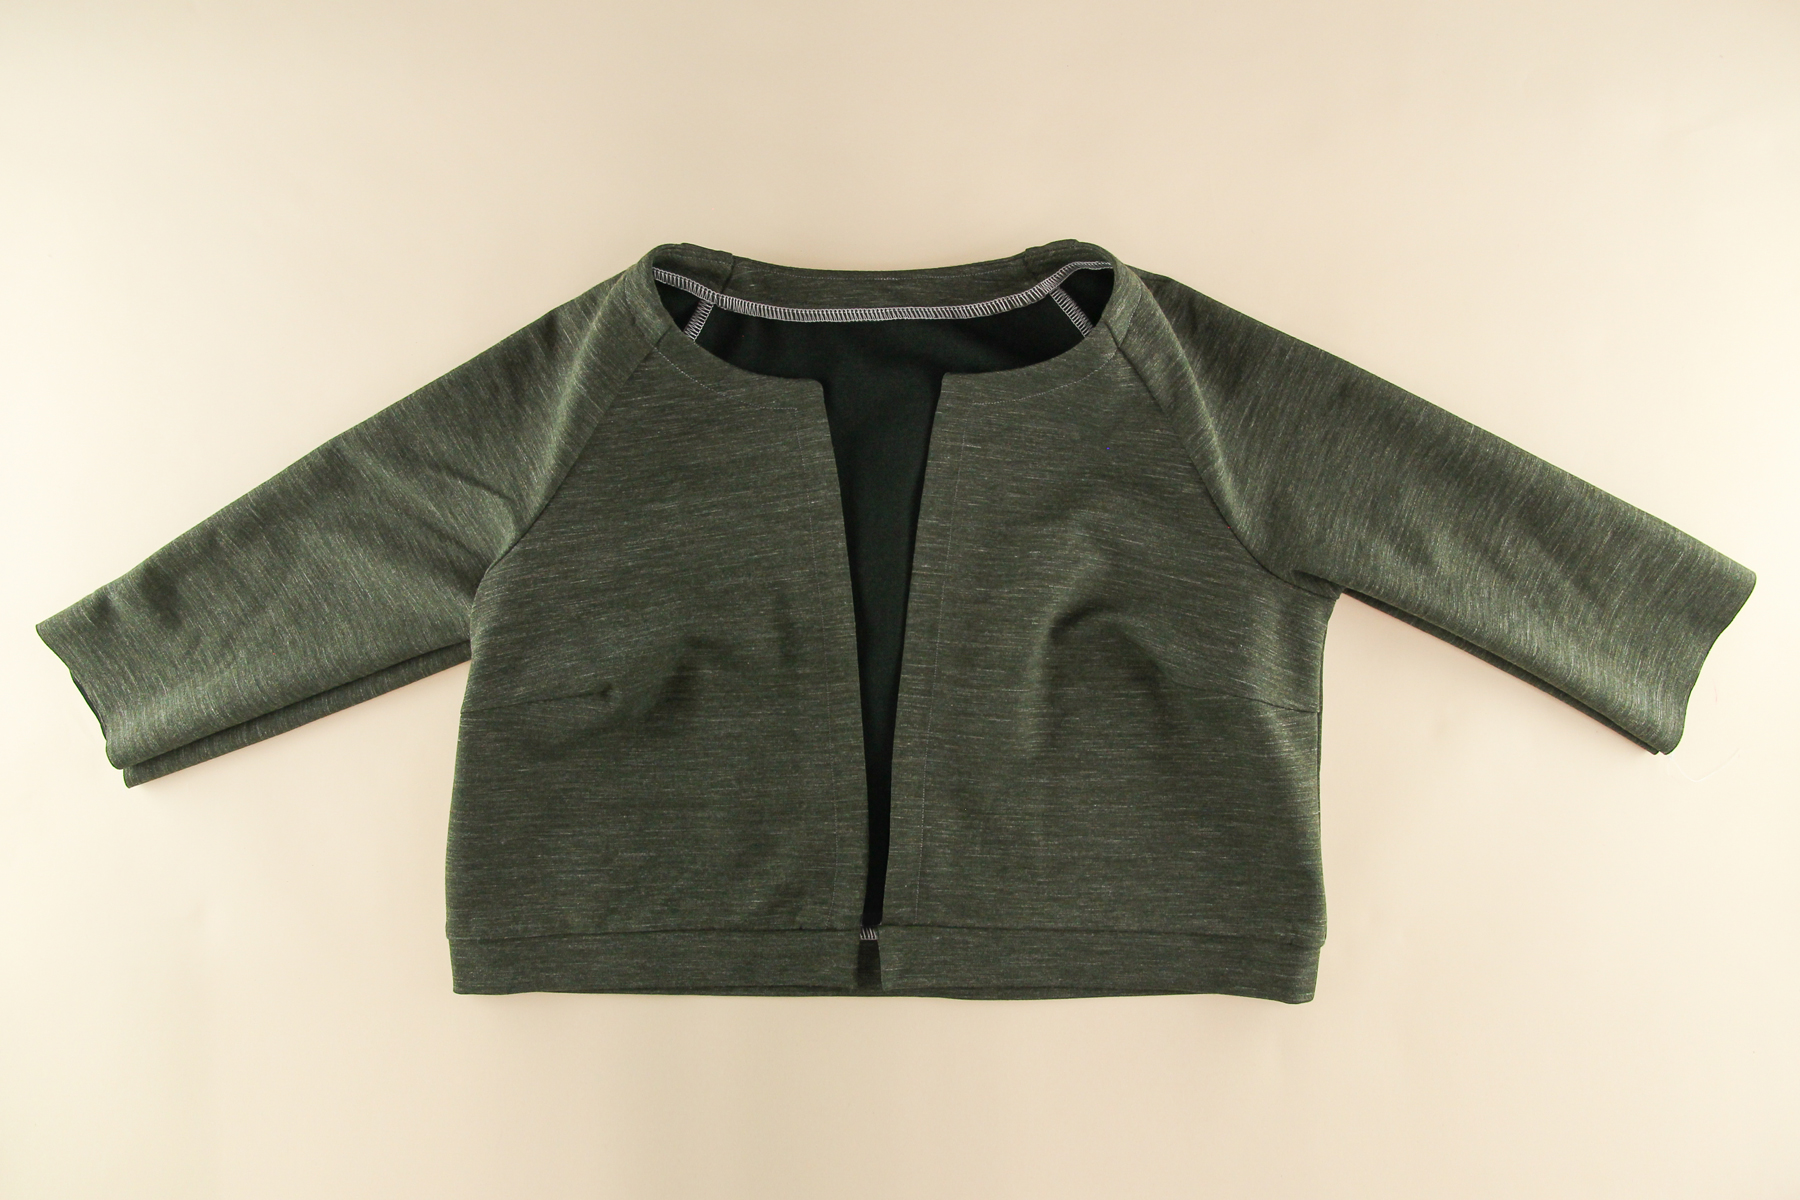
Attach the Facing, View B
For View B, we’re going to start by lining up the facing along the neckline of the bodice, right sides together. Pin.
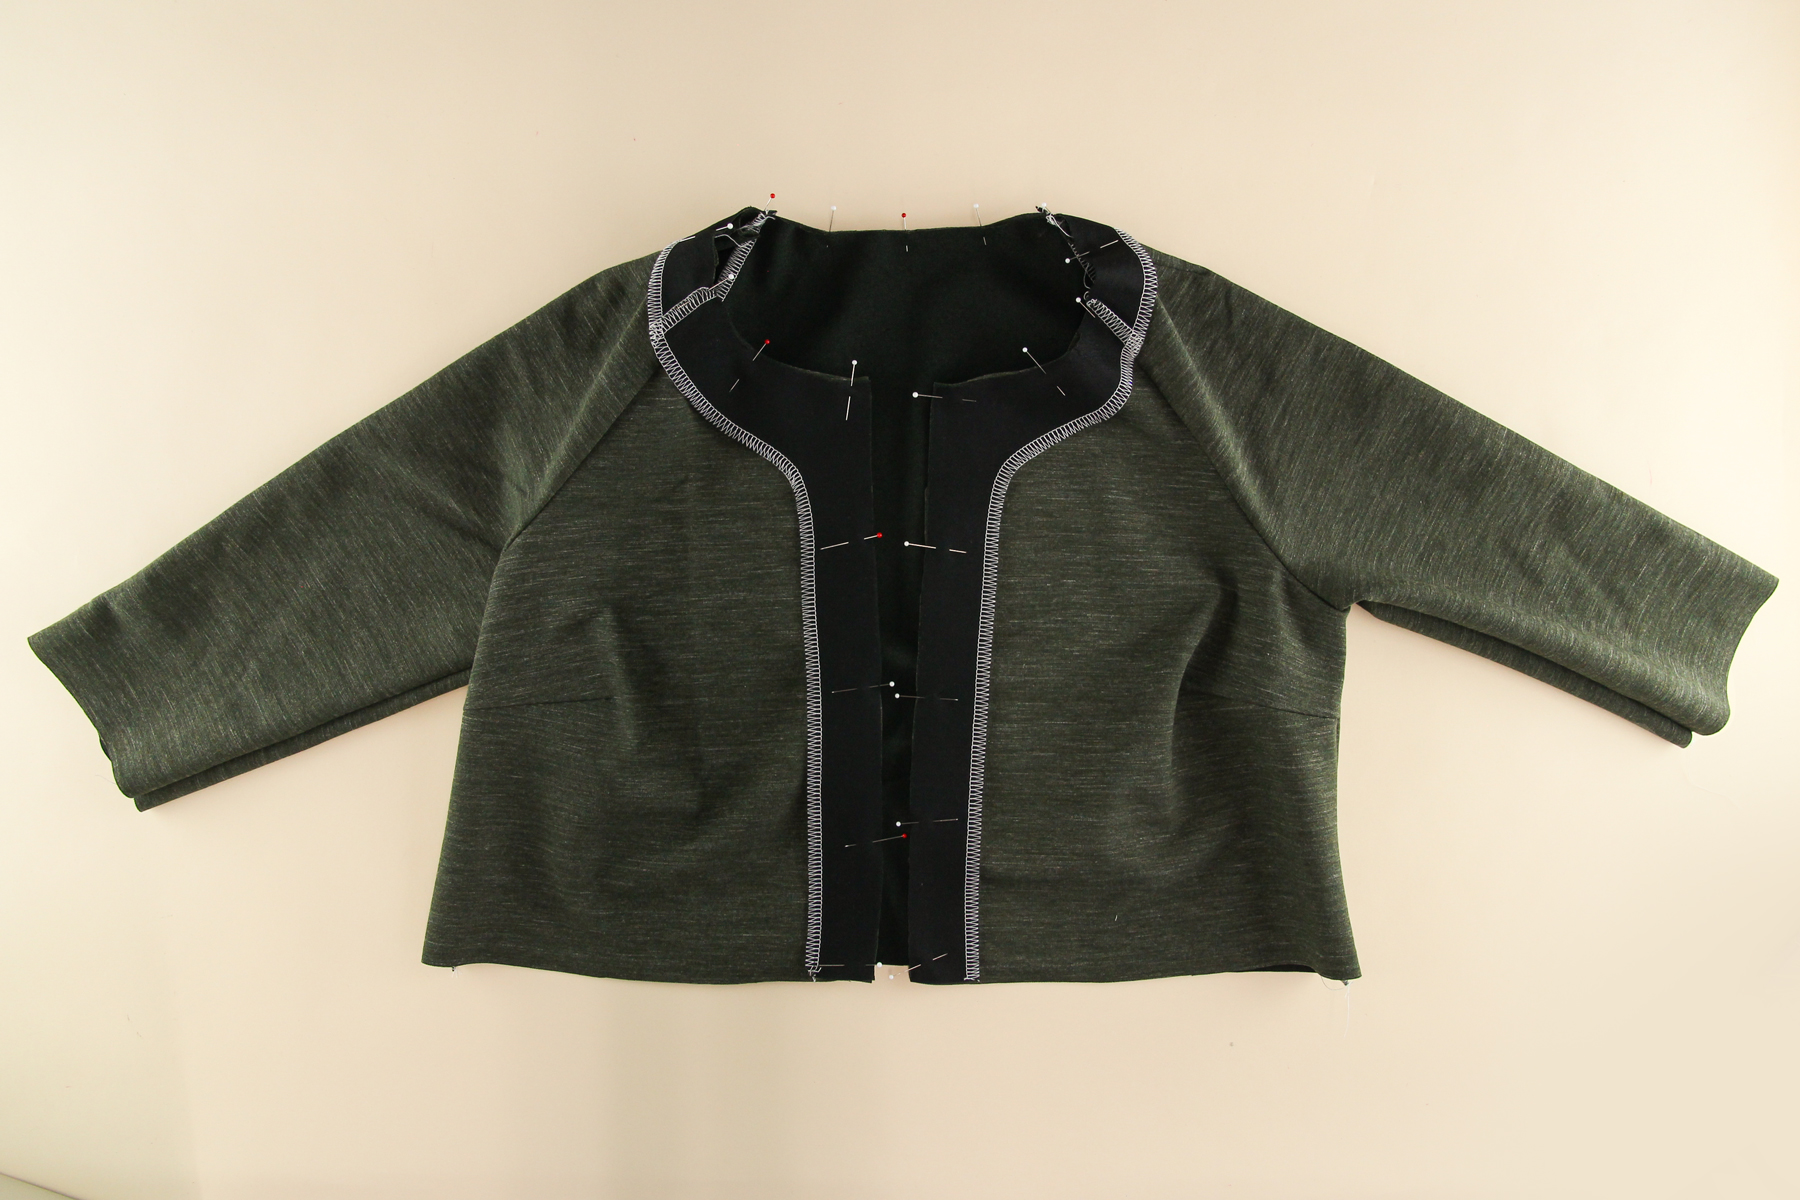
Let’s sew this with our 3/8” (1 cm) seam allowance. When you get to one of the corners at the top of the center neckline, keep you needle down and pivot your fabric, then keep sewing.
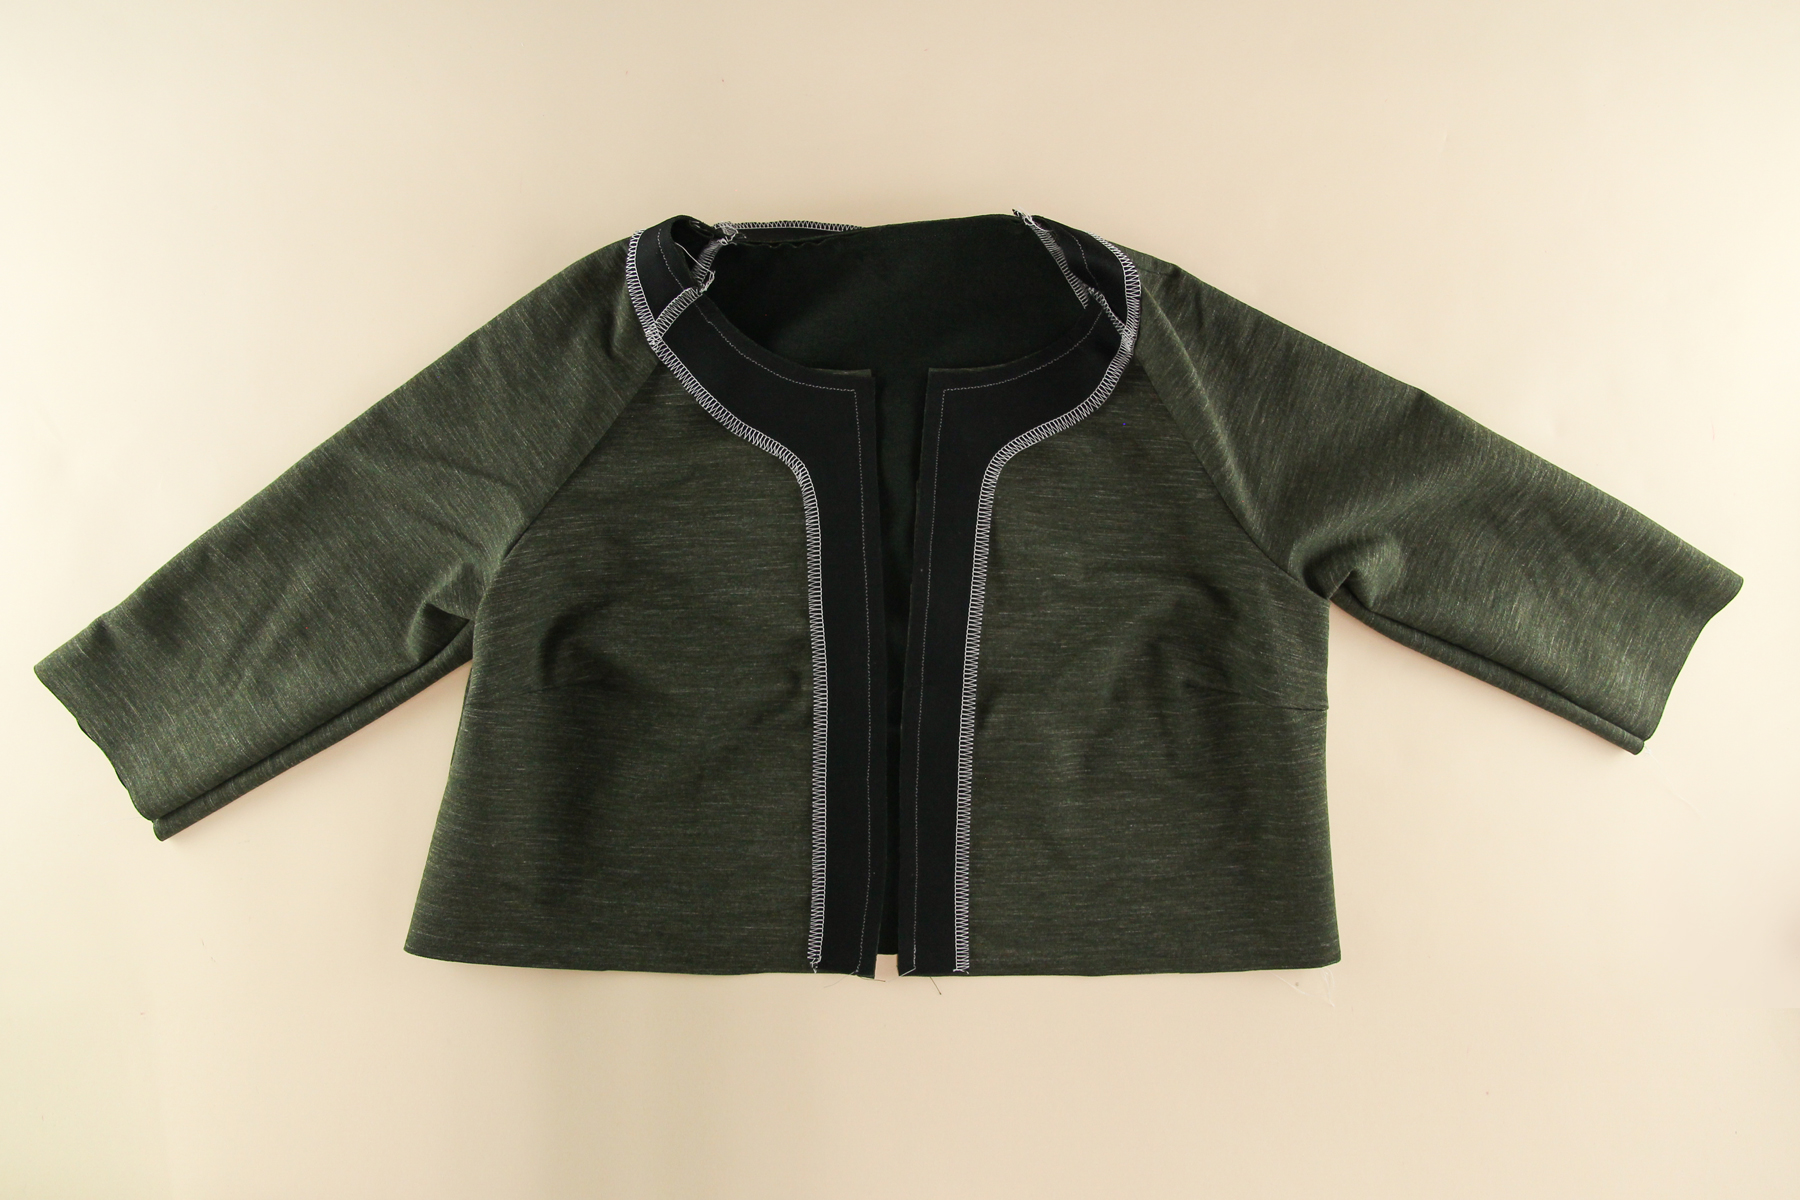
Before we flip the facing to the wrong side, we have the option of understitching. This helps keep the facing from rolling out and showing on the outside.
To do this, sew a line close to the seam that attaches the seam allowance to the facing. You’ll have to do it in separate steps, since you won’t be able to go all the way up to the corners at the top of the front neckline, but get as close as you can and don’t worry about the gaps.
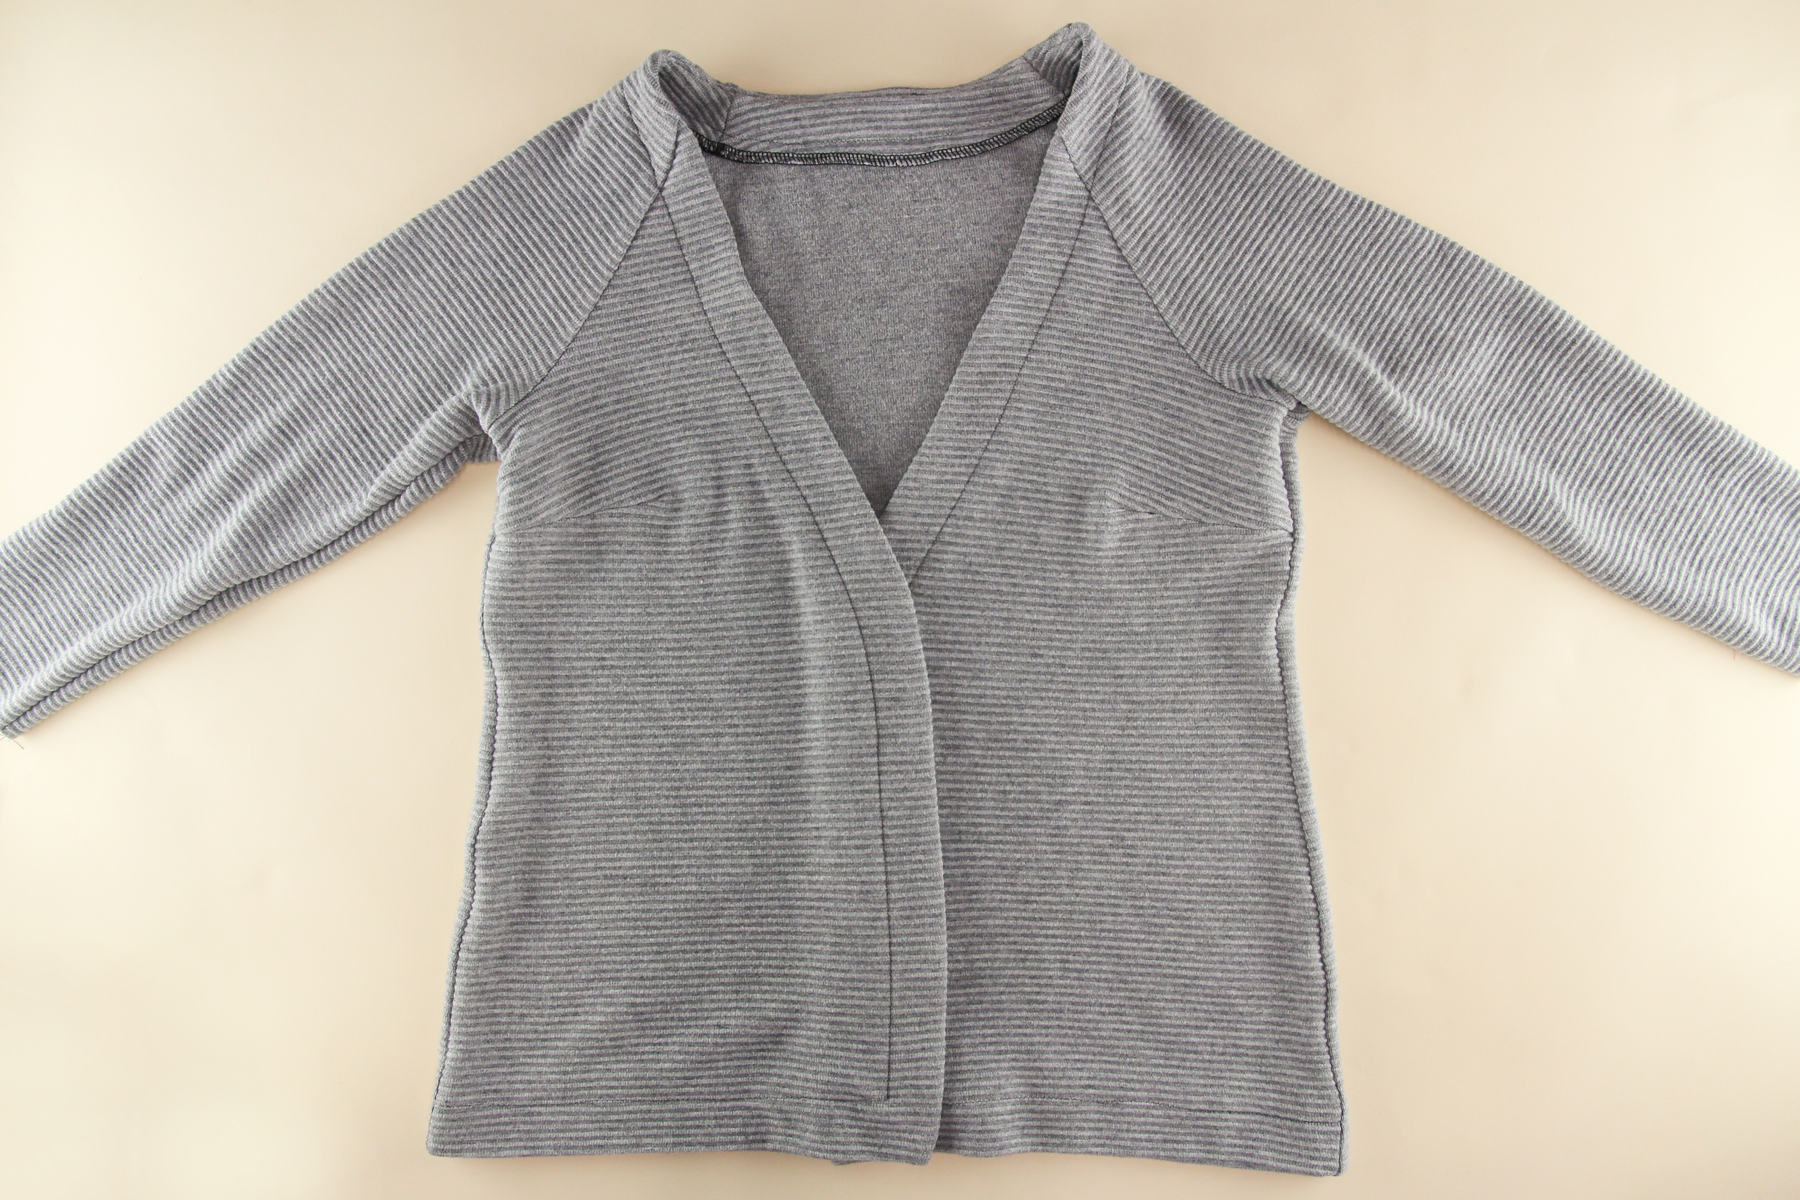
Now we can flip the facing to the wrong side and press. Pin it down or user Wonder Tape to hold it in place.
We’re going to topstitch the facing down all the way around from the right side, 3/4” (2 cm) from the edge. Start at the hem of one side, go up and around the neckline, and end at the hem of the other side.
Lookin’ good!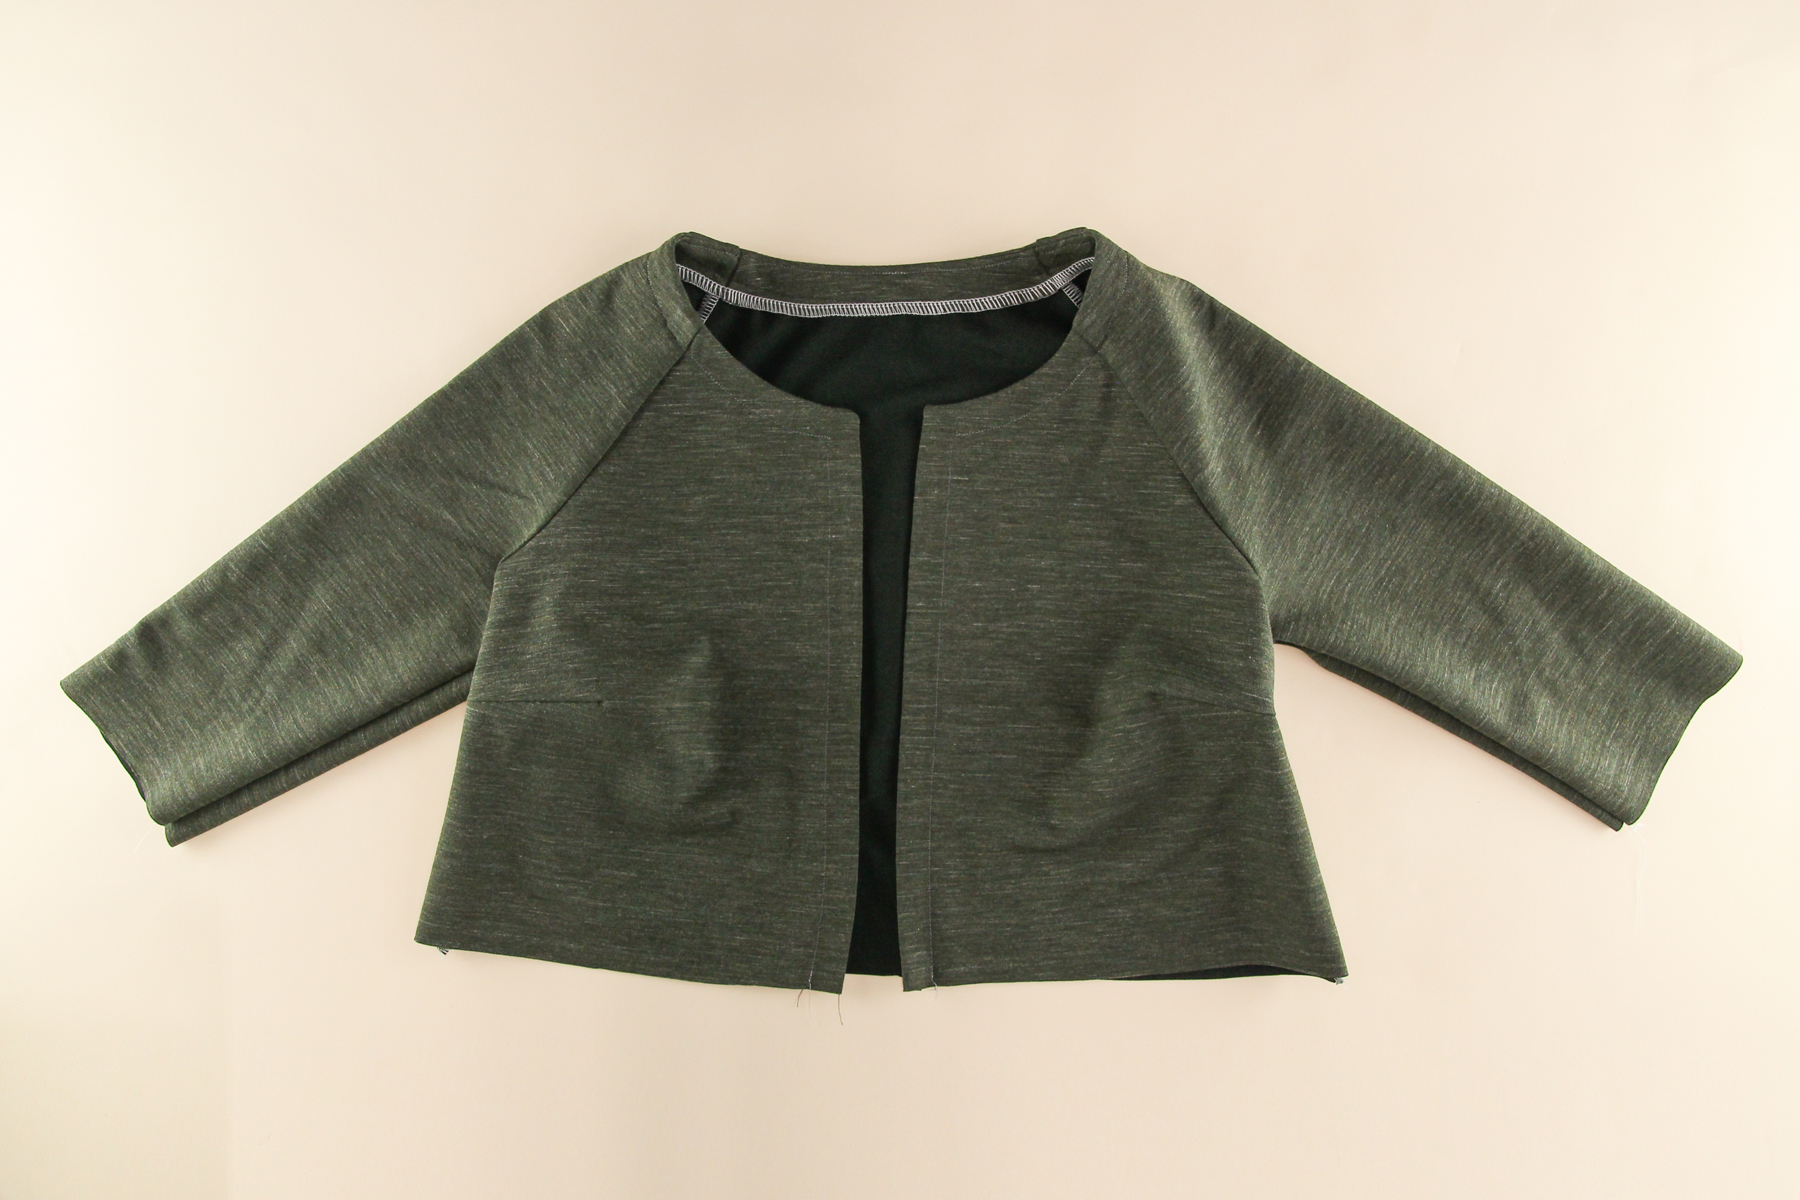
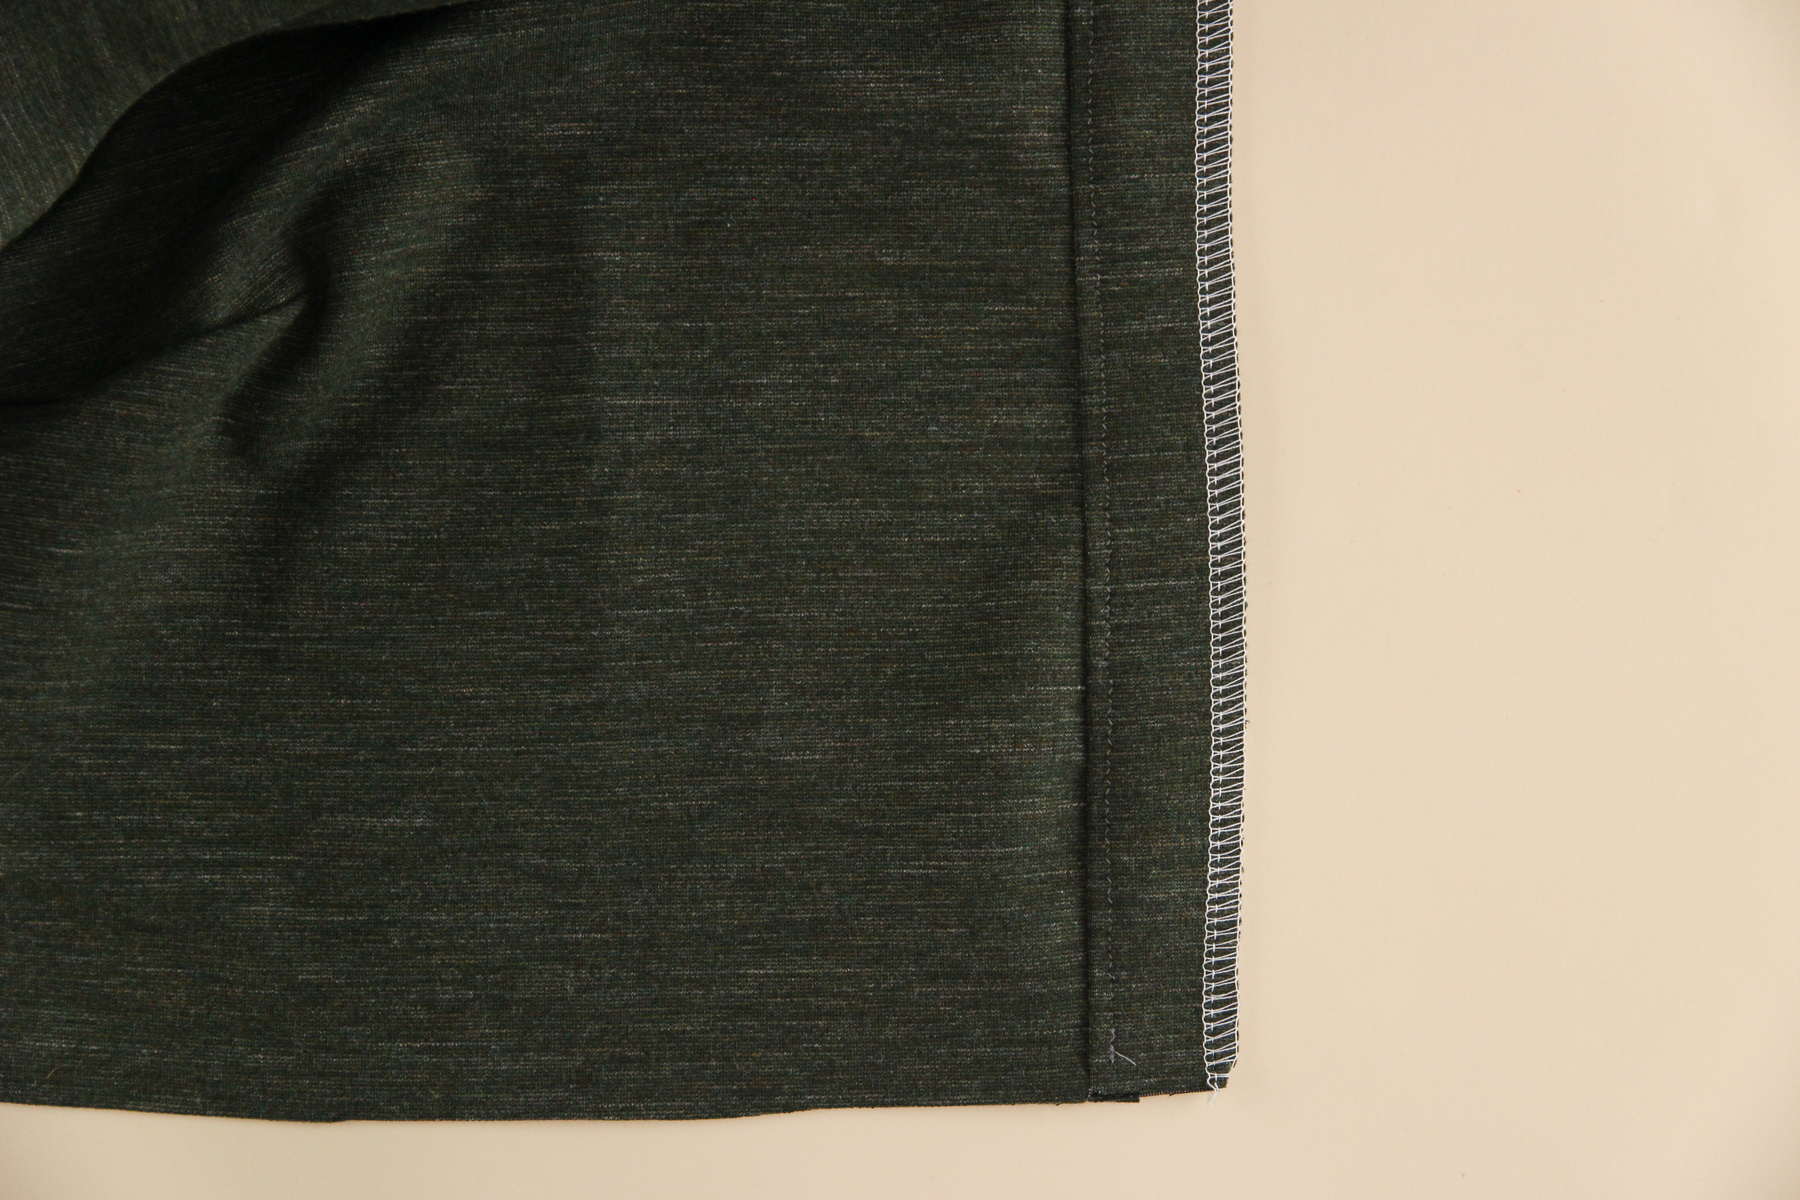
Attach the Hem Band
Lastly, we’re going to attach our hem band (which we assembled last time).
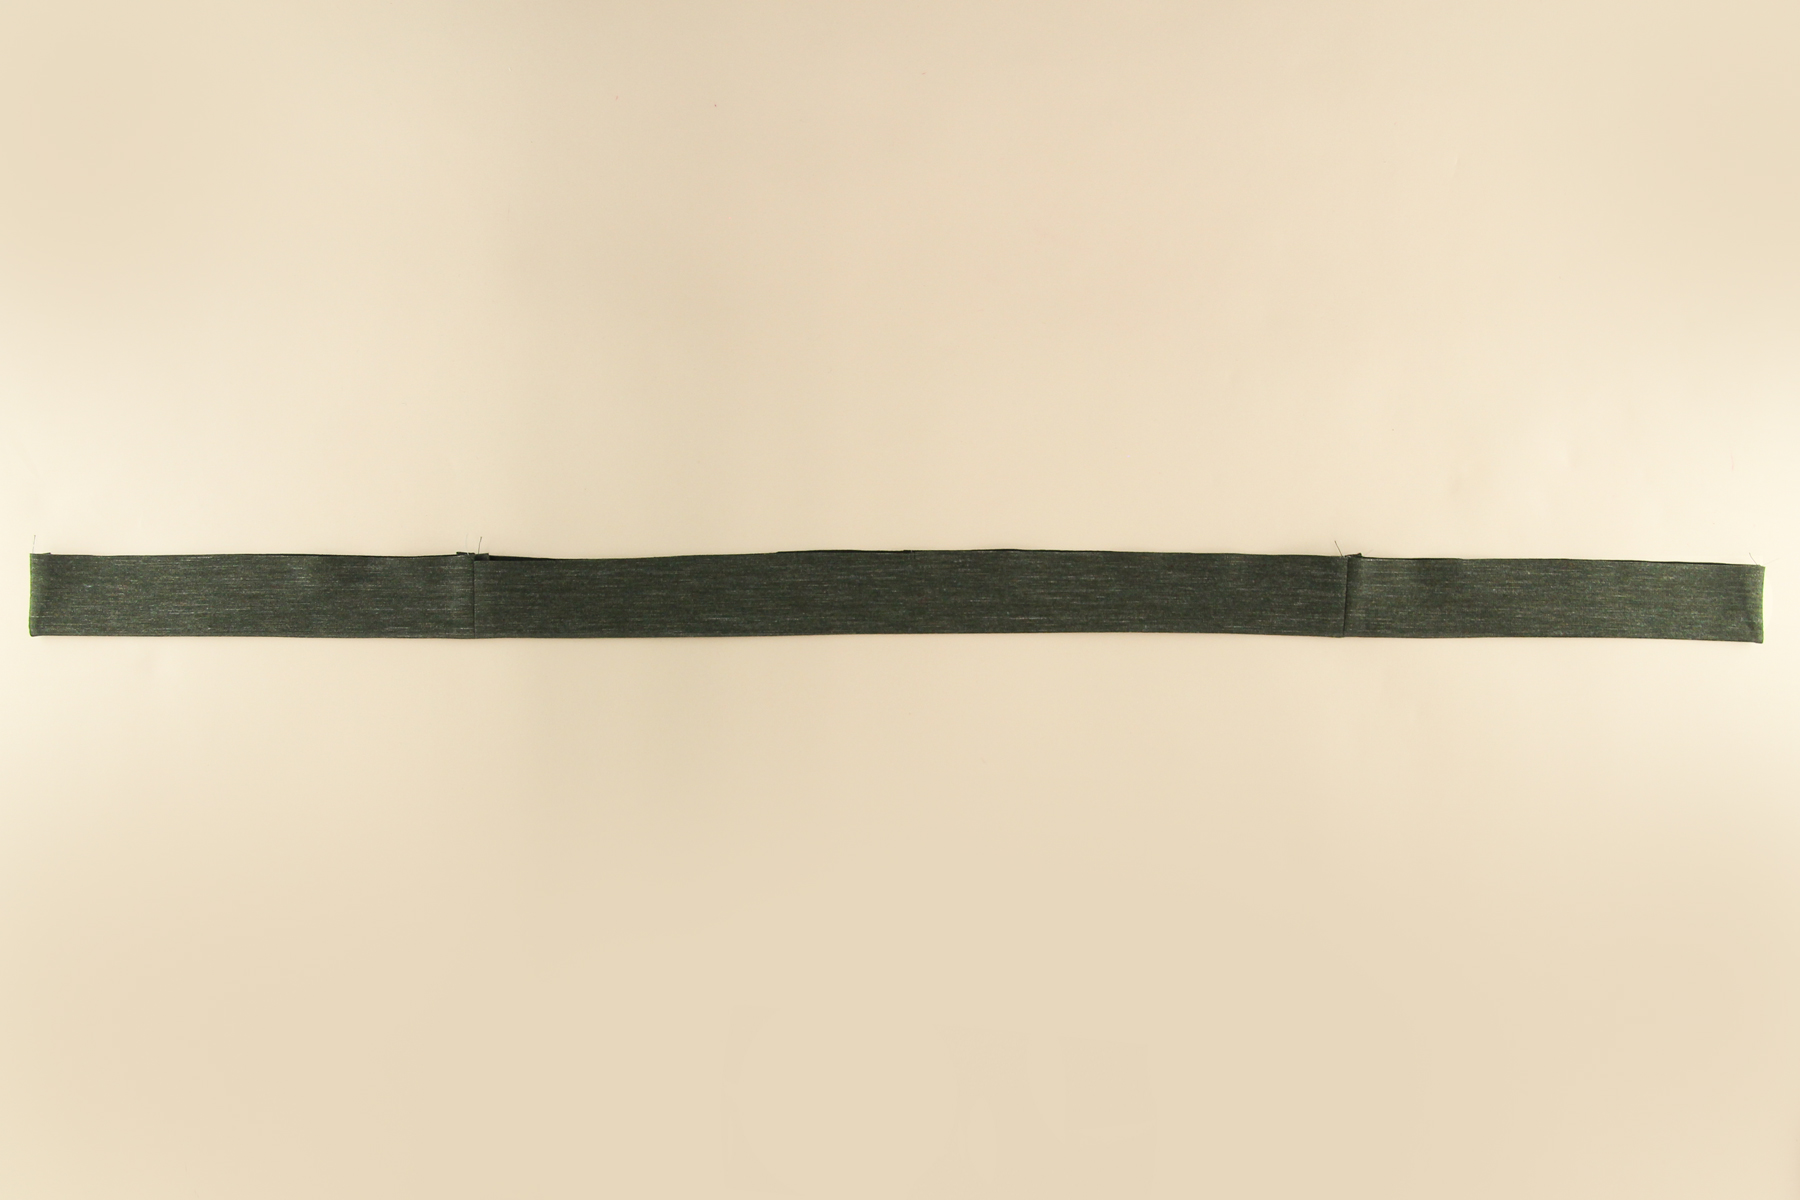
Start by pinning the hem band to the hem of the cardigan, right sides together. You’ll notice that the hem band is a little shorter than the hem of the cardigan, so you’ll need to stretch it gently to get it to align.
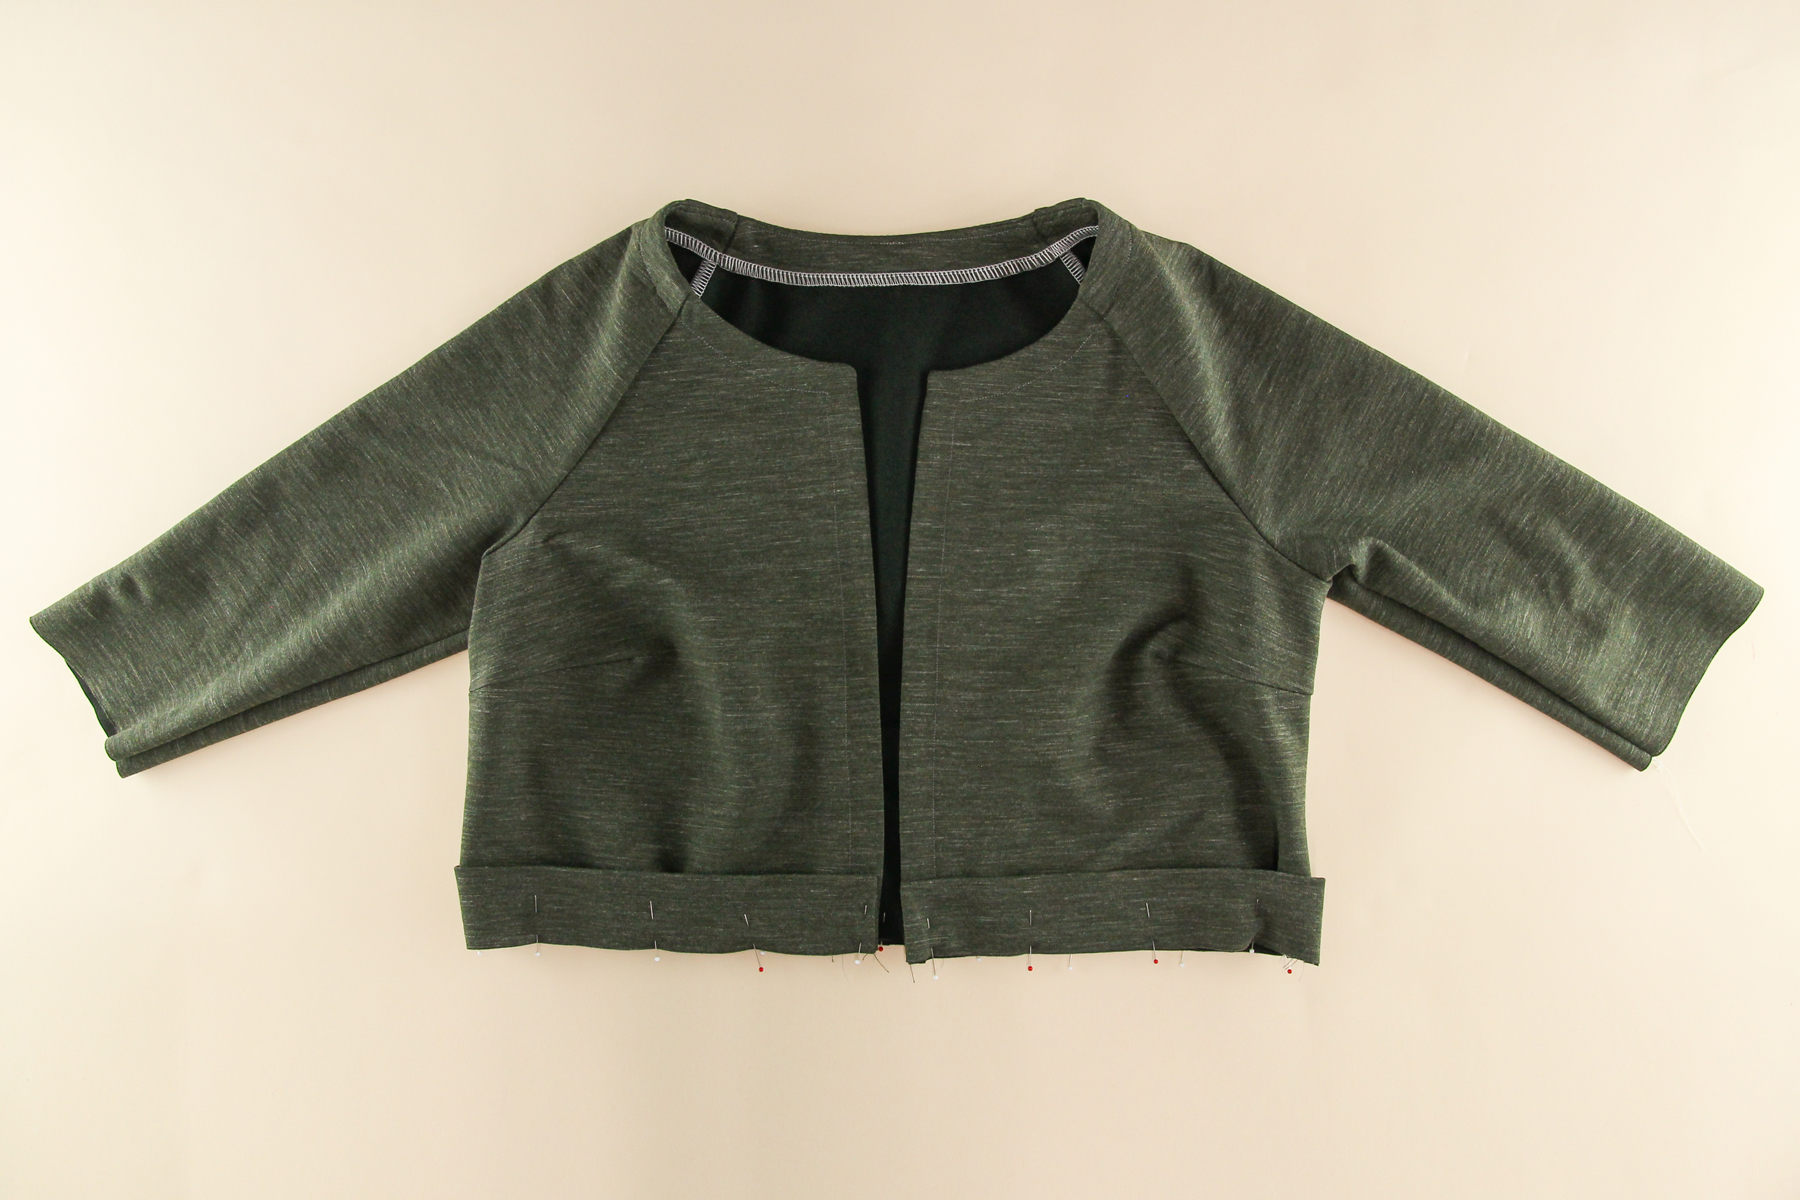
Sew through all the layers. I find it helpful to sew with the bodice side up, so that I can make sure it’s laying flat and I don’t get any tucks (since it’s getting scrunched up a bit by the shorter hem band).
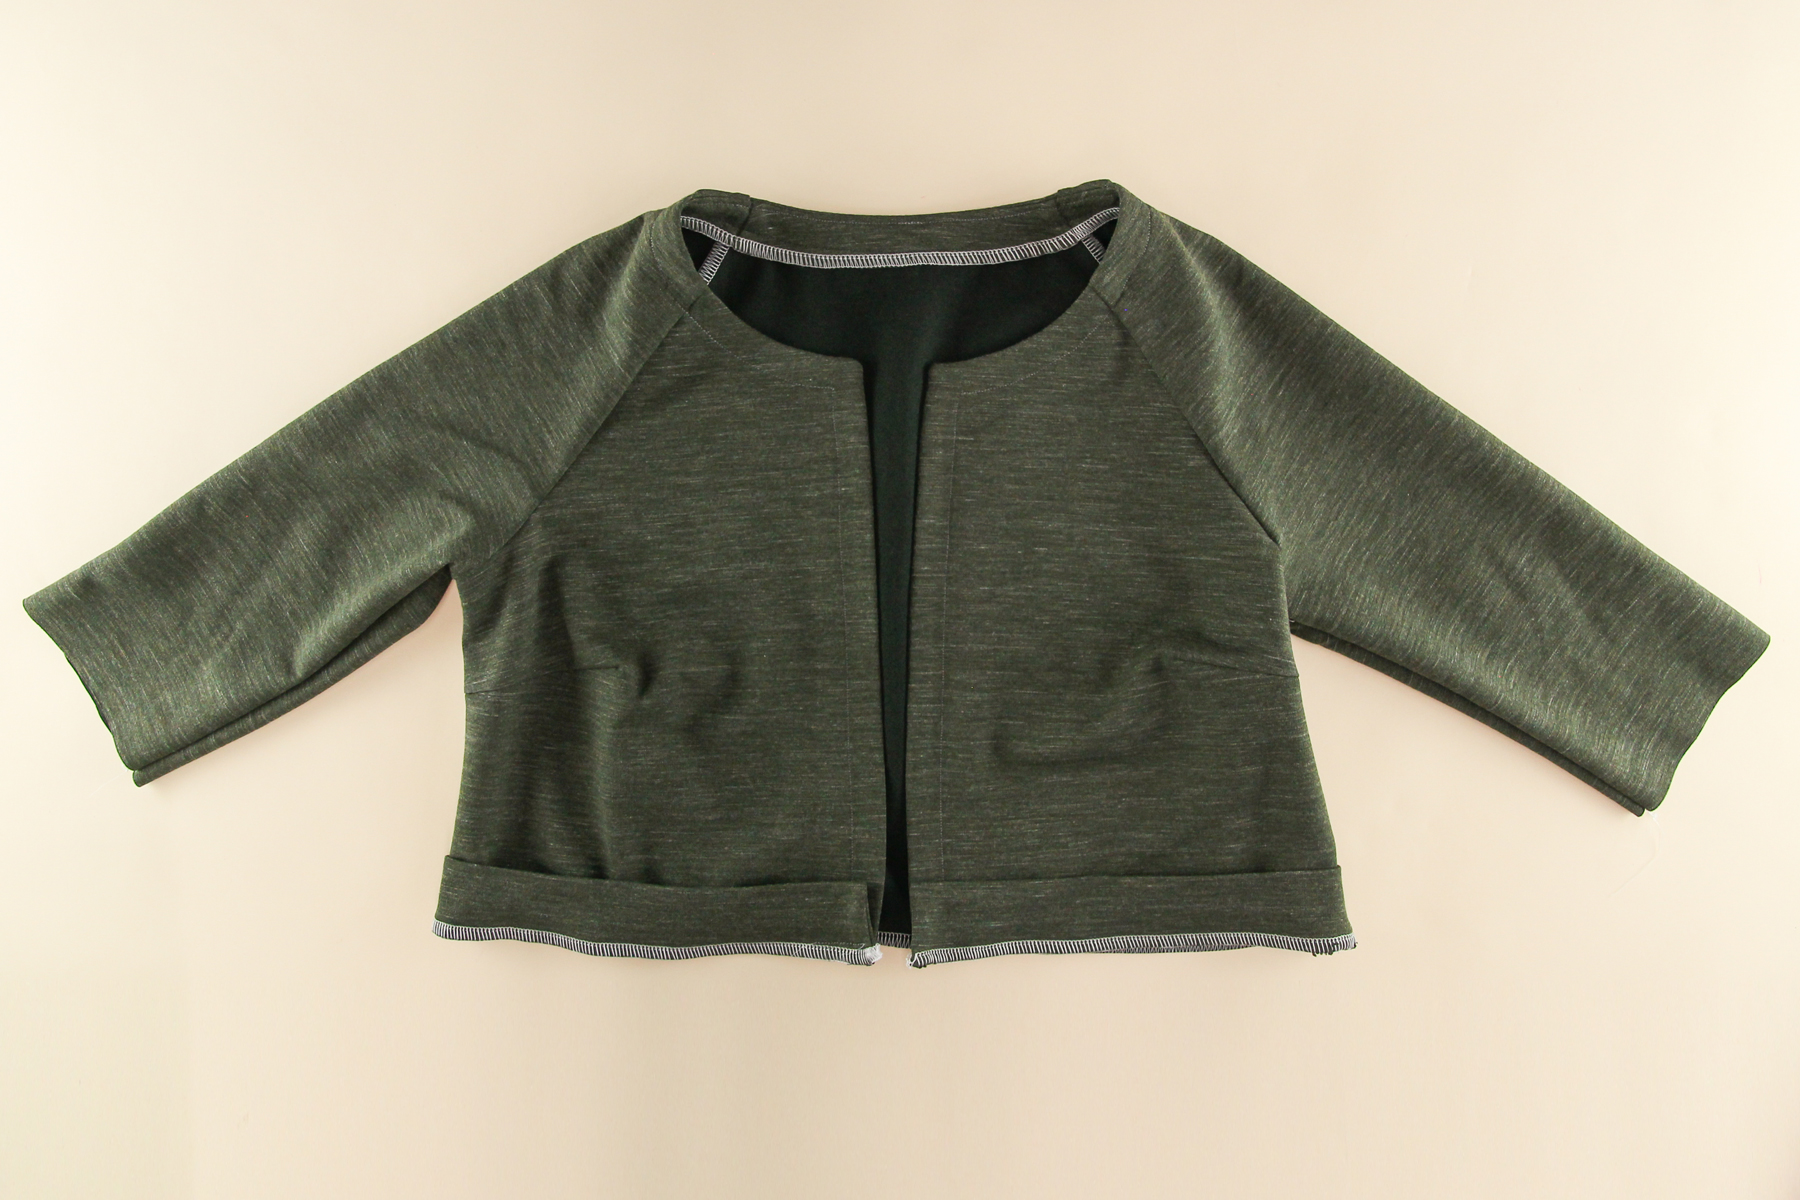
Press the hem band open with the seam allowance up towards the bodice, and there we have it!
That’s all for today, but boy are we close to being done! Next time, we’ll be attaching our cuffs and sewing our buttons and buttonholes. See you then!
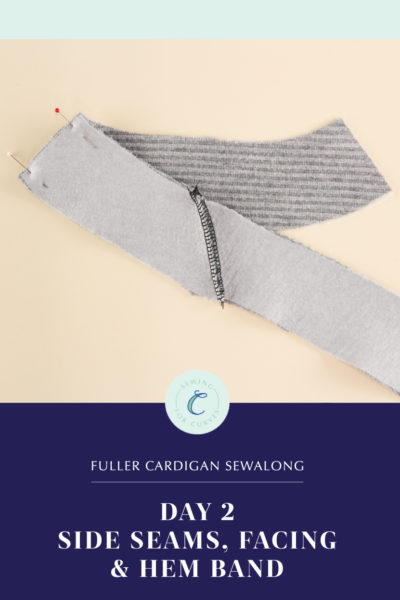
We want to see your Fuller Cardigans, whatever stage of the process you’re in. Be sure to tag your makes with #FullerCardigan and join us next time as we sew our side seams and get the facing ready.