Hey, welcome back! We’re sewing up the Fuller Cardigan and having a great time doing it.
Last time, we sewed the darts and assembled the bodice. Today, we’ll be sewing up the side seams and assembling our facing and hem band (for View B).
If you’re just joining us, head over to the main Fuller sewalong page to get a ton of inspo as well as tips and tricks for choosing your size and prepping your pattern and fabric.
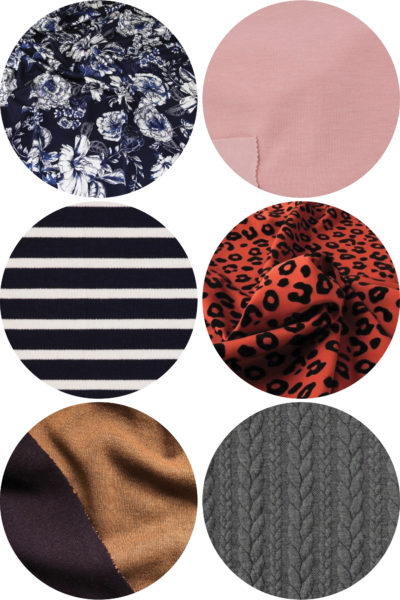
As a reminder, I’m using a gray sweater knit for View A and olive ponte for View B. I’ll be showing you most of today’s steps on the sweater knit since they’re the same for both views, but then we’ll switch to the ponte for the hem band.
Okay, let’s get back into it!
Sew Side Seams
We’re going to kick things off today by sewing the side seams. This is my favorite step in any project. As soon as the side seams as sewn, I can’t resist trying on the garment.
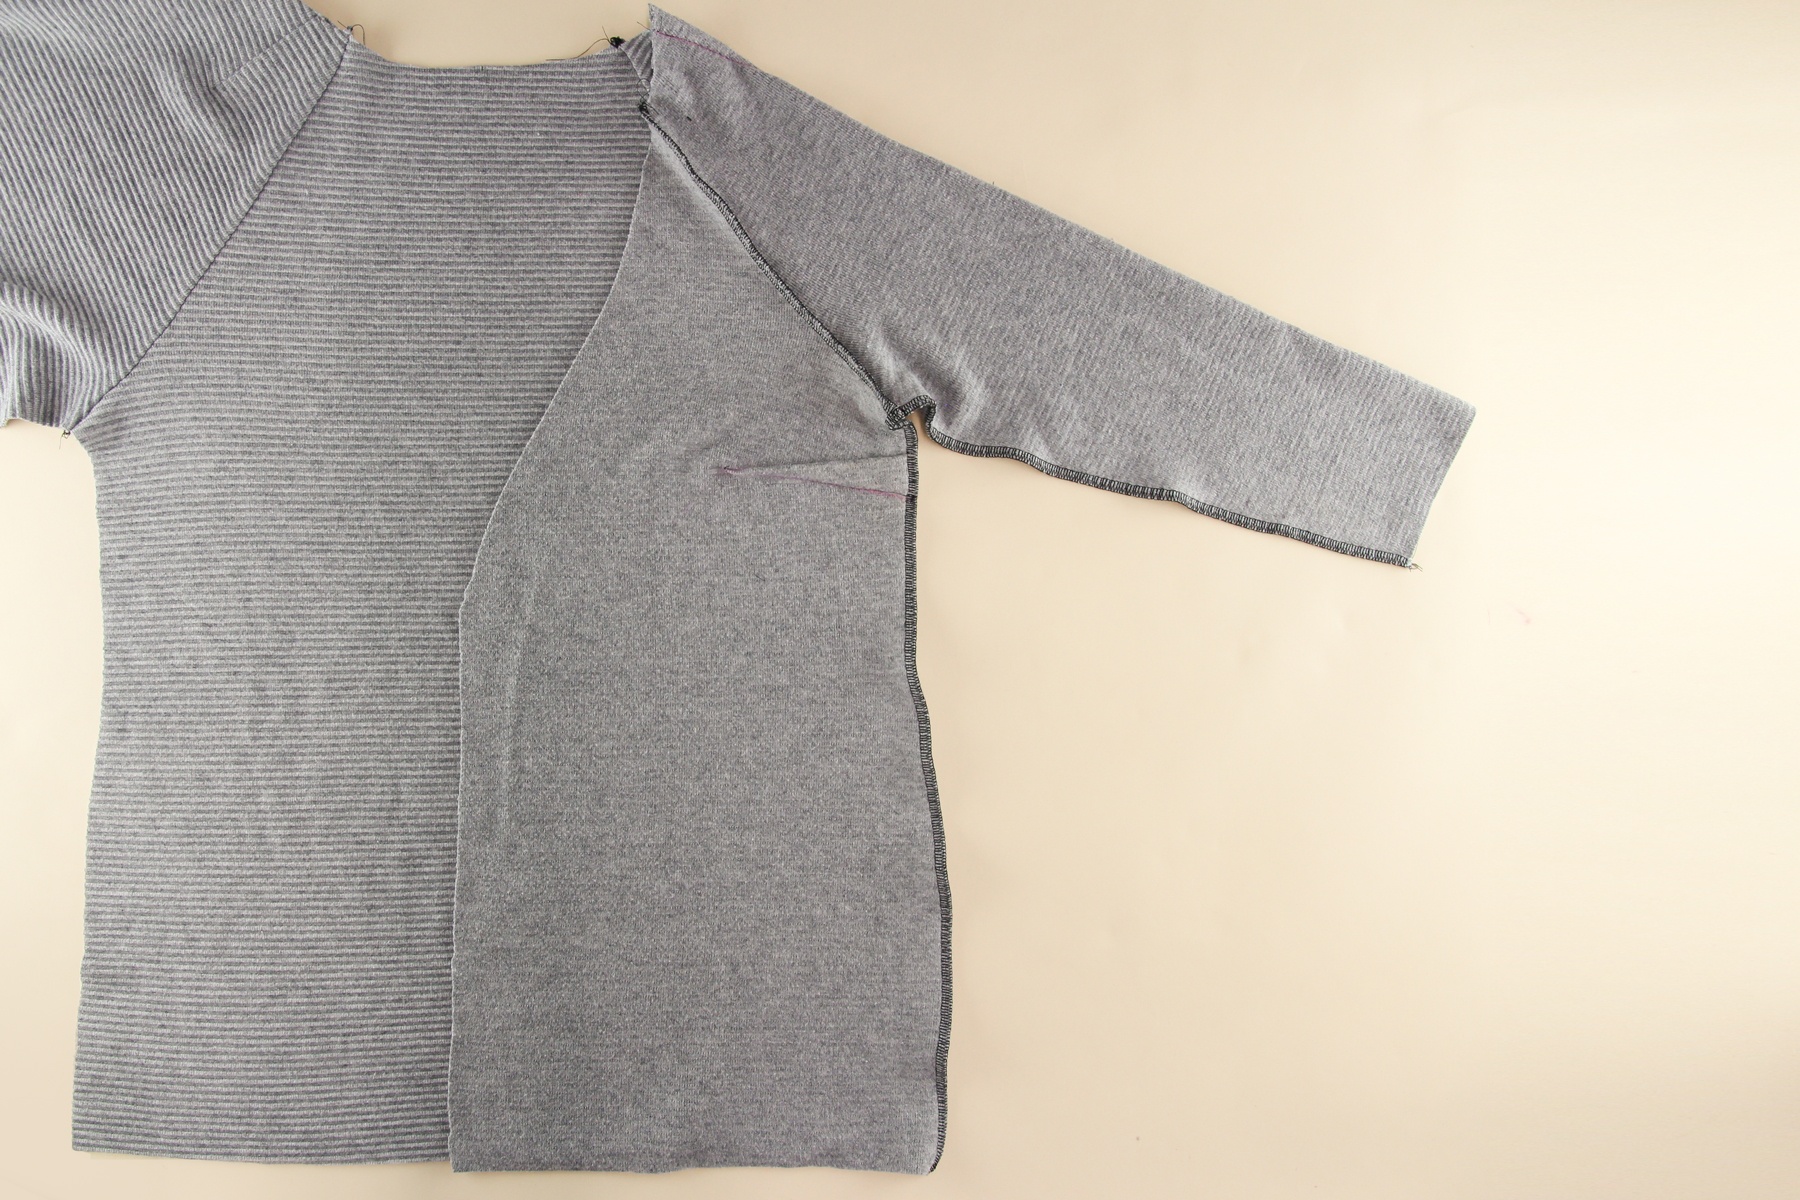
Fold the bodice in half, right sides together, and line up one of the side seams. Pin.
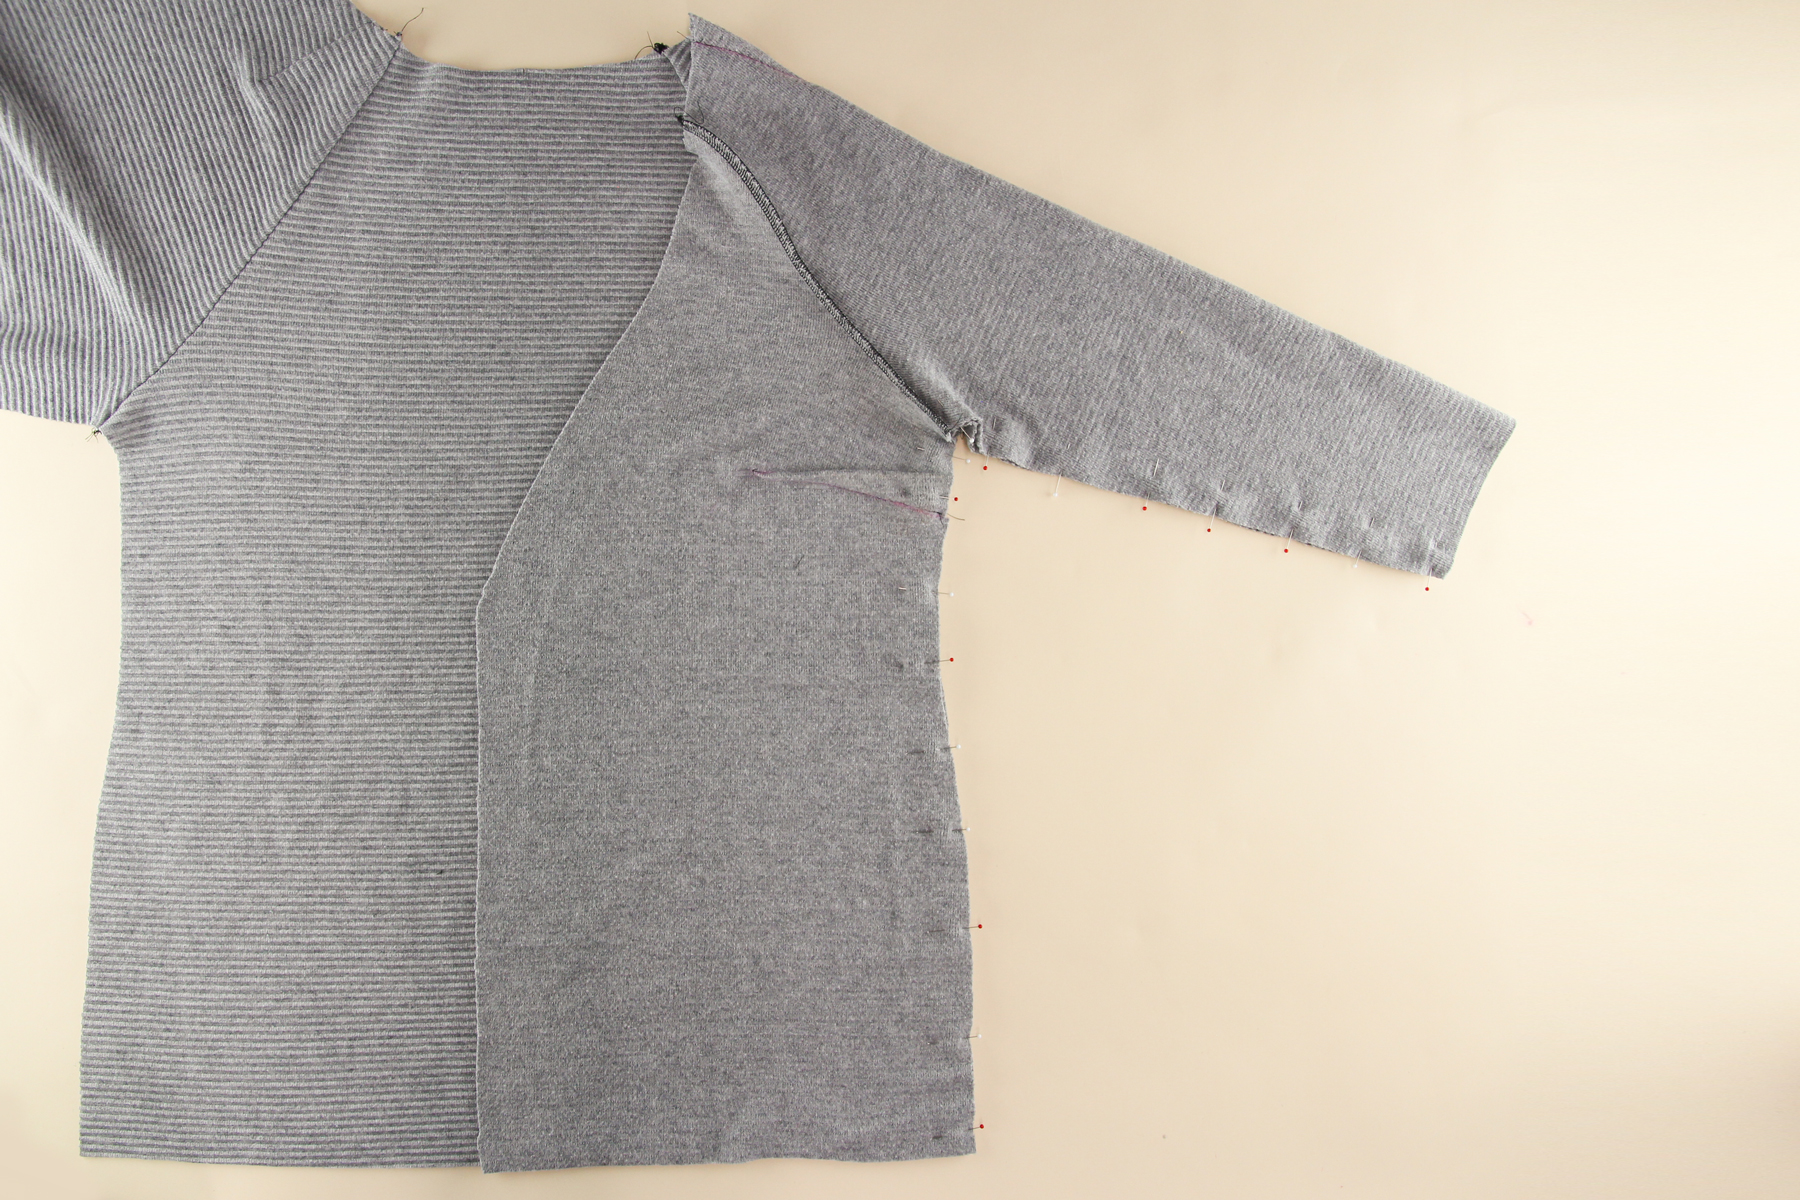
Now we can sew that seam using our 3/8” (1 cm) seam allowance. You can sew this seam on a sewing machine using a zigzag stitch, or directly on the serger like I’m doing.
Press that seam towards the back.
Now we can sew the other side seam.
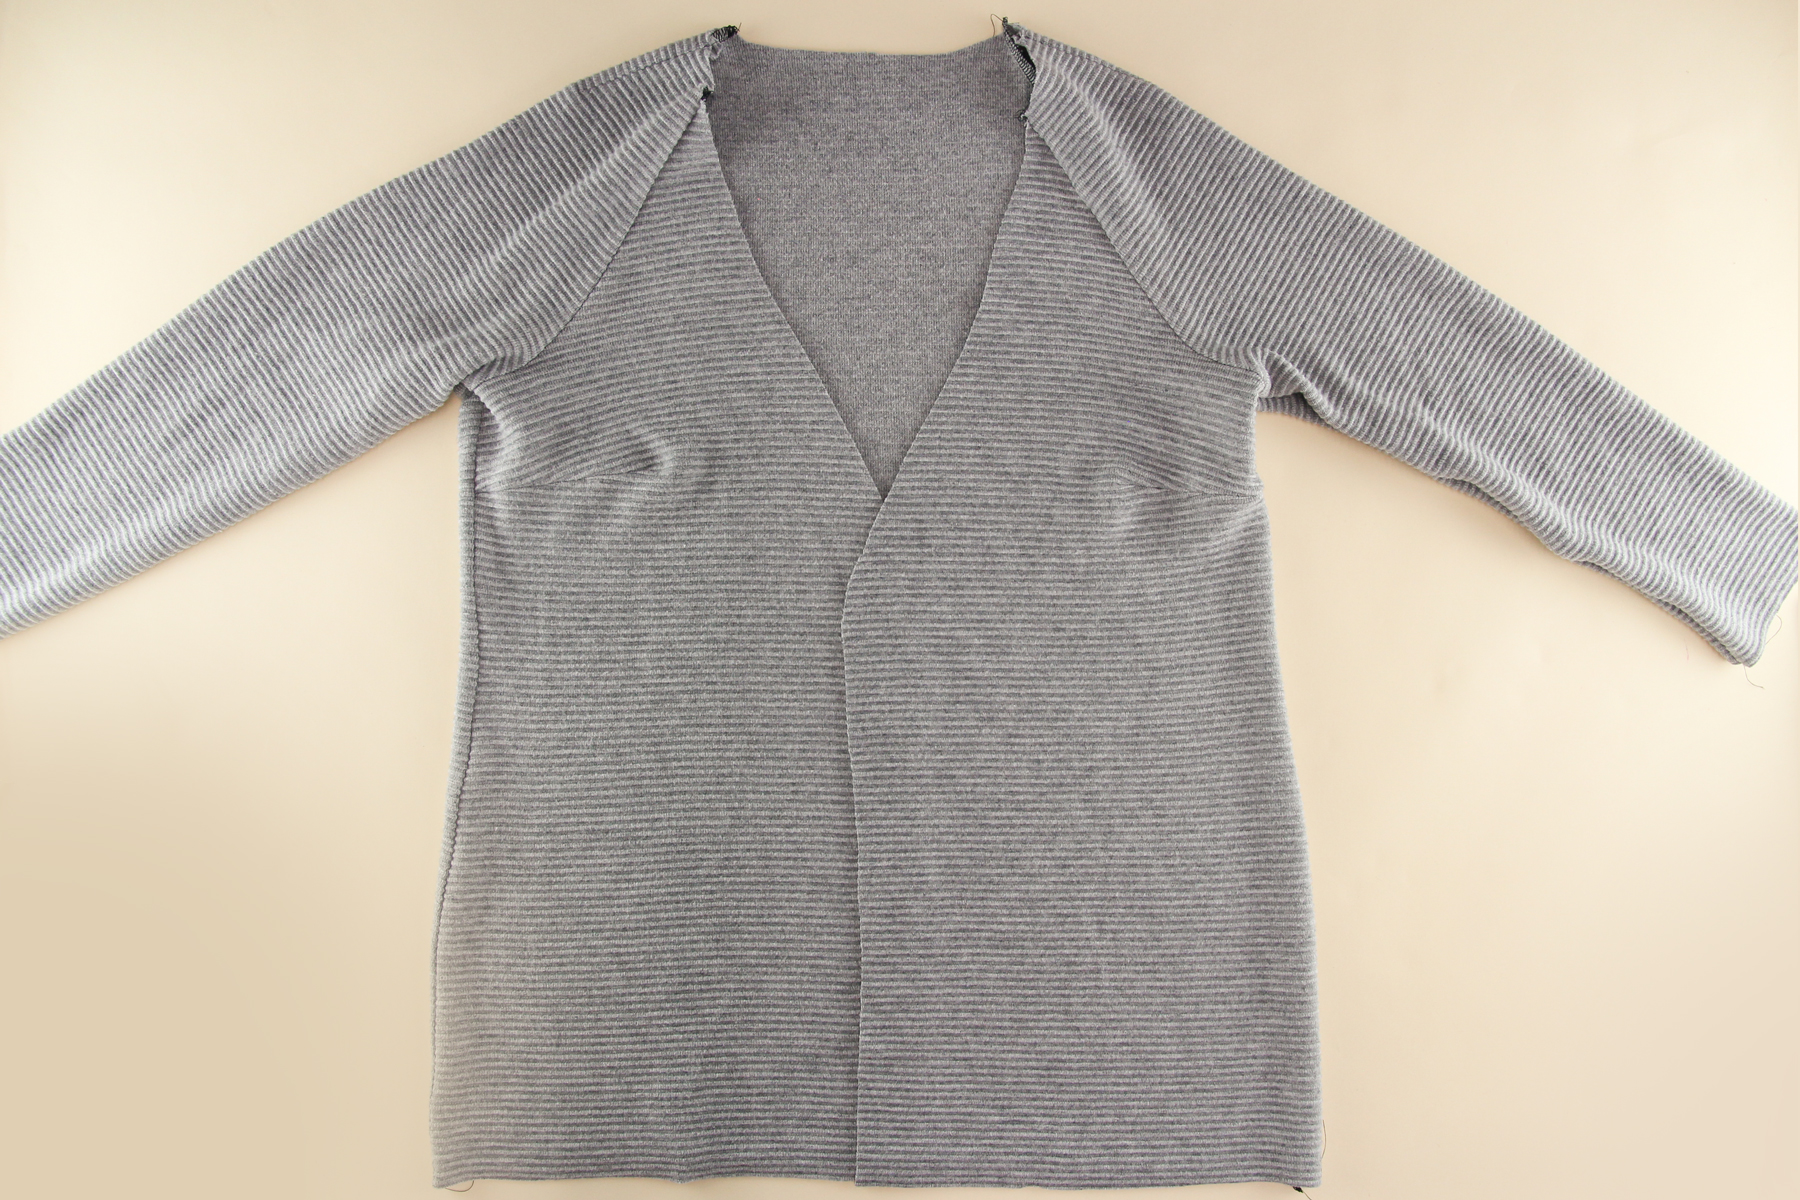
Okay, that’s done!
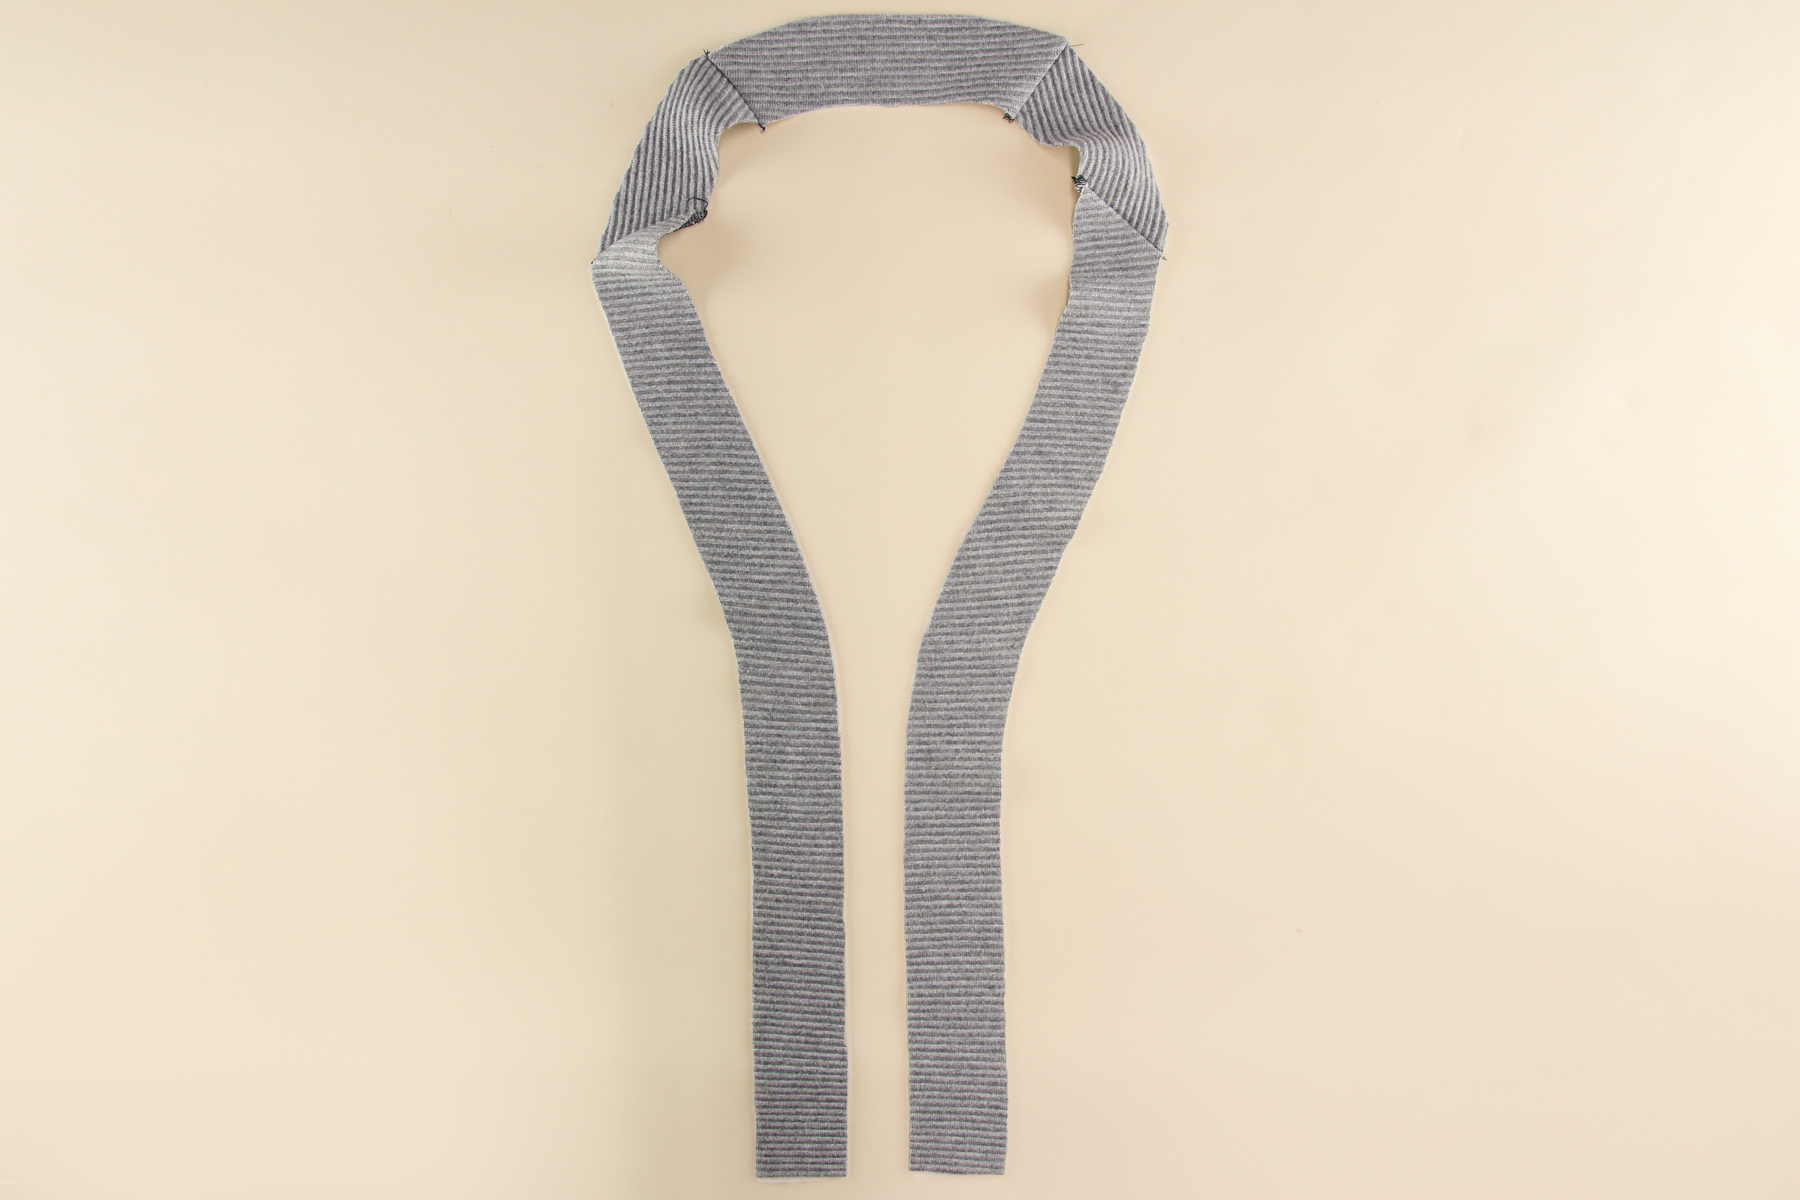
Assemble the Facing
Next, we’re going to assemble the facing. Don’t forget to apply the interfacing to your facing pieces before sewing.
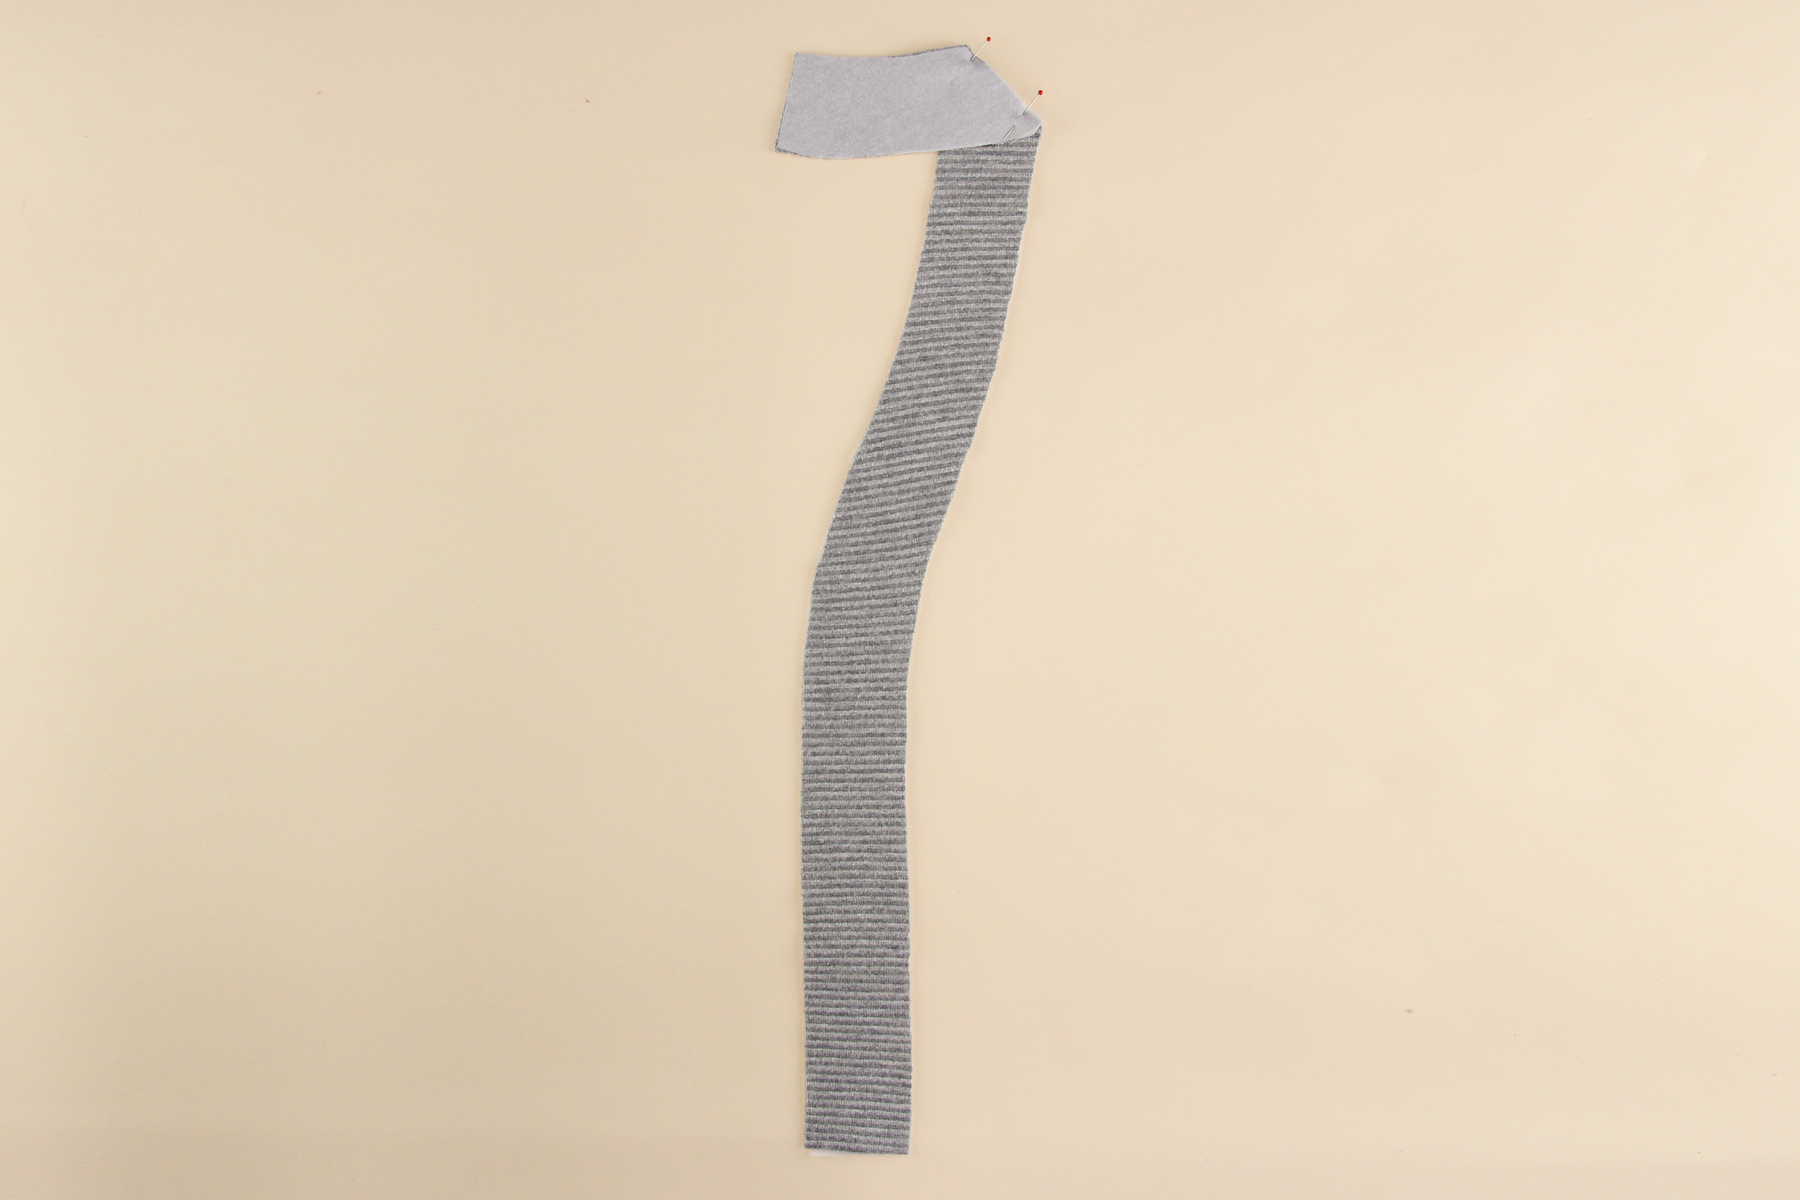
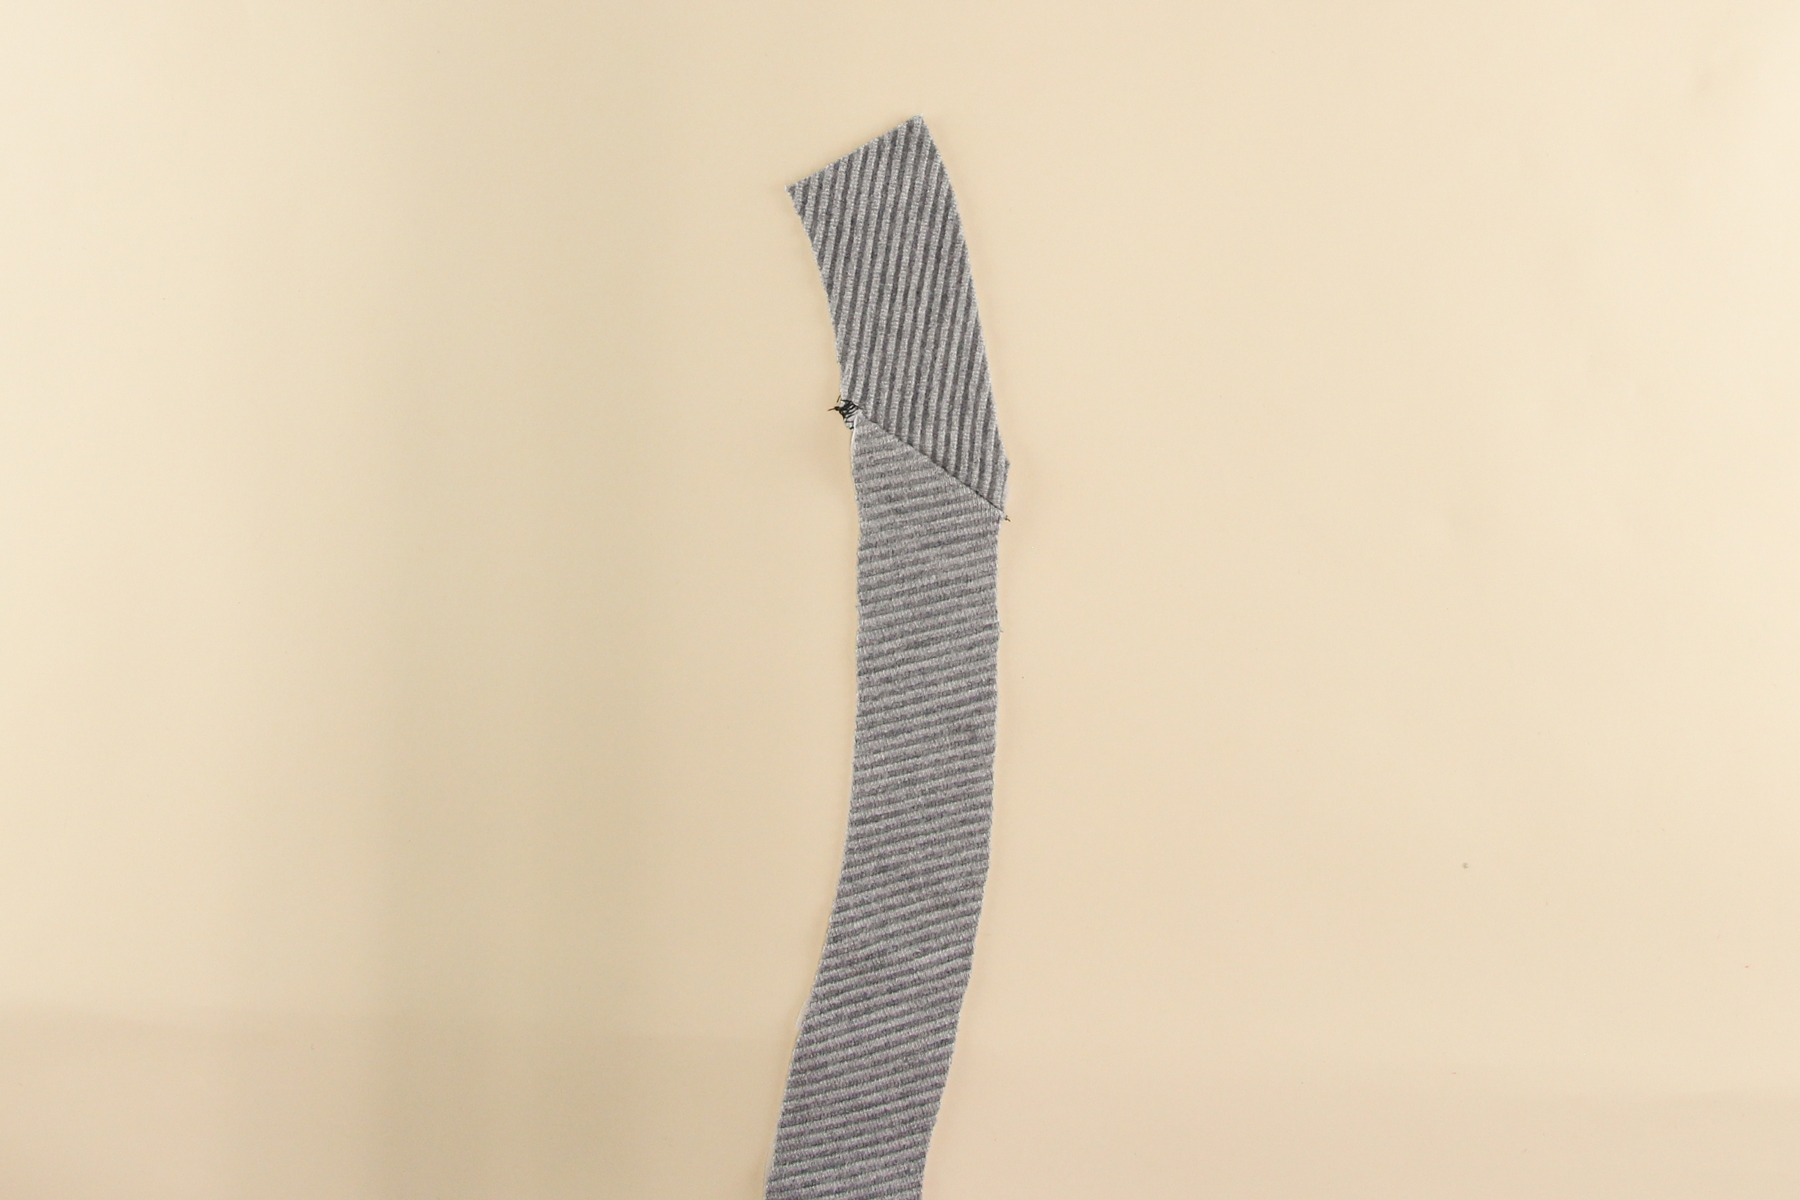
Start by pinning one of the shoulder facings to one of the front facings. You’ll want to pin the more angled end of the shoulder facing, the one slightly further away from the notch.
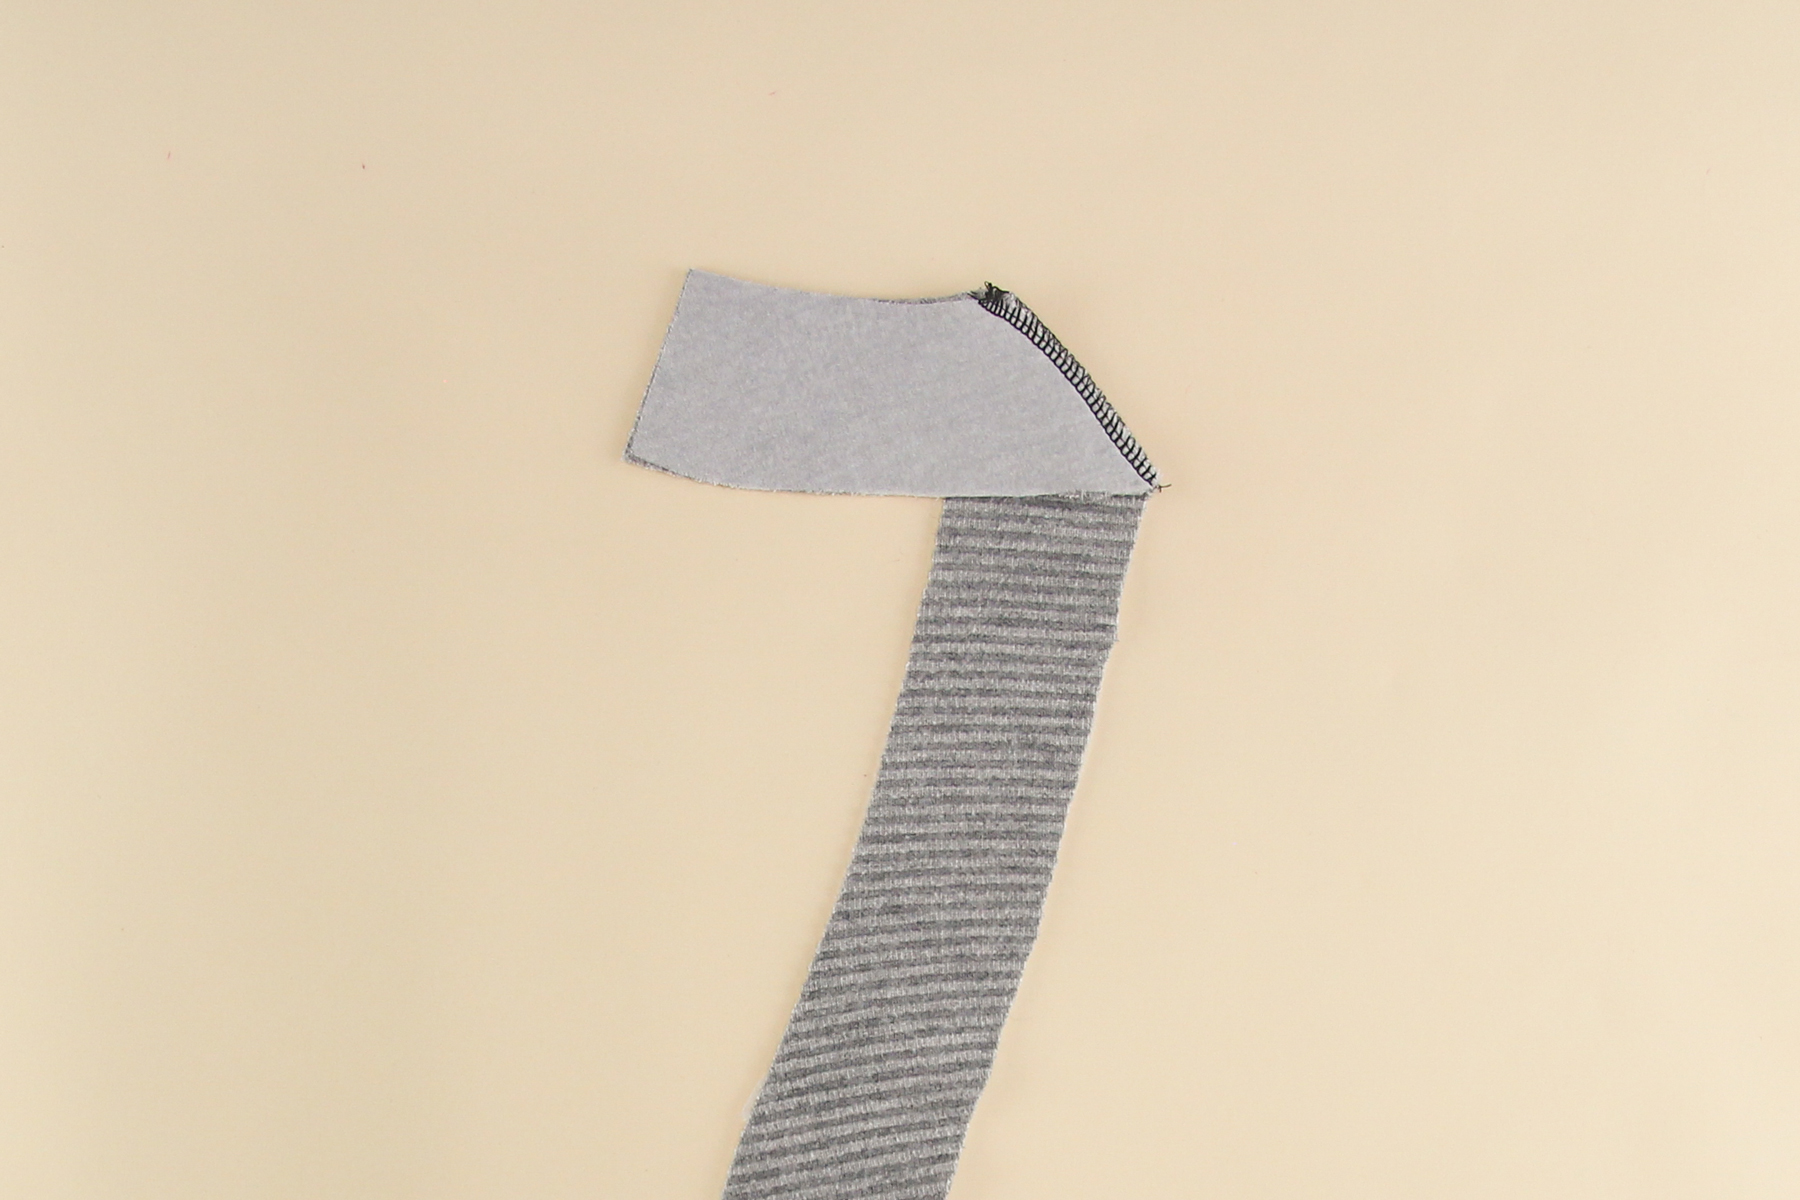
Sew that seam using the 3/8” (1 cm) seam allowance and press the seam allowance towards the front facing.
Let’s do the same with the other shoulder facing and front facing.
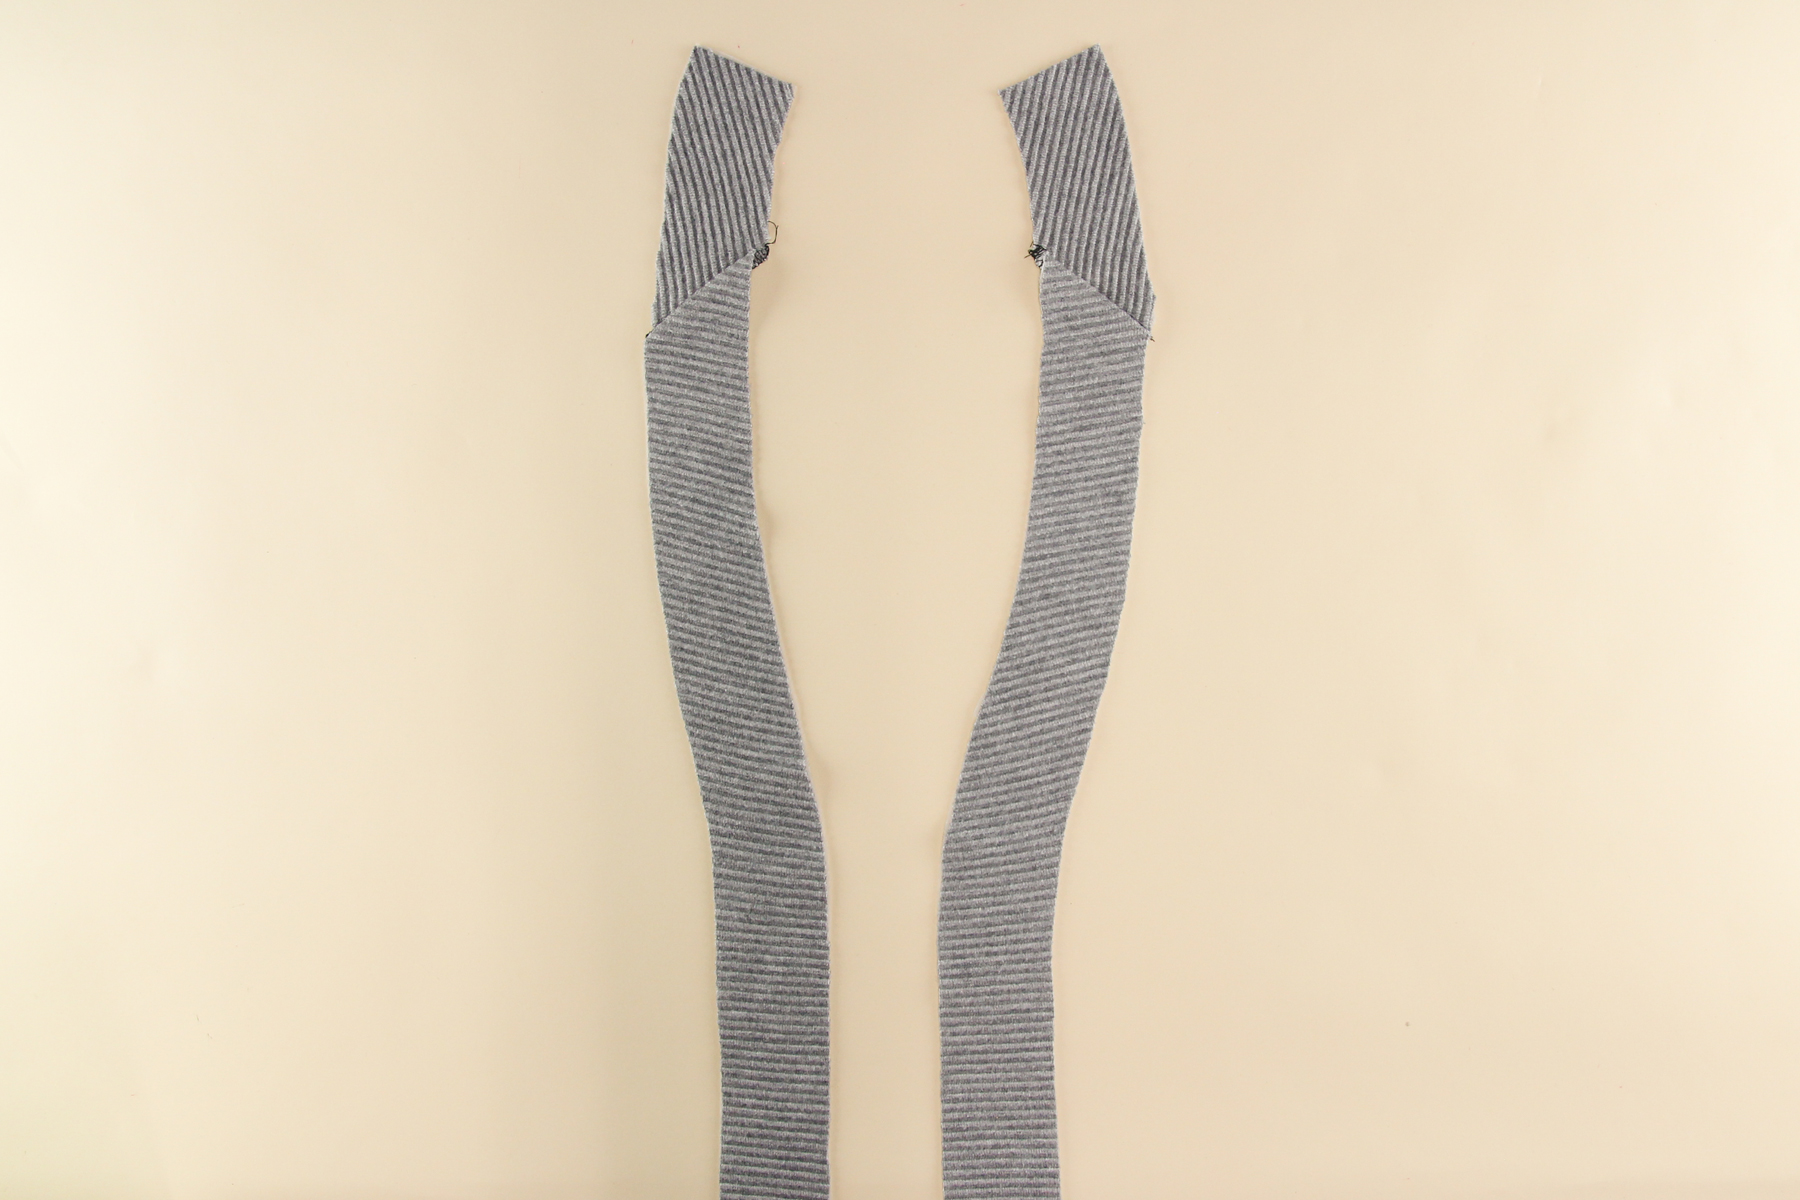
Now we can pin the two shoulder/front facings to the back facing.
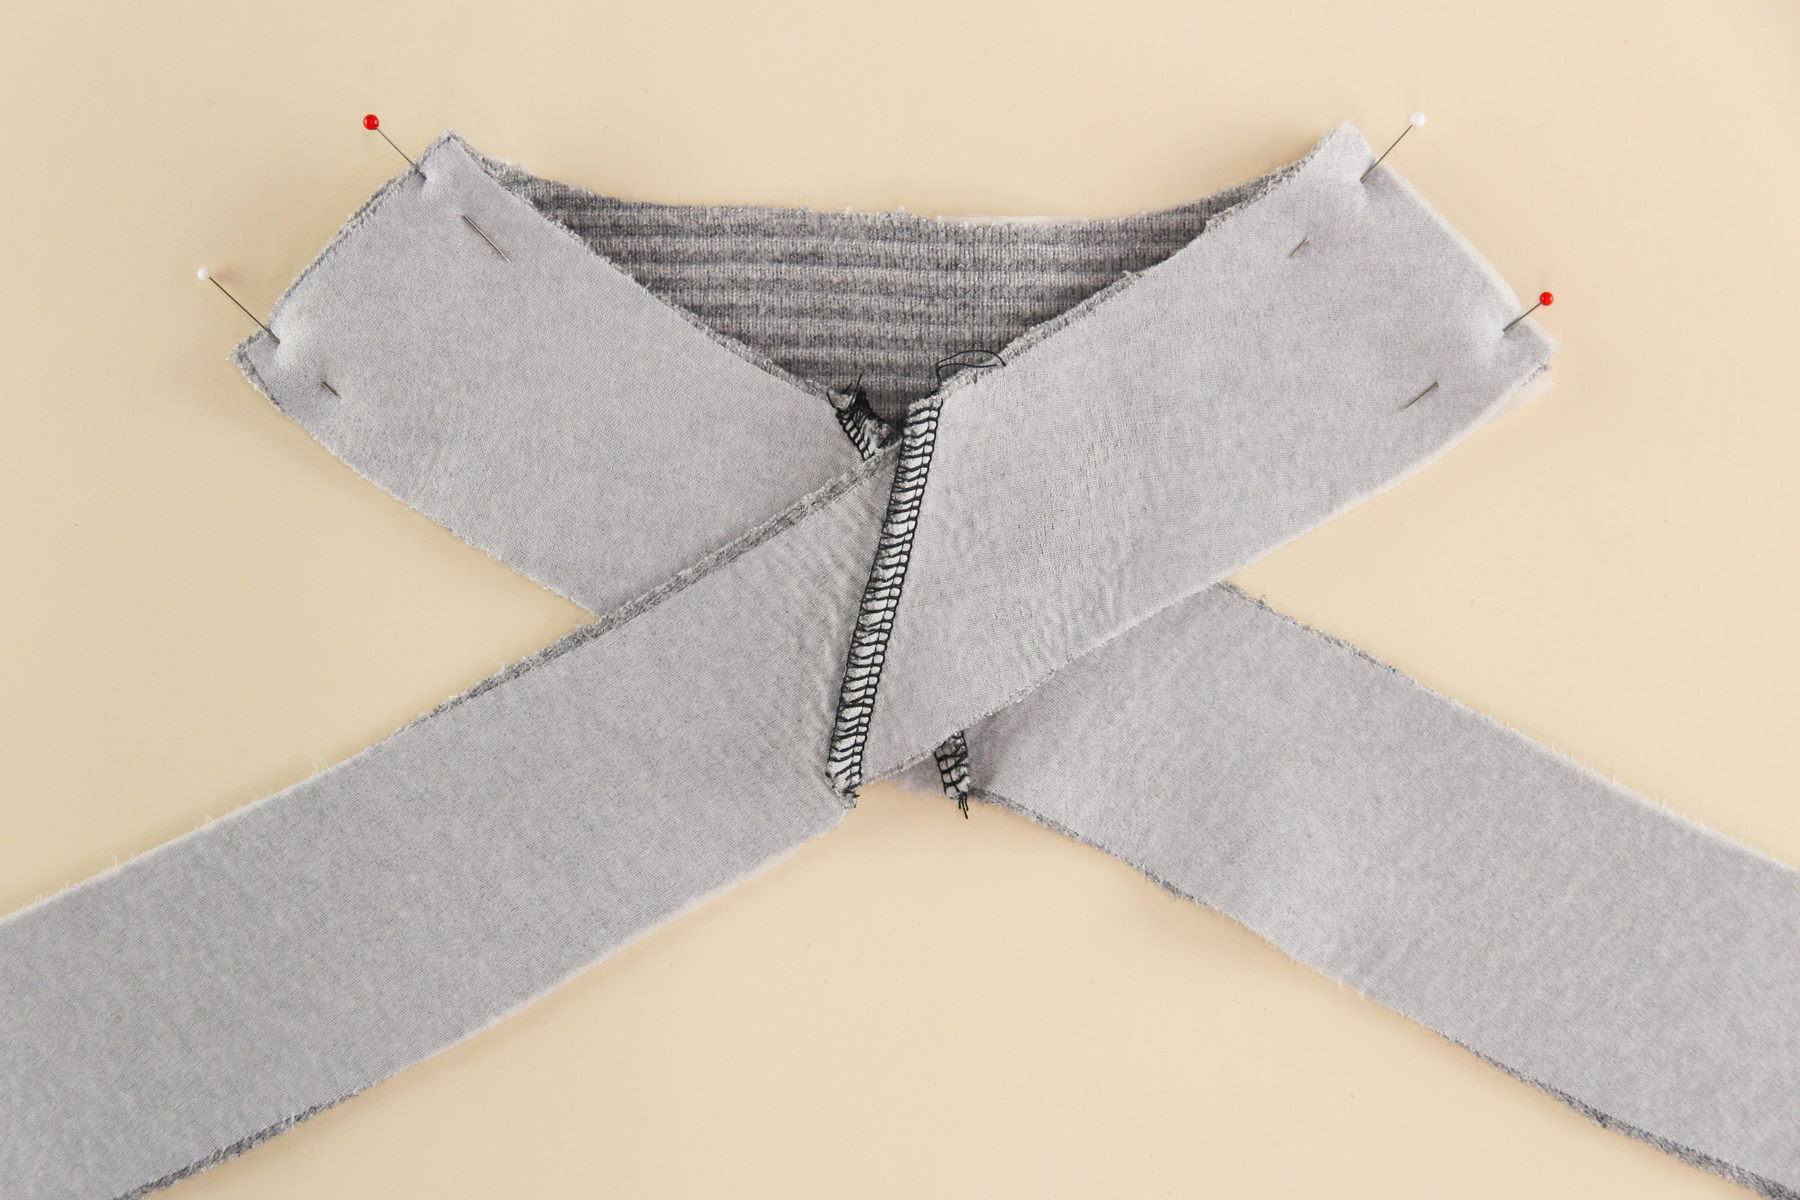
And let’s sew up those seams.
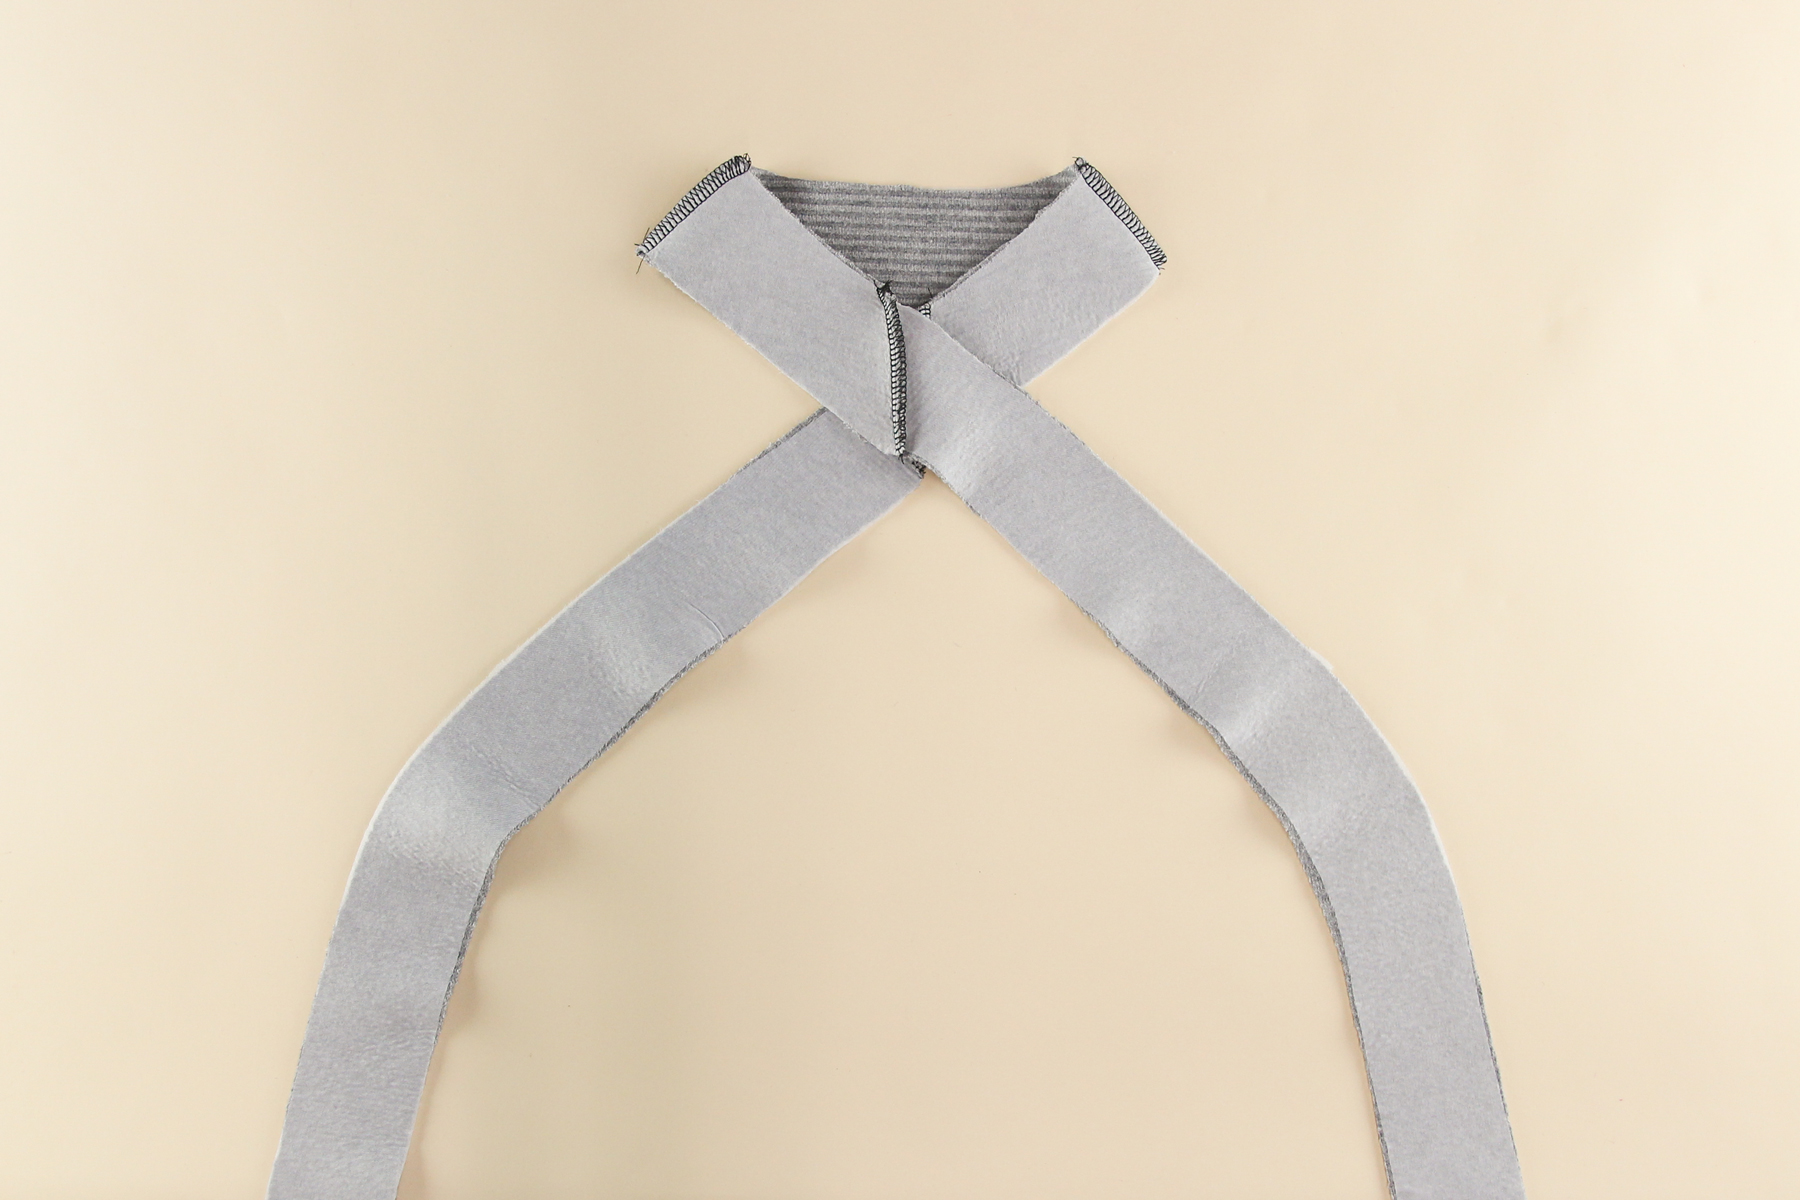
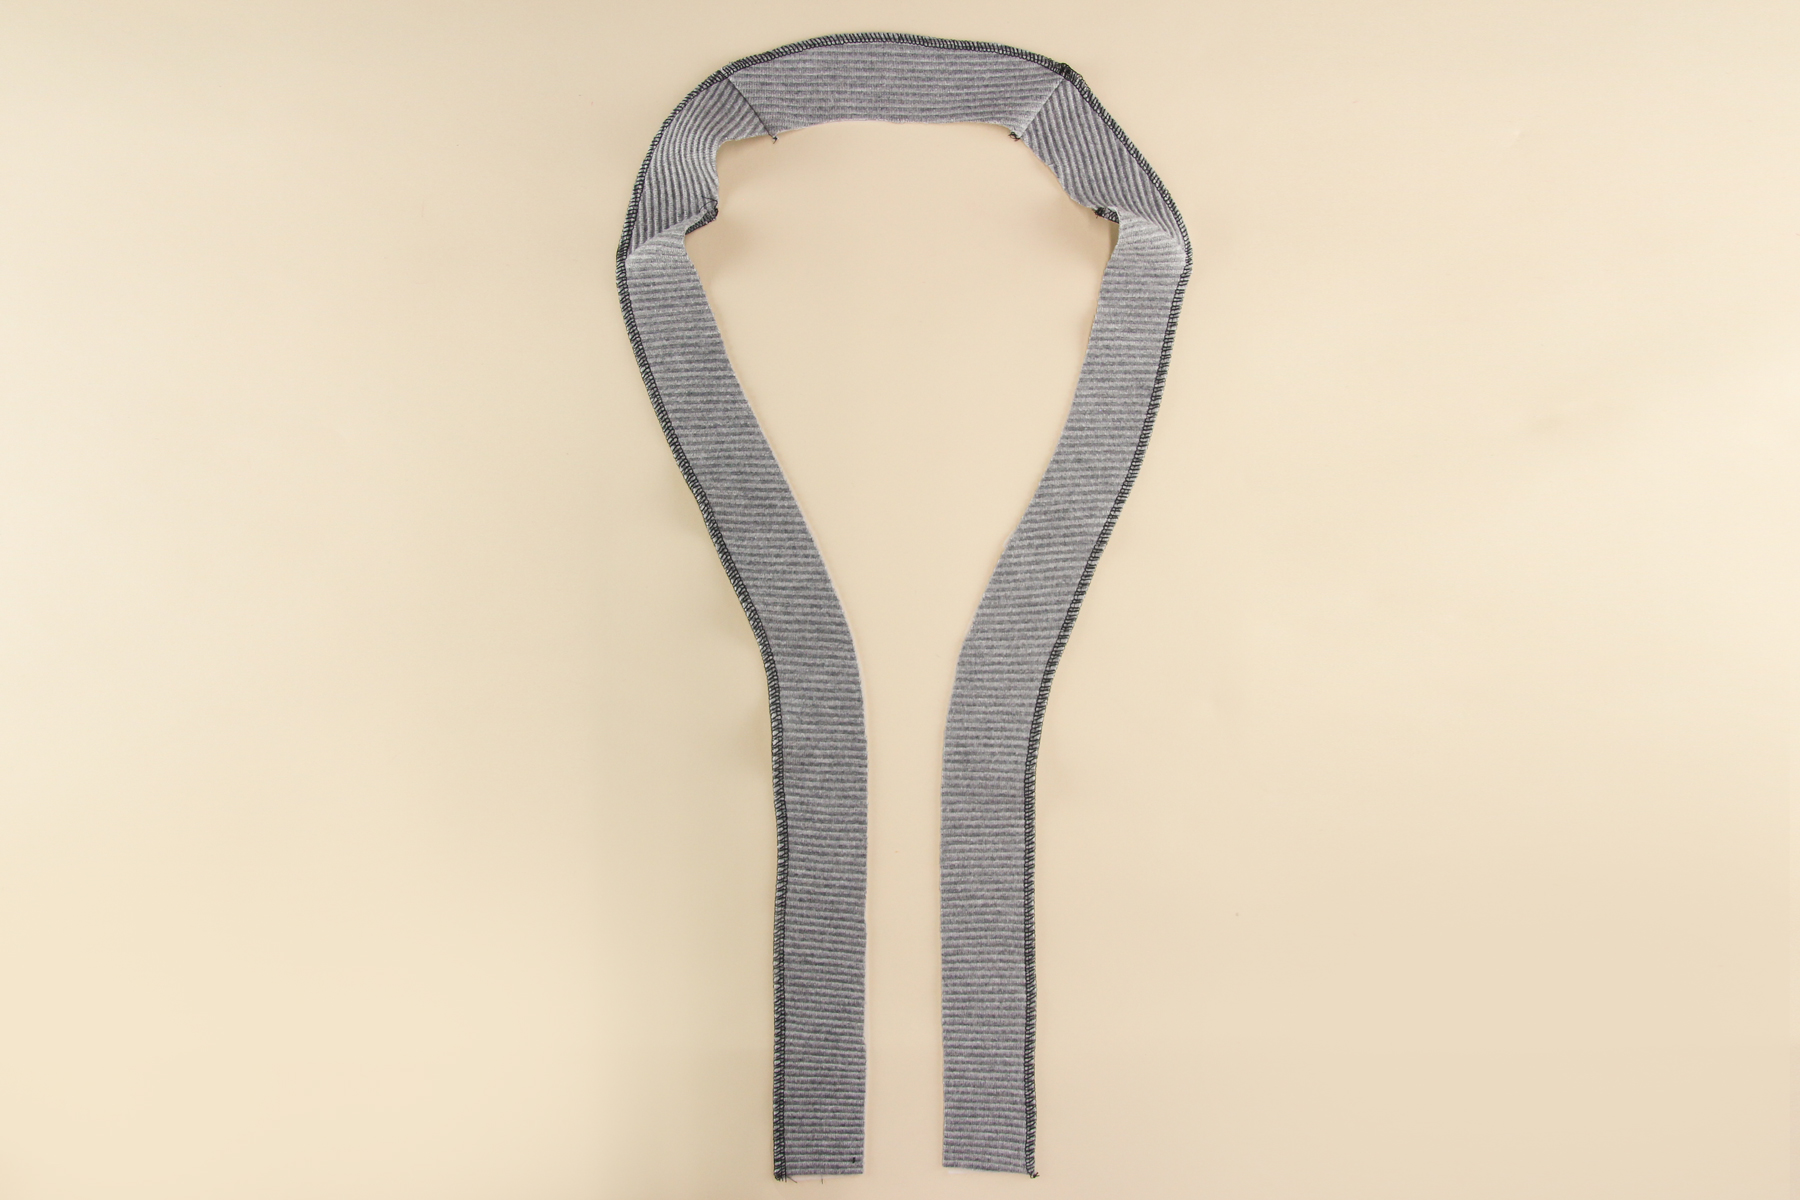
Press the seam allowance towards the back facing, and then our facing is fully assembled!
As a last step, you can finish the outer edge of the facing, either by serging the edge as I’m doing, or by folding the outer edge to the wrong side by 3/8” (1 cm), snipping into the seam allowance to get it to lay flat, and then topstitching the whole way around.
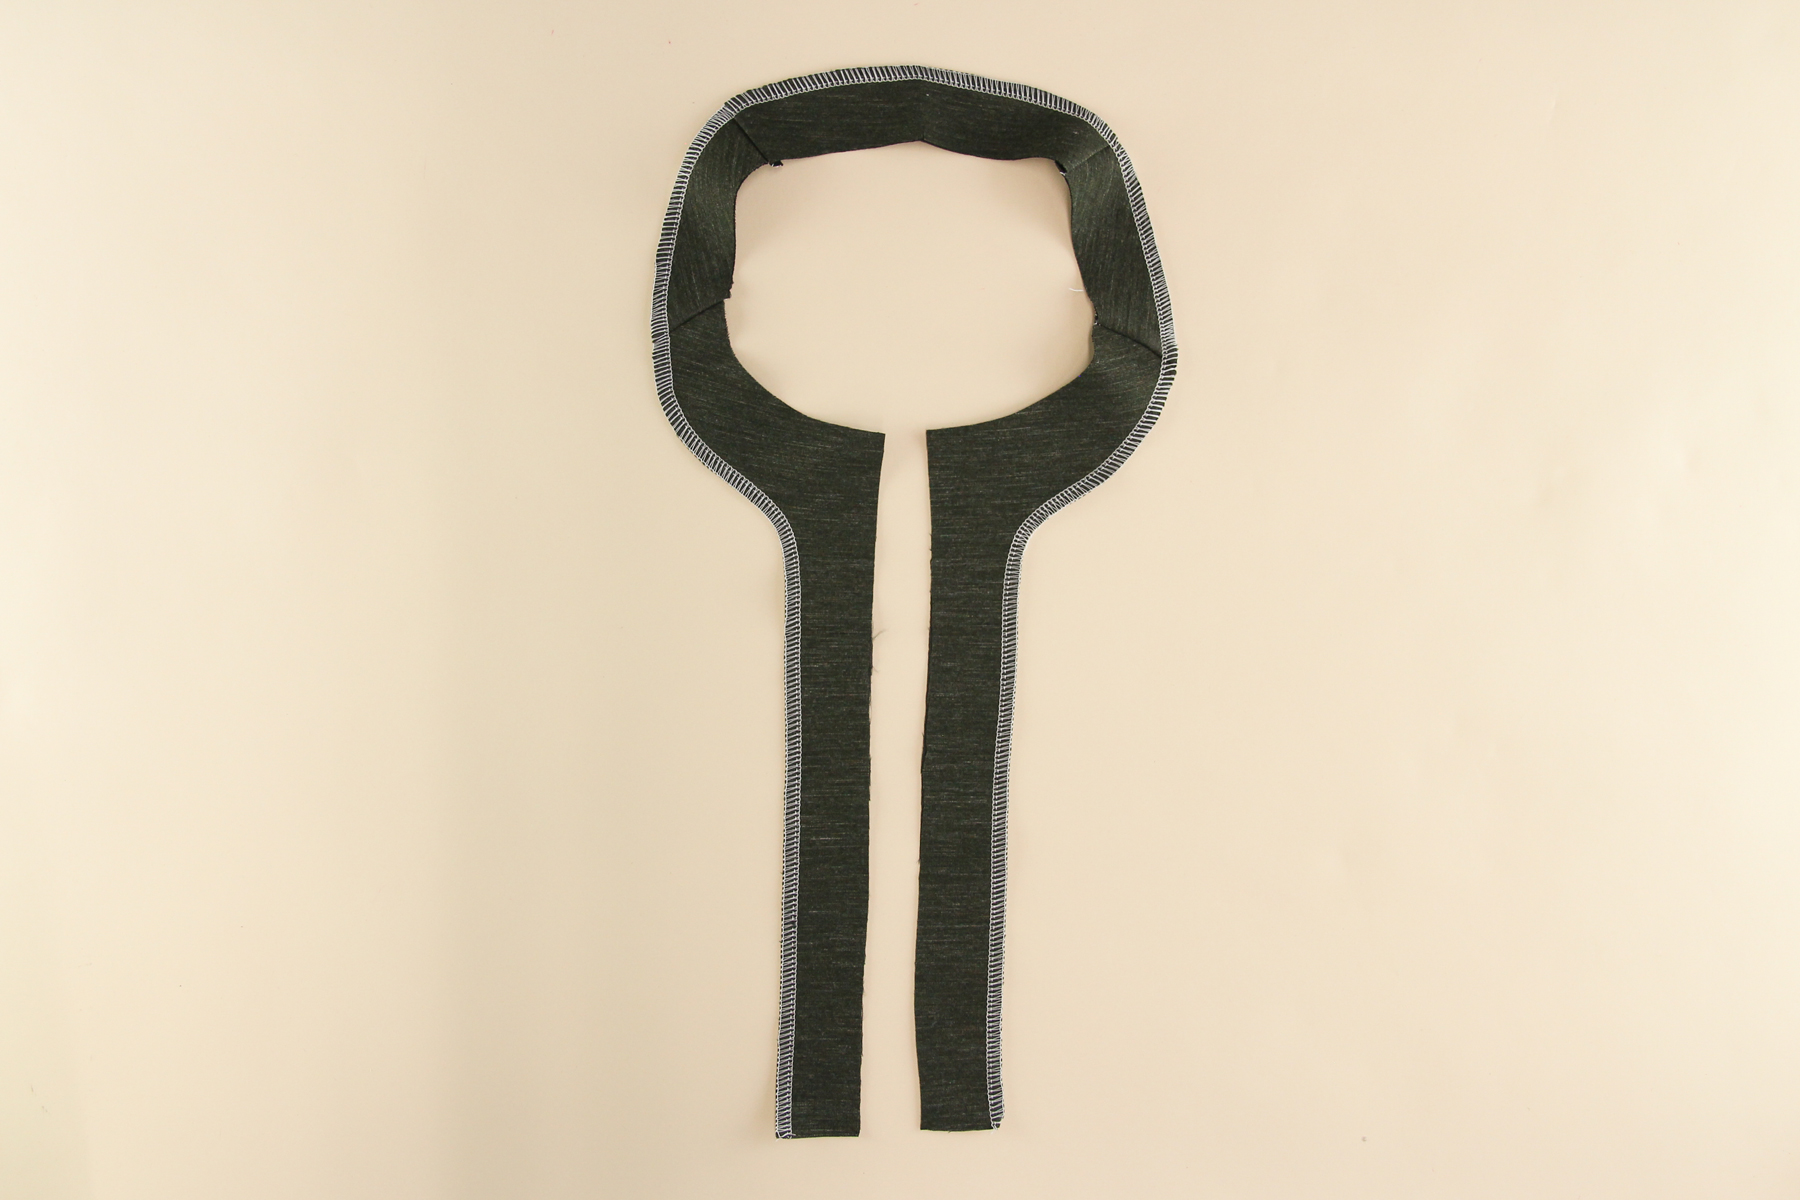
The facing looks slightly different for View B, but the construction steps are still the same. Here’s how your View B facing will look when you’re done:
Okay great—if you’re sewing up View A, you’re done for today!
If you’re sewing View B, we’re going to assemble the hem band next.
Assemble the Hem Band (View B Only)
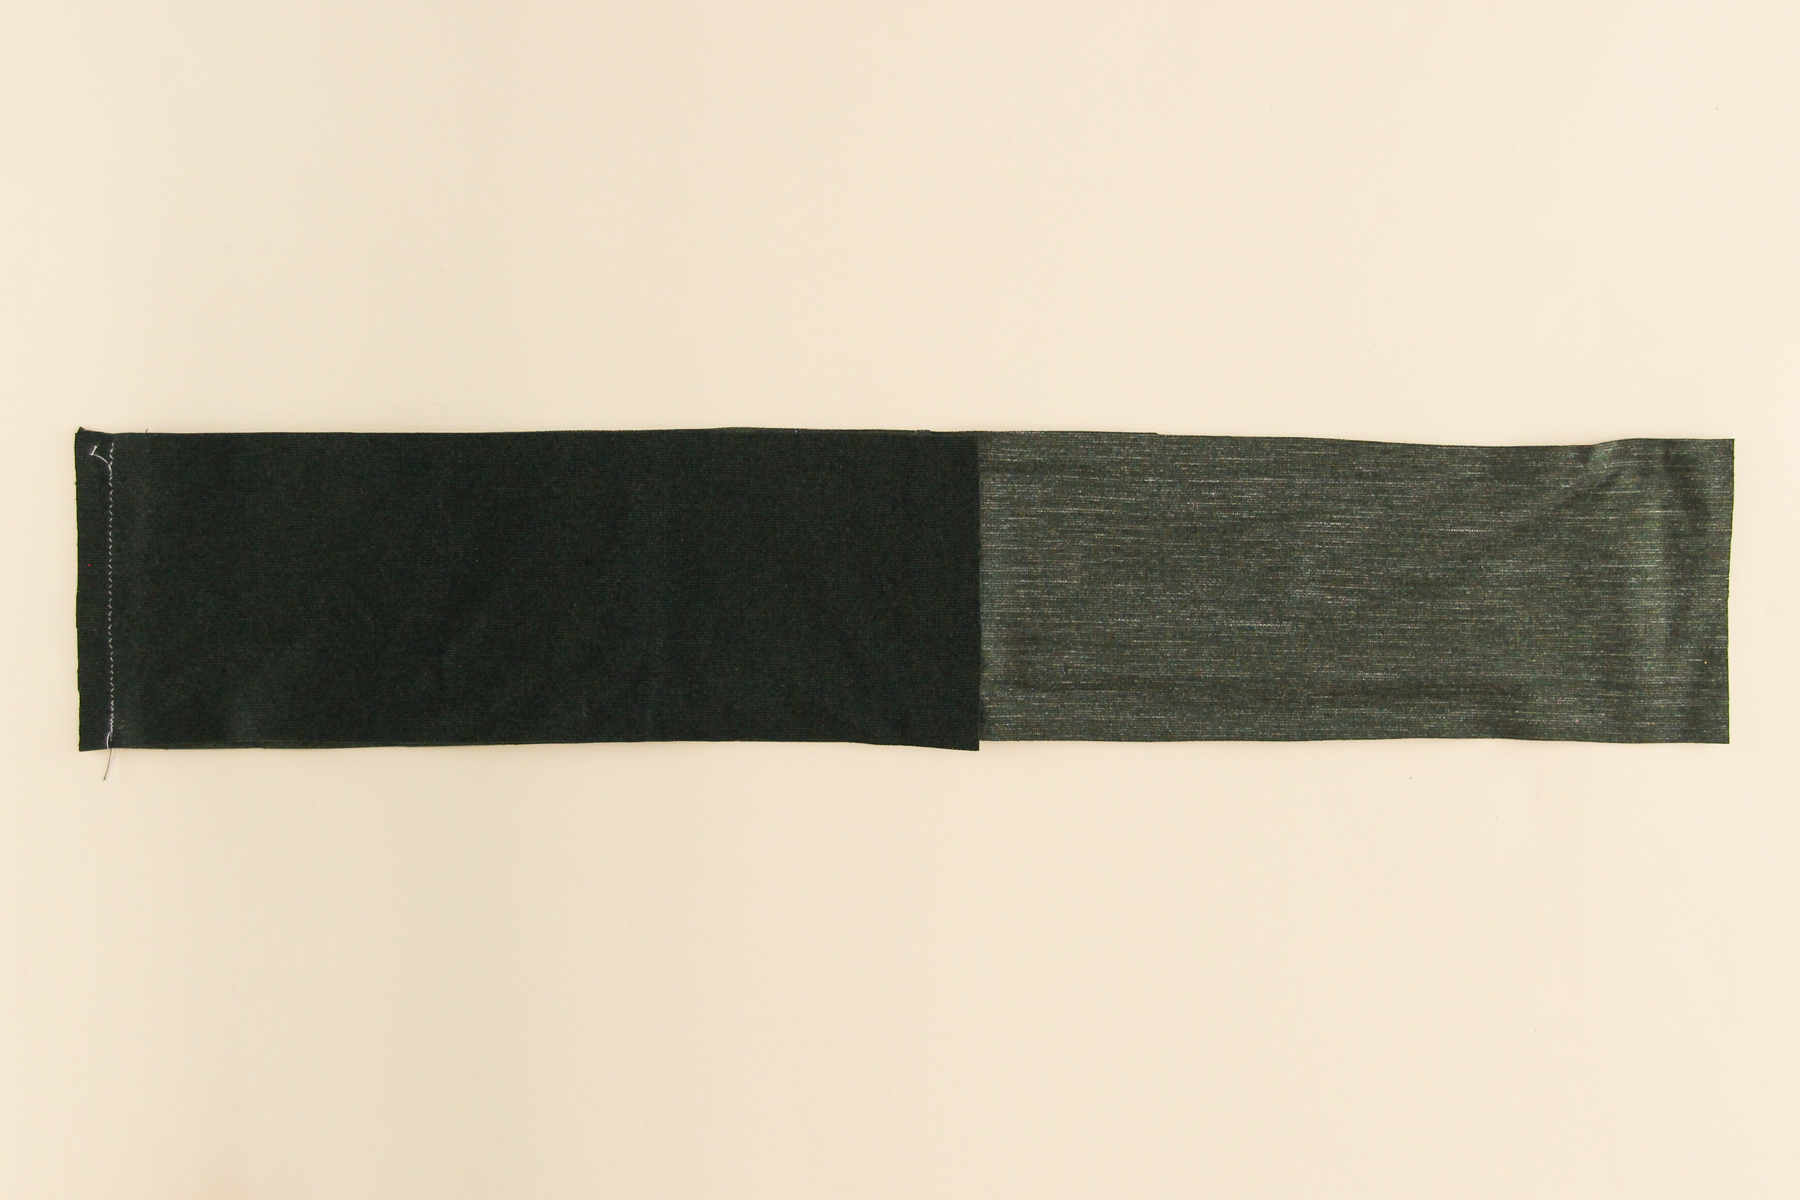
View B, the cropped cardi, is finished with a cute hem band. Start by taking one of the front hem band pieces and pinning it to the back hem band piece at the side seam, matching the notches.
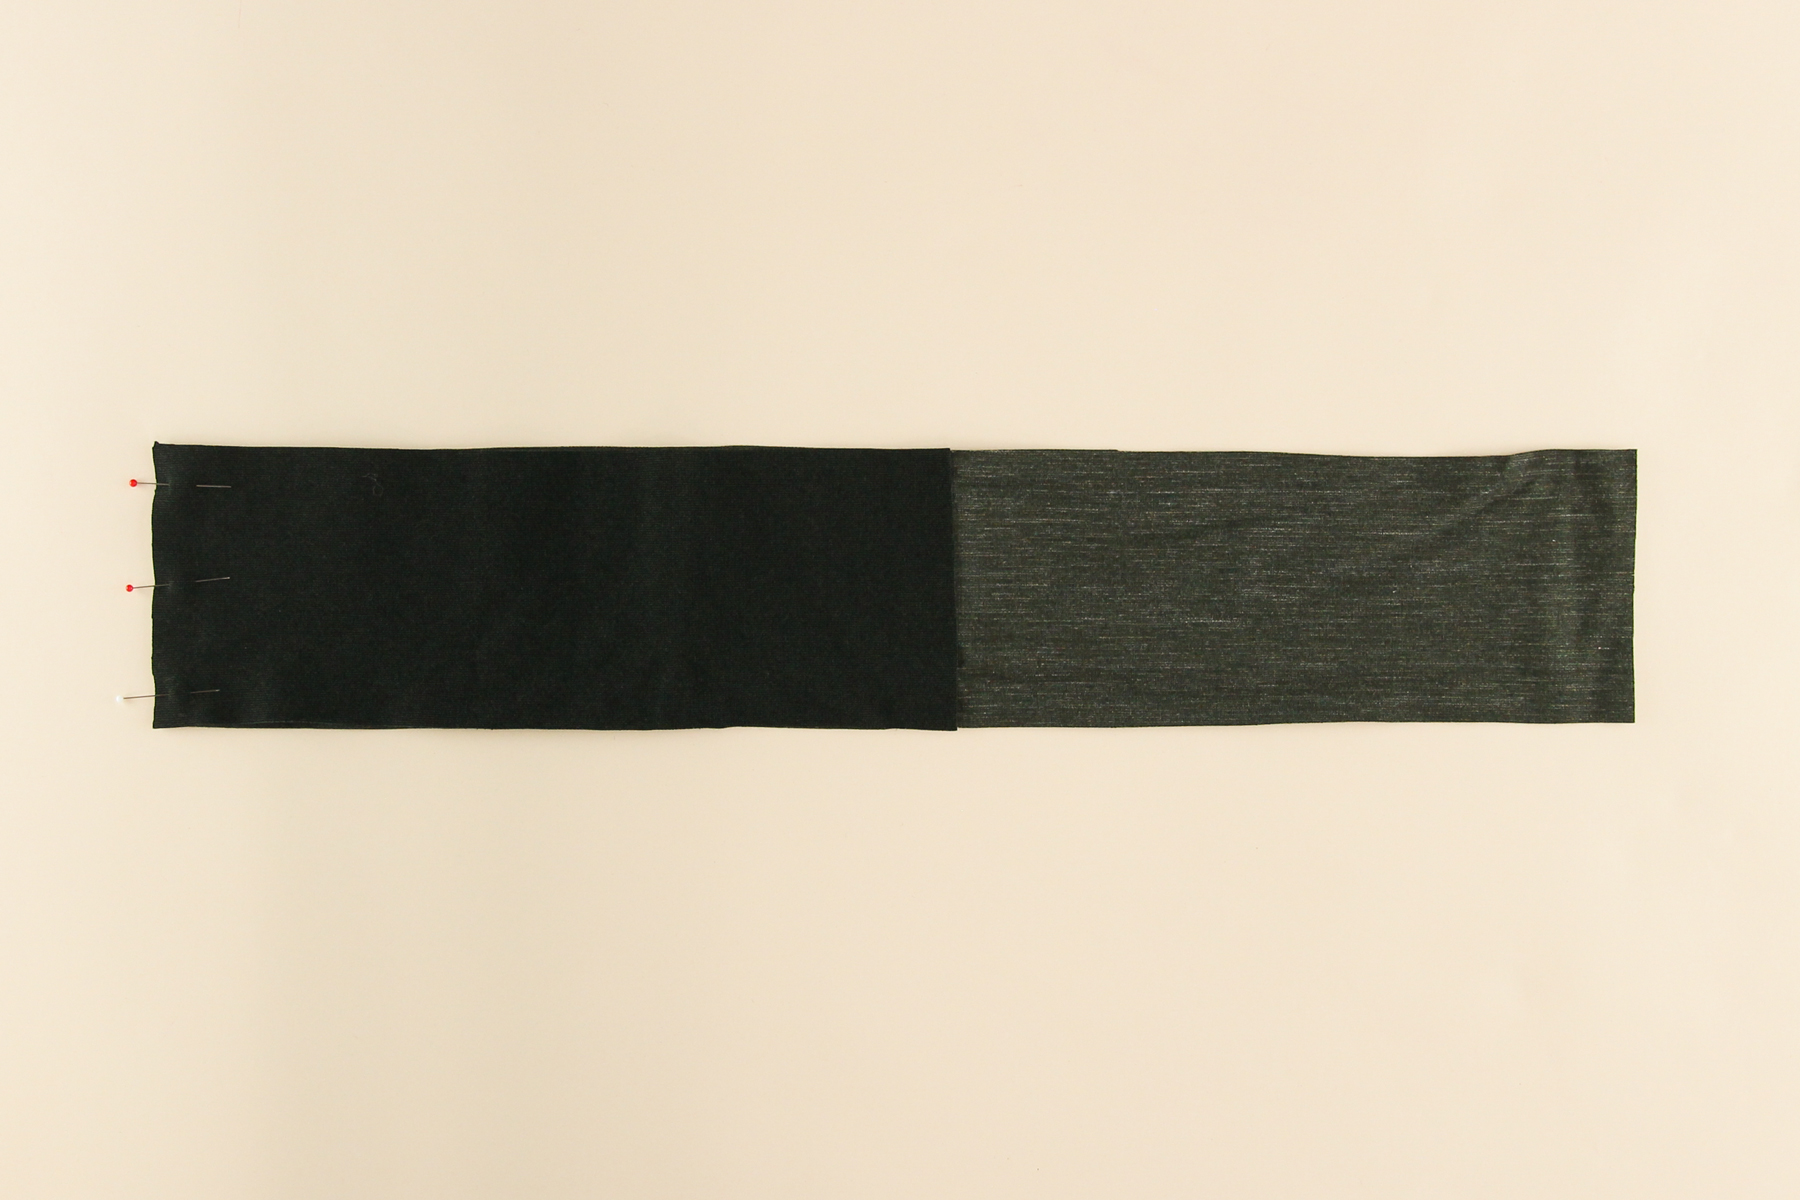
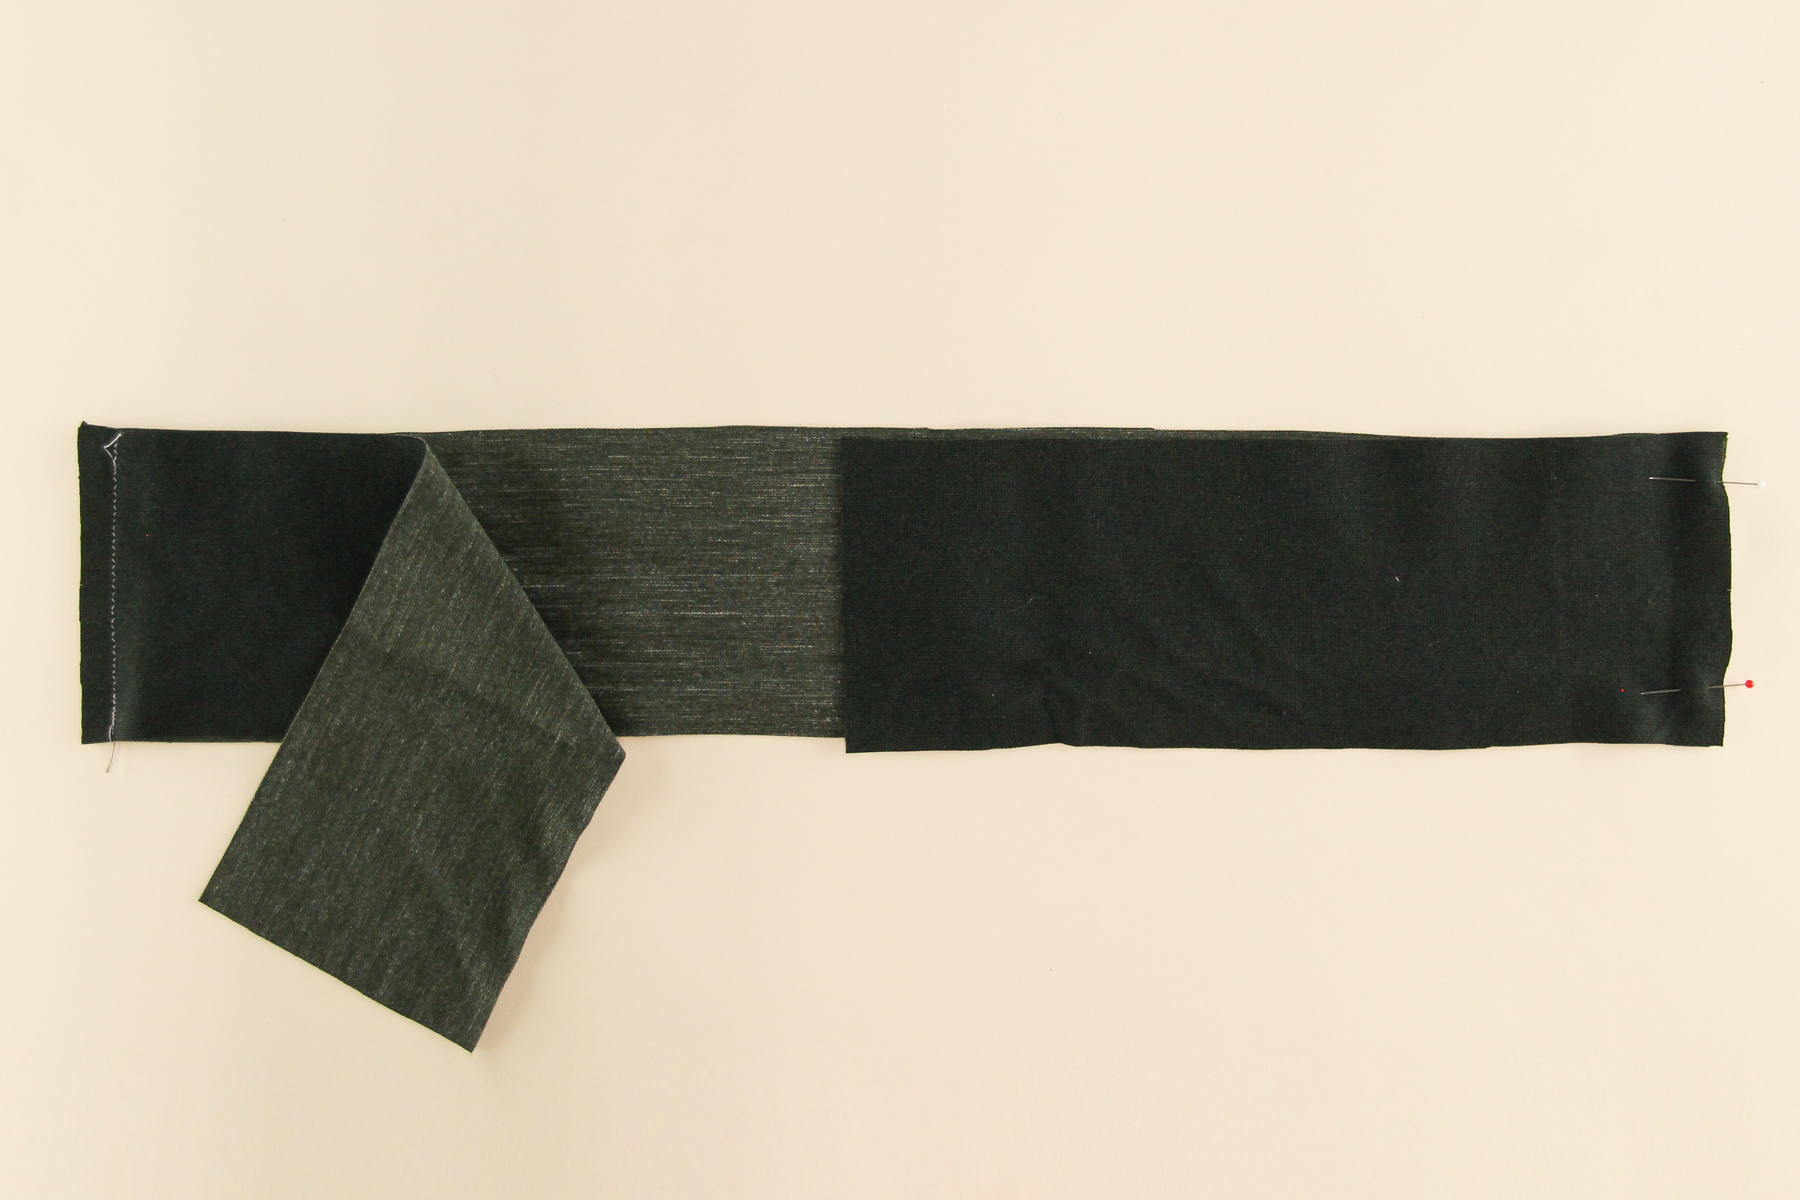
Let’s sew that seam using our 3/8” (1 cm) seam allowance. I prefer to do this on a sewing machine so that I can press the seams apart, reducing the bulk in this area. But you can also sew it on a serger, no problem.
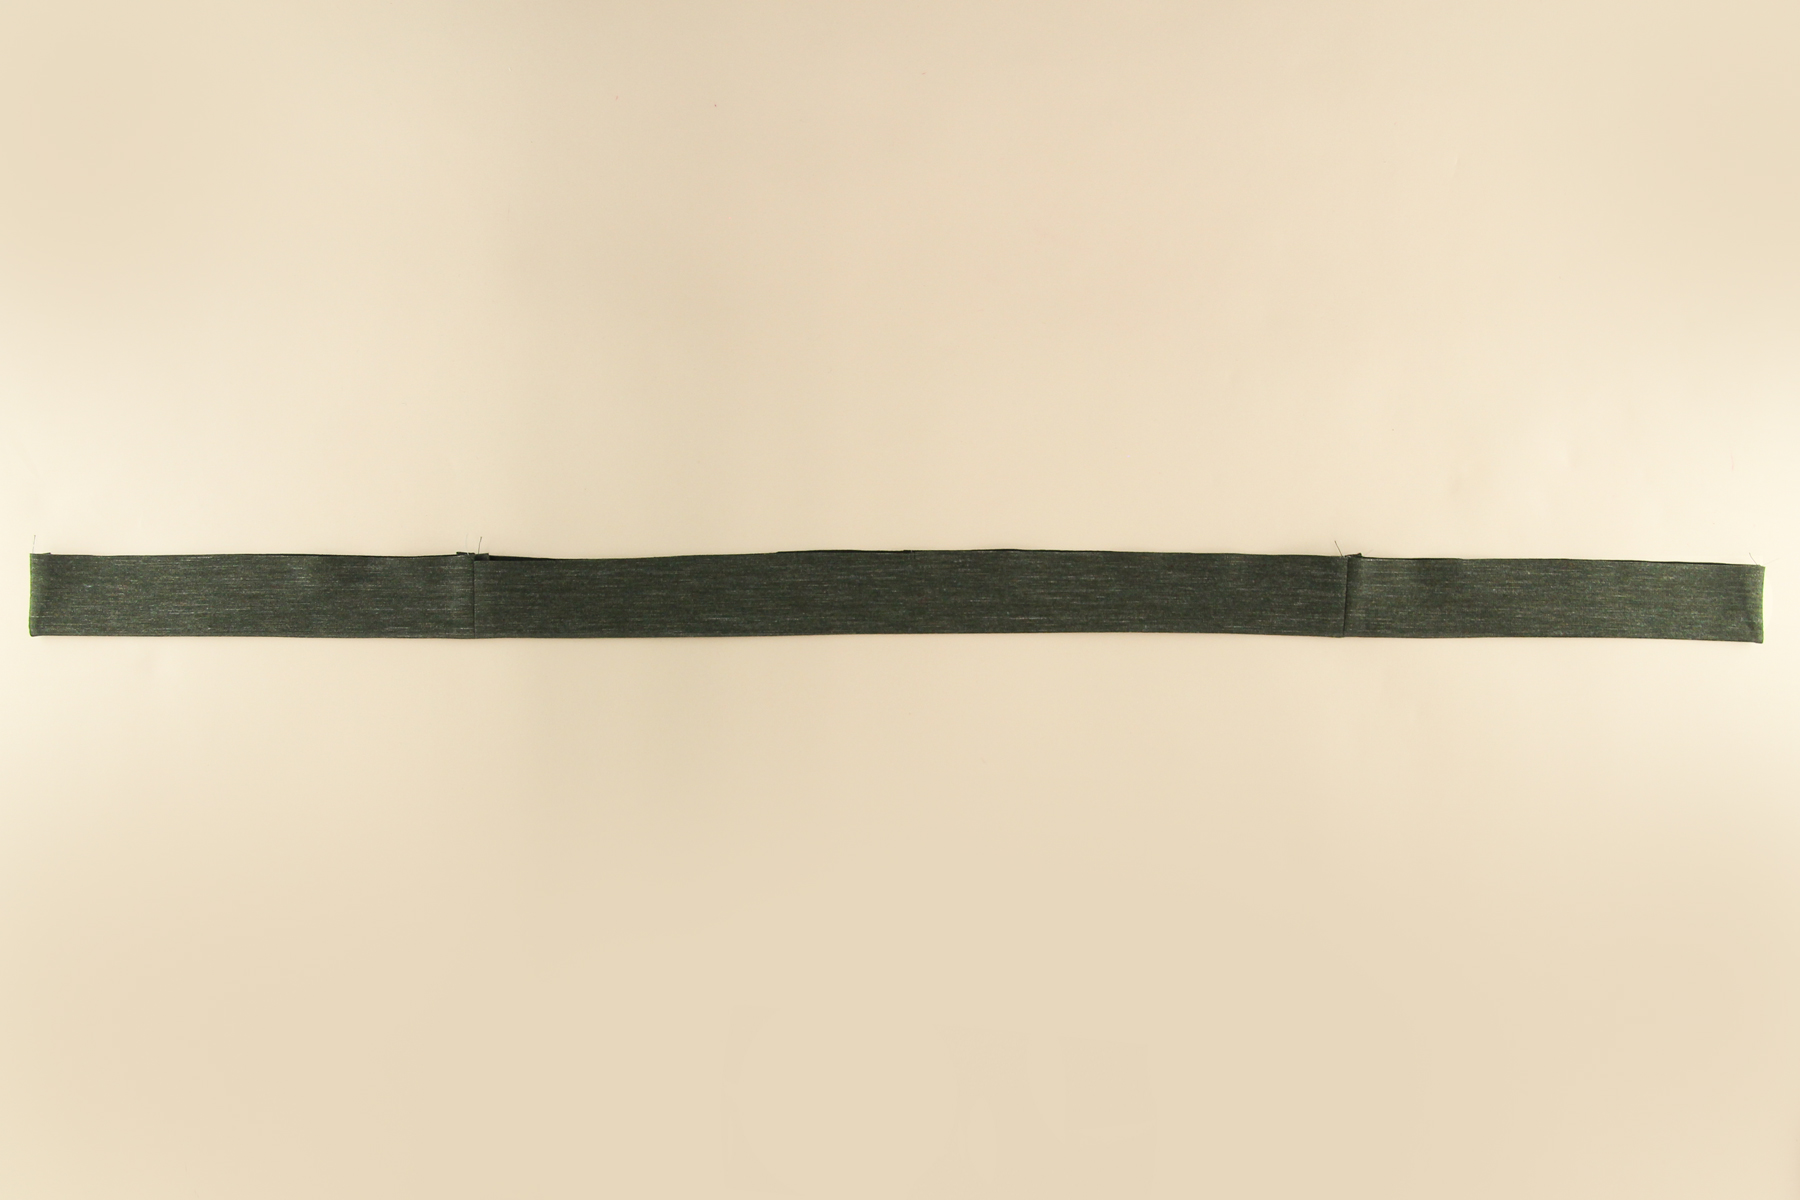
Now we’ll pin and sew the other front hem band piece to the other side of the back hem band.
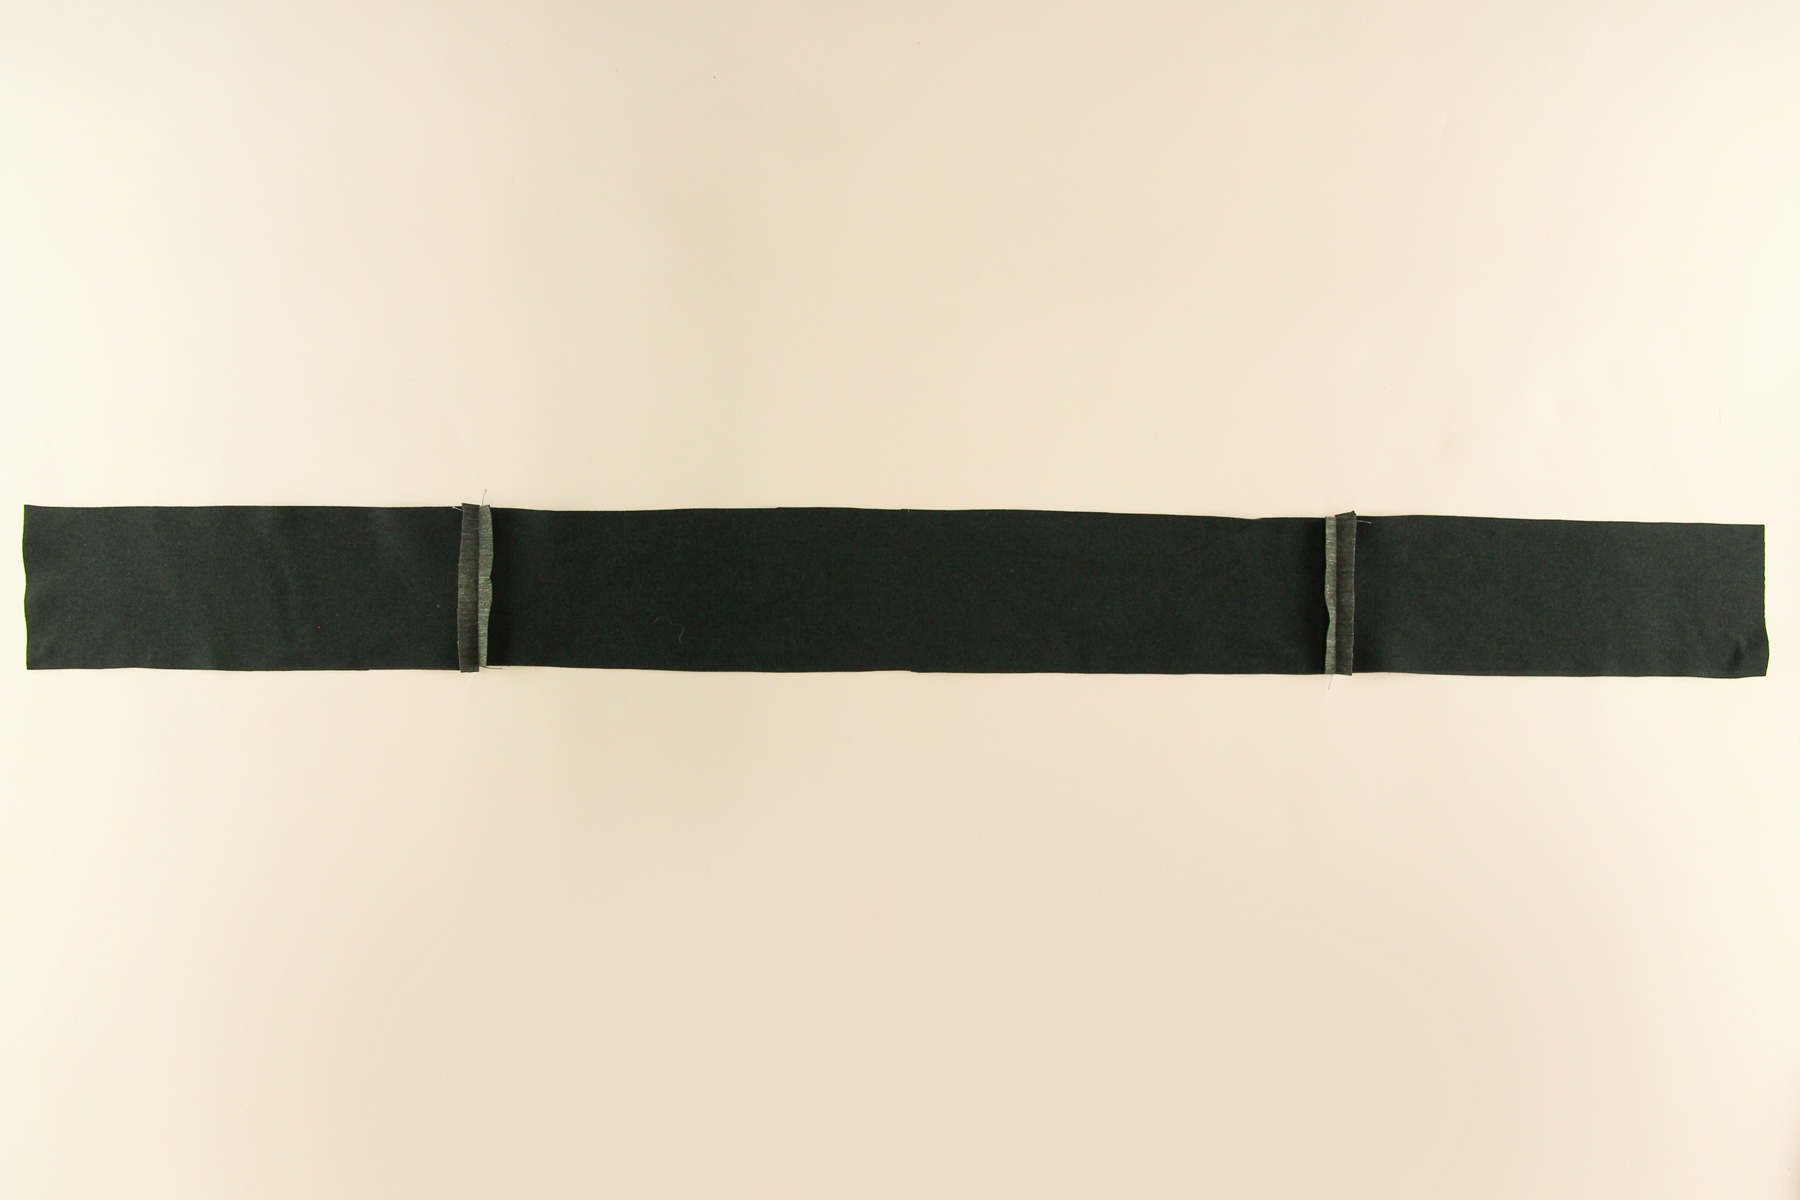
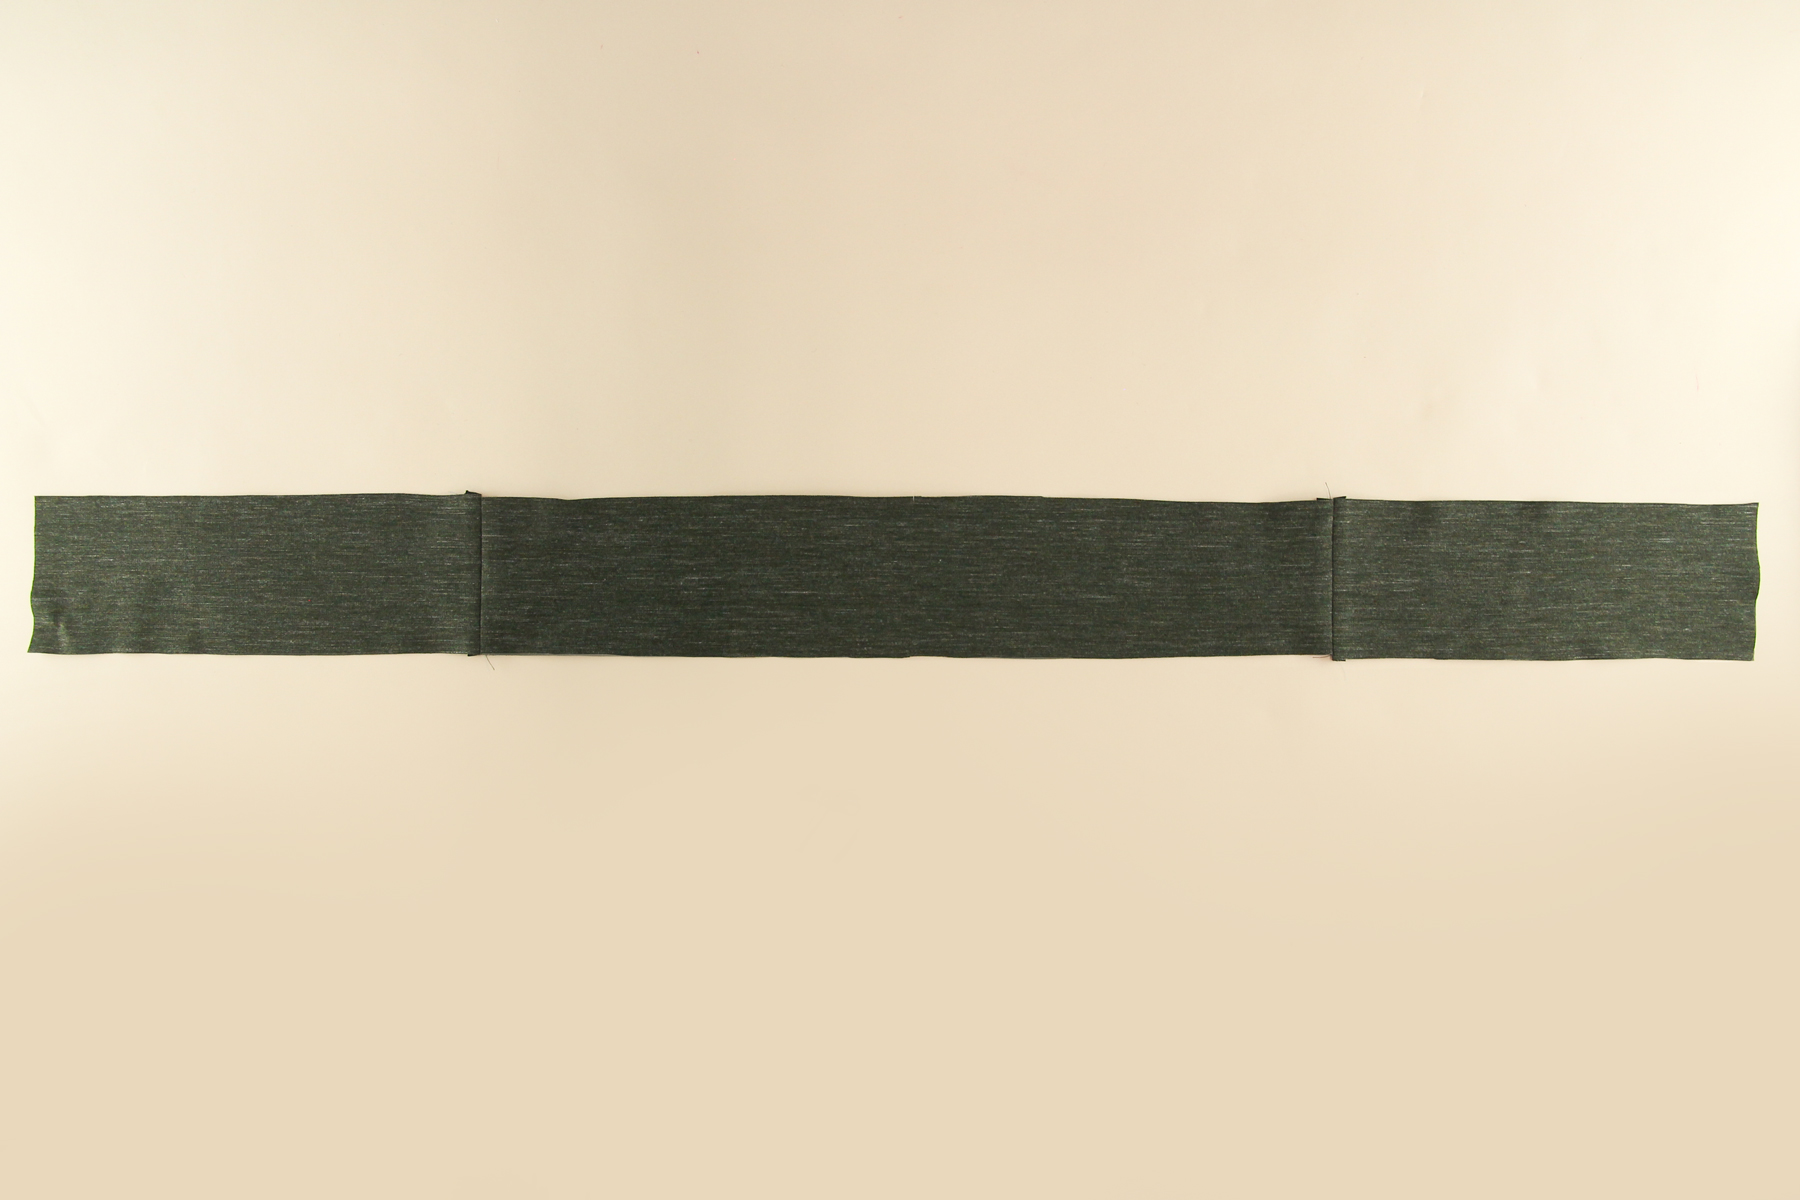
Here’s how it looks from the right side:
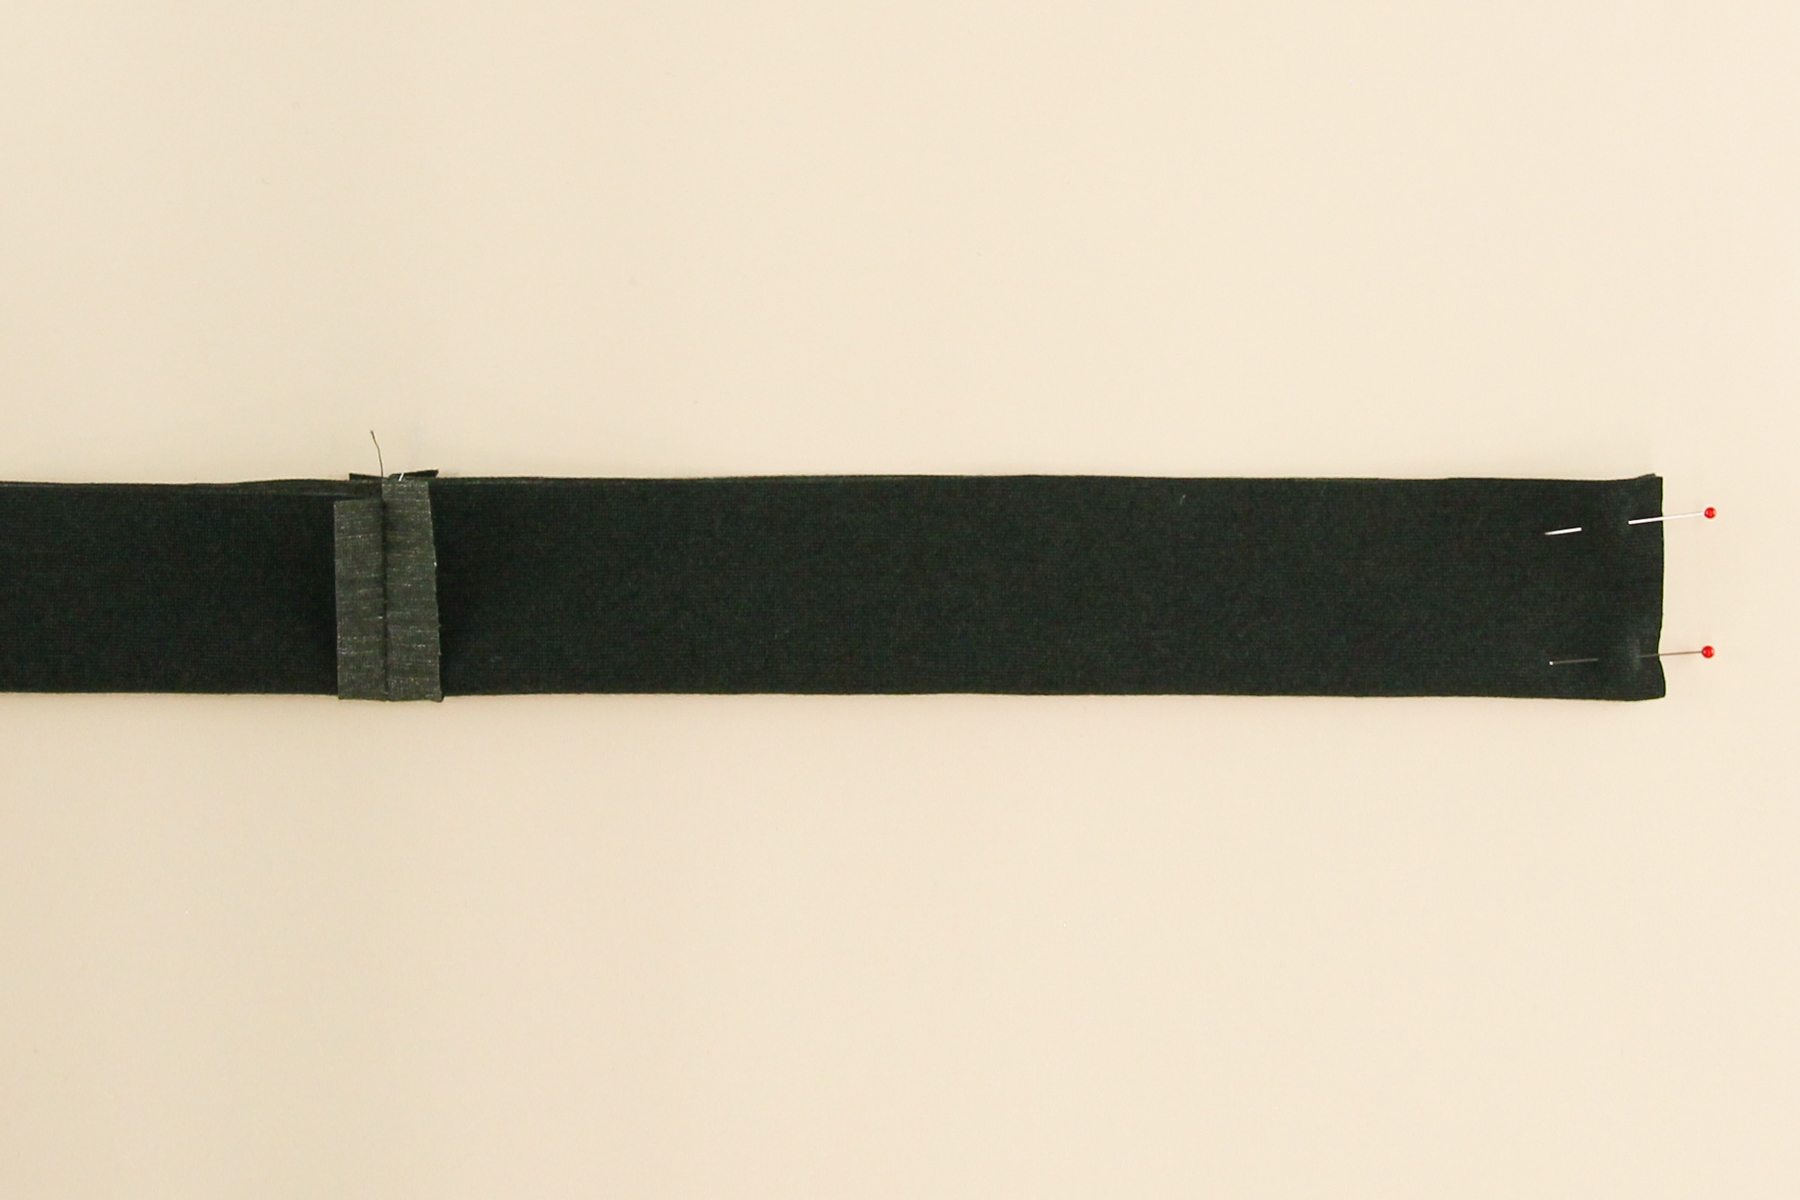
We need to finish the two ends of the hem band. To do this, fold the hem band in half, right sides together, and pin the two ends. Sew.
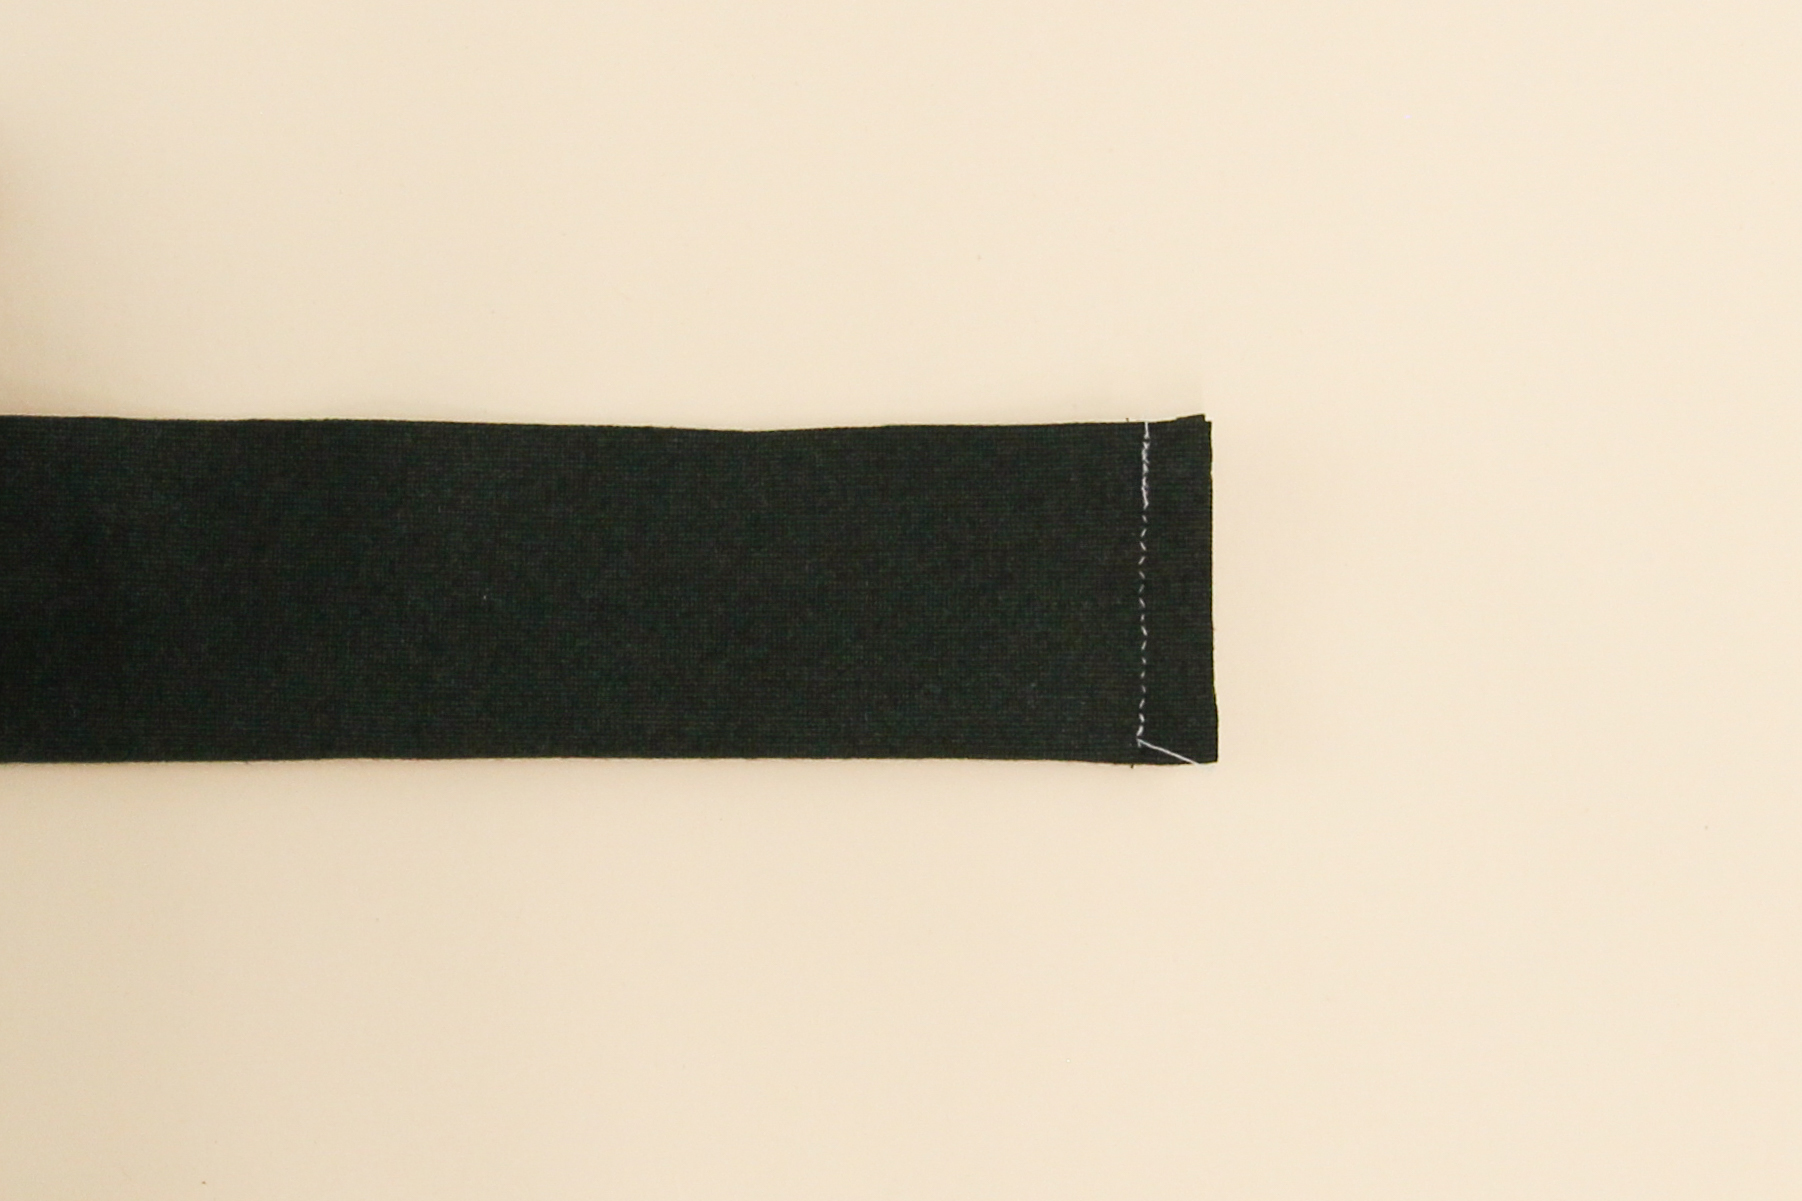
Turn the hem band right side out, using a point turner to get the sharp corners. Press so that the bottom fold is nice and crisp.
And there we have it! We’re done for today, but be sure to join us next time as we attach our facing and finish the hems of both views.
We want to see your Fuller Cardigans, whatever stage of the process you’re in! Be sure to tag your makes with #FullerCardigan and join us next time as we sew our side seams and get the facing ready.