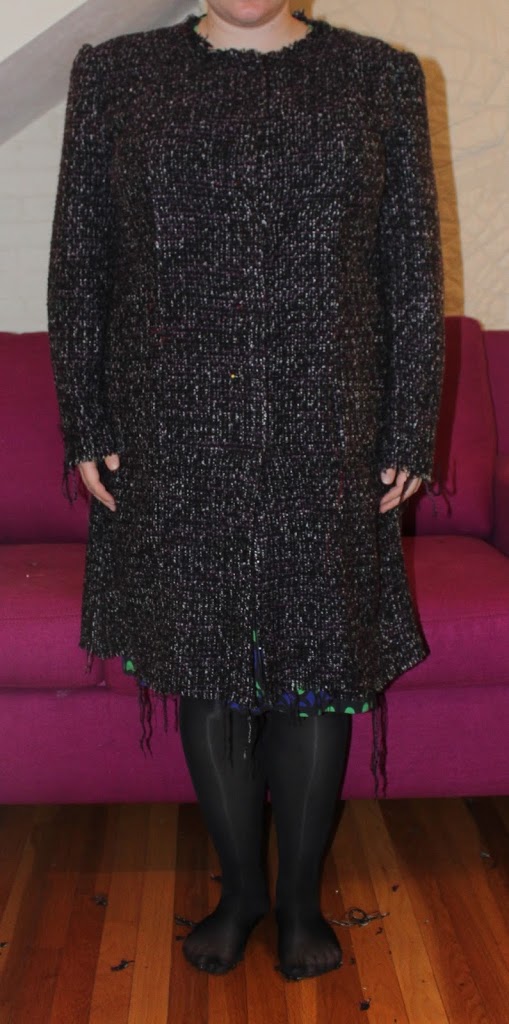
Next step: my first ever tracing-off of a RTW garment! Admittedly, a very, very small project but a trace-off nonetheless.
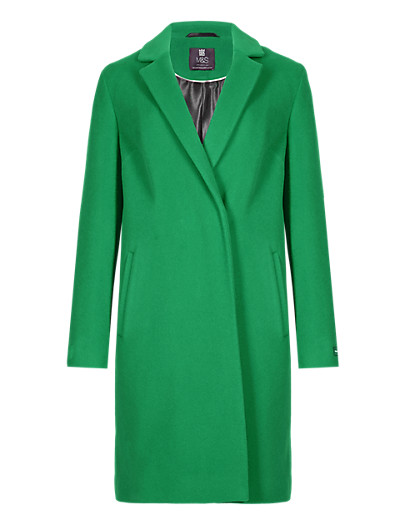
For the non-sewing-minded among you, this is where you copy a piece of clothing you already own, to make a sewing pattern, so that you can replicate the original. It can be pretty complicated, because you need to understand how the garment was constructed and make sure there’s enough material to join all the pieces up (aka a seam allowance). However, I went super easy, as I was only trying to copy the collar from my current coat.
Here’s how it works:
1. I unpicked half the collar from the coat I’m copying. Why half? Because (almost) all sewing is symmetrical, and therefore sewing patterns are only ever for half of the garment. You then cut some pieces on the fold of fabric (so it opens up into one piece of fabric, with two mirror image sides), or sometimes you cut them separately (say for the front pieces of a coat). In the case of my collar, the upper collar (what shows on the outside) will be cut on the fold, and the underneath will be two pieces sewn together (for reasons I shan’t go into here).

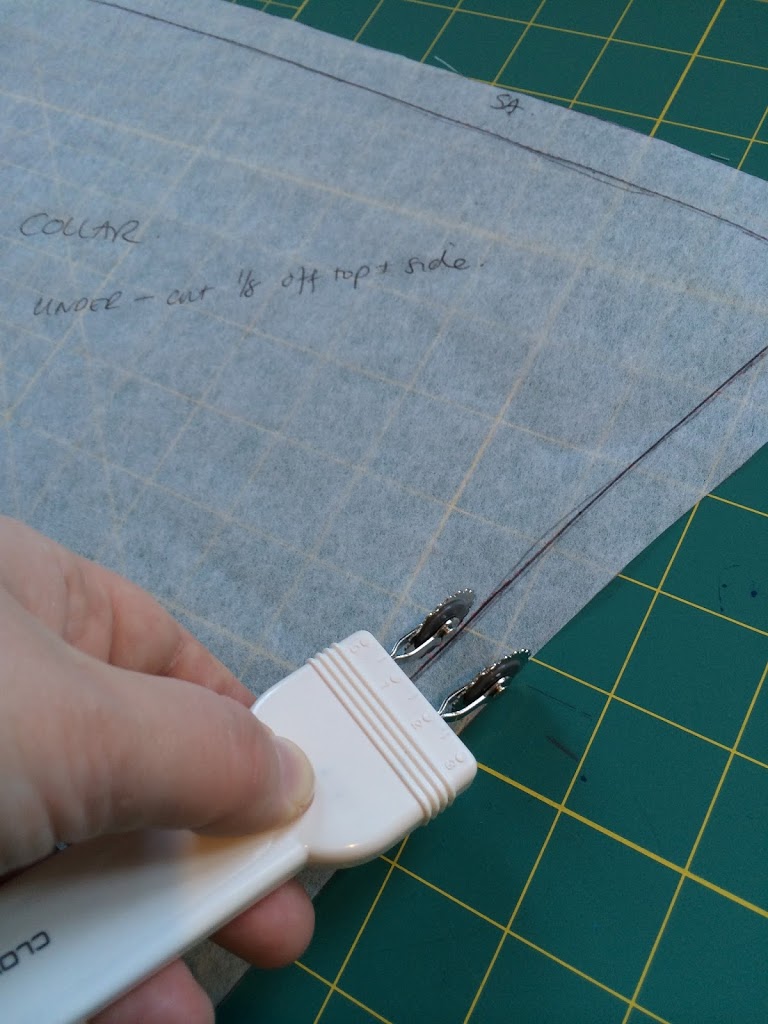
4. Lastly: because my fabric is really thick, I needed to allow for “turn of cloth”. Here’s the theory: if you cut two bits of identically sized fabric out, put them on top of each other, and then fold the two in half, the edges aren’t going to match any more, because one piece (on the outside) is going to need a bit more fabric to go around the corner. So, to make sure they match when folded, I added another 1/4 inch to the bottom of the upper collar piece:

So, let’s hope it works! I have to do a bit of experimenting with my fashion fabric and various interfacings to get the right amount of stiffness vs. flexibility, but I’m pretty sure I can do that.
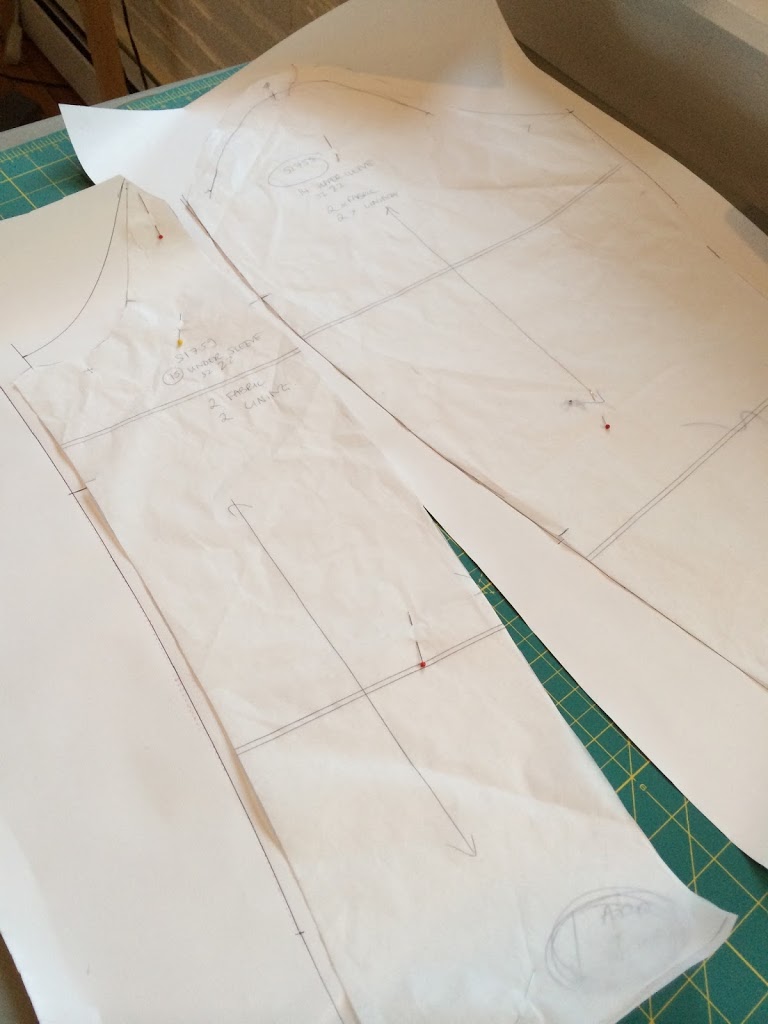
Finally, a little tip. As I was creating my lining template (using this super tutorial by Jen at Grainline), I ran out of tracing paper. Quelle desastre! But do you know what I discovered? Christmas wrapping makes great pattern paper! Not to mention, you end up with super cheery patterns. You’re welcome, sewing internet.


A great work indeed