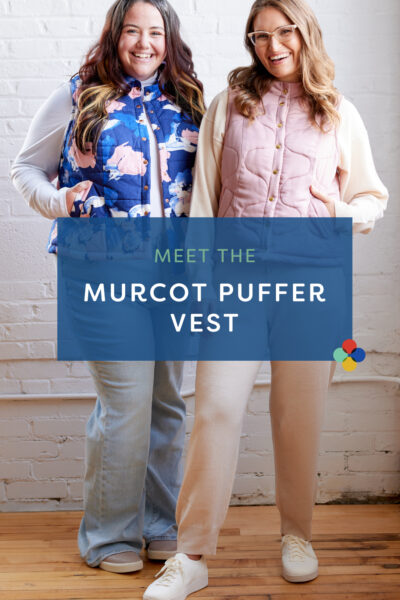
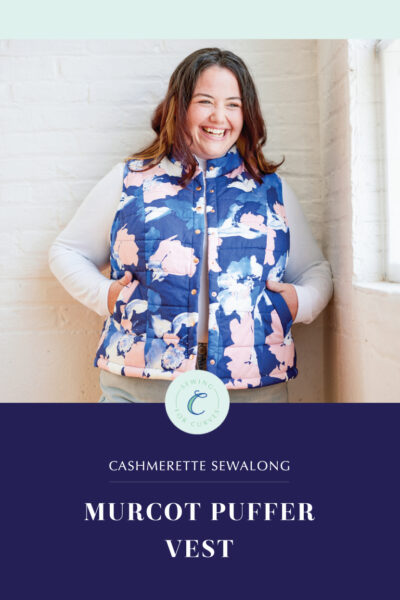
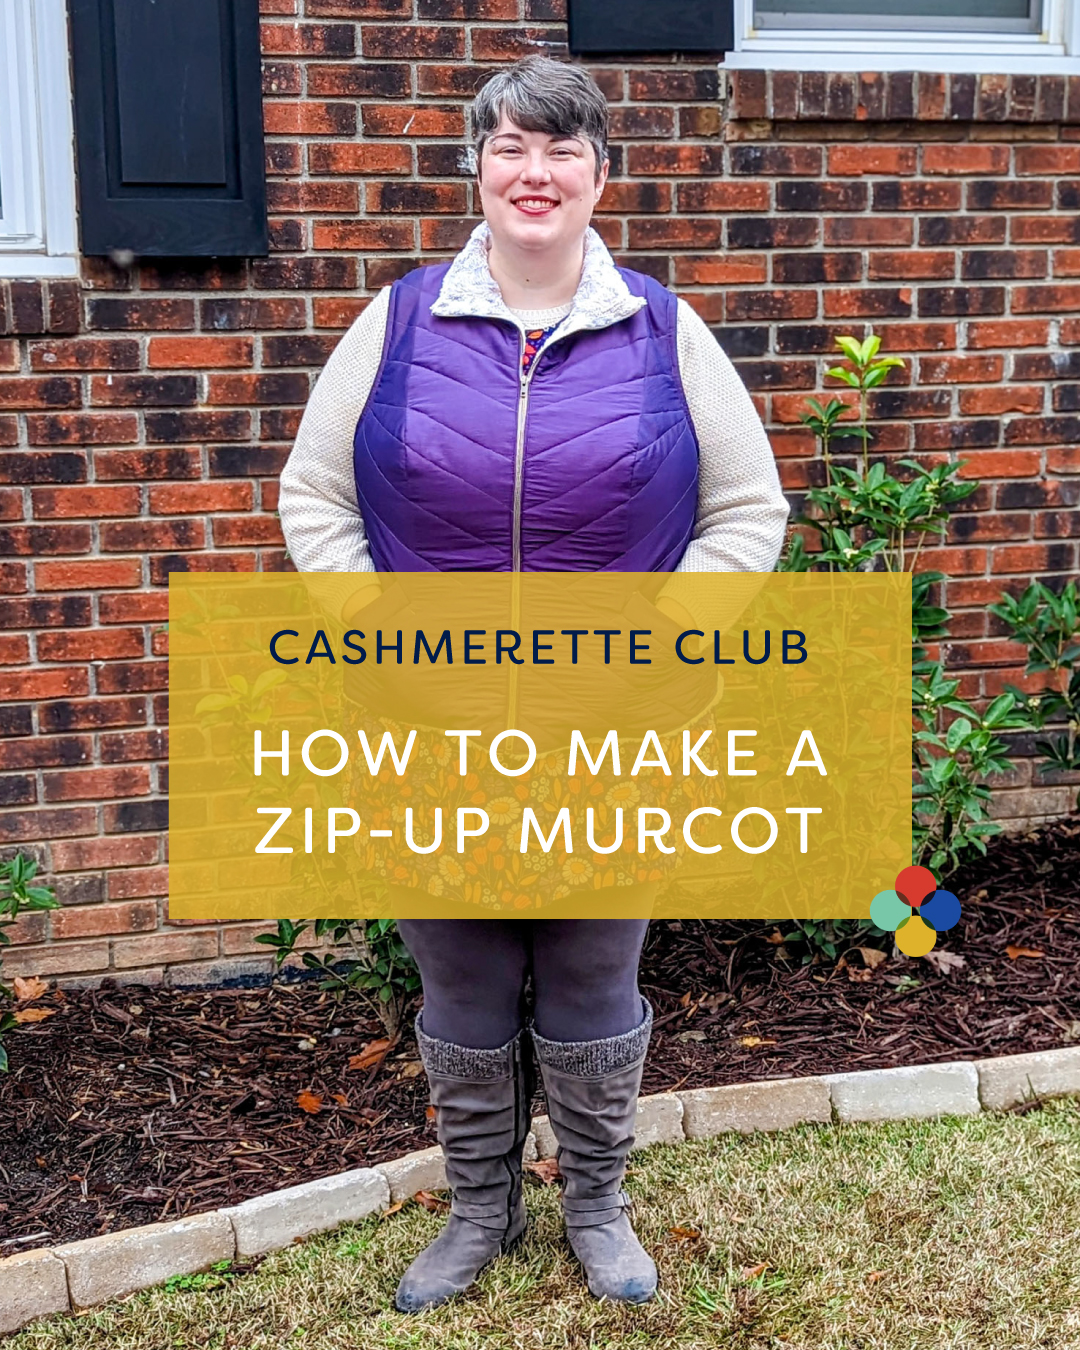
This month’s Cashmerette Club pattern is the Murcot Puffer Vest! In this tutorial, Club member Tegan shares how she added a zipper on her Murcot.
One of the things we love most about the Murcot is how many ways you can personalize this cozy puffer vest. Tegan decided she wanted a zip front with a collar she could fold down, so she made a few adjustments and voila! She took the picture in her head and made it into a cozy iridescent reality. Learn how below!
The Murcot Puffer Vest comes in sizes 0-32 and cup sizes C-H and is available exclusively to Cashmerette Club members. Not a member yet? Join today!
How to add a zipper to the Murcot
Tegan here! Today I’m happy to share how I hacked the Murcot to have a zip front. As soon as I saw the pattern, I had a picture in my head of what I wanted to make: I wanted a zip front vest with a collar I could fold down, and these were both super easy tweaks to add to the Murcot. It came down to making a couple changes when cutting my center front and collar pieces, and then changing the order of construction to accommodate the zipper.
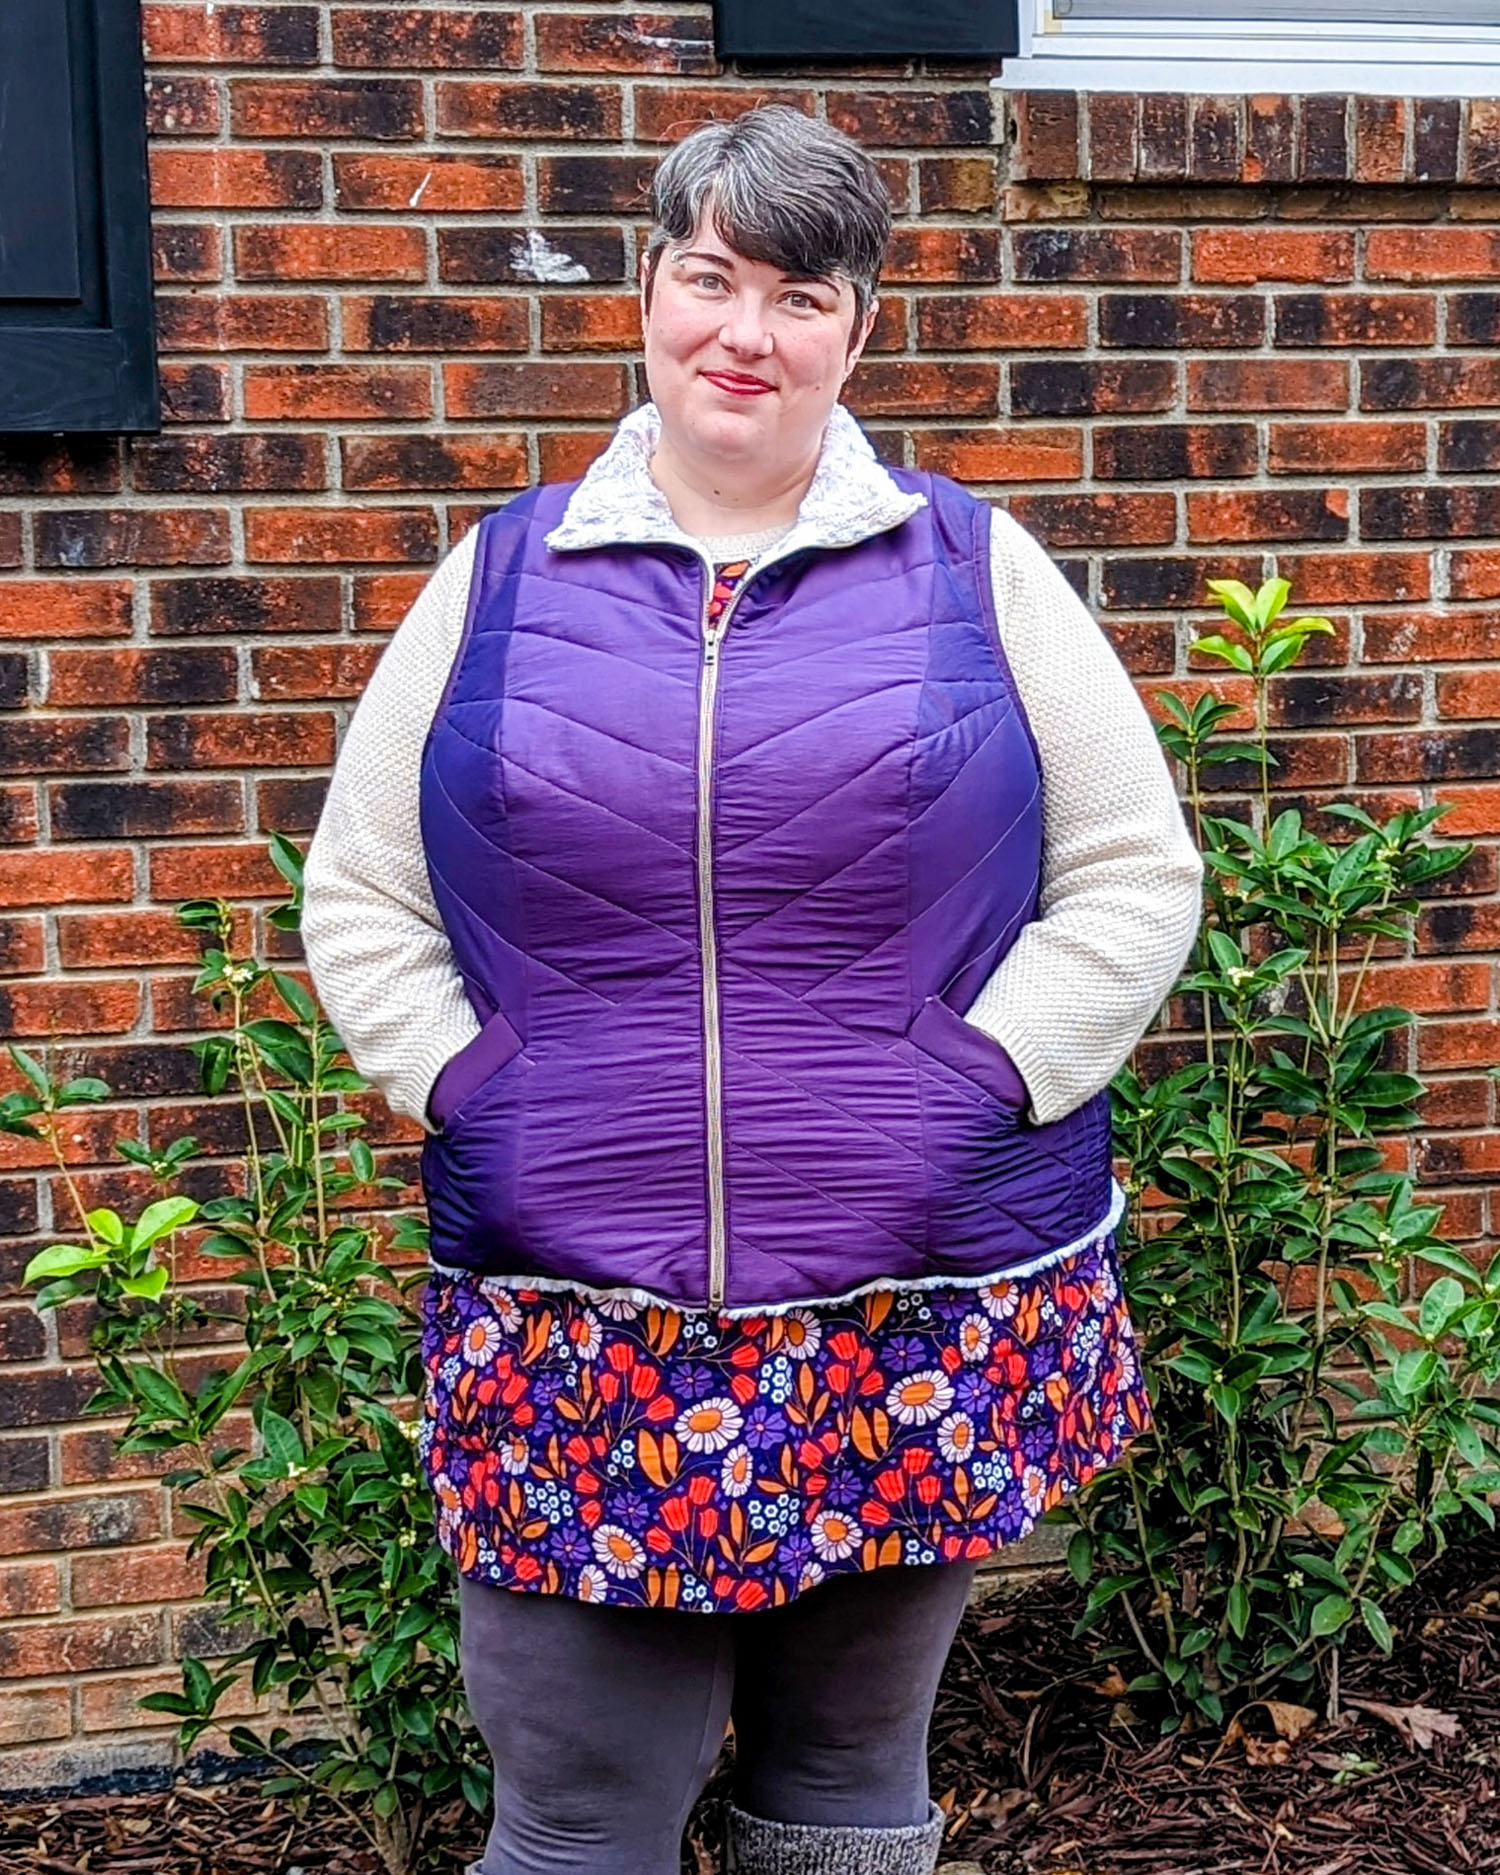
First, let me give a quick rundown of my fabric and sizing choices. For the outer, I used Silkara fabric from Seattle Fabrics – it’s a lightweight water repellent nylon/poly blend with a really neat iridescent effect. For batting I used Quilter’s Dream Puff as recommended in the pattern, and for the lining I decided to go with a faux fur minky.
My measurements are 46” high bust, 60” full bust, 50” waist, and 60” hips, and while my usual Cashmerette size is 24 shoulders graded out to 30 G/H, I decided to size up to accommodate the faux fur lining since it’s much thicker than the recommended lining fabric. This ended up being 26 shoulders graded to 32 G/H, which worked out perfectly.
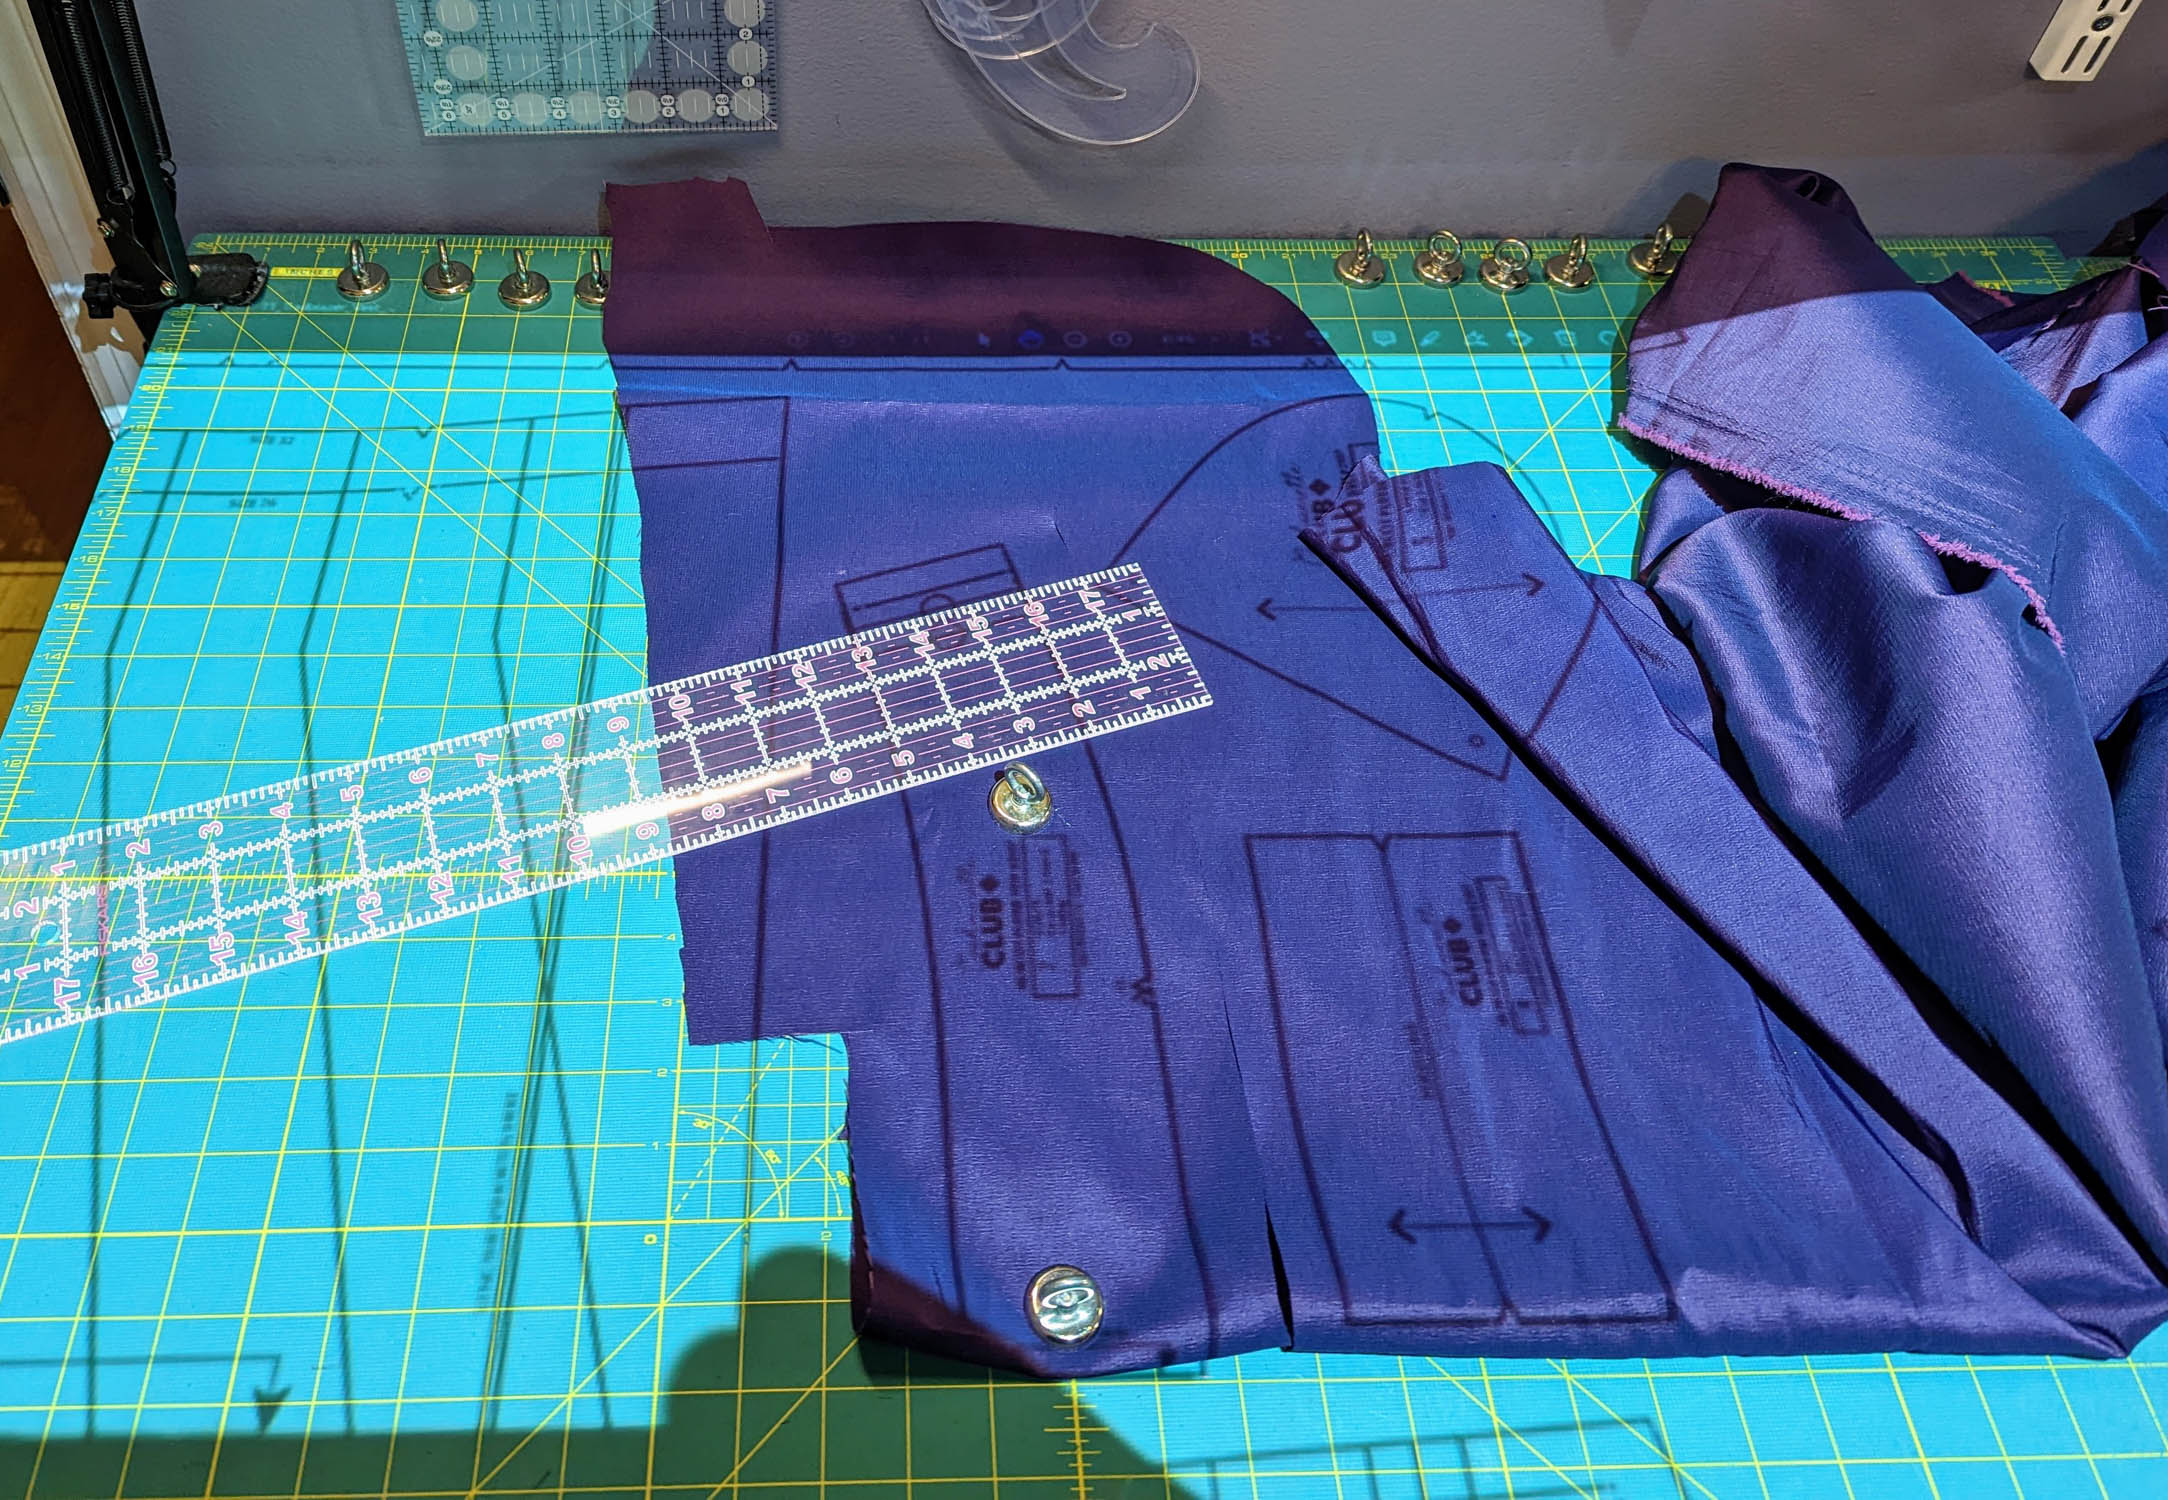
For the center front pattern piece, I added 2” of length (fairly standard for me, I’m 5’9”), graded between sizes where needed, and cut the center edge ½” past the center front line marked on the pattern – I want the zipper to be the center front, and I’m going to stay consistent with the ½” seam allowance used in the rest of the pattern.

For the collar piece, I added an inch of length to make it taller and easier to fold down, and I also cut the center edge ½” off from the center front line the same way I did for the center front bodice.
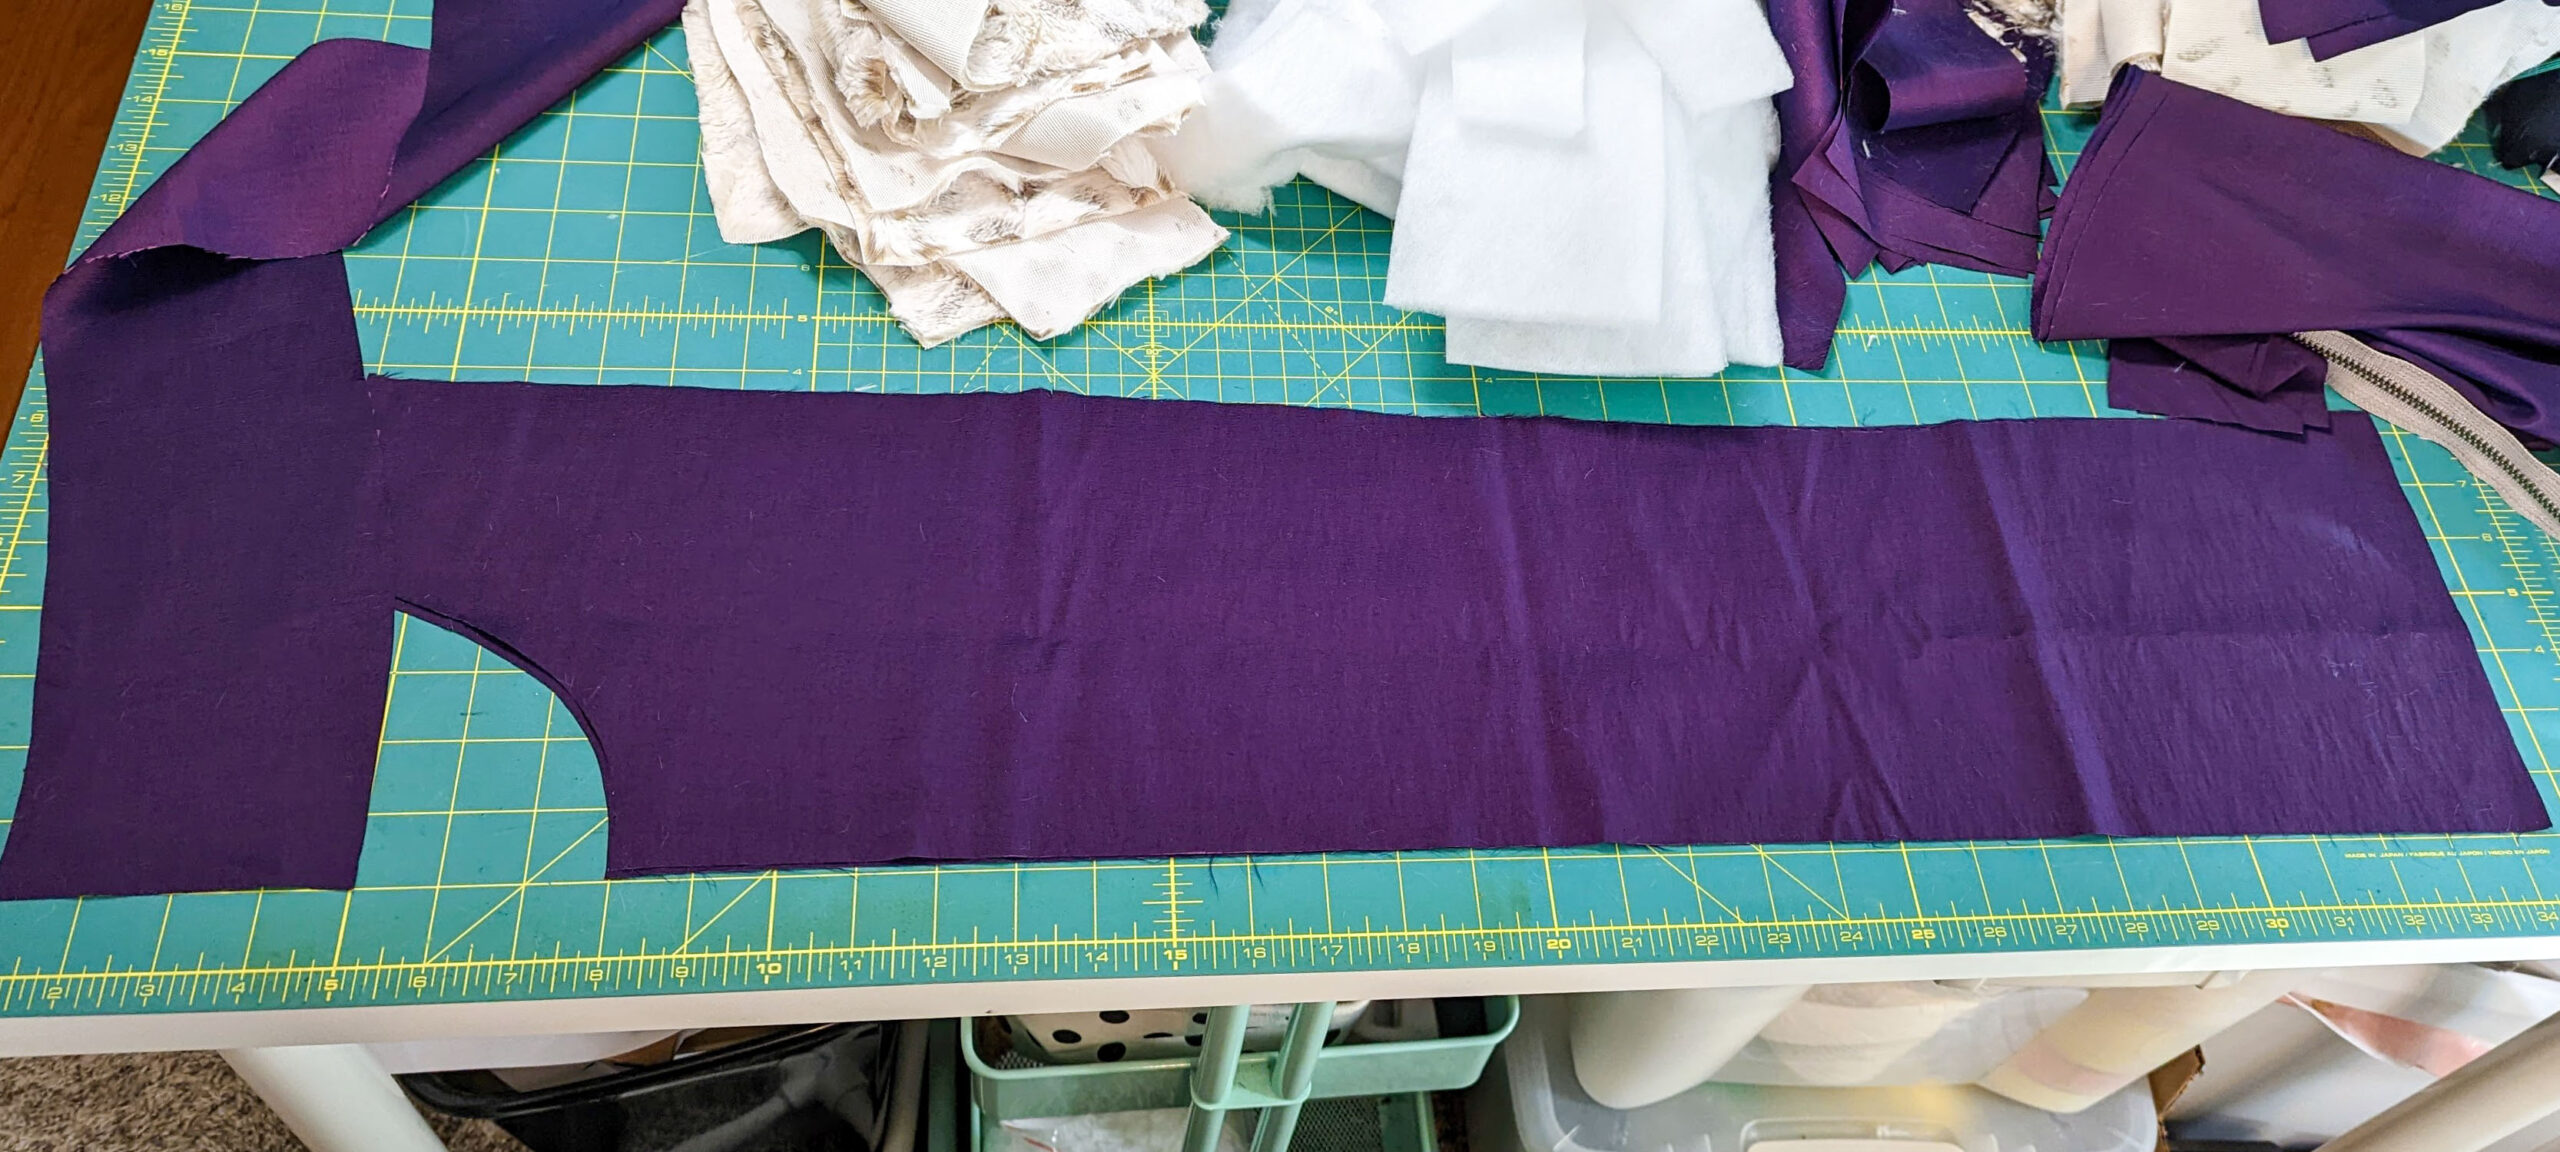
I made the same changes to my batting and lining pieces so everything matched. To determine my final zipper length, I measured the center front edge length of both the collar and bodice pieces and subtracted seam allowances. In my case, this ended up being 29”. I had purchased a 30” zipper, so I removed teeth and moved the top stops to fit my desired length.
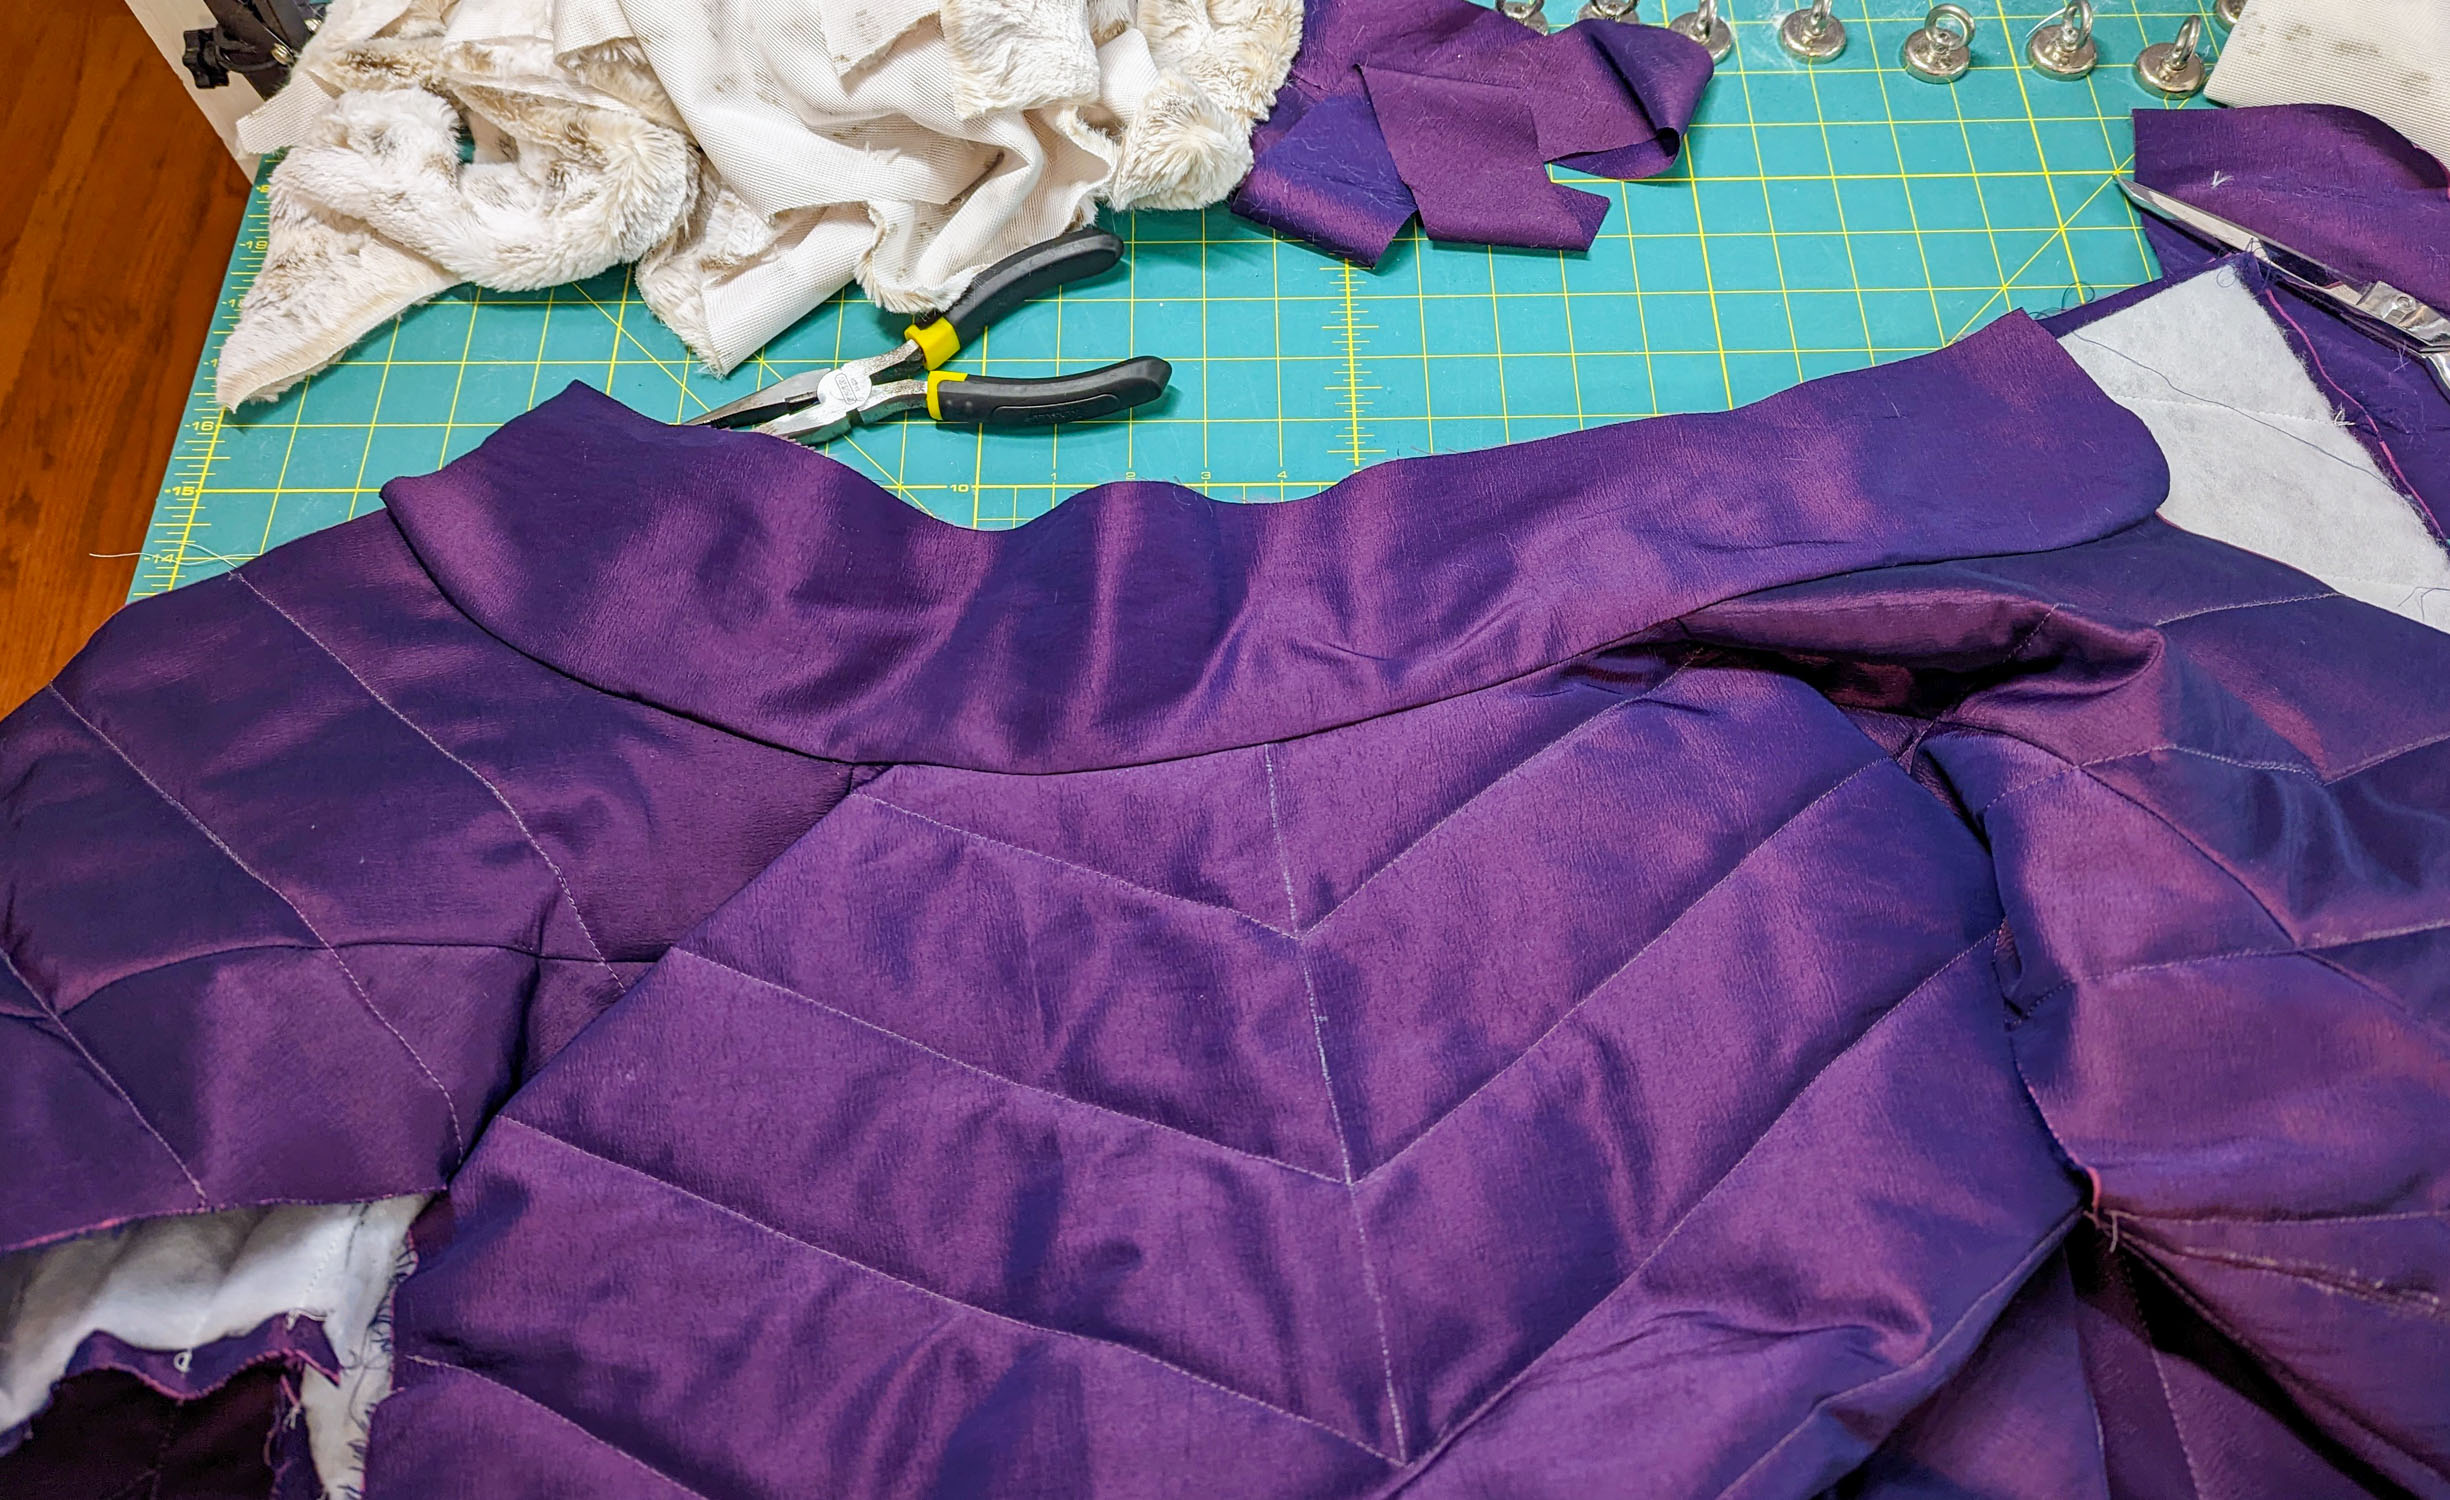
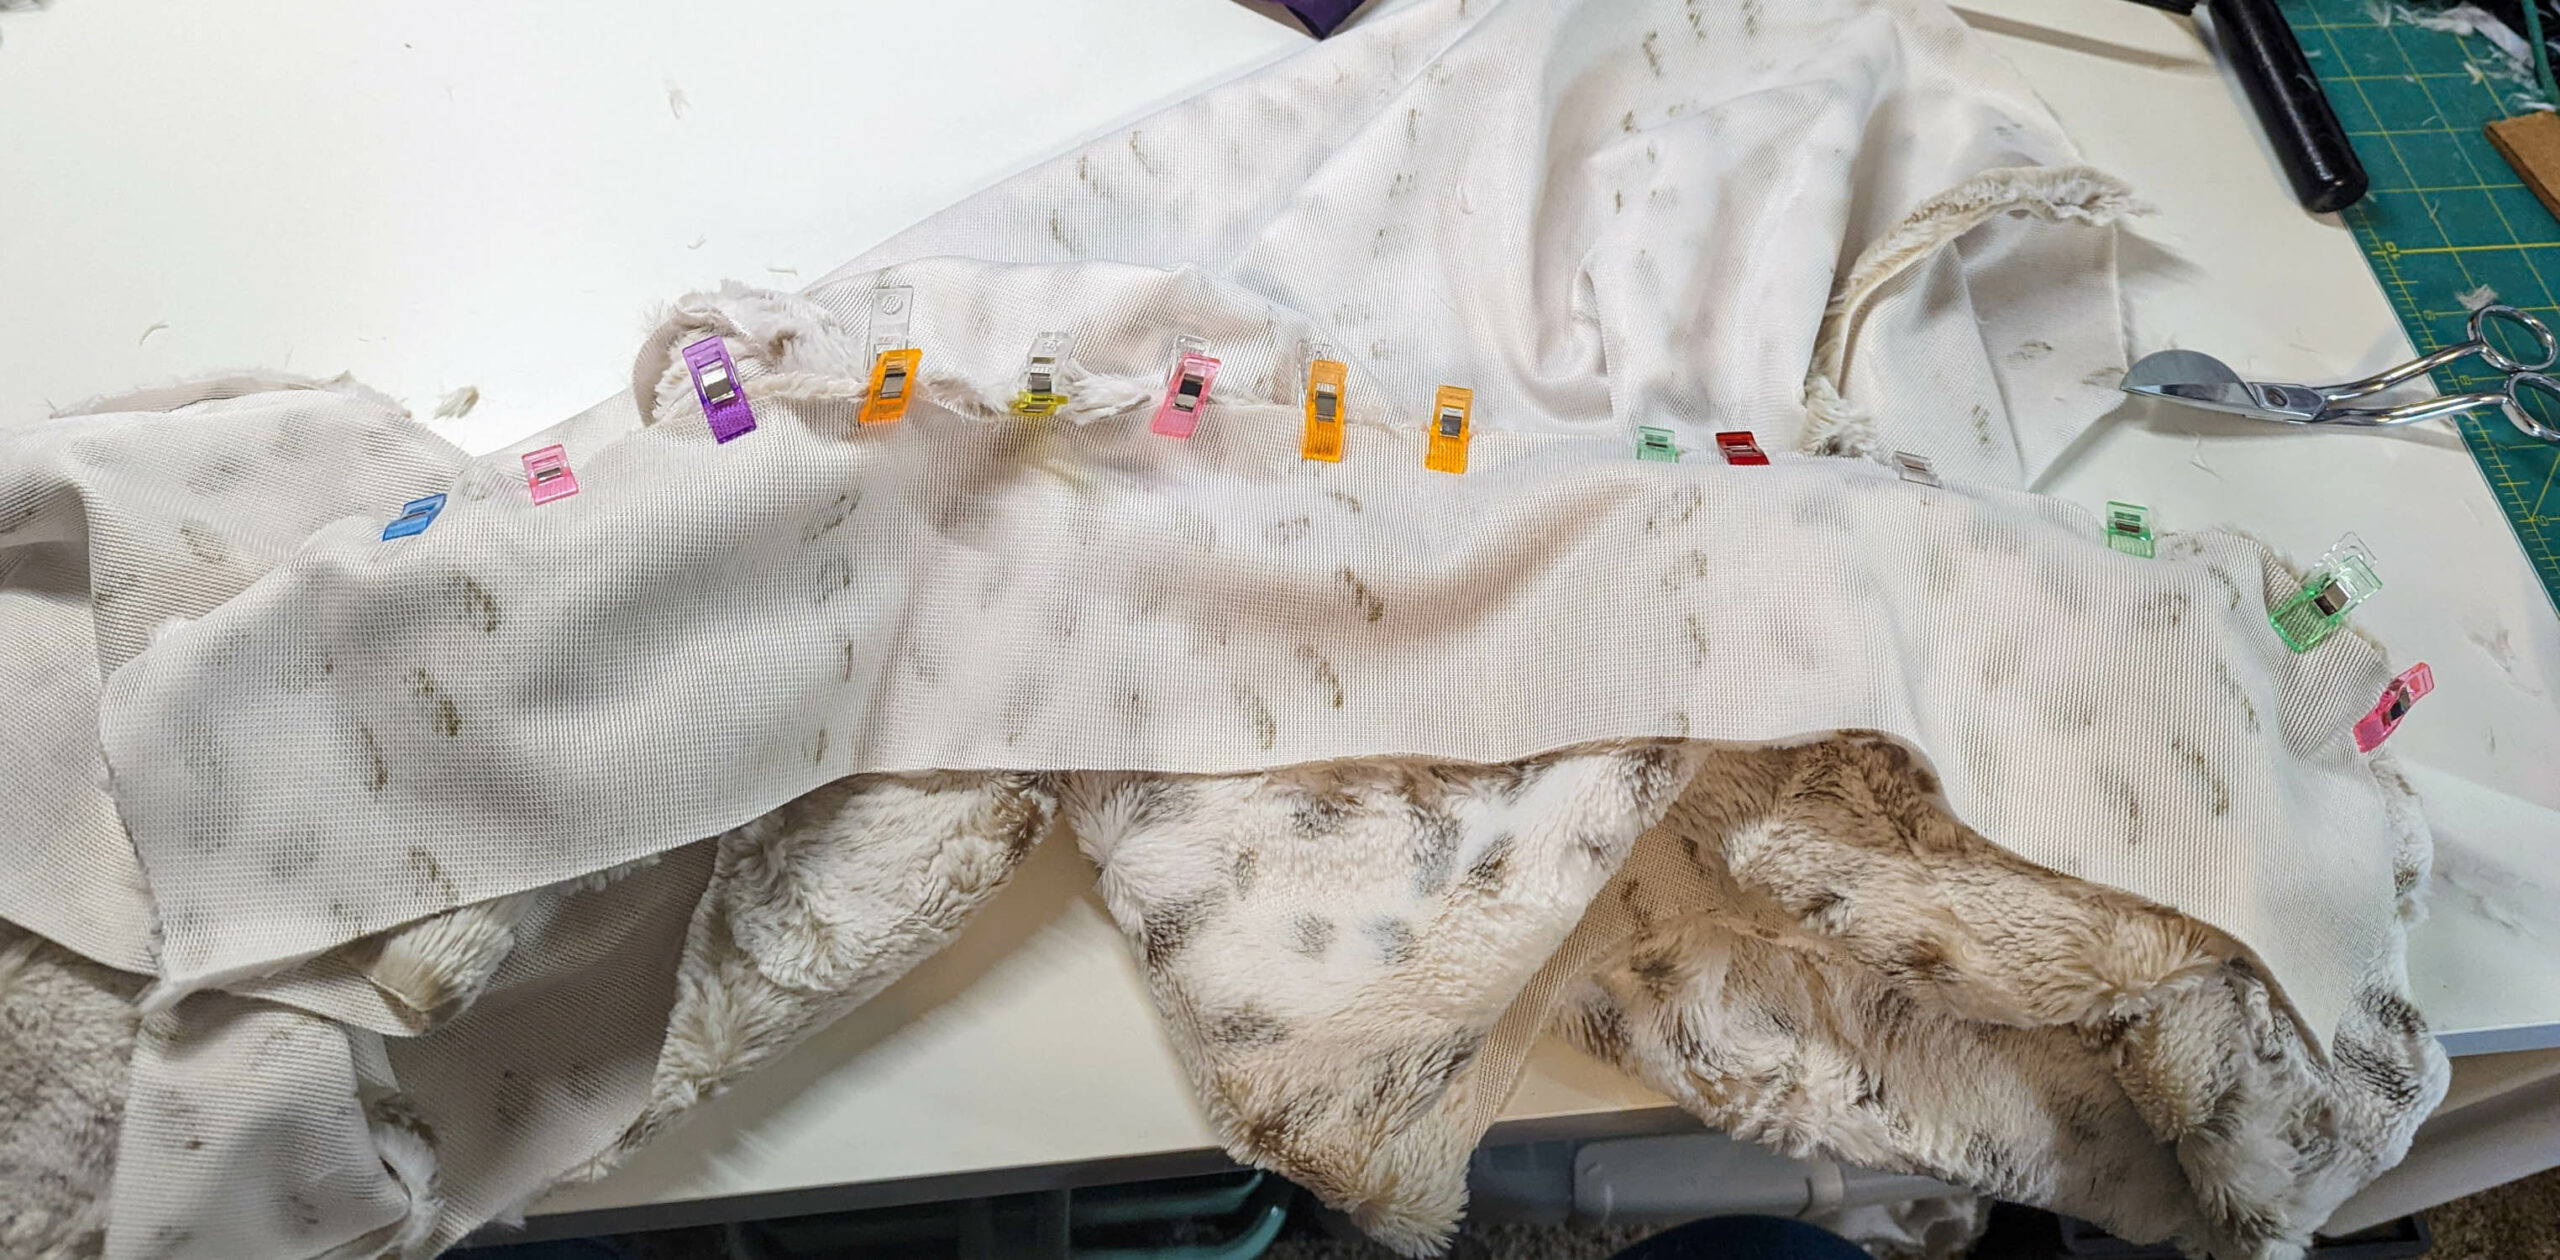
From this point, I followed the pattern directions as written up to the point of sewing the collar. Since my zipper extends up through my collar, I need to attach the collar outer and lining separately to the outer and lining of the vest so they can sandwich the zipper all the way up. So first I attached the outer collar to the outer vest that was completed up to the point of sewing the shoulder seams:
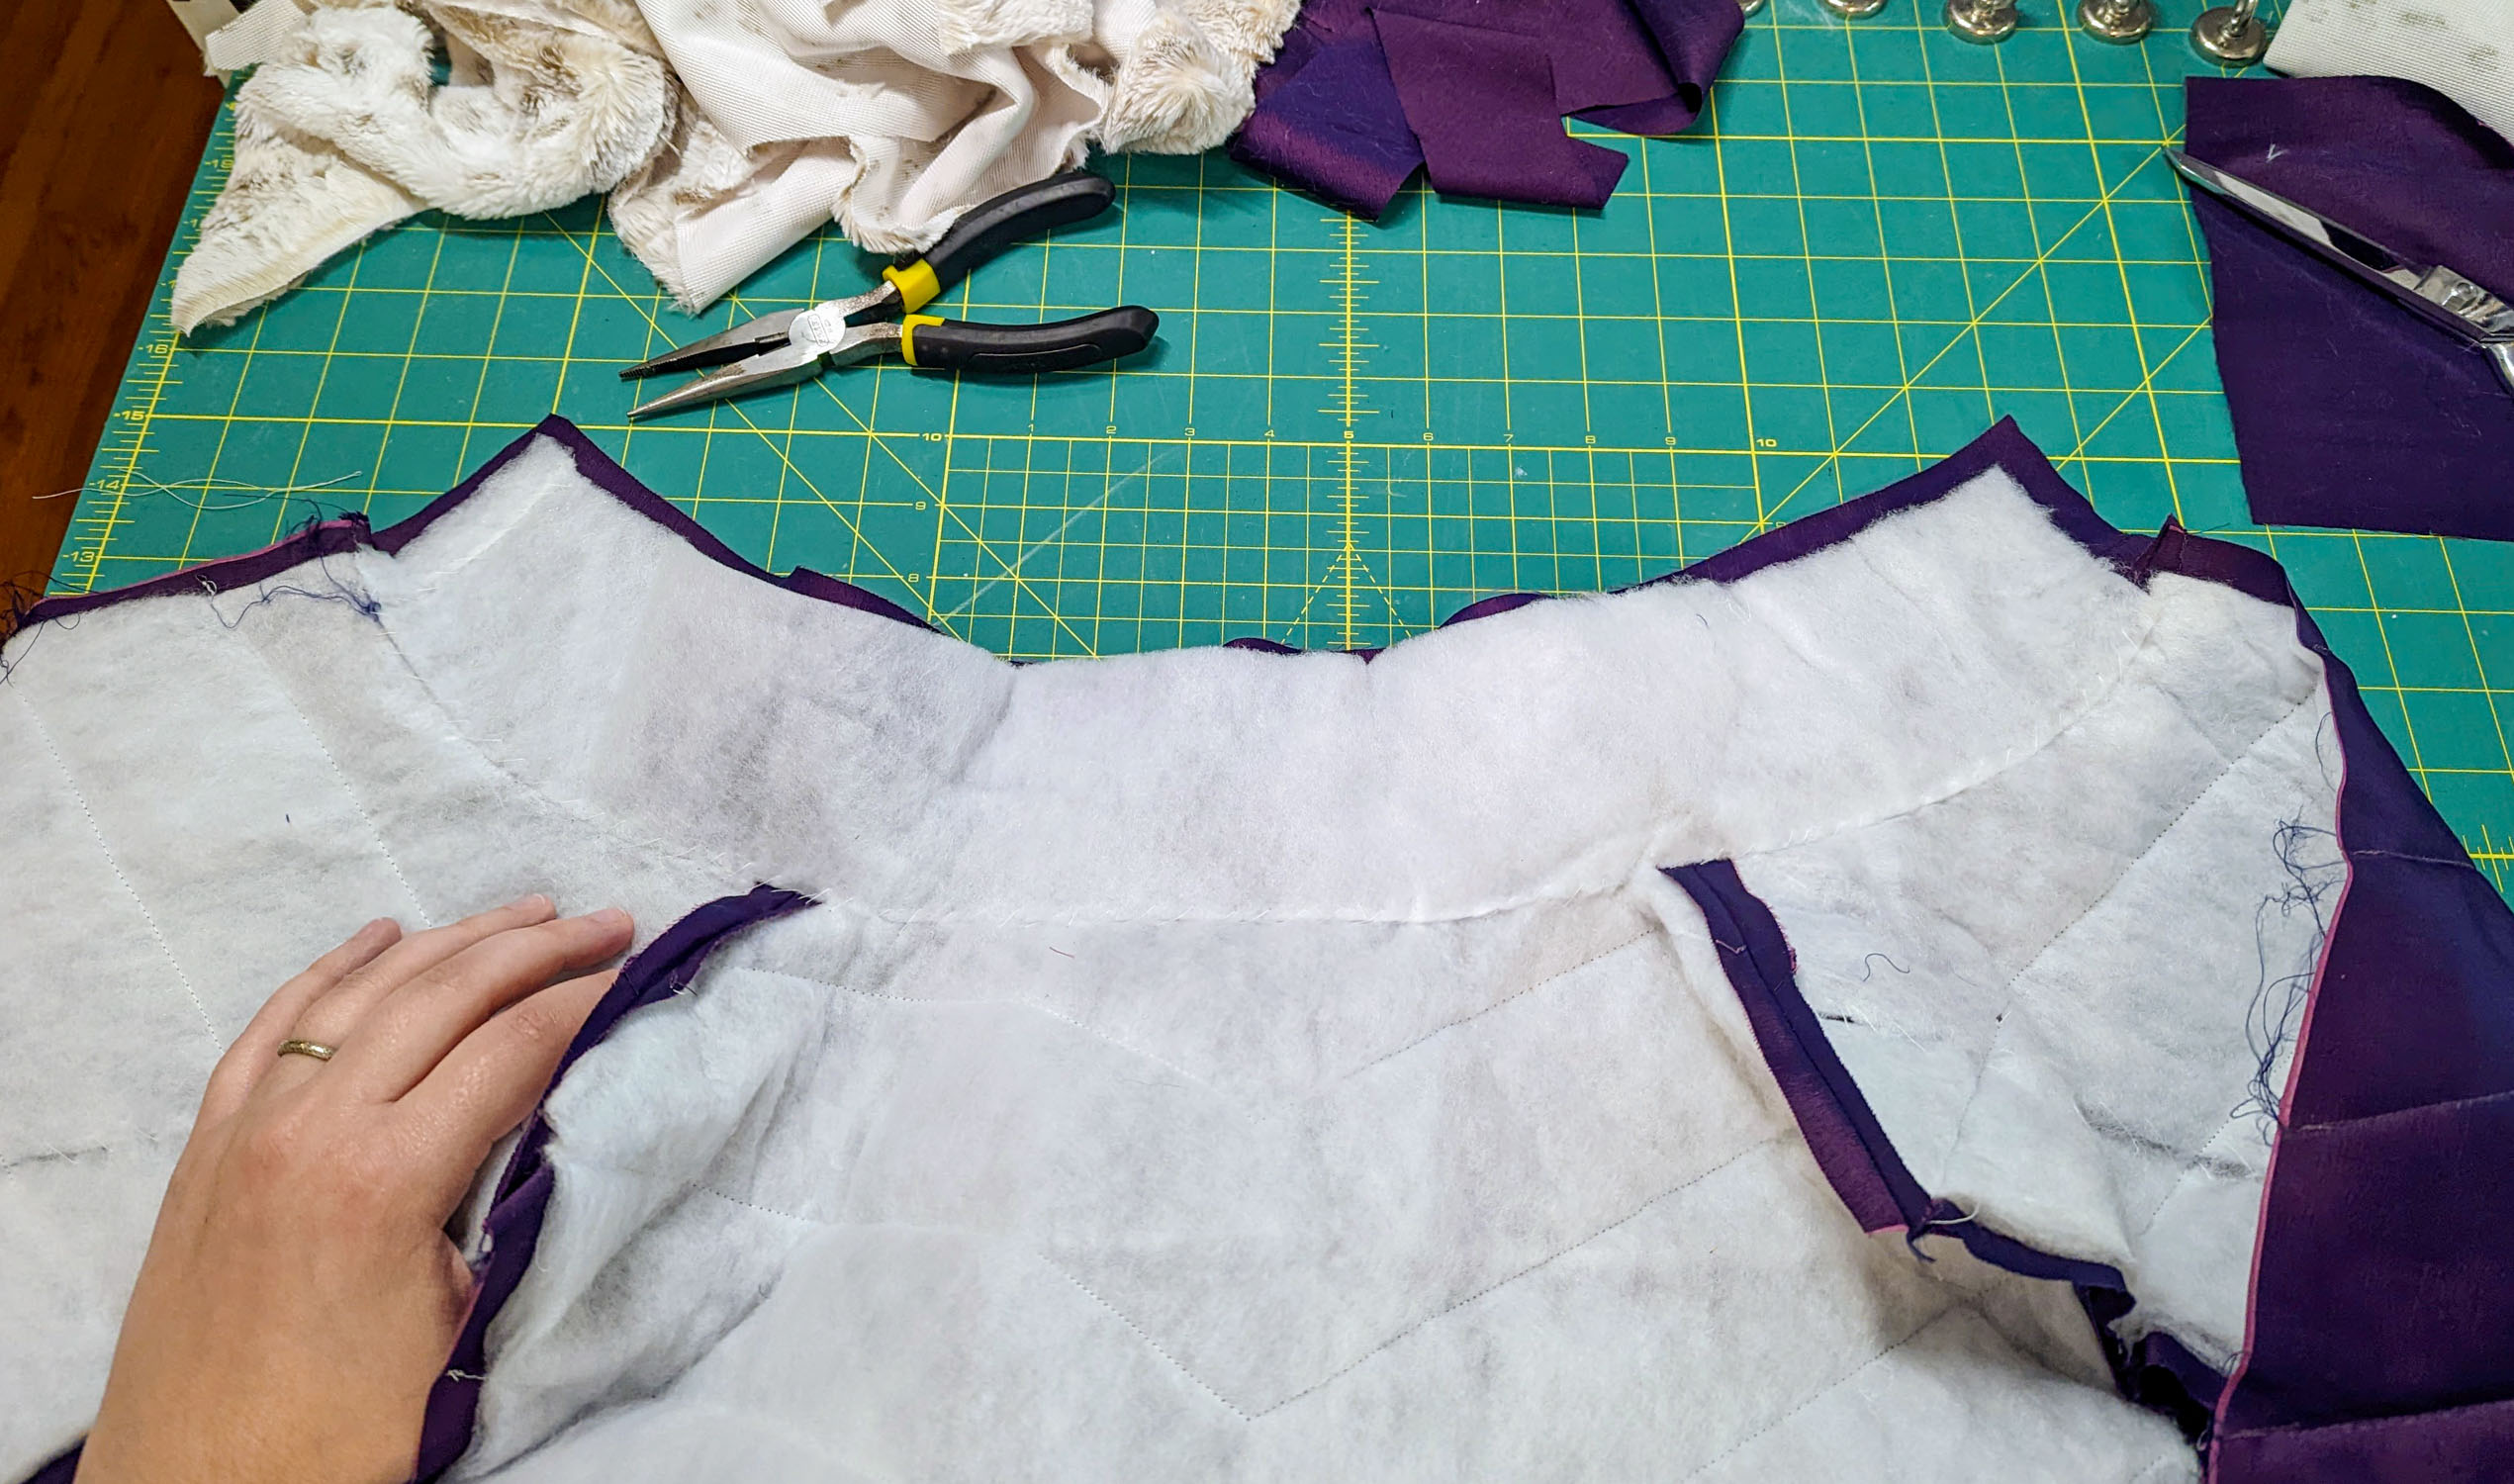
Then I added the collar batting using the same spray baste and whip stitch method used in the pattern for the other batting pieces:
After this, I constructed the lining as written, then I added the lining collar piece (which I cut out of my lining fabric instead of my outer, so the faux fur would show when I folded it down).
From here, I sewed the zipper to the center front edges of the completed outer vest, then proceeded with the pattern instructions for attaching the lining to the body and sewing the armhole binding. I didn’t bother trimming the edges of the finished lining since I knew the faux fur would be peeking out anyway, and I topstitched all the way around my completed vest, including the top collar edge.


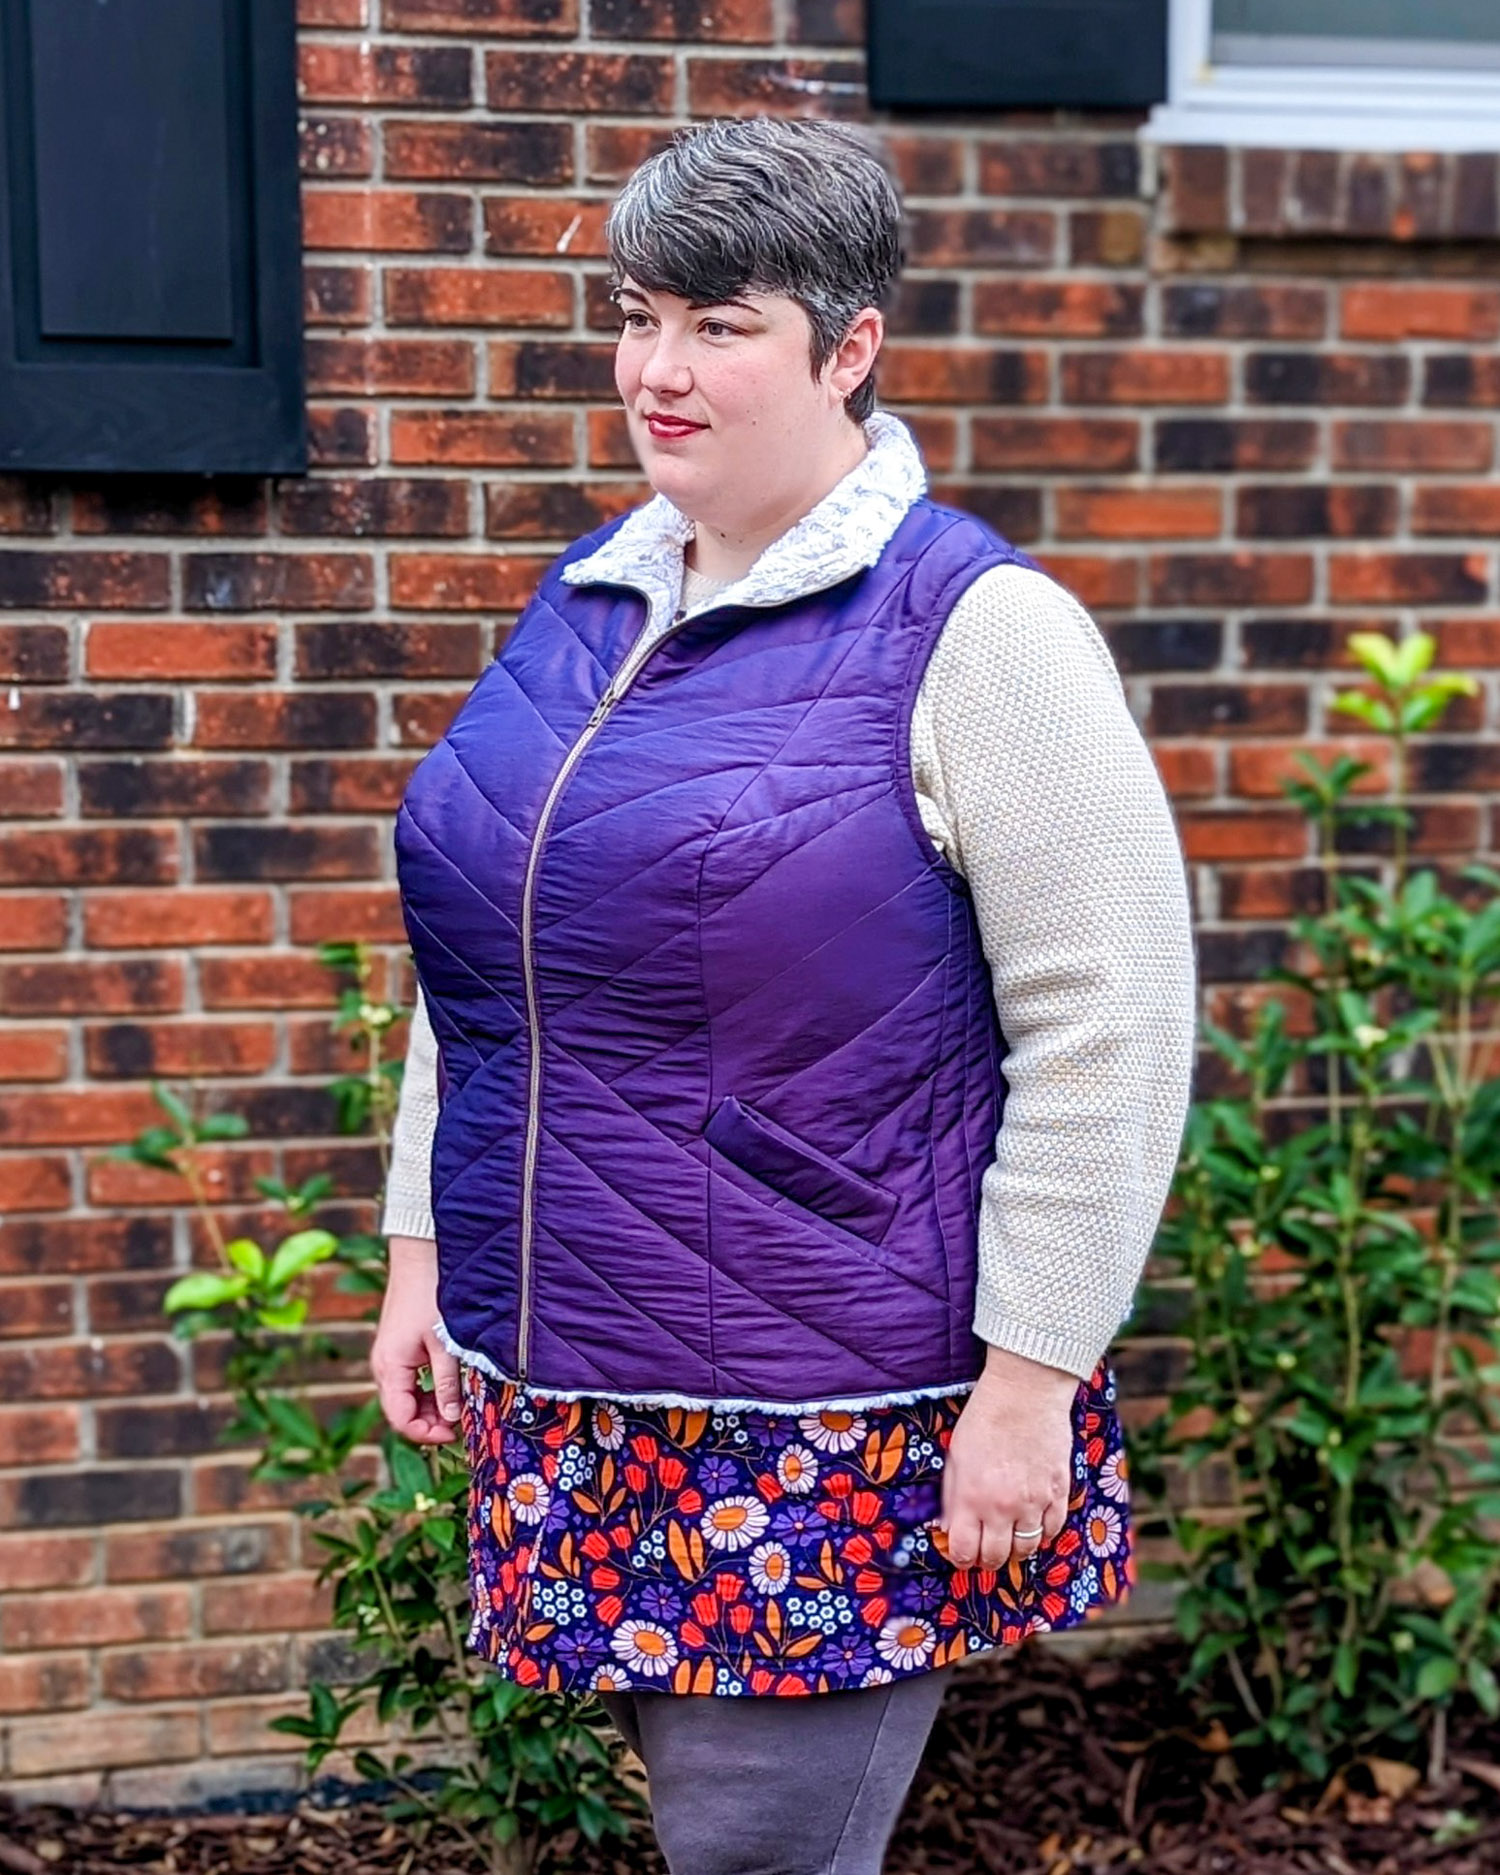
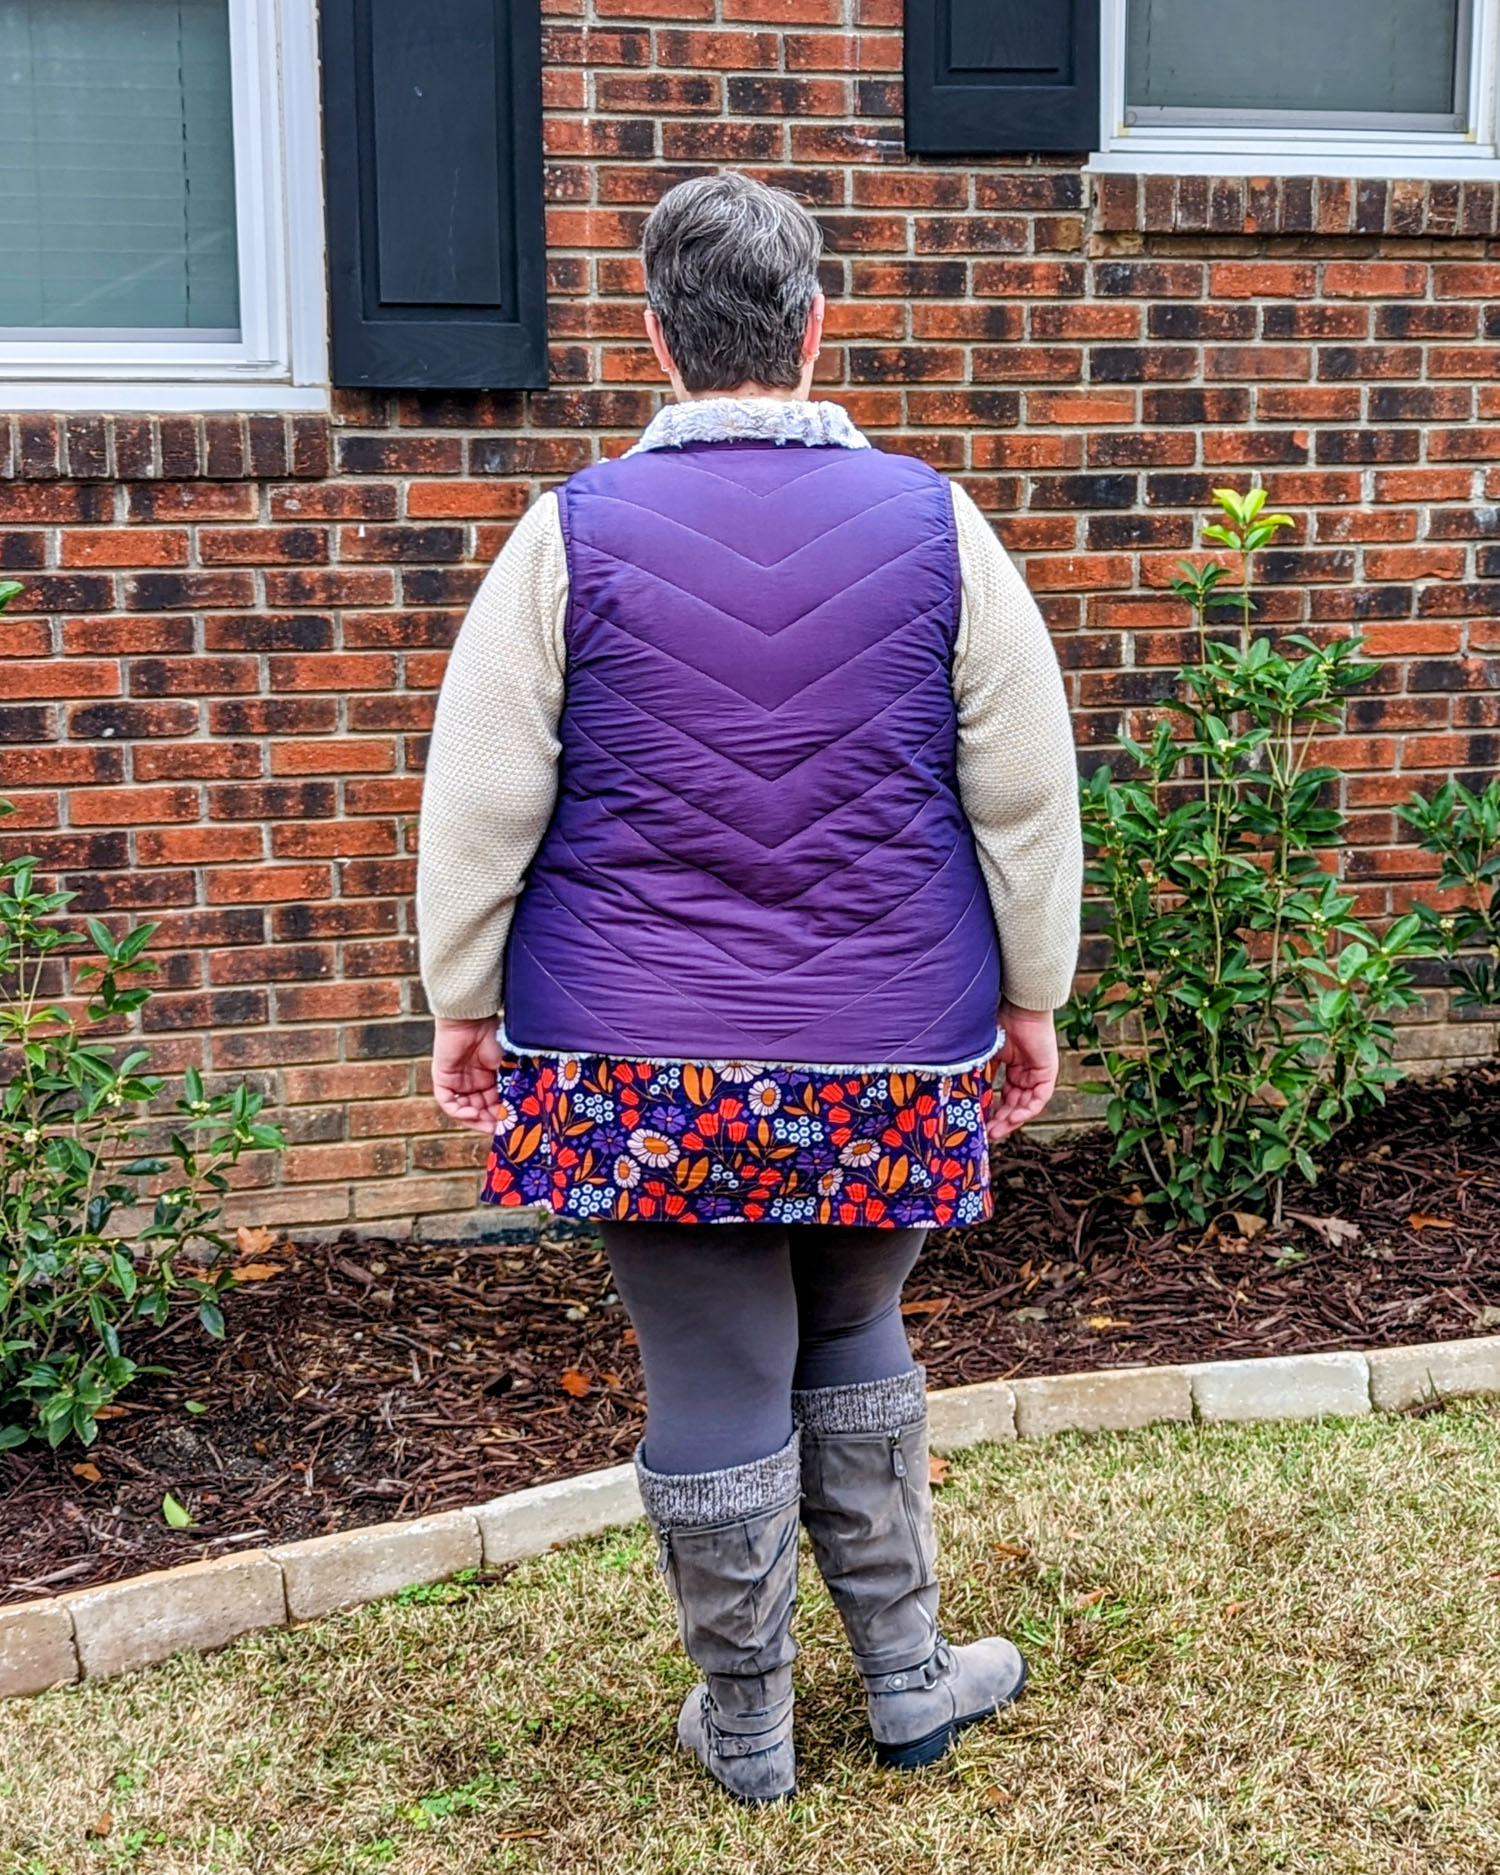
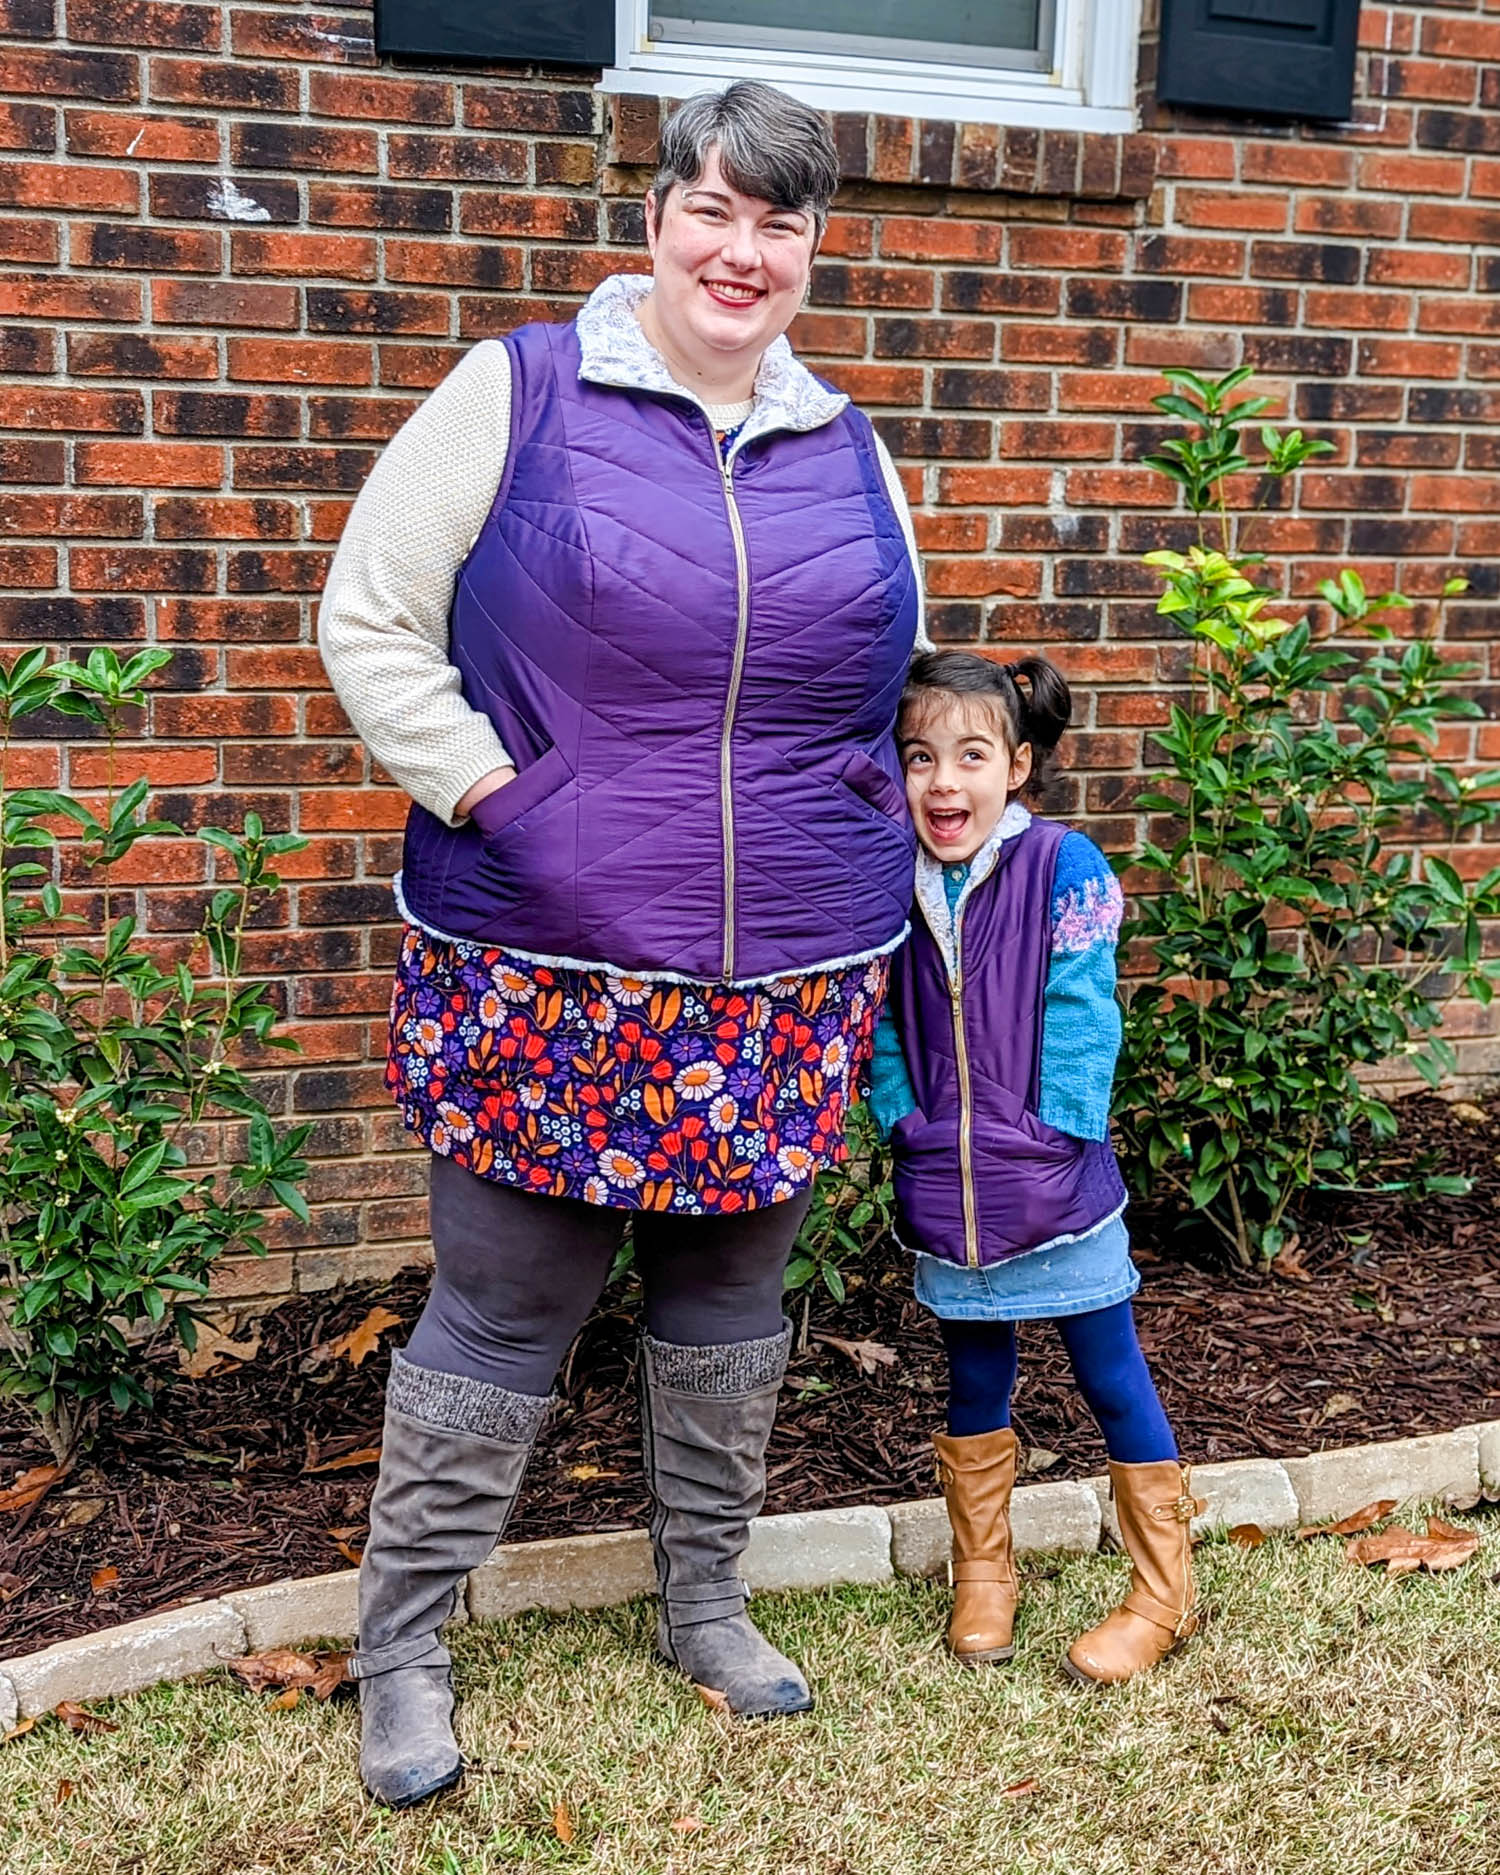
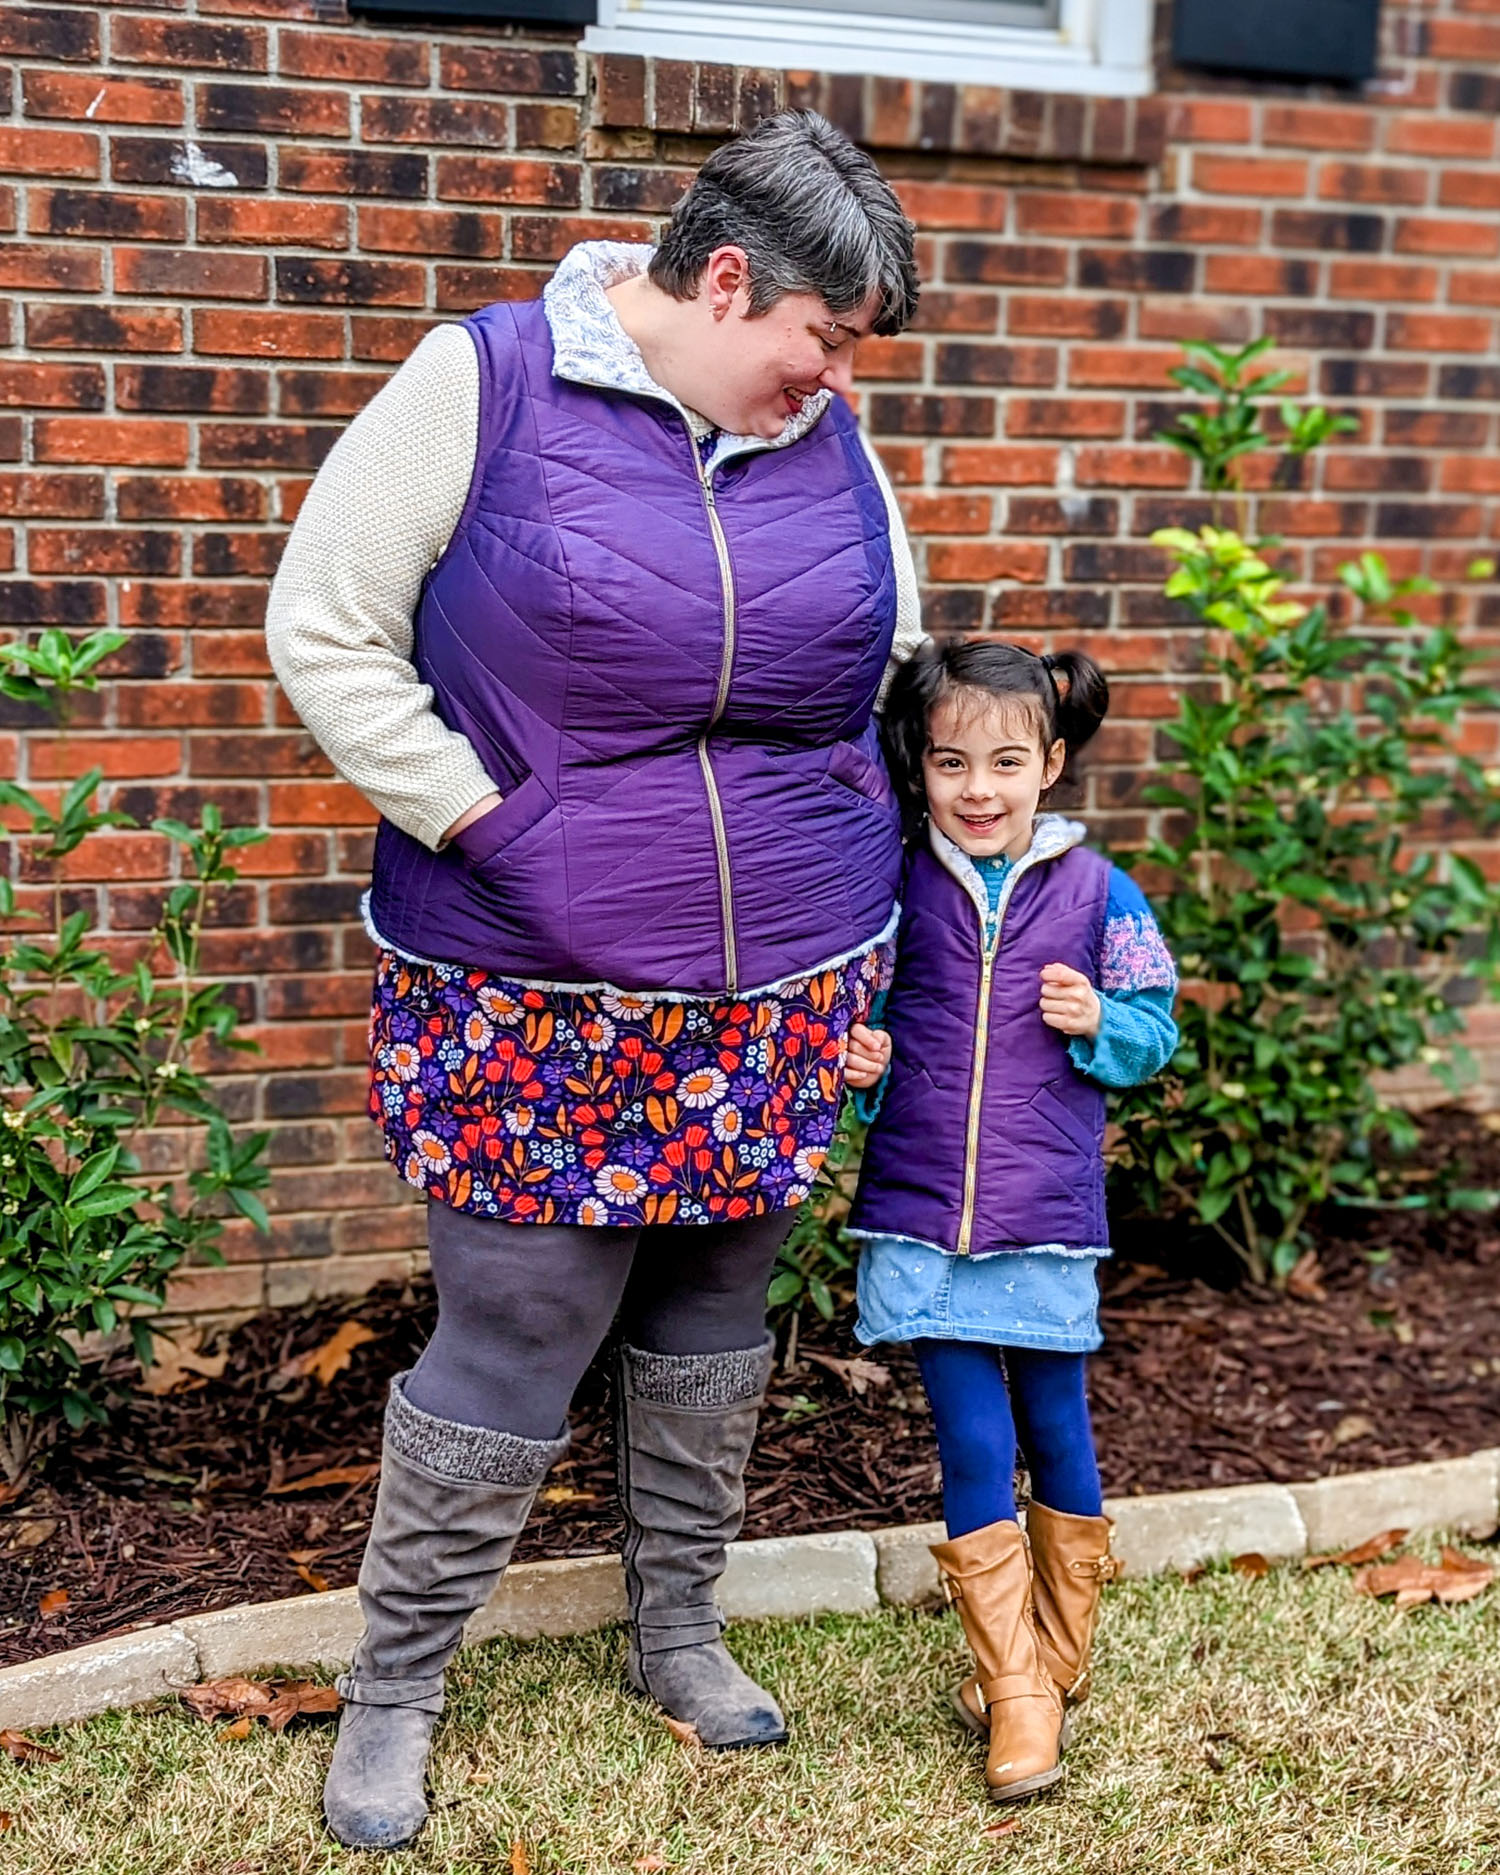
I’m thrilled with my final Murcot, it’s exactly what I pictured when I started! And I love the iridescent effect of the fabric, it looks like different colors depending on the lighting. I had plenty of fabric left over, so I had a lot of fun making a matching vest for my 4-year-old daughter as well. The pattern for hers is the Twig & Tale Trailblazer Vest, the style is a great match for the Murcot.
You can see more of what Tegan’s making over on Instagram at @tl_mathews.
Let’s start sewing!
If you’re ready to try this hack, then let’s get going!
The Murcot Puffer Vest comes in sizes 0-32 and cup sizes C-H and is available exclusively to Cashmerette Club members. Not a member yet? Join today for as little as $9 (cancel anytime).
(Joining after February 2023? You’ll need to join at the All Access level to get the Murcot Puffer Vest.)