How do you sew pants that fit? If you want to get the best fit out of your Meriam Trousers, Creston Jeans, or other me-made pants you’ve come to the right place!
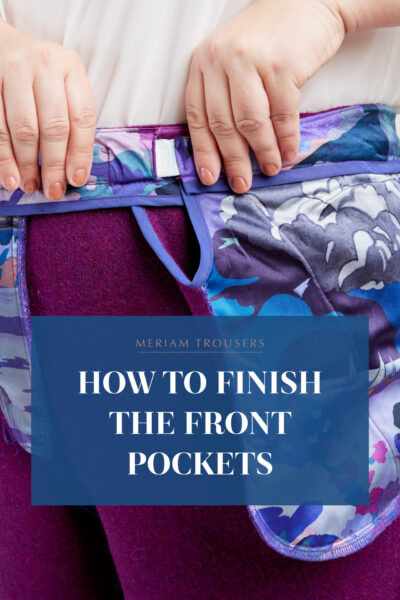
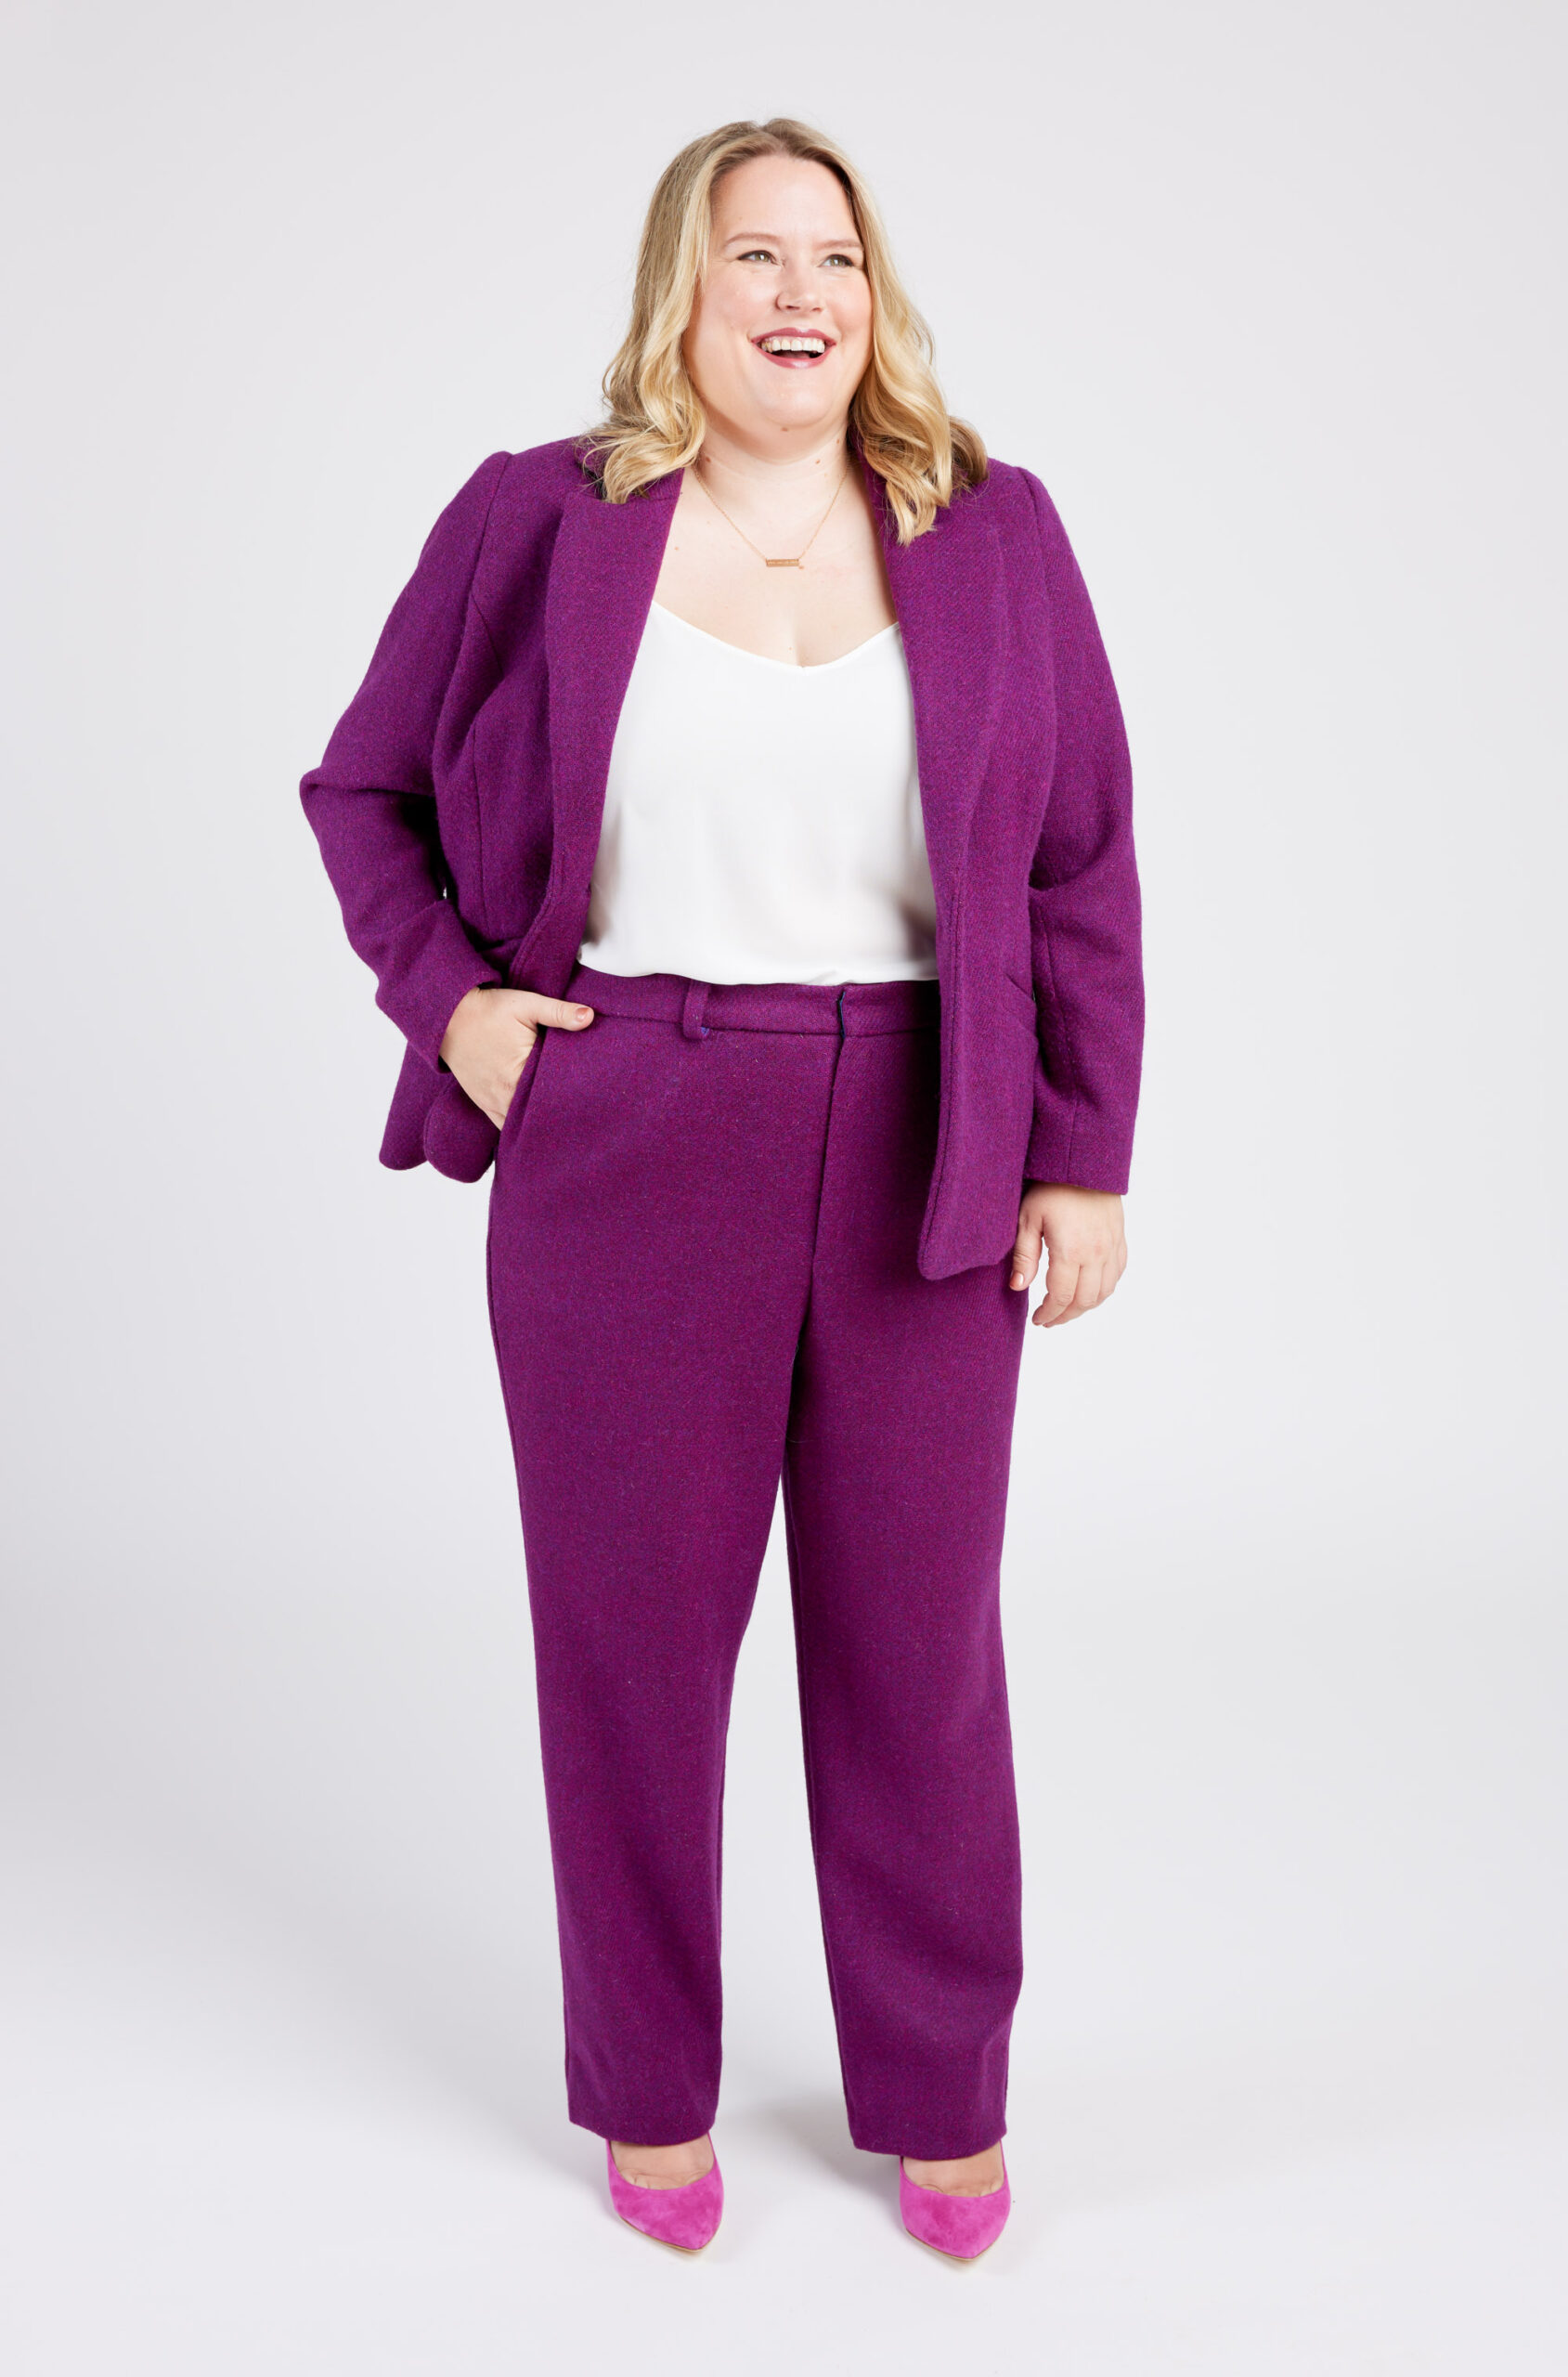
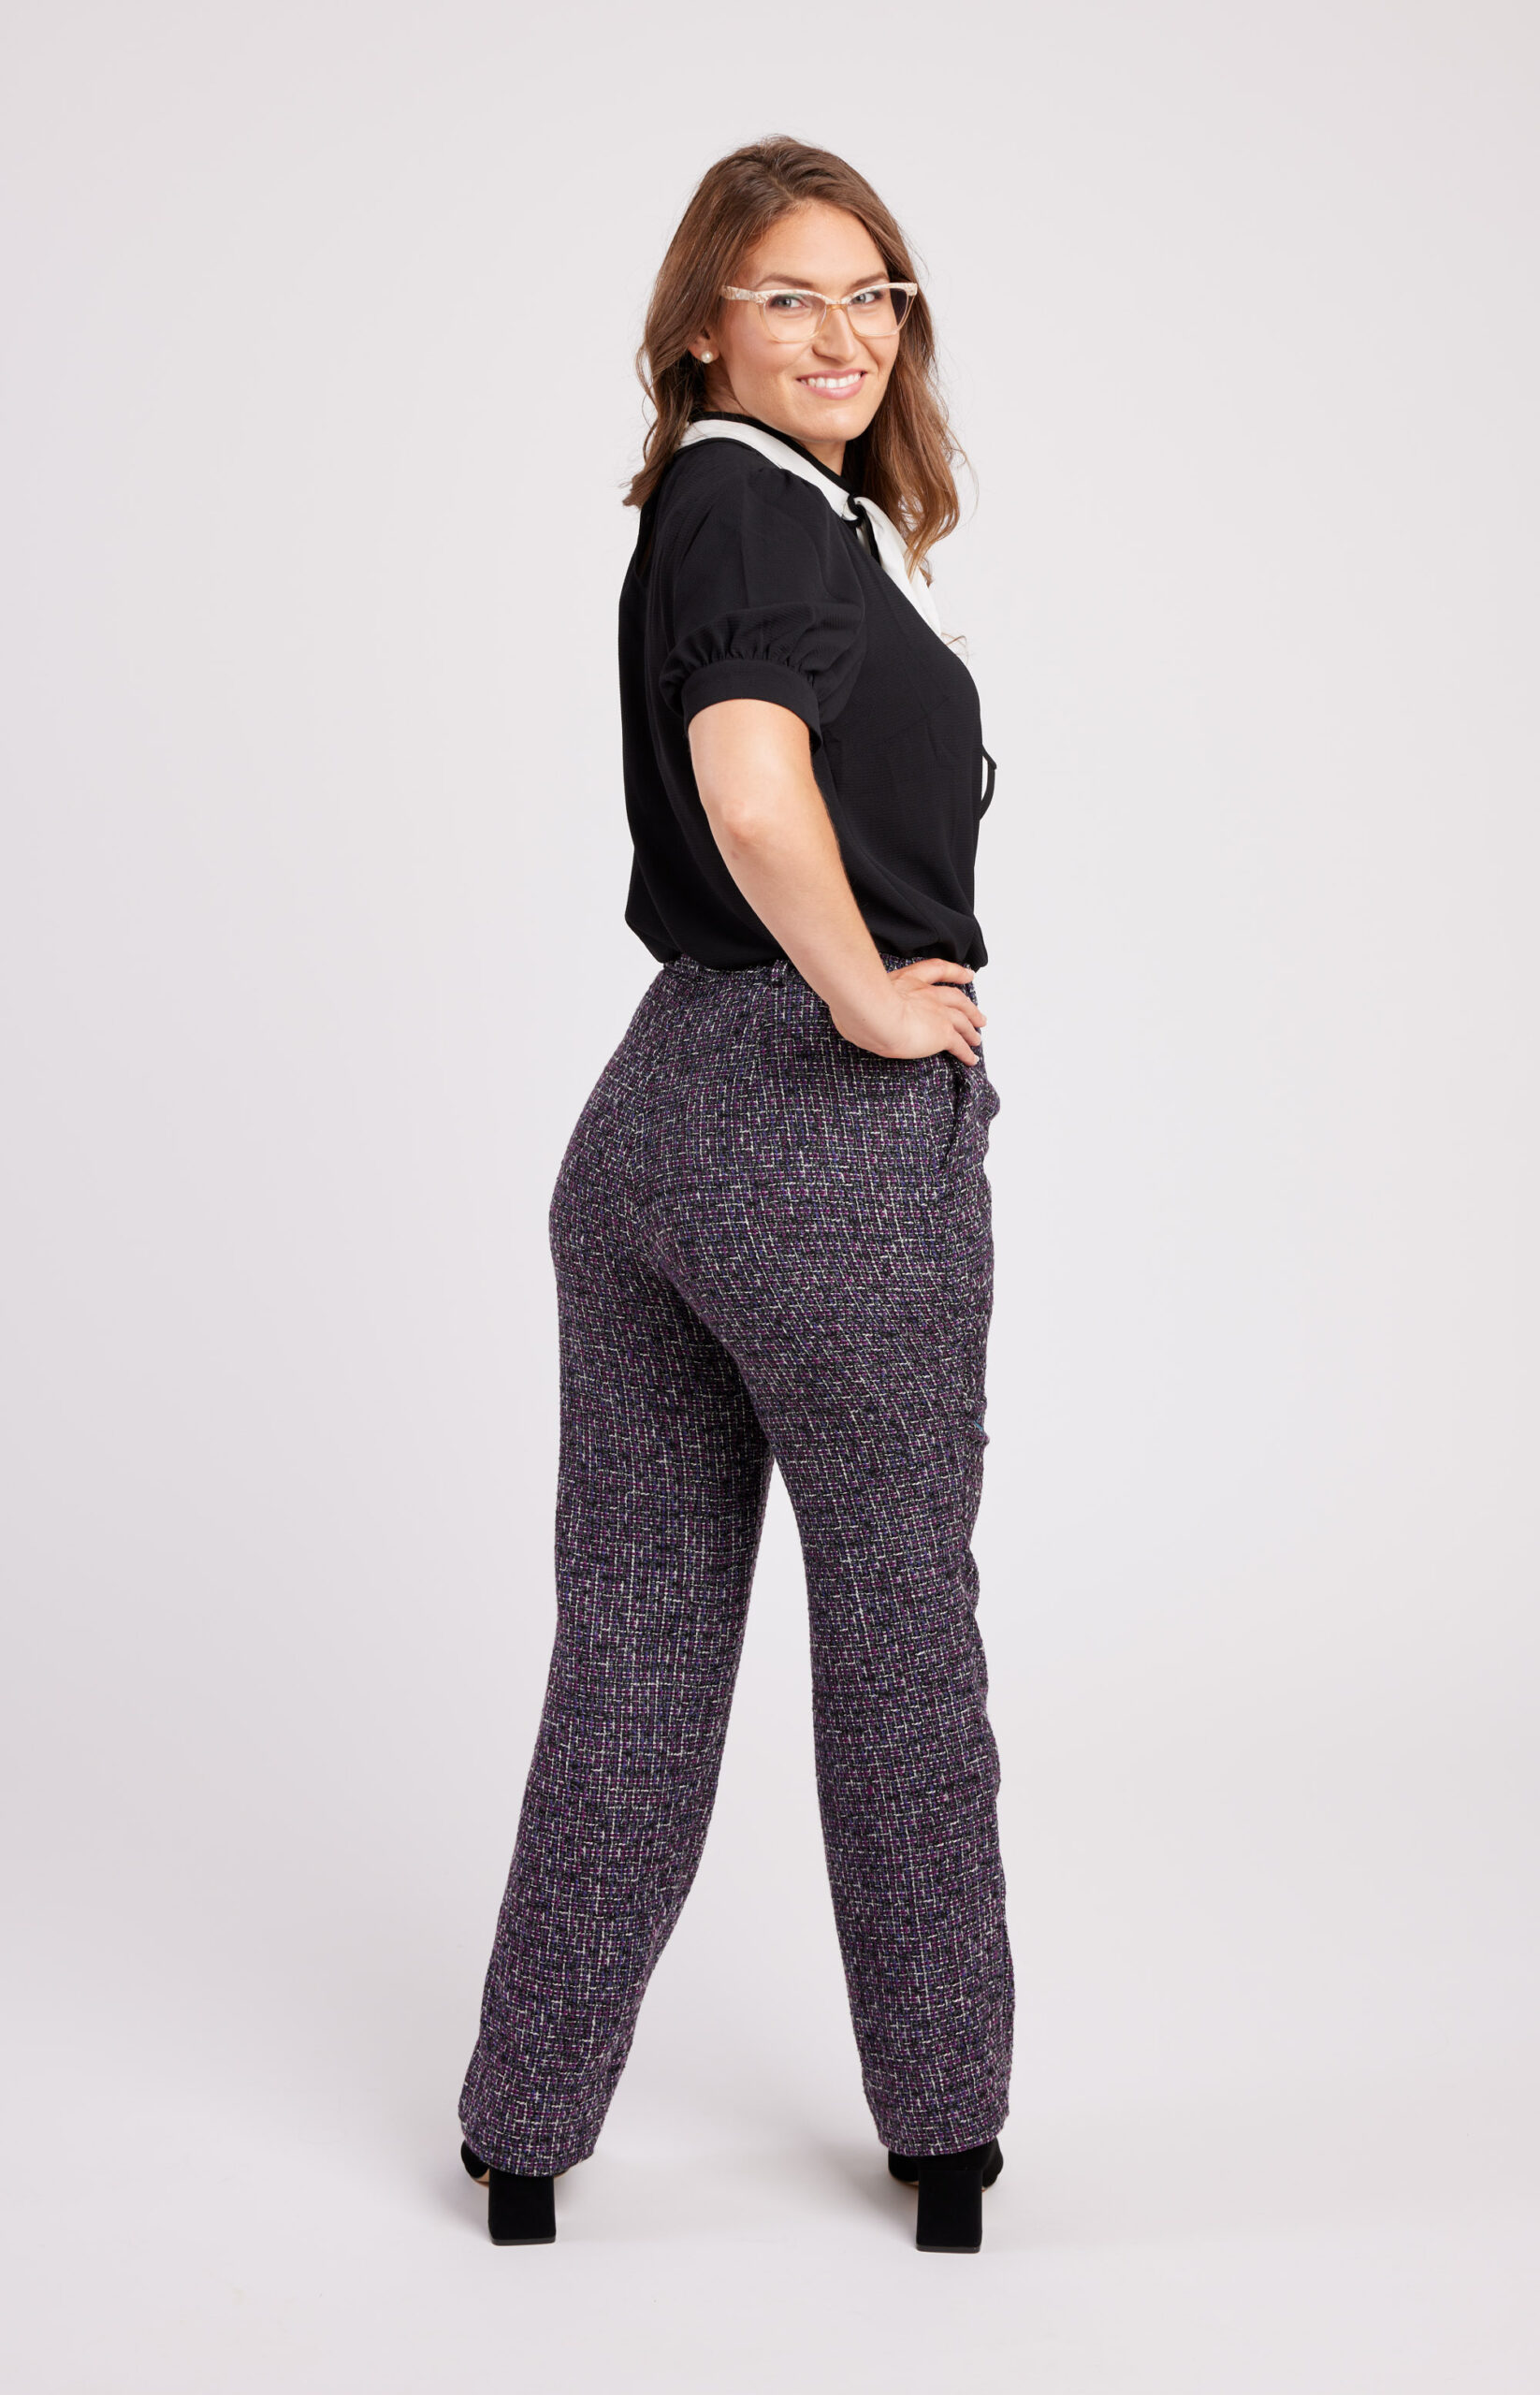
Meet the Meriam Trousers: woven pants you’ll actually enjoy wearing. The Meriam comes in sizes 0-32 and has the classic details you love in a trouser: a zip fly with a hidden closure, front slash pockets, straight legs, and optional back welt pockets. But best of all, you’ll get a fabulously comfortable fit with a flex waistband that gently expands as you sit down, plus the option of a full bum adjustment piece, already done for you.
Pants fitting can seem like a bit of a mystery, so we’ve made it a whole lot more approachable with this guide! Let’s get started.
Cashmerette Pants Fitting Guide
Step 1: Start with your measurements
In order to get a great fit on the Meriam, you’ll need to start by taking your measurements. It may a bit different from what you’re used to, so we’ve got a step-by-step guide on measuring yourself for the Meriam Trousers. Using that guide, you’ll take your measurements and use them to figure out your starting size, as well as to determine whether you need to grade between sizes or adjust the rise.
Everyone’s body is different, which means that the Meriam Trousers waistband will hit in a different place on everyone. (On some of our models it was 2″ above the belly button, and on others it was below!) That said, the Meriam are designed assuming they’re below your natural waist, but still fairly high rise. The good news is you can always alter them to get them to sit exactly where you like.
Step 2: Make a muslin
Once you’ve determined your starting size based on your measurements, it’s time to sew up a muslin! A muslin is a test garment that you use to check the fit of your trousers on your body.
Fabric can make a big difference on how a garment fits, so in an ideal scenario, you would acquire enough fabric to make a test version before making your final version. If that’s not possible, you can use a different, inexpensive fabric, but it should have the same weight and drape of your final fabric so that you can get the truest sense of how your final fabric will fit and look.
We recommend making the full pants version for your muslin to check the pelvic and leg fit, but if you’re mostly focused on the pelvic fit, you can make a shorts version to save on fabric. You should also make the same waistband option (standard or flex) that you plan to use for your final version, and attach it to your muslin before trying it on.
One final note: if you want to get help from the Cashmerette team or community, make your muslin out of a light colored fabric. Dark fabrics like black and gray can make it nearly impossible to see fit issues in photos!
Step 3: Assess the fit
Once you’ve sewn on your muslin, put it on and assess the fit. You can stand in front of a full length mirror, but be sure to also do all the things that you plan to do in your Meriam—walk around, sit down, bend to pick something up off the floor, and so on. You’ll be doing all of these things in your Meriam, so it’s important that the trousers fit well beyond what you see in the mirror!
Look for the following:
- Is the waistband sitting comfortably at your desired height, without digging in or gaping?
- Is the waistband level around your body?
- Do your stomach, bum, and thighs have enough room while sitting and standing?
- Are the legs the right length?
- Are the pants smooth in the pelvis and legs, or are there visible drag lines?
Make notes of what you see and take photos if you can. It’s best to have someone else take your photos or use a timer—selfies or mirror photos can make it hard to see the fit.
Step 4: Make adjustments
Now it’s time to make some tweaks. We recommend trying each adjustment one at a time on a new muslin because trying too many adjustments at once will create confusion about what’s working and what’s not.
1. Does the waistband fit?
- If the waistband isn’t sitting at the right height, you can adjust the rise.
- If the waistband is too tight or too loose while standing or sitting, consider trying a different waist size. If you’re using the standard waistband and the waistband fits while standing but feels too tight when sitting, consider switching to the flex waistband
- If the waistband is dipping down and gaping in the back, you’ll need to switch to the full bum back piece (if using the standard back piece) or do a full bum adjustment.
- If the waistband is dipping down in the front, you’ll need to do a full tummy adjustment.
2. Does the pelvis fit?
- If the pants are tight across your tummy, you’ll need to do a full tummy adjustment.
- If the pants are tight across your bum, you’ll need to switch to the full bum back piece (if using the standard back piece) or do a full bum adjustment.
- If the pants are loose across your bum and there is excess fabric, you’ll need to do a flat bum adjustment.
- If you’re seeing a “smile” across your crotch with drag lines going up towards your hip, you may need to lengthen the crotch by extending out the crotch on the front leg piece a little bit at a time.
- If the center front crotch is pulling up into your body and digging into the pubic area (also known as a “camel toe”), you can scoop out the front crotch curve a little bit at a time.
- If the center back crotch is pulling up into your body and cutting into your bum, you can scoop out the back crotch curve a little bit at a time.
3. Do the legs fit?
- If the pants feel tight across the upper thigh or there are diagonal wrinkles at the back leg pointing to your crotch, you’ll need to do a full thigh adjustment.
- If there is excess fabric at the thigh or there are vertical drag lines (wrinkles) at the back, going down from your crotch, you’ll need to do a thin thigh adjustment.
- If the pants feel tight around your calves or the legs are bunching up under your knees, you’ll need to do a full calf adjustment.
- If the pants are too long or too short, you can adjust the length of the legs at the lengthen/shorten lines and/or use a different length for the hem.
- If there is excess fabric at the side seams around the hips, you can pin out the excess, don’t forget to modify the lower pocket location as well when you make the change to the pattern – use the grade between sizes post for details on how to do this.
Step 5: Repeat
Once you’ve identified the adjustments you need to make, try those adjustments on a new muslin, then try that muslin on and review the fit again.
When to stop fitting
Anytime we’re fitting garments to our own bodies, it can be easy to fall into the trap of overfitting. You’re up close and personal with this garment, seeing every fit issue intimately, and that can make it hard to know when to stop fitting.
Our trousers need to be comfortable, but they don’t need to be perfect. Expecting perfection will only lead to frustration and loss of motivation, so when you feel you’ve achieved a good enough fit—it’s time to call it done, and be happy that you’ve achieved something you may never have been able to buy in ready to wear!
Here are some questions you can ask yourself if you’re not sure whether to declare victory:
- Do the pants feel comfortable?
- Can you move around in them in the ways you would expect from pants?
- Do you like how they look when worn?
- Do they fit better than the pants you were wearing before?
- Are you proud of them?
Where to get additional pants fitting help
Here are our top recommendations for where to get additional help with pants fitting:
- Jenny’s book, “Ahead of the Curve”, includes a variety of step-by-step tutorials for fitting the bottom half of your body, including tummy, bum, thigh, and calf adjustments.
- Craftsy has a selection of pants fitting video classes
- Thread’s Magazine has a free in-depth pants fitting guide
- Some sewists have been finding success with Ruth Collins’ “Top Down, Center Out” pants fitting approach.
- Want to sew the Meriam with step-by-step instruction from Jenny, as well as get basic pants fitting tutorials? Check out our new online workshop, Pants Making for Curves.
- Cashmerette Facebook group (all sizes or plus sizes only): Share photos of your Meriam and get fitting help from other Cashmerette sewists
You can also email us at hello@cashmerette.com for personalized fitting advice from our knowledgeable team.
Let’s start fitting!
If you’re ready to start sewing and fitting your first Meriam Trousers, then let’s get going!