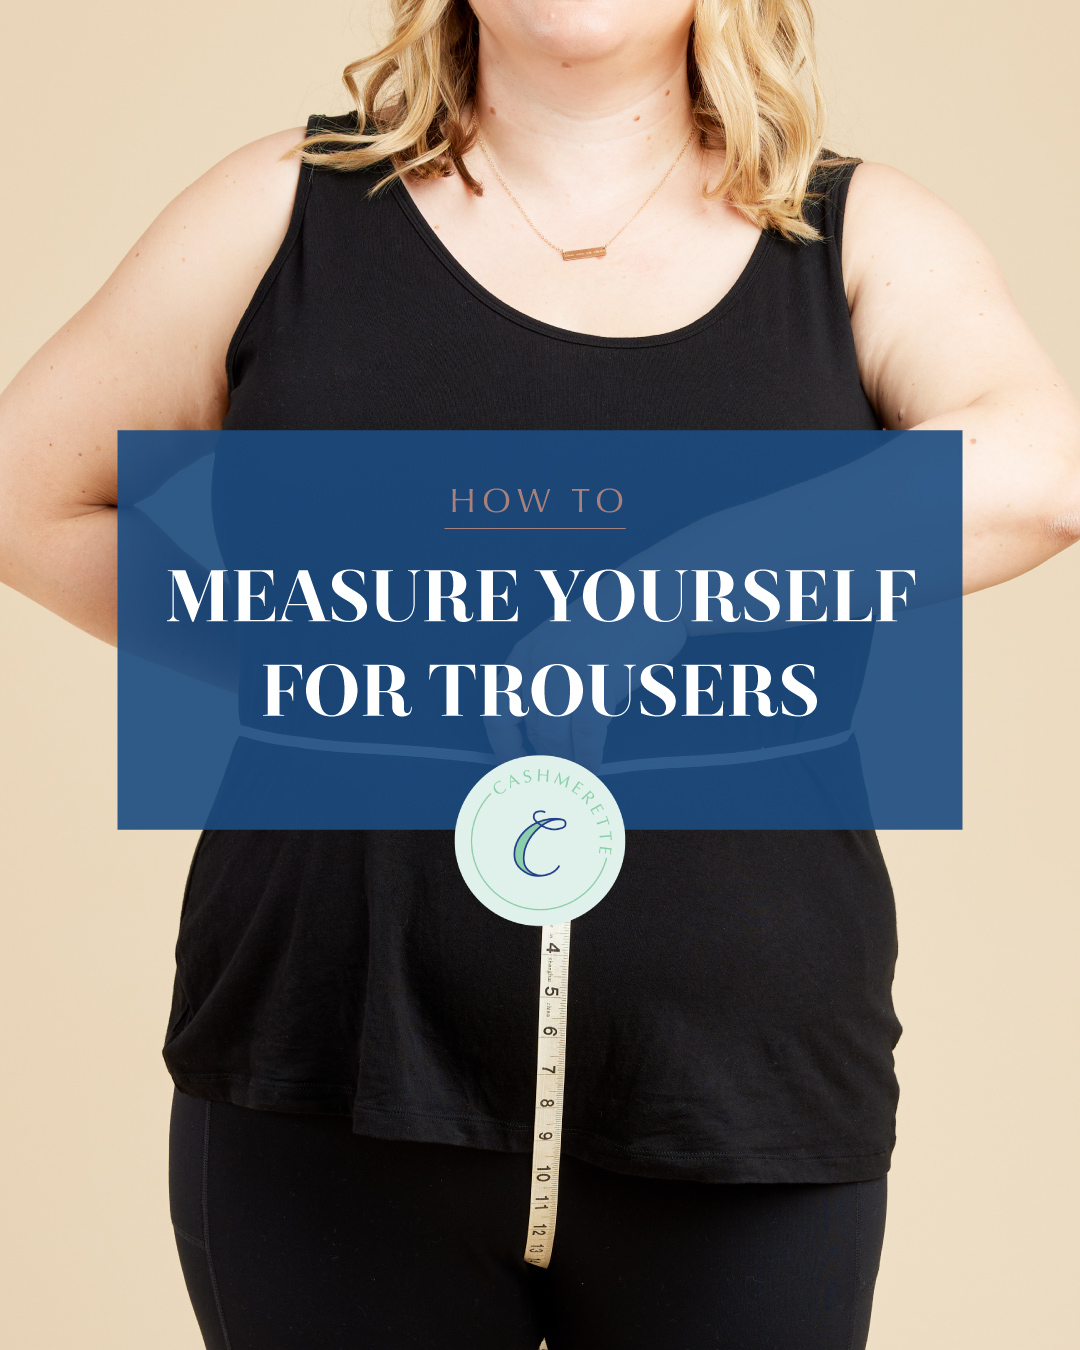
To get a great fit on the Meriam Trousers and Creston Jeans, you’ll want to start by taking your measurements. Here’s how to take your measurements for these patterns.
Meet the Meriam Trousers: woven pants you’ll actually enjoy wearing. The Meriam has the classic details you love in a trouser: a zip fly with a hidden closure, front slash pockets, straight legs, and optional back welt pockets. But best of all, you’ll get a fabulously comfortable fit with a flex waistband that gently expands as you sit down, plus the option of a full bum adjustment piece, already done for you.
Want even more fitting and sewing instruction? In our newest workshop, Pants Making for Curves, curvy fitting expert Jenny Rushmore takes you through the process of sewing a pair of Meriam Trousers, from choosing your size and fabric all the way to the final hem. With step-by-step video lessons and loads of fitting and sewing tips throughout, you’ll create your perfectly tailored trousers with confidence. This class comes with a free copy of the Meriam Trousers pattern.
How to take your measurements for the Meriam Trousers
In order to get a great fit on the Meriam, you’ll need to start with the best size or sizes for you. It may be a bit different to what you’re used to, but just follow these steps and you’ll have your size(s) in no time.
Everyone’s body is different, which means that the Meriam Trousers waistband will hit in a different place on everyone. (On some of our models it was 2″ above the belly button, and on others it was below!) That said, the Meriam are designed assuming they’re below your natural waist, but still fairly high rise. The good news is you can always alter them to get them to sit exactly where you like.
In the meantime, let’s get on with measuring!
How to measure your waist for the Meriam Trousers
View A: Flex Waistband
1. Measure your natural waist while standing and determine your size based on the “Waist: Natural” line on the Body Measurements table.
| in | 12 | 14 | 16 | 18 | 20 | 22 | 24 | 26 | 28 | 30 | 32 | |
| Waist | Natural | 32 | 34 | 36 | 38 | 40 | 42 | 44 | 46 | 48 | 50 | 52 |
For example, if your waist measurement is 39”, this is halfway between a size 18 and 20. For a flex waistband round DOWN to the nearest size, so your natural waist is a size 18.
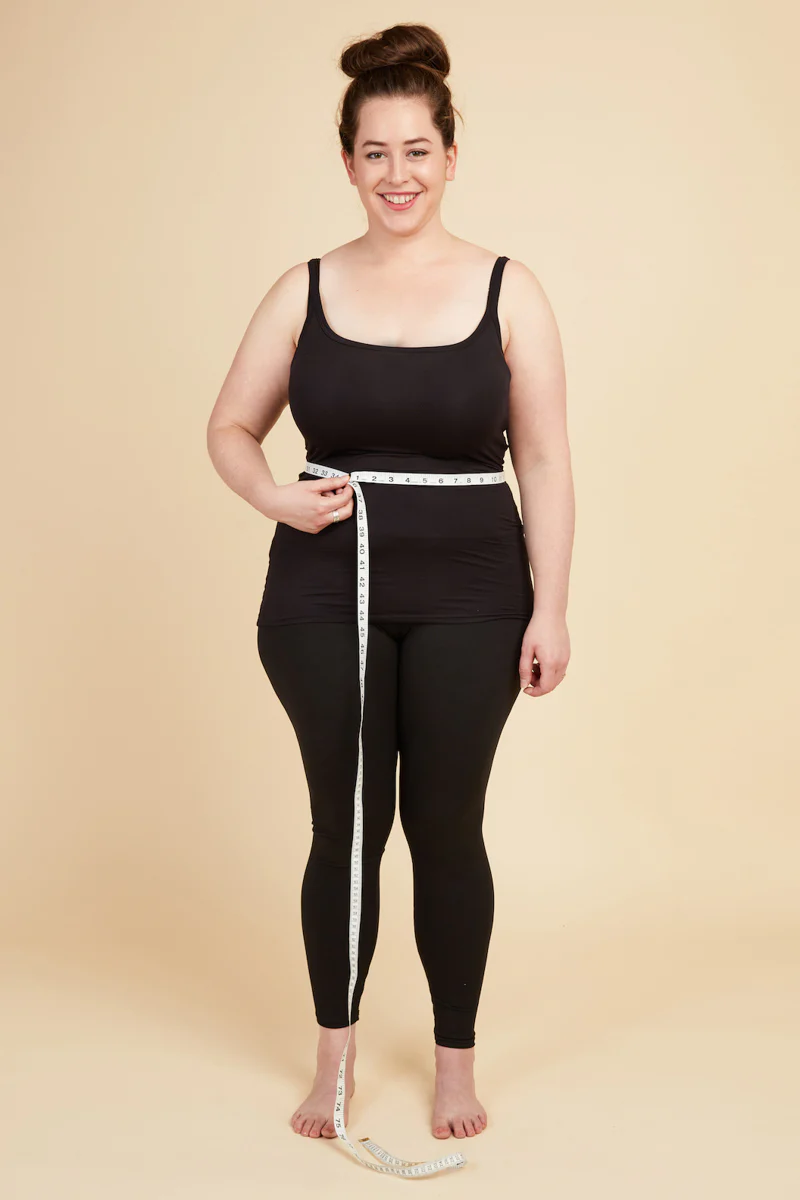
2. Tie a piece of elastic around your waist.
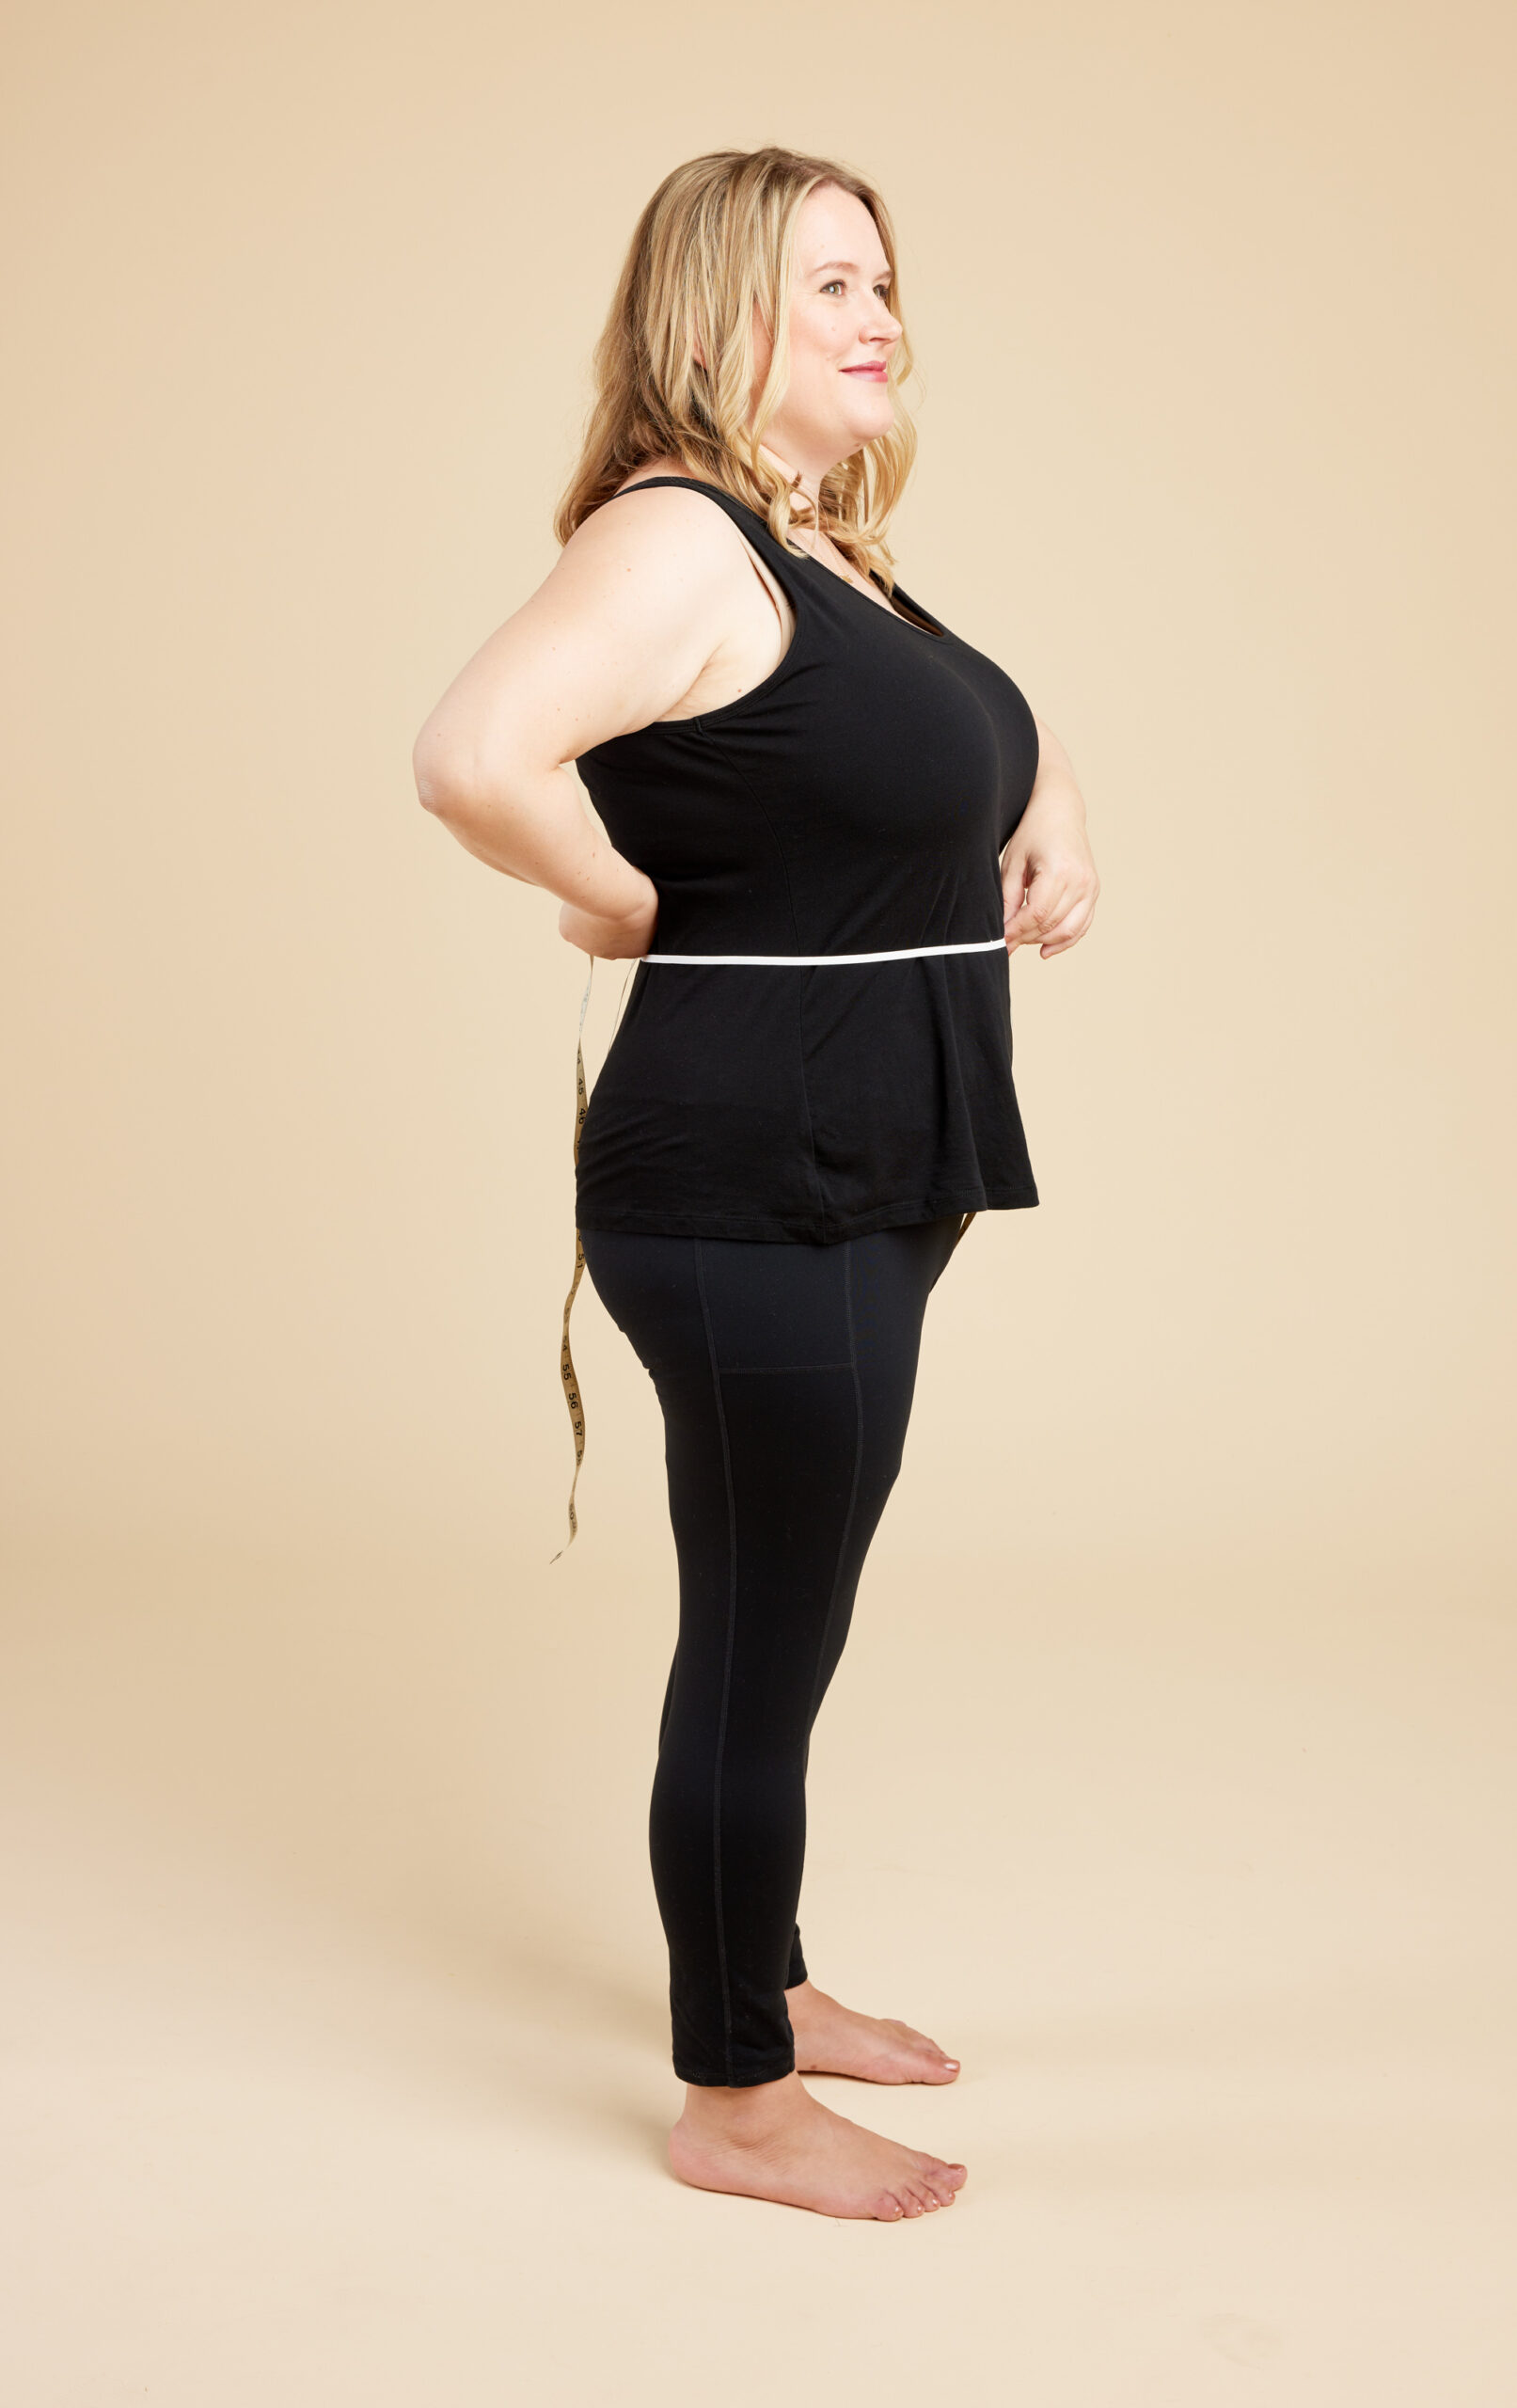
3. Using the Finished Garment Measurements table, find the total crotch length measurement for the natural waist size you found in step 1. Mark this measurement on a tape measure and place between your legs, making sure it is level at the top on your front and back (look sideways in a mirror). Remember that you are not going to want the crotch seam pressed tightly against you, so make sure you keep a little room (approximately ⅝”) between you and the tape measure as it passes through your legs.
| in | 12 | 14 | 16 | 18 | 20 | 22 | 24 | 26 | 28 | 30 | 32 | |
| Total Crotch Length | Standard | 29 5/8 | 30 3/8 | 31 1/8 | 31 7/8 | 32 1/2 | 33 1/4 | 34 | 34 3/4 | 35 1/2 | 36 1/4 | 37 |
For our example, at a size 18, the total crotch length is 31⅞“.
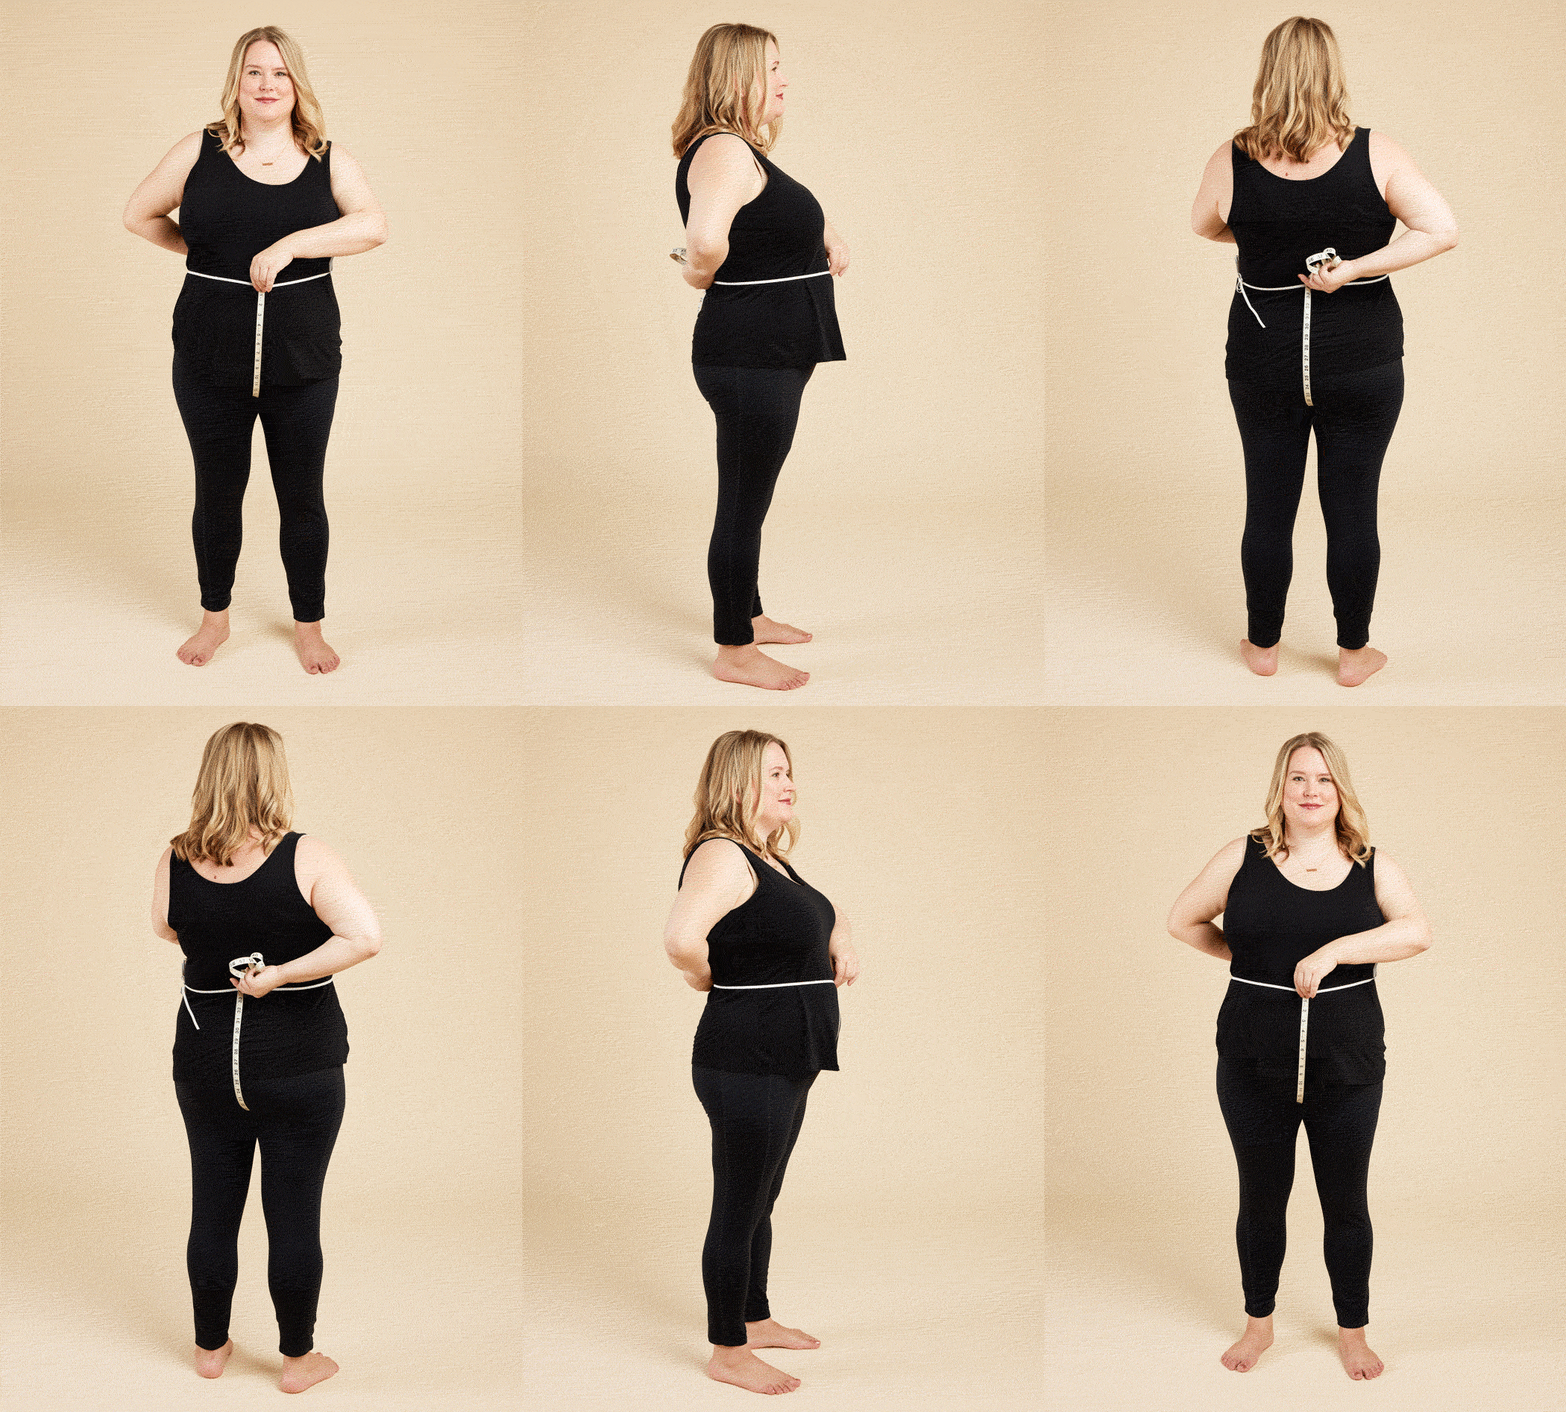
4. Move your waist elastic to be at the height of the tape measure. Stay standing and measure your waist where the elastic is sitting. Note: If at this point you are not happy with where the waistband of the trousers is sitting, you can adjust the rise of the pattern using this tutorial.
In our example, the person with a natural waist of size 18 has a rise of 31⅞”, and their standing waist measurement is 39″.
5. Compare this measurement to the “Waist (at Waistband)” line in the Body Measurement table to choose your final waist size.
| in | 12 | 14 | 16 | 18 | 20 | 22 | 24 | 26 | 28 | 30 | 32 | |
| Waist | at waistband | 34 | 36 | 38 | 40 | 42 | 44 | 46 | 48 | 50 | 52 | 54 |
Again, the person in this instance falls between two sizes, so for the Flex Waistband, size down to the size 16.
View B: Standard Waistband
1. Measure your natural waist while standing and determine your size based on the “Waist: Natural” line on the Body Measurements table.
| in | 12 | 14 | 16 | 18 | 20 | 22 | 24 | 26 | 28 | 30 | 32 | |
| Waist | Natural | 32 | 34 | 36 | 38 | 40 | 42 | 44 | 46 | 48 | 50 | 52 |
For example, if your waist measurement is 47”, this is halfway between a size 26 and 28. For a standard waistband round UP to the nearest size—so your natural waist is a size 28.

2. Tie a piece of elastic around your waist.

3. Using the Finished Garment Measurements table, find the total crotch length measurement for the natural waist size you found in step 1. Mark this measurement on a tape measure and place between your legs, making sure it is level at the top on your front and back (look sideways in a mirror). Remember that you are not going to want the crotch seam pressed tightly against you, make sure you keep a little room (approximately ⅝”) between you and the tape measure as it passes through your legs.

| in | 12 | 14 | 16 | 18 | 20 | 22 | 24 | 26 | 28 | 30 | 32 | |
| Total Crotch Length | Standard | 29 5/8 | 30 3/8 | 31 1/8 | 31 7/8 | 32 1/2 | 33 1/4 | 34 | 34 3/4 | 35 1/2 | 36 1/4 | 37 |
For our example, at a size 28 the total crotch length is 35 ½”.
4. Move your waist elastic to be at the height of the tape measure. Slowly sit down, keeping the elastic in the same place. Now, measure your waist where the elastic is sitting. We do this to ensure the pants will fit you even when you’re sitting down. Note: If at this point you want to change where the waistband of the trousers is sitting, you can adjust the rise of the pattern using this tutorial.
In our example, the person with a natural waist of size 28 has a rise of 35 ½“, and their sitting measurement is 52″.
5. Compare this measurement to the “Waist (at Waistband)” line in the Body Measurement table to choose your final waist size.
| in | 12 | 14 | 16 | 18 | 20 | 22 | 24 | 26 | 28 | 30 | 32 | |
| Waist | at waistband | 34 | 36 | 38 | 40 | 42 | 44 | 46 | 48 | 50 | 52 | 54 |
So in this case, although the person had a standing natural waist of size 28, they actually need a size 30 waist once we’ve gone through the steps and taken the measurement sitting down.
How to measure your hips for the Meriam Trousers
1. Place the tape measure around the largest part of your hips. Slowly sit down, keeping the tape measure in the same place on your body. We use the sitting measurement because the Meriam are non-stretch trousers and we need to make sure they still fit you when you sit down!
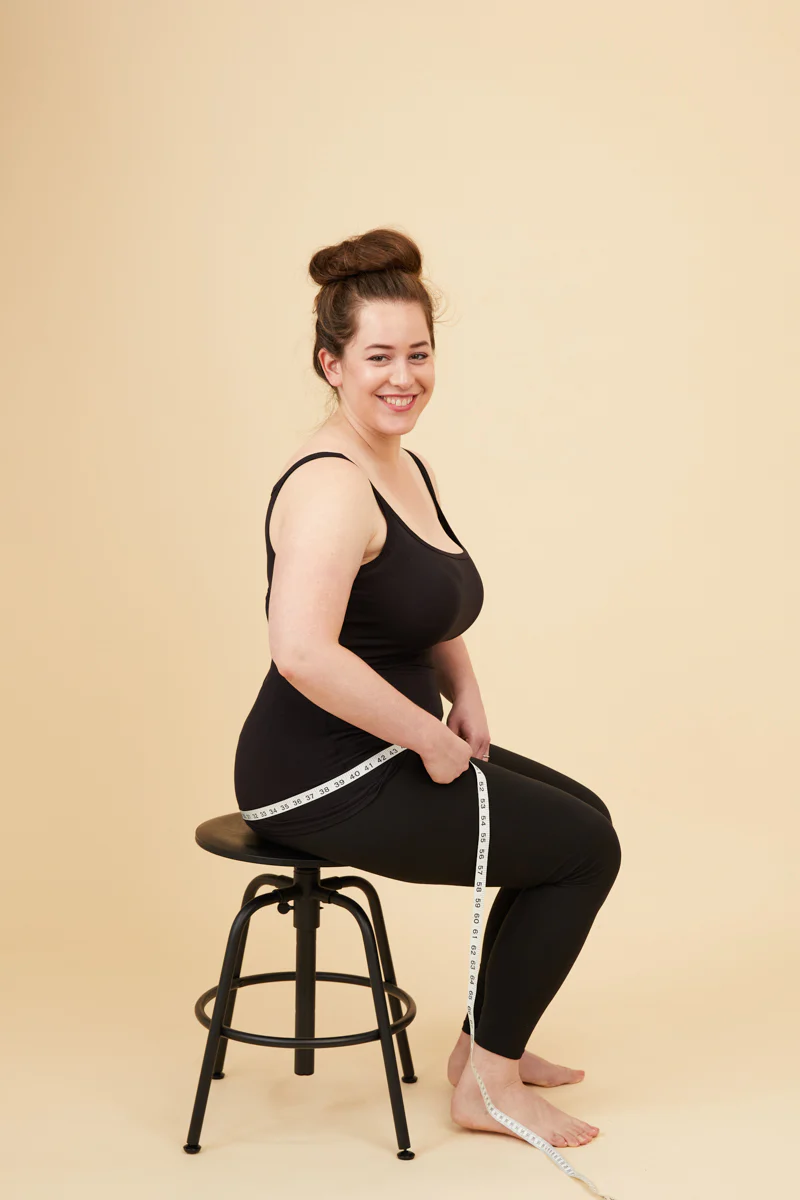
2. Compare this measurement to the Body Measurement Chart to choose your hip size.
| in | 12 | 14 | 16 | 18 | 20 | 22 | 24 | 26 | 28 | 30 | 32 | |
| Hip | Standard | 44 3/8 | 46 3/8 | 48 3/8 | 50 3/8 | 52 3/8 | 54 3/8 | 56 3/8 | 58 3/8 | 60 3/8 | 62 3/8 | 64 3/8 |
| Full Bum | 45 3/8 | 47 3/8 | 49 3/8 | 51 3/8 | 53 3/8 | 55 3/8 | 57 3/8 | 59 3/8 | 61 3/8 | 63 3/8 | 65 3/8 |
For example, your standing hip measurement might be 47″ but it goes to 50″ when you sit, that’s very common! In that case, you’d want to make the size 18 hip.
Choosing which back pattern piece to use for the Meriam Trousers
This pattern comes with a standard back piece and a full bum back piece. The full bum back piece has a 1” full bum adjustment already included.
Use the full bum piece if you typically have an issue with waistbands gaping at the back. If you need a further adjustment, here’s how to do a full bum adjustment.
What to do if your waist and hips are in different sizes
If your waist and you hip size are not in the same size, don’t worry! You can grade between sizes. It’s slightly different for the Meriam than for other types of garment, so check out this tutorial to learn how.

Now that you’ve taken your measurements, it’s time to start sewing the Meriam Trousers!
Want step-by-step video instruction with Jenny as your guide? Check out Pants Making for Curves, the latest online workshop from Cashmerette.


