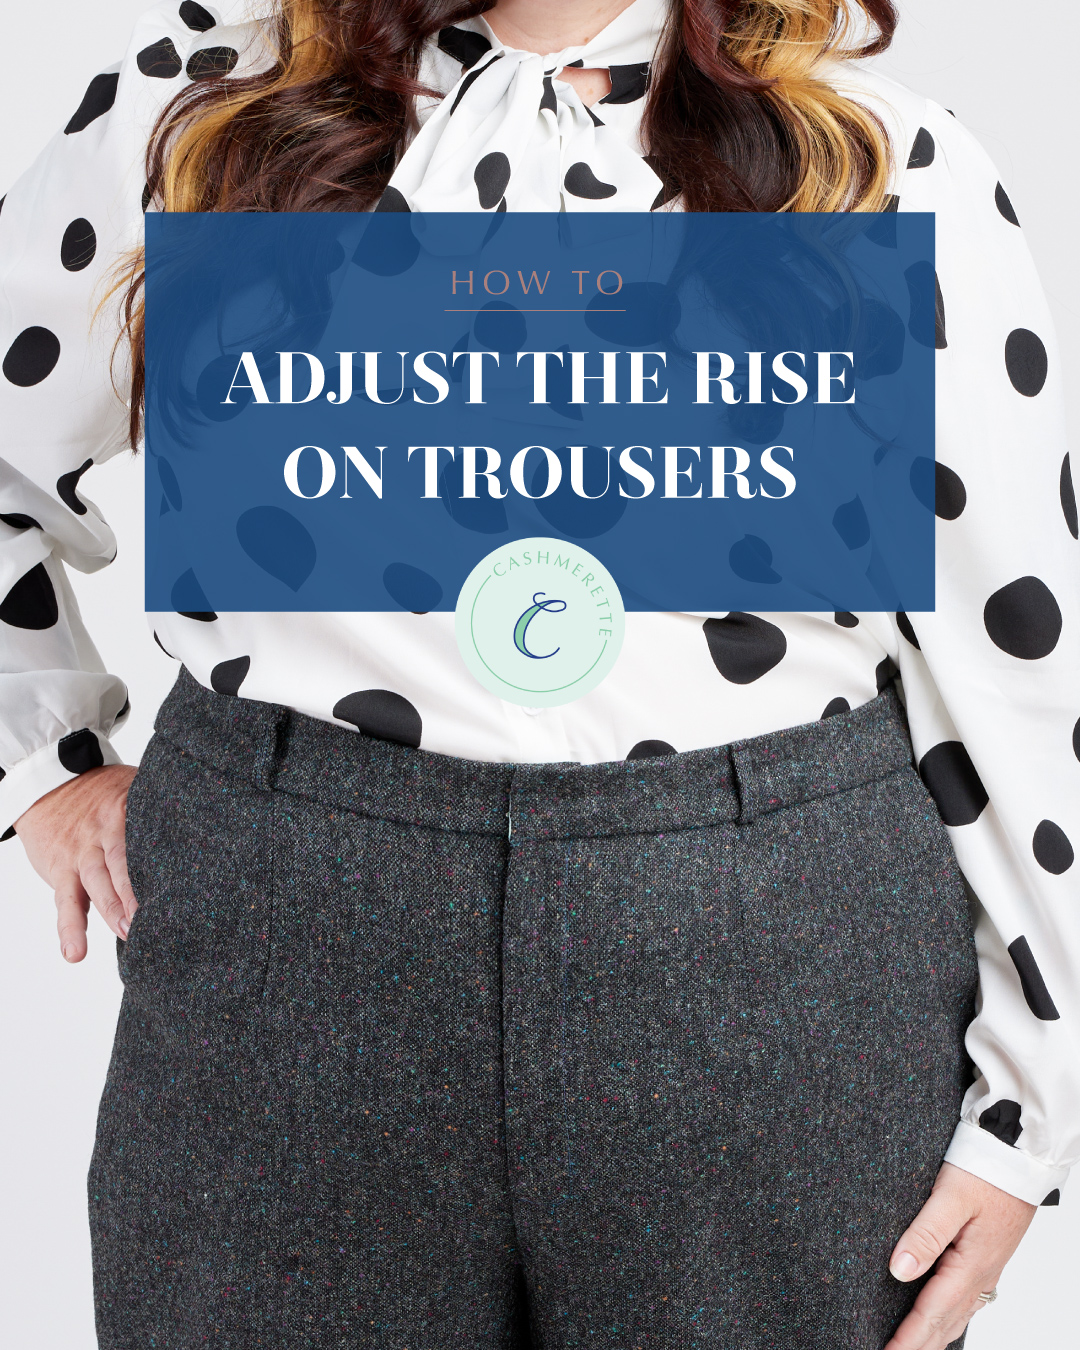
Today, we’re showing you how to lengthen or shorten the rise on pants like the Meriam Trousers and Creston Jeans.
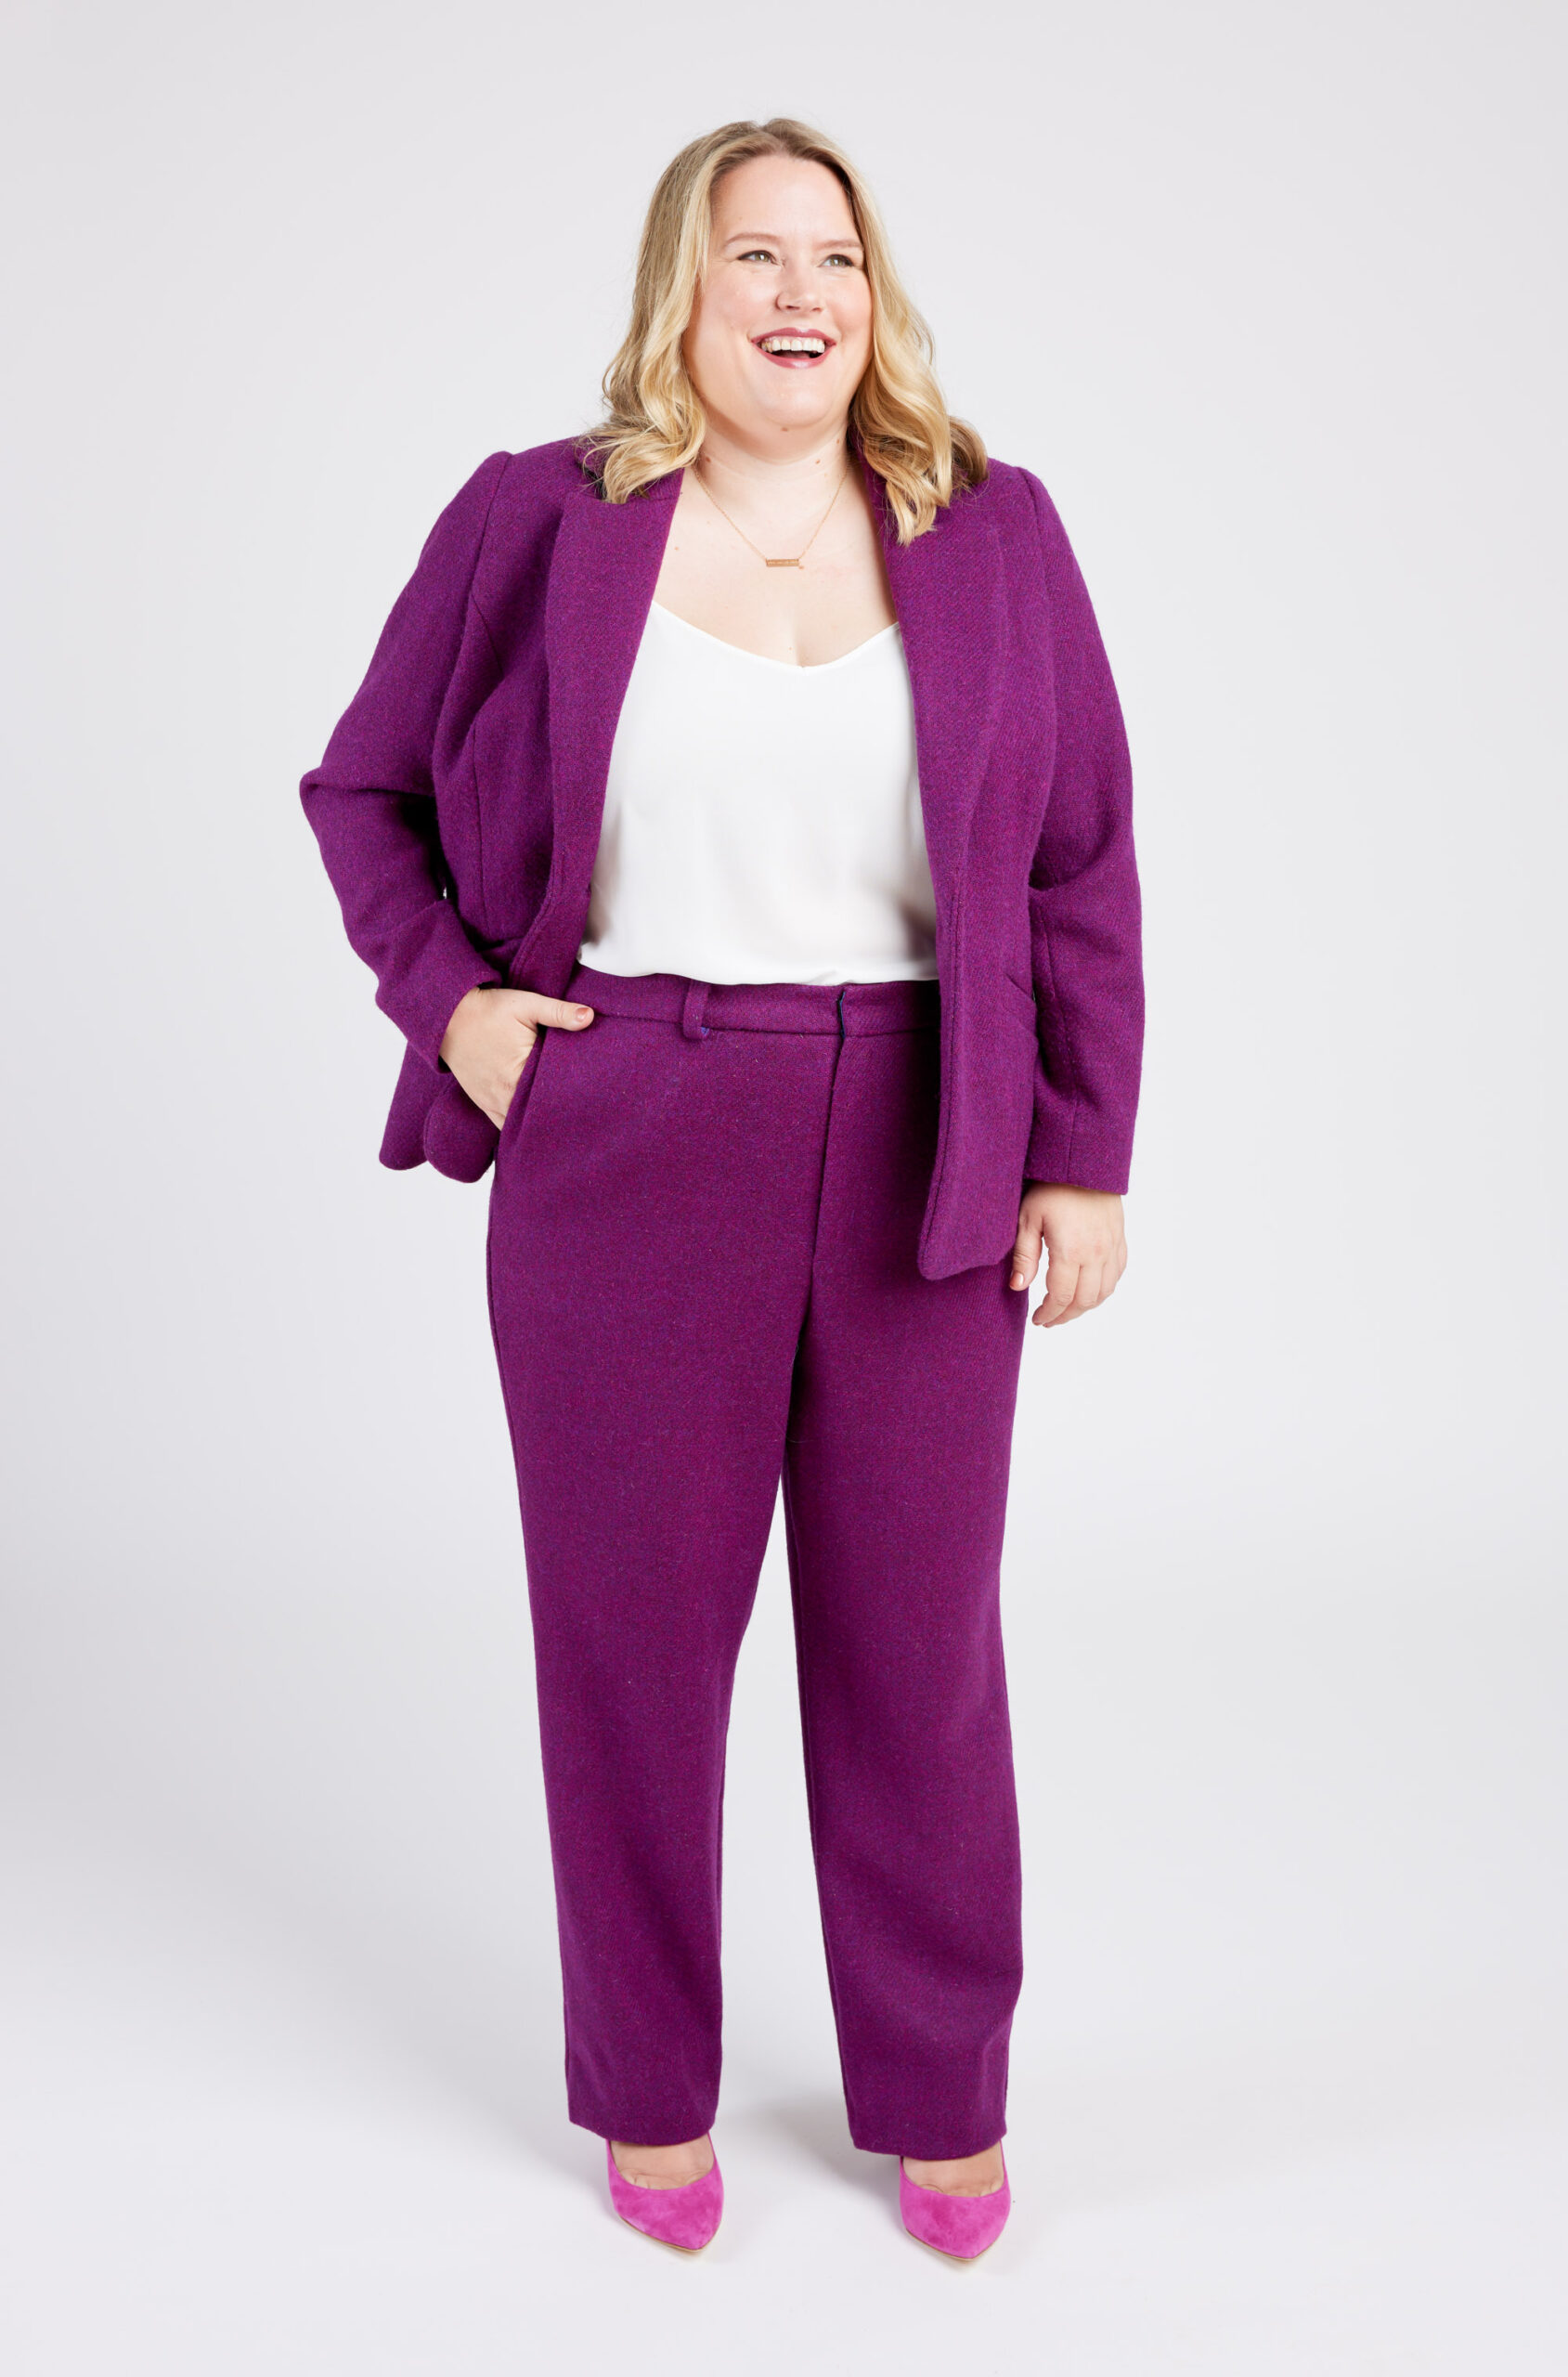
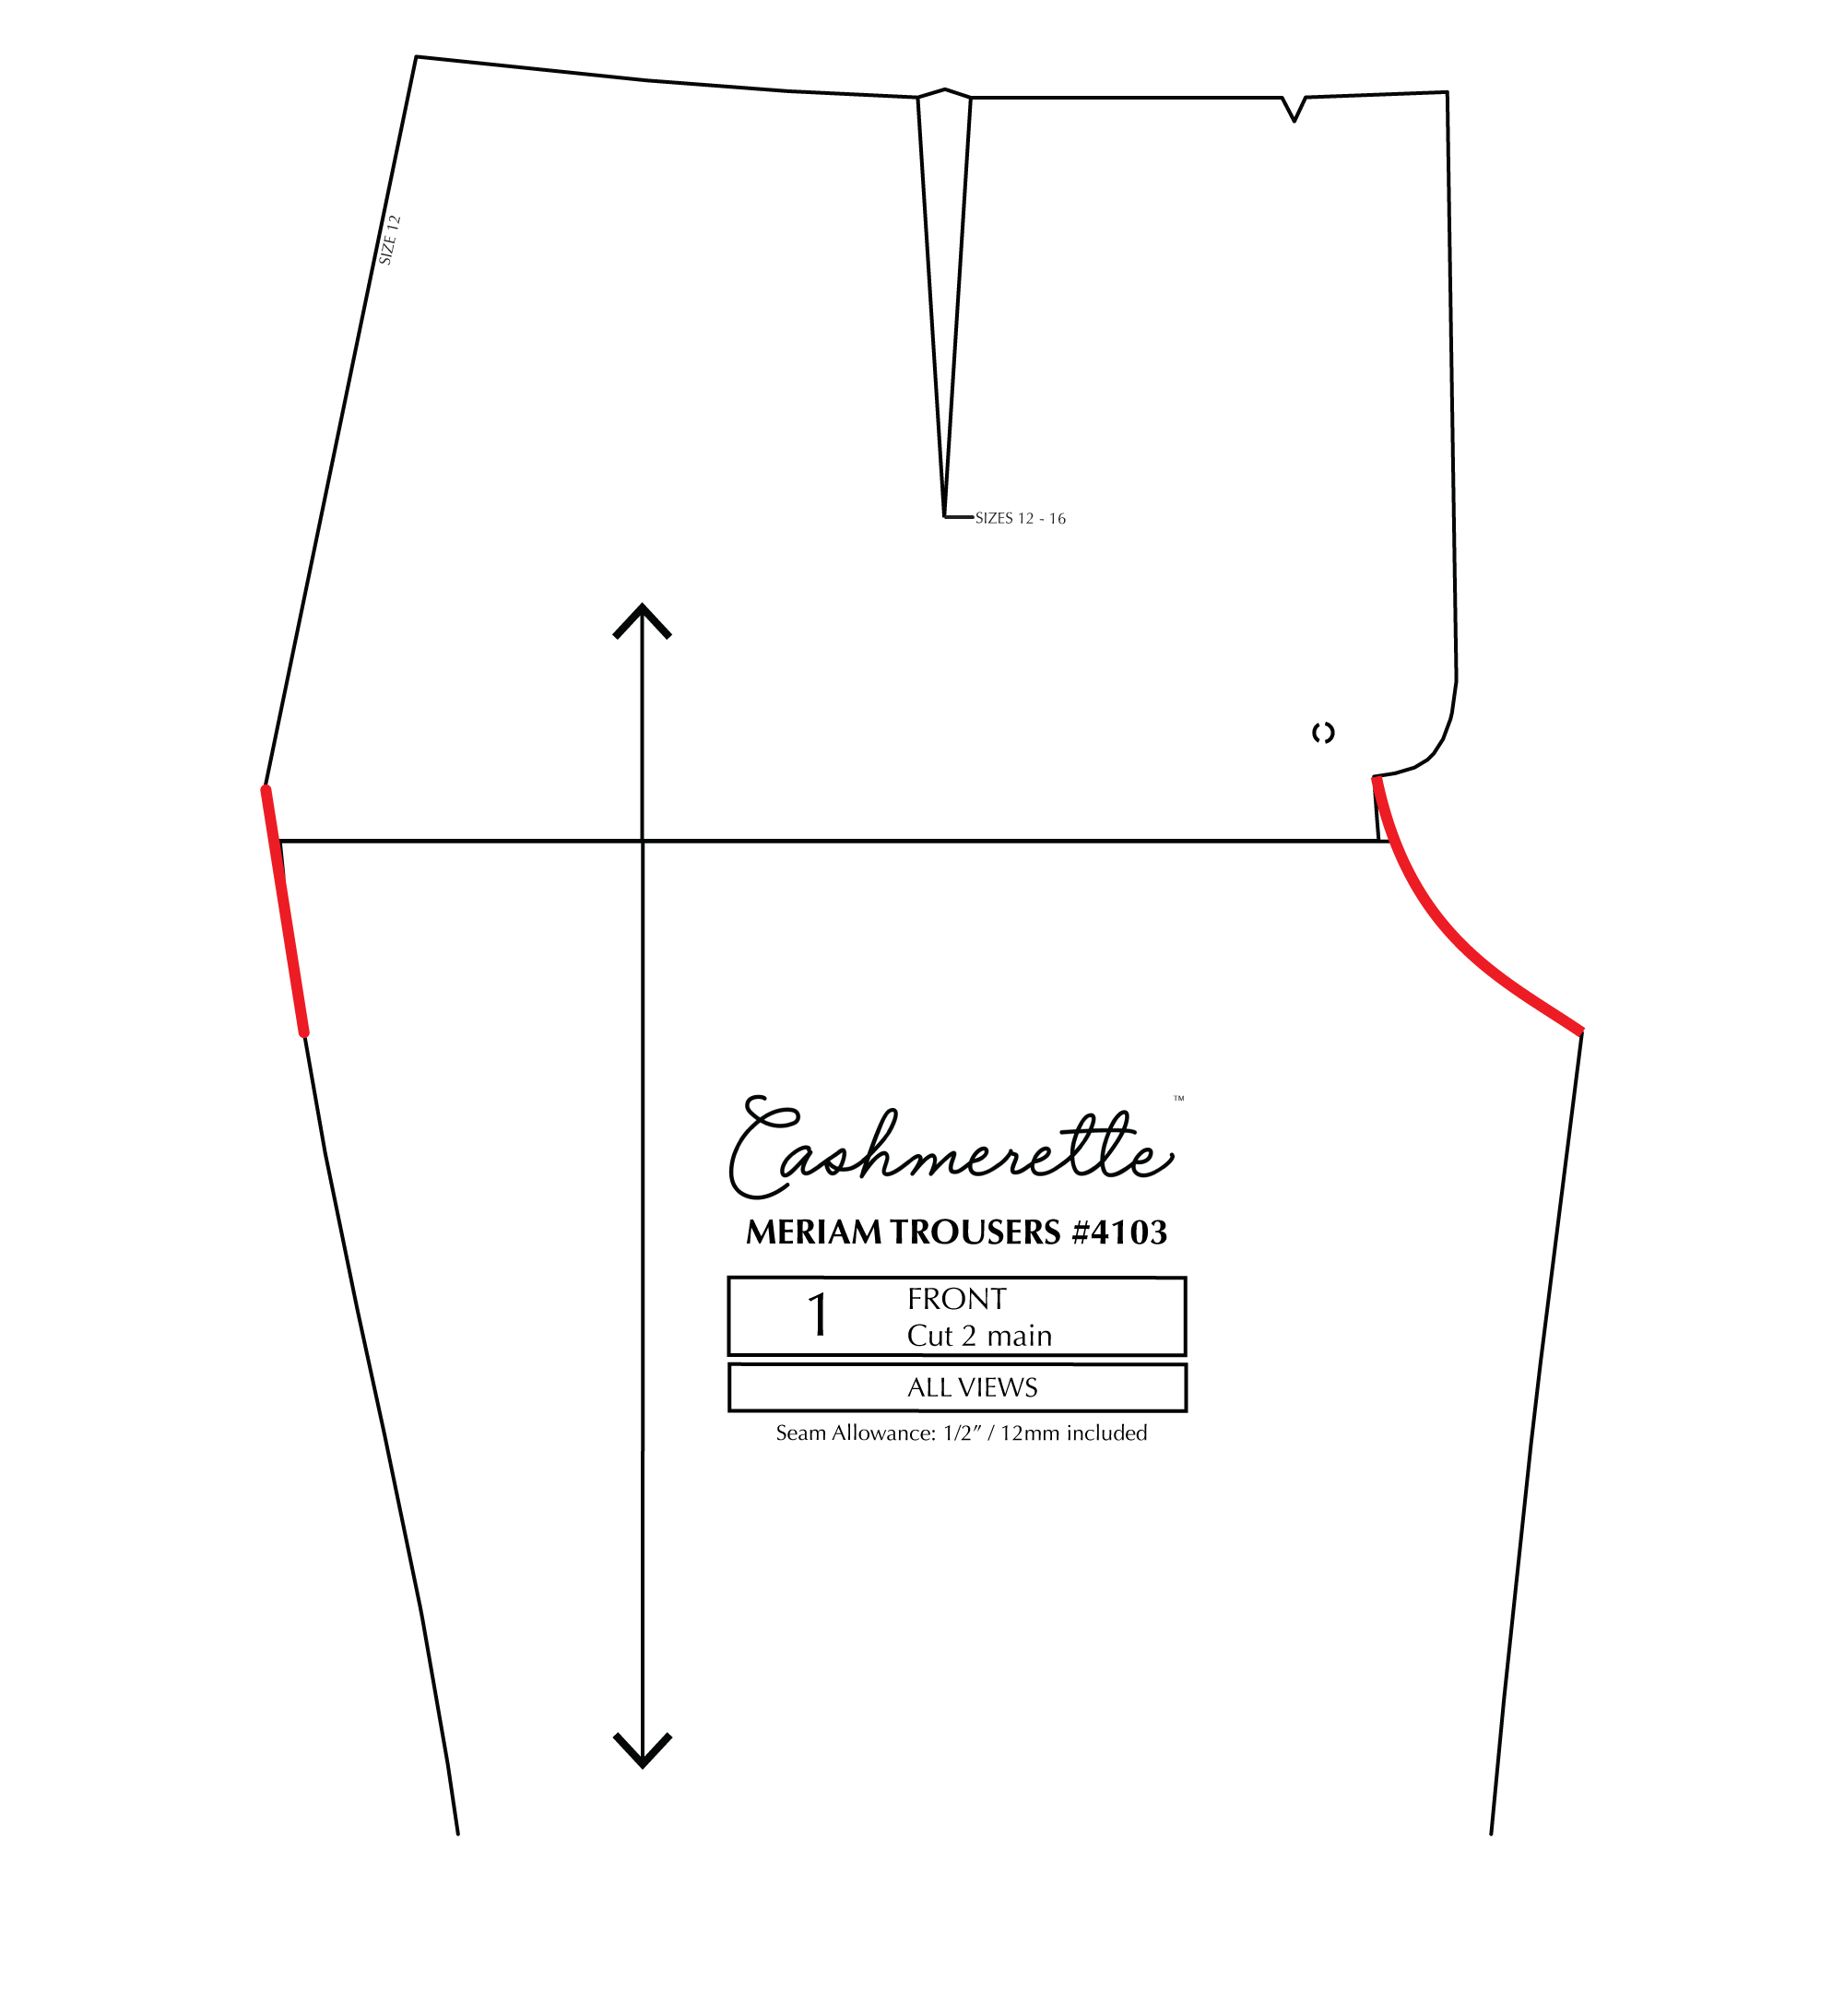
Meet the Meriam Trousers: woven pants you’ll actually enjoy wearing. The Meriam has the classic details you love in a trouser: a zip fly with a hidden closure, front slash pockets, straight legs, and optional back welt pockets. But best of all, you’ll get a fabulously comfortable fit with a flex waistband that gently expands as you sit down, plus the option of a full bum adjustment piece, already done for you.
Want even more fitting and sewing instruction? In our newest workshop, Pants Making for Curves, curvy fitting expert Jenny Rushmore takes you through the process of sewing a pair of Meriam Trousers, from choosing your size and fabric all the way to the final hem. With step-by-step video lessons and loads of fitting and sewing tips throughout, you’ll create your perfectly tailored trousers with confidence. This class comes with a free copy of the Meriam Trousers pattern.
How to adjust the rise of pants
Everyone’s body—including torso length and proportions—are different, so the same pair of pants can look visually very different on different people, despite having the same rise! However , the wonder of sewing is that you can adjust any pattern to fit your needs, and that includes the rise (the length of the trousers from crotch to waistband) on the Meriam Trousers.
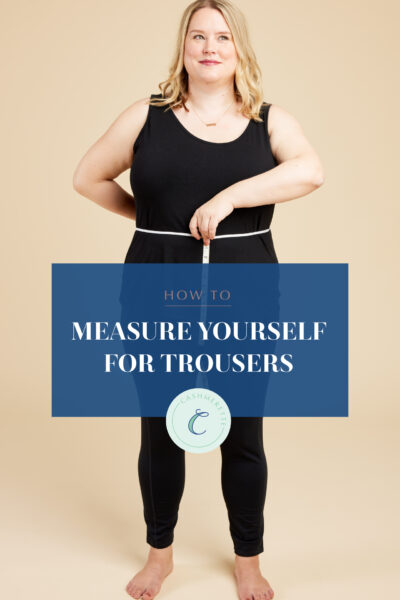
First up, evaluate where the current rise of the Meriam Trousers will hit you. You can do this either by using measurements (check out this tutorial to learn how) or by making a muslin and trying it on. If the rise is where you’d like it, great! If you need to lengthen or shorten, we’re here to help.
Top tip: only checking the fit of the pelvis? Make your muslin as shorts to save fabric and sewing time.
How to shorten the rise on the Meriam Trousers
1. Calculate how much you want to shorten the rise by.
- If you made a muslin, simply measure down on the muslin to where you would like the top of the waistband to sit. You should measure this on the front and the back as you can make the adjustments different if you’d like. For instance, if you have a sloping waist, you may reduce the rise more on the back than the front to make it even.
- If you used our measurements approach, you’ll have a piece of elastic around your waist where the chart tells you that the rise will be. Now, move the elastic to where you want it to be, and measure the difference in height between the two elastic placements, at the front and the back.
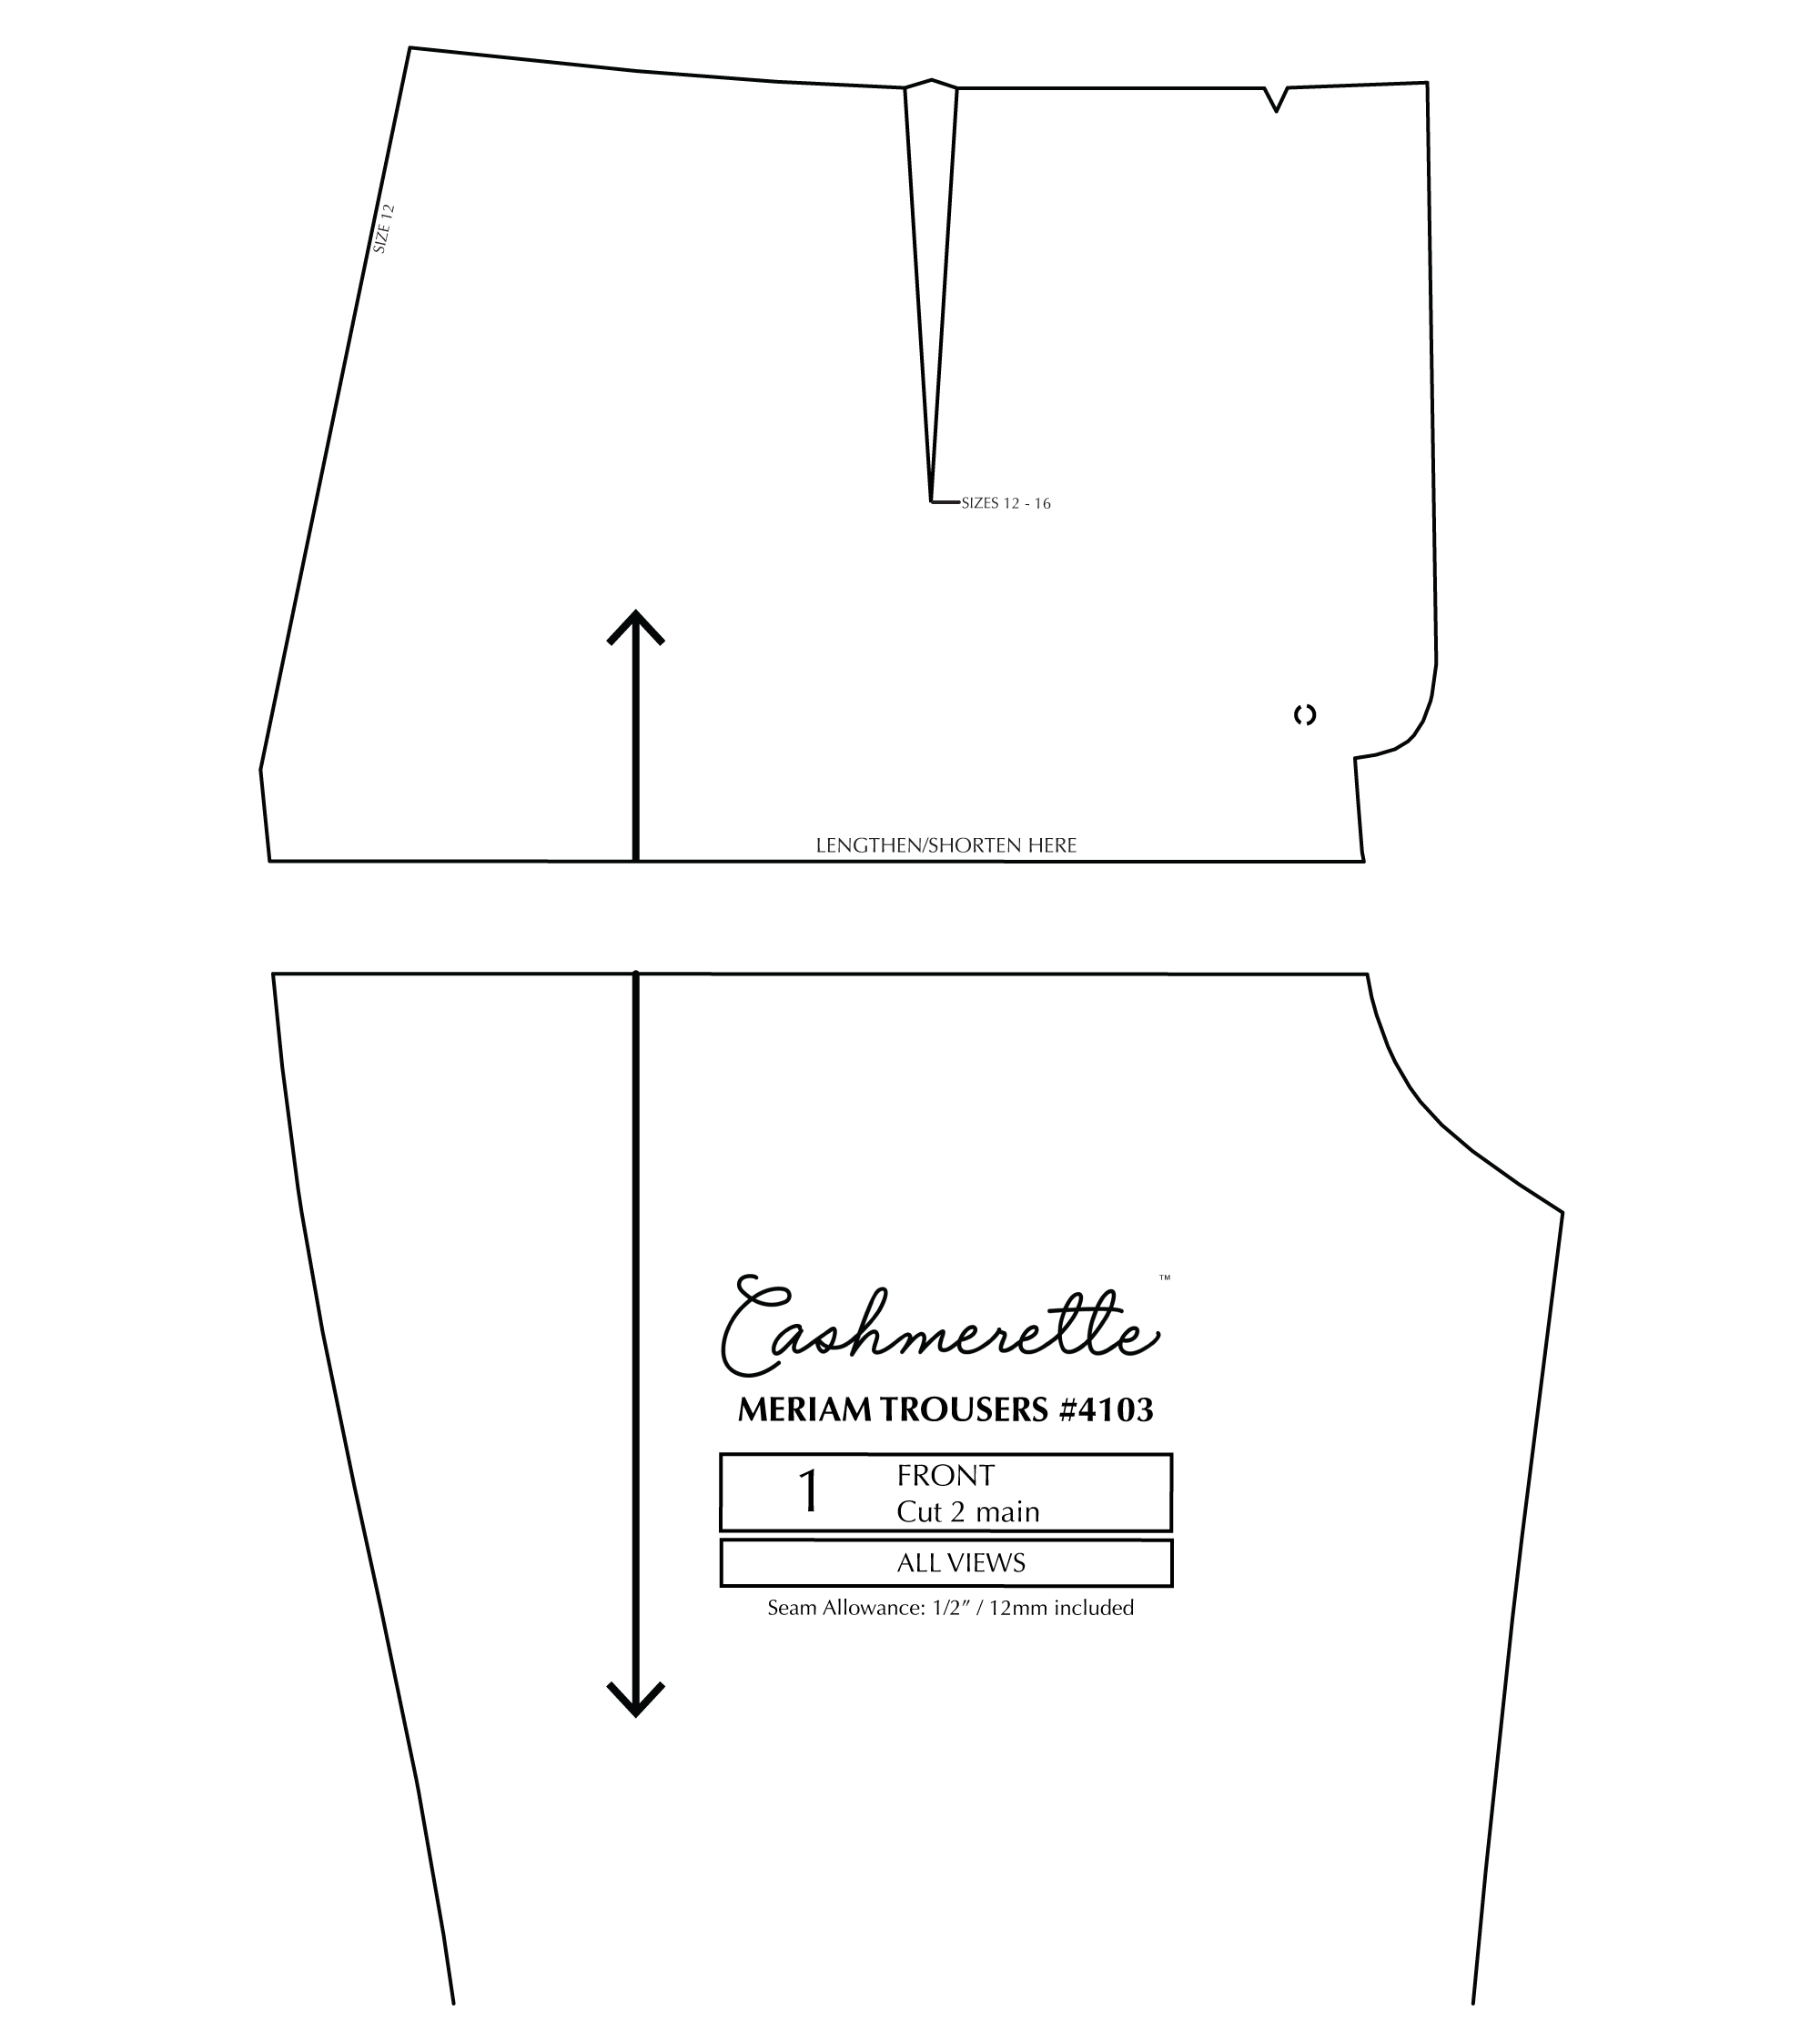
2. On the front leg piece (1), draw lines evenly above and below the lengthen/shorten line so you now have two lines as far apart as the amount you need to remove, centered over the lengthen/shorten line.
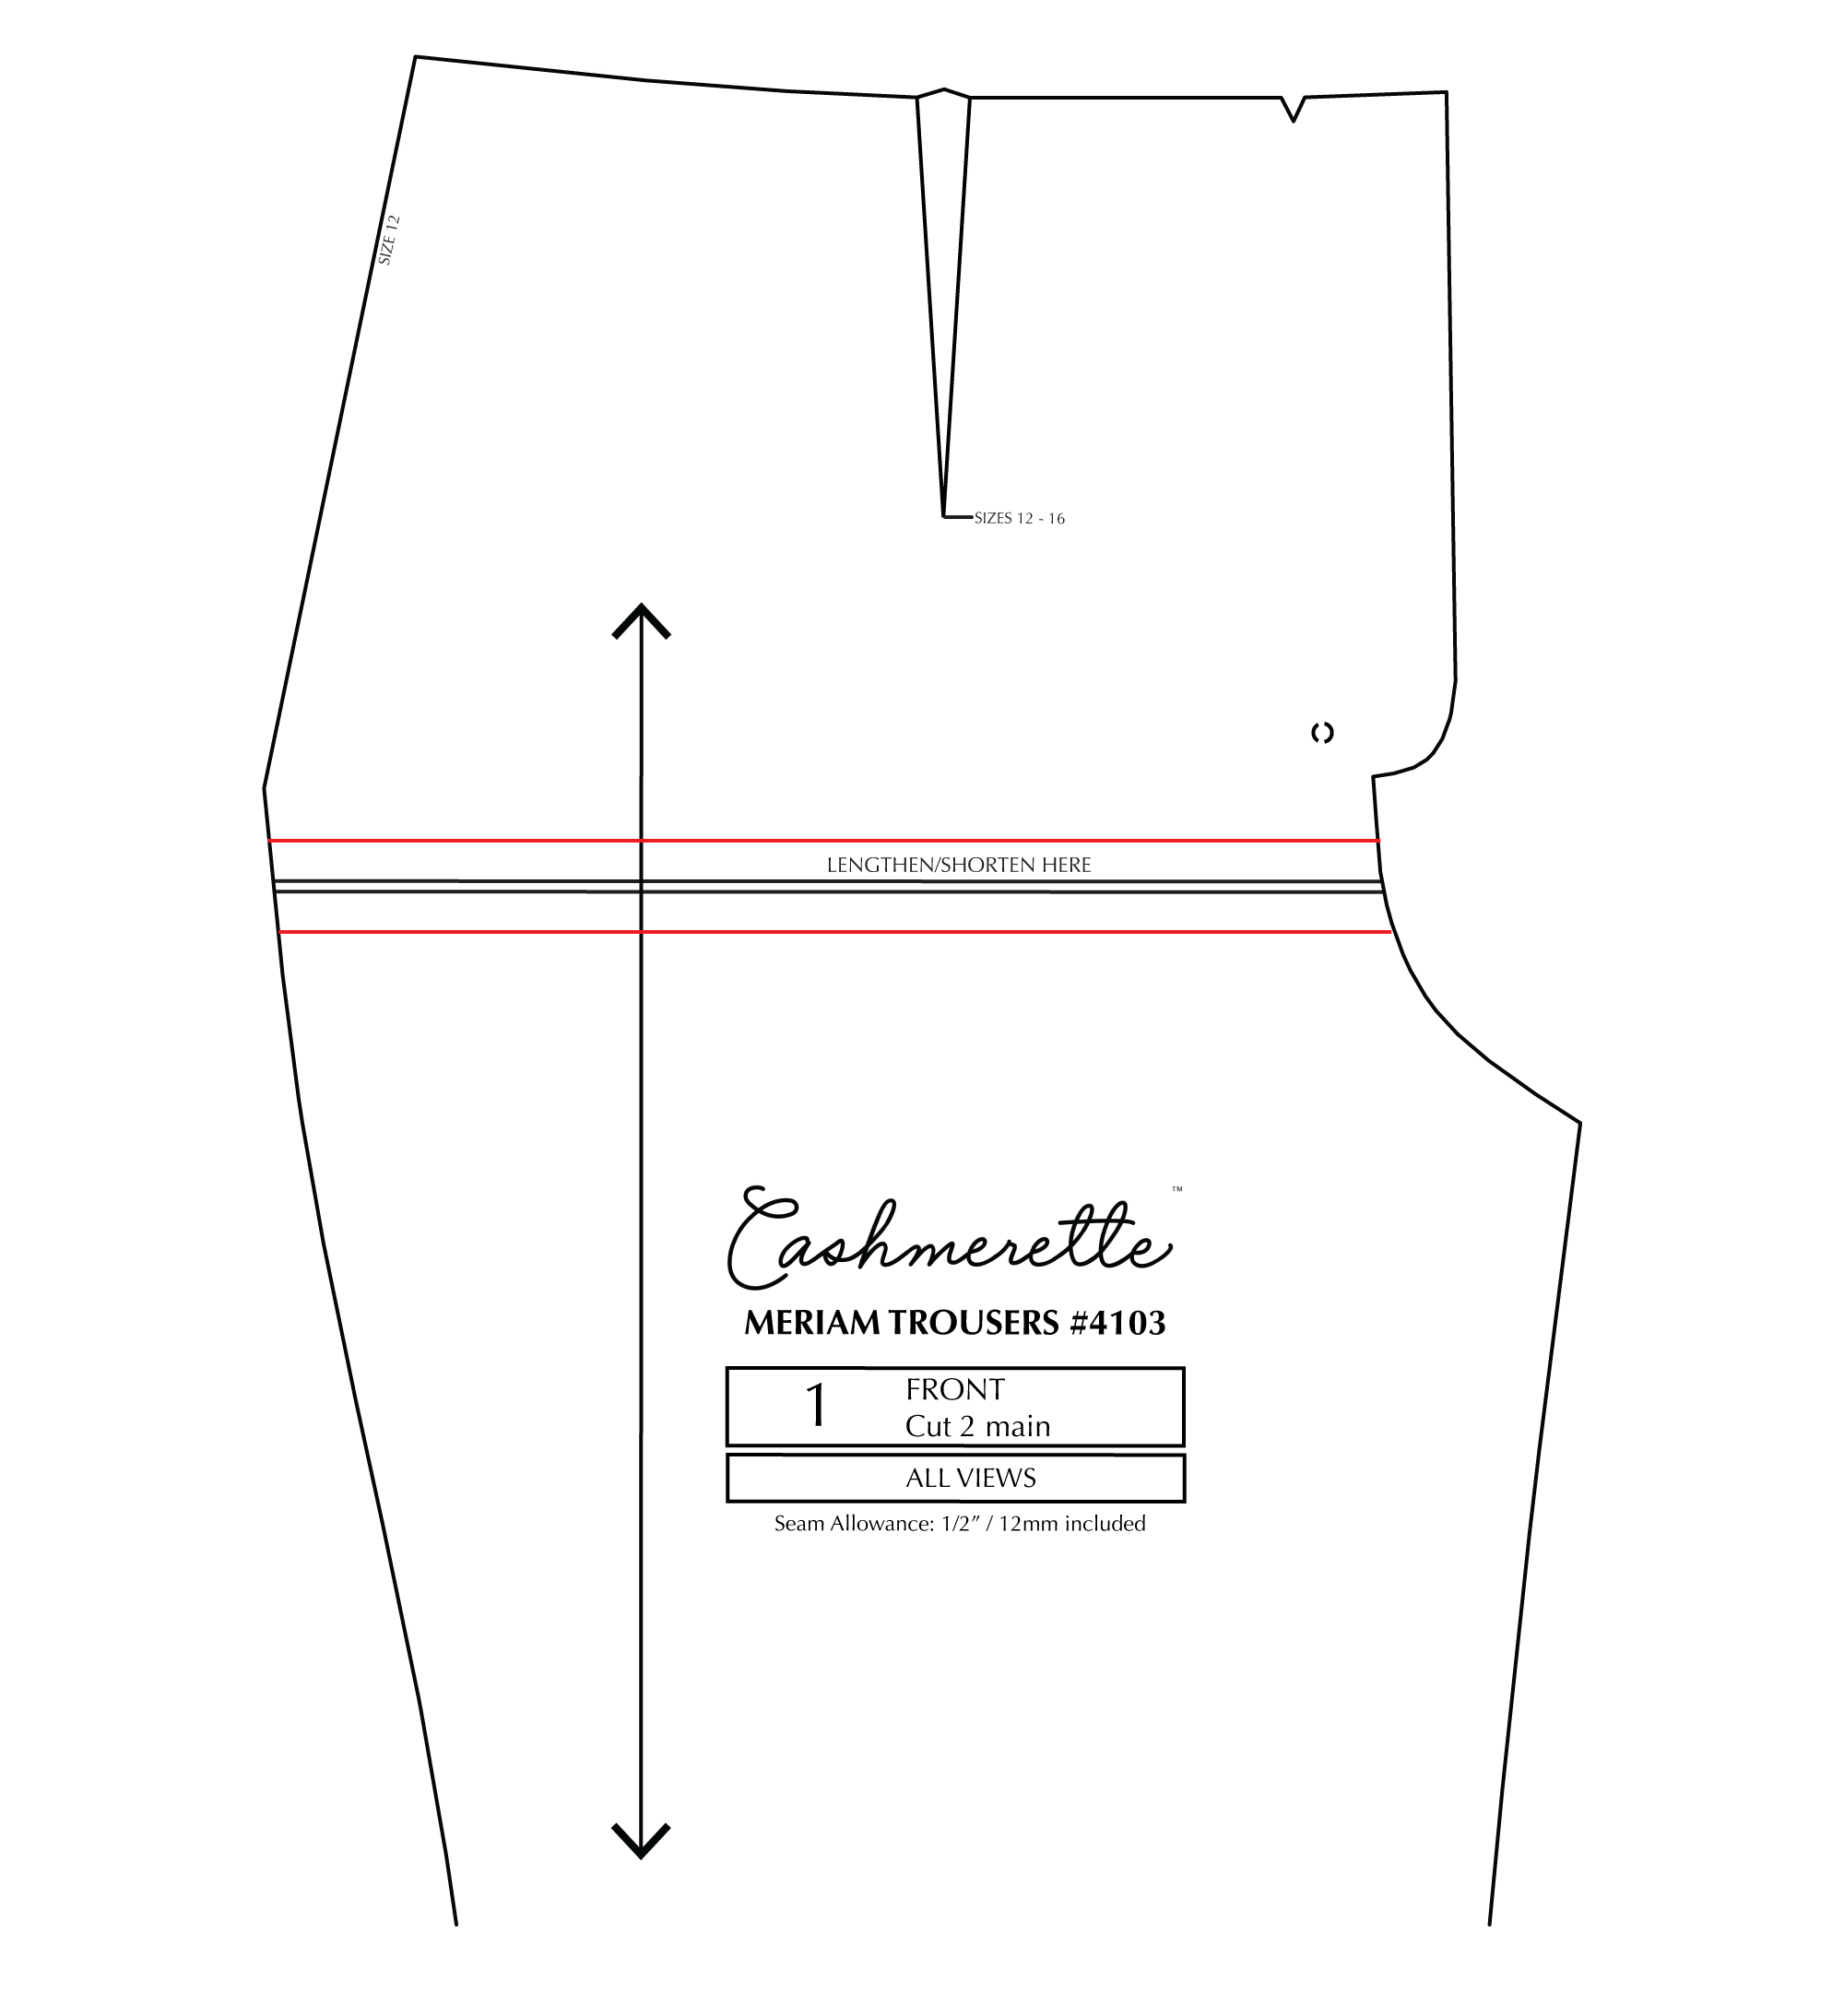
3. Cut the pattern on these lines, bring the two halves together making sure to match the grainlines. Smooth the lines at the cut.
4. Repeat step 2 with your back leg piece (2 A/B).
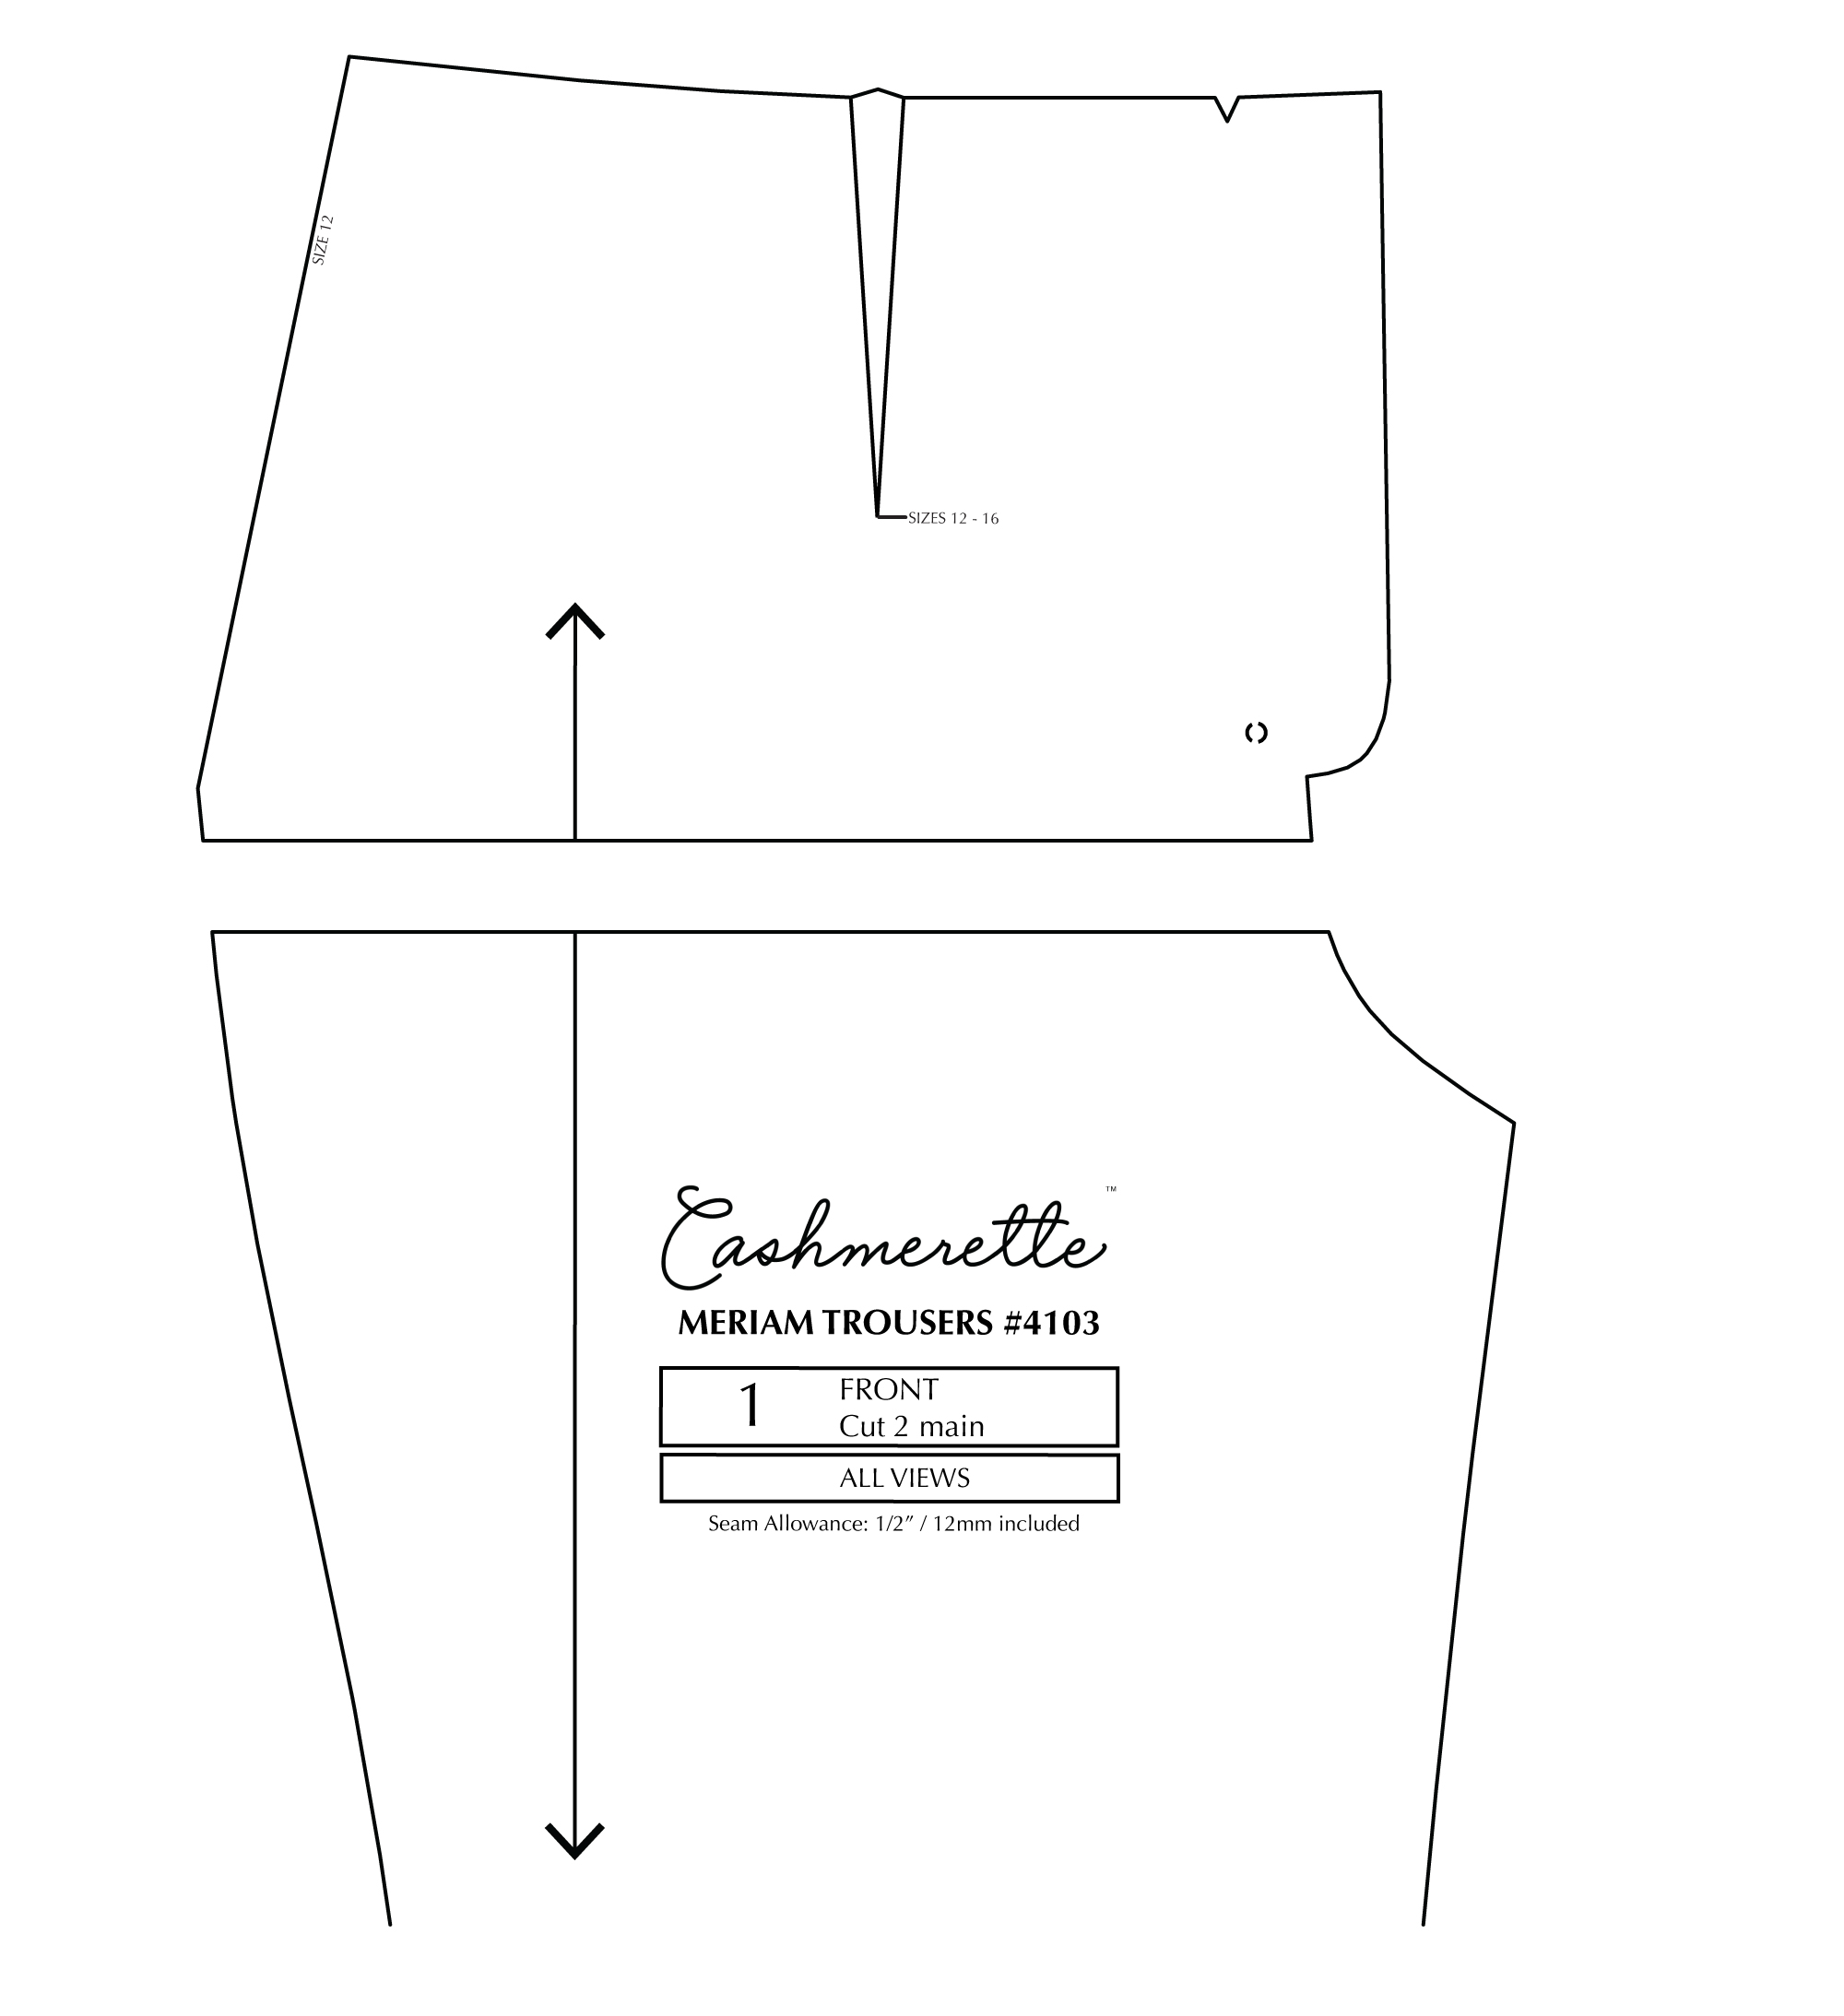
How to lengthen the rise on the Meriam Trousers
1. Calculate how much you want to lengthen the rise by.
- If you made a muslin, simply measure up from the muslin to where you would like the top of the waistband to sit. You should measure this on the front and the back as you can make the adjustments different if you’d like.
- If you used our measurements approach, you’ll have a piece of elastic around your waist where the chart tells you that the rise will be. Now, move the elastic to where you want it to be, and measure the difference in height between the two elastic placements, at the front and the back.
2. On the front leg piece (1), cut across the lengthen/shorten line.
3. On a piece of paper, draw two parallel lines that are the distance apart that you need to lengthen by.
4. Tape the two pattern pieces on each line, making sure that the grainline is still lining up across them.

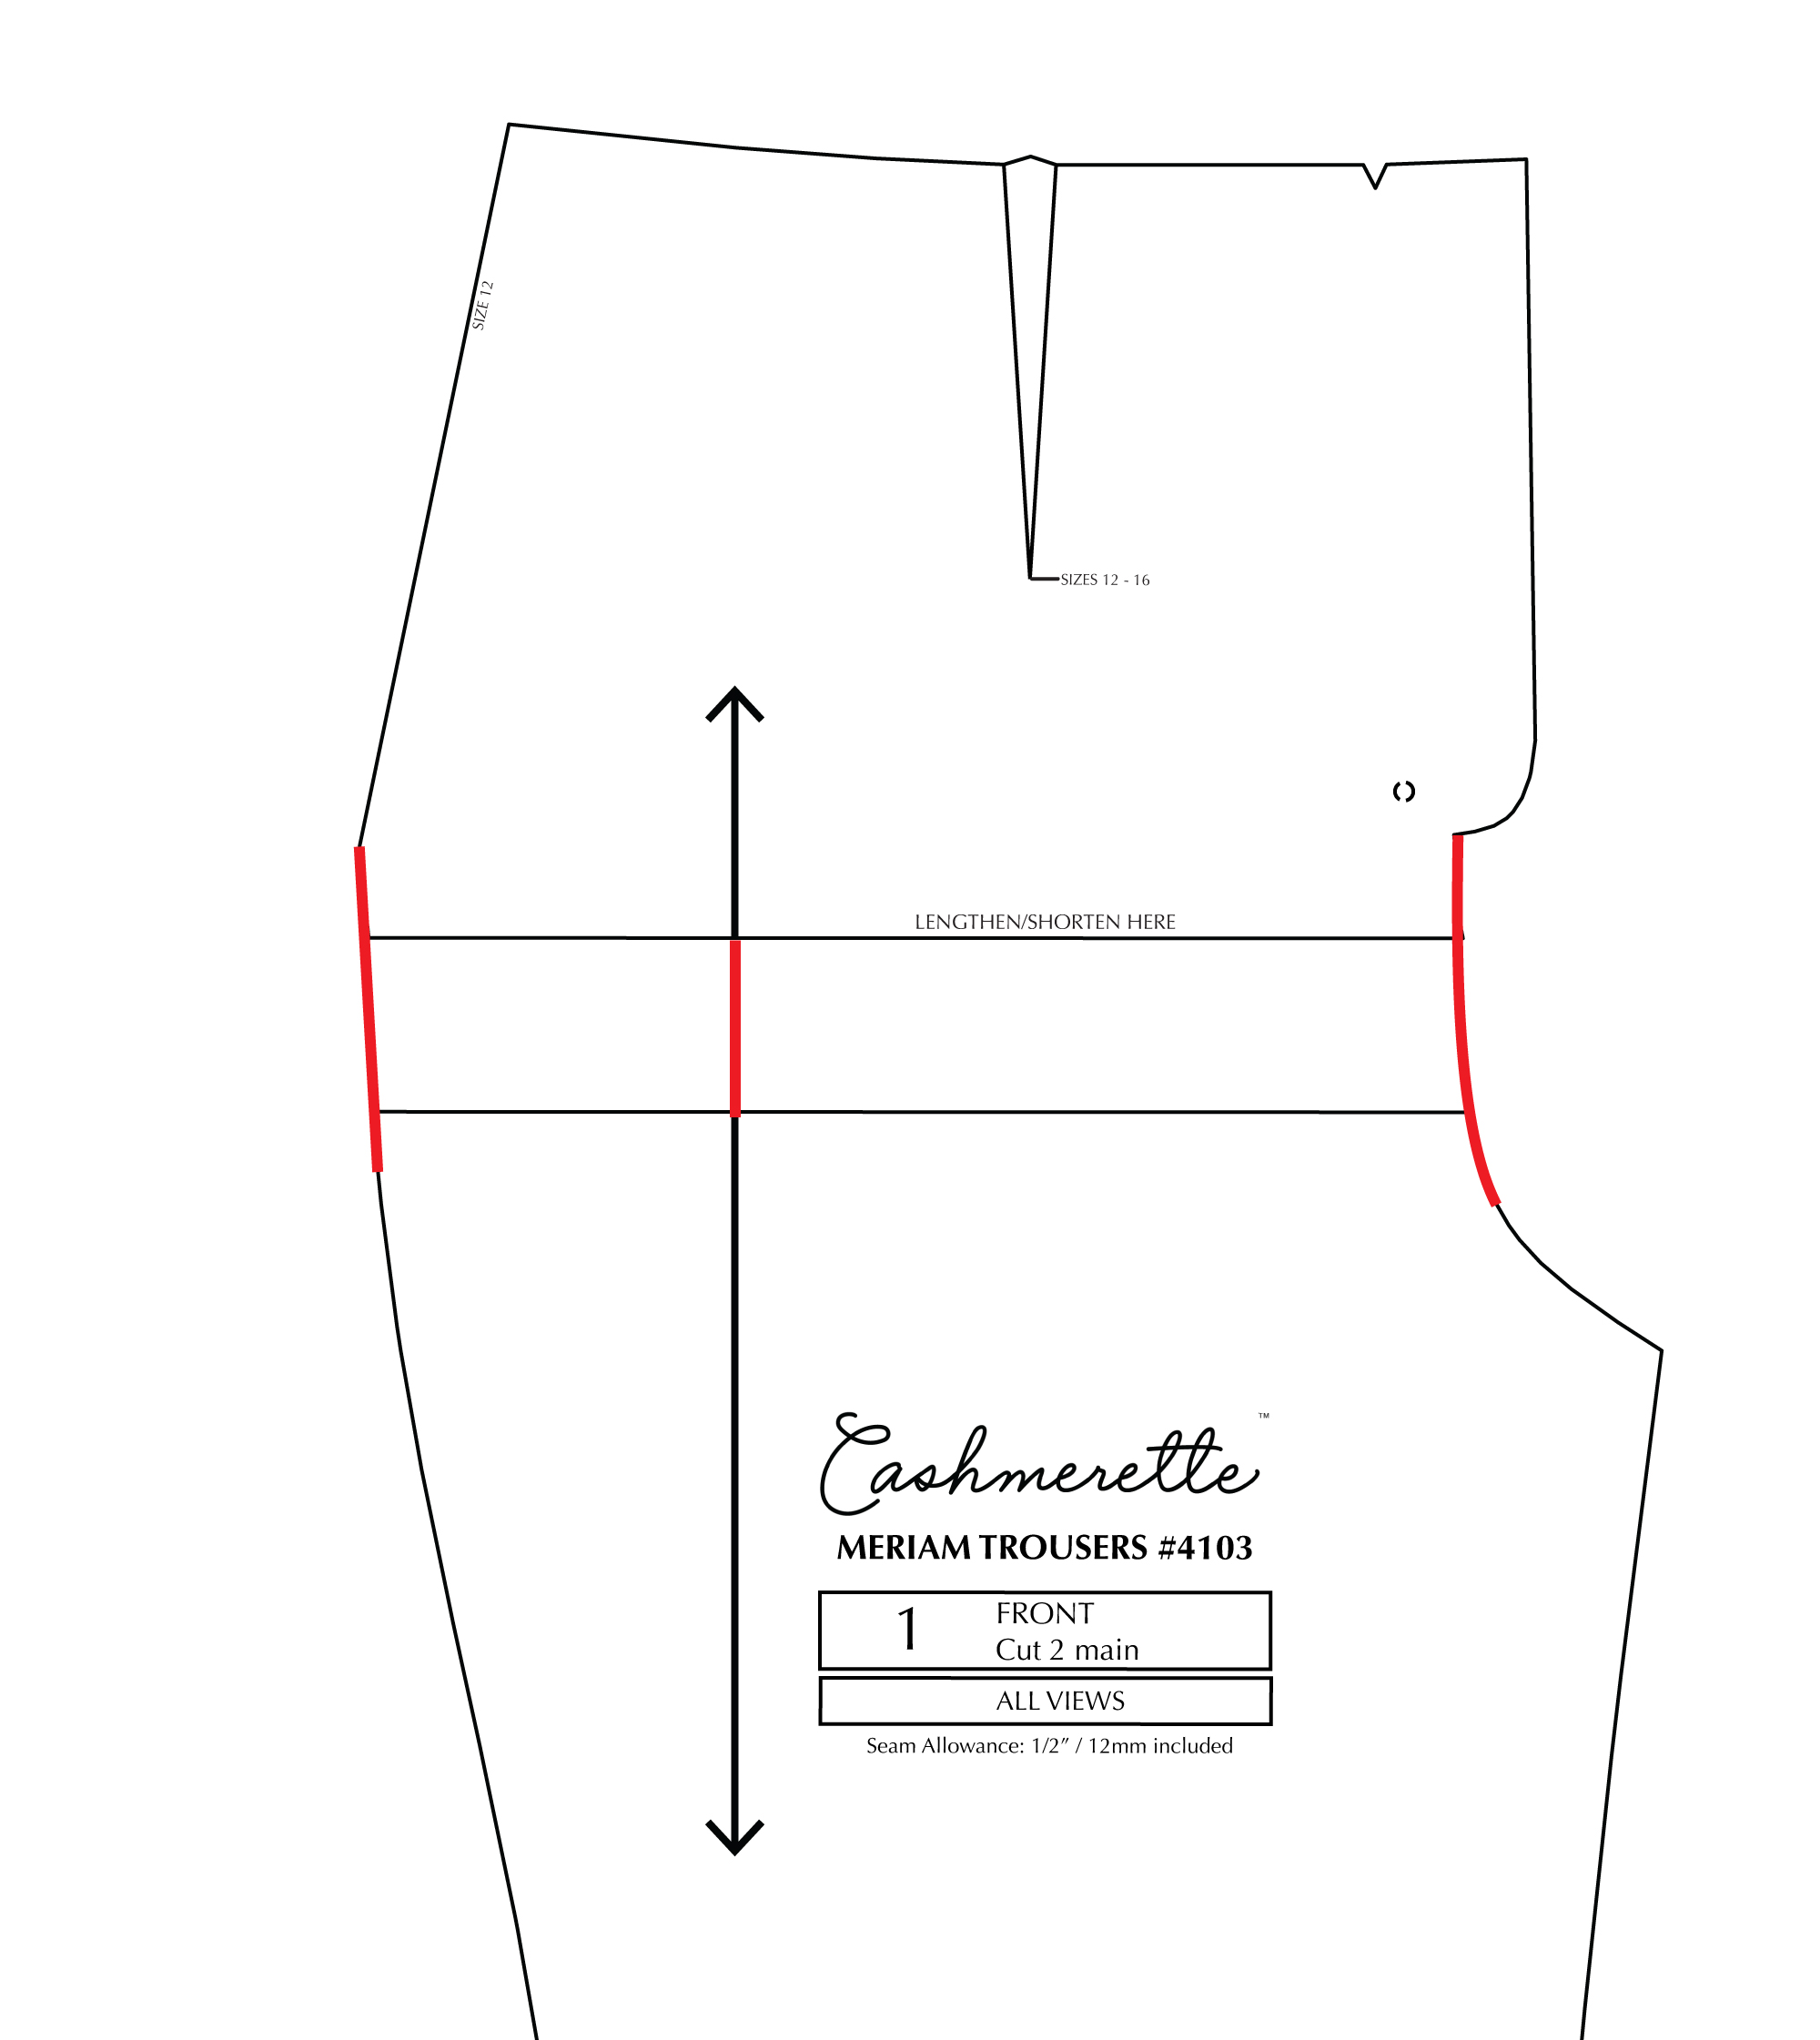
5. Repeat step 2 with your back leg piece (2 A/B).

And that’s it! Fabulous work adjusting the rise on the Meriam Trousers. Now it’s time to cut your fabric and start sewing!
Want step-by-step video instruction with Jenny as your guide? Check out Pants Making for Curves, the latest online workshop from Cashmerette.
Very detailed and good information but I would love to see a video on fitting a “hanging stomach” or did you address this in your pants fitting class? This is a problem that I have not been able to adequately address; my daughter is over 300lbs and I want to make her pants that don’t “hug” her large stomach only emphasizing it’s size, also with shorts the inside seam pulls up when she walks which is not a good look, help! I signed up for your pants class but haven’t gone through class yet; I wanted to quickly check out the blog posts first.