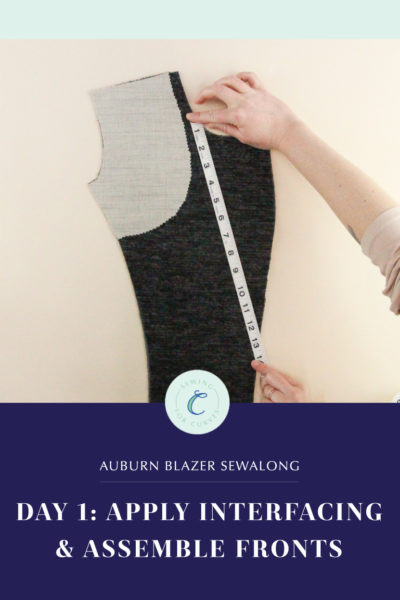
Welcome back to the Auburn Blazer sewalong. Today, we’ll be putting the finished touches on our Auburns—so exciting!
(Just joining us? Be sure to check out the main Auburn sewalong page to catch up on everything you may have missed.)
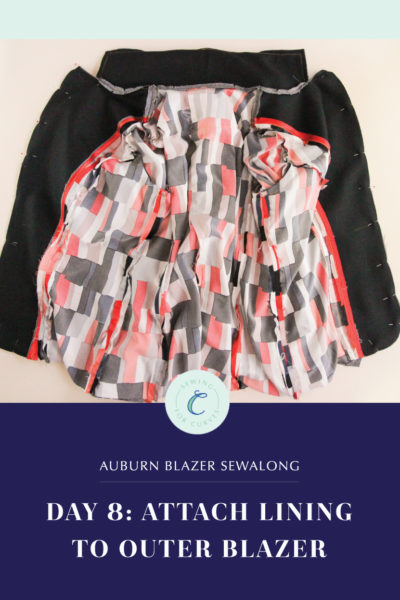
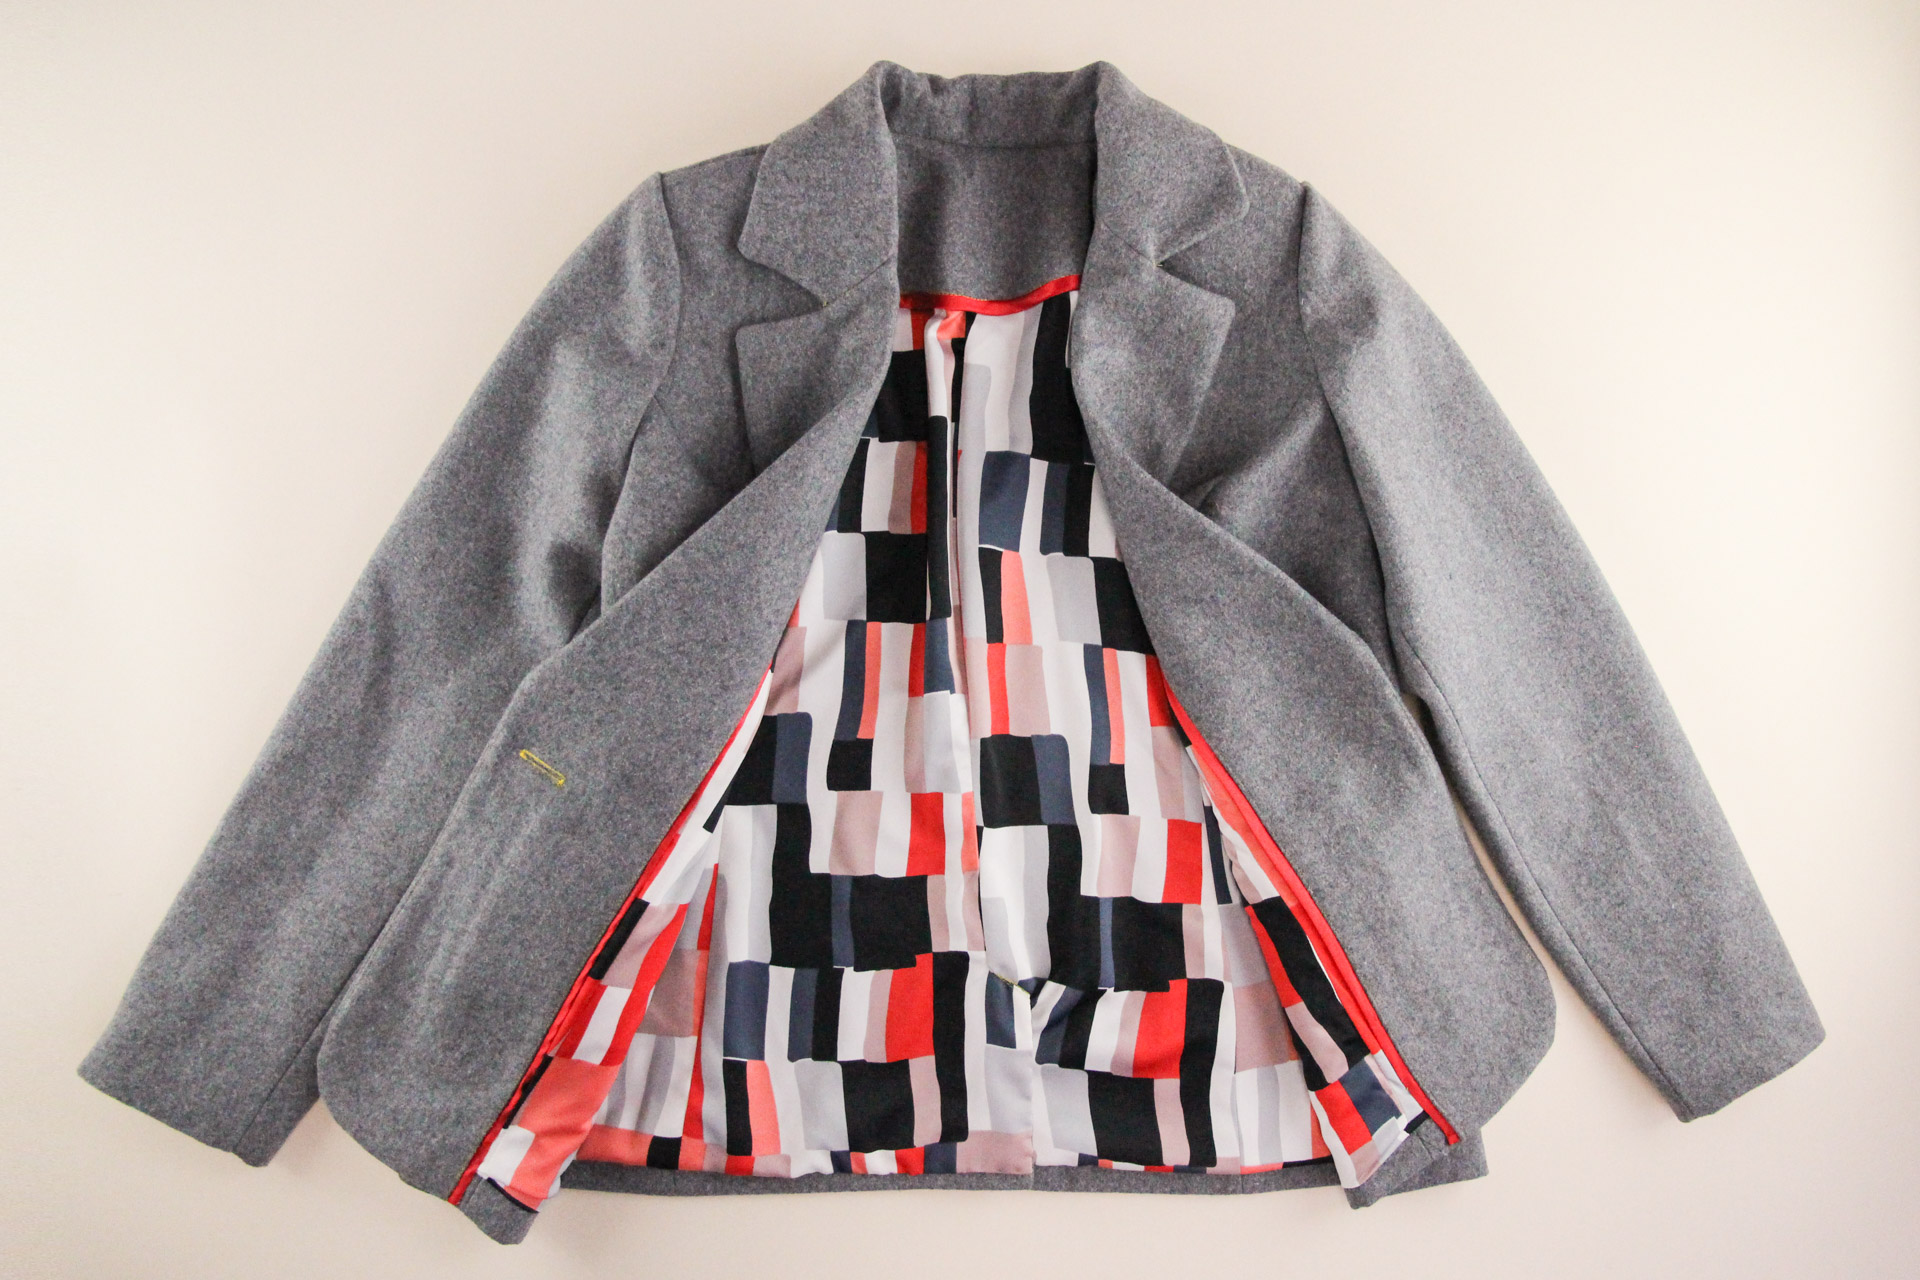
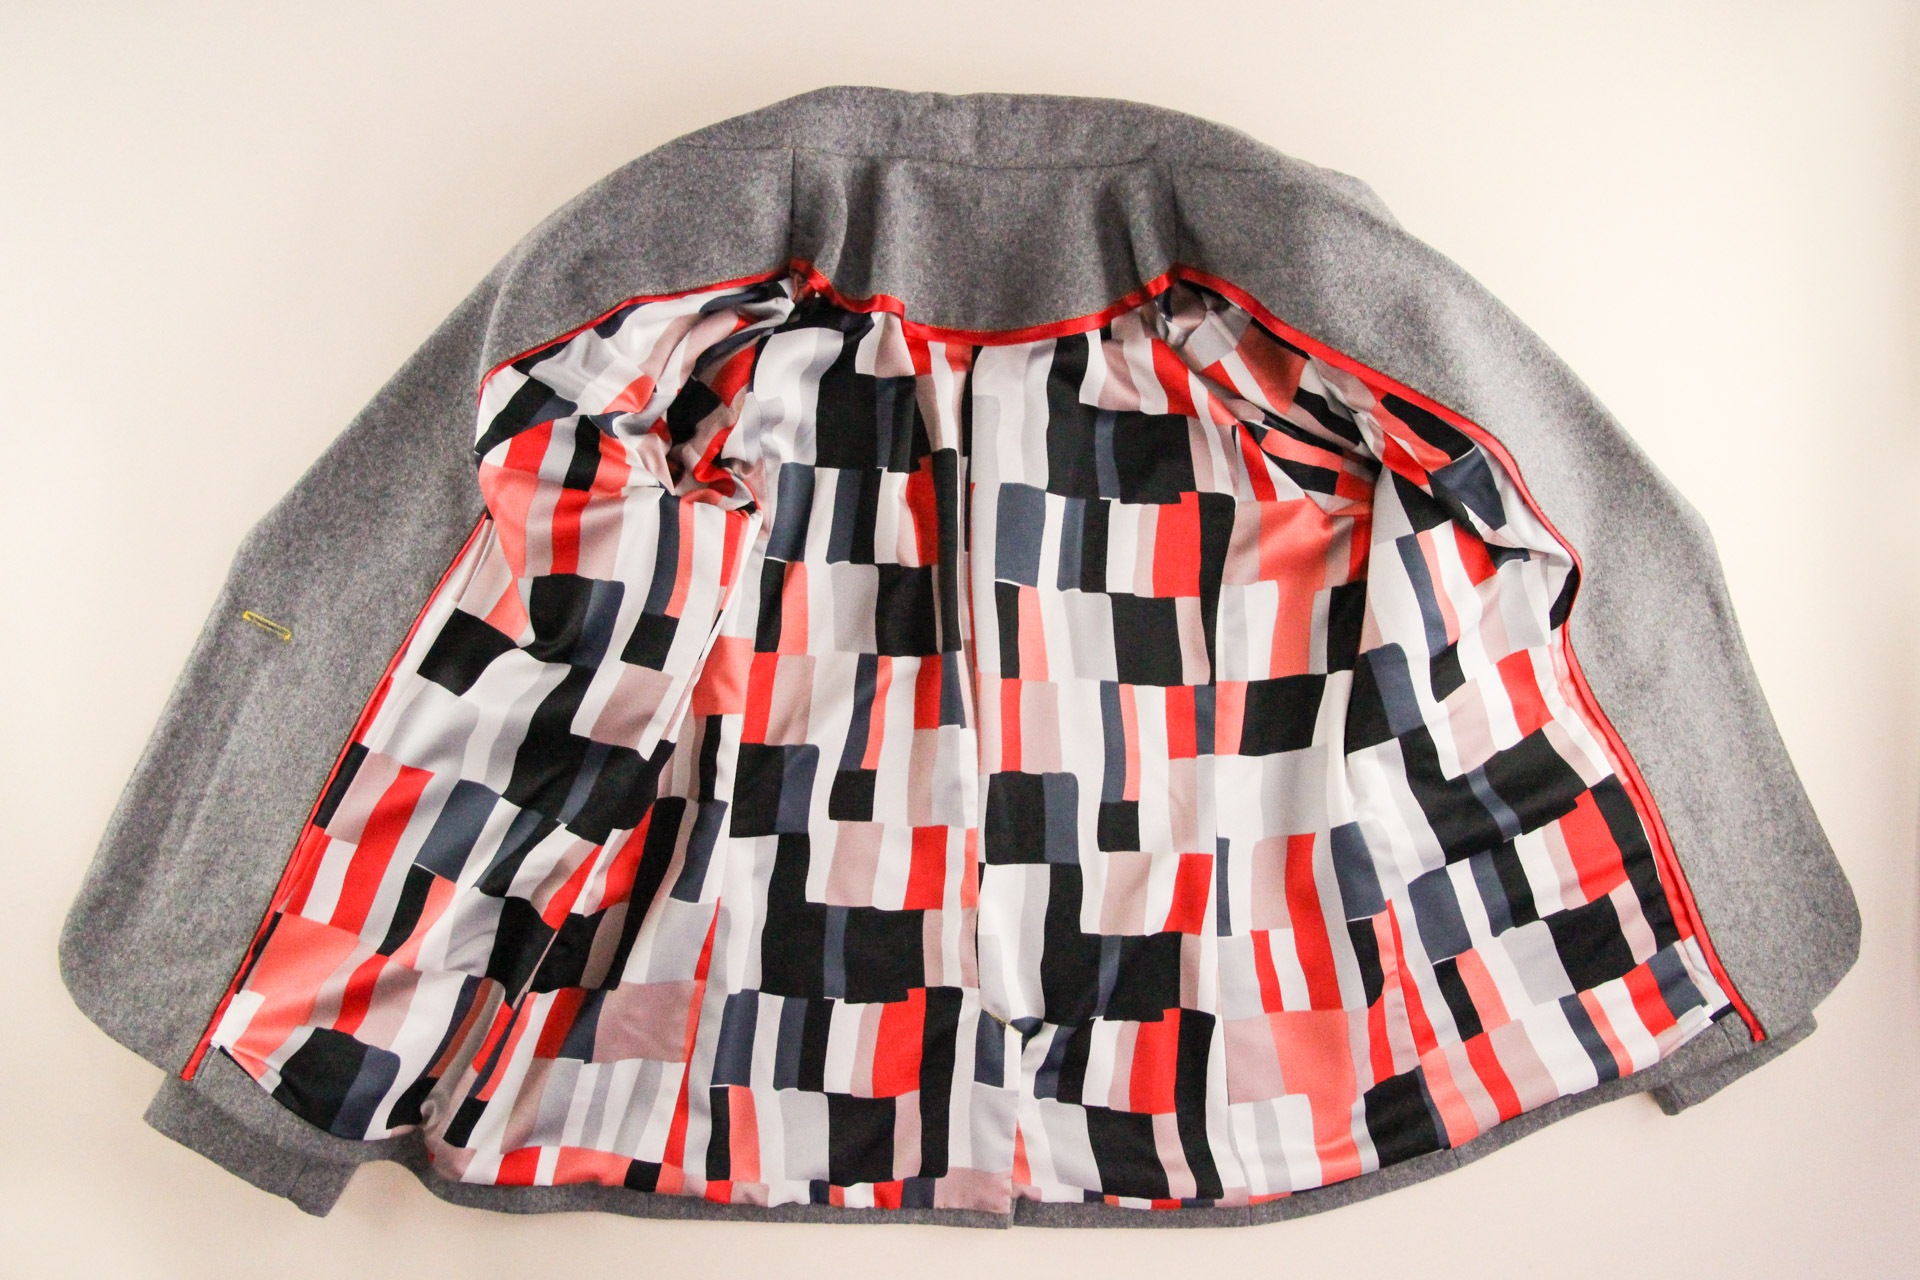
Last time, we attached our lining to our outer blazer, and now there are only a few steps remaining until we’re totally done with our Auburns. Let’s get going!
Finish Lining
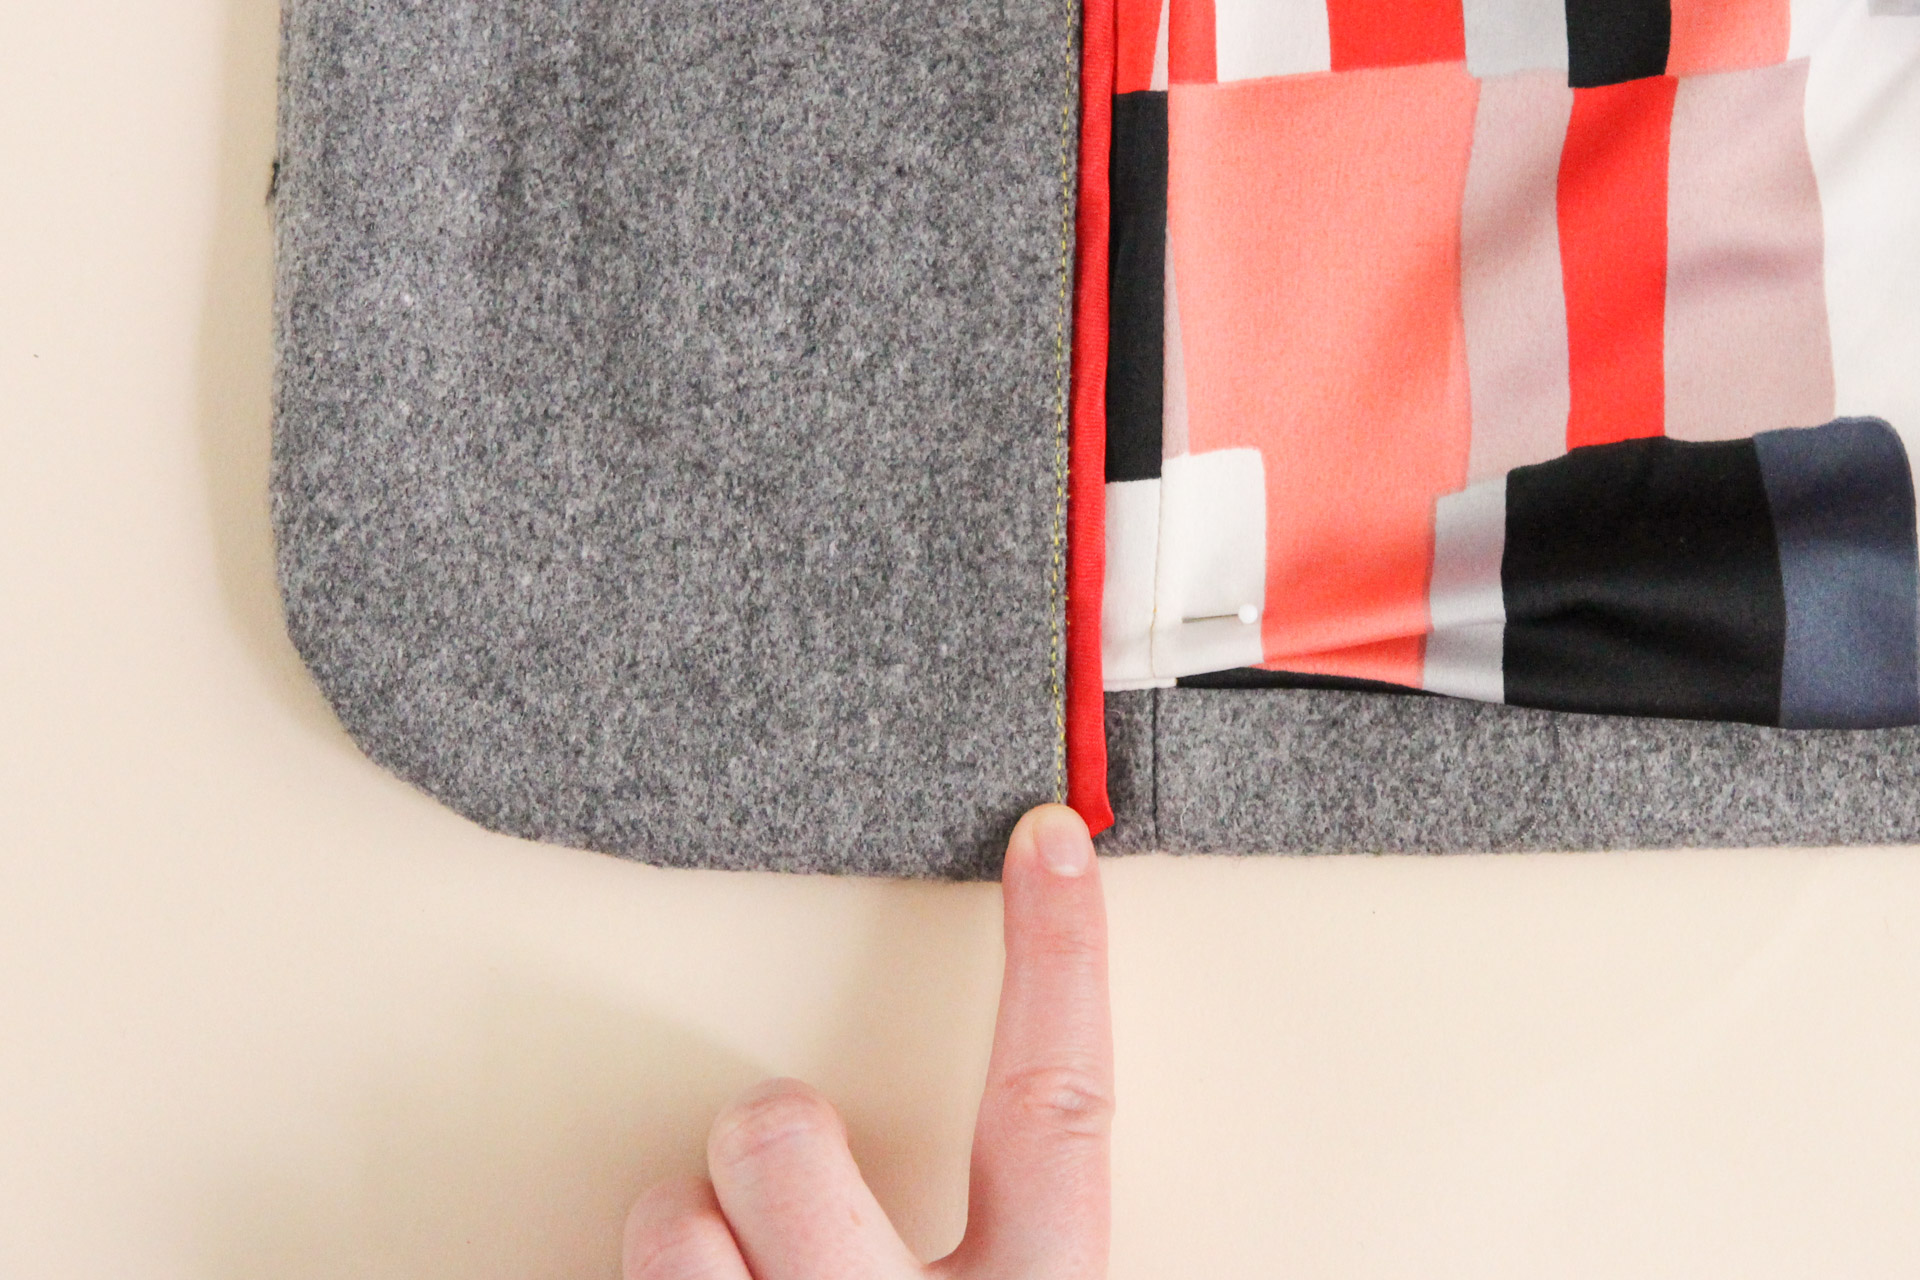
At the bottom edge of the front facing, there’s a small unsewn gap. We’re going to finish that bit up now.
The lining is longer than the outer fabric in this area, so start by folding the lining into a small pleat at the hem edge. Pin it down.

Fold the front facing back over the pleat to conceal the raw edge, then hand-sew it closed using a ladder or slip stitch.
Repeat with the other side.
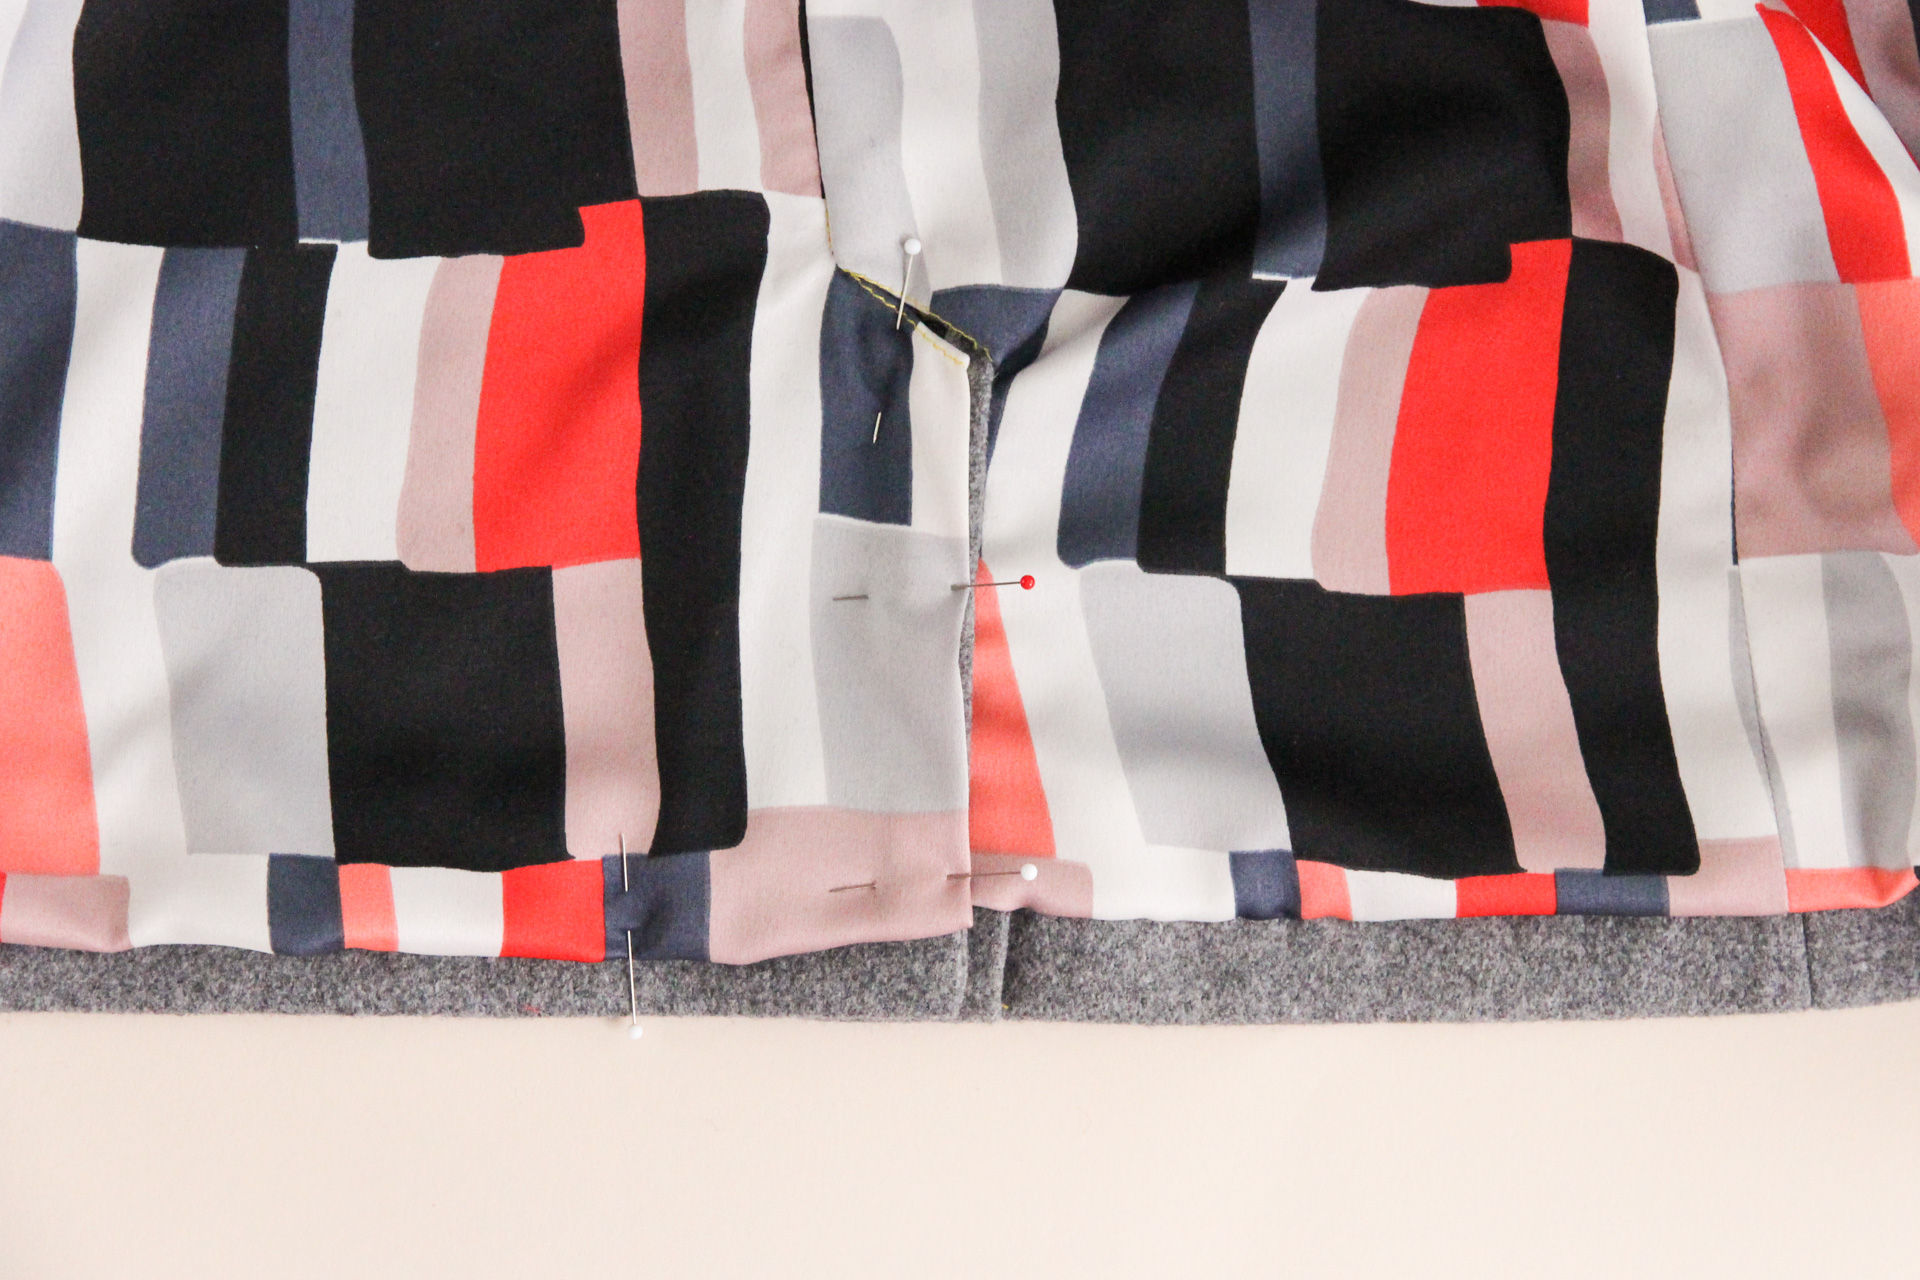
Next, we’re going to finish the lining at the center back hem. If you’re making View B, this step is straightforward: turn the seam allowance of the lining to the wrong side and sew it closed by hand using a ladder or slip stitch.
If you’re making View A, this step is a bit more complicated, since we have our back vent at the center back hem. Star by pinning the lining hem in place on the left side (as worn) and sew by hand using a ladder or slip stitch.

Once the left side is done, flip the right side of the vent (as worn) down and pin the lining in place as well. Stitch it to the outer vent by hand.
At the diagonal seam at the top of the vent, you can sew the two lining edge together (again by hand with a ladder or slip stitch).
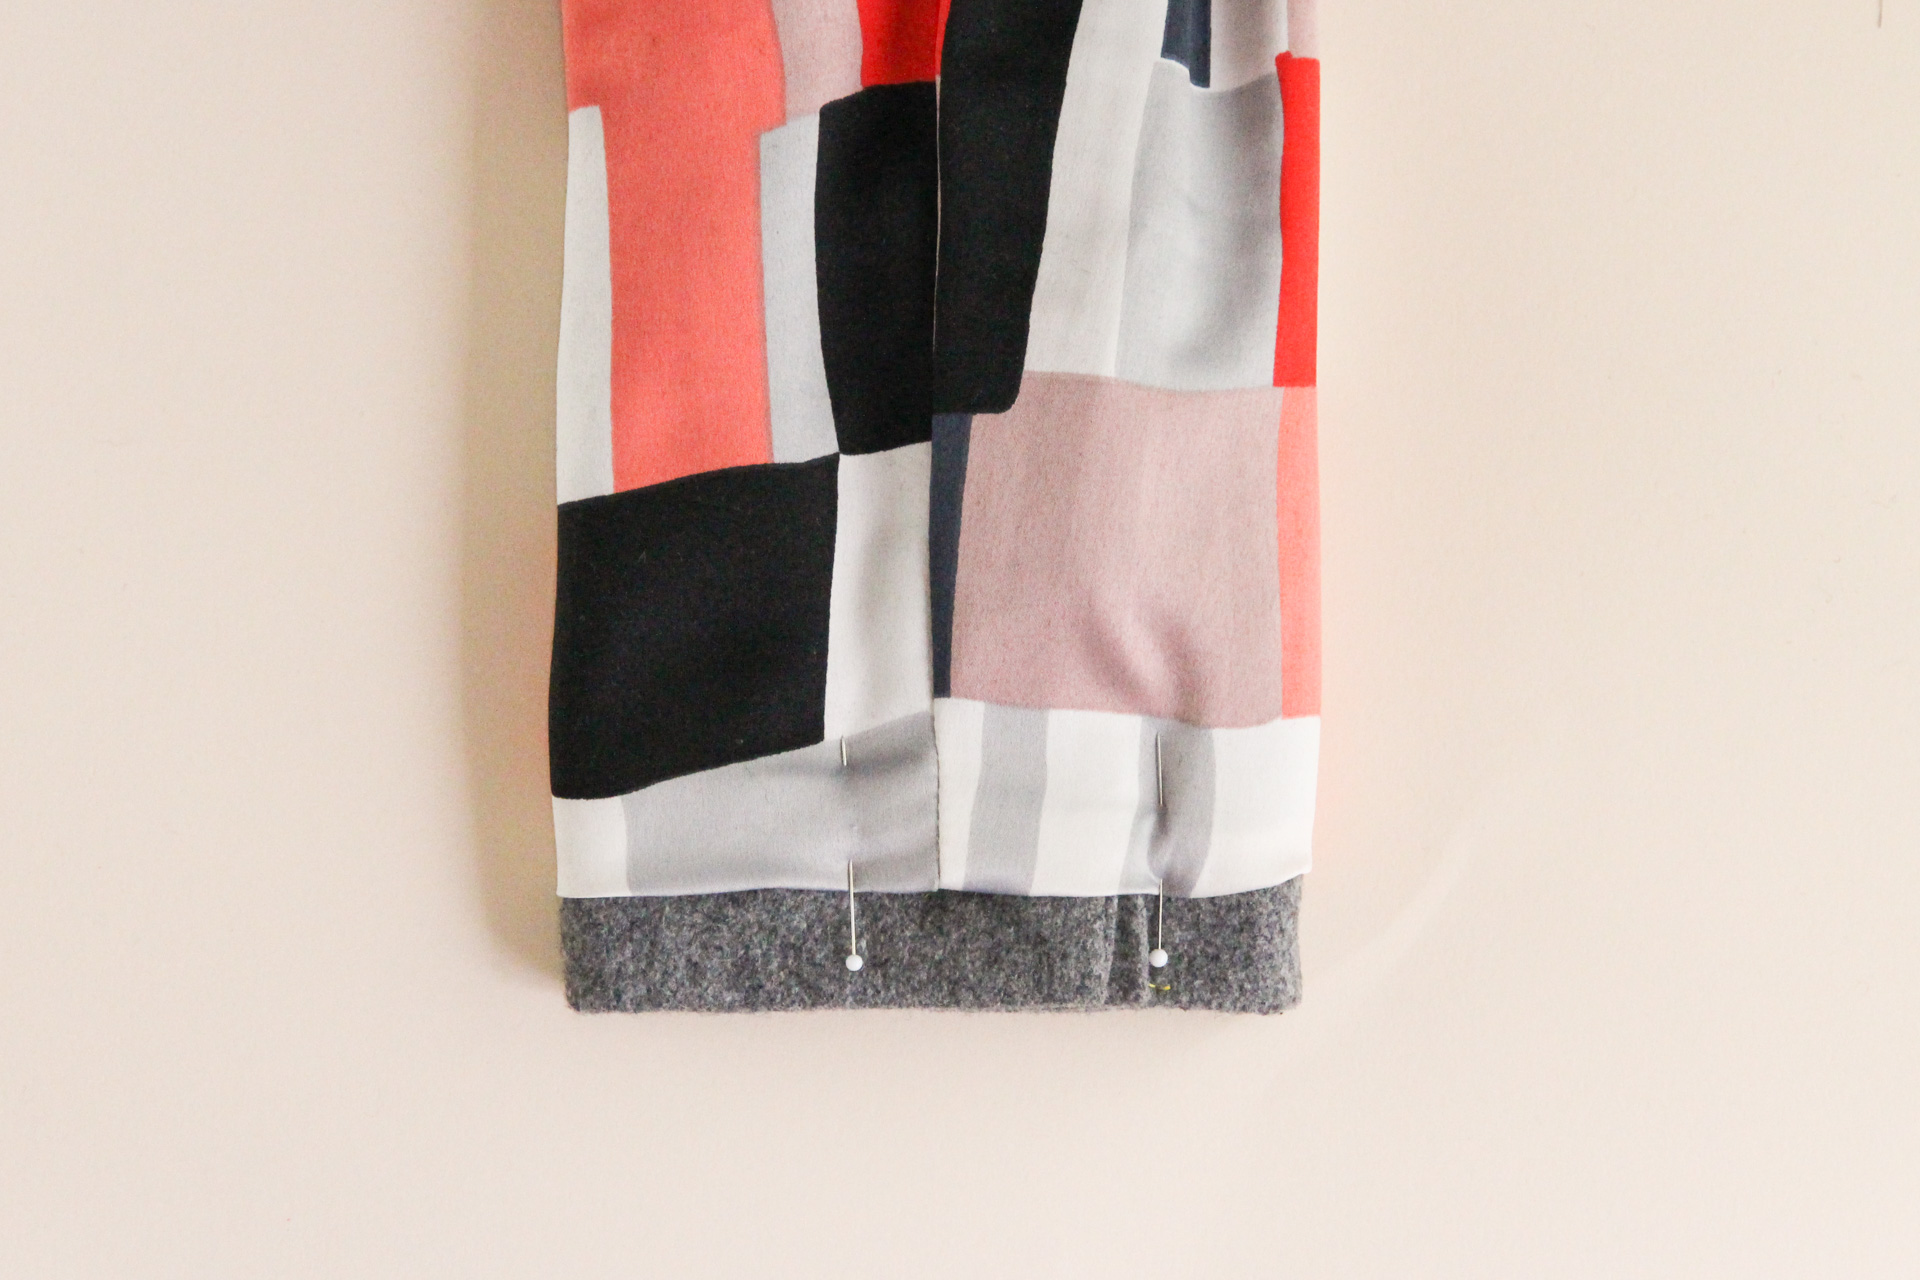
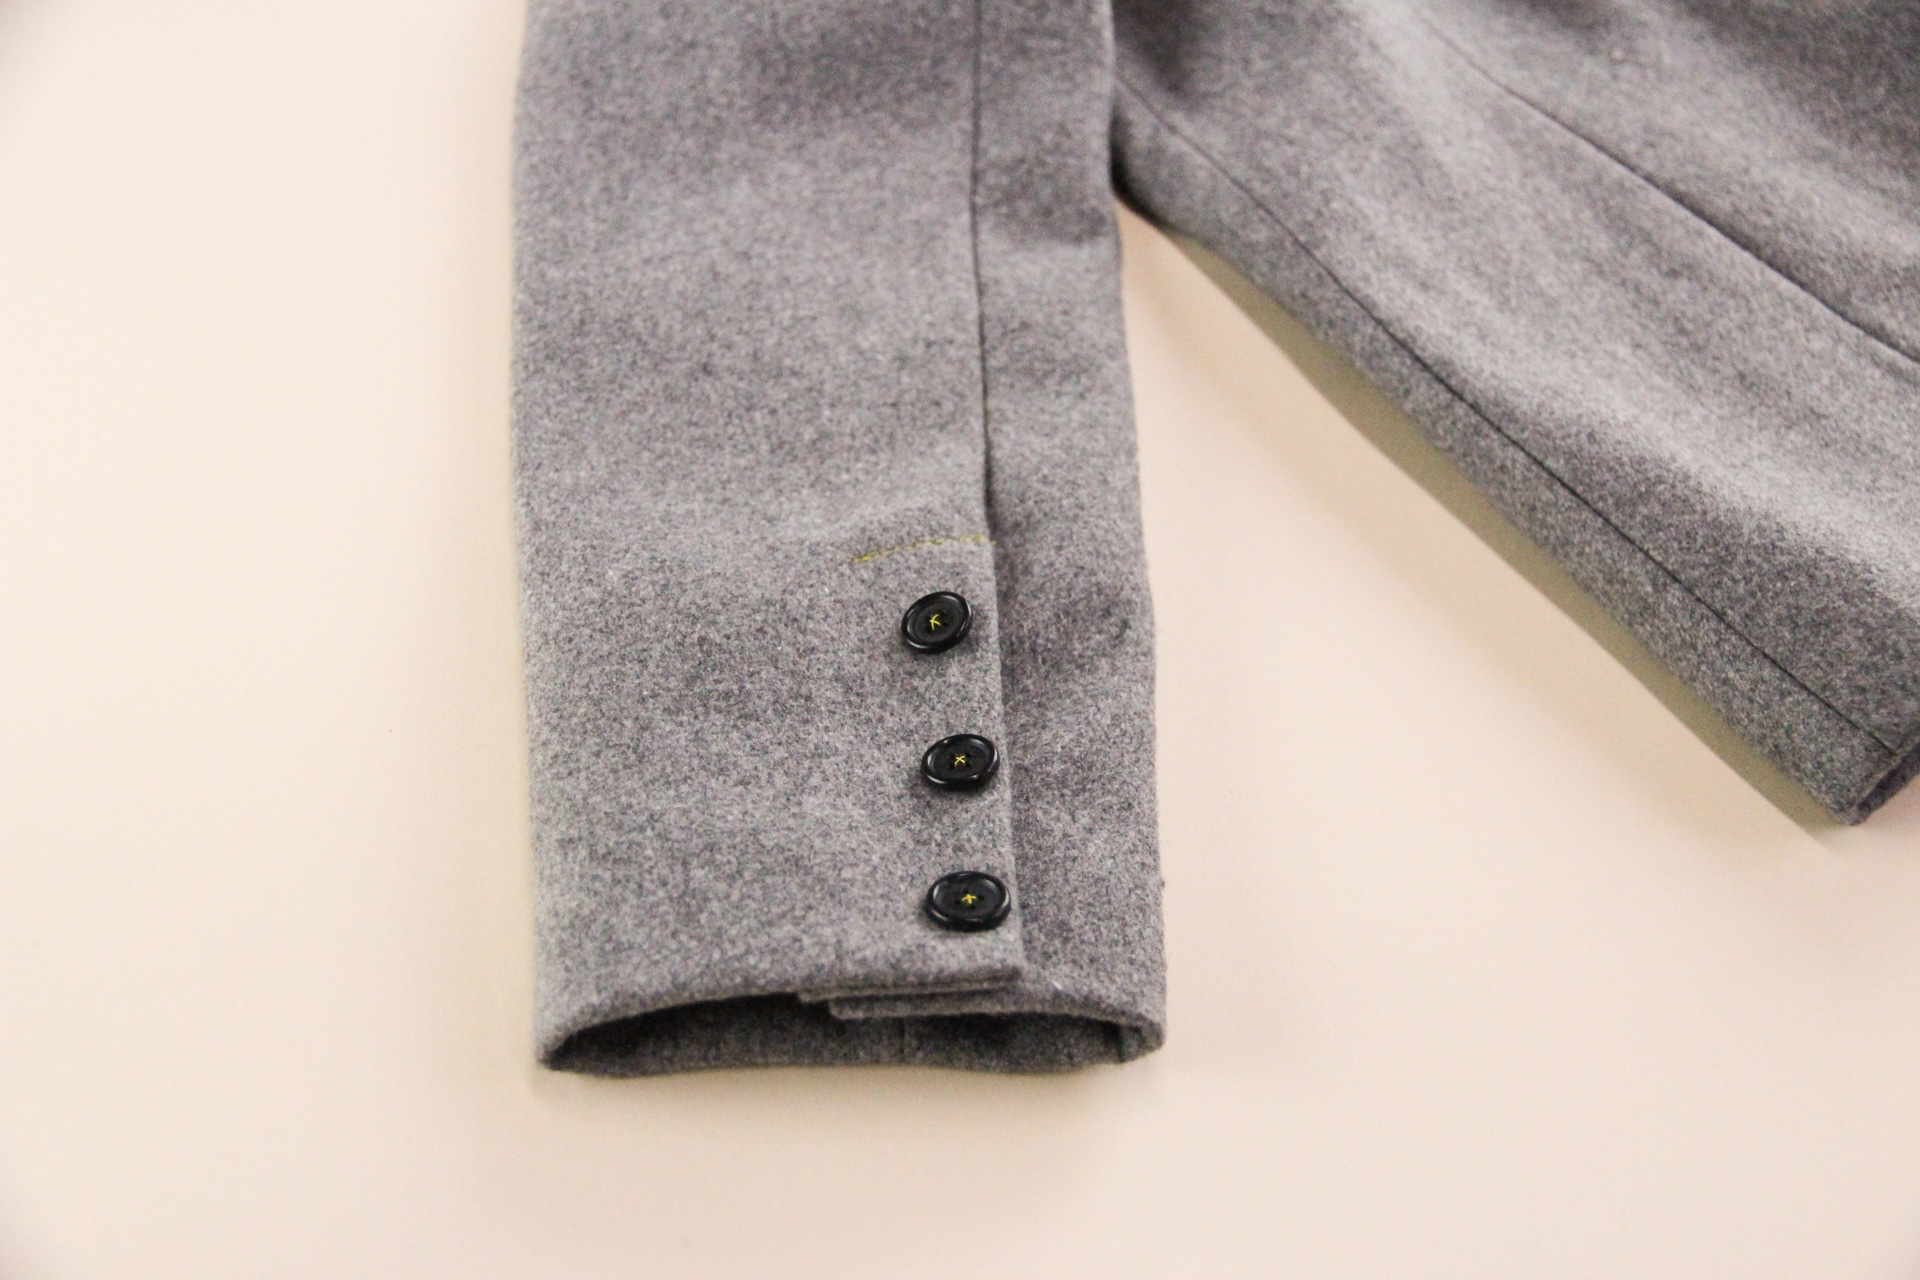
If you’re making View A, we also need to finish our sleeve hem. Fold back the seam allowance of the lining at the open section and pin, sewing it closed by hand. Repeat with the other sleeve.
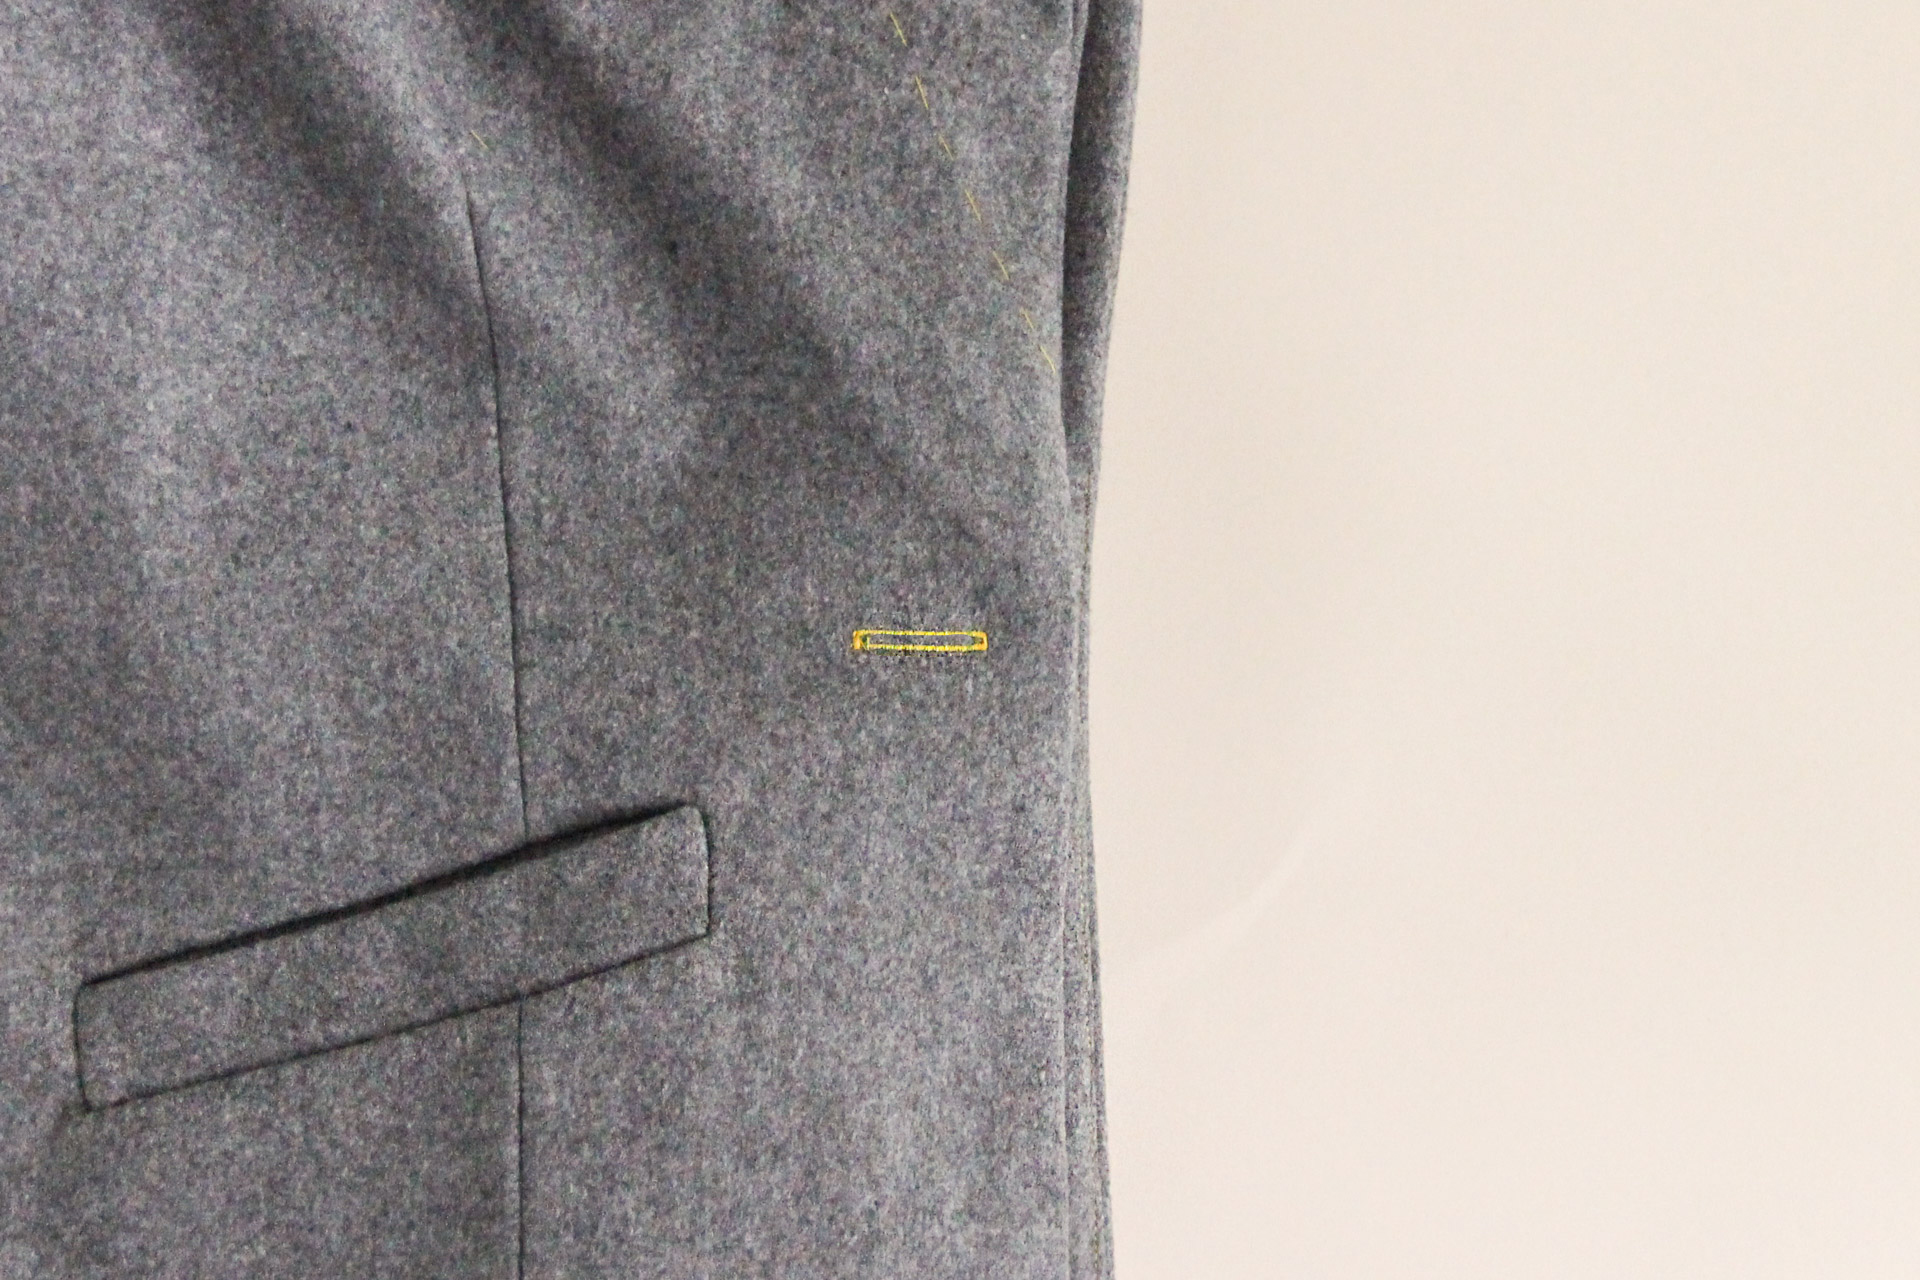
Sew Buttonhole & Button
We’ve arrived at the final step! All we need to do now is sew our buttonhole and button.
Mark the buttonhole on the front right hand side (as worn). It’s worth trying on the blazer at this point and pinning it closed at the buttonhole marking to see if you’re happy with the positioning of the button—if not, you can move it up or down as desired.
Sew the buttonhole at the marking. Make sure to try your buttonhole settings on a piece of scrap fabric first!

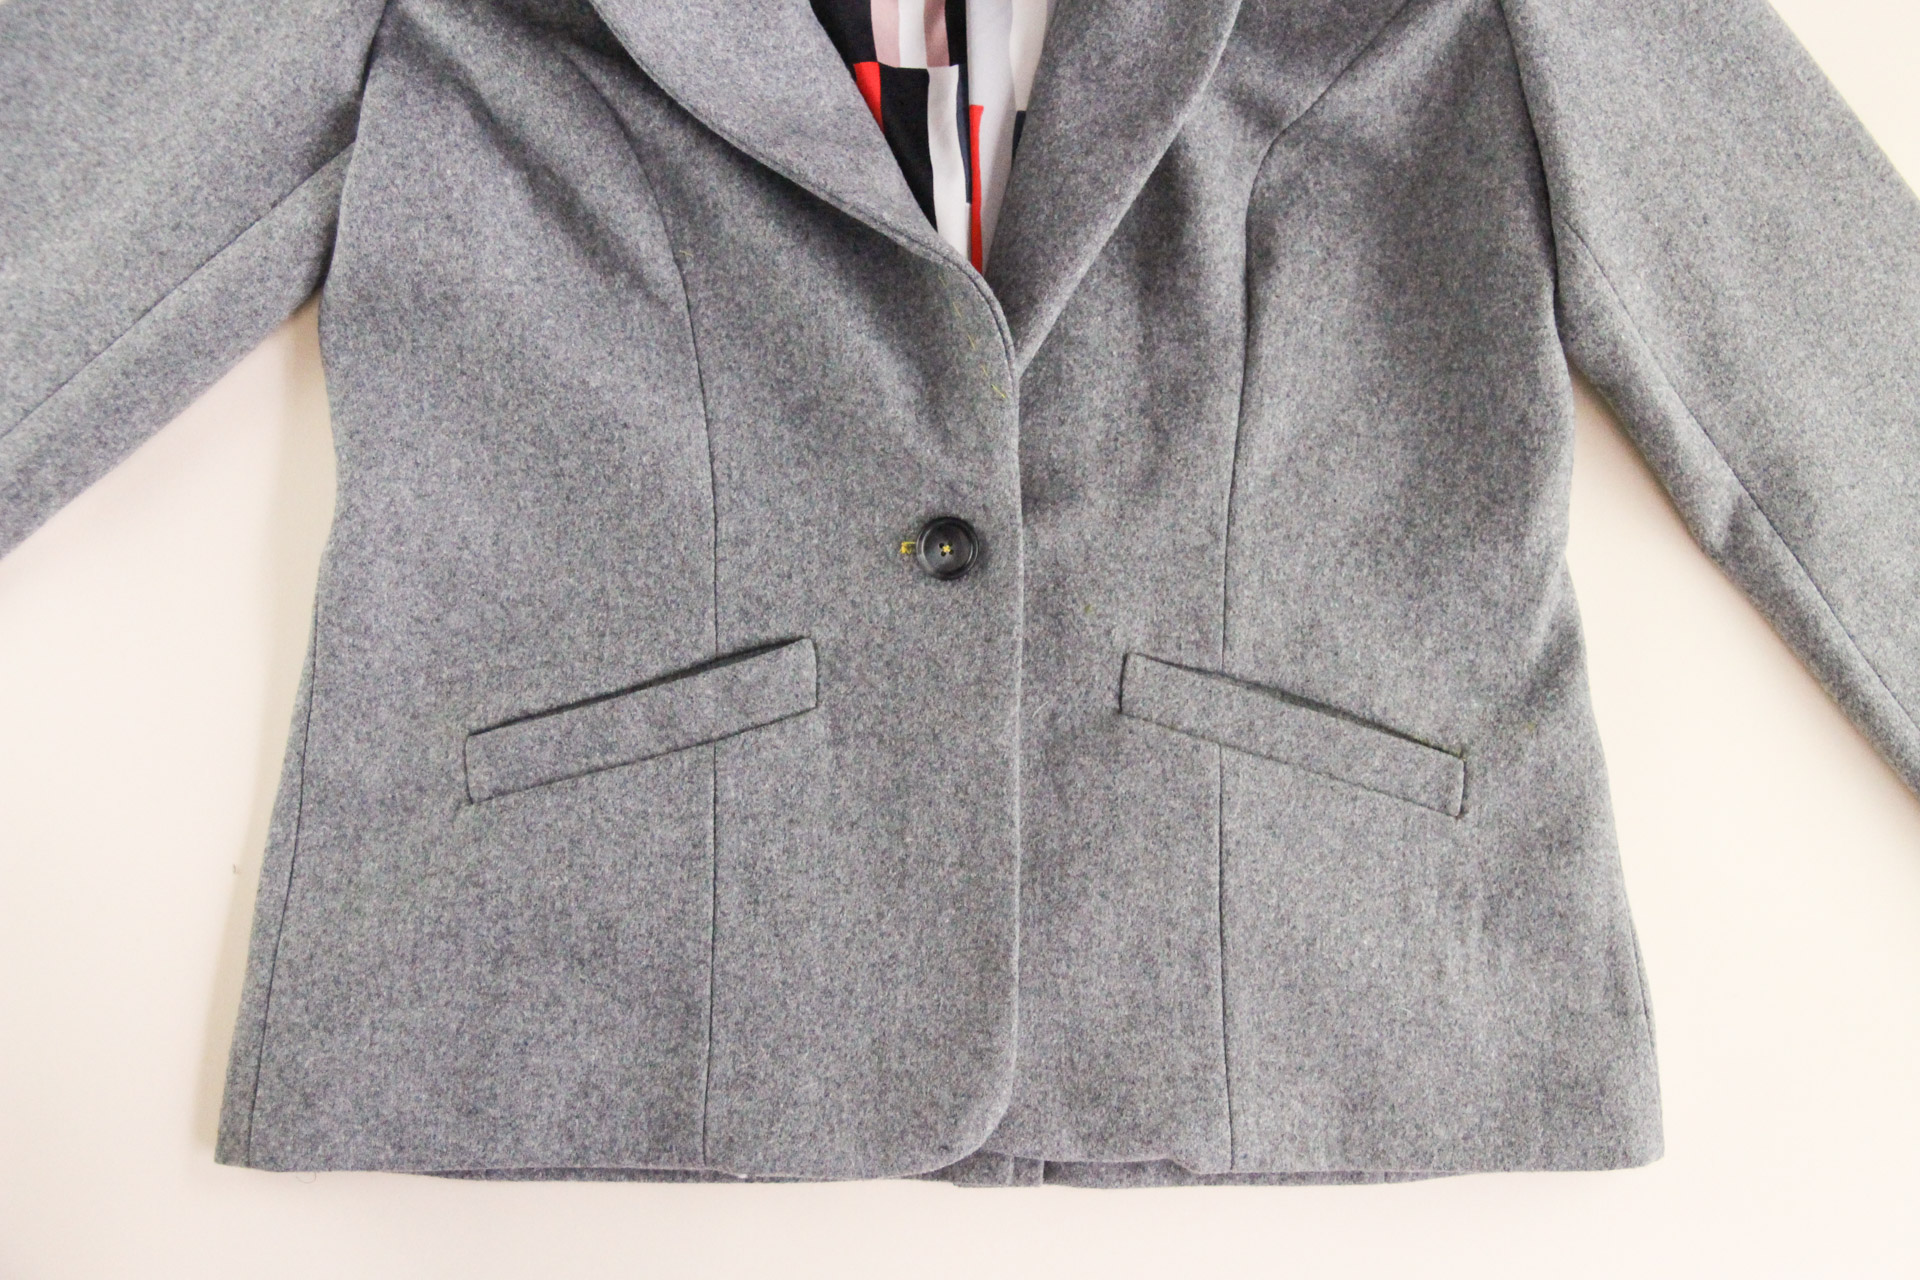
Cut the buttonhole open (very carefully!) and mark the button placement on the left side (as worn). Sew on the button.
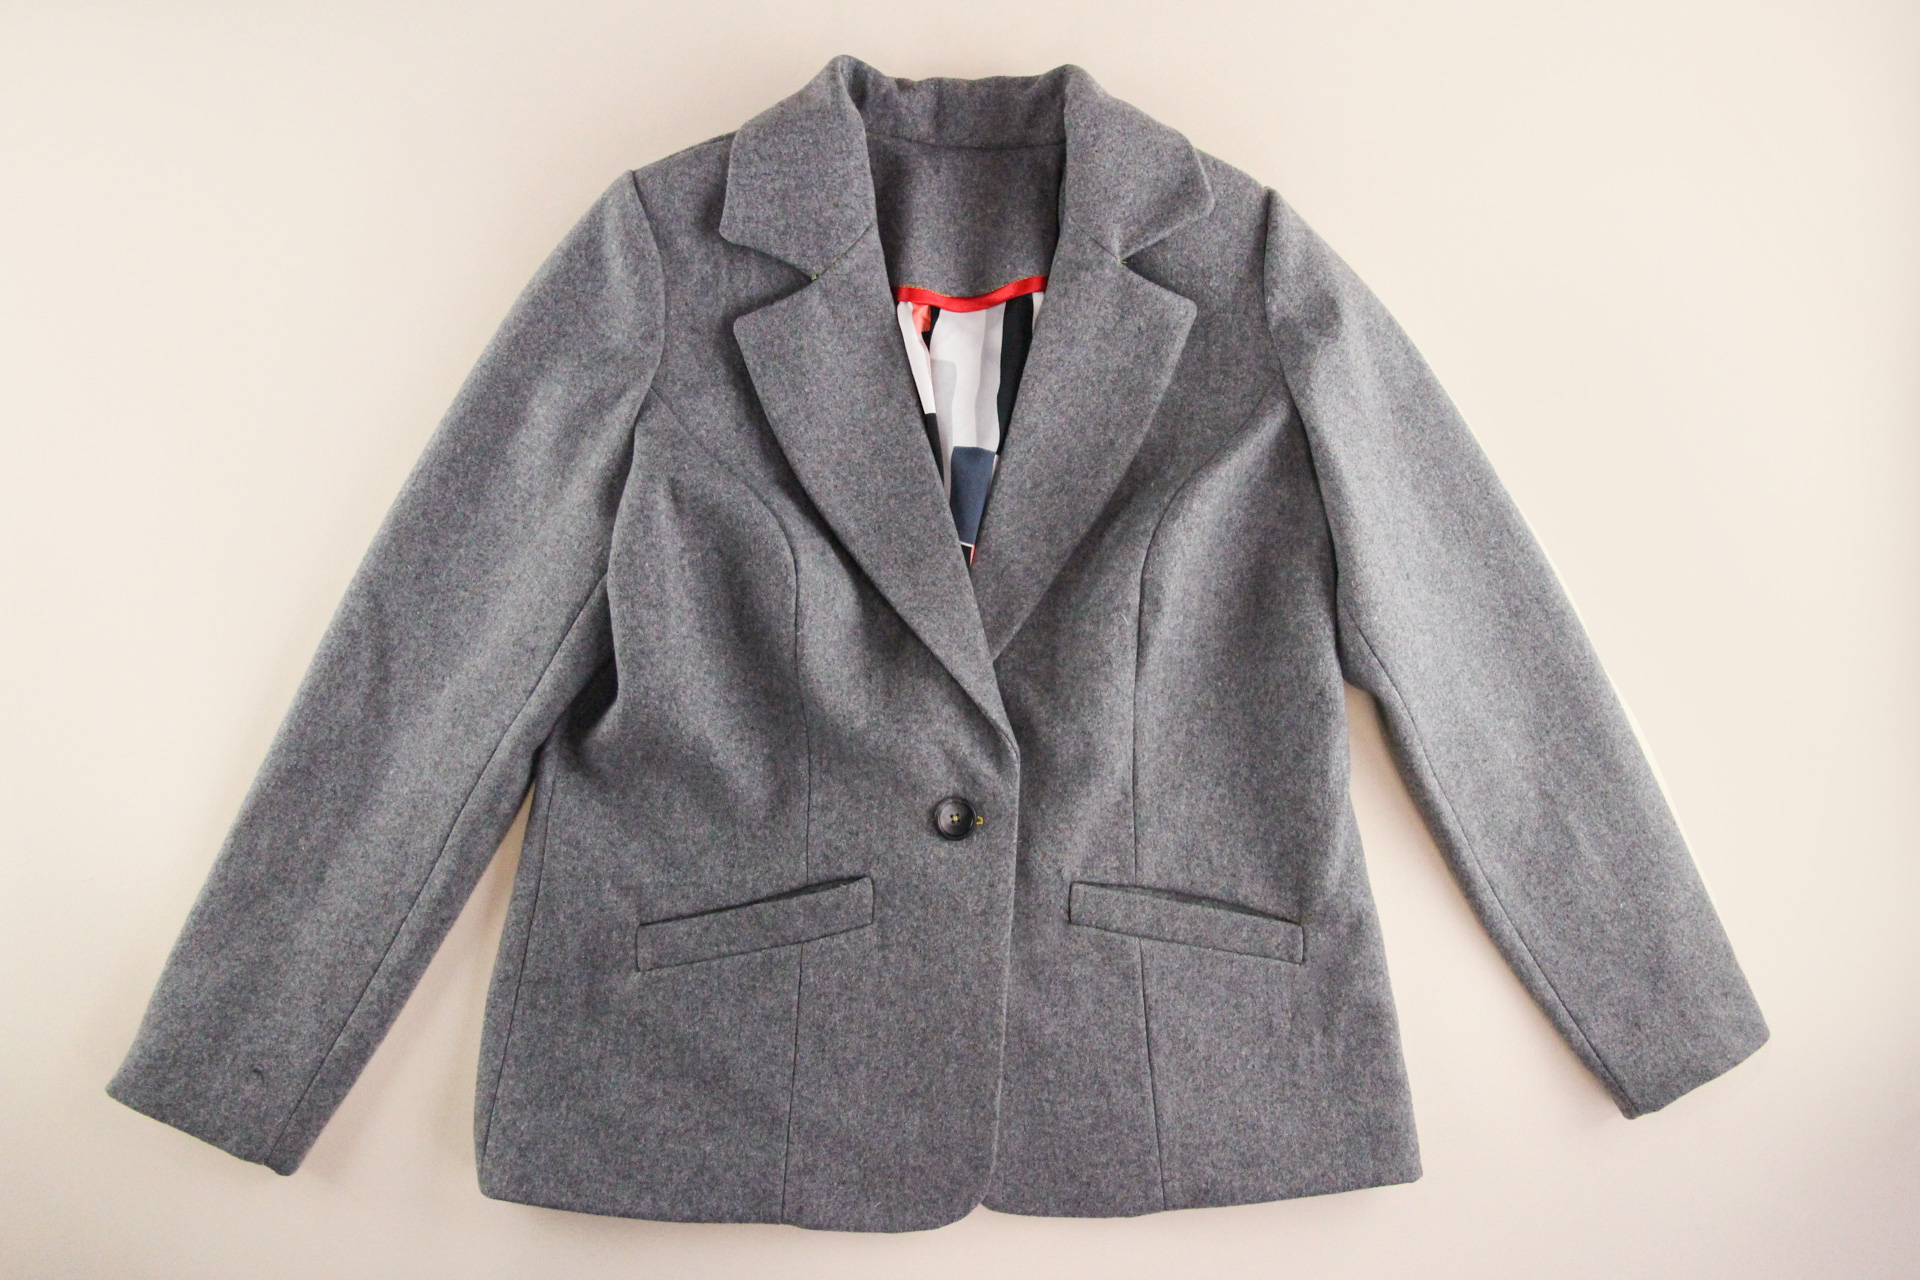
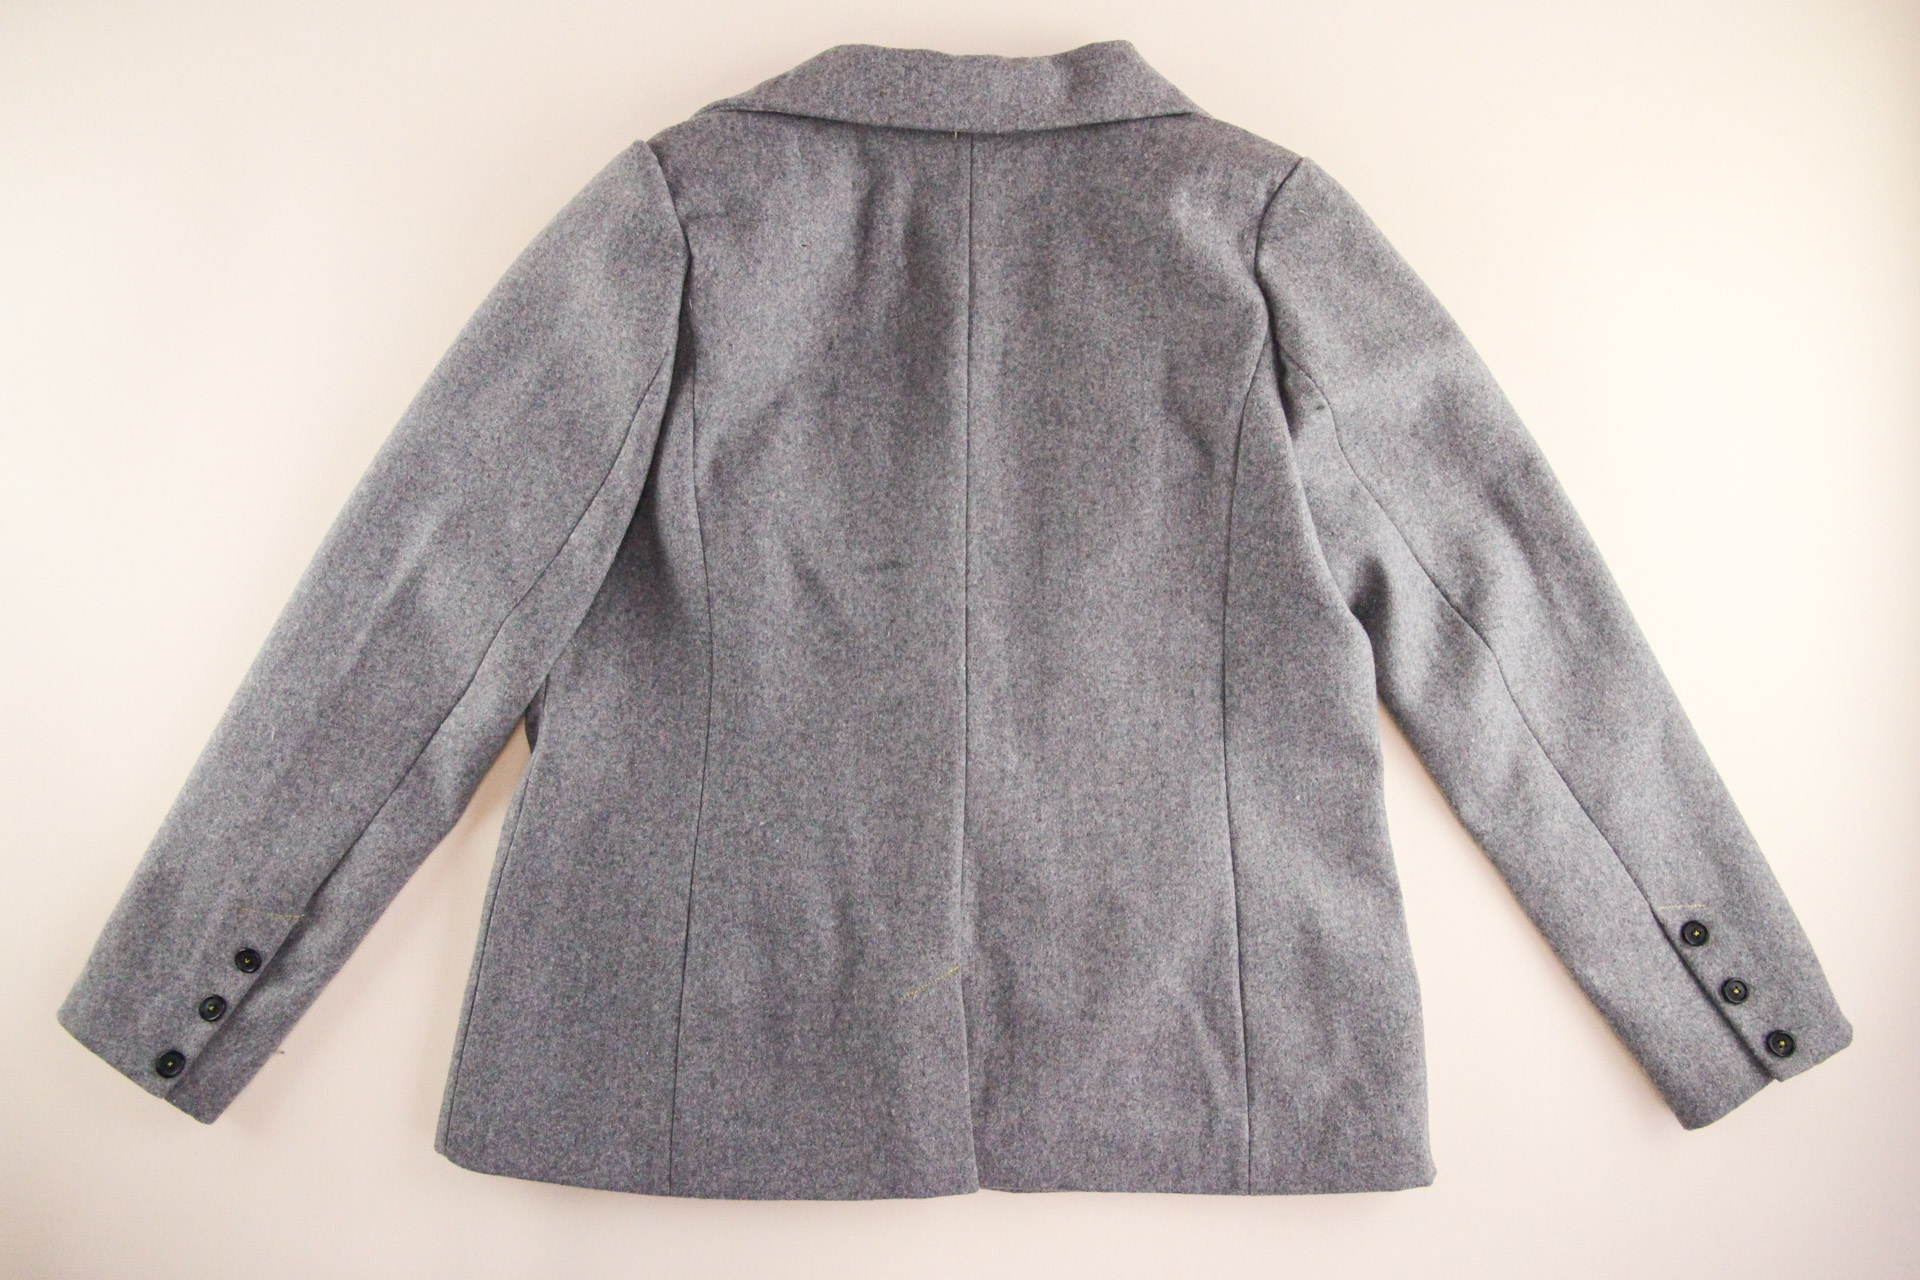
Gorgeous! Give the blazer a final press (you can shape the collar around a tailor’s ham if you’d like).
Put on that Auburn and do a victory lap around your house—you just made a blazer!!
We’d love to see your finished Auburn Blazer! Tag your makes with #AuburnBlazer on social media so that we can marvel at your beautiful new blazer.