Welcome back to the Upton Dress & Skirt sewalong! Today, we’re showing you how to sew up the darted bodice of the Upton Dress.

(Just joining us? Make sure you head over to the main Upton sewalong page to catch up on everything you may have missed.)
Whether you’re using the classic Upton Dress pattern or the new Upton Mix & Match Expansion, the darted bodice option is available to you. If you’re using the expansion pack, you also have the option of choosing between the sleeveless darted bodice and the sleeved darted bodice—these options exist so that you can get the ideal bust fit whether you’re using sleeves or not. Depending on your sleeve choice, make sure to choose the right bodice option! (Note that if you’re using the cap sleeve, you should still use the sleeveless darted bodice.)
For this tutorial, I’m using a green and tan chambray for the outer bodice. The green side is the right side, and the tan side is the wrong side. I’m also using a floral rayon for the lining. For both the bodice and lining, I’m using a contrast thread so that you can see the stitches more clearly, but you can use a coordinating thread on your Upton.
Okay, let’s get started sewing!
Prepare the Pieces
We’re going to start by trimming 1/16″ (1.5 mm) off the neckline of the front bodice and back bodice LINING pieces.
If you’re making a sleeveless or cap sleeve Upton, do the same on the front and back armholes as well. Again, this is just for the lining.
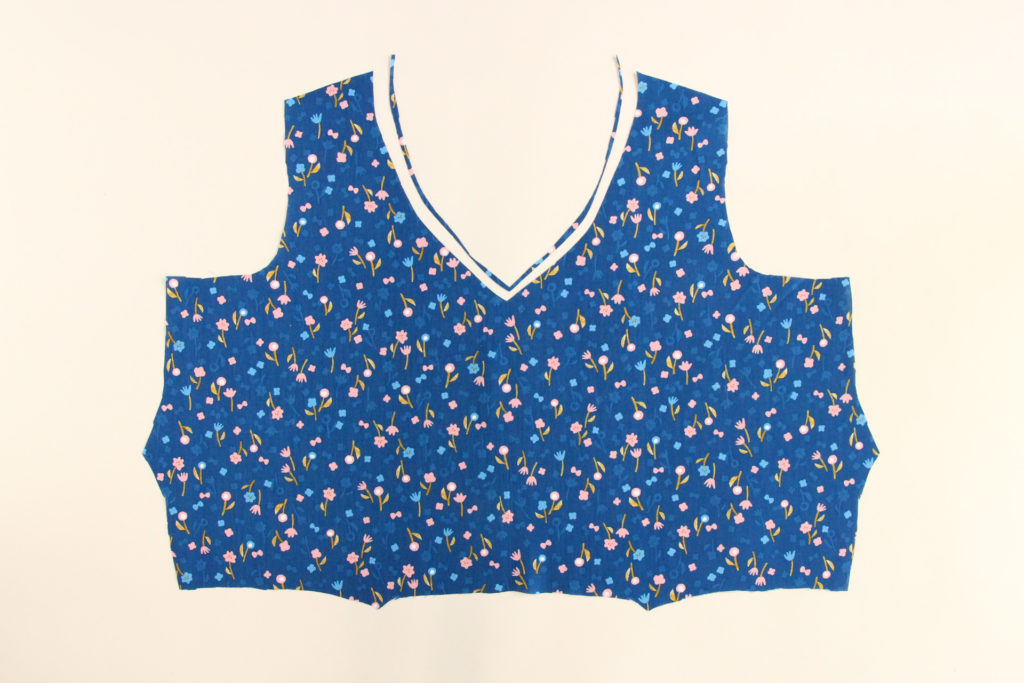
On both the outer and lining bodice pieces, we now need to staystitch the neckline. This type of stitch is a very short stitch that prevents the neckline from stretching out as we’re handling the pieces. Sew at 1/4″ (6 mm) from the edge and work in two passes, starting at each shoulder and stopping at the center.
If you’re using the square neck, keep your needle down and pivot at each corner.
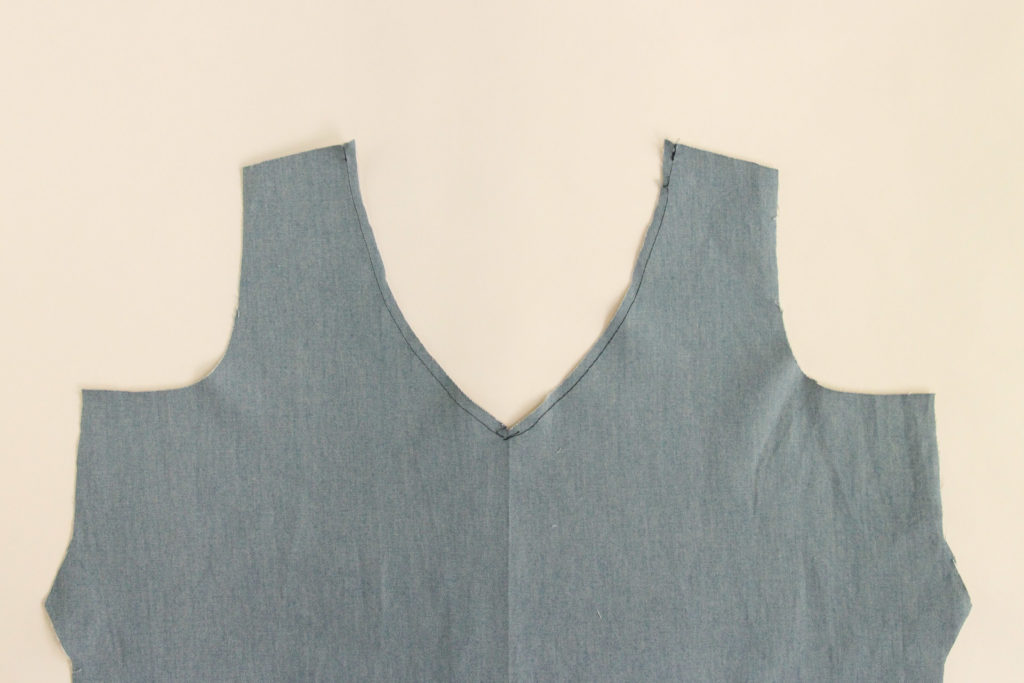
Let’s do the same thing on the back:
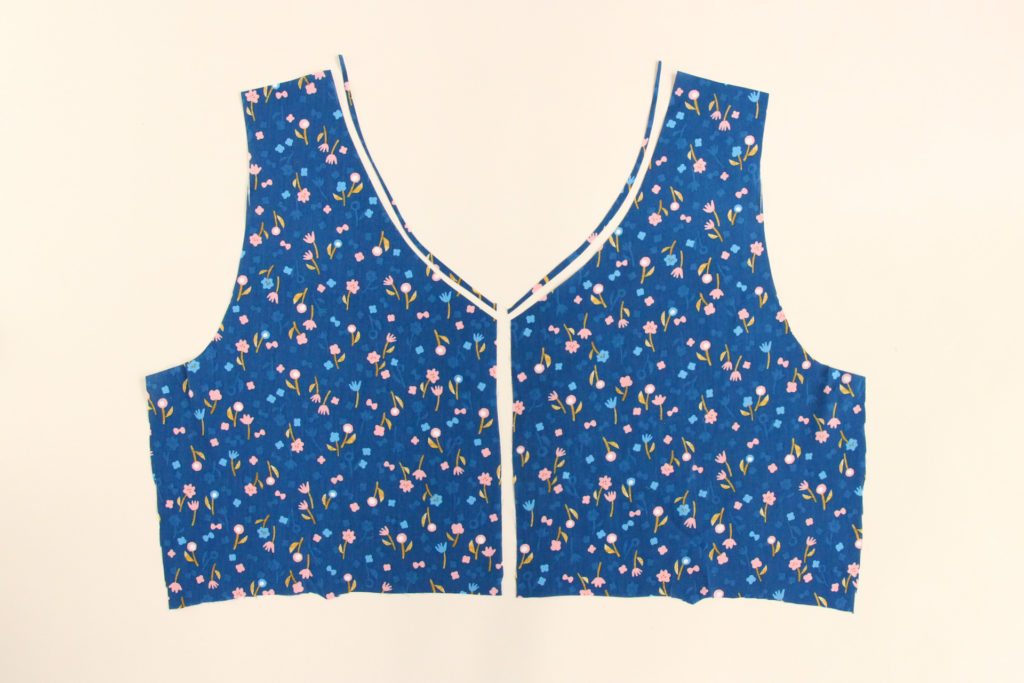
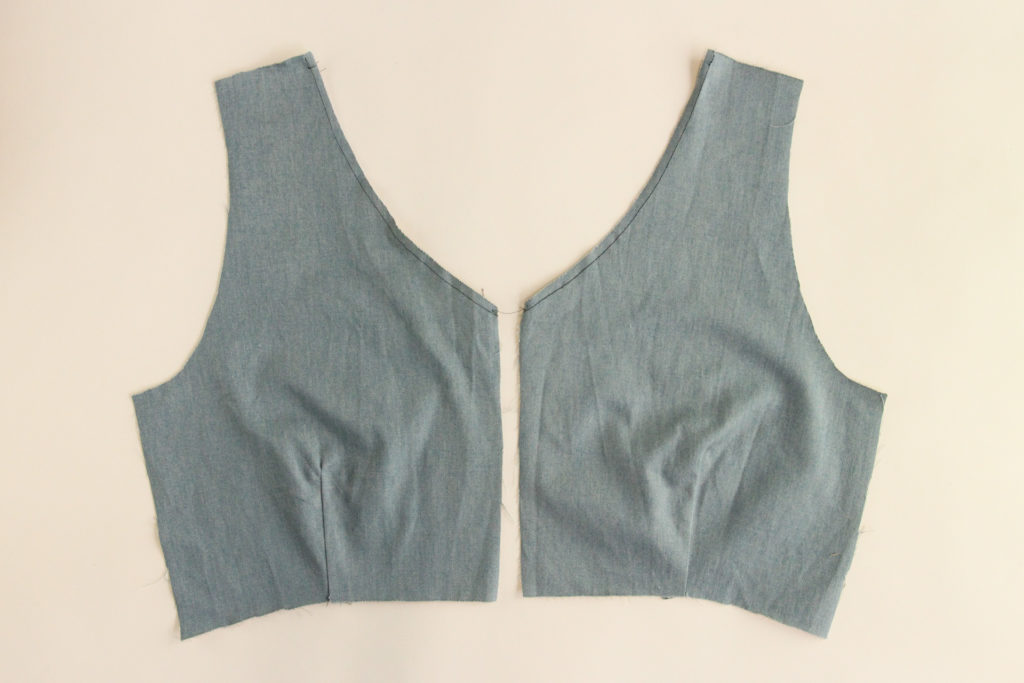
Sew the Front Darts
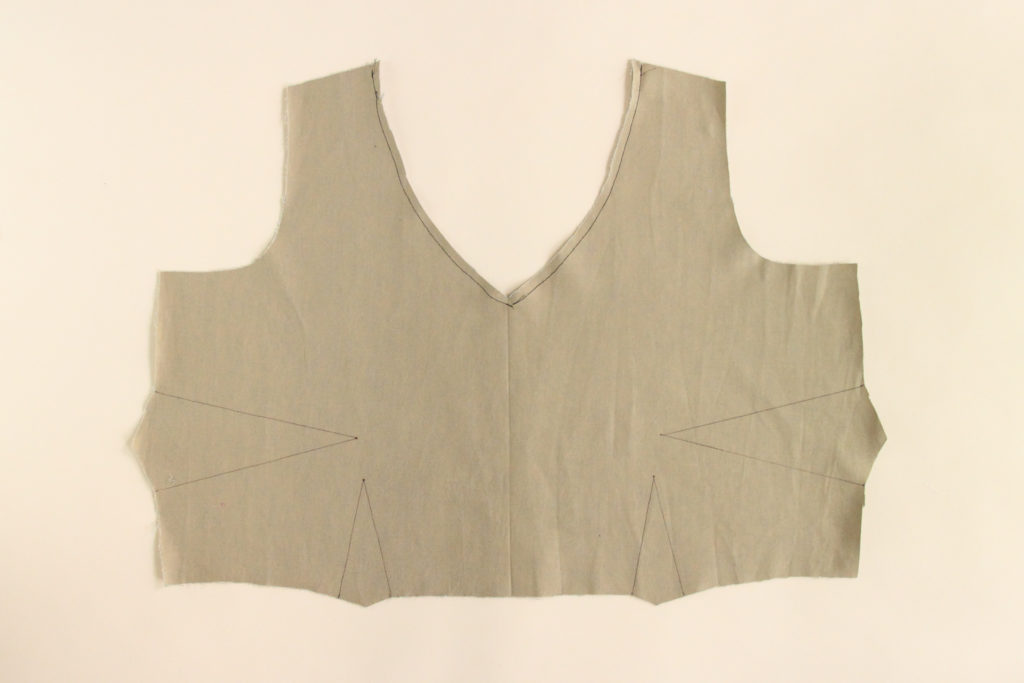
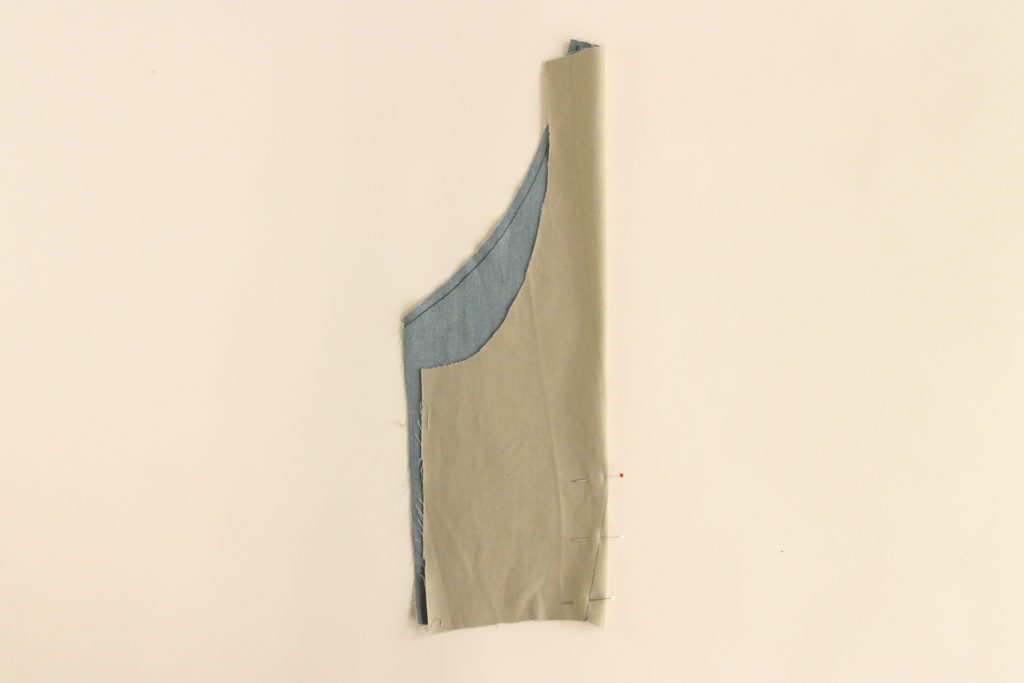
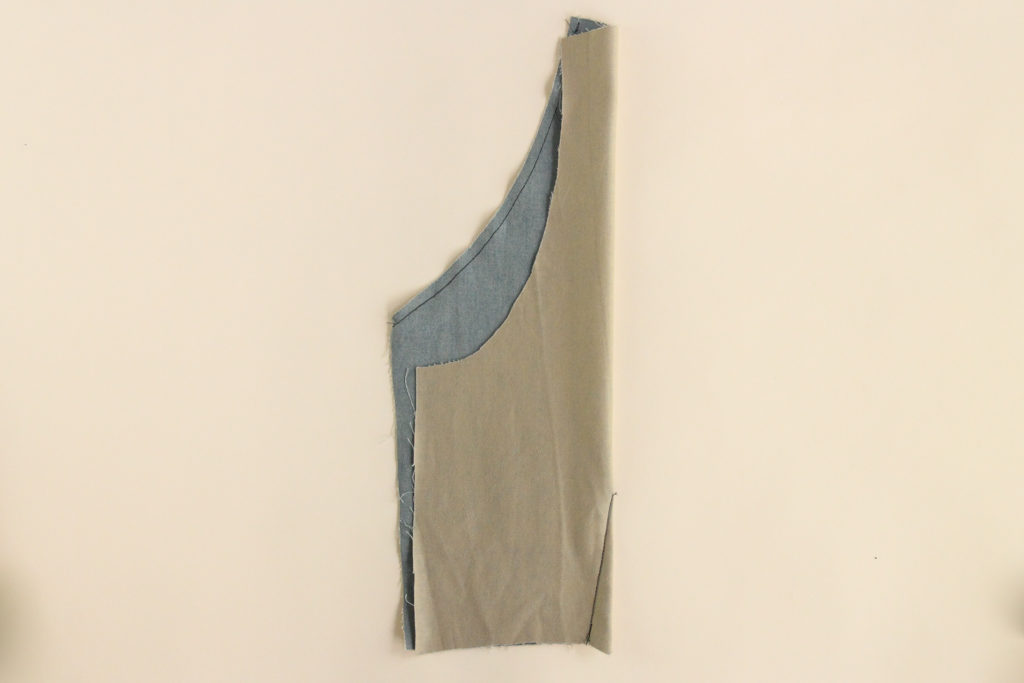
Now we’re ready to sew our darts. Start by marking the darts on the wrong side of the piece. I recommend using tailor’s chalk for this (I’m using a pen so you can see the darts more easily).
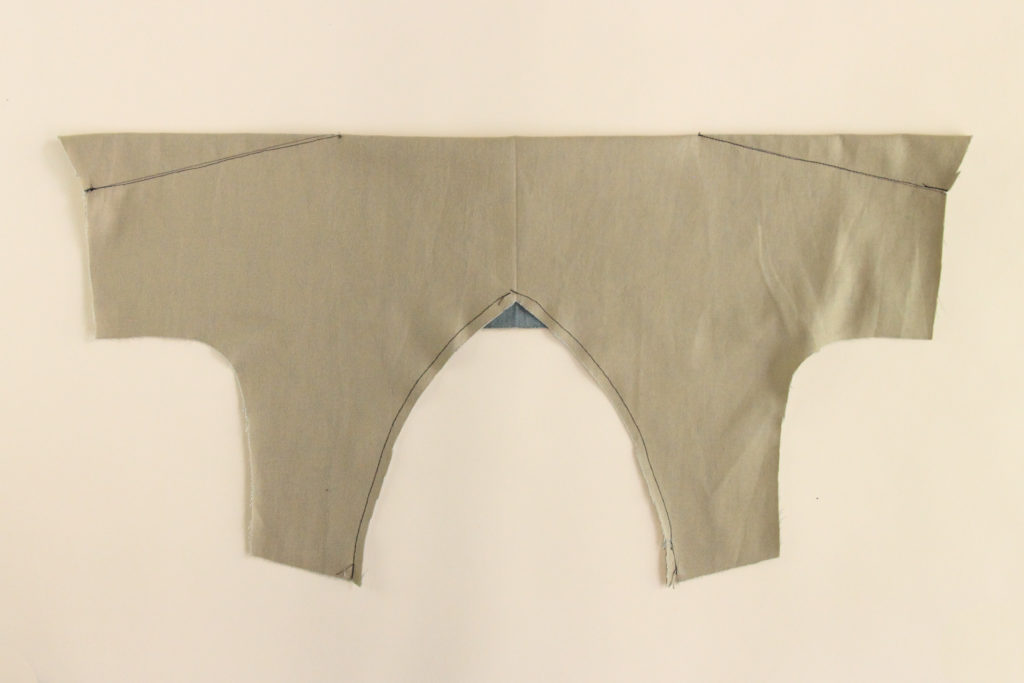
Fold the bodice along the bust darts and pin in place. I find it helpful to snip a tiny bit into the dart legs on the side seams so that I can more easily match up the legs. Then, I’ll push a pin through the leg on one side and adjust the fabric so that it comes out exactly through the dart leg on the other side.

Sew the bust darts, starting from the side seam and leaving long tails at the dart point. Tie these tails together and trim for neat dart point.
On our patterns, we always recommend pressing the bust darts up. This is better for larger busts, because it fills in some of the space above the bust rather than adding bulk to the bust.
Using a tailor’s ham, press the bust darts up.

Now you’ll notice that the darts aren’t exactly trued up with the side seam–that’s because many people are taught to press their darts down, so we add this bit as insurance in case you don’t read the instructions quite so carefully. But since we’re pressing up, we can trim the bit of excess off.
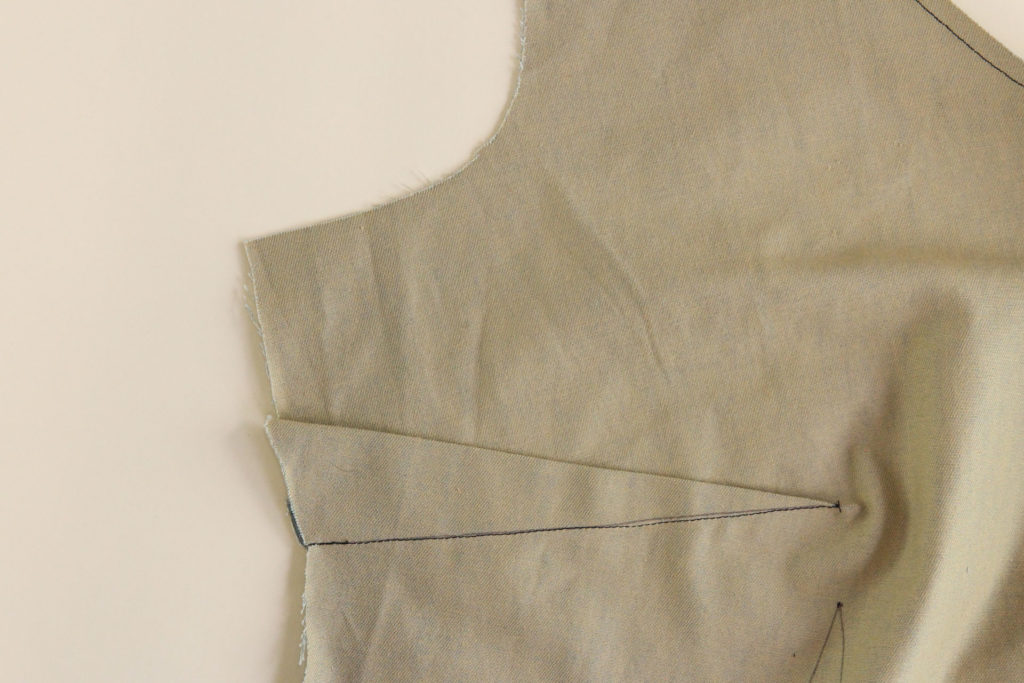
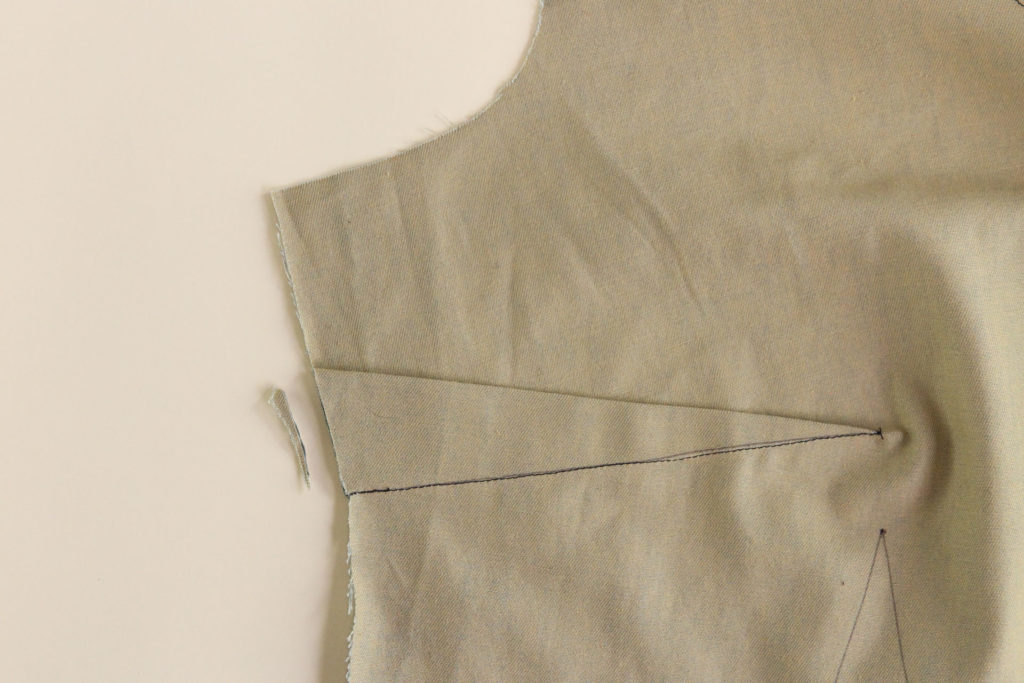
Now let’s move on to the waist darts. Fold the bodice along the waist dart and pin in place. Sew.
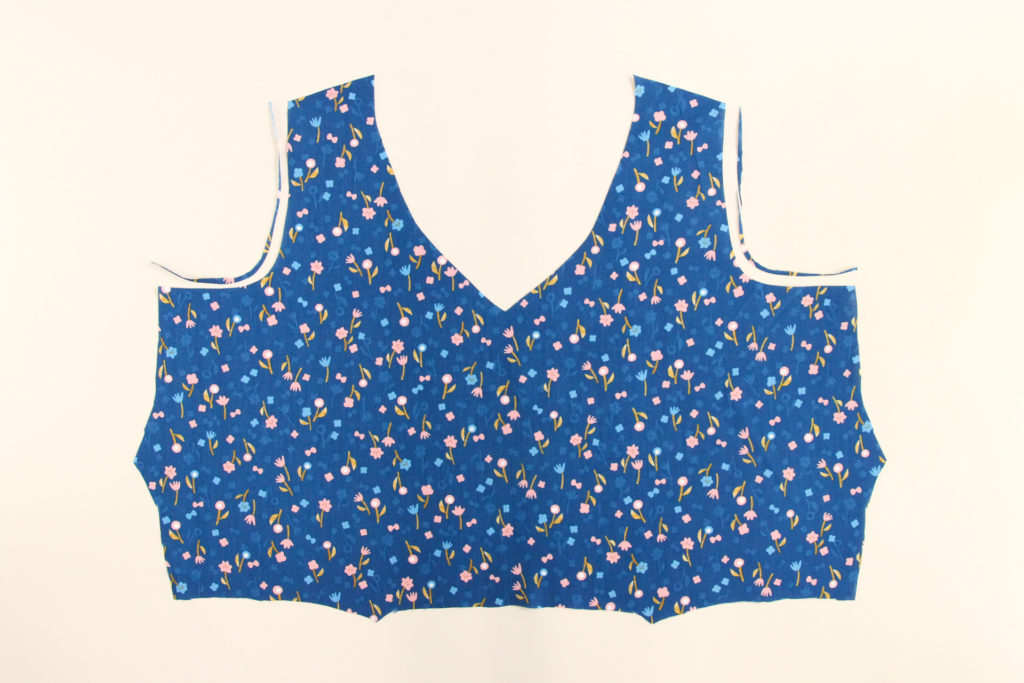
Let’s repeat that with the second bust dart, then we’ll press the dart towards the center.
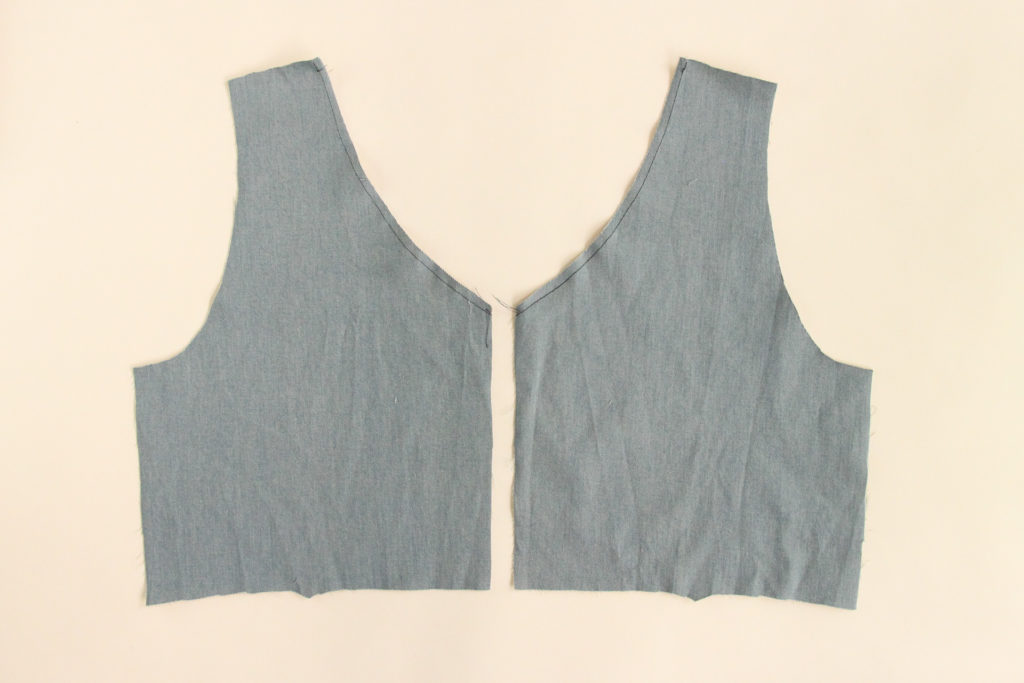
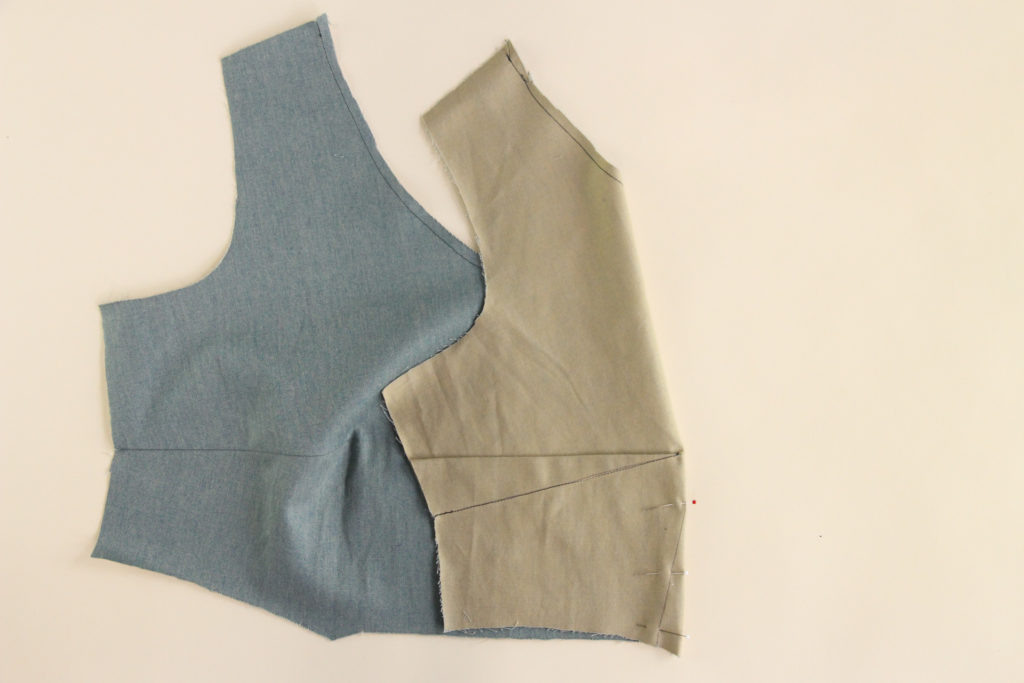
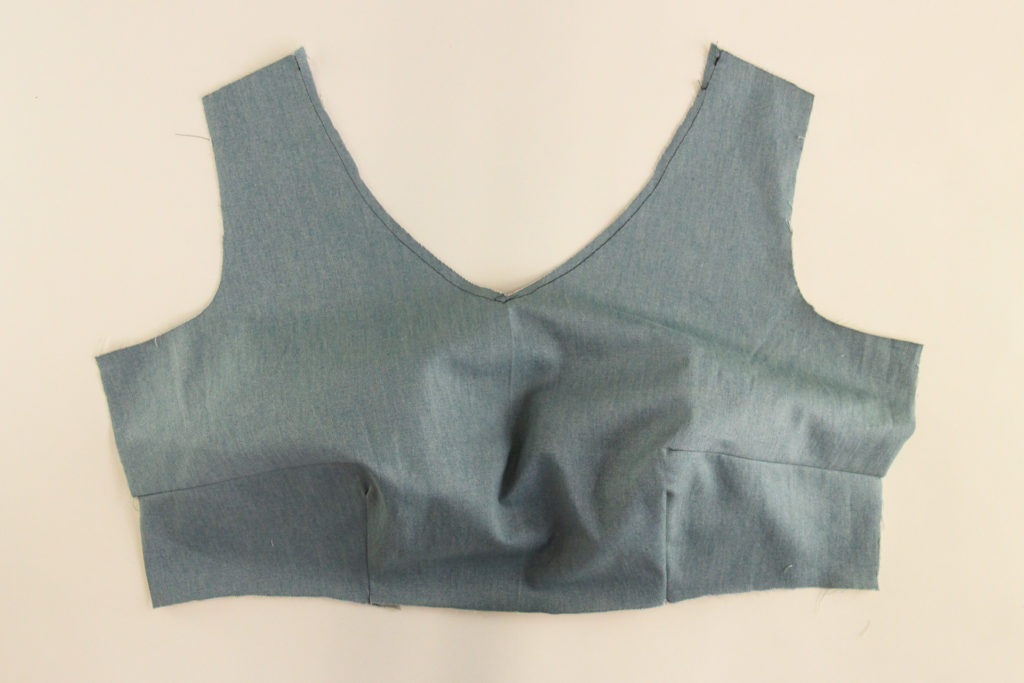
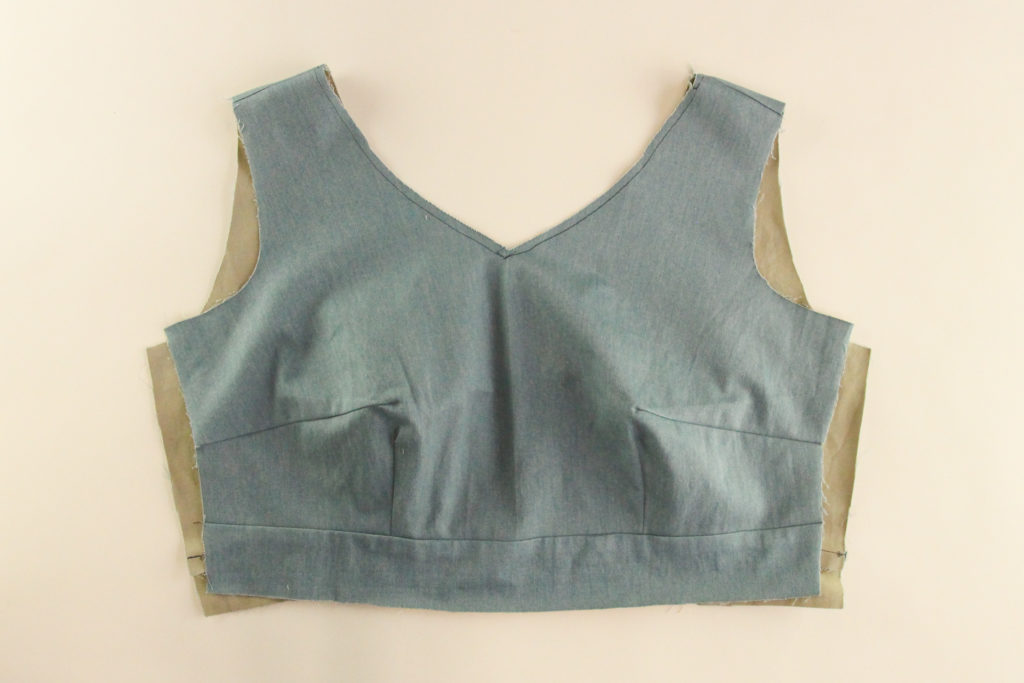
Ta-da! Our front outer bodice is ready.
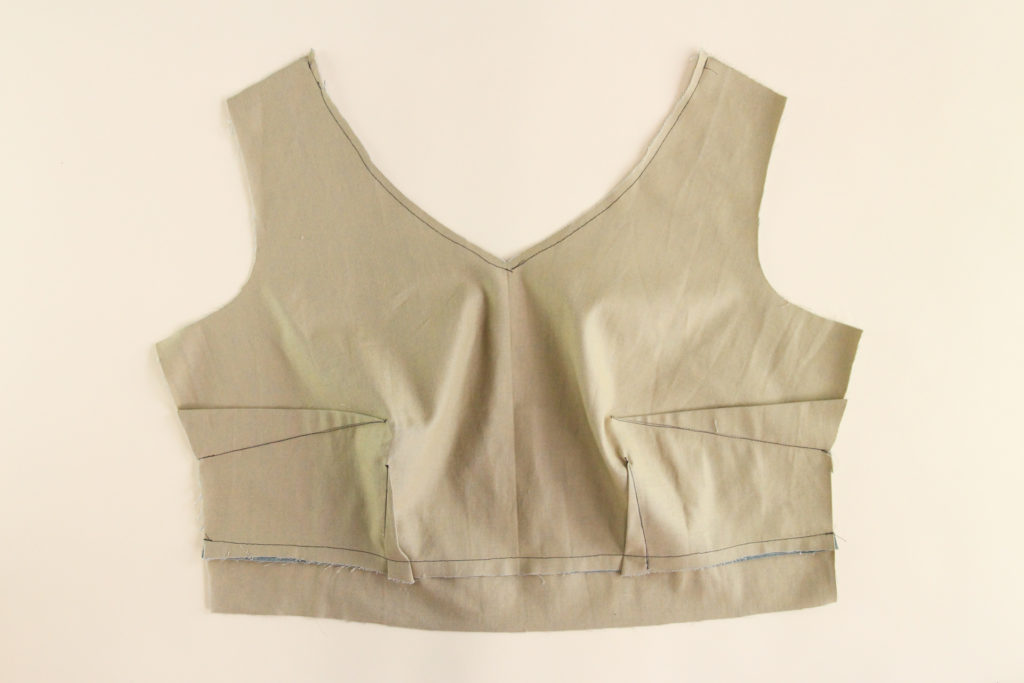
Sew the Back Darts
Our Upton also has darts on the back bodice pieces which add to the beautiful bodice shaping. Mark the dart on each back piece, and then pin.
Sew the dart, again starting from the seam edge and sewing to the dart point, tying off the tails.
Repeat with the other back piece, then press both darts towards the center.
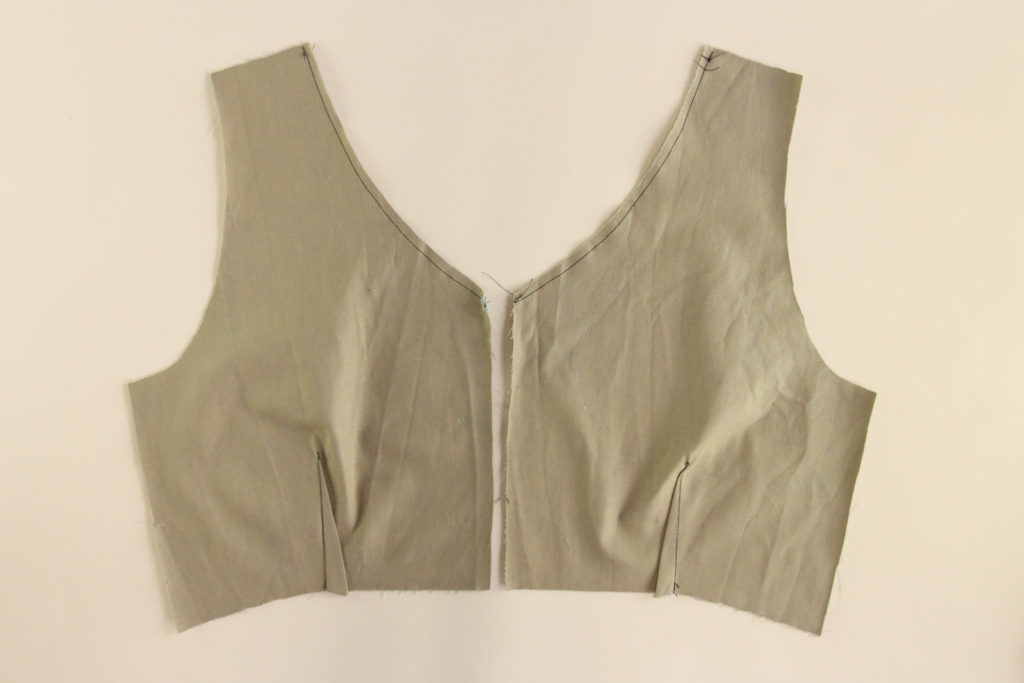
Okay, our back bodice pieces are now ready as well!
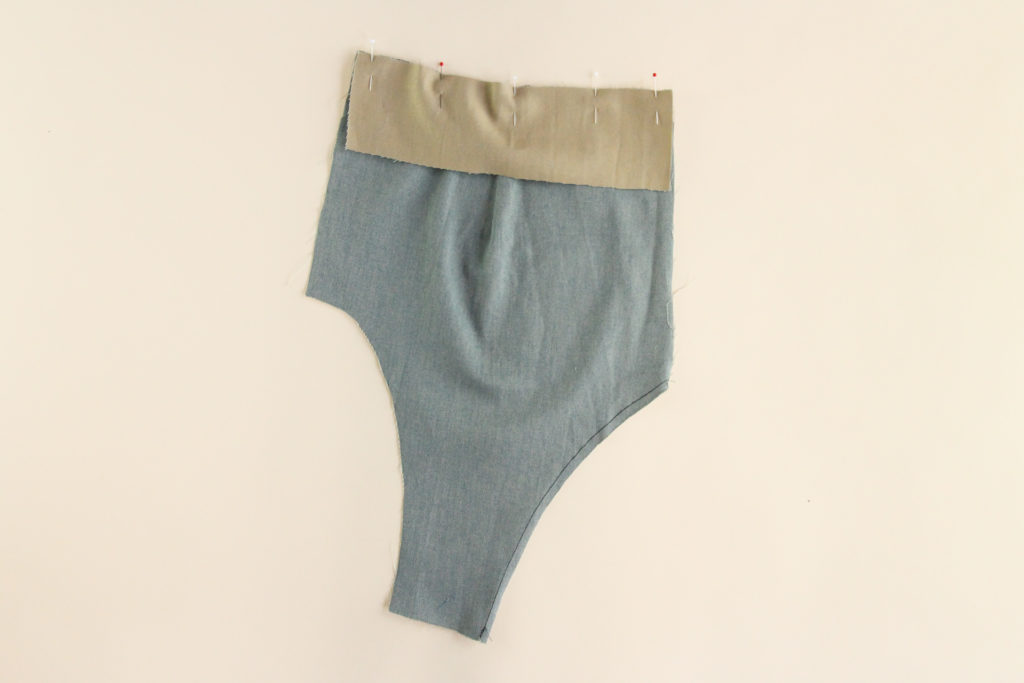
Attach the Waistband
Next we’re going to pin the front waistband to the front bodice, matching the notches with our waist darts. Note that the longer edge of the waistband is the top edge that we’re matching up with the bodice.
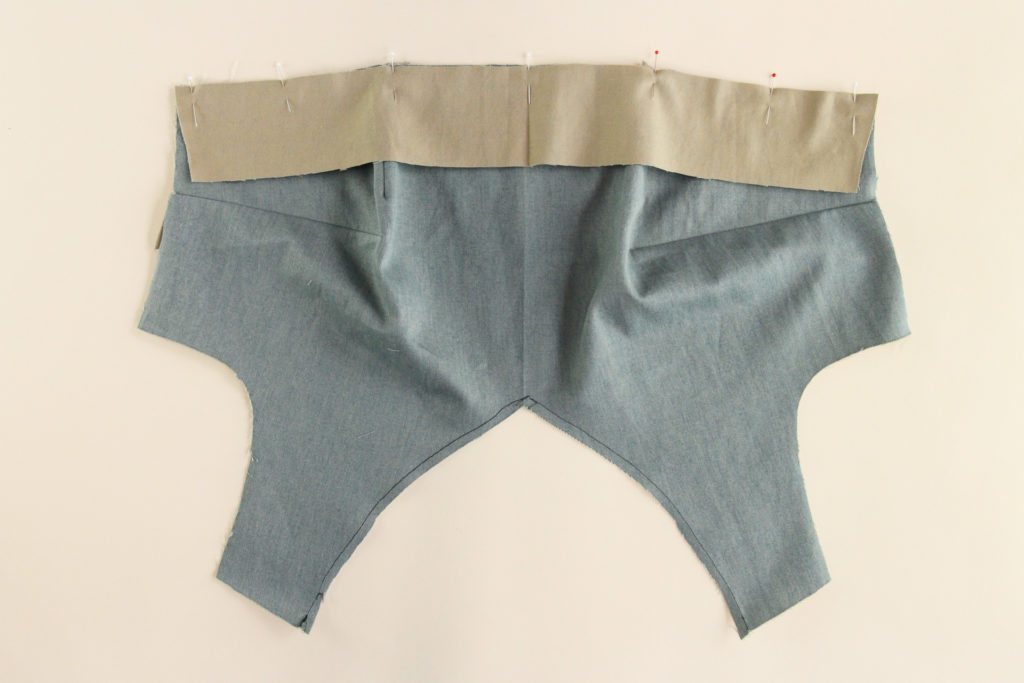
Sew that seam using our 1/2″ (12 mm) seam allowance).

Press the waistband and seam allowance down and away from the bodice.
Okay, this is piece is done!
Let’s do the same thing with the two back pieces.
Again, press the seam allowance towards the waistband.
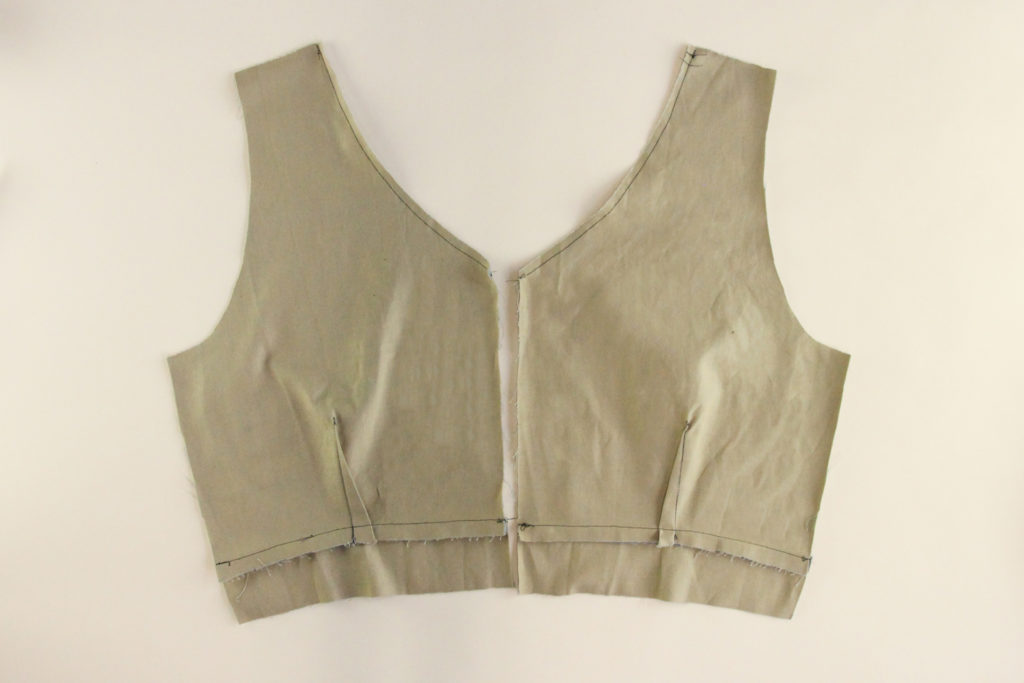

Easy peasy, right?
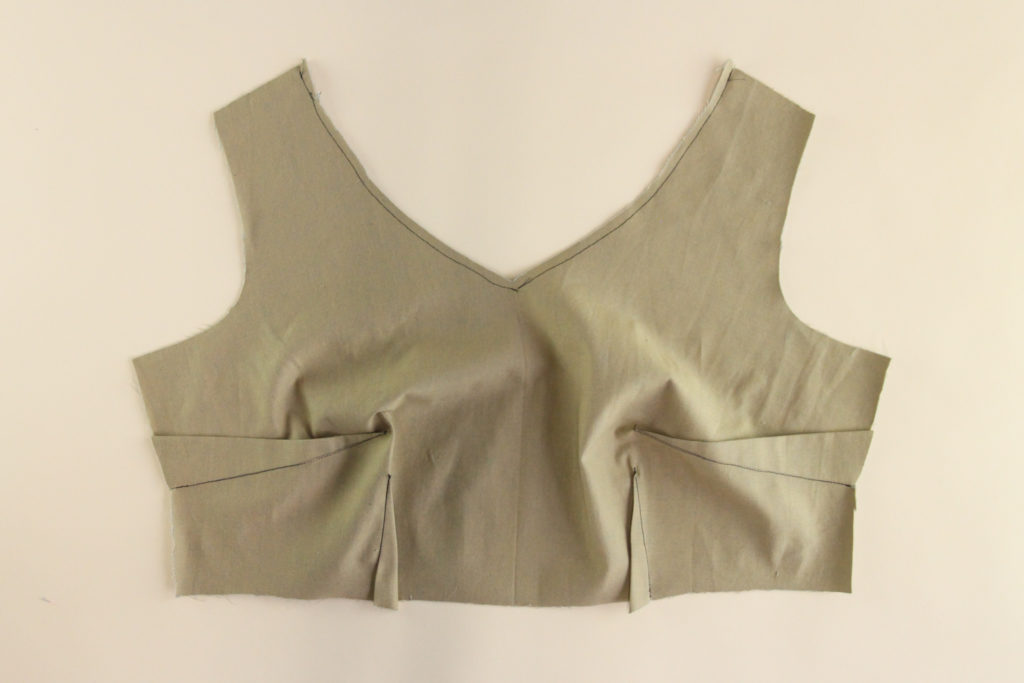
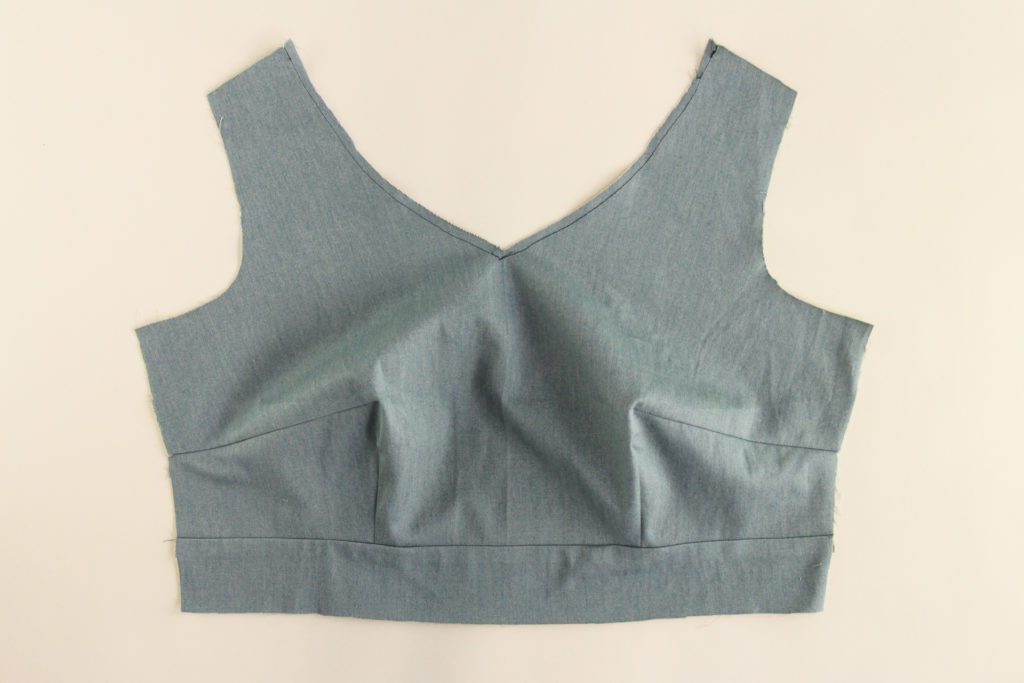
Sew the Shoulders
Time to attach our back bodices to our front bodice. Line them up at the shoulders and pin.
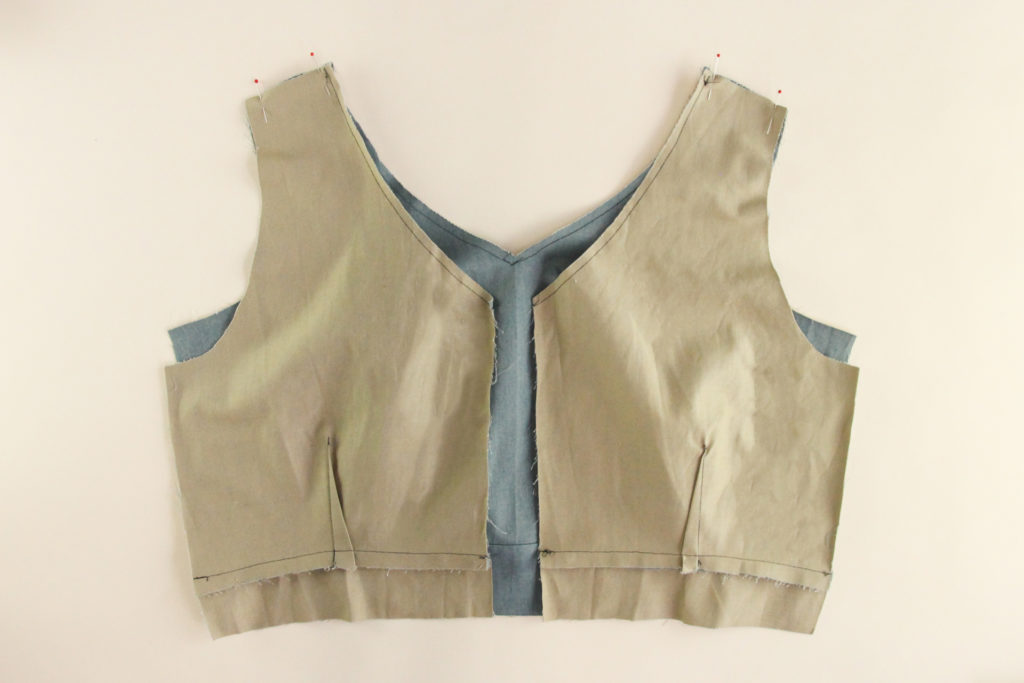
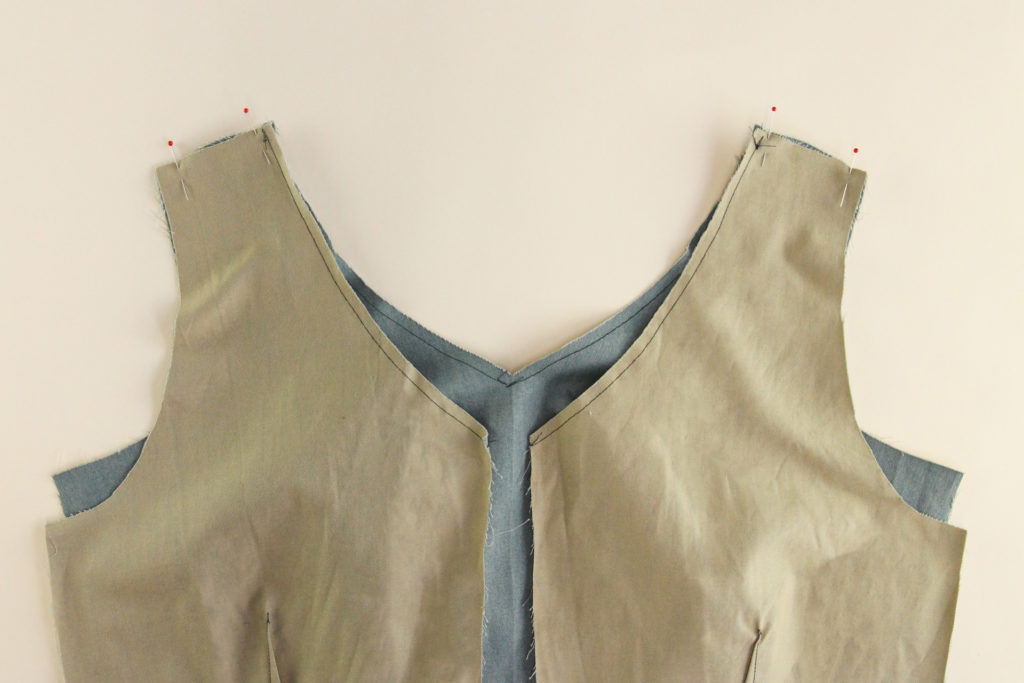
Let’s sew both of those shoulders using our 1/2″ (12 mm) seam allowance.

Press the seam allowance towards the shoulders, and here we are!
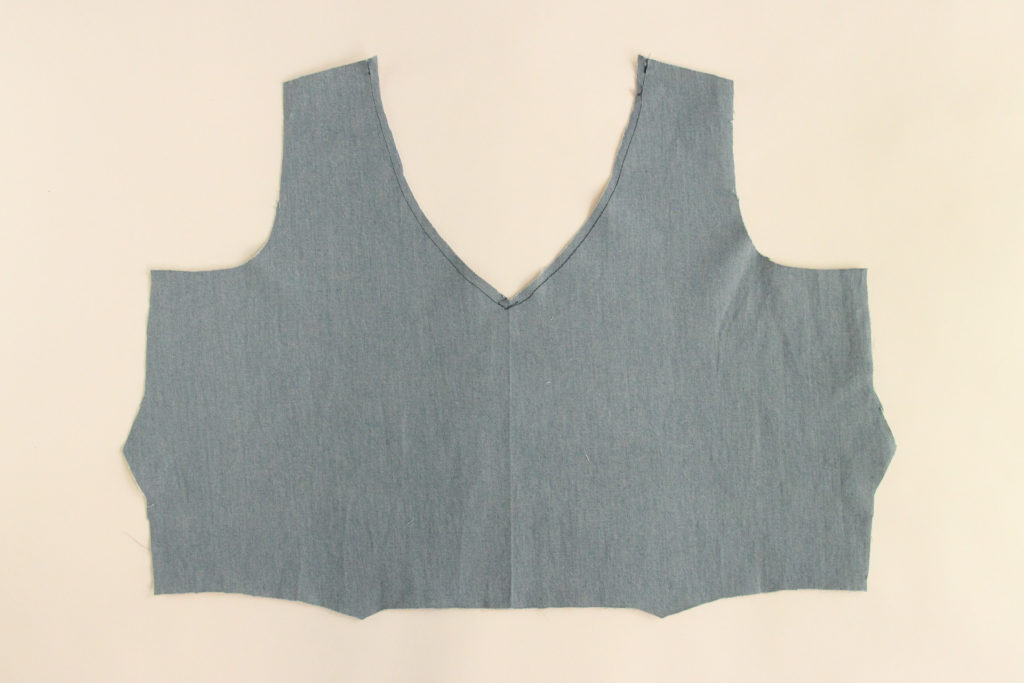
Repeat with the Lining
Okay, time to do the same thing with the lining. Sew the front and back darts as we did above, attach the waistbands, and sew the shoulder seams.
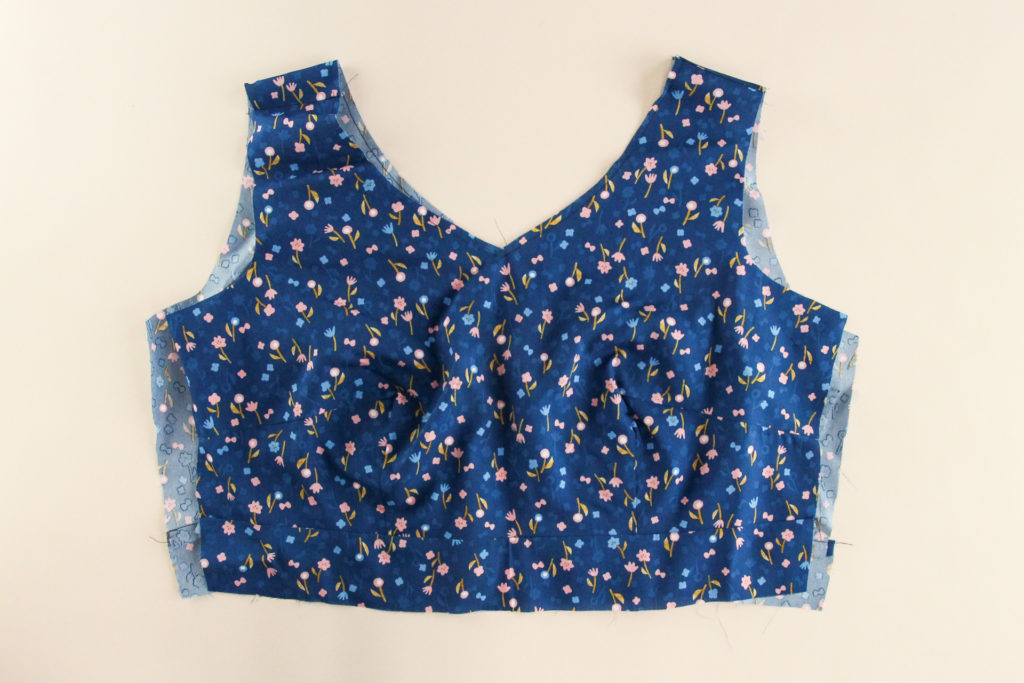
Fantastic! We now have a constructed outer bodice and a constructed bodice lining, and that’s where we’re going to call it a day for the moment. Next, you’ll be preparing your sleeves (if you’re using sleeves) and then attaching the bodice and lining together.
We’d love to see your Upton Dress, whatever stage you’re at! Tag your photos on social media using #UptonDress so we can marvel at your progress.
Jump to:
- Prepare the Sleeves
- Attach Lining (Sleeveless & Cap Sleeves)
- Attach Lining (Fitted, Flutter, & Tie Sleeves)
- Assemble the Skirt
- Finish the Dress