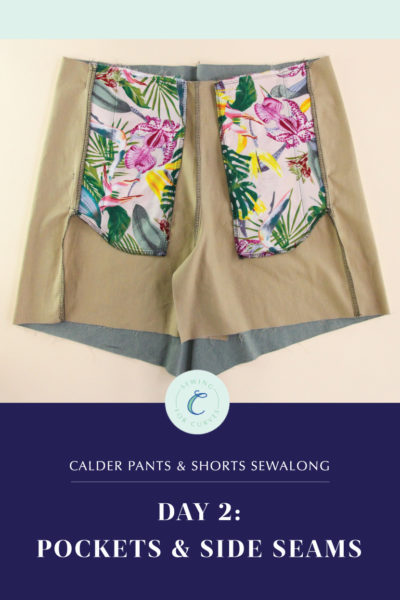
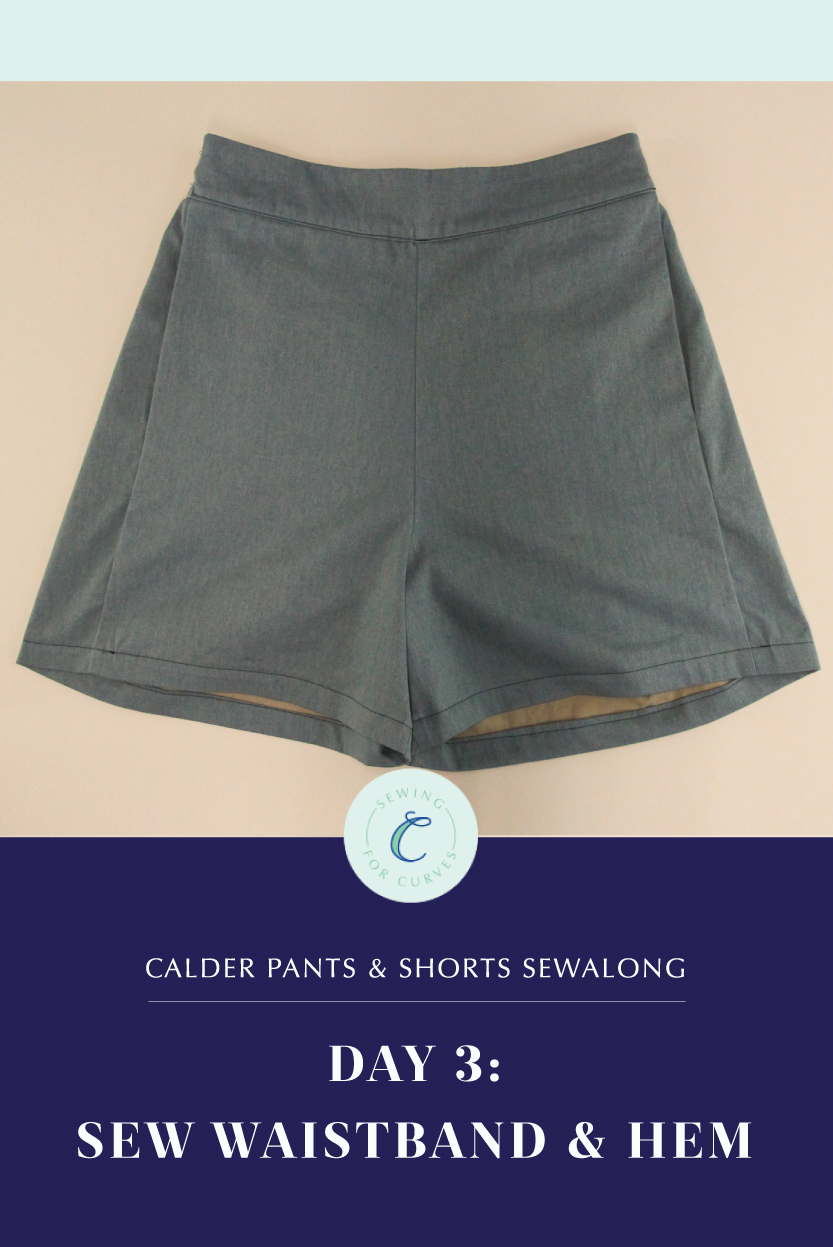
Welcome back to the Calder Pants & Shorts sewalong! Last time, we attached our pocket and sewed the side seams, and today we’ll be wrapping things up by attaching our waistband and hemming.
If you’re just joining us, be sure to check out the Calder sewalong main page to get caught up on everything you missed (and get loads of Calder inspiration, too!).
As a reminder, I’m sewing View C (the shorts) but the construction is the same for all views. I’m using a contrast thread so you can better see what I’m up to, but you should use a coordinating thread if you want it your stitching to not be visible.
Okay, let’s get started!
Sew the Inseam
We’re going to start by sewing the inseam of the pants. Pin the front and back legs together at the inseam.
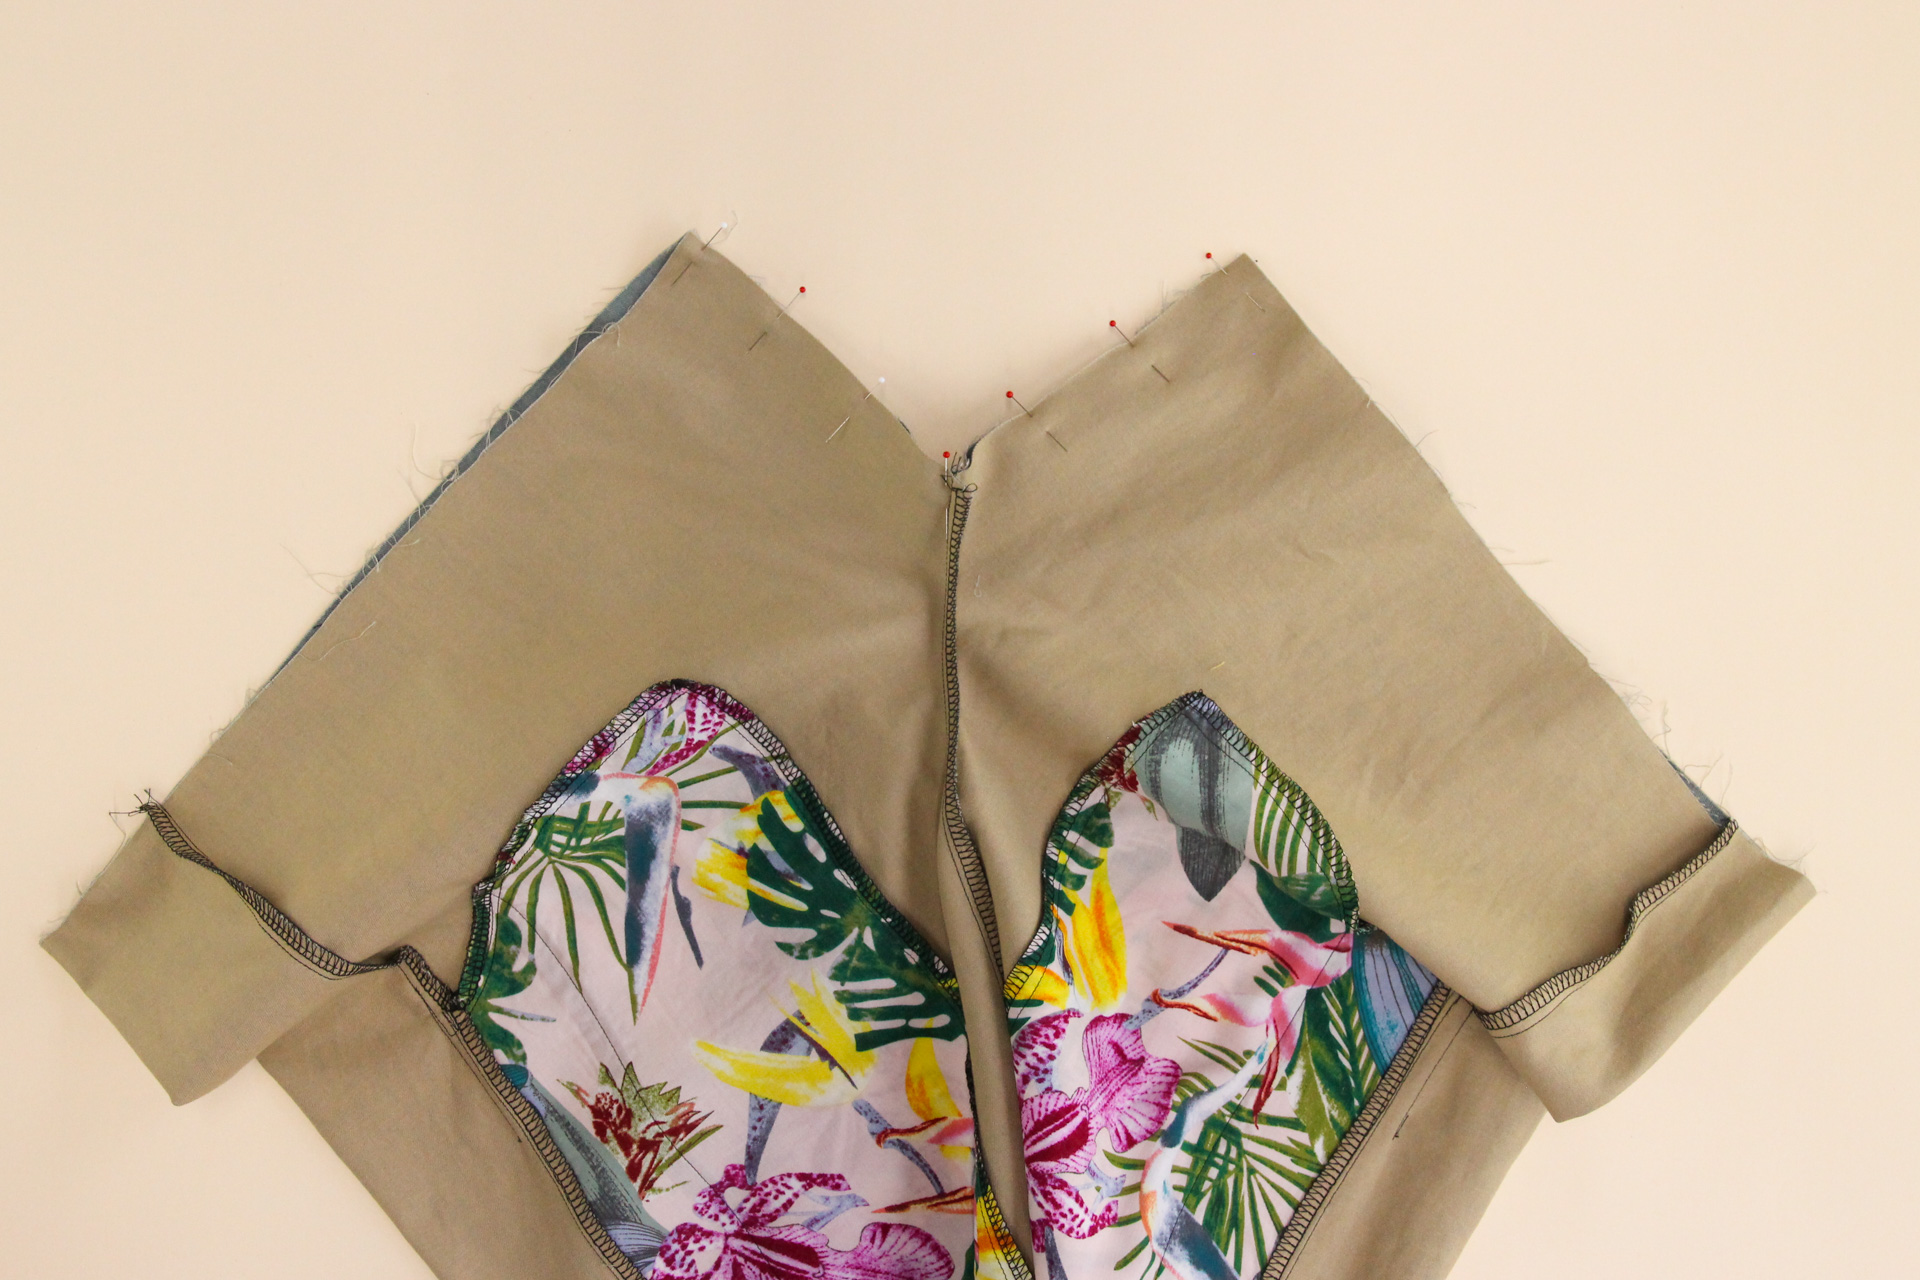
Let’s sew that seam using our 1/2″ (12 mm) seam allowance.
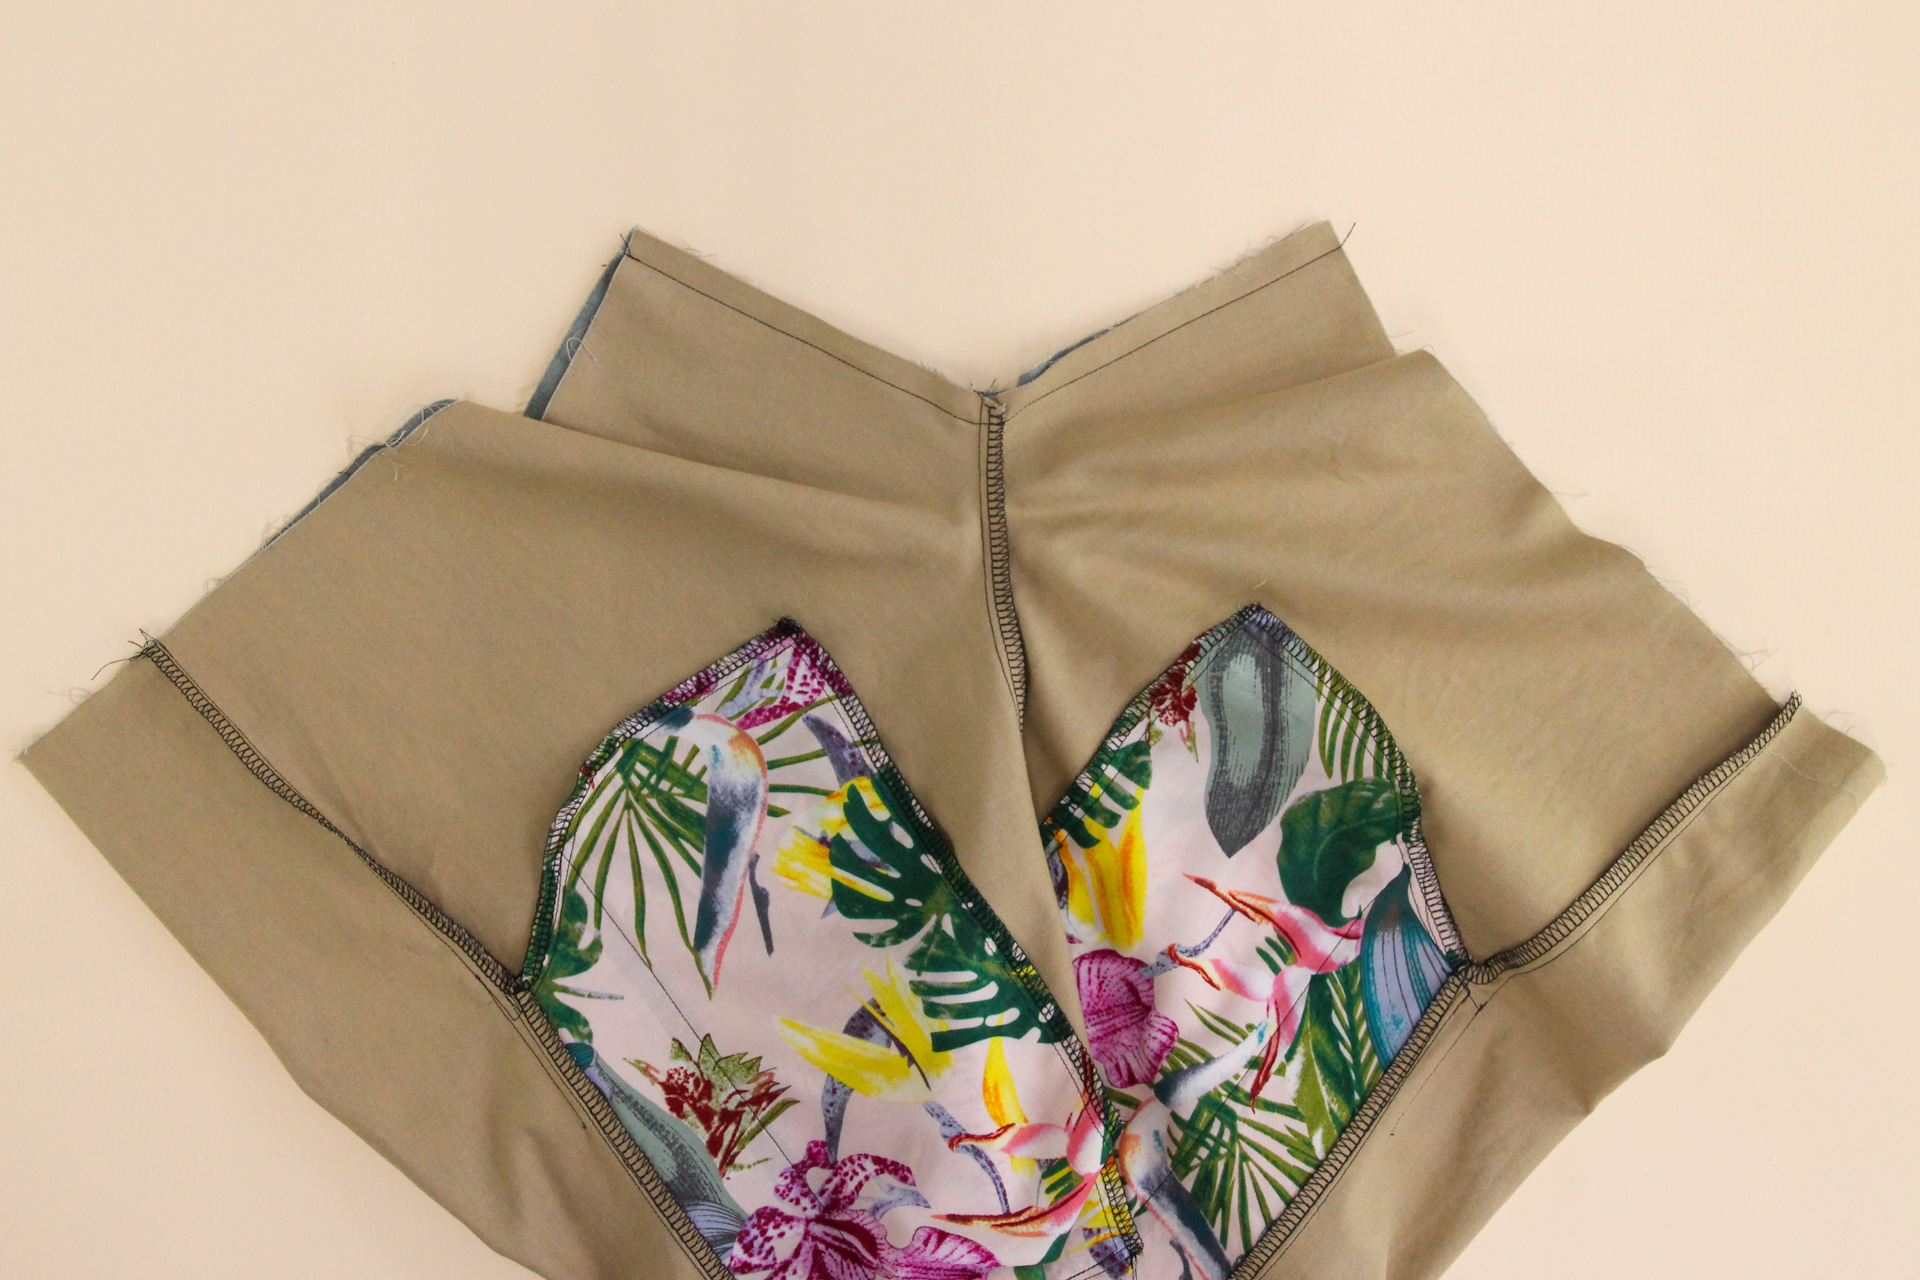
Finish the seam using your preferred finishing method, and then we’re ready to move on!
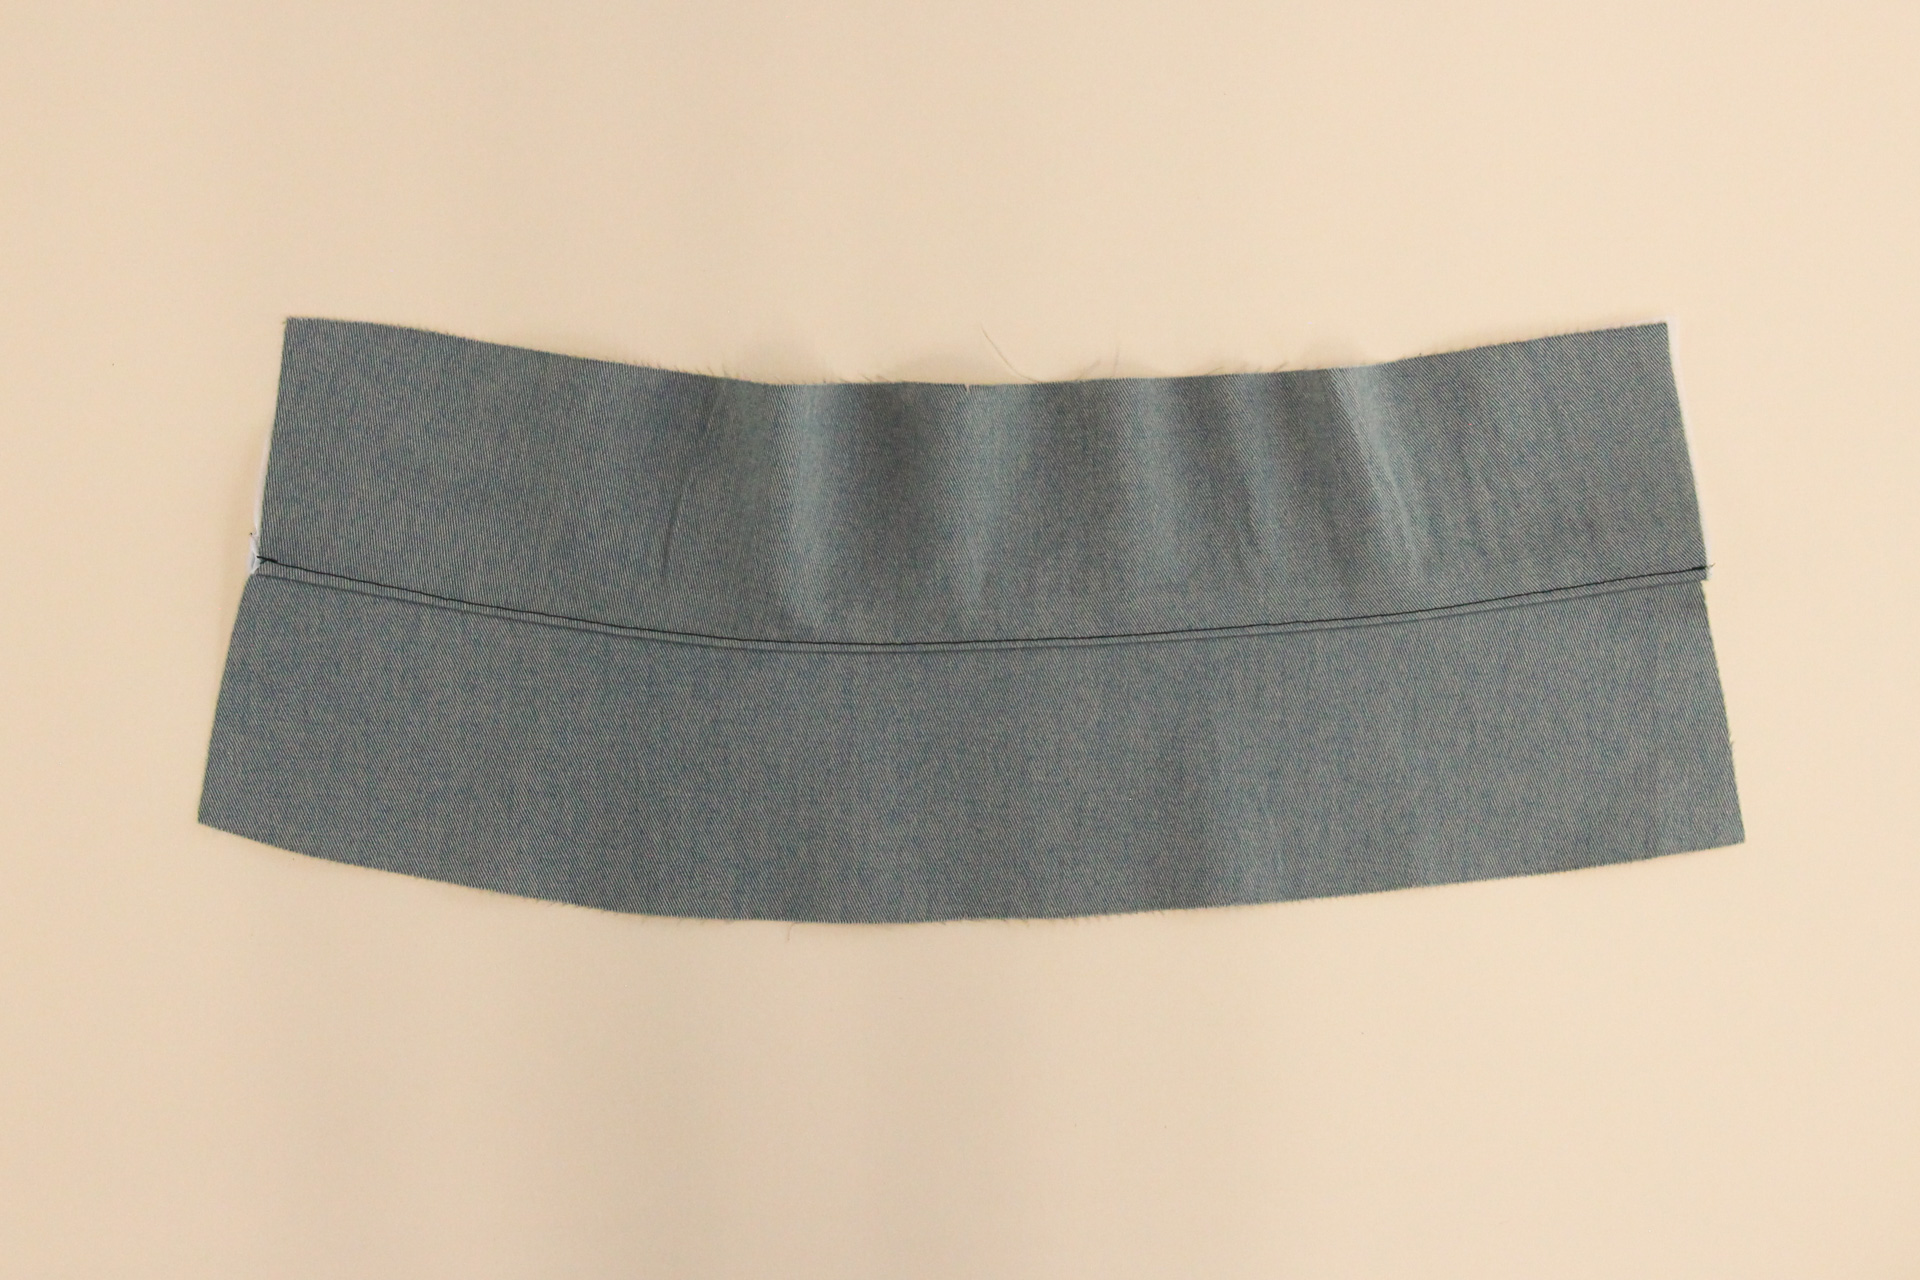
Assemble the Waistband
If you haven’t yet done so, apply interfacing to the back of the two front waistbands following manufacturer instructions.
Pin the two front waistbands along the upper curved edge, right sides together.
Let’s sew that using our 1/2″ (12 mm) seam allowance.
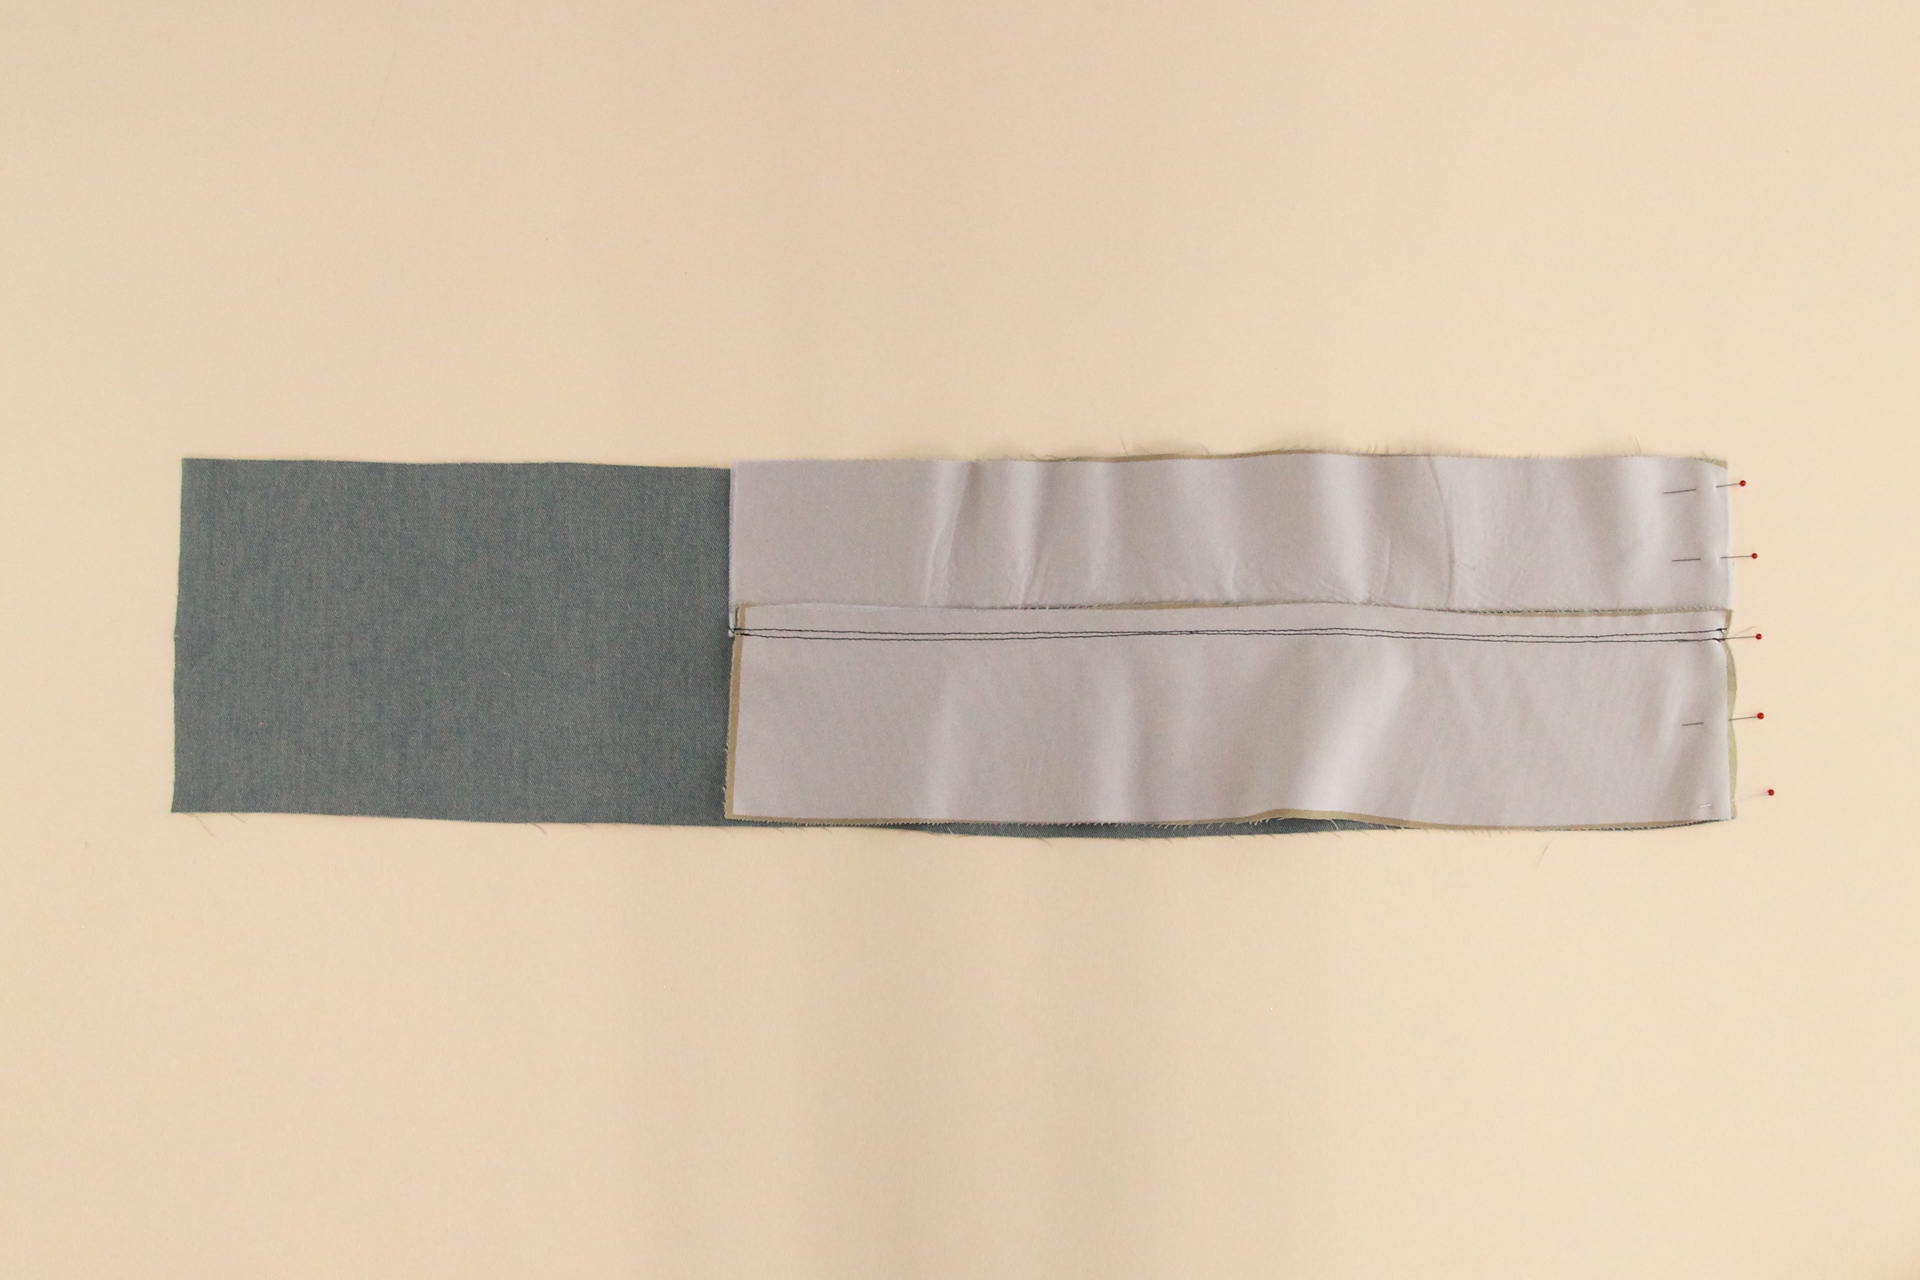
This seam is going to be hidden when we fold our waistband in, so theres’s no need to finish it. Instead, press it towards one of the waistbands.
Now we’re going to understitch the seam allowance to the front waistband from the right side, 1/8″ (3 mm) from the seam allowance.
The front waistband with the understitching is now our waistband facing—this is the one that gets folded to the inside of the pants.
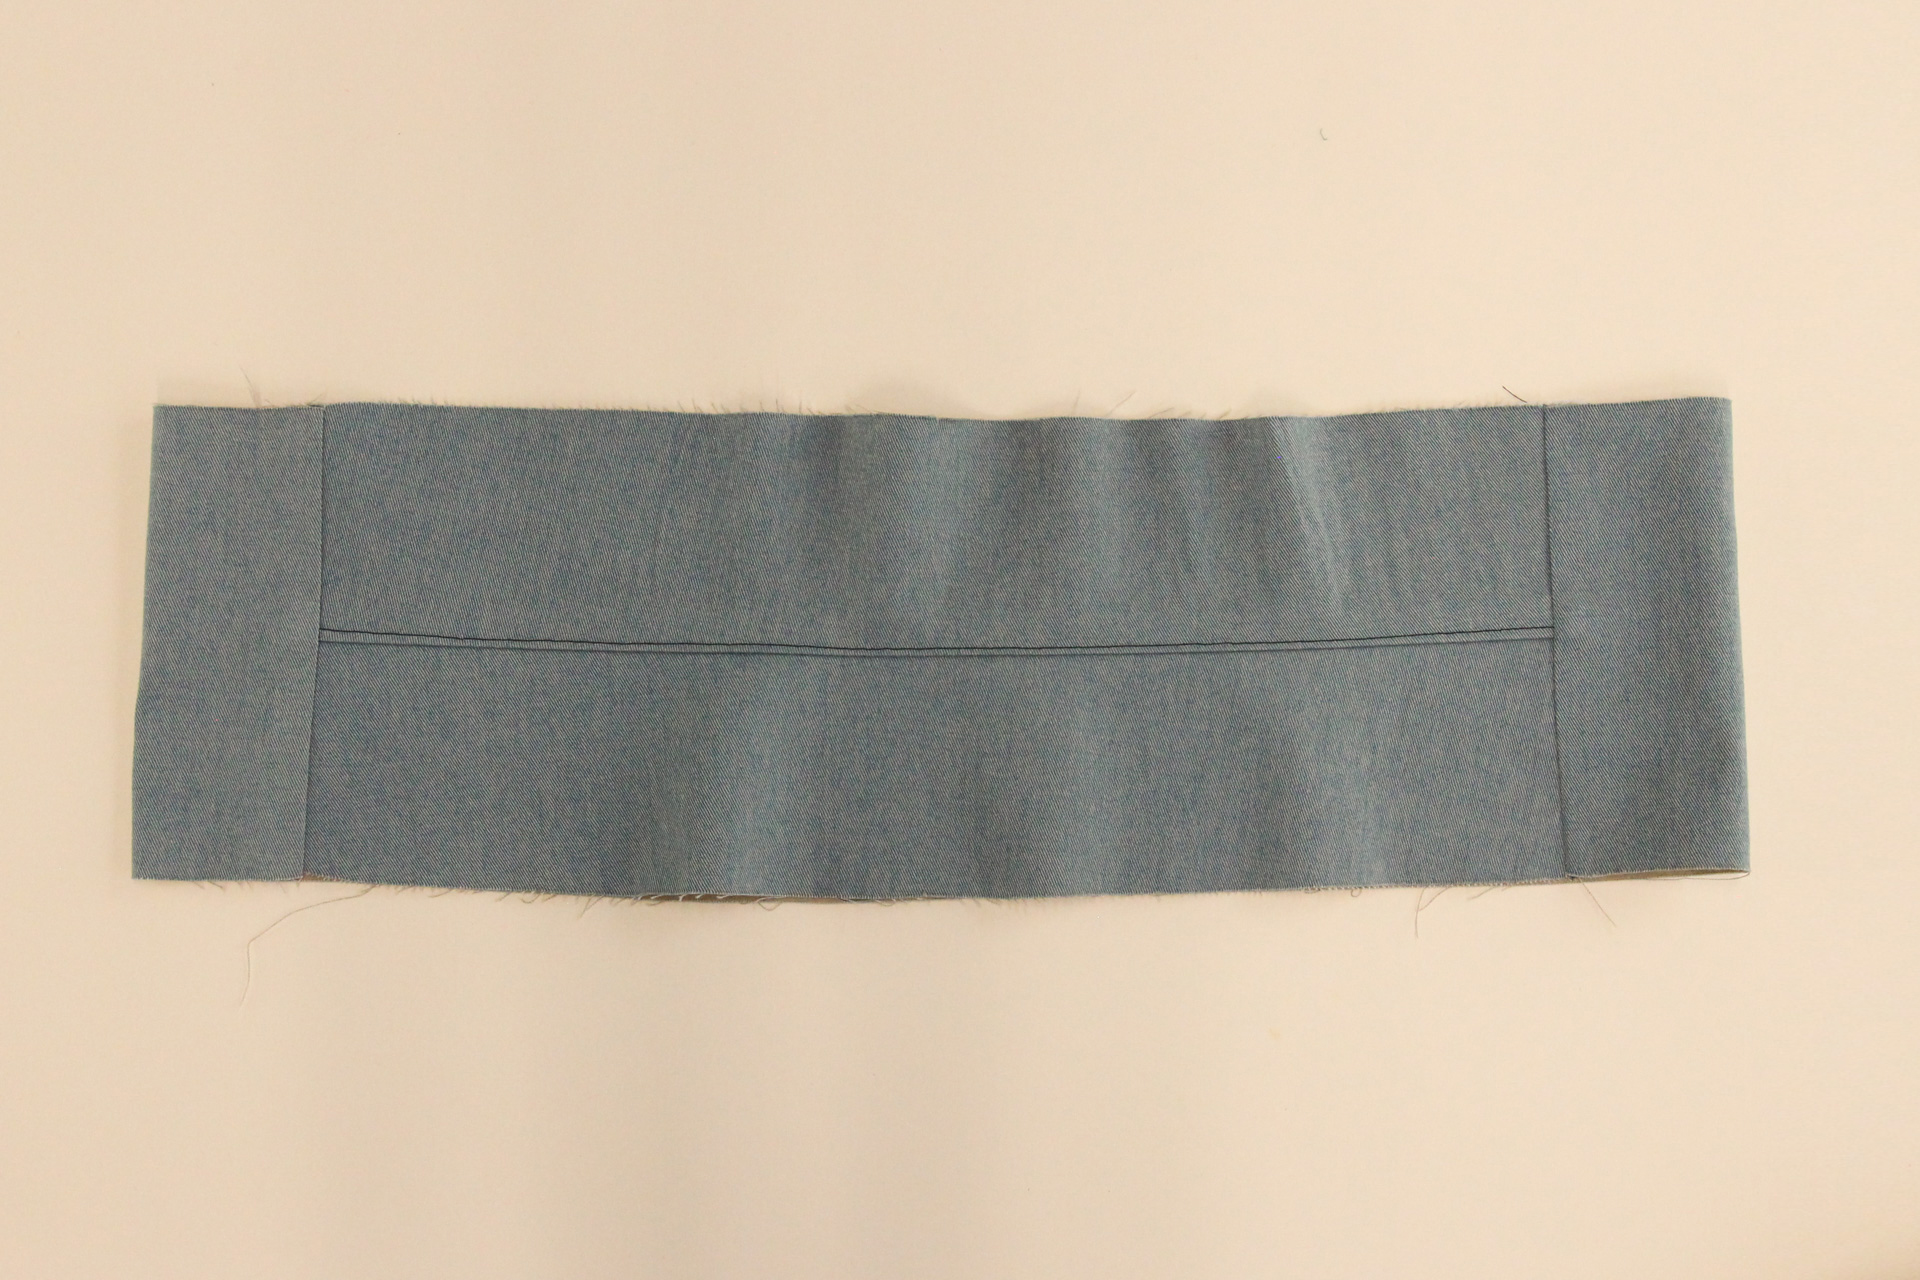
Next, we’re going to pin one end of our front waistband to one end of the back waistband, right sides together.
Sew that seam and press the seam allowance towards the back waistband.
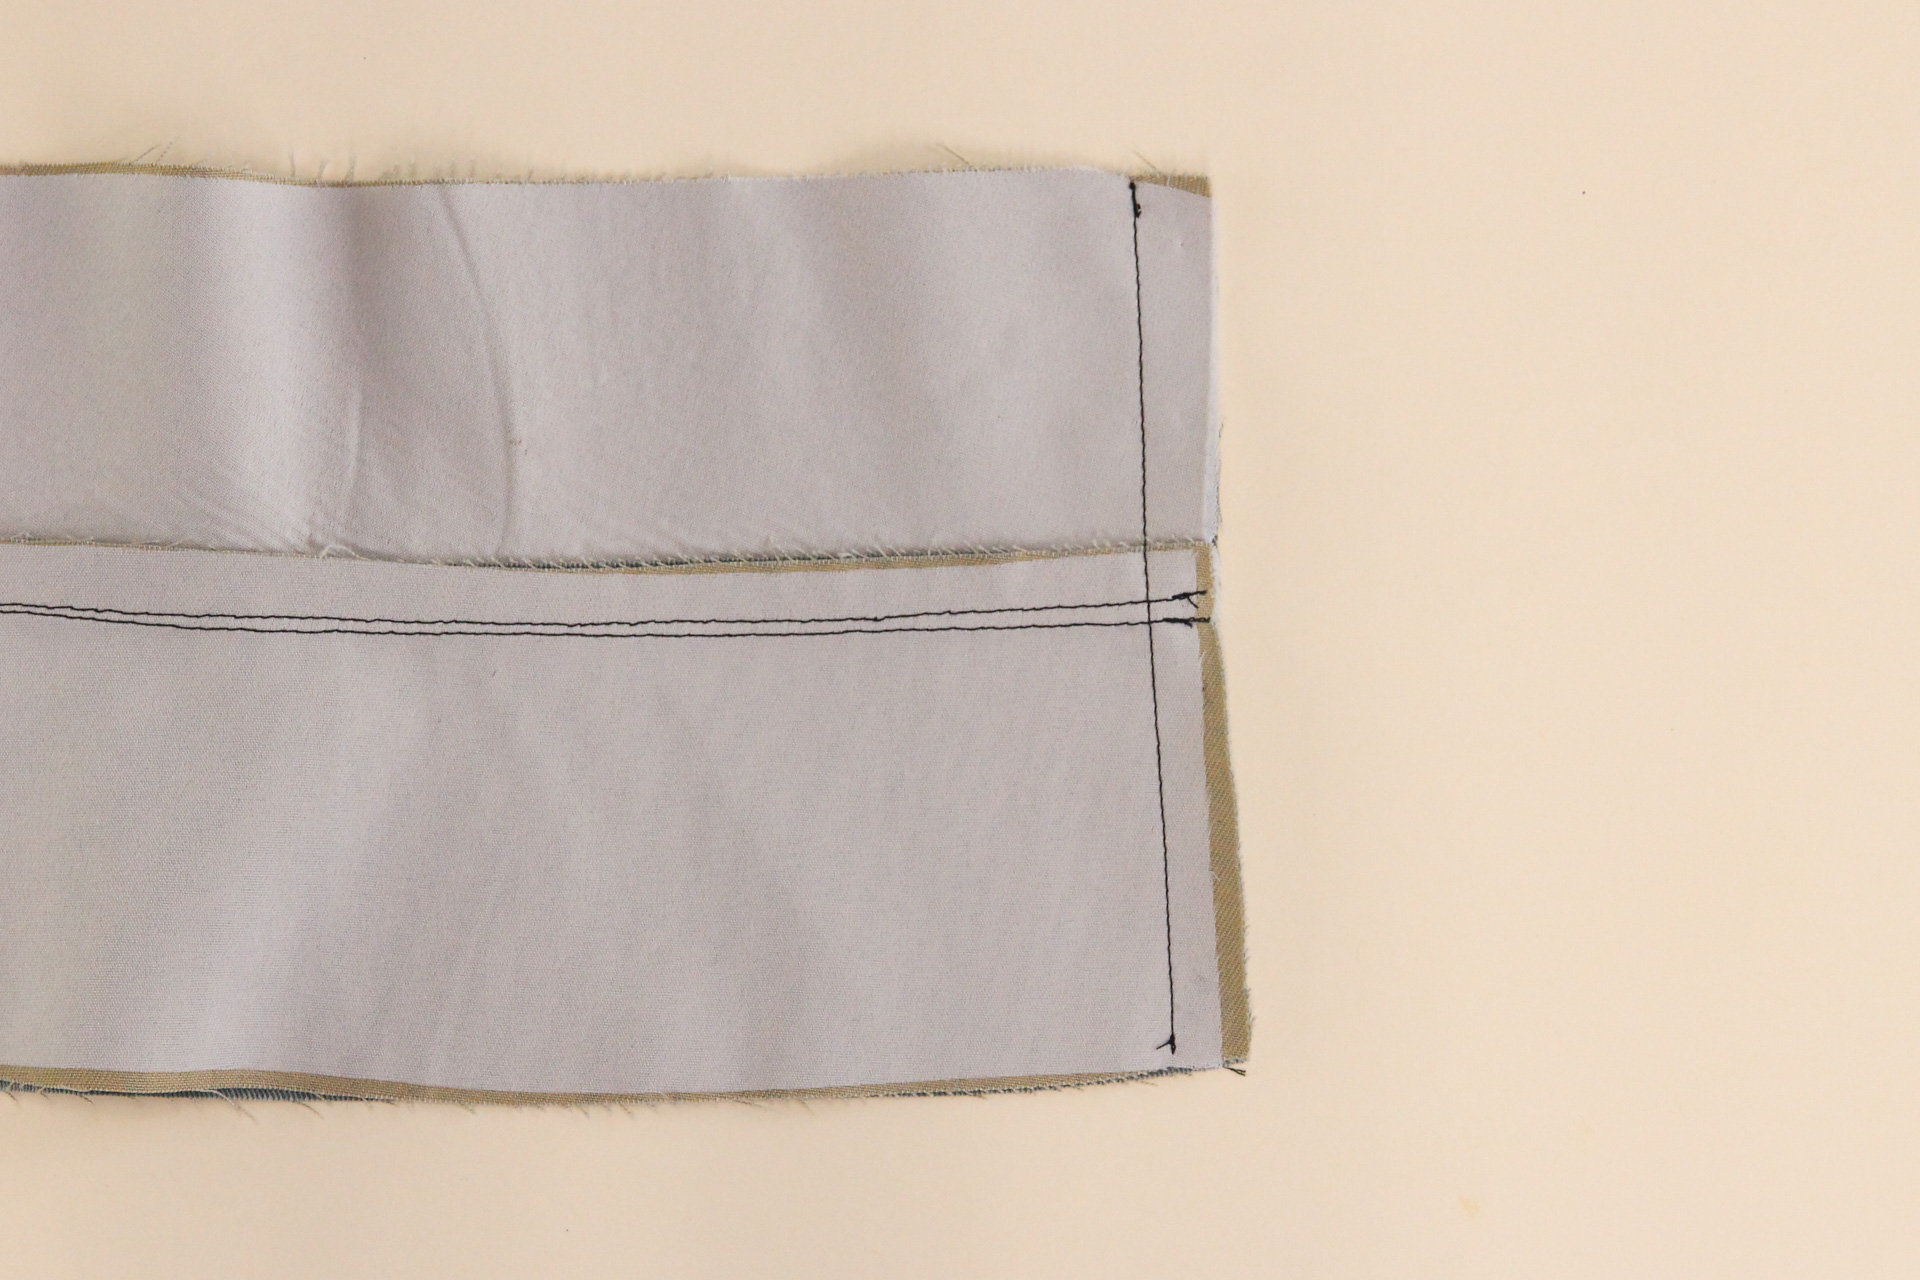
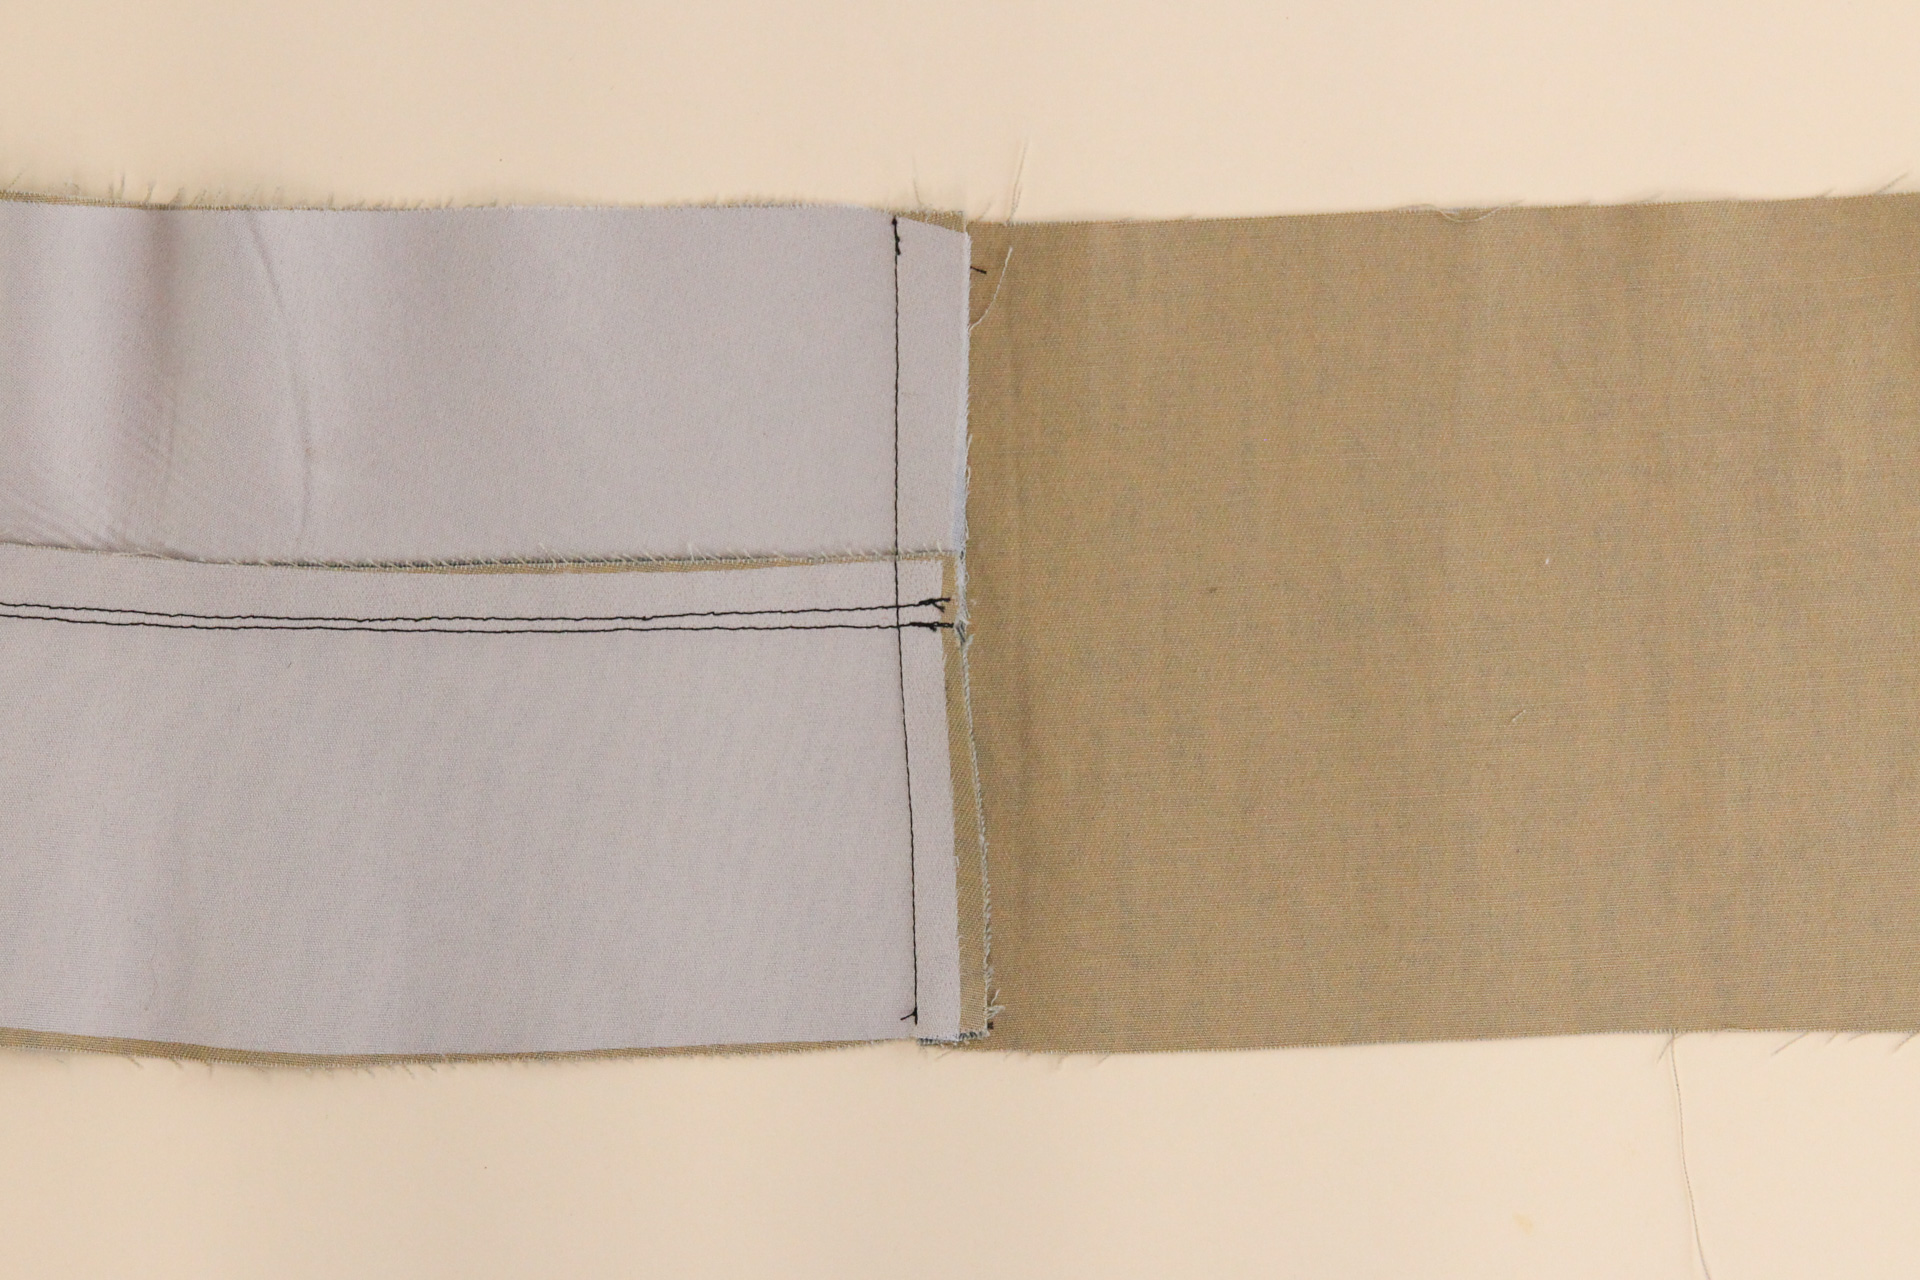
Let’s do the same thing with the other ends, creating a loop.
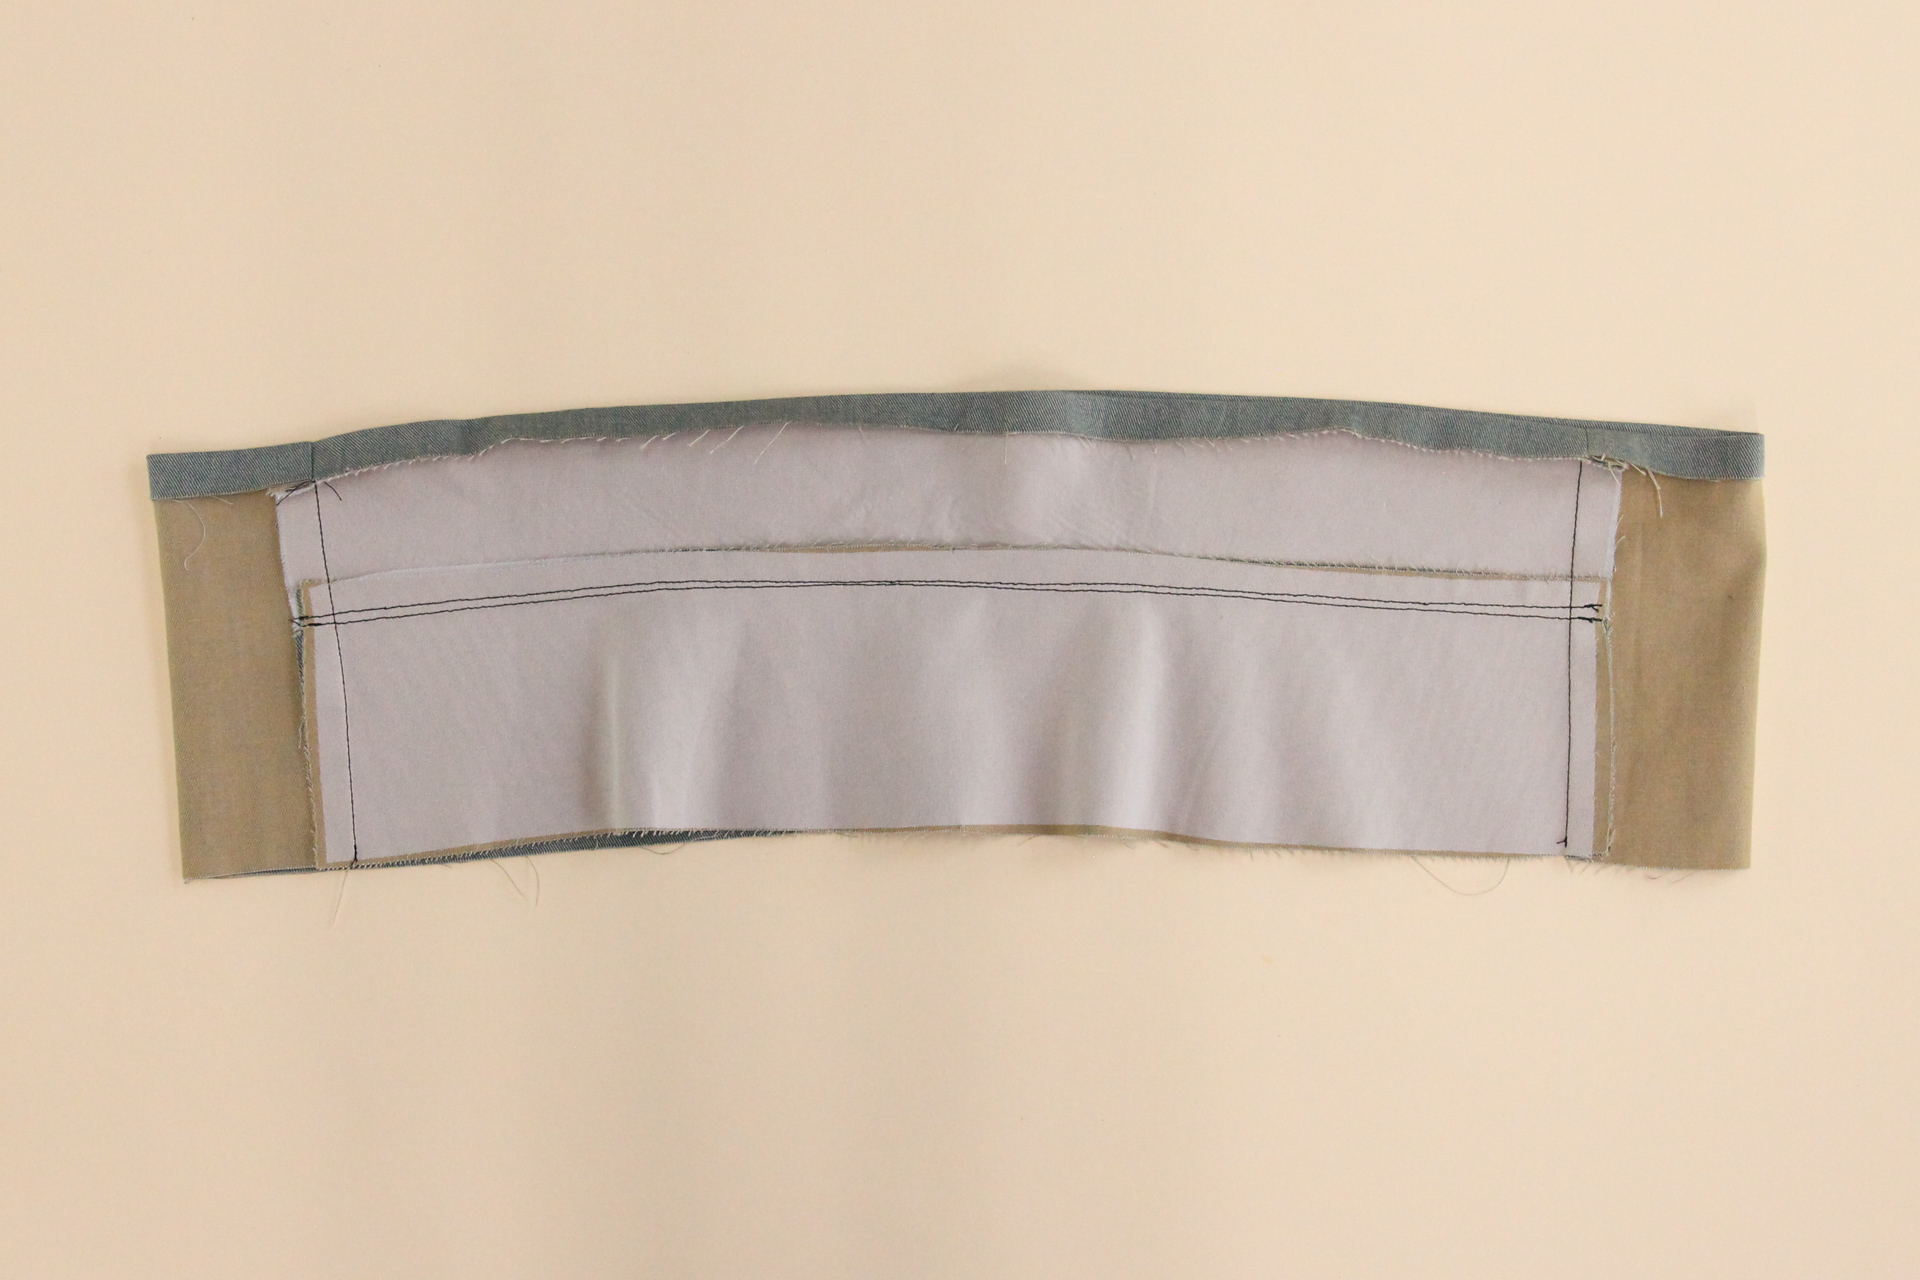
Now we need to fold over the seam allowance of the waistband facing (the side with the understitching). Fold and press 1/2″ (12 mm) to the wrong side.
If your waistband is causing problems during this step, one way to make it easier to press is to first sew a line of basting stitches at the 1/2″ seam.
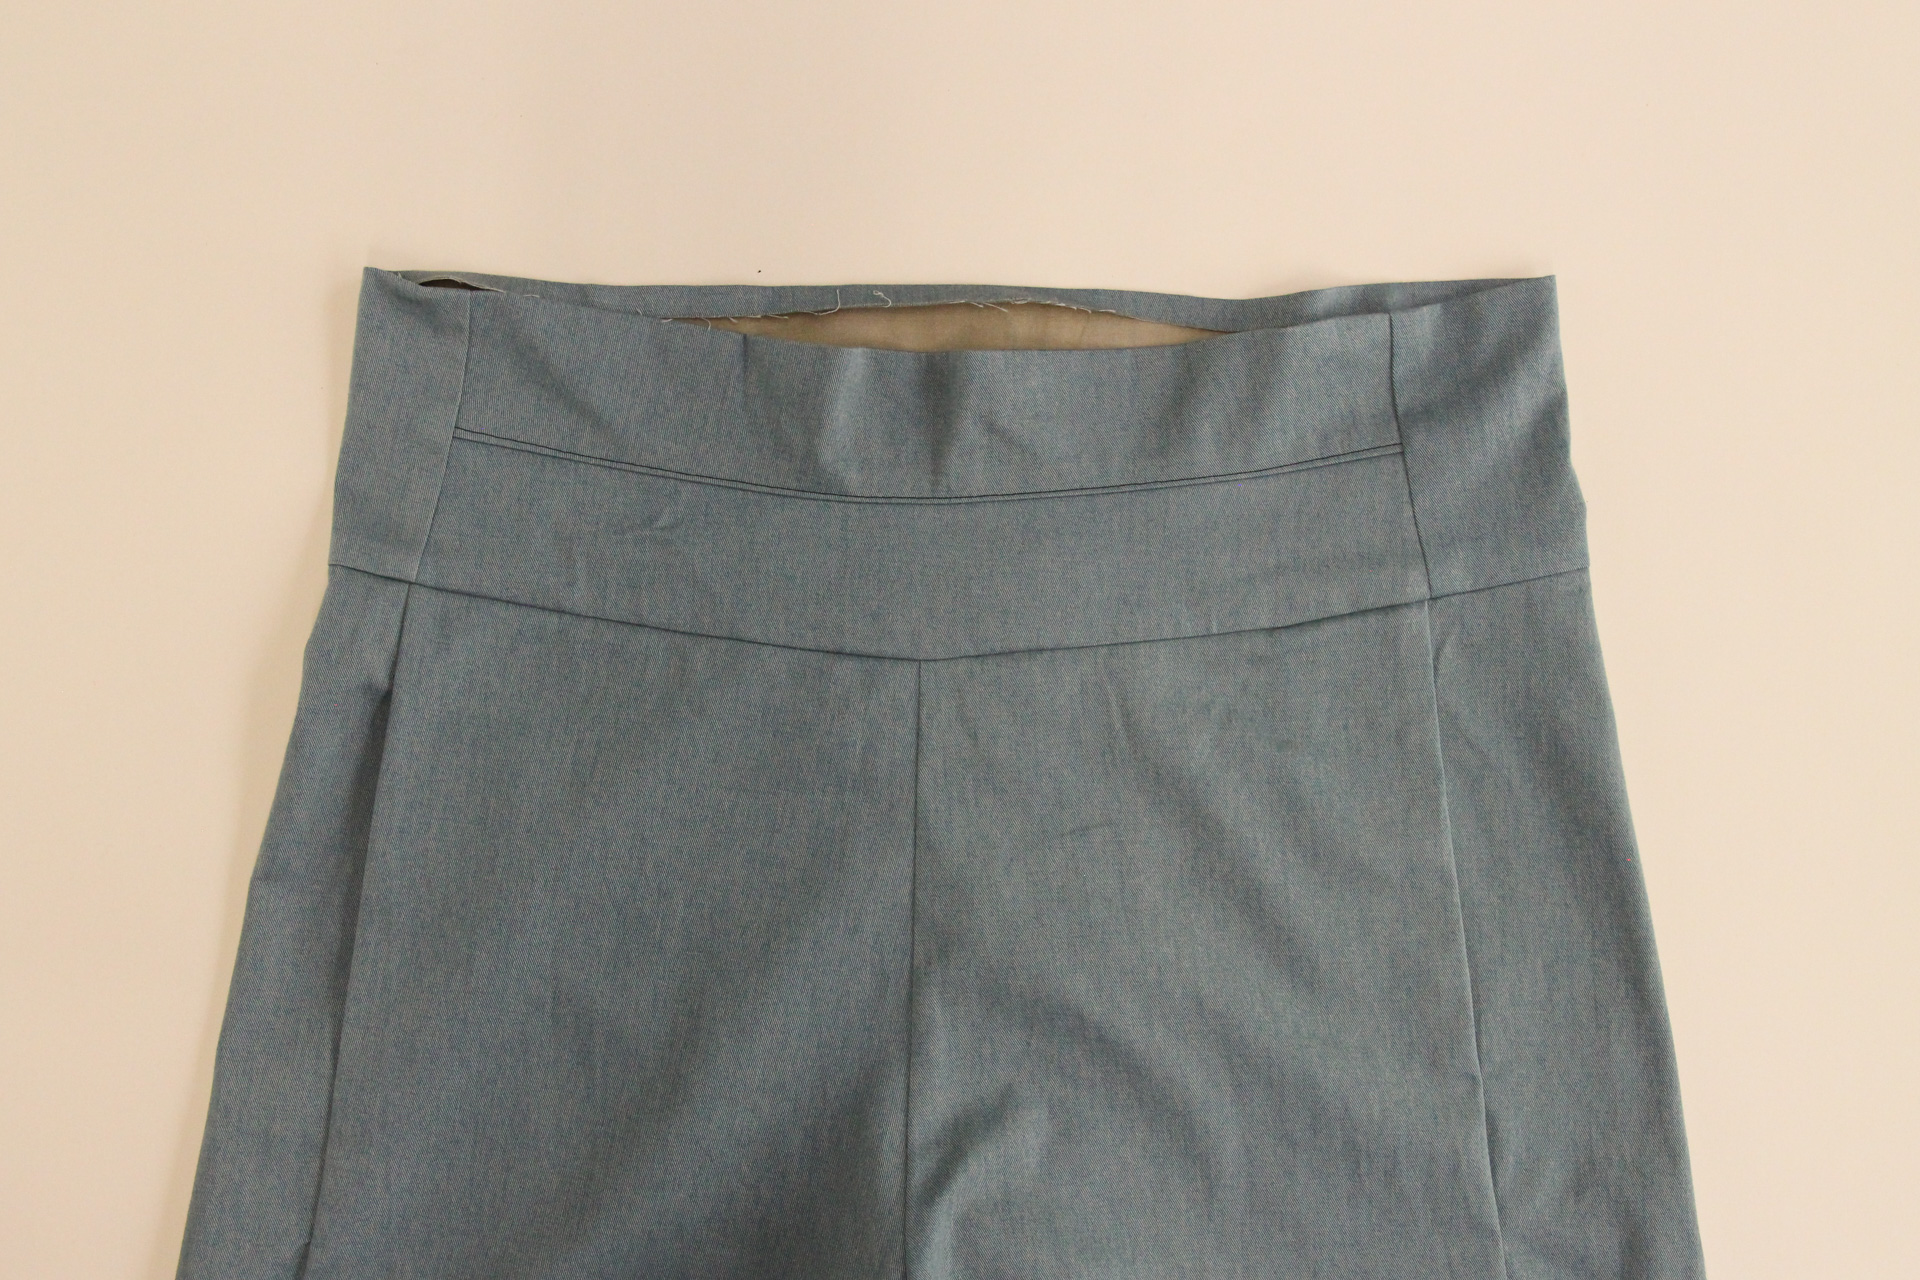
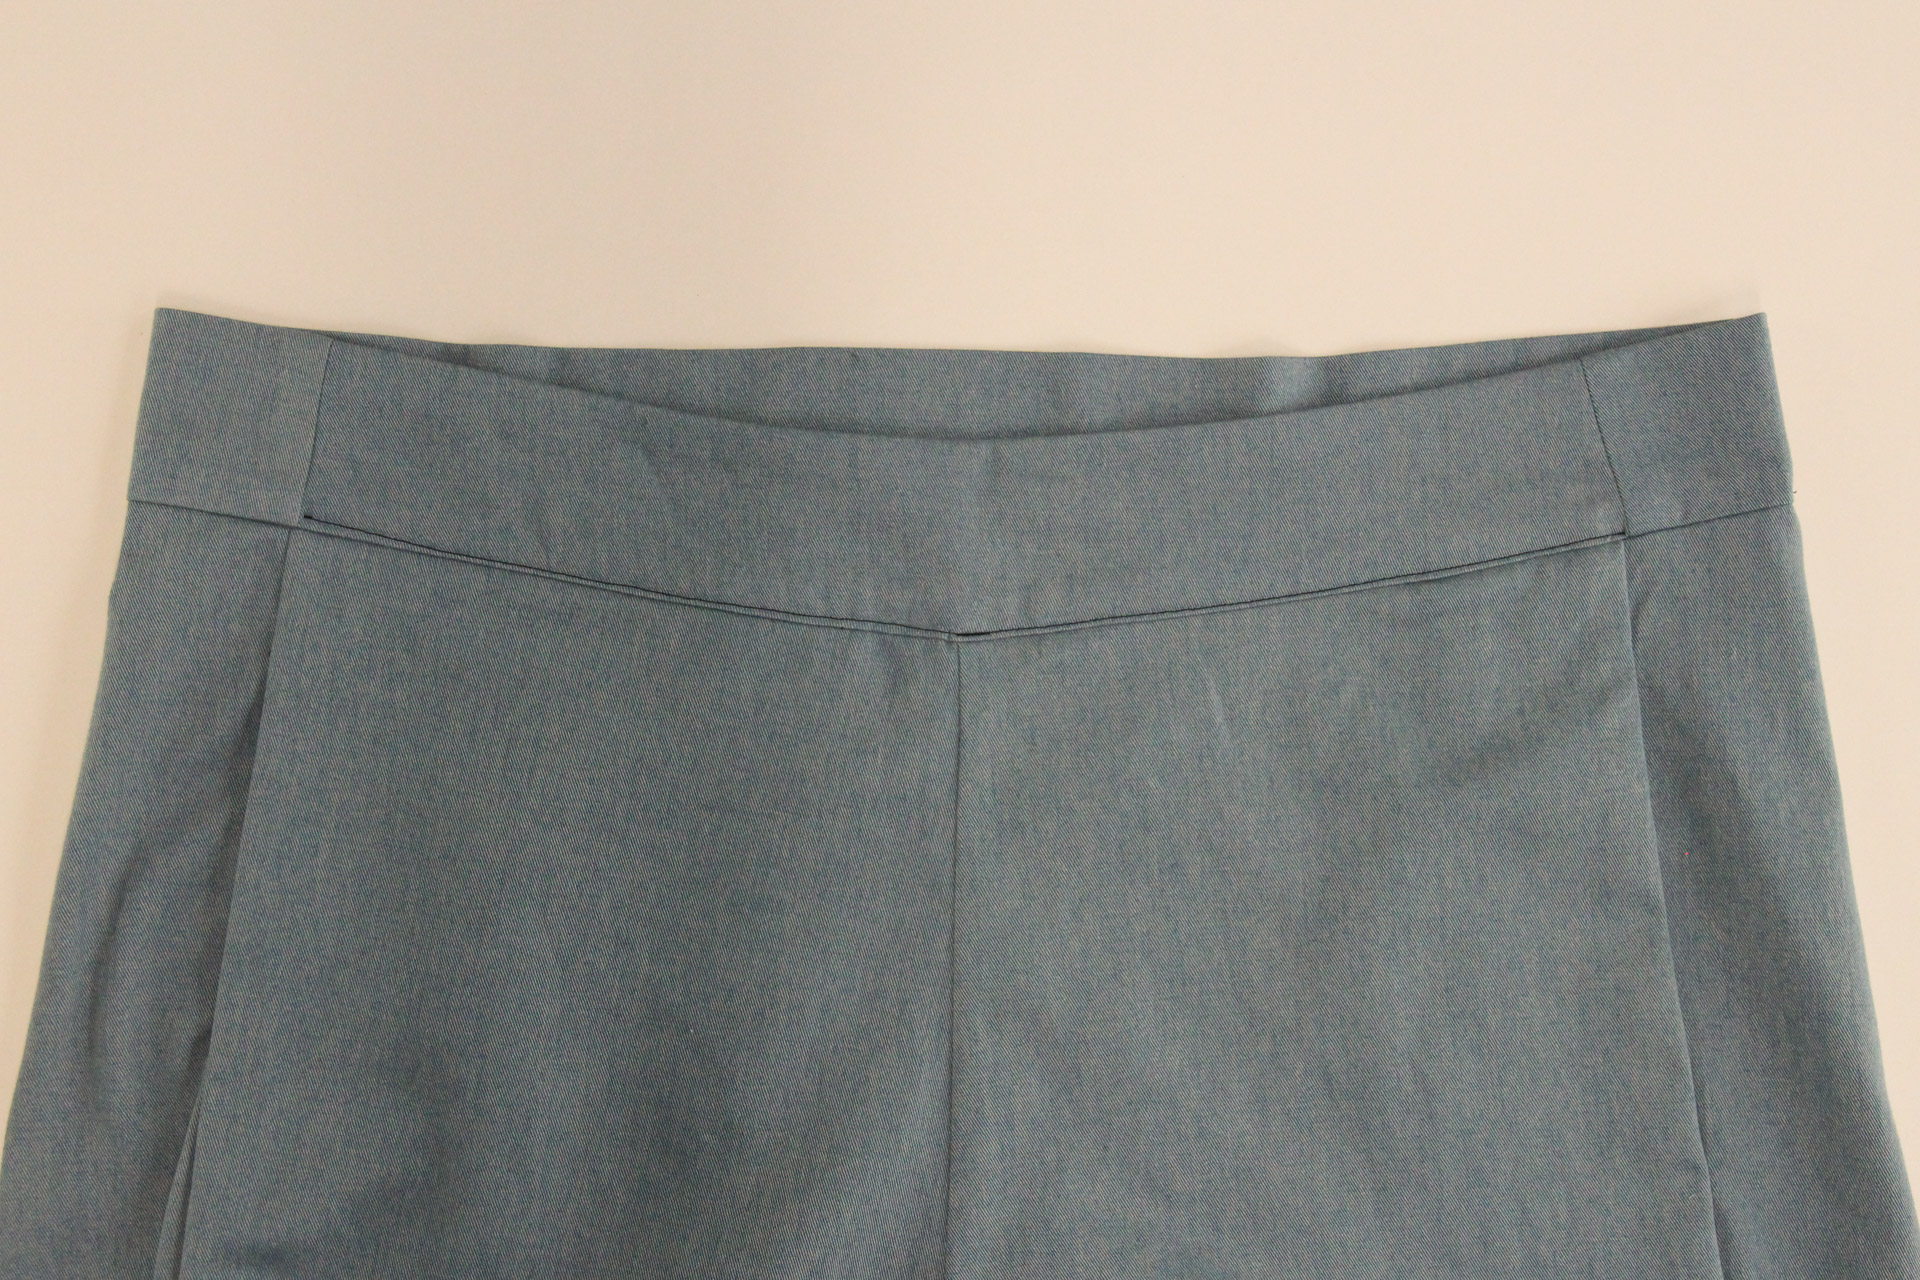
Attach the Waistband
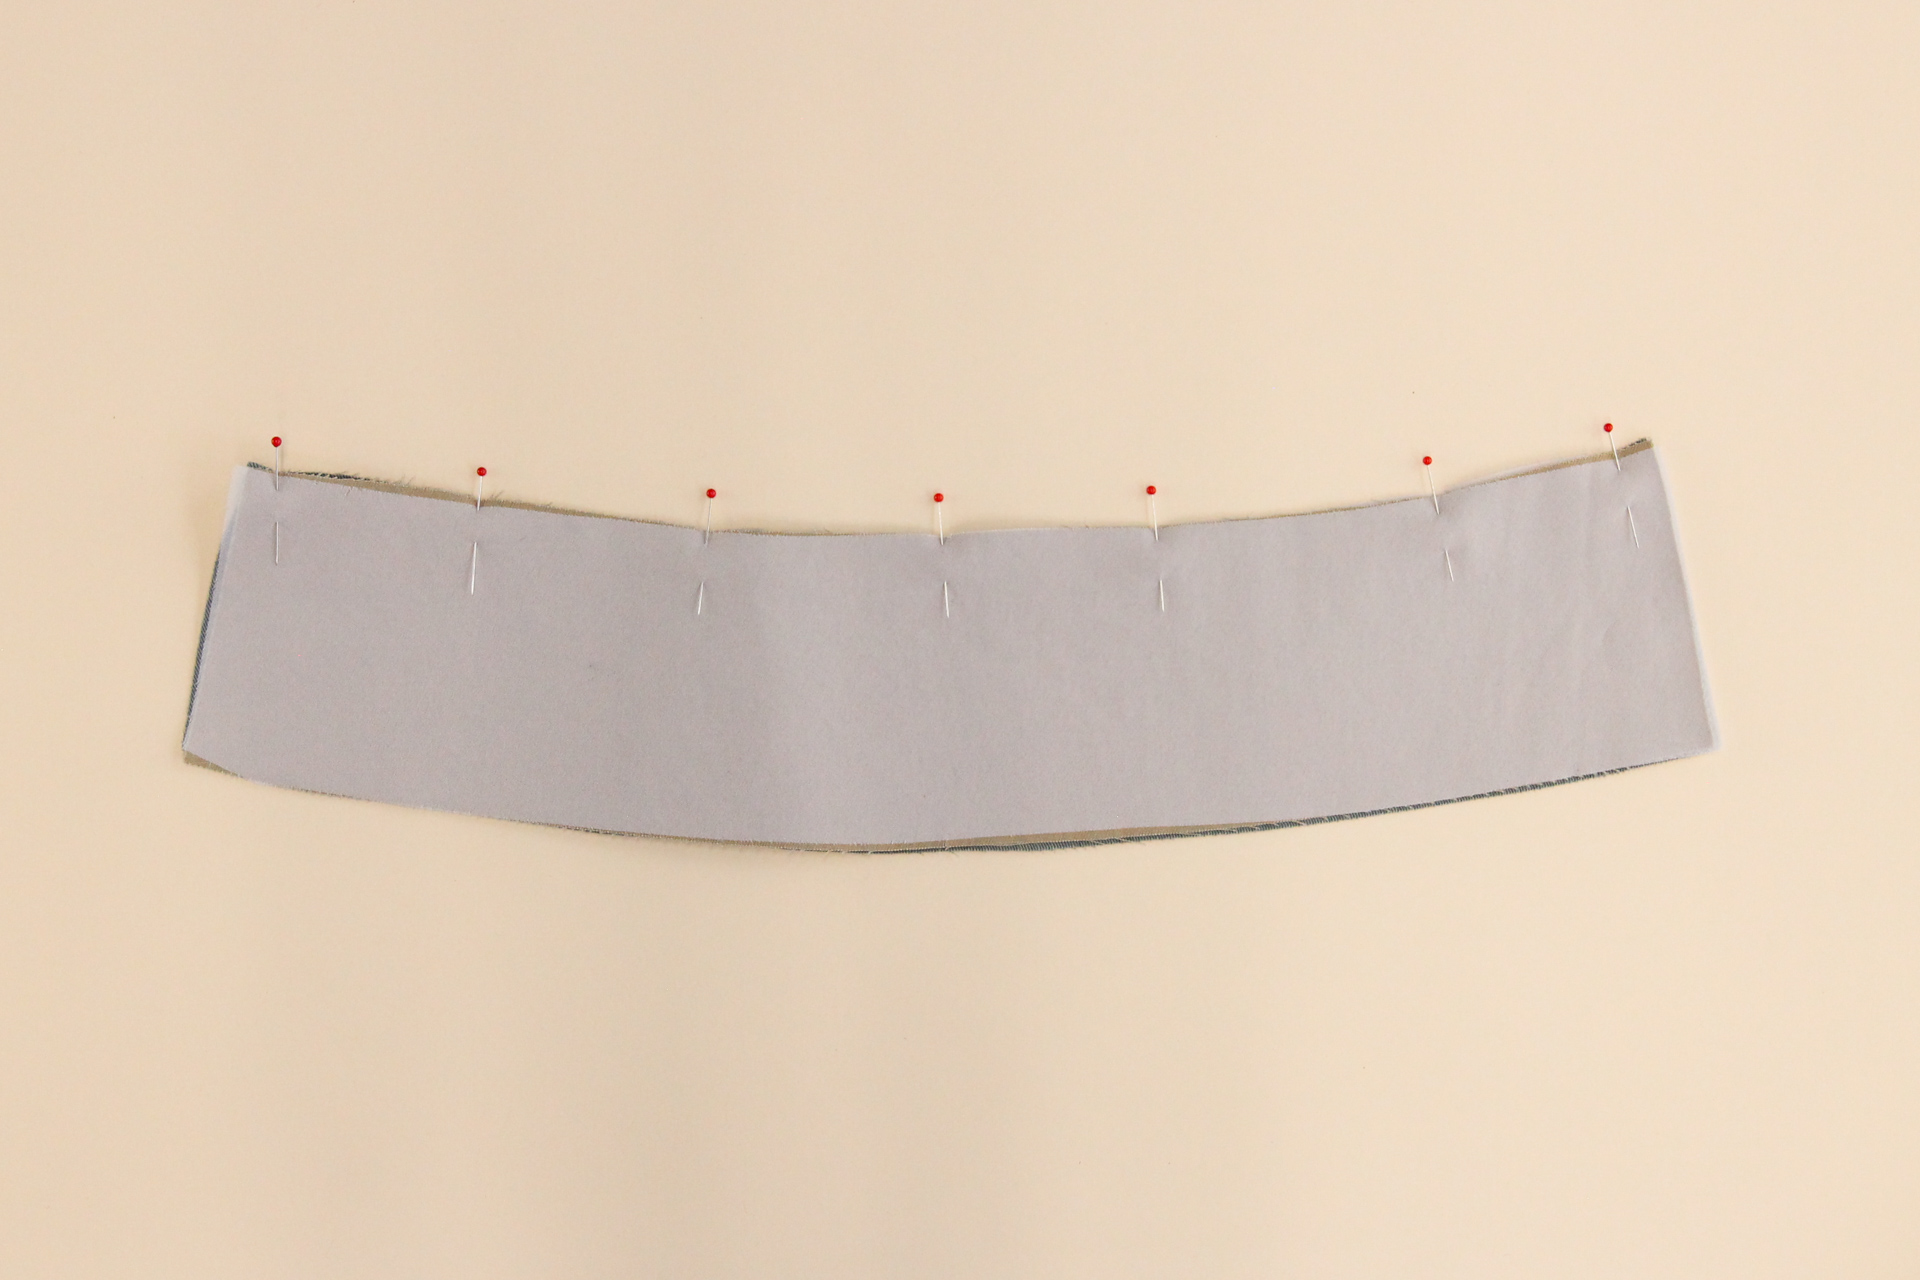
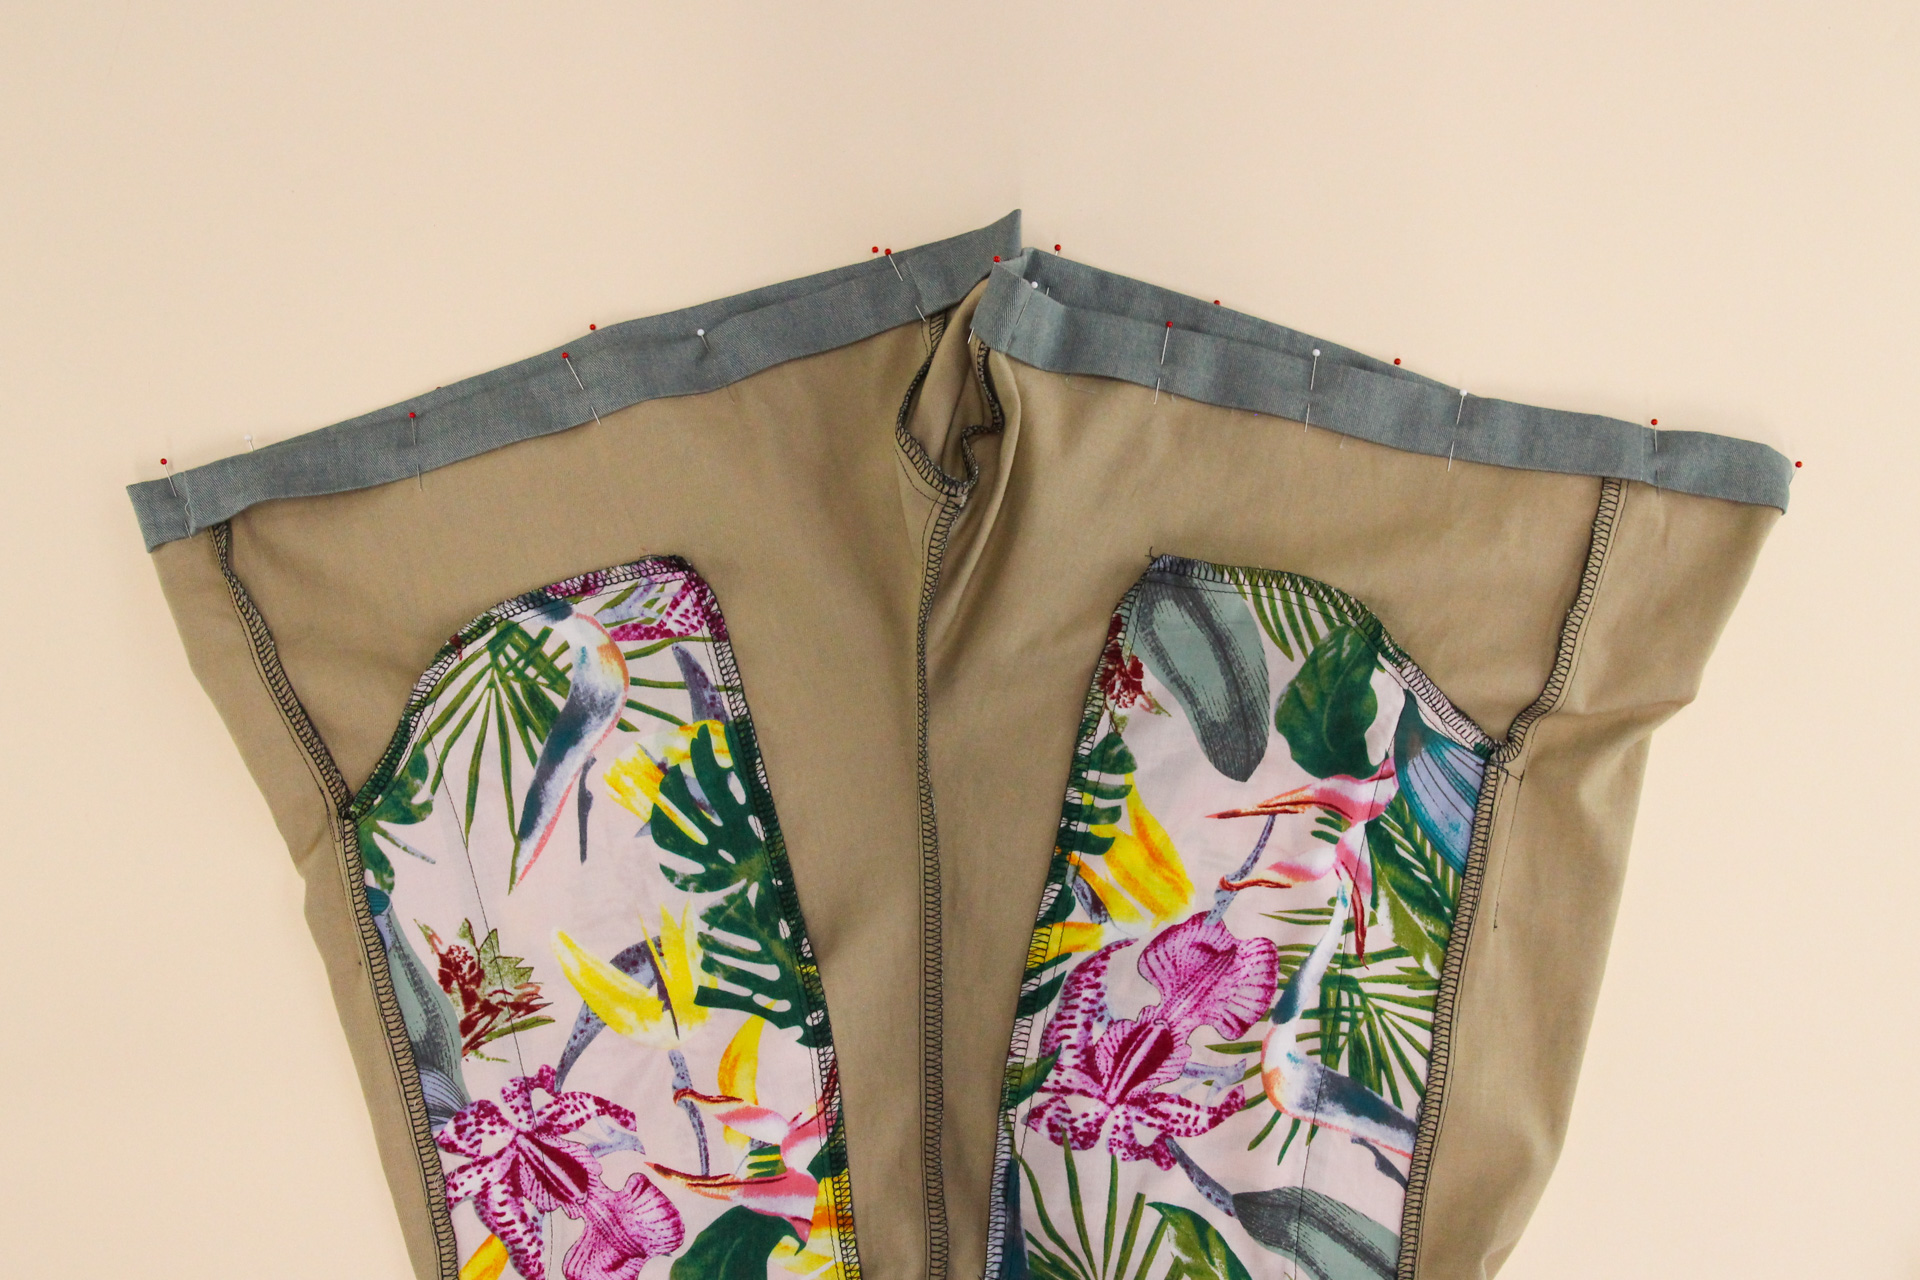
Time to attach the waistband to the pants! Slide the pants into the waistband and line up the raw edges, matching side seams and centers. Pin all around.
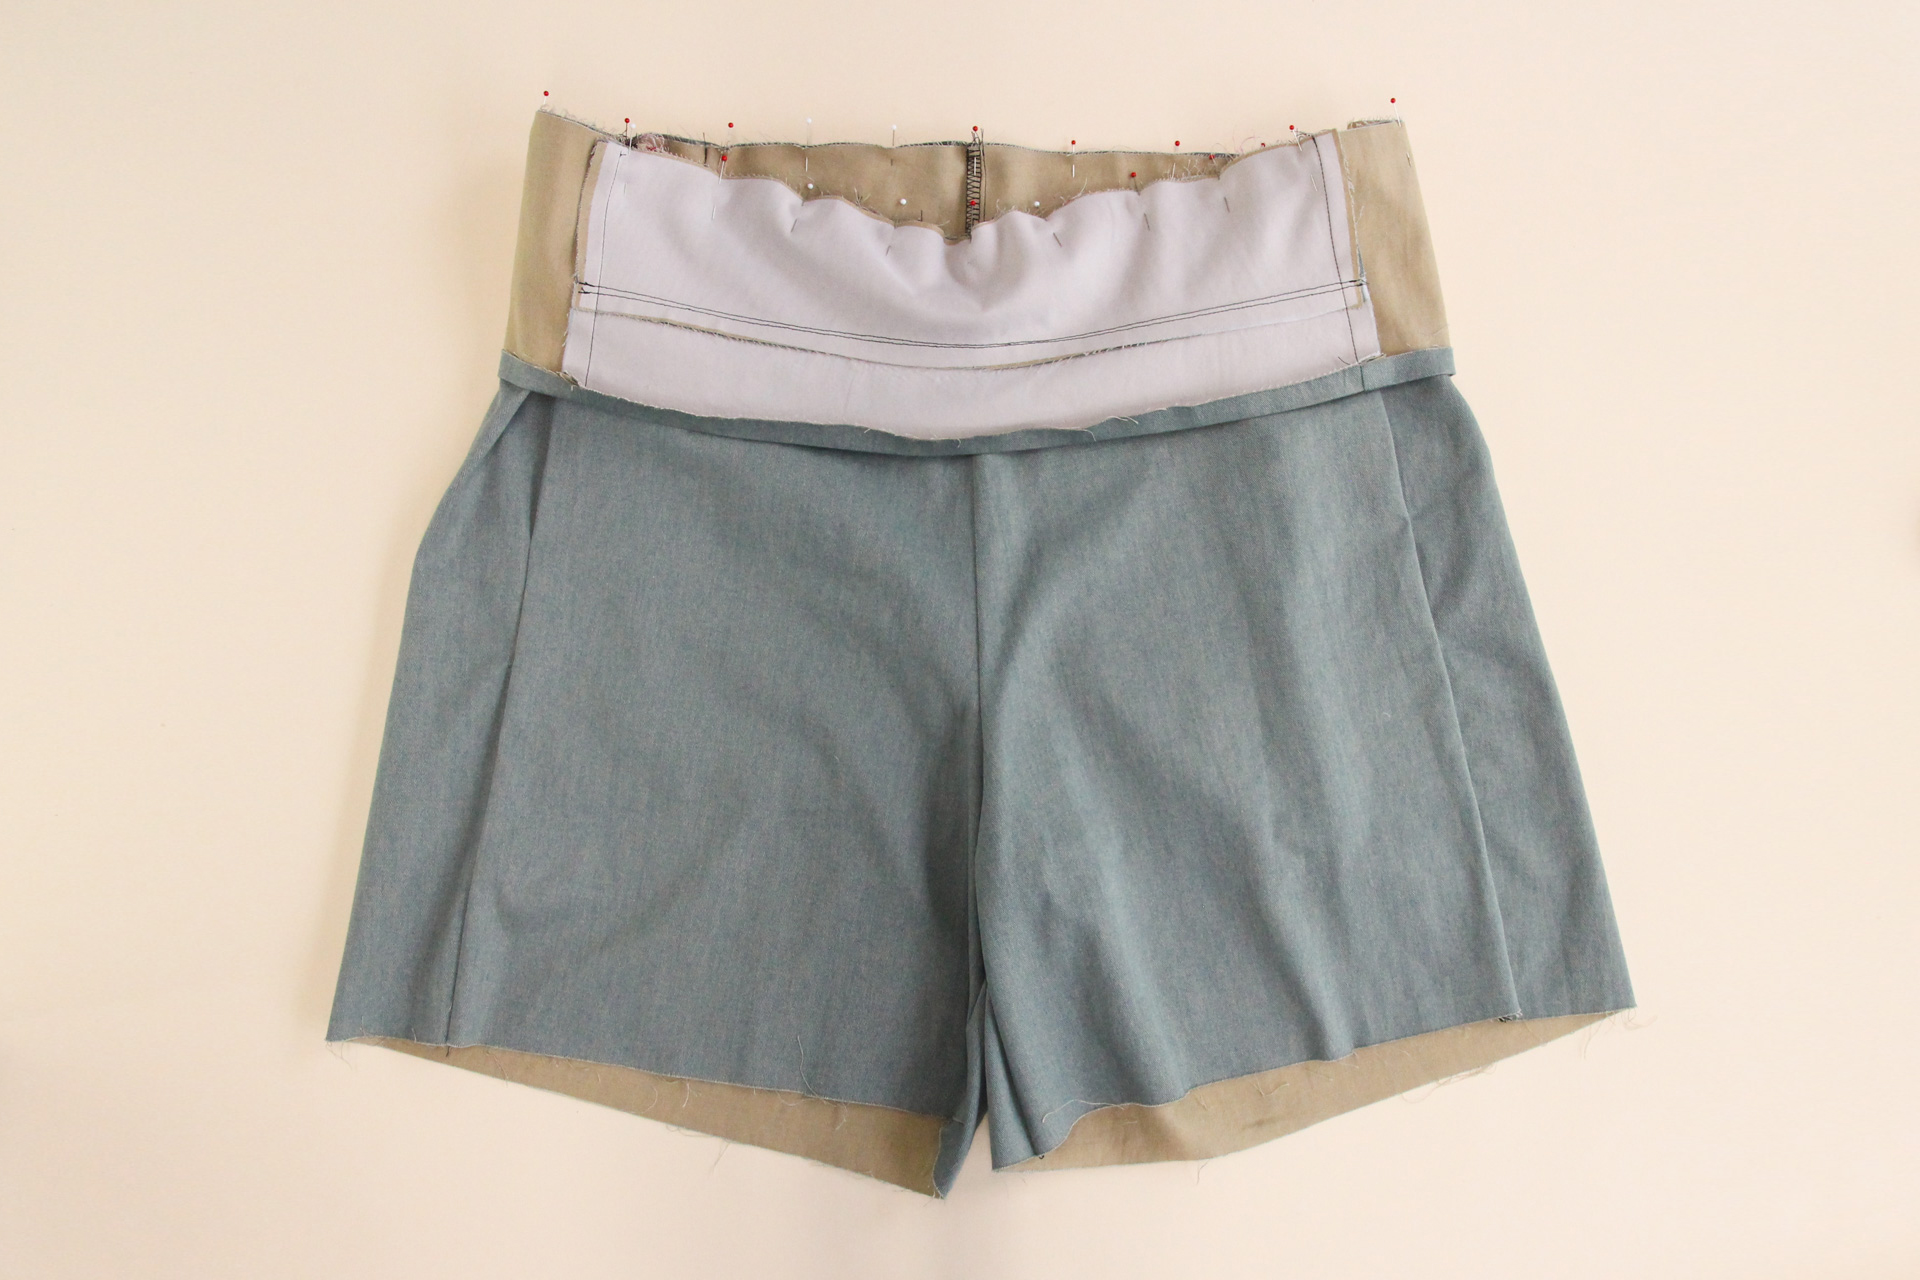
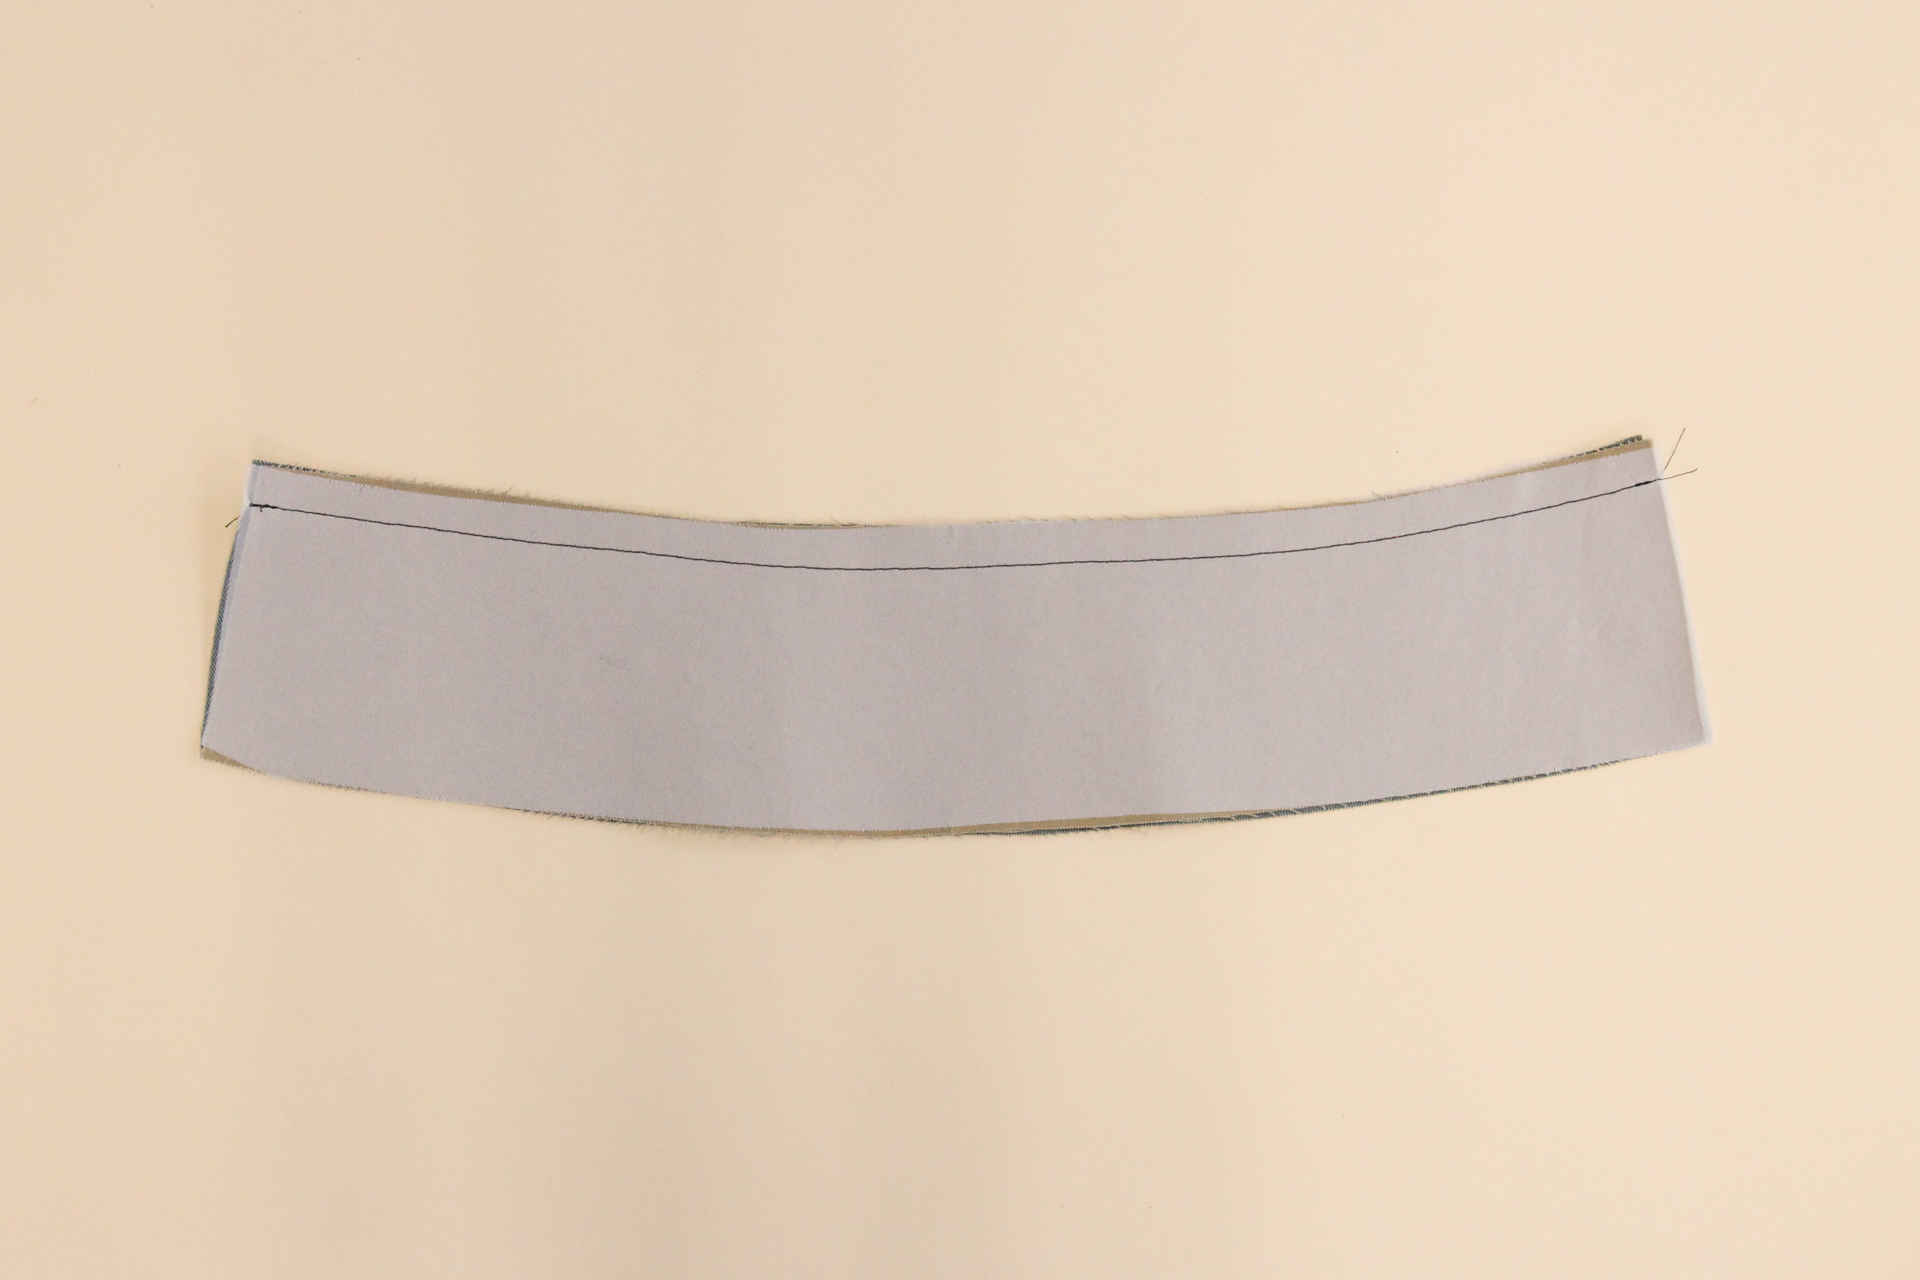
Let’s sew that at our 1/2″ (12 mm) seam allowance.
This seam is going to get enclosed by the waistband, so no need to finish it.
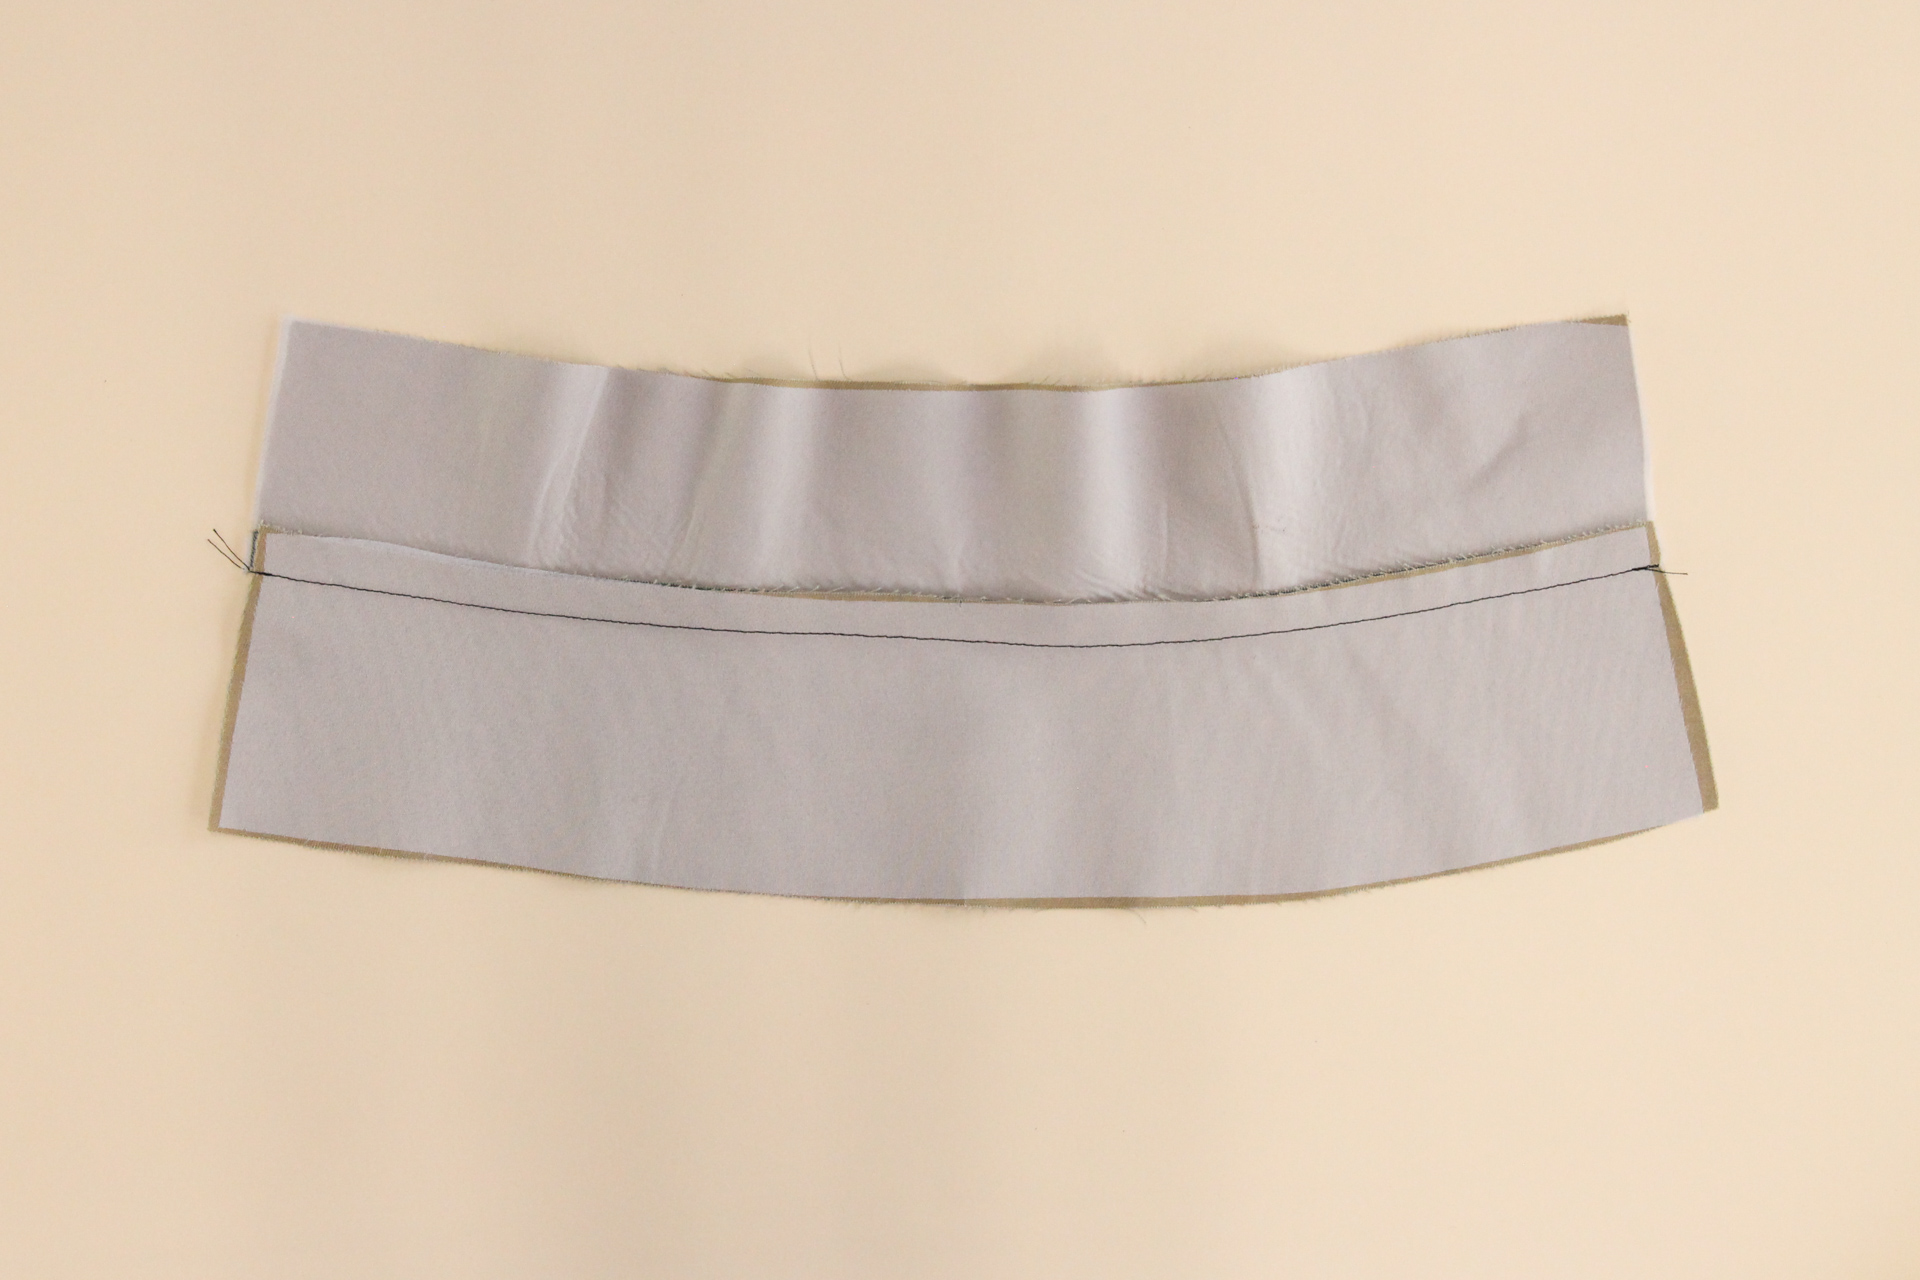
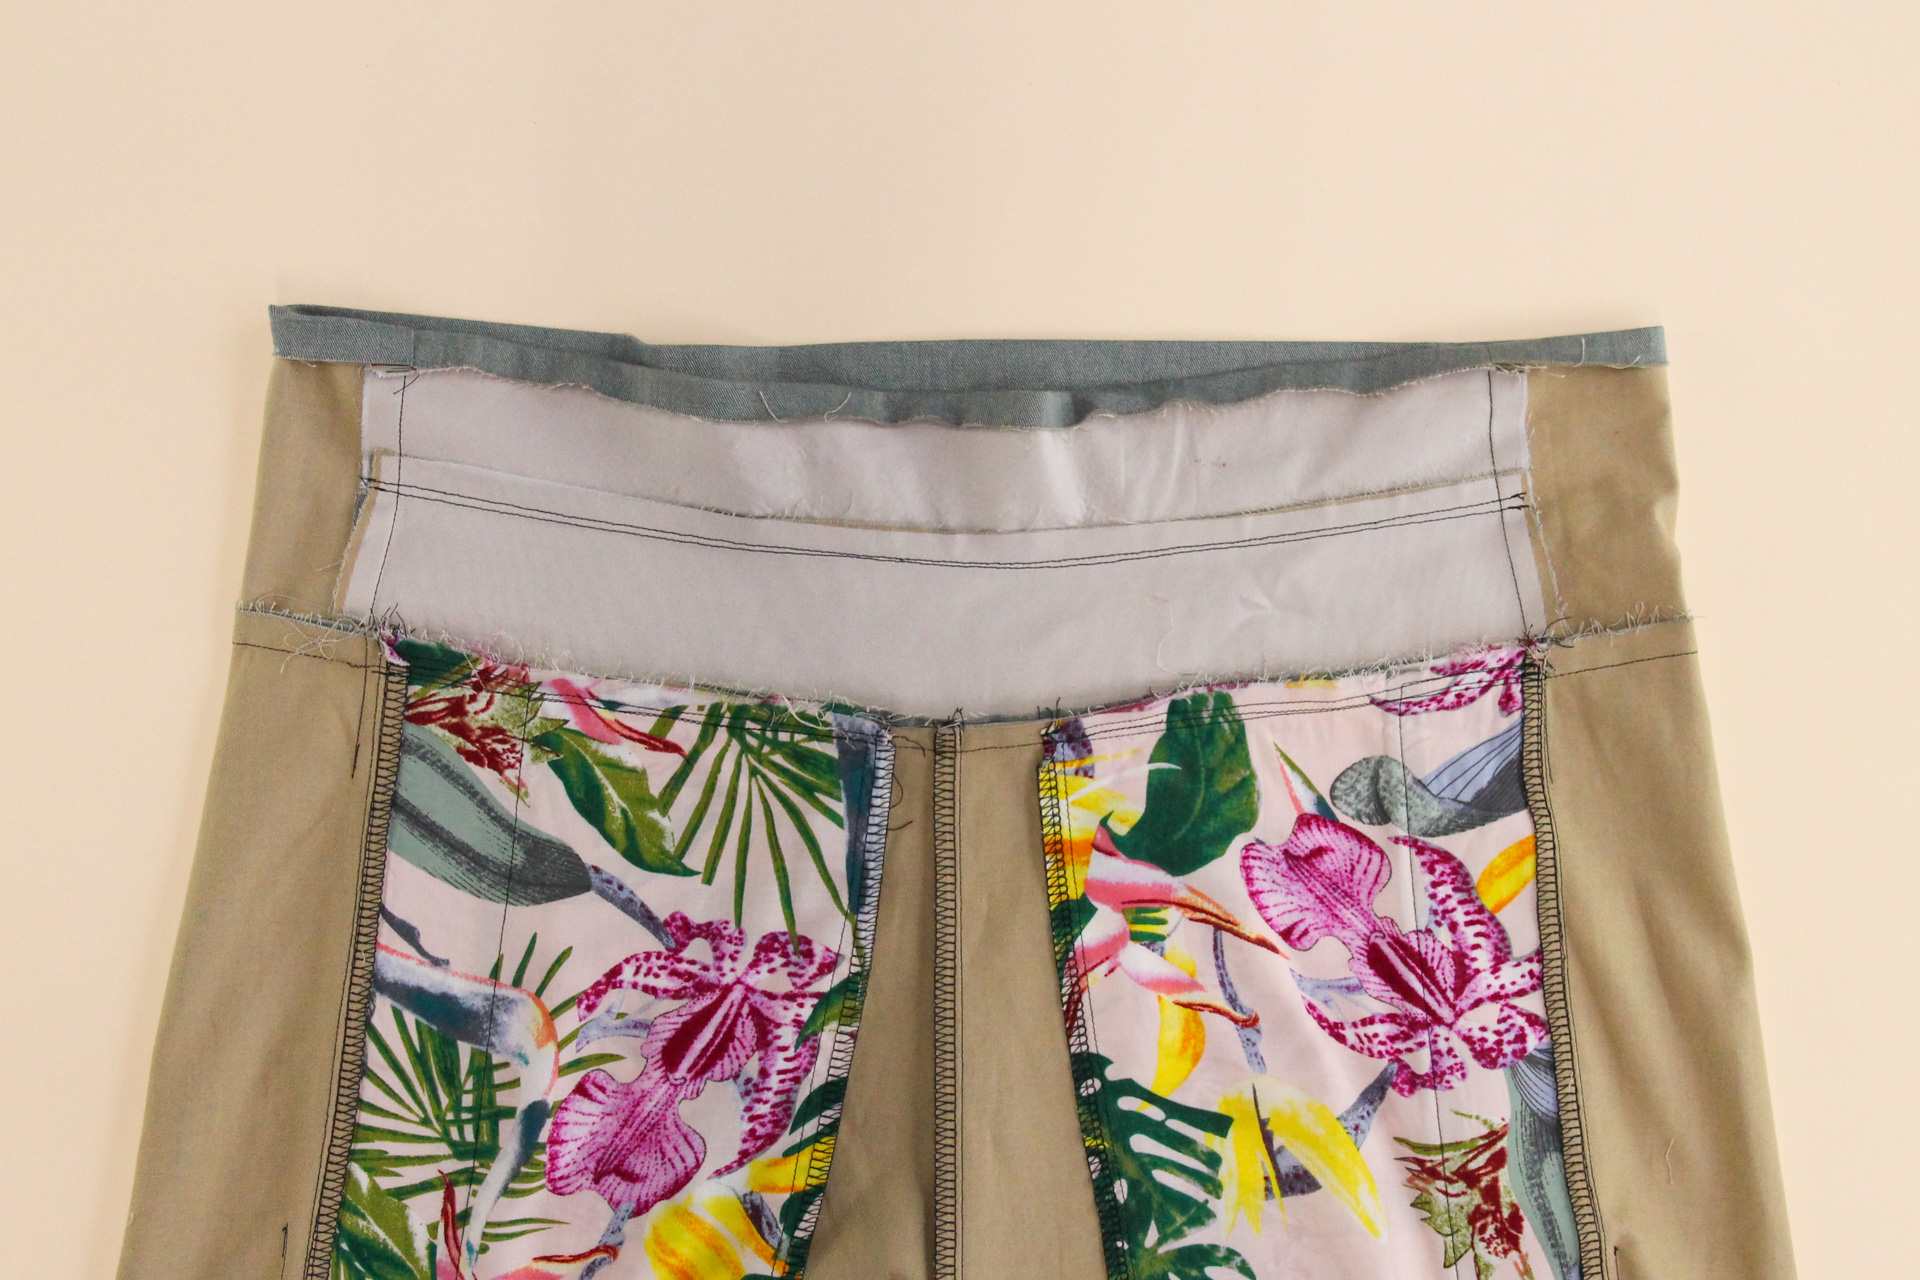
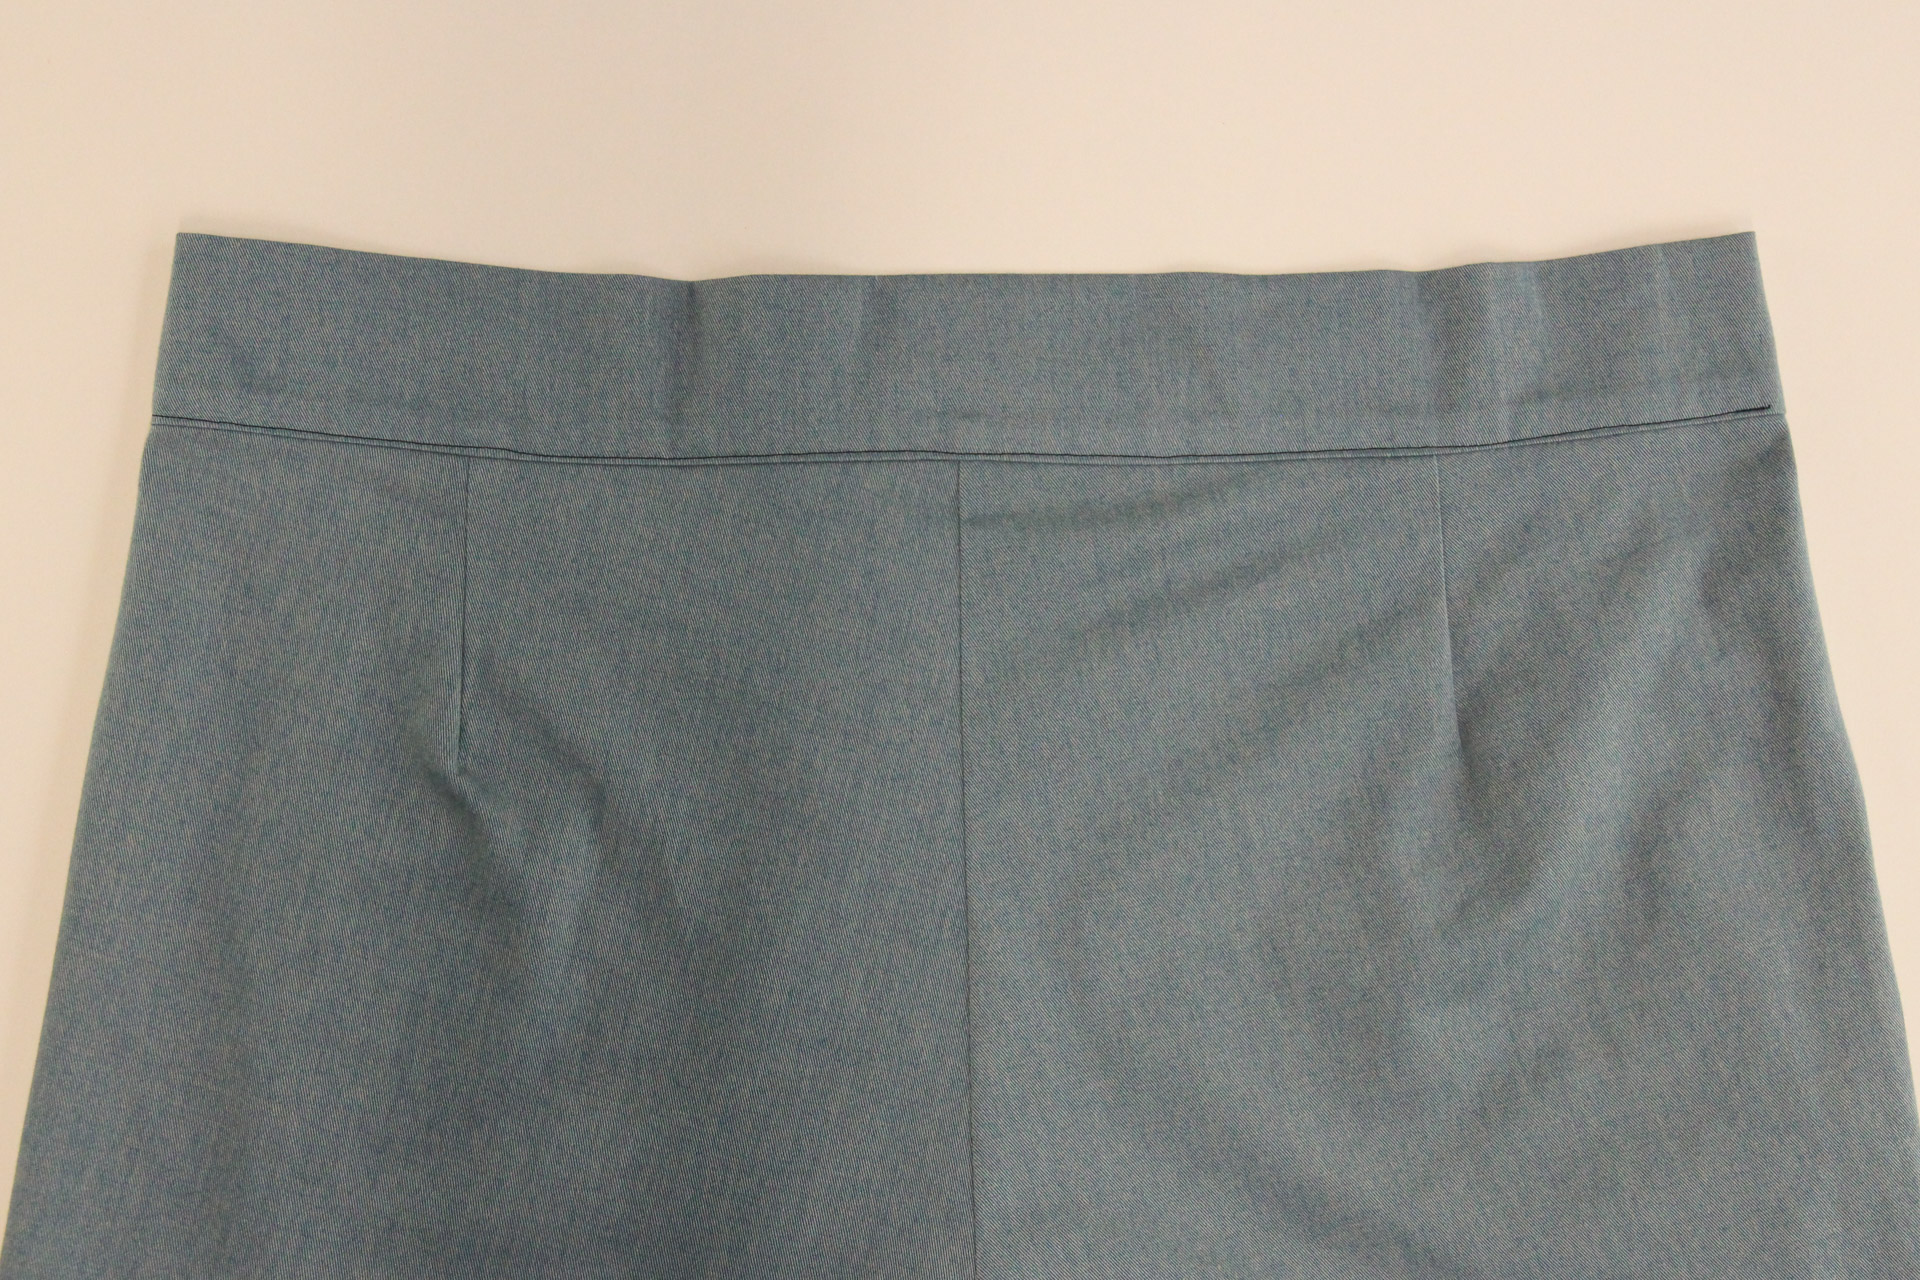
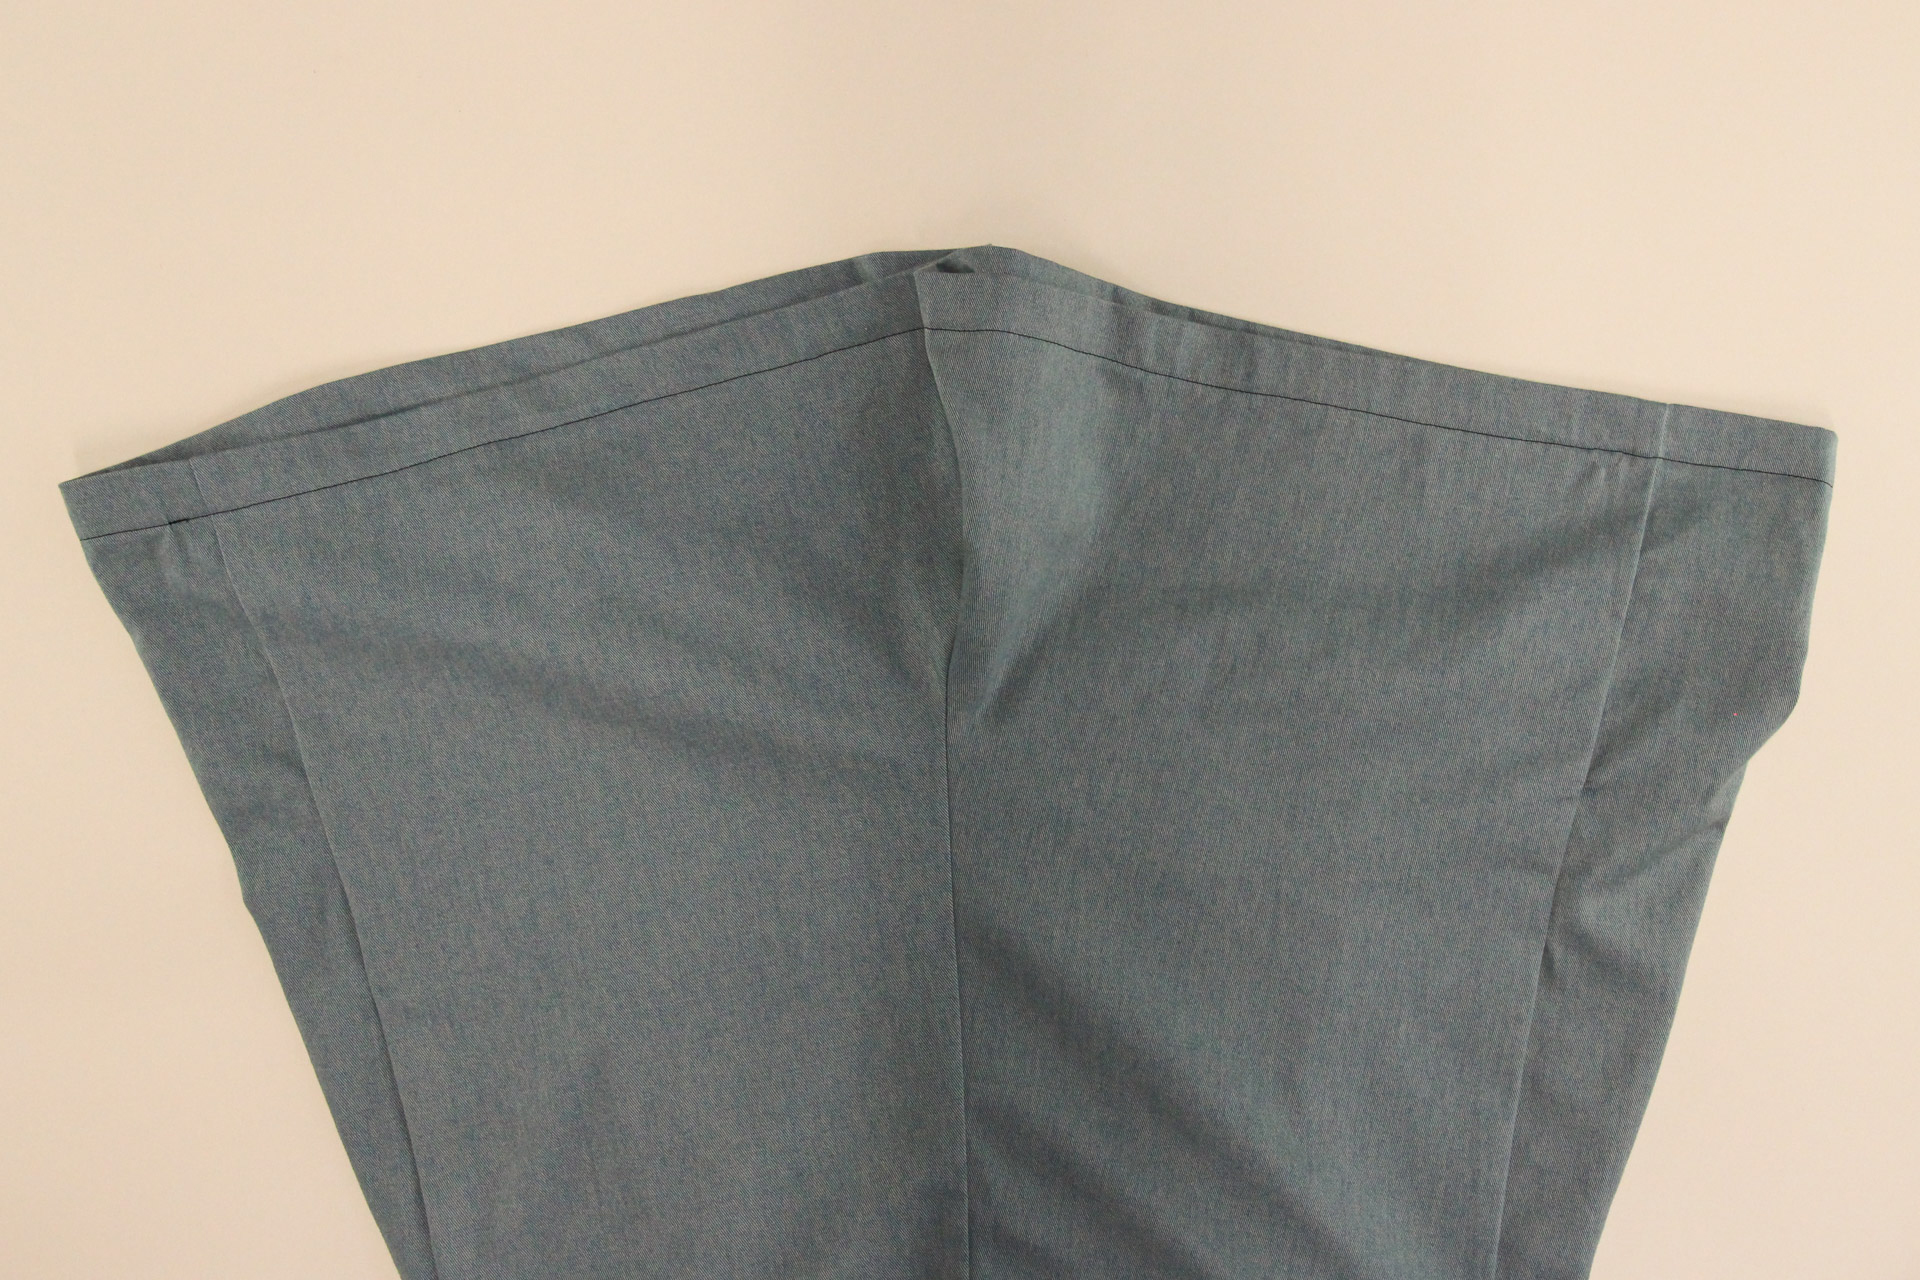
Press the waistband up and the seam allowance towards the waistband.
Here’s how it should look on the inside–messy for the moment but soon it’ll have a clean finish.
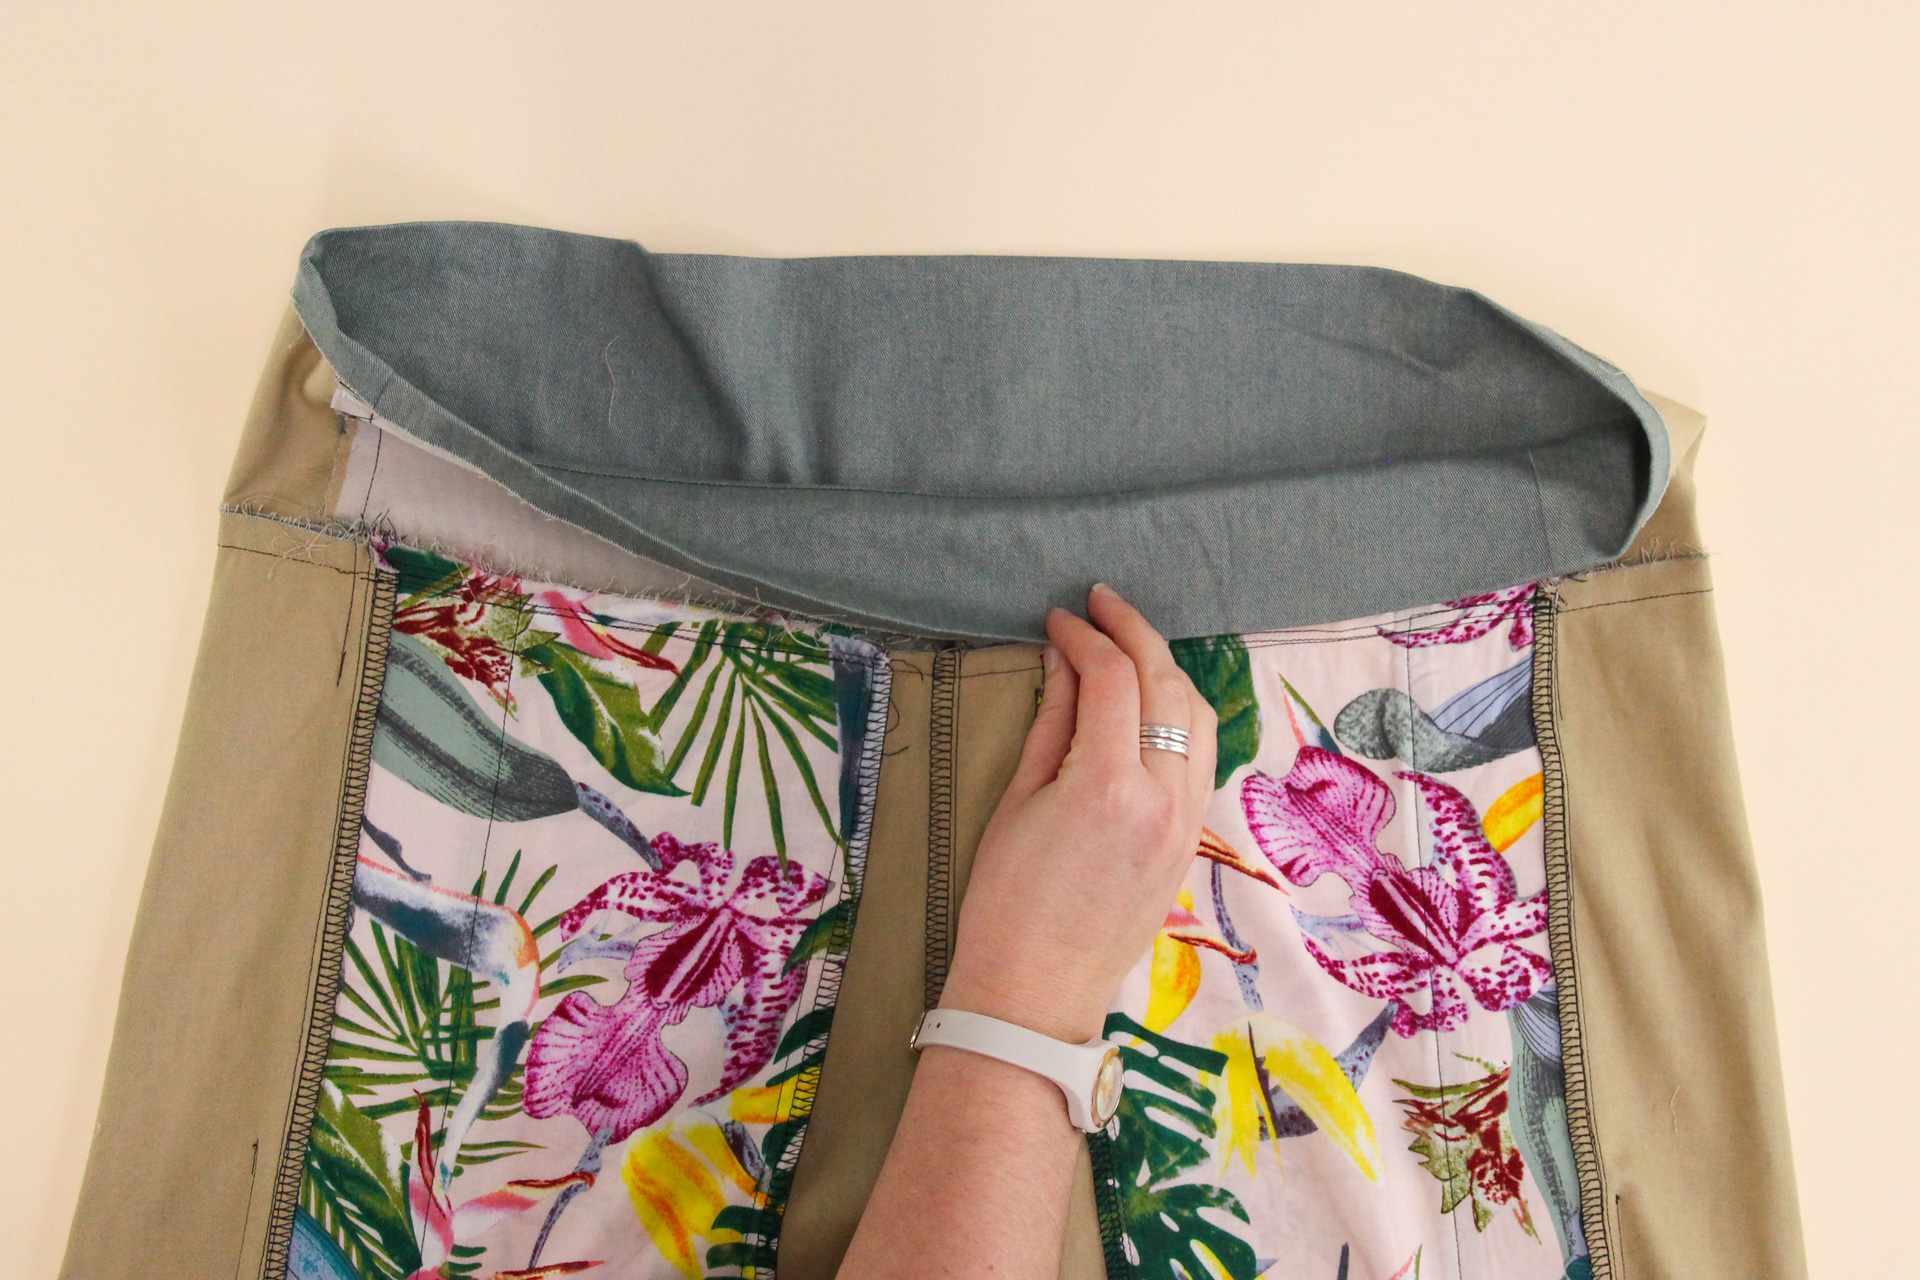
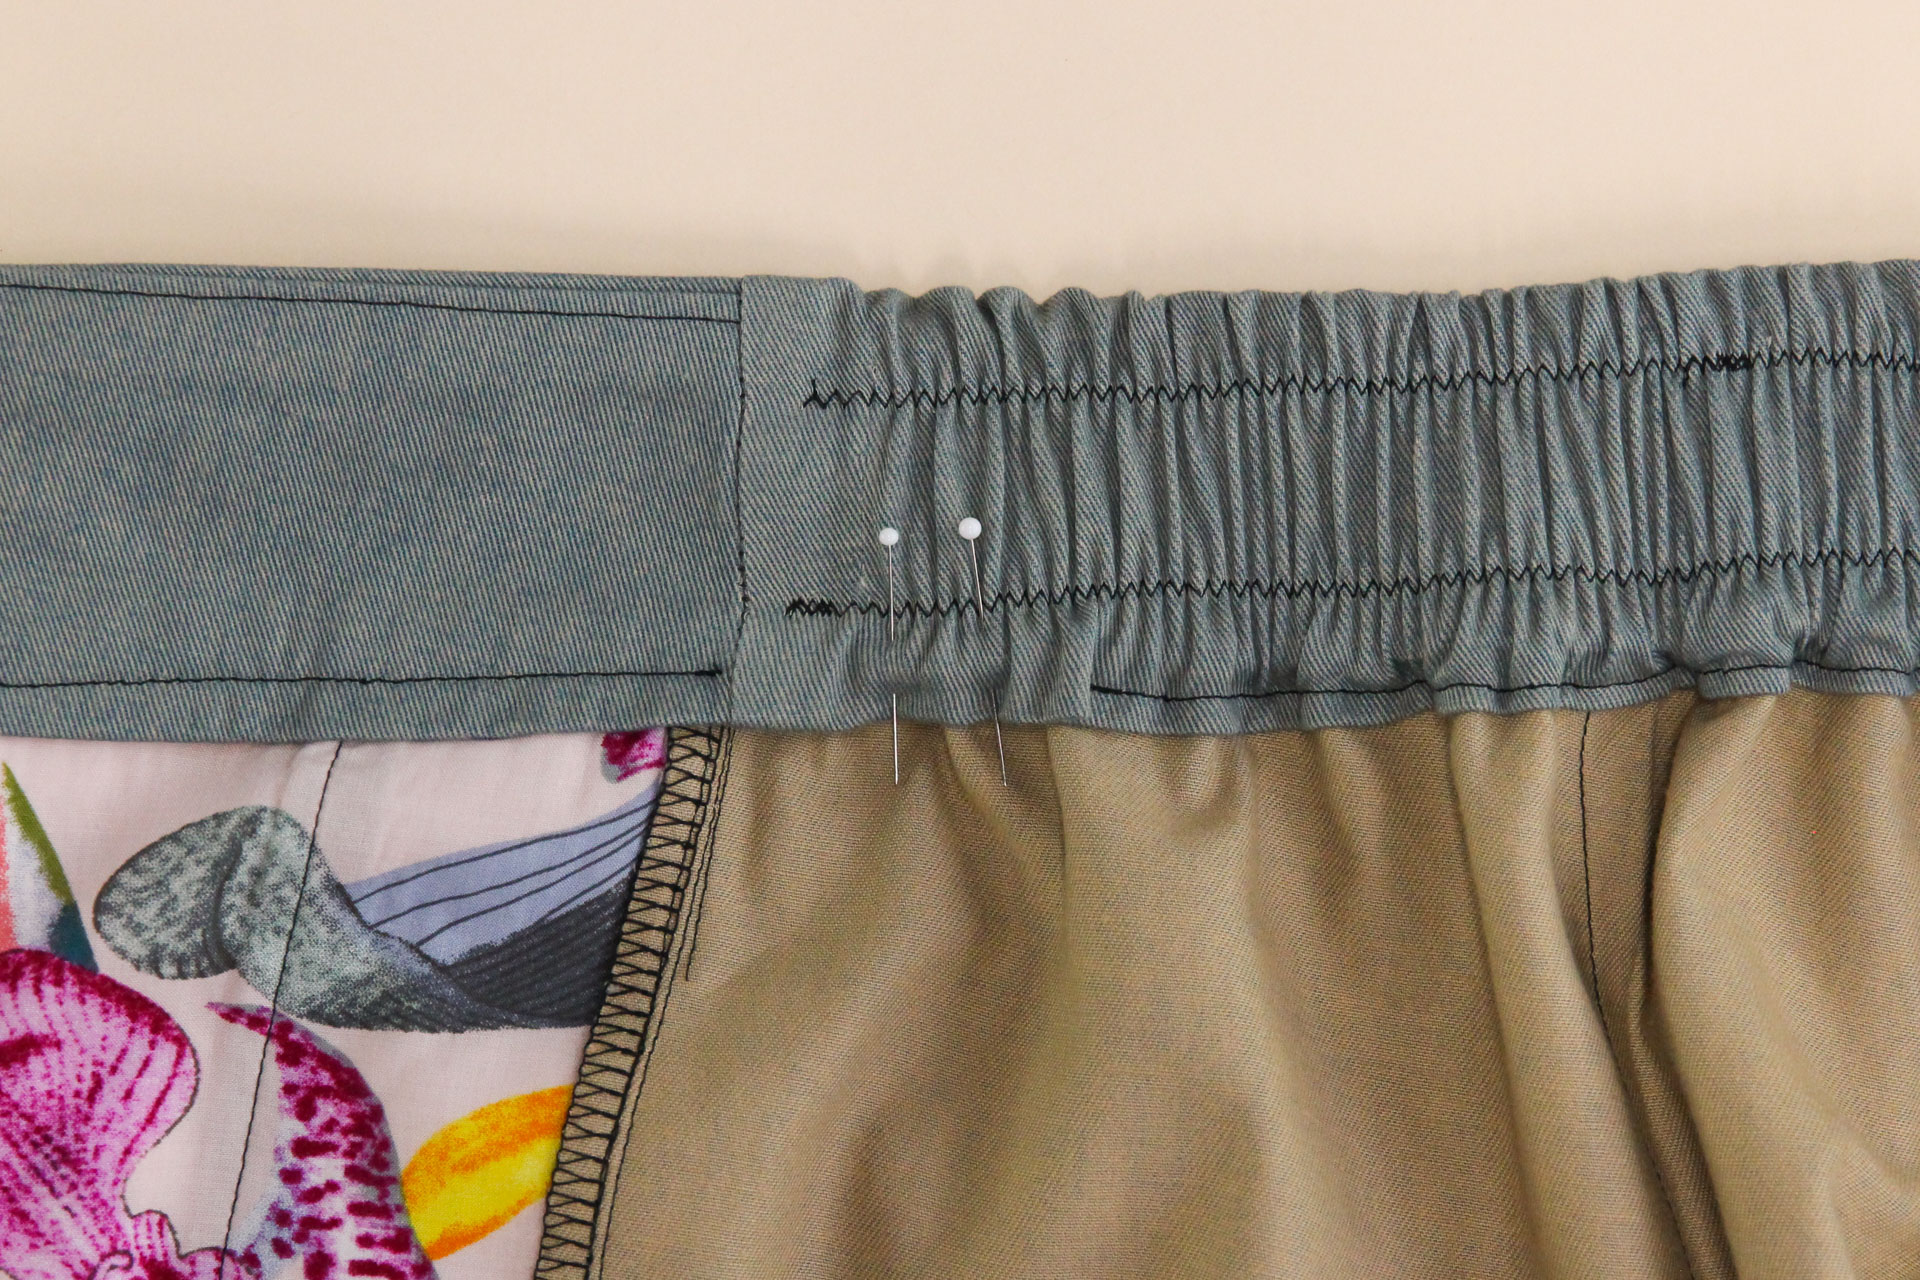
Next, fold the waistband in half, wrong sides together. The folded edge of the waistband facing should cover the seam allowance of the seam we just sewed. Pin closed or use Wonder Tape to hold it in place.
I prefer to pin from the outside so that it’s easier to pull the pins out as a sew. I pin a few times from the inside, then pin all the way around from the outside, and then remove the inside pins before sewing.
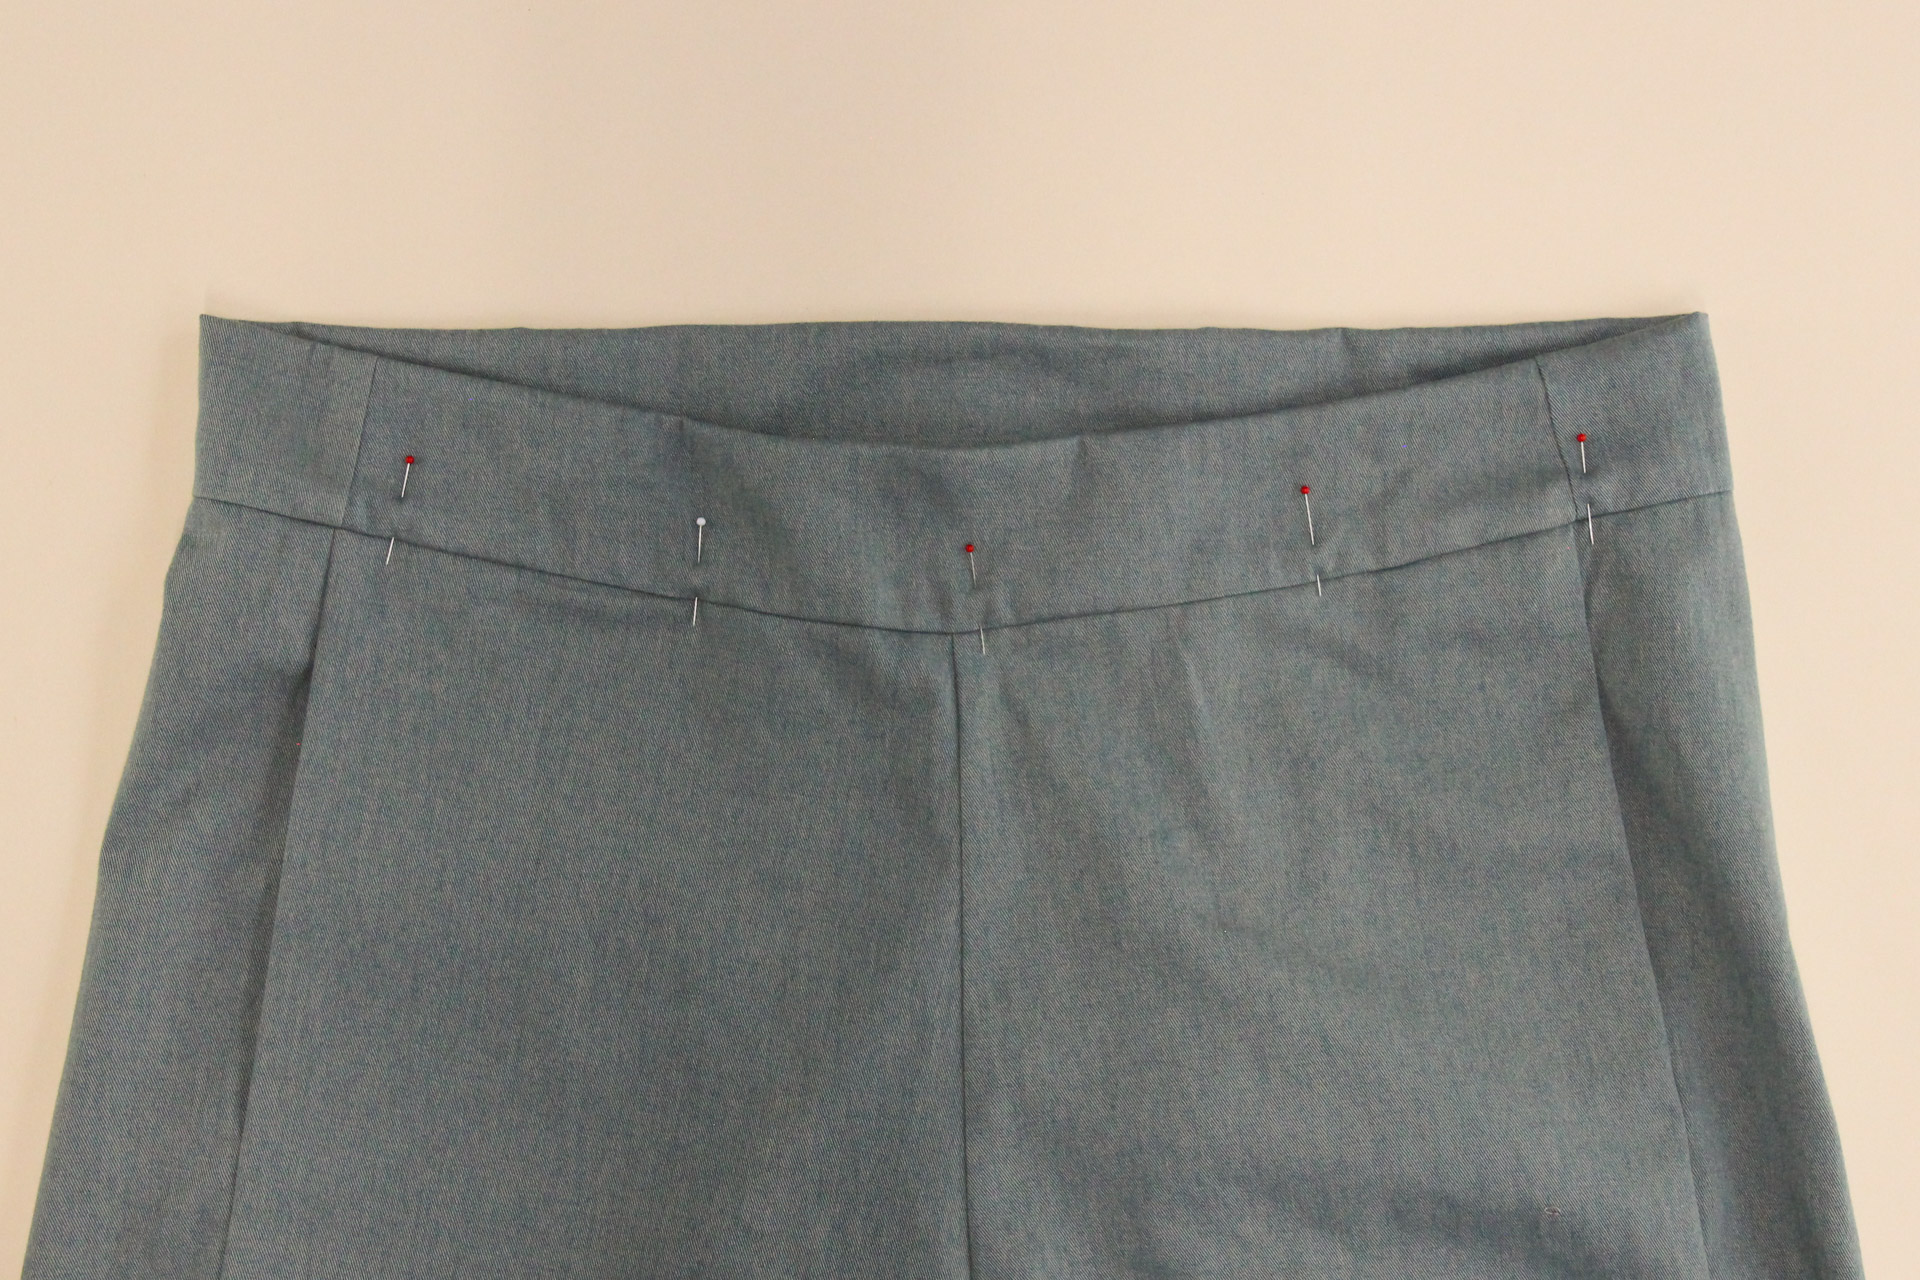
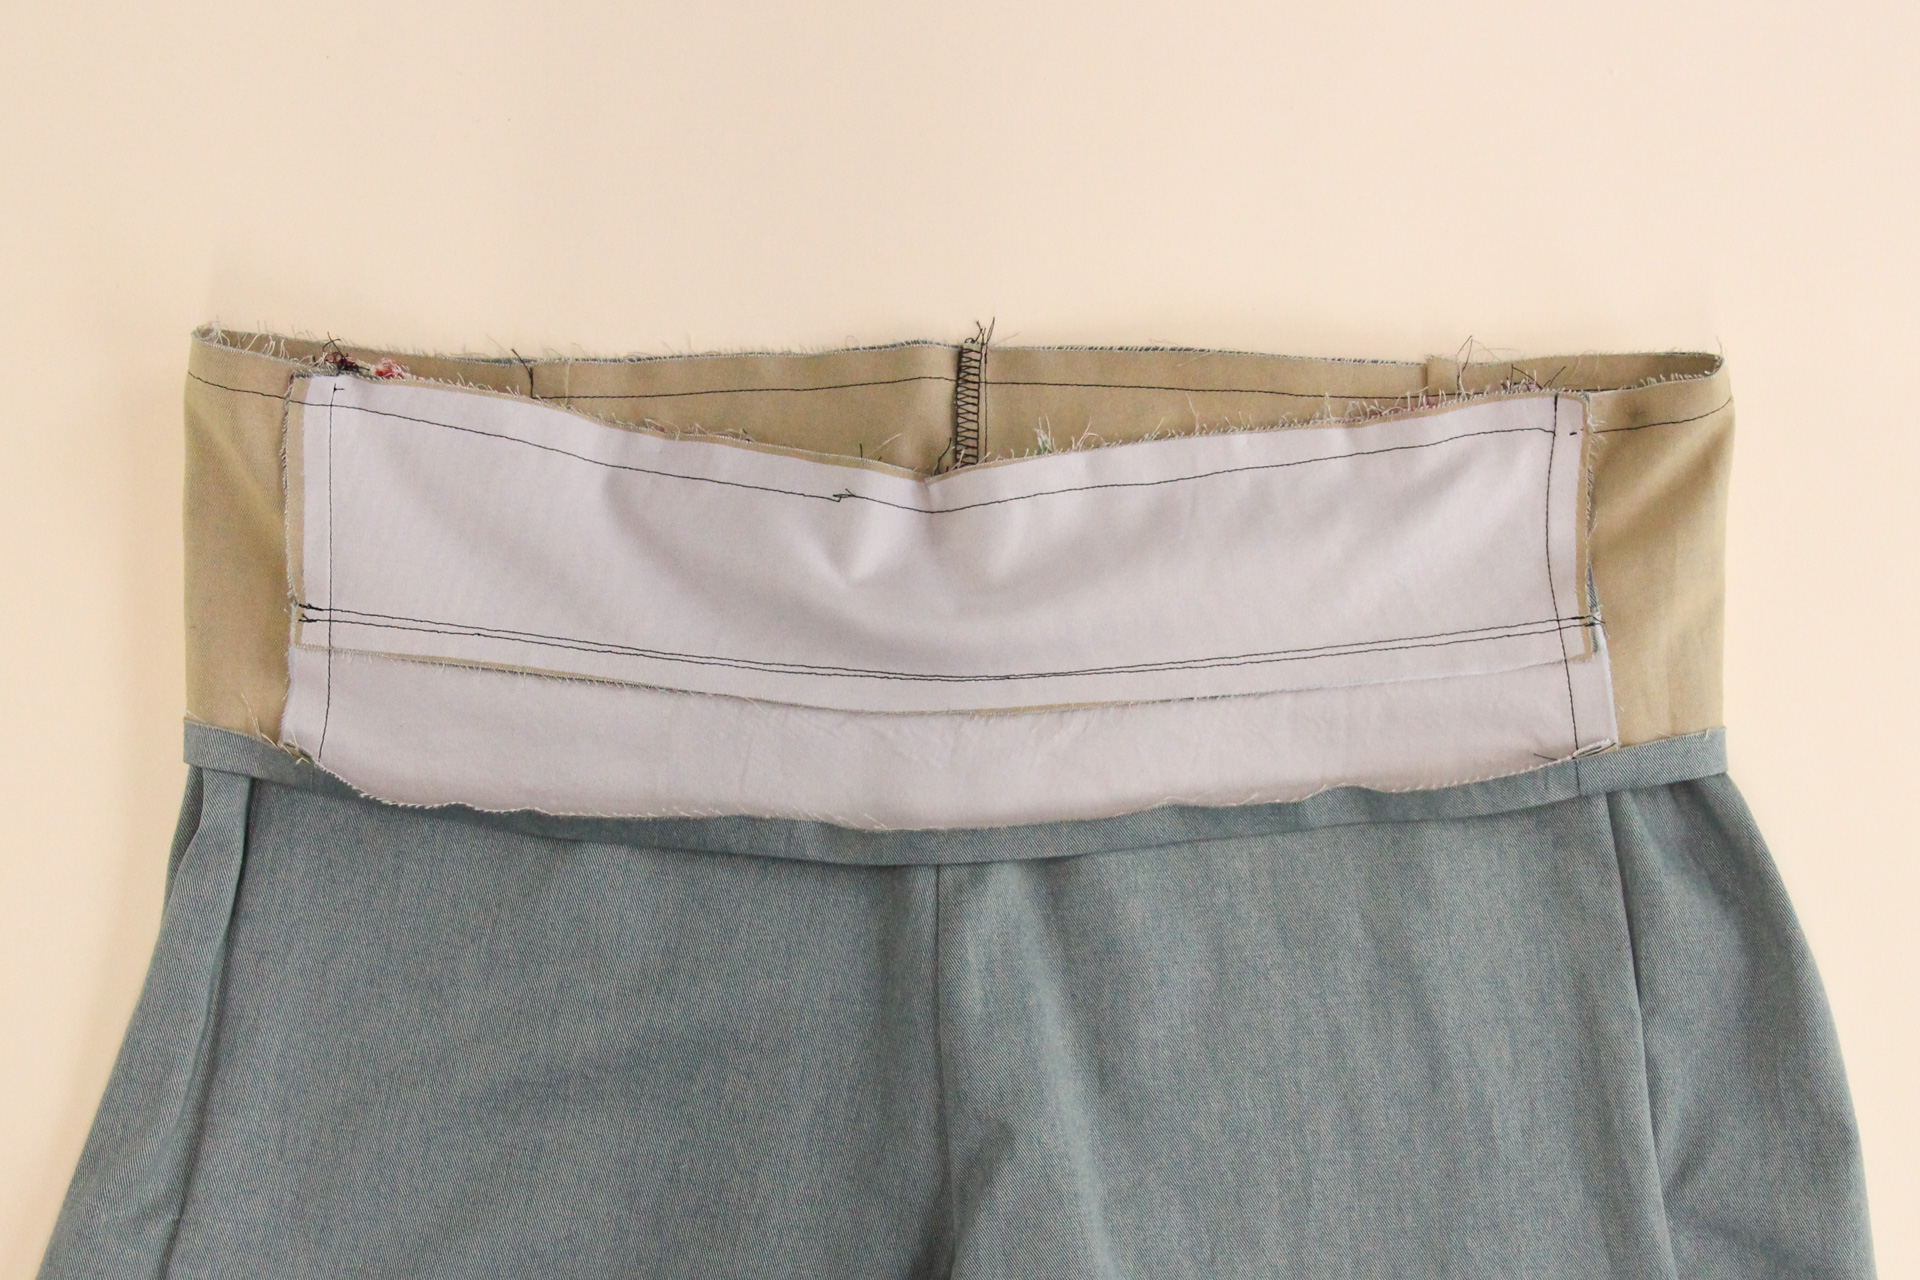
We’re going to sew the waistband closed in two goes. First, topstitch the front waistband at 1/16″ (1.5 mm) from the waistband seam.
We’re going to do the same on the back waistband, except we’ll leave a few inches unsewn on either end of the back waistband.
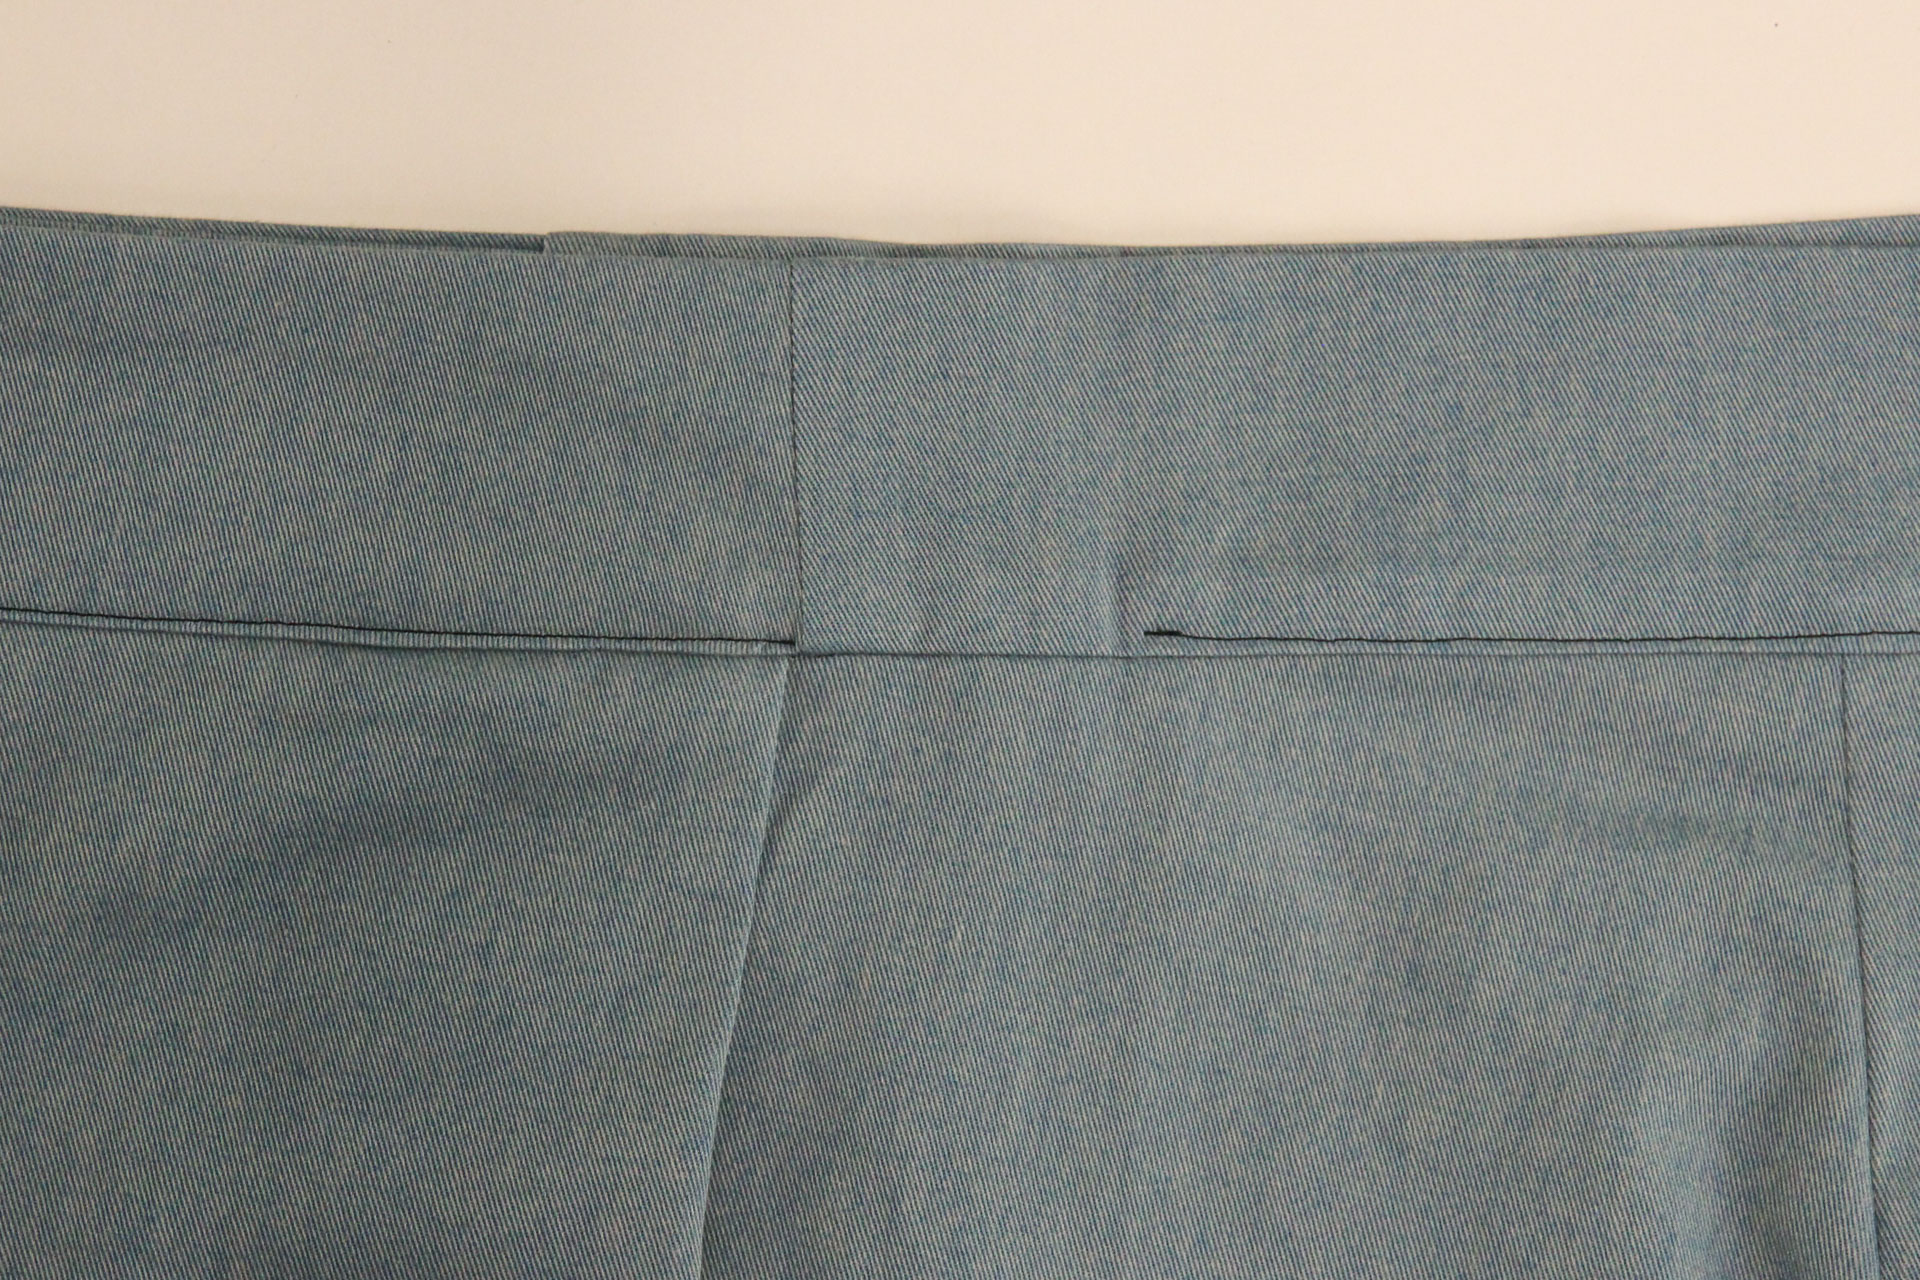
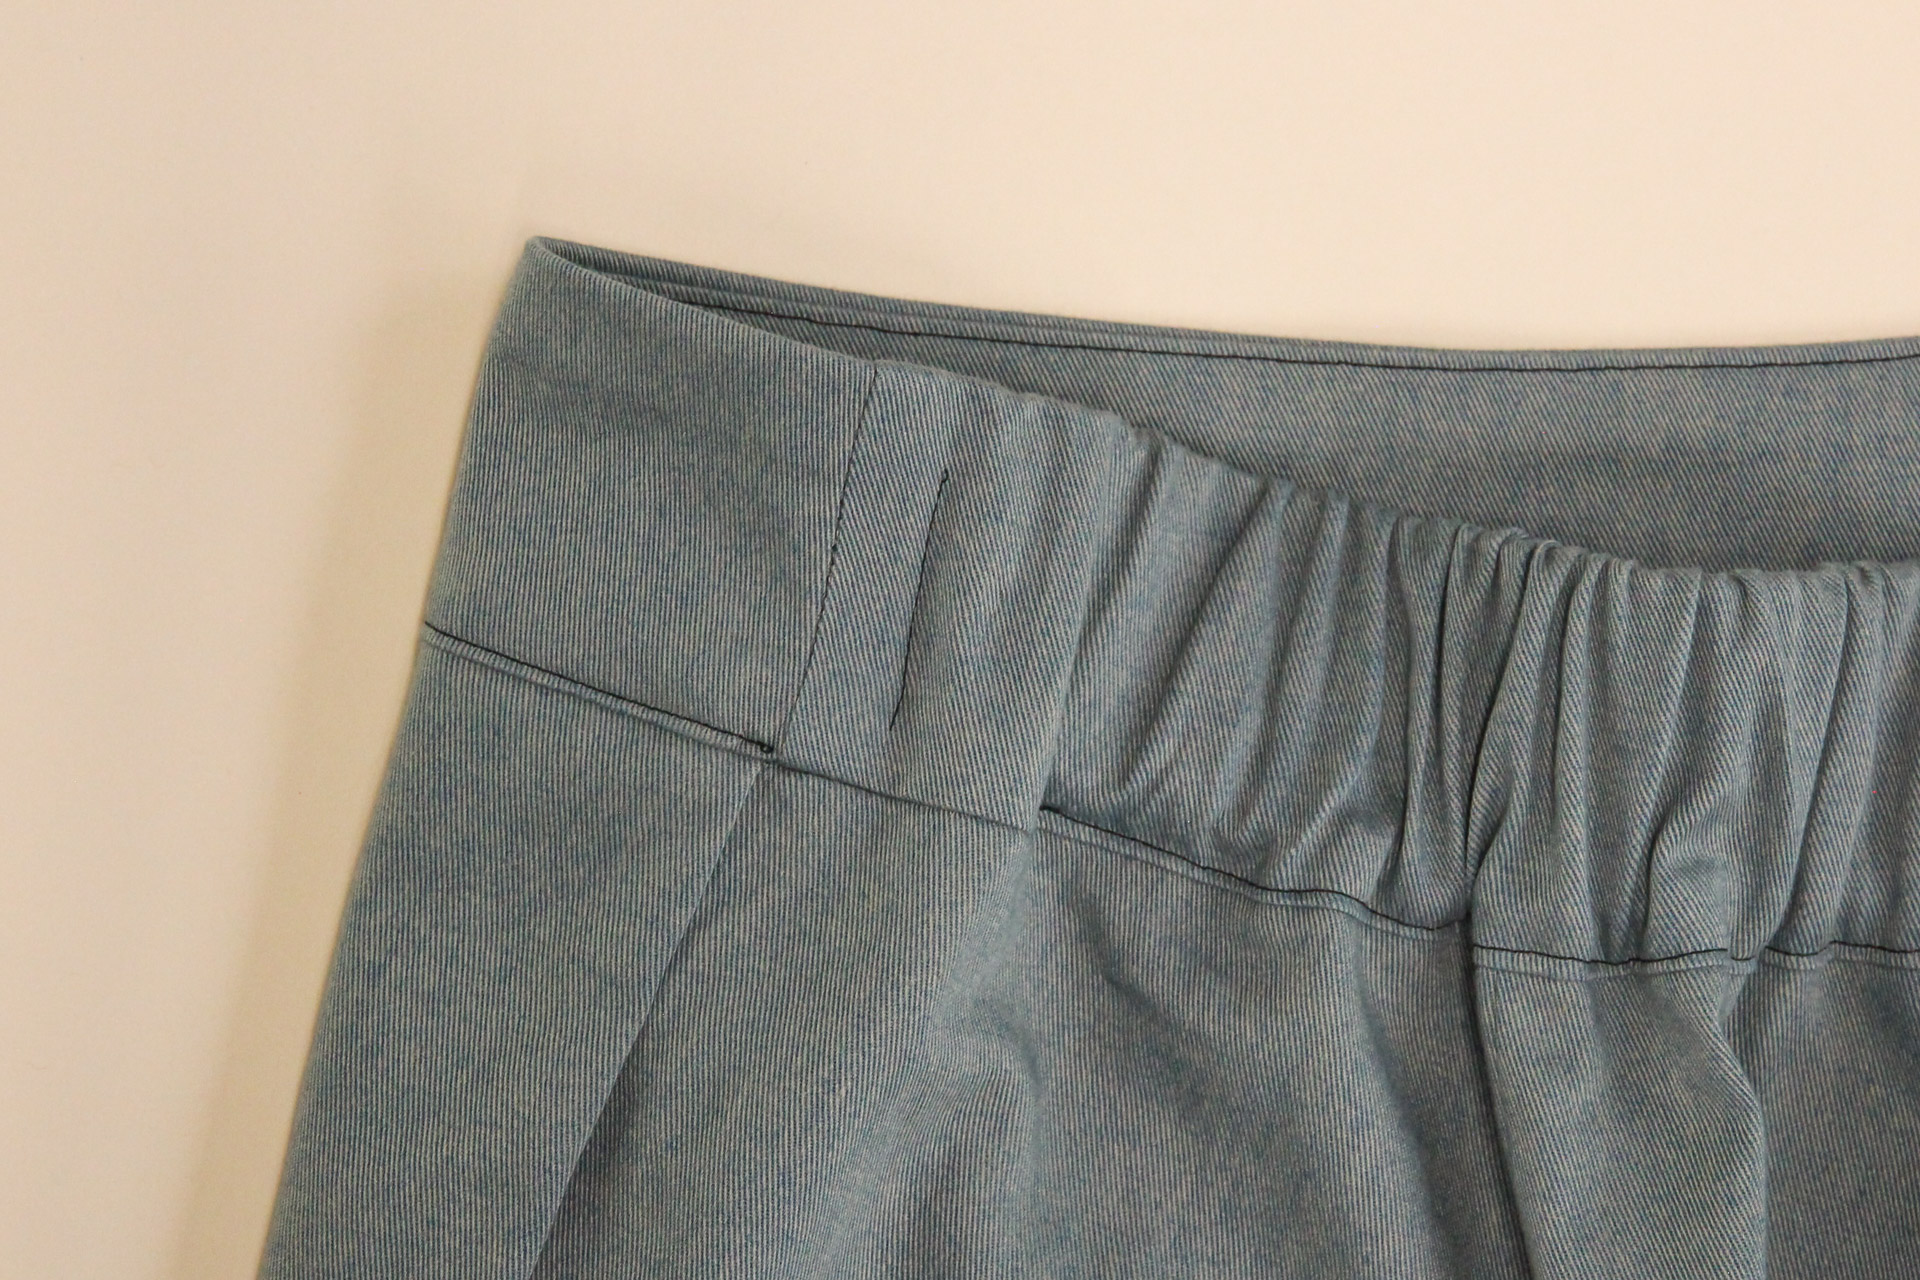
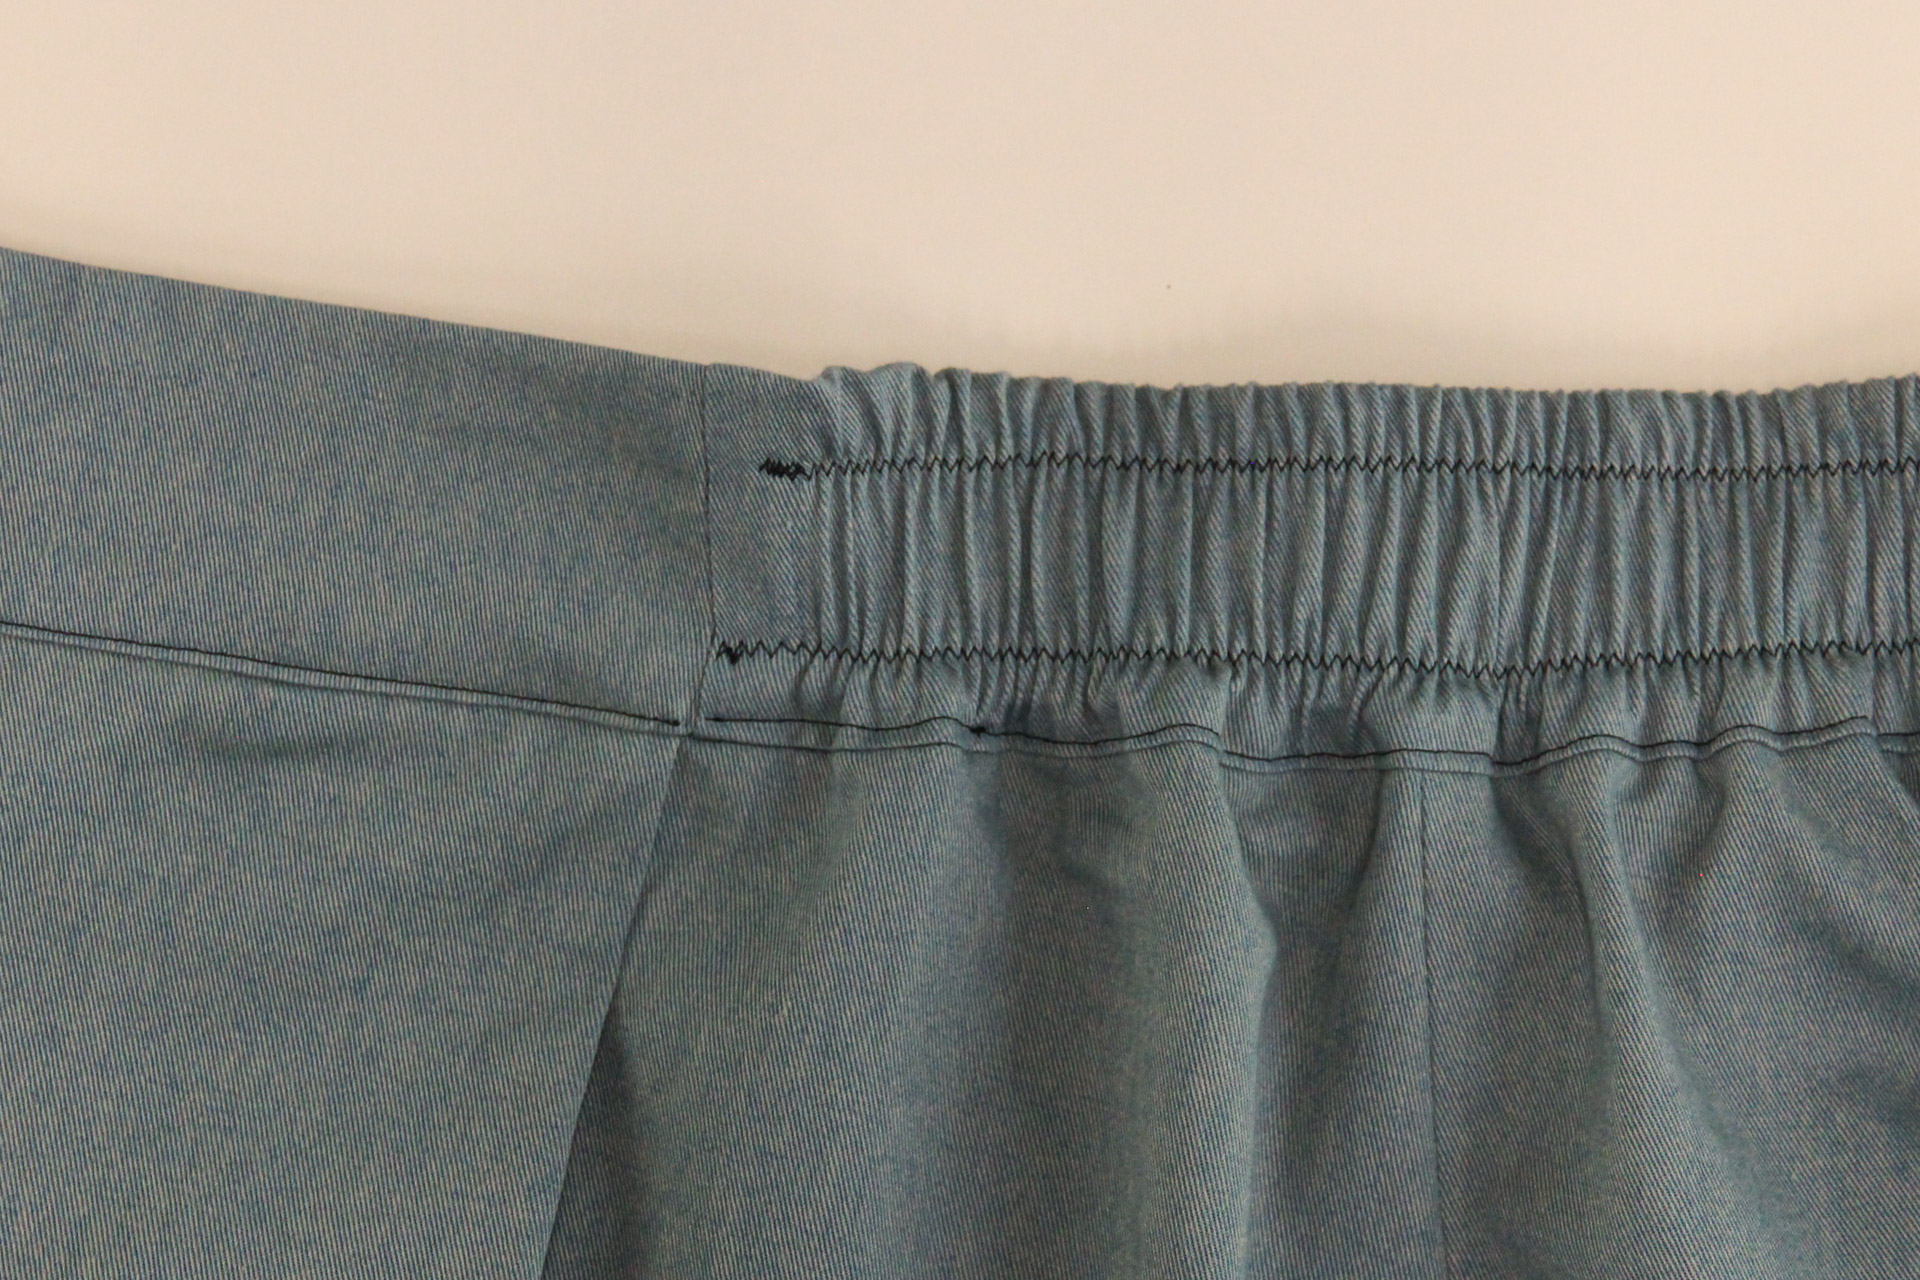
Next we’re going to insert our elastic, but I find that it’s helpful to first chalk our two topstitching lines. Using a rule and tailor’s chalk, mark two lines 1/2″ (12 mm) from the top and bottom of the back waistband.
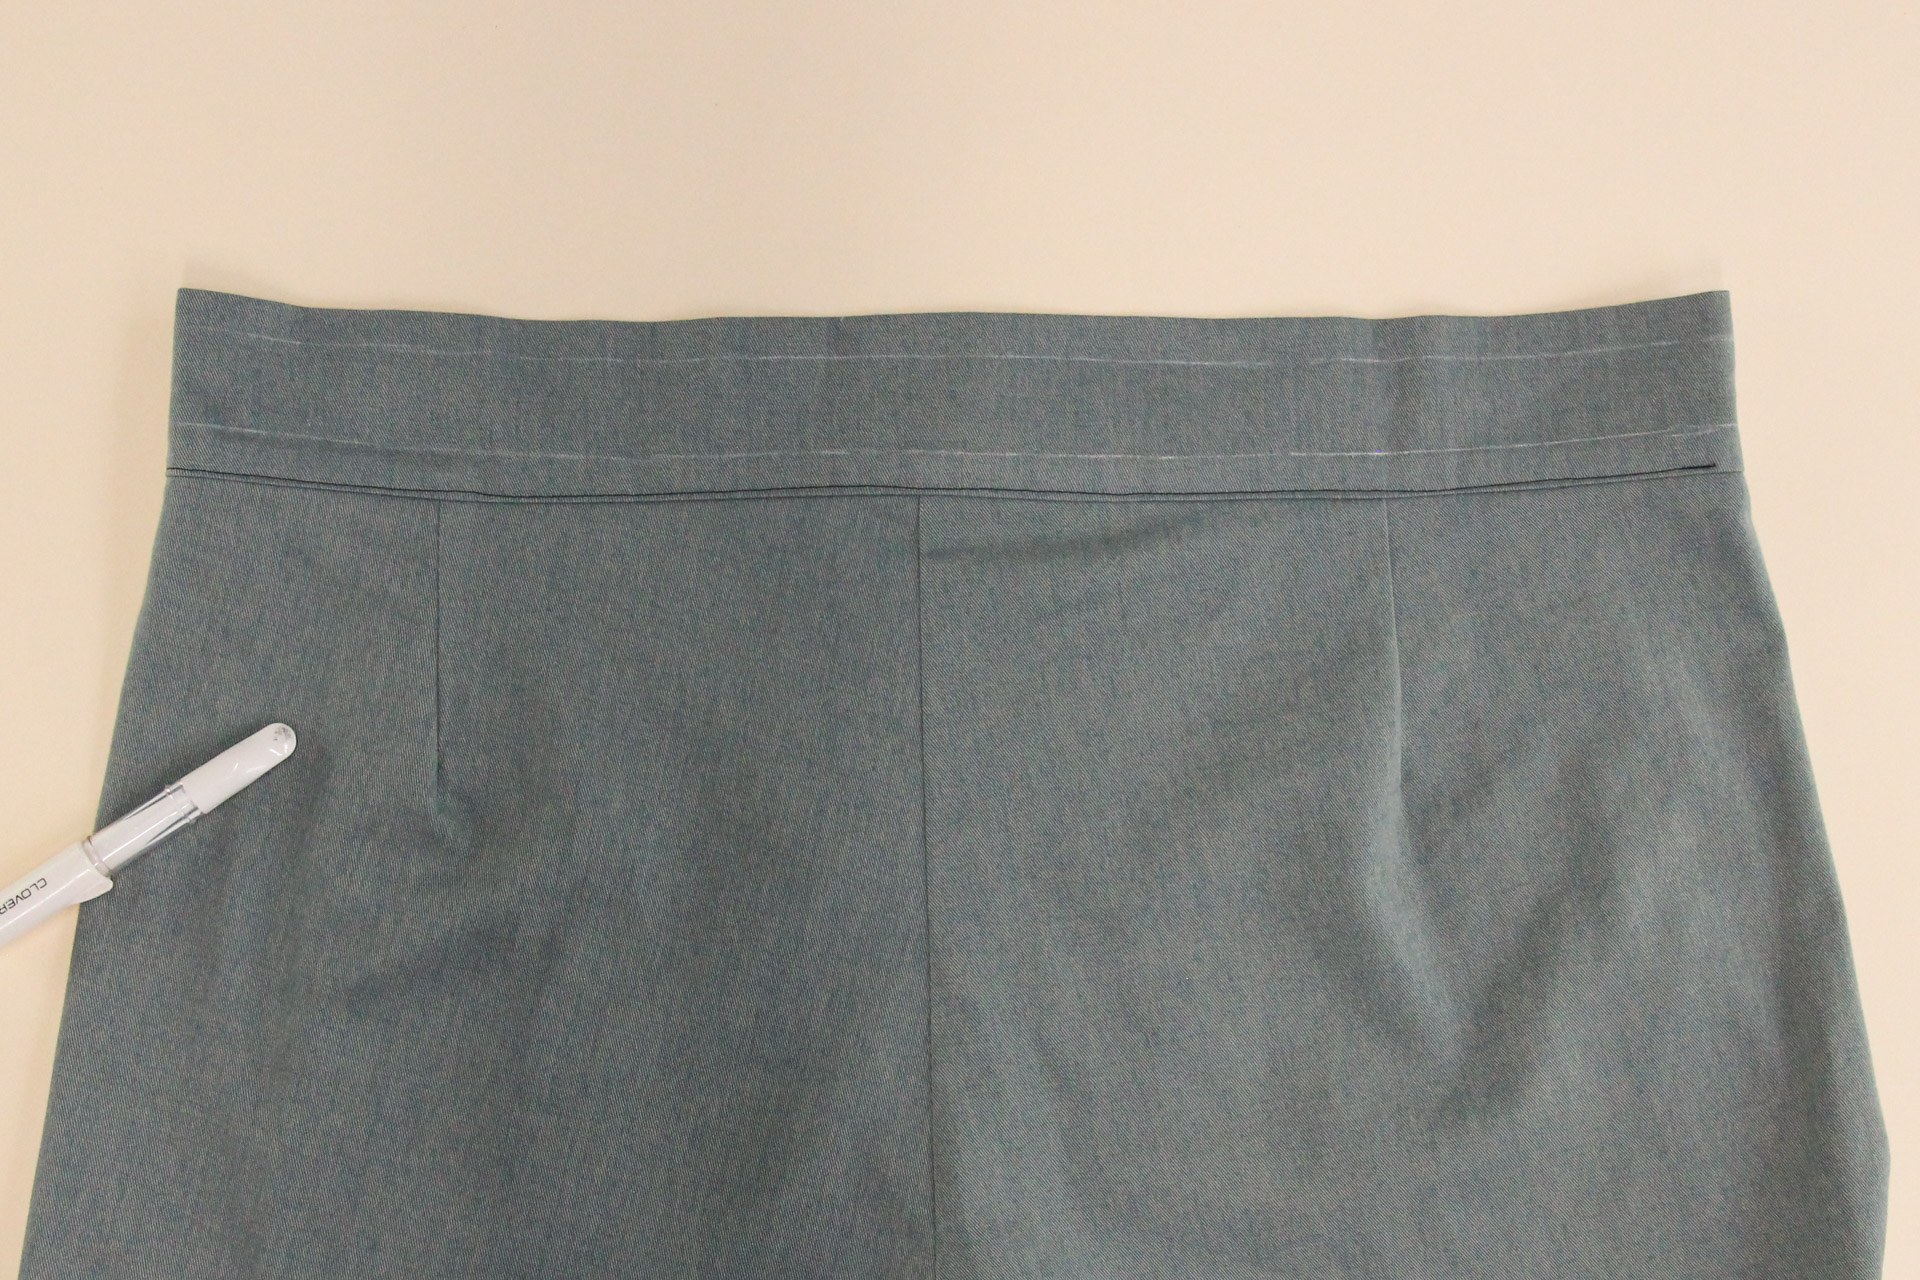
These lines will help us as we topstitch our elastic.
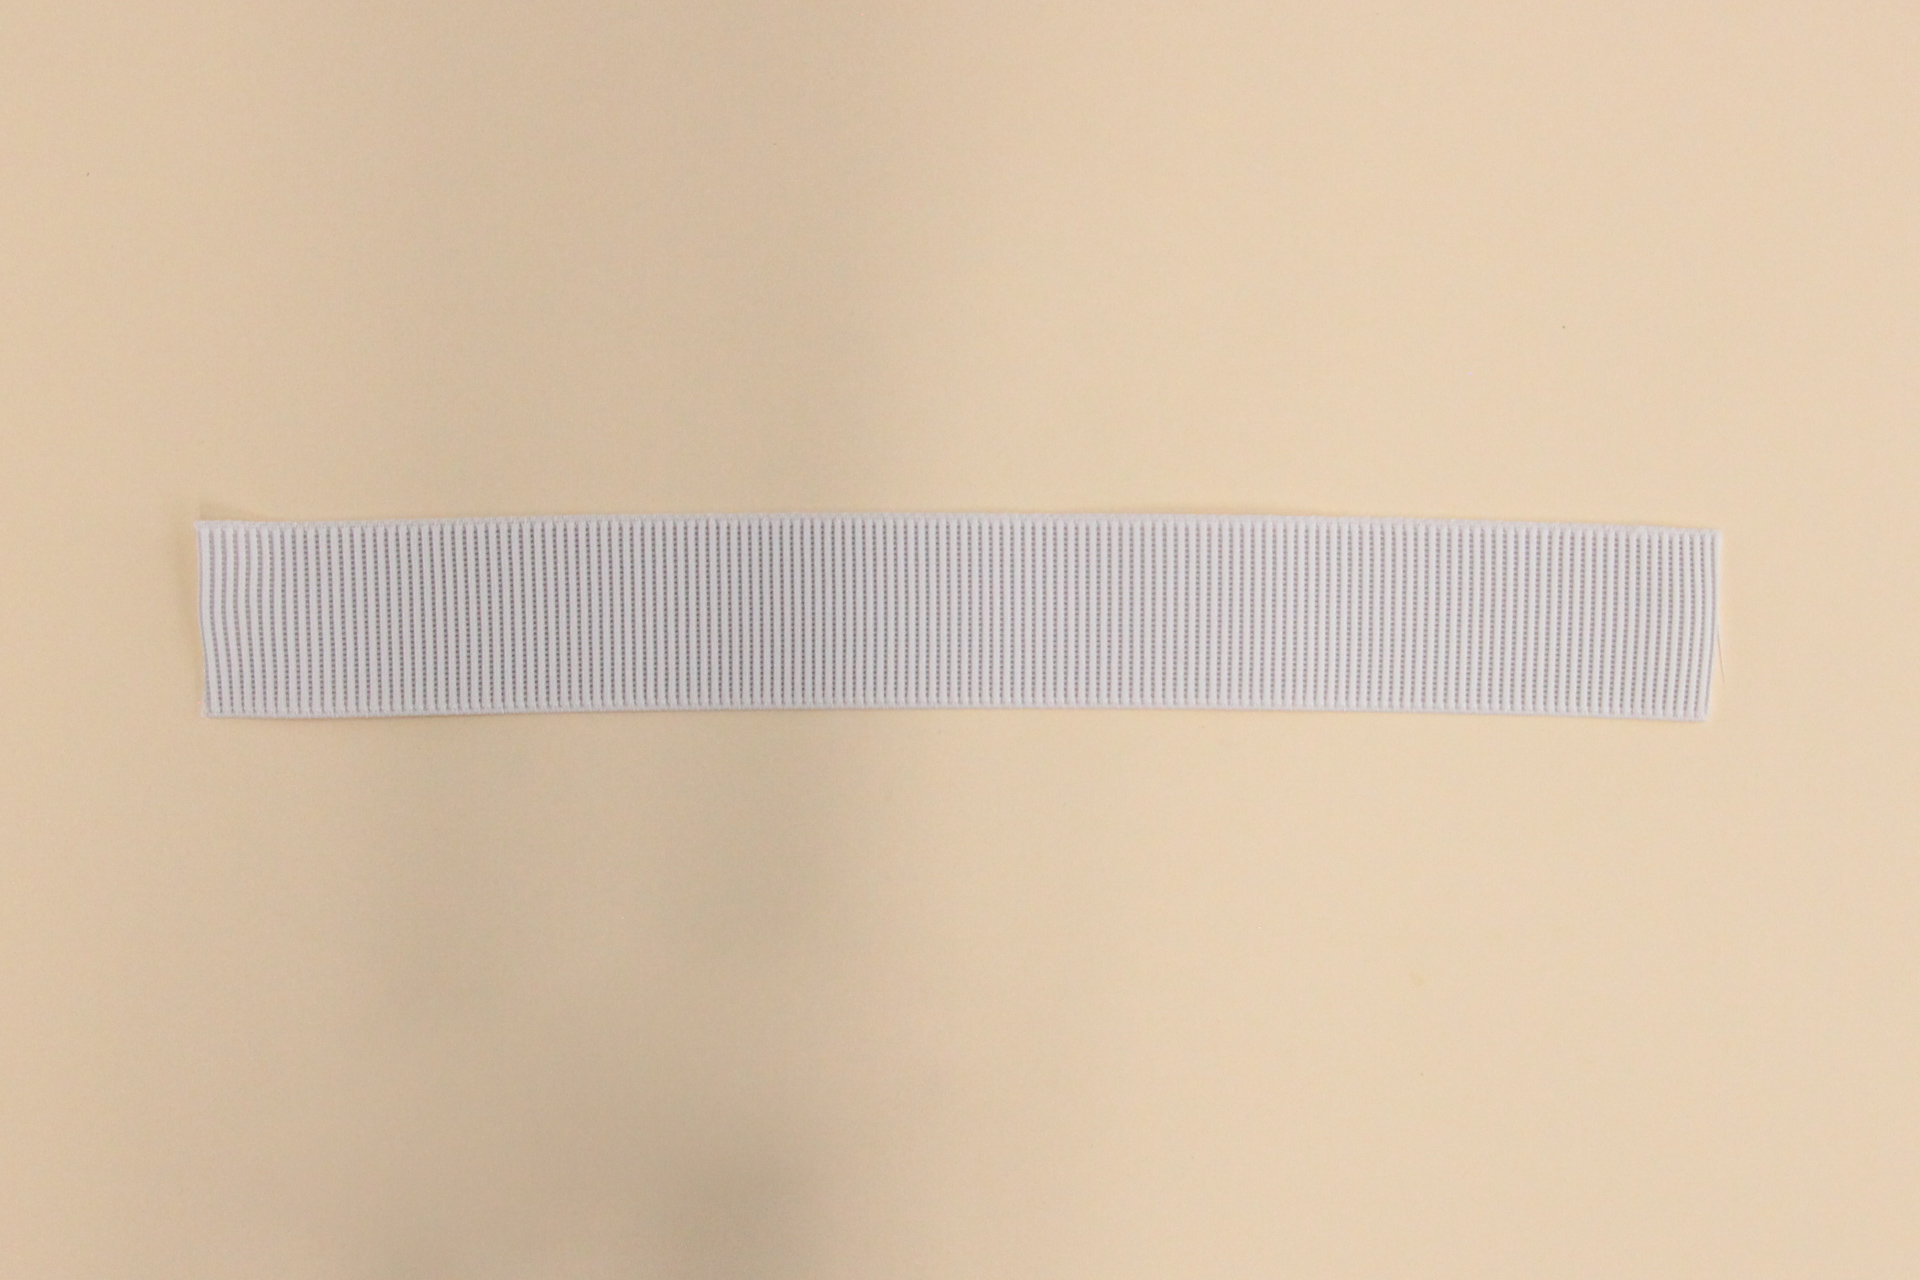
Insert Elastic
Cut a piece of 2″ (5 cm) wide knit or waistband elastic according to the chart in your instructions.
Using a safety pin, guide the elastic into the back waistband, pinning it on either ends and in the middle. The elastic will be shorter than the waistband, so the waistband will bunch up.
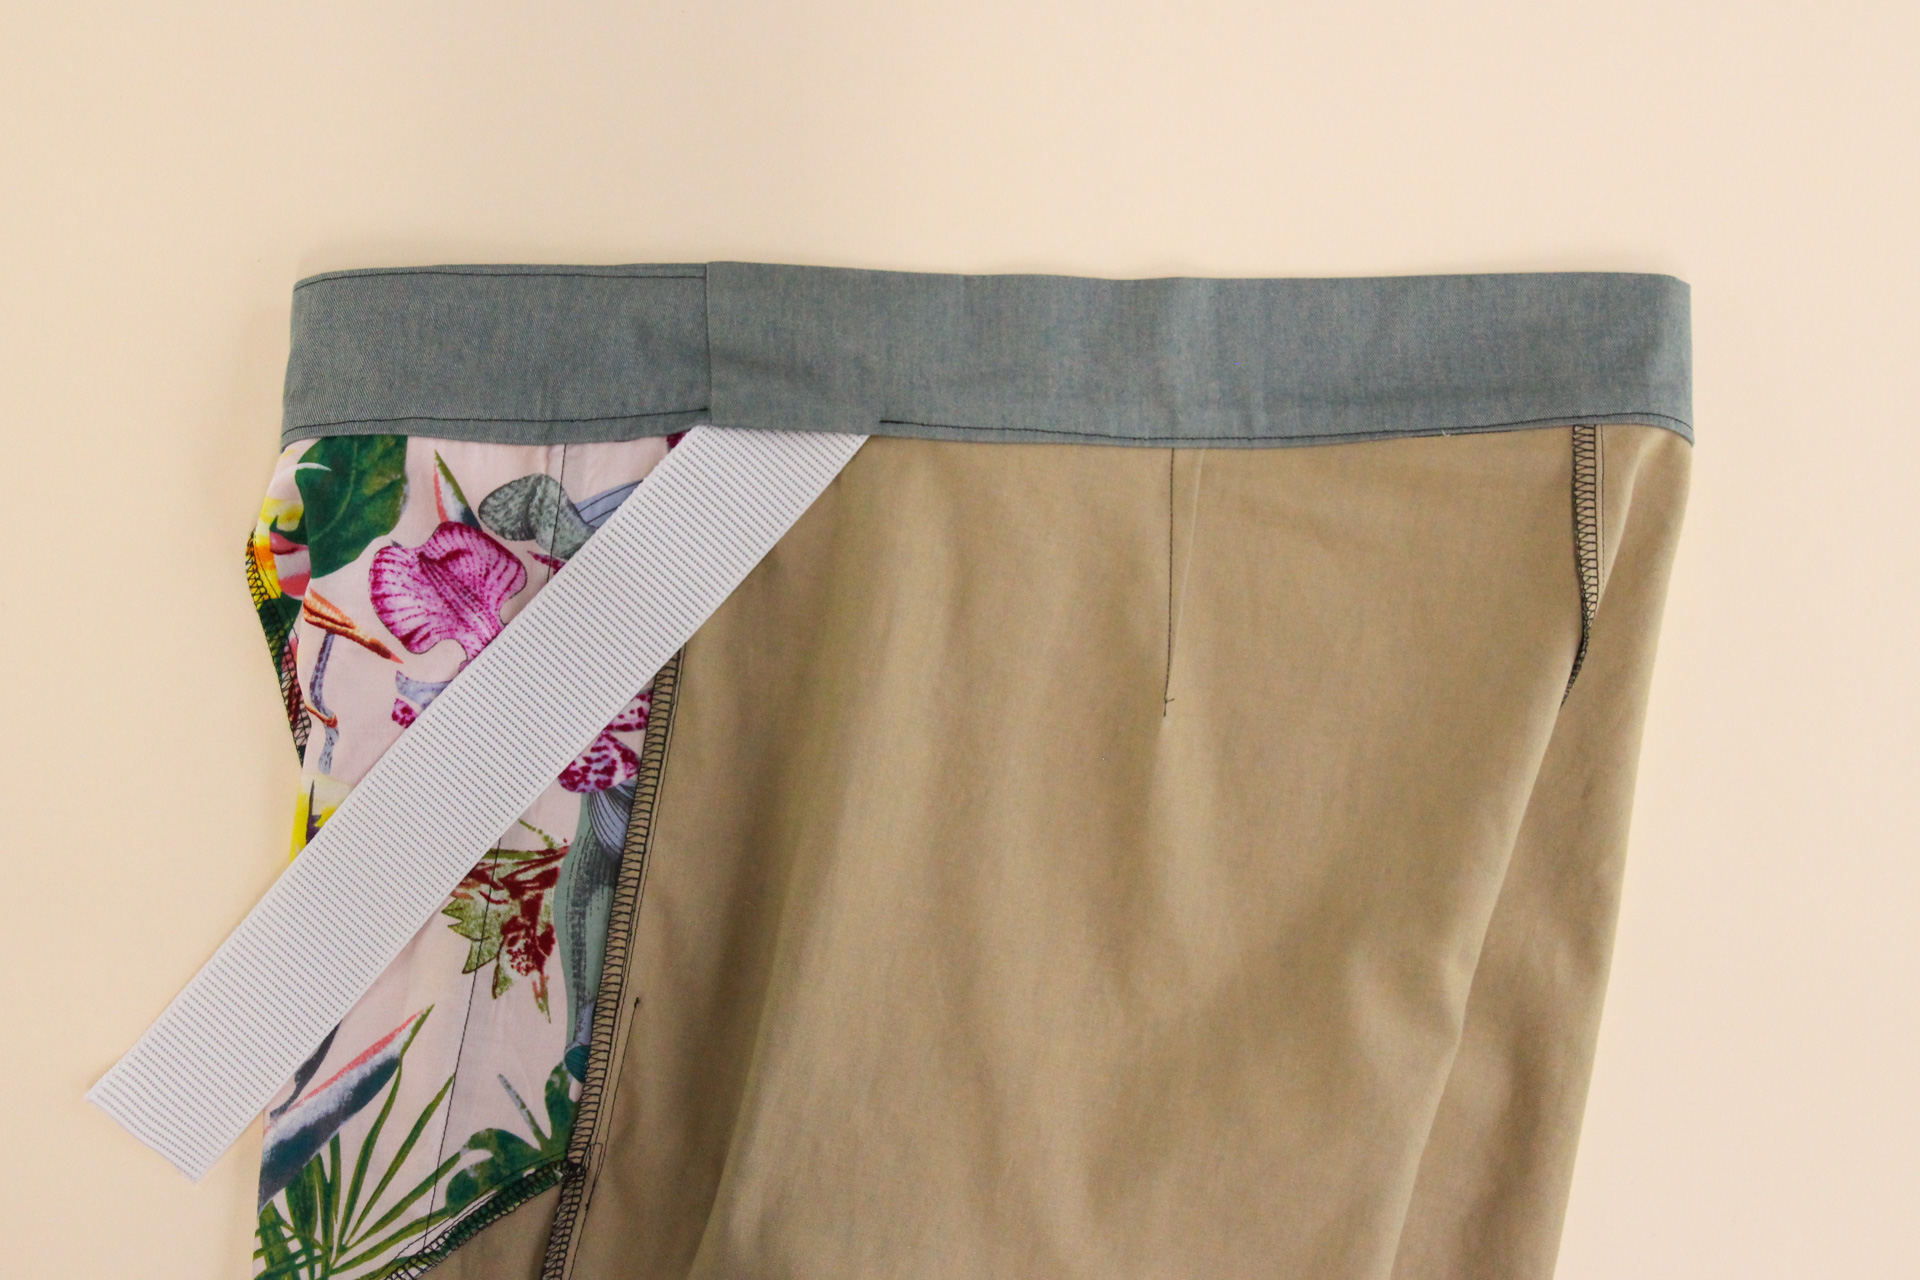
I find it helpful to sew a line of basting stitches at both ends of my elastic. This keeps it from sliding out of place once I start the topstitching.
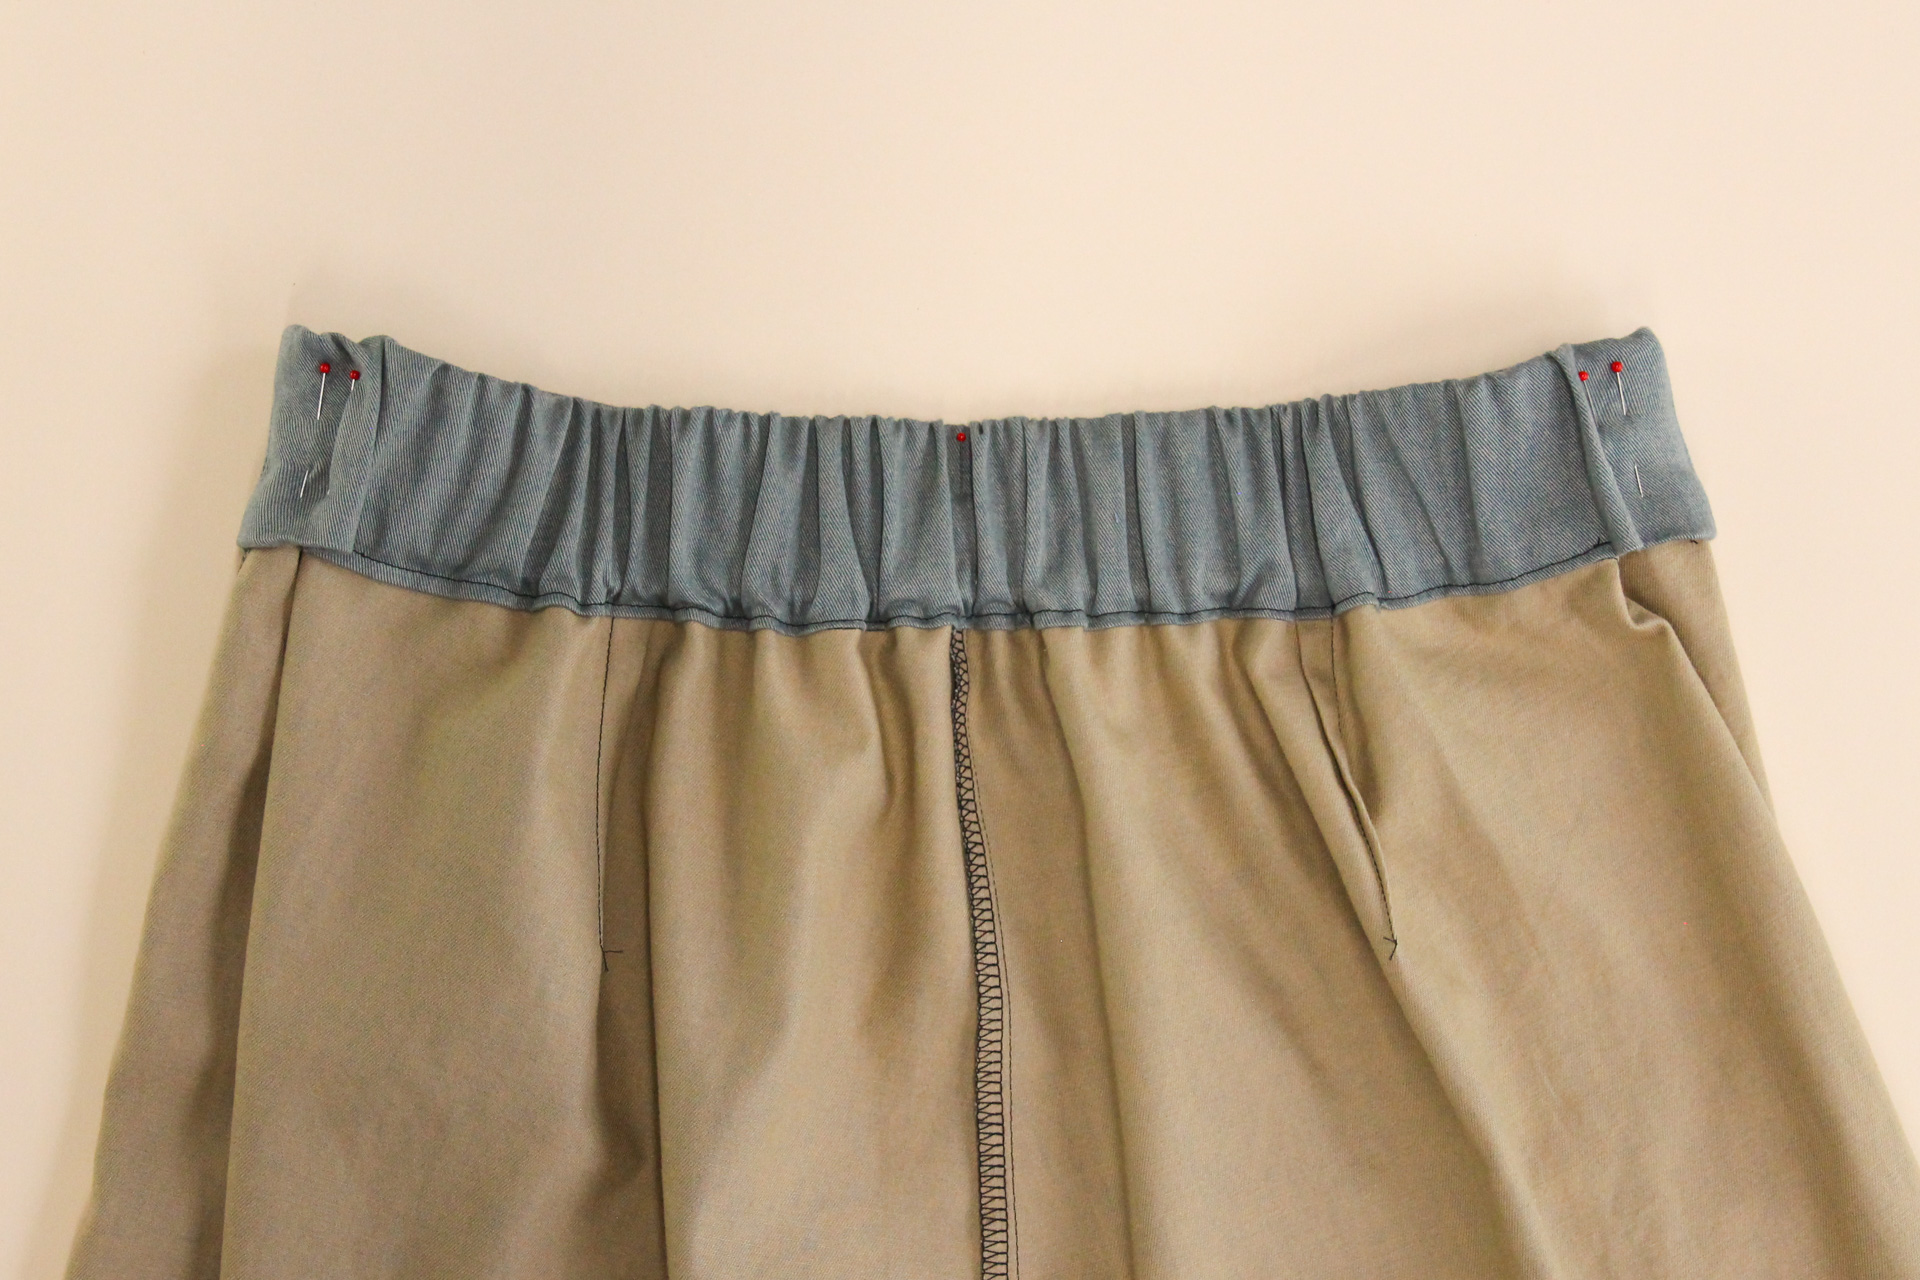
Okay, time for our topstitching. We’re going to sew two parallel lines of zigzag stitching (3 mm wide x 2 mm long) from the right side, 1/2″ (12 mm) from the top and bottom of our waistband.
To do this, hold the elastic taut at either end as you sew it. You want to stretch your elastic as far as it takes to get your outer fabric to lie flat through the machine. This will require you to stop and reposition your hands a few times as you topstitch, and go slow to avoid needles breaking.
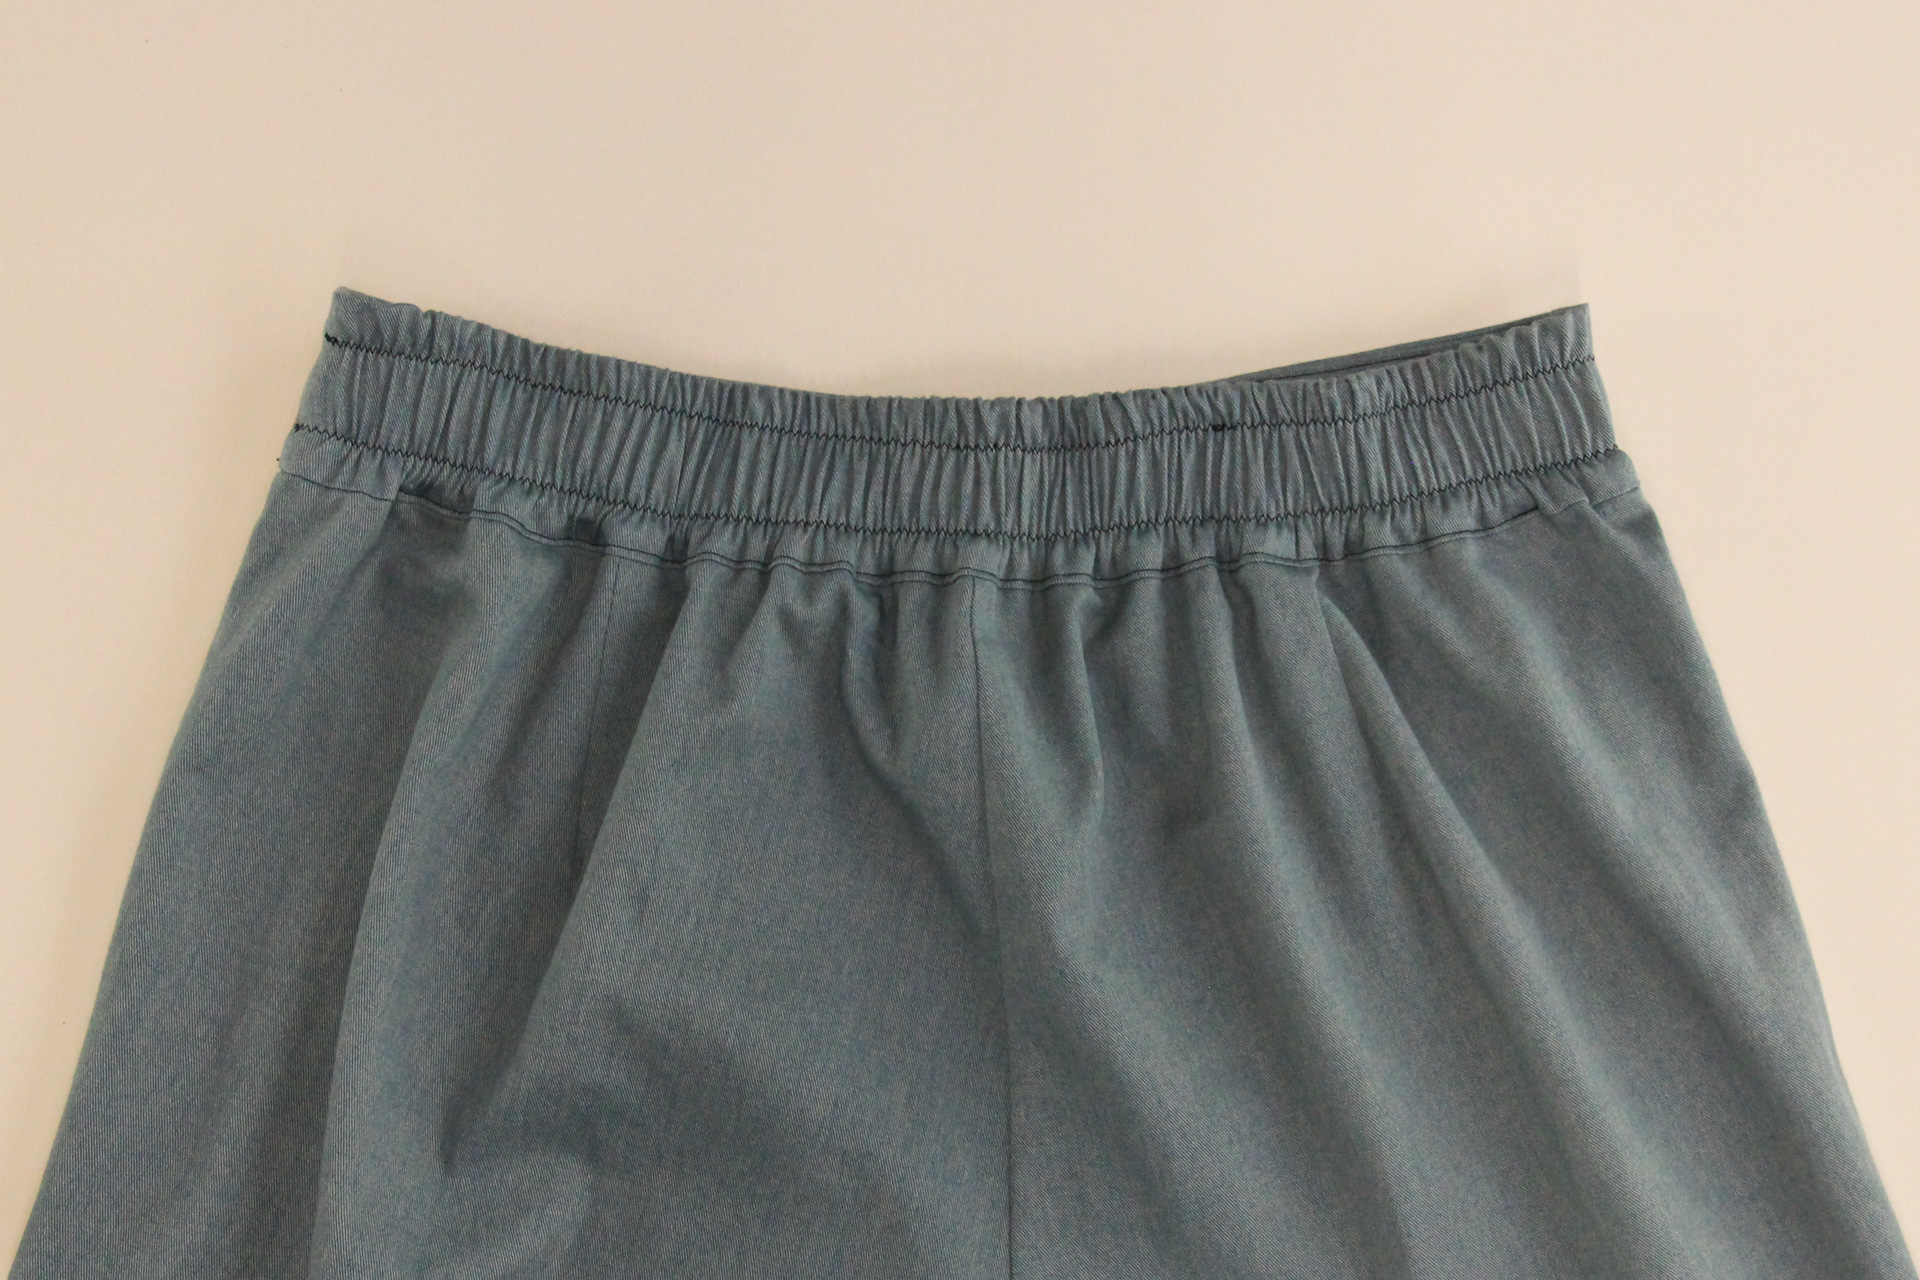
Here’s a closeup of the topstitching:

Give yourself a pat on the back—that was probably the most complex bit of this project, and you breezed through it without issue. Nice work!
One final thing before we’re done with the waistband: we need to sew closed the two gaps on either end of the back waistband. Pin them in place, then topstitch with a straight stitch, holding the elastic taut to keep the fabric flat.
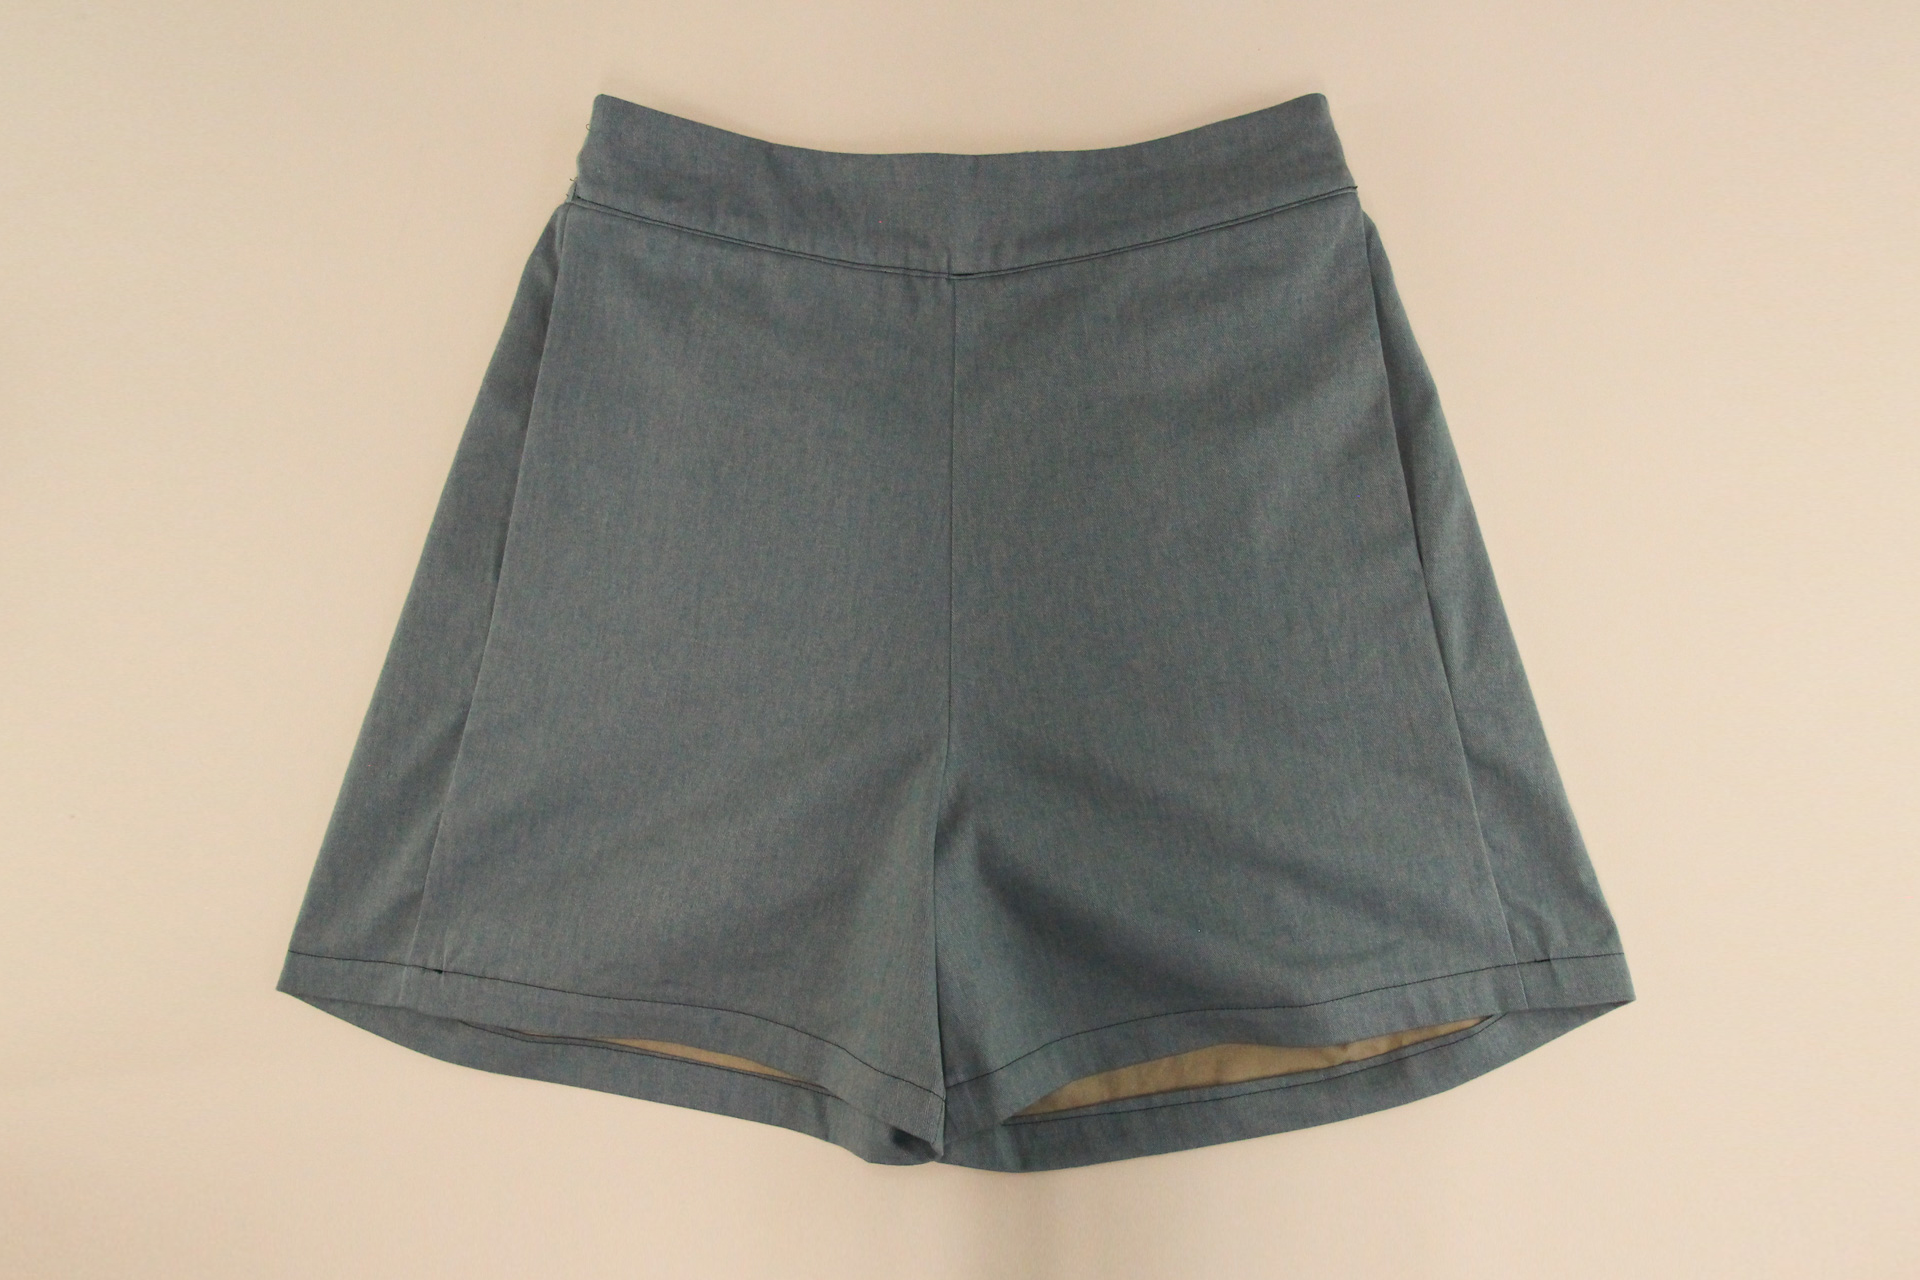
Hem the Pants
We’ve reached the final step! Before you start to hem your pants or shorts, try them on to check the length. Our hem allowance is 1.5″ (3.8 cm) so bear that in mind as you assess the length.
Start by turning the hem of each leg opening by 1/2″ (12 mm) towards to the wrong side and pressing.
Turn the hem over again to the inside by 1″ (2.5 cm) and press.
Pin the hem or use Wonder Tape to hold it in place.
From the right side, we’re going to topstitch the hem using a 3.5 mm straight stitch.
Press the hems again, and there you have it! A finished pair of Calder Pants or Calder Shorts!
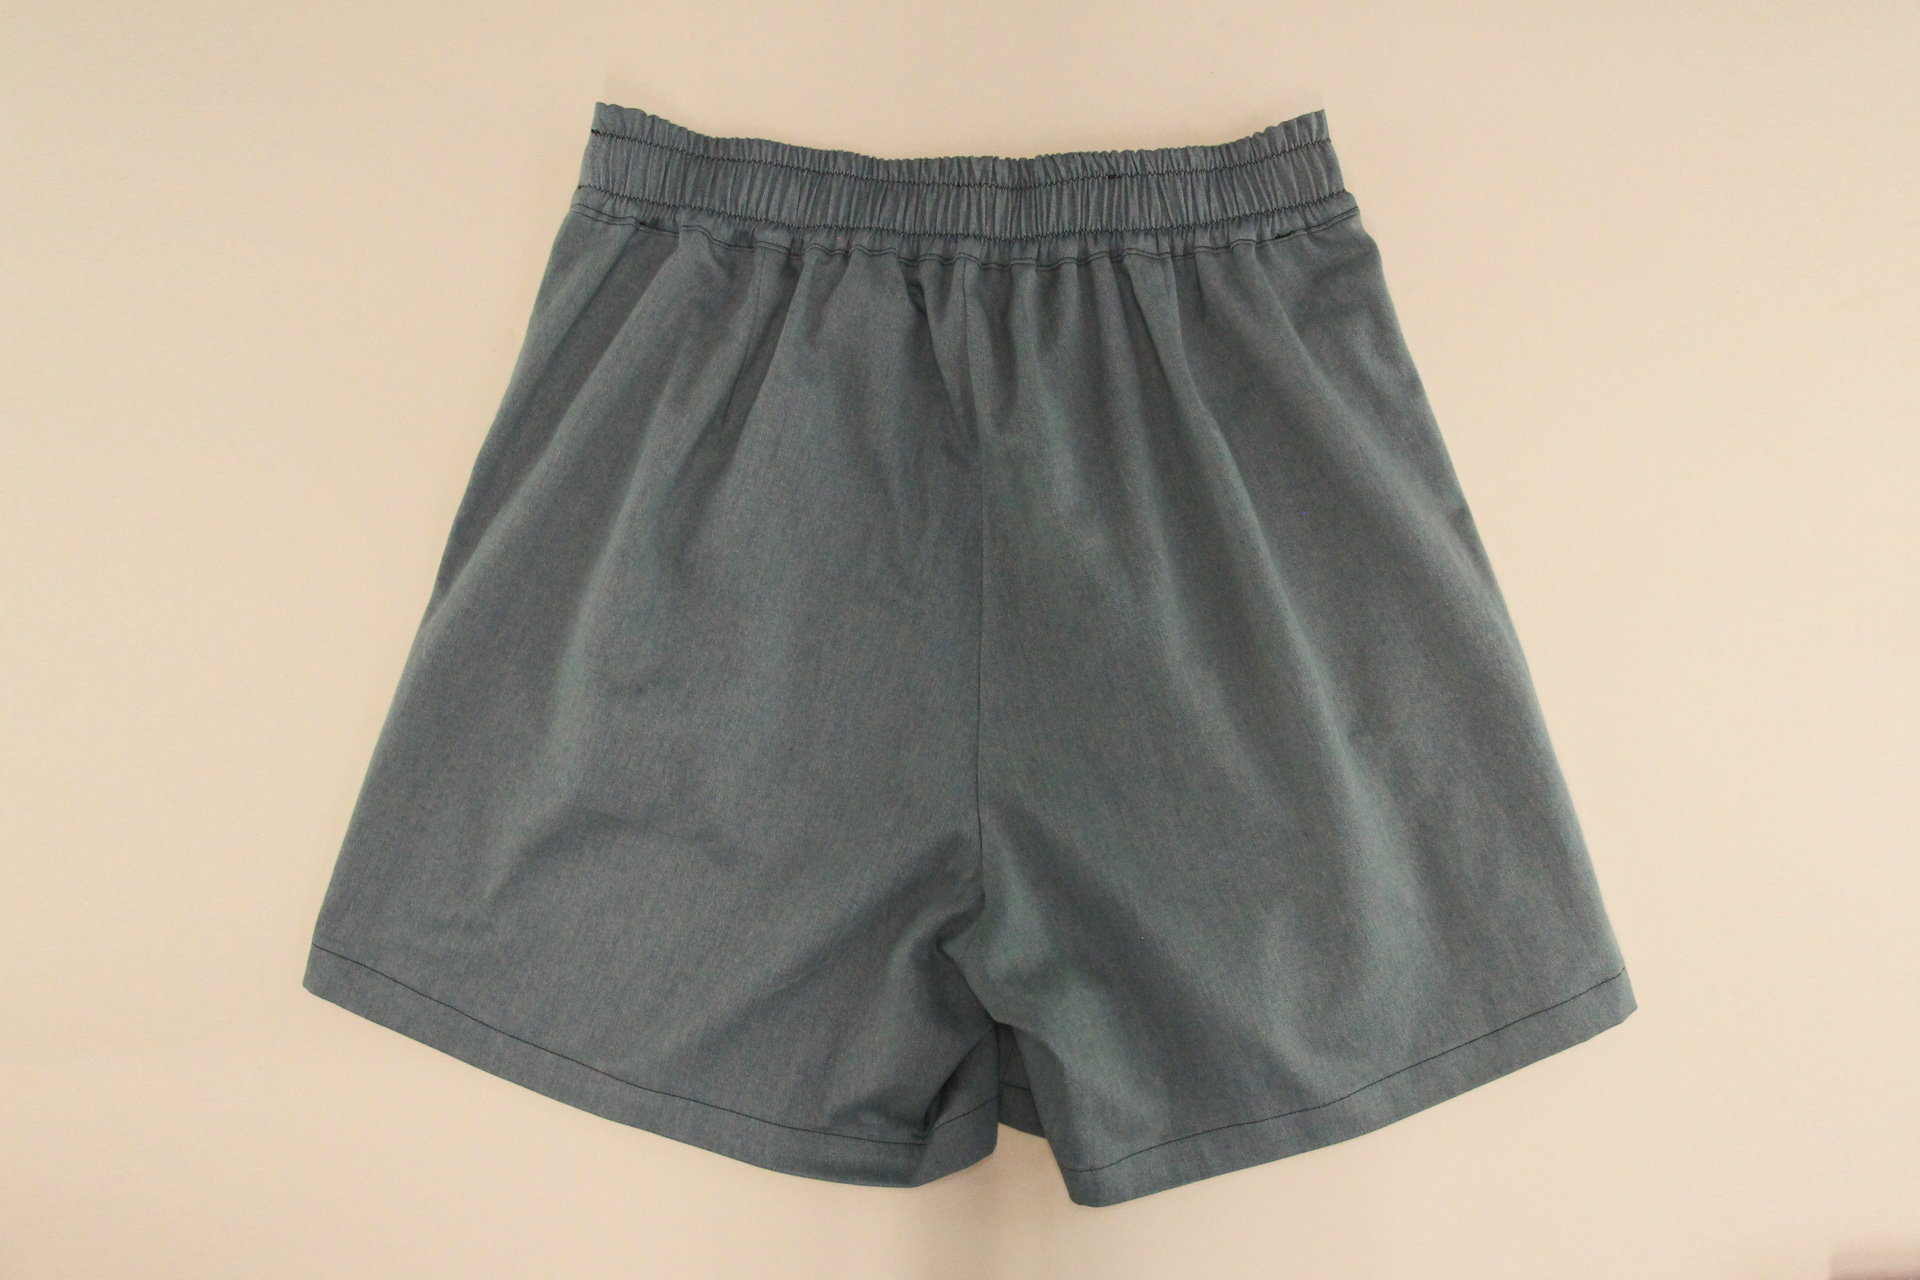
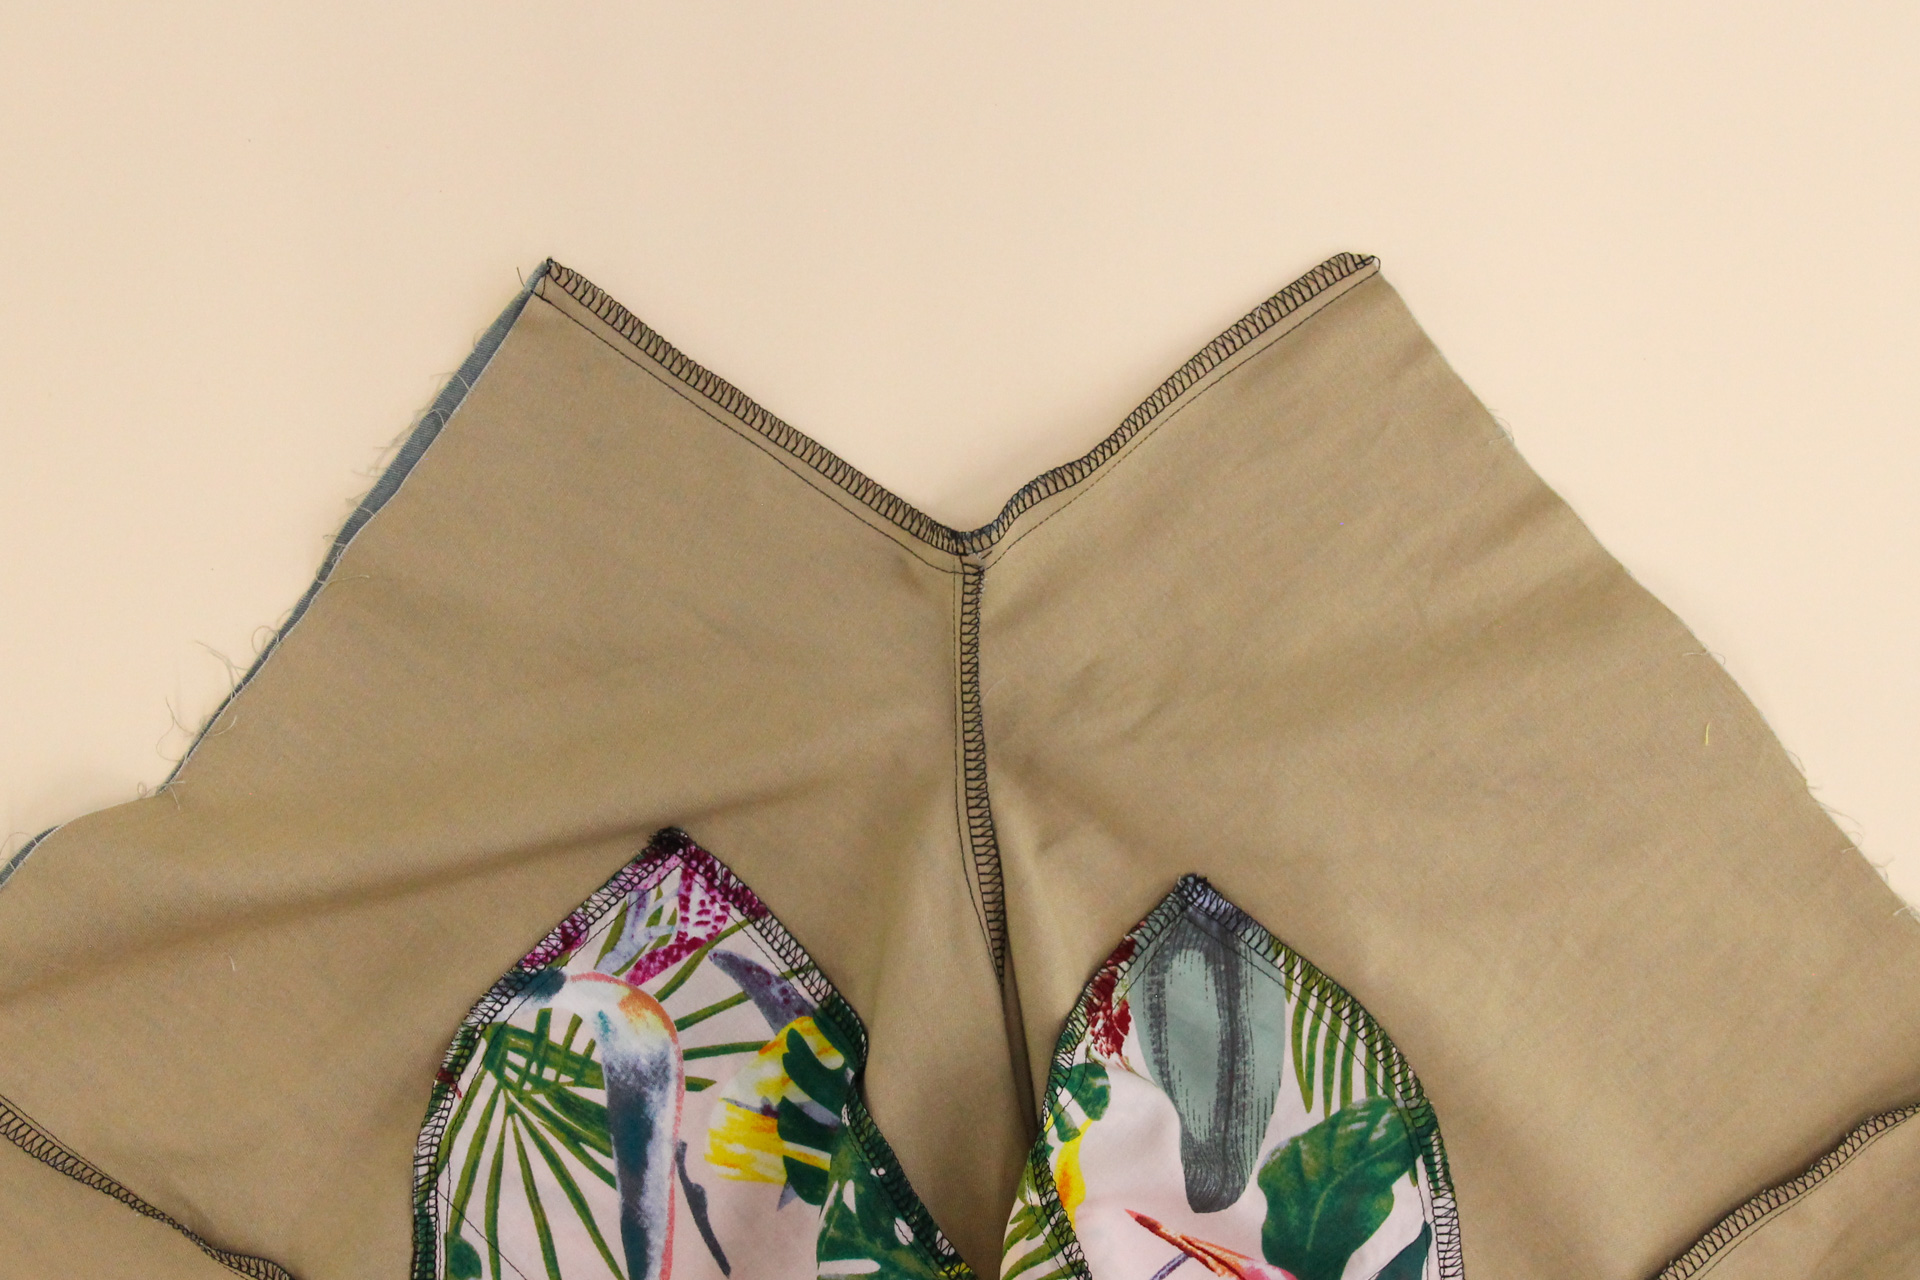
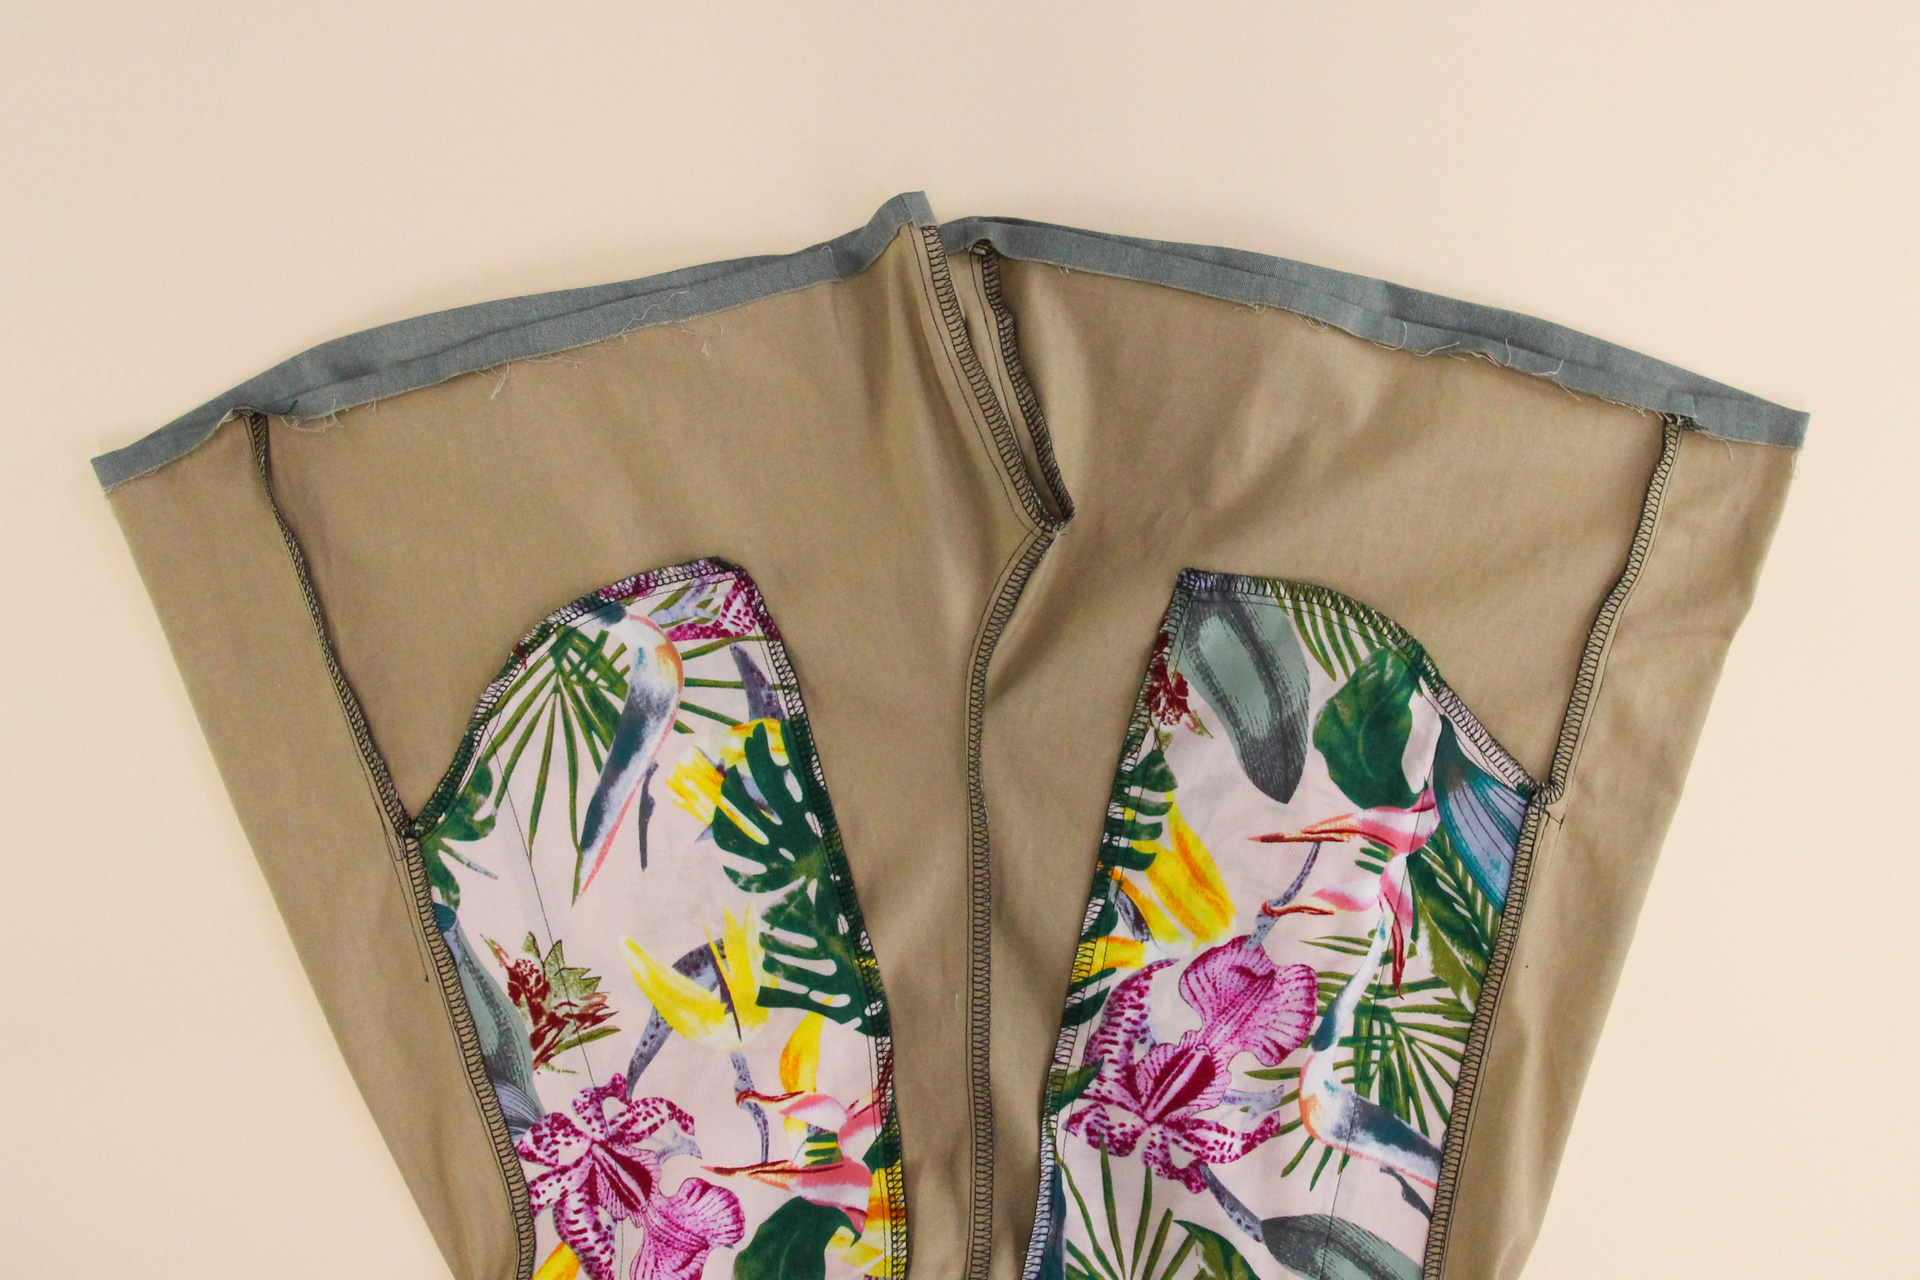
Let’s take a look at the inside. If you used the alternate method of attaching the pockets (described in day 2 of the sewalong), you’ll be looking the wrong side of the pocket fabric.
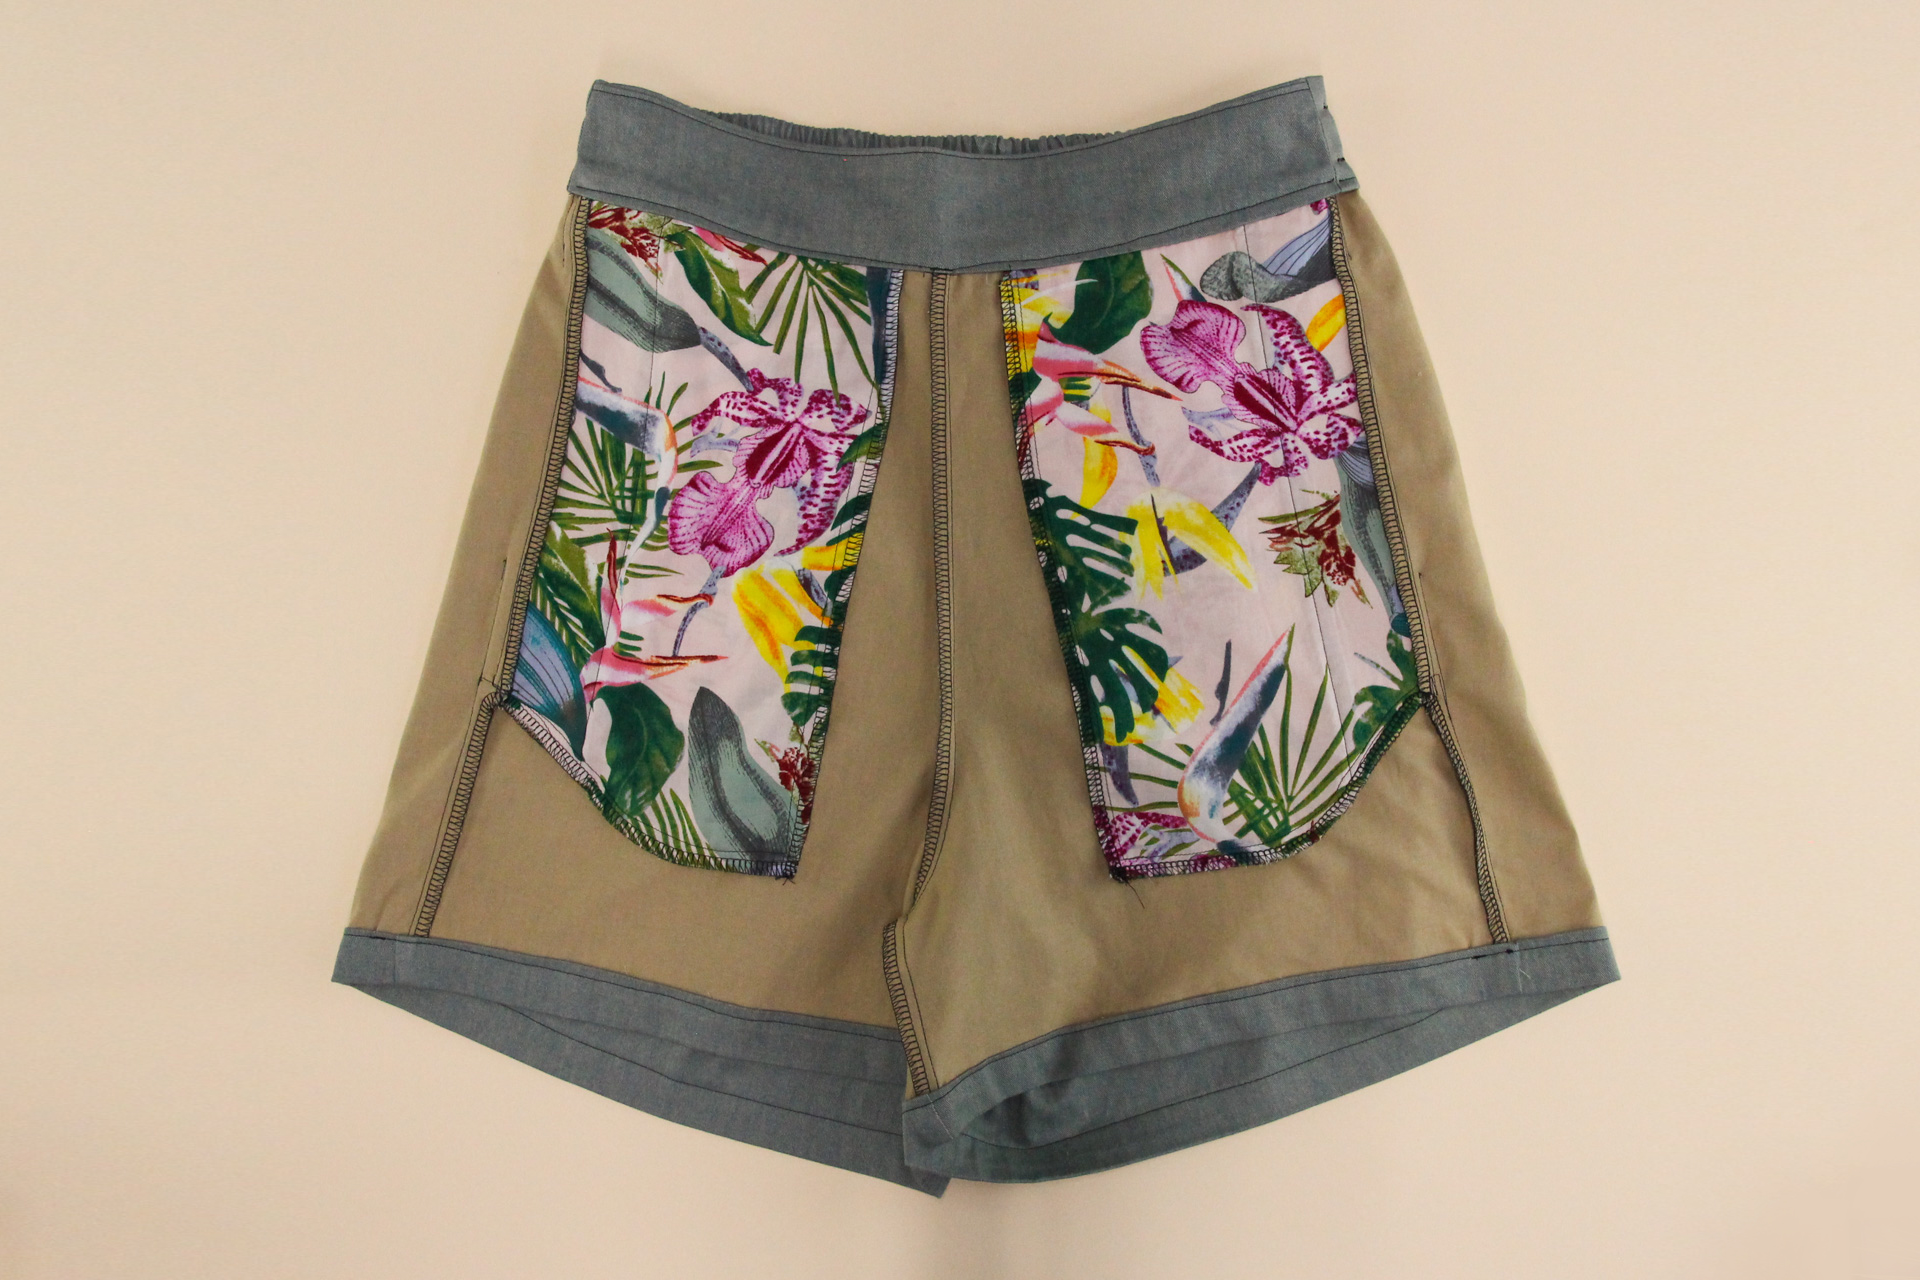
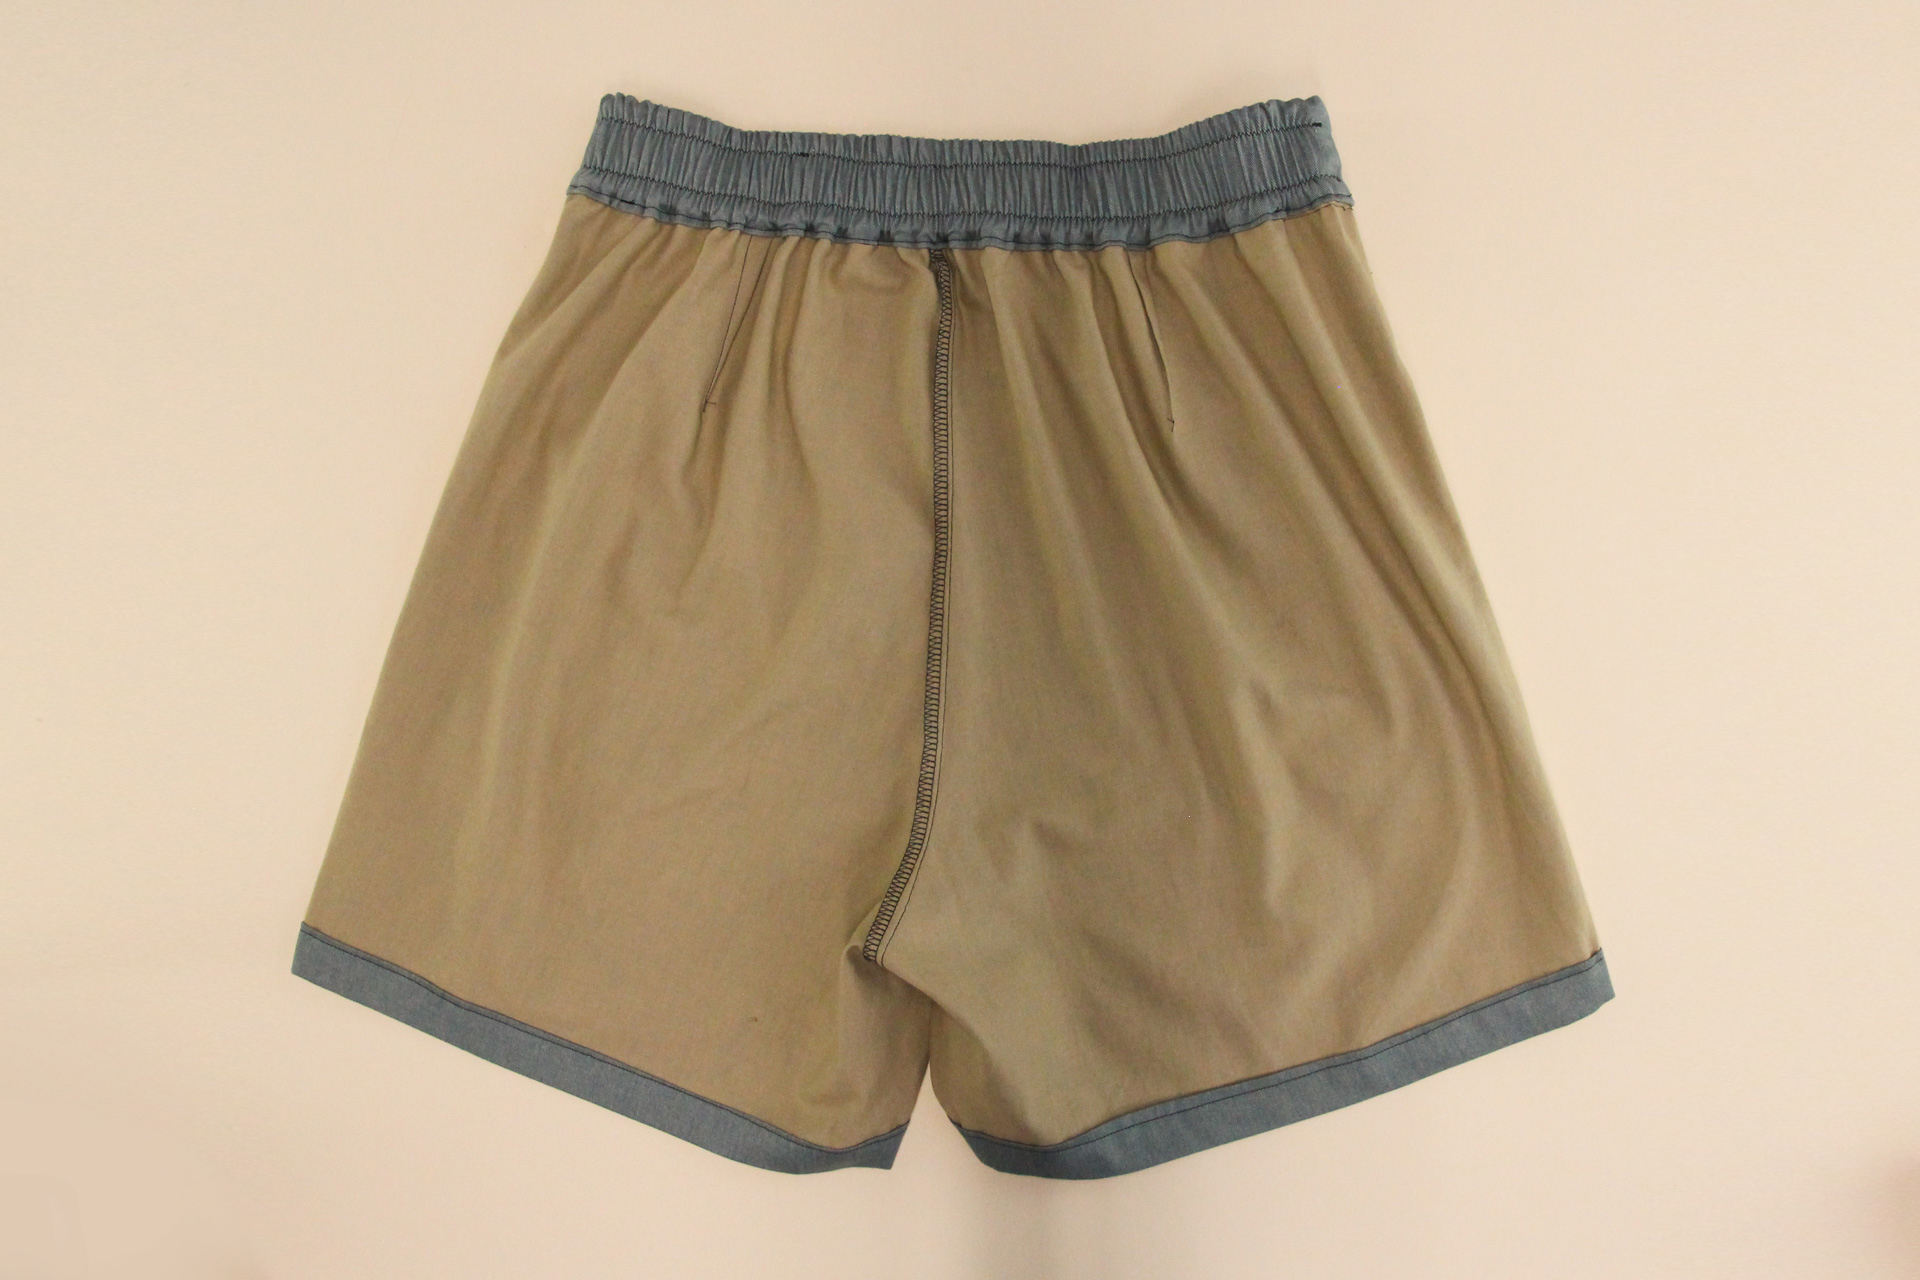
These pants are ready to hit the streets! Or the work-from-home desk chair, where you’ll be just about as comfortable as if you were wearing sweatpants.
Thanks for joining us for this Calder Pants & Shorts sewalong! We can’t wait to see the flowy, wide legged pants you’ll make! Be sure to tag your makes with #CalderPants and #Calder Shorts on social media so we can drool over your cool new pants.