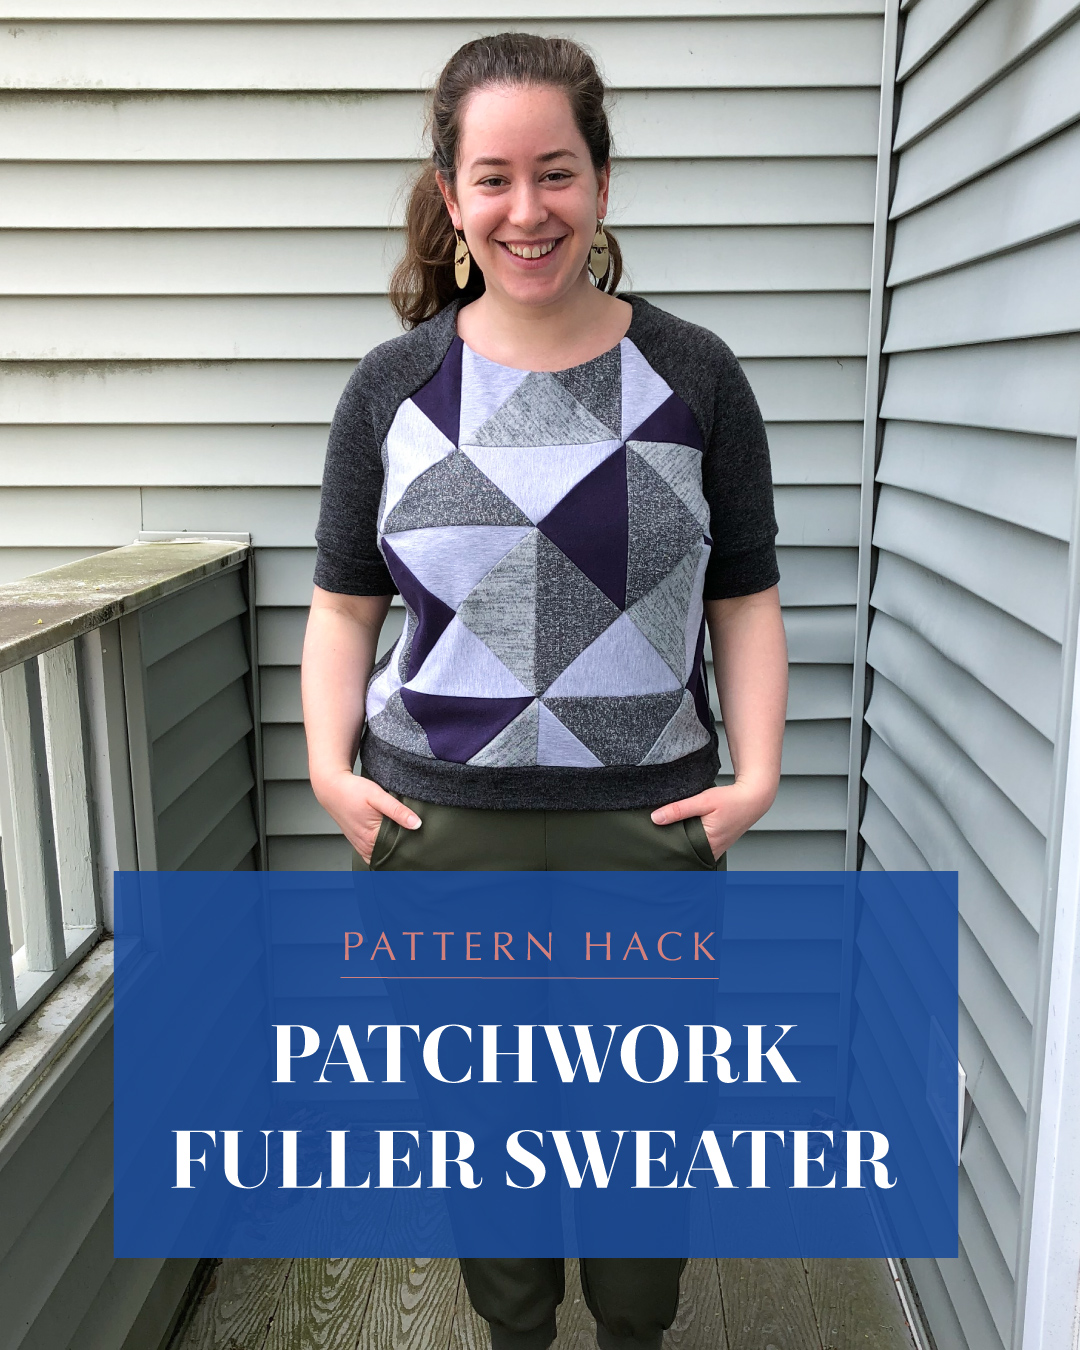
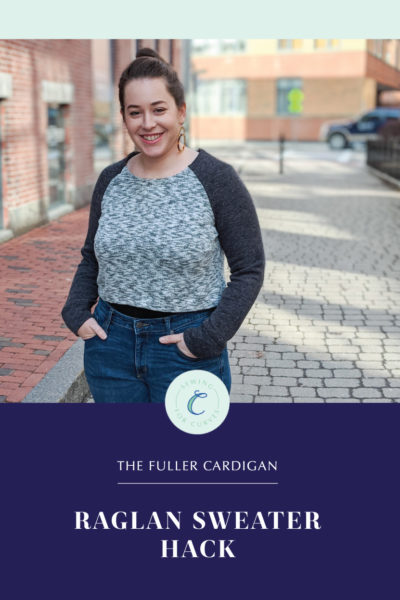
Hey everyone! Ayelet here with a new tutorial to show you how I made this fun Fuller Cardigan patchwork sweater hack. If your fabric scrap bin is always overflowing like mine, why not give patchwork a try?
I don’t know about you, but early on in the pandemic when things began to get quite grim, I found myself unable to watch anything remotely dramatic on TV. So instead I turned to crafting videos, particularly quilting classes on Bluprint (now called Craftsy again). I’m an avid garment sewer with no interest in quilting whatsoever, but when all I was doing was staying at home in my pajamas under a blanket, garments lost a bit of their appeal and quilting suddenly became an obsession.
Over the course of a few weeks, I consumed as much quilting content as I could and became fascinated by the idea of free-motion quilting. I ordered free-motion quilting foot and fabric online to start my first quilt, but I couldn’t wait to get started, so I went into my sewing room to see what I could scrounge up to do in the meantime.
Now, I tend to hold on to a lot of scraps, particularly when they’re nice and soft. I’ve heard this from many other sewists as well: we don’t love our fabric any less when it’s in tiny pieces, and so the scraps pile up. I noticed a few coordinating French terry scraps from back when I made a color-blocked Tobin Sweater, and thus the idea for my patchwork Fuller was born.
There are many ways to create a patchwork look. You can break a pattern piece up into smaller sections and add seam allowances. This approach seemed a bit fiddly to me, so I decided to basically create a new fabric with the scraps by cutting them and assembling them into a quilt-like fabric, and then cutting my pattern piece out of that.
One quick disclaimer: I was documenting this process at home with mediocre sewing room lighting and not in the studio, so the process photos are not up to our usual Cashmerette standard.
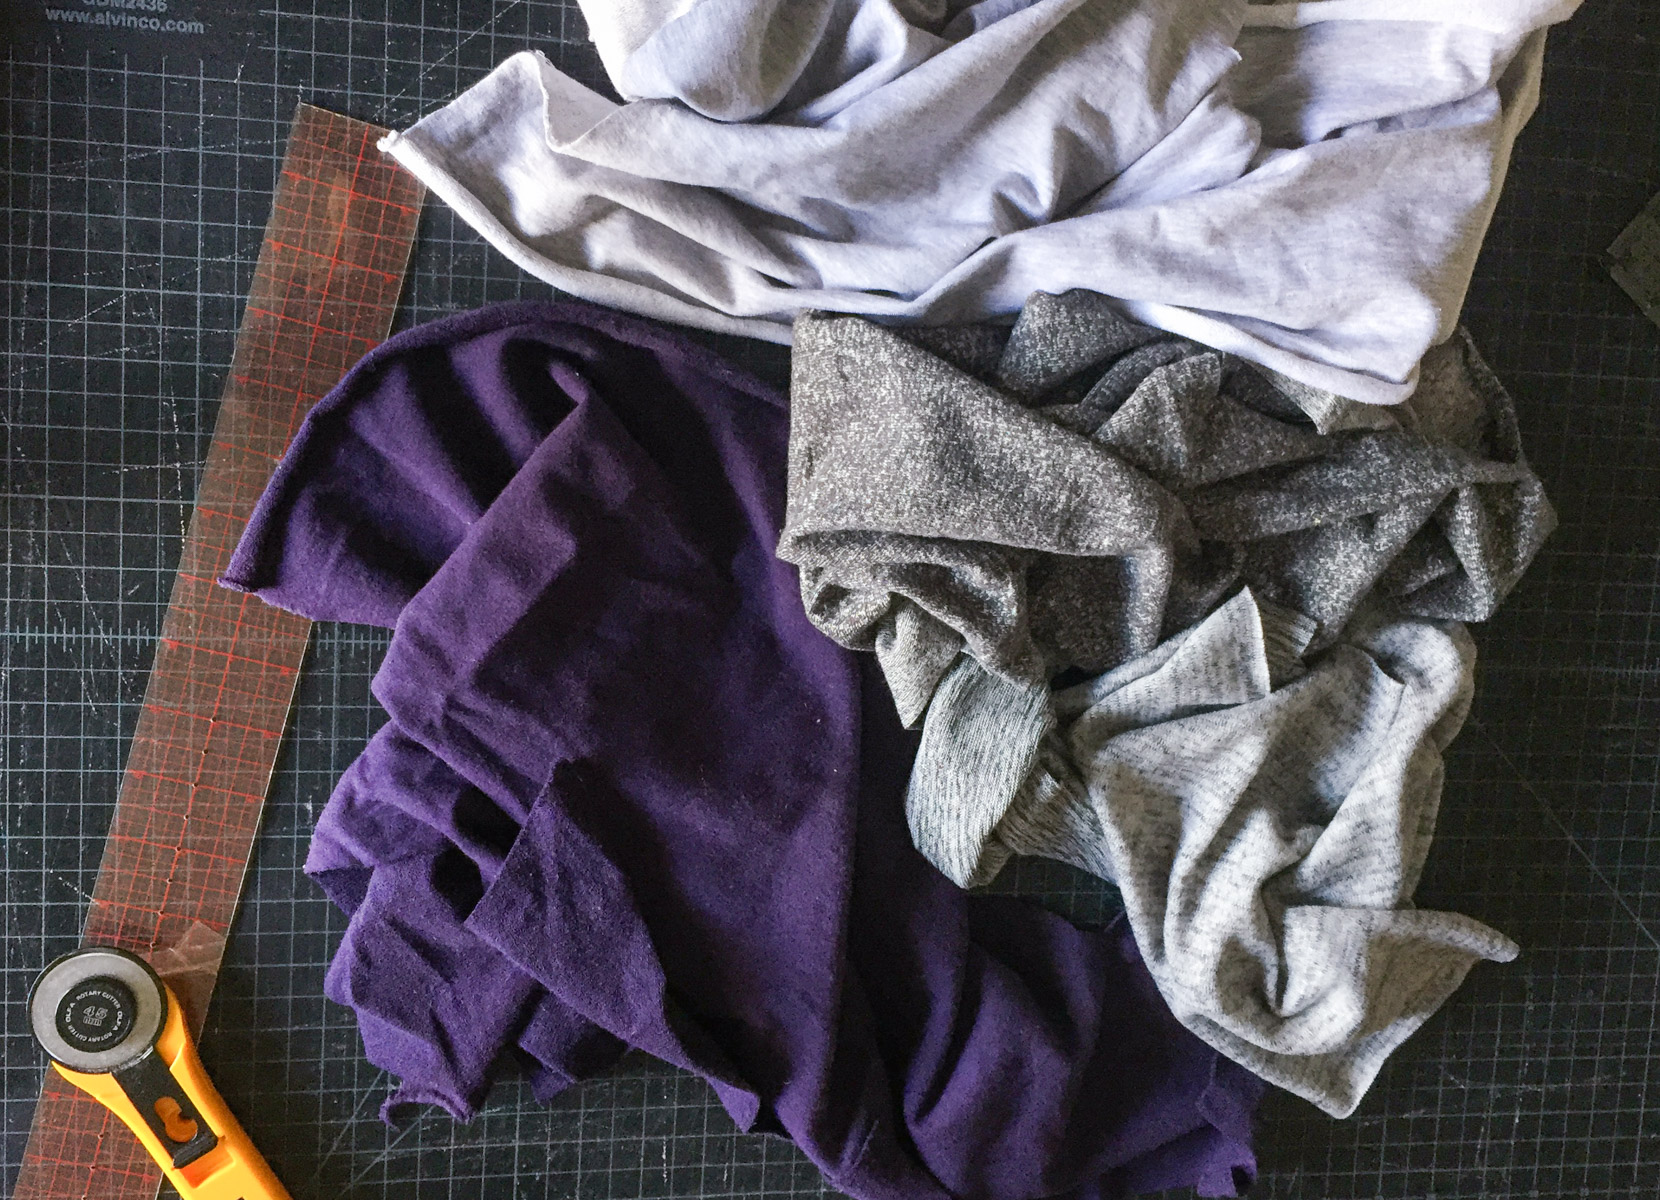
Here are the scraps I was working with. I had three shades of gray and one of purple.
By this point, I’d learned all about half-square triangles. If you’re not a quilter, HSTs are square units that are used in many quilt patterns because you can combine them in many different ways to create lots of different effects.
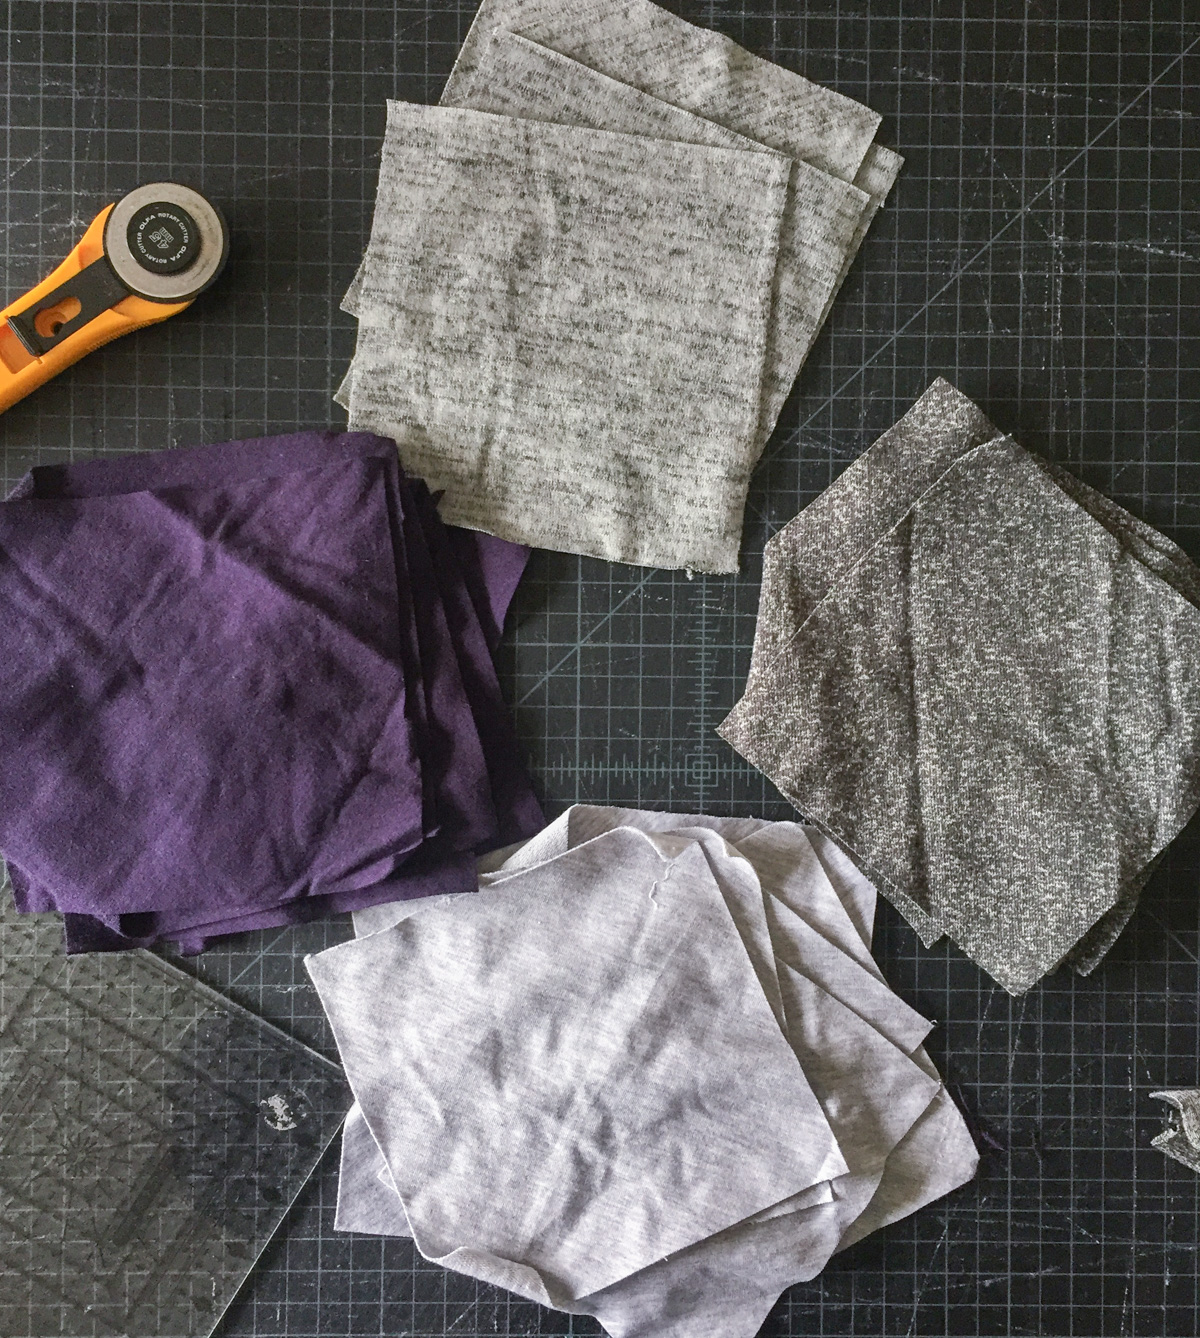
I proceeded to cut out as many squares as I could squeeze out of these scraps. I happen to have a quilting ruler that is 6.5″ by 6.5″, but I could have made them whatever size I wanted.

Now comes a bit of design work. I had a few ideas in my head about how I could arrange the colors, and I wasn’t sure what would look best. I mocked them up using Adobe Illustrator and ultimately decided I that a random-ish design looked the most visually appealing to me.
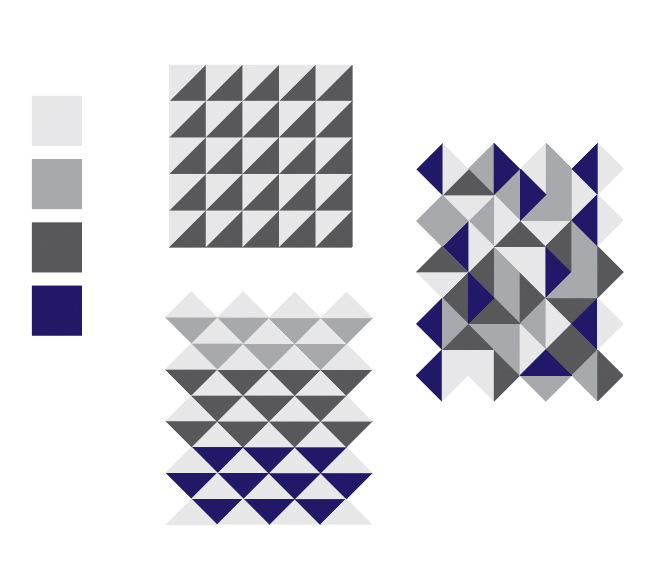
So now onto constructing the half-square triangles. You would think, looking at the final design, that I should have been cutting out triangles instead of squares. Well, quilters have devised many creative ways to efficiently and quickly sew multiple HSTs.
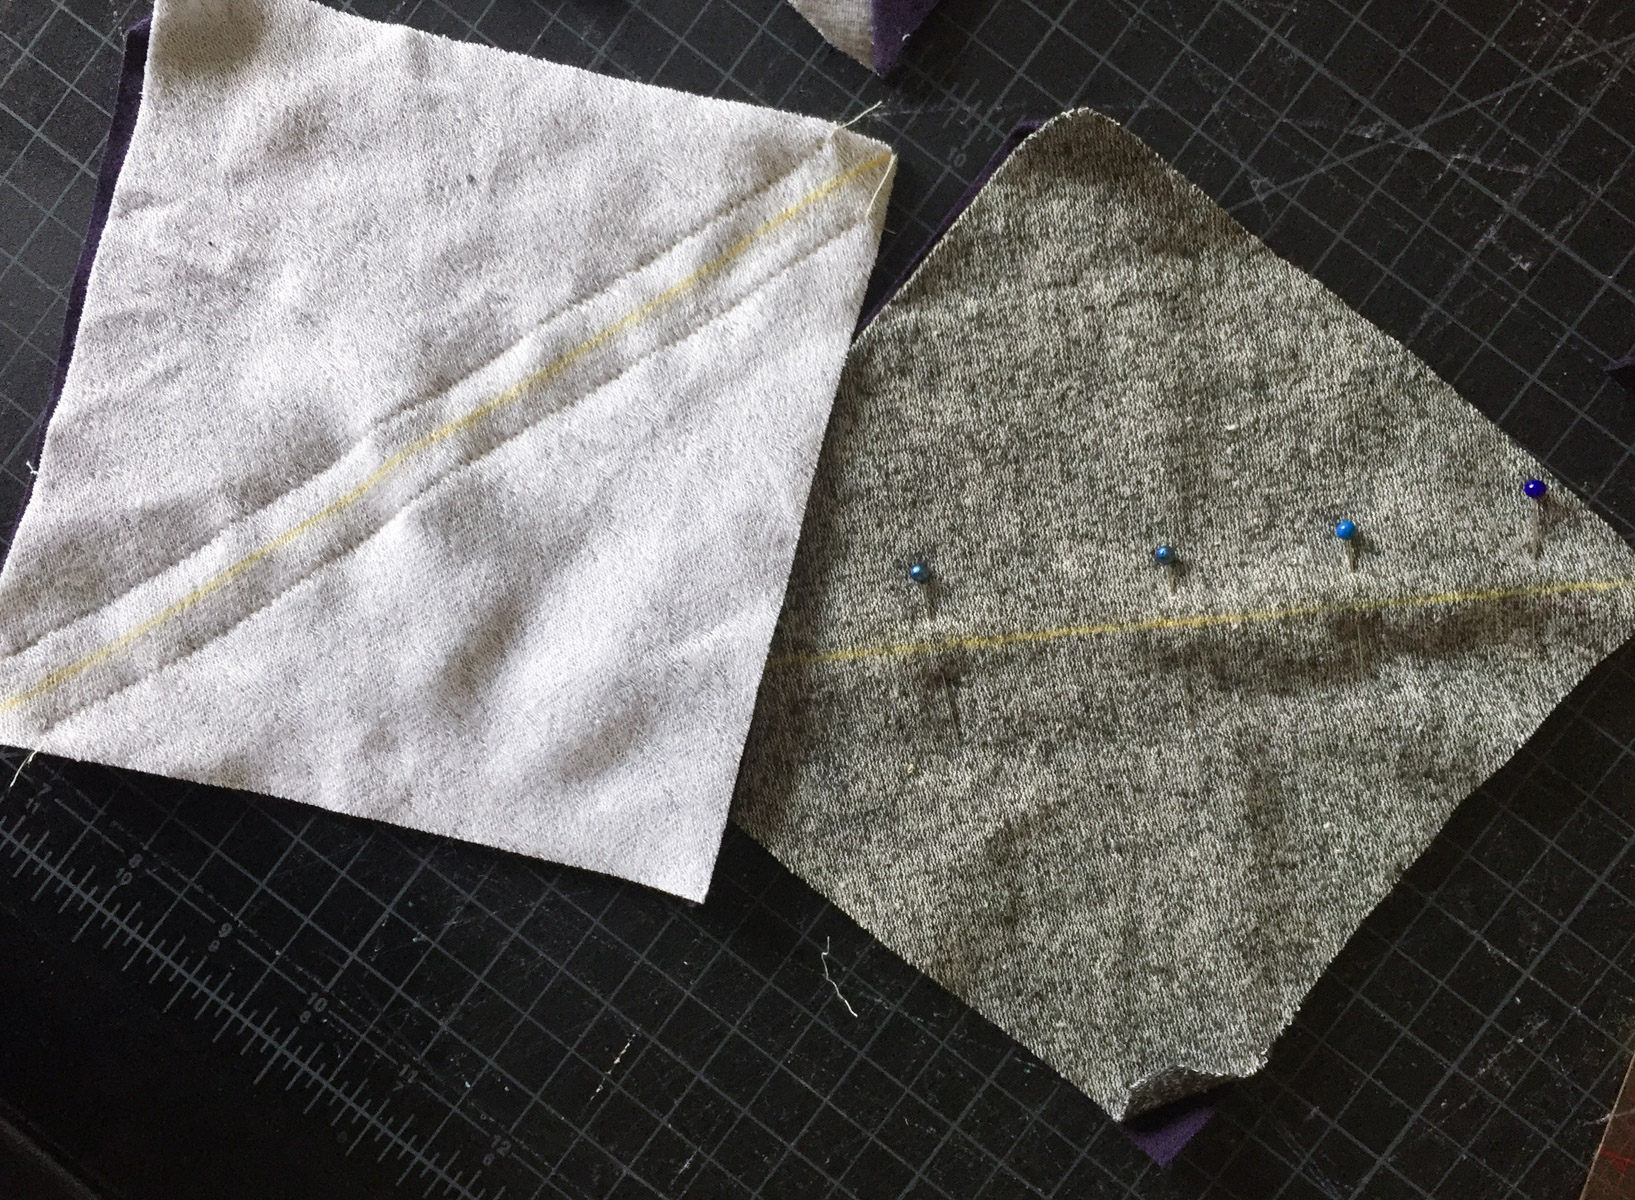
I used the technique where you lay one square on top of another, with right sides together. You then draw a line with tailor’s chalk to connect two of the corners, and then you sew 1/4″ (6 mm) away from that line on either side of the line. You then use your rotary cutter or scissors to cut them apart on the line you marked originally, and voila! You have two identical half-square triangles. It’s pure magic, seriously.
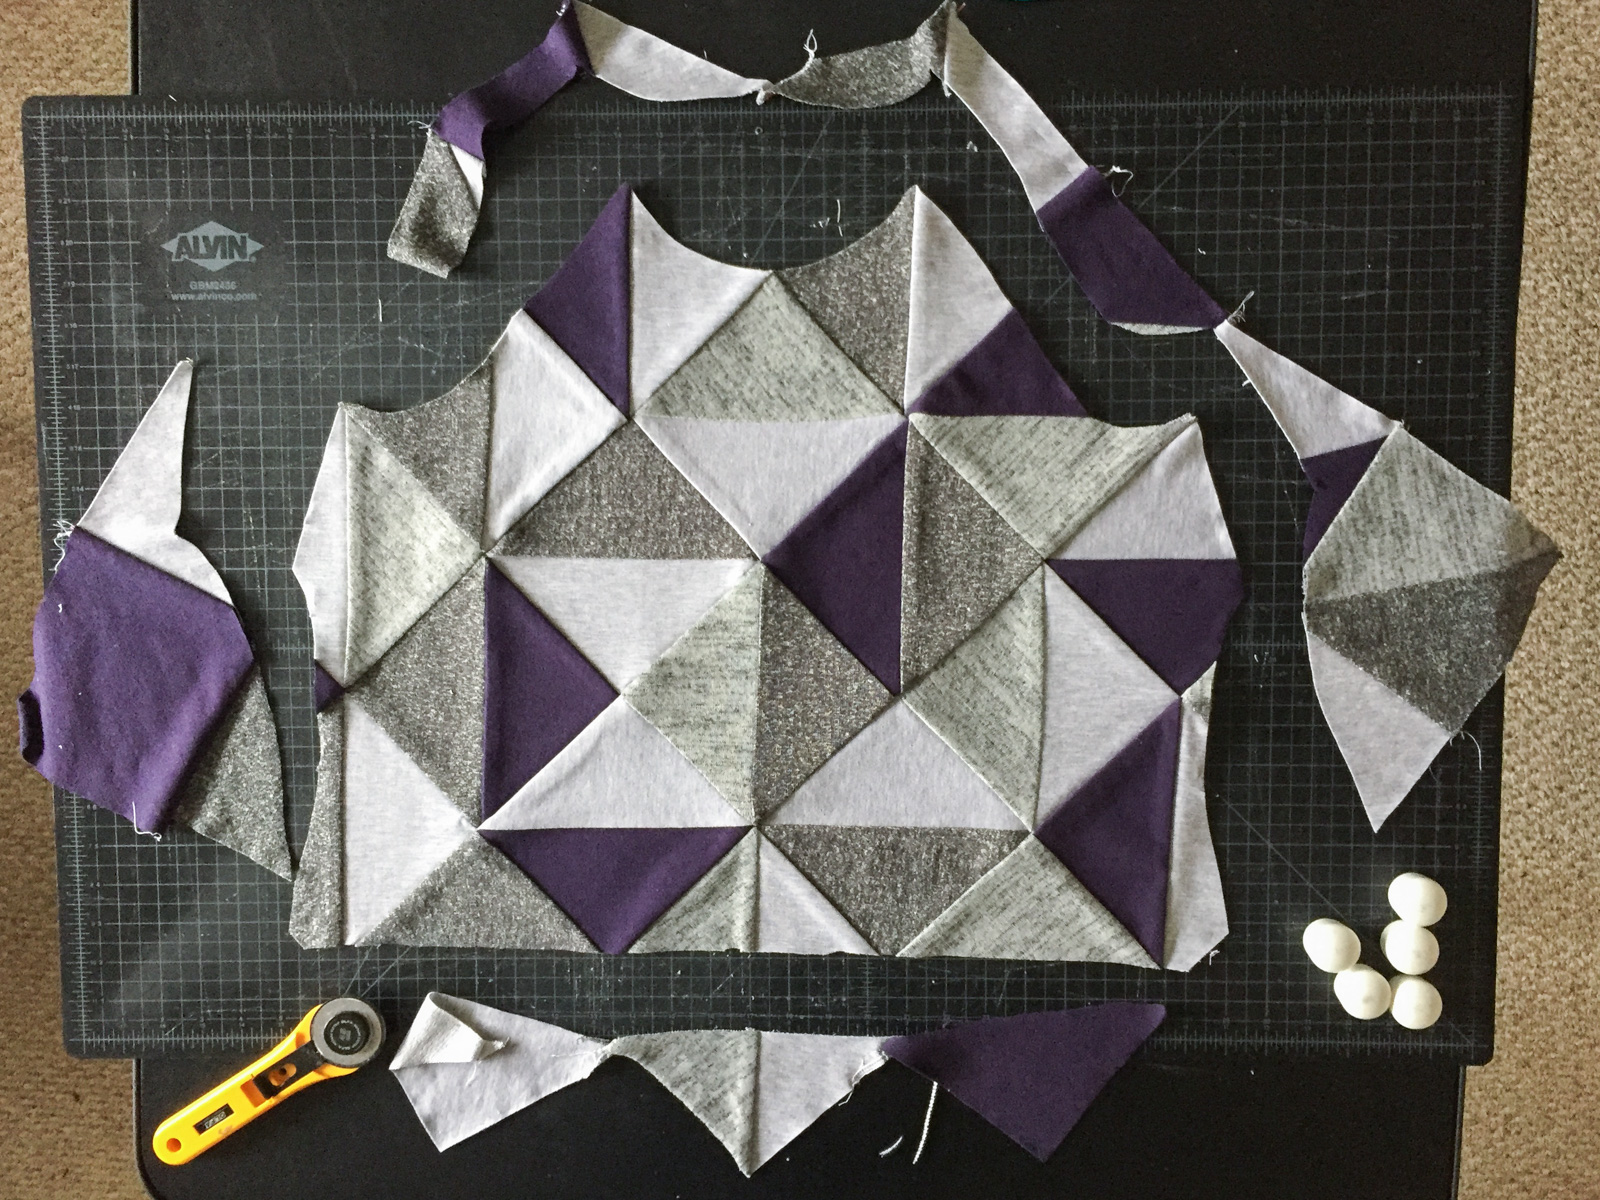
I repeated this technique with the rest of my squares, trimmed any that came out wonky, and started to arrange them into my “fabric”.
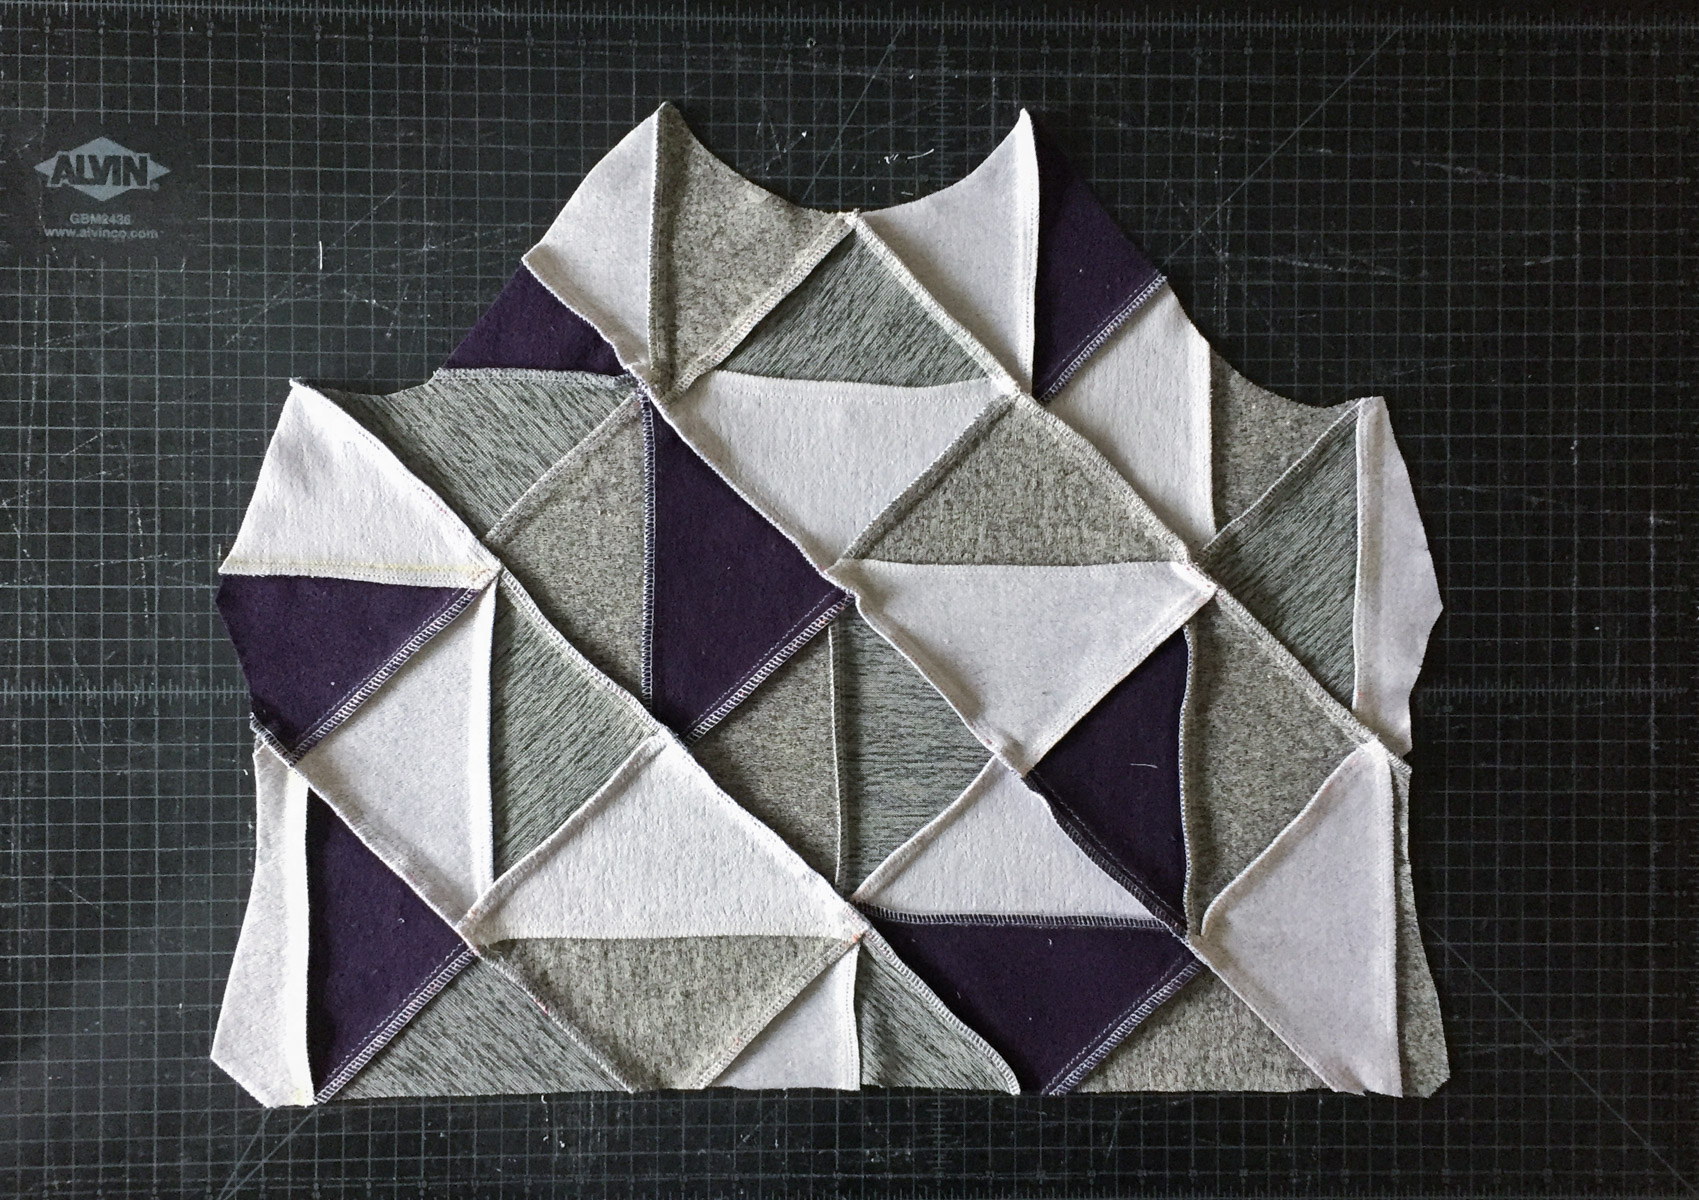
One thing I would note here: unlike in quilting, where the back of the quilt top will not be seen, I knew that the inside of my garment would be seen and felt by me against my skin, so I serged the seams of my HSTs. If you’re using knits that don’t fray, or aren’t concerned with how the inside of the patchwork looks, you can skip this step.
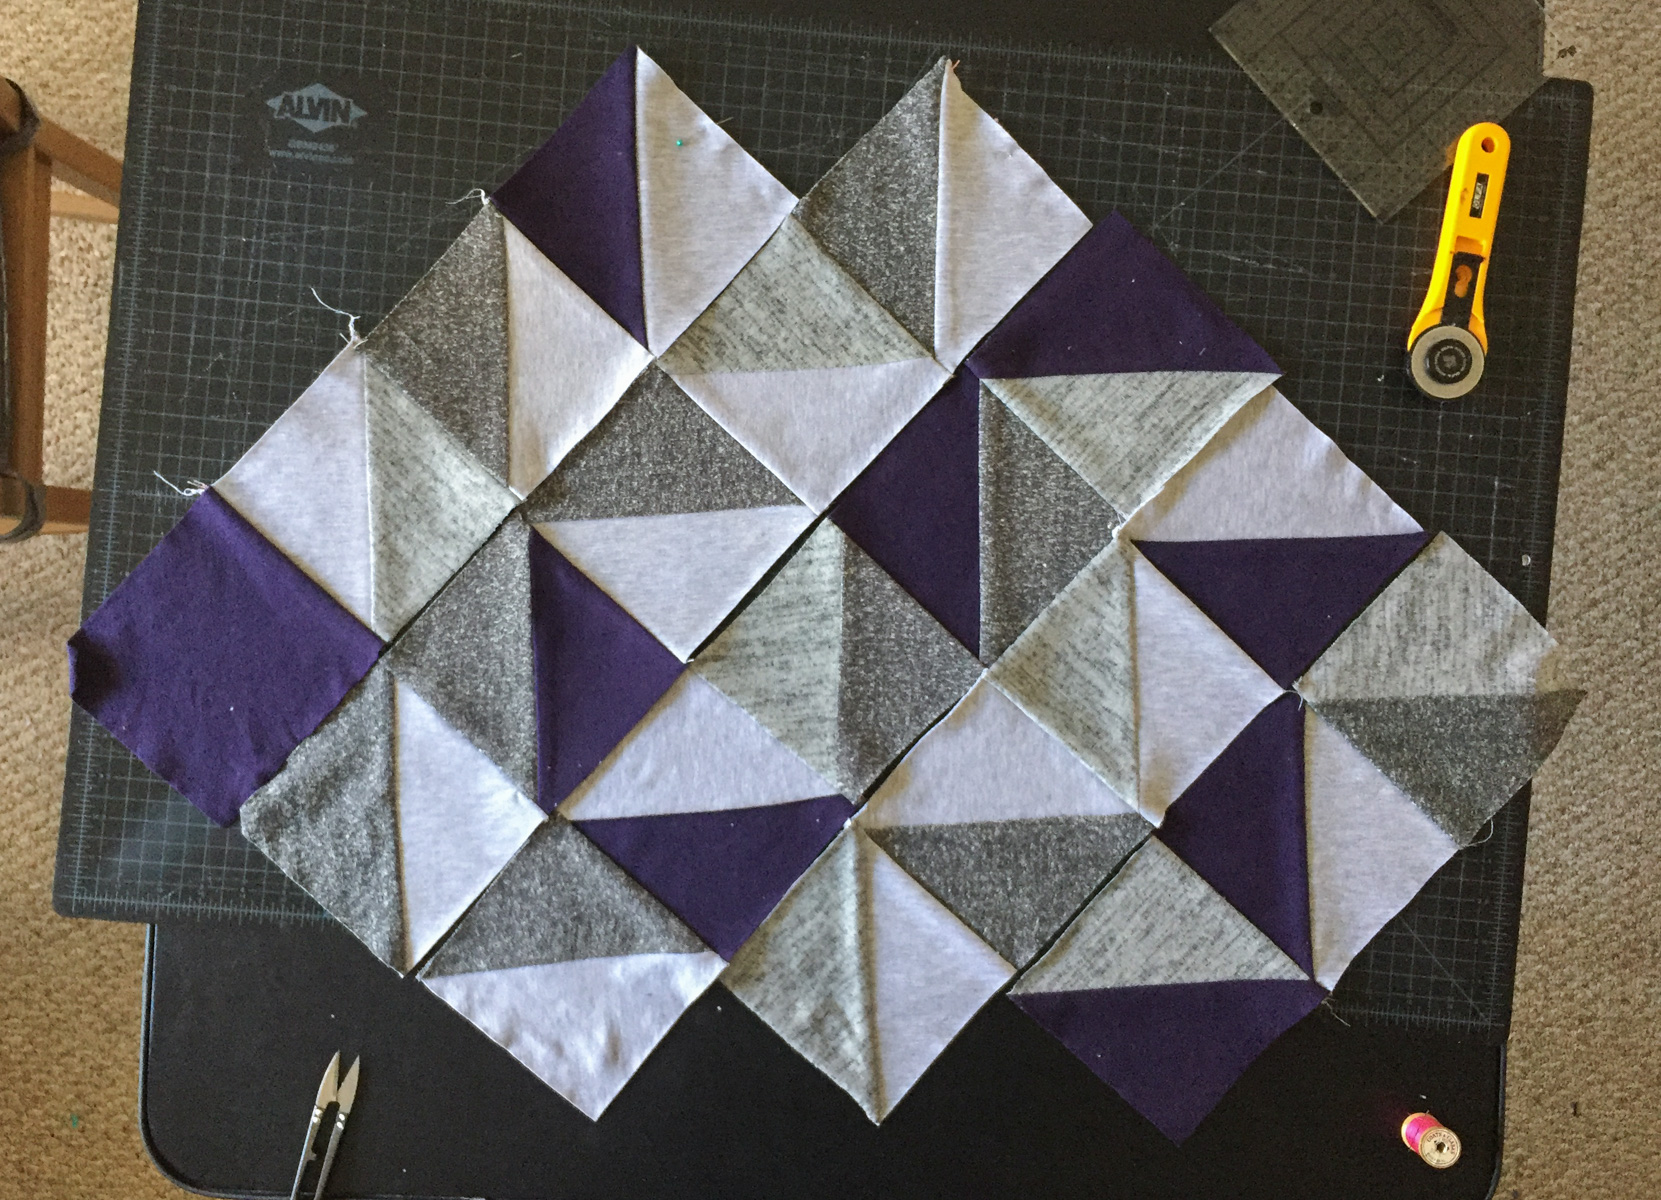
Once I had my squares arranged how I liked them, I sewed them into rows, finished the seams, then sewed the rows together and finished those seams. The walking foot on my machine at home isn’t the best, and I knew that it would not help me achieve my goal of perfect points. So my strategy was to baste the pieces together by hand before running them through the machine, and then not stressing about imperfections. (You can do this part straight on the machine or serger if you’re brave enough.)
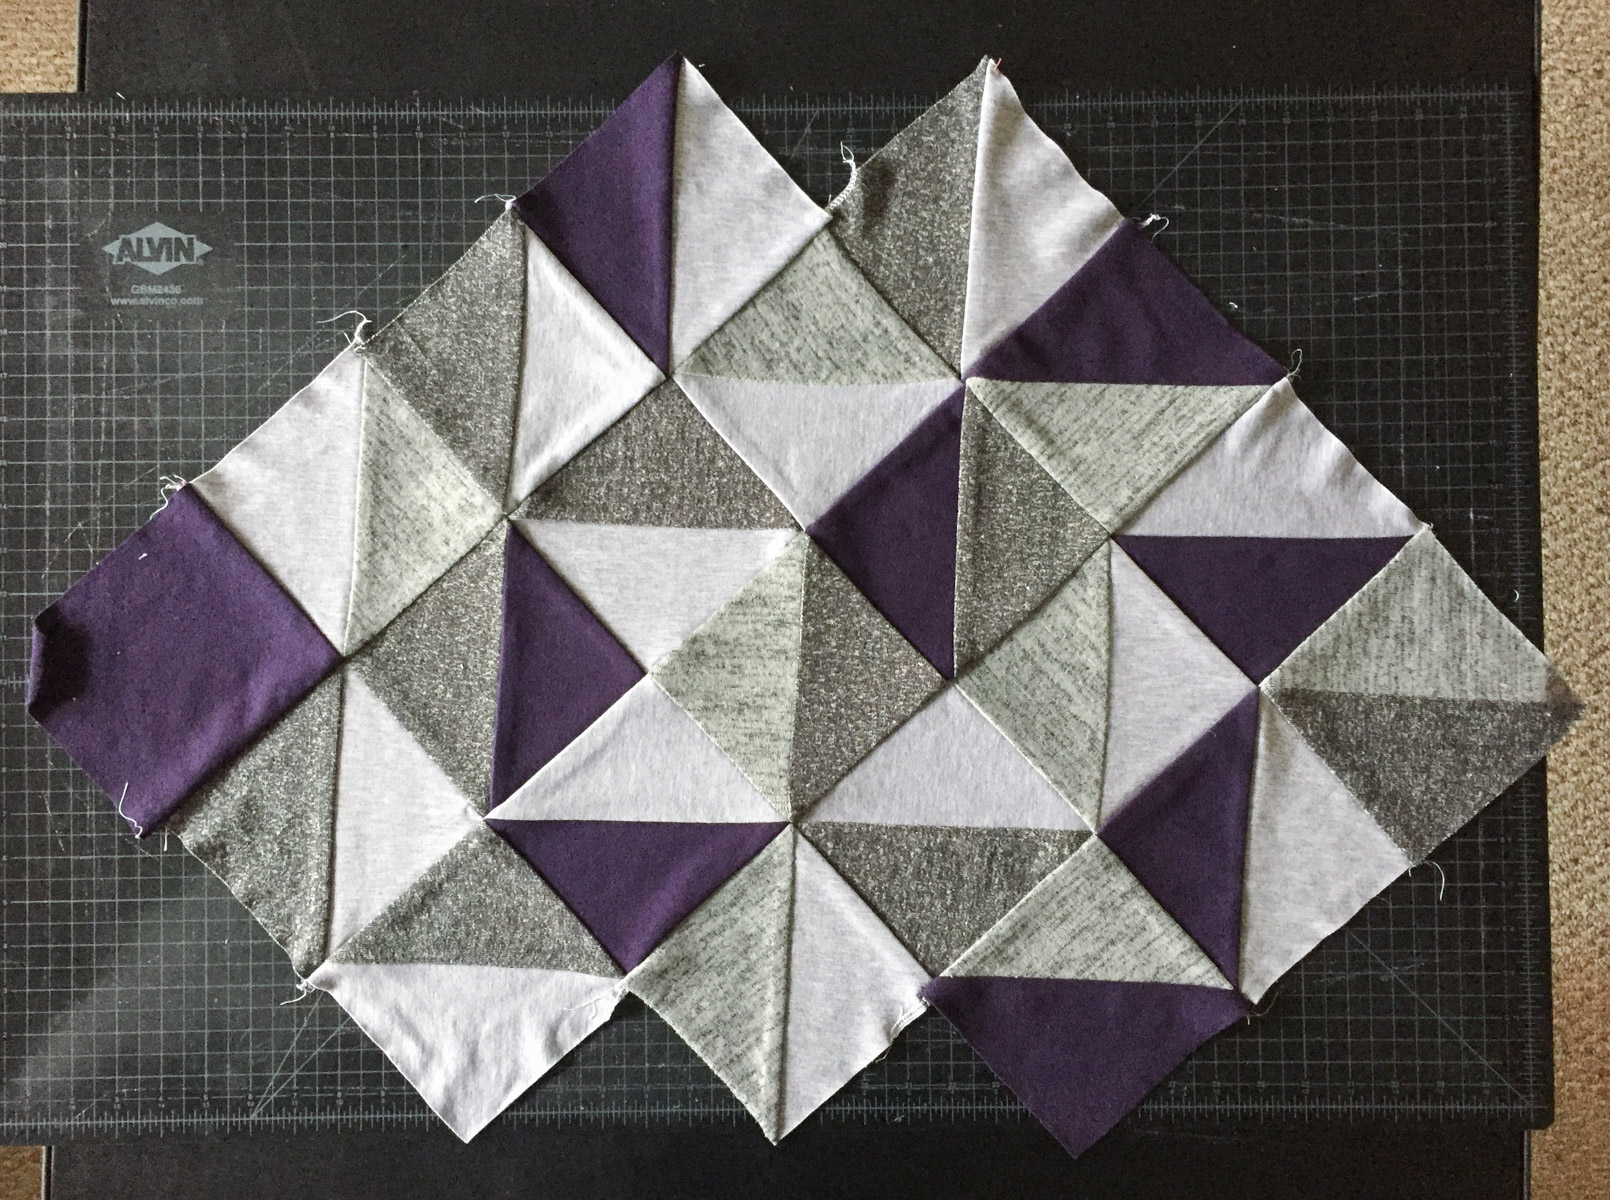
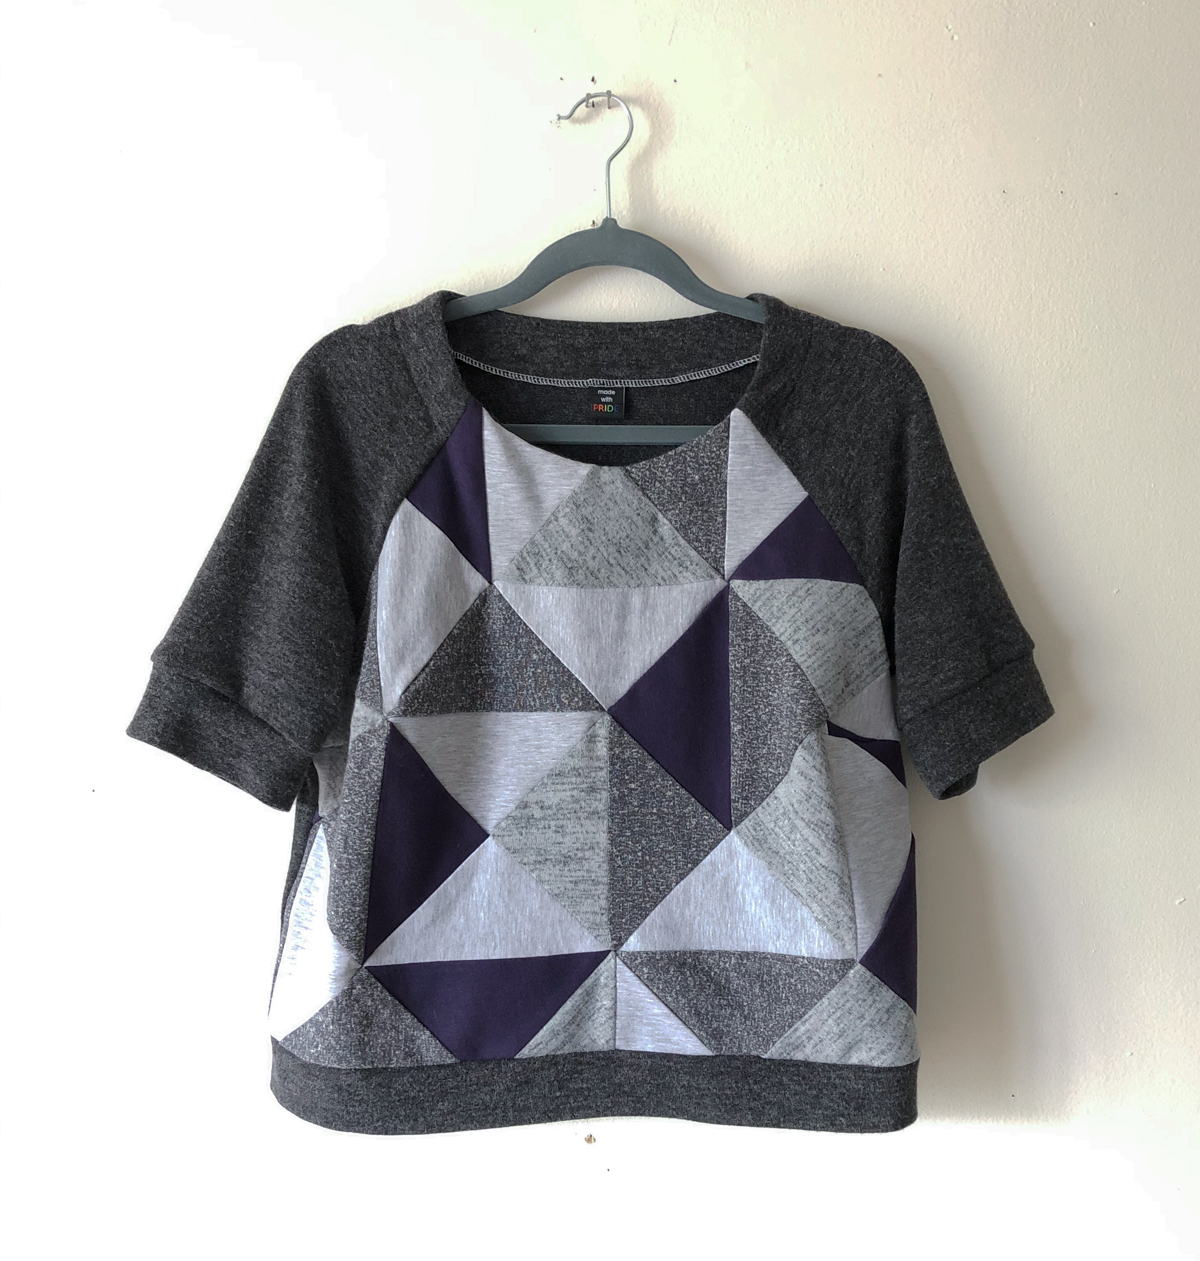
Here’s how it looked when I sewed it all together:
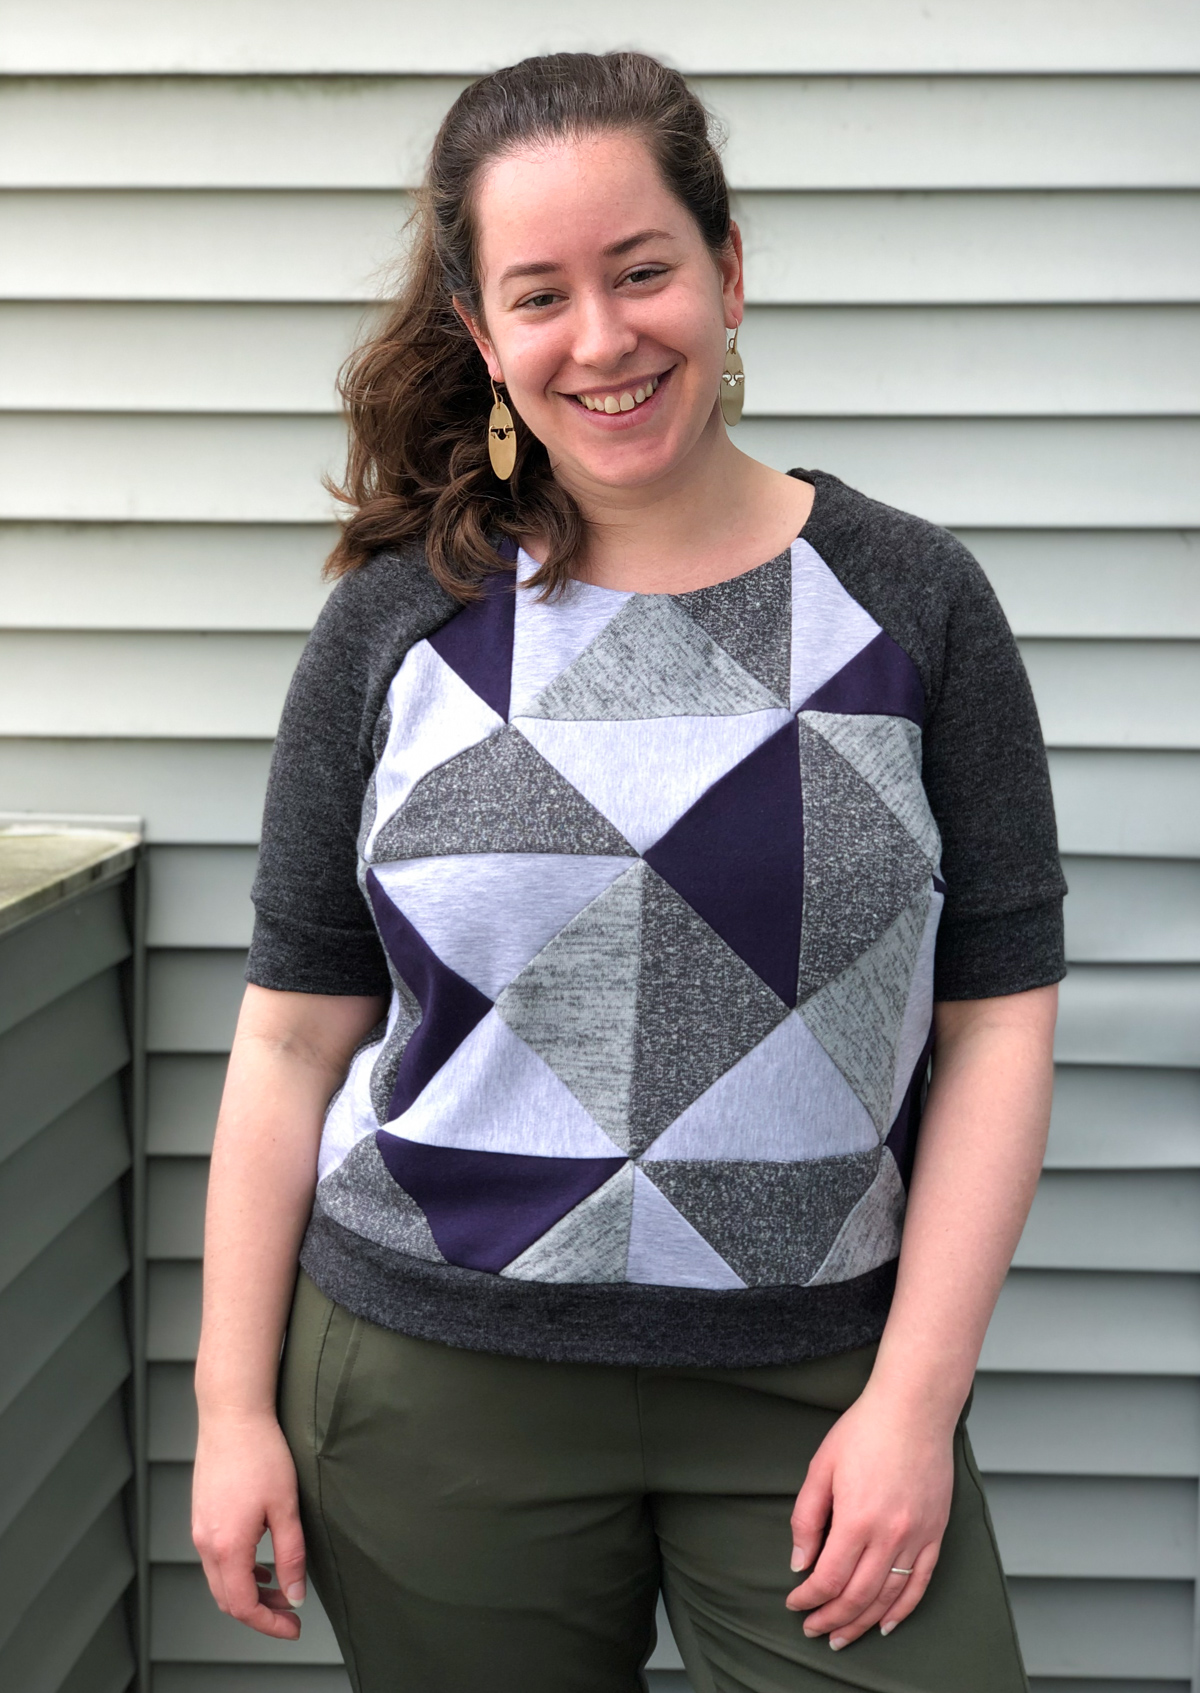
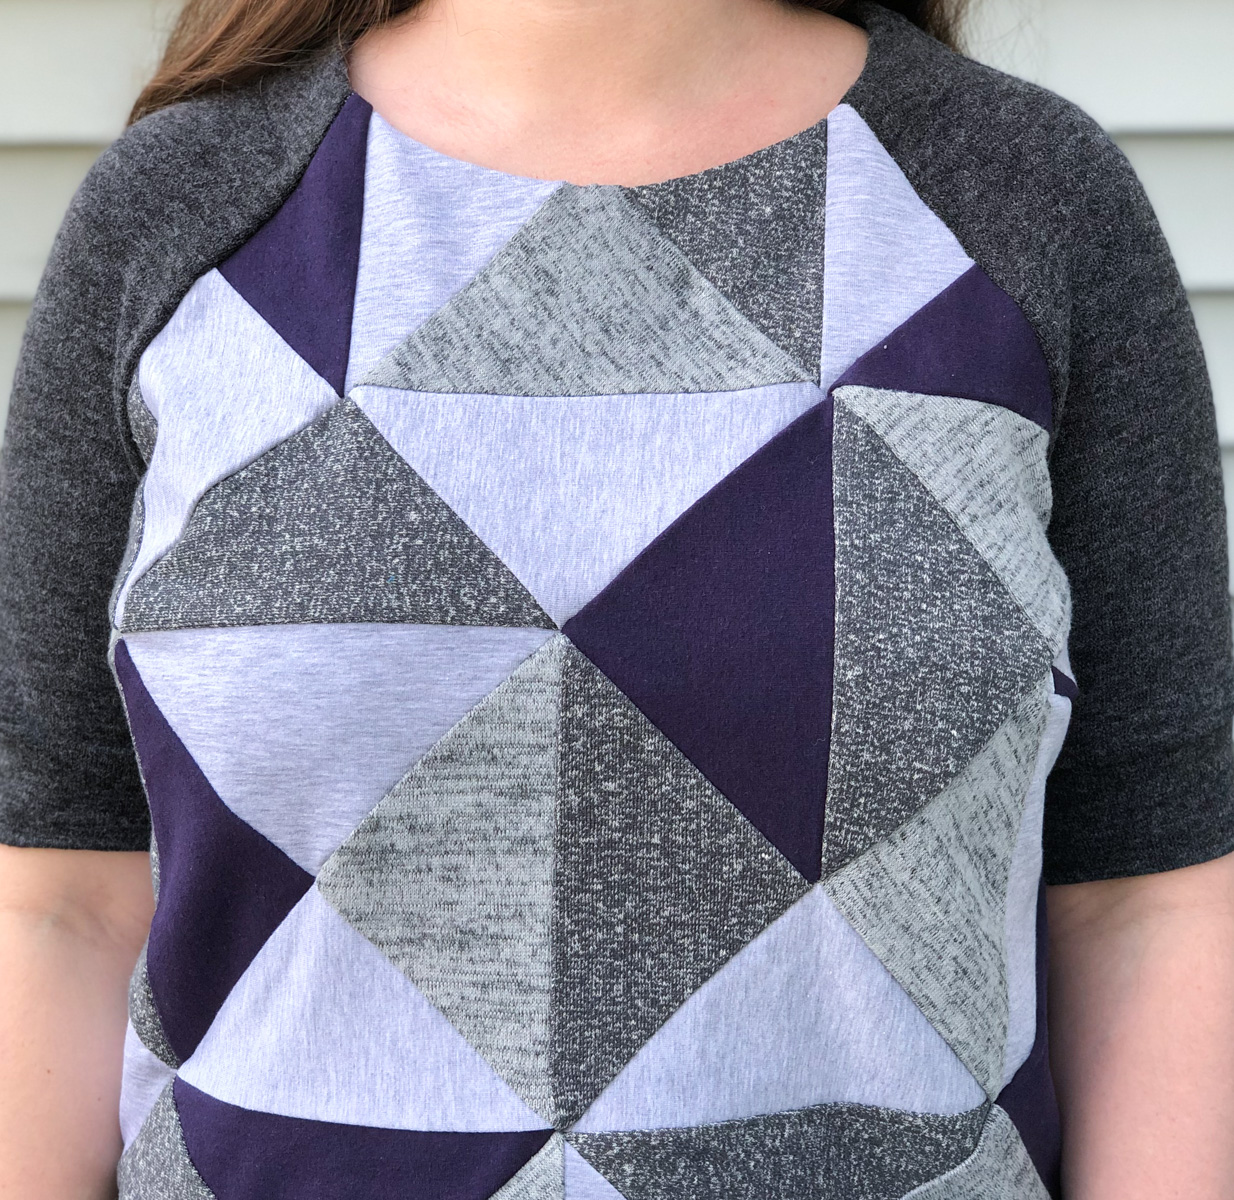
Now that my “fabric” was constructed, I could cut out my front piece. I knew I wanted to use the Fuller Cardigan for this pattern because I love the raglan sleeves, and I used my pattern pieces from our Fuller sweater hack tutorial. (If you’re not sure how to turn the Fuller Cardi into a sweater, definitely check out that tutorial.)
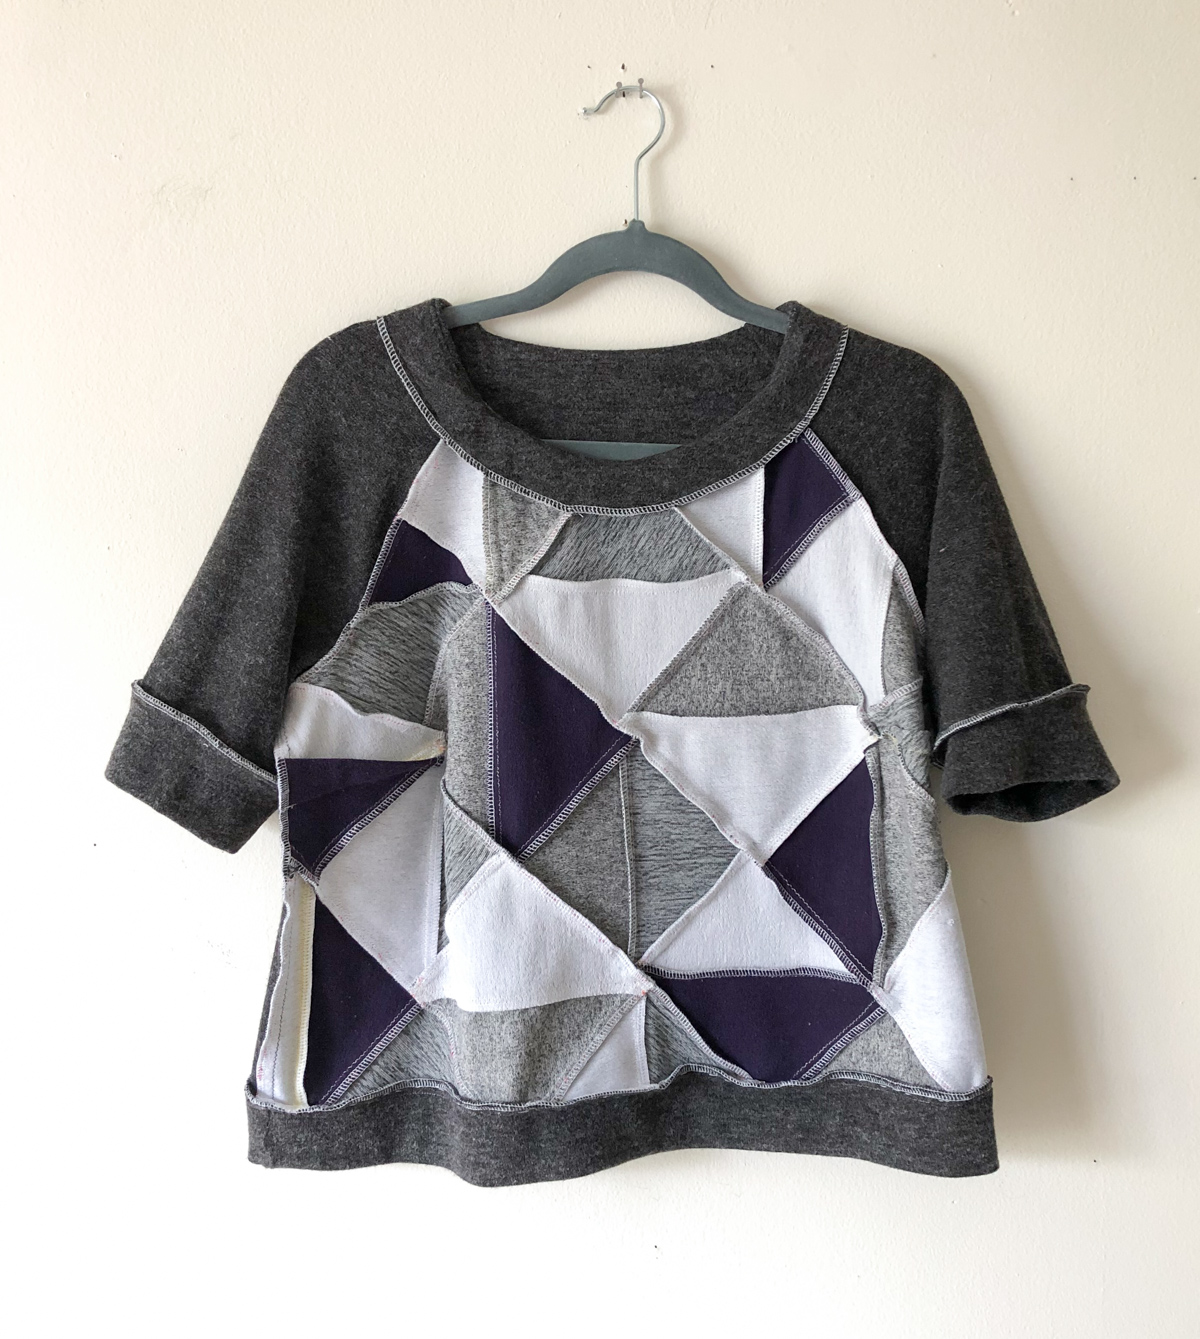
Here’s how it looks from the wrong side.
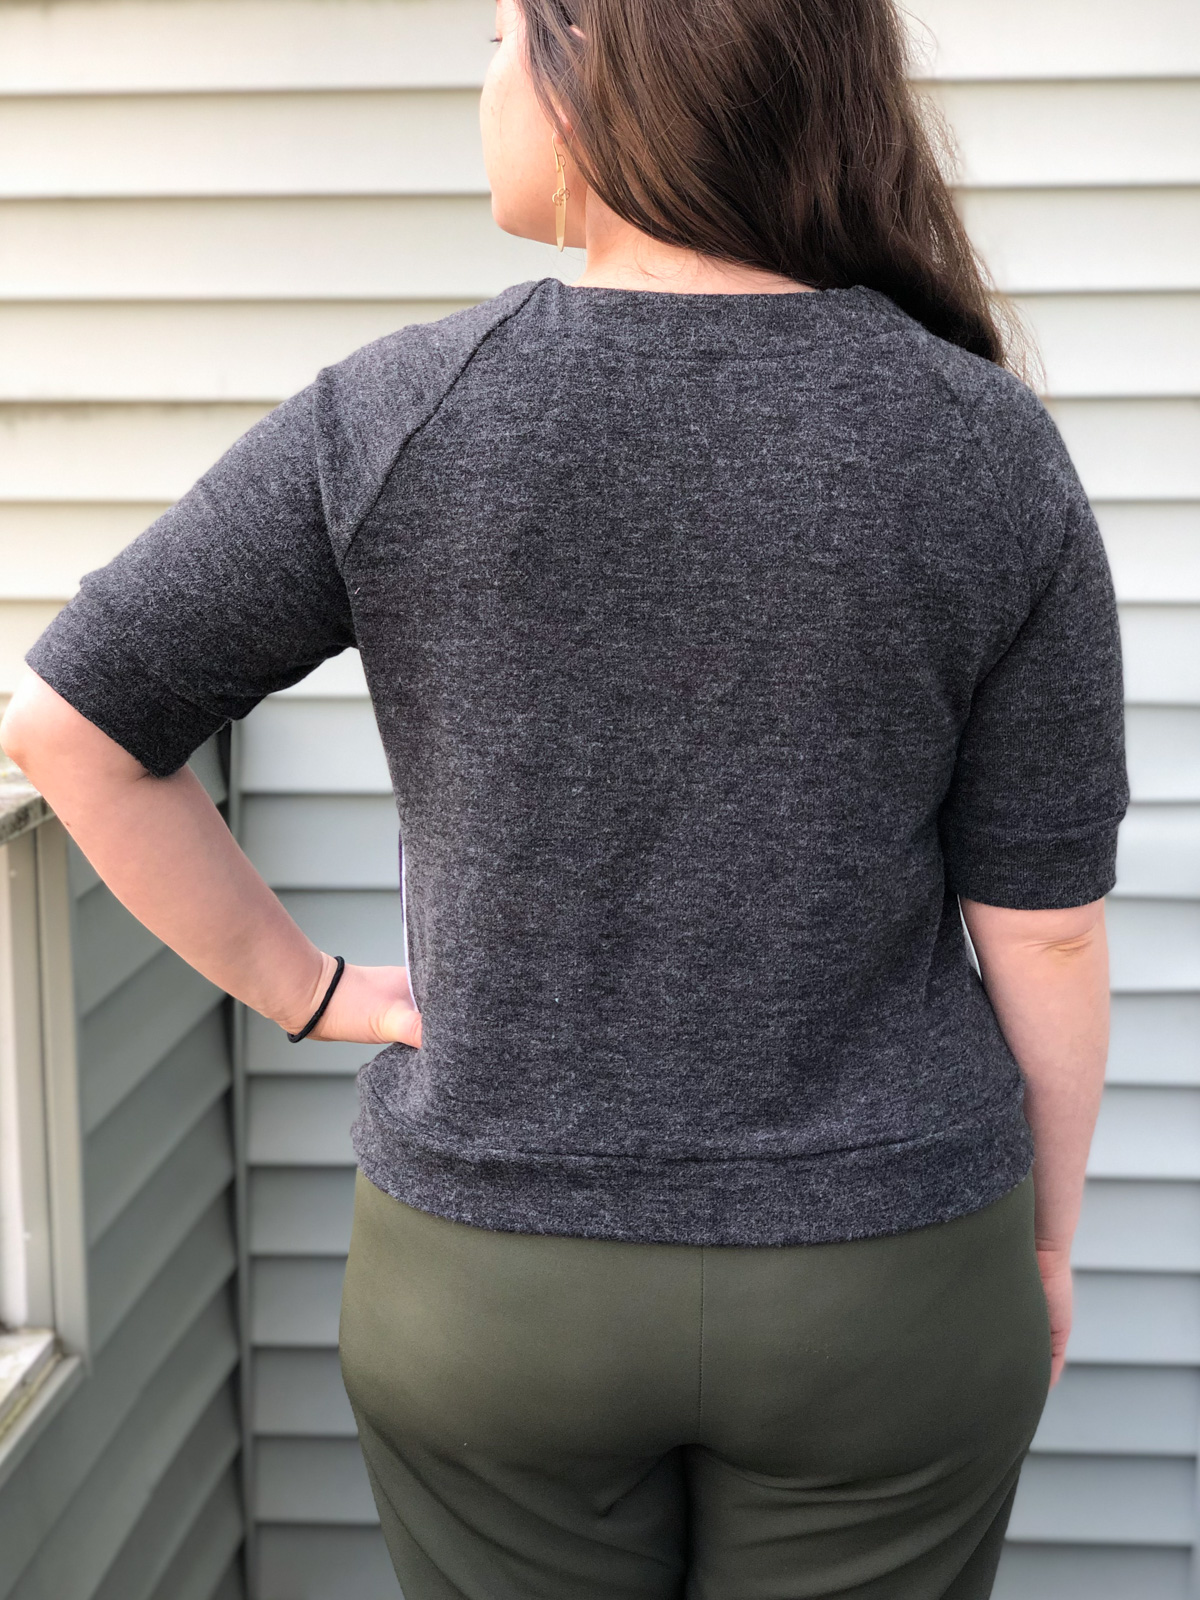
For the back, sleeves, and facings, I used leftovers of an angora wool that I’d picked up in Israel a few years back, and made the sleeves elbow-length for a more springtime look.
Construction was fairly straightforward—I followed the same steps as in the Fuller sweater hack tutorial. The seam allowances of the patchwork were a bit bulky when sewing the bust dart and the side seams, but I took my time by basting it in place and then sewing on the machine, and it was totally worth it.
And voila! A fun patchwork sweater that brightened up my day during really dark times.

It might look time-intensive, but I think I finished it before my quilting supplies had even arrived.
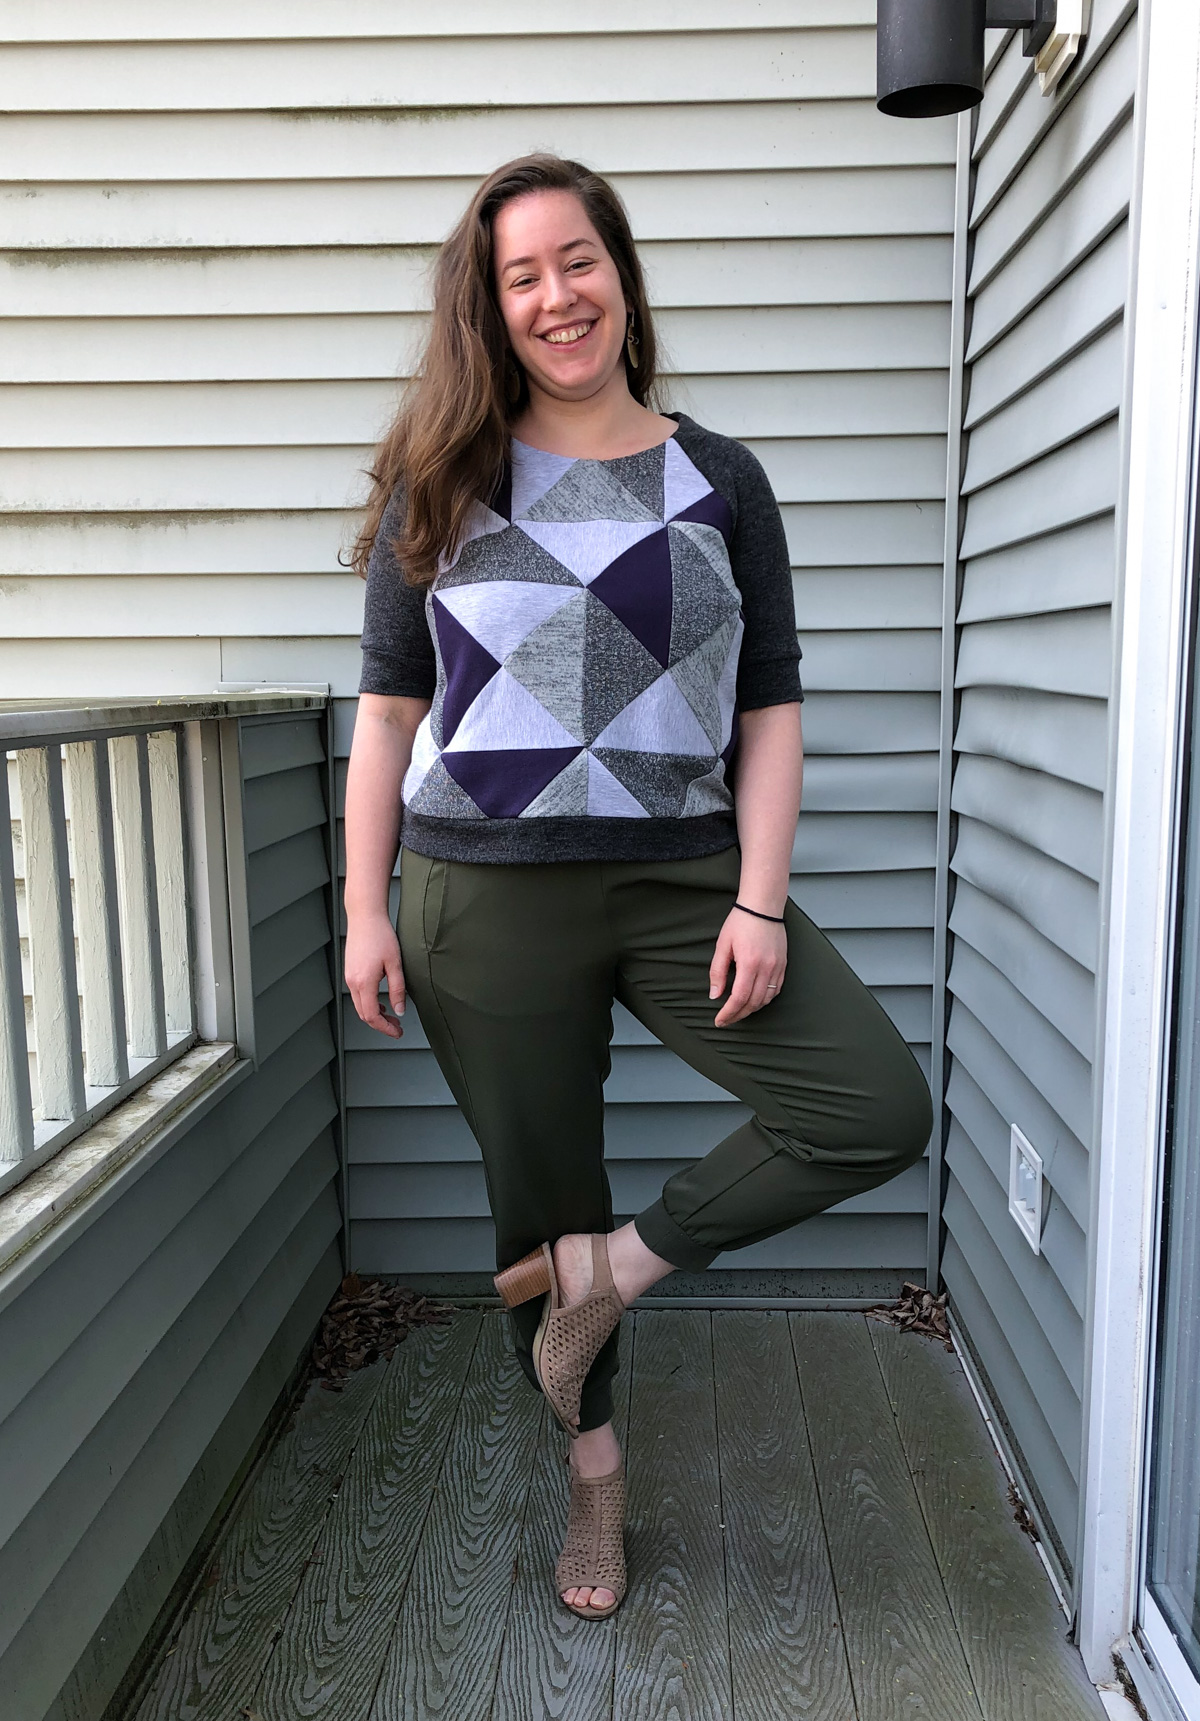
I took these photos with my live-in photographer out on our deck during stay-at-home orders. These shoes have not seen daylight since!
When I made this sweater, we were still in full-on Boston winter. Now that the weather is cooling down, I’m excited to pull this out of the closet and start wearing it again.


What do you think—is this something you’d like to try? Have you made any garments by piecing together scraps? I’d love to hear about them in the comments below!


I am a quilter and I think you did a great job. Great way to use knit scraps. I will try it.
Awesome job! So cute and clever. And I couldn’t watch anything remotely dramatic either. That’s when I decided – it’s time to try all those Cashmerette patterns!!! lol and I did. So far I’ve made most of them, some many times. Haven’t counted but I know it’s at least 20 garments and counting. Love your creative inspiration. Thanks.
This is AMAZING!! I absolutely love your sweater and how it looks on you, and this is a genius idea for using up scraps. I am absolutely going to be trying this, thank you for the tutorial!
Your sweater is amazing. I’m definitely going to be rummaging through my scraps to try this. Thank you!
This looks fantastic. I’m making a quilt with half square triangles. I would not have thought of using them like this, but now I want to try it.
I love your “moody” in process photos. Your sweatshirt is amazing!
I just stumbled upon your site sort of my accident and am loving this sweater! And then I read the title and tag line of your site and am even more excited. I’m new to sewing and really want to try more garment making but keep finding patterns that make me think “when I make that in my size it won’t fit quite right”. I cannot wait to browse your patterns 😁
Your top is awesome. You did a great job with the quilting too.