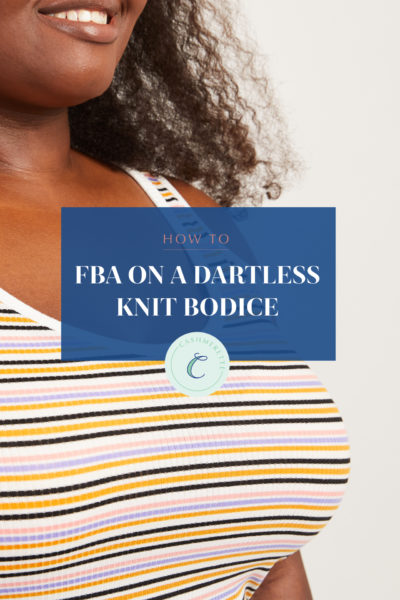
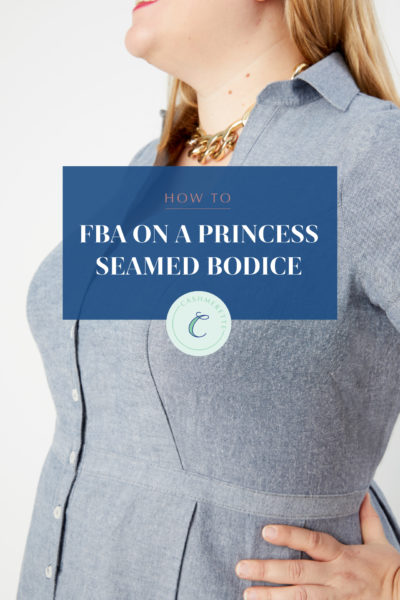
If your bust cup size is larger than the cup size used to draft a pattern, you may need to do a full bust adjustment. Here’s how to calculate the size of your FBA.
The average sewing pattern is drafted using a B cup, but the average woman wears a D or DD bra cup. That’s why here at Cashmerette, our patterns include three cup sizes for you to choose from (C/D, E/F, G/H) which add up to a better bust fit right out of the gate!
If you’re larger than an H cup, or if you’re using a pattern that wasn’t drafted for your cup size, you may need to do a full bust adjustment. In this tutorial, we’ll show you how to calculate the size of your FBA.
In order to calculate your FBA, you’ll first need to measure your high bust and full bust. Here’s how to take these measurements.
Got your measurements? Okay, let’s get started.
How to Calculate the Size of Your FBA
When you do a full bust adjustment, you need to first calculate how much horizontal circumference you’ll need to add. There are two ways to calculate this based on the measurements the pattern gives you.
Scenario 1: the pattern you’re using only gives a full bust measurement (most common)
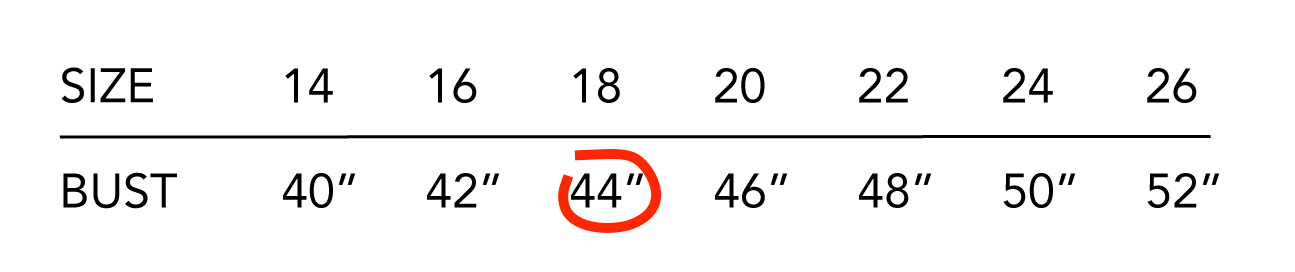
1. Compare your high bust measurement to the bust line in the measurements table. This is the base size you’re going to start from, before you do your FBA. It’s basically a cheater method which estimates what size you’d be if you were a B cup. The idea is that it gets you into the size that’s right for your shoulders and upper body. If the pattern is drafted for a larger cup size than a B, then you need to add to your high bust measurement before picking your size. If it’s for a C cup, add 1″, for a D cup, add 2″, DD cup add 3″ and so on.
This approach should get you close to the right size for your shoulders – but it is a rough estimate, so a fitting muslin is always important! (Notably, sometimes people in smaller sizes need to go in a slightly larger starting size to ensure the shoulders don’t end up too small).
2. Calculate the difference between your full bust and the high bust measurement you used in step 1 (if you’re using a sewing B cup, that’s your high bust measurement; if it’s a bigger sewing cup than that, it’s the adjusted number). This is the total amount you’re going to add in circumference with your Full Bust Adjustment.
3. Halve that number. As the pattern piece is based on half your body, you divide the number by two – that’s how much of an adjustment you’re going to make to the pattern piece.
Here’s an example: let’s say you have a high bust measurement of 44″, and this corresponds to a size 18 with a bust measurement of 44″ in a B-cup sewing pattern. Your full bust is 48″, so you subtract the 44″ from the 48″ to get 4″. Divide that by 2 to get 2″, and that’s the amount you’ll add when doing the FBA.
Scenario 2: the pattern has a high bust and full bust measurement (like Cashmerette)
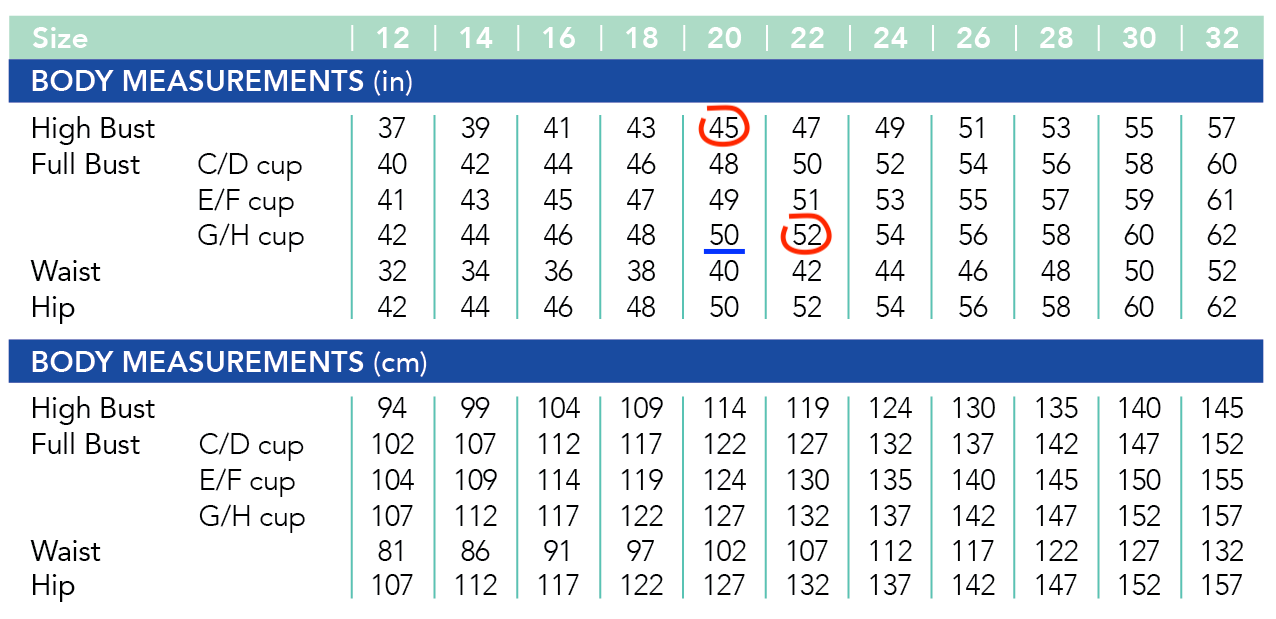
1. Pick your size in the body measurements chart using your high bust measurement.
2. Now, look at the corresponding full bust measurements of that size. For instance, if your high bust puts you in a size 20, look at the full bust lines for the 20 and see if yours matches one of the cup sizes. If it does, good news dear sewist, there’s no need to do a full bust adjustment! However, if your full bust measurement is larger than any of the options for that size, you have to do an FBA. Calculate the difference between the largest full bust size available in your size (in this case, in the 20), and your actual full bust size.
3. Halve that number. As the pattern piece is based on half your body, you divide the number by two – that’s how much of an adjustment you’re going to make to the pattern piece.
Here’s an example: let’s say you have a high bust measurement of 45″, and this corresponds to a size 20 with a high bust measurement of 45″. The full bust measurement for the size 20 is 50″, and your full bust is 52″, so you subtract 50″ from 52″ to get 2″. Divide that by 2 to get 1″ and that’s the amount you’ll add when doing the FBA.
We always recommend tracing your original pattern pieces prior to starting any adjustment, in case you need to refer back to the original piece at any point down the road. It’s also a great idea to make a fitting muslin first to check whether your FBA had its intended effects, before you cut into your precious final fabric!
Want to learn more about fitting clothes to your body? Check out our Fitting for Curves: Pattern Adjustments for the Upper Body online workshop.

Absolutely wonder information on the FBA! Thank you so much for this.
I use a different method, by tissue fitting the pattern (similar to the Palmer-Plesch method and Pink Chalk Studio) and checking where my centre front (CF) is on the pattern, compared to the CF on my body that difference (say, 2.5 cm) is the amount I need to do a full bust adjustment.
Hi I am a G cup. That is why I always need to do a FBA