One of the benefits of using layered PDF sewing patterns is that you can print only the size or sizes that you need. The way to do that is using the layers in Adobe Reader, and it’s super easy to do. Today, we’ll be showing how to print your size using layers.

When you buy a printed sewing pattern, it comes with a number of sizes all printed on the same tissue paper. You then have to trace out your specific size (or set of sizes, if you’re grading between sizes). But if you’re printing your pattern at home, there’s no need to print off all of the sizes.
Many of the newer PDF sewing pattern (including all Cashmerette patterns) have separate layers for the different sizes for this exact purpose. If you’re not familiar with layers in files, think of them as clear sheets stacked on top of each other, like transparencies. You can turn layers off or on to reveal or hide content, without actually deleting anything. That way, if you want to reprint the PDF pattern at a different size later, all of the sizes are still there.
The Benefits of Printing Using Layers
Why take the extra step of turning off layers you don’t need? There are a few reasons.
First, it makes it easier to see where the lines are. In areas where the size lines are dense, such as around darts or notches, it can be hard to tell where your size line is among all the other size lines. Turning off the other sizes can make it easier to see your specific line.
Second, you save on ink. We all know how expensive ink cartridges can be for a home printer. If you’re a size 26, why waste ink on the size 12 lines? Depending on your size and how the pattern is laid out, you might even be able to save a few sheets of paper.
I find that it makes the cutting process less chaotic and more straightforward when my pieces are printed with only the size that I need. There are fewer opportunities for confusion and the experience is more enjoyable.
Get Ready to Print Your Pattern Using Layers
First of all, you’ll want to download your PDF pattern onto your computer and install Adobe Acrobat Reader. If you use your computer’s default PDF reader, you won’t be able to access the layers feature, or access the recommended print settings.
(We have lots more information about downloading your pattern and about Adobe Reader here.)
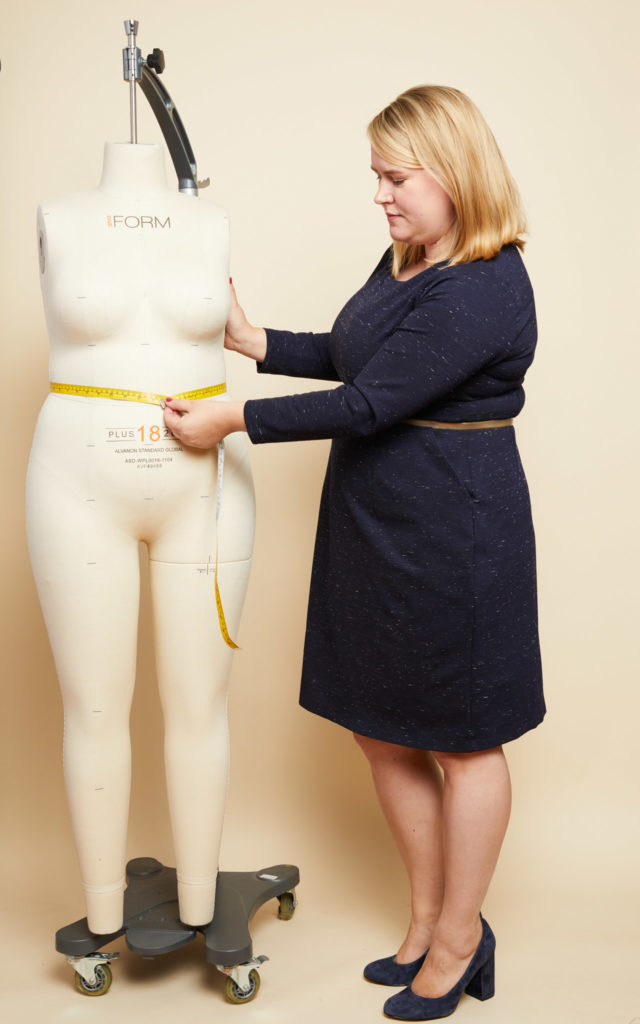
You should also take your measurements and check your size in the size chart! This is something we recommend you do before starting every new garment. Our measurements can change without us knowing it sometimes, and you’ll want to know the best size (or set of sizes) for you to use when making this pattern.
You can learn more about our size chart and how to choose your size here.
If your measurements fall across different sizes, you’ll likely need to grade between sizes. We have lots of helpful information on how to grade between sizes here.
Seeing Your Pattern’s Layers in Adobe Reader
Once you’ve installed and opened Adobe Reader, go to File > Open and find your file on your computer.
Make sure you’ve selected the print at home version, not the US or A0 copyshop files.

On the left side of the screen, you’ll see a set of icons positioned vertically.

If you don’t see this menu, it may be closed. To reveal it, click this arrow.

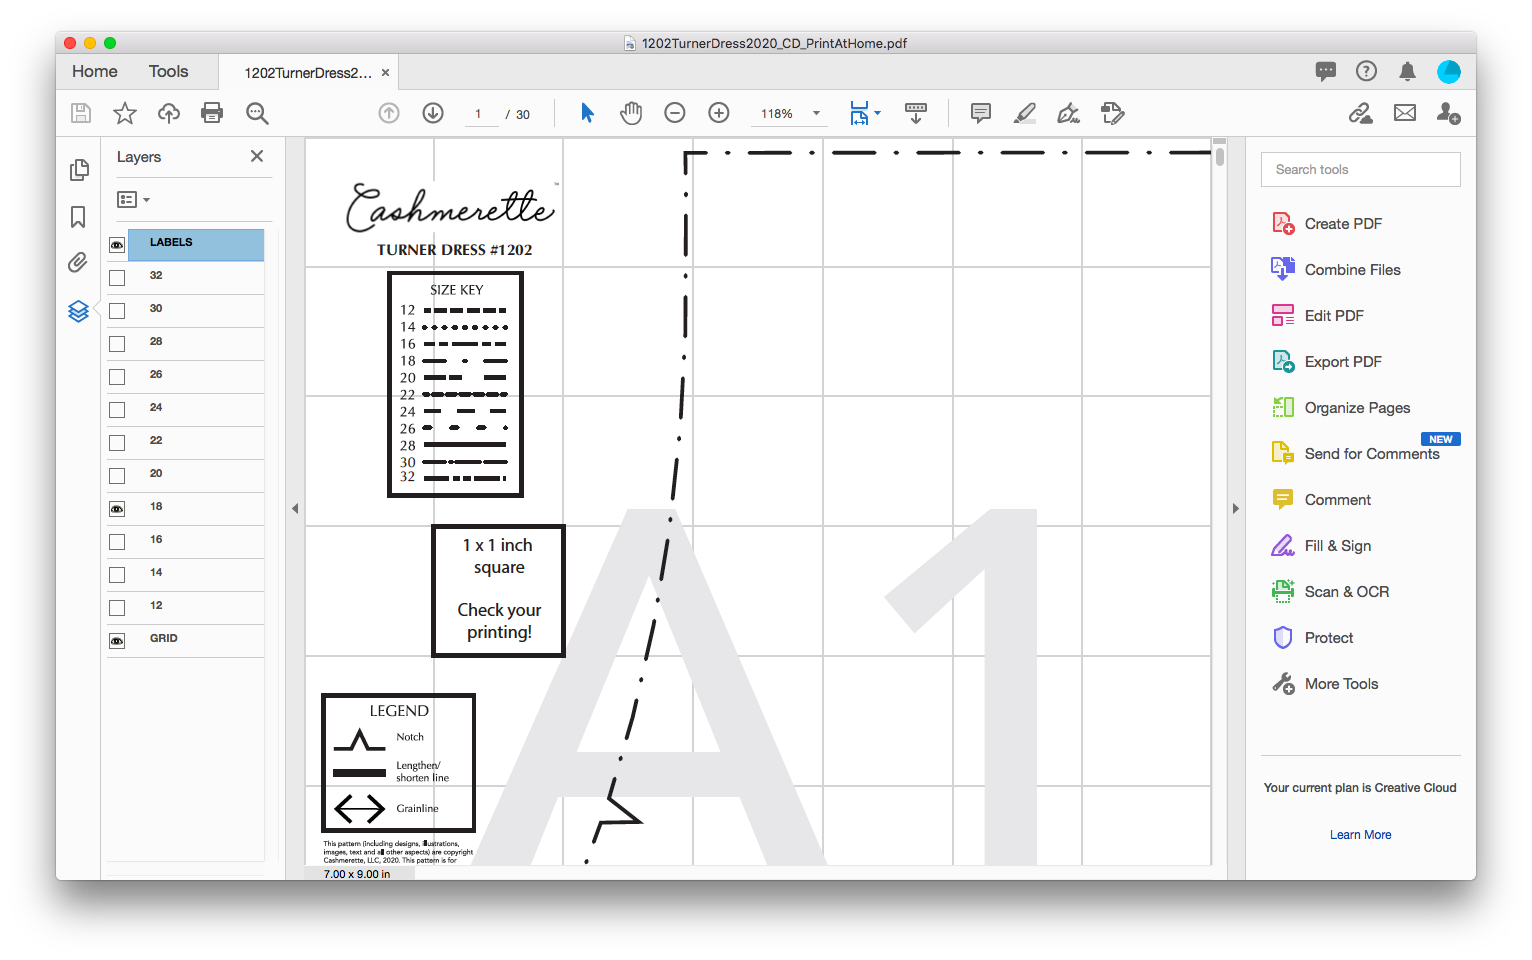
The icon that looks like a stack of three papers is the layers icon.
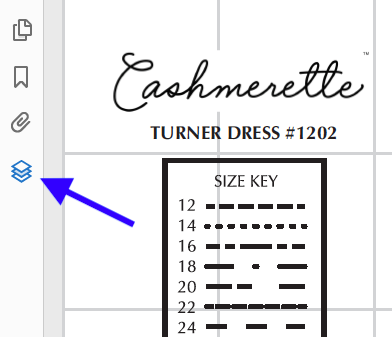
Click on it to reveal the file’s layers. You’ll then see a list of layers with size numbers.
Note that if you’re using an older pattern file or if your pattern does not have the sizes separated by layers, you will not see any layers listed.
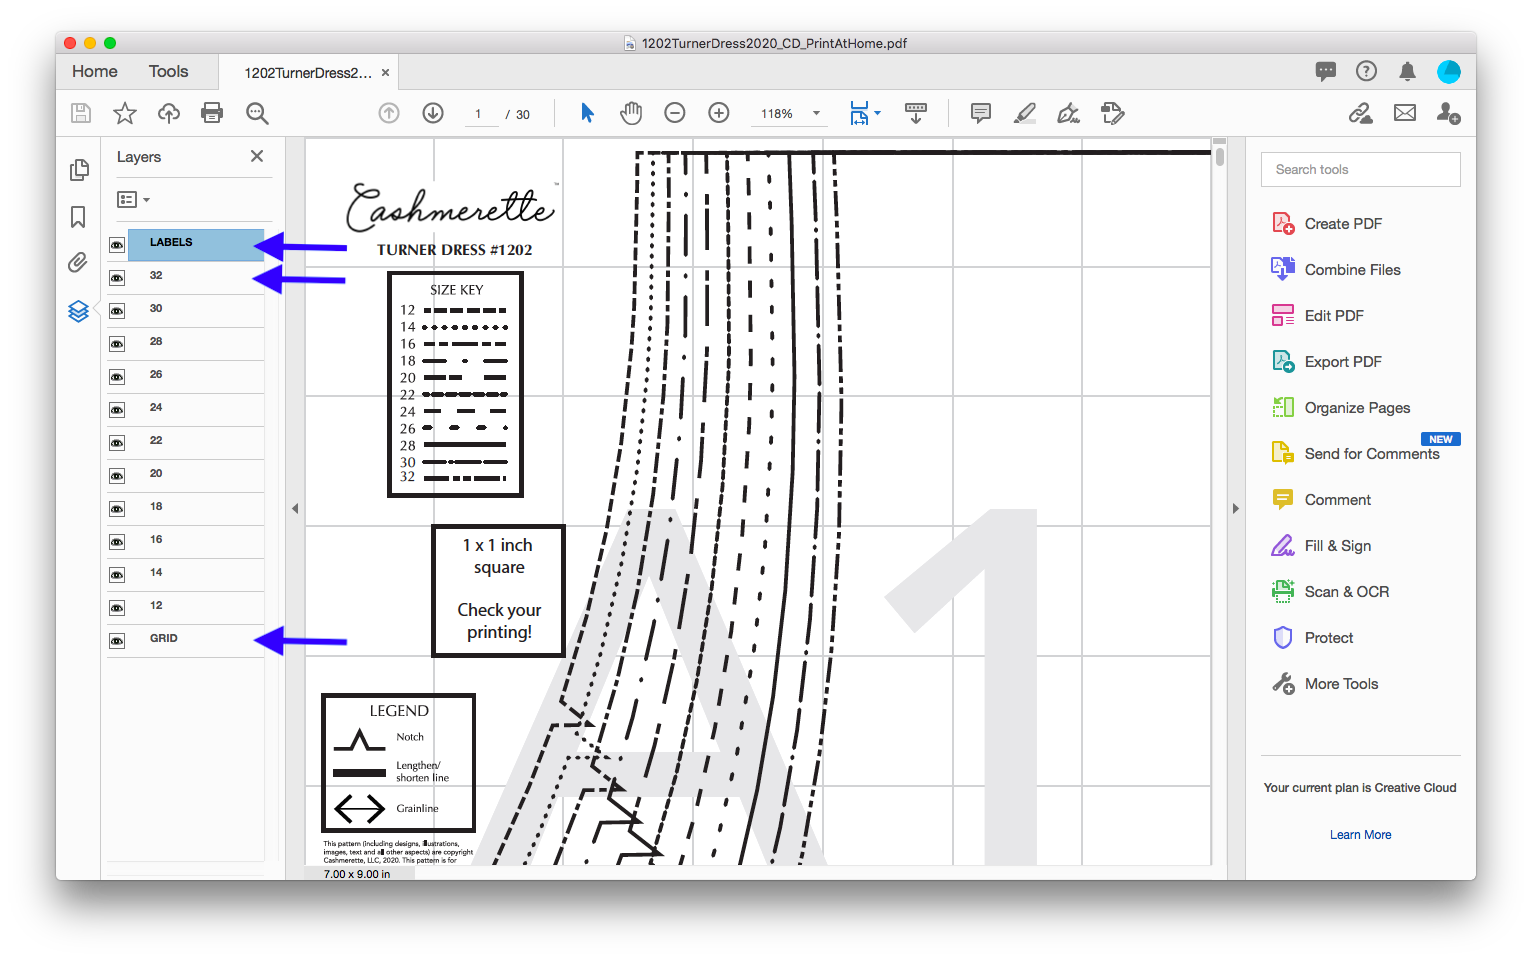
Let’s look at the different types of layers we see. The first layer contains the labels—that’s all the pattern piece labels as well as the size key, test square, and so on. You definitely want to keep this layer on.
Below that we see a number of size layers. This pattern has sizes 12-32 as separate layers.
At the bottom, we see a layer labeled grid. This is the light gray background grid that sits behind all of the pieces, as well as the page labels that help you know how to assemble your pieces. Definitely keep this layer on as well.
Turning Layers On and Off
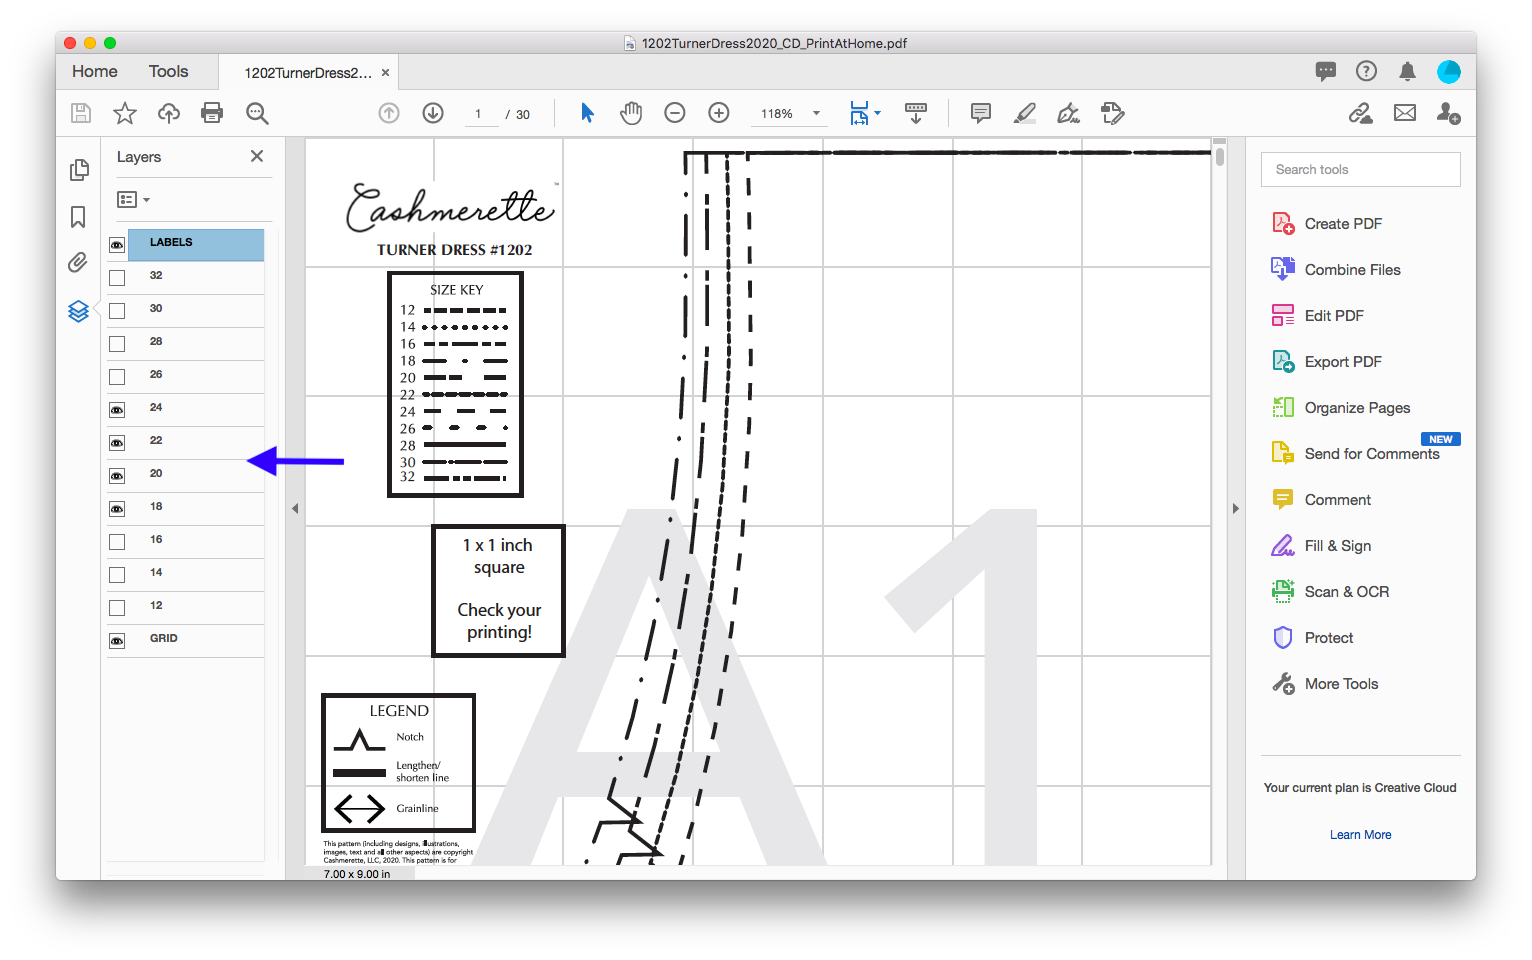
Let’s say you’re making this pattern in a size 18. You don’t need any of the other sizes when you print your pattern, so we can turn them all off.
To turn off a size/layer, click the eye icon to the left of the layer’s name. This takes the layer from being visible to being invisible, although it’s always available to make visible again if you need it. (To do that, click on the square where the eye icon was.)
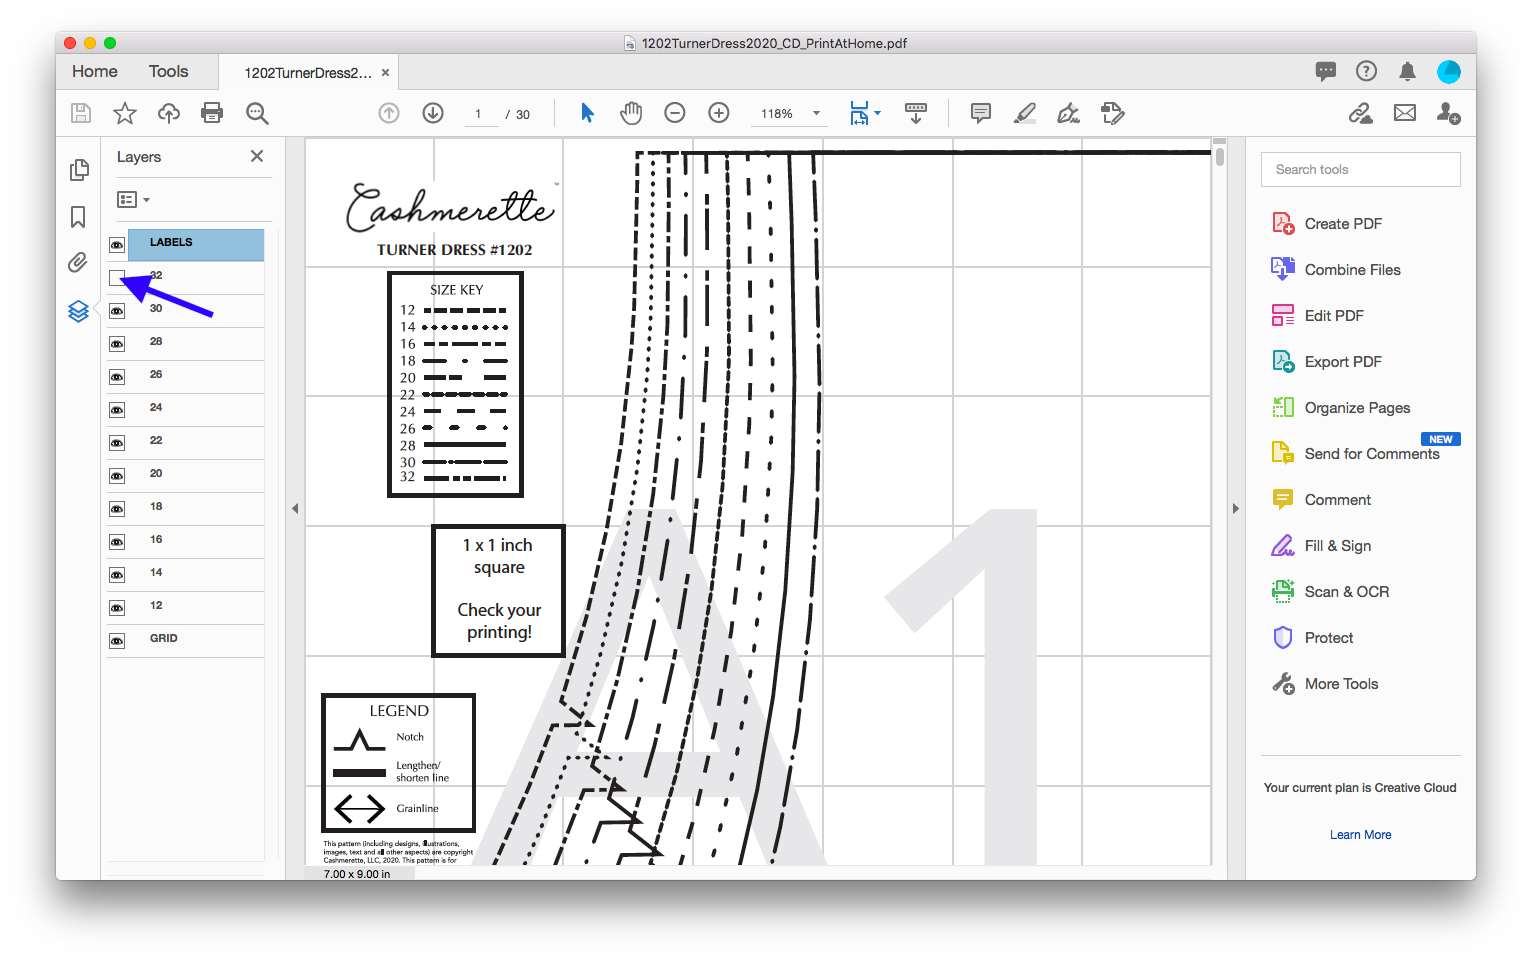
Since we only need the size 18, we’re going to turn off all the other sizes. Make sure you keep the grid and labels layers on!
You’ll notice that our page preview on the right hand side of the screen now only shows the line for the size 18.
What if you’re grading between sizes? We recommend printing the two (or three sizes) you’re using, plus the sizes in-between. This is so that you can understand how the steps between sizes look, and helps you draw your grading lines more easily.
Let’s say we’re making an 18 in the bust, graded to a 24 in the waist and hips. I’ll want to leave the layers on for the size 18, 20, 22, and 24 on, but I can turn off all the other sizes.
Printing Your Pattern
Once we’ve turned off the sizes/layers we don’t need, we’re ready to print our pattern! Go to File > Print in the top menu or click Control/Command + P.
We have a full tutorial on printing patterns at home here, but here are the print settings you want to look for:
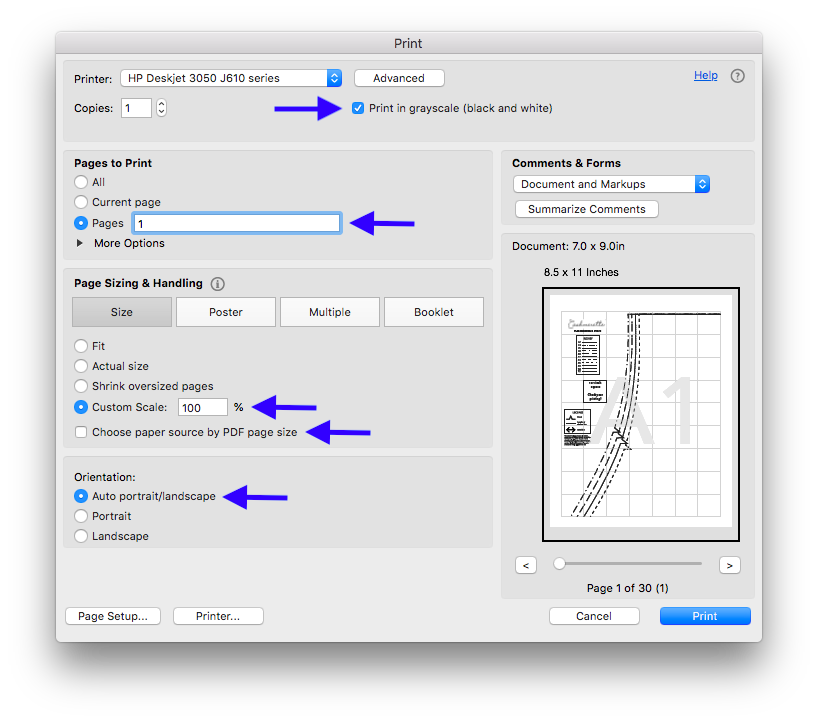
- Turn on “print in grayscale”—no need to waste colored ink
- Print the first page only at first, to check your scale with the test square. Then go back and print the remaining pages.
- Turn on “custom scale = 100%”; this ensures that your pattern prints at the right size)
- Turn off “choose paper source by PDF page size”; this sets the right margins
- Turn on “auto portrait/landscape”; this centers the image on the page
Using Layers When Printing from a Copyshop
You may notice that the US or A0 copyshop files are also layered. At this time, we’re not aware of any copyshops that will allow you to print only specific layers, but you should check with your copyshop about this feature on the off chance that they do accommodate it.
And that’s all there is to it! This quick extra step can save you time and money in the long run. Give it a try and let us know if you have any questions!
How awesome. This is a game changer for me because I hate to print and cut fabric patterns. This will help a lot. Thank you.
very easy instructions to follow thanks its a great idea
I’m really perplexed by copy shops and layers. I have used at least 6 different online pattern printing companies / services (all UK based). None of them can print single layers.
The only time I’ve had an explanation was from one company, who said it’s because there simply isn’t enough information for them to do it. So maybe it’s an IT thing?
I just dont get it.
I find it more cost effective in time, ink and paper, to get my patterns printed A0 online. It’s an almost perfect solution.
But being able to get specific layers printed – that would be amazing!!
It’s not an IT thing, it’s more that it’s just difficult to accommodate in terms of customer service and easy to get wrong, which means an unhappy customer and losing money.
What should be possible though is to select layers yourself and then print to PDF and submit the result to a copyshop.
That’s a good idea. Have you tried it?
I’ve tried it but can’t get it to work in the free version of Adobe Reader. I have selected just two layers and have that visible on screen but if I use “Save As” to a new document it always saves with all the layers. Sadly…
Love this. Im going to do this with my online patterns